
One of the first times I saw my husband, across a crowded goth club, he was wearing a romantic, slightly pouffy white blouse.
 This was the intended effect, though that was long before cellphone selfies so I have no photographic evidence.
Now, in the early days of this blog, the first shirt I ever blogged about making him was an attempt at recreating that long-lost shirt. But this wasn’t my first attempt.
 A few years before that, shortly after we moved to Cowtown, I had tried to create much the same look, using Butterick 4486. I don’t even know how I came to own the pattern, though it’s still in print.
I didn’t have much success. My fabric was a slippery, textured synthetic that had a vague linen “look” with none of the joy of sewing actual linen. I was completely mystified by the placket construction on the front, and had to bring the half-finished shirt front back to Saskabush to consult both my mom and her best-sewing friend. I was still puzzled. and then, after all that angst and anguish, when giving the shirt a final press I managed to iron a hole right through it. Argh!!! Into the bin.
Needless to say, I was not a fan of the pattern. But I’m also a hoarder-in-training, so in stash it stayed. Until early this spring, when an old family friend contacted me, looking for a vaguely Mediaeval-looking shirt to wear for performances of a choir he’s part of that does Mediaeval and Renaissance style music.
 Well, I hemmed and I hawed and finally admitted to myself that I was intrigued (especially if it meant I could sew with some yummy fabric like linen) and I emailed him back with a price that I was fairly sure would send him packing, but he didn’t even blink.
Next thing I knew we were exchanging inspiration photos and I was building a Pinterest board and a lot of what we were looking at was very reminiscent of Butterick 4486—not overly historically accurate, but certainly fun and evocative. It appeared the pattern would be coming out of 7 or 8 years in the naughty bin.
He found me several links to linen fabrics on Canadian fabric websites I hadn’t even heard of—with reasonable shipping rates! OMG!!! So once we settled on a colour, we were off to the races. (By the way, despite all my camera’s efforts to make it look grey, the colour is a medium muted blue.)
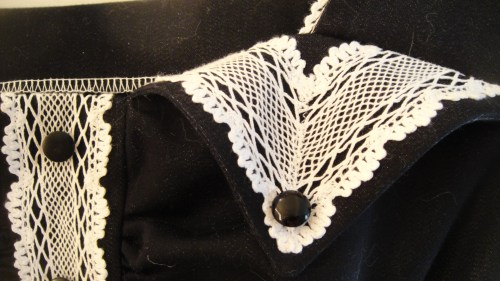
 I feel I need to proclaim right off the bat that this is not meant in any way to be a genuine historical outfit. It’s more 60s-Hollywood-does-Mediaeval. 😉 but I added little “authentic” touches as I could—all the visible stitching (except the felling on the sleeve seams) is done by hand. The buttons are cloth balls, sewn directly to the edge of the cuff.
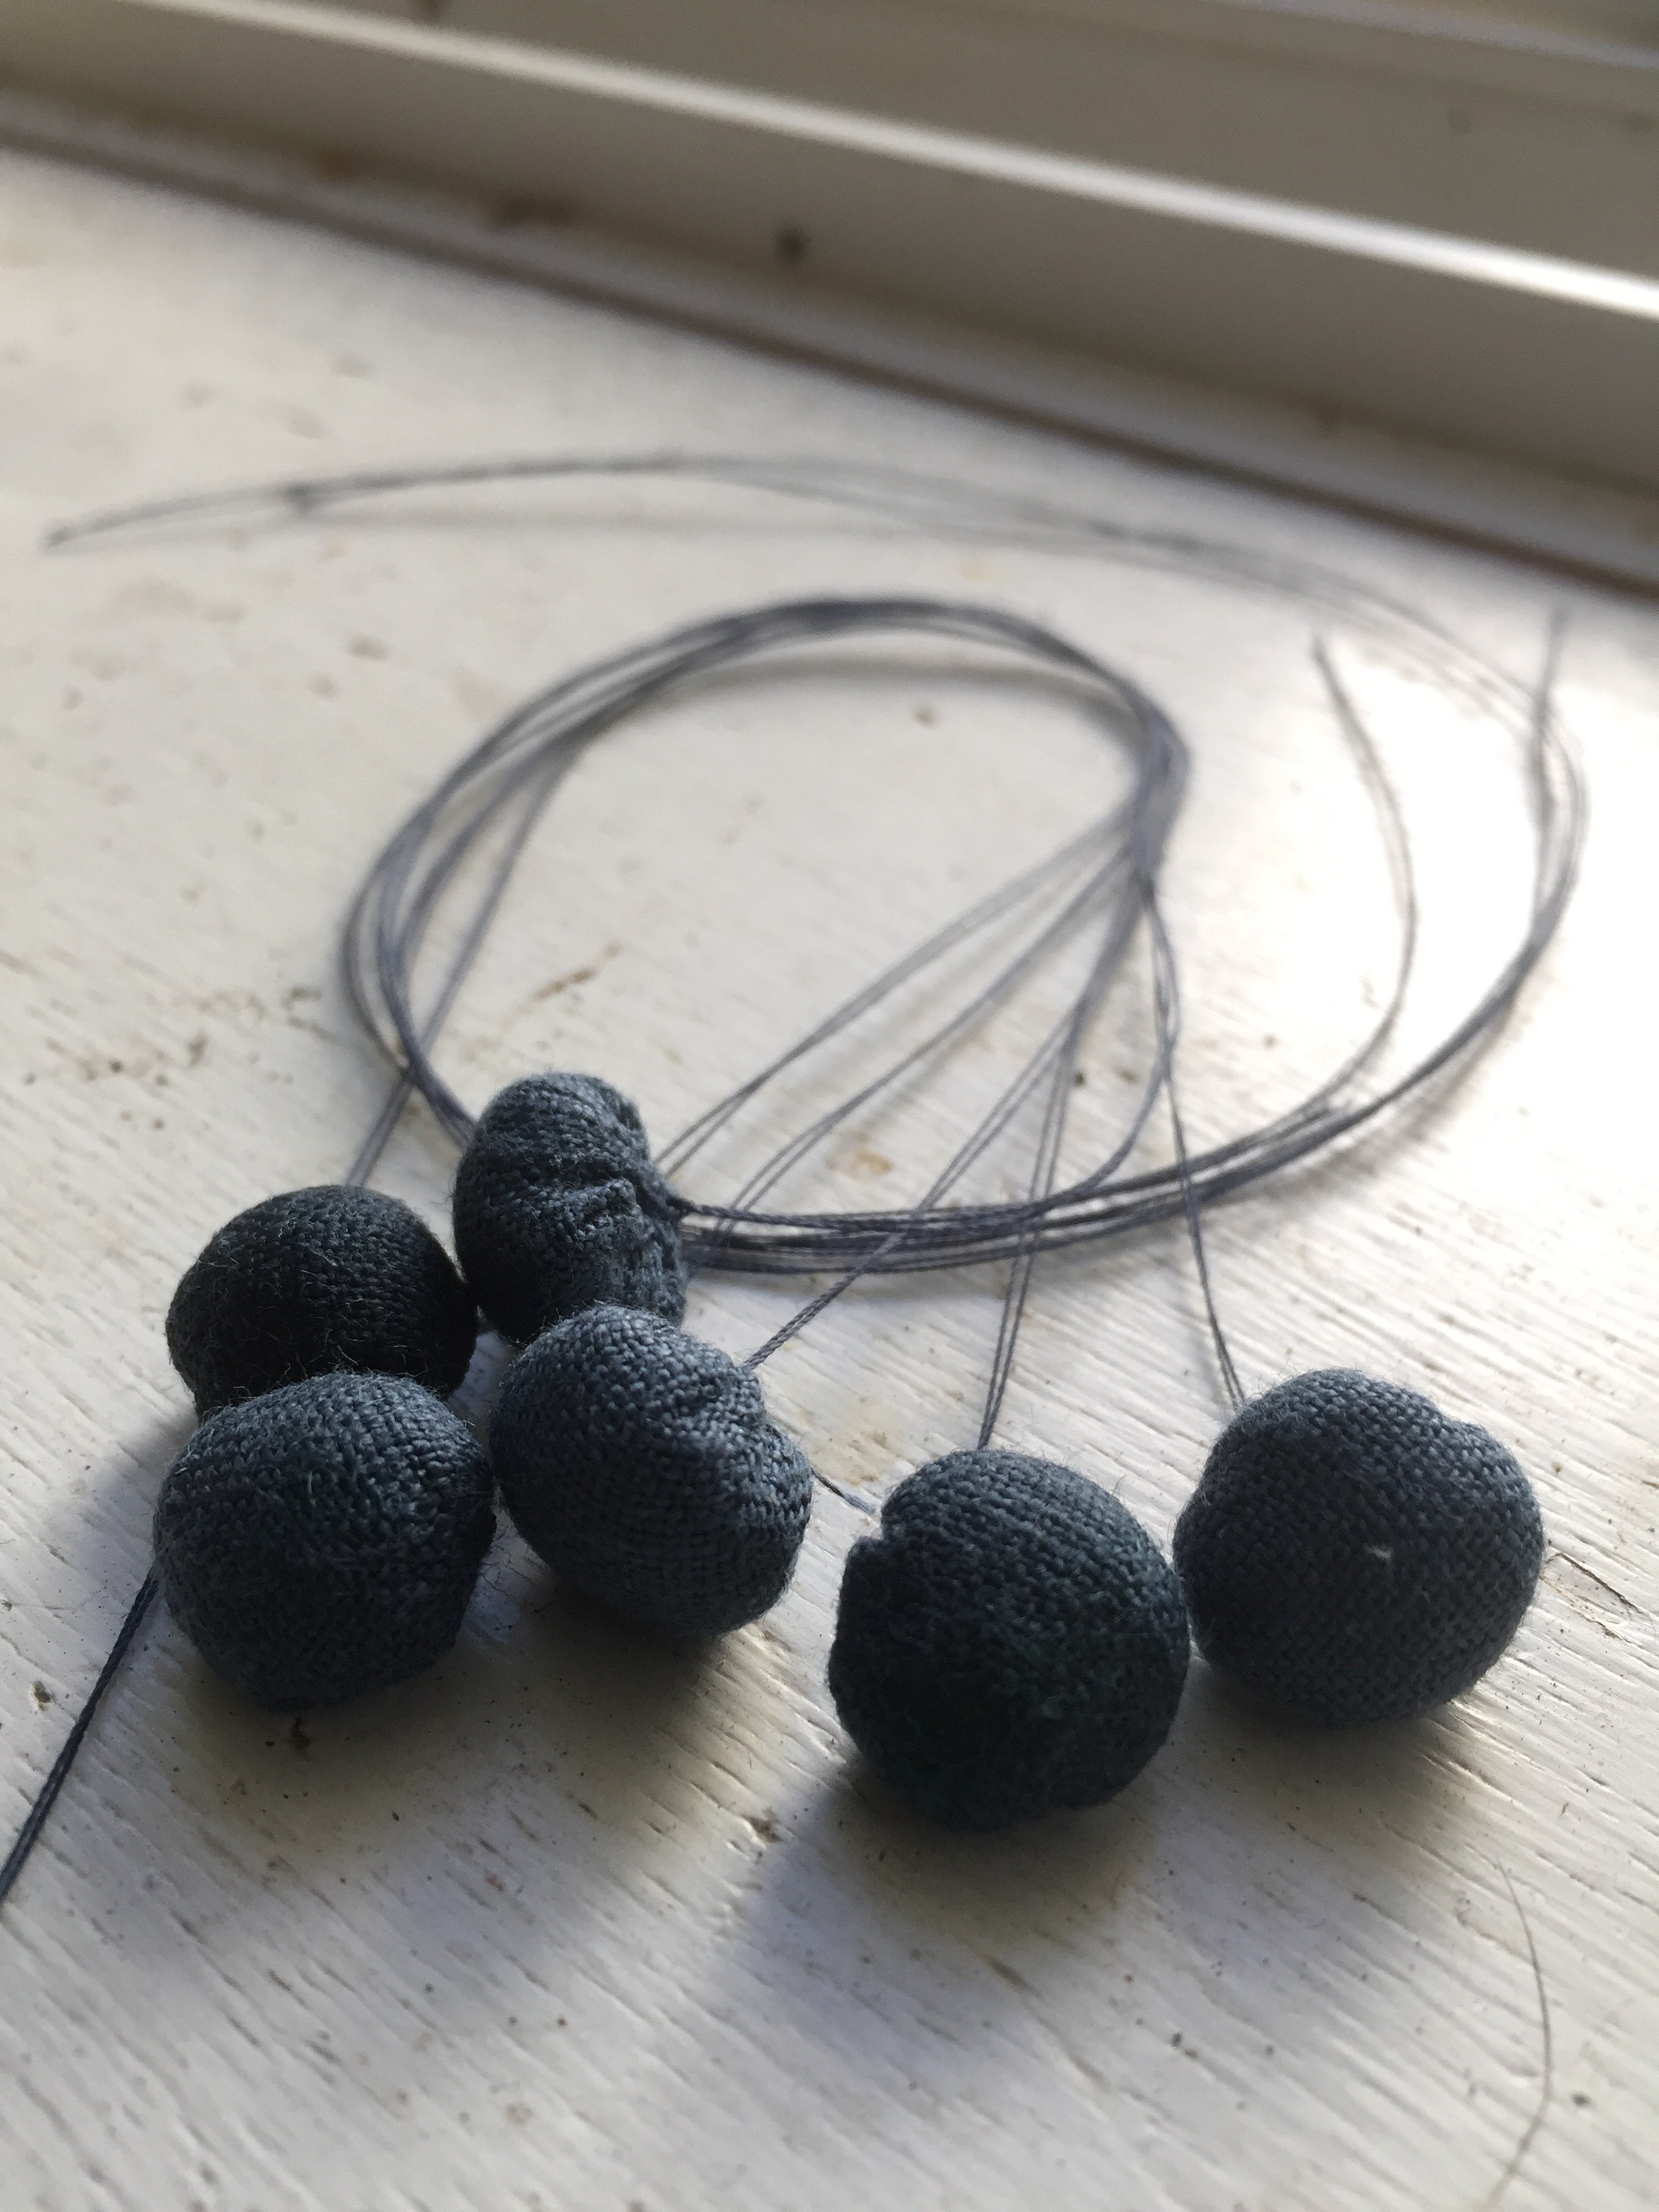 They’re pretty adorable, actually.
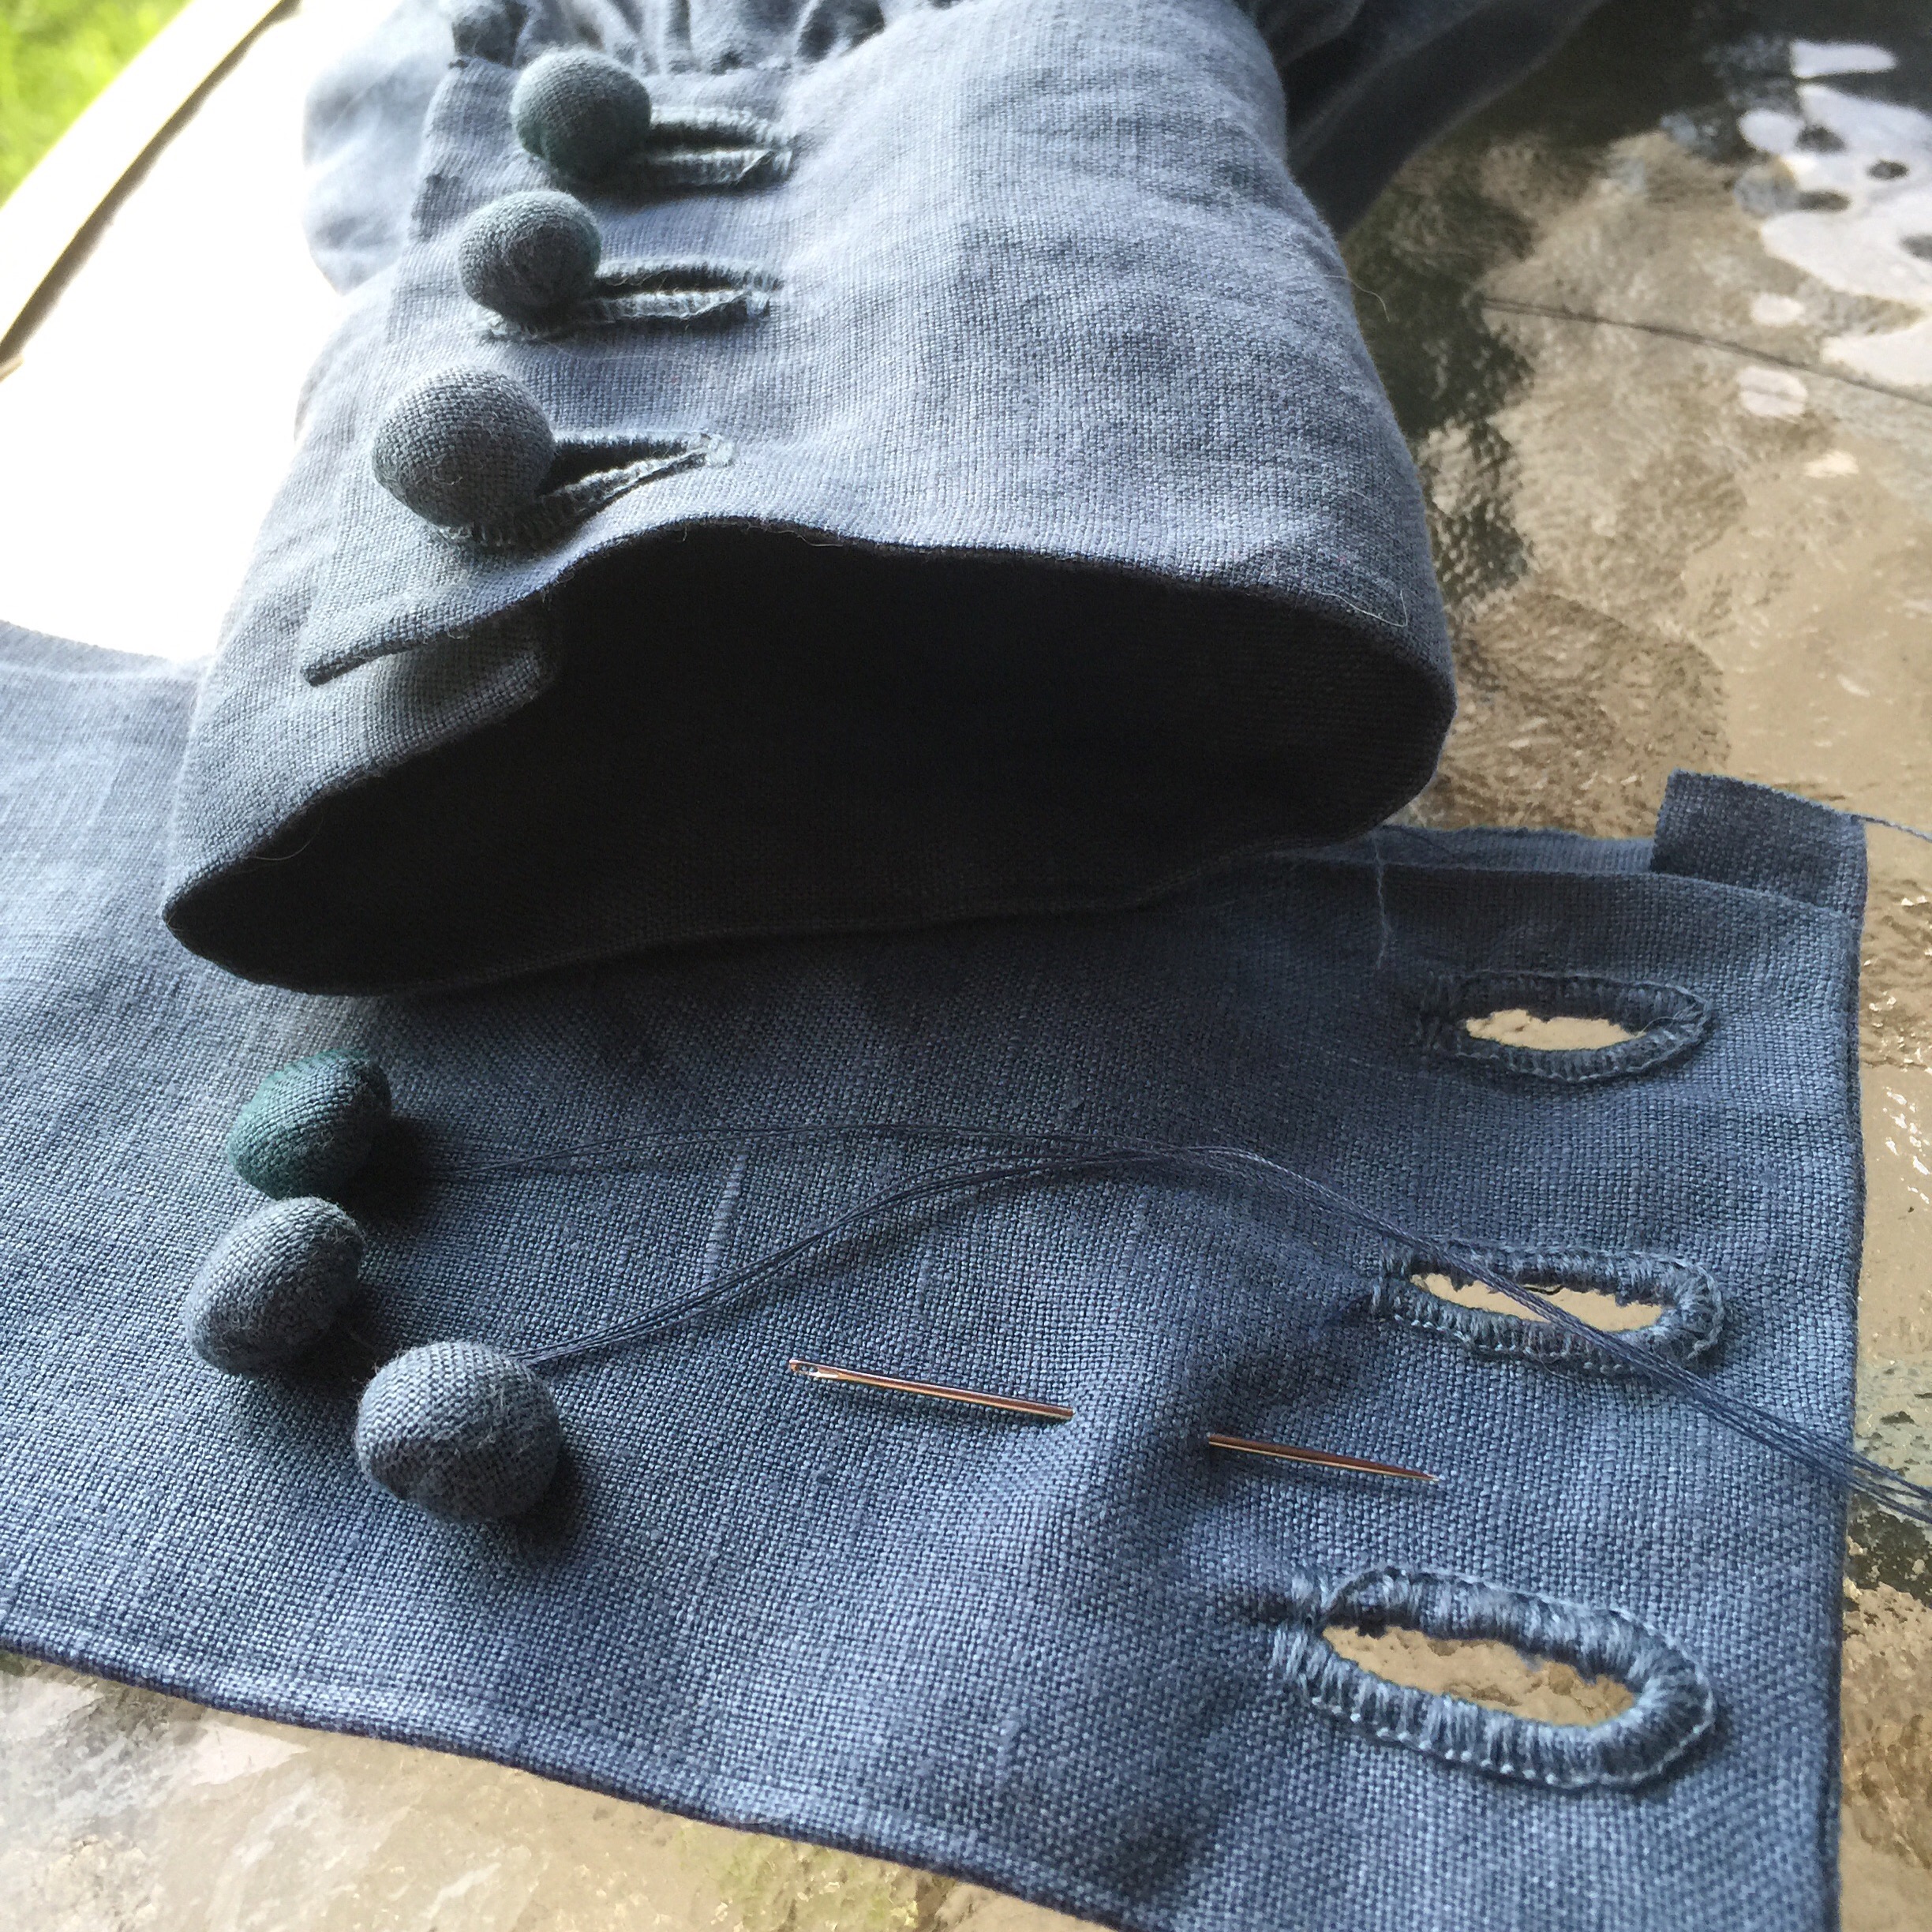 Though I think making more than six would get pretty tiresome. My hand worked buttonholes are… Not as terrible as they used to be? I’m still a little squirrelly about charging someone money for them, but I’m tamping that down hard under the “my time is worth it, dammit!” mantra.
 I had a hard time settling on a seam finish. My first impulse was to flat fell everything. But, I was reluctant to do it all by hand (after all, this is a costume piece, not some intensively-researched recreation.) I tested the machine fell on the sleeves, but that still leaves a line of machine stitching on the outside. Which I didn’t hate enough to rip out, but I wasn’t loving.
 I had plenty of time to ruminate on it, mind you, while sewing the endless eyelets of the placket. (And finishing both placket and cuffs by hand.) I tucked under the end of the placket and hand-stitched it down—not perfectly invisible but all the seams are enclosed! Which is not the case in the instructions. Still not loving the construction, but at least I knew what they wanted me to do this time.
 I hand-felled the shoulder seams, which is lovely and authentic and stuff. For the side seams, I made French seams—maybe less authentic but a clean finish with no visible stitching.
 The hardest decision was how to finish the armscyes. I didn’t think there would be enough seam allowance to fell over the bulky gathers, so I spent a bunch of time researching and dithering, and then eventually just did it.
 I guess there was enough seam allowance after all. It’s a little odd with the gathering but I don’t mind it.
 Then there was the fitting angst, as this is a long-distance project and while I worked from measurements, things like the dropped shoulder and the amount of length that will be lost when the tunic-length shirt is bloused over a belt are wild cards I can’t really predict. And then I realized I had messed up my interpretation of my measurements and had to shorten the sleeves by several inches. Infinitely better than the opposite, of course, but it meant taking off the cuffs. Which I then proceeded to sew back on inside out. Twice. Kill me. Please.
 But the linen was a hell of a lot of fun to sew with! And it’s done, after a month of faffing around and endless hand-sewing. I’m in the middle of way too many intensive projects, by the way, mainly for other people. Blerg!

 I’ve been playing with the idea of a quilted skirt since even before
 And if I can do it as a shop project without having to fork out for the weird stuff I don’t have lying around (like batting)? Even better.
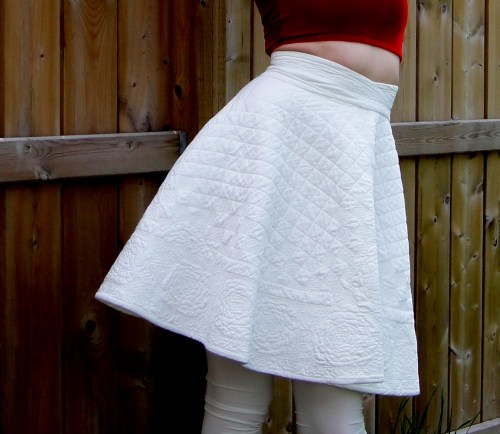 For the pattern, I went with
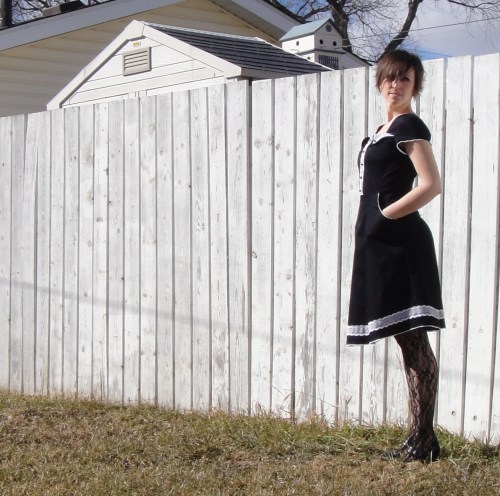
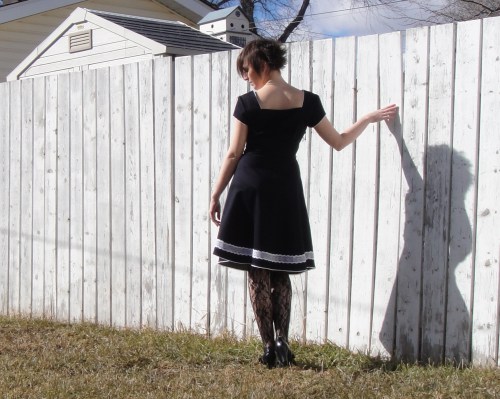
 Initially I had grand hopes of making my skirt reversible, one side black, one side white, and contrast quilting on the white side.
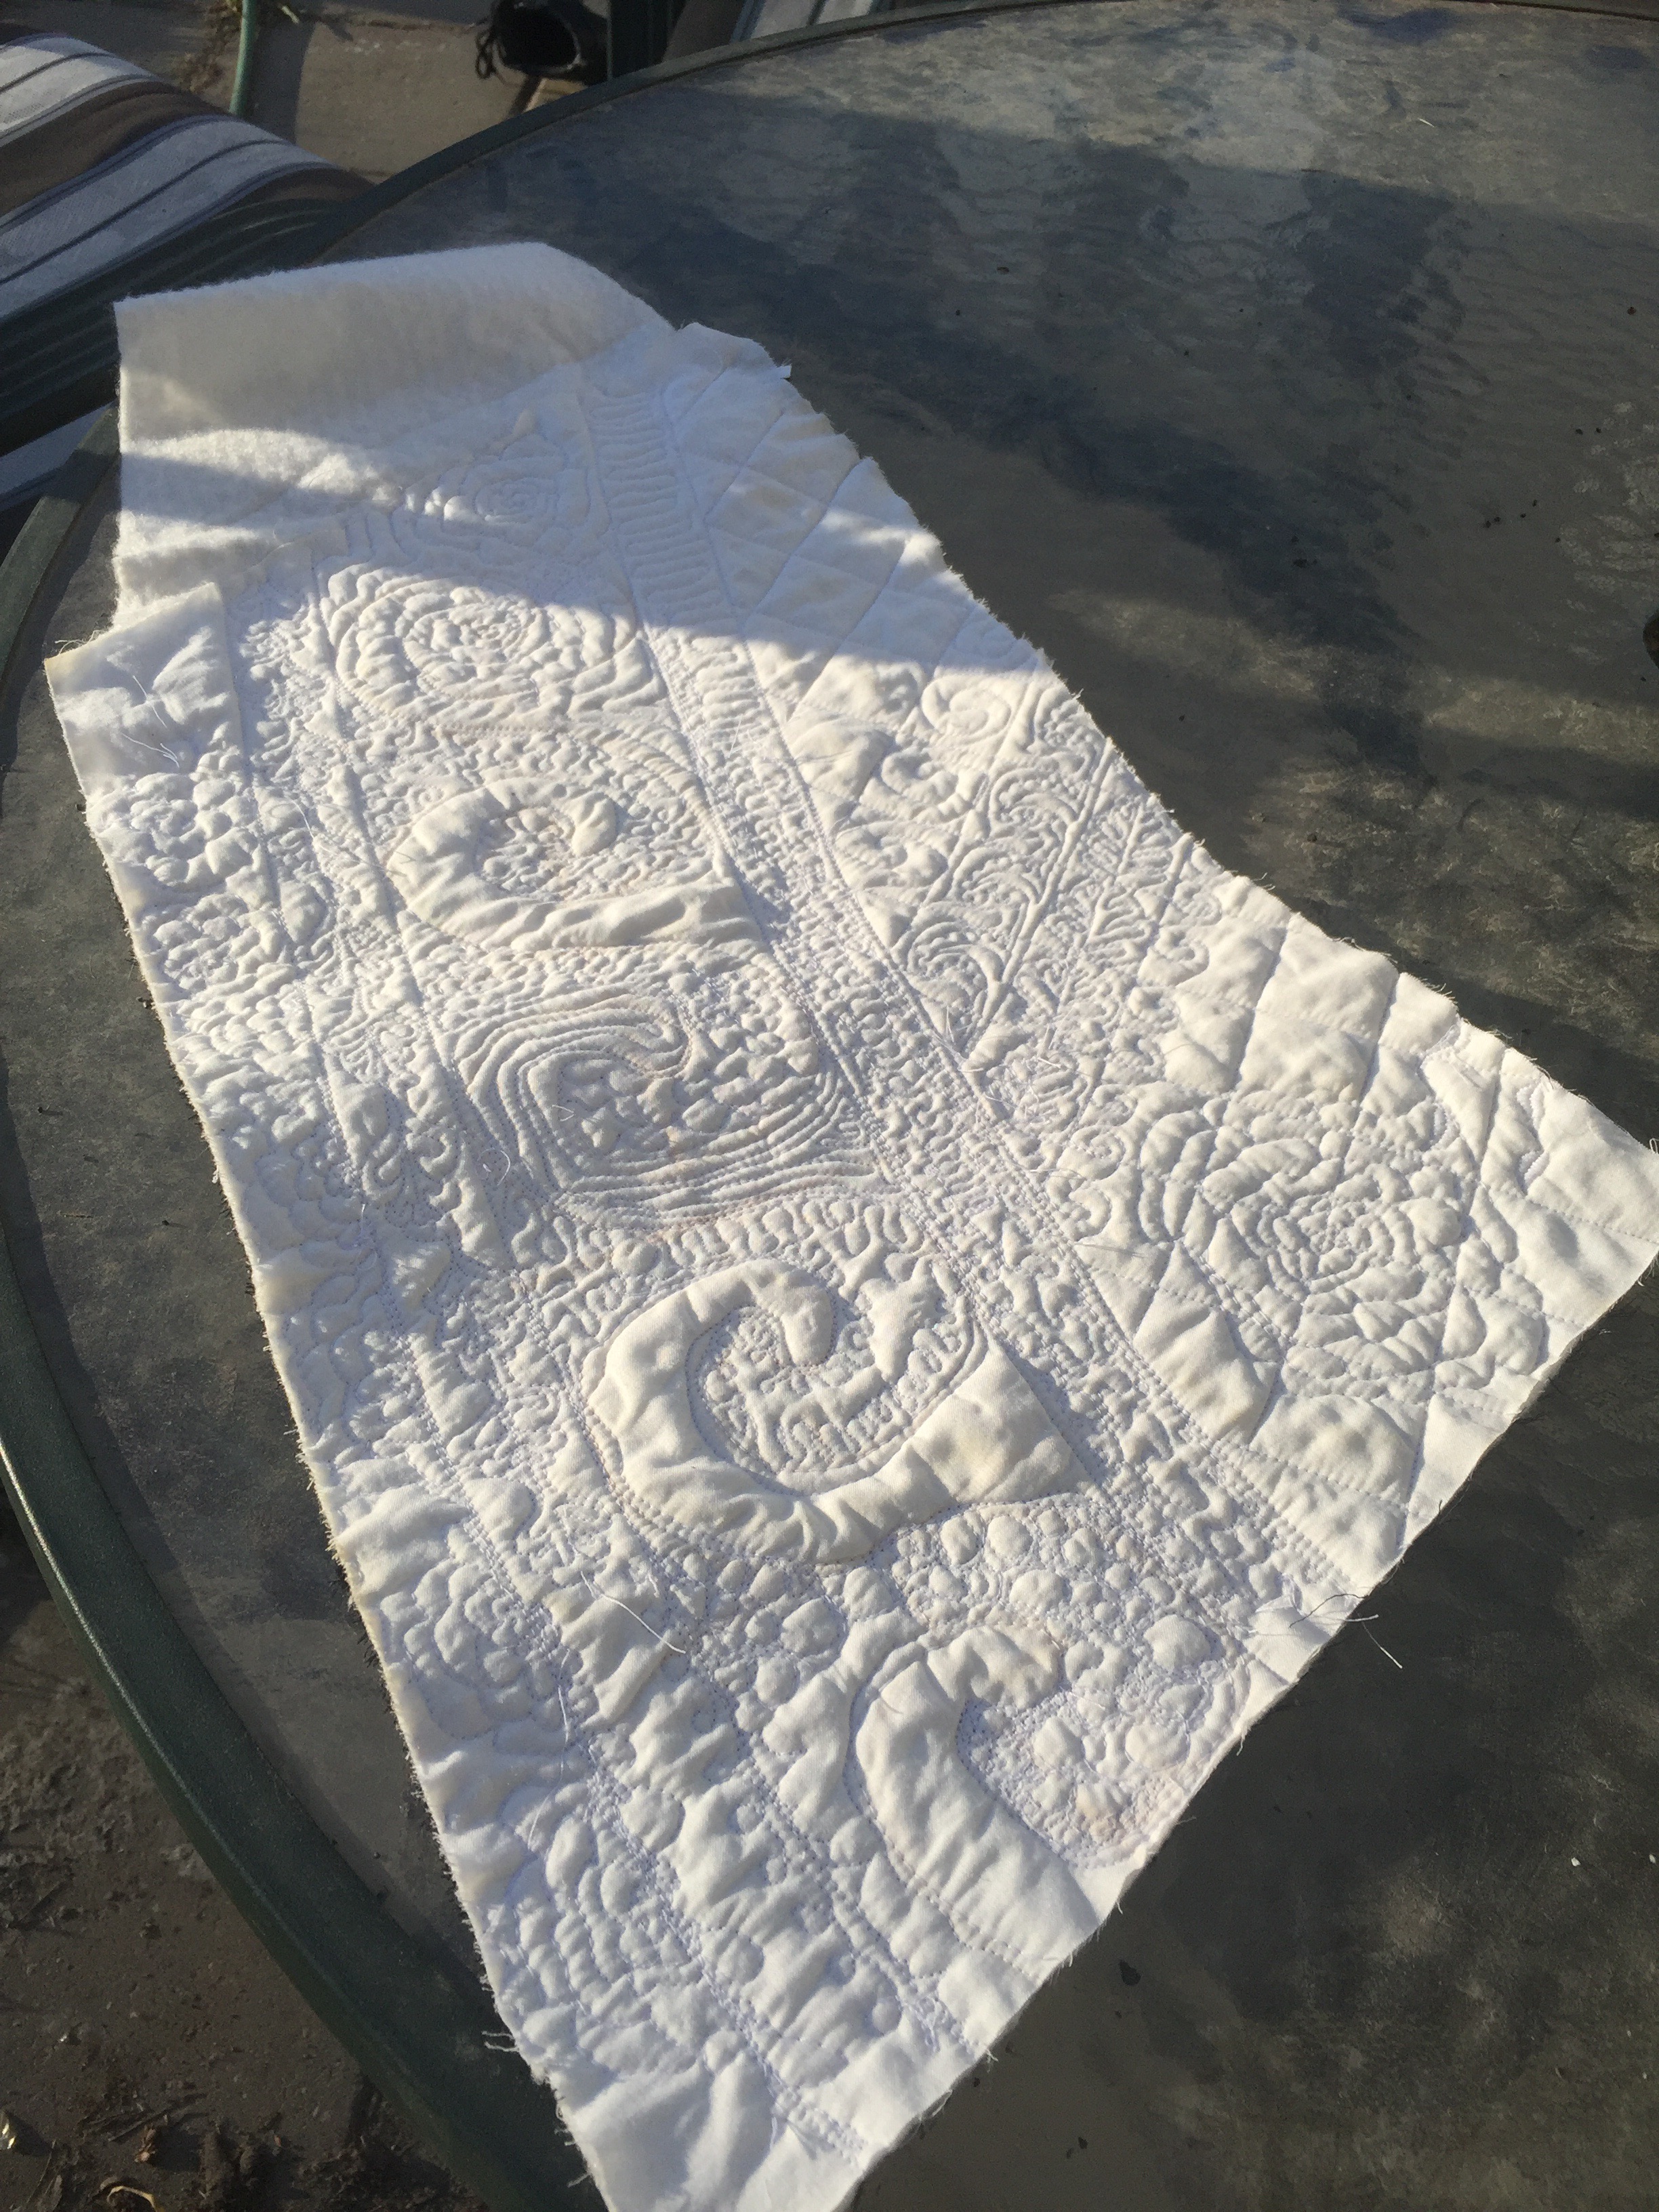
 As for the finer points of free motioning, I confess my research was not extensive. I spent some time on Pinterest gathering links, read a web tute on the basics, which didn’t tell me much I didn’t already know. It may have helped that while I’ve done little quilting and no free motion quilting before, I’ve appliquéd and I darn jeans like nobody’s business, which is much like free motion except for all the pretty and artistic parts.
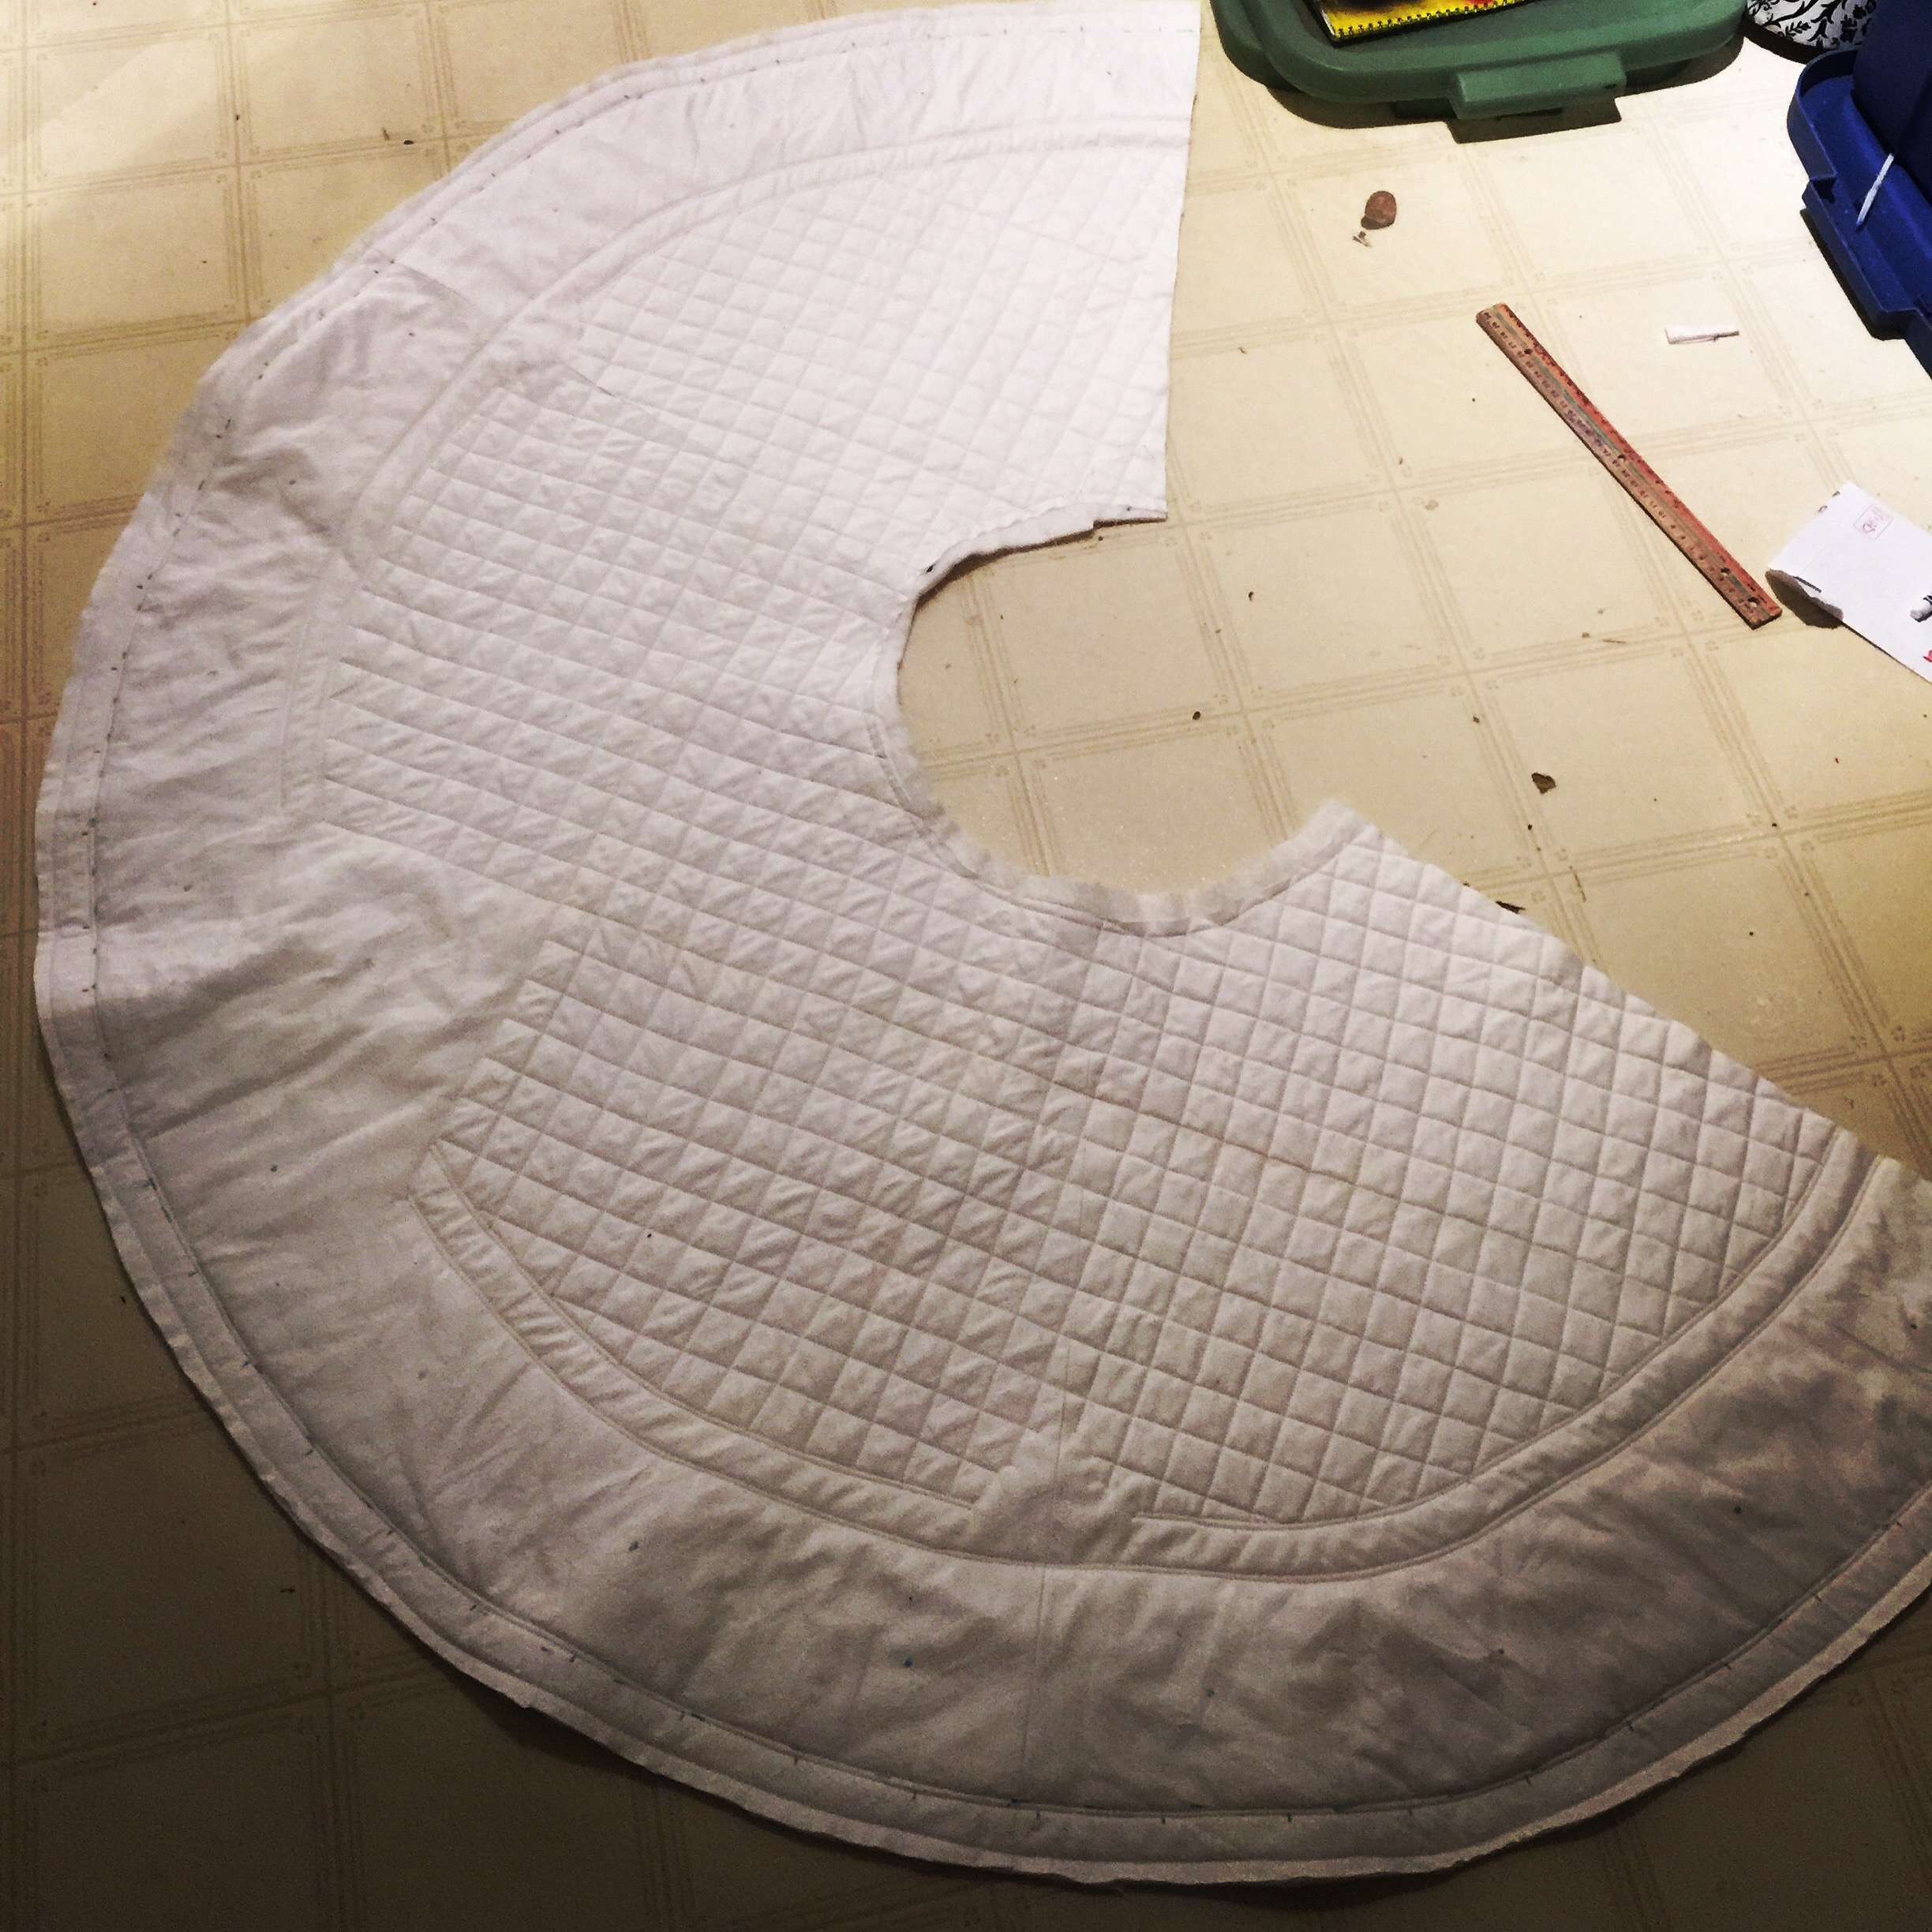

 I made liberal use of the wash-away marker, and less liberal use of the pale peach chalk pencil. I prefer the wash away marker, FYI. I still can’t get all the damn peach out. I only used it because my wash away marker died and I couldn’t get a new one for a few days.

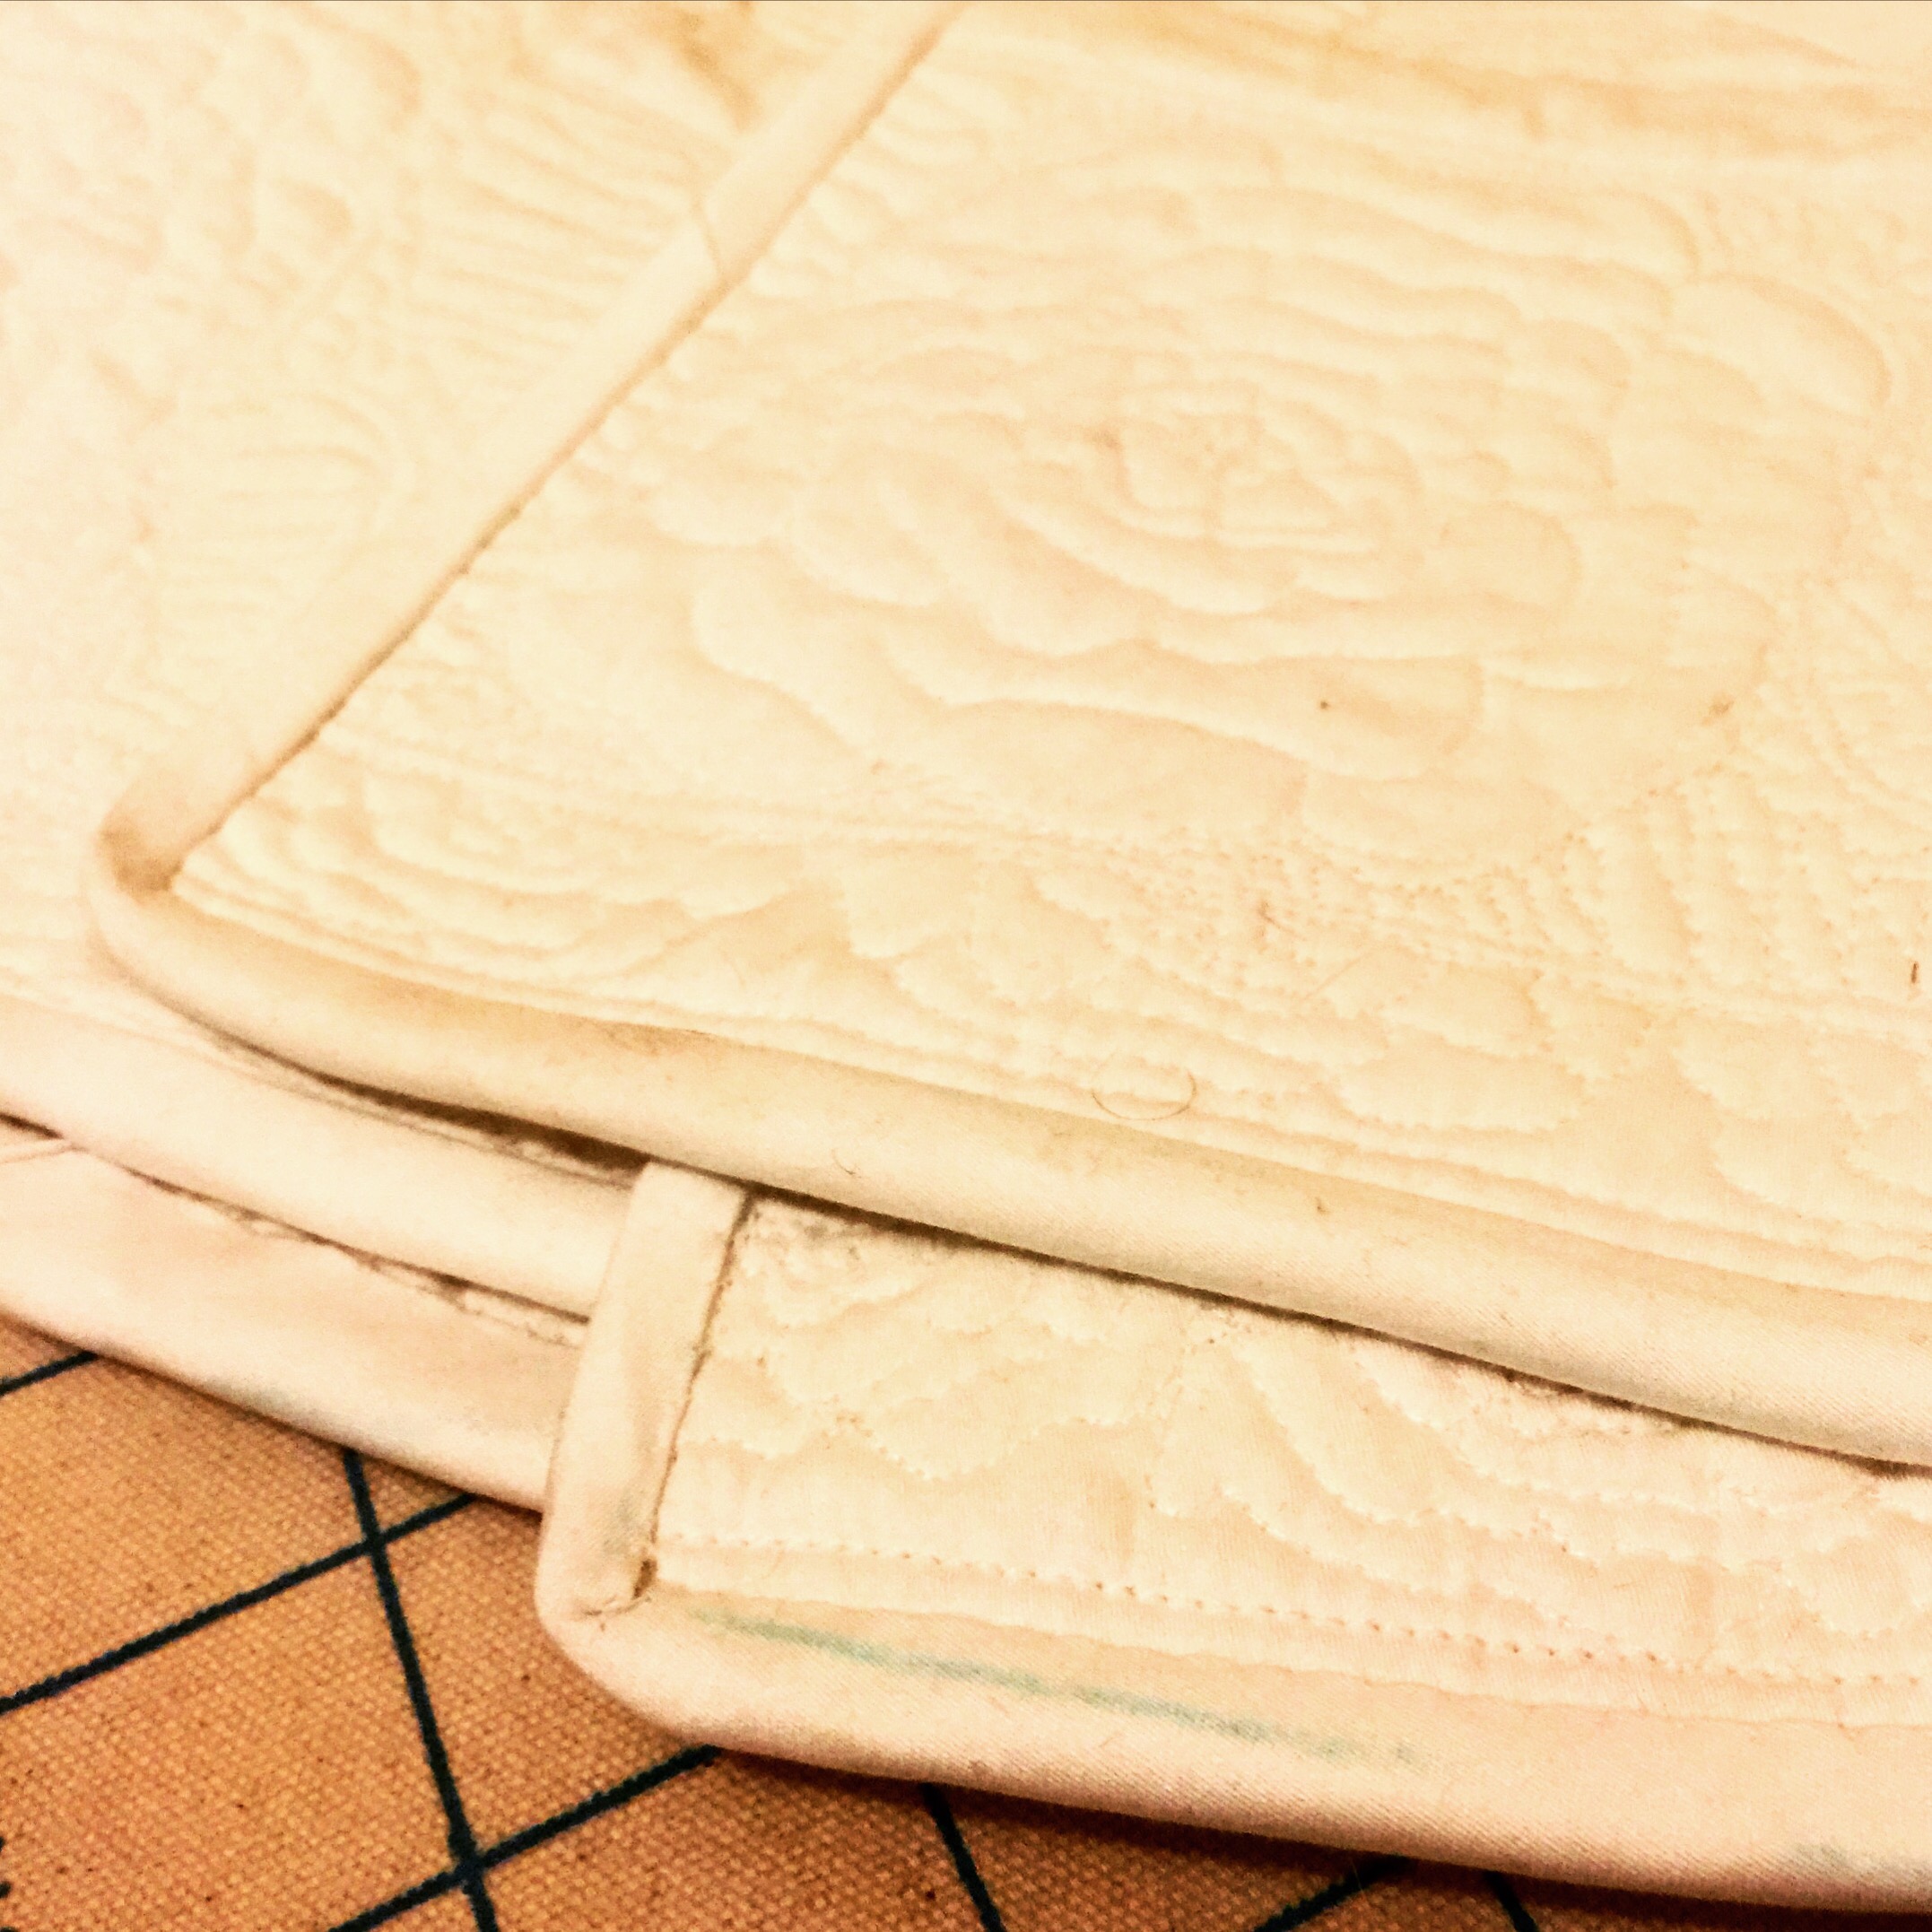
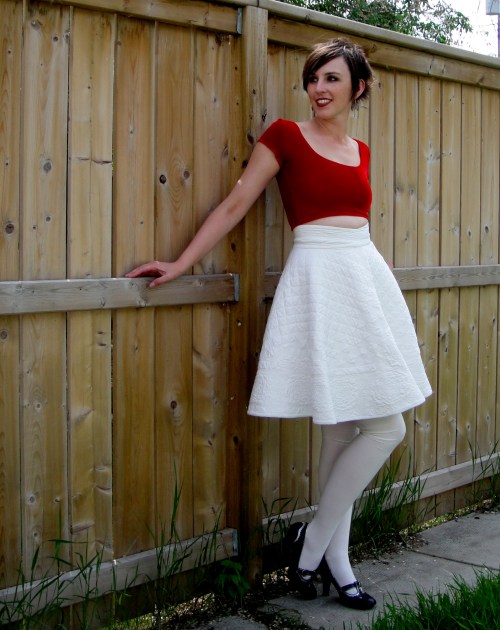 Guys, I won’t lie. This was a shitload of fun and I am so fucking proud of myself right now I can’t even. It was a lot of very intense work, but I love the level of detail I got, the intensity of the texture. I love crazy intricate detailing (hence the intermittent Victorian obsession) but very rarely reach that level in my own work, so to achieve it feels amazing. I want to just sit there and pet it and gaze at the glorious texture. Which is not to say it’s perfect, far from it, but where I got from where I started? That feels truly epic.

 “Did you see the November mailer?” my manager asked when I got to work one day last fall. Of course not—it had just arrived a day or two ago at the store, and usually only the managers see them much ahead of time. “There’s a project you need to do.”
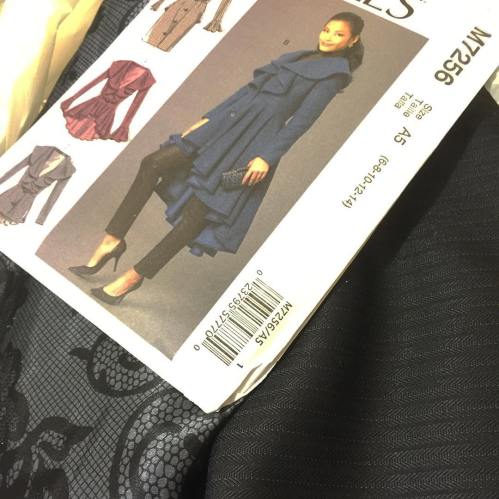
 Anyway, with the gauntlet thrown down, the angst set in. Project budgets are limited and coating fabric is expensive. I wandered the aisles of coating, wistfully petting the meltons and boiled wools while I calculated the price of 3.7m of the fabric and came up, again and again, on the sad fact that even the cheapest polyester-acrylic coating, with nary a hint of wool, was beyond my project budget. Suiting fabric it was.
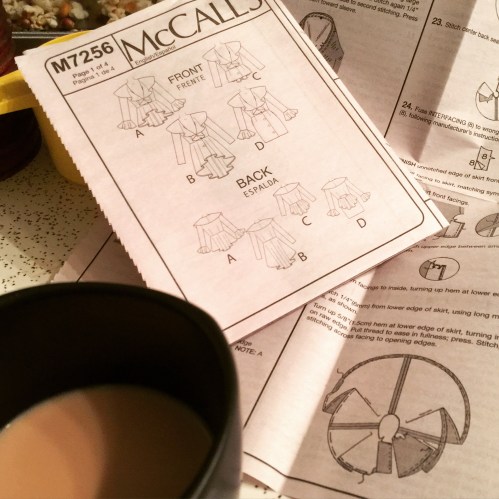 Once I had pattern and fabric at home, of course, I had to confront one very particular fact: this very fun coat pattern is, first and foremost, a McCall`s coat pattern. A McCall`s coat pattern is basically a dress pattern with extra ease. This didn`t bother me so much when I made
  Fortunately, the power of the Internet was with me. Sherry`s
  Fitting changes:
 Changes to make to the pattern:
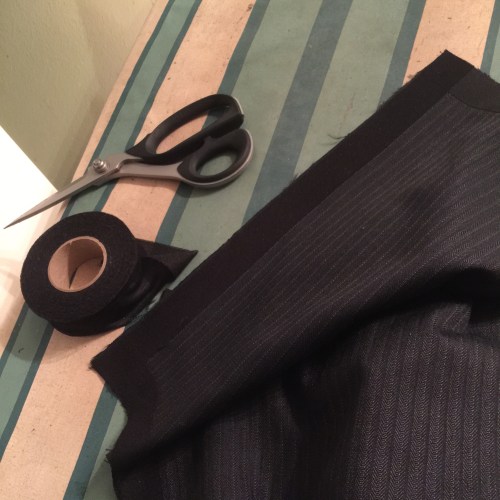 Tailoring:
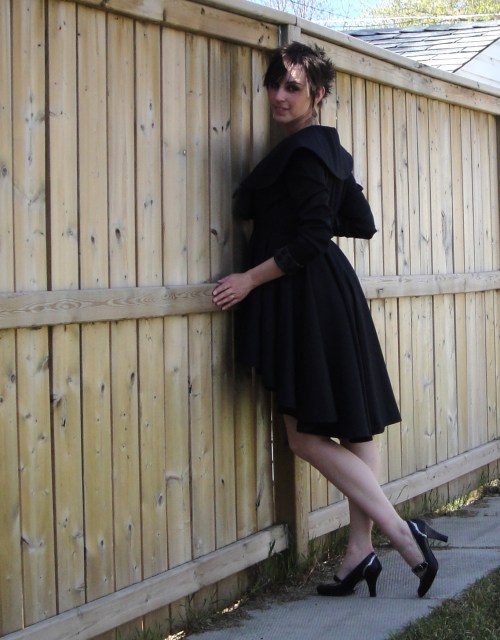 All of that tailoring and it was still pretty minimal. The jacket is soft and floppy. The sleeves are the worst, although rolled up and scrunchy they are ok.
 I did like how the shoulder pads turned out—I layered a bit of cotton batting with knit interfacing top and bottom, and fused them together, then shaped with steam and let cool.
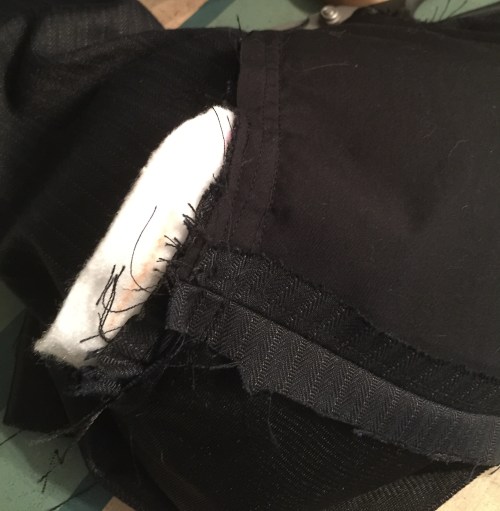 I added sleeve heads, too.
 It’s still an AWFUL lot of ruffles, though.
 Not much to say here.
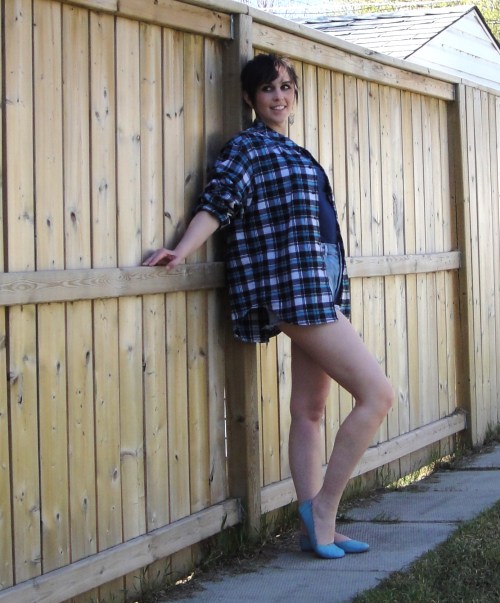 Unlike other shirt patterns I’ve sewed with, this KS one had only 1/4″ seam allowances. Throughout. Now, I’m a fan of narrow seam allowances generally, and I got excited for a bit because the 1/4″ SA would actually work with my flat fell foot! BUT, on a soft flannel it was really easy to miss the seam allowance if there was a miscut (and I am not the world’s best cutter) or for the seam to ravel on handling before I could get it finished. I’d like to try it again on a finer shirting. With felled seams. (They felt too firm for the soft flannel feeling I was going for.) I wound up having to darn part of the back yoke where I had missed the seam allowance. Bad seamstress.
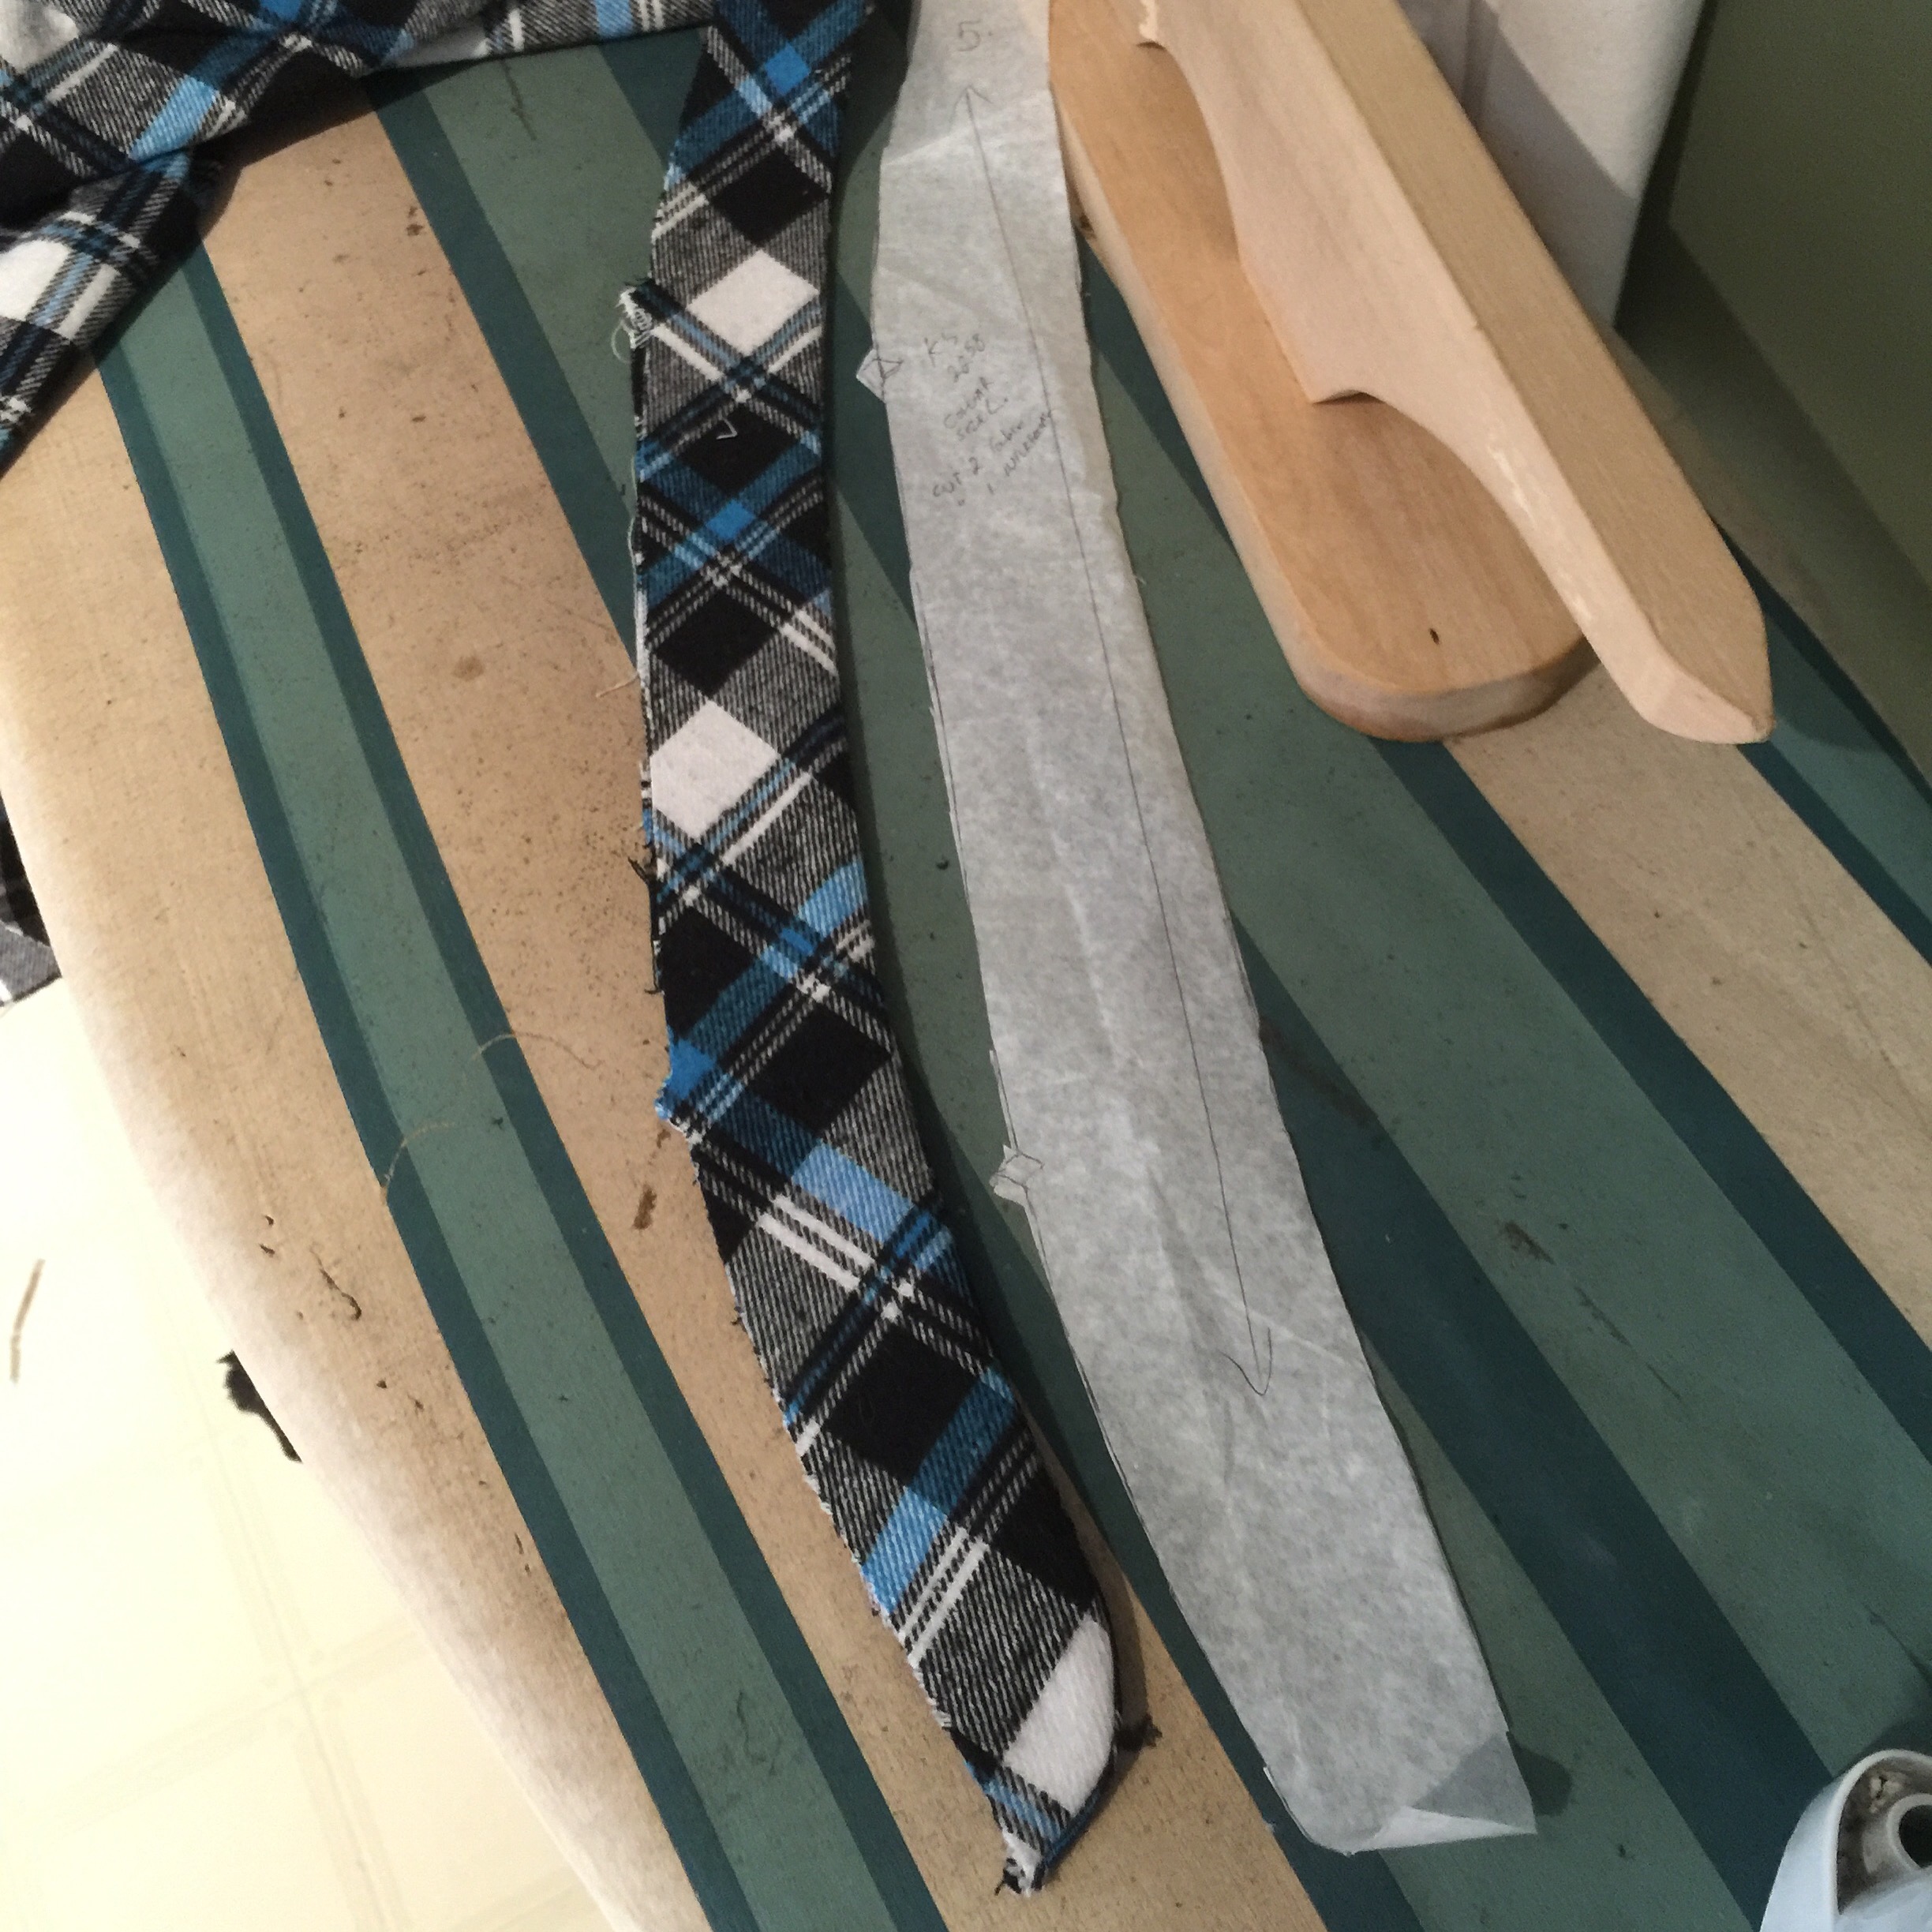

 I cut & sewed it when I had a few days off after Easter, then realized that none of the buttons I had enough of were suitable* and had to hold off for a little while, at which point I had lost all drive (plus he was already wearing it—it’s not like it’s destined for office wear.)
 Eventually, though, I managed to get some plain black buttons and see them on, and it’s been in pretty common rotation since. And I even managed to cut another Burda 6849 out of the remainder for Tyo, assuming I can motivate myself to actually sew it up.
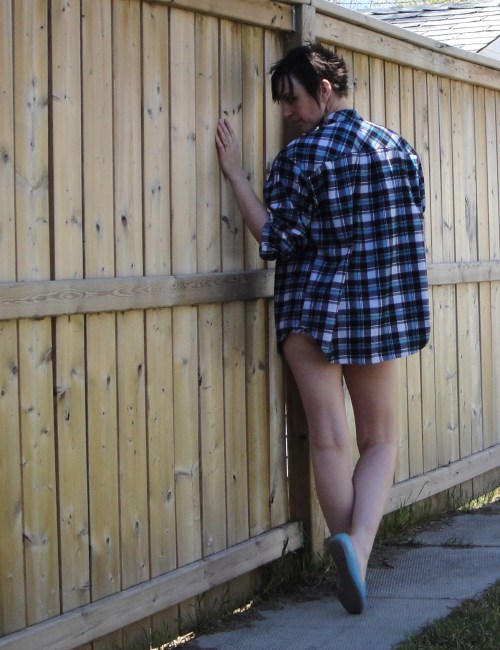
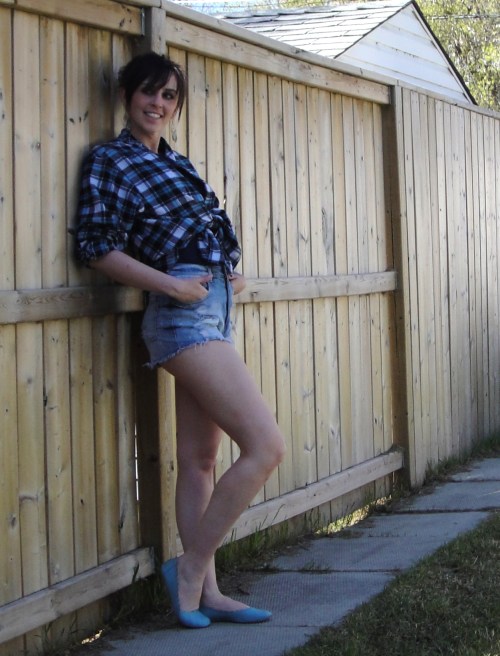 And that’s about it, really. Oh, the front knotted look is as per the husband’s style instructions, and the high-rise-ass-hanging-out-shorts were acquired by one of my children from a friend. My husband forbid them to wear the shorts out of the house, so I have stolen them. I haven’t worn anything with this high a rise since I figured out I could cut the waistband off my Levi’s 501s in about 1998. It feels profoundly weird.
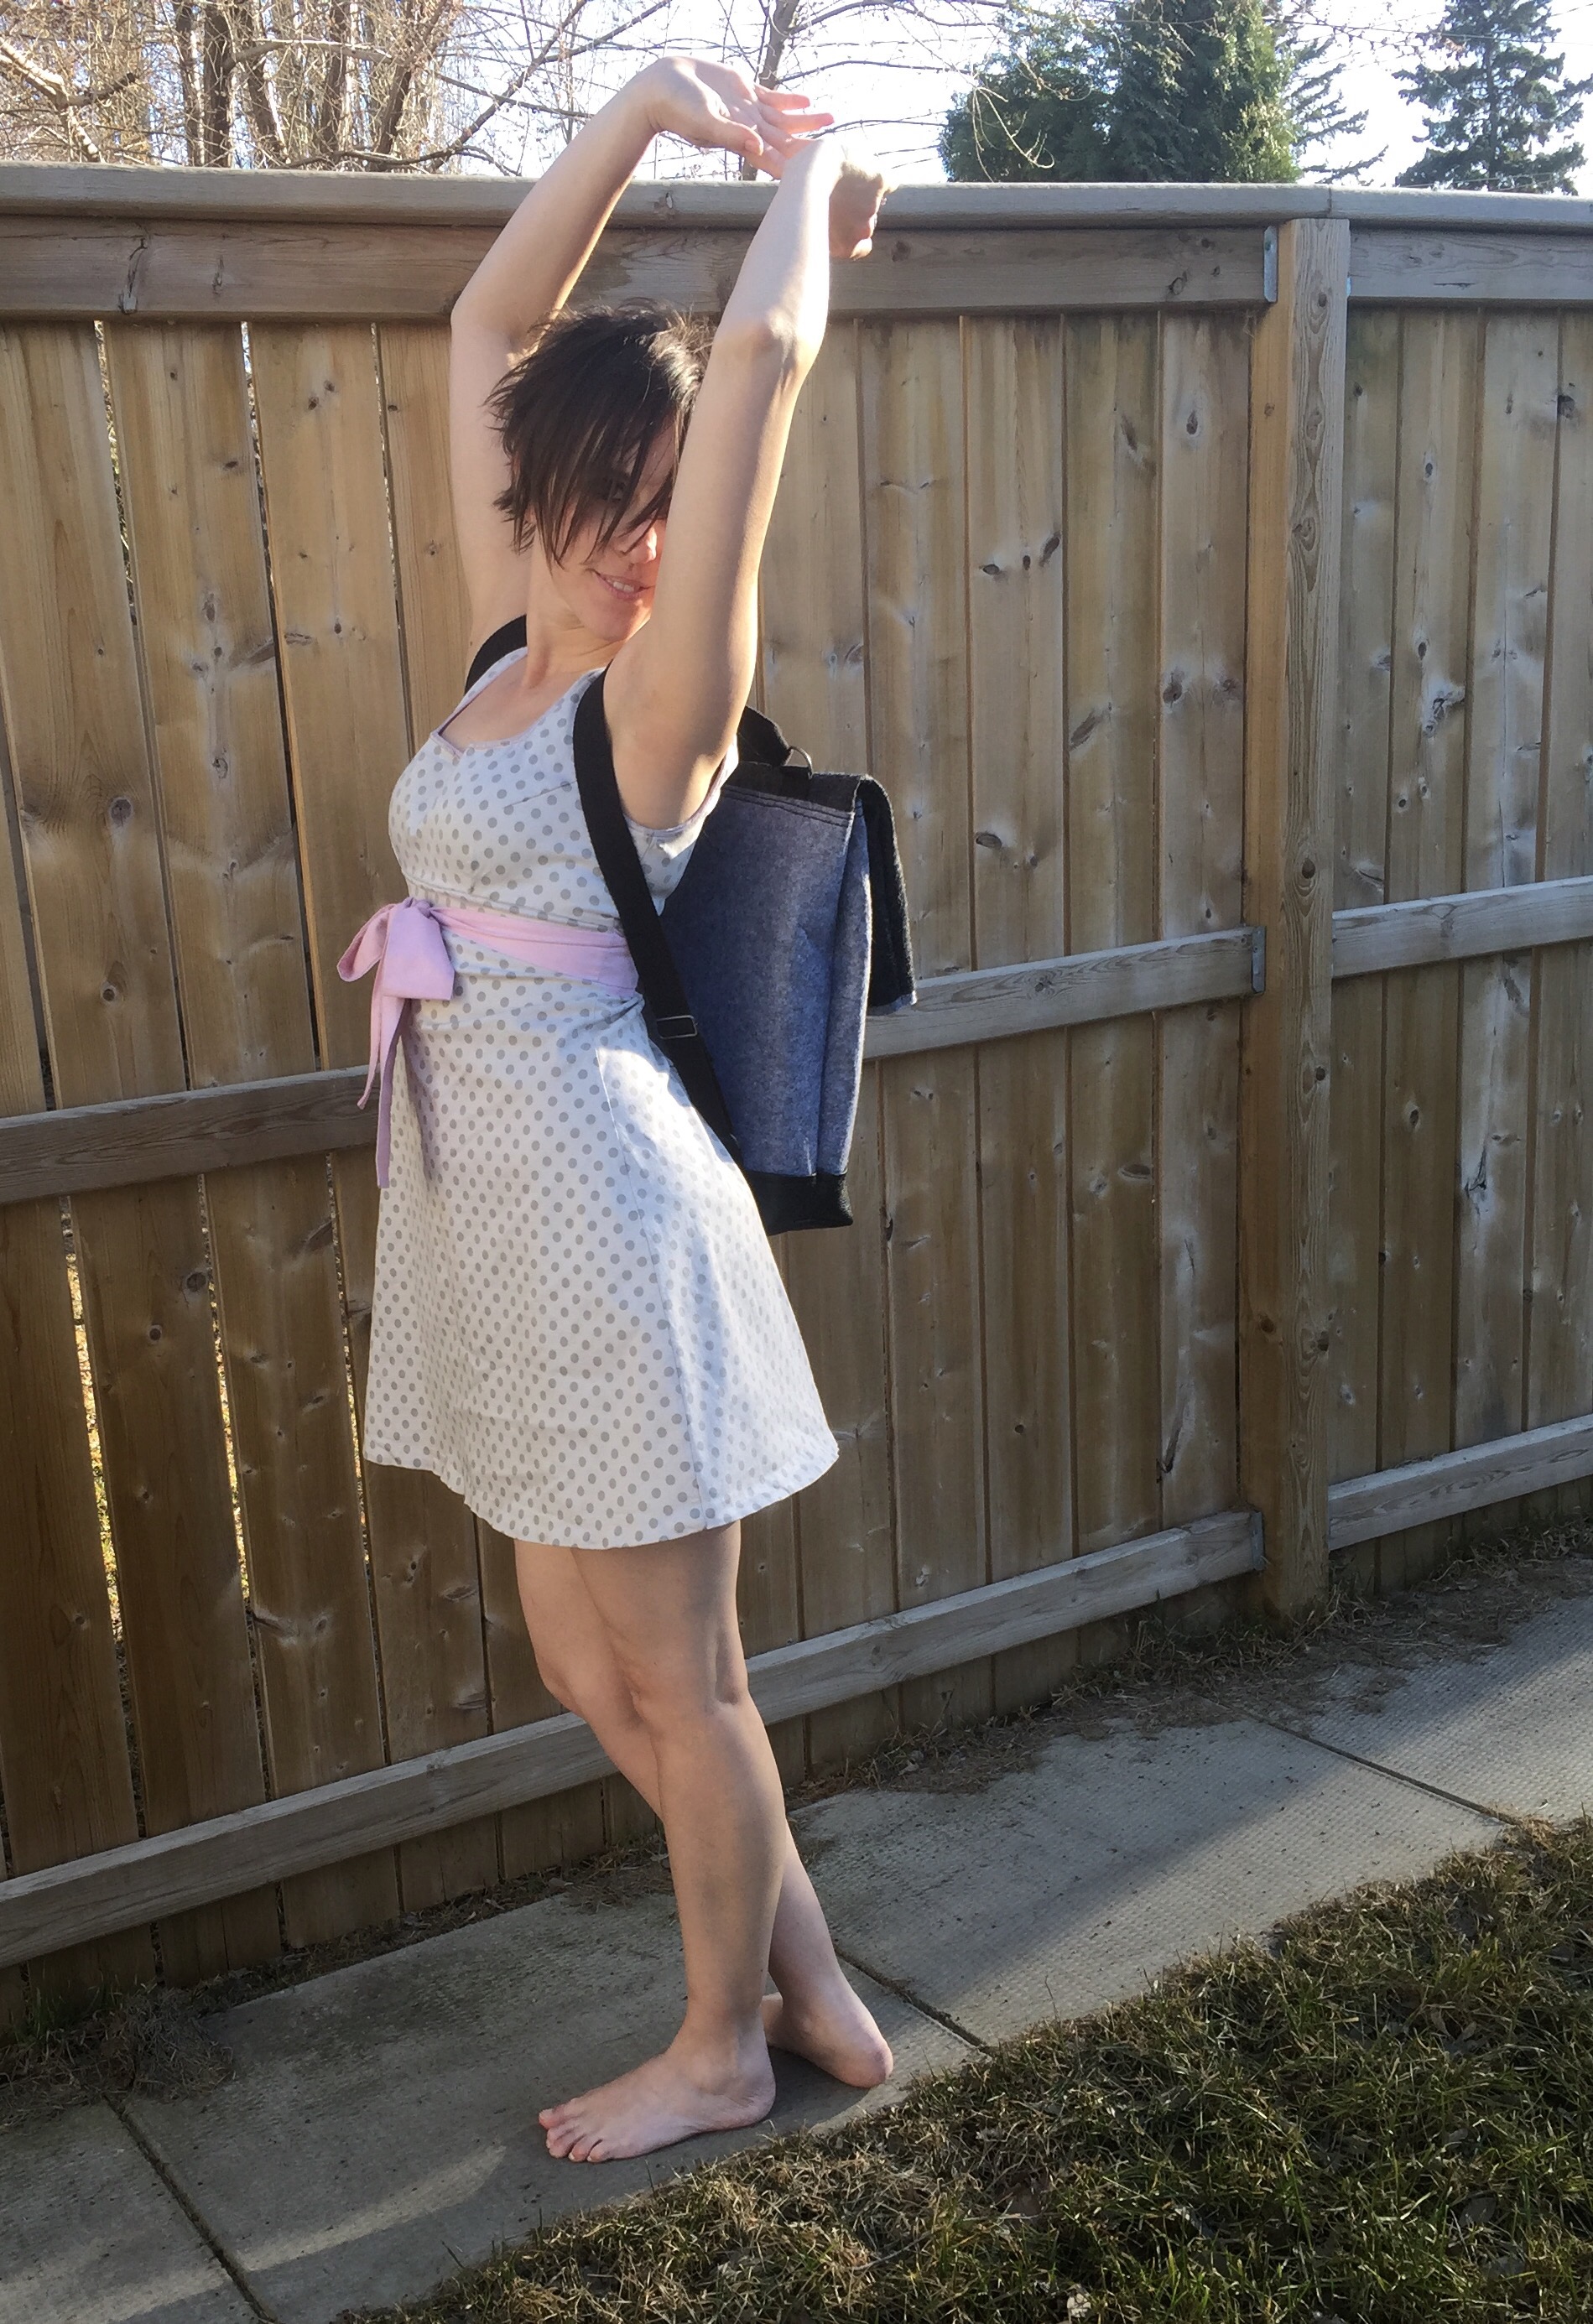


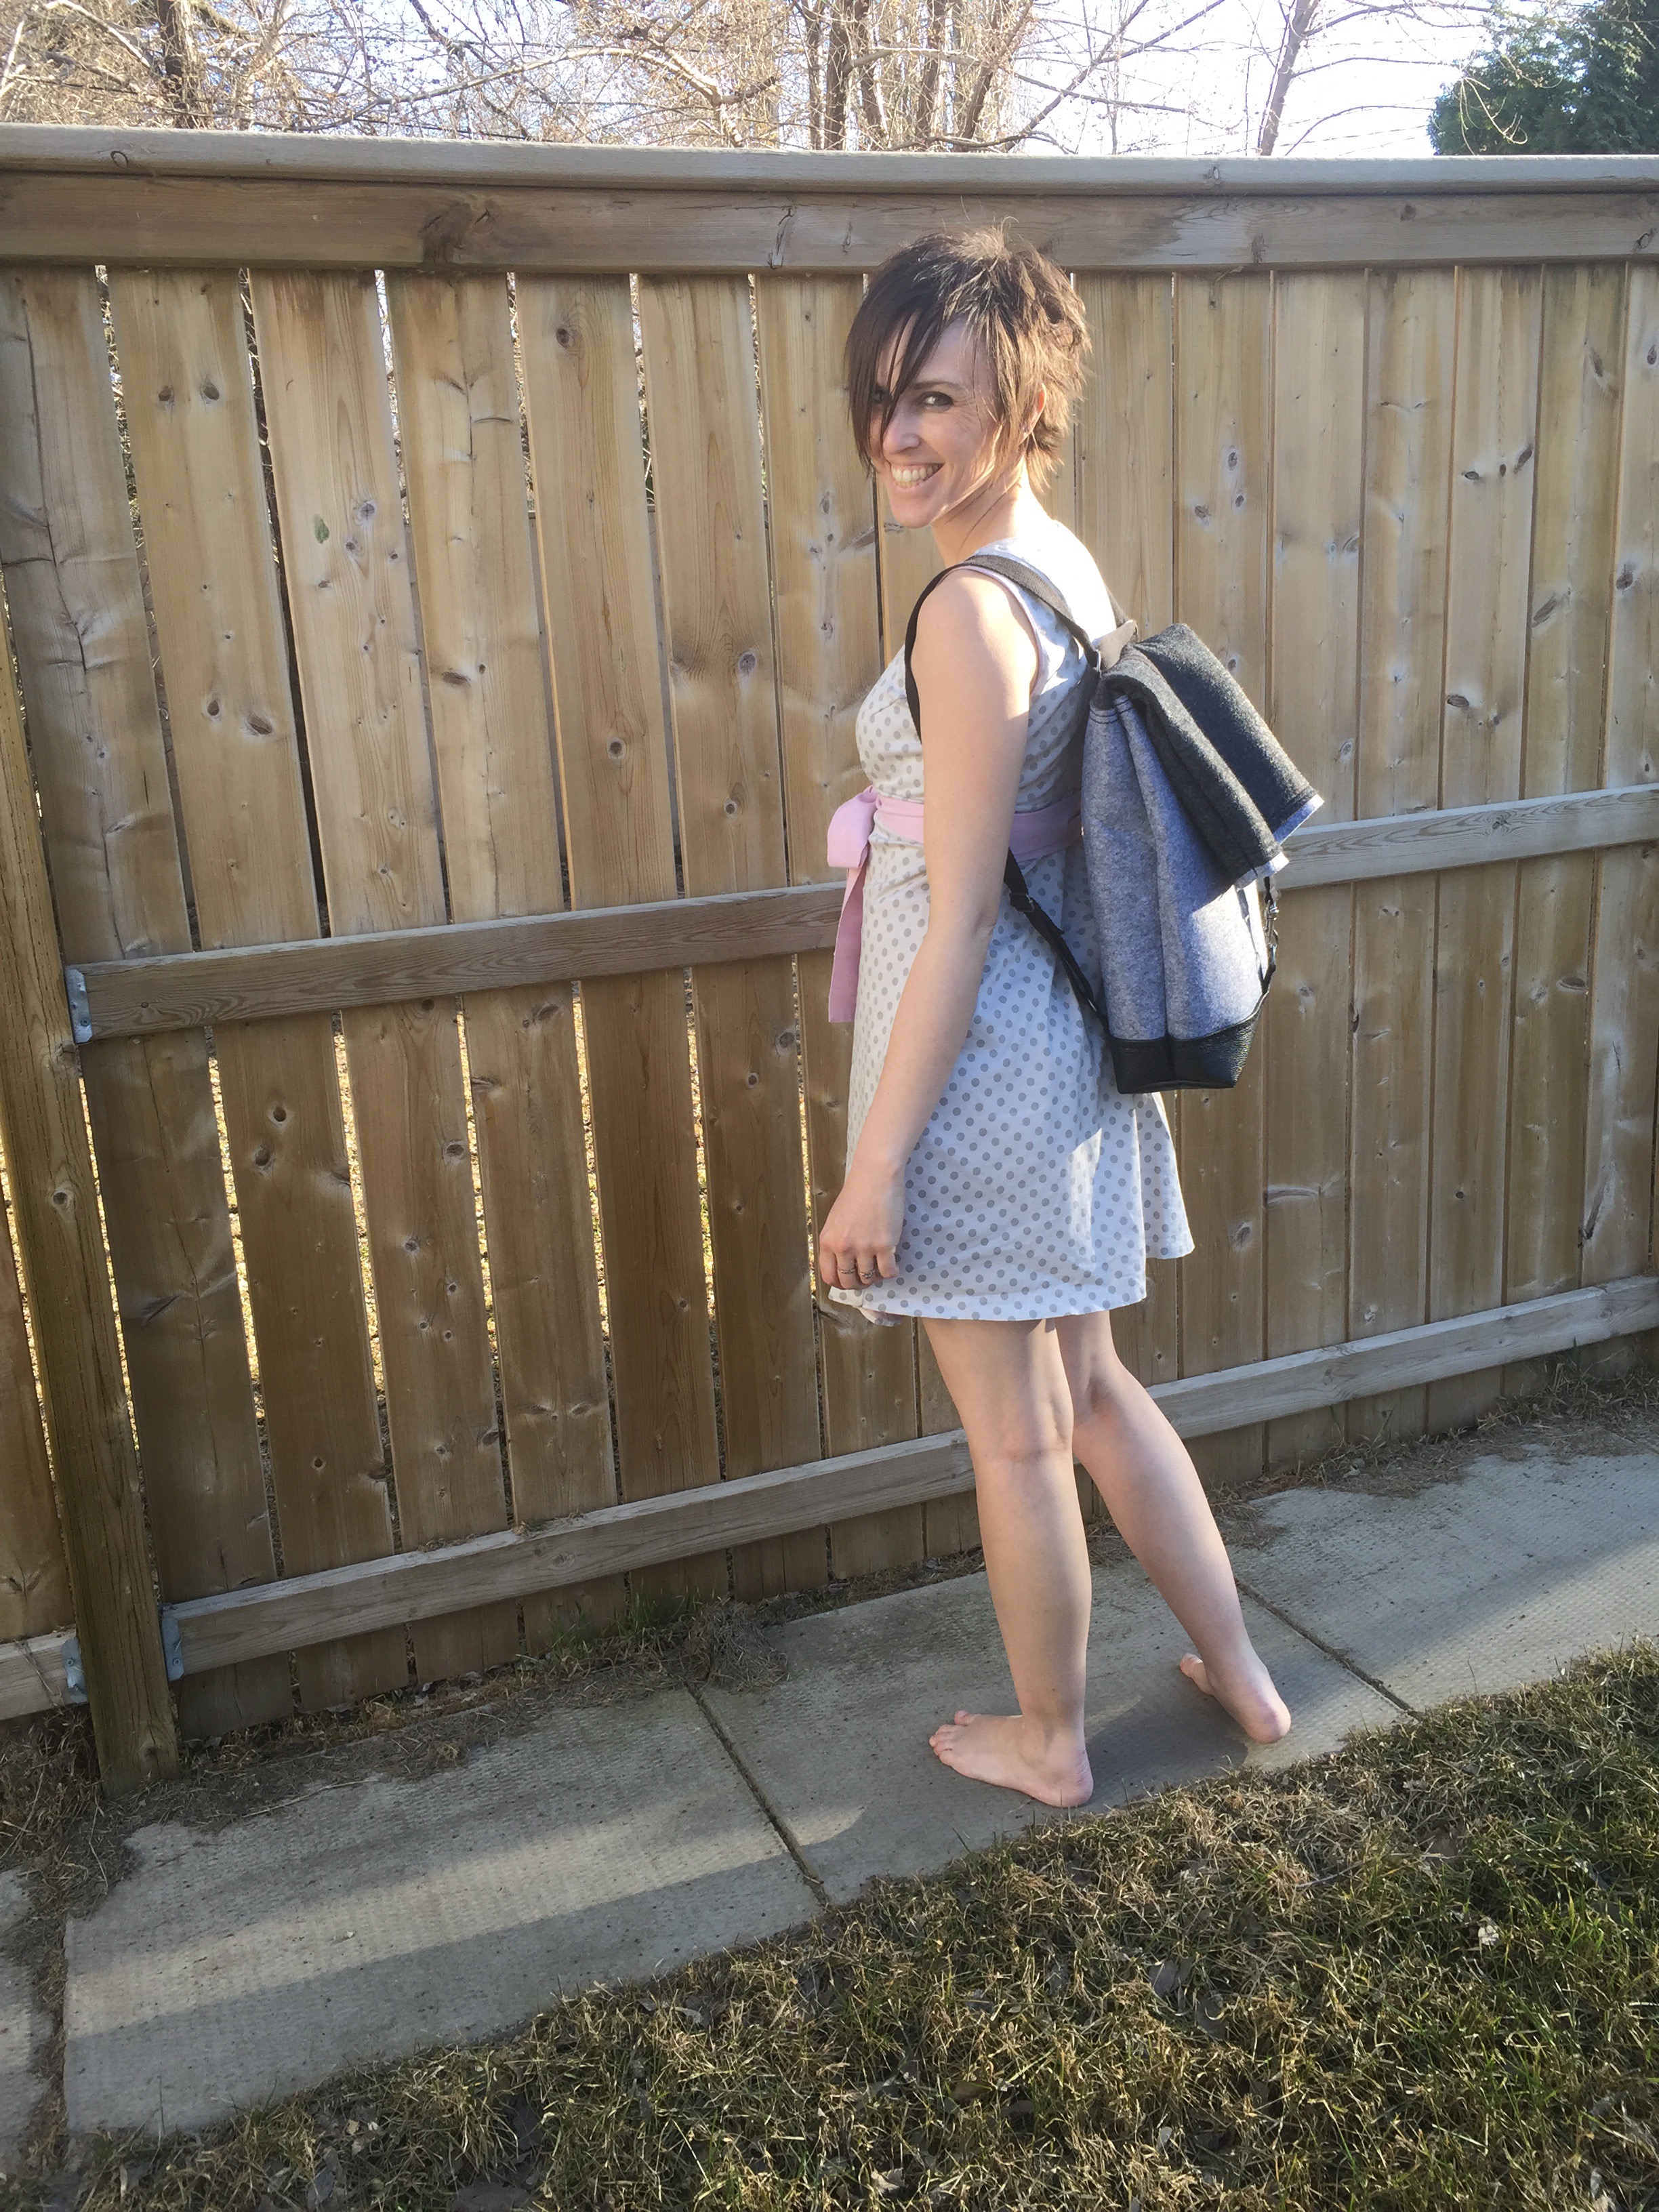


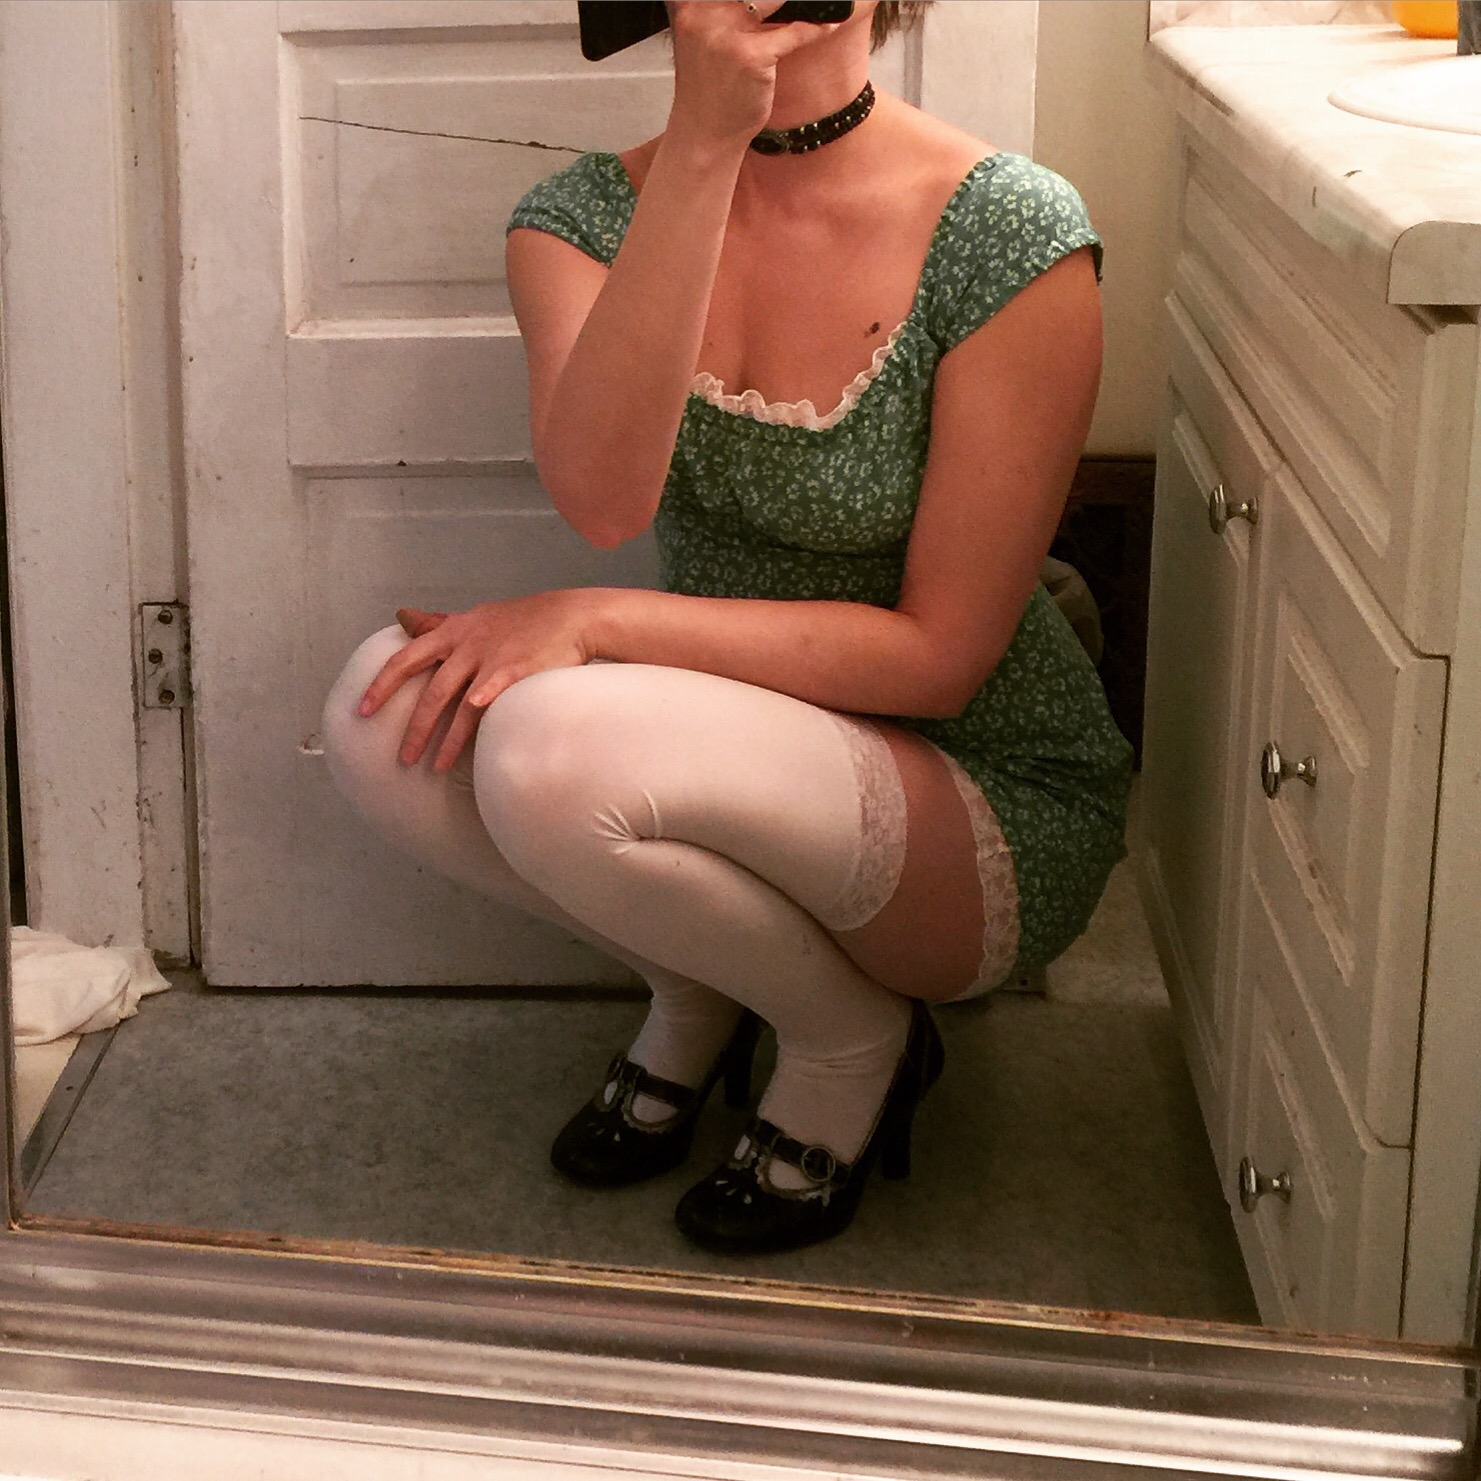
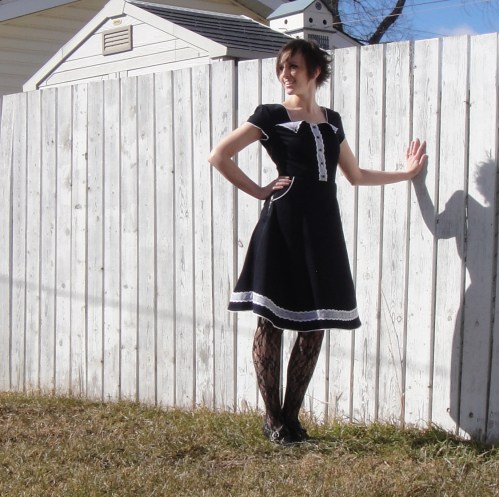
 No sooner do I declare that I like a bit of edge in my clothing, than I make a bunch of things that are super sweet.

 A couple of construction notes: the pattern calls for self-lined shoulder pieces and cap sleeves. I substituted a navy stretch poplin for these pieces (as well as the pocket lining) because of my heavier fabric. I also went a bit off road on the construction, as I wasn’t completely fond of the method described. I am pretty happy with what all I did, even the moment when I had the entire bodice rolled up inside the little front “placket” so I could machine finish it. Just not with the fit. /sigh.
 I’m not sure if this is the wisest style decision I’ve ever made, but I do like the flatness of it. It goes with the denim but seems a bit out of place with the lace. And the fancy pull is gigantic. Oh, well.

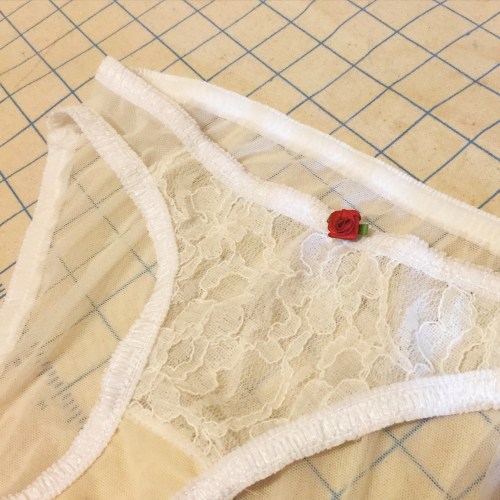
 It does look a bit like a Victorian bathing suit.
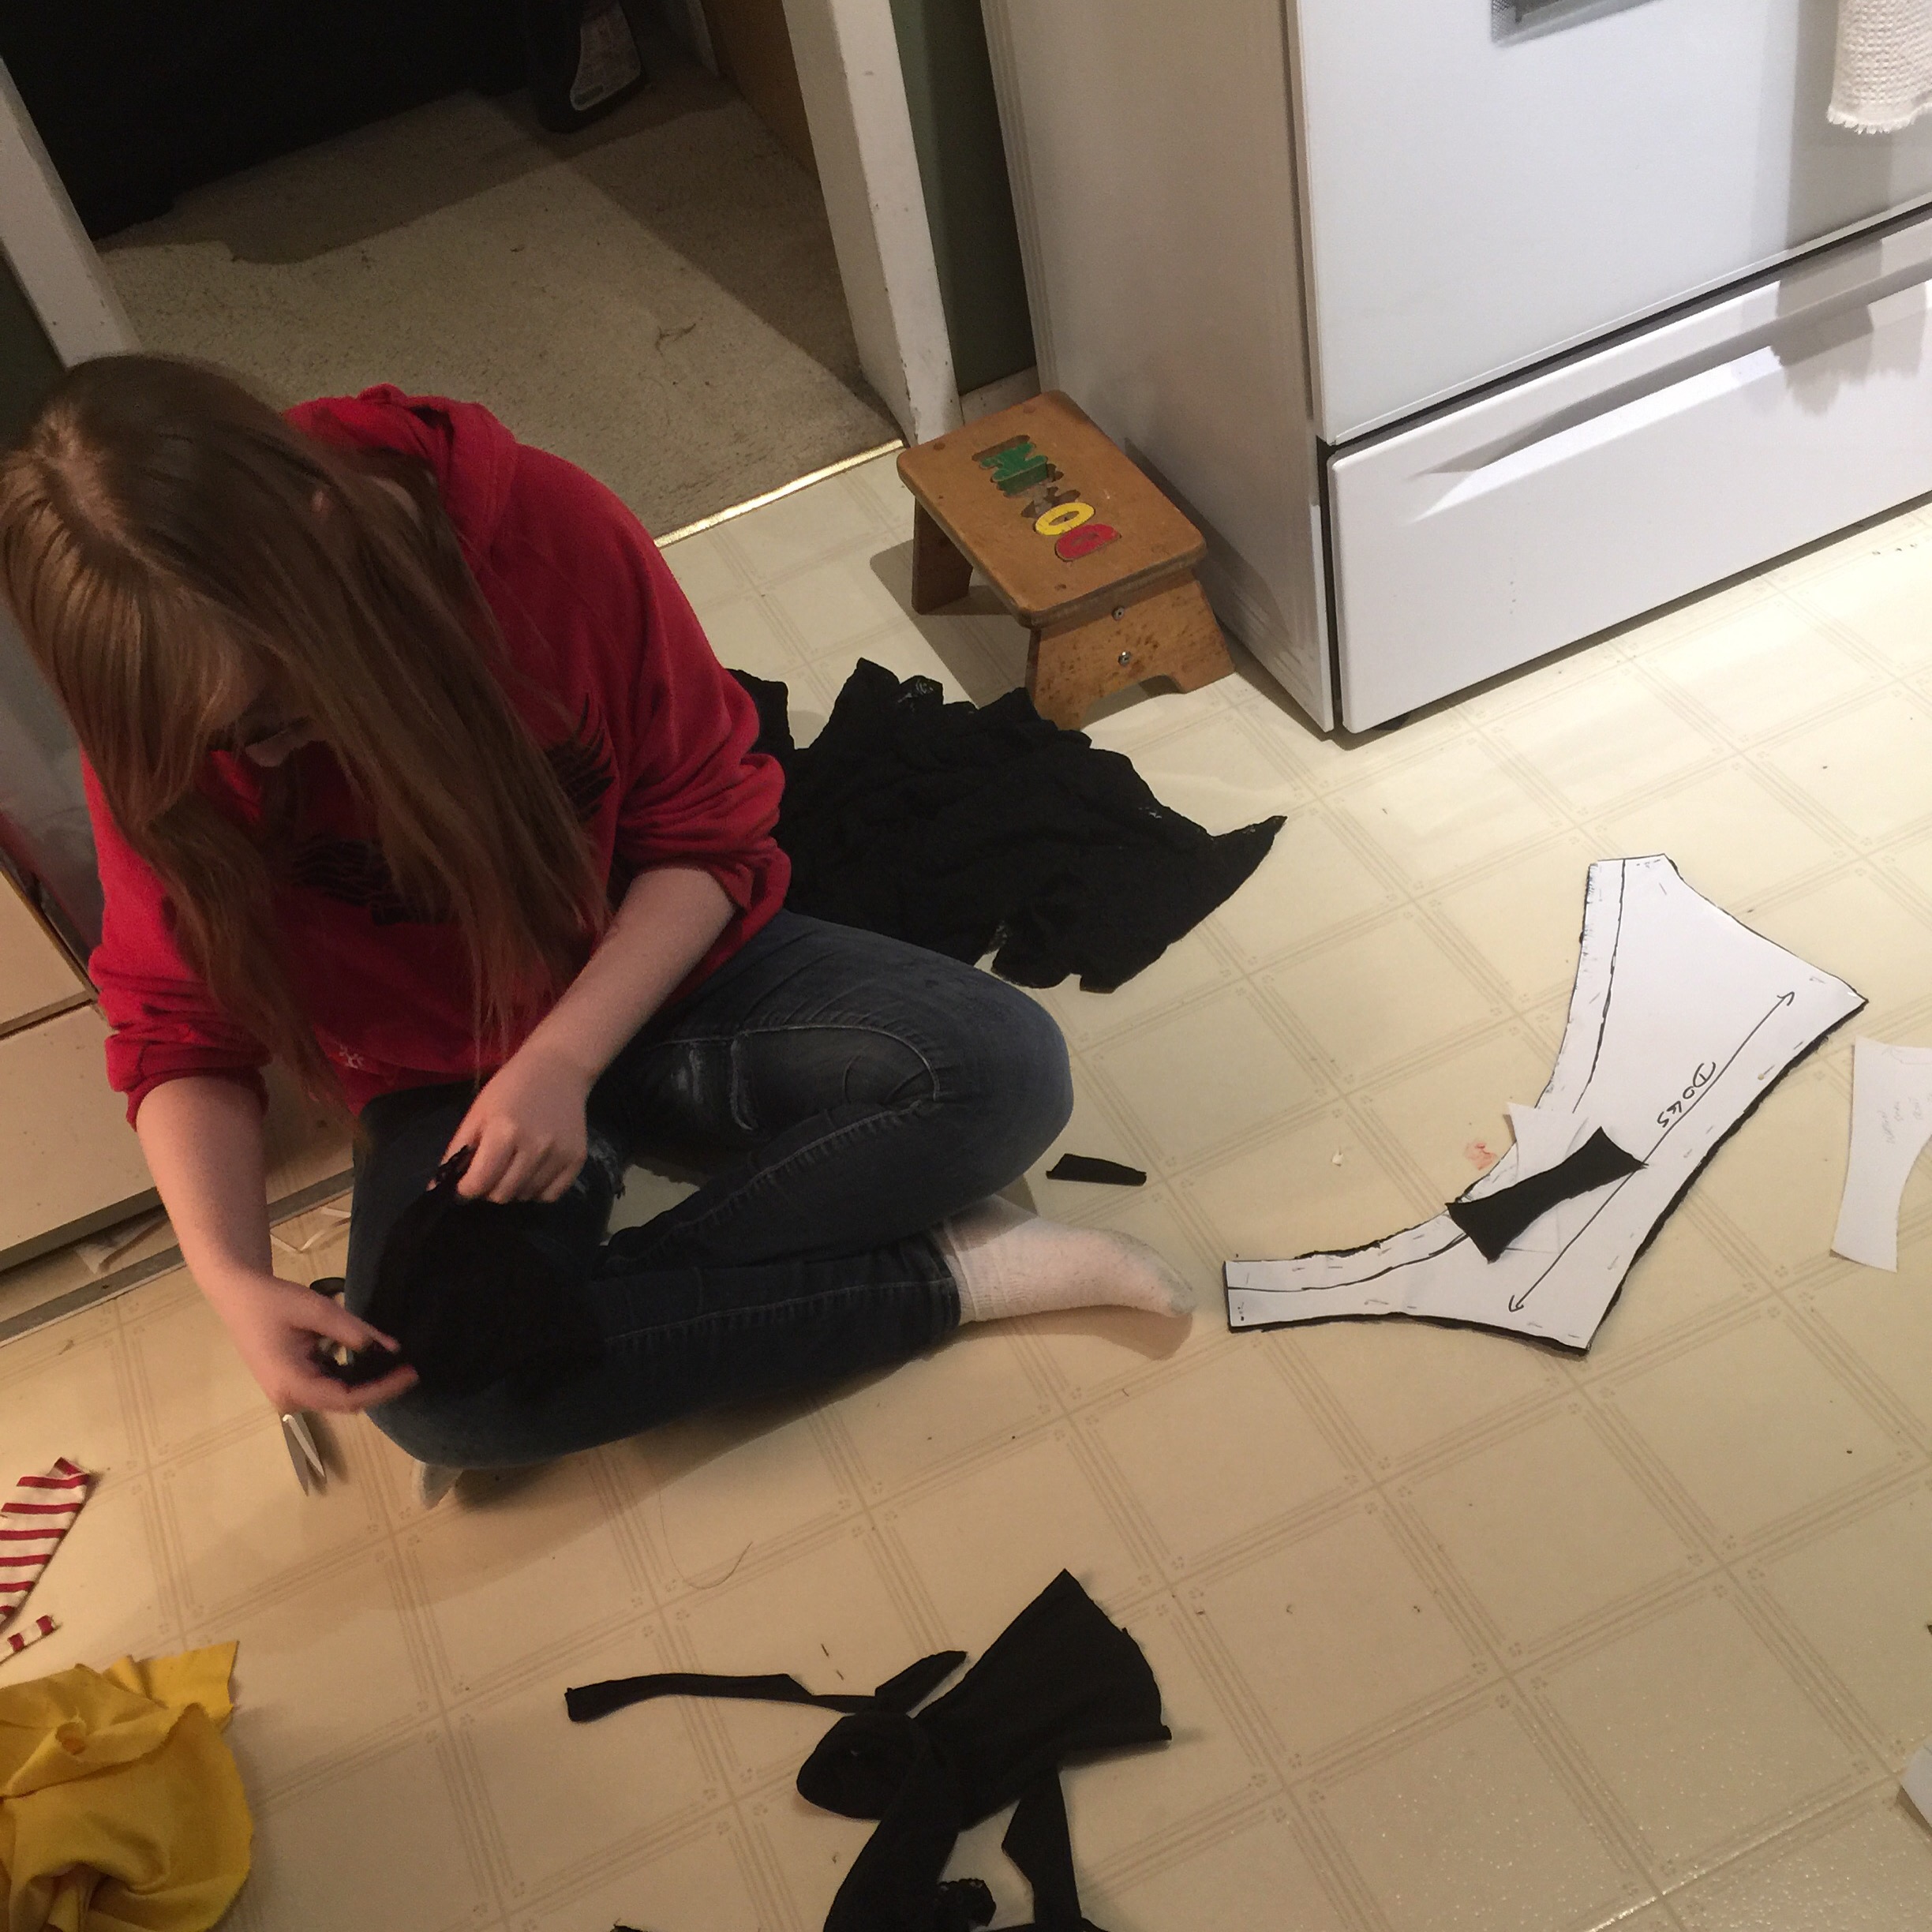


 So imagine this pair but made of not-see-through aqua knit with the lace at the side rather than centre front. I wound up doing most of the construction as it was a bit more complex than was probably a good idea, but Syo cut it all out on her own.
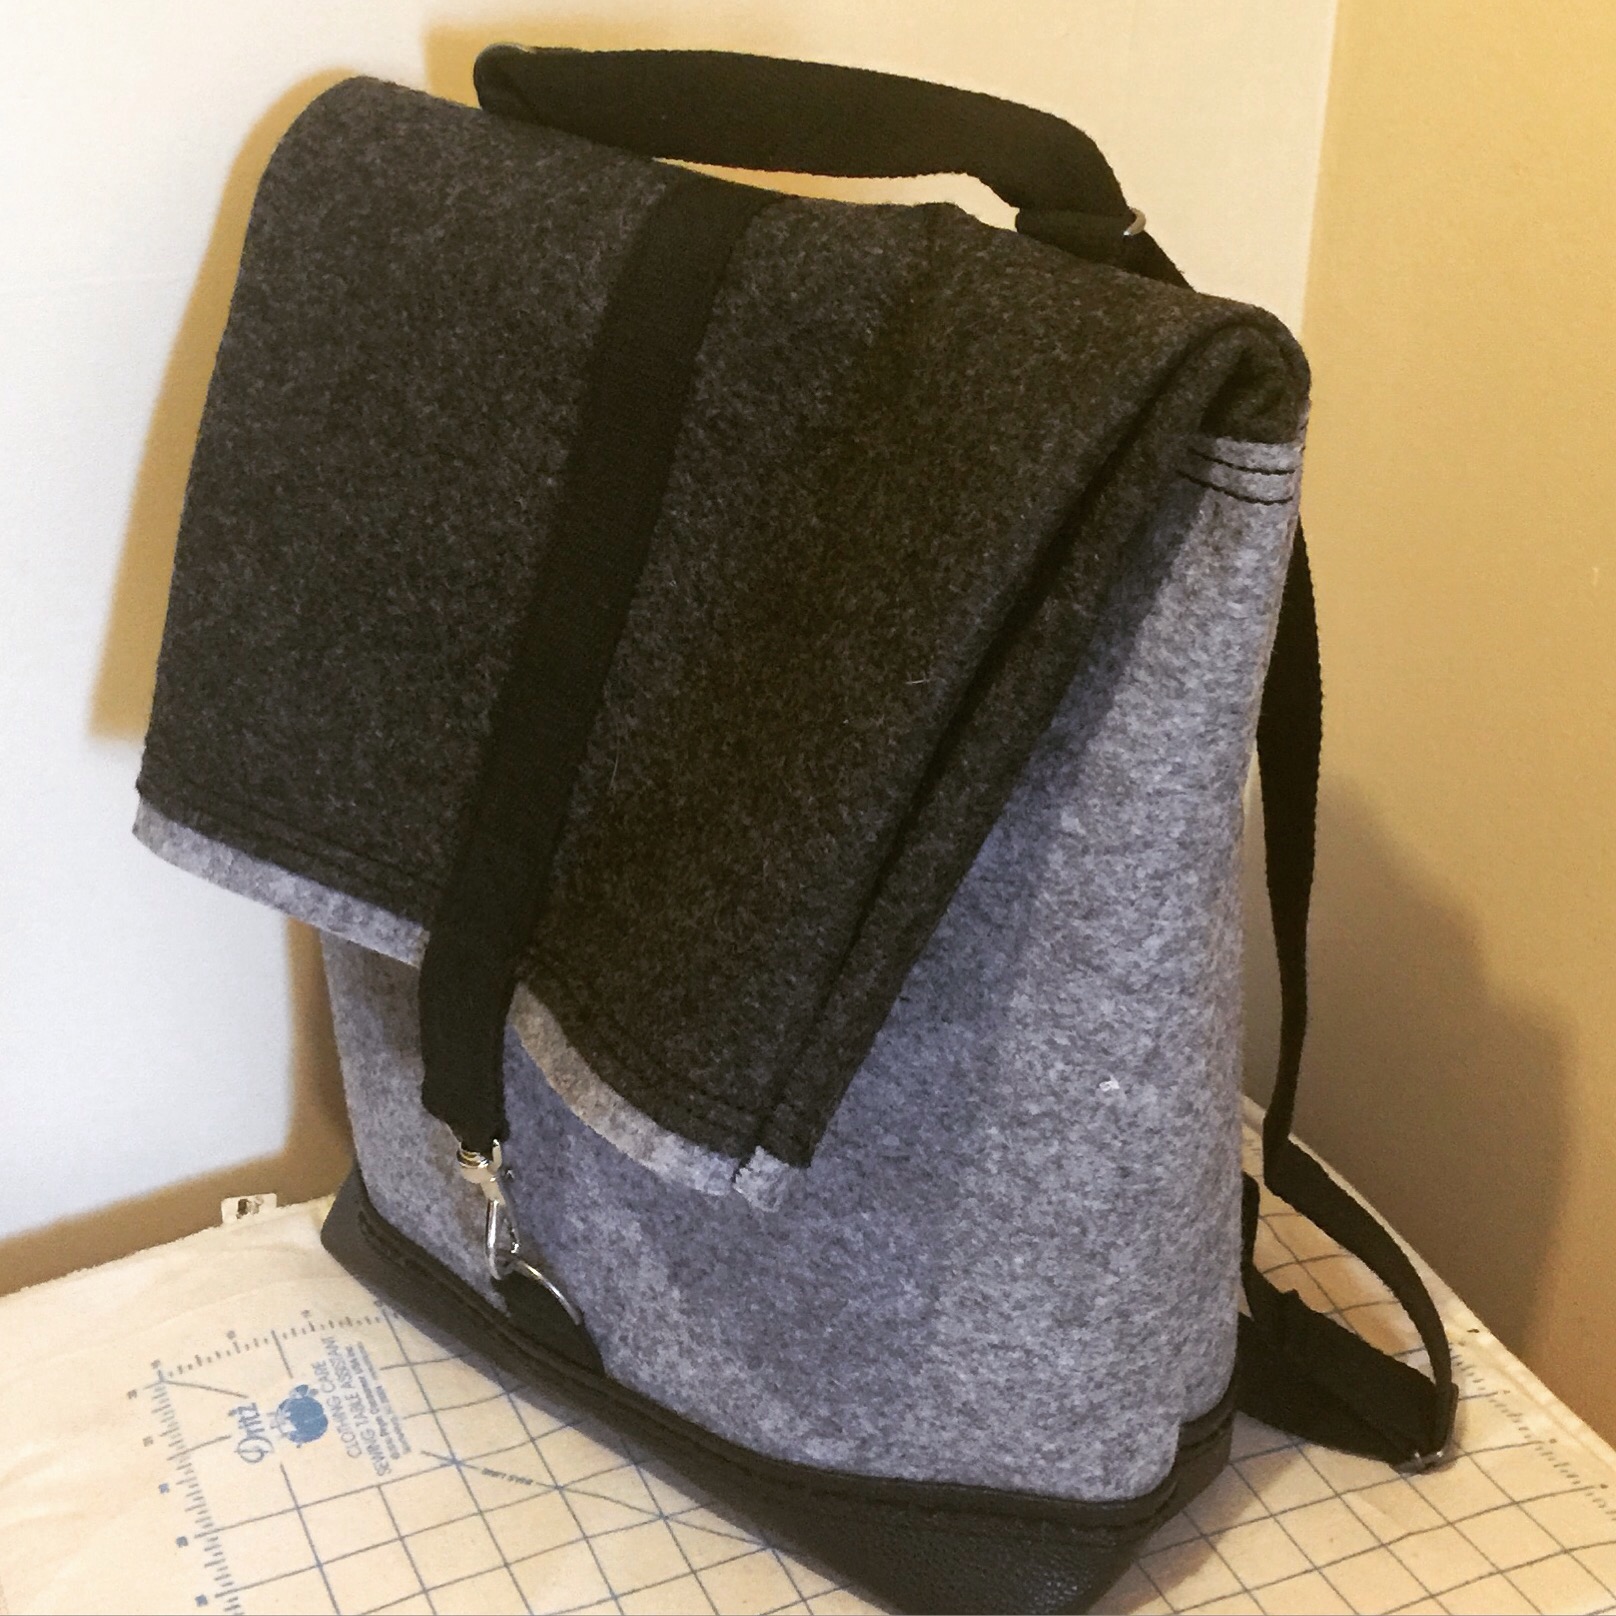
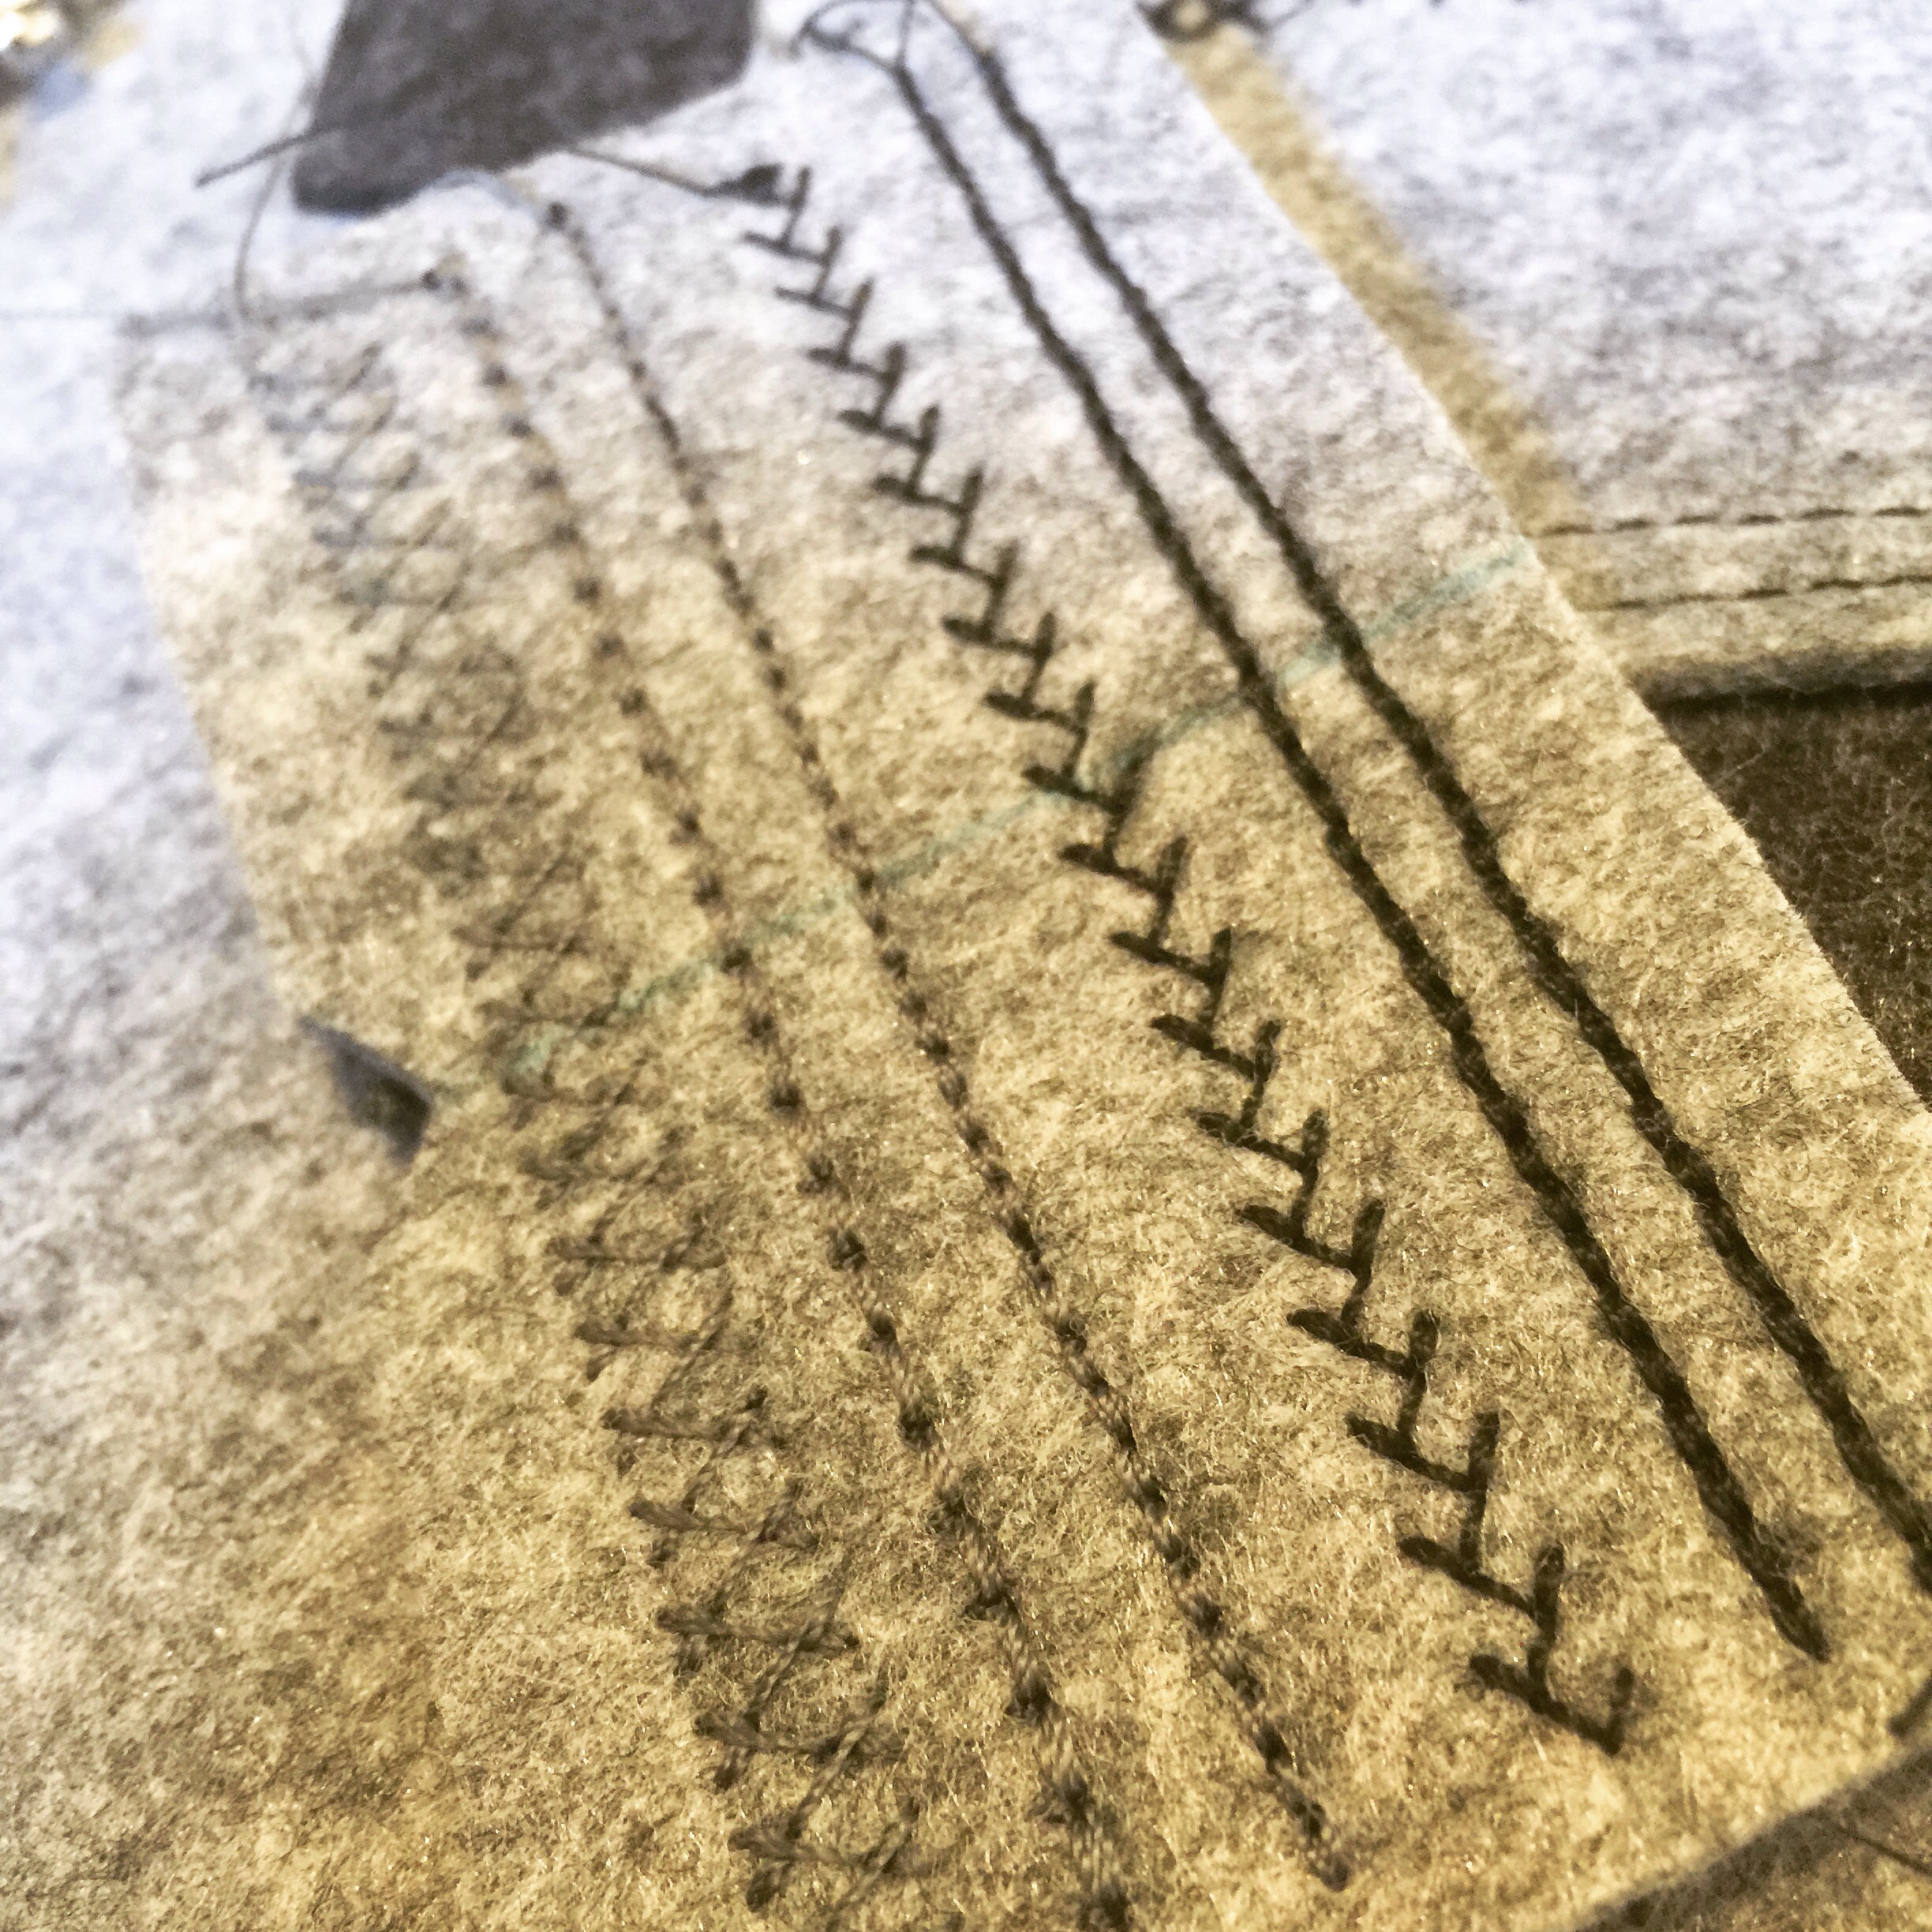
 My
My 
 Anyway, this completion happily coincided with a couple of things. With my most recent
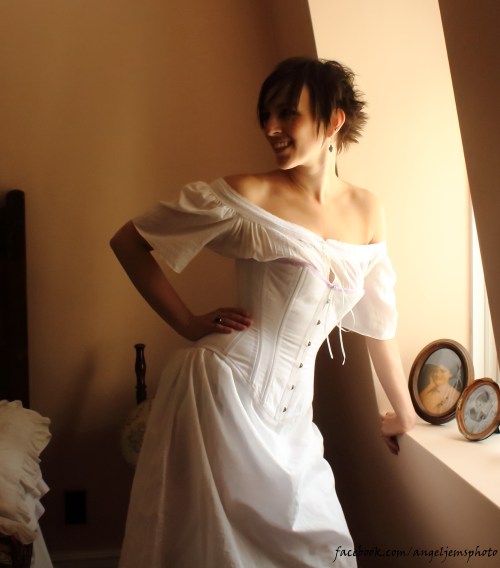
 We bounced around the house, playing with the light.
 Every room was different.


 I may have had a bit too much fun with the editing process, making sepia and low-colour versions. Oh, well. They’re my photos and I’ll cheese ’em up if I want too. I also lost the cover off one of my fabric-covered buttons while getting dressed, so that had to be photoshopped out of a bunch of pics. I will warn you, I also took the liberty of some SERIOUS Photoshopping once or twice—so if you catch yourself wondering “is her waist really that small?” The answer is probably “no, not even in a corset.” PICTURES LIE!!!!


 *you’ve seen my hair, right? Short of concocting a story about how I cut it off and sold it to buy a chain for my husband’s prize watch, which he sold to buy me a comb for my beautiful hair, we’re kinda stuck. I don’t have an appropriate wig, and I’m disinclined to go out and buy one at the moment. I also don’t have a period hat for the outdoor shots.


