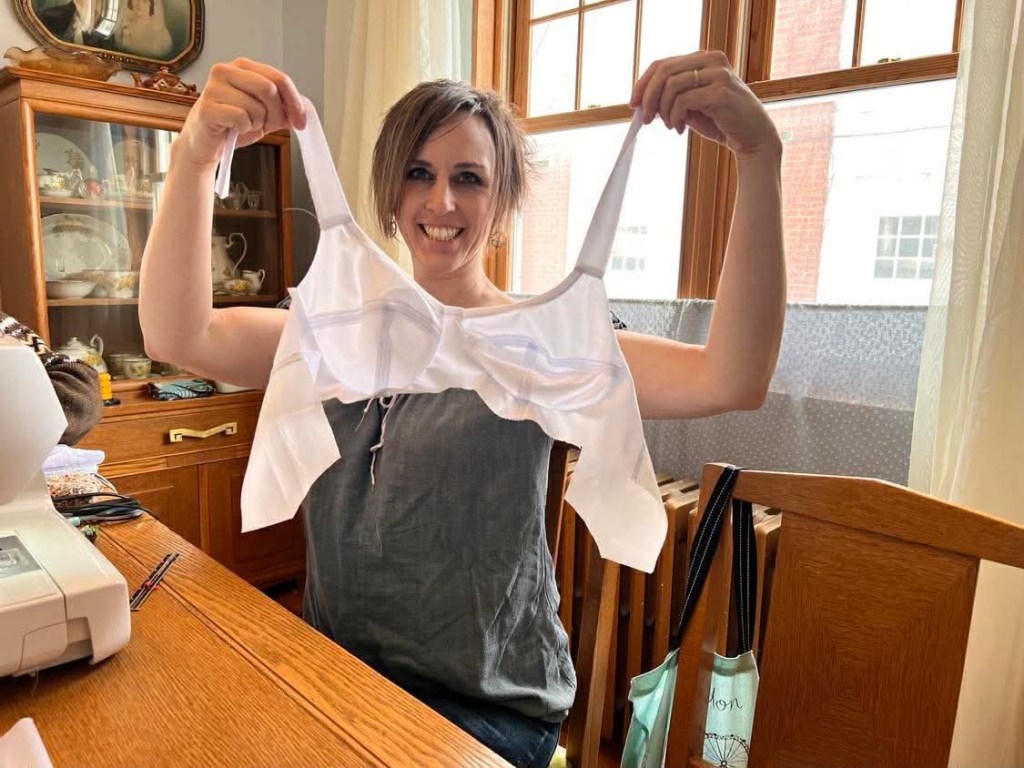
Marcy Harriell came out with a pattern! Marcy came out with a pattern! And she sent me a copy! As if I wouldn’t have been morally obliged to drop cash on that.

I first got to know Marcy via blog in 2010 or so, and then via an intense and nearly-disastrous quick airport meetup when she transferred through the city I lived in at the time. Since then and consistently she has been one of the most vibrant, fun, and joyful creators of the internet.
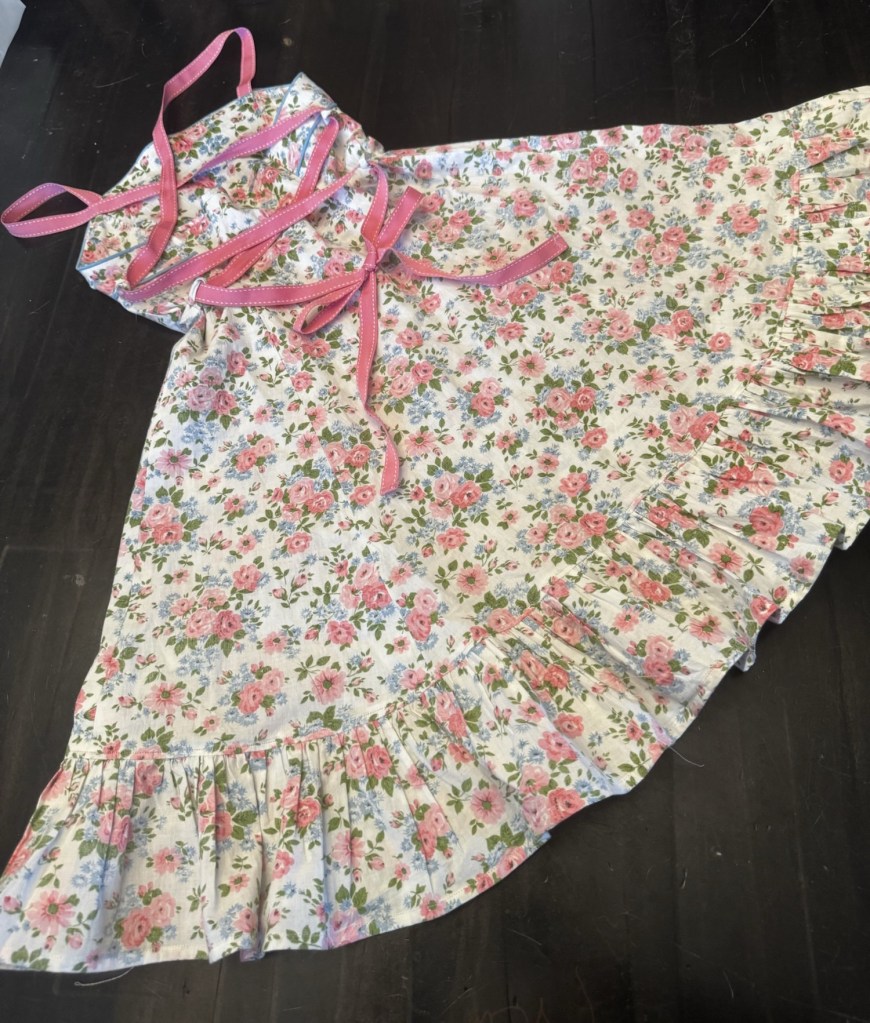
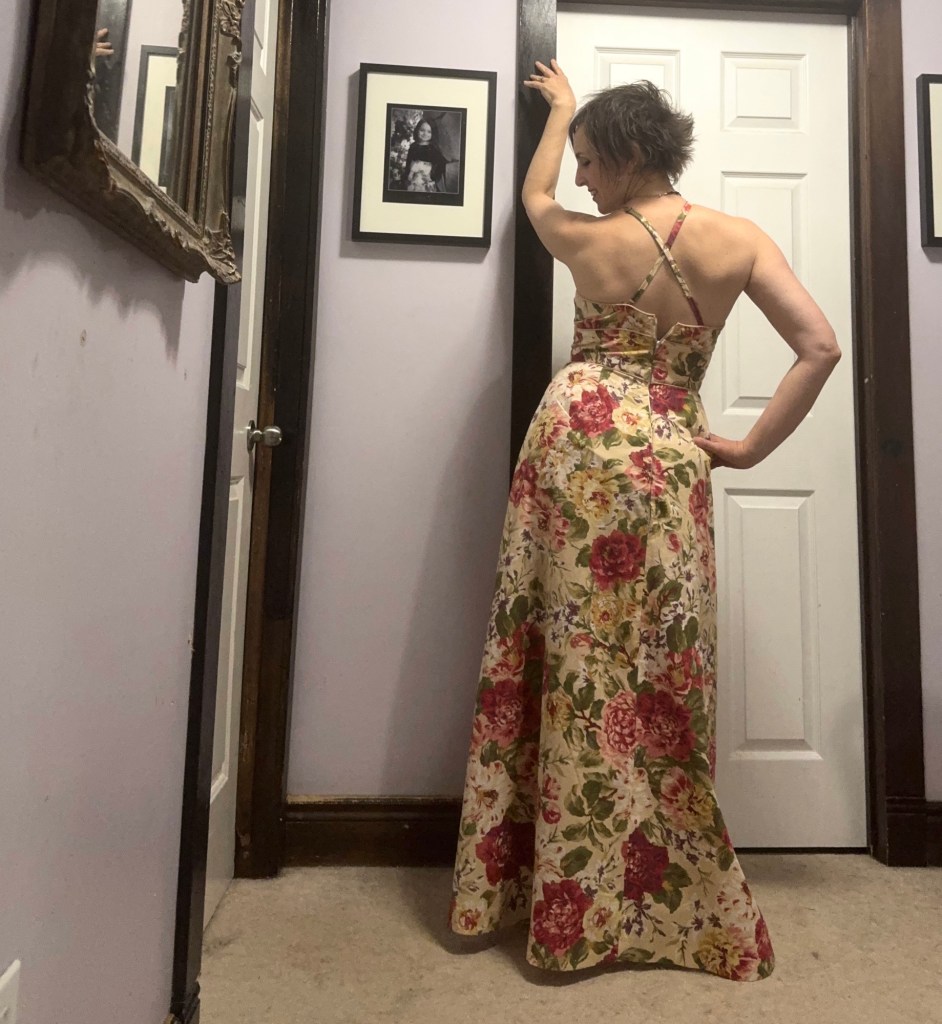
And a couple of weeks ago she released her first pattern, a gorgeous maxi-length sundress of perfection both in drama and timing.

Anyway, I emailed the copy shop format version to my print shop within seconds of it seeing it in my inbox. Alas for me, that was about 5:00pm on a Friday, so no chance of getting the pattern until the next week. It was ok, though, because I waffled a ton over the fabric, and didn’t actually nail down my choice until the day before Mother’s Day.

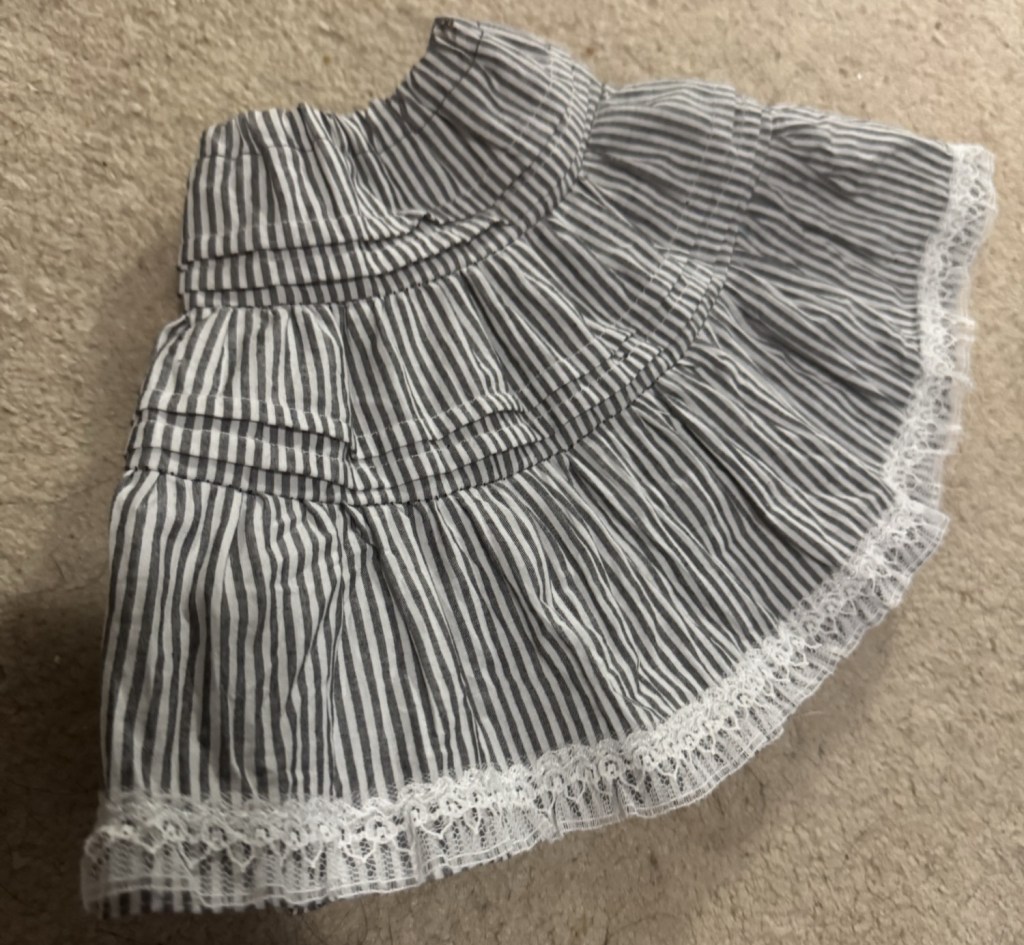
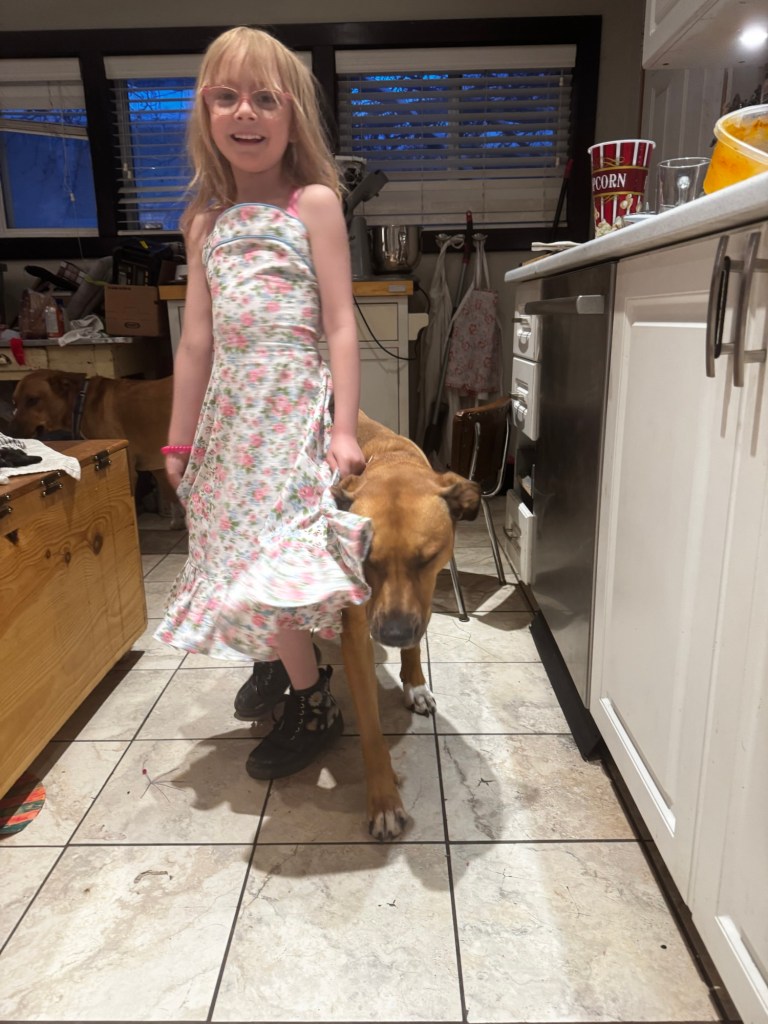
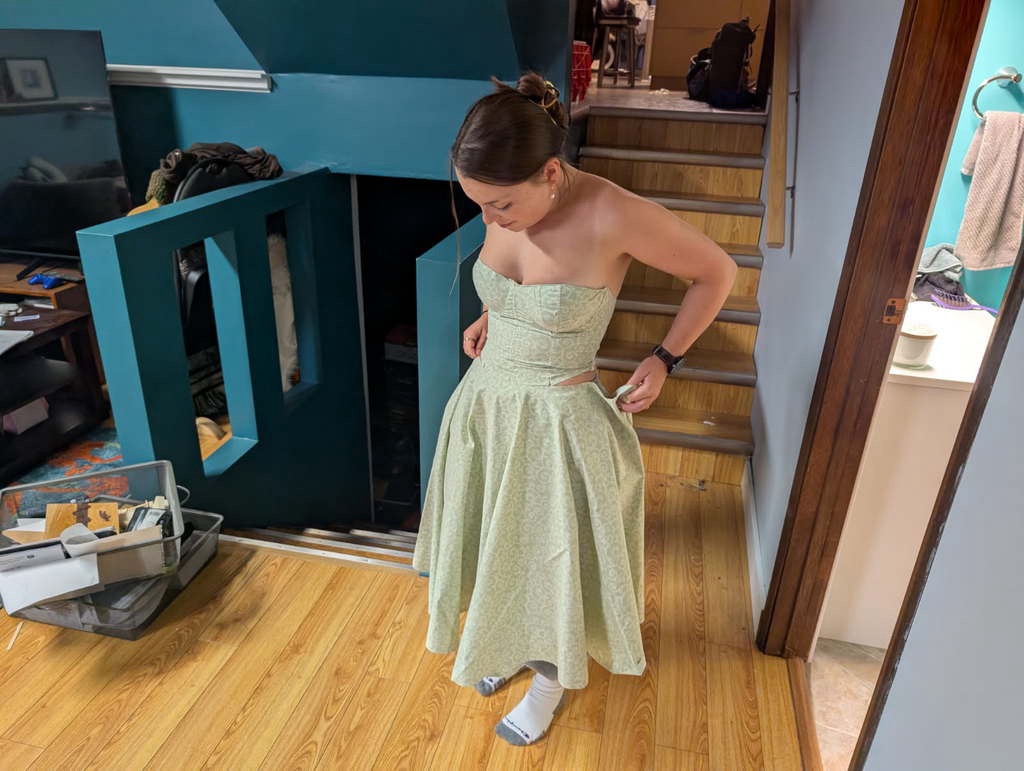
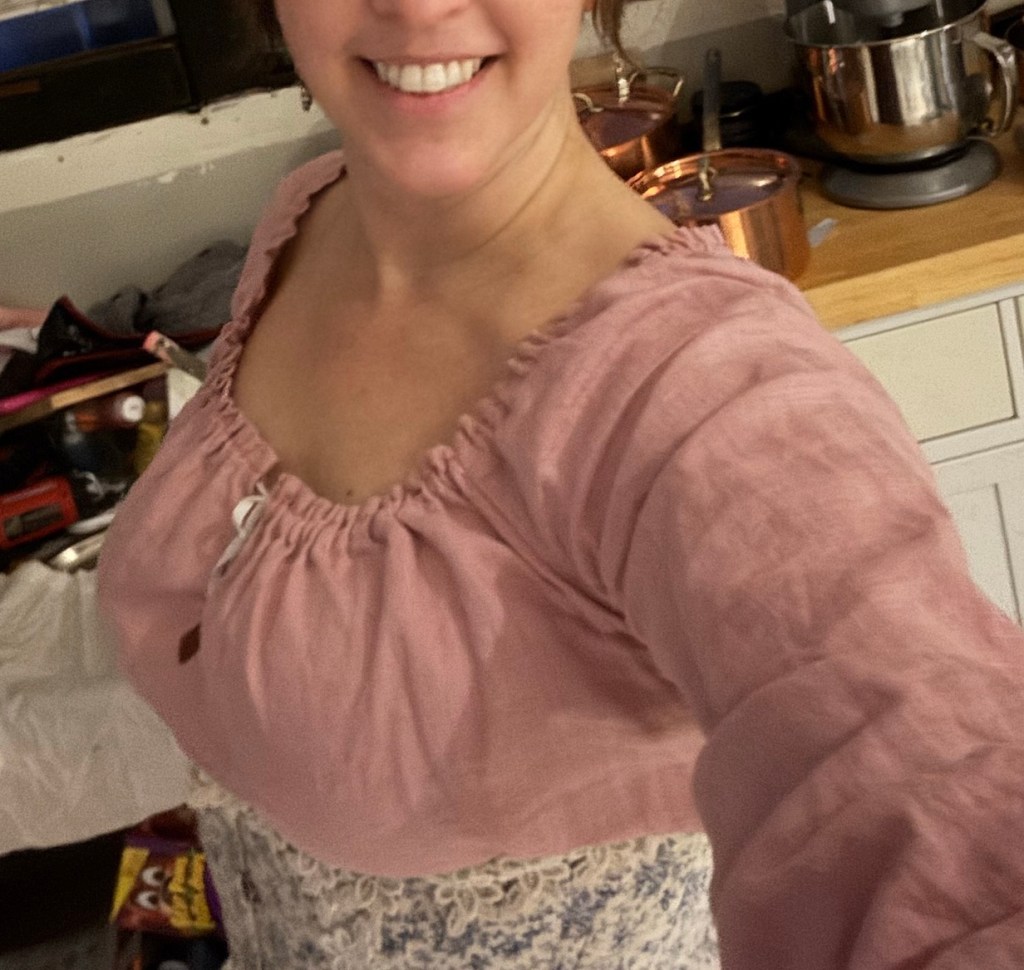
I almost made a simple version in some cream linen (with matching battenberg lace), but in the end I went with this very Oonatastic floral print inherited from my mom’s stash. I can’t seem to get the colour right in photos, it’s a very warm dusty-rose sort of colour impression. I didn’t have anything like the 4 yard length that the pattern recommends, but then I realized that what I did have was a luxurious extra-wide drapery width. 1.5m is more than enough when your fabric is like 100” wide, it turns out, even when cutting directionally.
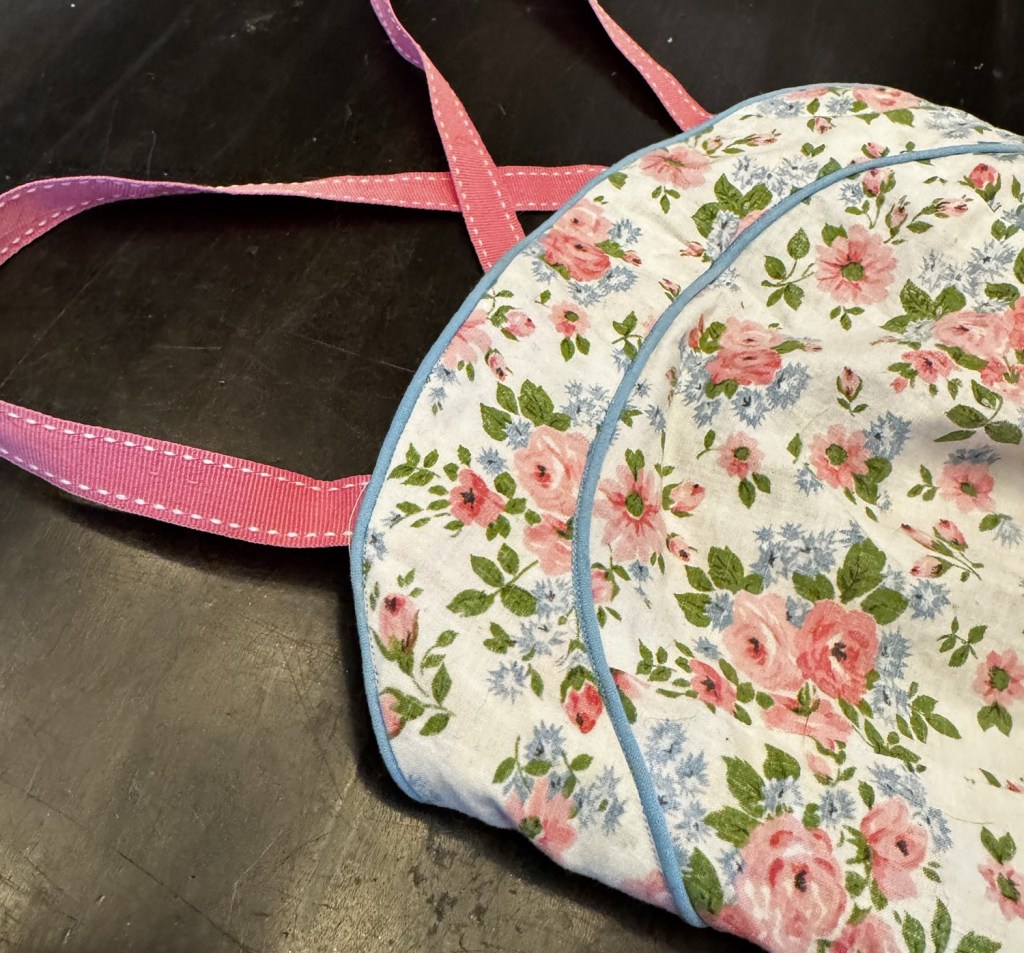
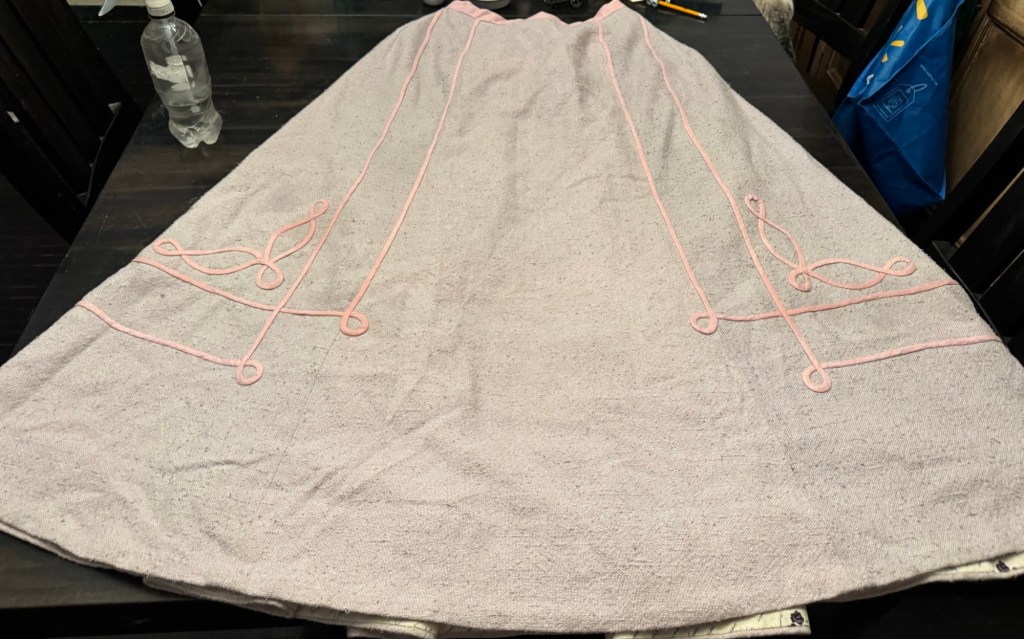
I chose this pink linen that Syo and I avocado-dyed a while back for the lining and, as it turned out, piping.
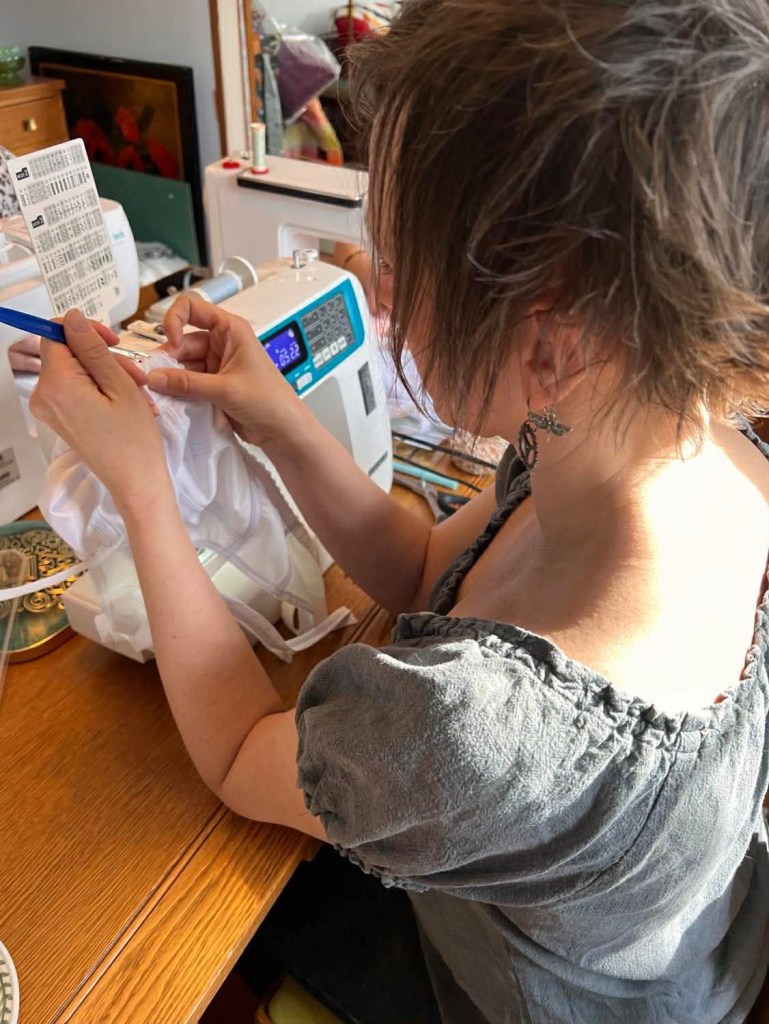
And on Mother’s Day (I requested a sewing and crafting afternoon from the kids, and that is what we did) I got started.
I did not, alas, get finished.
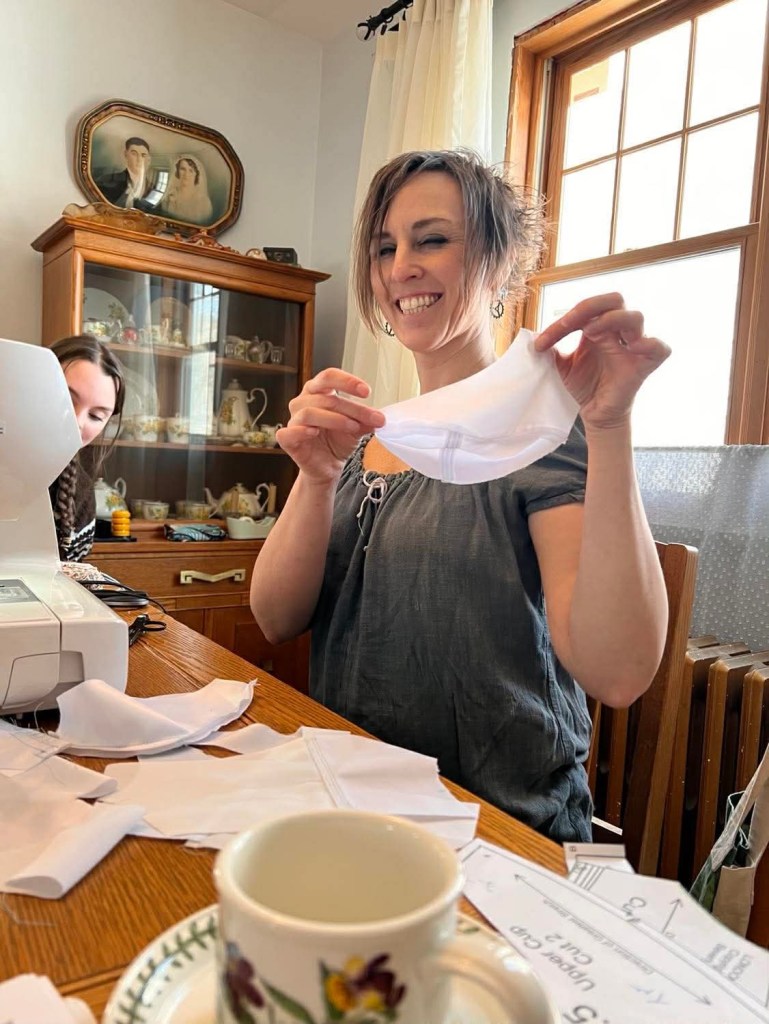
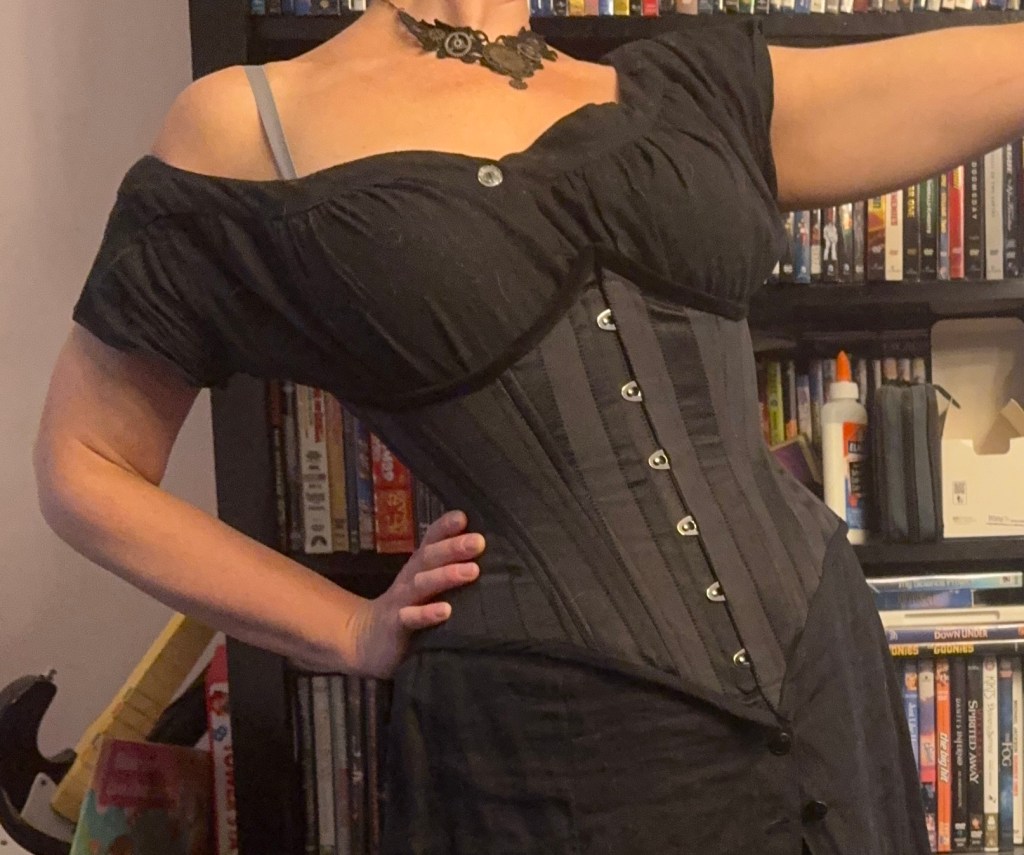
Marcy’s pattern has the most detailed and well-thought out instructions, full of helpful tips and details about how to press and grade the seam allowances for minimum bulk and best appearance. And, because I chose at the last moment to add piping around the bodice and then pockets (and then folding pockets!), I could basically follow none of them.
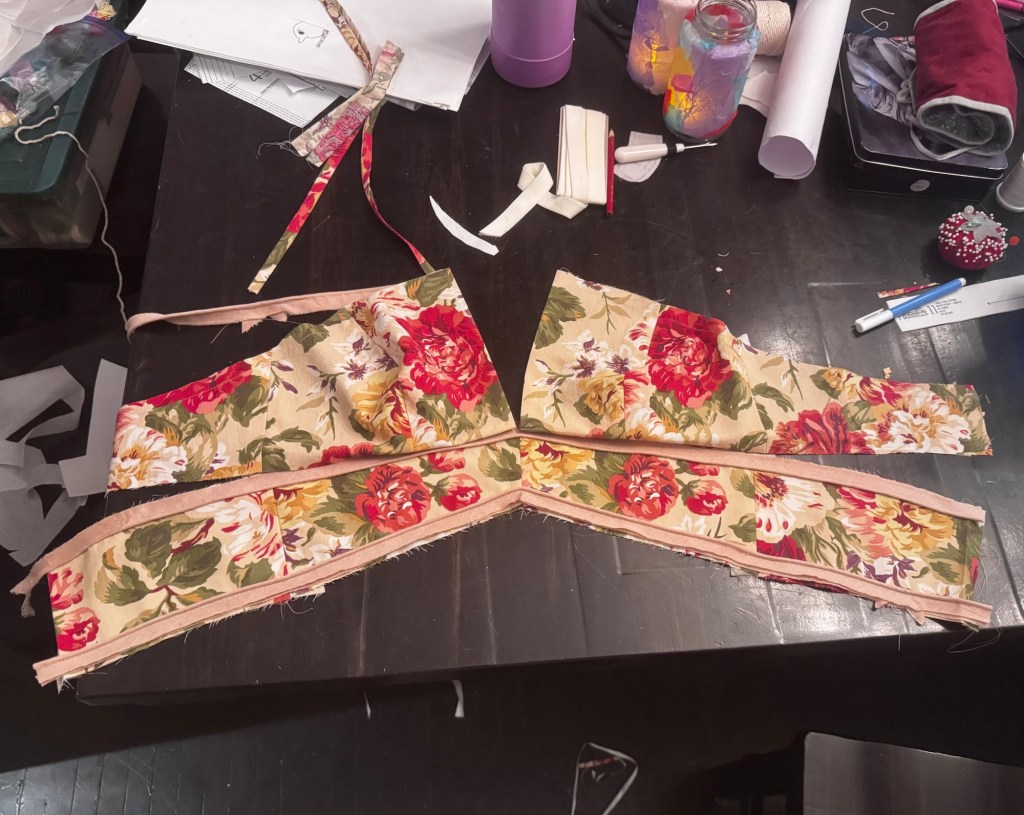
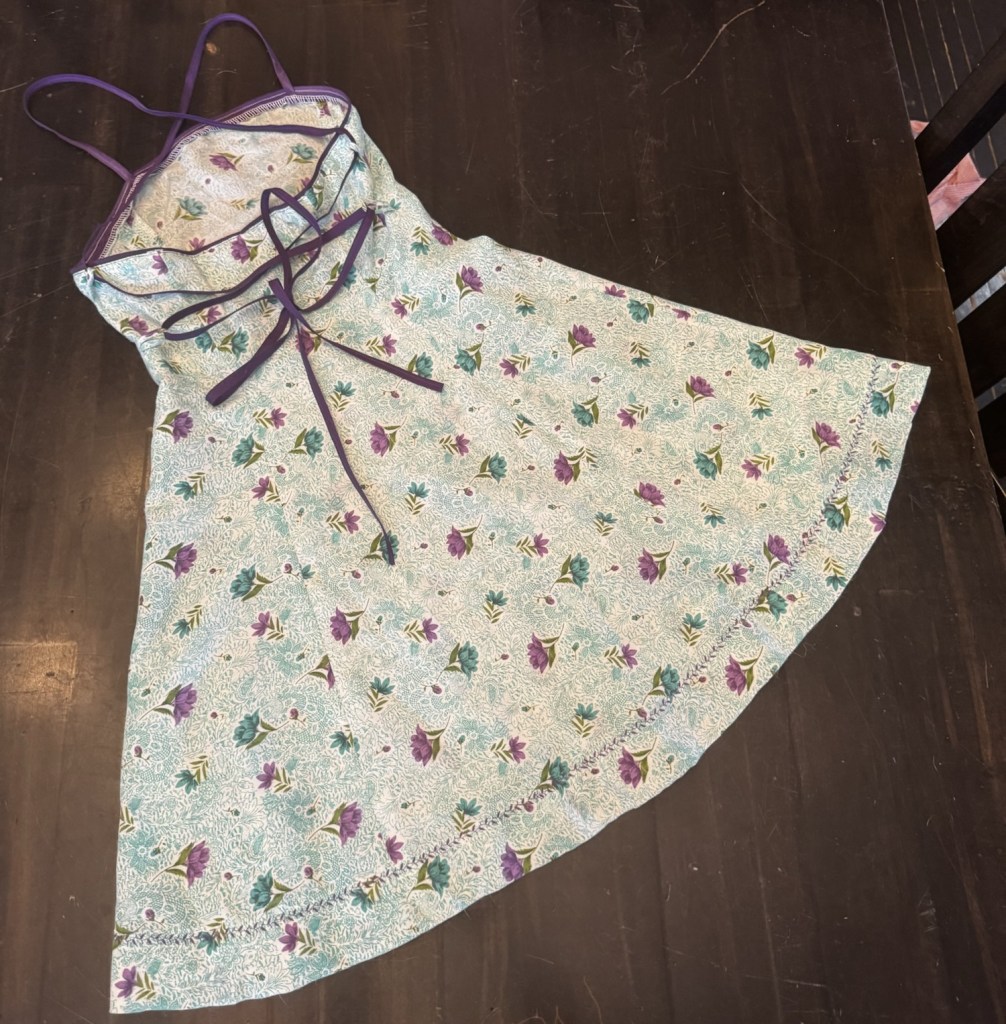
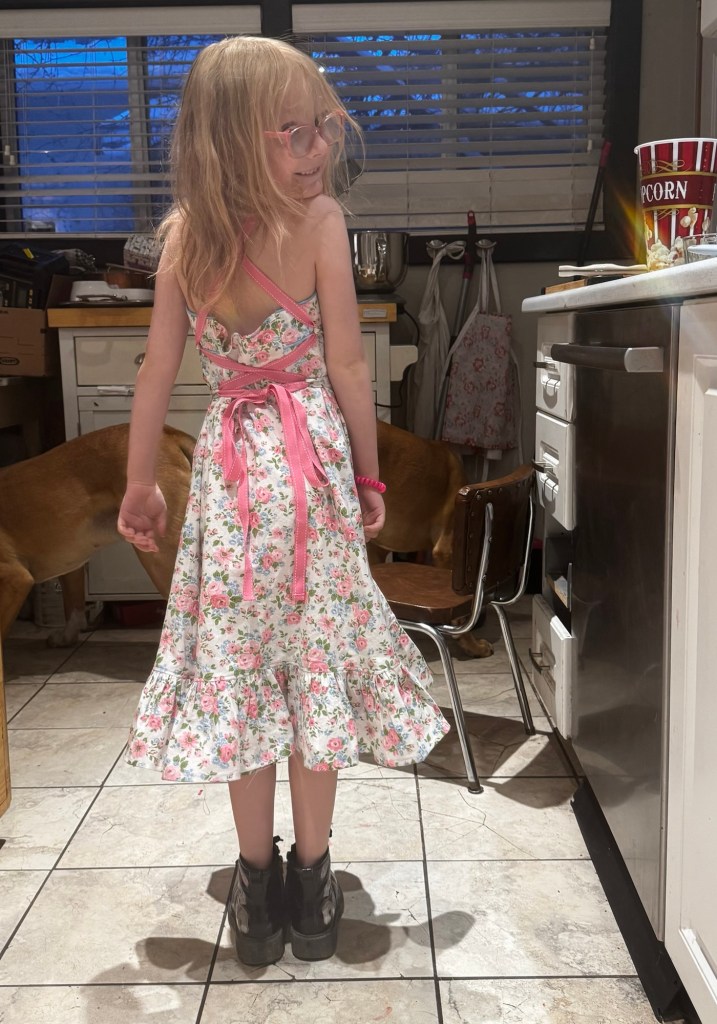
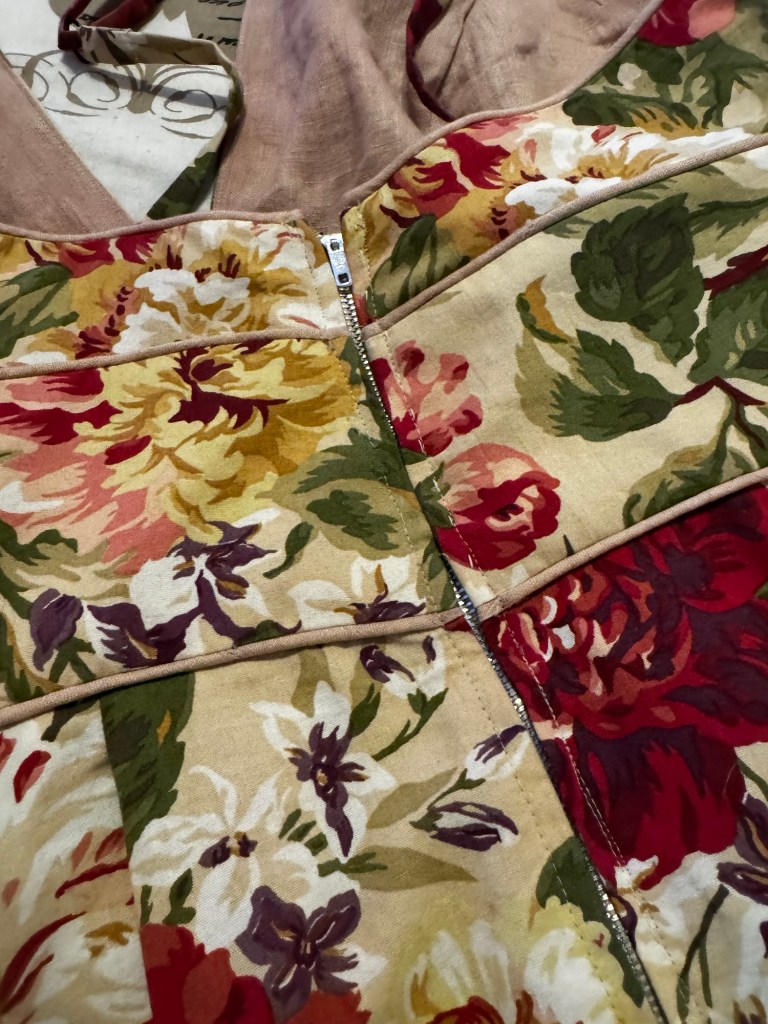
First off, I decided I wanted the front midriff piece to extend all around the back. I thought this would look exceptionally nice when emphasized with piping—but piping it meant that I couldn’t use the recommended sideseams-last construction order, which is of course the best construction order for fitting.
Now, Marcy has included a whole other version of the bodice pattern pieces for making a toile, which are printed without seam allowances (so you can trace the seam lines on your fabric, or add your own extra-wide fitting seam allowances. I did not make a toile. Yes, we will come back to that.

But I did make use of it to alter the back pattern pieces so that the midriff band carried all the way around as I could just cut the back bodice pieces at the point I wanted to add the seam. And then, to make my life a little simpler, I combined side back and centre back pieces, so at least I was still dealing with the same number of pattern pieces.
I did test the midriff fit against my body before I started adding piping, and took in the side-seams by 1/4” each (so 2” throughout the whole bodice). Some of this was probably meant to be taken out in the extra-wide centre back seam that I forgot all about, but only some. (But, the instructions are very clear that there is meant to be 1.5” of ease at the bust. I’m not sure what ease at the underbust/midriff that translates to, but regardless, I wanted less.)

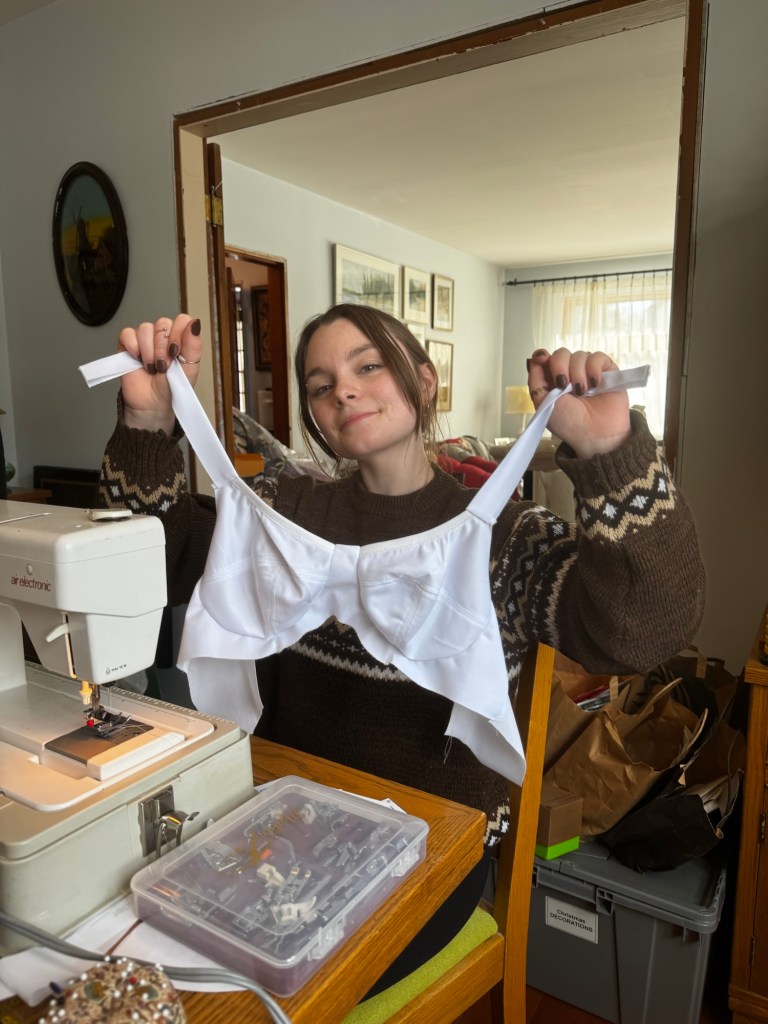
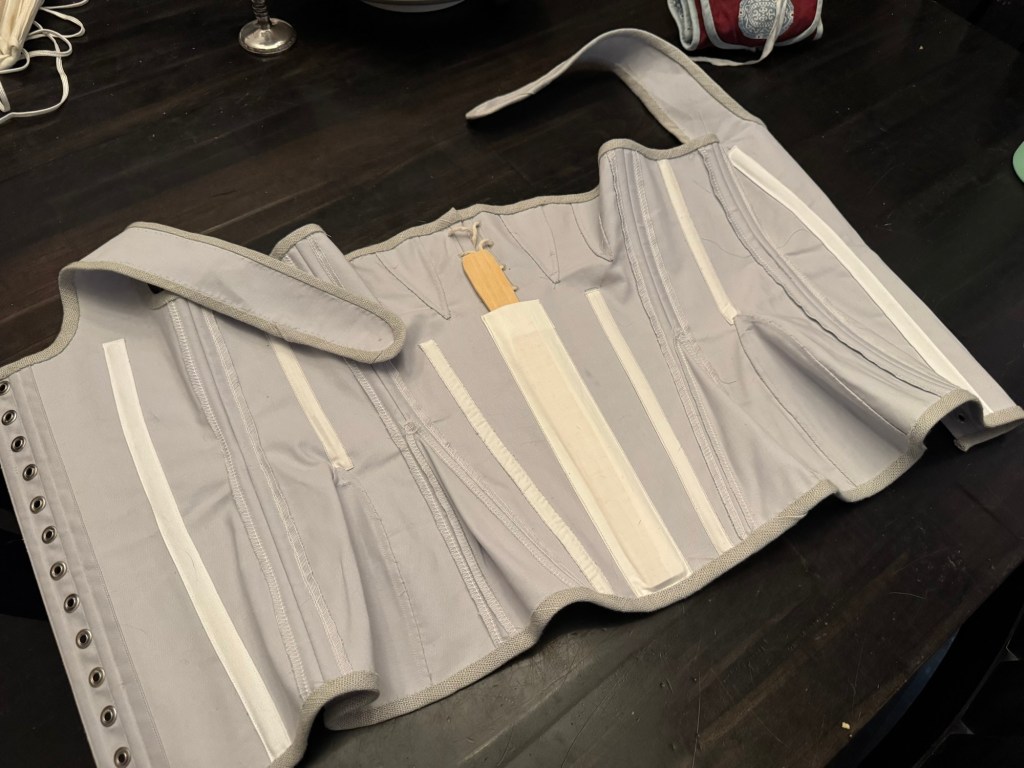
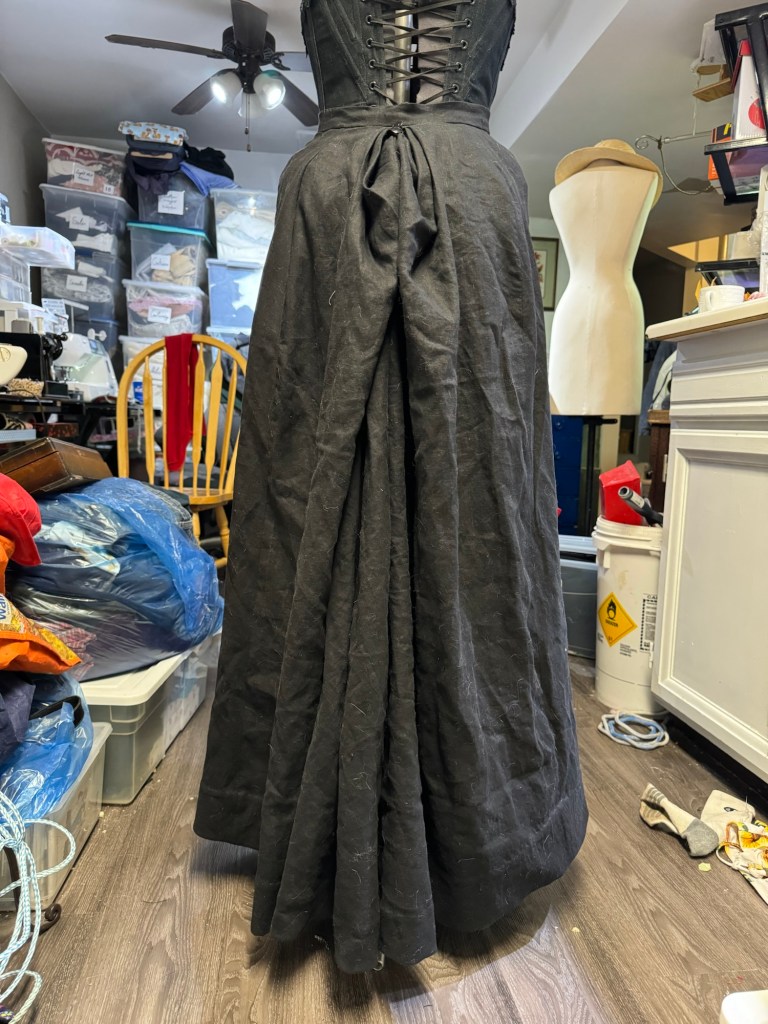
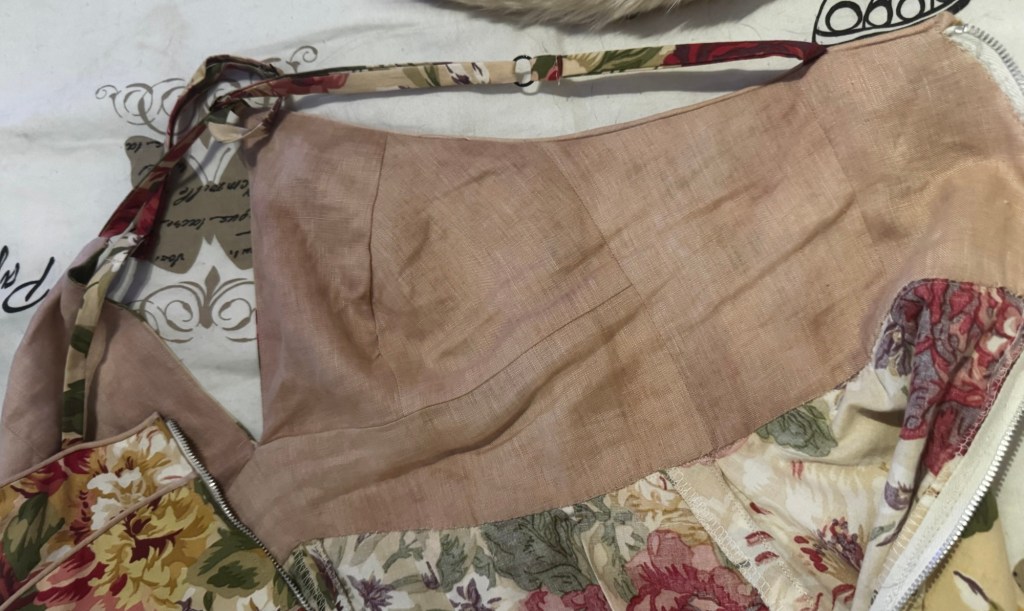
I obviously needed pockets, of a size and drama worthy of the dress. Since I wanted to minimize the inevitable pull-down on the side-seam when I stuff my giant phone case in there, I wanted the style where the pocket bag extends up to the midriff band. And somehow I also decided they shouldn’t have a seam, but should be constructed from one piece folded to the middle.
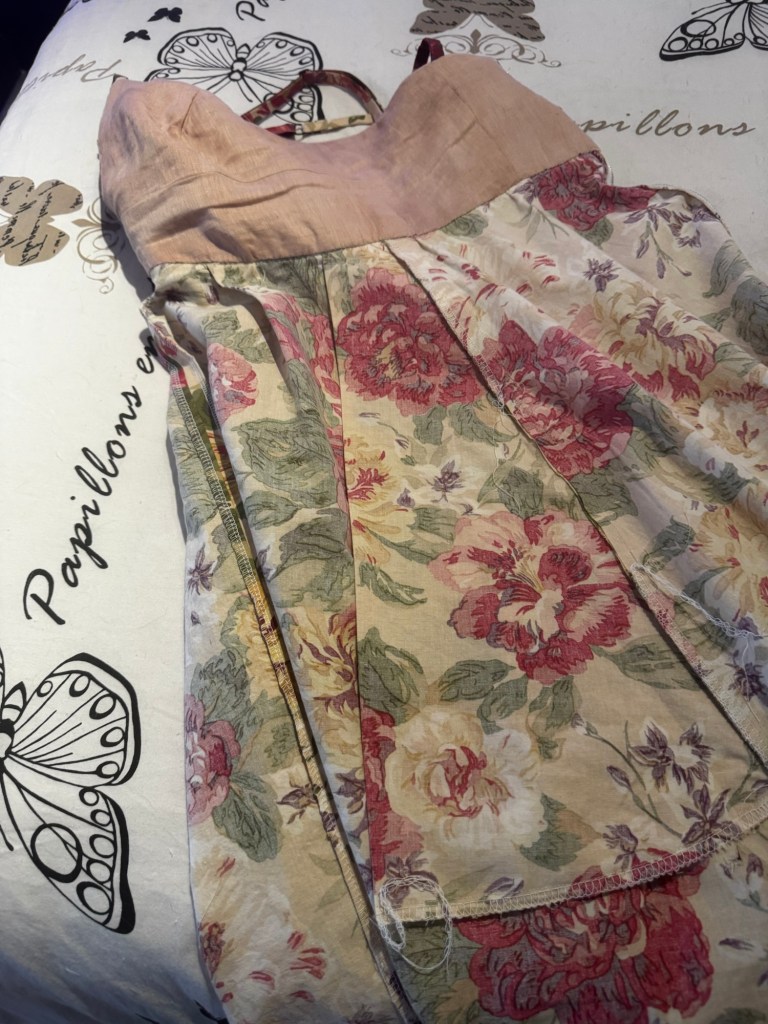
And that I should figure this puzzle out in the midst of the bedlam that was four children and three dogs all attempting to Art in my dining room at once. Anyway I don’t think my seam finishing was ideal and there ended up a bit more clipping of seam allowances than I’m super comfortable with, but I did get them constructed and the exterior, at least, looks nice, and most of the interior layers have finished seams. And with the weight suspended from the midriff seam in the front the pulling when I chuck my phone in is minimal.
Now, as mentioned before, I was of course jumping into all this without making any kind of a mockup. The pattern is designed to facilitate that kind of on-the-go fitting, what with doing the sideseams last, but I had of course thrown that to the wind when I decided my midriff pieces needed to be piped continuously. And then added piping to the top seam of the bodice as well. Which looks great, of course—it actually looked perfect, and my seam was turned perfectly with the lining and the straps and everything looking gorgeous. And then I finally got the (centred) zipper basted in and…
I needed to take in the top edge at the princess seam. A lot.
I tried taking it in at the zipper at the back instead. This helped but not enough. There was just too much extra room around my upper bust, right in the front. This wouldn’t have been much of an issue except I had, as I said, added piping all along that seam. And graded (trimmed) a bunch of seam allowances to reduce bulk. And instead of unpicking an inch or two just at the junction with the princess seam to take it in (about 1.5 cm at each seam, curving to about 3mm at the bust apex and tapering to nothing just below that), I had to unpick the whole upper edge, all the way to the centre front, on both sides, so I could remove the excess piping there. In hindsight I could’ve waited to pipe that seam until after the skirt was attached and the zipper installed, and done a try on before, but, well, that’s not what I did. So, I unpicked. It took forever. I probably stretched it out a bunch while I did it. And my second go at lining everything up (what with all the graded seam allowances and things) isn’t quite as clean as the first. But I did get it back together. And it fit!
And then I just had to finalize the zipper insertion. And finish the bottom of the lining. And hem.
Well, the last two were quick and easy, at least. The centred zipper insertion shouldn’t have been bad. The instructions called for reinforcing the area with interfacing, which is always a good idea in my opinion, and I had done so. My initial basted-in version looked great. But then I had to take in the top portion of it. And then when I re-sewed after that, I got a big fold on one side. And then when I fixed that I realized my piped seams no longer lined up. And, well, enough drama that I longed for the simplicity of an invisible zipper insertion. It’s funny, conventional wisdom is that the centred zip is the easiest, but I never really find that it is.
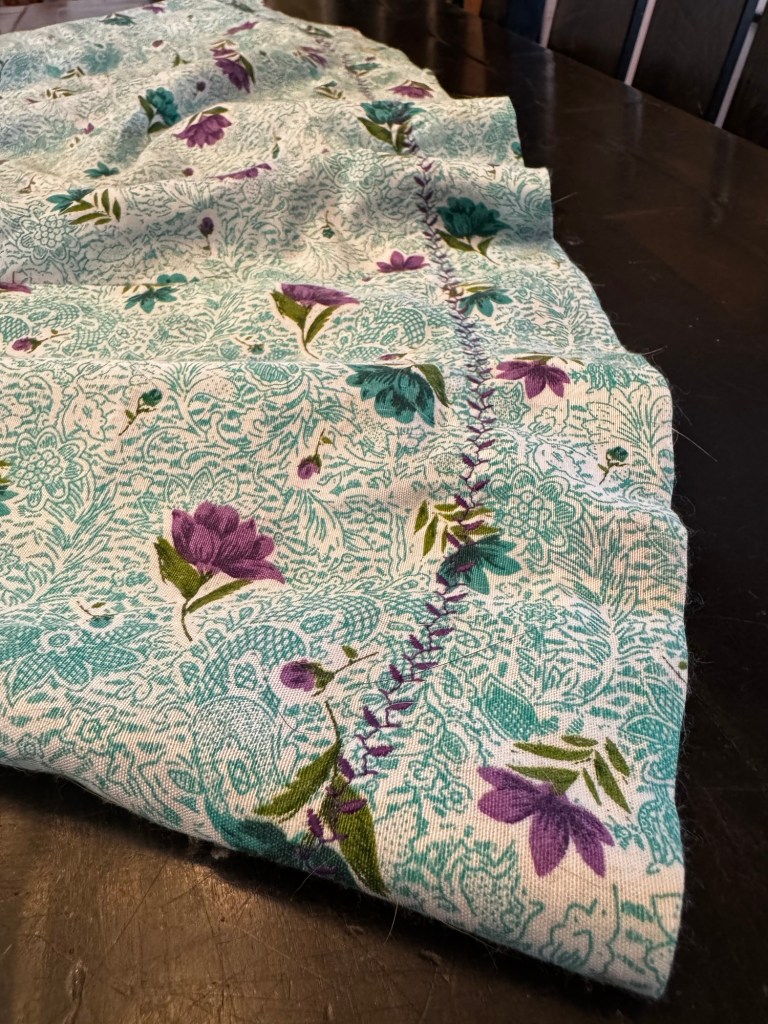
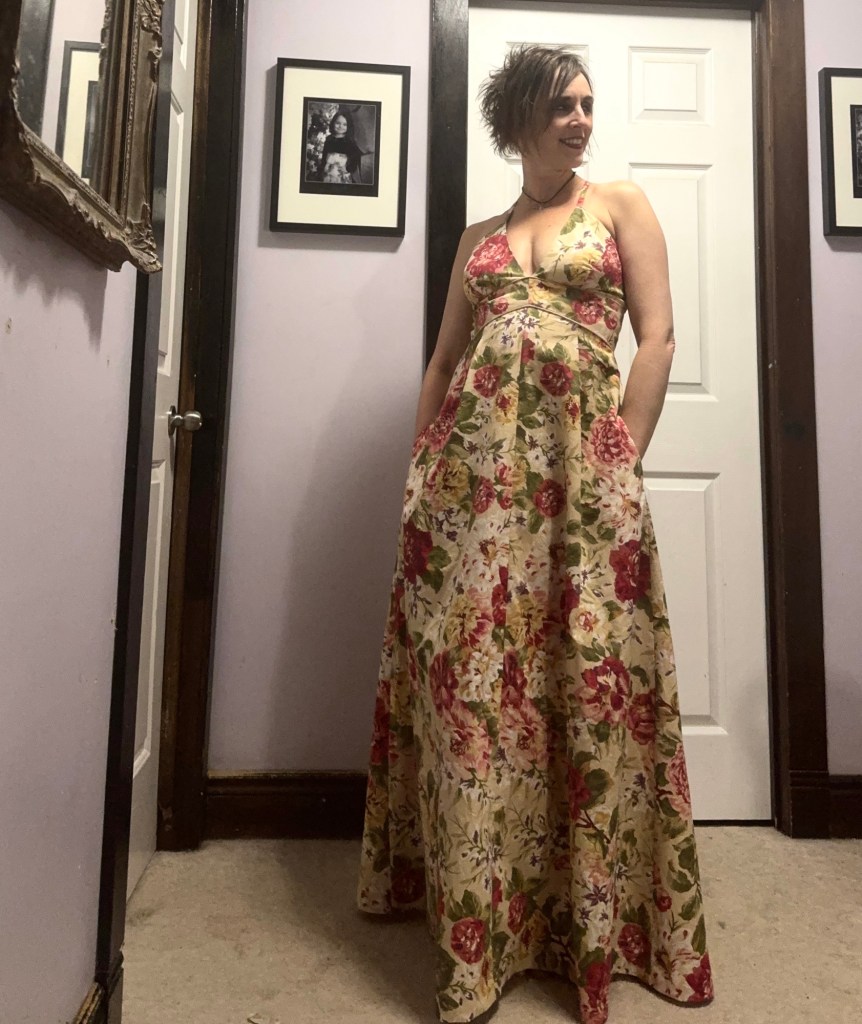
Anyway, once I was finished with all that drama, closing up the lining by hand, and then finishing the hem with a machine blind stitch (because at this point I was doing weekday sewing which is always squeezed tight around supper and bedtime these days) went down quite easily. I did a 1.5” hem on the unaltered skirt length and it’s just possible I left it a little long, but I also love it. So we’ll see how dirty it gets in real life.
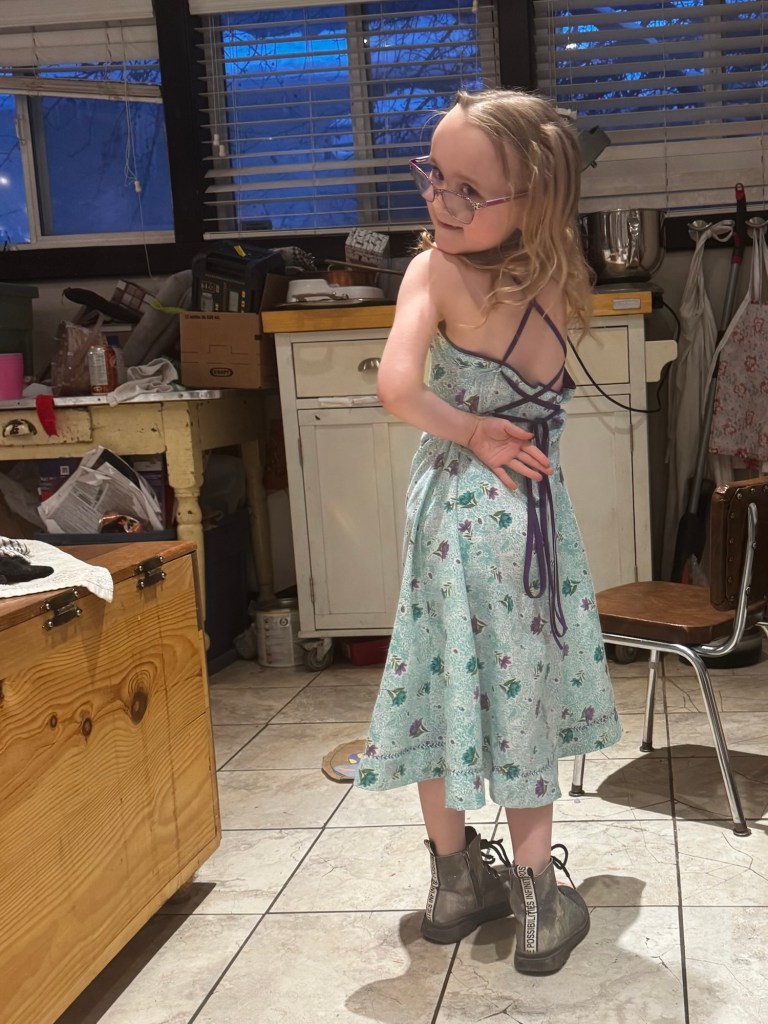
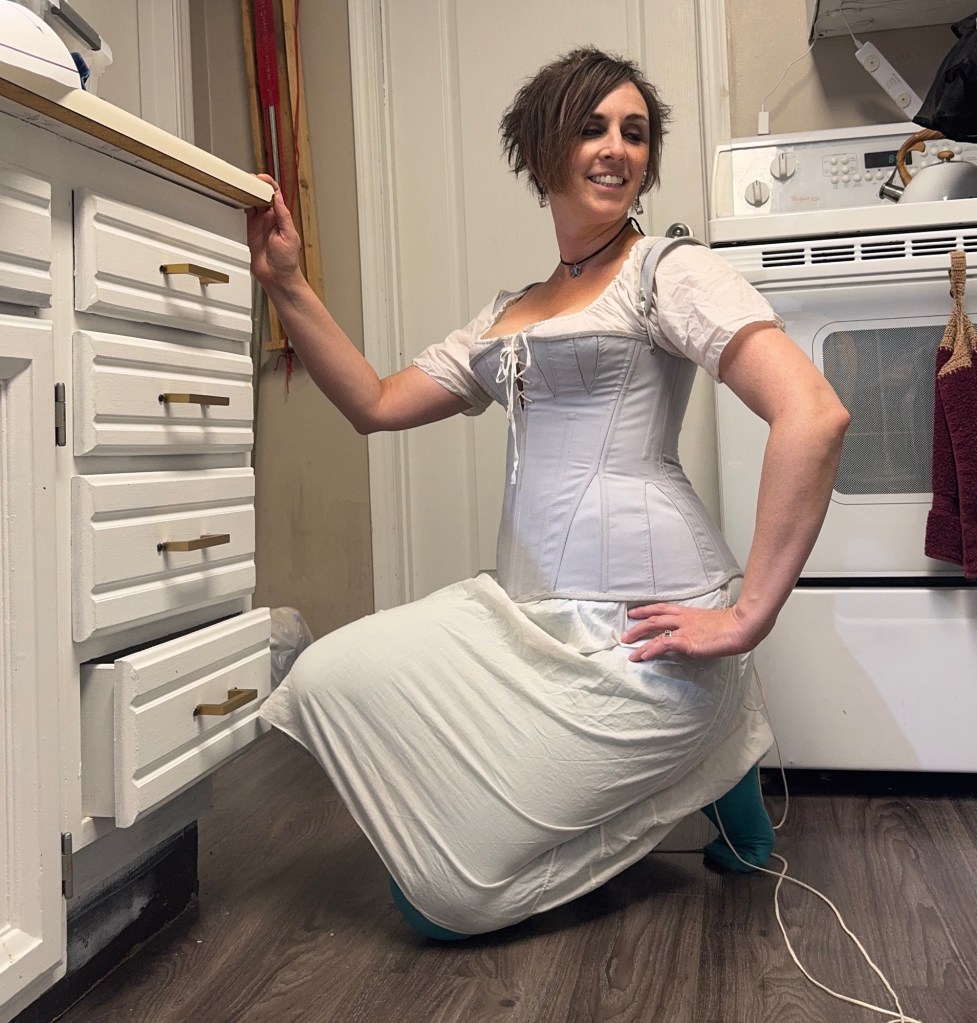
To do a bit of postmortem on the fitting: I didn’t shorten the bodice, and perhaps I should have, even 1/4” at the side? I did a last-minute swayback adjustment on the skirt pieces only (so as not to mess with the proportions of my midriff piece) but a small bit of shortening at the CB might help, too, as I feel like there’s a bit of wrinkling from too much length there. It’s close enough it won’t bother me once I’m done staring at these pictures, though.
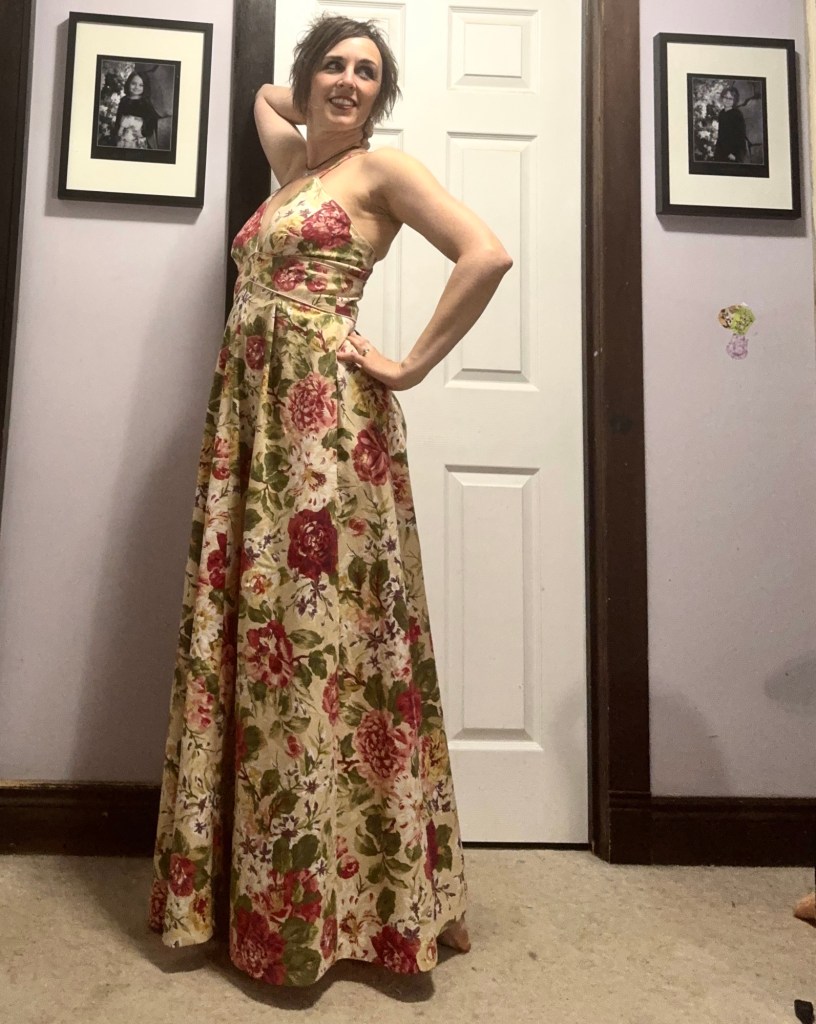
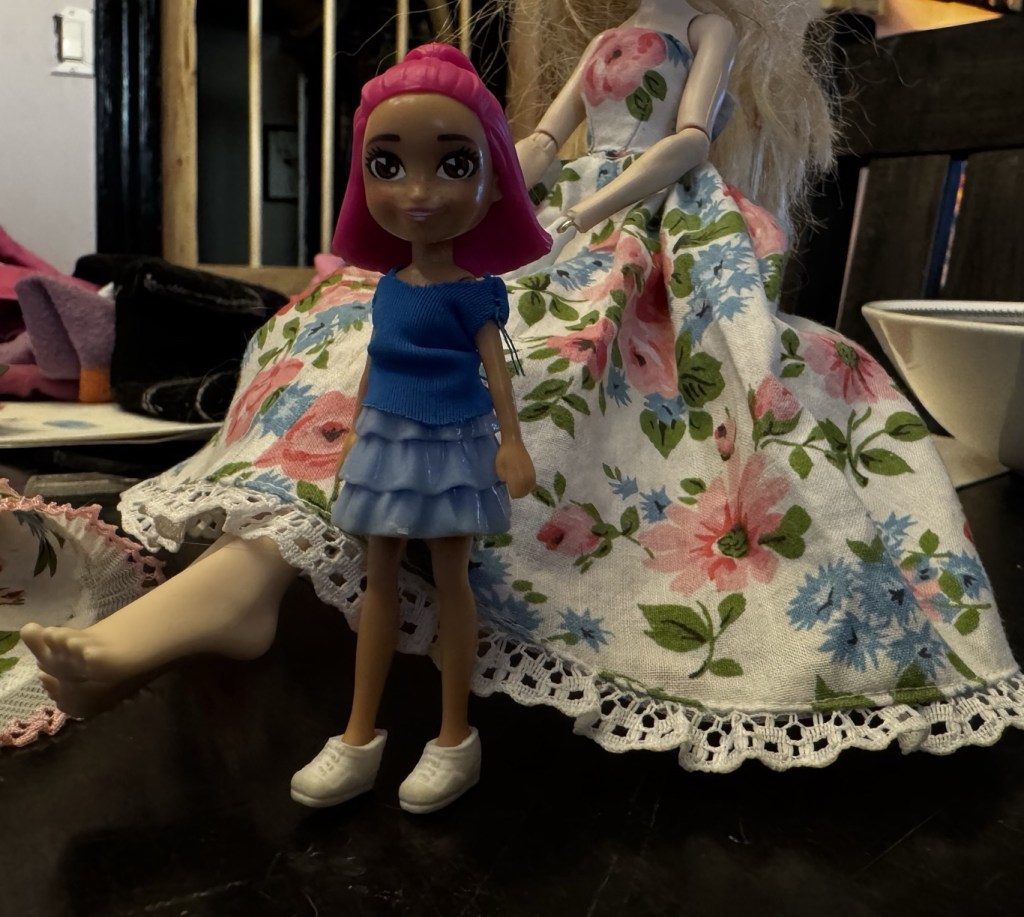
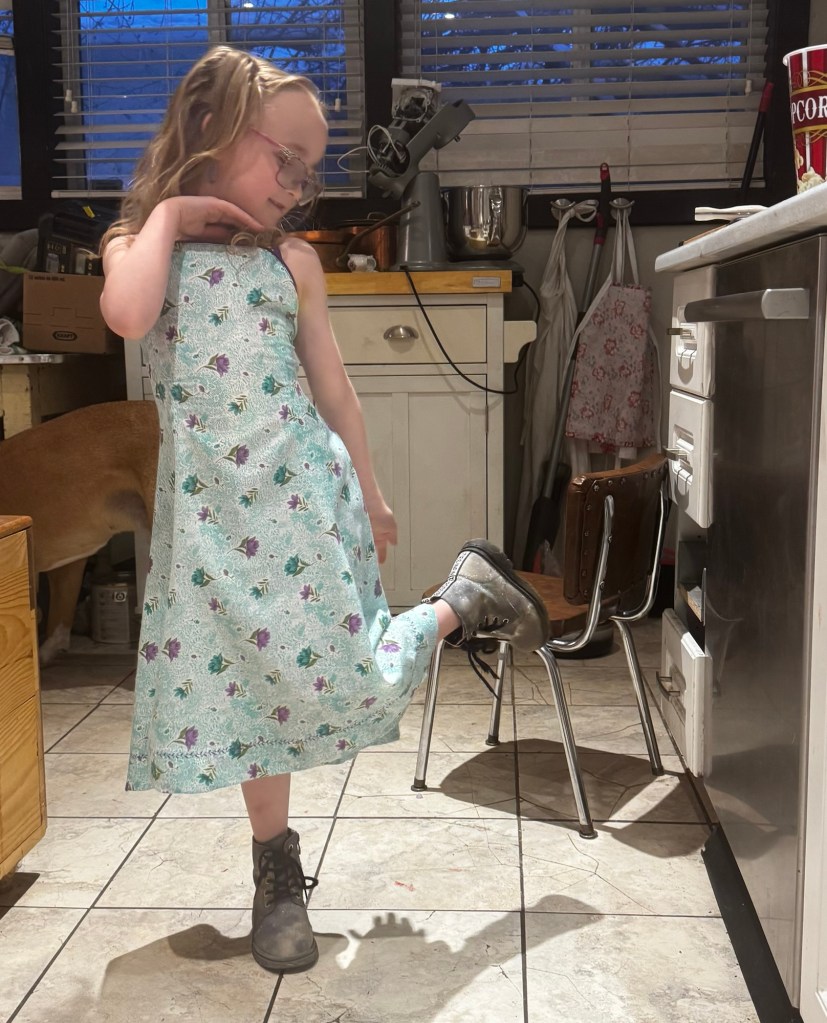
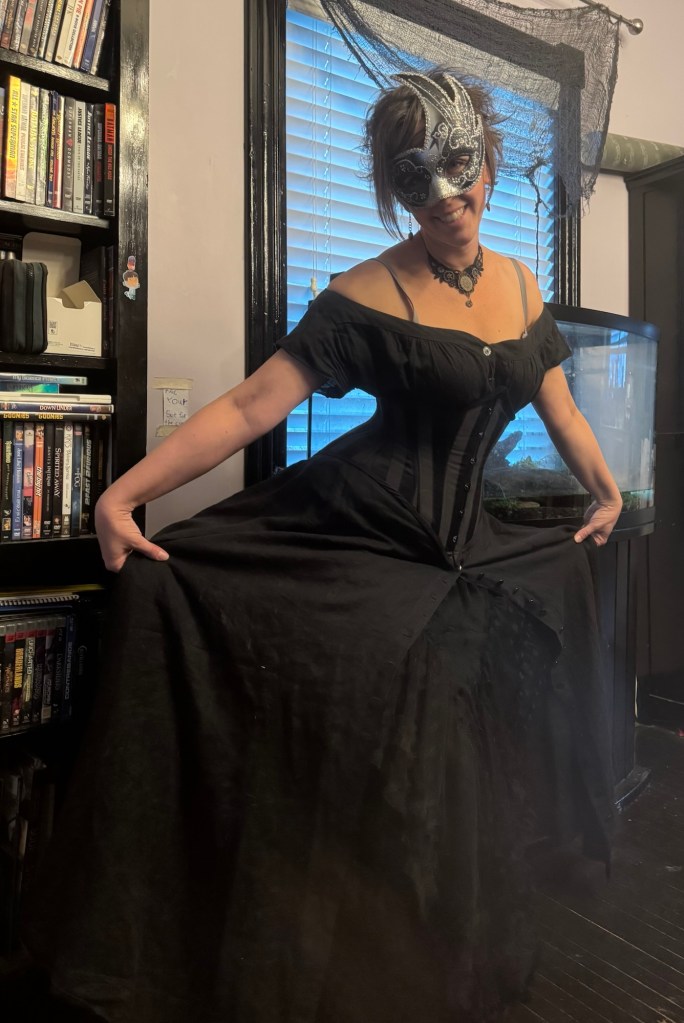
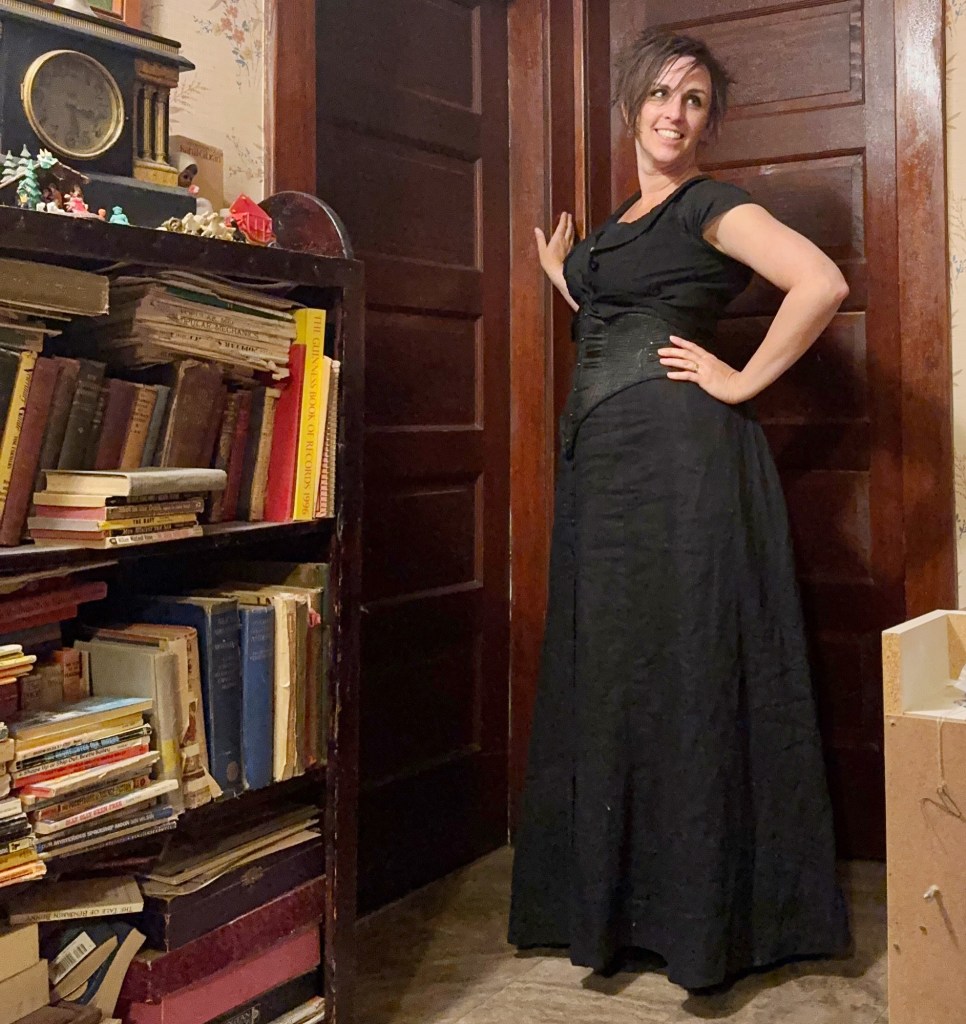
All in all, I gotta say, I love it. Cute little bodice. Big dramatic skirt. Fashion illustration vibes. The skirt is long, but not overly full, actually, and I could imagine widening it, especially in a lighter-weight fabric, or a shorter length. I actually think the bodice would be amazing with some kind of knee-length handkerchief skirt. And I still like the idea of that cream-and-lace version…