
Big 4, that is.
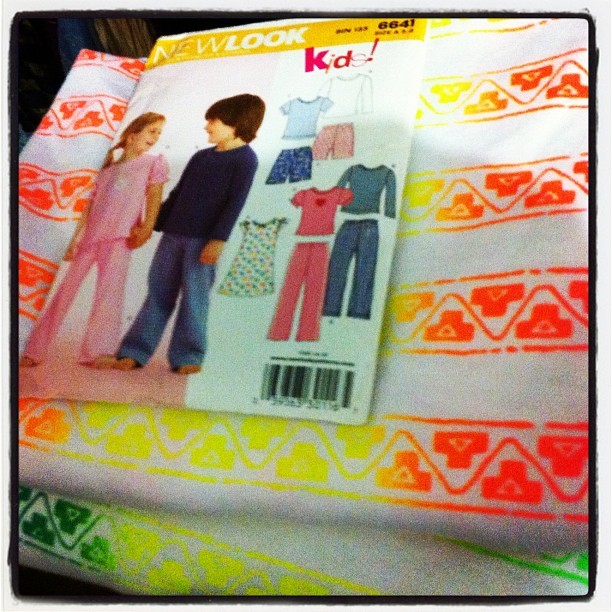
I did something a little while back that, in hindsight, is new to me. I made a Big 4 stretch-knits-only pattern.

I made View E. Duh.
I mean, I have lots of them. I just haven’t really made any up before. (The odd kids’ pattern excepted) Not really intentionally, but just because Jalie and Kwik Sew or Burda or a few other indie patterns always seemed to have something a little more what I was going for.
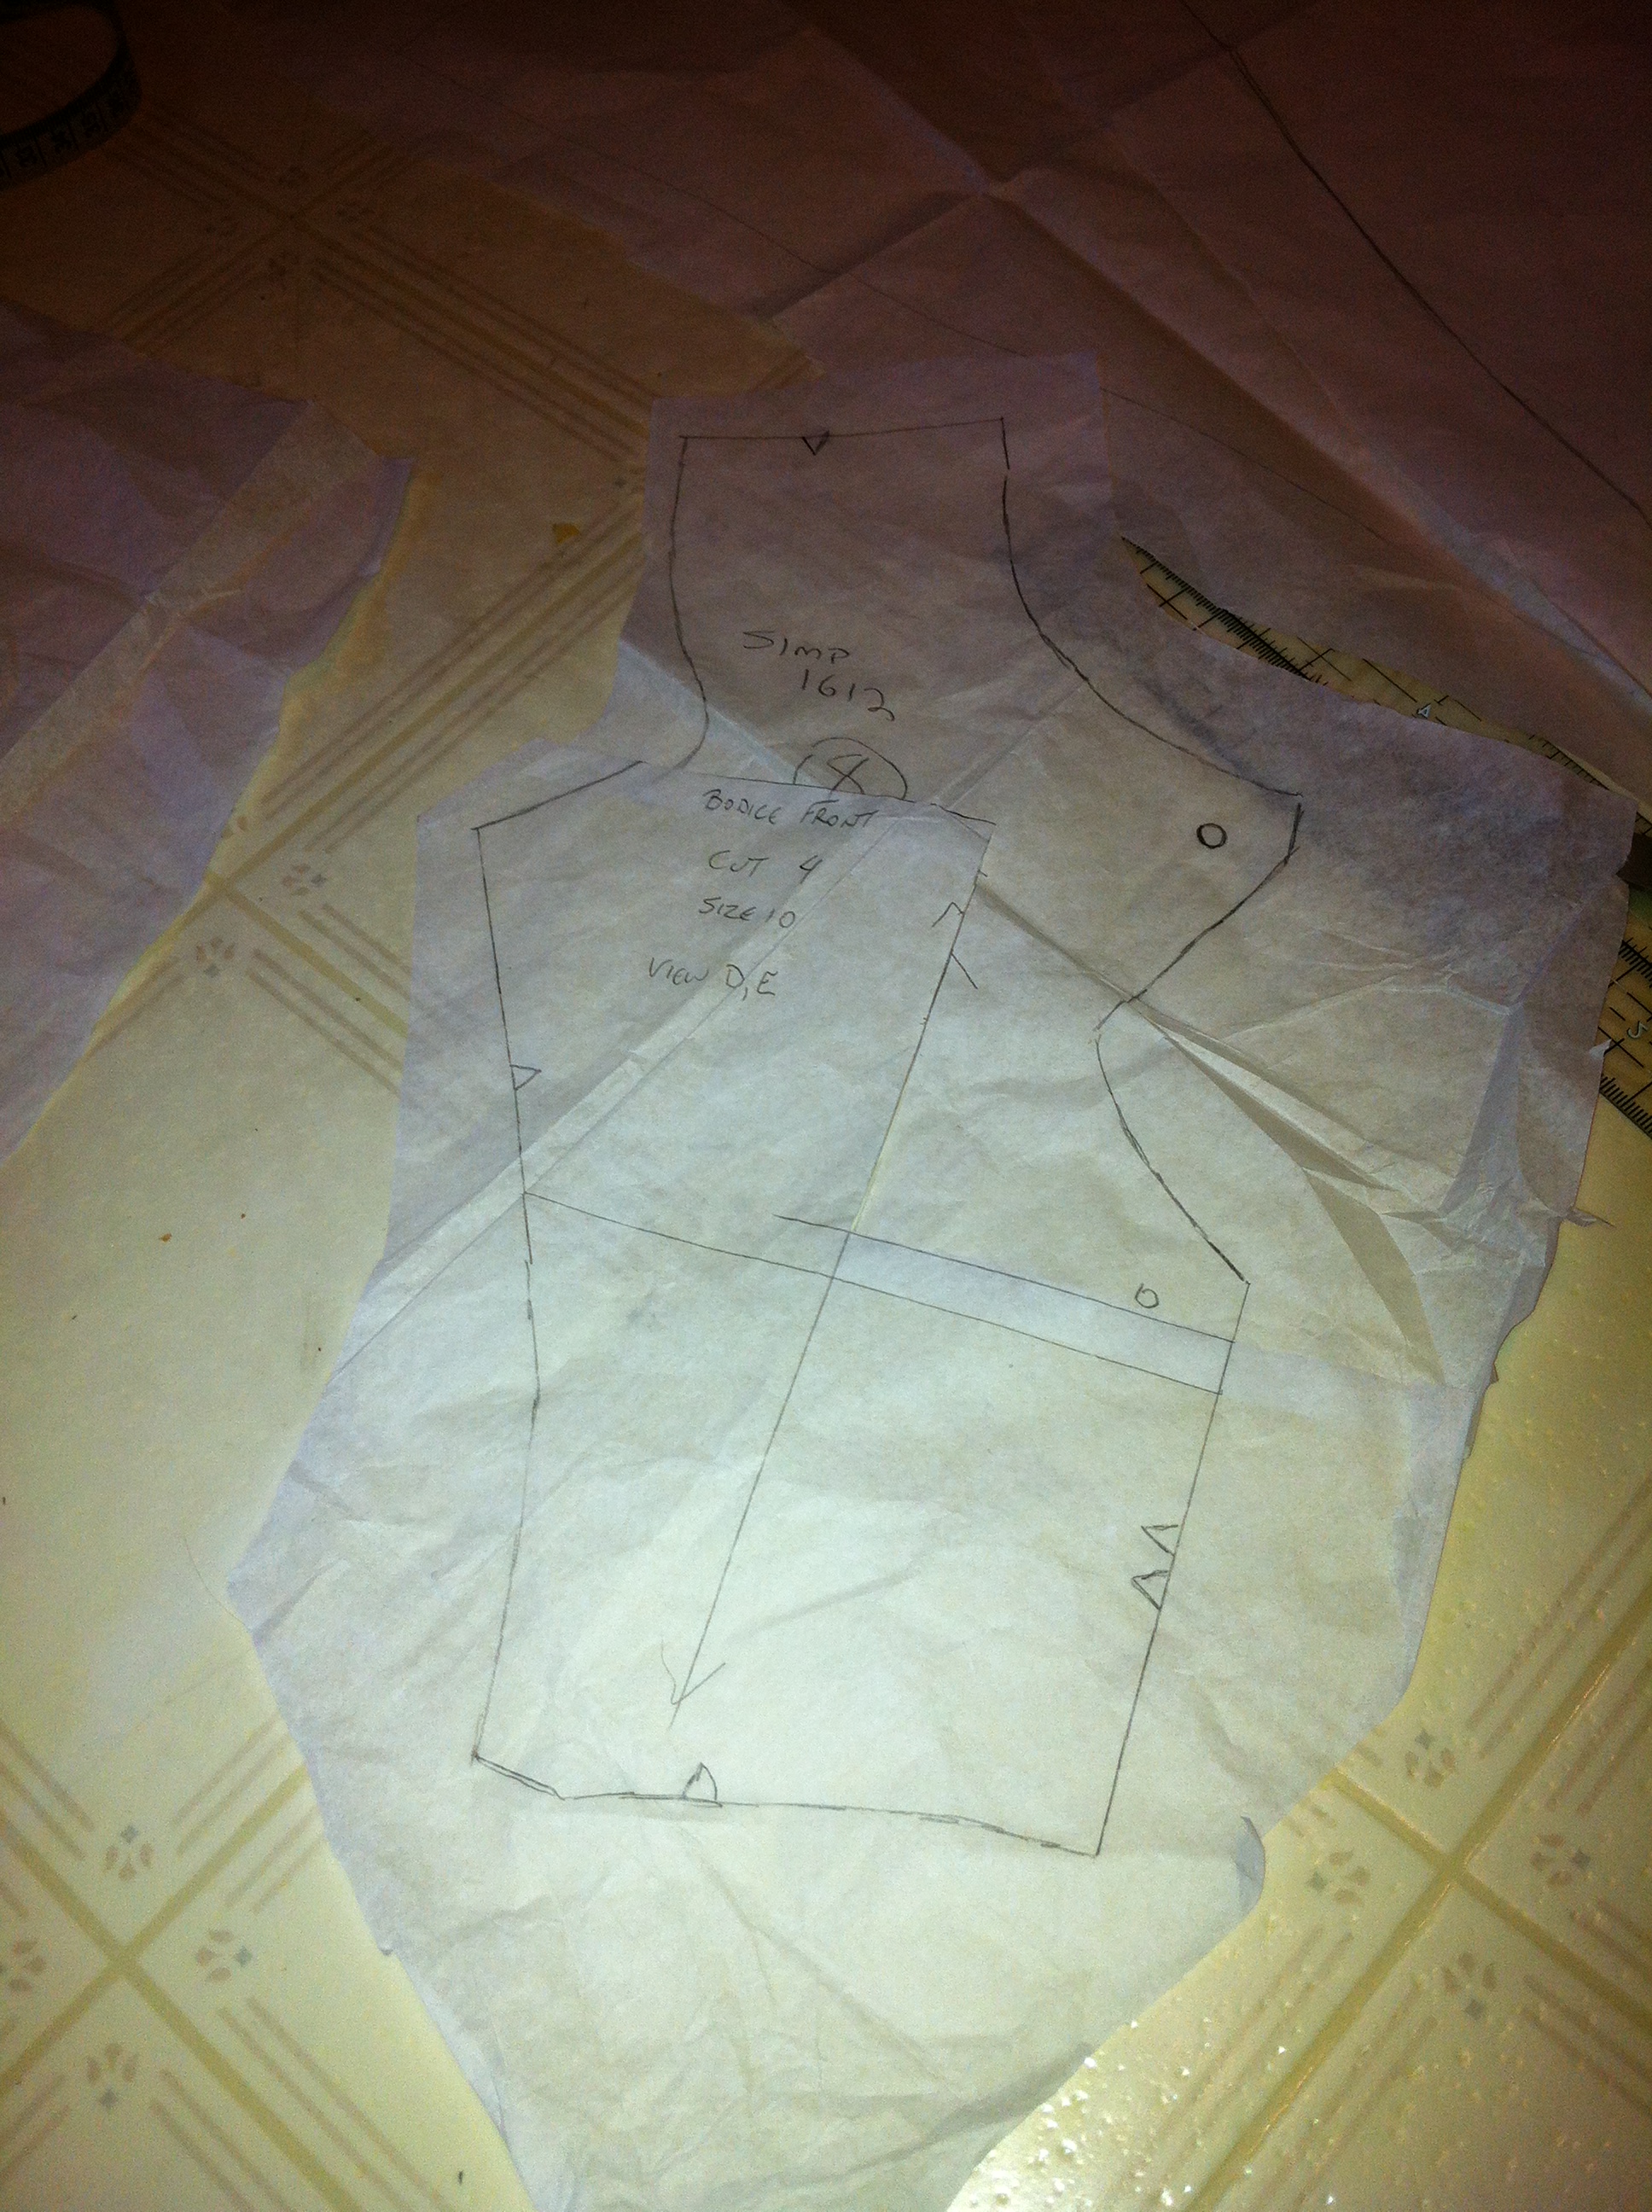
But then Simplicity 1612 threw itself in my way, and, well, how could I resist?

Simplicity 1612 and Border Print
I mean it, how? Especially View E done up in this gorgeous knit—drapey without being too fiddly, with a crazy-perfect border print. How could it go wrong?
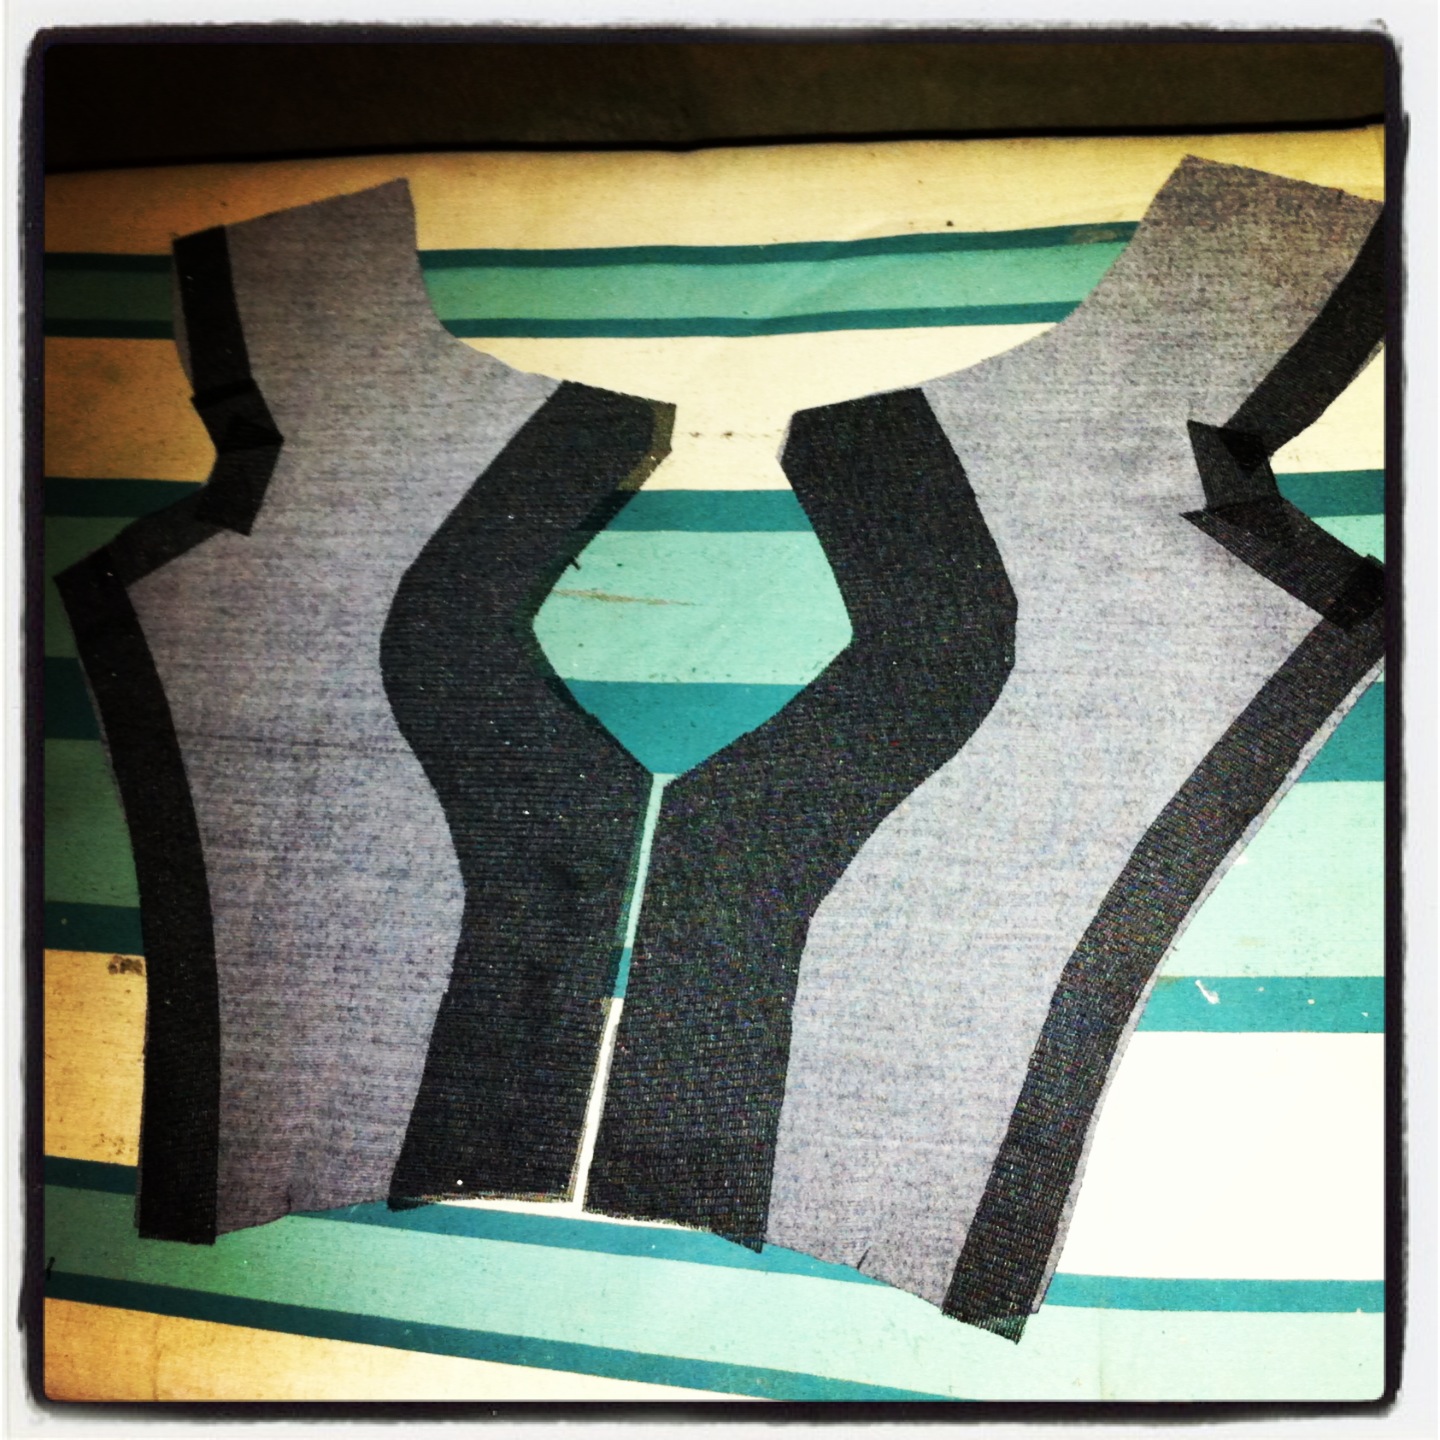
Above-bust adjustment. I made it stepwise so as not to raise the neckline.
It started well. I decided to make a 10 (I often make a 12, but I was pretty sure smaller would be better for this pattern. I made my usual changes to the bodice—shortening both between bust and shoulder, and between underbust and waist. I took advantage of the rear seam to do a swayback adjustment, and mindful of Sunni’s advice, (and some previous personal disasters) I reduced the amount of gathering at the front just a smidge.
Interfacing
I was worried about the crisp, cut-out appearance of the bodice, so I used lots of knit interfacing. (The pattern only called for a little right at the front opening.) I’m not sure if I used not enough or too much, but I sure didn’t get it just right…

What’s right
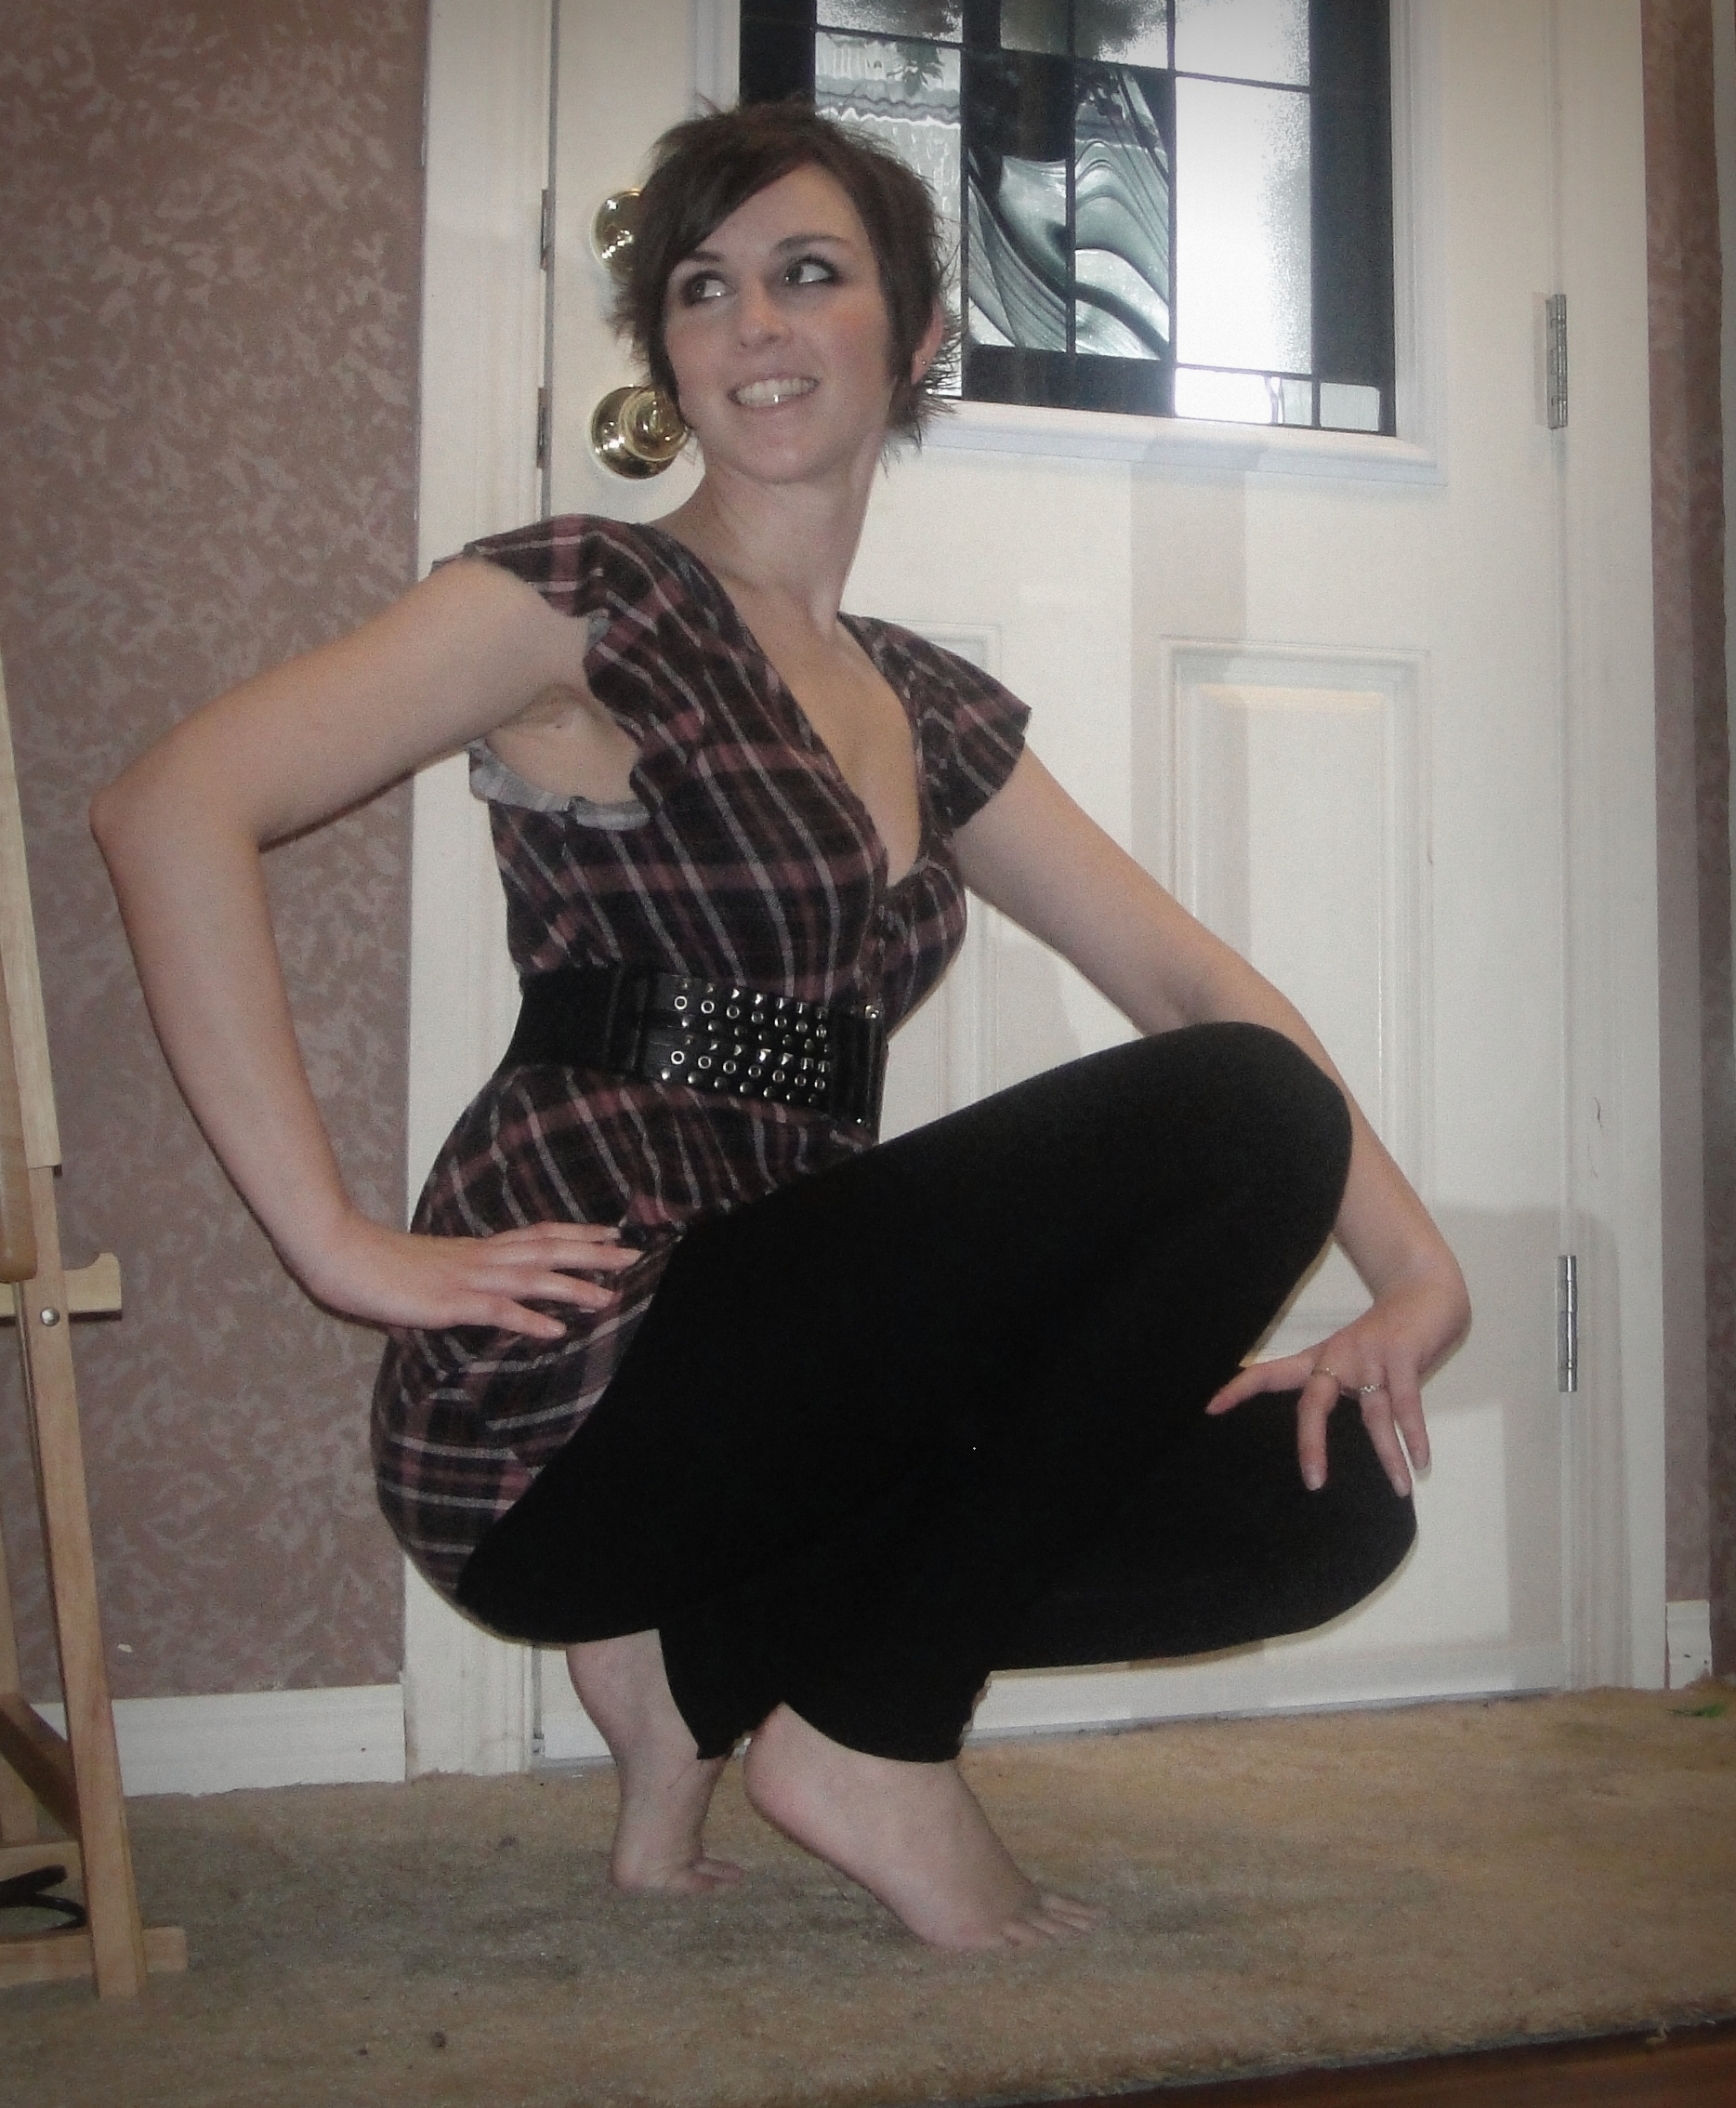
Ok, so off to such a good start, right? And, well, let’s start with what’s right. (Apologies for the craptacular photos, by the way—I’ve been sitting on this hoping I’d get better ones taken but it hasn’t happened yet and I figured I should just get this posted before I forget everything.) Anyway. Fit—good! Bust was at a perfect level, sizing was right on, a little bit of tweaking of the back seam helped a bit there, and overall just WOW. Look at that fabric. Love it. Long, sleek, elegant shape.
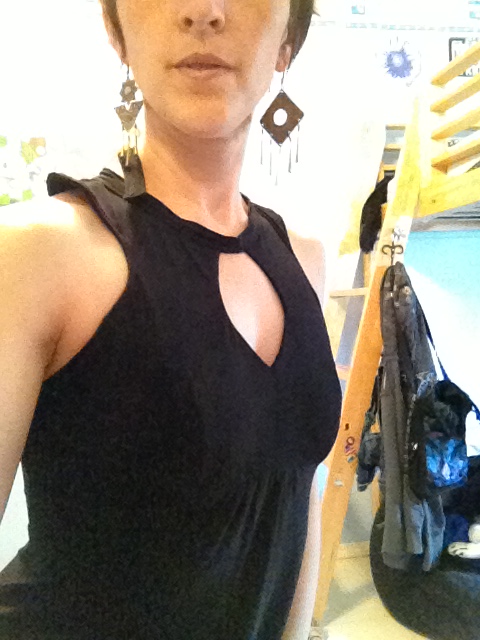
Flippy shoulder
The devil, as always, is in the details. Worst is the neck-circling shoulder-thingy. I’m not sure if I should’ve interfaced this entire circle, or not interfaced it at all. Or maybe done a bound edge all along the arm-area-opening. Anyway, one side flips up. The other doesn’t. The neck-band-tie isn’t stretched enough to lie flat (I matched markings and everything!) and was wavy and bubbly, so I topstitched, which wasn’t a good idea, either. I think it’s a bit wide, really, too. The bodice is lined and the princess-seams don’t tend to line up perfectly, which makes some weird ridges; I should go in and hand-stitch them together, except that hand-stitching knits just irks me. Irrational, I know, since I’m perfectly happy to hand-stitch the snot out of anything else. /sigh. I guess I’m just feeling like the whole construction and finishing of the dress is, hmm, not quite as “knit like” as I’m used to.

Back view
One last, maybe piddling, little point: scroll back up to look at the cover art. See how smooth and sleek the dress is in the back views? Ok, so I’m not perfect at back shaping, but here’s the thing. In order for a dress to hug the back like that, the front needs to be snug. At least with the way my back curves… maybe you non-swaybacked people out there have different experiences. Well, the only way to make that happen in this dress would be to totally get rid of the gathered looseness in the front. And, well, I like a little bit of looseness over my belly these days, thanks. Plus, y’know, it’s part of the design.

Rolled hem!
On the bright side, after fighting with my serger tension issues for almost two hours, I finally managed to get it to produce a nice, stretchy, rolled hem! (I wrapped some button thread permanently between the tension discs for the needle thread. It holds them open enough that they have a normal tension, now.) I used white thread and Oona’s trick and coloured in the black areas with permanent marker, although real fabric marker would’ve been better.

Purty?
I keep hoping that some time in the magic closet helps me forgive this dress’s flaws, because really, it’s black, who’ll actually notice them? People notice the crazy print and that’s pretty much where it stops. But so far, I notice them (especially that flippy-up shoulder!), and it’s been a couple of weeks already. Maybe I should just re-do that neck band? maybe with some FOE instead?

At least I got one Me-Made May wear out of it…
Grum.


")
")

")
")


