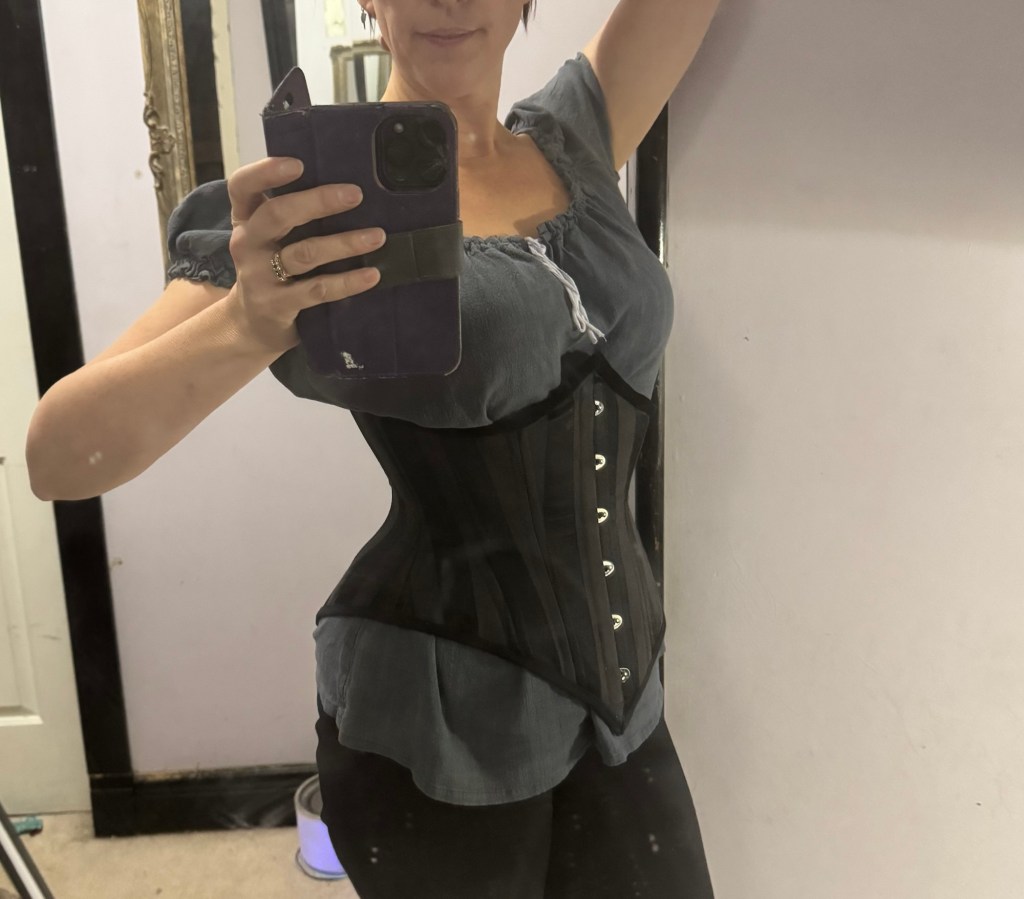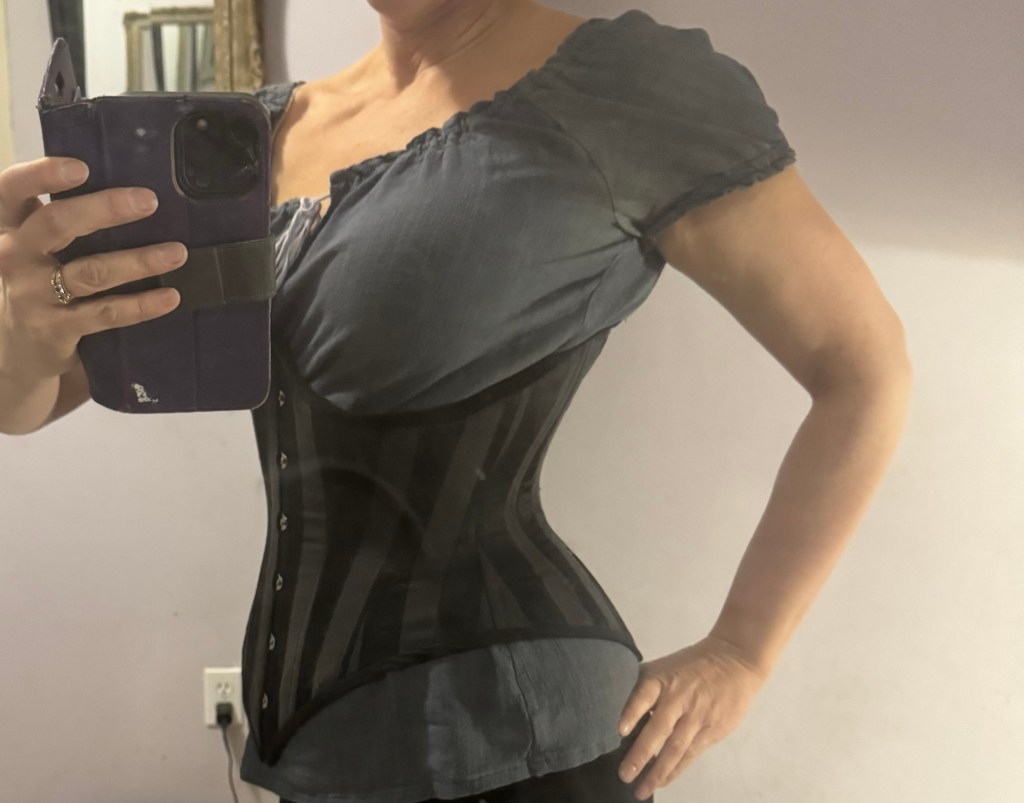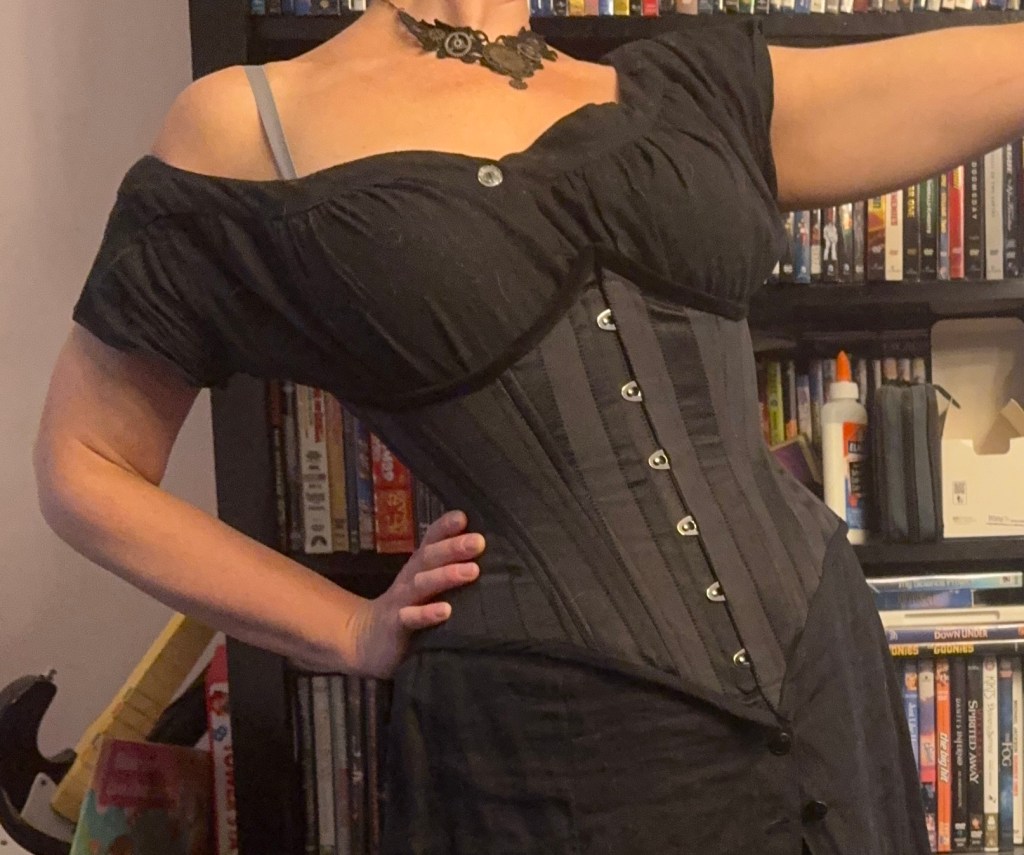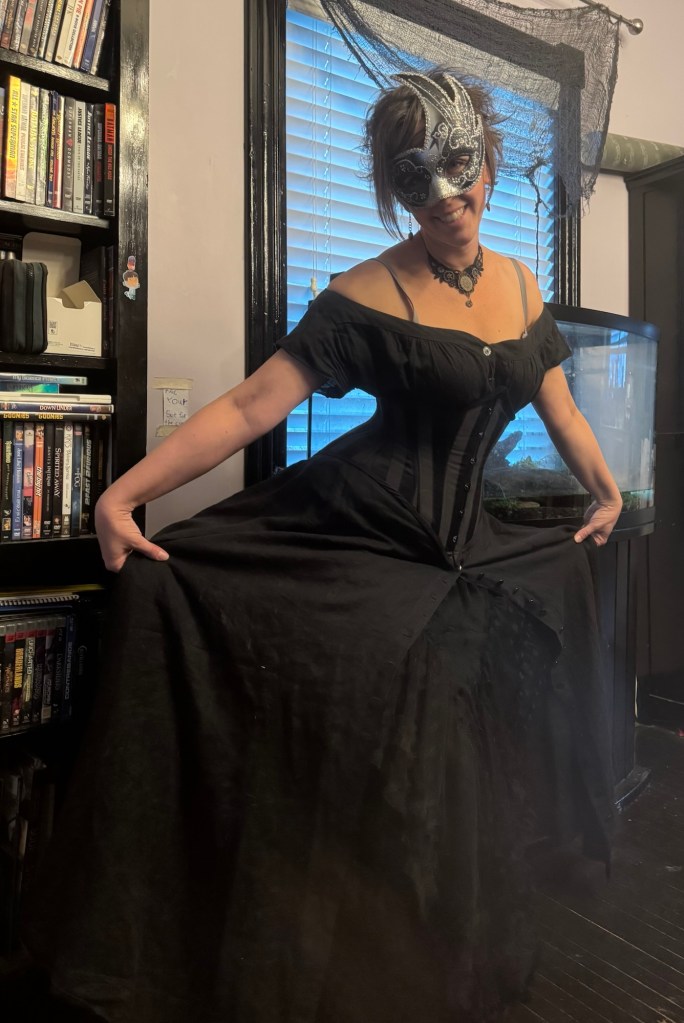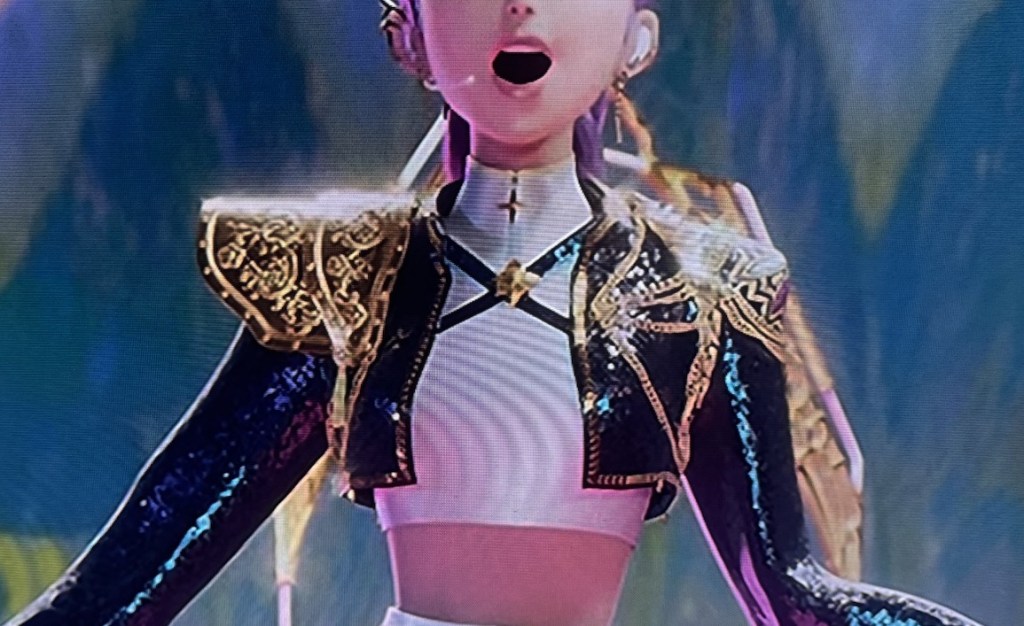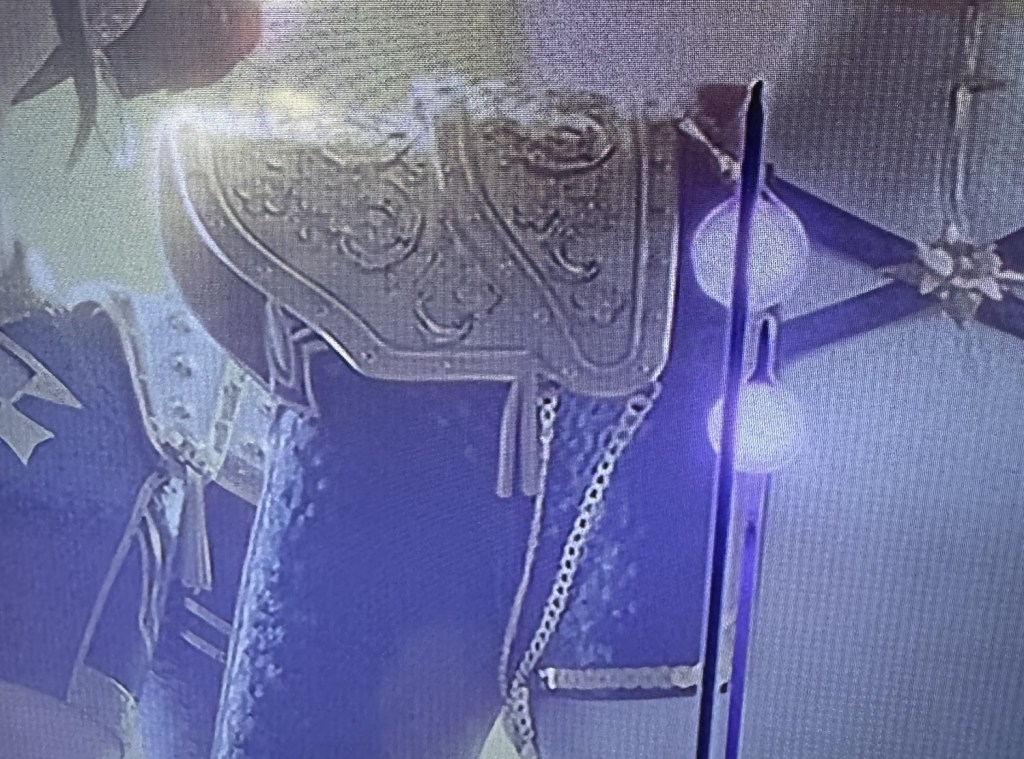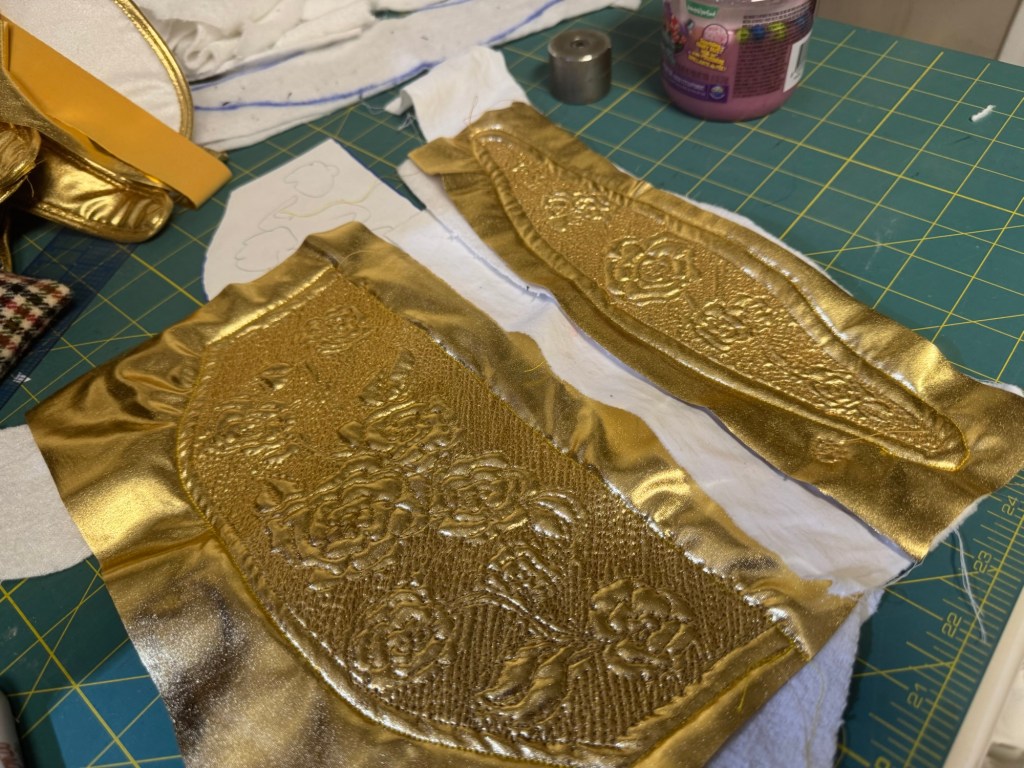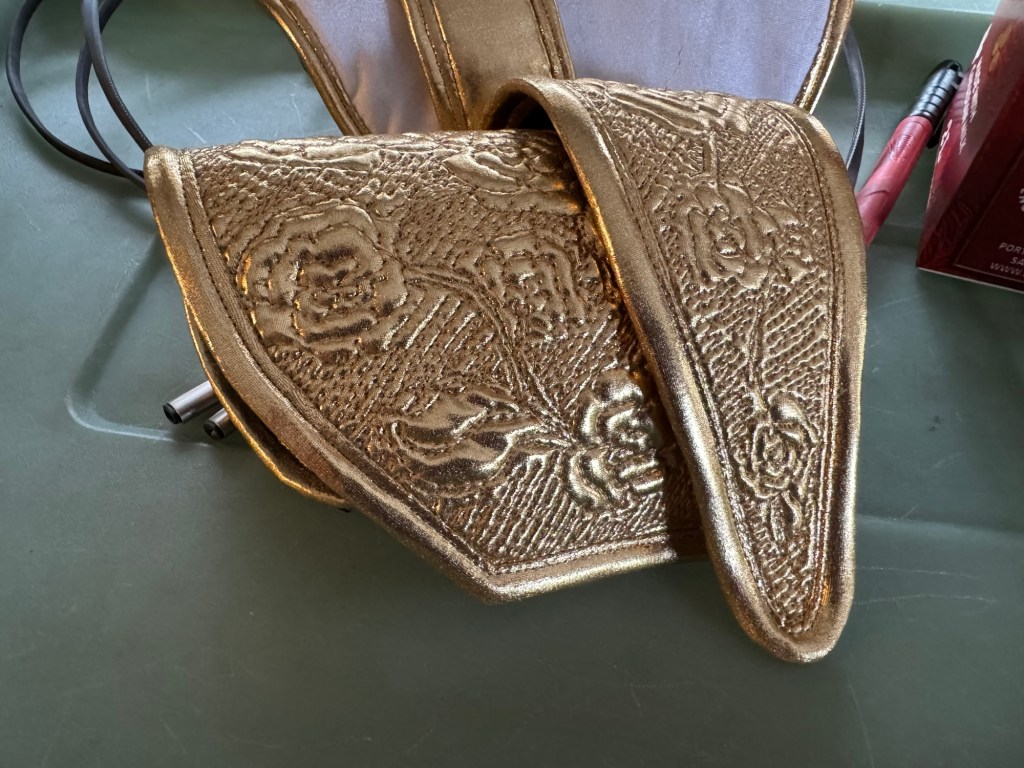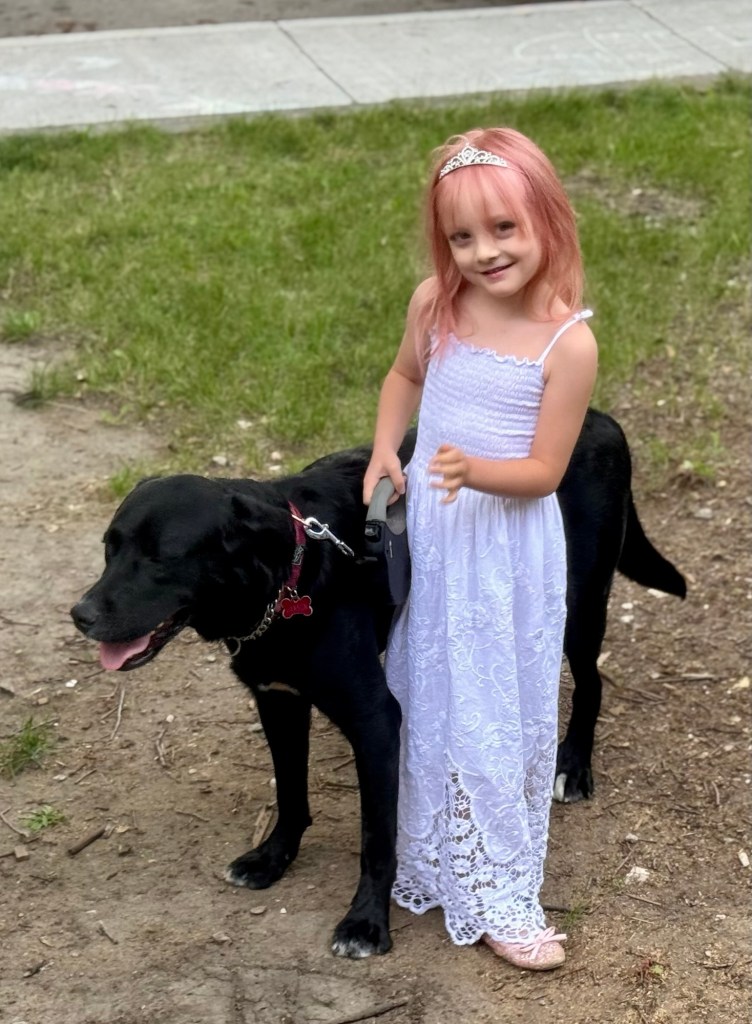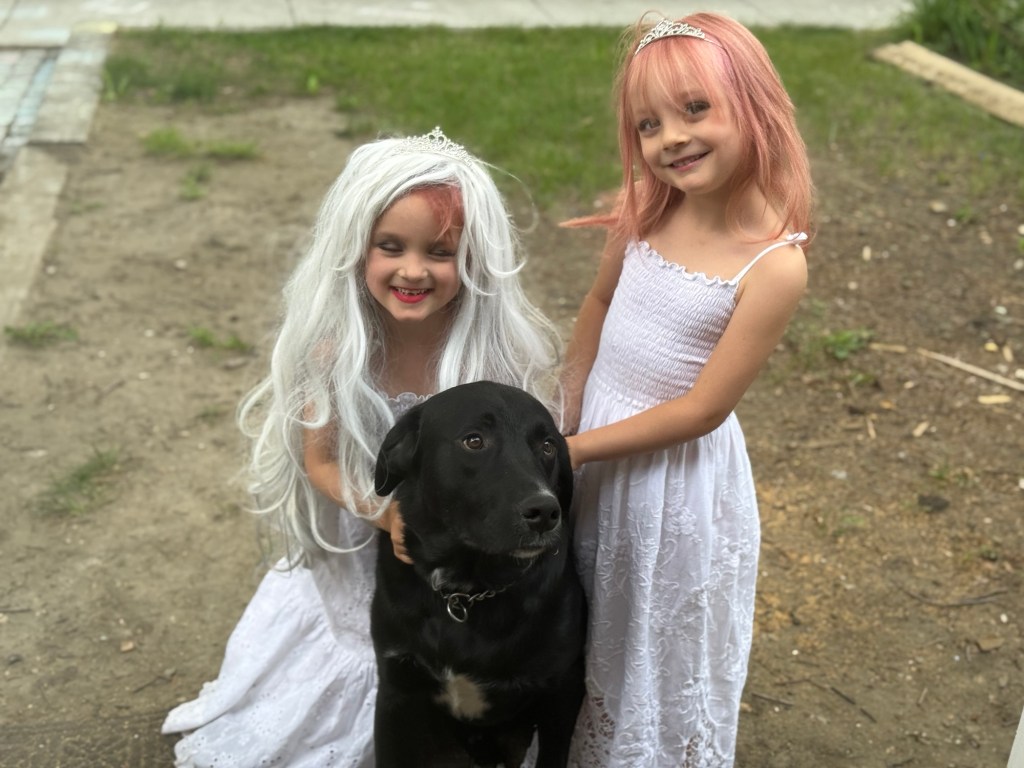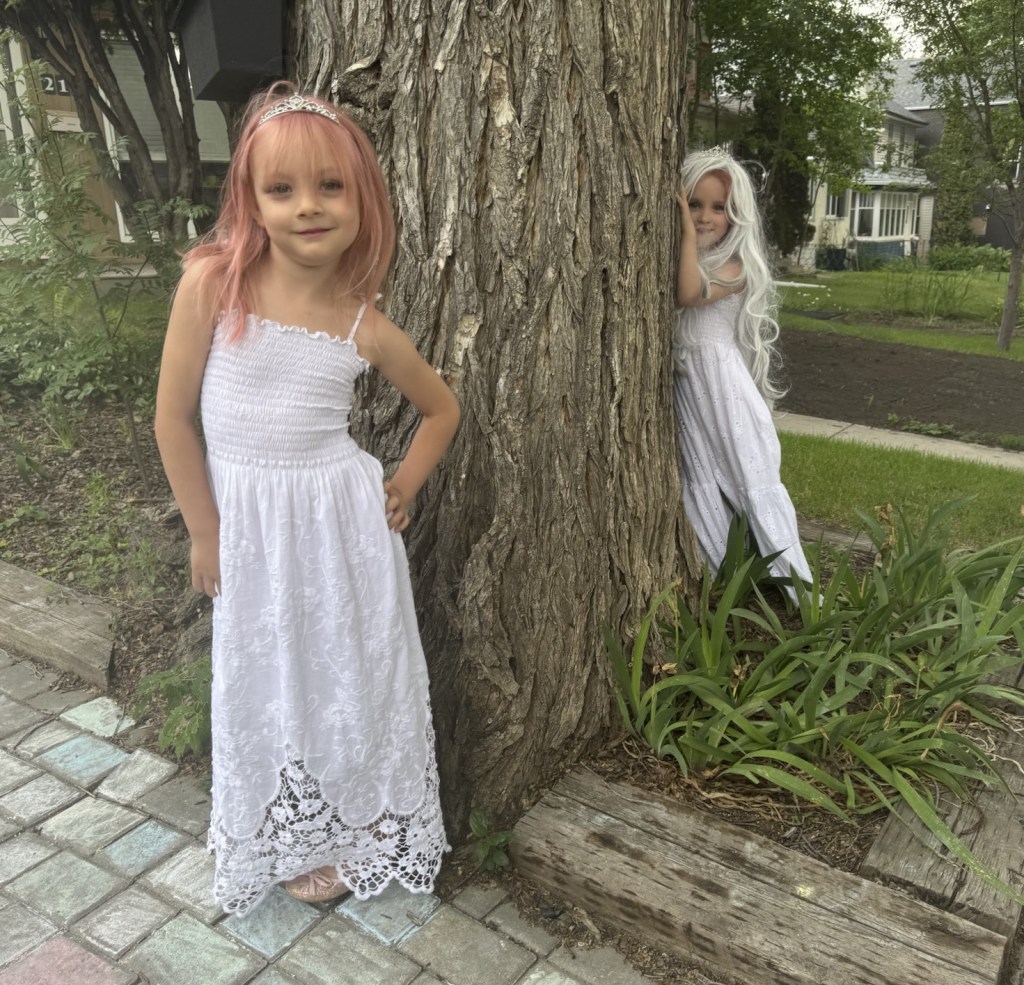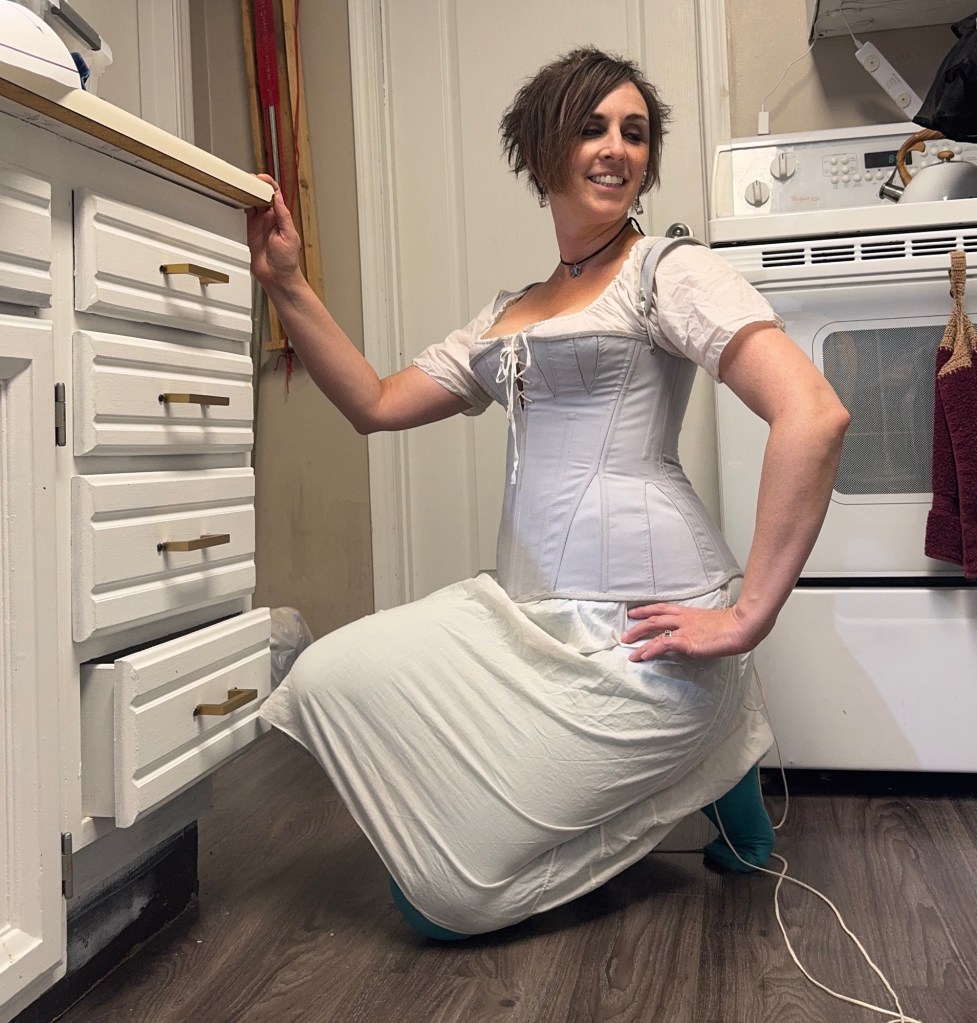
The Lady Oona Day dress

Marcy Harriell came out with a pattern! Marcy came out with a pattern! And she sent me a copy! As if I wouldn’t have been morally obliged to drop cash on that.
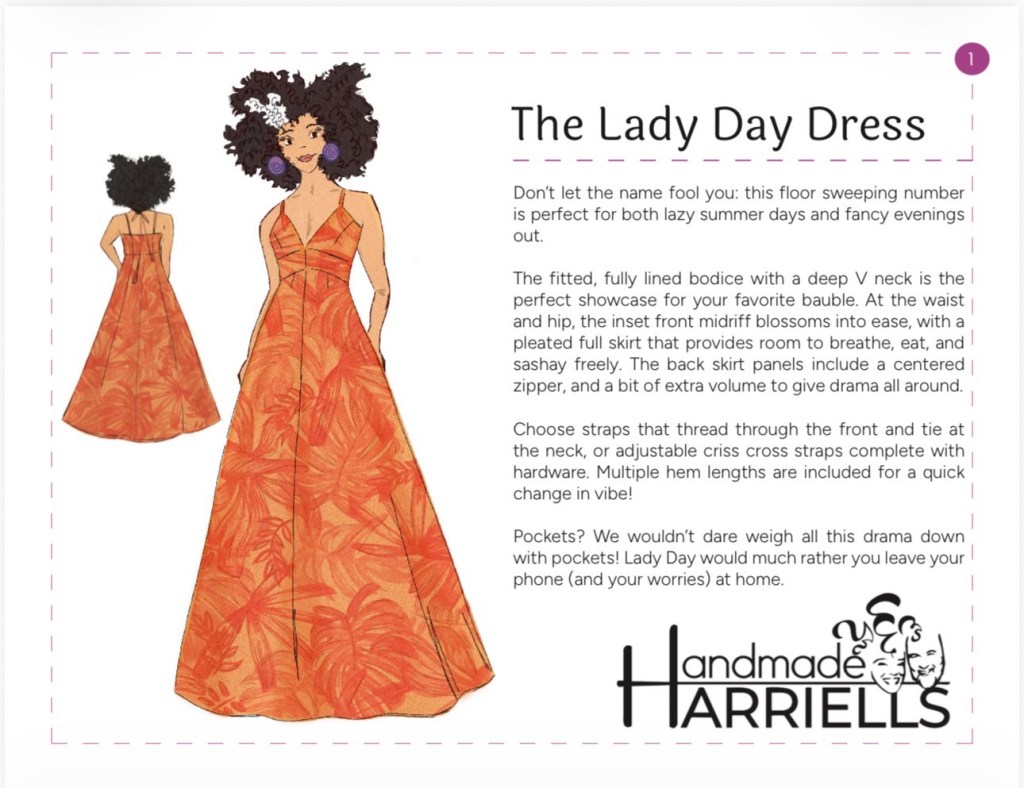
I first got to know Marcy via blog in 2010 or so, and then via an intense and nearly-disastrous quick airport meetup when she transferred through the city I lived in at the time. Since then and consistently she has been one of the most vibrant, fun, and joyful creators of the internet.

And a couple of weeks ago she released her first pattern, a gorgeous maxi-length sundress of perfection both in drama and timing.
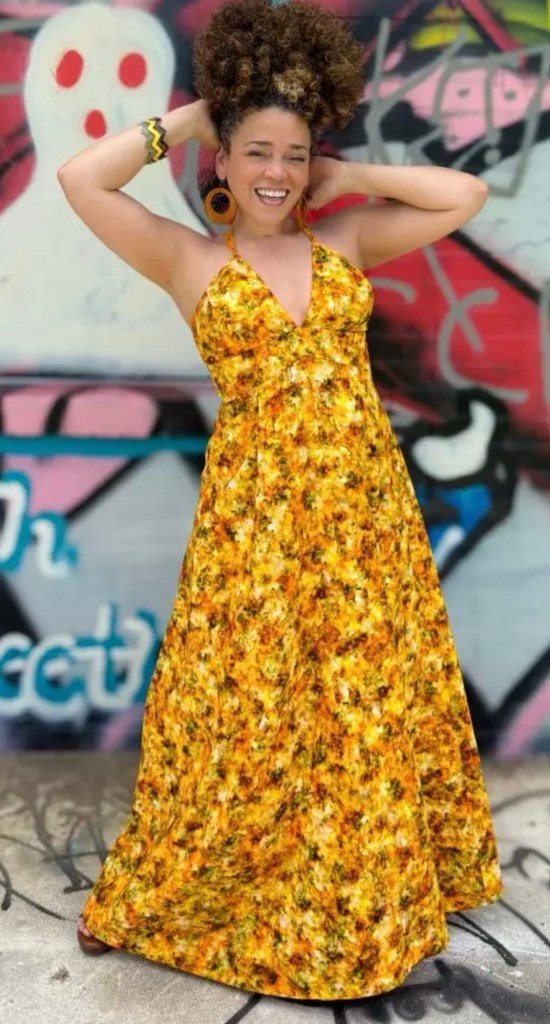
Lady Day Dress

Anyway, I emailed the copy shop format version to my print shop within seconds of it seeing it in my inbox. Alas for me, that was about 5:00pm on a Friday, so no chance of getting the pattern until the next week. It was ok, though, because I waffled a ton over the fabric, and didn’t actually nail down my choice until the day before Mother’s Day.
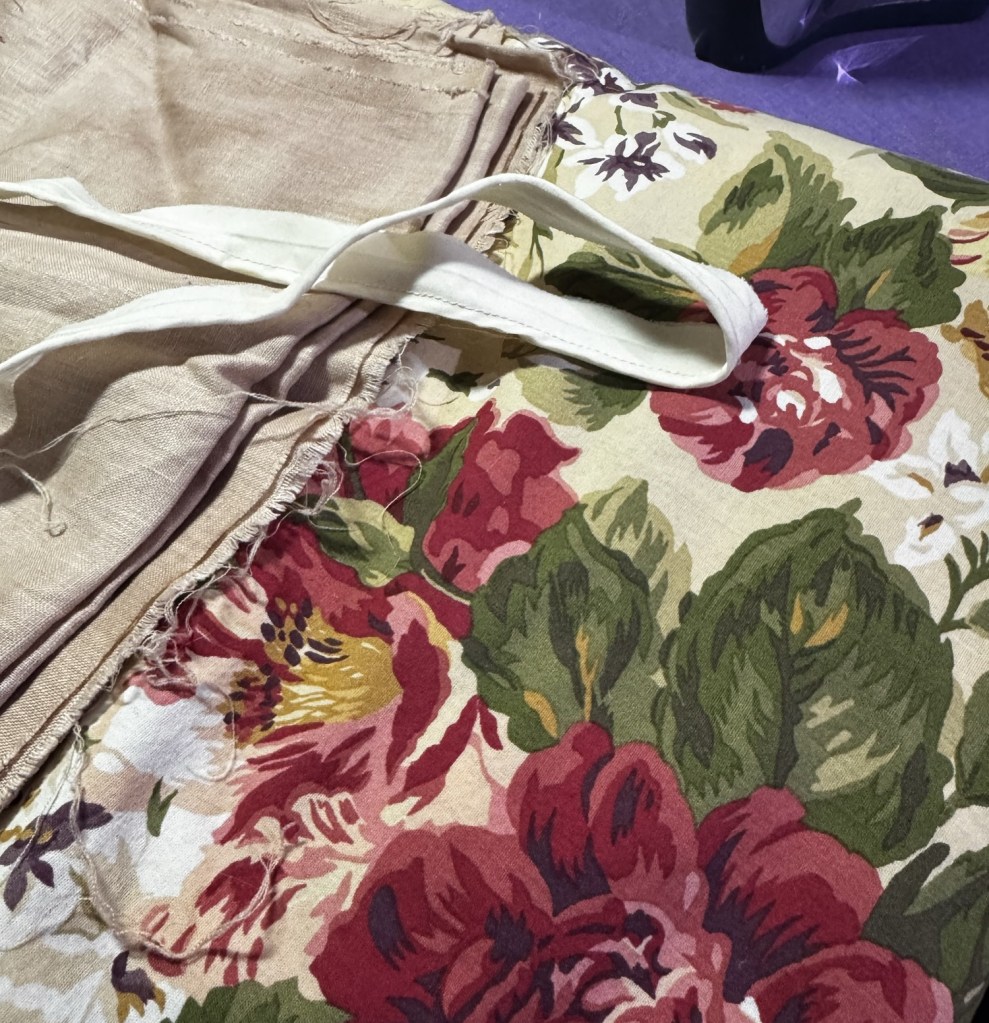
(I almost used cream piping but then changed my mind)

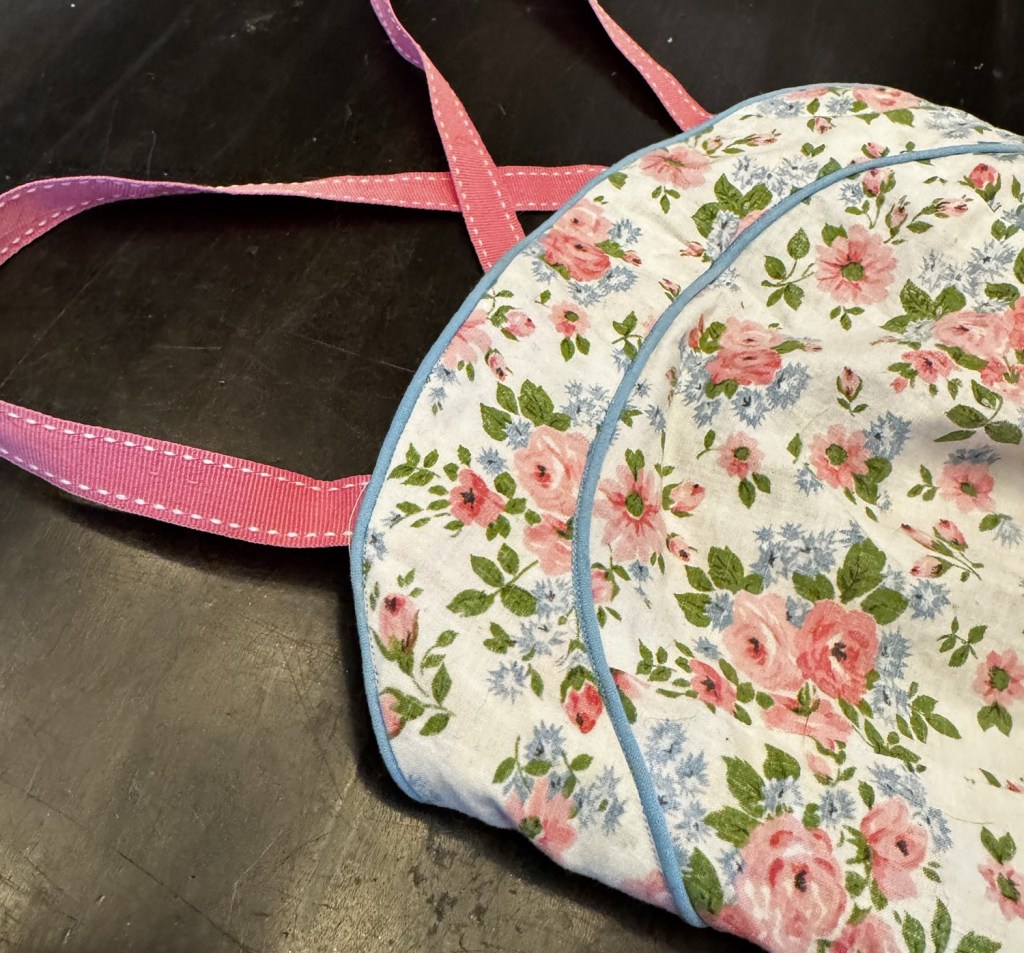
I almost made a simple version in some cream linen (with matching battenberg lace), but in the end I went with this very Oonatastic floral print inherited from my mom’s stash. I can’t seem to get the colour right in photos, it’s a very warm dusty-rose sort of colour impression. I didn’t have anything like the 4 yard length that the pattern recommends, but then I realized that what I did have was a luxurious extra-wide drapery width. 1.5m is more than enough when your fabric is like 100” wide, it turns out, even when cutting directionally.

I chose this pink linen that Syo and I avocado-dyed a while back for the lining and, as it turned out, piping.

And on Mother’s Day (I requested a sewing and crafting afternoon from the kids, and that is what we did) I got started.
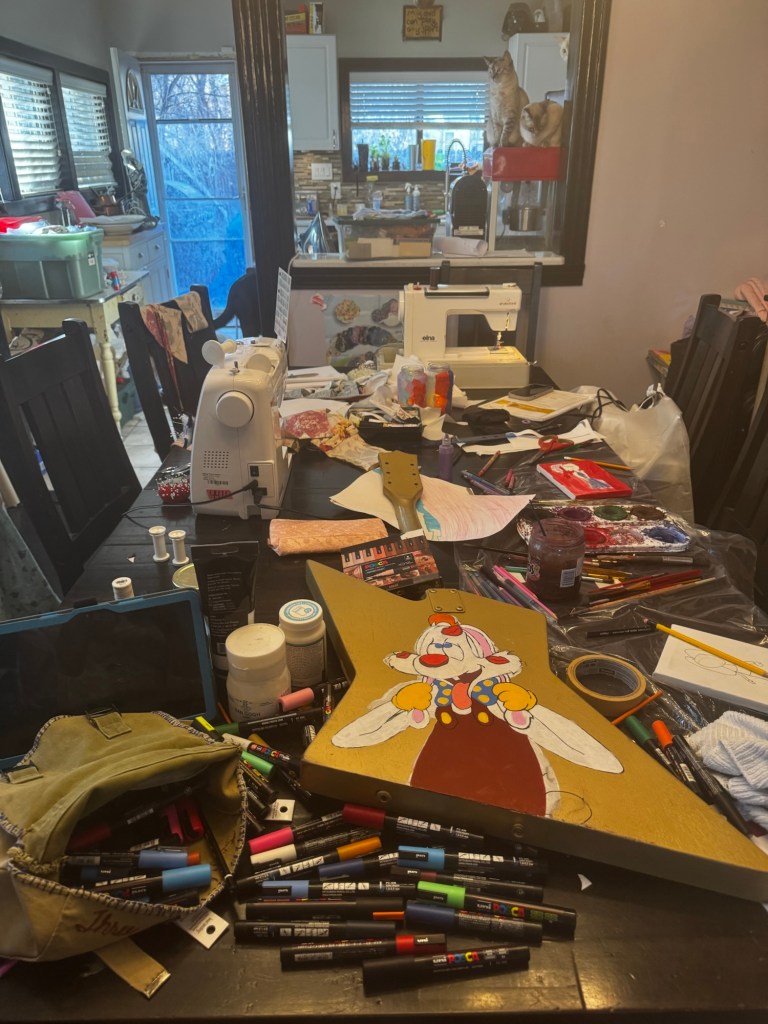
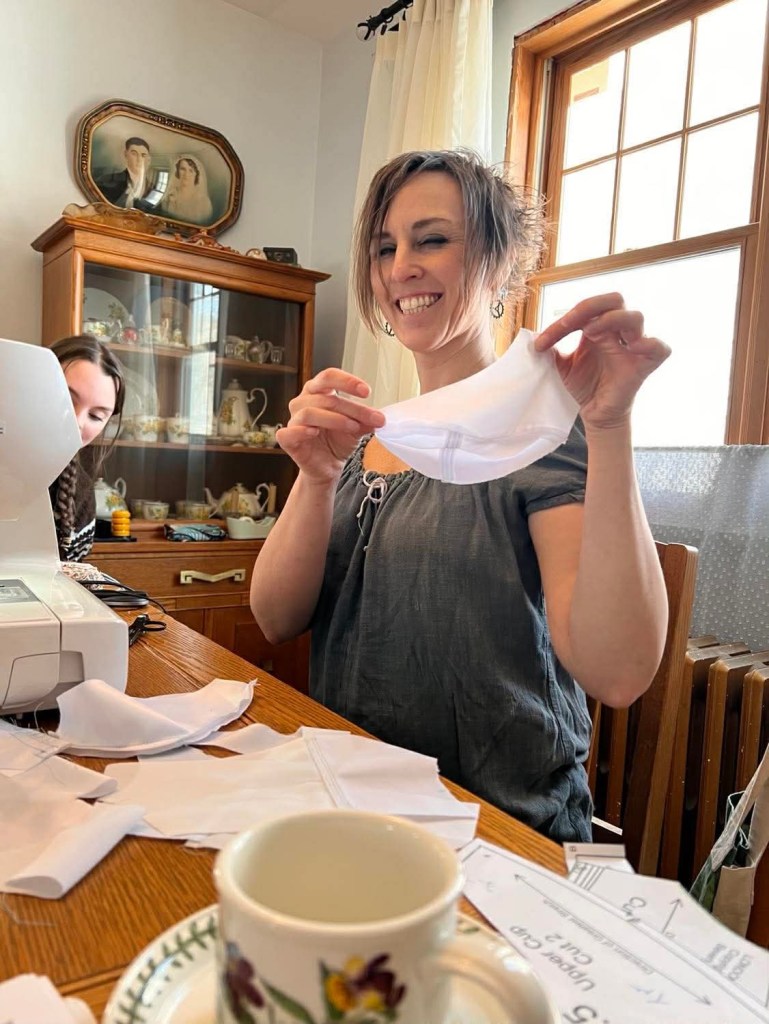
My dining room on Mother’s Day

I did not, alas, get finished.

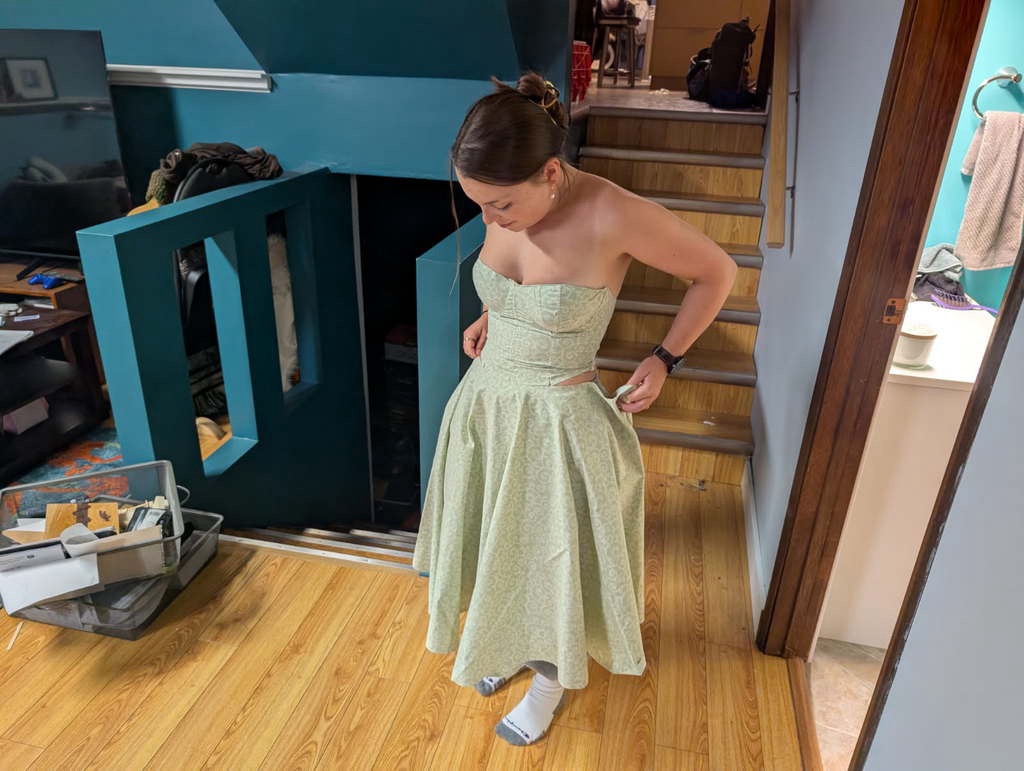
Marcy’s pattern has the most detailed and well-thought out instructions, full of helpful tips and details about how to press and grade the seam allowances for minimum bulk and best appearance. And, because I chose at the last moment to add piping around the bodice and then pockets (and then folding pockets!), I could basically follow none of them.
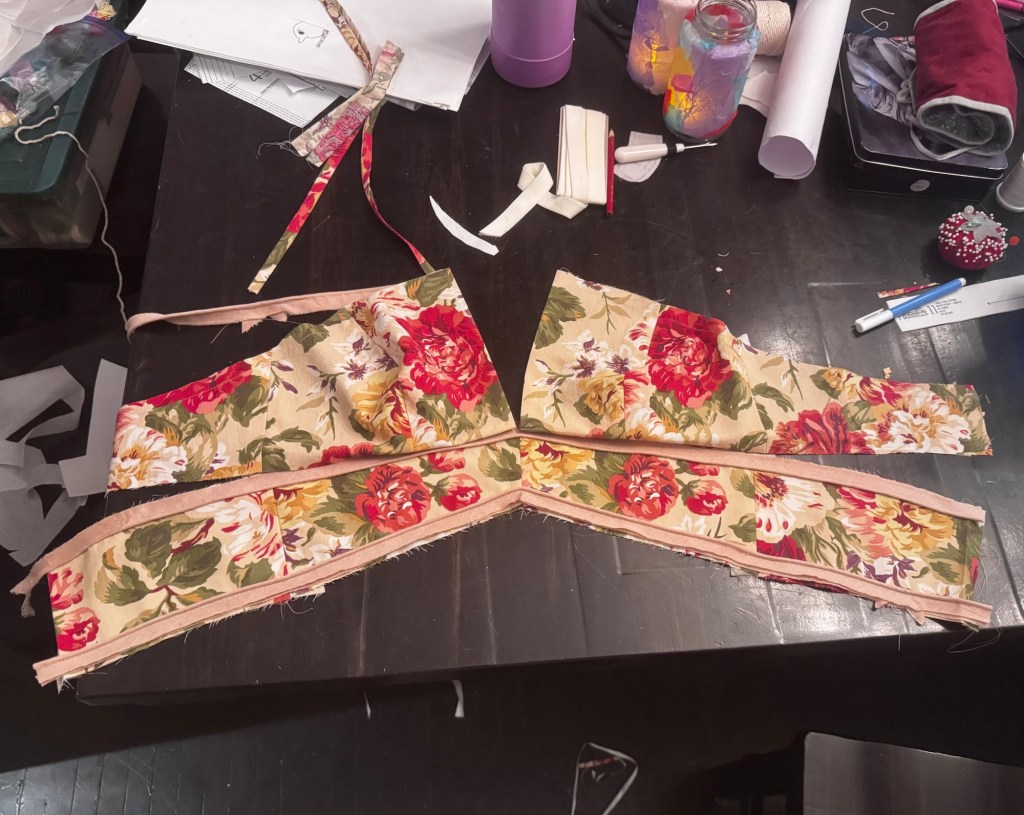
Not constructed as per the instructions!

First off, I decided I wanted the front midriff piece to extend all around the back. I thought this would look exceptionally nice when emphasized with piping—but piping it meant that I couldn’t use the recommended sideseams-last construction order, which is of course the best construction order for fitting.

Now, Marcy has included a whole other version of the bodice pattern pieces for making a toile, which are printed without seam allowances (so you can trace the seam lines on your fabric, or add your own extra-wide fitting seam allowances. I did not make a toile. Yes, we will come back to that.
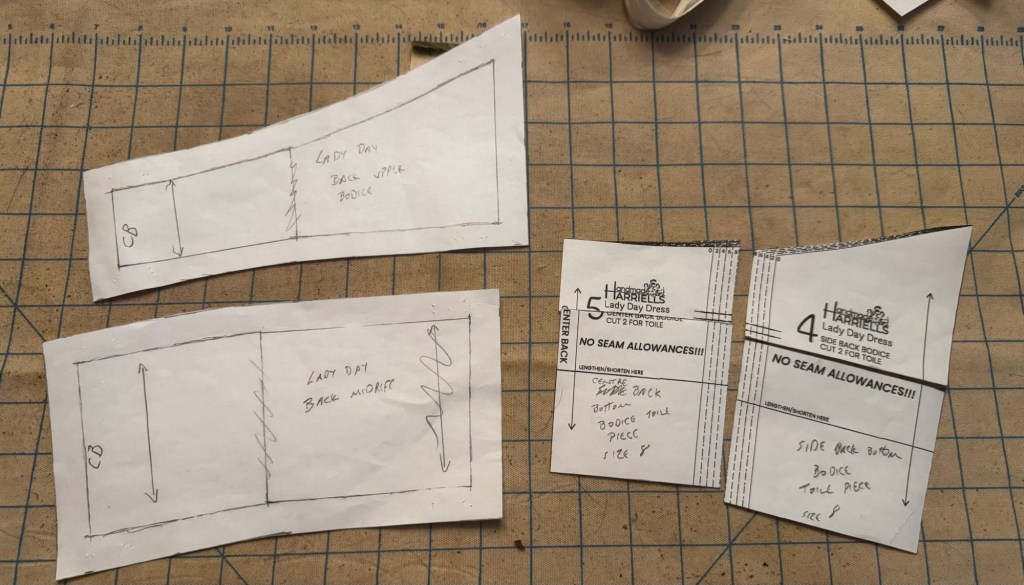
But I did make use of it to alter the back pattern pieces so that the midriff band carried all the way around as I could just cut the back bodice pieces at the point I wanted to add the seam. And then, to make my life a little simpler, I combined side back and centre back pieces, so at least I was still dealing with the same number of pattern pieces.

I did test the midriff fit against my body before I started adding piping, and took in the side-seams by 1/4” each (so 2” throughout the whole bodice). Some of this was probably meant to be taken out in the extra-wide centre back seam that I forgot all about, but only some. (But, the instructions are very clear that there is meant to be 1.5” of ease at the bust. I’m not sure what ease at the underbust/midriff that translates to, but regardless, I wanted less.)
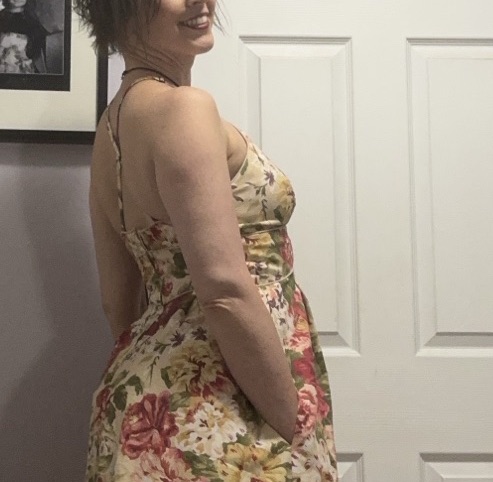
I obviously needed pockets, of a size and drama worthy of the dress. Since I wanted to minimize the inevitable pull-down on the side-seam when I stuff my giant phone case in there, I wanted the style where the pocket bag extends up to the midriff band. And somehow I also decided they shouldn’t have a seam, but should be constructed from one piece folded to the middle.
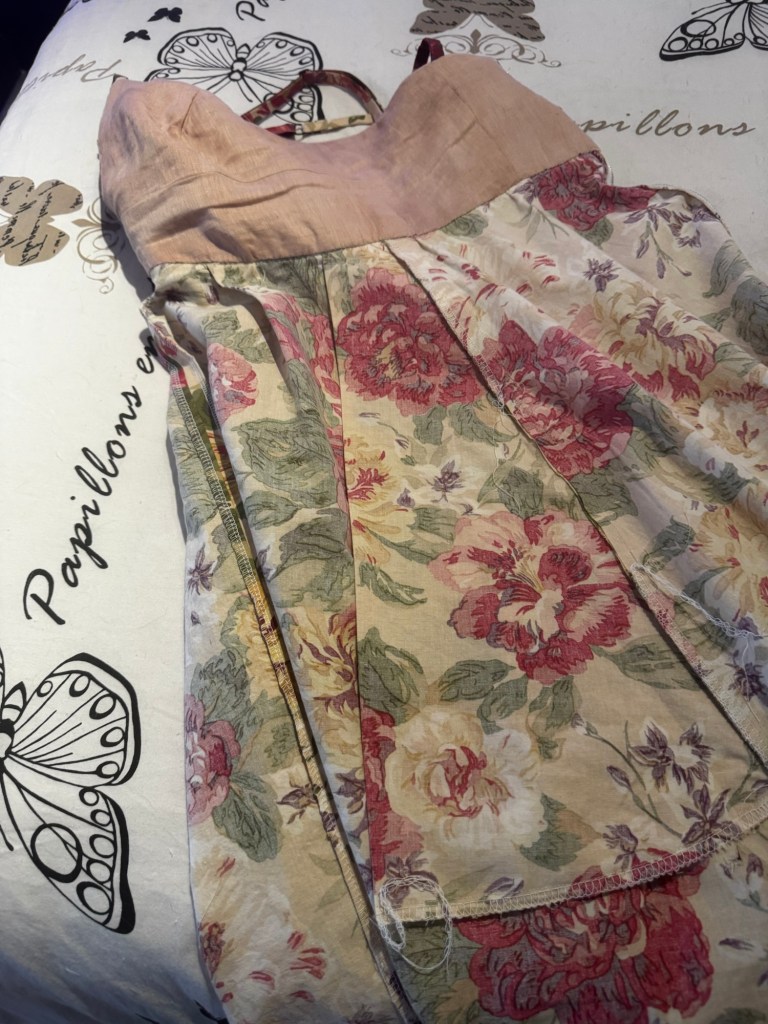
One XL pocket please

And that I should figure this puzzle out in the midst of the bedlam that was four children and three dogs all attempting to Art in my dining room at once. Anyway I don’t think my seam finishing was ideal and there ended up a bit more clipping of seam allowances than I’m super comfortable with, but I did get them constructed and the exterior, at least, looks nice, and most of the interior layers have finished seams. And with the weight suspended from the midriff seam in the front the pulling when I chuck my phone in is minimal.
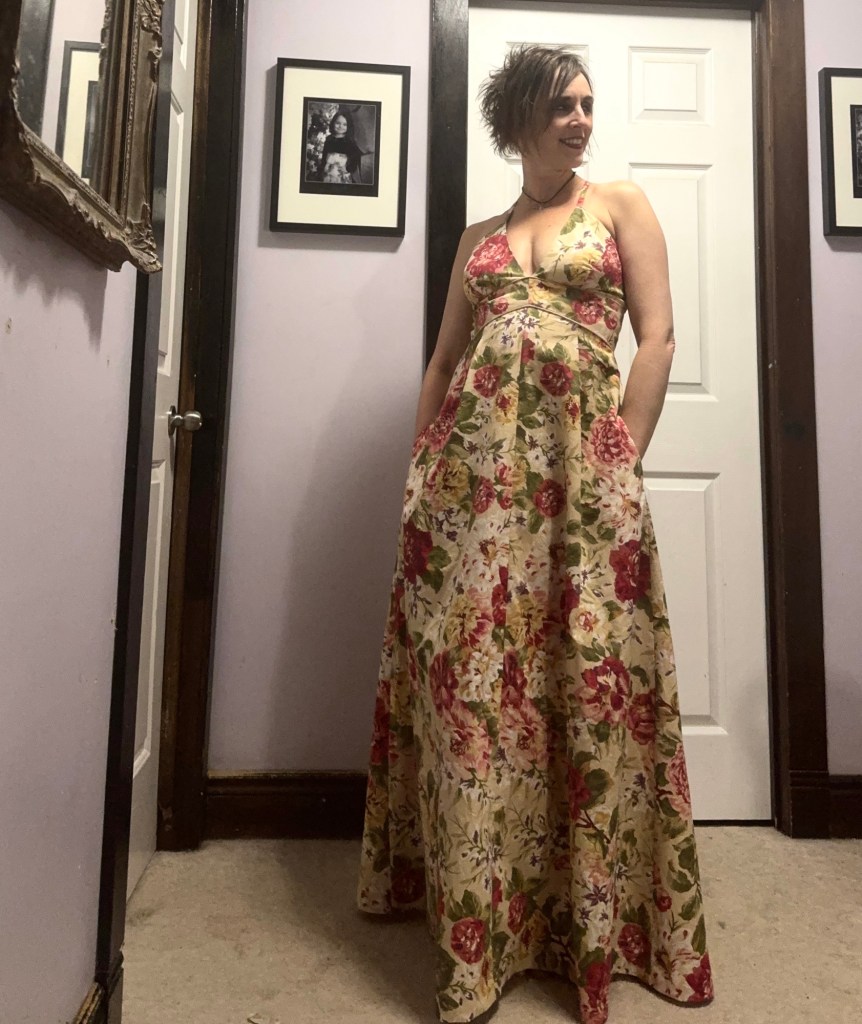
Now, as mentioned before, I was of course jumping into all this without making any kind of a mockup. The pattern is designed to facilitate that kind of on-the-go fitting, what with doing the sideseams last, but I had of course thrown that to the wind when I decided my midriff pieces needed to be piped continuously. And then added piping to the top seam of the bodice as well. Which looks great, of course—it actually looked perfect, and my seam was turned perfectly with the lining and the straps and everything looking gorgeous. And then I finally got the (centred) zipper basted in and…

I needed to take in the top edge at the princess seam. A lot.

I tried taking it in at the zipper at the back instead. This helped but not enough. There was just too much extra room around my upper bust, right in the front. This wouldn’t have been much of an issue except I had, as I said, added piping all along that seam. And graded (trimmed) a bunch of seam allowances to reduce bulk. And instead of unpicking an inch or two just at the junction with the princess seam to take it in (about 1.5 cm at each seam, curving to about 3mm at the bust apex and tapering to nothing just below that), I had to unpick the whole upper edge, all the way to the centre front, on both sides, so I could remove the excess piping there. In hindsight I could’ve waited to pipe that seam until after the skirt was attached and the zipper installed, and done a try on before, but, well, that’s not what I did. So, I unpicked. It took forever. I probably stretched it out a bunch while I did it. And my second go at lining everything up (what with all the graded seam allowances and things) isn’t quite as clean as the first. But I did get it back together. And it fit!
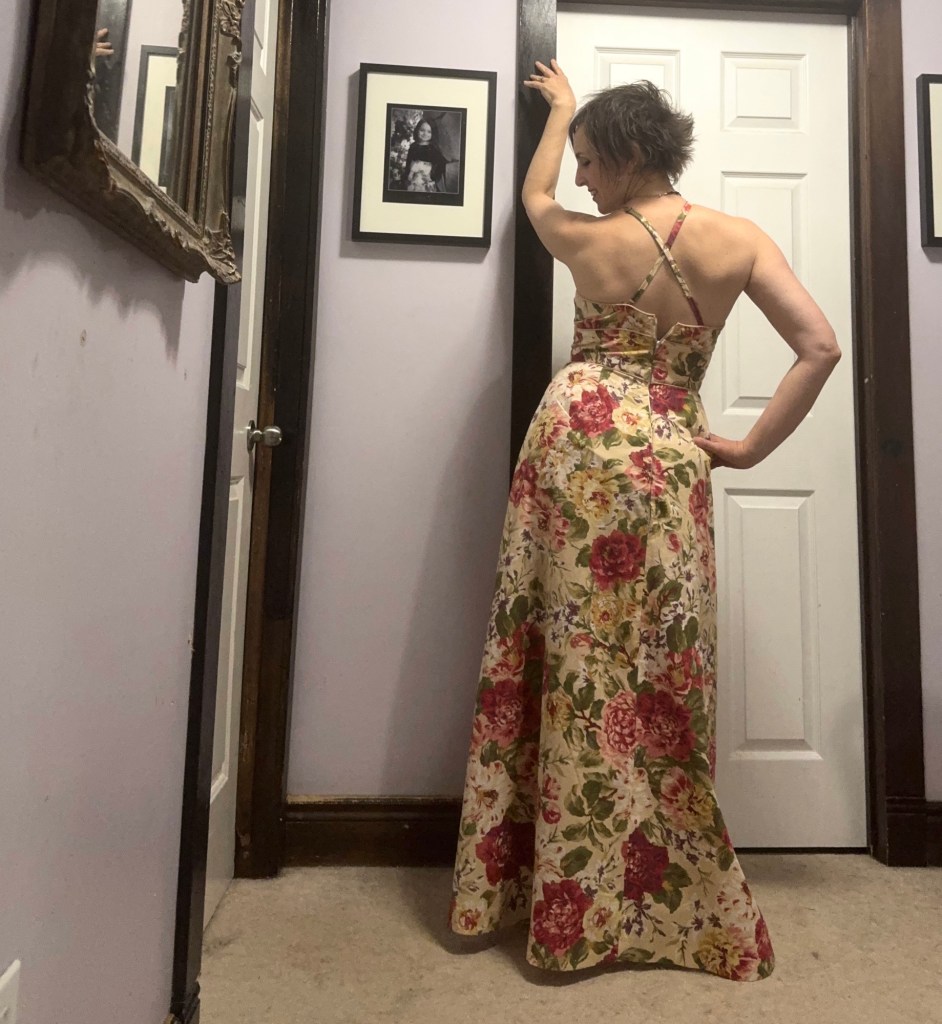
Also, my vintage zipper needs a vintage hook and eye at the top so it doesn’t scoot down like this all the time.

And then I just had to finalize the zipper insertion. And finish the bottom of the lining. And hem.
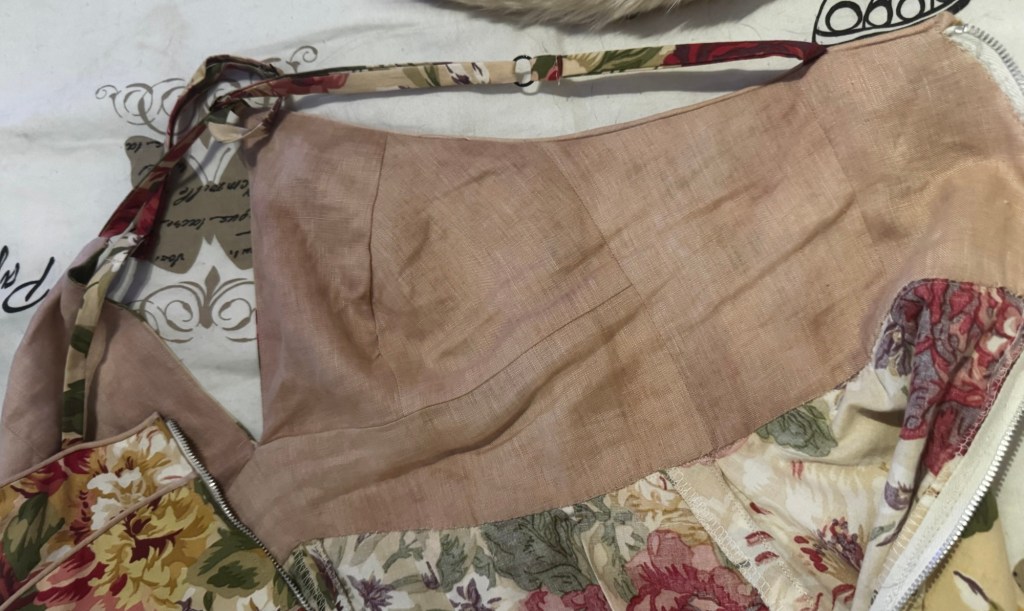
Well, the last two were quick and easy, at least. The centred zipper insertion shouldn’t have been bad. The instructions called for reinforcing the area with interfacing, which is always a good idea in my opinion, and I had done so. My initial basted-in version looked great. But then I had to take in the top portion of it. And then when I re-sewed after that, I got a big fold on one side. And then when I fixed that I realized my piped seams no longer lined up. And, well, enough drama that I longed for the simplicity of an invisible zipper insertion. It’s funny, conventional wisdom is that the centred zip is the easiest, but I never really find that it is.
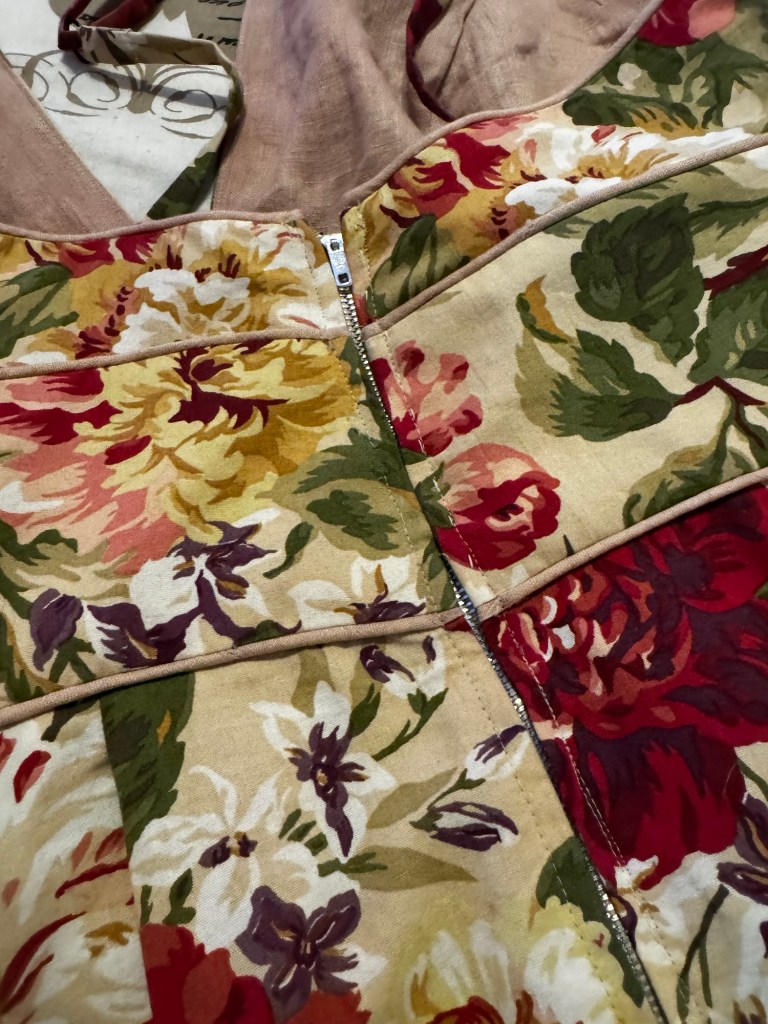
Ignore the remnants of the hand-basting I haven’t quite managed to get out yet.

Anyway, once I was finished with all that drama, closing up the lining by hand, and then finishing the hem with a machine blind stitch (because at this point I was doing weekday sewing which is always squeezed tight around supper and bedtime these days) went down quite easily. I did a 1.5” hem on the unaltered skirt length and it’s just possible I left it a little long, but I also love it. So we’ll see how dirty it gets in real life.

To do a bit of postmortem on the fitting: I didn’t shorten the bodice, and perhaps I should have, even 1/4” at the side? I did a last-minute swayback adjustment on the skirt pieces only (so as not to mess with the proportions of my midriff piece) but a small bit of shortening at the CB might help, too, as I feel like there’s a bit of wrinkling from too much length there. It’s close enough it won’t bother me once I’m done staring at these pictures, though.
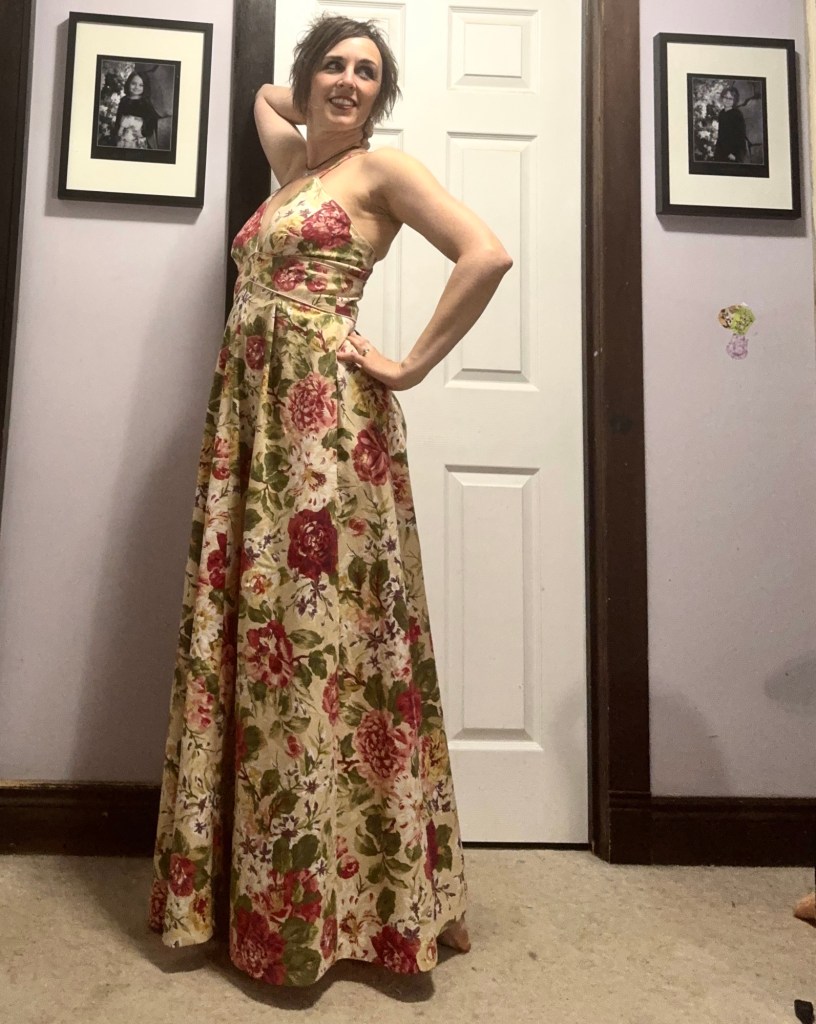
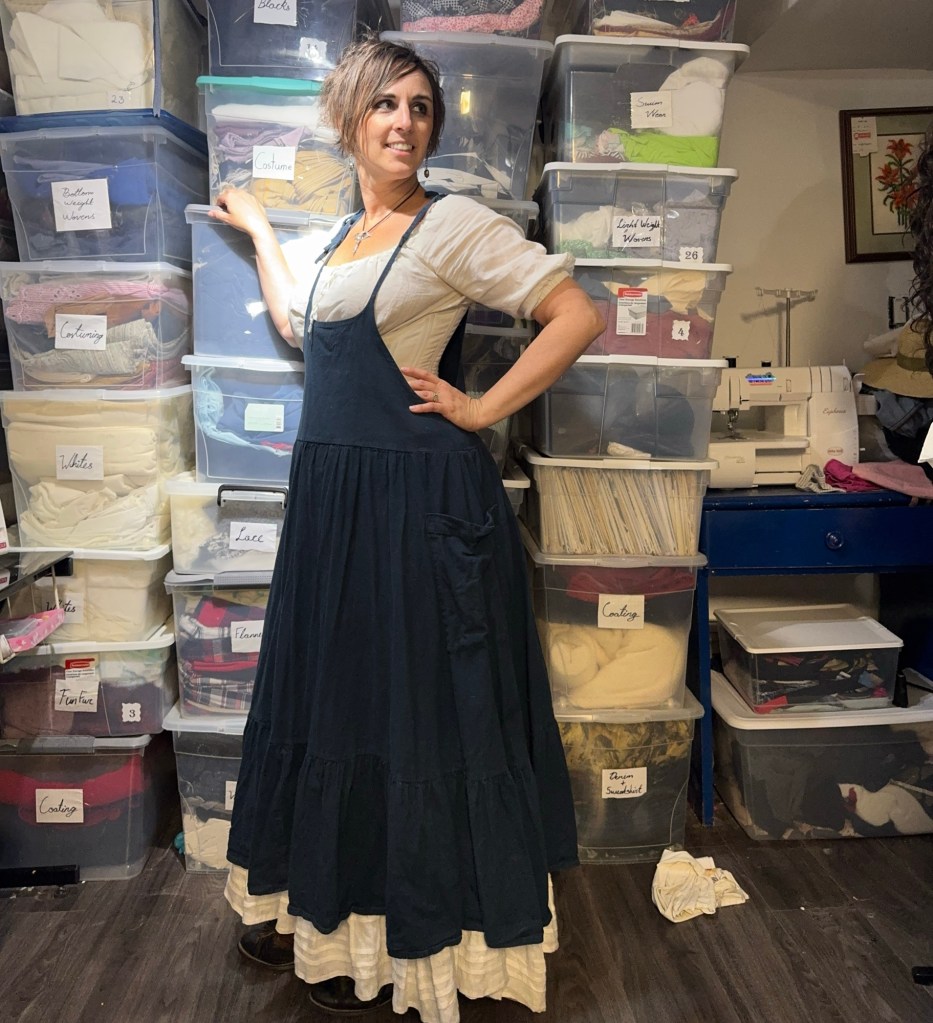
All in all, I gotta say, I love it. Cute little bodice. Big dramatic skirt. Fashion illustration vibes. The skirt is long, but not overly full, actually, and I could imagine widening it, especially in a lighter-weight fabric, or a shorter length. I actually think the bodice would be amazing with some kind of knee-length handkerchief skirt. And I still like the idea of that cream-and-lace version…
Sewing in multiple scales (all tiny)

I didn’t do a lot of sewing this past winter, but something that is becoming a recurring theme has been sewing for dolls.

Now, my sewing practice began, technically, with sewing Barbie clothes when I was about 10. But when Tyo and Syo were little I didn’t feel much of an urge to sew for any of their dolls. While they did play with Barbies (and Bratz, at that time), the clothes the dolls came with were pretty awesome, and it didn’t seem necessary to mess around with tiny seam allowances when I didn’t have anything like the range of materials and teeny notions the doll companies had access to.

But, well, in the intervening fifteen or so years, things have changed. I won’t go so far as to say there aren’t ANY good doll clothes being made any more, but the proportion has definitely dropped relative to what I would have called dollar store crap in the past. And the nice ones certainly haven’t been on the dolls anyone has bought for the twins recently.

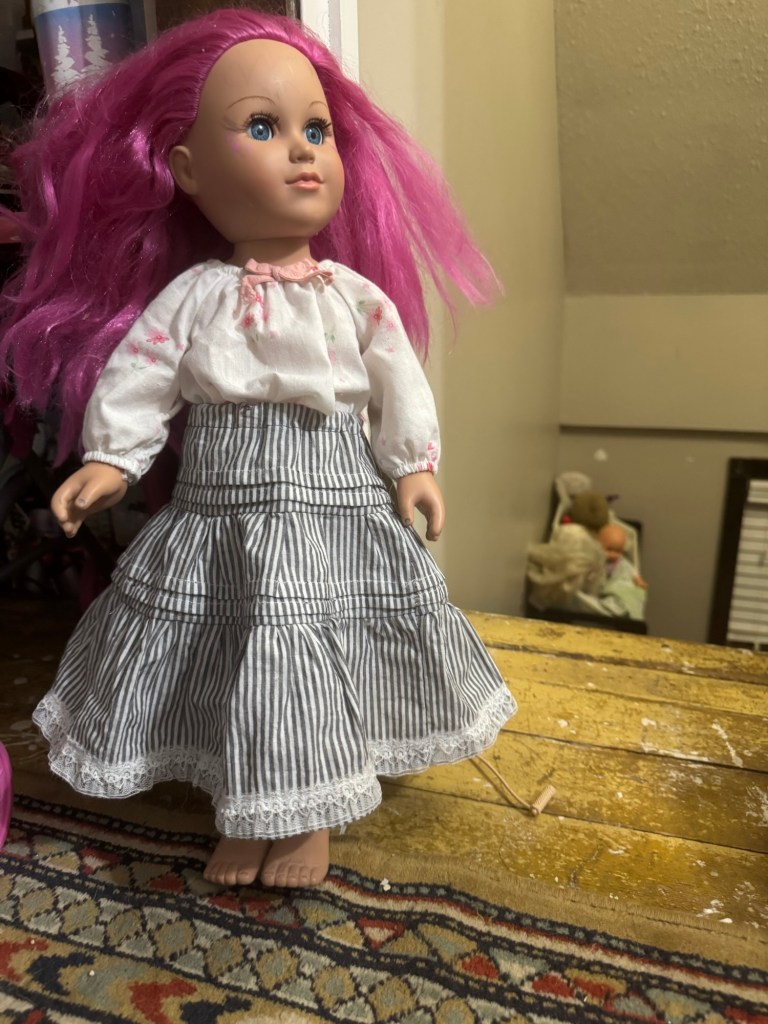
This little pink-haired doll came from the dollar store. Her dress… barely qualifies as clothes.

So, for better or worse, the urge to create some small (to very small) clothes has been building.

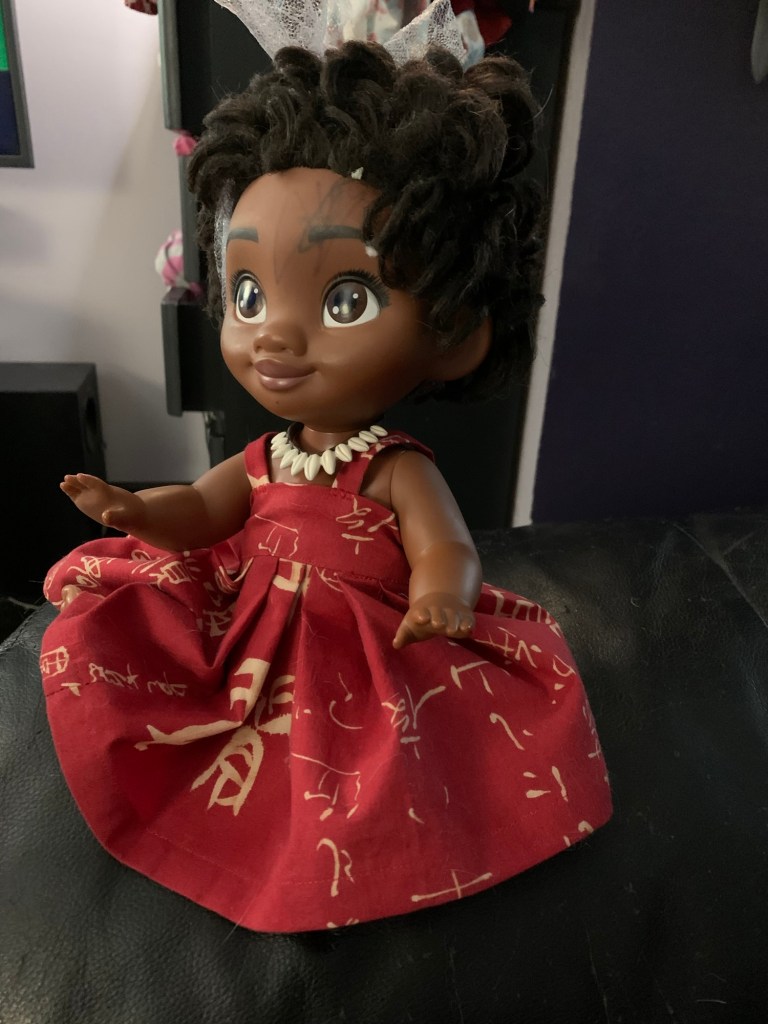
A dress for baby Moana. I actually forgot about this one.

It started slow and not terribly impressively, a few years ago I guess. Quick things, mostly rectangles. A dress for baby Moana.

Not screen-accurate, but I feel like it’s in the general style of the character.

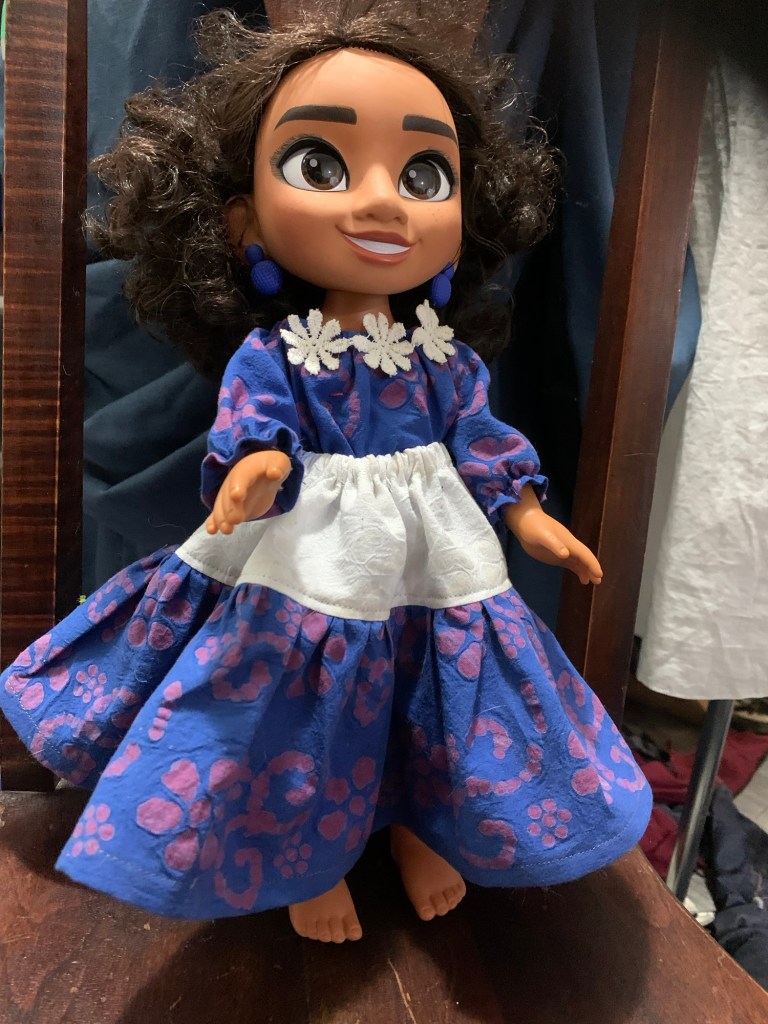
A better outfit for Mirabel than the travesty she came in.

Nothing too hard, not really any worse than the odd bit of baby sewing I have attempted in the past. 1/4” seam allowances work well, and the dolls’ child-shaped bodies make for pretty easy drafting of basic pattern shapes.

This dress came from an old rag-doll pattern.

Some quick petticoats and house dresses for the twins’ much-abused porcelain dolls. These never really captured anyone’s imagination, mine or the twins.

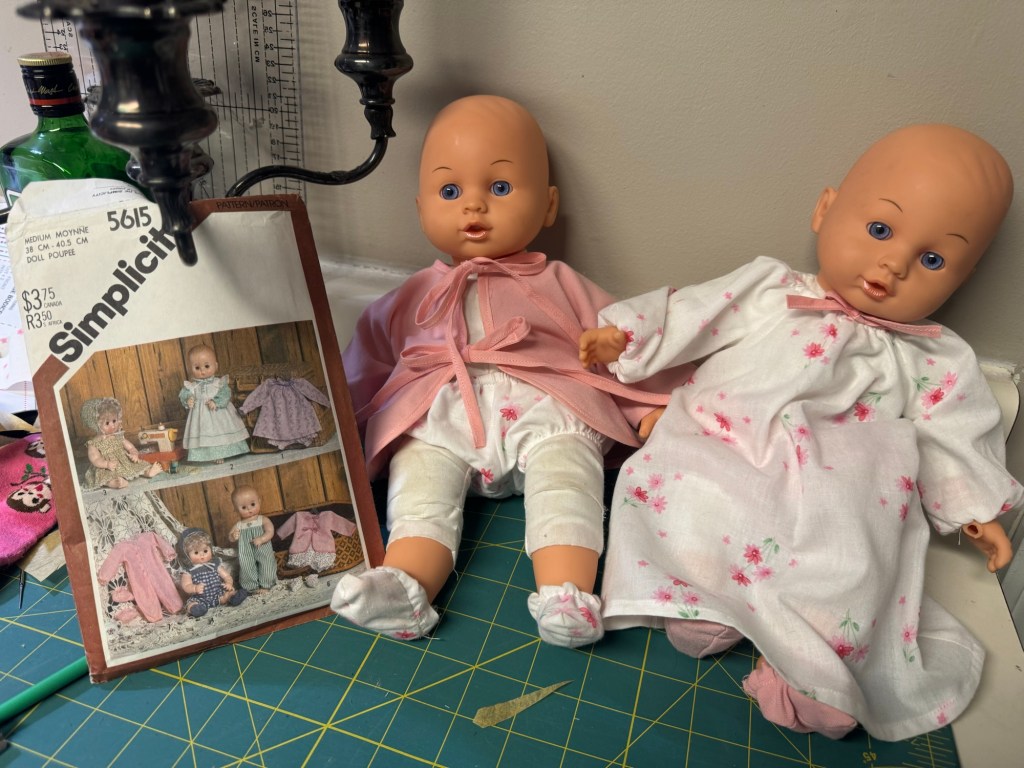
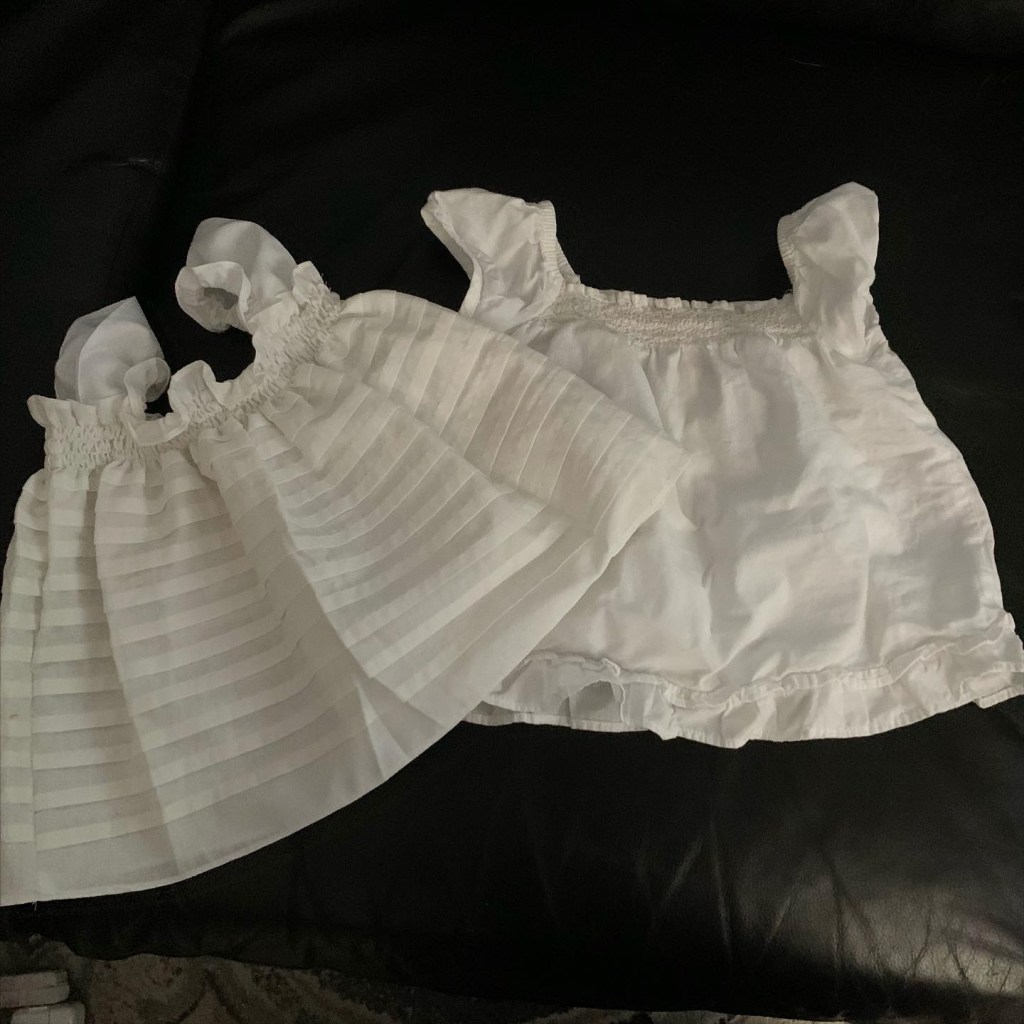
We mustn’t forget about the baby-doll clothes. These are from an early 1970s pattern, and have gotten a lot of use despite their simplicity. The twins were pretty disappointed I couldn’t supply the exact doll from the pattern cover, however.

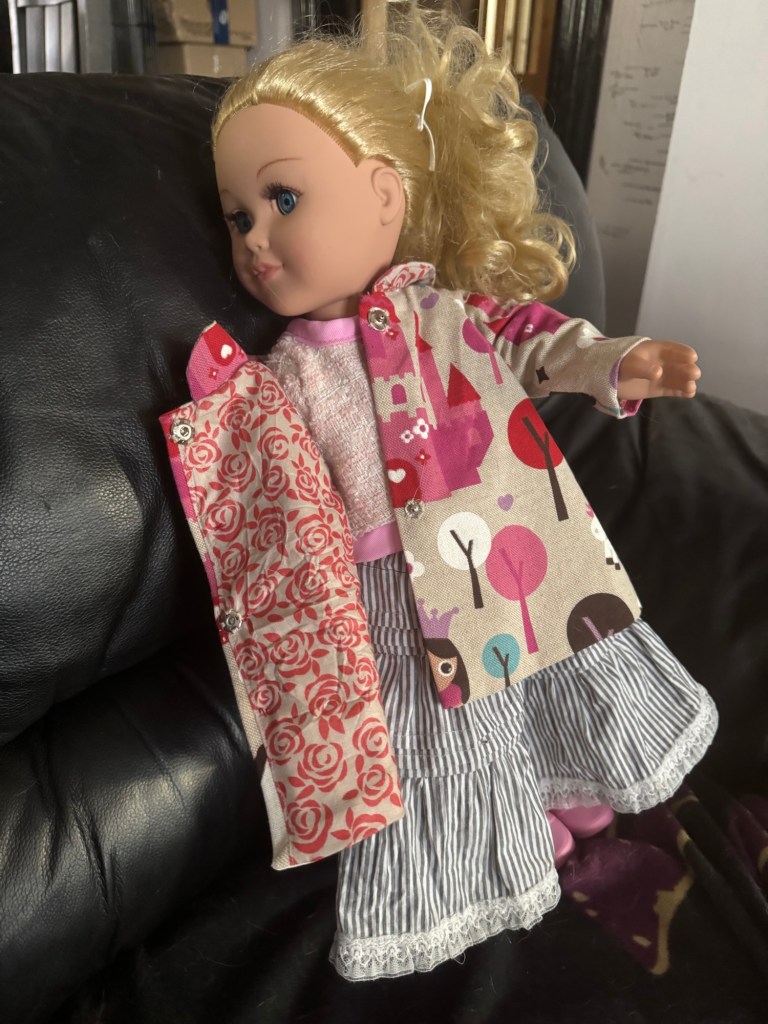
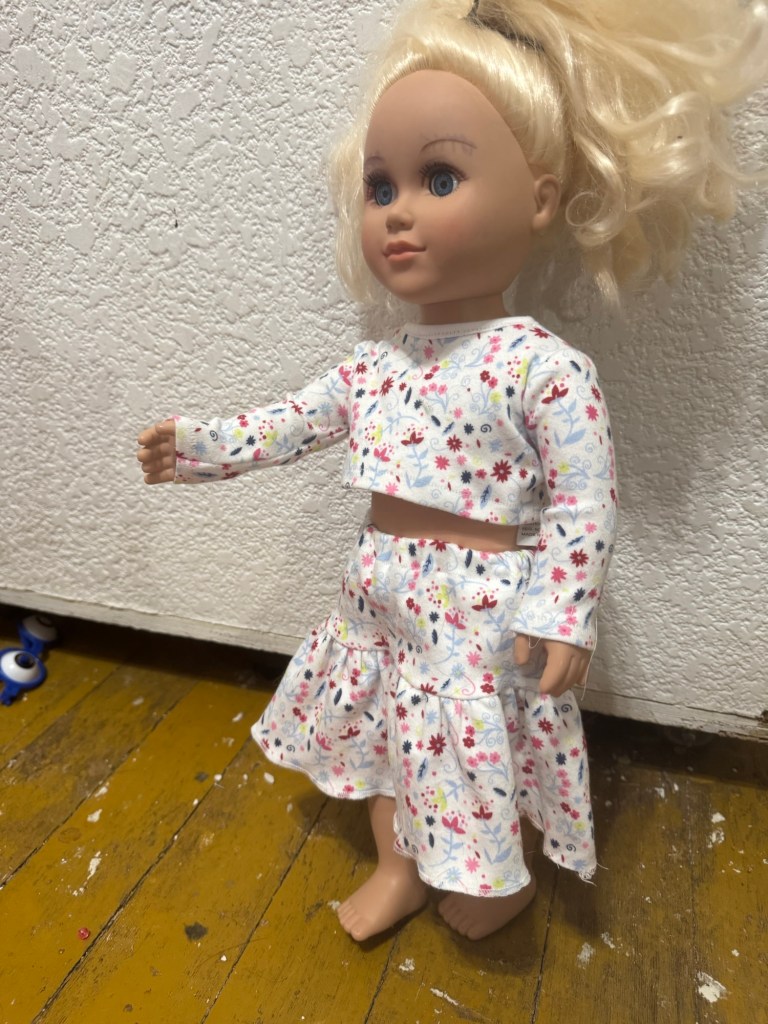
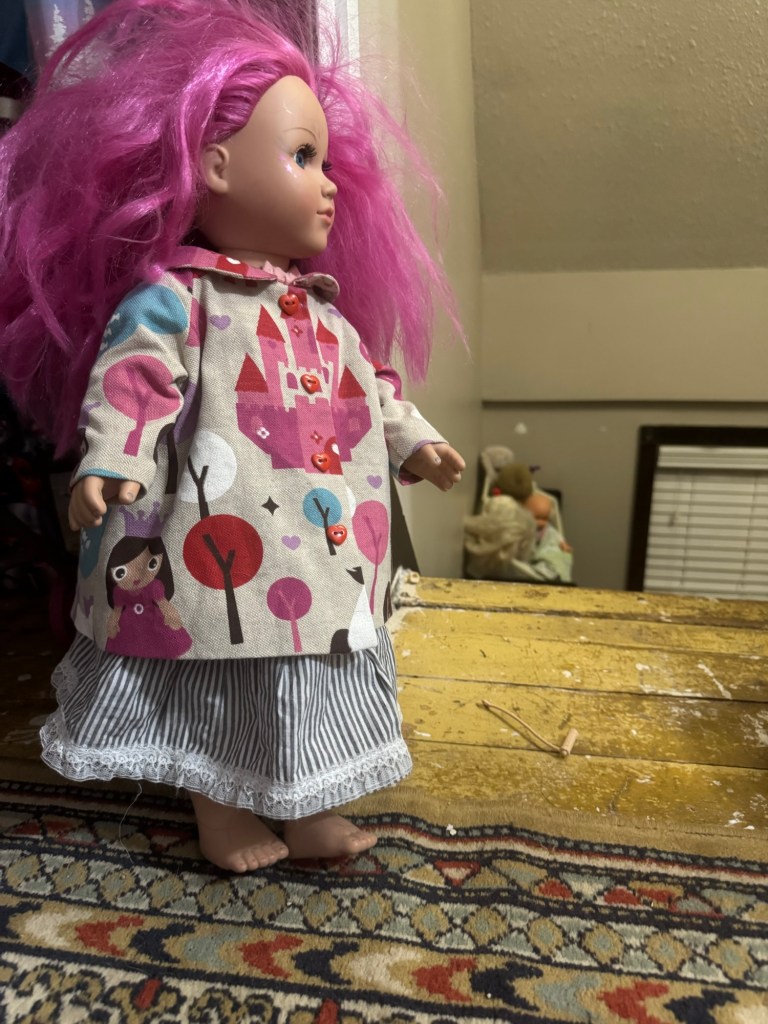
Then a natural progression into the 18” dolls. I modified the ragdoll pattern to make the raglan sleeve blouse… and the coat (which is even lined)

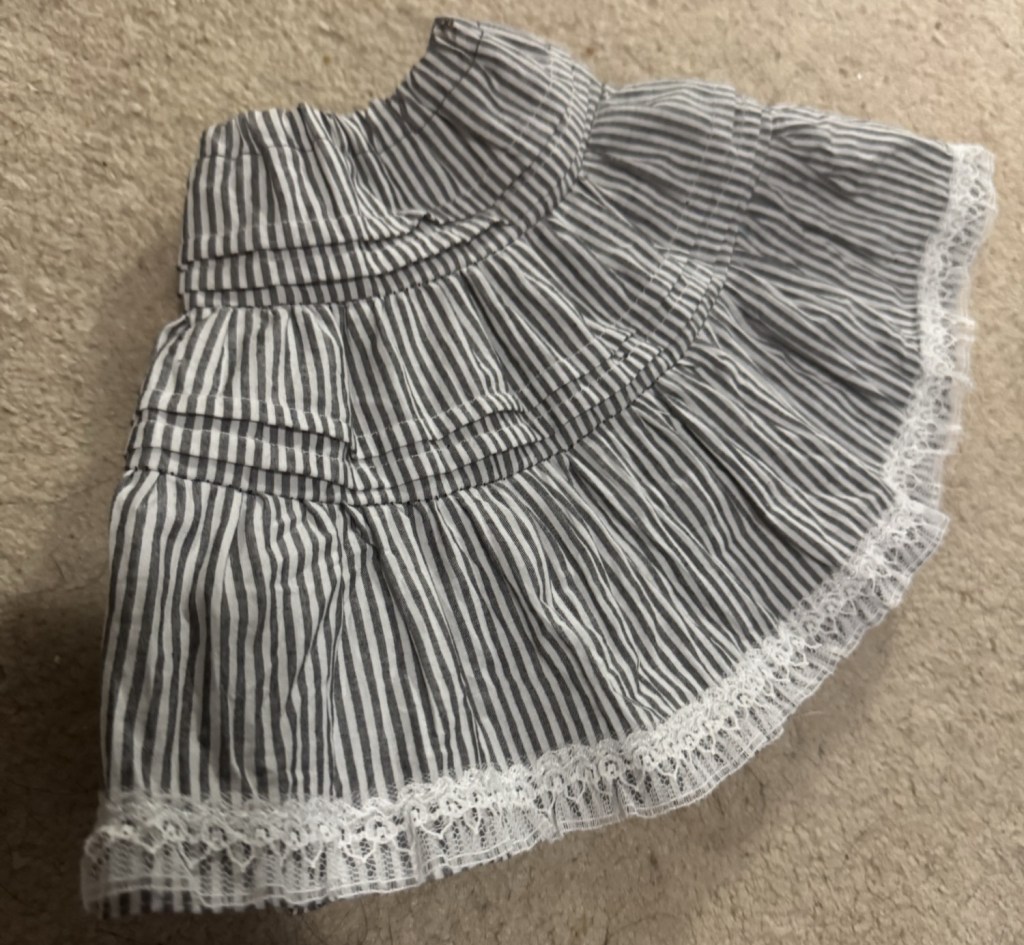
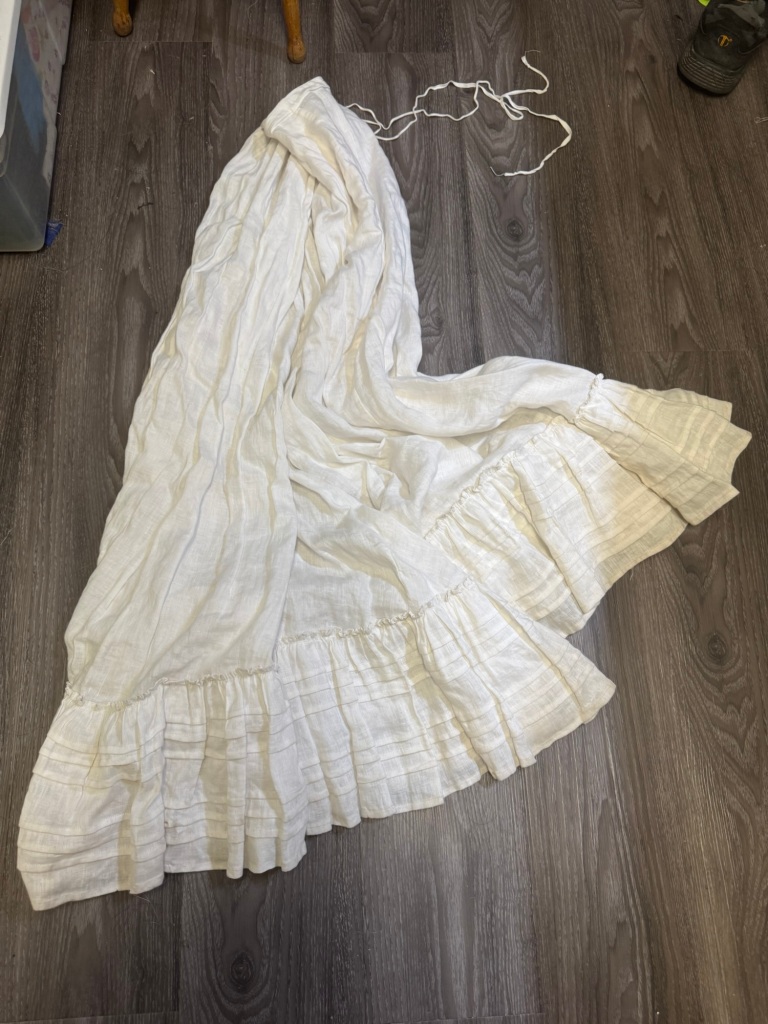
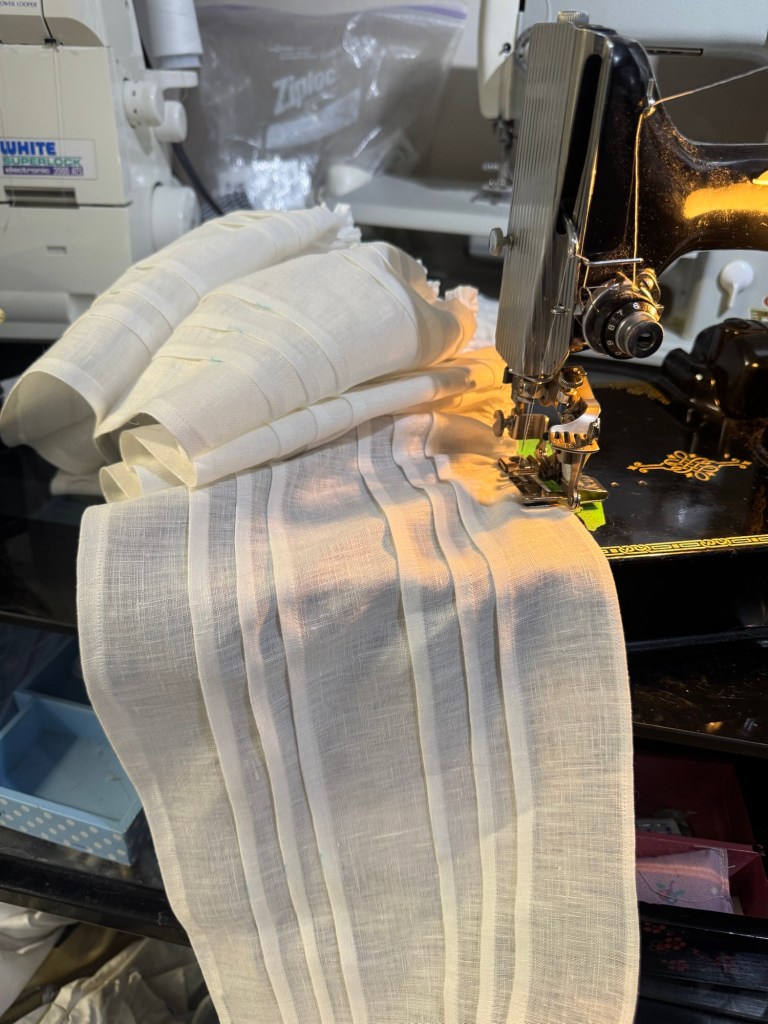
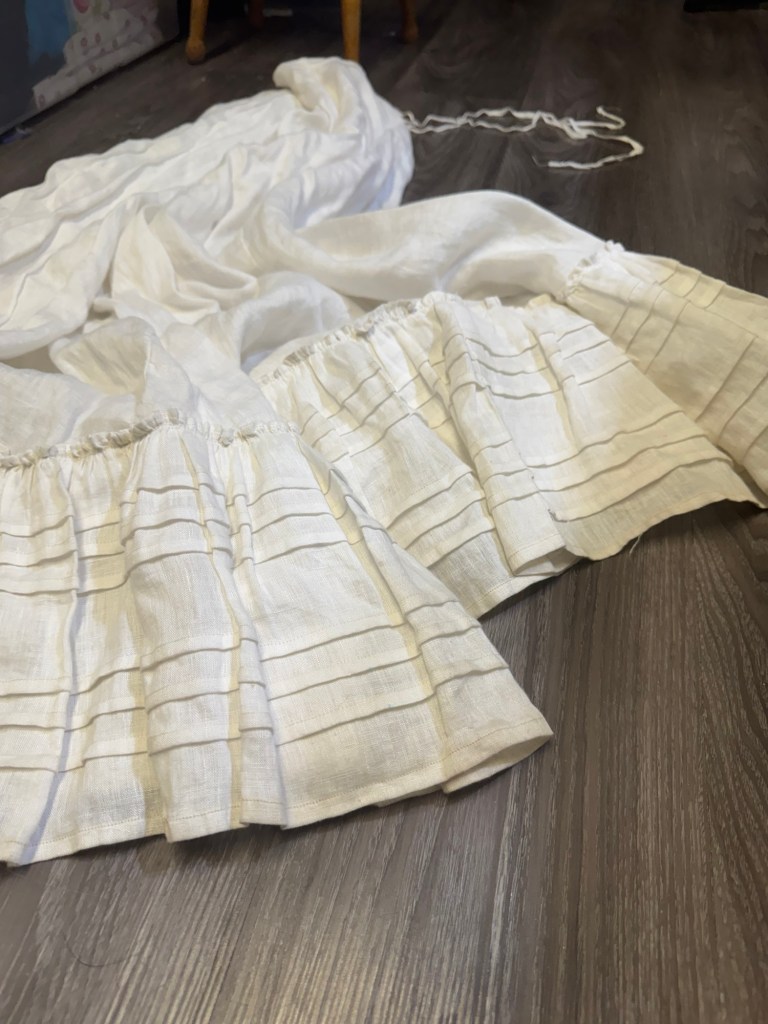
The skirt, obviously, more rectangles. I originally made all the tiers the same height, but the result was a bit long and I liked the proportions better when I added some pintucks to the upper tiers.

18” doll tiered skirt

I love how the lightweight cotton, narrow stripe and tiny lace work out at this scale. The trickiest part of the doll sewing has been allowing myself to dive into the details, setting aside time to make a nicely-finished garment.

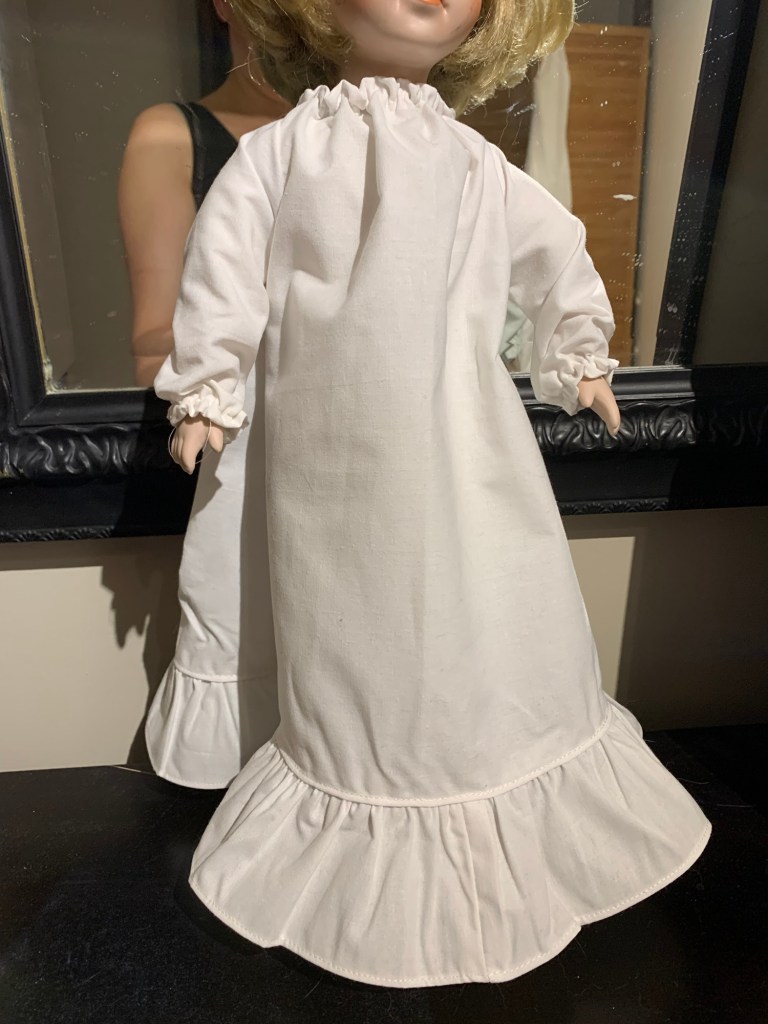
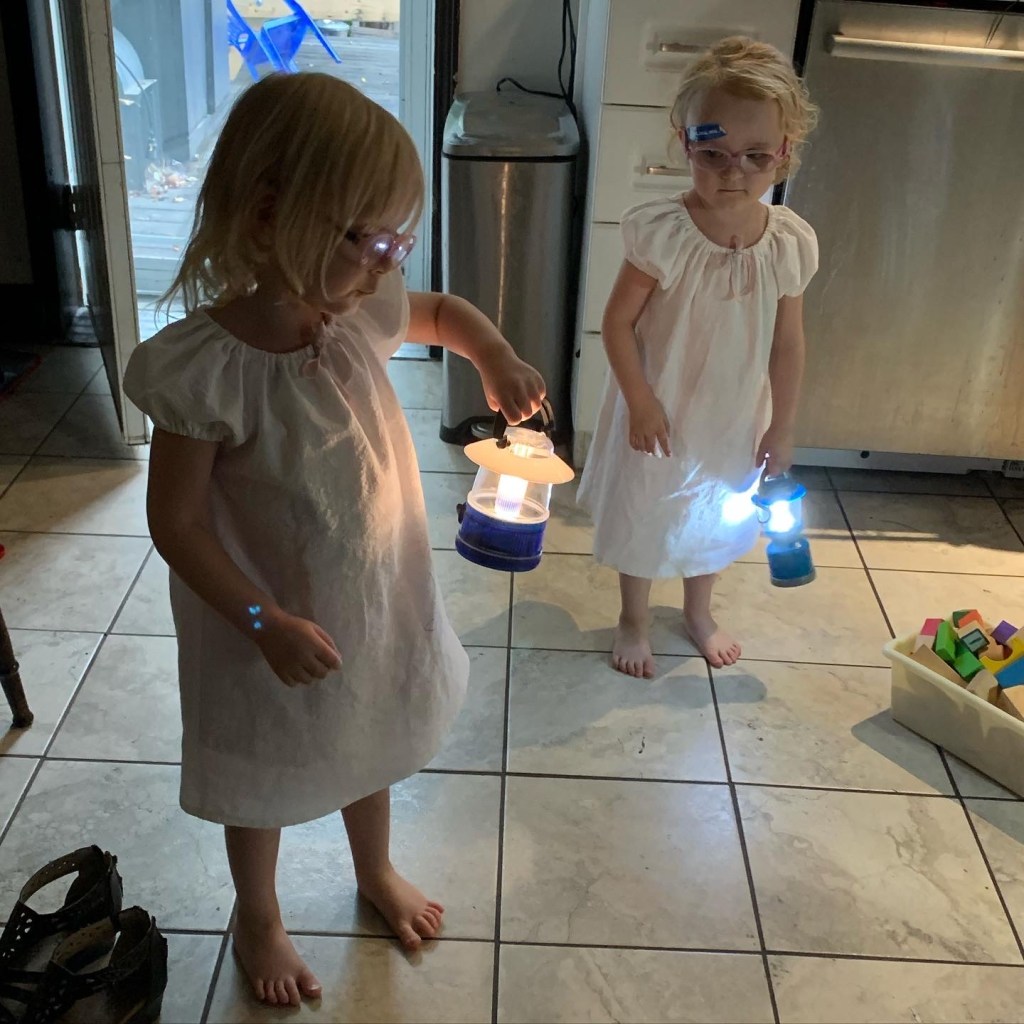
This outfit has been popular because the twins have a nightie out of the same fabric.
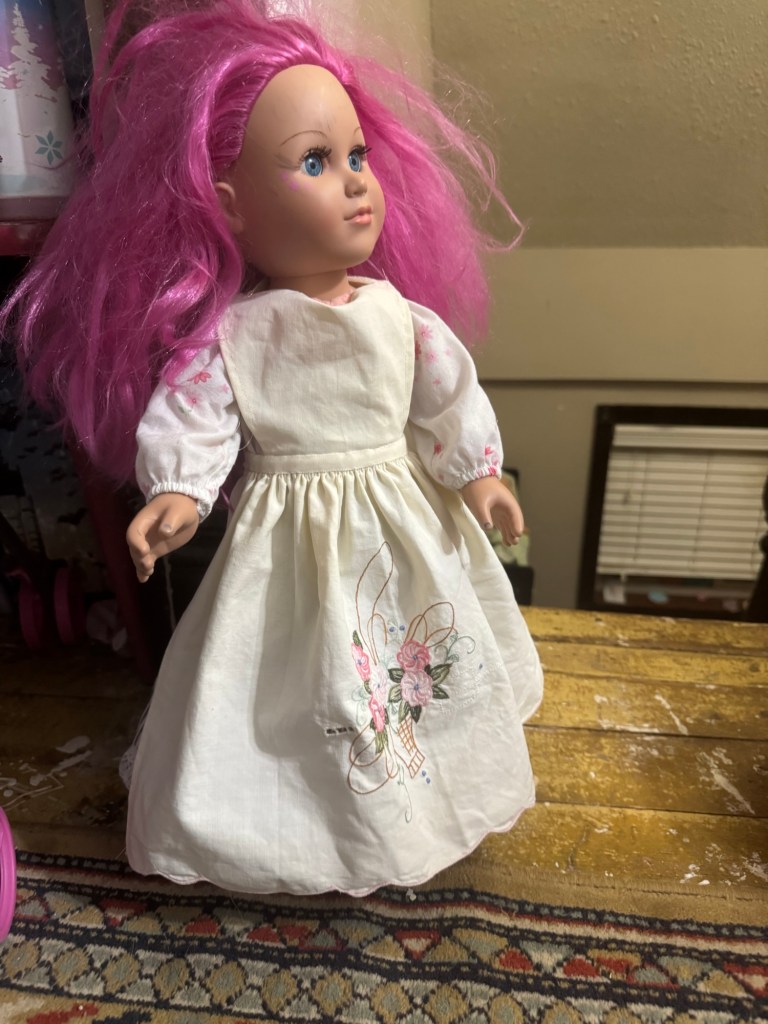
I free-handed this apron pattern from an embroidered pillowcase from my childhood. I wish I had checked the scale more carefully as the bib part is a bit large, but it’s still really cute.

I made a bunch of the 18” doll clothes last fall, but then last Christmas, I located a haul of store bought ones in a lot at the second-hand store, so the urgency faded. (I will say, the 18” doll clothes are doing slightly better than the Barbie-sized ones in terms of quality. Slightly.)

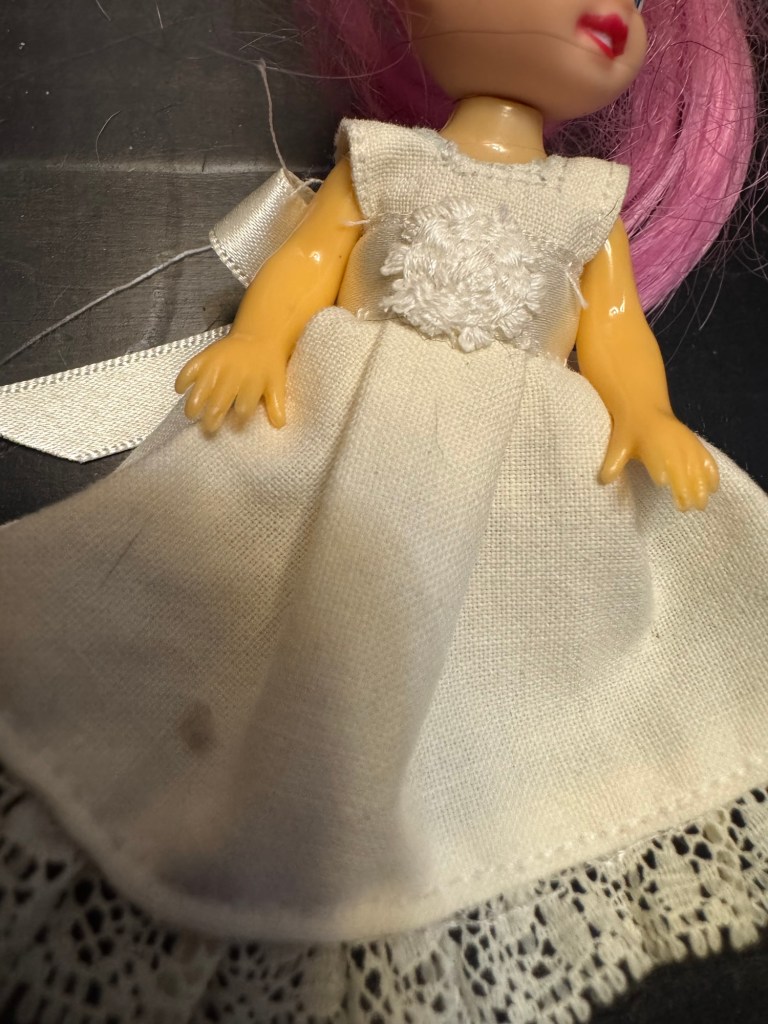
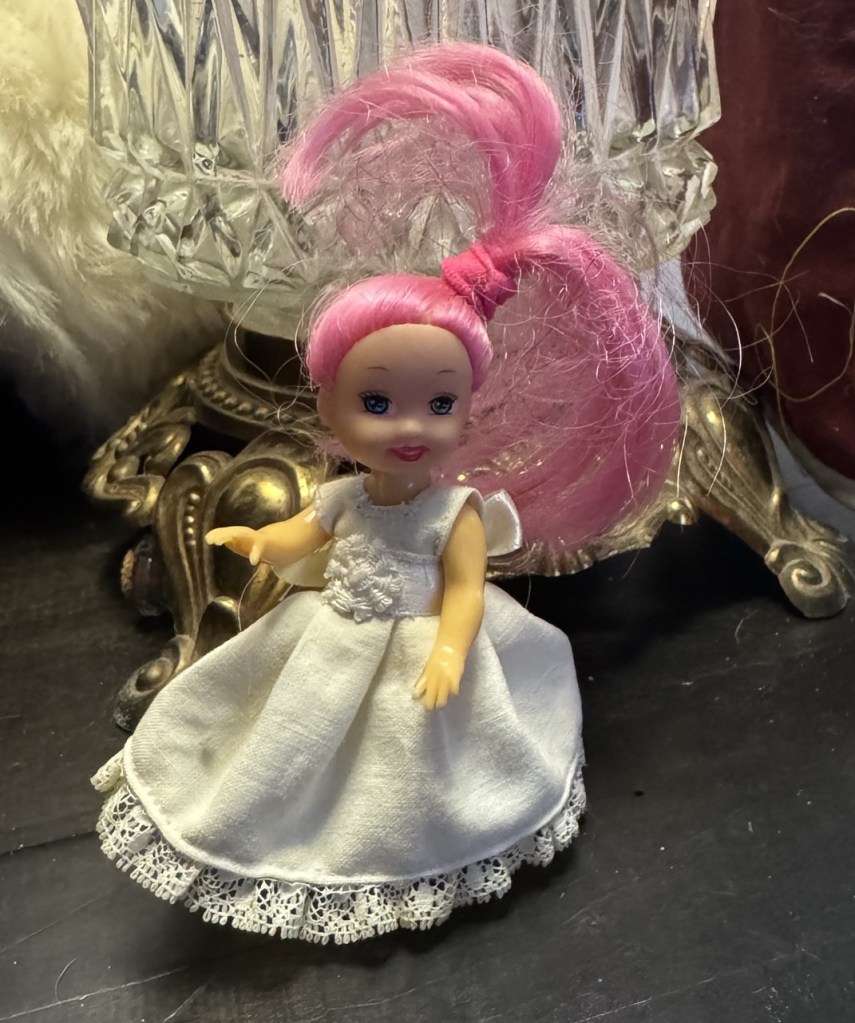
This doll is about 4” tall.

I did tackle this teeny tiny dress for this Chelsea-sized doll (Barbie’s littlest sister, if you aren’t a connoisseur of such things), since her original garment barely deserved that name. Though, I will say sewing at this scale is a whole other level of challenging, and other than the hems I constructed this one entirely by hand. I am disproportionately pleased with how it turned out, however, in particular with how I found the use for the tiny scrap of tiny lace at the hem, and the tiny flower motif for the front of the sash. It’s basically a pinafore, without even side-seams, anchored to the ribbon that forms the sash and holds the whole thing in place.

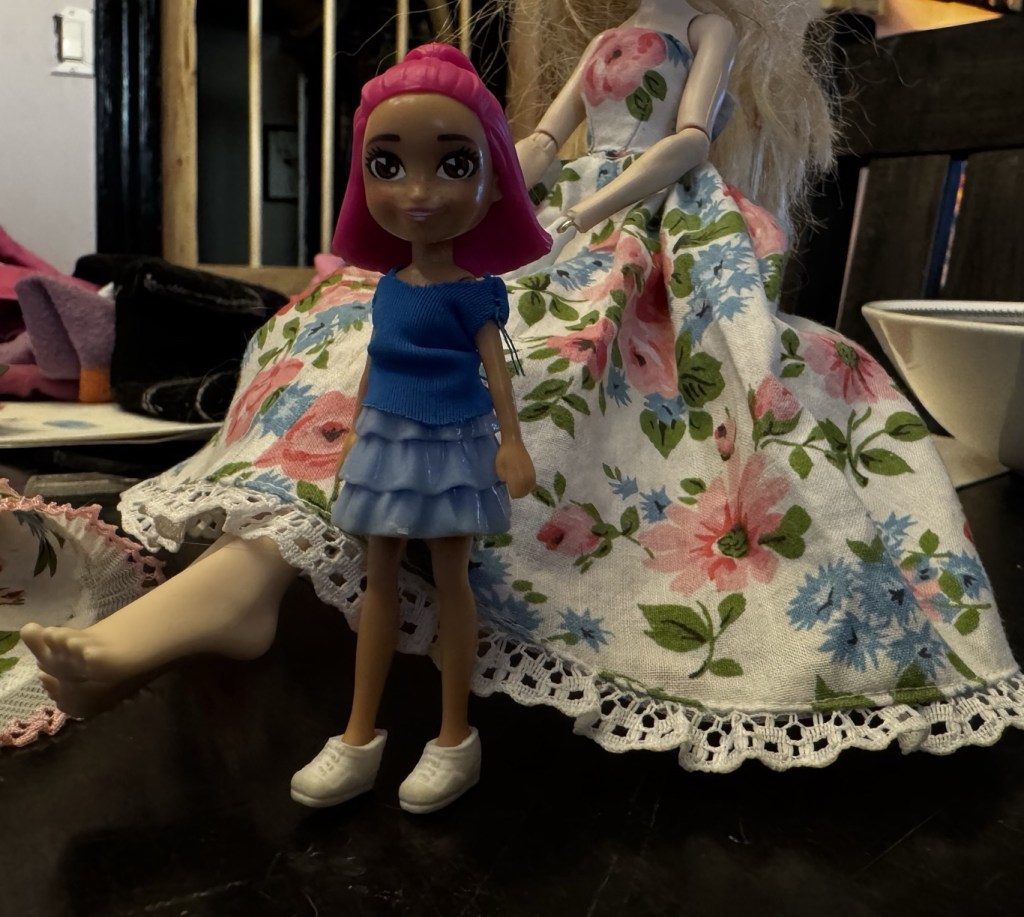
And I thought that that was the tiniest sewing I would ever try, until the twins came home from a birthday party recently with some Fashion Polly Pockets. Most of their clothes are made of rubber, but apparently they needed shirts. These are nothing to write home about, as I was definitely pushing the limits of miniaturization, but they made the twins extremely happy.

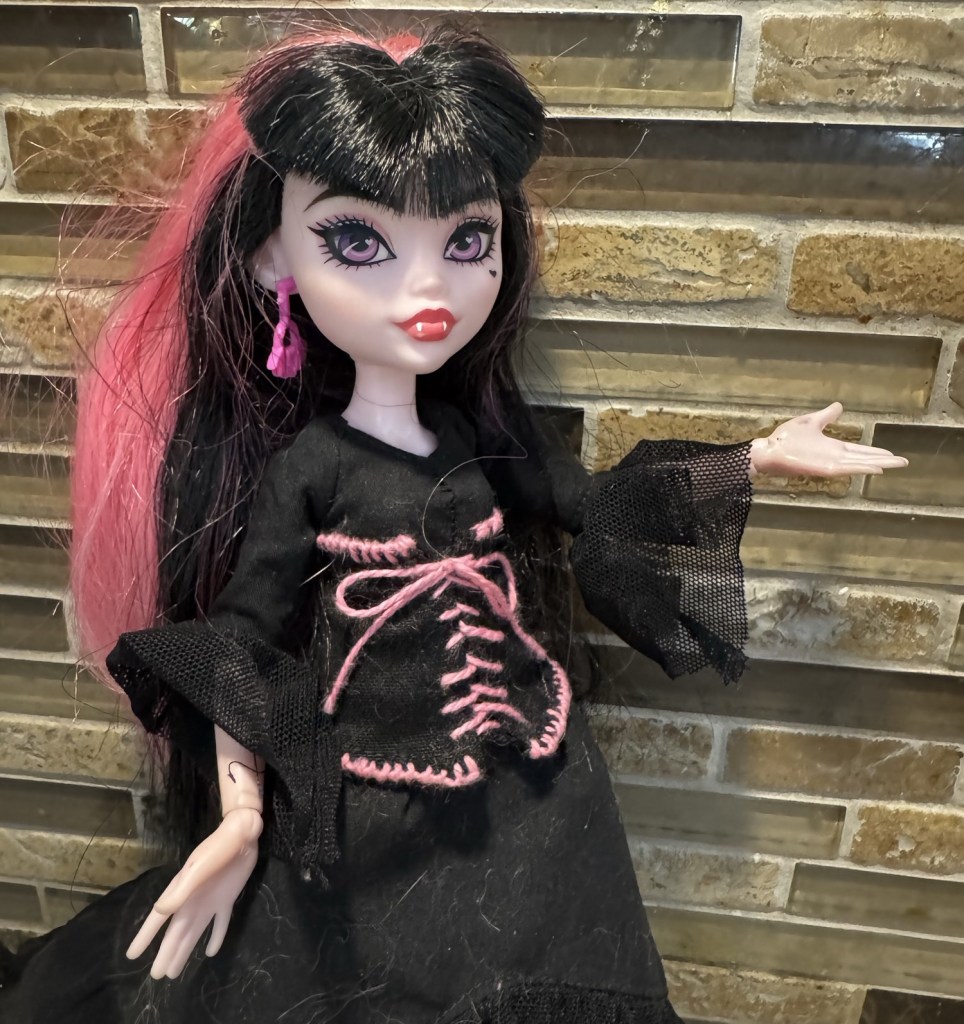
And then, the twins and I were watching a recent Dollightful video on YouTube and she mentioned that all her patterns have been revamped with multiple sizes to fit the various generations of Monster High doll bodies. Her patterns, like all her doll customizations, are adorable, and far more complex than the pieces I’ve been showing off from last fall.

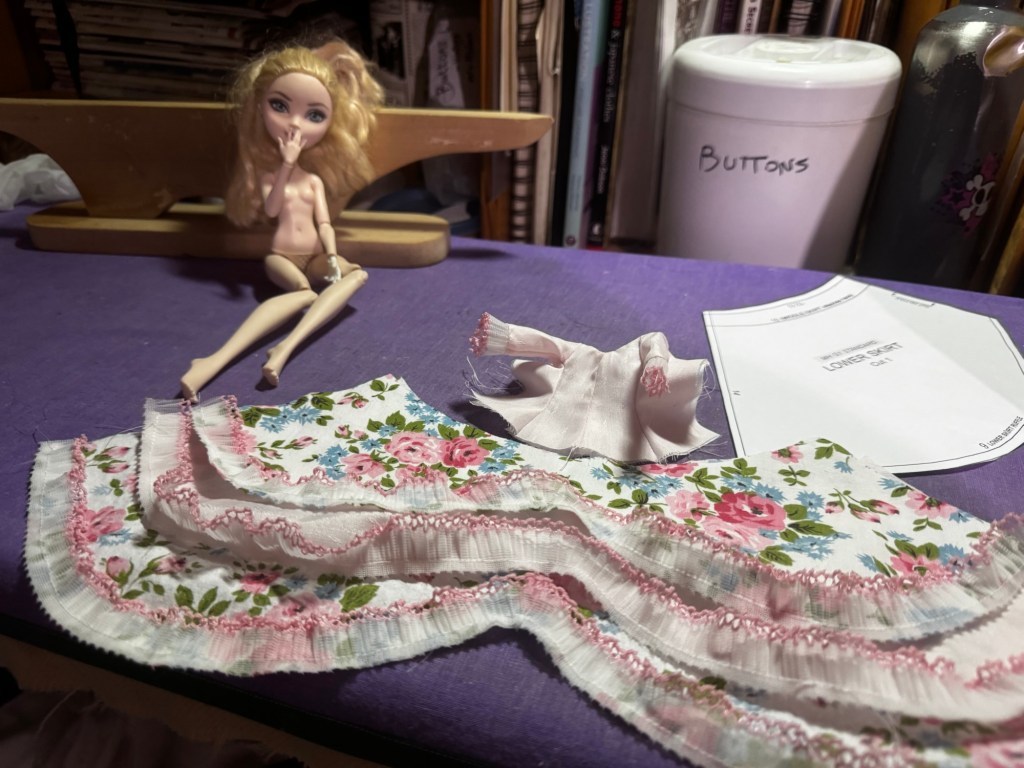
And the twins just happen to have a couple of second-hand Monster High and Ever After High (which have the same bodies, at least originally) dolls from the thrift store, who don’t particularly fit the regular Barbie clothes.

But, this post is already getting REALLY long… so I think this next bit is going to get its own post as I try to up my doll-sewing game without totally succumbing to the madness.

Wish me luck!

Optimistic Spring Dresses

(Please note—I wrote most of this post about a month ago, in late April. I am publishing it at the start of May Long weekend, and there is snow on the ground again.)

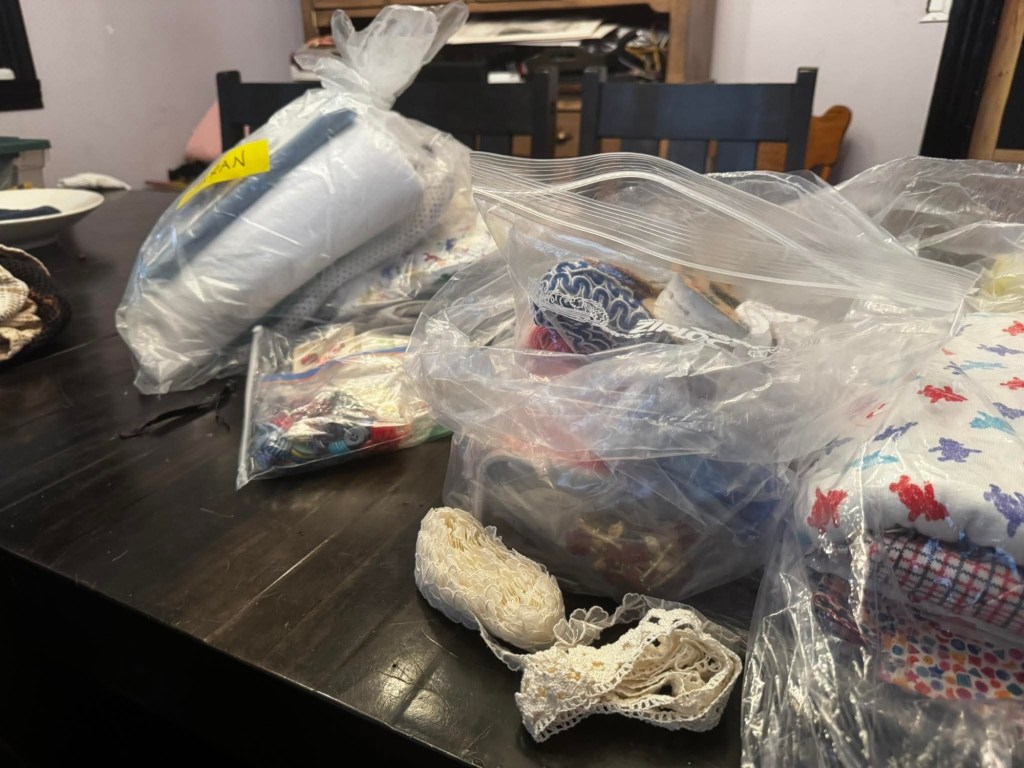
A few weeks ago I returned home from work to discover my aunt had deposited a sizeable pile of sewing-related donations on my dining-room table. While these aren’t unwelcome, they can precipitate a bit of a crisis in storage space, give the current (and perpetual at this point) maximum-capacity state of my stash. But this particular lot contained a lot of fabrics of appeal to six year old girls, so I received some more-or-less instant requests. The twins both picked out fabrics for Barbie-inspired dresses and fabrics for spring dresses.

This post is about the spring dresses. when and whether the “Barbie” ones get sewn… we’ll see.
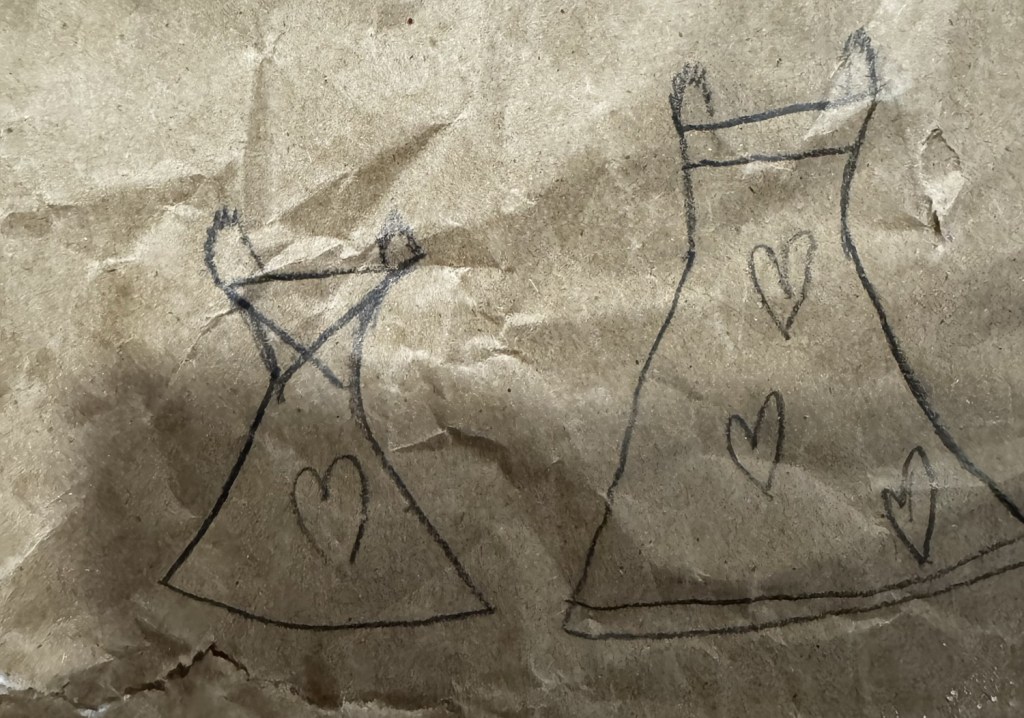
With a day or two of receiving the donation, R provided me with the drawing above, executed on some brown packing paper, if you’re wondering about the colour. I love that she thought to provide me with front and back views, even if I wasn’t quite sure how to interpret the back.

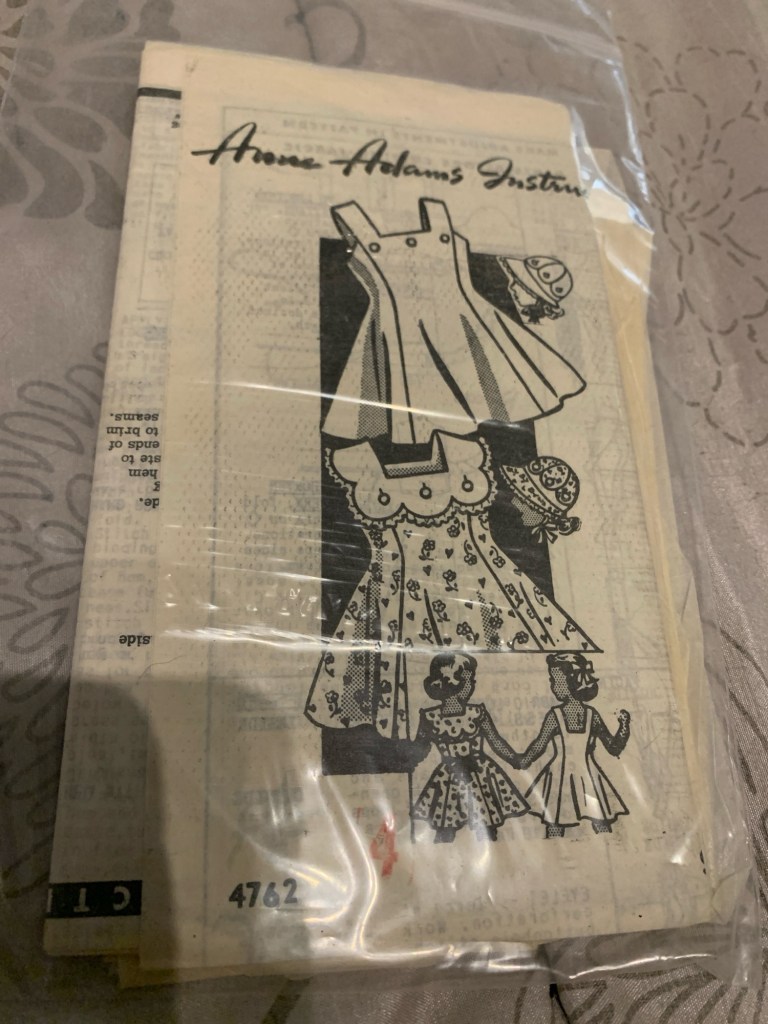
On paging through the kids’ dress patterns on my phone , I ended up on this Anne Adams pattern, a vintage mail-order brand that crops up around here from time to time. I don’t have the envelope for this one to get a date off the postmark, but it’s unprinted and the instructions “feel” old. Most of the mail-order patterns I have are from the late 60s, but I wouldn’t be surprised if this is a bit older, 1950s or even late 40s.

My pattern is only a size 4, but the width compared to the twins’ measurements was fine… I just needed to add a ton of length.
After carefully extracting and ironing out the pieces, and double-checking the instructions for the meaning of the various perforations, I made some very quick and dirty alterations.

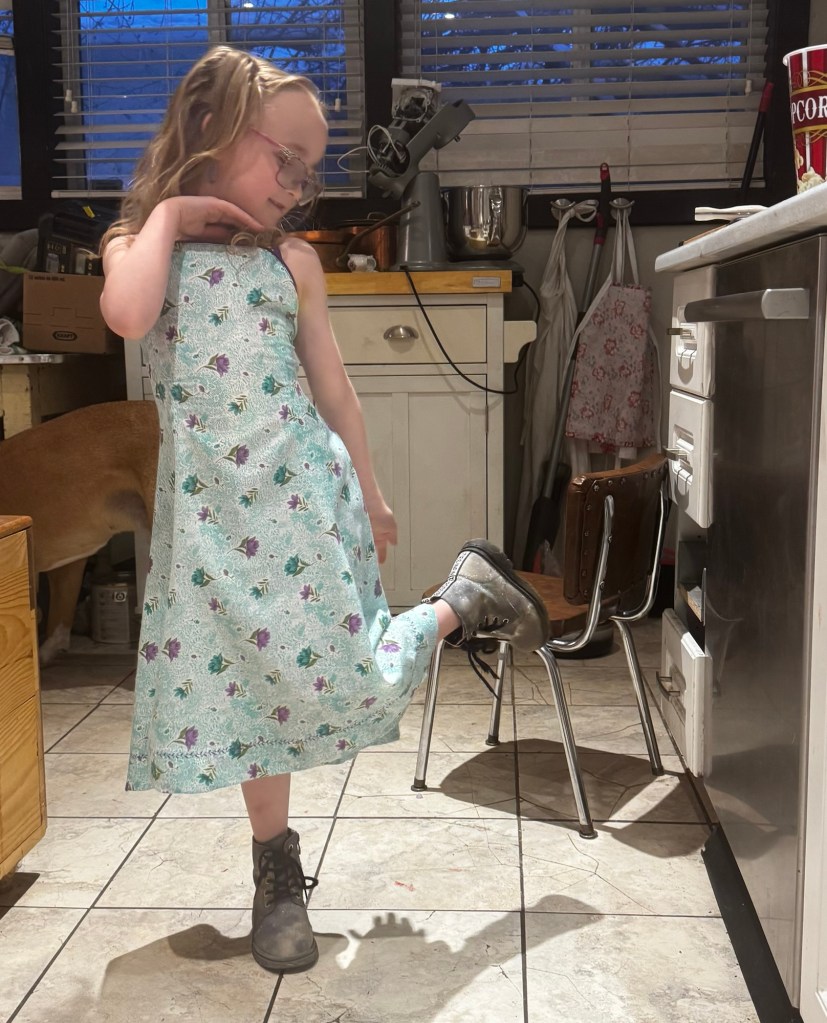
For R’s dress, I added about 6 cm length above the waist, and 19 cm (don’t ask me, it was a random amount the first time and then I measured after to replicate it) to the length of the skirt, and removed the straps, somewhat freehanding the upper shape to create a curved front and dipped back. I’m not sure why, exactly, since that wasn’t a clear feature of the requested dress, but anyway. I think it looks cute but I should move the straps closer to the middle.

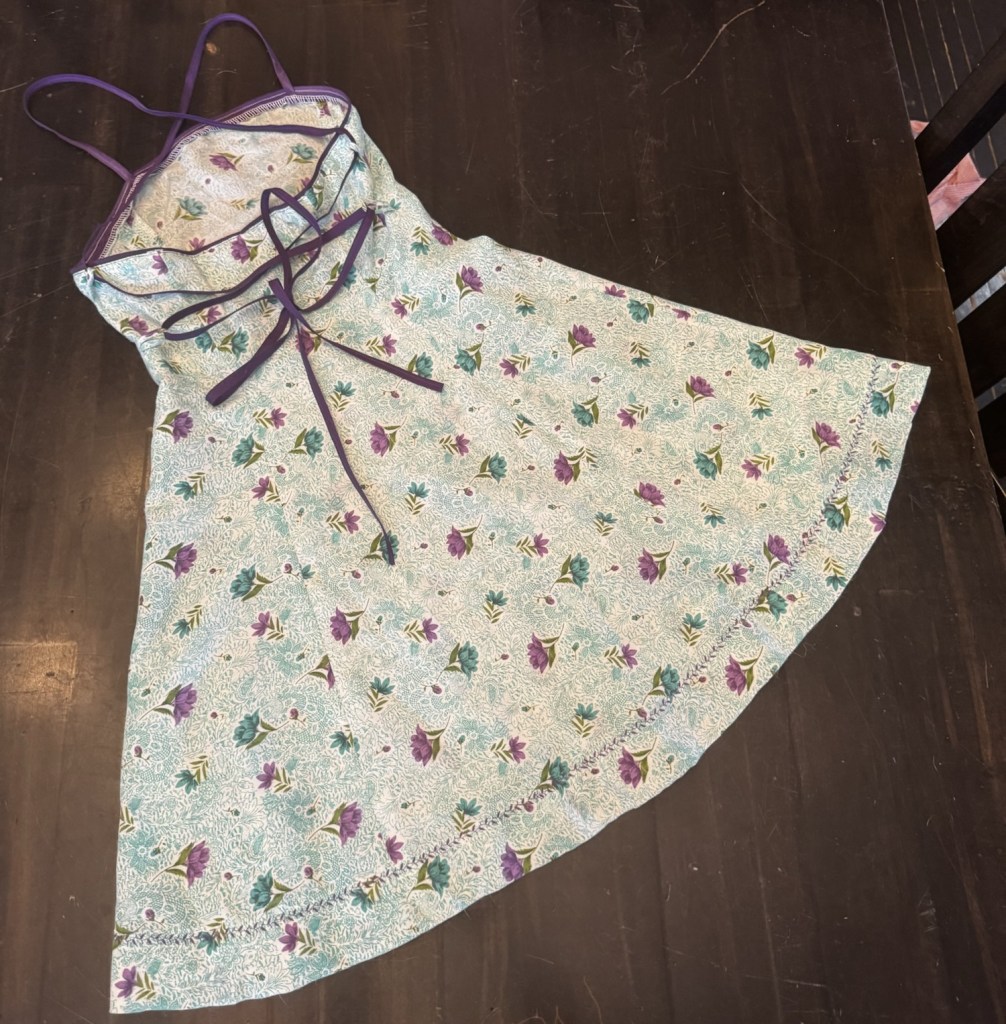
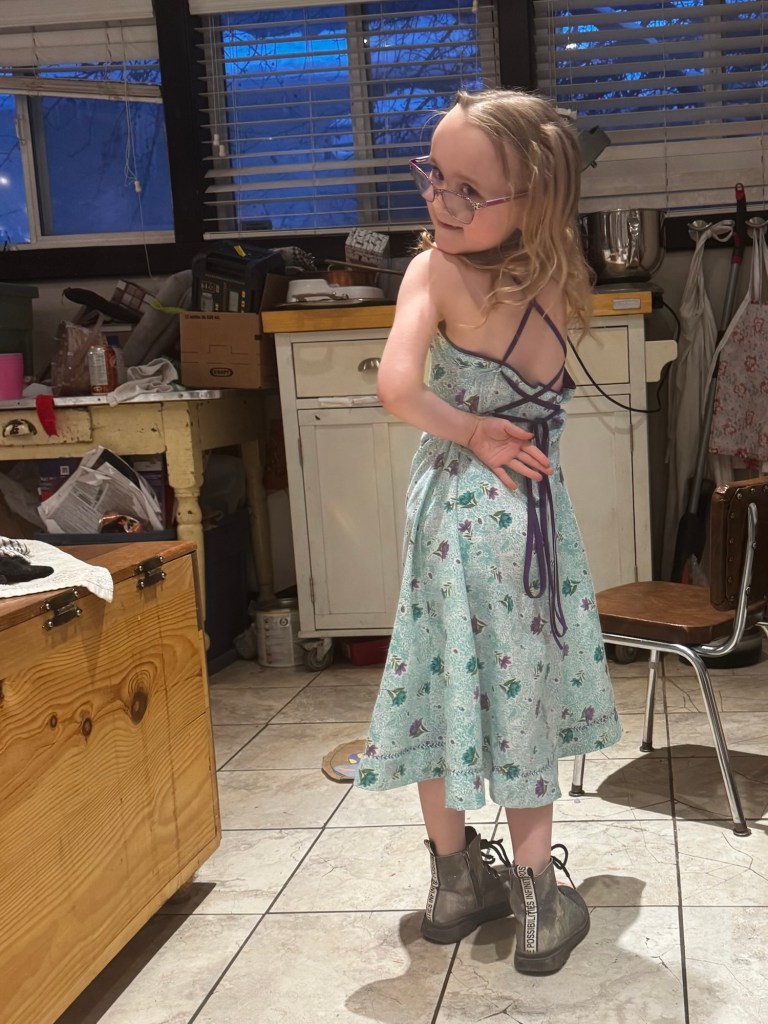
The pattern is a fit-and-flare design with princess-seams. Front and back are cut on the fold, with no zipper, and it’s meant to be pulled on and then cinched in with sash ties inserted at the side-seams. This seemed like it would convert relatively well to the kind of criss-crossed back lacing R seemed to be requesting in her line drawing.

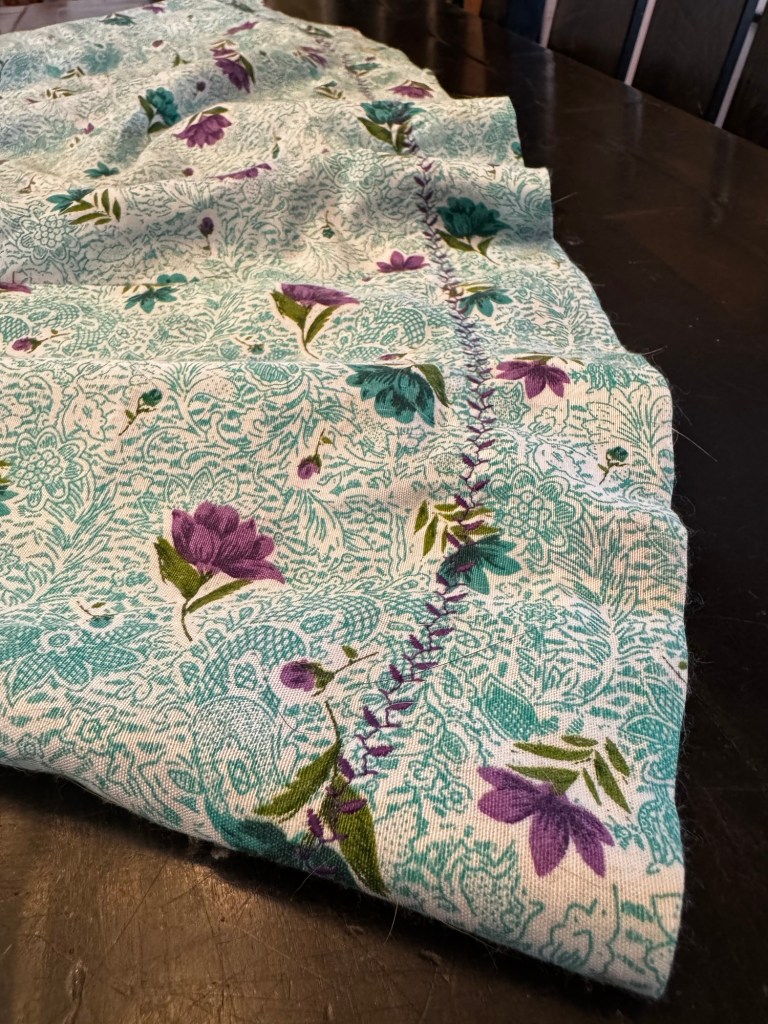
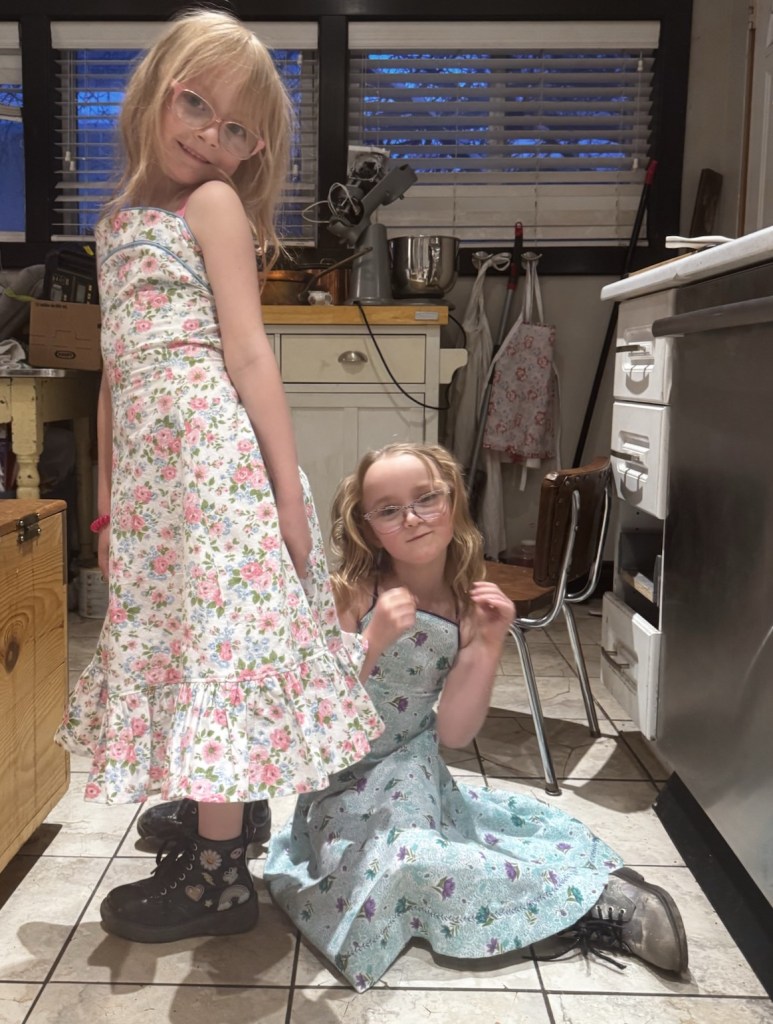
Now, R had selected this lovely aqua and purple floral print, made of some kind of light polycotton (or maybe just straight up polyester, considering how slippery it was.) It was, in fact, a straight-up pain to sew, so I didn’t want to fuss around with too many details, like the upper yoke-type decoration in her drawing. The only part that was pleasant, frankly, was turning the little strip of bias tubing to make the lacing loops, which is always nice in a slippery fabric. I found some dark purple bias binding in stash and made piping for the upper edge, and the long straps which cross in the back and then thread through the lacing loops to cinch it in. To ease in the hem, I ran it through the serger with the differential feed turned up to gather it in, though a lower gathering ratio would’ve worked better on this thin fabric.

Then, since it still seemed rather plain, I did the almost-unthinkable and broke out one of my Janome’s decorative stitches to finish the hem. I had to test several to find one that printed out relatively close to how it is supposed to look, but I’m quite happy with the result, and if you aren’t going to use those stitches on little-girl dresses, when ARE you going to?

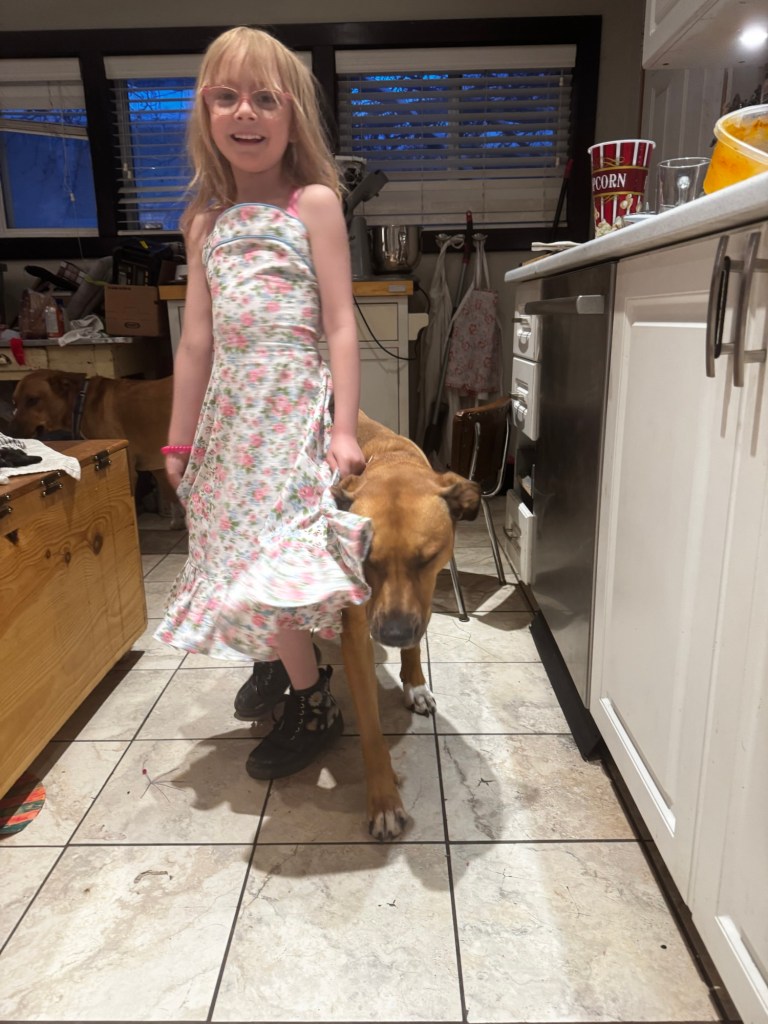
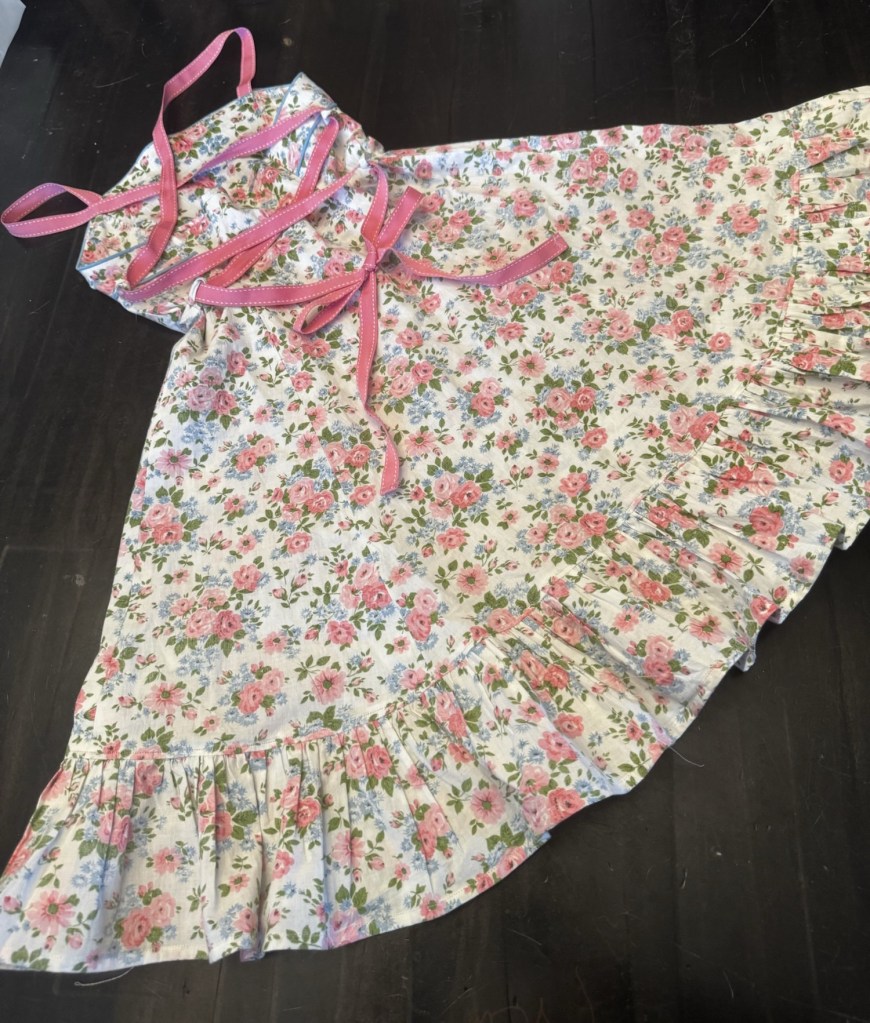
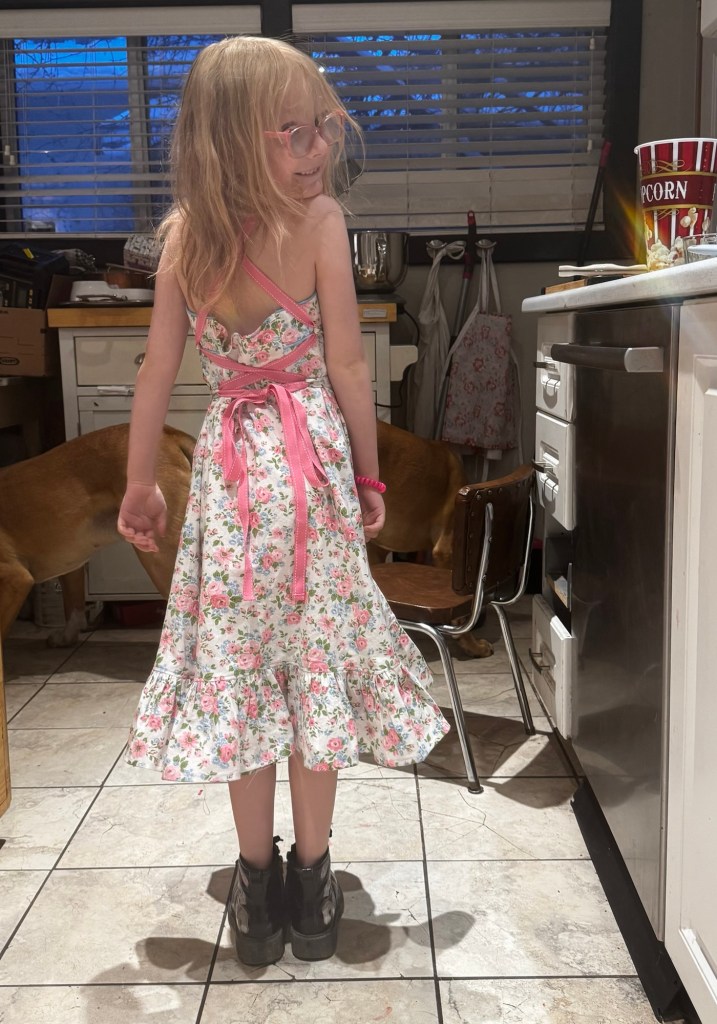
T’s selection was a much more pleasant-to-handle (probably quilting) cotton in a pink rose print. Some digging through stash turned up some blue cotton bias that looked good with the design, and she had claimed the ribbon to go with the fabric as soon as I pulled it out. The print is actually pretty vibrant, but we both liked the more subdued reverse side better, so that’s what you see.

Since I had made R’s dress first, she had a pretty good concept of it, and was amenable to having hers be from the same basic pattern. Except that it definitely needed a ruffle.

So I laid out the pattern again, this time adding 5 cm above the waist and a similar amount to the skirt length (but then a 15 cm ruffle, so the finished length should be similar, except that I took a 2” hem on R’s.

I felt more comfortable with my construction decisions this time around, so I decided to go for it and draft the exposed top yoke I had imagined for R’s but not had the guts (or masochism?) to go for. I took it slow, making the piping for top and bottom and basting everything in place, double-checking that I liked my proportions, but most importantly that I had all the layers in the right order, which is always a bit brain-breaking when a facing is turning to the outside, and made even worse this time with the addition of the straps, piping, and our choice of “wrong side” of the print. I decided to have the yoke extend around the sides to the side-back piece, but then hem the centre back piece, so it would be more flexible and “crumple” more easily when the dress was laced in. I don’t know if it actually makes much of a difference, but that was my thought.

And that’s about it. In hindsight I should’ve added an underlining to R’s dress, at least for the bodice portion, as the seams are already pulling since she likes to lace things tight. And the top edge flares a bit much—I might have had a better result with proper slash-and-spread style lengthening of the bodice part of the pattern. But they’ve both been wearing them any chance they get, so I’ll take that win. I’ll also take spring, whenever it decides to come and stay.

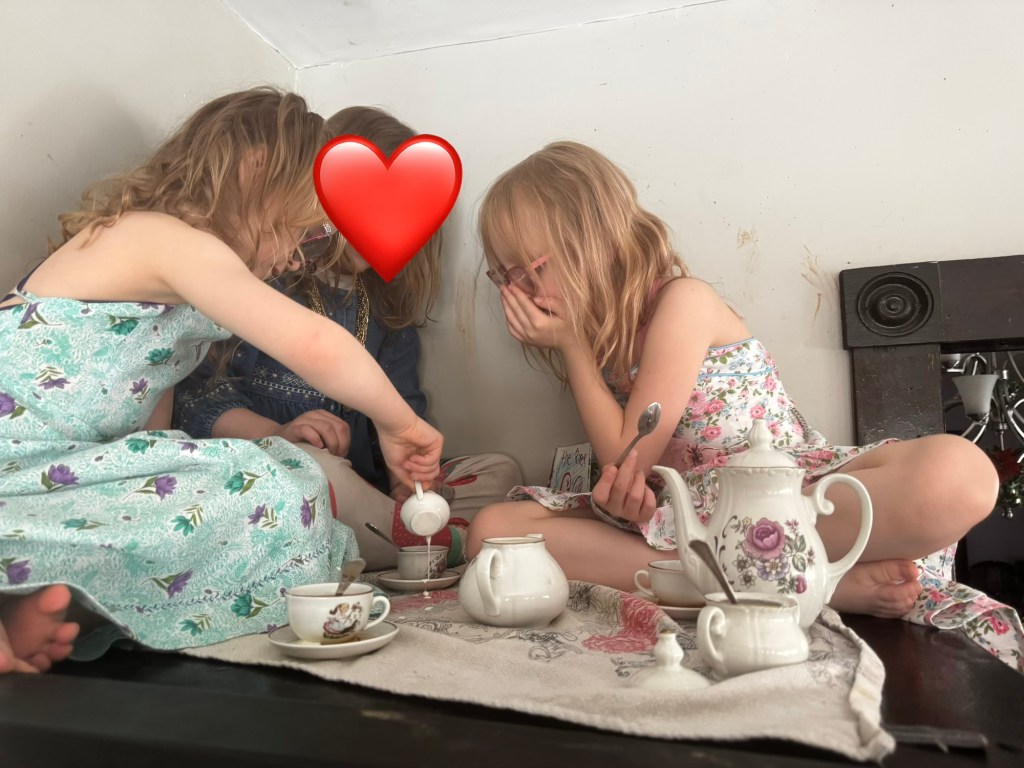
Perfect for fridge-top tea parties

Out-of-season velvet

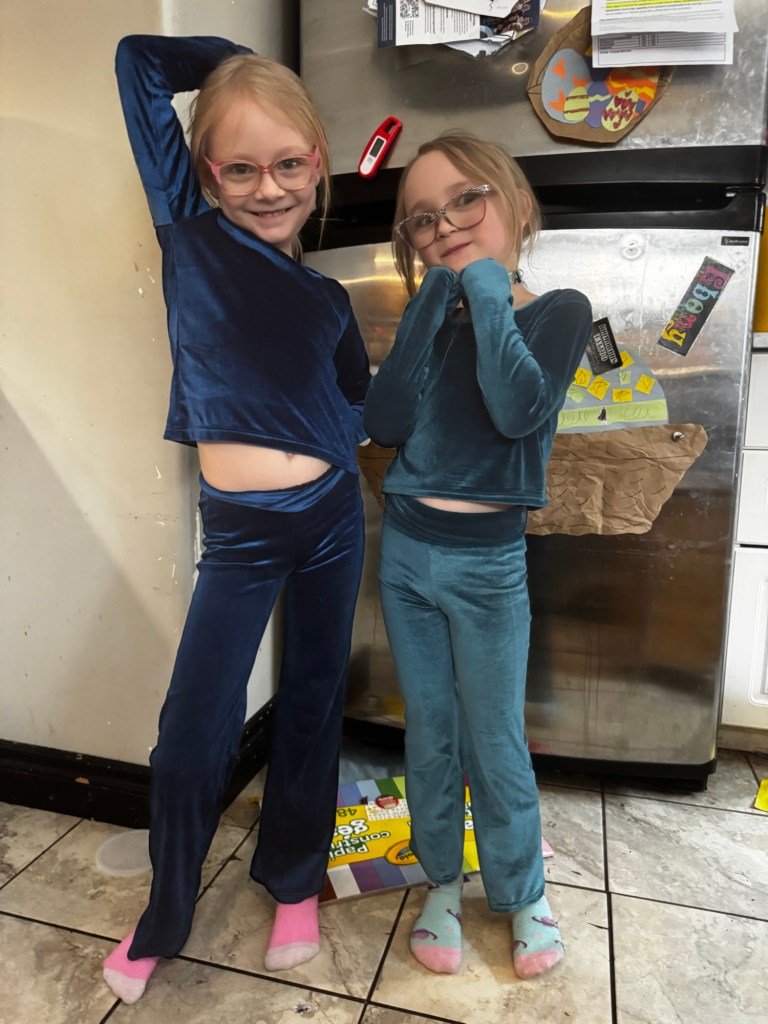
We’re on the cusp of spring here (although there was also a blizzard this week. Actually, it’s the end of April and we’ve had four blizzards this month), but truly hot weather is still a month or two away. Hopefully, anyway. Because earlier this month (during the first, or was it second, blizzard) the twins talked me into making them track suits.

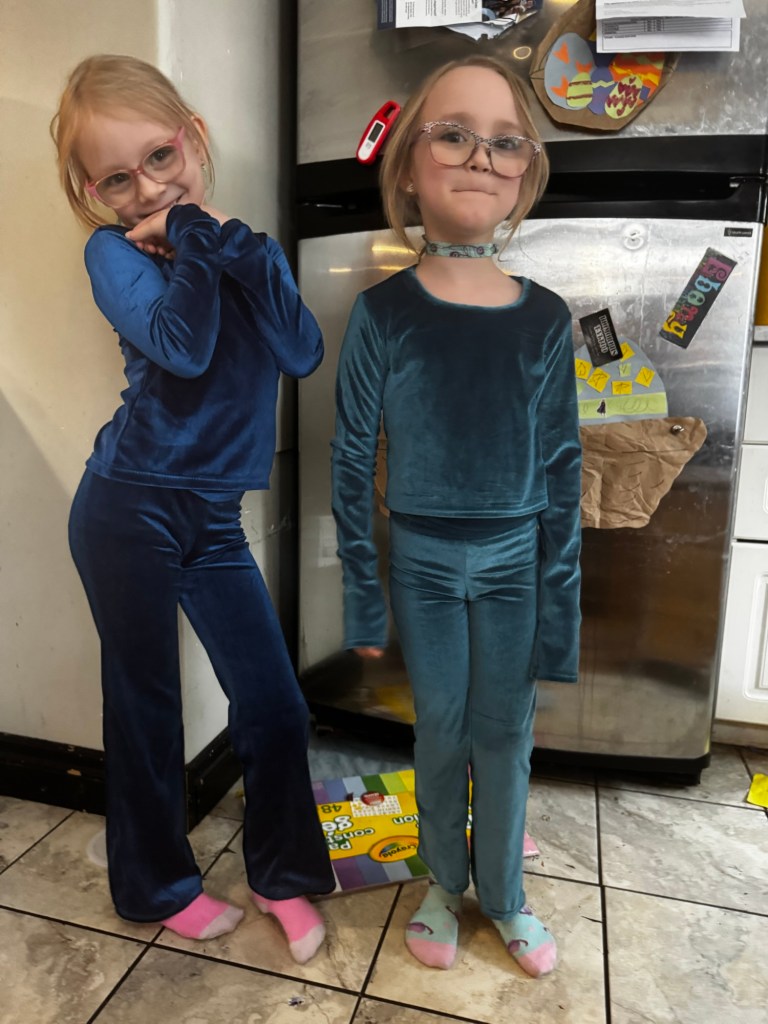
Or is it loungewear? I’m not sure. But they found some pieces of stretch velvet in the stash, and requested matching outfits.

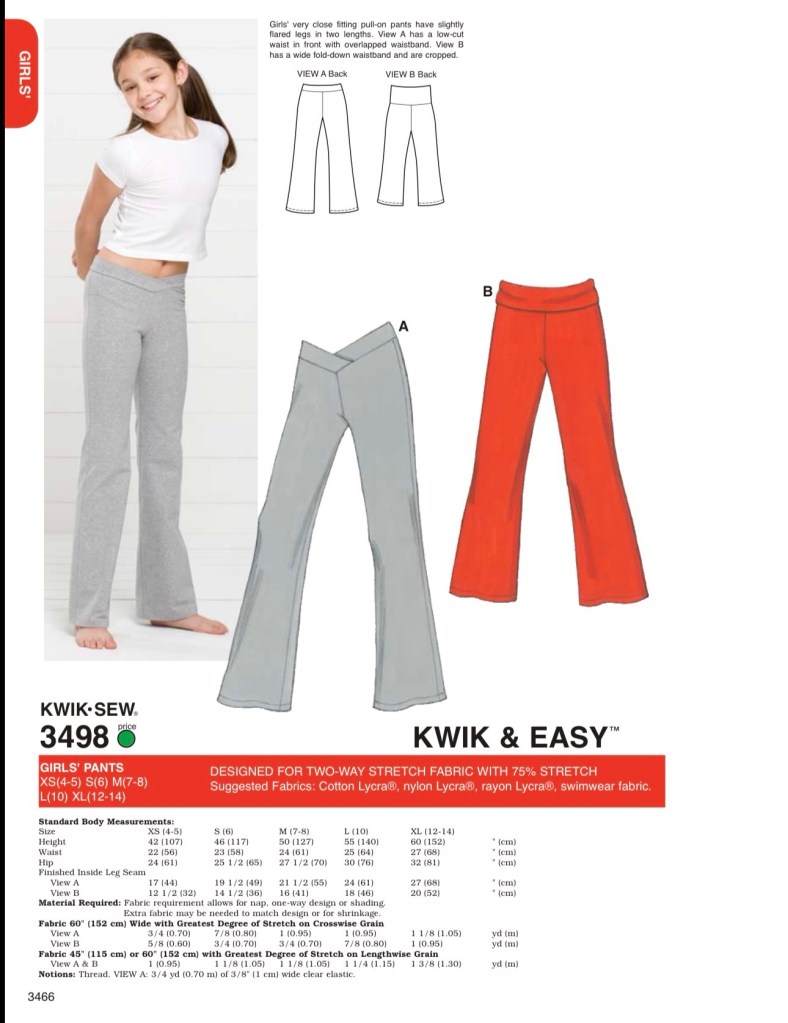
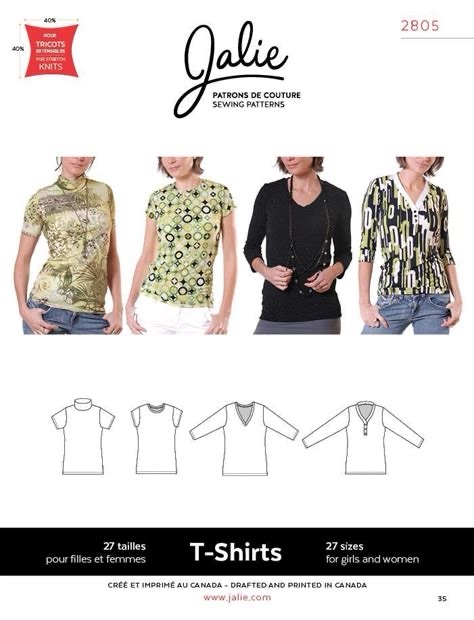
The patterns I used are Kwik Sew 3498, which I bought sometime around 2013 for Syo, and that old standard Jalie 2805, which I guess has now been replaced by the Tina (Jalie 4672), though the only difference I can see is that the Tina has a nice scoop neck view as well.

Both of these patterns had two big things going for them: they are quick, simple sews, and I had versions traced off in the right size. In particular, I must have made the XS version of the Kwik Sew pattern for one of my nieces, although I have no memory of this, since I had it traced out already but Syo was at least in the L size when I bought the pattern. Anyway, yay past Tanit!

All I had to do was carefully re-add the flare I had removed from the legs when I first traced it out, since apparently flares are back in fashion, at least among 6-year-olds.

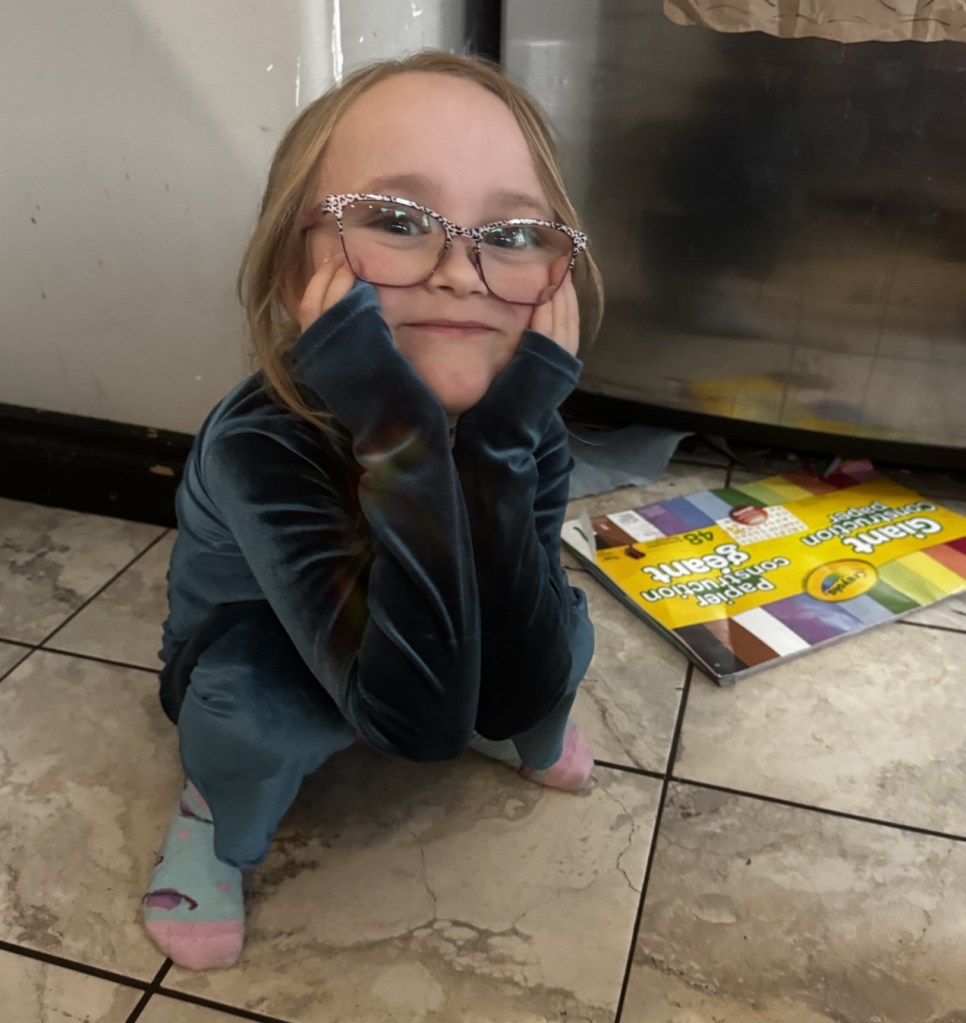
Now, R’s set is a bit cropped, which was her preference, but also necessitated by the fact that the bit of velvet she had chosen was only about .7 of a metre—just enough for the leg length I actually cut. Well, cropped except for the sleeves, which she wanted extra-long to cover her hands. I also folded down the width of her XS pattern pieces to remove about 1/2” from each, 2” overall, which got it to just the right width I think.

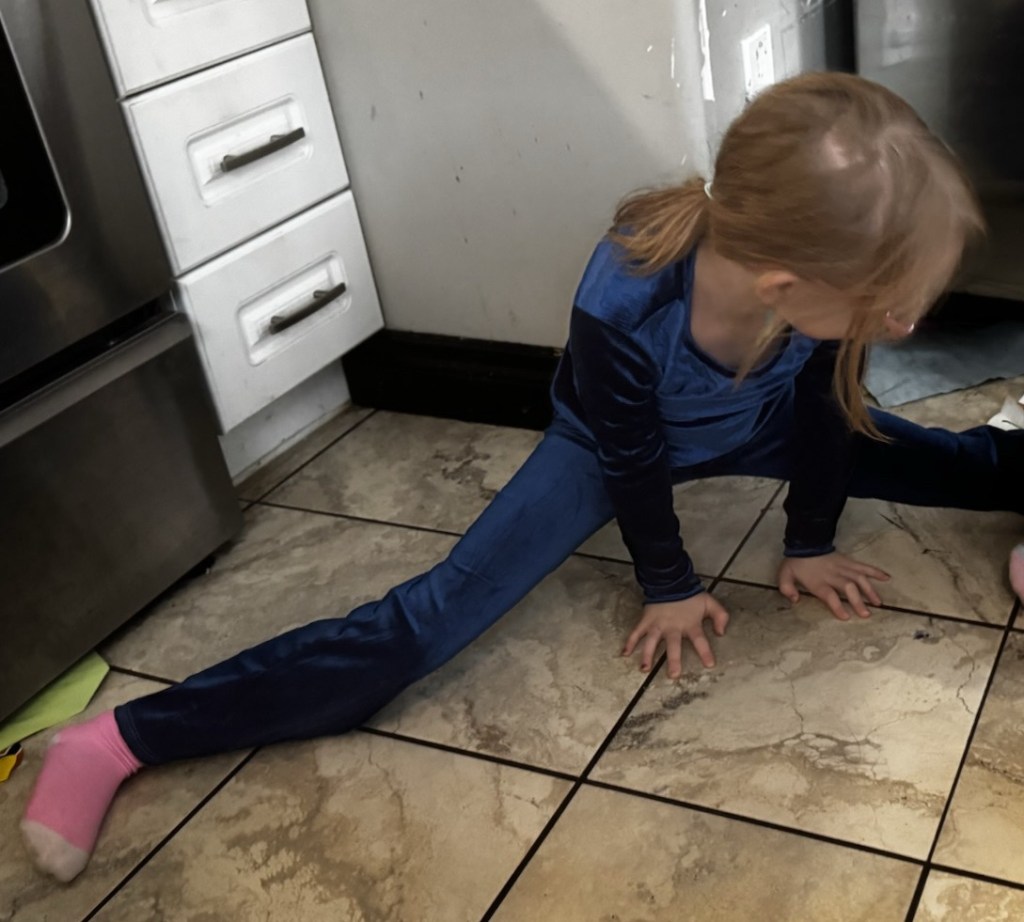
T’s version was the XS at full width with about 3.5” of additional length added. The fit is great, but I do wish I had taken just a bit more time with the waistband, as she wanted the V-front option, and I didn’t quite nail the insertion in the velvet. At least partly because, well, velvet, which likes to creep everywhere. Hand-basting may have been in order, but I was attempting to bang these out in a couple of evenings. Haut couture, they are not. Anyway, it doesn’t seem to bother her. I also took about 1” off the hem of the shirt when I hemmed it, at her request. I wish I’d made the pants a smidge longer, not because they really seem too short but for the sake of longer wear, since presumably we will be getting summer at some point.

Anyway, here’s hoping these aren’t fully outgrown before next fall, but at least they’re getting a very satisfying amount of wear right now.

Temperance Swimwear Bramaking

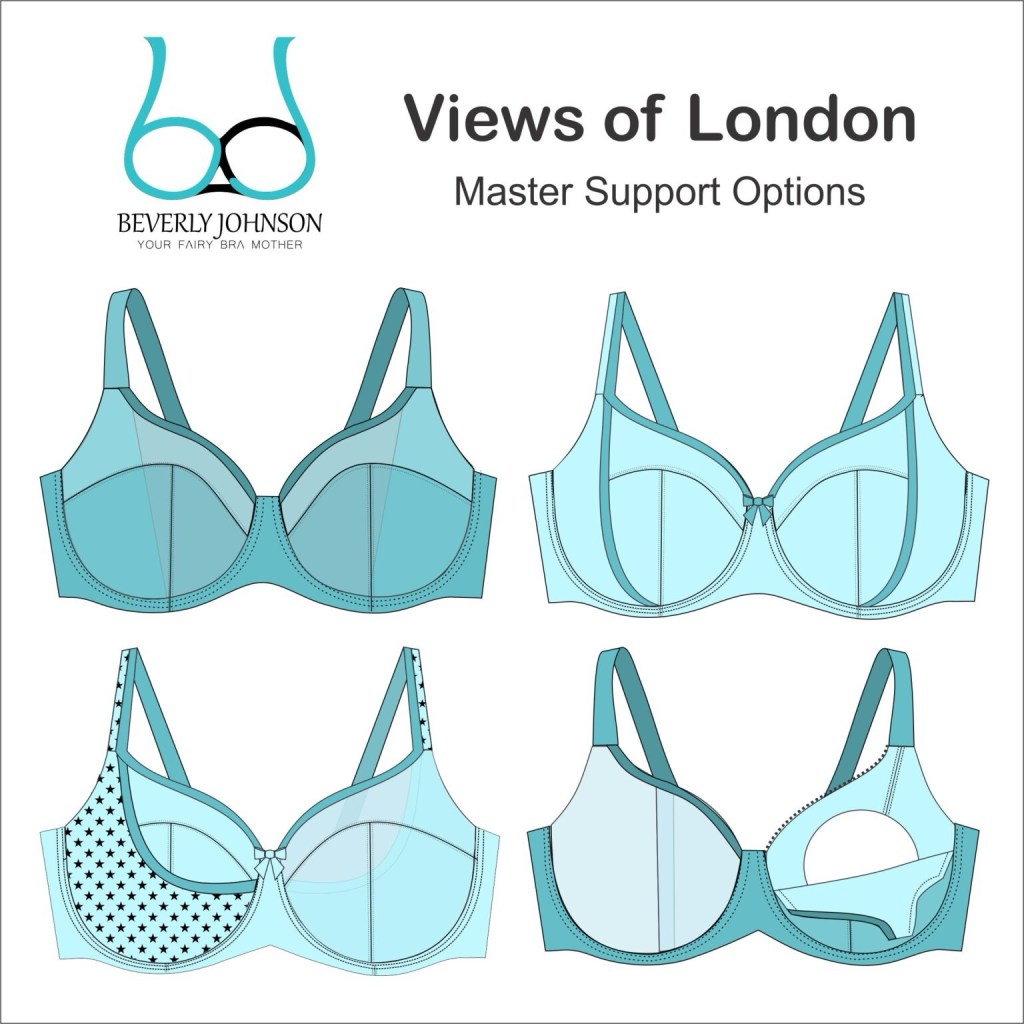
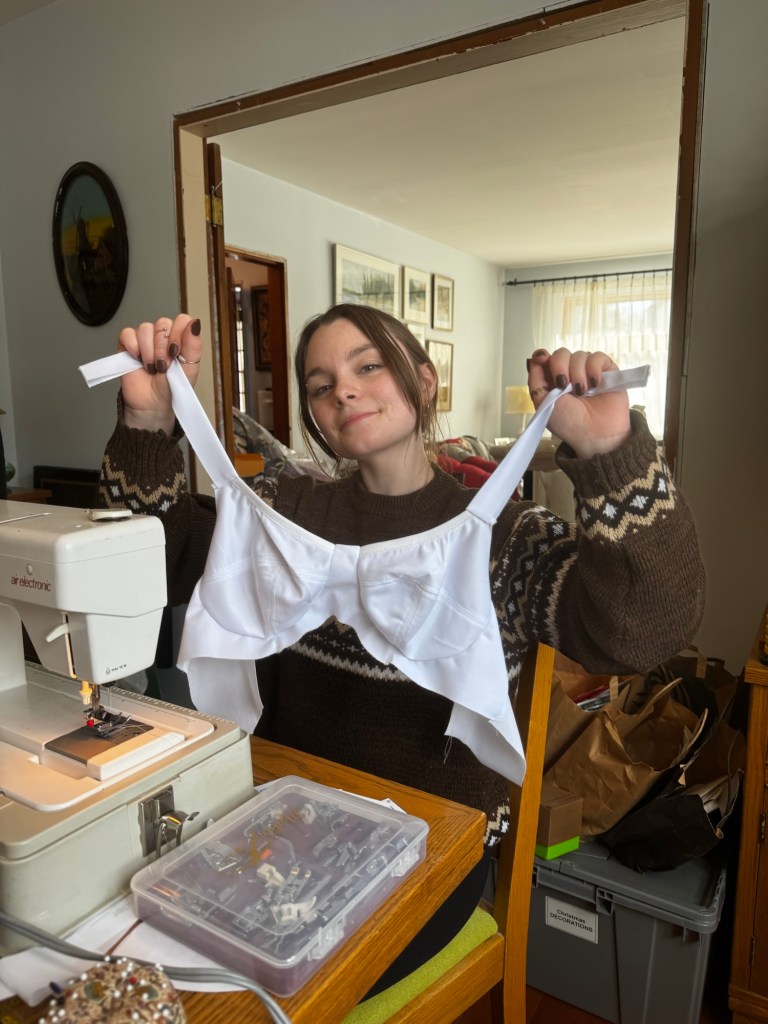
So last weekend, I had the delightful privilege of taking a two day bramaking masterclass. The class is the London Bra Masterclass by Beverley Johnson (the Grande Dame of home bramaking, at least in Canada), delivered by my friend Diane, of Temperance Swimwear Intimates, who got certified by Beverley as an instructor last year sometime. And it’s only the second formal sewing class I’ve ever taken, actually.

So… let’s talk about bramaking. This has always seemed like a fairly intimidating branch of sewing to me, and a little more risky than most. I can break it down into three main problems:

1) The materials list is complicated. There are a minimum of three types of elastics and two different fabrics, plus rings and sliders and channeling and underwire and hook and eye closure, never mind extras like lace or bows. Finding quality materials, at least locally, is iffy to impossible, and every change in materials may change the final fit. In theory a bra kit solves at least some of that problem, and I have purchased one or two in the past, but they’re expensive and feel too precious to waste.

2) It’s pretty much impossible to try on for fit until the bra is complete. Even some of the most seasoned bra makers I follow seem to make a lot of really beautiful duds, and alterations (especially to the cup) are nearly impossible.

3) The construction is complicated. Or at least, I’ve always found it a little overwhelming to keep track of and execute nicely, given the fiddly materials. Especially the elastic.

I’ve taken a stab at it a time or two. I’ve even made some very pretty bras. But none that have made it into my regular rotation, for reasons ranging from questionable materials or construction to fit that just wasn’t quite there.

But since having the twins, I’ve become much more accepting of soft cup bras, so when Diane offered a small class for some Sewing Circle friends, it was an opportunity too good to resist.

Even better, I dragged Syo with me. Over the last couple of years, she has become quite the seamstress herself, to the point where she’s set up her own sewing room at her house, and even made herself a custom dress form. I was pretty sure she would enjoy the learning, at least, as she enjoys sewing swimwear and last summer patterned and sewed a bustier dress for herself.

It’s a great dress, but was a whole (chaotic) process, and she’s since expressed the desire to learn some more basics (like following patterns and “proper” construction orders and techniques)—so a bramaking class seemed like a great option.

Yes, this kid.

Now, getting to take a class with an included kit addressed all three of my roadblocks with bramaking. Although the thing I was arguably most excited about was getting to try on Diane’s sample sizes for fitting beforehand. While it doesn’t guarantee a perfect fit (and spoiler, I didn’t end up with one… yet), it does at least get you in the right ballpark. Which isn’t where I have always ended up in the past.

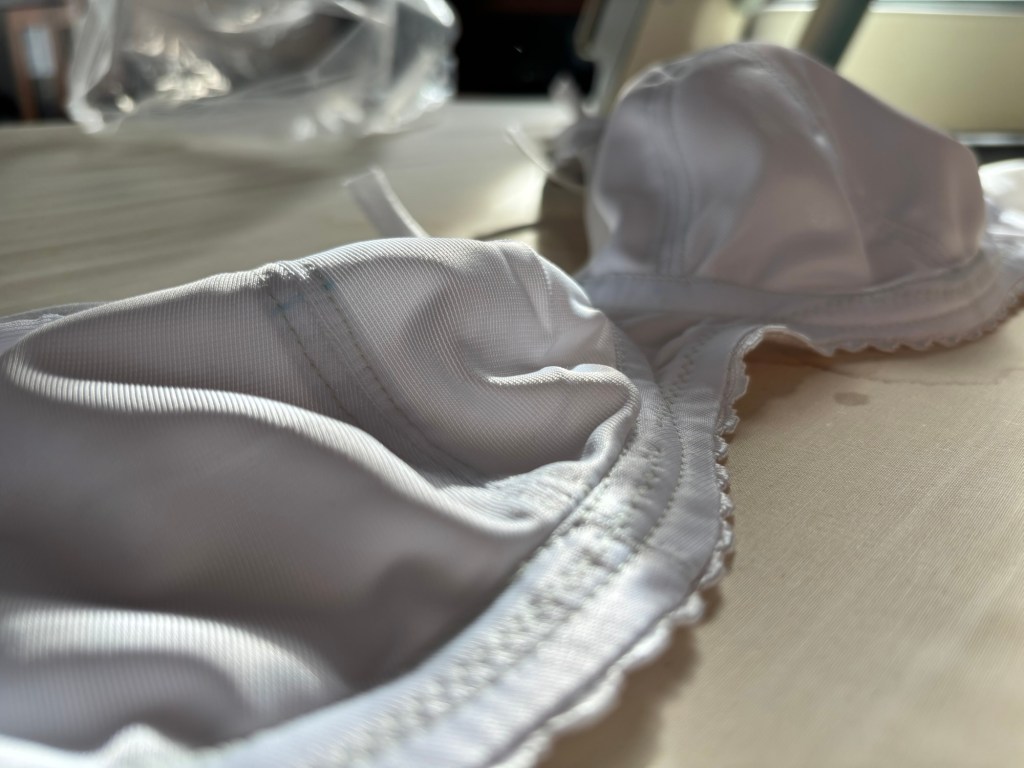
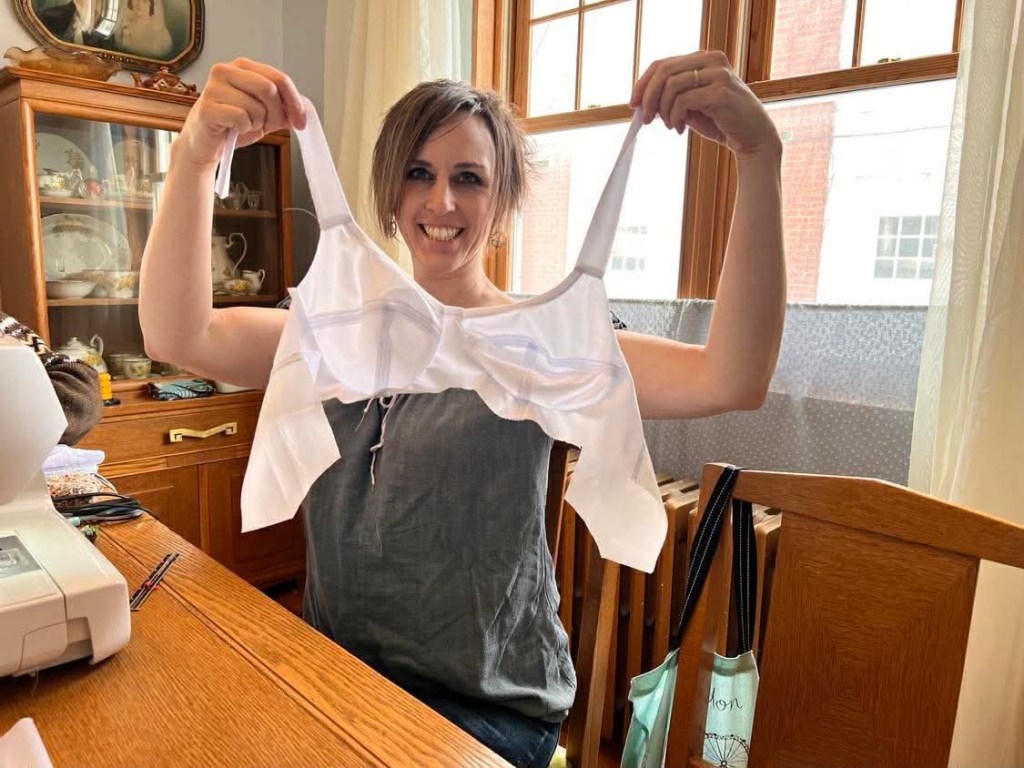
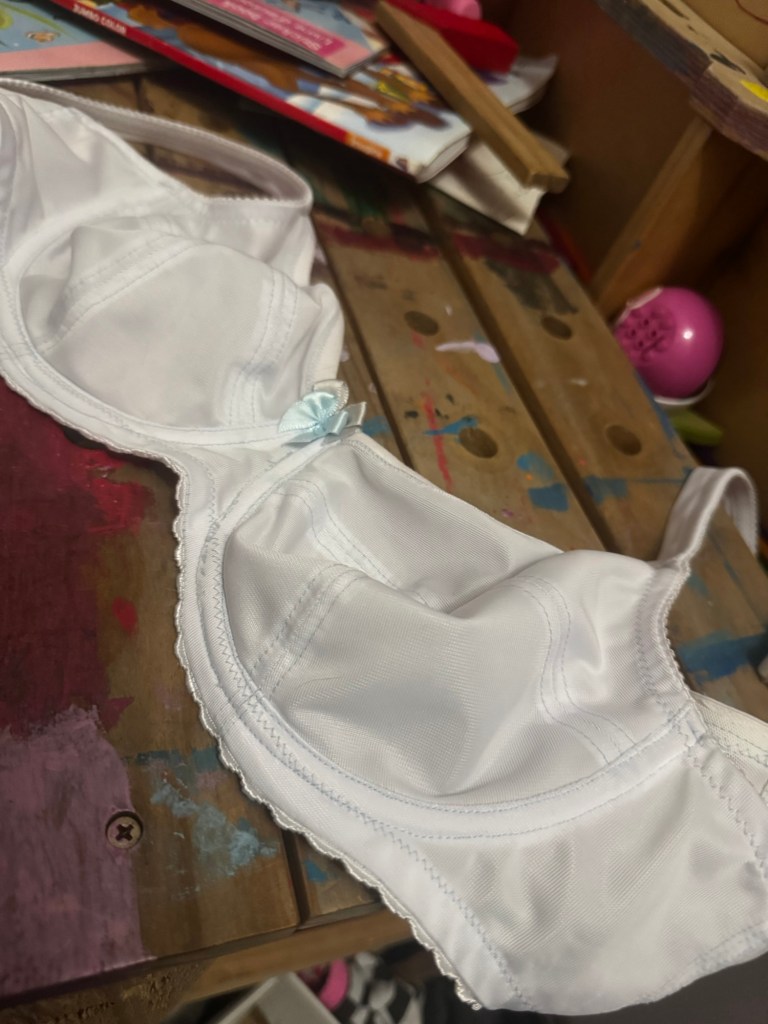
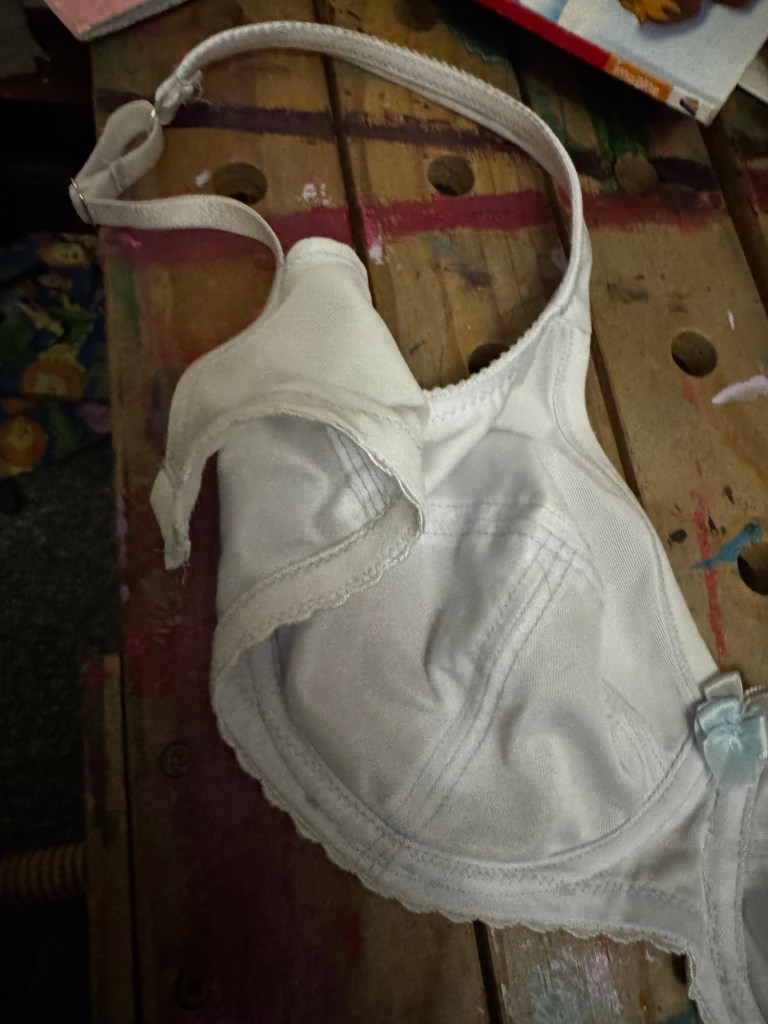
Now, I will say this about London: it has very pretty style lines, and a lot of options (focused around a range of support elements). It is very full coverage for my tastes. It is also designed to provide a lot of lift… which at least in my size looks like a very flat lower half of the boob and a bit pointy around the apex. This doesn’t seem to be as obvious in the larger sizes. For my next version, I will be rounding out the lower cup just a smidge.

I also needed more room in the upper cup. We noticed this in the try-on stage, and Diane had added a bit of width there, but not quite enough, I guess. I will note that London has the upper cup finished with fold-over elastic, and cutting in in the upper cup is an issue I have had with every single RTW bra I have ever tried on with an elastic top edge. This is probably related to the thing where I can’t use full bust minus high bust to determine my cup size, as there’s very little difference there… my upper bust is broad, and with my breasts not being particularly dense or firm at this stage of my life, it’s very easy for an elastic to cut in.

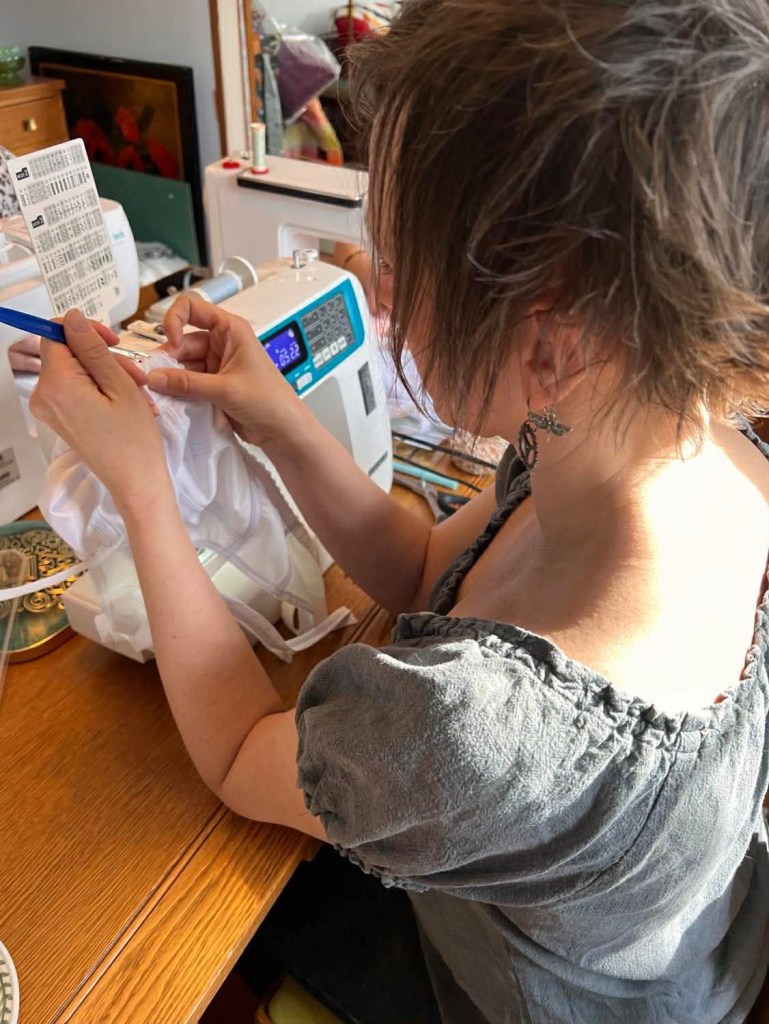
It was great to have the instructions printed out (I have this tendency to try to read them on my phone to save paper), and I found most steps quite easy to follow.

It was even better to have Diane there to clarify the ones I didn’t get (like the “wrapped strap attachment”), as well as provide suggestions on finer points like how much tension to put on the elastics while sewing (hint: mostly none). Oh, and the right order for topstitching the band elastic vs the underwire channeling.

Even her suggestions for attaching the back strap and hook and eye closure with a straight stitch for easy removal in case the band needed shortening (mine did… which we had noted on the try on, but Diane wisely left it a bit long as it’s easier to take off at try on then add on.)

Not to mention, two days spent sewing with awesome people (including my daughter!), excellent snacks, and plenty of tea… I really can’t think of a better way to spend a weekend.

And I finally feel confident to tackle that kit I purchased years ago…