The Ceylon Blouse
So, before committing to the entire Ceylon dress, I figured I would try and squeeze just the bodice out of various scraps I have lying around. The nice thing about this bodice is it’s in so many little pieces, almost any little scraps will do. I wound up using (some of) the rest of the swirly-print herringbone wool and a bit of black linen I picked up at the thrift store ages ago that was really too small for almost anything. Well, obviously not since I managed to line the entire blouse with it.
Now, I have a bit of a propensity for colour-blocking, and when you combine that with

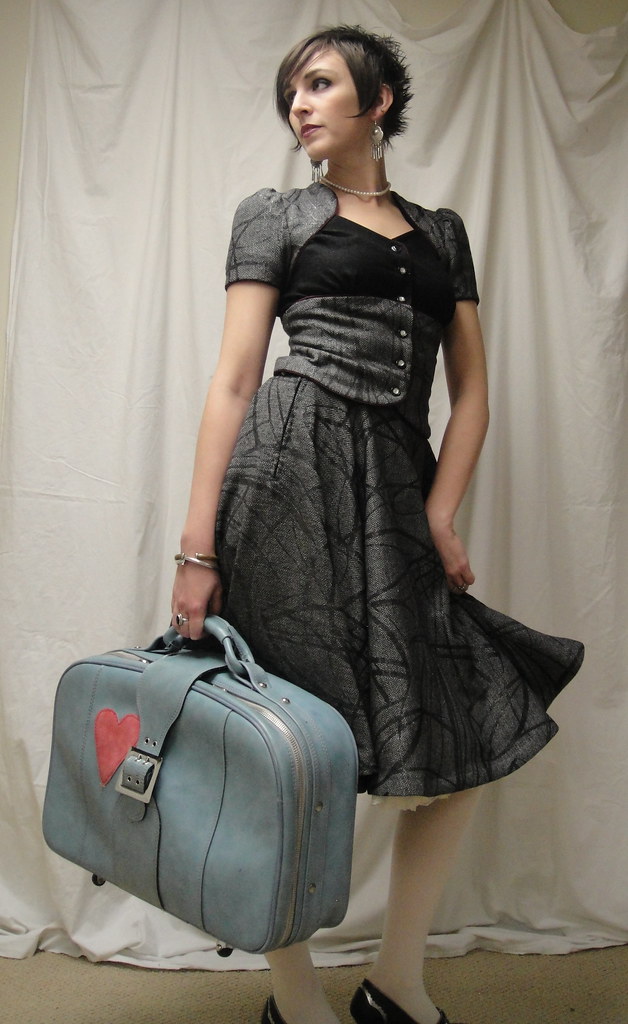
Ceylon with suitcase. Why? Cuz.
the almost bolero-looking cut of of the Ceylon yoke, well, it was bound to happen. I opted to do the sleeves, yokes, and midriff pieces out of the wool, with the “blousy” pieces in between just out of the black linen. Since I didn’t particularly want the wool against my skin, I decided to line those segments with more of the linen. And, since something about Ceylon almost demands it, I opted to pipe, as well. It adds a nice touch of colour to an otherwise grey-and-black garment.
On the upside, this gave me lots of new techniques to try. Making my own piping (I used dark-red bias binding and some dense wool yarn, both from stash*), and using piping period (I followed this lovely tutorial). I got to try the “burrito technique” of attaching a double-layered back yoke so the shoulder and bottom yoke seams are all nicely enclosed. Worked like a charm :). I also tried a technique for clean-finishing facings I just read about from Beth of Sunny Gal Studios. which was nifty and makes a super-nice finish; then this morning I get up and discover a recent post by Pam Erny for a very similar finish, but with less bulk at the seam (although hers leaves some of the interfacing showing on the visible side of the facing—which could be undesirable depending on how attractive your interfacing is.) Oh, yes, and a massive, massive amount of seam-grading.
My construction order was a bit haphazard and very different from that given in the pattern, but between the piping and the lining (everything but the mid-back and bust pieces) it’s possibly the most nicely-finished garment I’ve made yet. The piping was actually fun, and a wee bit more forgiving of minor variations in my stitching than I had feared it might be. I did end up hand-stitching the lining of the sleeves to the bodice and the upper seam of the midriff-pieces lining, making for absolutely ever seam in the piece being enclosed.
I took a crapload of construction pics, but really I think the posts I linked to above cover most of the techniques, so I will just give you a gallery of them to browse through at your leisure. Feel free to ask questions, tell me I’m on crack, etc.
-

-
Finished facing, attached to front bodice piece, with piping
-

-
the fused, attached facing
-

-
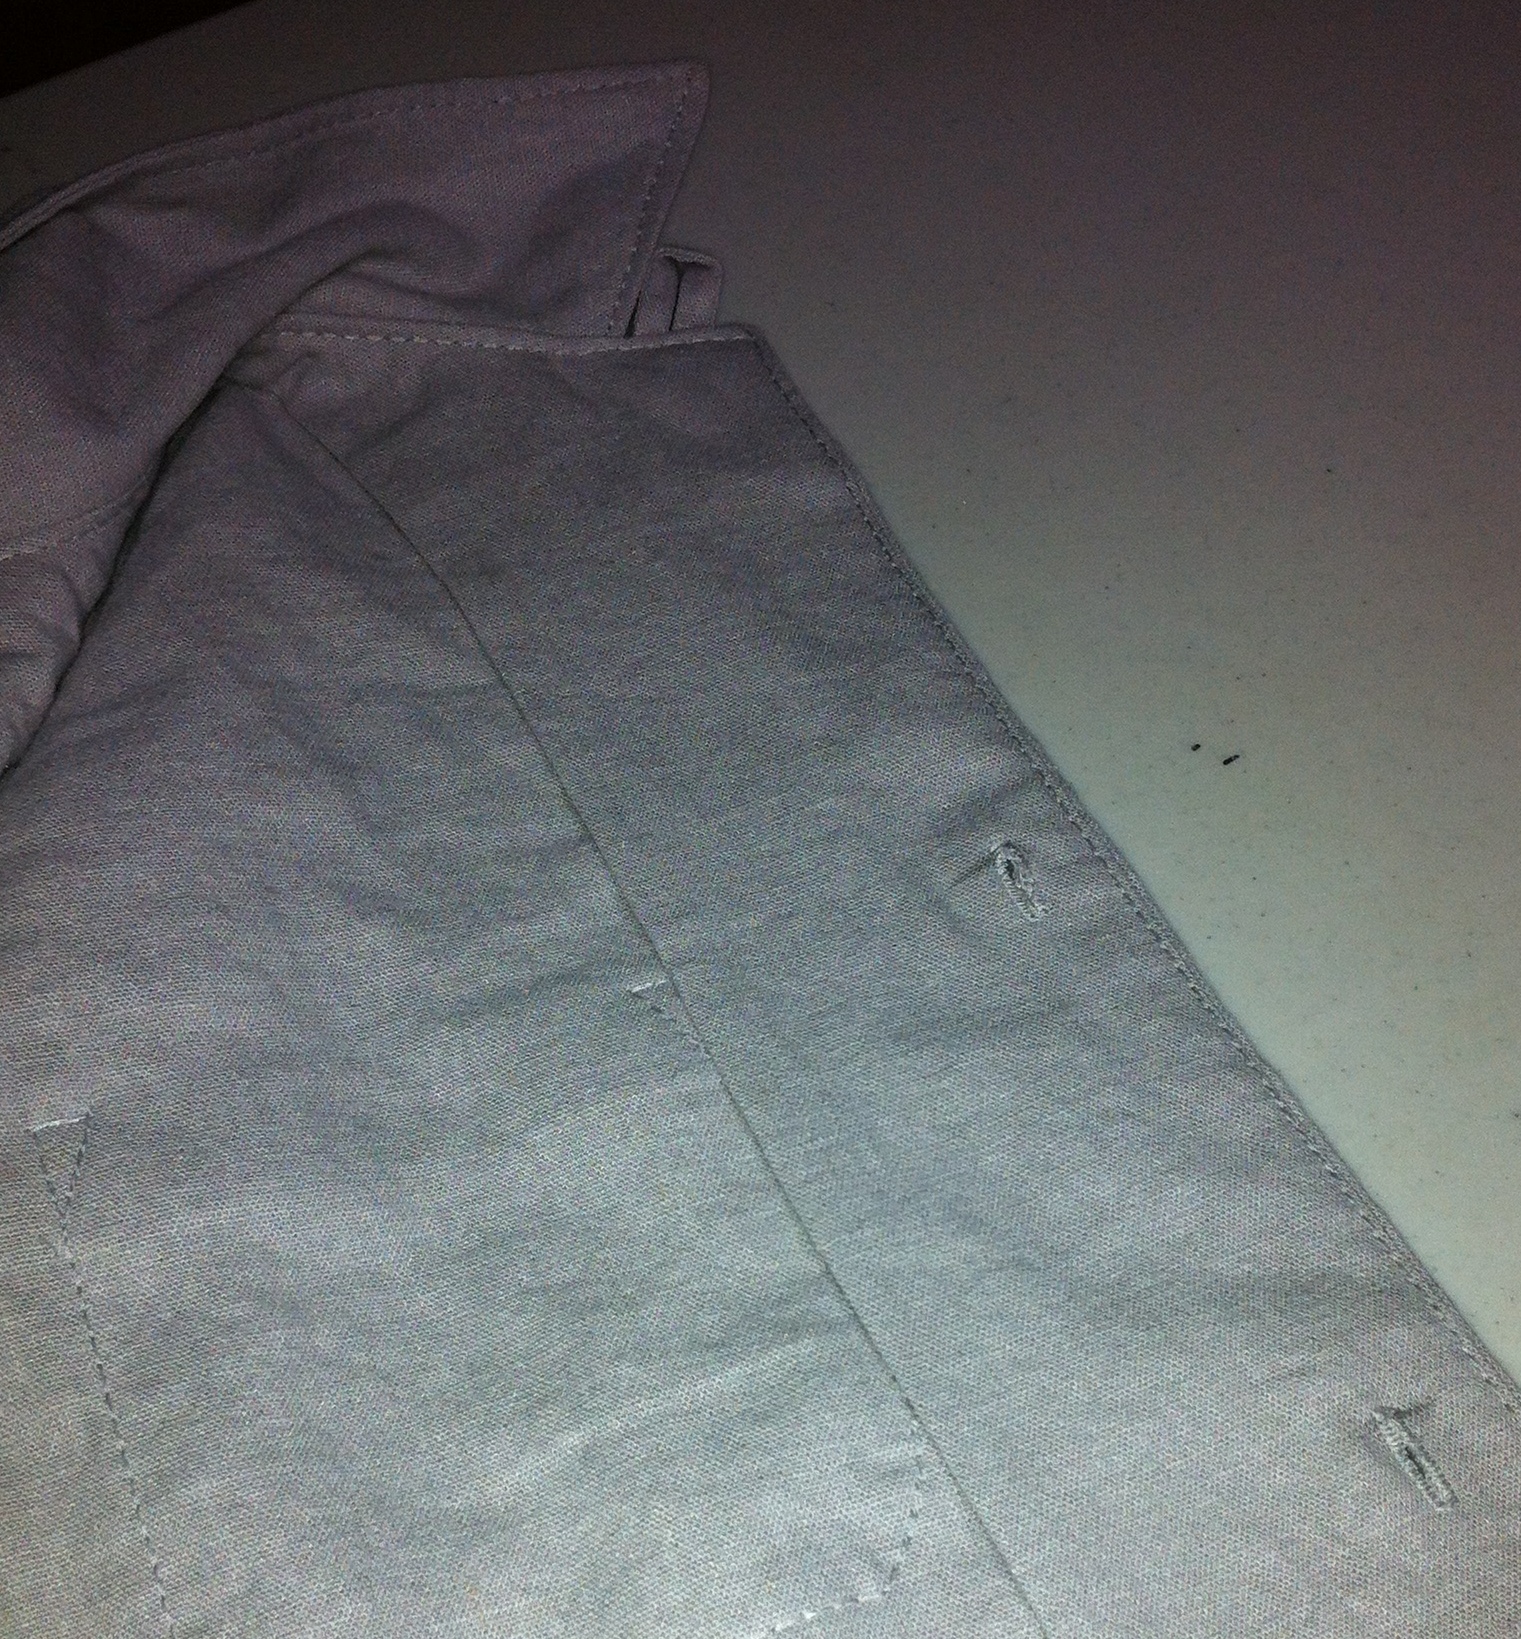
Sewing fusible interfacing (fusy side up) to facing, then flipping it around to the other side of the facing and fusing—finishing the edge neatly.
-

-
Yokes and back piece, all nicely attached.
-

-
Lined, piped sleeve, assembled and ready to be inserted. I set the outer layer as normal and slipstitched the lining to the inside for a clean finish.
-

-
Yoke “burrito,” halfway-unwrapped
-

-
Yoke “burrito,” freshly-sewn and ready to be unwrapped
-

-
Sleeve and “lining” with piping in between

Ceylon Blouse
Buttons are funny things. As construction proceeded to the point where I could start to try on the shirt, I became convinced that it was way too small, that I had completely misled myself into selecting the size 0, abetted by the give of my flannel muslin fabric. The linen, by contrast, had no give at all, and I was sure the resulting blouse was going to be, if not outright ridiculous, at least far too constricting for comfort.
It wasn’t until I had the buttons attached and could try it on normally that I felt at all relieved. It is very snug, and more restrictive than I’d like for everyday, but for an “occasion” dress it’s fine. The sleeves are about as narrow as my arms could comfortably take, but don’t make my hands go numb or anything, and the shoulder width looks good. I’m very glad I tweaked the shape of the front yoke right beside the neck, and lowered the neckline 1/2″.

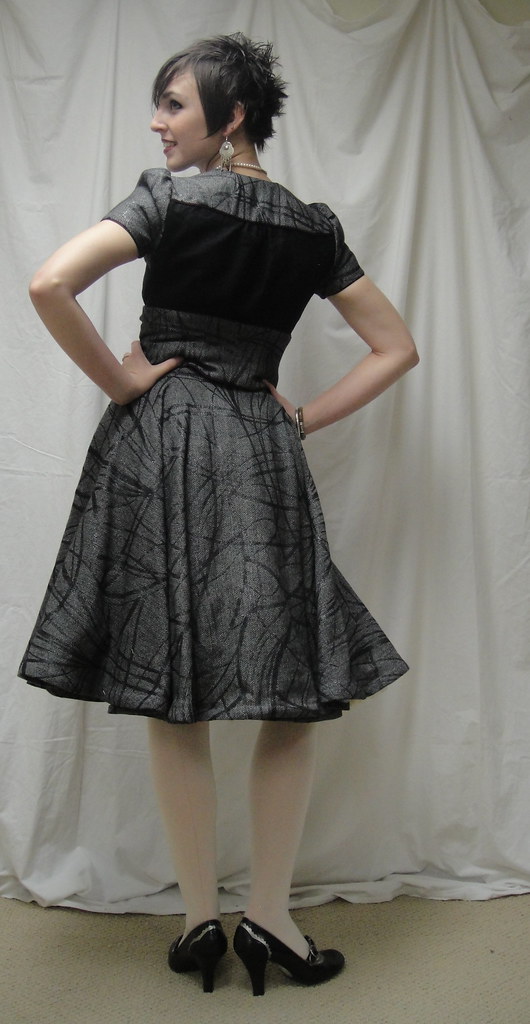
Ceylon blouse, back
I did manage to remove the wrinkling at the back midriff by flaring out the upper portion of the midriff a bit more (at both CB and side seams). Curving the bottom of the main back piece so it is shorter in the middle worked perfectly to reduce the excess blouseiness (doubtless I took off a bit too much, again, for my different fabric). As to those diagonal wrinkles, well, we’ll see. I think I begin to understand the fix Sherry was suggesting for them, but I’ll have to give it a go on another project.
The bust doesn’t sit particularly nicely, partly because there isn’t enough ease and partly because of the fairly crisp fabric. I would venture to say it fits about as well as in most of the other versions I’ve seen of it, though, which I suppose is good enough. There’s still some gaping on the left side top, which I suspect is the result of my left breast being smaller. It’s not such a big difference that I usually notice, but this style seems to emphasize it. Fortunately I was mostly able to compensate for it by clever positioning of my buttons—the topmost is considerably to the left of the rest of the row but you can’t see that when it’s closed.

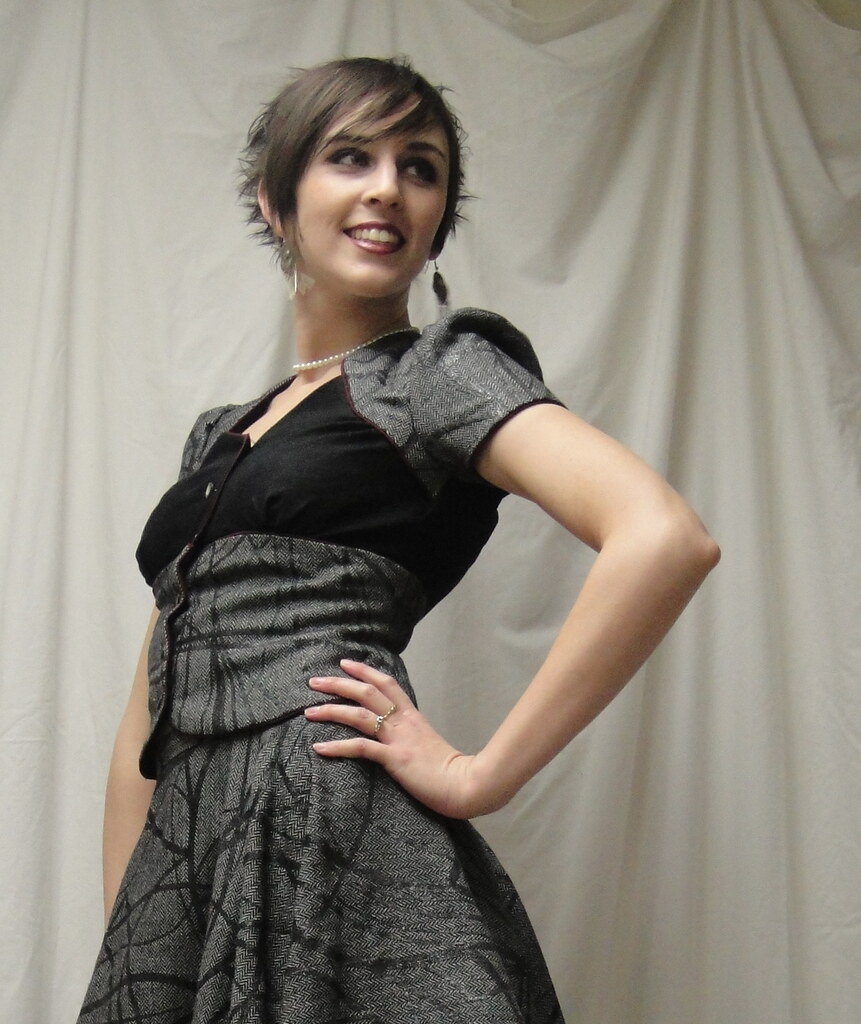
And one more time...
So all in all, it was a great learning experience—lots of new techniques and construction to think through. Next version I make I will have to do some serious considering about sizing and my fabric and where I want to wear it—if it’s a crisp, firm fabric and I want to wear the dress every day, I should go up to the size 2 (possibly with SBA, probably with shortening in the upper torso). If it’s a soft fabric with some give, or a stretch woven, I could probably make the 0 again.
I do feel like I should apologize to Sarai, Colette’s designer, though. Everyone raves about her instructions, and they are lovely—I just haven’t ever followed them yet.
More photos in the Flickr Gallery
Whew! That was a lot of sewing for one weekend! And I still have to finish tracing off my pattern for the men’s shirt sewalong…
* Yes, despite the fact that my knitting education was highly truncated and I have never so much as learned to cast on, I have a yarn stash. I have even, as I think I once confessed to Sigrid though I can’t find the comment now, been known to buy souvenir yarn while travelling. In my defense, it’s not a large yarn stash, and some of it has proven useful in dance costuming over the years… but, er, yeah.