In the spirit of “How much more shit can I possibly cram in,” I made a baby jacket.
Let’s back up a bit. Last winter my bestie, Ada, recipient of the gift Ruby Slip, had a baby girl. In the spring, Ada and her husband came back to Saskabush to spend six months of their parental leave around family. YAY! And I spent most of the last six months thinking that really I ought to make something for this adorable baby who is lucky enough to have one of the most wonderful people in the entire world for a mother. Of course, in my typical procrastinaty way, I didn’t make anything. I even missed my window of opportunity to make this pattern last summer:

Simplicity 3243 – Opportunity Lost
I know, pretty unforgivable. I had fabric picked out and everything.
Alas, like all good things, this idyll must come to an end. Ada and family are headed back to the balmy west coast, and I probably won’t see baby Q (and her delicious pudgy rolls) until after she’s walking. Maybe talking. Stupid distance.

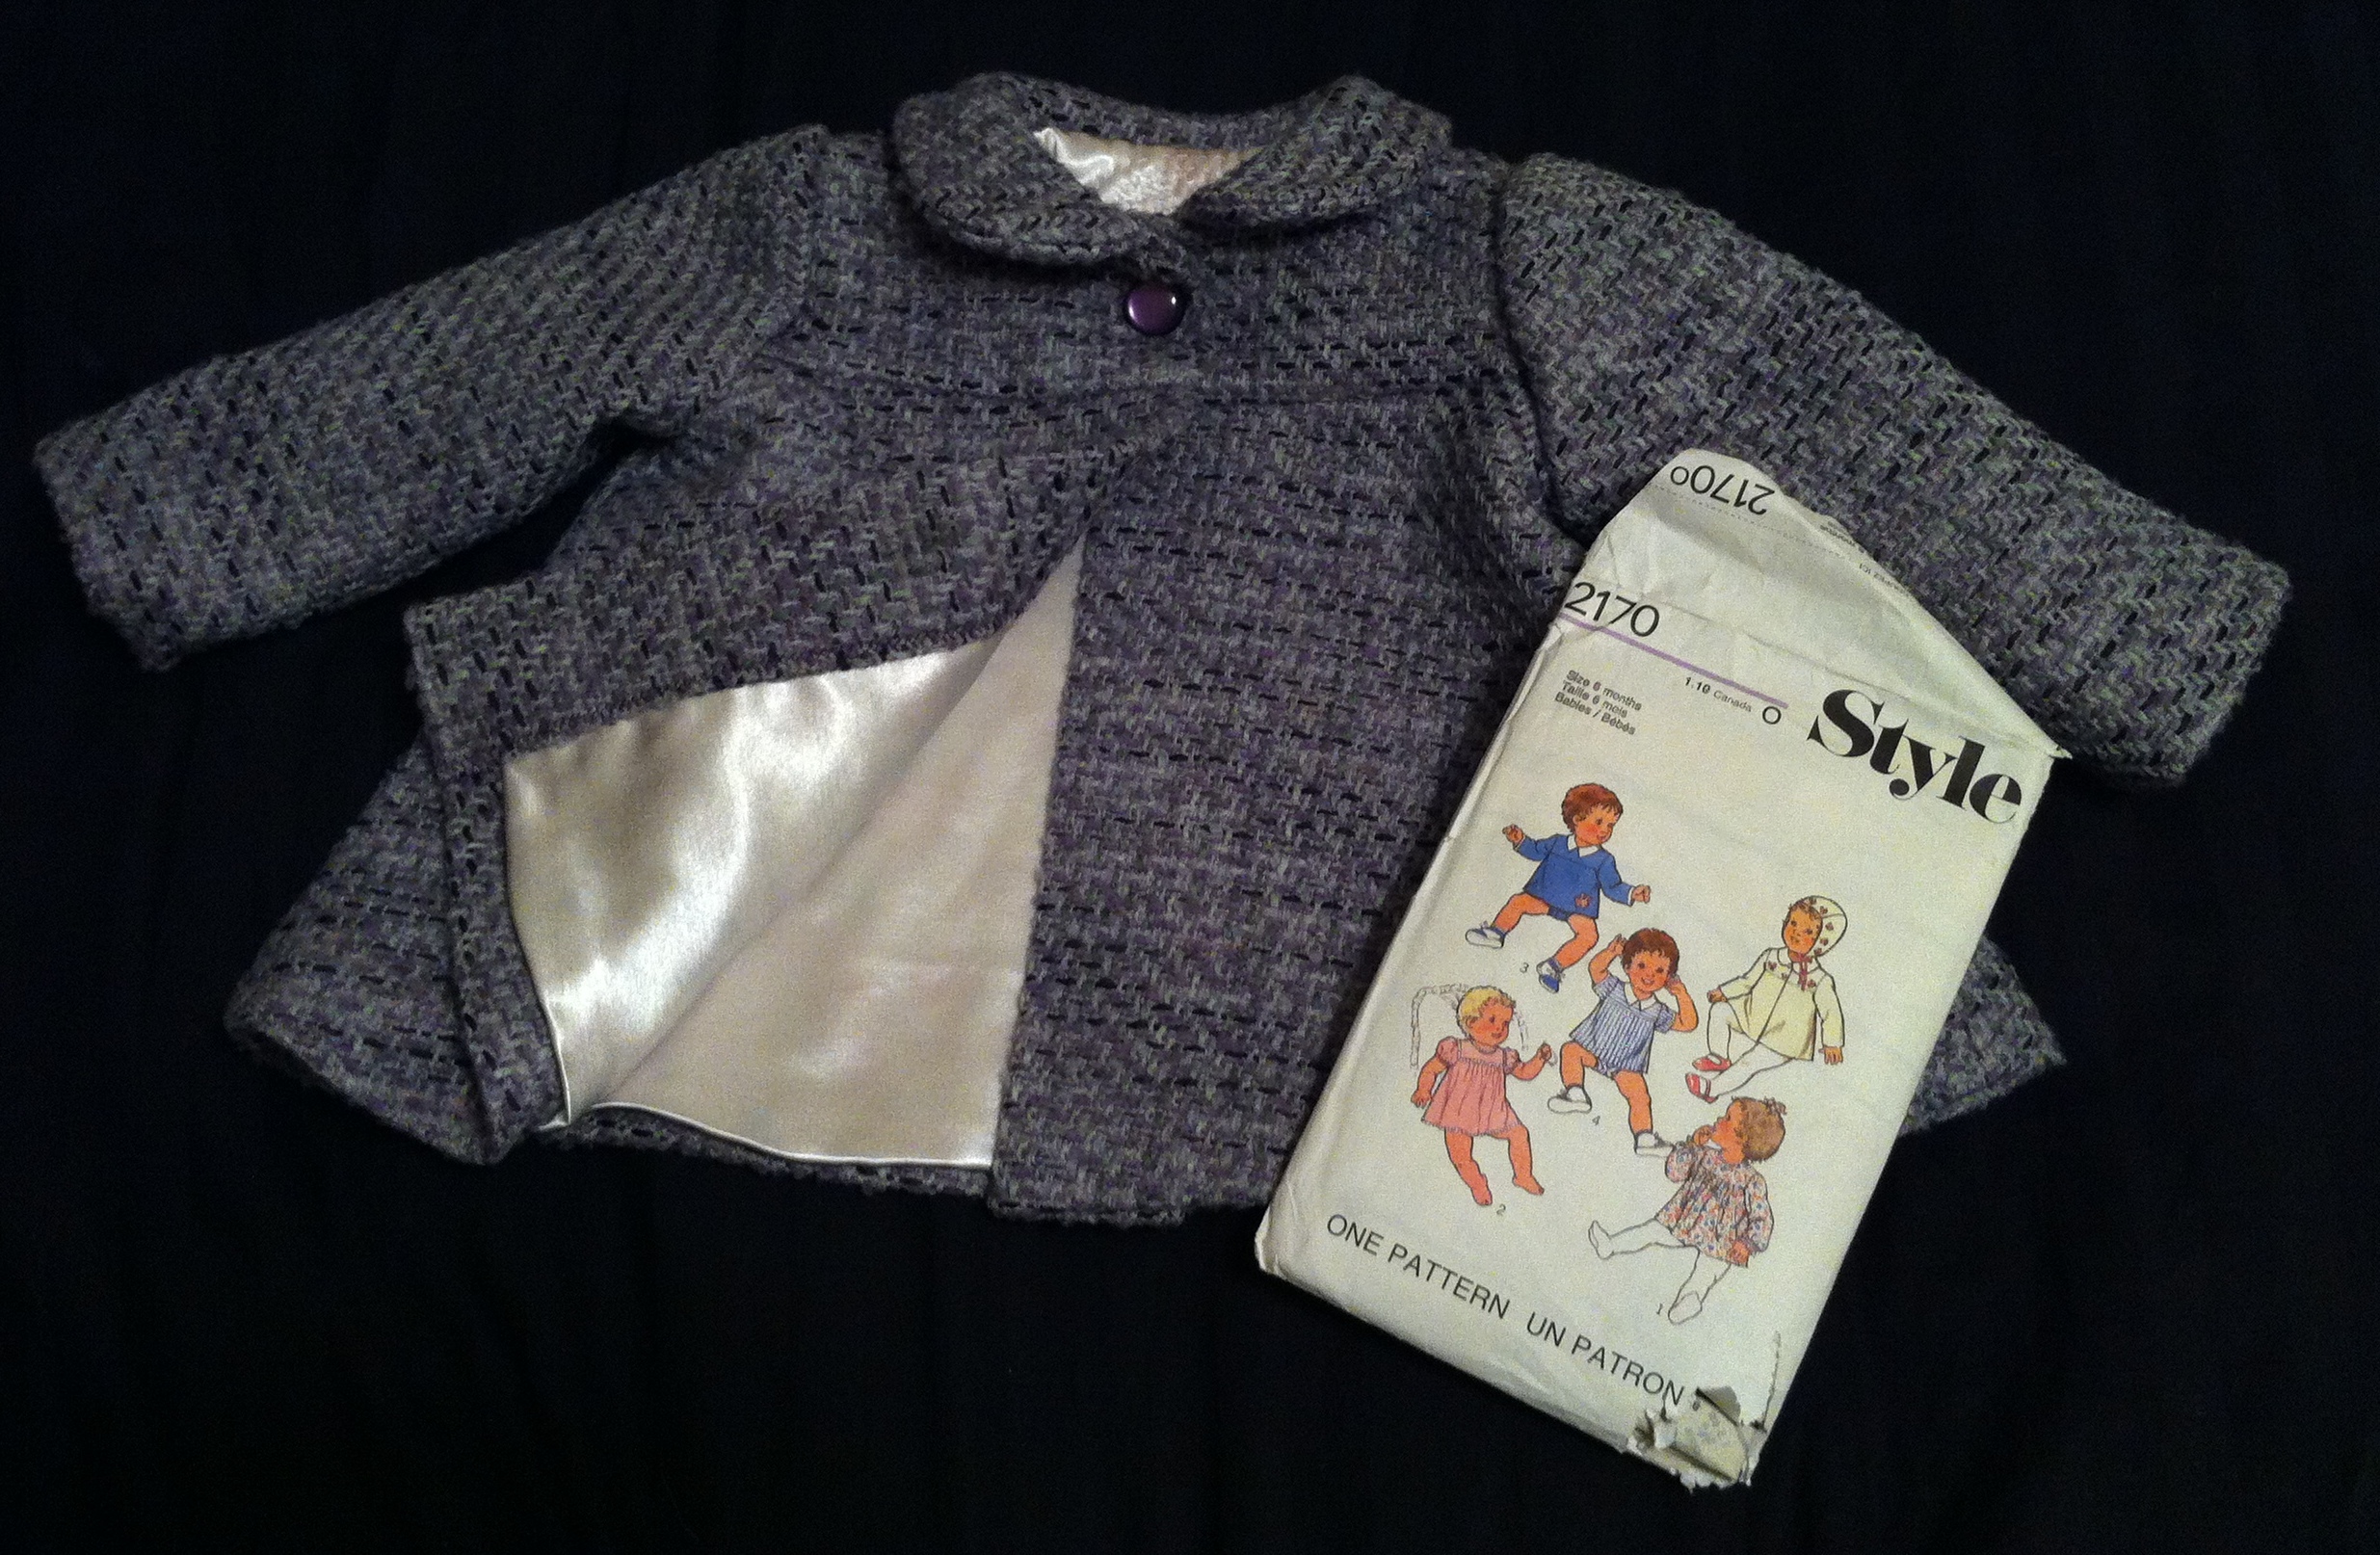
Style 2170
So I got it into my head, a week ago, to finally make up Style 2170, the un-numbered coat version. I traced it out, which would’ve been incredibly easy except for some reason the envelope designers didn’t give that view a number, and while the individual pieces were marked “Coat,” the pattern overview really wasn’t very clear about which pieces were which. I ransacked the stash a bit for coating (something I am well supplied with), Kasha lining (mmmm, Kasha), and finally settled on a flannel I could sacrifice for underlining. Although it has pink teddy bears. We’ll come back to that.
Coat
Did you notice this pattern, too, is for a six month old? Yeah, real bright, Tanit. Q is nine months. She’s not exactly a wispy, waifly nine-month-old, either (see above about the rolls.) So I have a sinking feeling that this coat will probably fit for about a minute and a half. Ah, well. It’s the thought that counts, right?
Don’t answer that.
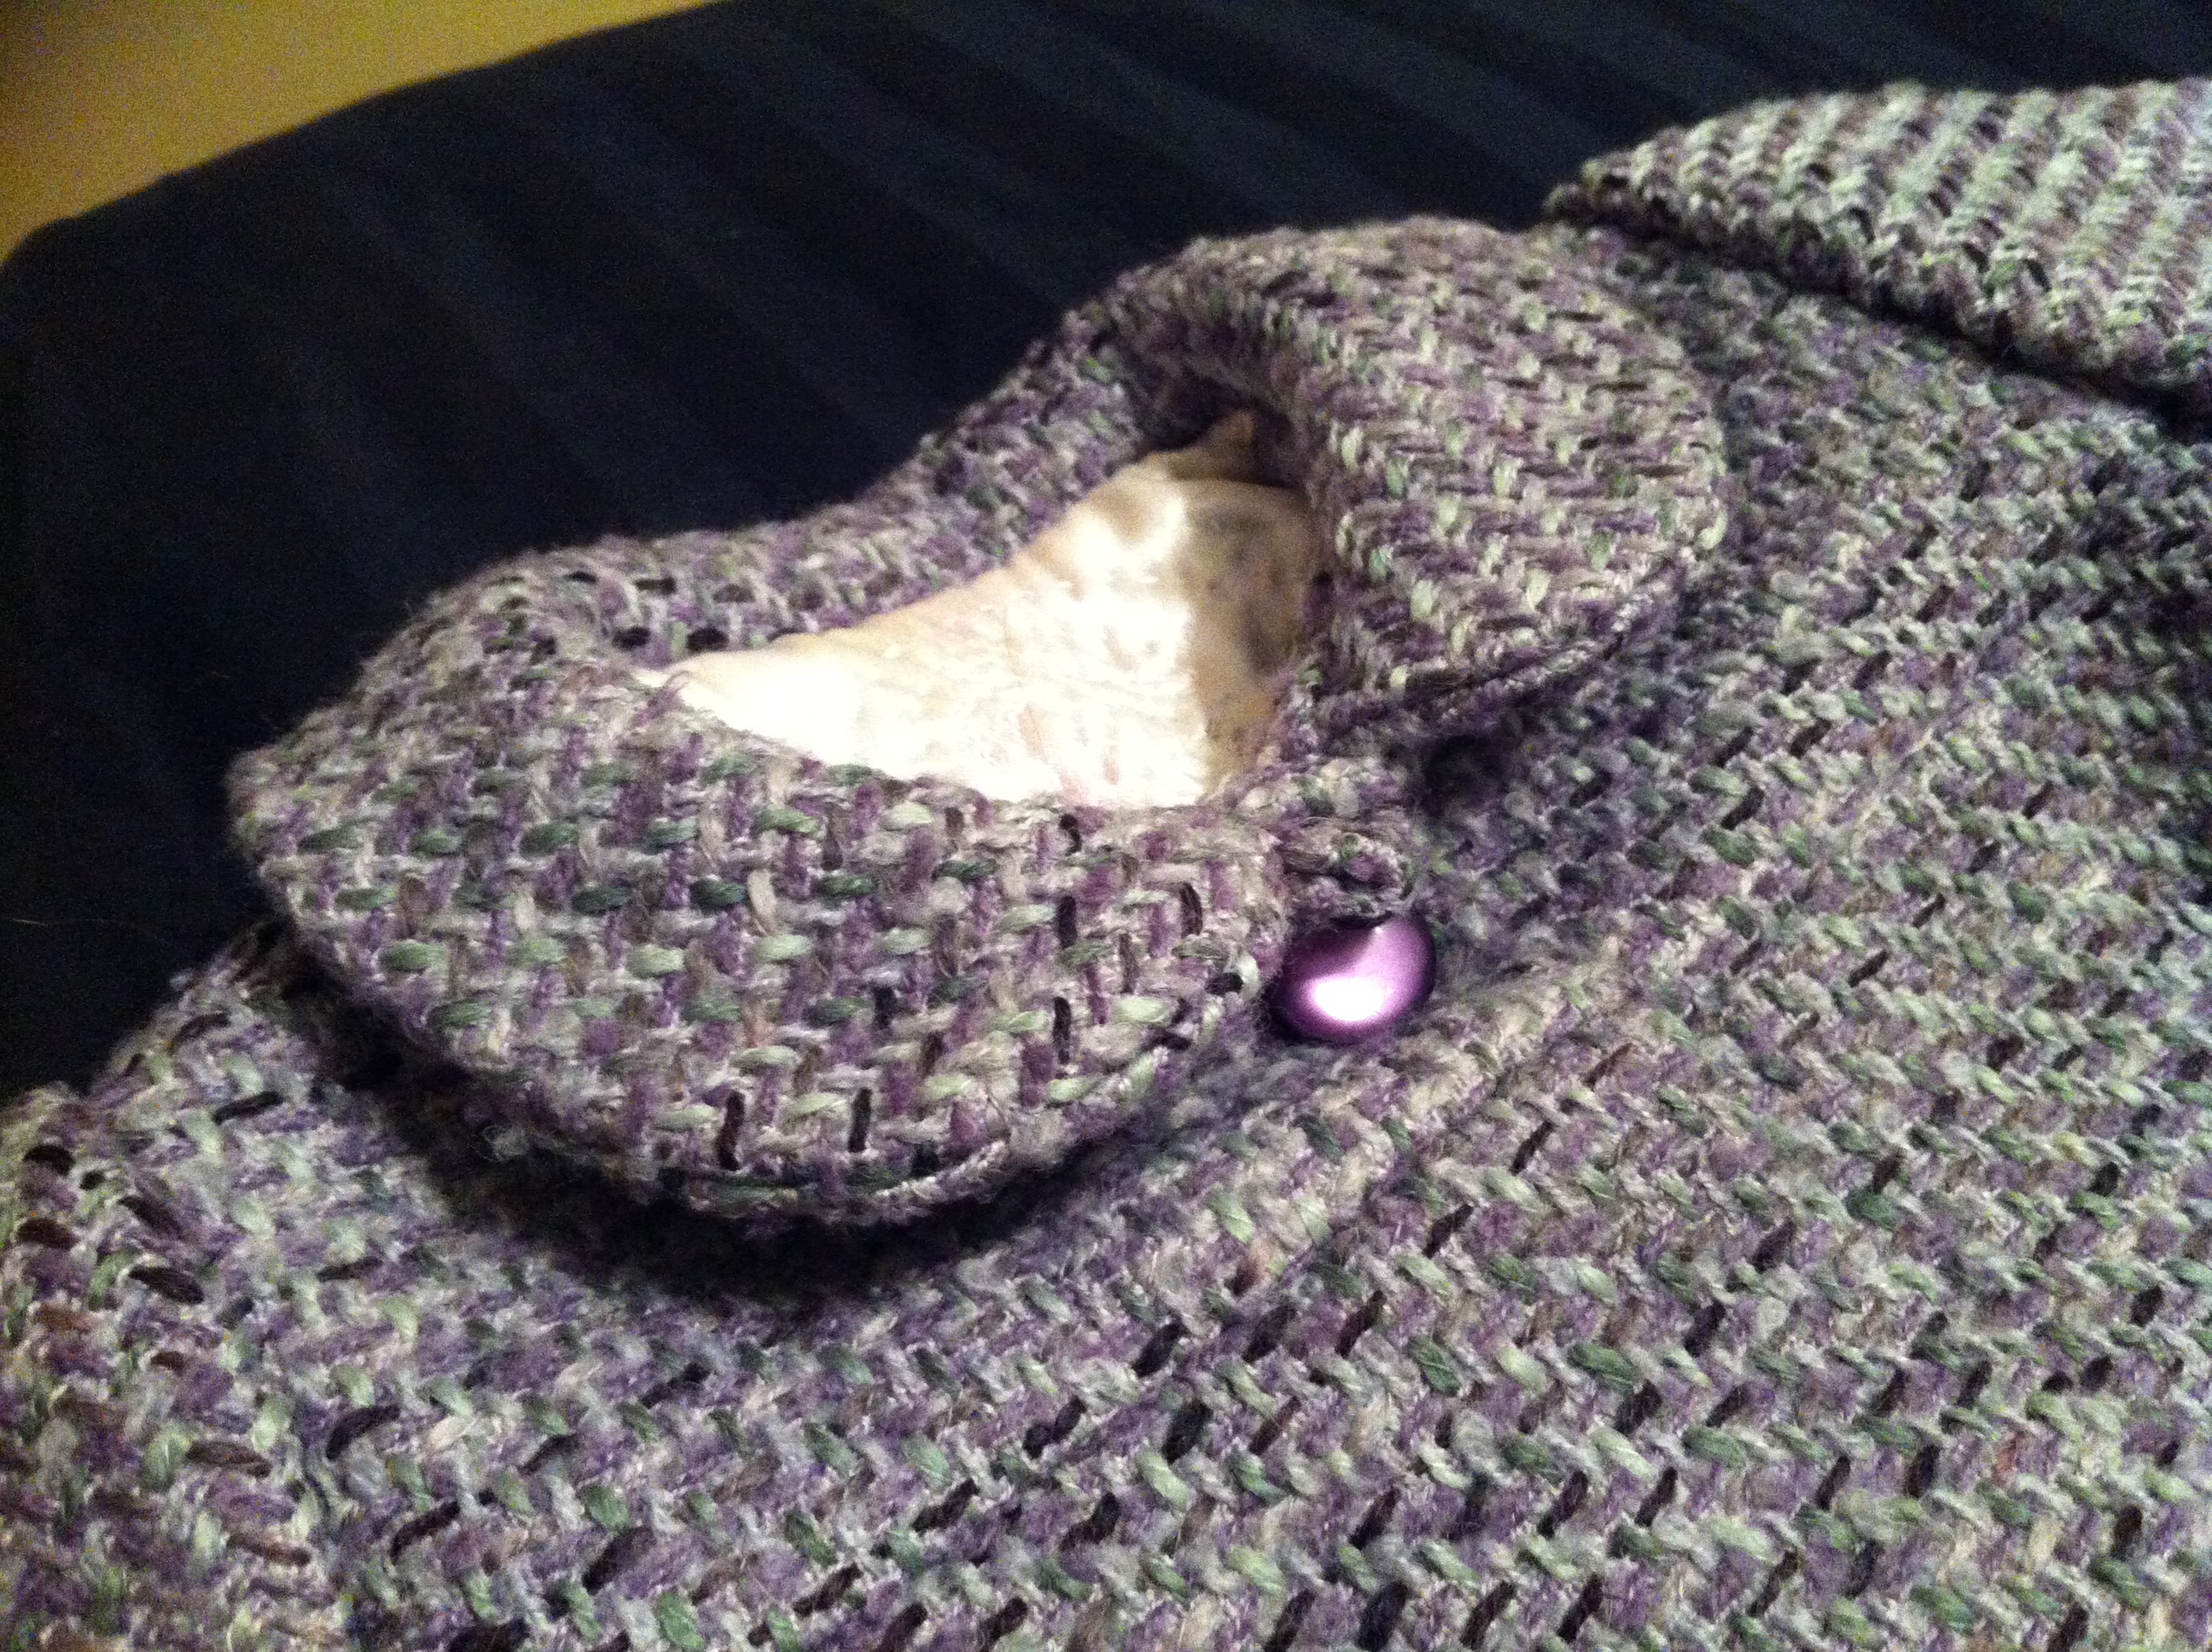
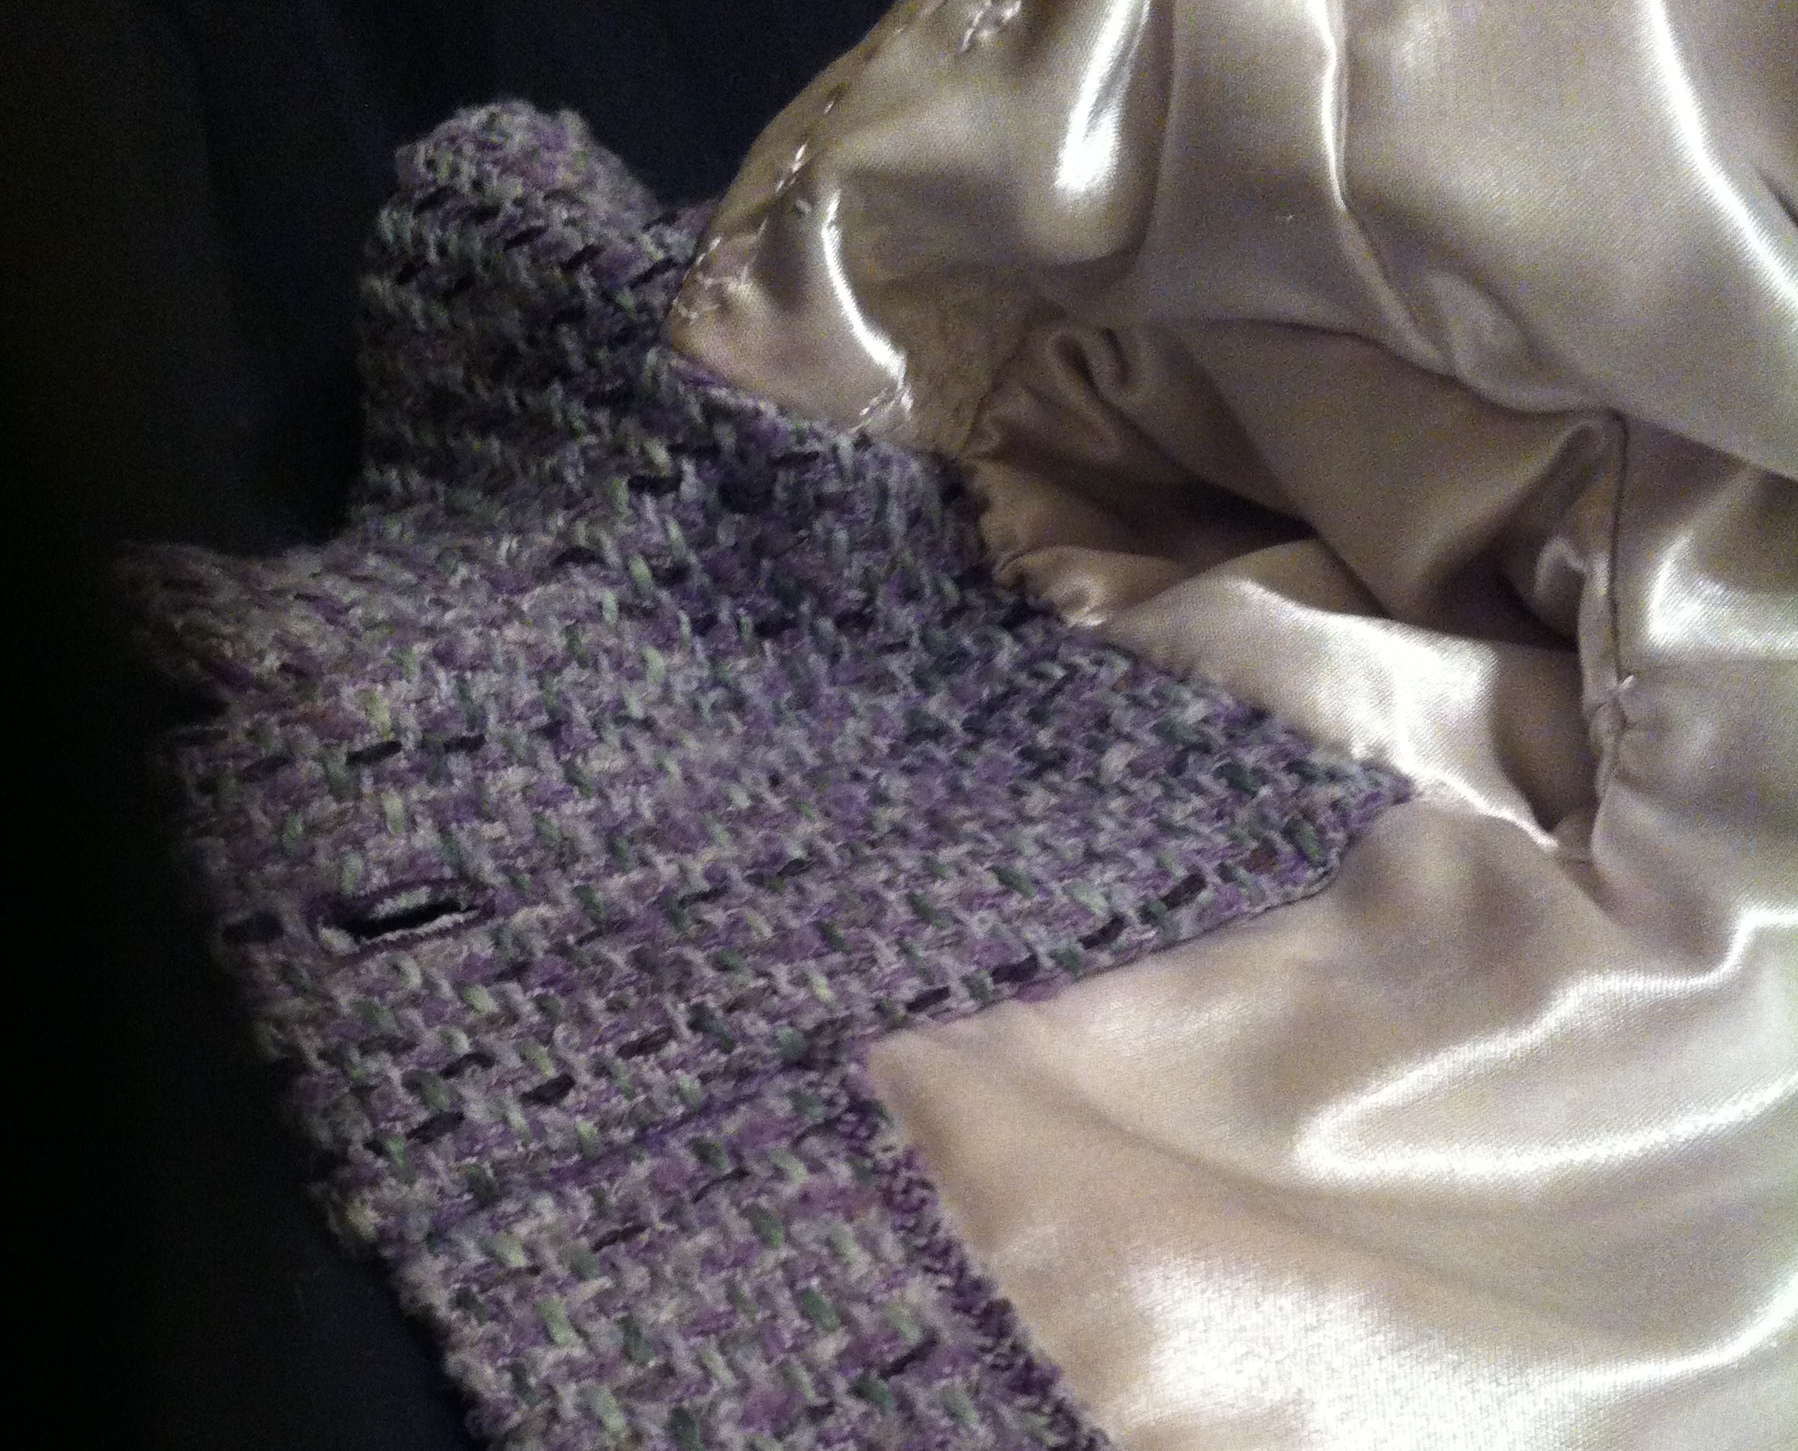
Collar. Perfect button.
I had hoped for two buttons for the closure (as per the drawing) but couldn’t find any pairs in stash that worked as well as this one perfect purple button. You can see I made no adjustments for turn of cloth when stitching the collar. I only had one afternoon to construct the whole thing, I wasn’t really thinking about fine tailoring.
Fold-over facings
The front and front yoke both have fold-over, cut on facings; this made for some nifty construction I don’t think I can explain without long diagrams, but was a pain in the butt when it came to adding the lining, since the original pattern wasn’t lined and when I went to sew in the sleeves, well, the front and back yoke were all sewn to each other. There was some seam-ripping and pouting. I wound up stitching the lining sleeve to the lining body by hand; technically it could’ve been done by machine, but the space was so small and fiddly. Baby clothes are pretty annoying that way, aren’t they? There was a fair bit of ease in the sleeve cap, as you can see; I didn’t really notice with the shell fabric, which eased gloriously.
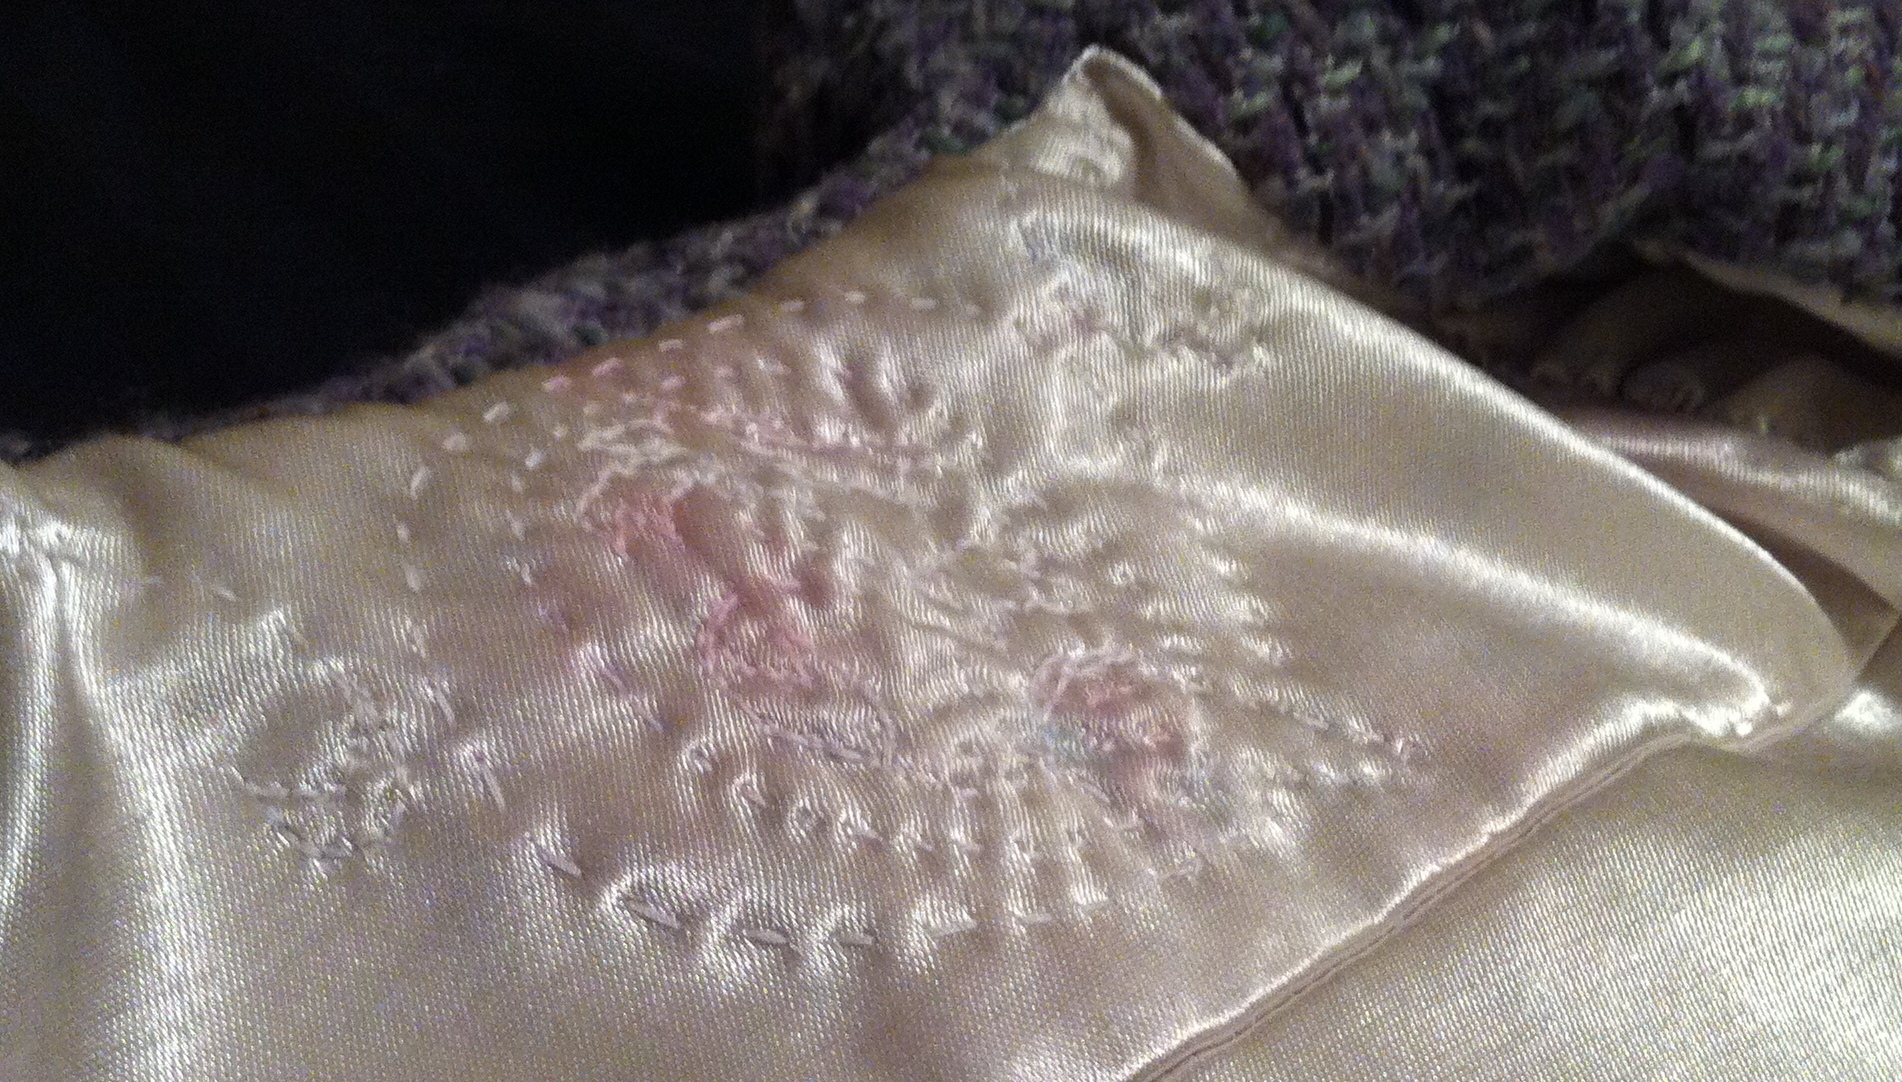
Quilting for Q
I got it into my head, during the gap between cutting and actually sewing it up on Sunday, that I should quilt the back yoke. The thought process actually went: I want flannel interlining. Interlining is sometimes quilted to the linings. Think of those gorgeous quilted petticoats you like so much. I could totally do something like that! I should quilt a “Q” onto the back yoke! Then I tried to add a bunch of curly, floral bits. I’m not good at either quilting or embroidery, so I don’t think my results are terribly legible or lovely but, well, there is a Q there if you look closely. There are also some pink smudges, because when I washed the piece to get the little purple tracing-paper dots off, it appears the pink bears on the backing flannel bled. Aargh.

Lining and facings
I used featherstitch topstitching to attach the facing to the front lining.
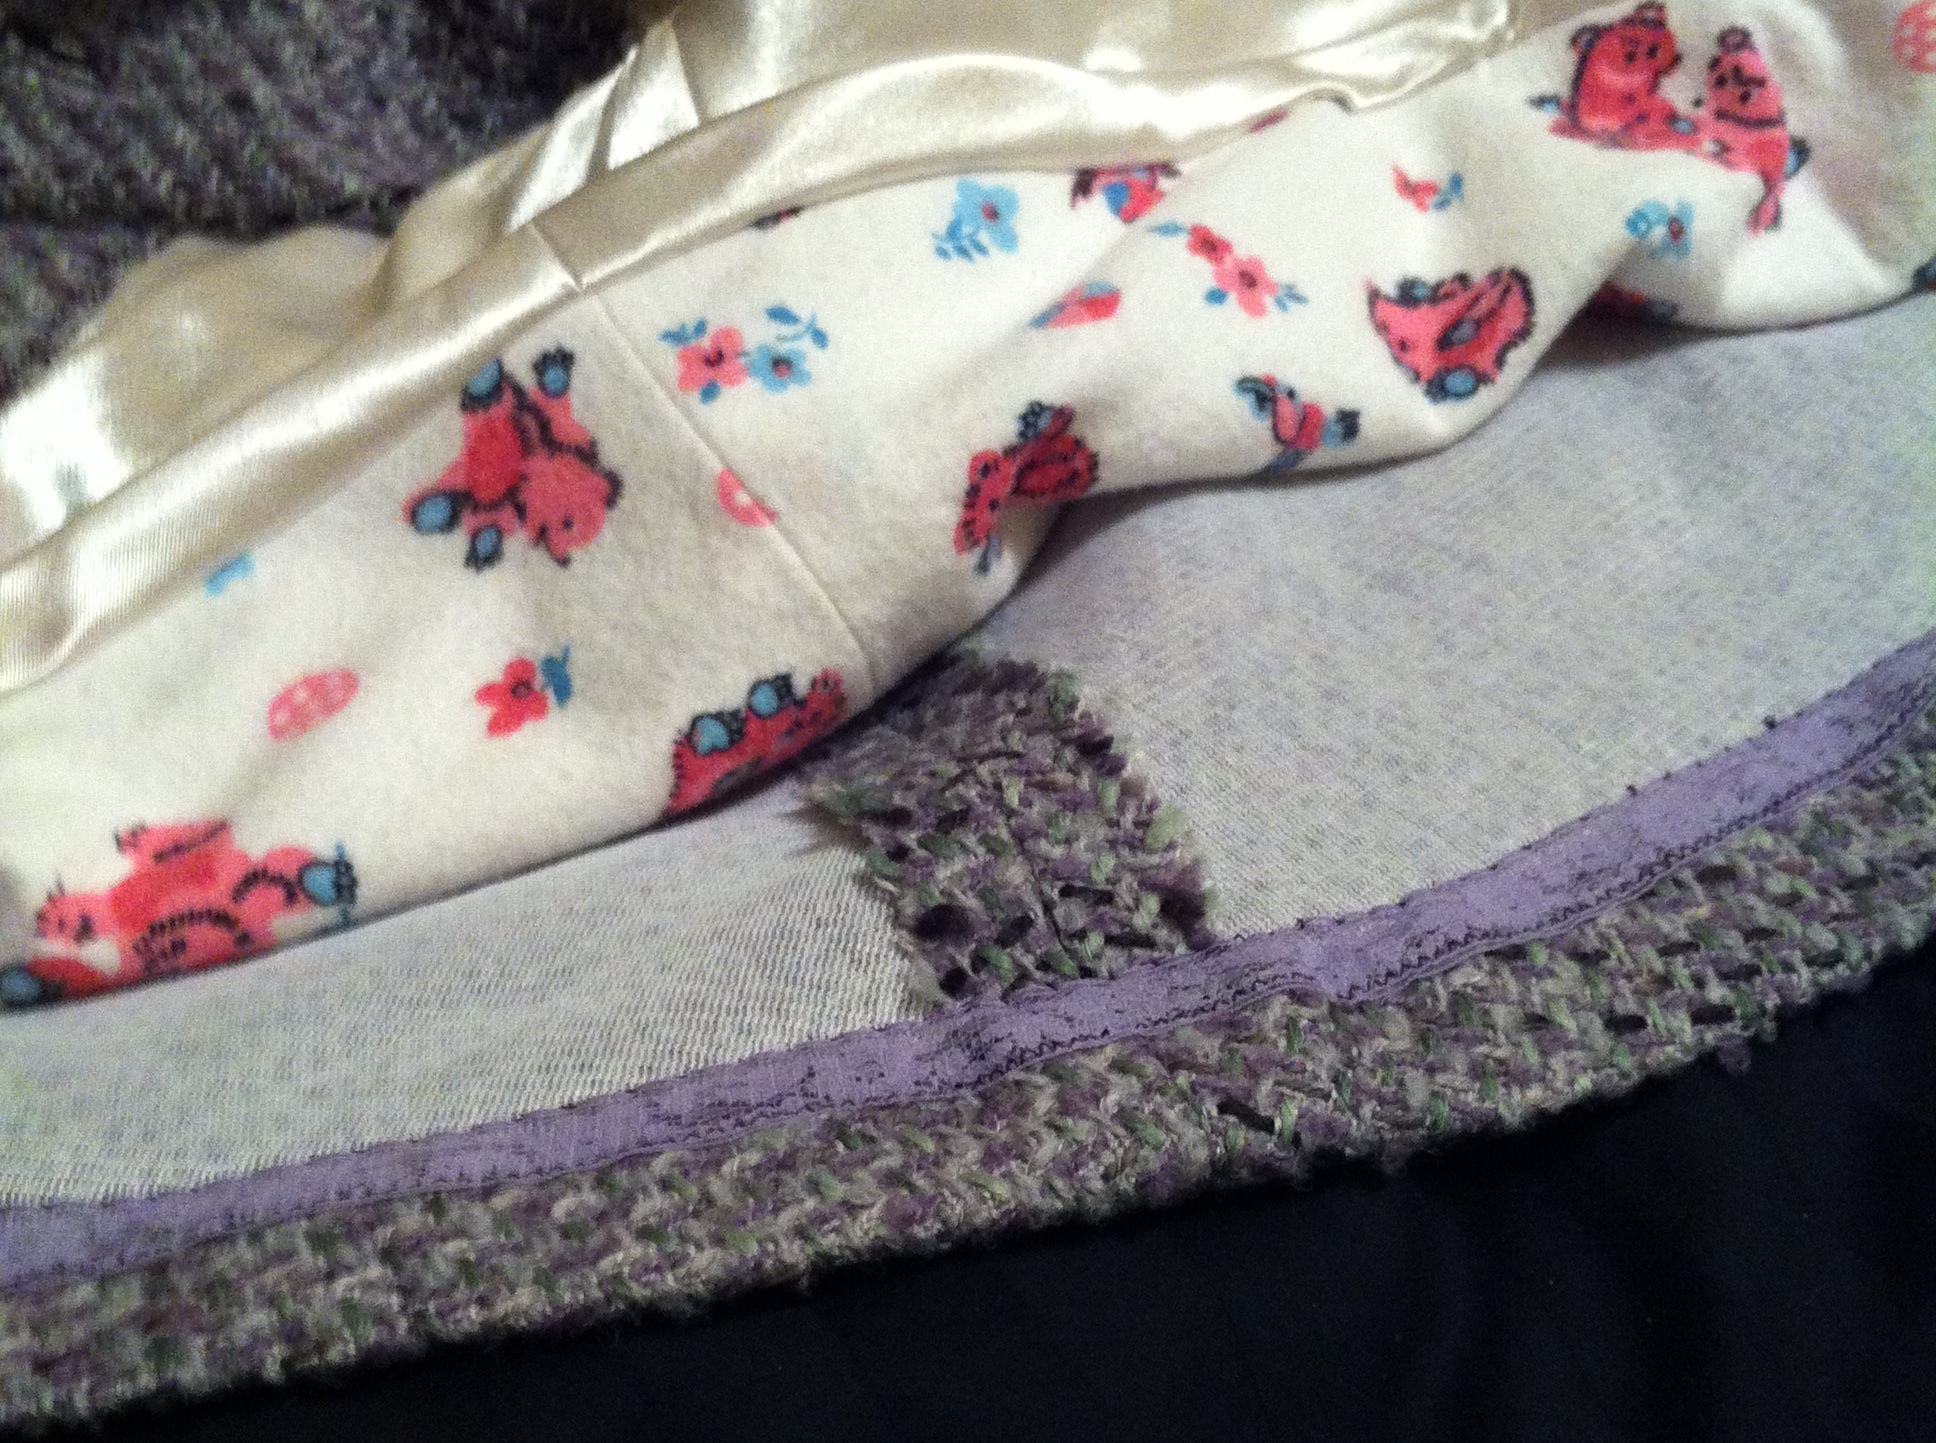
The guts.
Here you can see those darn pink bears. This flannel had been pre-washed at lest twice, and it still bled. WTF? I cut the flannel 2 cm shorter than the lining, and then sewed the hems together (which took a lot of easing on a flared coat like this) and managed to sort-of get it to lie nicely once it was turned around. My coating fabric was really fray-prone, so I blockfused it to a knit interfacing , which made it lovely to work with, but I probably still should’ve serged the raw edges. I was assuming this was a poly coating, but maybe there’s some rayon or even wool in there; it sure pressed and eased beautifully. I love coating. I found a lavender lace hem tape in stash to cover my hem, though I picked a darker purple thread to sew it on, which doesn’t look terribly nice. It’s very tidy, though, at least.

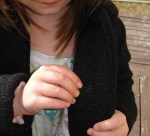
that bit
I backed the purple button on the outside with this clear, boring button on the inside. I was looking for a cute purple one, but couldn’t find one that was small and flat enough.

Back view. Very boring.
I kind of wish I would’ve piped the lower yoke seam, as it’s a pretty feature and hardly shows. Or maybe I should’ve done the back yoke on the bias. Ah, well. What’s done is done.
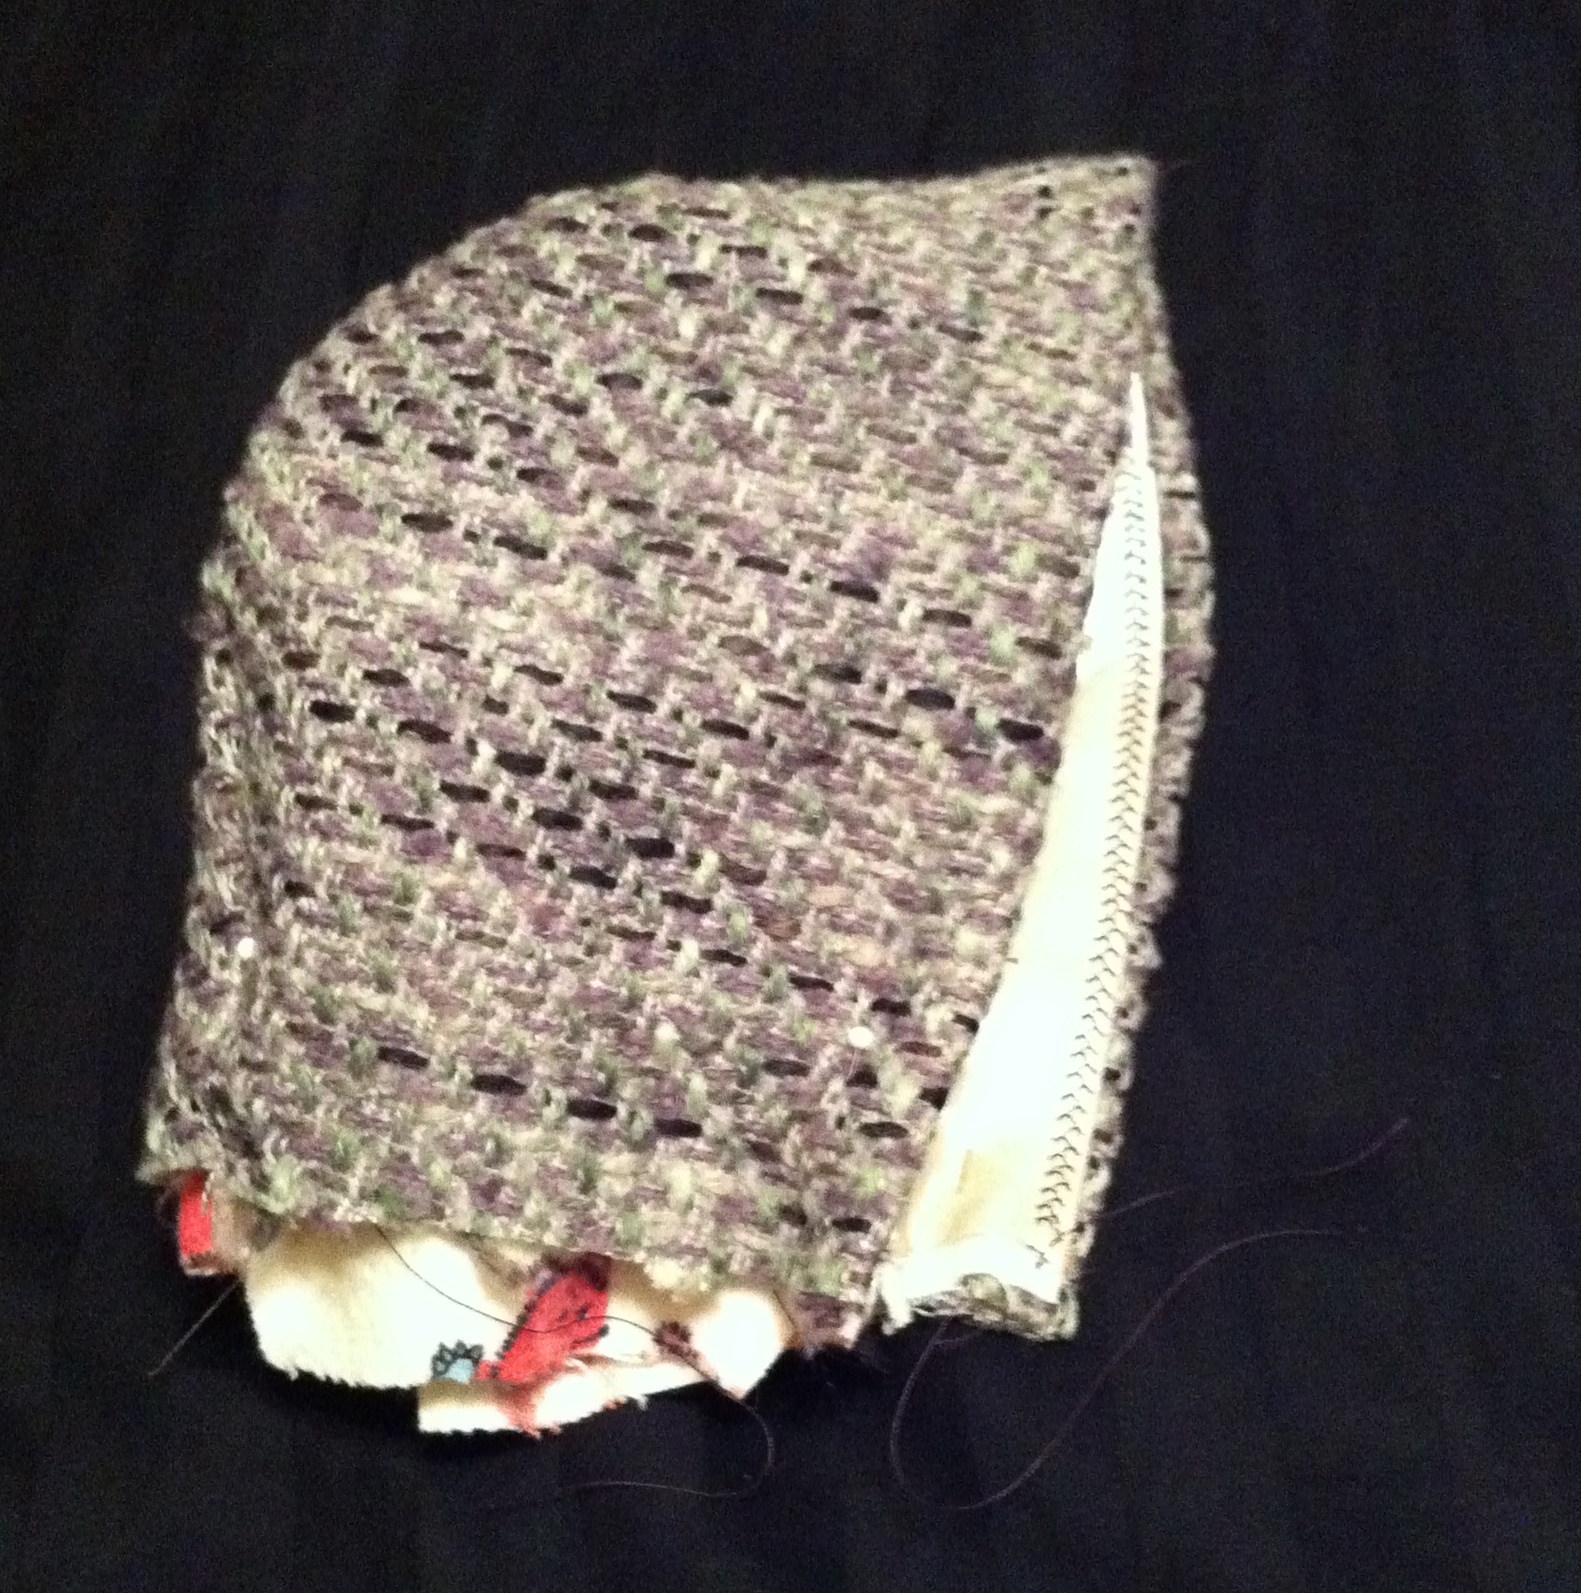
Bonnet. Fail.
As you may have noticed, the pattern included an adorable bonnet. I was pretty excited about this, until I got it to this point, and looked at it, and realized that it was highly unlikely to actually fit, or cover anything enough to keep it warm if it did. So it went to the bottom of the queue and didn’t get finished. It would’ve been lovely, though.

Bonnet insides.
Don’t you love my featherstitch understitching?
I have to say, much as I don’t love making baby clothes (they have such funny squooshy bodies, regular clothes really don’t make much sense, and they grow too quickly), I sure do love making coats. I love working with the heavy fabrics, I love the way they ease and press and even the fiddly things like turn of cloth. This was a pleasure to make just for how the fabrics handled, and it was so much quicker than a full-sized coat would’ve been.
Edited to add:
It fits! It fits it fits it fits! I added an inch to the sleeves when I made it, and they are a little long, and the shoulders are still a little wide as well. Silly over-sized baby clothes. The sleeves aren’t particularly wide, especially for chubby baby arms, but she’ll be able to wear it for a bit, anyway (and she’ll get a lot more wear out of it in warm Vancouver than she would here, that’s for sure.)
Also, Ada has promised pictures of the jacket being worn in its natural habitat. 🙂
Also, I’m apparently going to a baby shower on Sunday. Which means I may have to make more baby clothes. /sigh.