Did I mention lately that I don’t need any clothes? I really really don’t. My husband, on the other hand, is in dire straits. Since he hasn’t needed a professional wardrobe for years now, and he hates shopping and is super picky, everything in his closet is ancient, worn out, and often ill-fitting.
 And guys, he’s hard to sew for. Lord knows I’ve tried over the years, and sometimes I’ve succeeded (most often with loose overshirts.)
 But did I mention he’s picky? Nothing gets a “oh, that’s perfect!” Everything gets criticism that at best is constructive but at worst is just demoralizing. He’s fussy about fit, fussy about fabric, fussy about style.
But I really don’t need clothes, and he does, and he won’t go shopping (nor do we have a lot of money for that, see the part about where my second job just went away)
 Anyway, he needed some cool pants for the summer. He won’t wear shorts (see the part about picky) and while he couldn’t quite articulate it, I was pretty sure some casual linen pants would fill the slot.
Fortunately, I had just enough of the black linen I used for this dress for a good sized pair of men’s pants.
 I was initially thinking very plain and simple, as much of a fit test as anything else. Then I made the mistake of telling him what I was making.
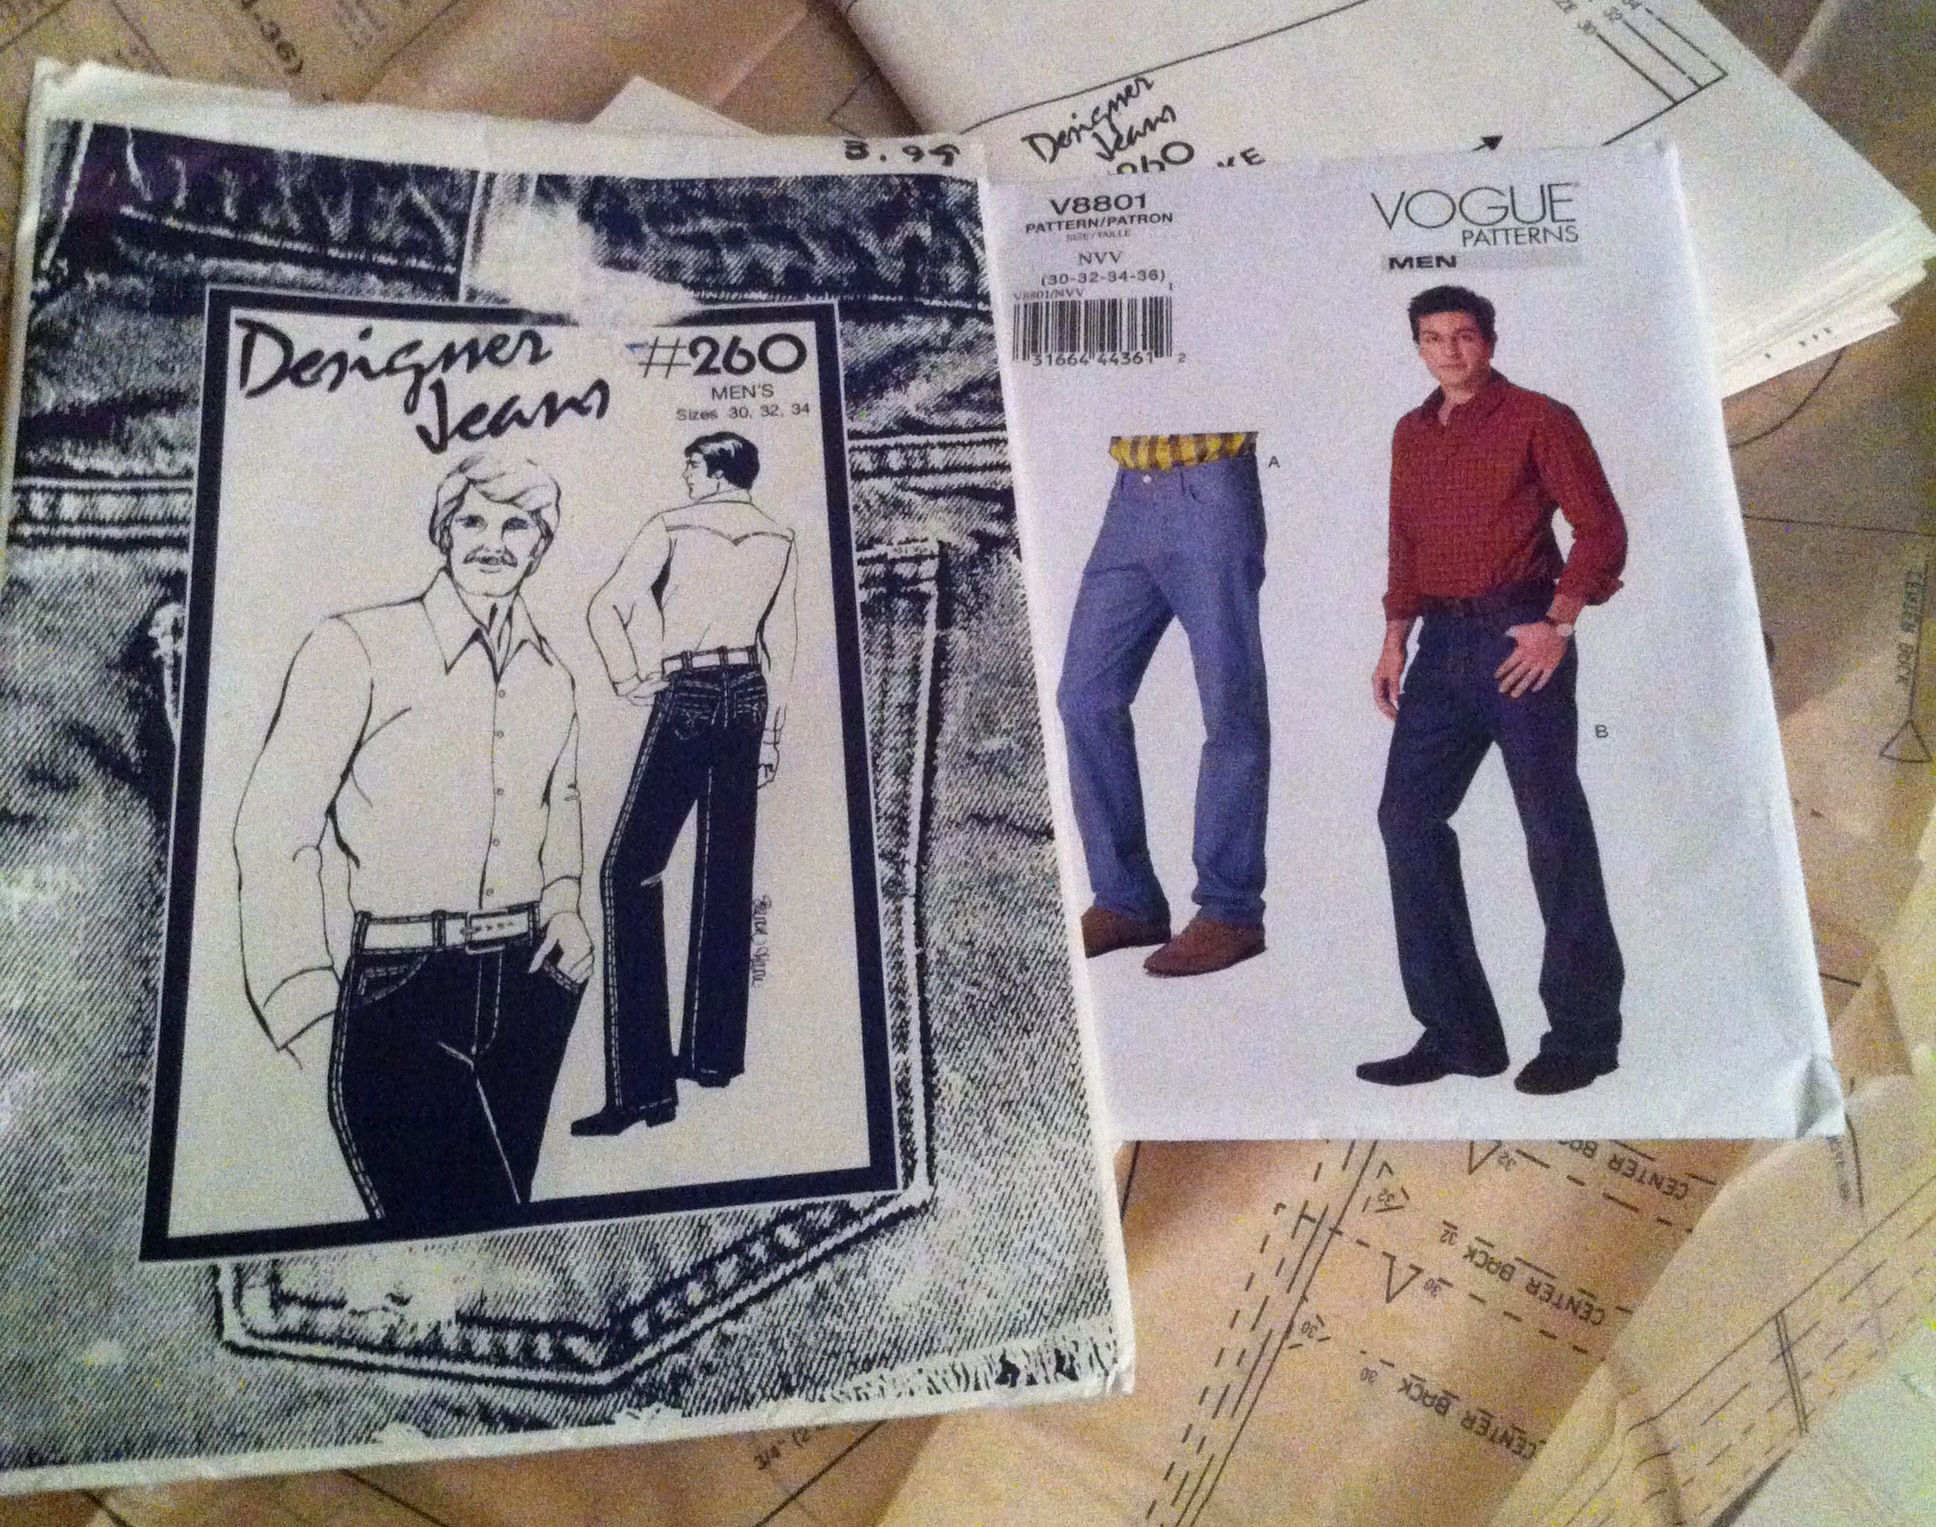
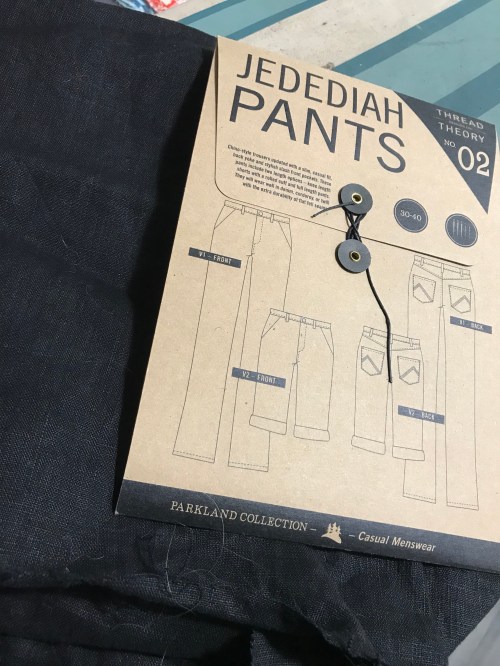 I had picked the Thread Theory Jutland pants, a fun pattern with great workwear details. I liked the combination of jeans style pockets in the front and darts in the back, which make for easier fitting on the fly. I was a bit worried about the slim fit of my other option, the Jedediahs. I was going to save the cargo pockets and reinforcement details for a future version, though. I planned to size up and add elastic to the back waist to allow for his highly-fluctuating waist size.
 The first mistake was letting him see the pattern. Not that he didn’t love the details (the ones I was going to skip, you recall). He just wanted even more. Zip off legs! Accordion pleat in the back!
I protested, and the whole procedure nearly halted right then.
 But I really don’t need more clothes, and he does. So I took a deep breath, and “compromised” by doing the added details as per the pattern, but not doing stupid zip off legs that he’ll never actually unzip because he only ever does that while wading in water fishing and if he takes his black linen pants fishing I’ll kill him. I don’t think he considers this a compromise.
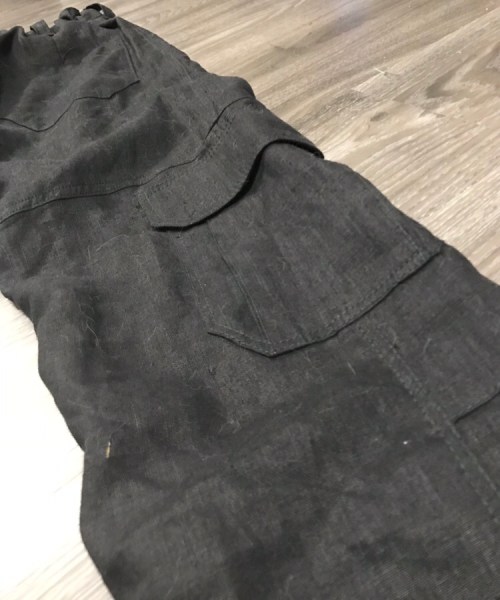
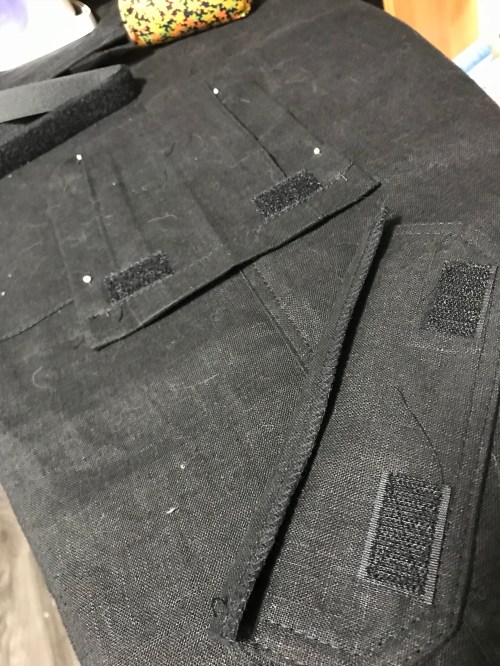
 Anyway, I don’t actually mind the process of constructing cargo pockets and the other reinforcements were very simple. (And frankly as cargo pockets go, the ones in this pattern are pretty Lite(TM). Just a couple of pleats. Not really 3D at all. I was actually a wee bit disappointed.) I did the pleats a wee bit too deep so the pockets are a bit small for their flaps. This turned out to be the least of my worries, however.
The problem is, this was my first time making up this pattern, and the details really pin down certain things. Where the knee should be. Where the hem should be. And it turns out, I kinda fucked those positions up.
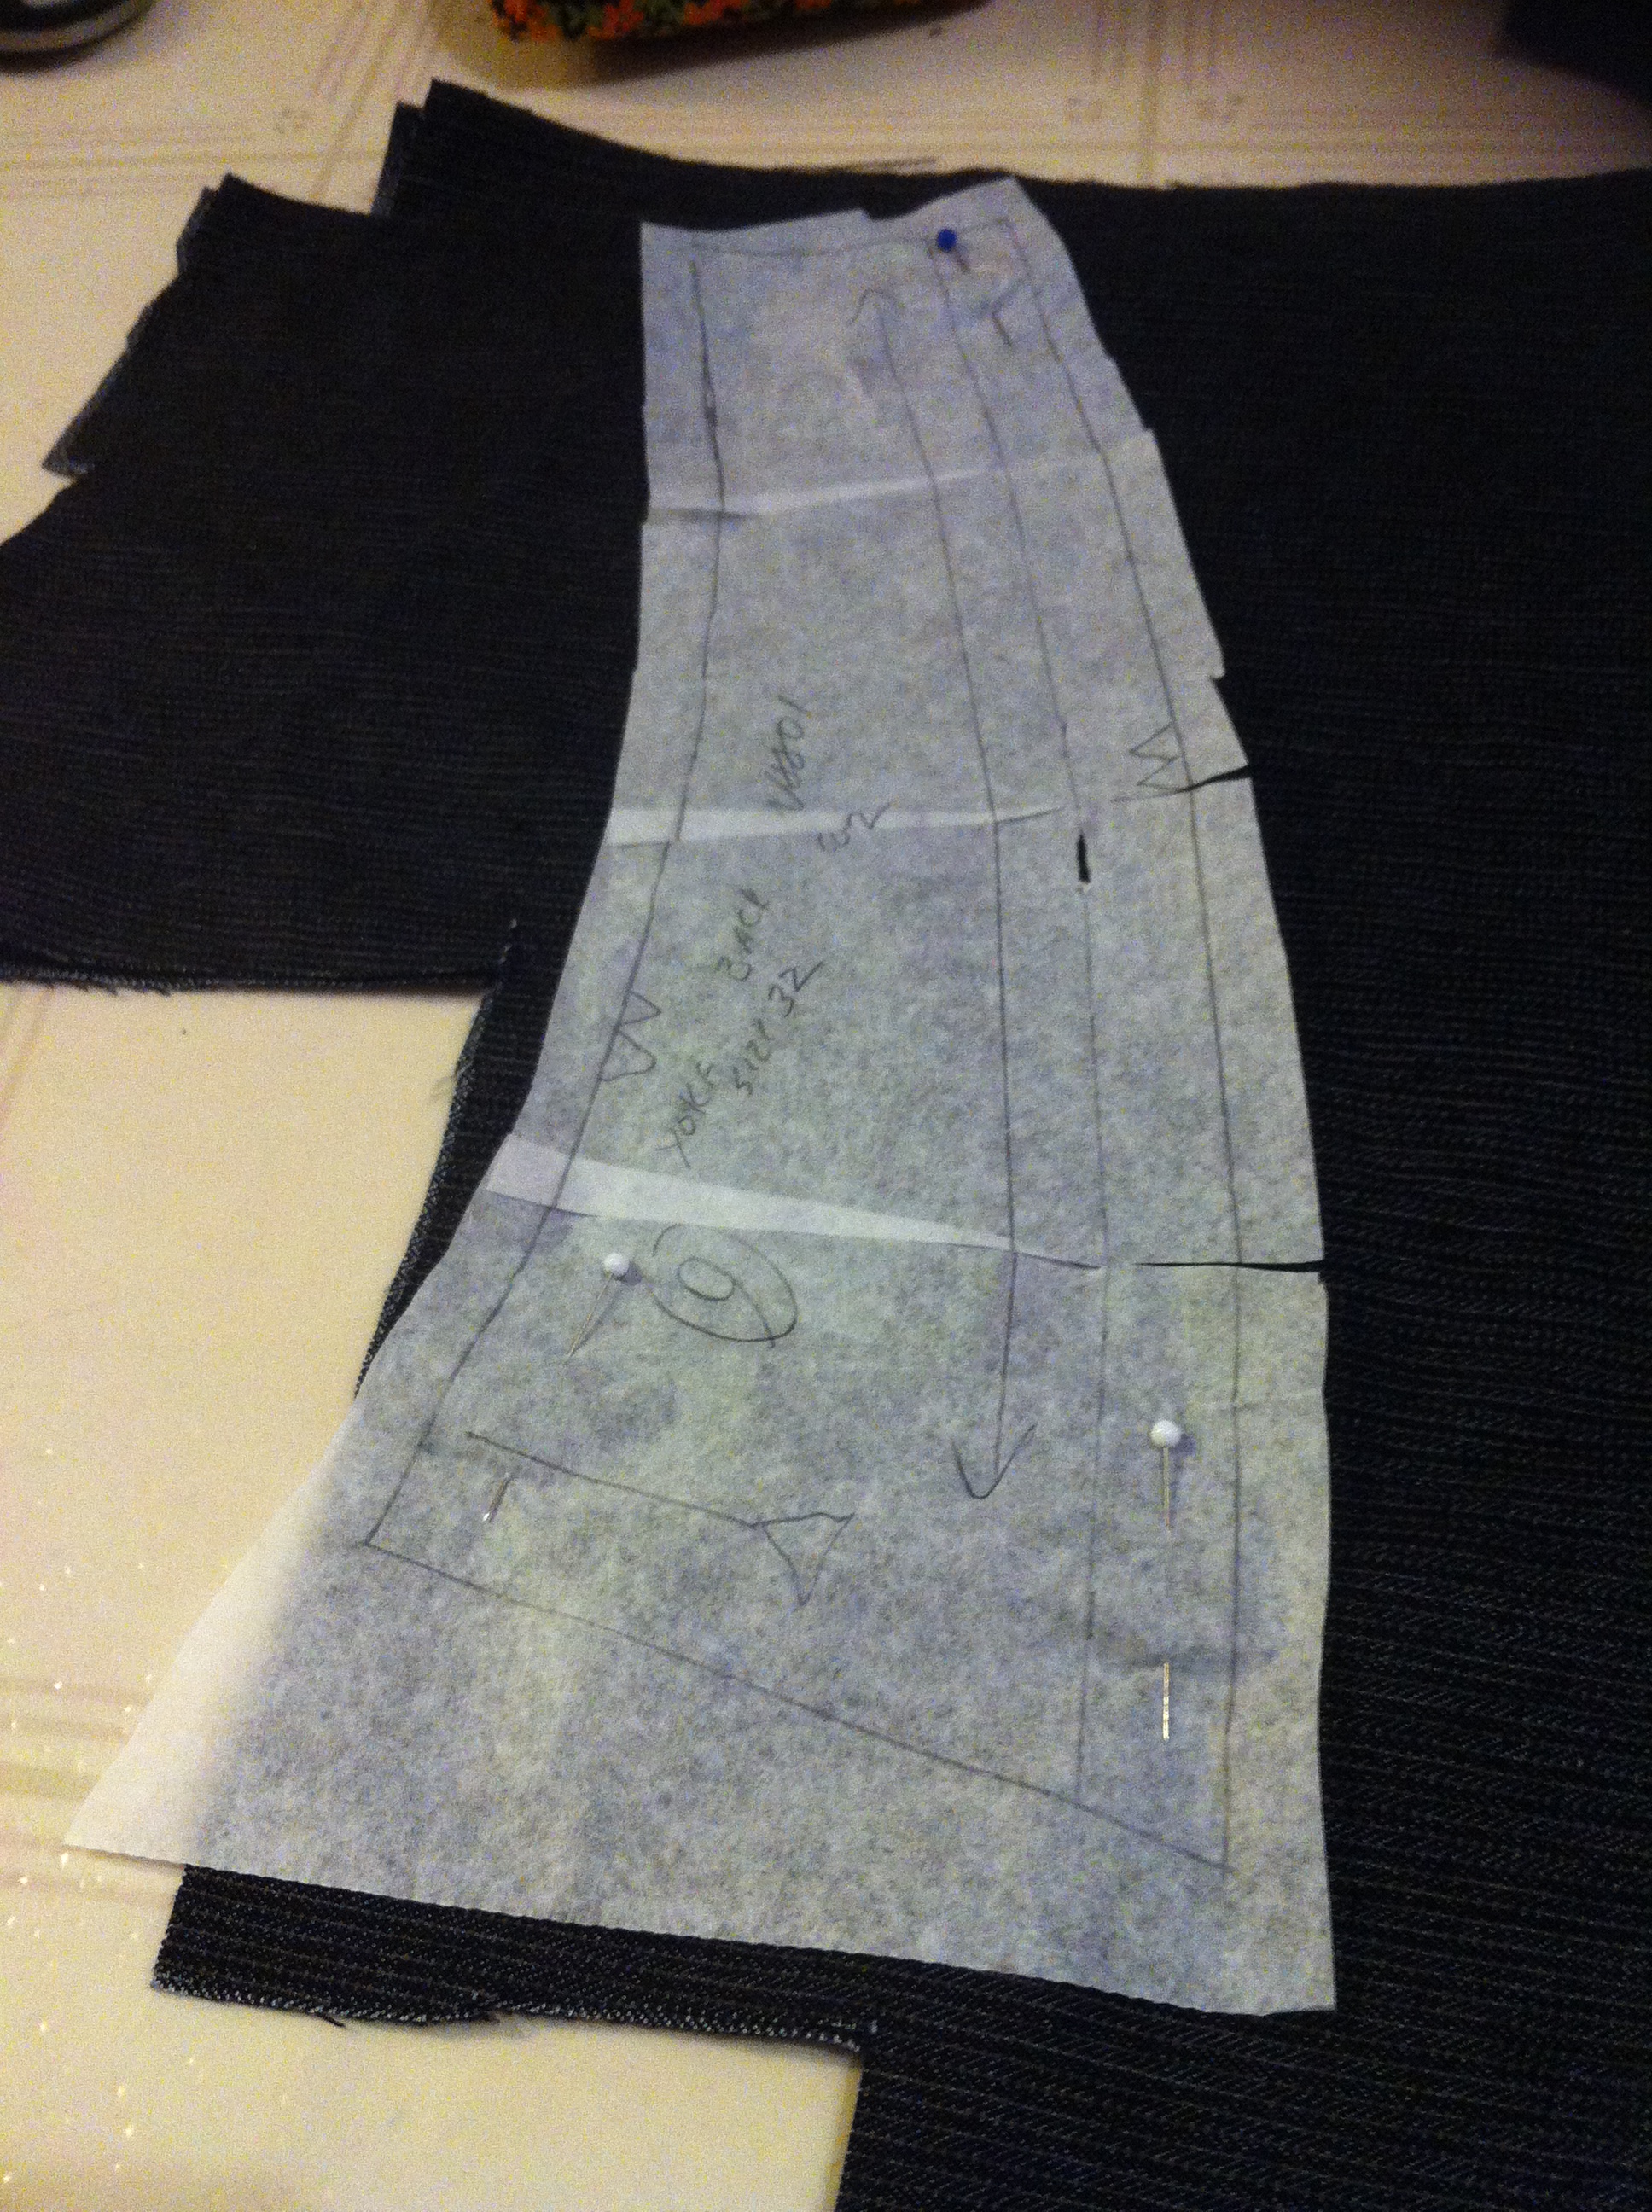
 When I traced out the pattern, I added length. My husband isn’t that tall, but he does tend to be long-legged and too- short jeans are a common issue.
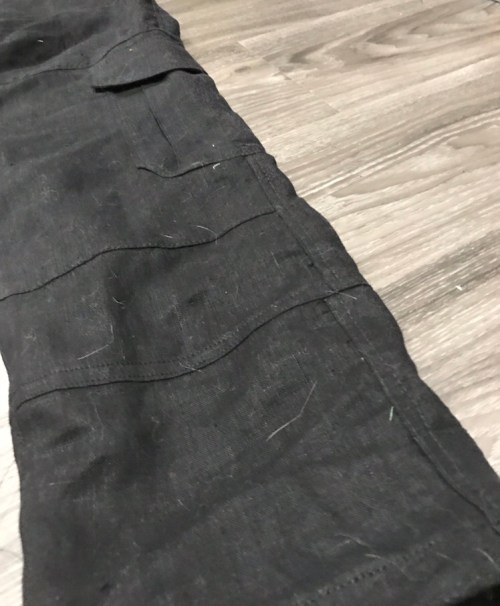
 Let’s just say they would not have been an issue as is. There seemed to be about 6″ of extra length on each leg, and I only added about 2″. I wound up making a 1″ tuck above the cargo pocket (topstitched down) and adding a seam to take out about 5″ more between knee and hem. Edit: and it turns out that was a little too much now that he’s actually sitting down in them. FML.
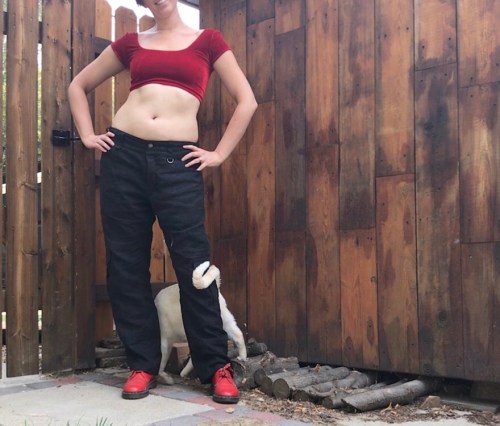
 Because when worn “high” (aka as they should be) they’re way short even on me. But when we tested the length he had them slung low. Argh!!!
 I also discovered when I went to sew them up (AFTER the cargo pockets were all in place, of course) that I must’ve screwed up my tracing, because my front and back inseams are about an inch off. WTF? Side seams match fine. Anyway, in the end I eased the extra length in. This will probably cause problems at some point, but linen eases pretty nicely.
They were also quite a bit fuller than he likes. Some of this is because I sized up, but some is just the style of the pattern, which is quite loose in the leg. So I wound up taking in the inseam (remember, outseam is fixed at this point by the cargo pocket on top of it) by about 3cm on each leg. That’s over 2″ off the circumference of each leg, guys. And I had already topstitched inside the tube to finish off the inseam. Rookie move on my part. I was a little cranky.
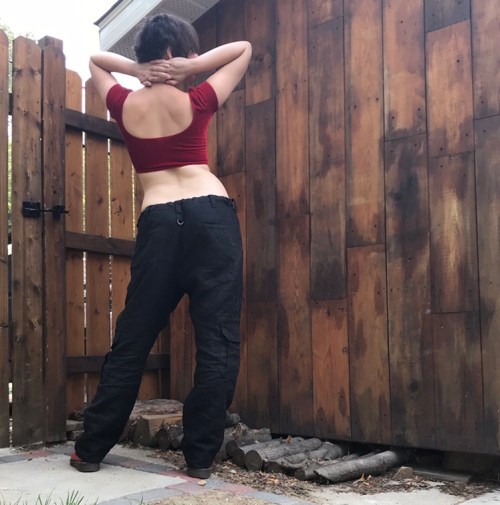
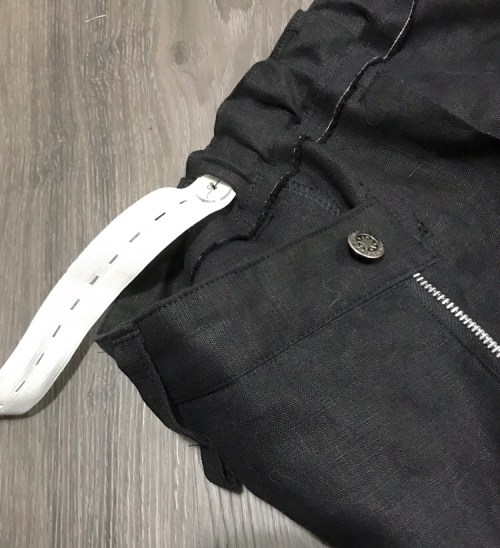 I wanted an elasticised waistband to accommodate his wildly fluctuating waist, and after some thought decided to go with the old buttonhole elastic. Maybe overkill in this situation, but the oversized pants would’ve been beyond wearable without it. Hopefully the convenience of the adjustability will outweigh the weirdness of the finish to him. What I didn’t do (which I would have in more fitted pants) was add some height to the back rise. I assumed the over-sized-ness would compensate. I was wrong. So they’re a little low for his taste back there.
 I probably overdid it on the sizing up. Next version, I will size down, add height to back waist, and reduce the length a couple of inches.
Or just say fuck it and make something for me!
(Confession: I felt pretty goofy taking these pictures, but I haven’t worn pants this loose since the 90s and even then I only did it so they would hang low on my hips. So I had to style them as I would’ve in 1996, with a crop top and Docs, because sometimes you just gotta!)

 If you read any of my posts from January, you probably noticed me whining about this jacket in the background. Well, it’s done! And you can read the full whinge over on The Sewcialists website, as part of their February “Sew Menswear for Everyone” theme month!
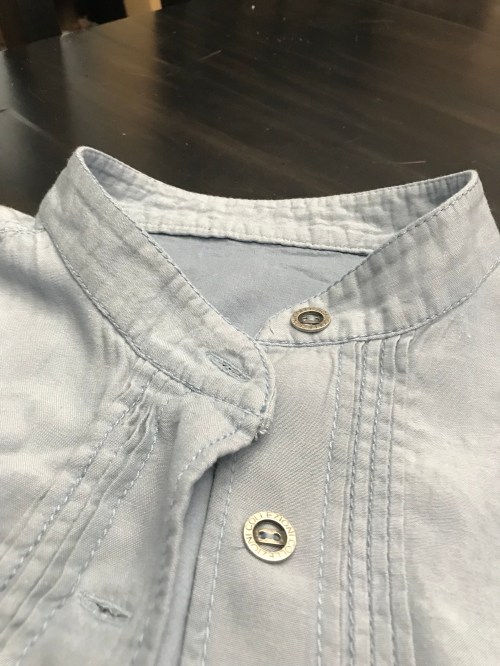 The plan was to make Burda envelope pattern
 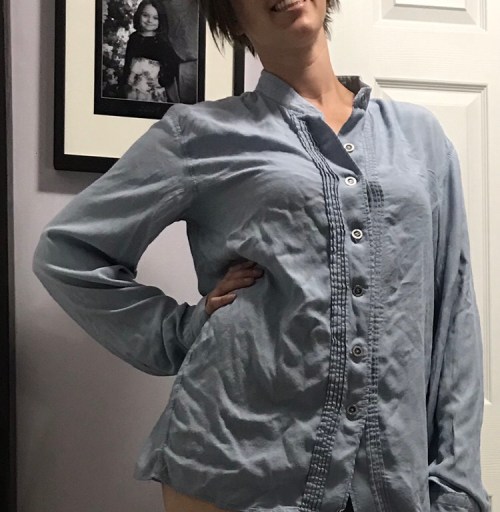 Let’s be honest here—he needs clothes about as badly as I don’t. If he were a little more fun to sew for, I’d just make them, but he’s wildly picky so anything I make (including this shirt) is a big risk.
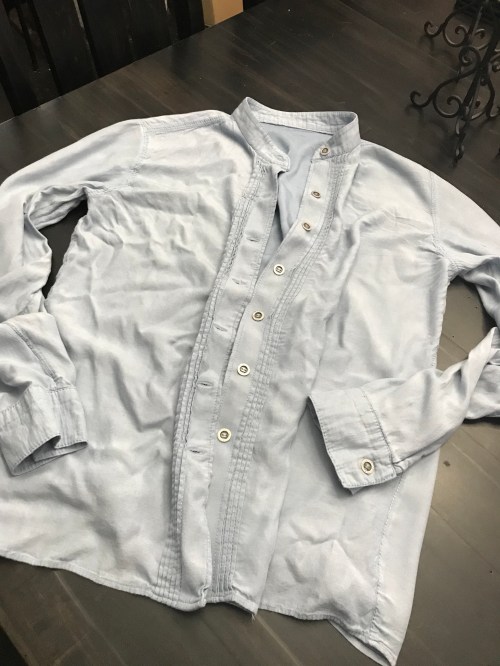 However, for Father’s Day I couldn’t quite resist trying a slouchy, comfy, yet tux-inspired style using this pale rayon “denim”.
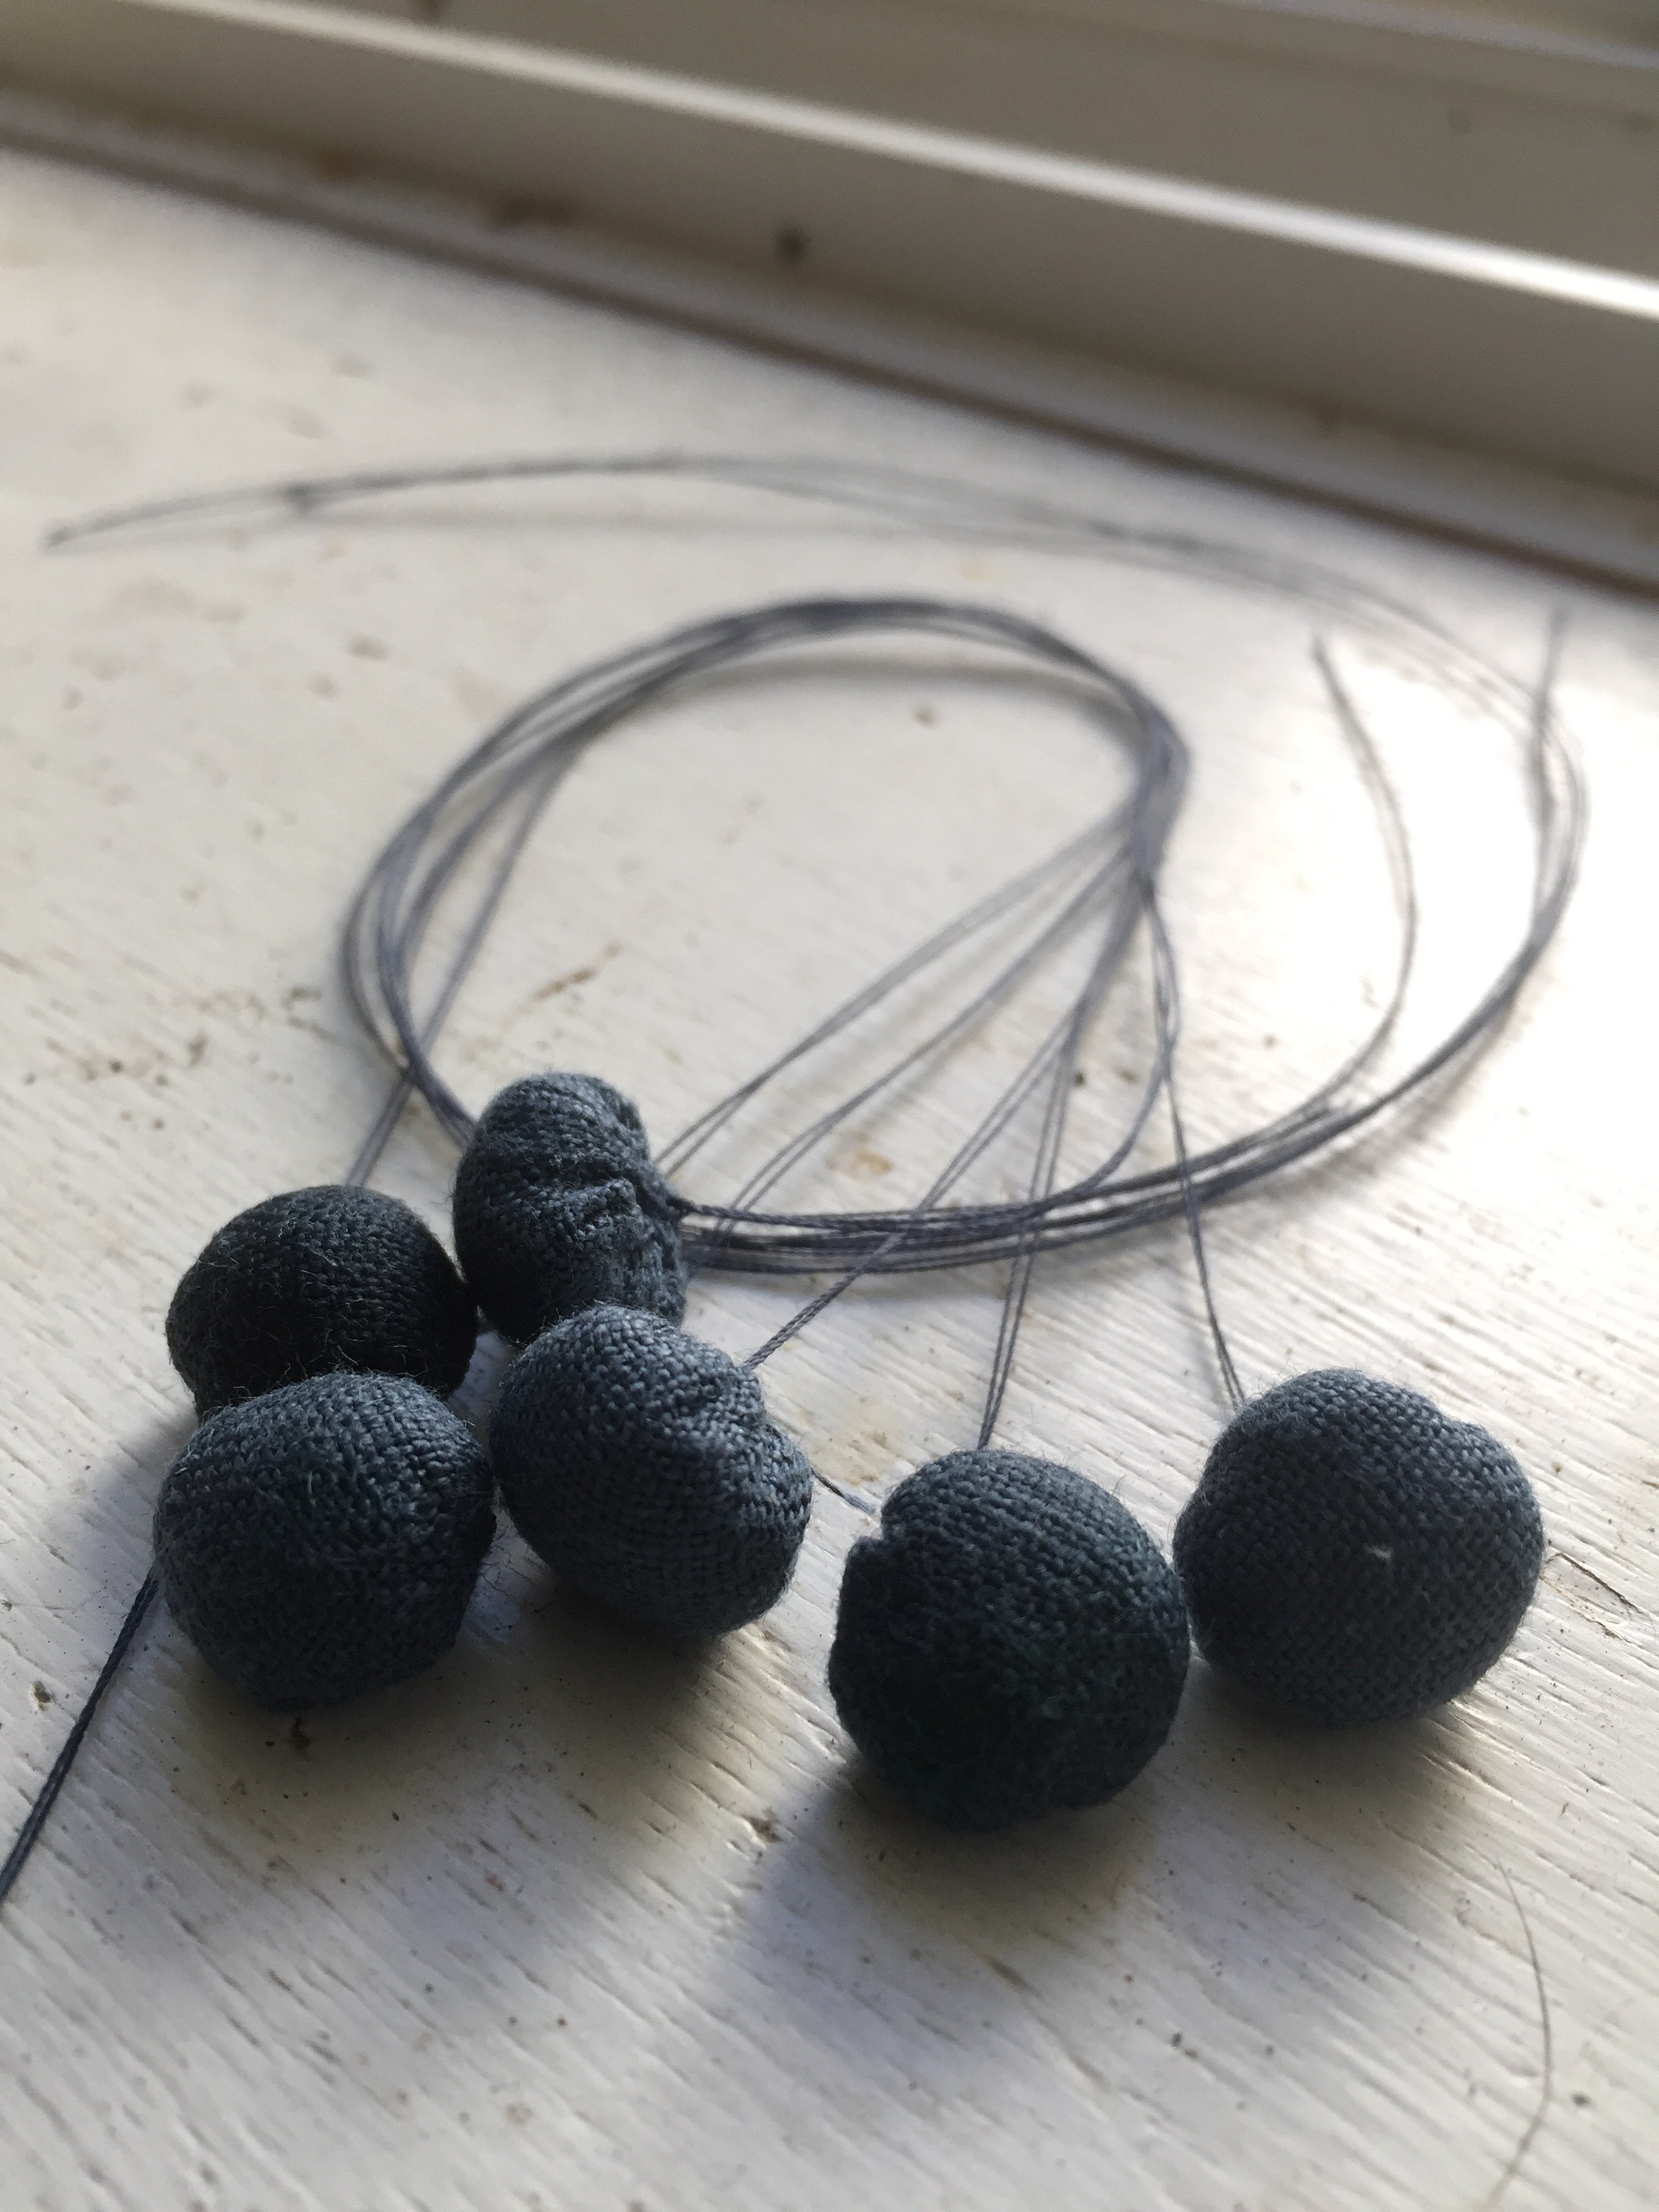
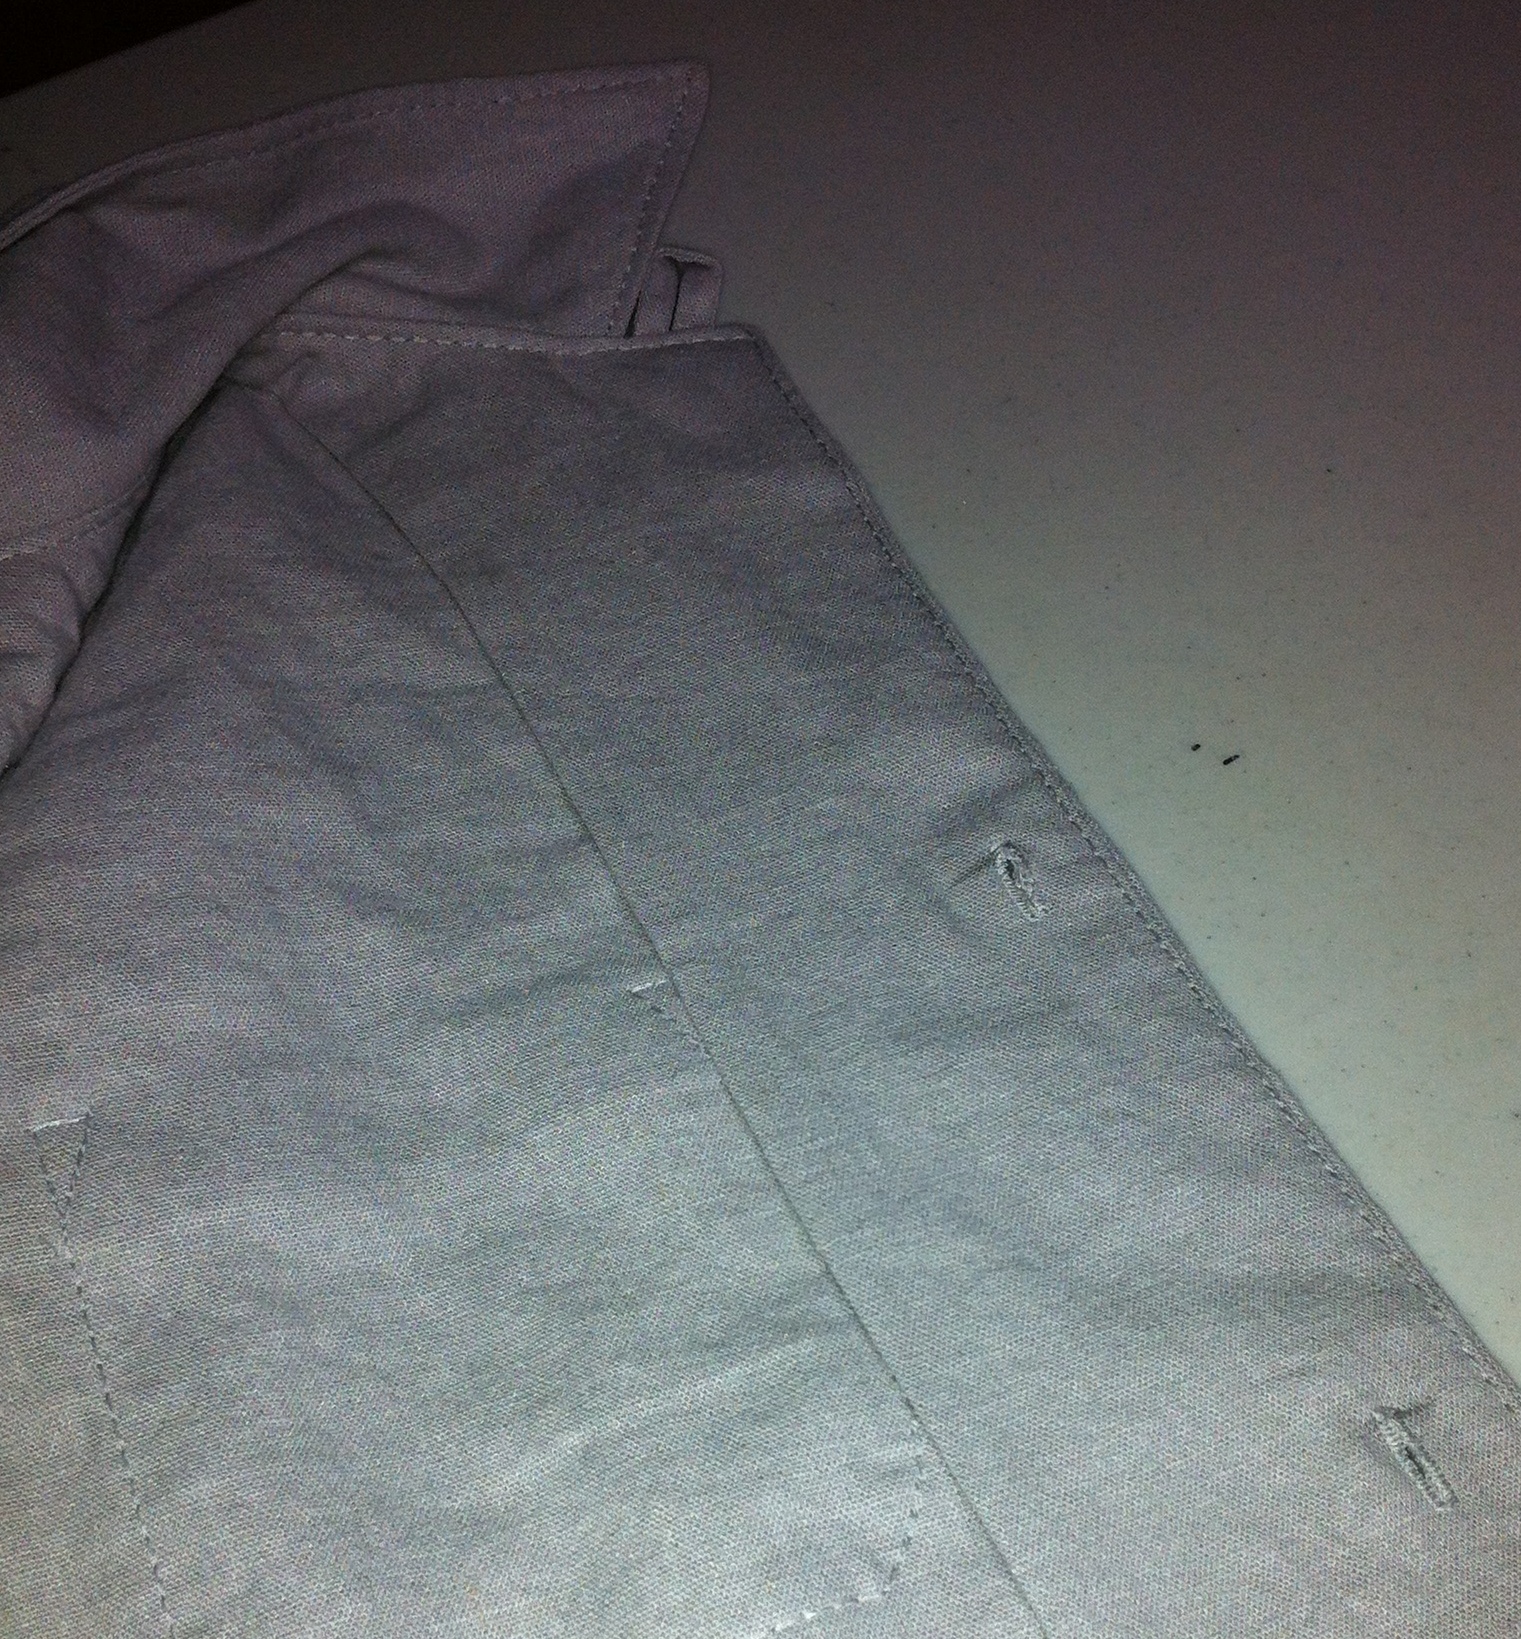
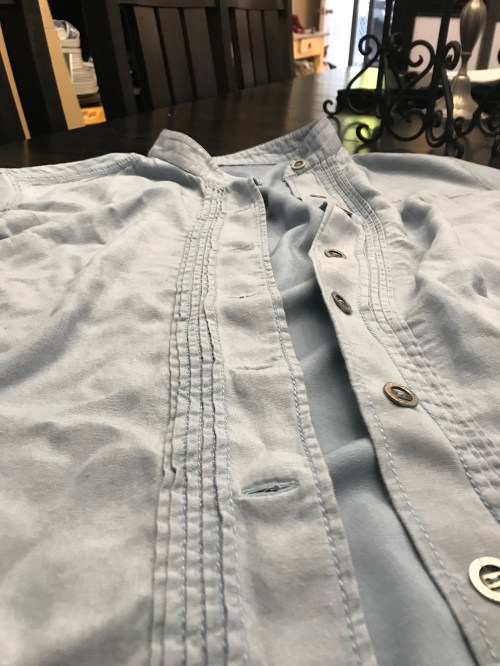 This would’ve worked very well for the pintuck topstitching, except that I wanted to sew them on my new-to-me Elna, which handles topstitching thread better than any of my other machines. However, I don’t have an adaptor to use my edgestitching feet with her, and getting high precision pintucks without precision feet is tricky for me. If your sewing skills are up to it, I salute you! Mine fall short. The resulting pintucks were very far from as neat and regular as I would’ve liked. I could only hope that once they were washed and slouch-ified all would be forgiven.
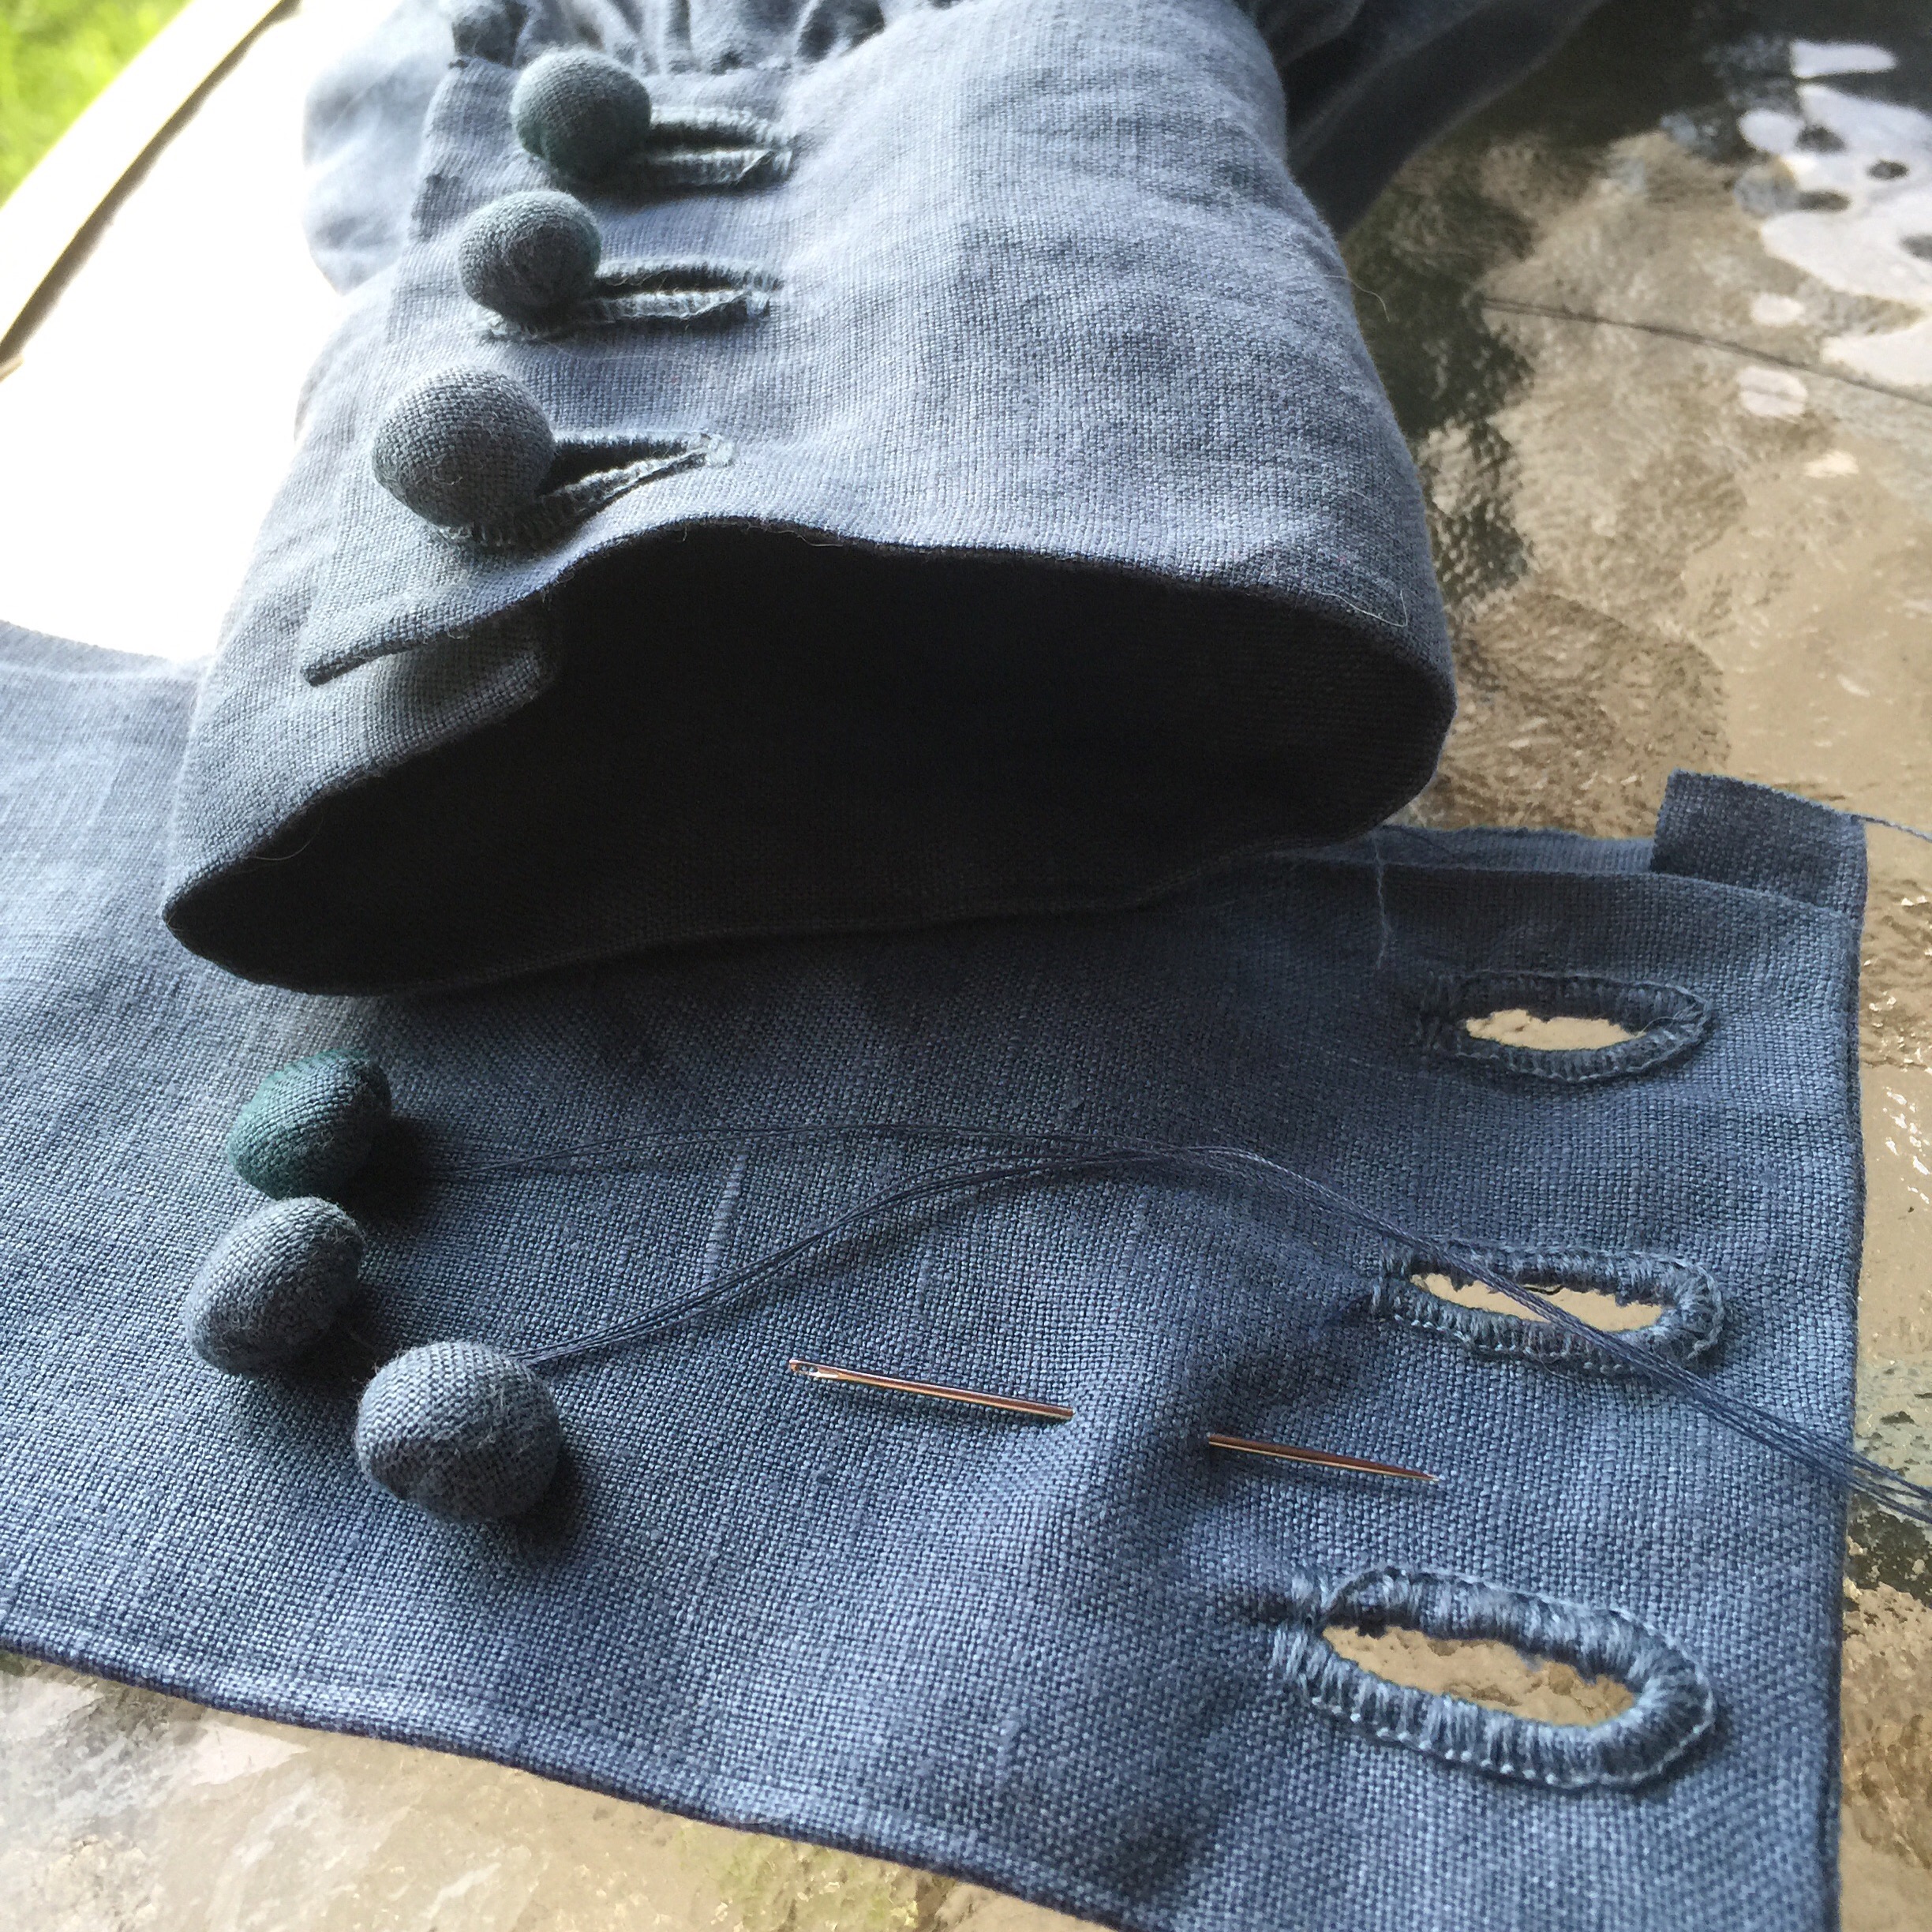
 I was, however, dispirited, and a few other things that irked me about the pattern didn’t help: there was no separate back yoke, and the cuff placket was made with just a simple bias strip rather than a tower placket.
 I realize these are stylistic decisions that probably say more about my own prejudices about a “proper shirt” than anything else. Regardless, my enthusiasm had distinctly waned, and there were other projects with more pressing deadlines.
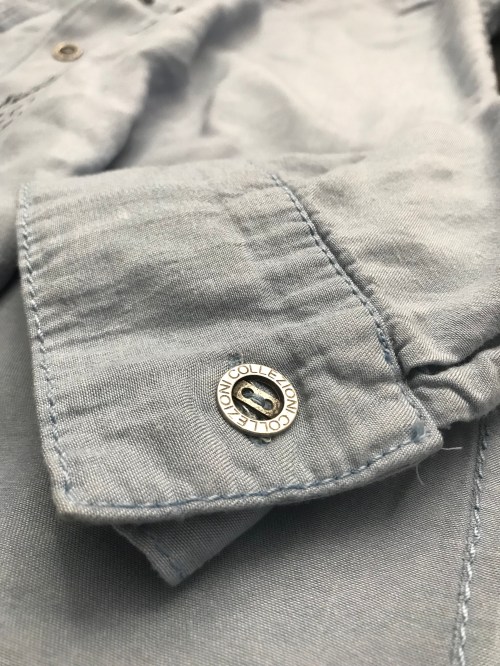 So the whole thing languished for several weeks waiting on a hem and buttons because I just couldn’t stand it. But finally, just in time to be late for Father’s Day (and for no particular reason except that I didn’t have enough time for a serious project and had run out of other quick things I could tackle), I found the motivation to finish it off.
 So anyway, at the end of the day I like it and I think it fulfills the vision I had in my head. Let’s just hope it also works for my husband.
 This is another one of those projects that seemed like a good idea at the time. Actually, i didn’t even mind the making so much. It was the making myself start making it that sucked eggs. I have a terrible time motivating myself for unselfish sewing.
 For a pattern, since I was doing this as a shop project, I went with
  I got a bit of coordinating quilt cotton to make contrast facings and a few other touches of color. The fun of menswear is in the little details, and it takes the right mindset for me to get in the mood.
 I don’t feel like this is a crowning example of shirt making. My stitching isn’t quite as precise as I’d like, and the soft twill liked to shift around. I topstitched some of it at about 1/4″ and some is edge stitched and I like the edgestitch better, but not enough to go back and redo it all. I used three machines in construction, not counting the serger, which I only used to finish the armscye since I’m too lazy to flat-fell. I used my usual Janome for the main construction, with walking foot to facilitate stripe matching on the collar and back yoke. I used my grandmother’s old Rocketeer for the buttonholes. And I used a 70s-era Elna a friend gave me last summer for the top stitching, since it has a speed control, which is pretty much my favourite thing for top stitching ever.
 On the other hand, I really like the overall effect. I like my little blue touches.
 I kicked ass on the buttonholes (once I smartened up and put wash-away stabilizer under them all.)
 I really like my pocket mod. (I used the pattern piece provided but not the construction method.)
 And I think for a slouchy comfy shirt it might actually be just fine, even if I won’t be showing off my fine details.