PIKACHU!
Tyo’s Pikachu onesie is finished.
So, this thing was a lot of work. Probably more than I was expecting. It was the face that put it over the top. And the zip-off feet. I don’t have a lot of spare brain-power these days, figuring those out (or, as the cae may be, not figuring them out) took a lot out of me.
It’s kinda hard to know where to start. Did it begin a week and a half before Christmas, when Tyo hit upon the idea of a Pikachu onesie for herself, and promptly found five eBay sites all ready to sell her one that she wouldn’t shut up about? Did it begin when someone gave her a yellow Pokemon stuffie for her third birthday?* Did it begin when she was a baby and I decided for a year or so that footie pyjamas were my favourite thing? (I had a couple different pairs, storebought, so apparently I wasn’t the only person who thought that in the early aughties. The problem turned out to be that the legs were always too short and so they tended to make my toes go numb. Poo.)
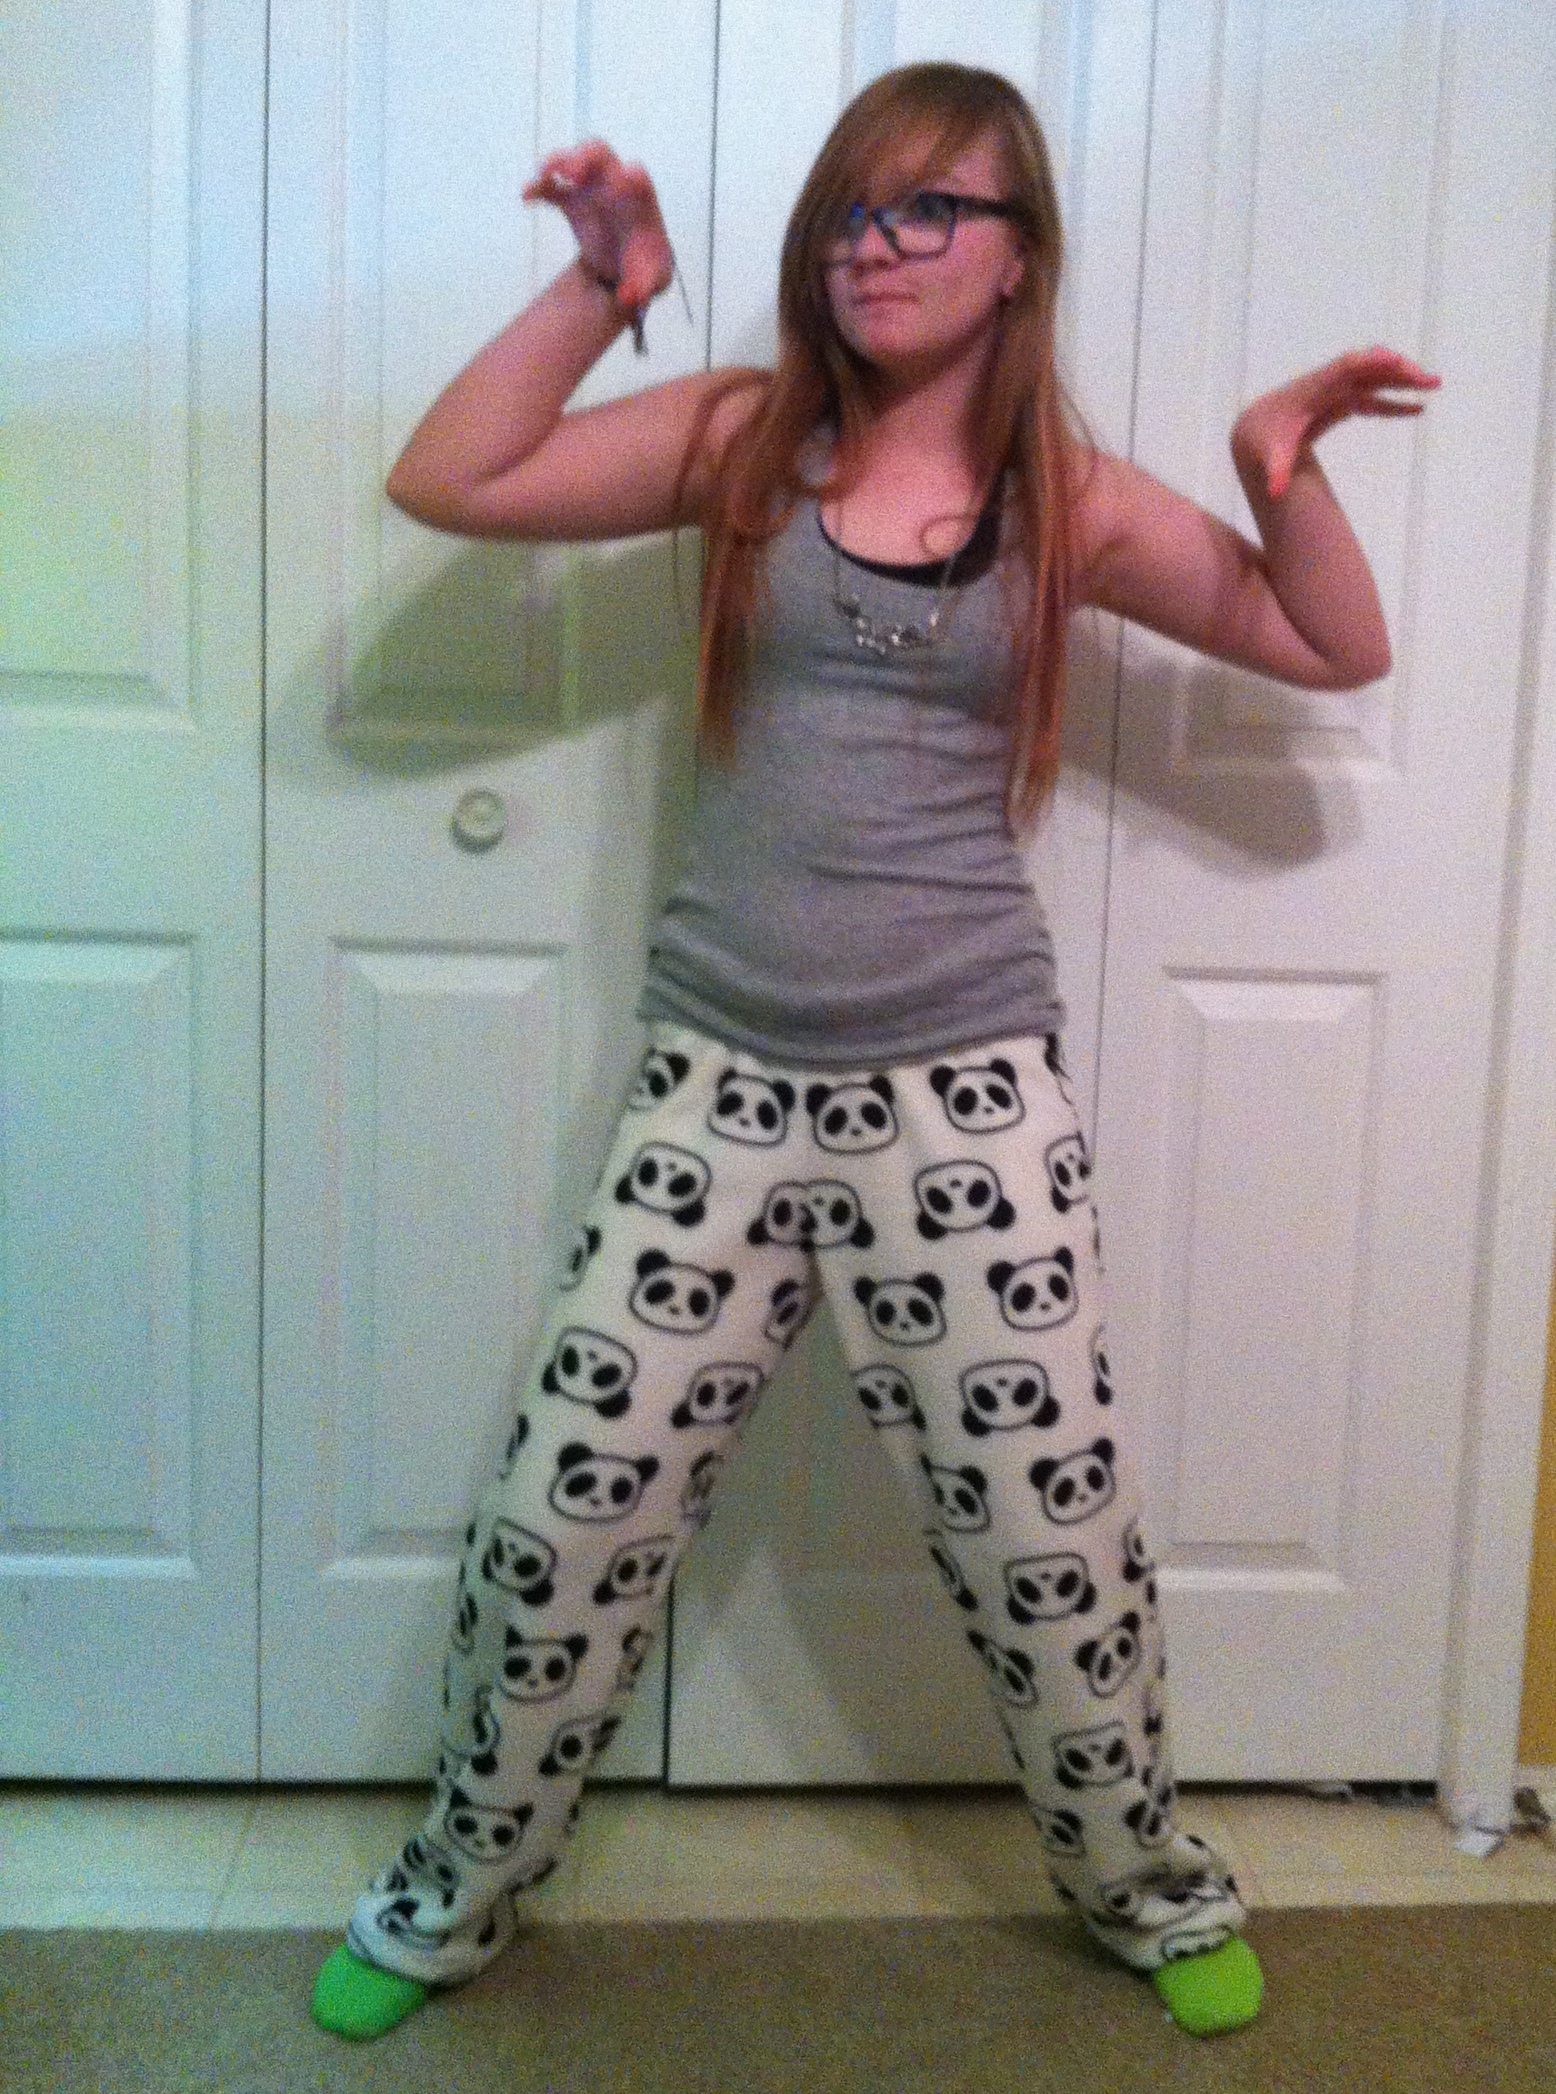
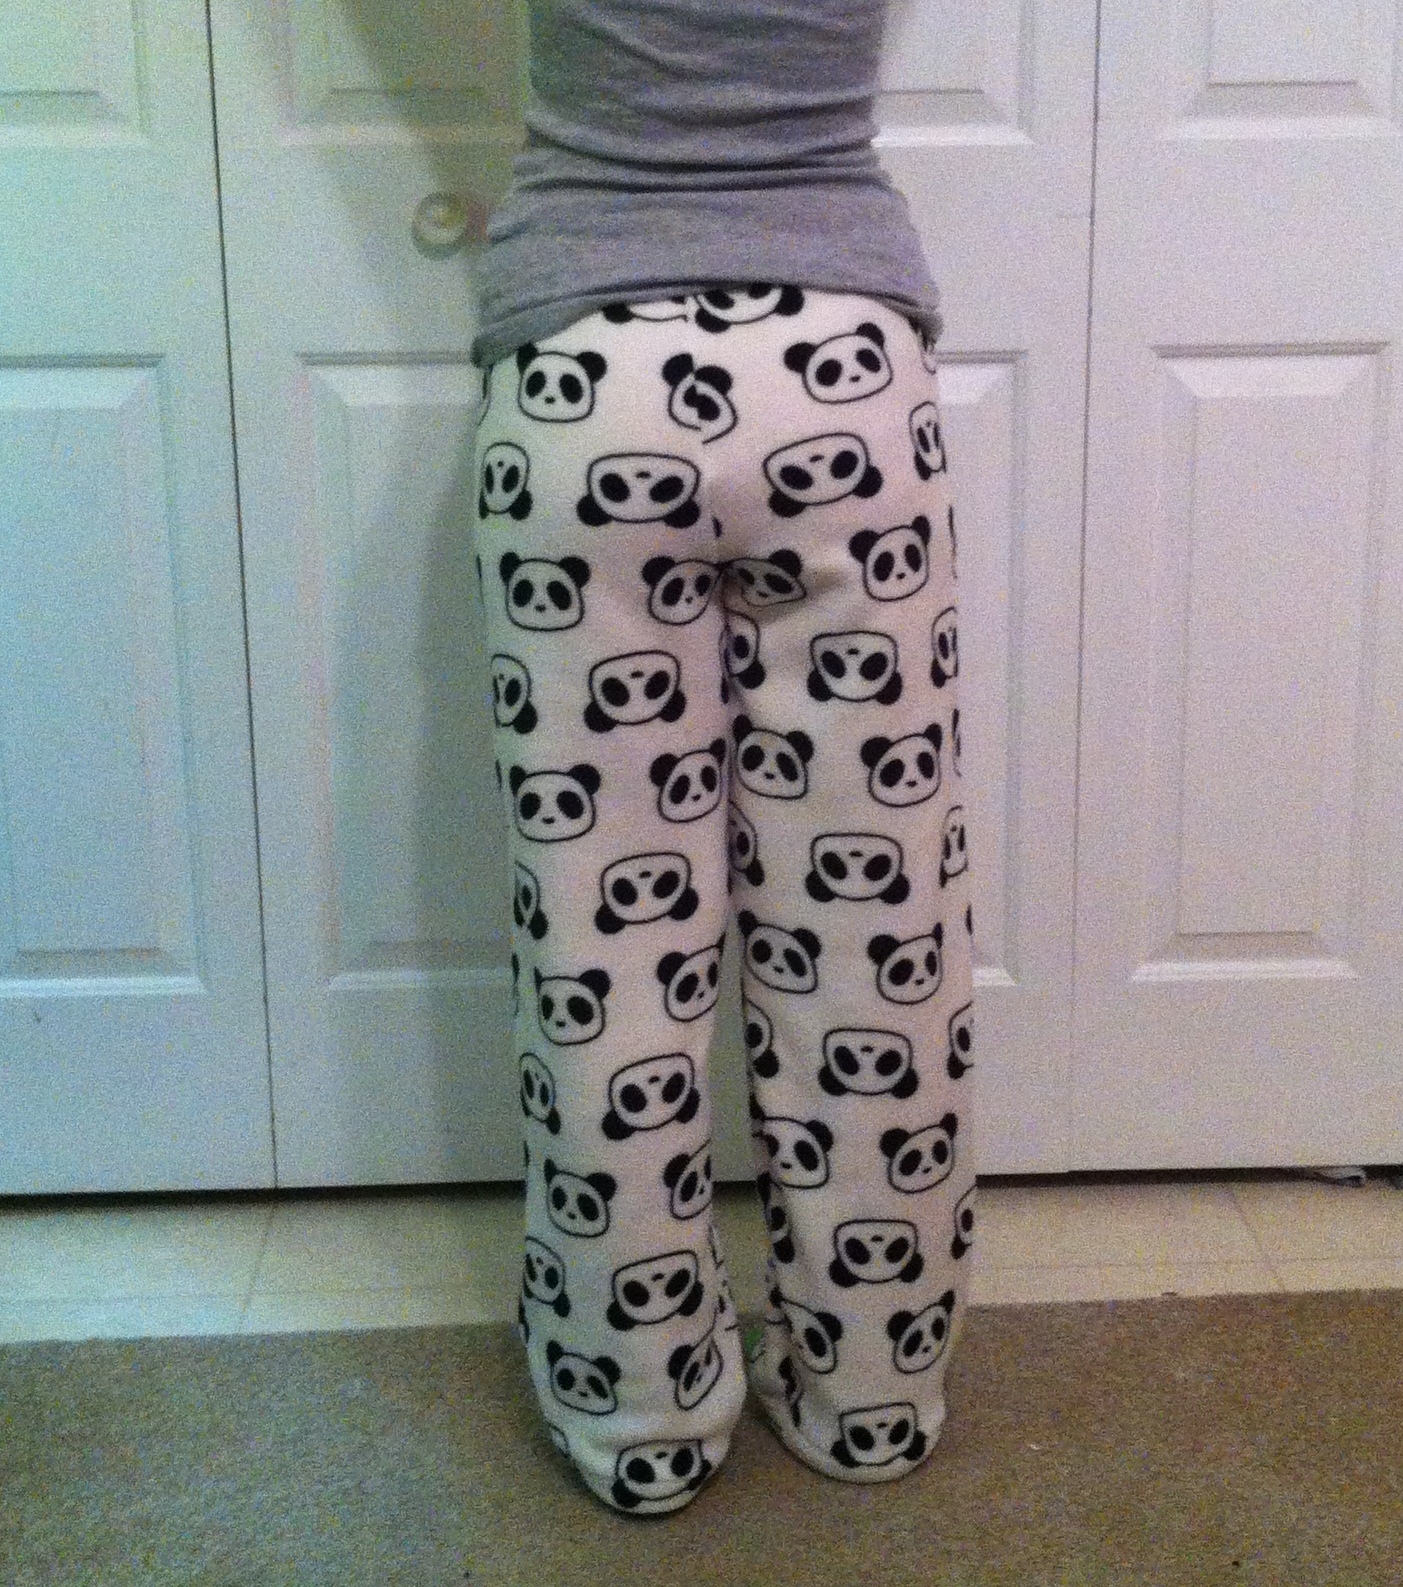
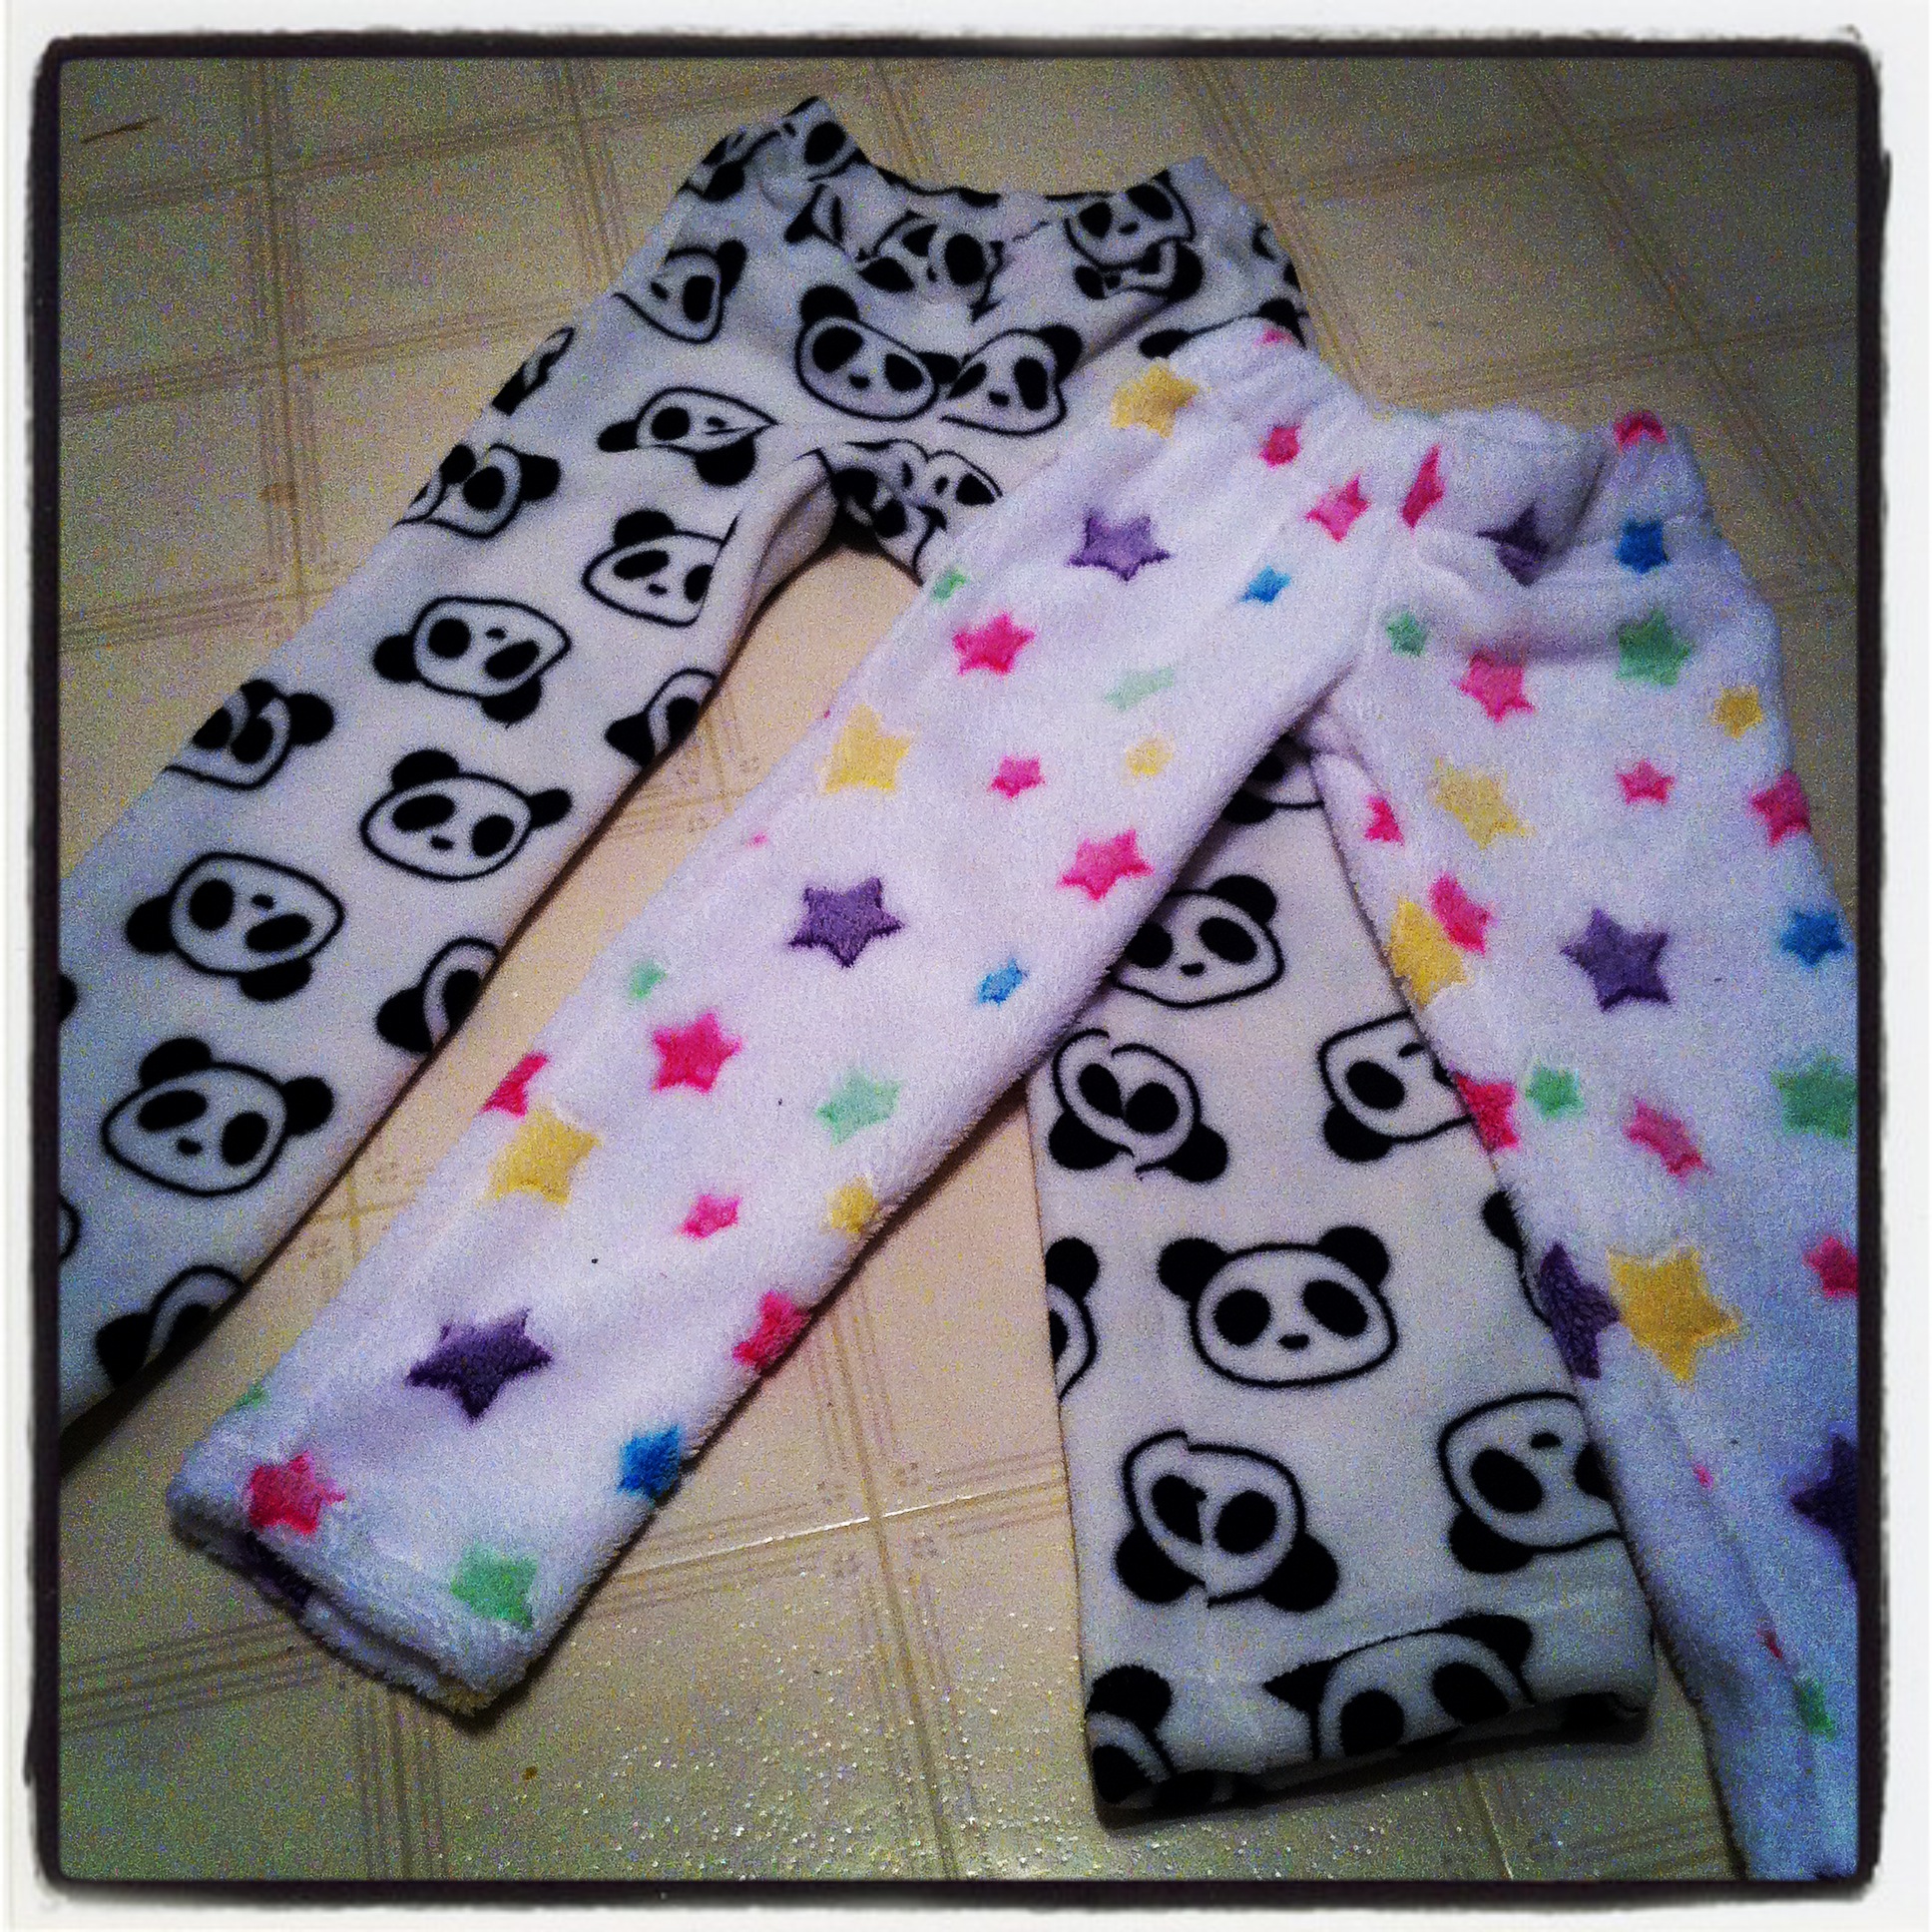
Anyway, let’s just say that it was an idea whose time had come. So I’ve basically heard nothing for the last three weeks but PIKACHUCHUCHU. I had to scrap my previous onesie plans (PANDA FABRIC!) and buy a whack of yellow fleece.
Fortunately (?), I had ordered Jalie 3244 in the nick of time. It arrived literally the day before Christmas Eve. GO JALIE, and hooray for in-Canada shipping! So the kids got boxes of fabric each and a wrapped pattern for the both of them. I know, not the best “Christmas sewing”, but what I could manage this time-starved year.

Excited child.
Now, the Jalie pattern is (I think) a good starting place. It has footed and foot-free options, and, of course, every size in the book. Plus different-coloured lines! Which makes the tracing just a little bit easier. 🙂 Although, there is some piecing to be done during the tracing. The front and back piece are actually the same piece, except for the top neckline portion that you have to trace on to each piece. This mean the front and back crotch-curves are identical, but I’m somehow thinking this is not a huge deal for a glorified sleep-sack.
I was rather bemused to realize that Tyo is officially a size R. That’s the size I use to make my jeans, people. Which makes sense considering she’s been stealing my jeans since last summer, but anyway. (I should note I’m not really a size R, more S or even T** on the bottom half, but I like my jeans closer-fitting than Jalie 2908) Although, having put the onesie on her, I wish I’d gone a size up, and lengthened a bit. This is not a voluminous onesie. And Jalie patterns do not, as a rule, run large.
In any case, we traced off the pattern and got started. By which I mean, I traced off the pattern and Tyo bounced around excitedly, and then got bored and went off to facetime*** her friends.
And then things slowed right down.
Largely, it’s because it’s a project I needed to think about. While Jalie 3244 may be a great onesie pattern, it doesn’t have a hood, and a Pikachu onesie would hardly be Pikachu without a hood to put the face and ears on. I took some measurements and drafted a rough hood pattern. Jalie 3244 has feet, but not with a zip-off closure. So I had to think about (and procure zippers for) that.
The stripes and tail
The first (easiest?) problem I tackled were the stripes and the tail.

Stripes and tail
I was really at a loss about the tail—looking at a stuffie doesn’t give you much idea of size. How long should it be? How sharp and big should those zig-zags be? How far our should the brown base extend? In the end, I’m pretty happy with my first attempt, which is good, because I didn’t have enough extra fleece to do a bunch of test versions. Once we figured out where the tail should attach on her butt, (and I added some extra stitching and elastic to support the seam in that area) the next problem was the stripes. Tyo wanted the stripes to extend around onto her sides. This caused me to alter the construction order; I sewed the back pieces together and then the front pieces to each side, so I had one big onesie-piece to applique the stripes onto. There was just barely enough space to fit the two stripes between the tail and the bottom of the armscye.
The Hood
First, I drafted a hood. I started by carefully measuring the neckline of all the pattern pieces, and then measuring roughly how humongous Tyo wanted it to be in terms of height and depth. The resulting pattern piece looked pretty ridiculous, and was really long. So I wound up cutting about four inches off the bottom of it. Which totally messed up my careful neckline calculations, by the way. Fortunately, fleece is exceptionally forgiving.

Pikachu Face. And my other helper.
I spent quite some time looking at pictures of Pikachu’s tail and back-stripes, and even more time looking at pictures of the face. I’m not a Pokemon afficionado, so I needed to do some research to get the details right. Tyo assured me that the red cheeks on her stuffed Pikachu are actually far too small, so I should make them bigger; as it turns out, I made them the same size as the eyes. I discovered (very carefully!) that you can use steam-a-seam on fleece. Very carefully! I experimented with applique stitches and scoured my scraps for the right fabrics. I spent a LONG time laying out that face. And I made ears. Deciding how big to do the ears was nerve-wracking (Based on most of the online examples, mine are a bit big. I think they’re cute that way, though.) Laying out the face was worse; Pikachu has a very high bar of cute to attain, and I was terrified of falling short. I would not want to produce some lame, un-cute Pikachu knock-off. We aim for only the best knock-offs here at Tanit-Isis Sews. 😉

Completed hood.
Pikachu’s face, as it turns out, is a bit too big for the hood. Or something. It looks good from the front, but there wasn’t much space across the back to put the ears in. The result, I think, looks a bit microcephalic, but it will have to do.
Zip Feet

Zip-off feet. I went with black grippy-fabric for the bottom.
Tyo’s other request that took some thought was for zip-off feet. I was secretly hoping she would opt for the footless version, but really, is it a real onesie without feet? Or is it just a baggy jumpsuit? But she wanted to wear it to school, and out and about, so zip-off feet were a necessity.****
I looked at a pair of my husband’s pants, which zip off just below the knee, for inspiration, but there was still a bit of learning at the school of hard knocks, which is always my favourite kind:
1) Put the zippers in in the round. It’s tempting to try to do them in the flat, as that’s easier but it works much better for the final flap-over if they’re done in the round.
2) allow more overlap than you think you need. Fleece puffs up and doesn’t cover as much as you wish it would.
3)attach band (I added a band above the ankle-seam as part of the foot unit; in the Jalie pattern the foot unit stitches directly to the bottom of the leg-piece) to foot-piece AFTER sewing the zippers in. This would’ve made the Tragedy of the Backwards Foot much easier to prevent.

The Tragedy of the Backwards Foot
Wait, did I mention the backwards foot? Yes, despite all my attempts at spacial reasoning and careful paying of attention, when I went to zip the feet on, this is what happened. If you look up at the picture above, you’ll note that there is an extra seam between zipper and foot. Slash, reverse, re-stitch. Much better than trying to unpick fleece. We’ll call it a design feature. I really don’t have it in me to do a full tutorial on adding a zipper to pants (or footies, as the case may be), although Google seems to be well-supplied with them. Anyone reading have a tutorial they like

Pikachu
Closing thoughts
Did I mention this was a lot of work? More than I really thought it was going to be. I don’t think I was thinking about the face.

Back view
I’m glad the ears are big and the tail long.

Footies
It is very warm and cozy. Also slightly grubby because it took me a while to pin her down for pictures, and the onesie has been worn to school once and around the house more or less constantly. Tyo’s teacher thought the onesie was pretty cool, but then he has a Tardis onesie.

Pikachu is small, but fierce!
I do kinda wish the whole thing was baggier, but that would’ve taken even more fleece. I used up a whole three metres on this project as it is, just of the yellow fleece.

Sad face.
She does not like taking it off.
There are a lot more things I could say, about binding zippers and seams finishes and changing the pockets, but at this point, I think I just need to hit publish. This is already well into too-long-didn’t-read territory. And, I’m tired. I think I want to go make fleece socks.
*I actually have absolutely no recollection of how the Pikachu stuffy came into our lives. I certainly didn’t buy it, so it must’ve been a gift. Tyo never particularly played the card game, nor am I aware of her watching it on TV. (Is there a Pokemon TV show? I sorta assume there is but I’ve never seen it.) And yet, Pikachu.
**Post-Christmas
***My children don’t phone their friends. Like, ever. But they do facetime, Skype, and text. Constantly.
****to those bemoaning the sad state of the world, that kids are wearing giant baby clothes everywhere, I can only say, at least it’s a warm trend. As a Canadian, I’ll take those whenever I can get them.


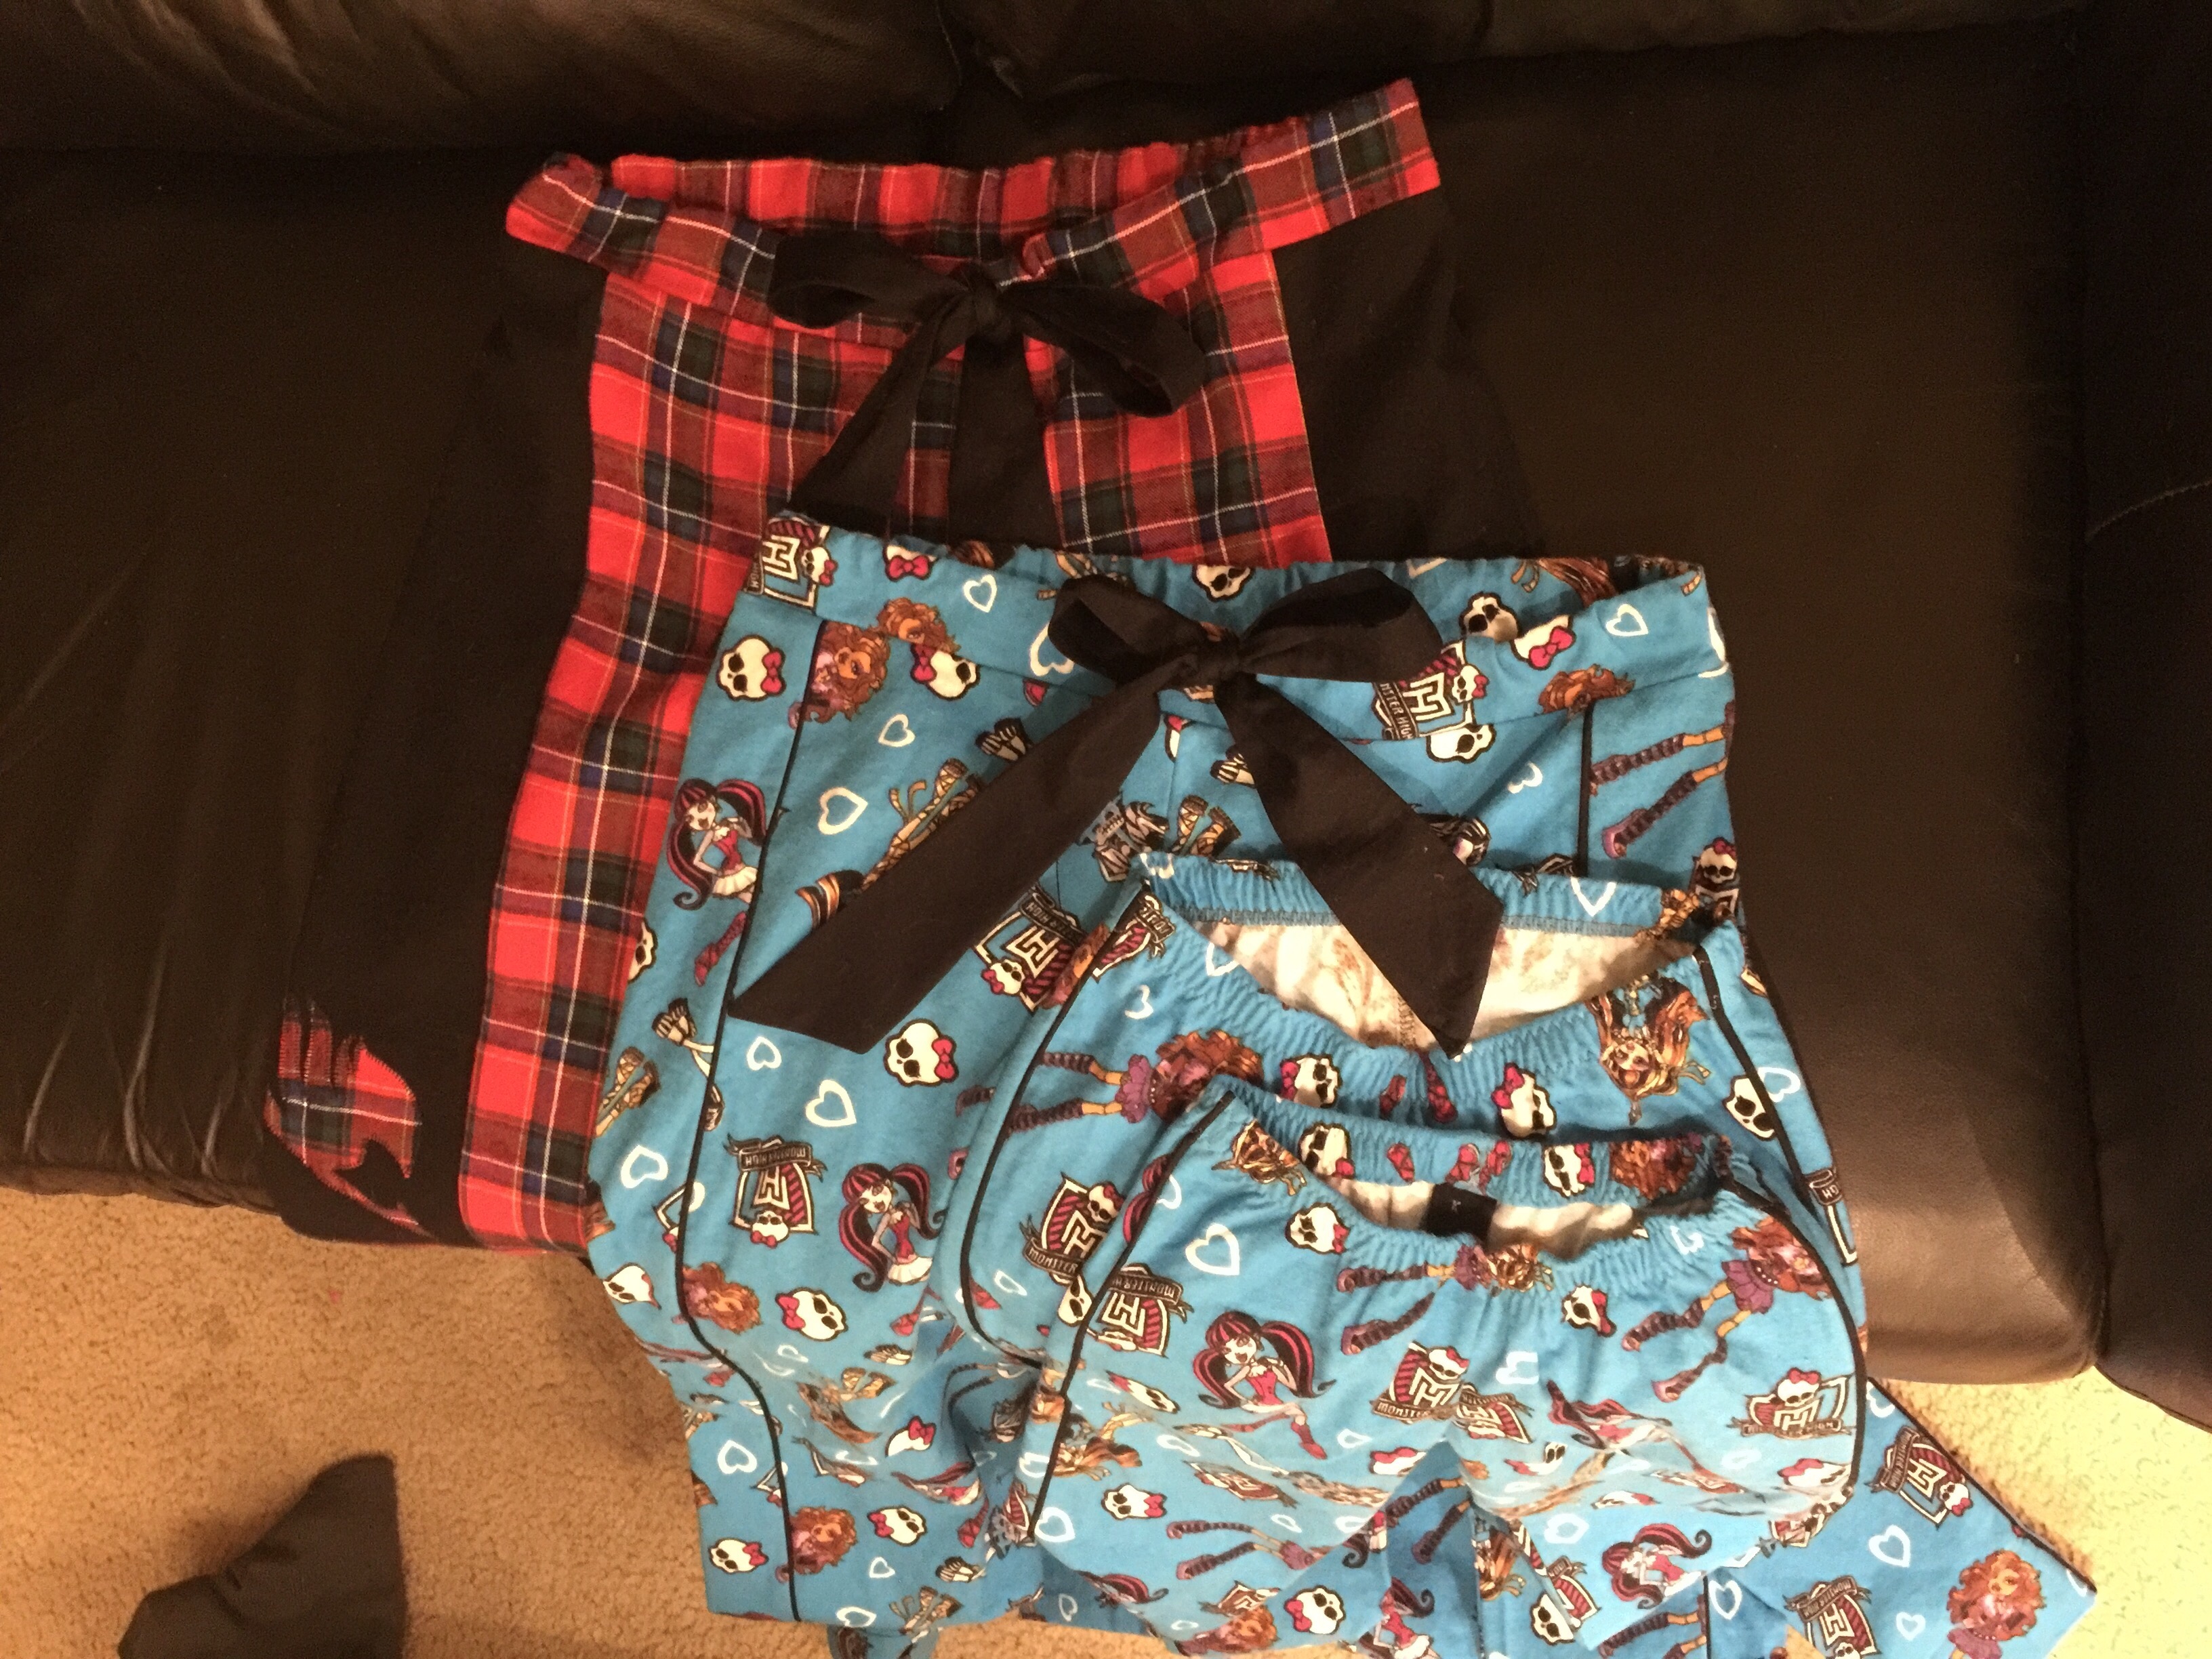
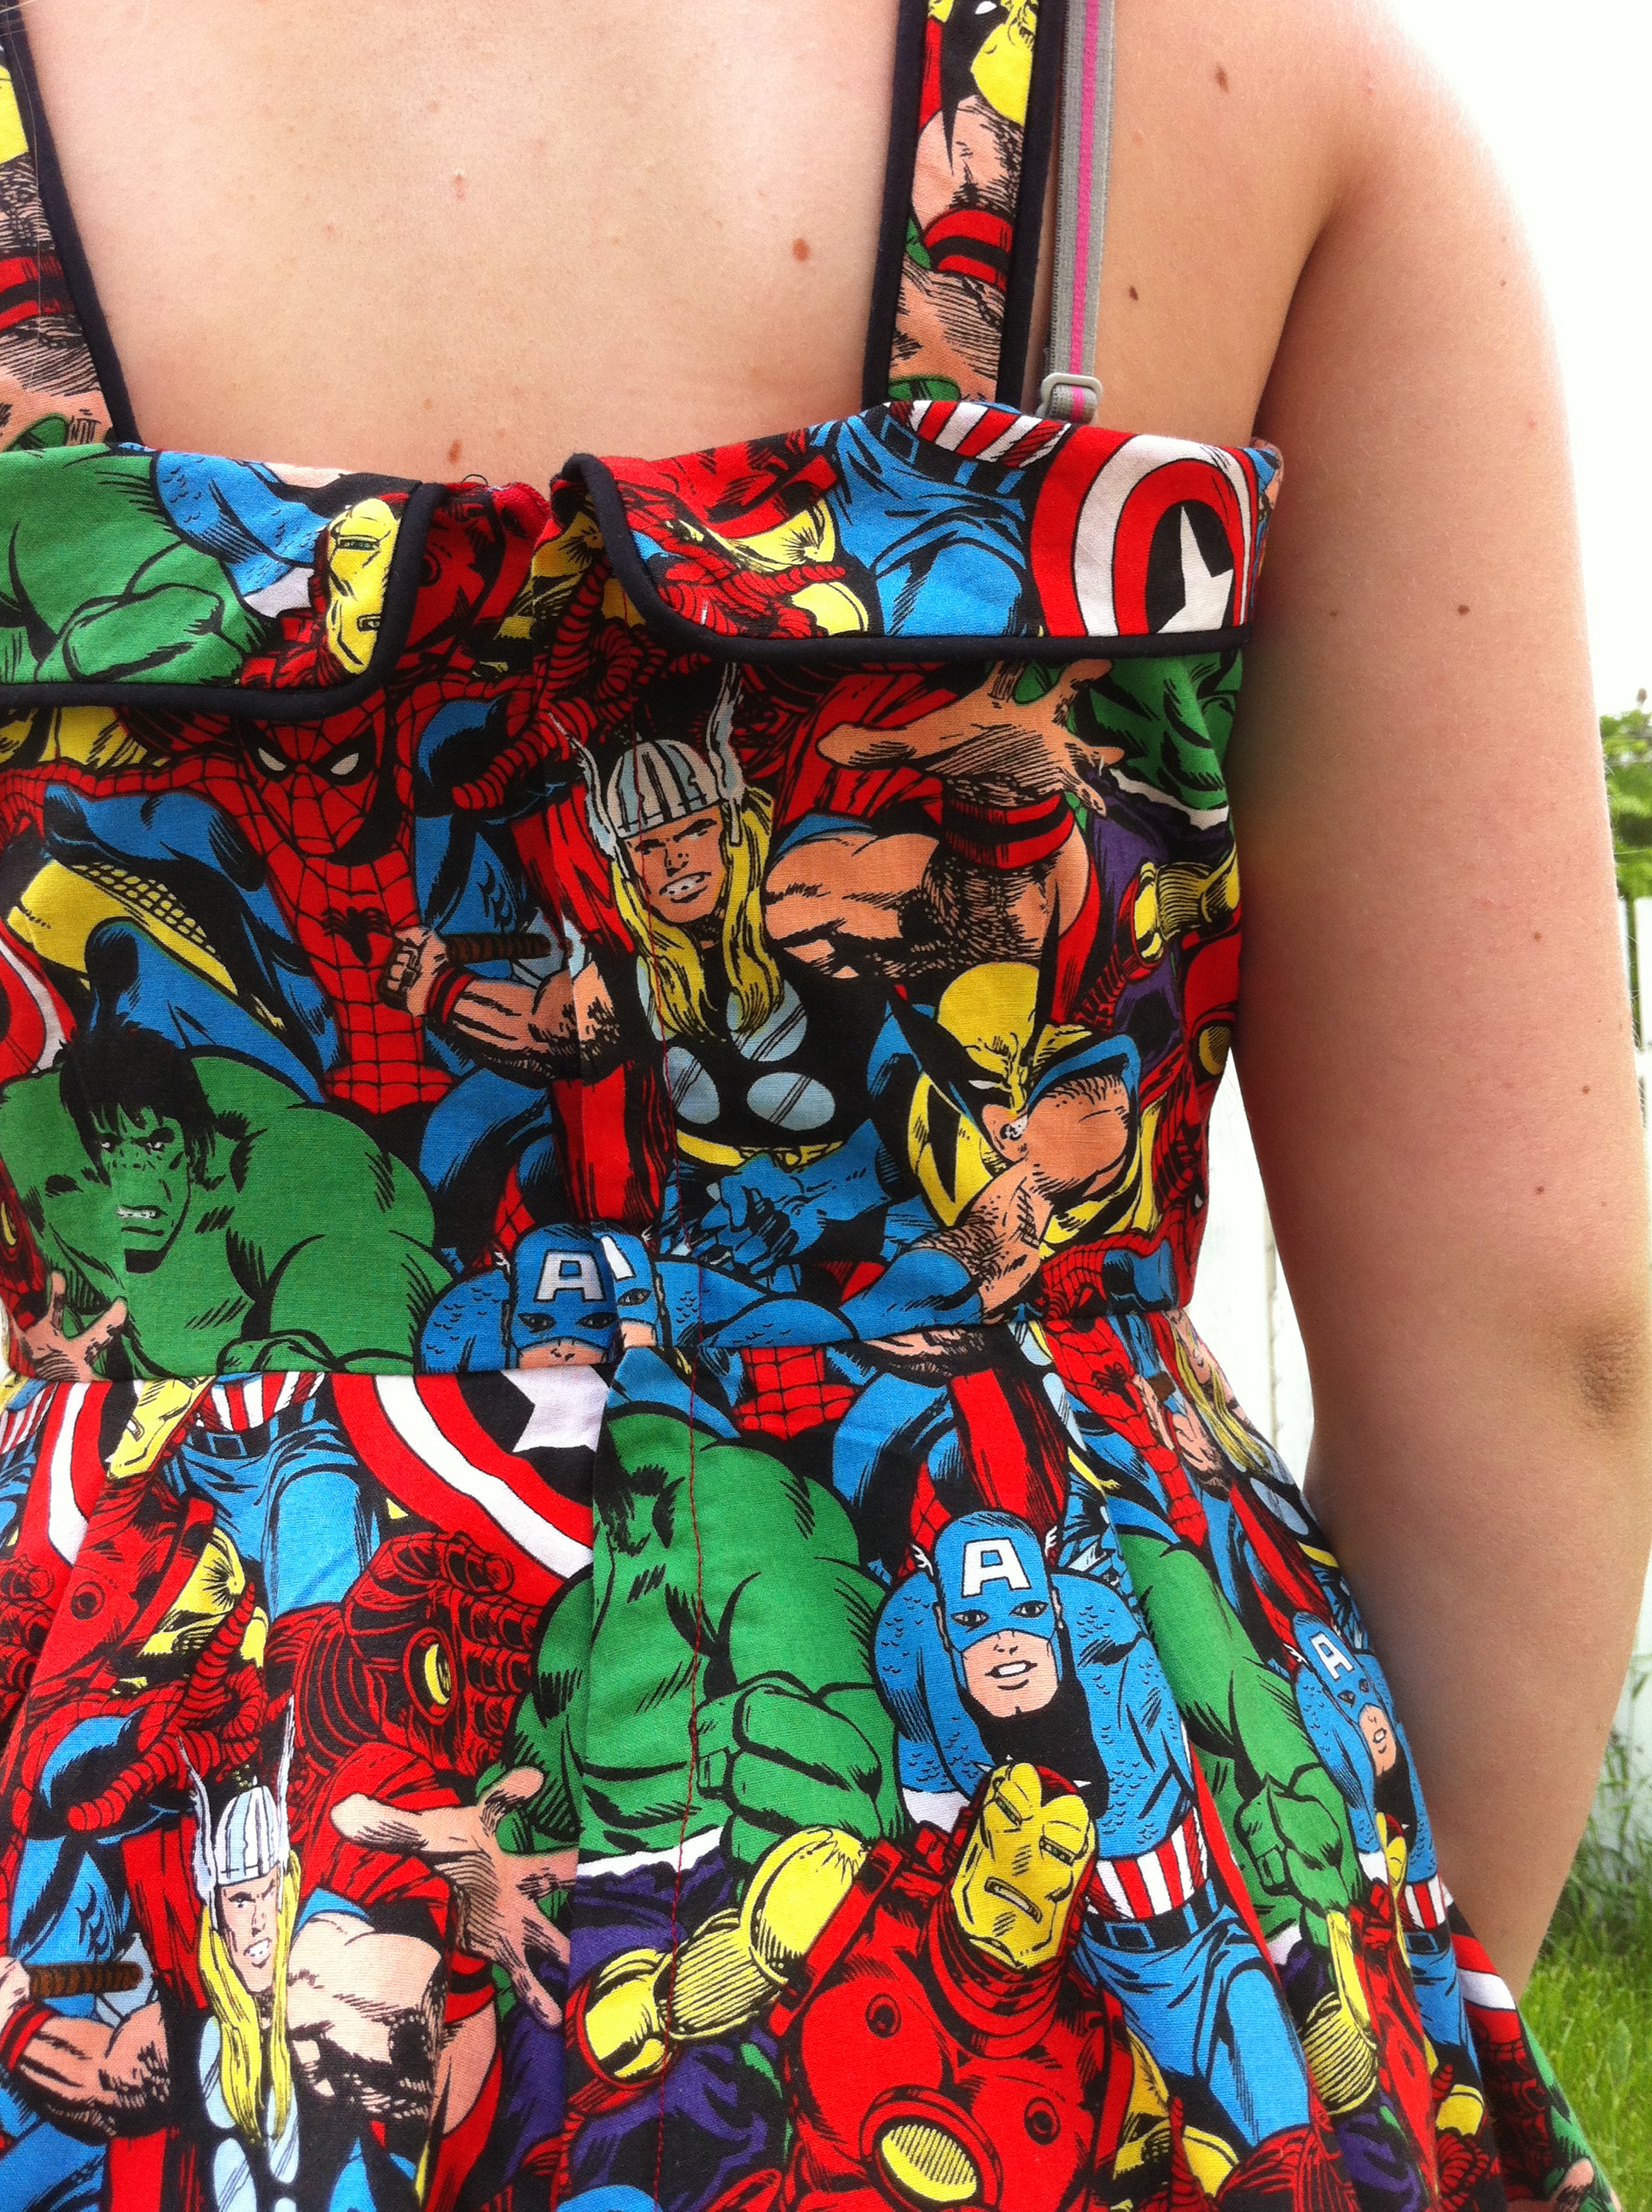
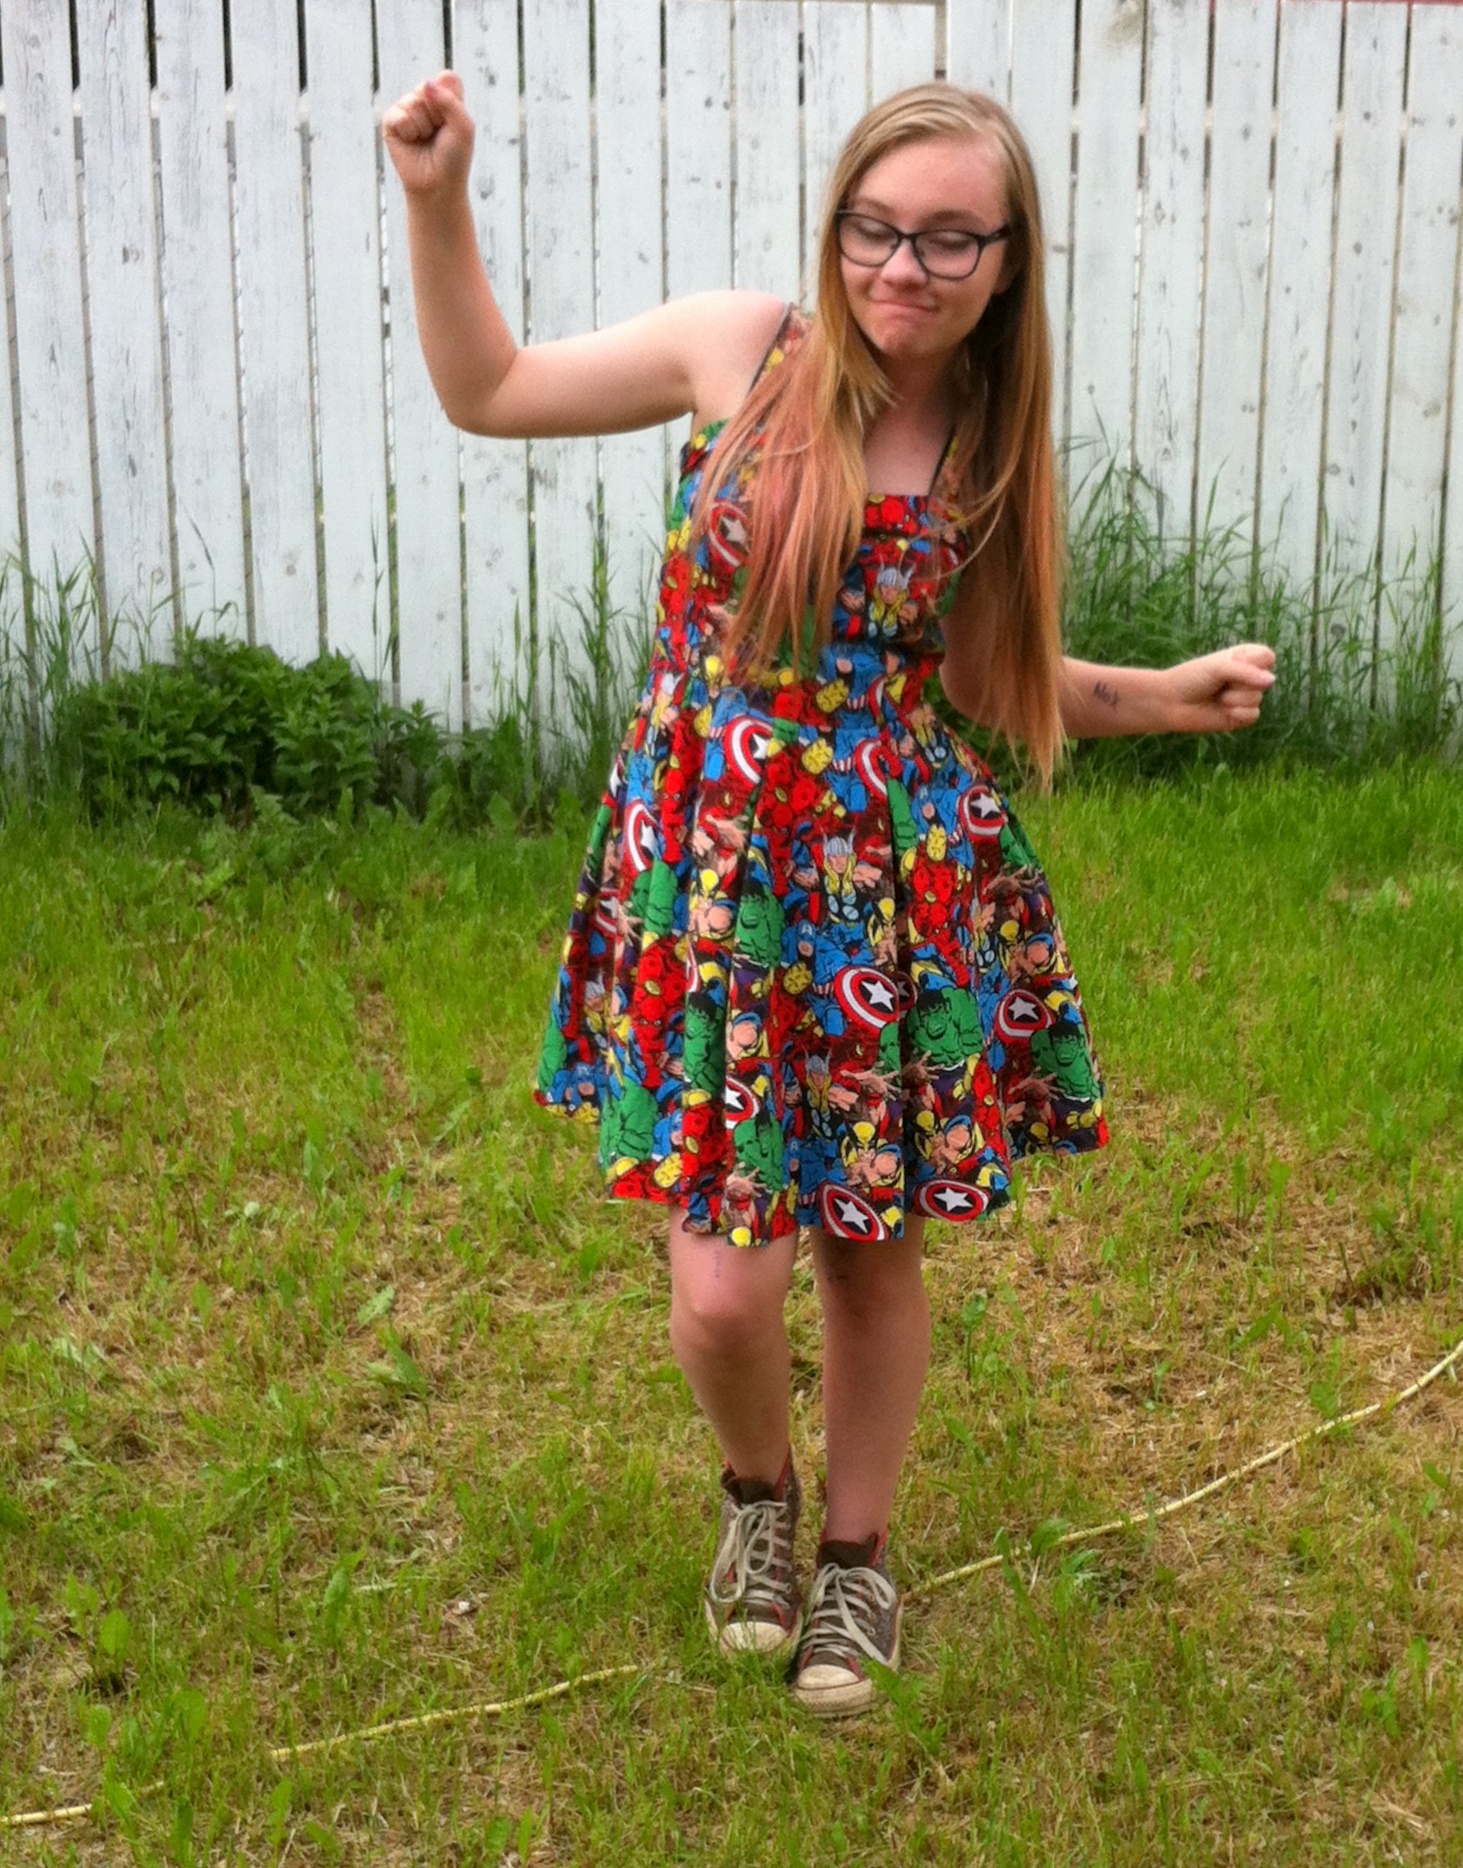
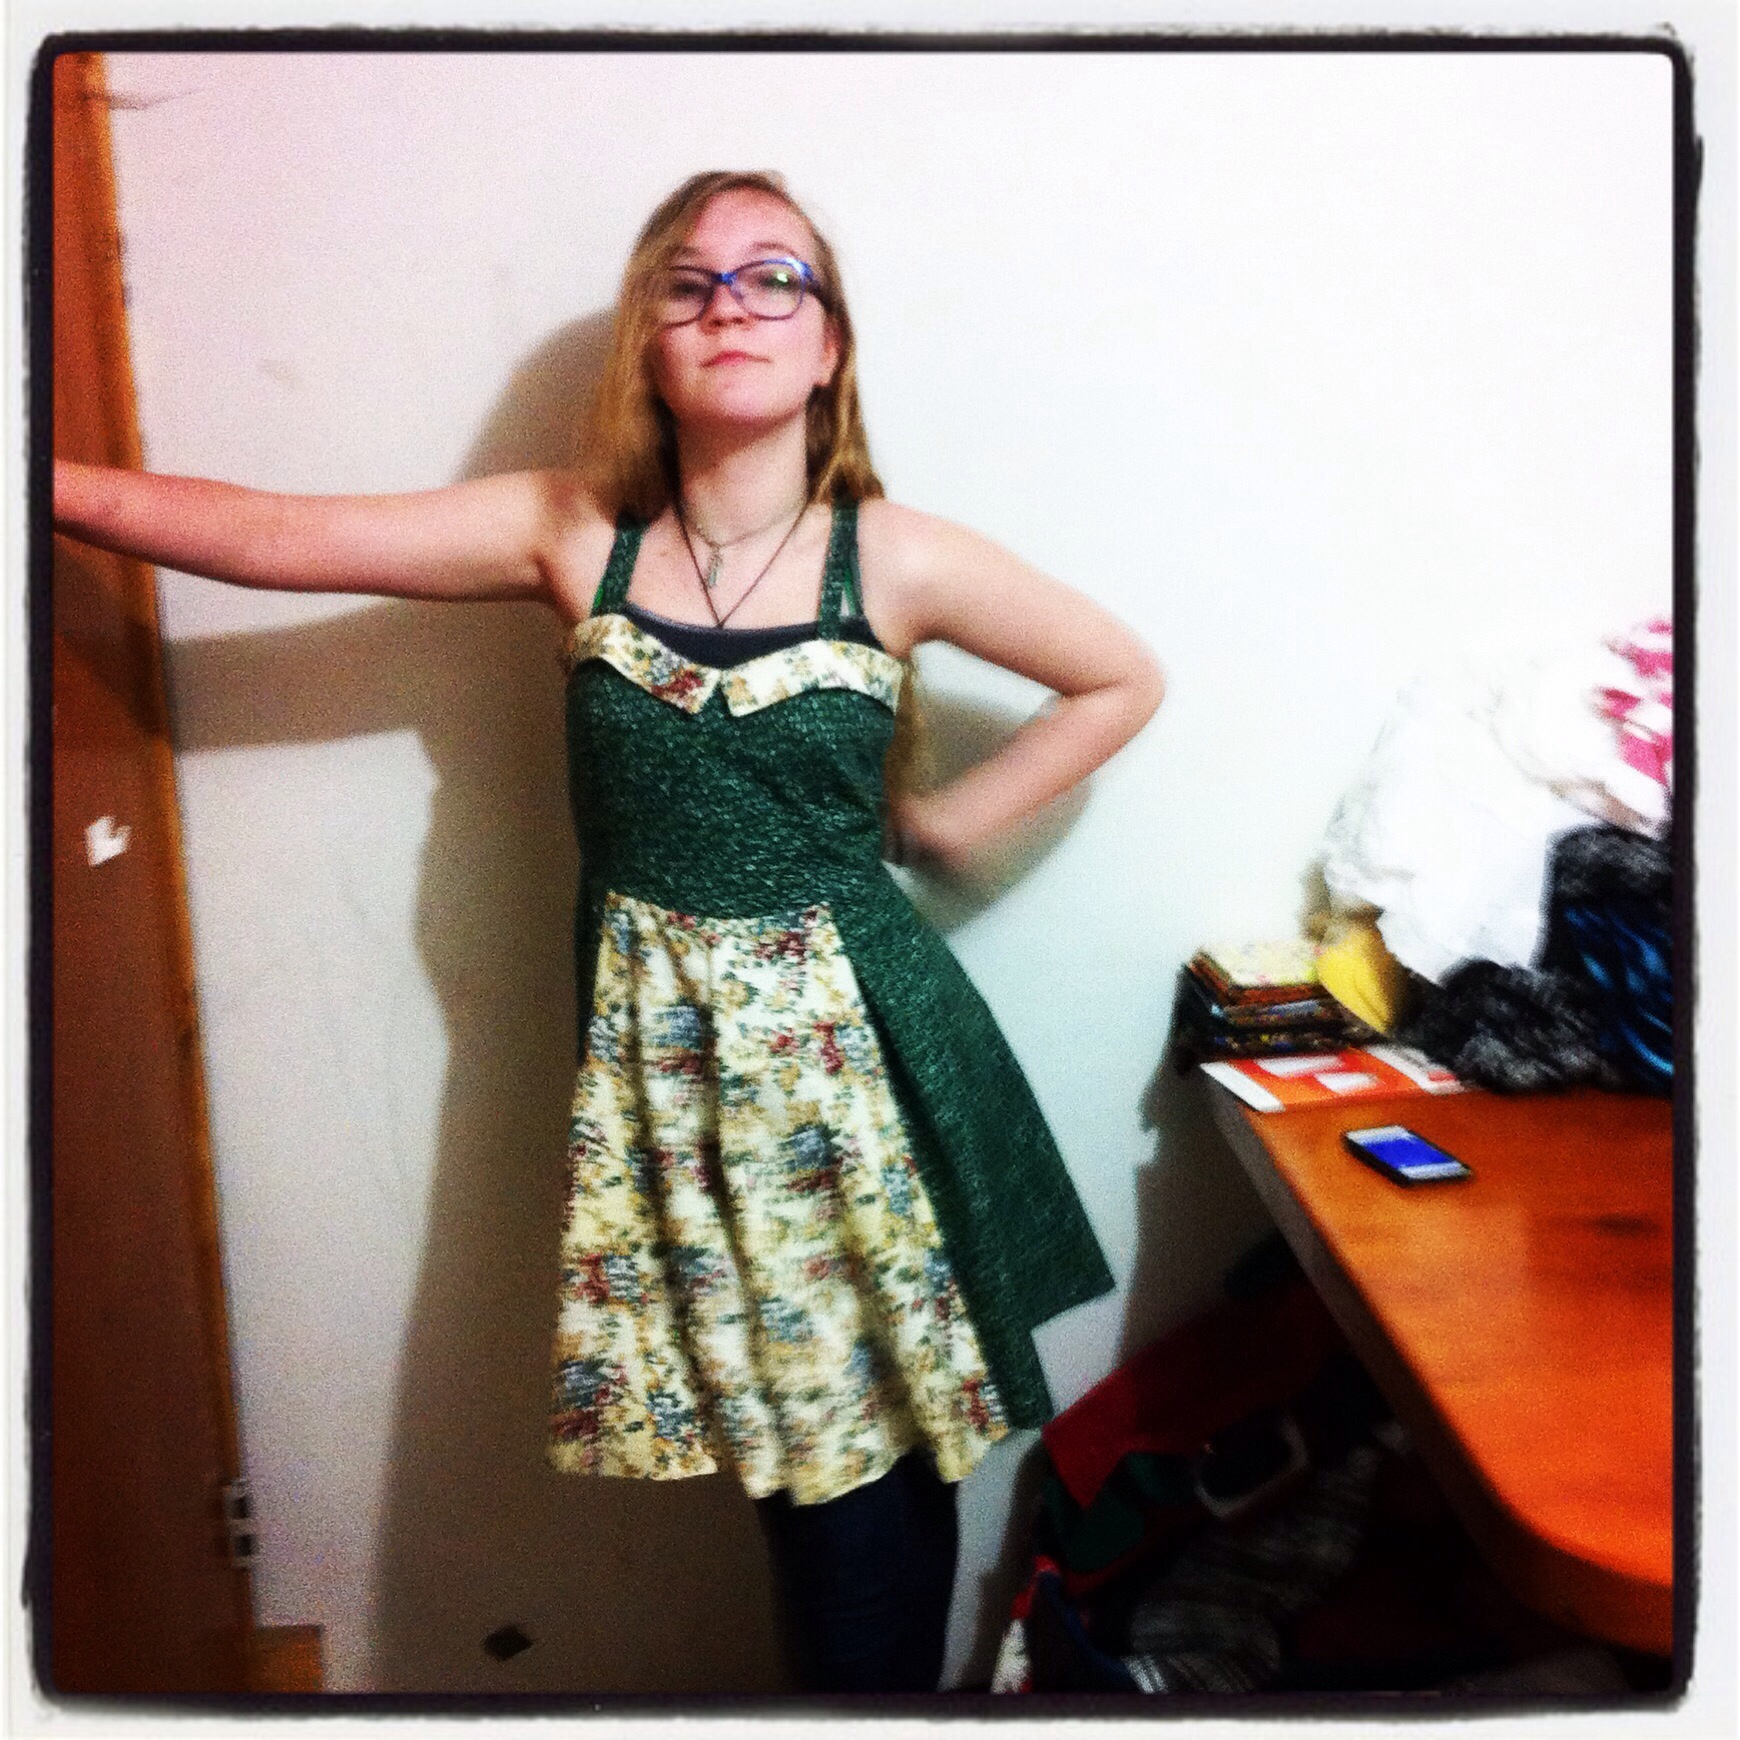
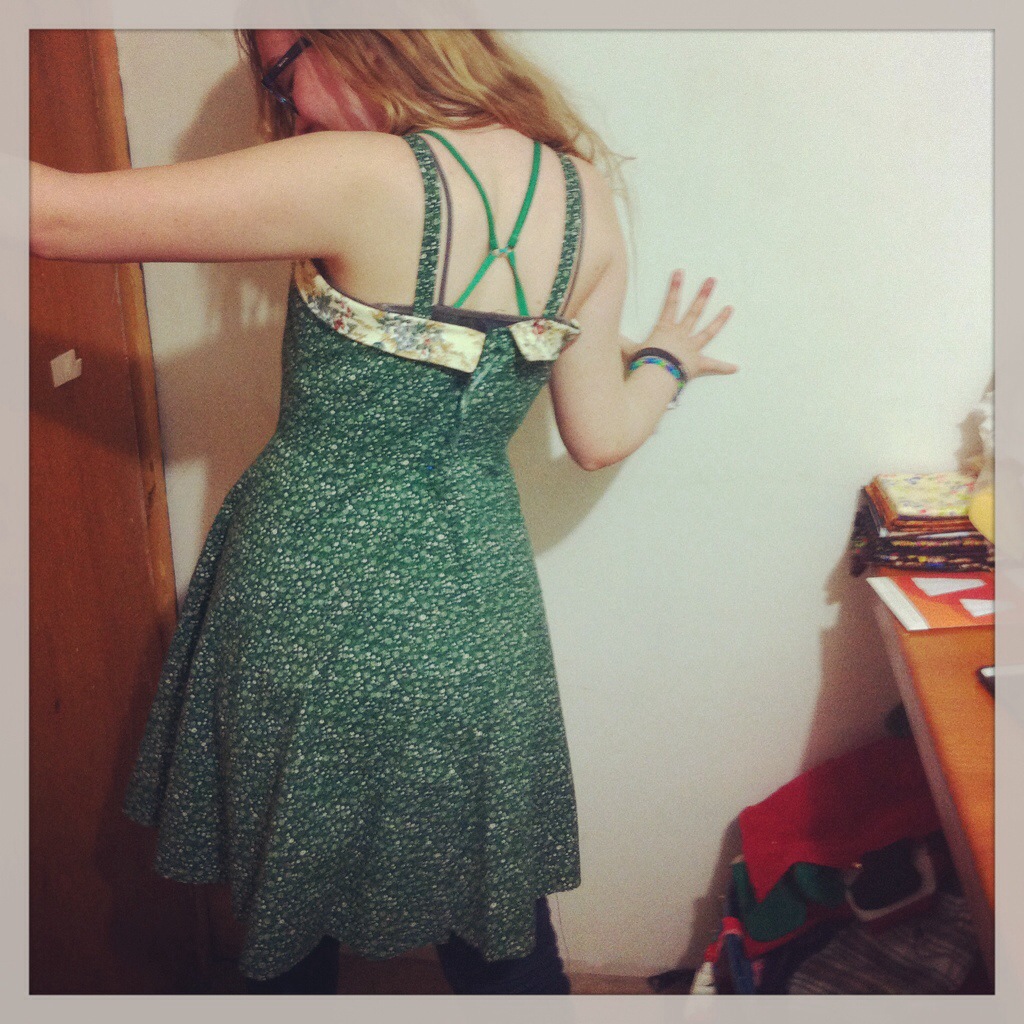
 Anyway, so looking around for something else, I spied this fabric, which I bought my girls for Christmas presents last year. (This is what happens, teenagers, when you make the mistake of showing interest in your mom’s hobbies.)
 After a bit of digging I decided Kwik Sew 2893 seemed like a good place to start. While it’s styled like a baseball tee, it’s roomier than Jalie 3245, and the difference between a baseball tee and a sweatshirt pattern is largely about ease.
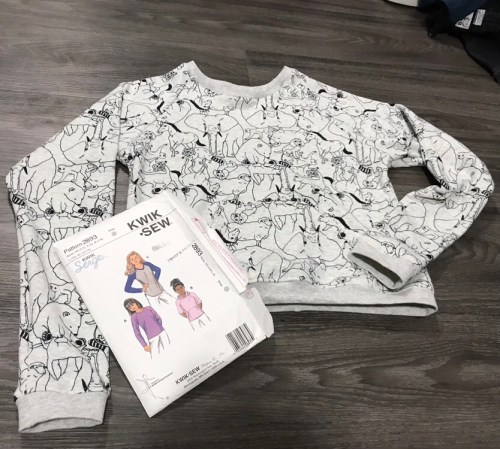 It’s a kids pattern but the XL is a size 12-14, which is about the same chest measurement as Tyo, and I figured if it didn’t fit Syo it would fit Tyo, and if Tyo didn’t like it it would work for Fyon, who is a very skinny eleven now. This is the convenient part of having multiple girls in the family, even if they don’t stairstep quite as neatly as they used to.
 I wanted a slightly cropped length, partly just to use less fabric in this tester version, so I made it the length of the Extra Small size. This is still significantly longer than the sweater at the top of the post, and as it turned out, while it makes a short sweater, it’s not what I would call cropped.
 At the last moment I decided to include the pocket, also in a size XS, because it’s nice for teenagers to have somewhere to stuff their phones. This was pretty simple, although more stabilization might’ve been nice. I did knit interfacing strips along the opening parts.
 None of the grey ribbings I have in stash were a perfect match, but this one was the best. I could also try black at some point, that might be fun.
 Anyway. While I was sewing it up I was convinced I was making a sweater for Fyon, but Syo tried it on and it fits her. It also fits Tyo but the length is awkward—longer than cropped but not as long as she’d like a normal length sweater. On the other hand she didn’t take it off and went on to sleep in it, so I guess it’s not that bad.
 And it’s one tiny piece less taking up space in my stash.
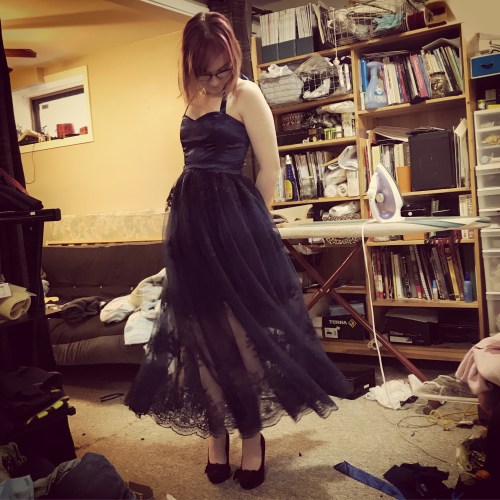 Have I mentioned Tyo is graduating high school this year?
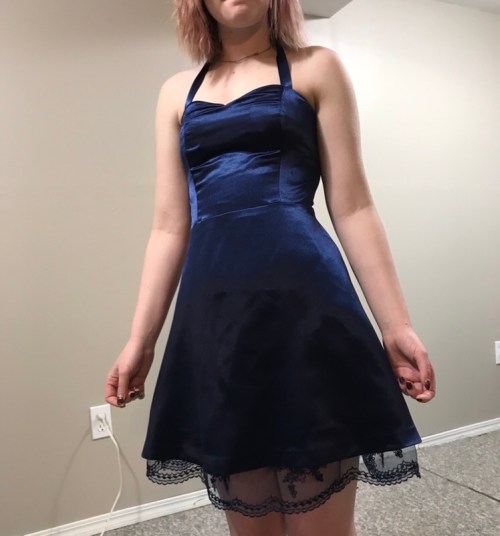 Also she asked me to make her grad dress.
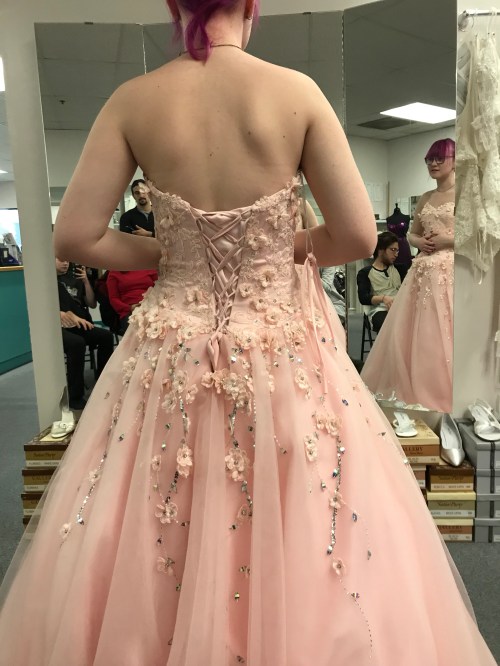 It was also a wise choice, as I can’t afford the $800 dress she fell in love with at the fancy dress shop—but we can put her favourite elements into the dress that we make. Well, some of them. Not all that insane beadwork.
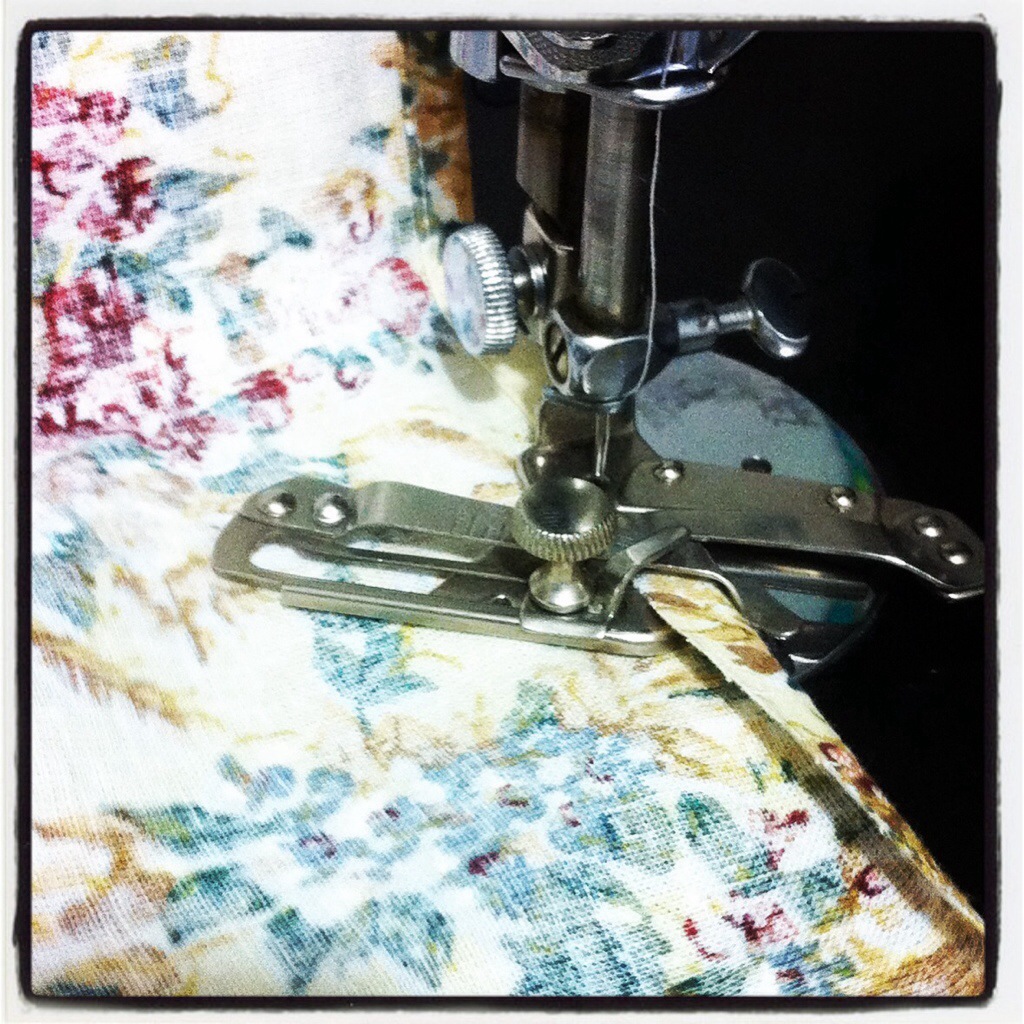
 We settled on McCall’s M7281, as a contemporary pattern with the right lines, despite the not-very-inspiring envelope.
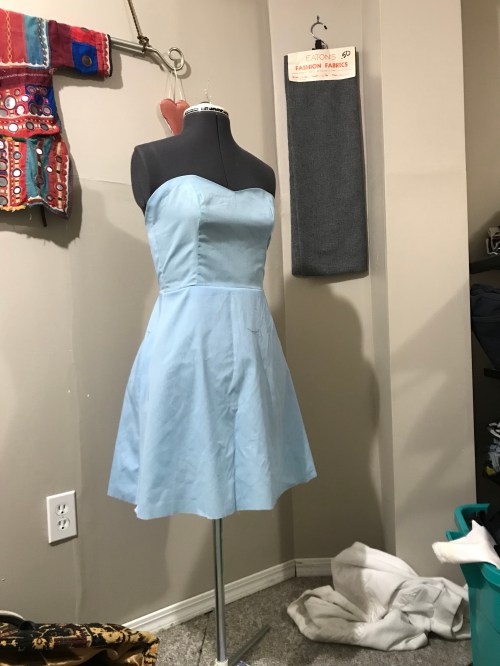 And despite my fears, the muslin process went quite well. Her measurements put her in the size 10 for bust and waist, size 14 for hips. Grown into the pear shape we have been predicting for her! And the sizing was true enough with only minor taking in. We initially muslined the straight skirt—she wanted a slightly flared skirt, but not as full as the one that came with the pattern. I planned to follow
  So in the end I made minor tweaks to the bodice, some more major ones to the skirt (mostly to do with hip curve), and converted it from the straight original shape to the cute little flared skirt above.
 Which makes it approximately the same shape as every other cute little dress she owns.
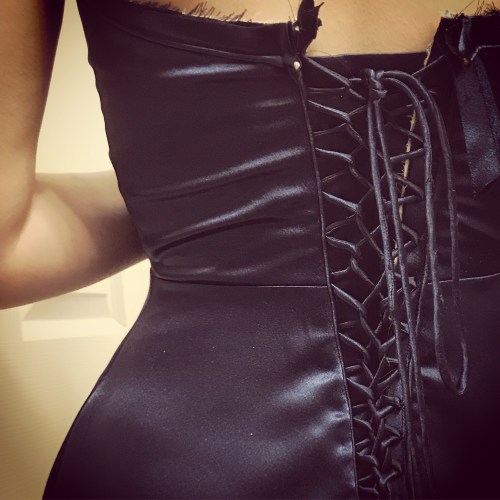 It took a bit of mental rehearsing, but I eventually managed something not too dissimilar.
 The dress has an inner corselet made of ticking, with metal boning. I used the original straight skirt pieces to draft a princess-seamed, hip-length pattern for it.
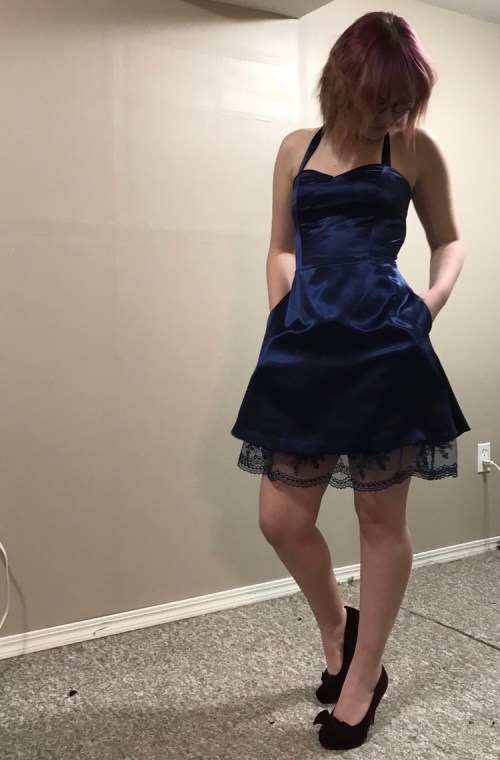 My biggest screw-up is that I didn’t choose to underline my bodice fabric. I thought with the dark fabric and corselet it wouldn’t be necessary. But the bodice could definitely have used a bit more support and smoothness in the outer layer. However, it’s not bothering Tyo, so please don’t point it out to her.
 After some consultation, we added halter straps. They’re not, strictly speaking, functional, as the boning holds the bodice up just fine, but they definitely make her more comfortable—and they’re pretty. This crêpe back satin makes lovely soft bows. And yes, I forgot to attach them before sewing on the lining so I had to rip and insert.
 Tyo was really excited by the idea of having the lace skirt removable. I’m trying really hard not to tell her how much this reminds me of the Teen Sweetheart Skipper doll I had in the 80s with the removable overskirt that could be worn three different ways.
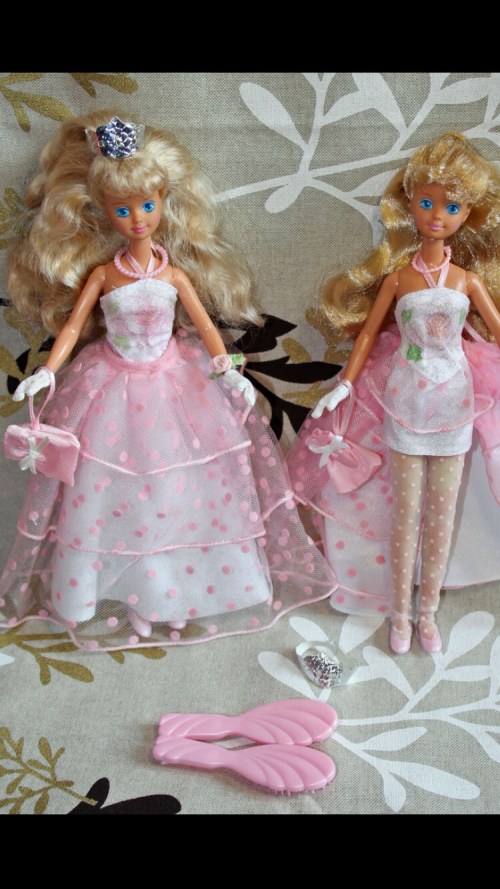 Man I loved that doll. I think she perished in the Great Barbie Massacre of 2003, when I thought it would be a good idea to give the three-year-old Tyo all my old barbies. All of the heads were broken off within two weeks.
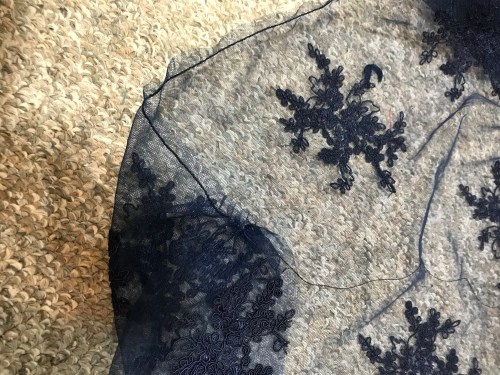 I shouldn’t have been so worried. I used the zig-zag-over-heavy-thread method, which is interesting in mesh because the zig-zag basically shrinks around the centre thread into a fine line, and then it does very little shifting around on its own when you gather it. Also the fine mesh isn’t as bulky as most things, so even with something like four mètres of lace gathered onto a 26″ band it was remarkably well-behaved.
 the waistband is just an interfaced rectangle I gathered the netting on to. We discussed adding another layer of tulle for poof but she says she likes it as is. The waistband closes with some skirt hooks and then a soft, droopy bow covers the attachment. We will have to cut slits in the overskirt so she can access the pockets. Also I’m pretty sure at some point during the night she’ll wear it as a cape.
 Fortunately, I was feeling obsessive on a Saturday night, and set to work messing around with the space piece, some wash away stabilizer, and my machine’s fancy stitches.
 Some key points:
 Baste your stabilizer in place, and then draw the outline of your scallop right on the stabilizer.
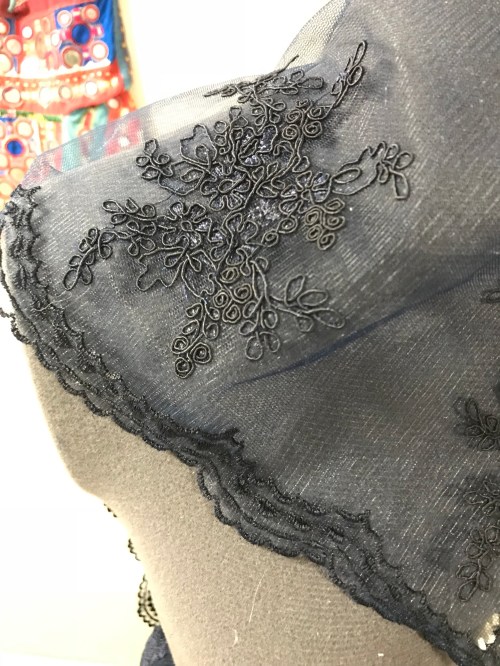 This took kinda forever, but was also weirdly fun, and saved me buying 1.5 more mètres of fancy 60″ wide lace just to use the bottom 3″ of it.
 So this kid, though
 This is done as another shop project, so we had to get to it early so it could go on display. It does feel good to have it done, though, as long as she doesn’t lose weight in the next three months. It also feels good to see how happy she is with it.