

Burda 6849
Tyo wanted a plaid flannel shirt.
She has several, but the best one actually belongs to one of her friends and she’s going to return it. Tomorrow. Totally. So could I make her one just like it? I made Syo a whole dress for her cosplay a few weeks ago, and the last thing I made Tyo was a lousy sports bra like six months ago. Jeez, mom.
She was complaining that she no longer knows what to do when modeling clothes for photos; the ease she felt at nine and ten and twelve has melted away. I think this is code for “You should make me more stuff so I can get more practice modeling,” though I’m not convinced I believe her.
It’s been a long time since I made Tyo a flannel shirt. Like, um, five years? How the hell did that happen? I will say, that was an awesome shirt, even if it was too small. One of my nieces still has it, and a few weeks ago it floated back into our house and I was looking at it and I was all like, man, I did a great job on that shirt! I had always planned to make Tyo a bigger one just like it, and had even bought more of the fabric. I found the piece shortly before I started this project; I got a one metre cut. How the hell did I expect to make a shirt for a ten or twelve year old out of 1m of 42″ wide flannel? How the hell did I even manage that the first time, which was something like a kids’ size 7, but lengthened?

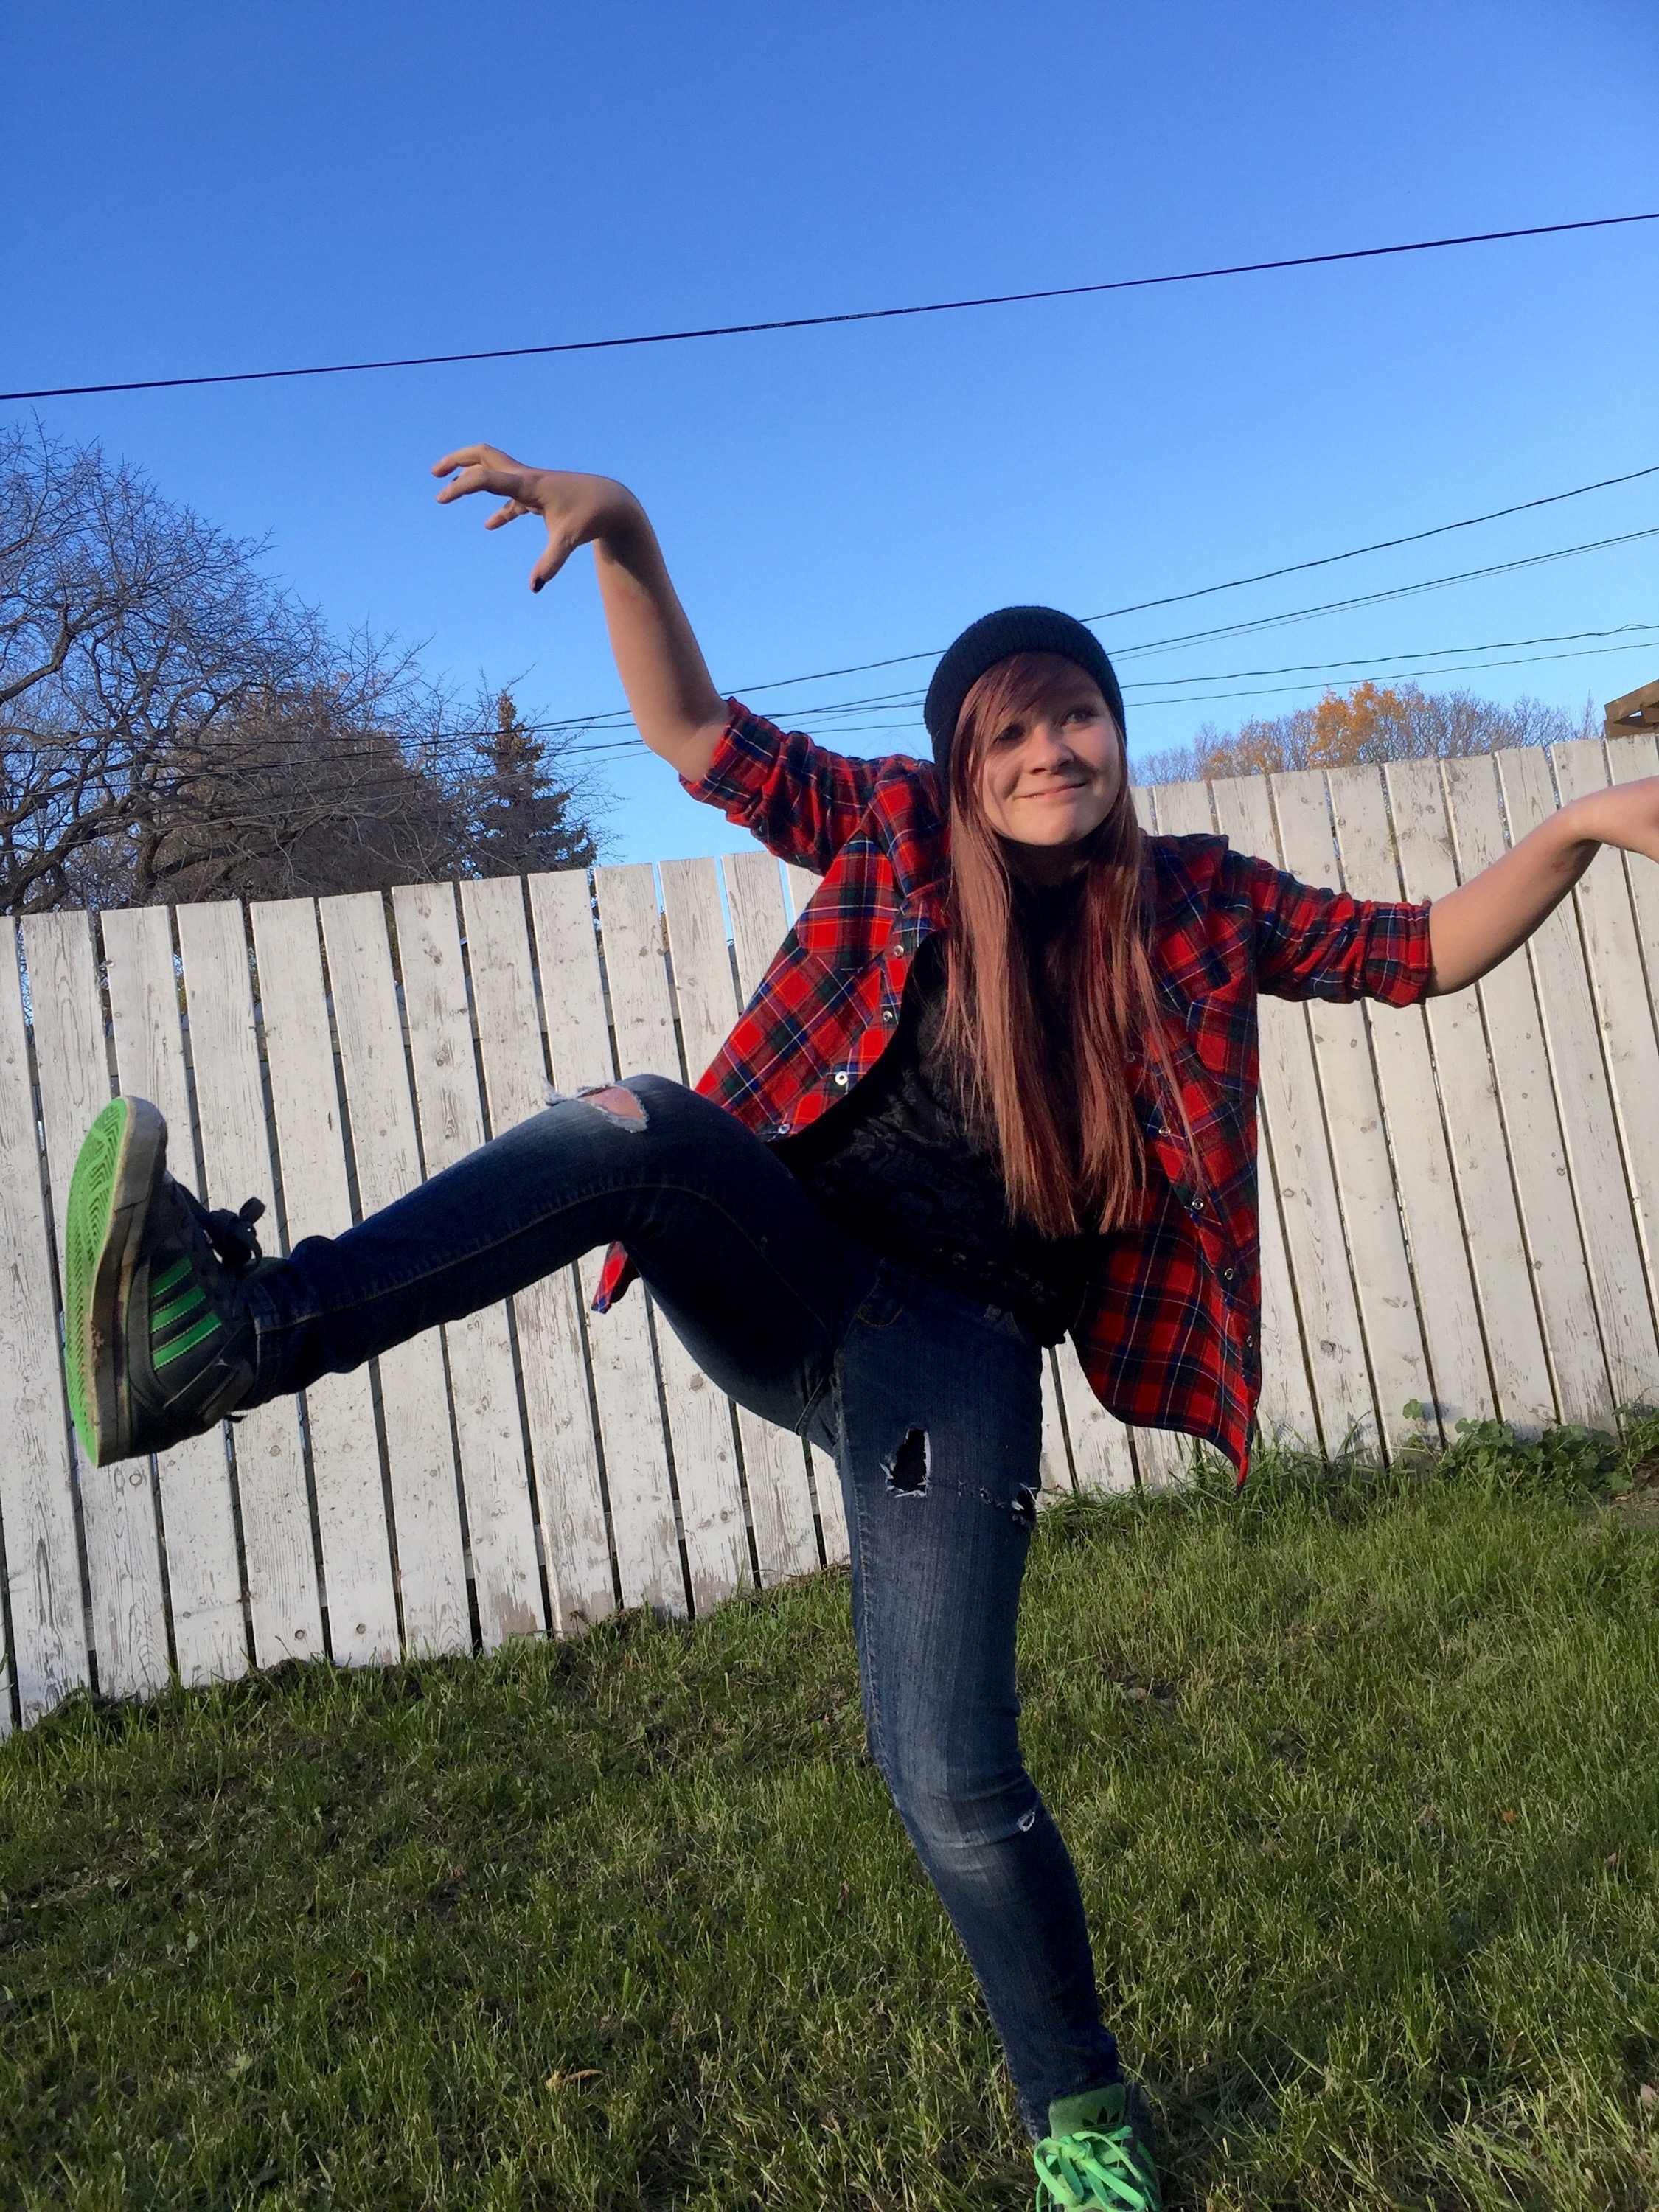
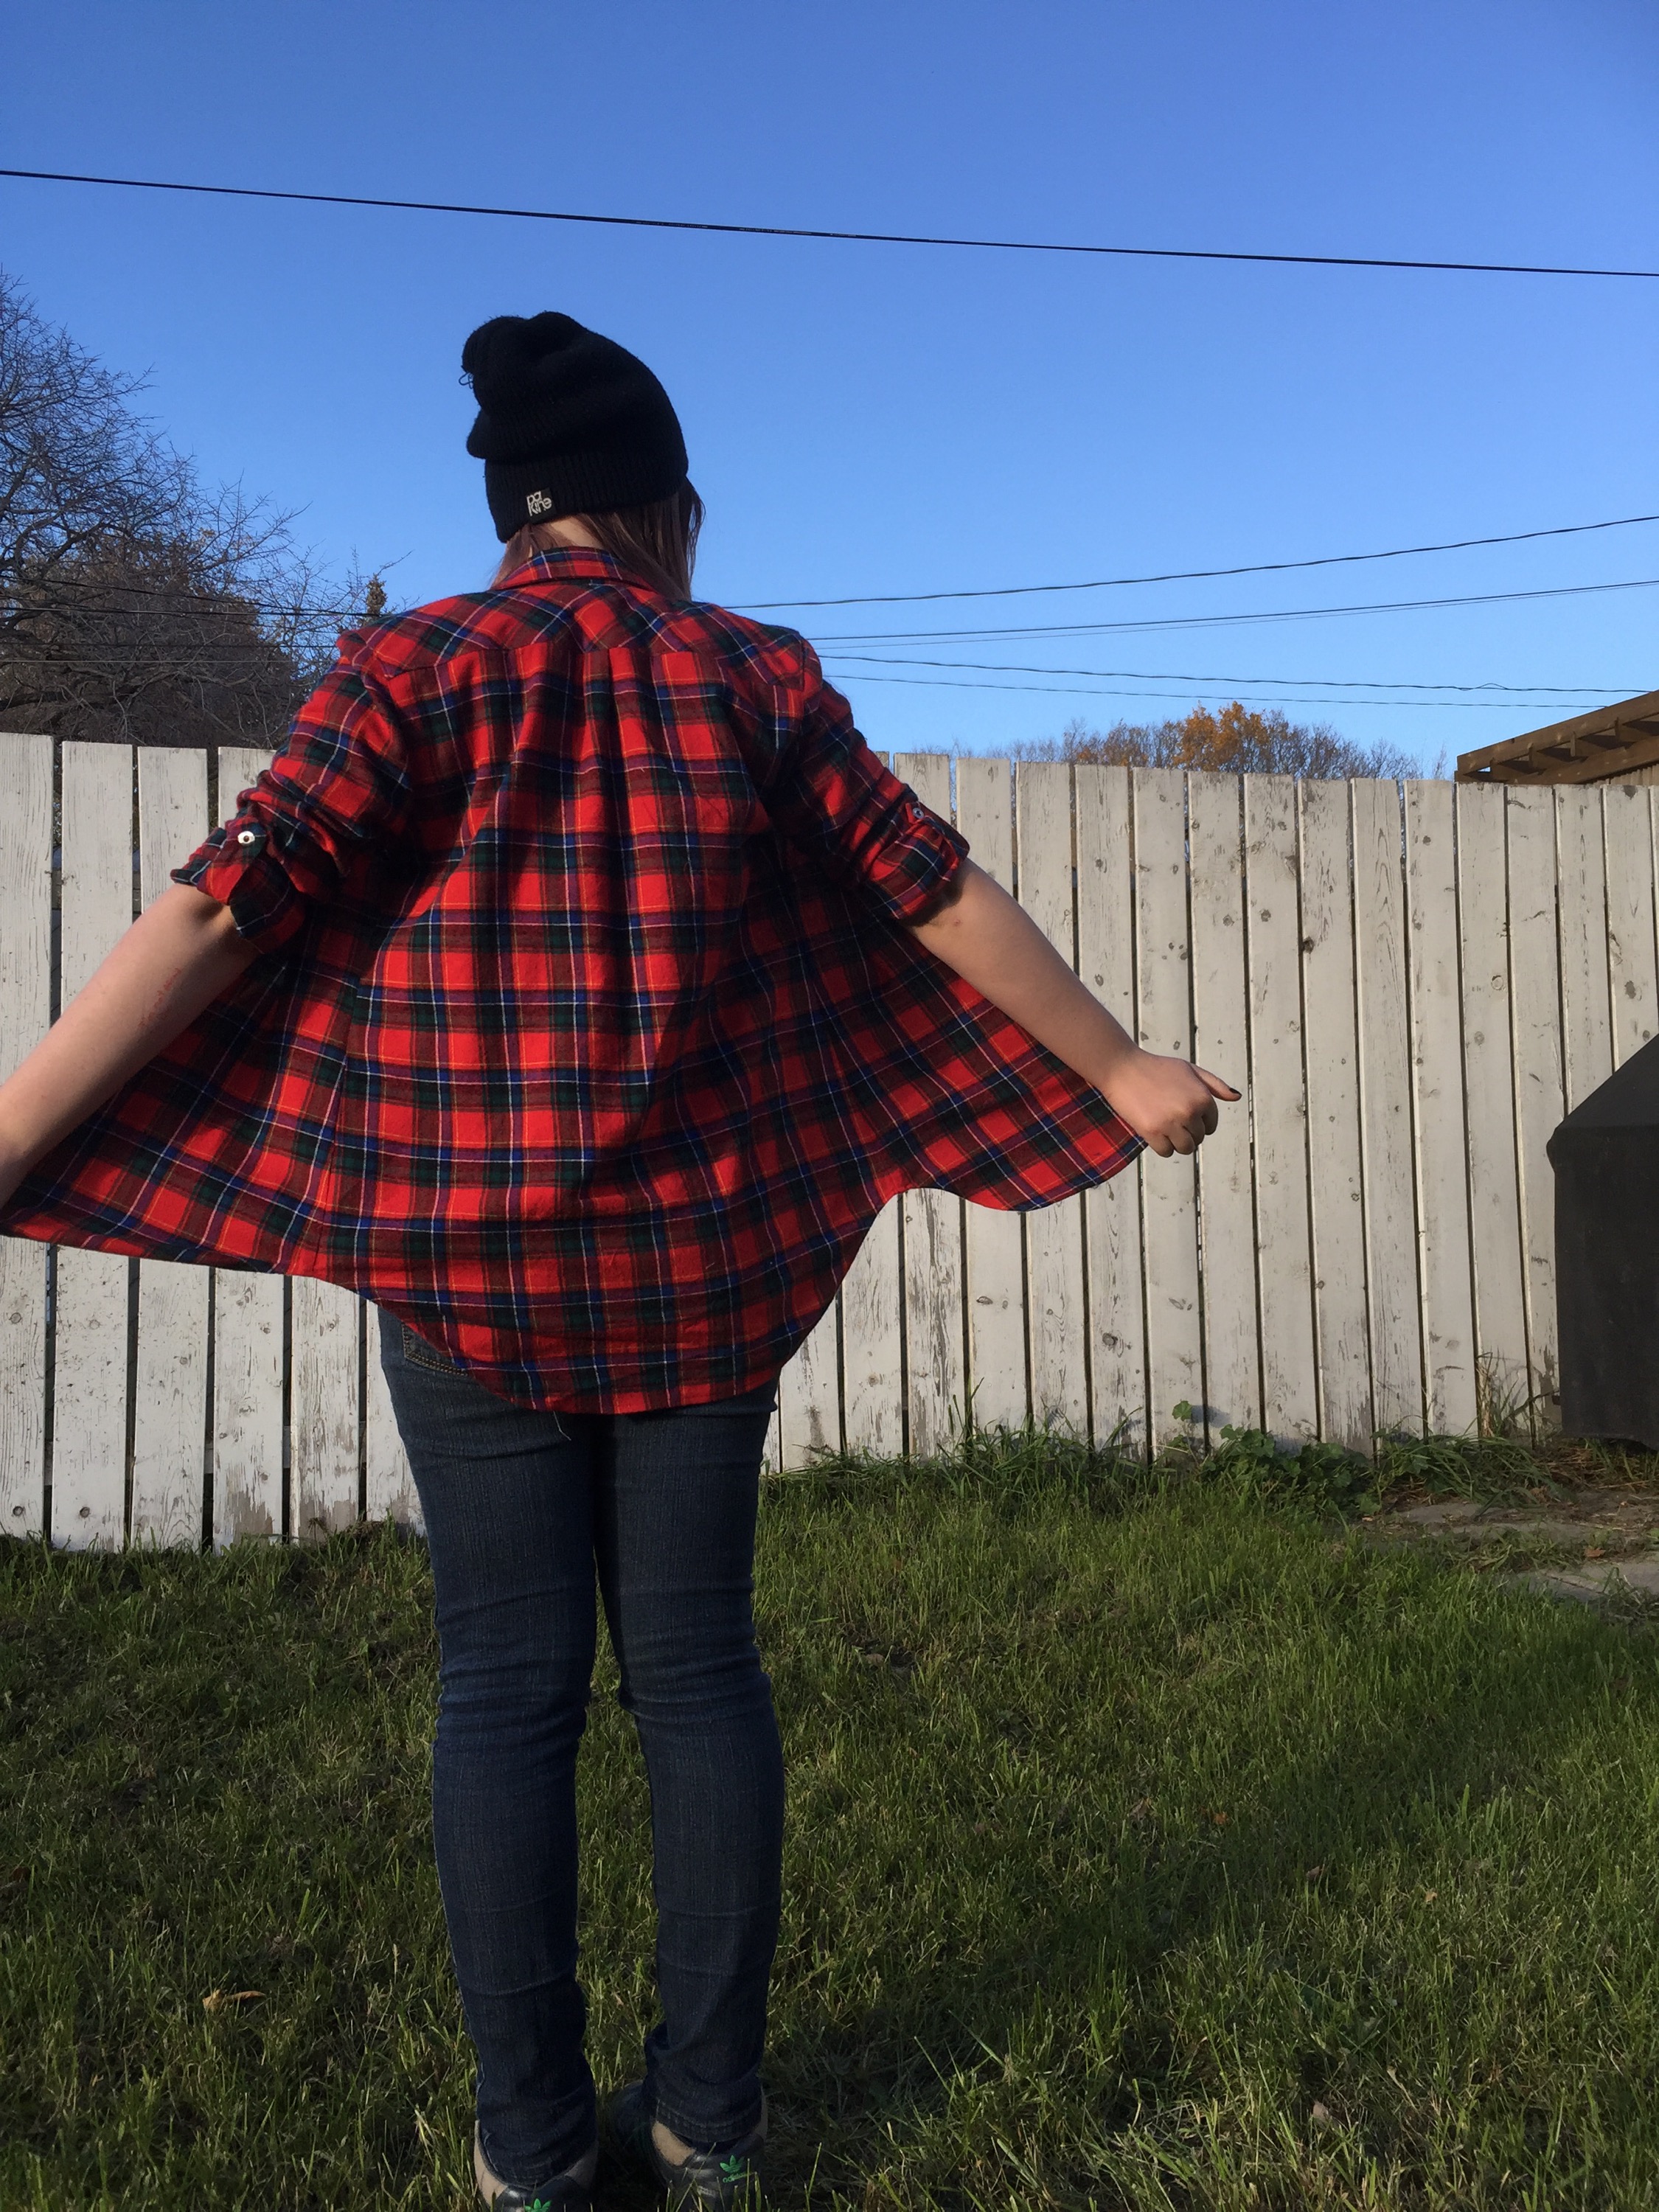
What all the cool lumberjacks are wearing.
While I’m not going to complain about the final product (and Tyo is thrilled, so that pretty much fixes everything) there was definitely a fair bit of, um, sideways on this project.
It started with the fabric. Tyo wanted red. I leaned toward a red-and-black plaid myself, but I thought Tyo would love this more colourful one, with its blue and green and bits of yellow. That are not, as you may notice, symmetrical (Is that the right word? I’m too lazy to google proper plaid terminology, though I know I’ve read posts on it before.) I didn’t even think about this until I started cutting out, and trying to mirror left and right. Yeah, doesn’t really work. Headache number one. It didn’t help that the fabric had dried slightly off-grain after the pre-wash, so getting the lines on one side to match up to the lines on the other side when cutting was, um, not working. The sane thing to do, by the way, would’ve been to iron and steam the fabric back square, but I’ve been trying not to leave my ironing board up in the kitchen between projects (at which I am intermittently successful) so I didn’t have it out when I was cutting this out. What I did instead was yank and fudge so that my plaid lines roughly matched up, although everything looked weirdly twisted, and then iron them back into submission (and symmetry) after everything was cut out. It worked, fortunately, but I do not recommend this method.
Burda 6849 is a beautifully tailored women’s shirt. What Tyo wanted, on the other hand, was a loose, slouchy I-stole-this-from-my-boyfriend kind of shirt. Archer would likely have been perfect, but I don’t have that one, and I wanted to do this as a shop project—and while I can and do use Indie patterns for those, the cost can`t be included in the budget and I didn’t want to shell out the money. I figured I could make it a size up, and with a mod or two, all would be well. I left off the front and back darts, and cut the back on the fold with a little more width than the pattern called for, to make a pleat. Tyo was a bit concerned that it wasn’t going to be long enough, so I also lengthened the back—through I think it would’ve been fine; I removed most of the length I had added before hemming.
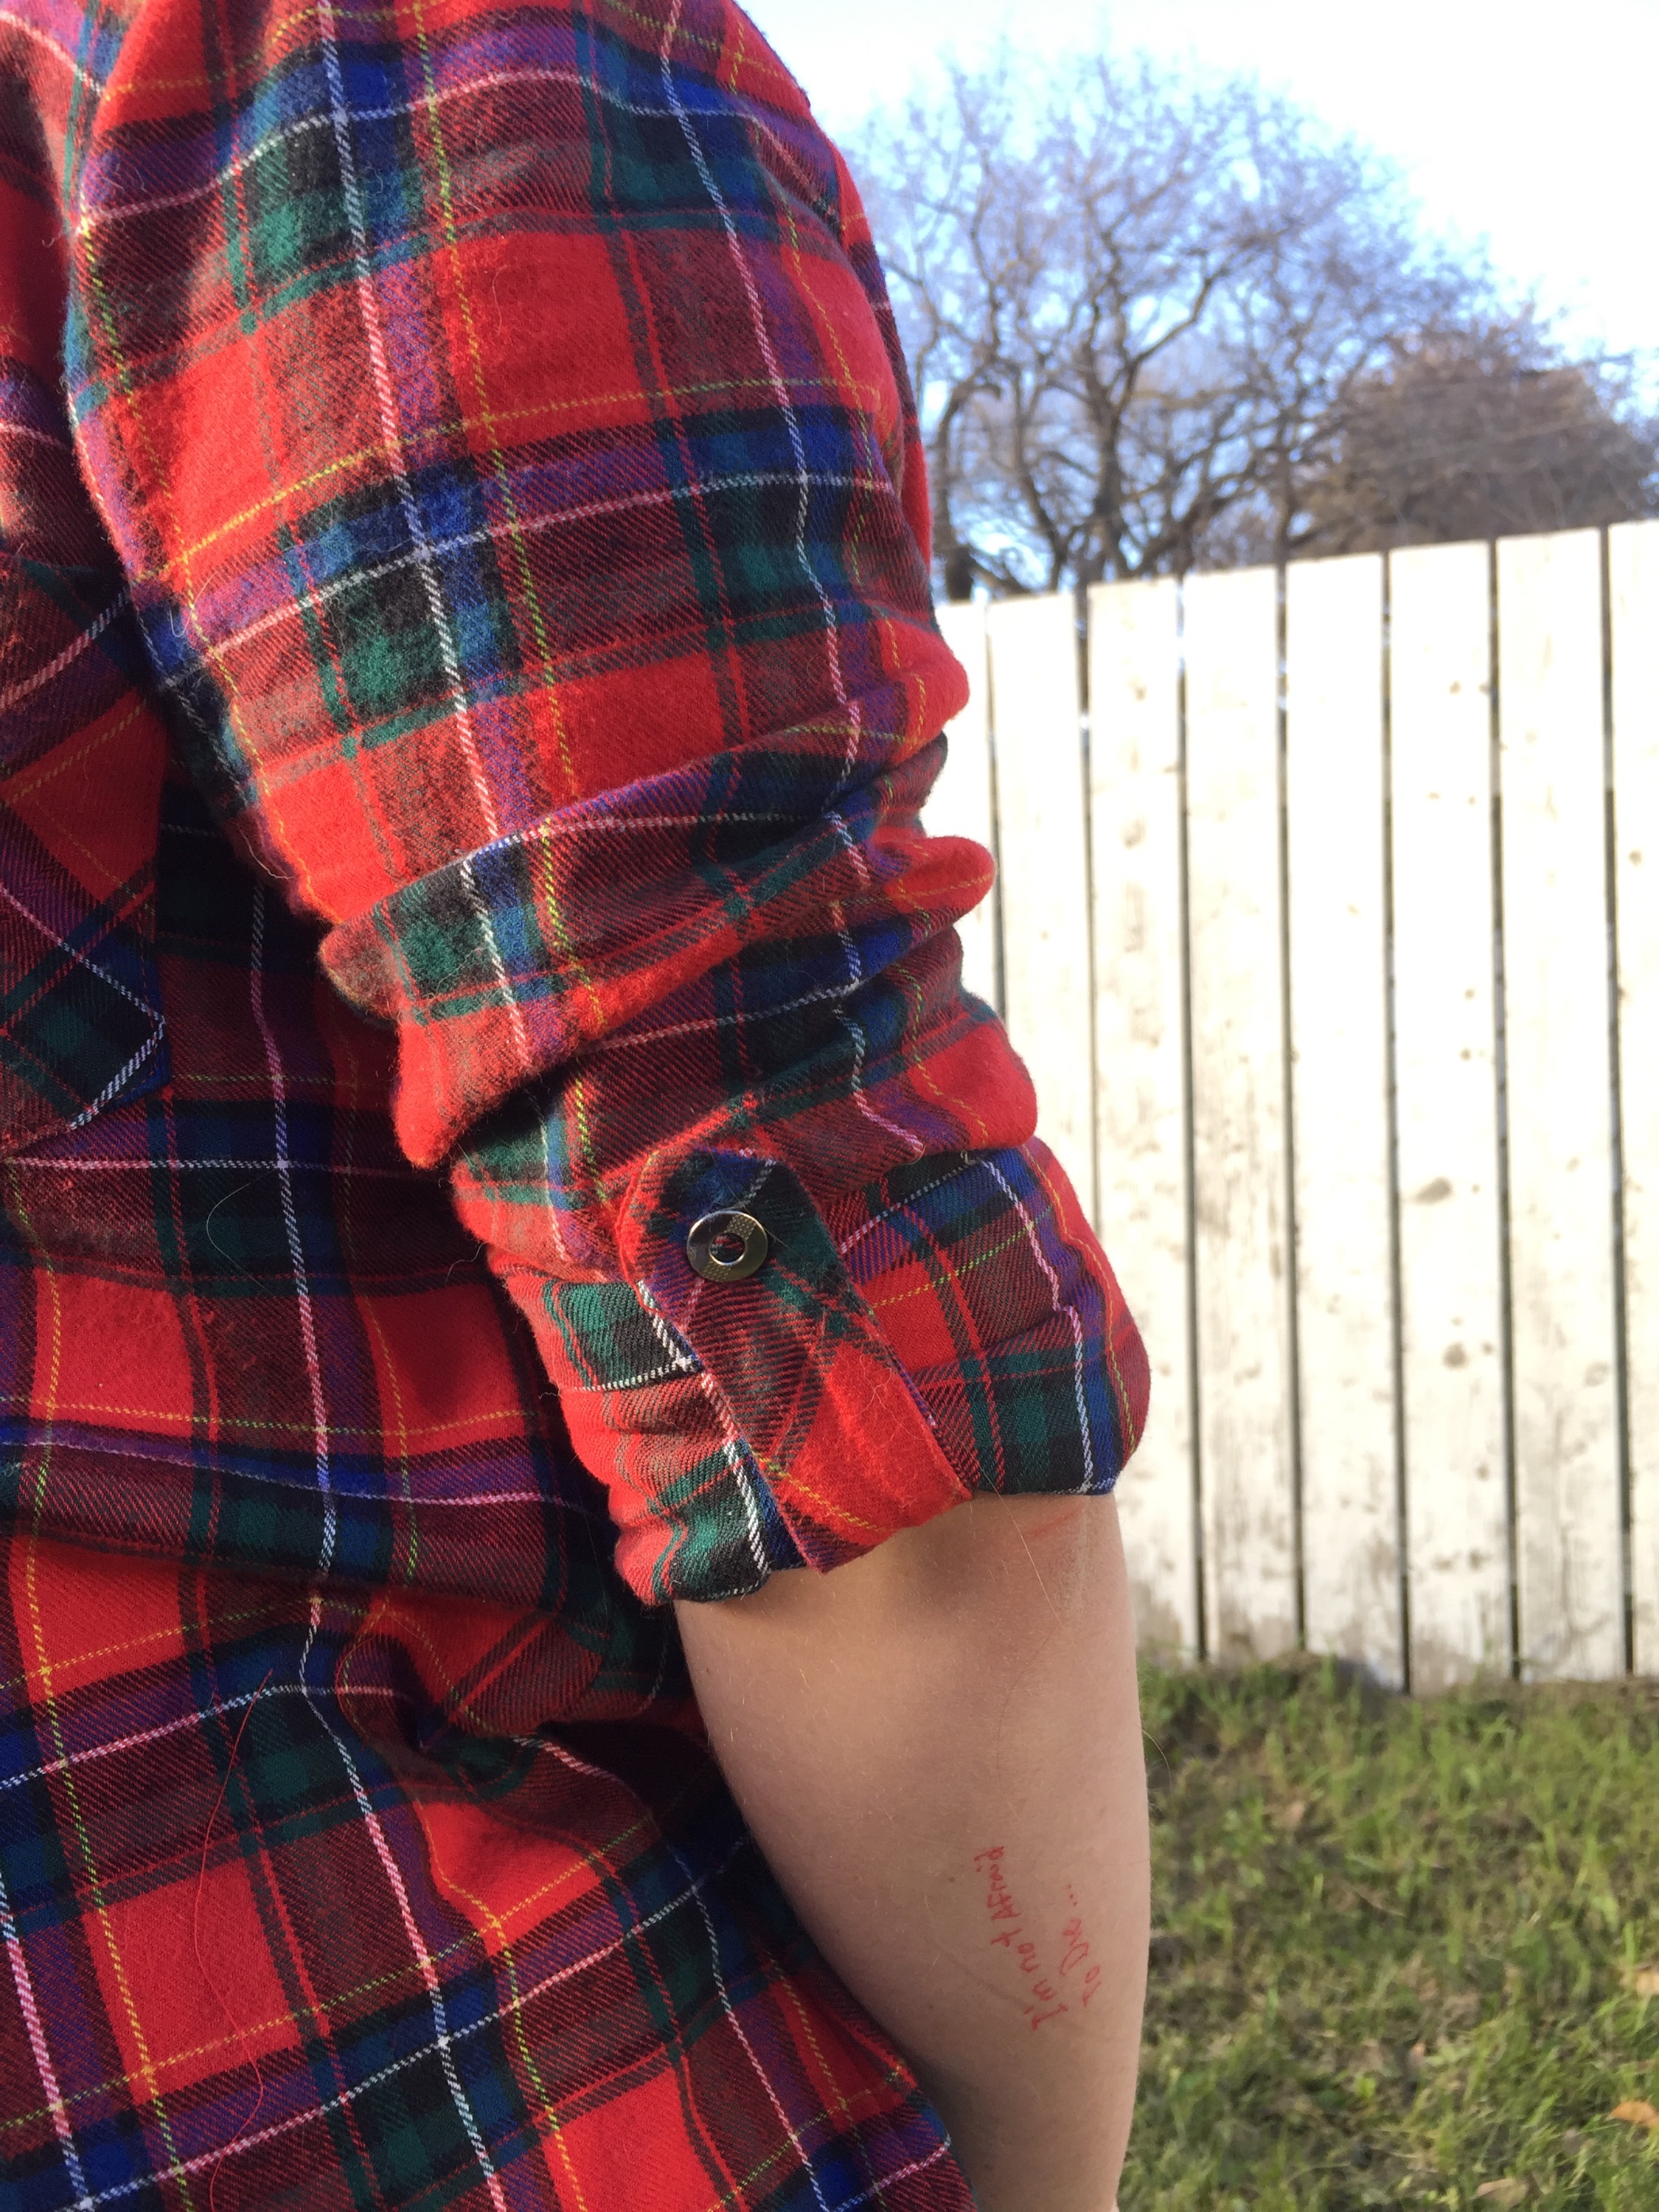
Sleeve tabs.
She loves shirts with those button-up tabs to keep the sleeves rolled up, so I added some of those as well. It was pretty simple, although I should’ve made them a little longer.

Flannel and toques go together like peas and carrots.
Other than shortening through the waist a little bit, I made none of my usual fitting alterations. It felt really weird, especially when I didn’t add four inches to the sleeve length. In hind sight I could’ve graded out another size at the hips, but ah well.

This.
Either the sleeves are very narrow, or my bias cuffs stretched before I interfaced them, because there was no little bit of gathering or pleating—the sleeve fit smoothly right into the cuff. I always use this technique of Sherry’s to attach cuffs—I’m so happy I can link to that again! 🙂 My one disappointment with the pattern was that there isn’t a real sleeve placket piece—the opening is just finished with a bias band. This is a technique that reads much more “blouse” to me than “shirt,” but whatever. It’s also fast and less nerve-wracking, so there is that. I’m pretty sure Tyo hasn’t noticed.
The Importance of Cardboard Templates in shaping Bias Pockets.
I have been trying to skip pocket templates lately, but it was not a good idea in this case. That was definitely three minutes well spent.

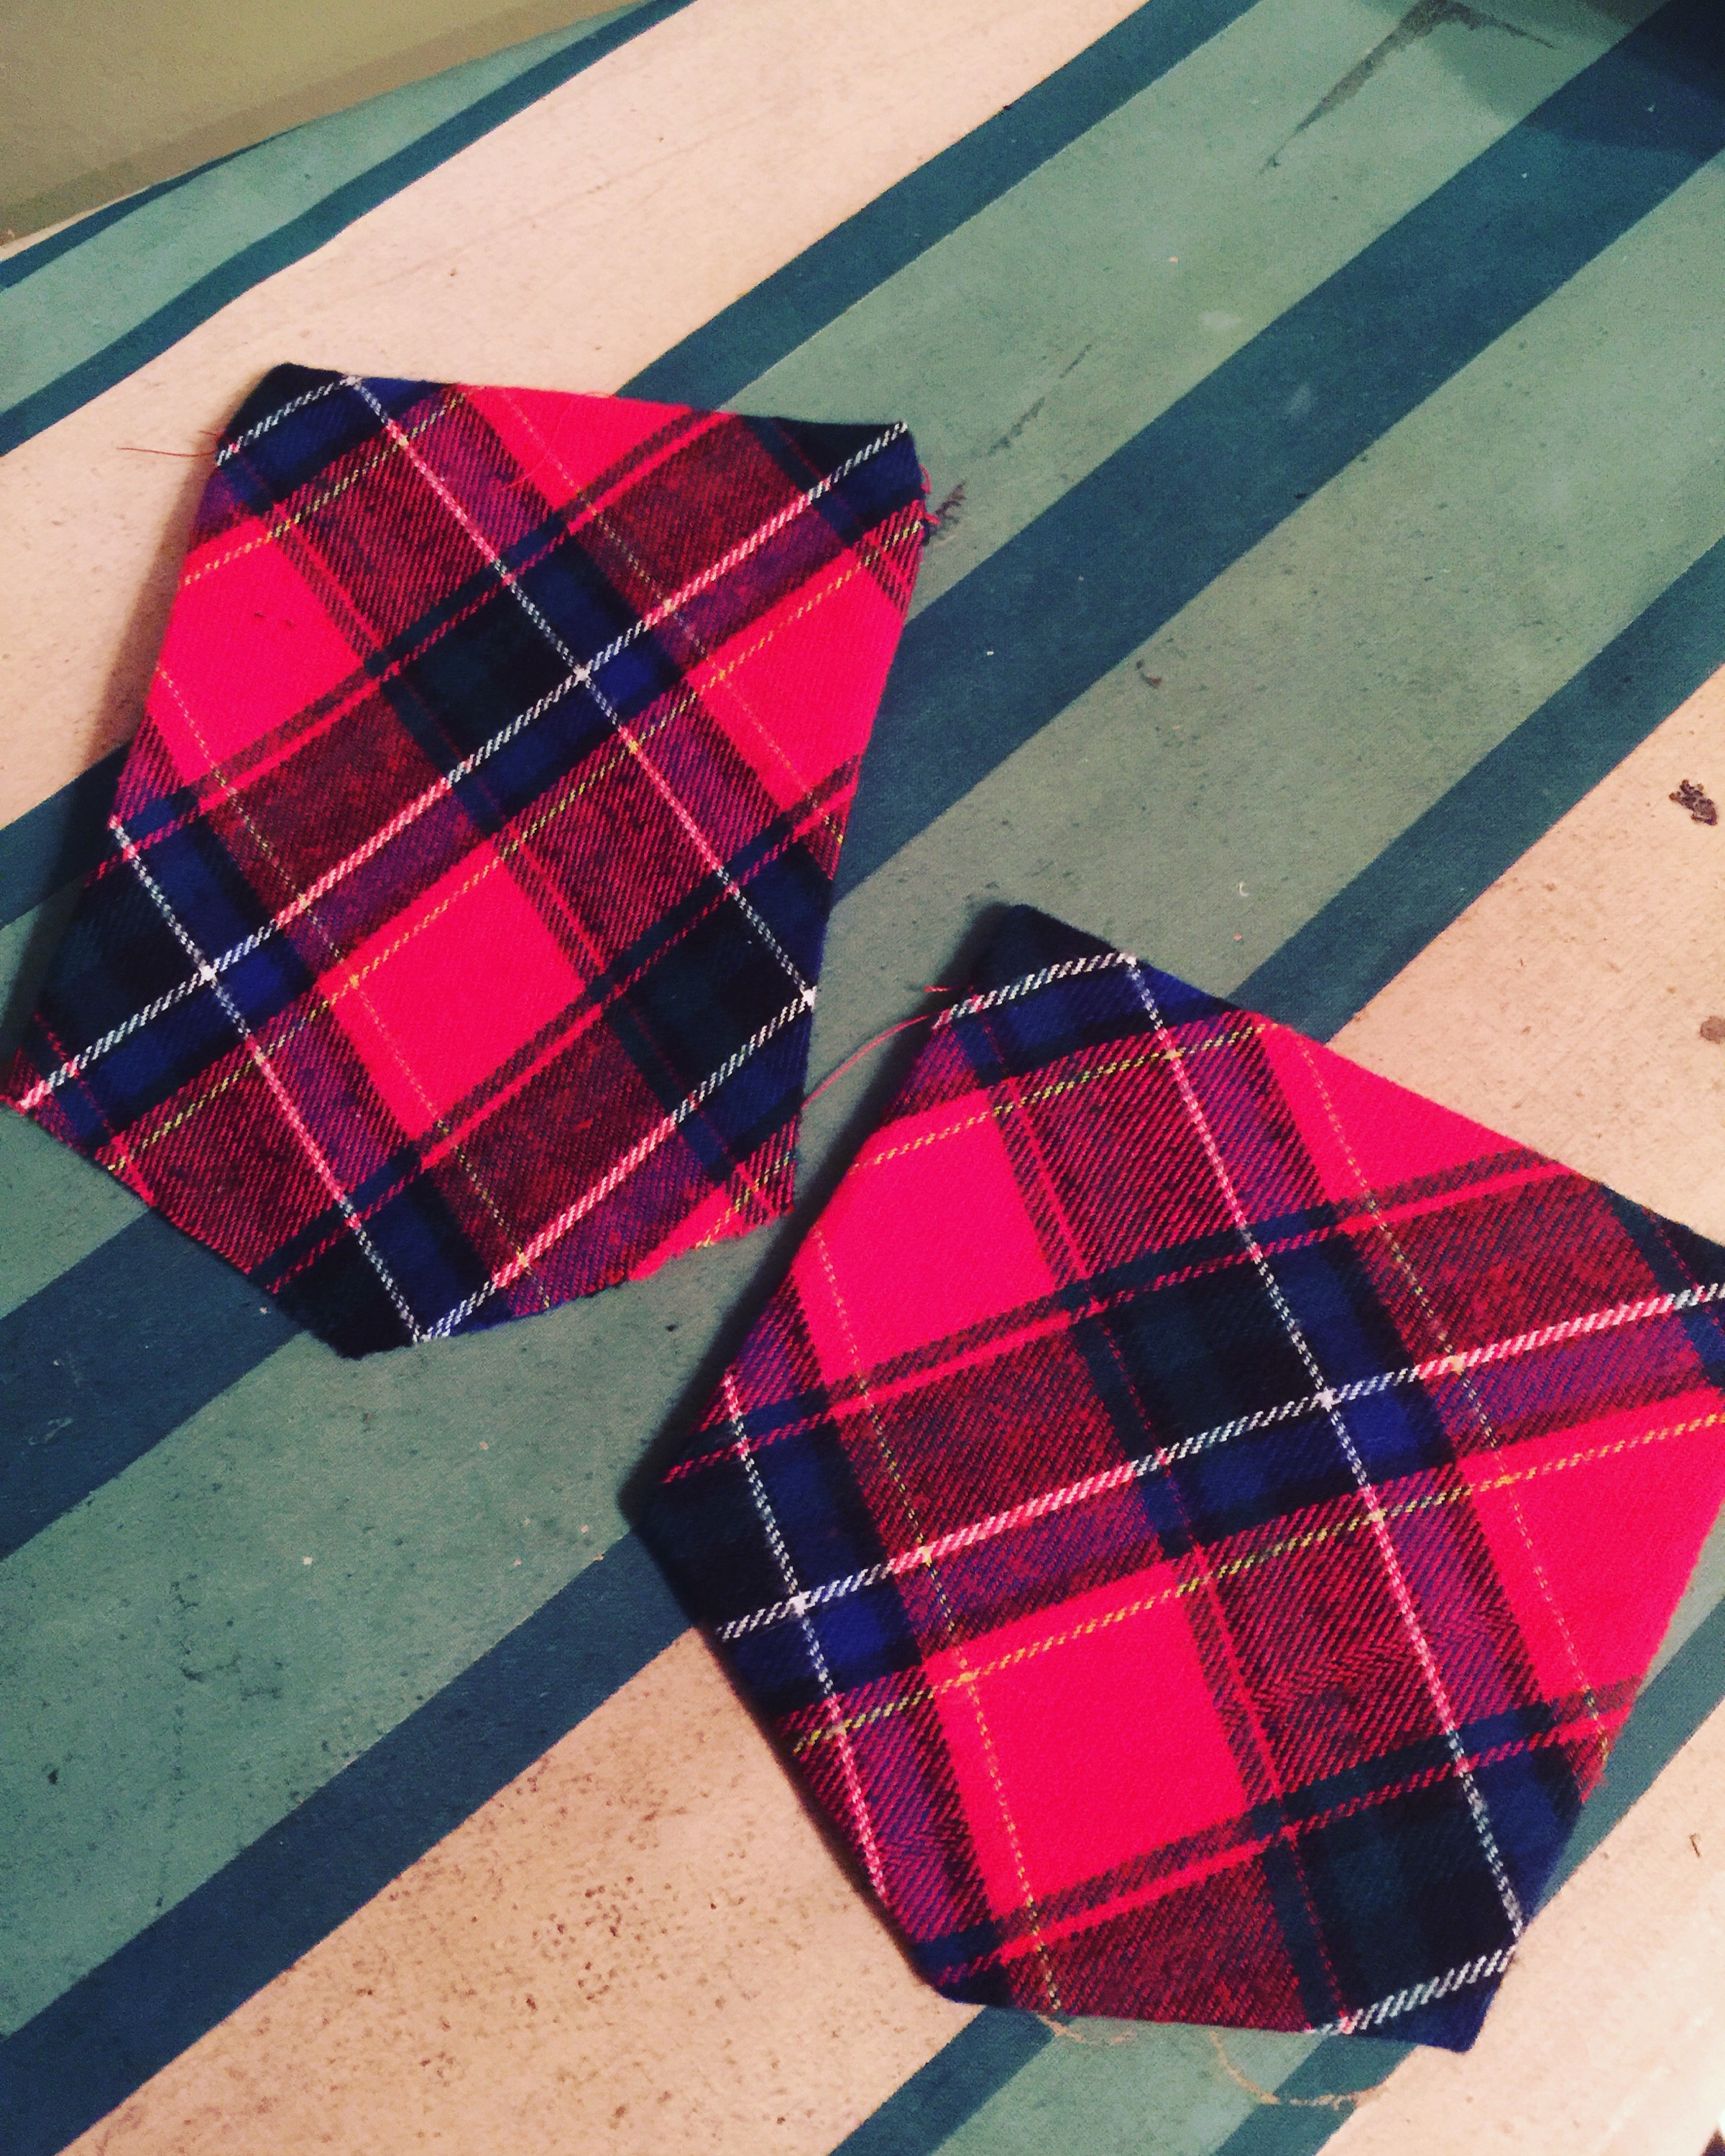
So many options
I initially planned to include bias pockets, pocket flaps, and front yokes, all great features included in the pattern. Except, when I got them all laid out, my eyes started to bleed. And I made the pockets and flaps in bias so I wouldn`t have to match the plaid, but I didn`t match the plaid of the flap to the plaid of the pocket. D’oh. In this busy fabric, it was much better to dial everything back and just use the pockets. Another piece of sideways.

Attempting at a chebroned back yoke.
My attempt to do a chevron back yoke by adding a CB seam there was foiled, as well. Turns out, when your plaid is very even (Like, the same stripes vertically and horizontally), the chevron effect doesn’t show up at all and you might as well just cut the whole thing in one bias piece.
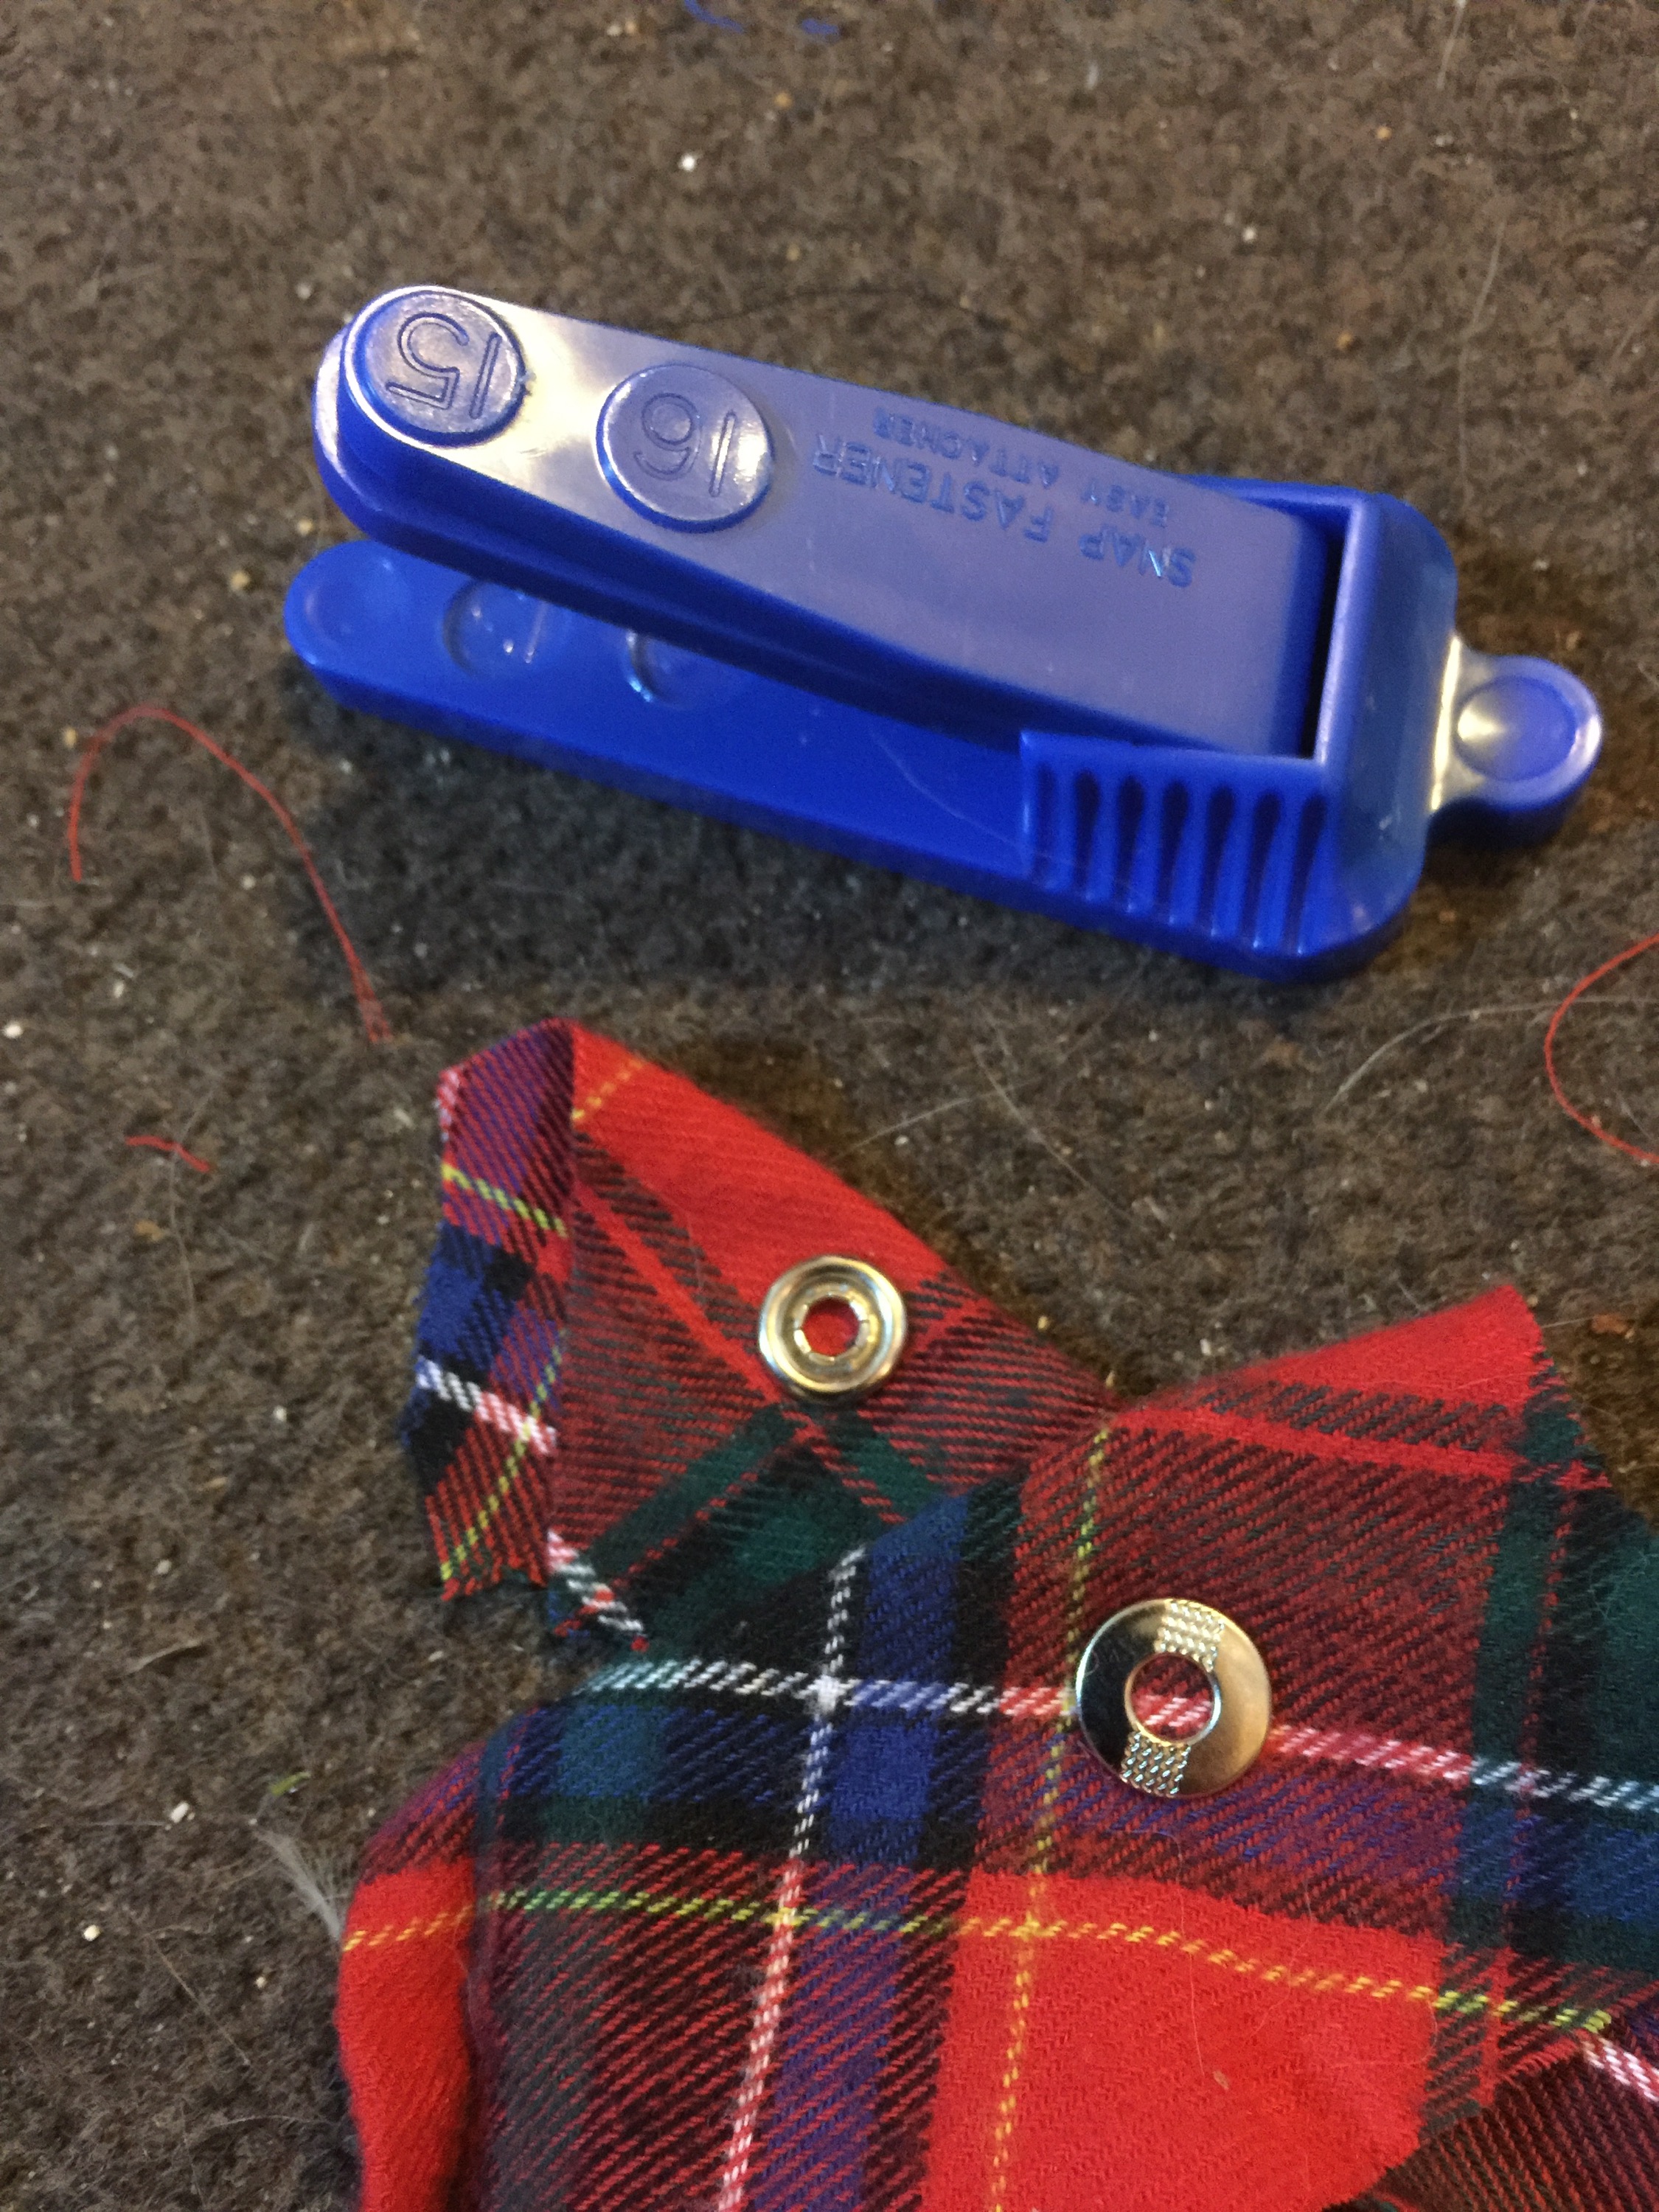
Adventures with snap setters.
One of the things I wanted to experiment with (this is encouraged in shop projects) was using a snap setter. I tried out this hammer-in style, that basically helps hold the snaps in place for you, and I also managed to figure out that the ancient set of pliers below, which have been kicking around my sewing hardware since I found them at my moms aeons ago, would also work for this size/style of snap. Which was a big relief. I have been so close to getting rid of these so many times, but I’m a hoarder at heart and couldn’t quite do it. I’m so glad I’ve figured out how to use them now.

Vintage snap pliers, used at last.
I’m still not completely convinced that the snaps will hold, mind you, but we’ll see. One side of the collar stand popped right off, but the fabric there is really thick; I wish I would’ve trimmed my seam allowances much more aggressively.
Back View
The back of the Burda pattern has a centre seam and fisheye darts for shaping. Both of these seem like REALLY good ideas to me… but were not right for the shirt Tyo wanted. So I cut on the fold, and added a wee bit of ease to include a pleat below the yoke. I could probably have used a bit more, but oh well.
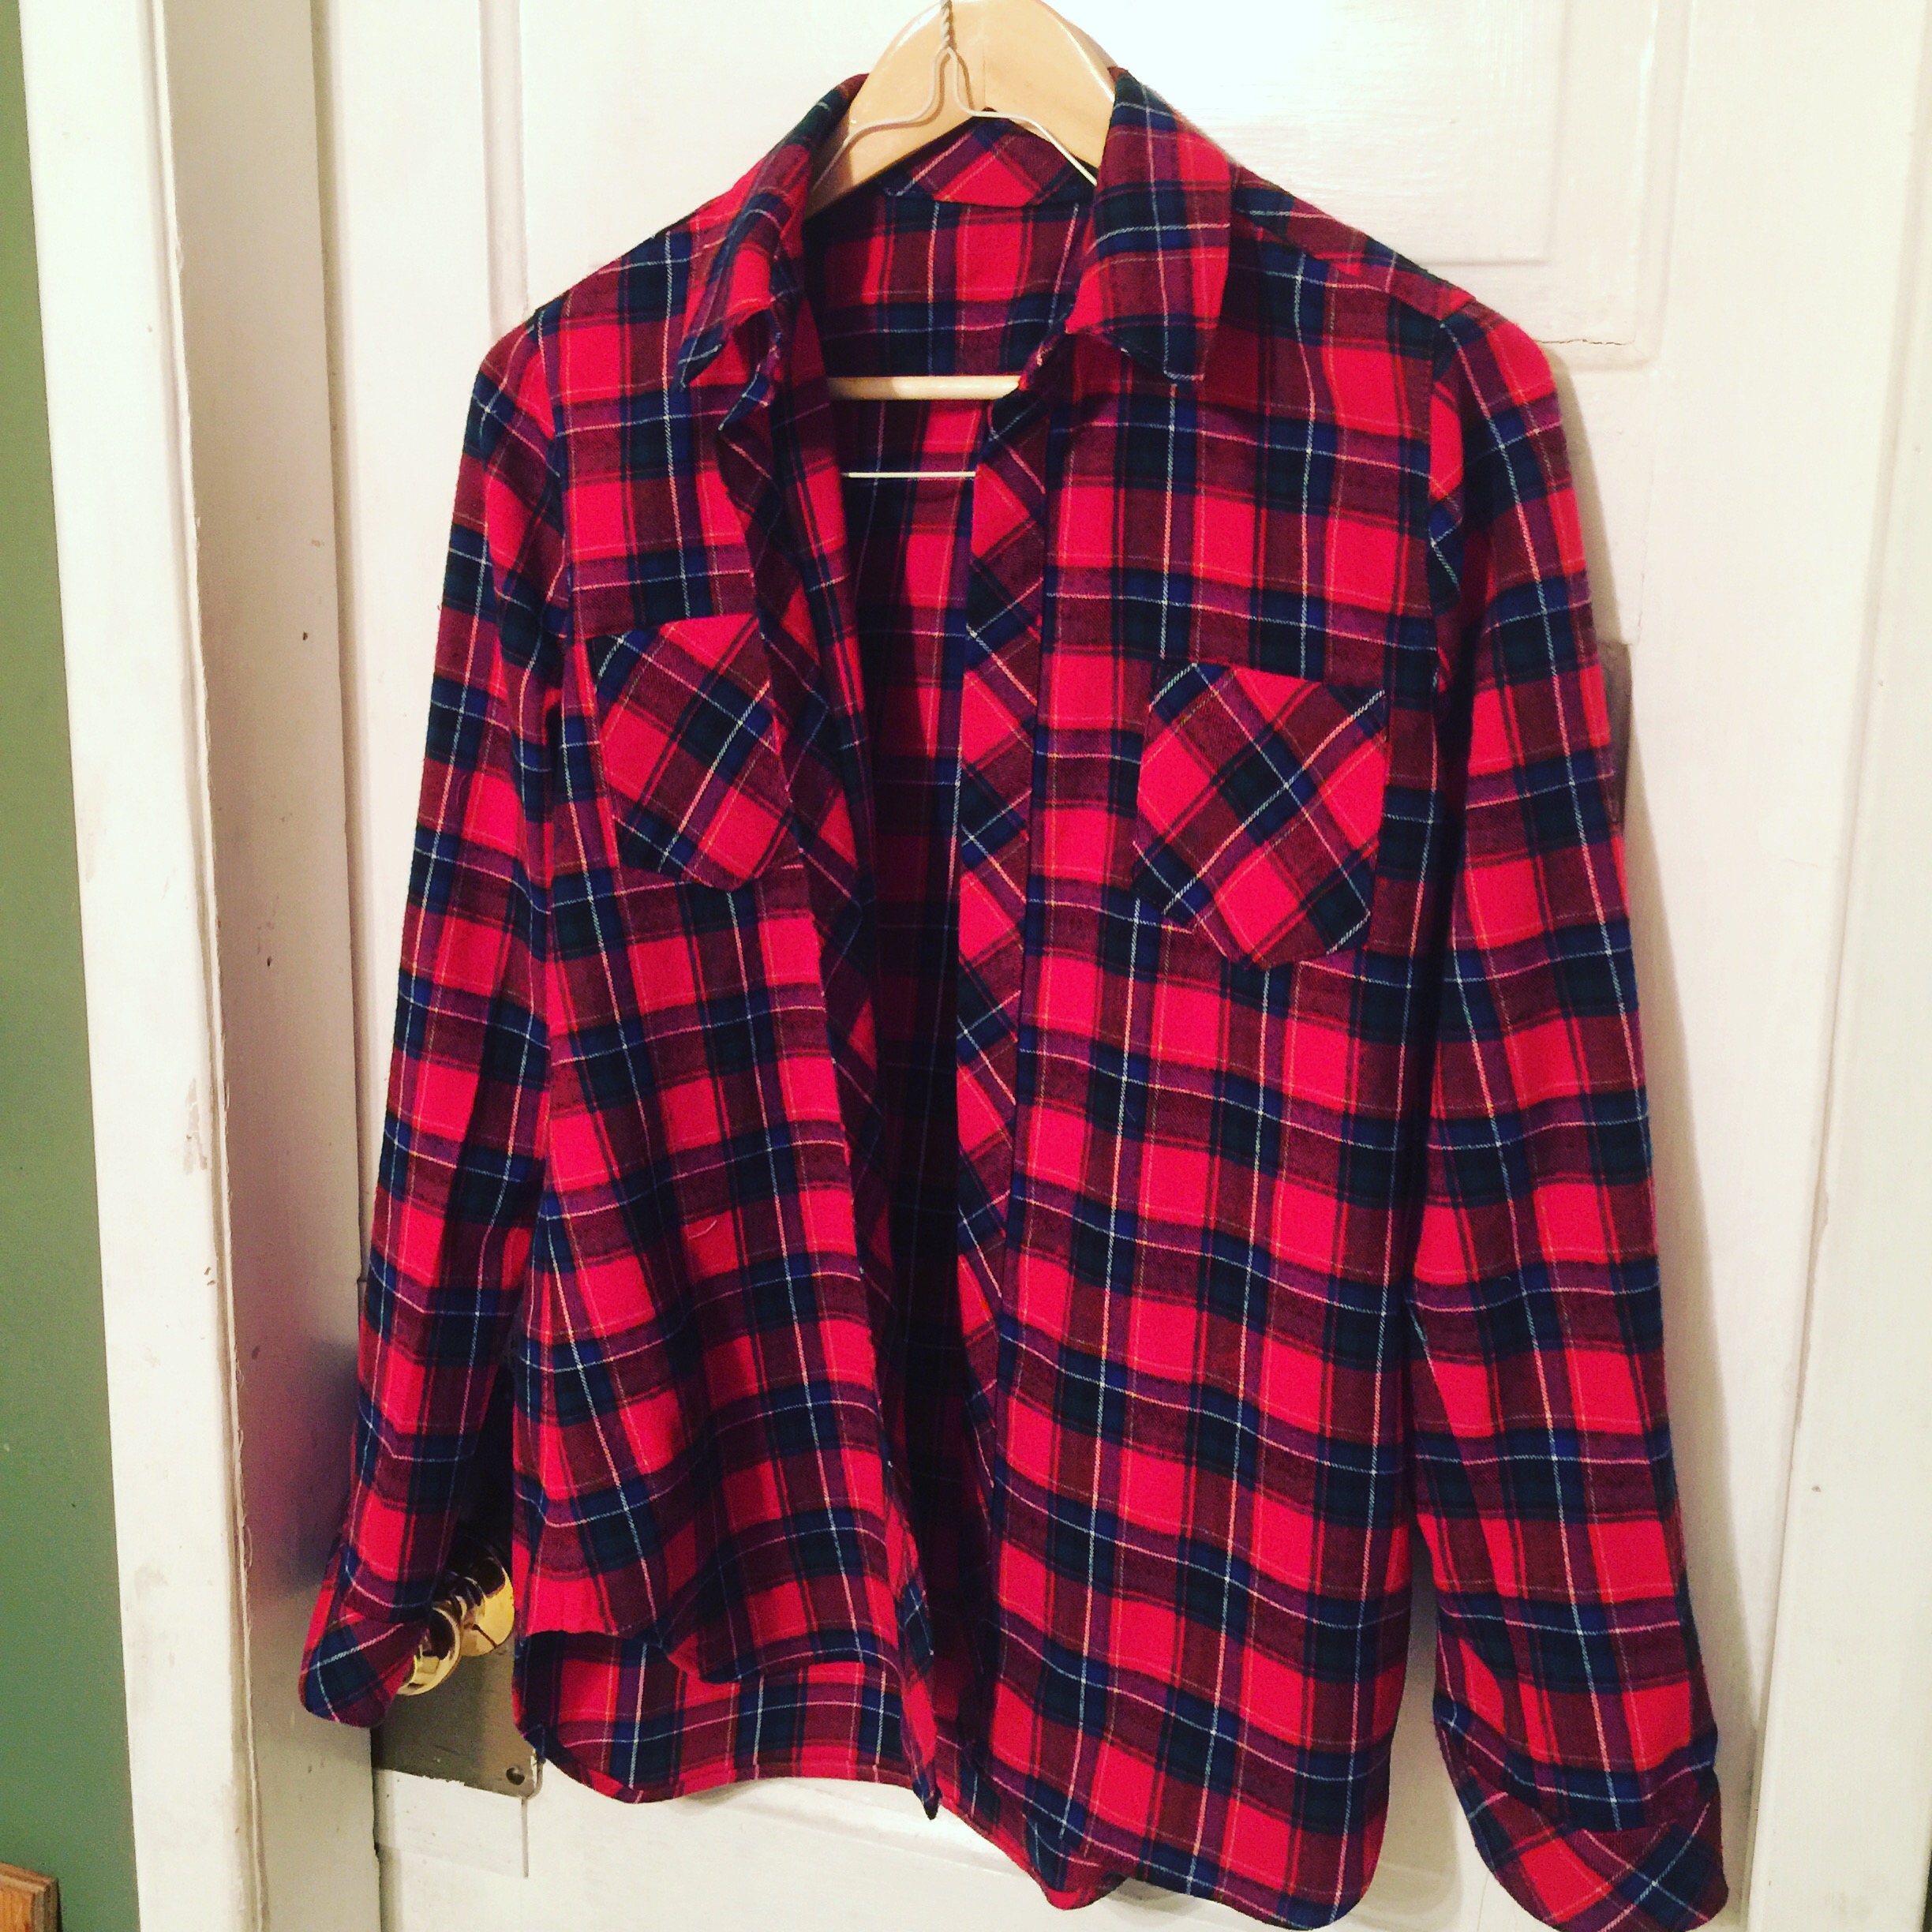
Just needs snaps…
In any case, it’s done and hanging, and when she gets it back Tyo will be a very, very happy teenager.

Fabulous Lumberjack Child


