

The Happy Teenager
Tyo’s been making out like a bandit this year. I mean, really—Syo got some yoga pants she doesn’t like and a quick stretch-knit birthday suit, and Tyo has racked in a pikachu onesie, an Avengers grad dress, and now this. I realize in terms of project numbers they’re similar (and both low… but my sewing time is at an insane premium these days, peeps), but if you look at hours committed… Tyo is way ahead. Obviously I have some parental imbalance to redress. (In my defense, Syo has benefited from at least a couple of other things that never made it on the blog, but still nothing that required more than a couple of hours to knock out on the serger.)
But anyway, the squeaky wheel gets the grease, and Tyo was so very, very squeaky about this project. She was starting high school (which, in our neck of the woods, starts in Gr. 9, or roundabouts age 14), and very nervous, and determined that she had to make the most badass first impression ever. Her father was committed to drive her to school for the first day on the motorcycle. She campaigned for (although she didn’t get) freshly-blue hair. (I like the blue hair just fine—it’s the pain in the ass of getting it applied, followed by the days of blue-getting-everywhere (blue towels. Blue bedsheets. Blue bathroom. Blue clothing.) that drive me nuts.)
But she did get a pair of jeans.
I haven’t made Tyo a pair of jeans in, um, a long time. There were these shorts, over two years ago. The last pair of Jalie jeans was 2011. This was around the time Tyo became a reluctant (but eventually fervent) convert to the Cult of the Skinny Jeans, at which point the lifespan of a pair of jeans on a growing child became numbered in months, rather than seasons or years. Handmade disposable pants? Even with a little sister and littler cousins for hand-me-downs, this was Not Happening—I declared a jeans-for-kids moratorium. Actually, I declared a moratorium on any jeans that cost more than $10… thrift store scores only, it was.
But, lately, that pesky growing thing that children do has slowed down for Tyo, and this was a big occasion, and she had a very specific idea she was very excited about. And, well, she’s been stealing all my shorts for months. So I had her go try on my most recent pair of jeans for myself. And, while she’d probably rather be shot than seen on the internet in floral jeans, the fit was pretty much spot on except for length.
It’s a very weird feeling any time someone else puts on your carefully crafted, custom-fitted handmade clothes and they FIT—it’s even weirder, IMO, when it’s your daughter. At least I’m still taller than her, unless she gets a grade-9 growth spurt, anyway.
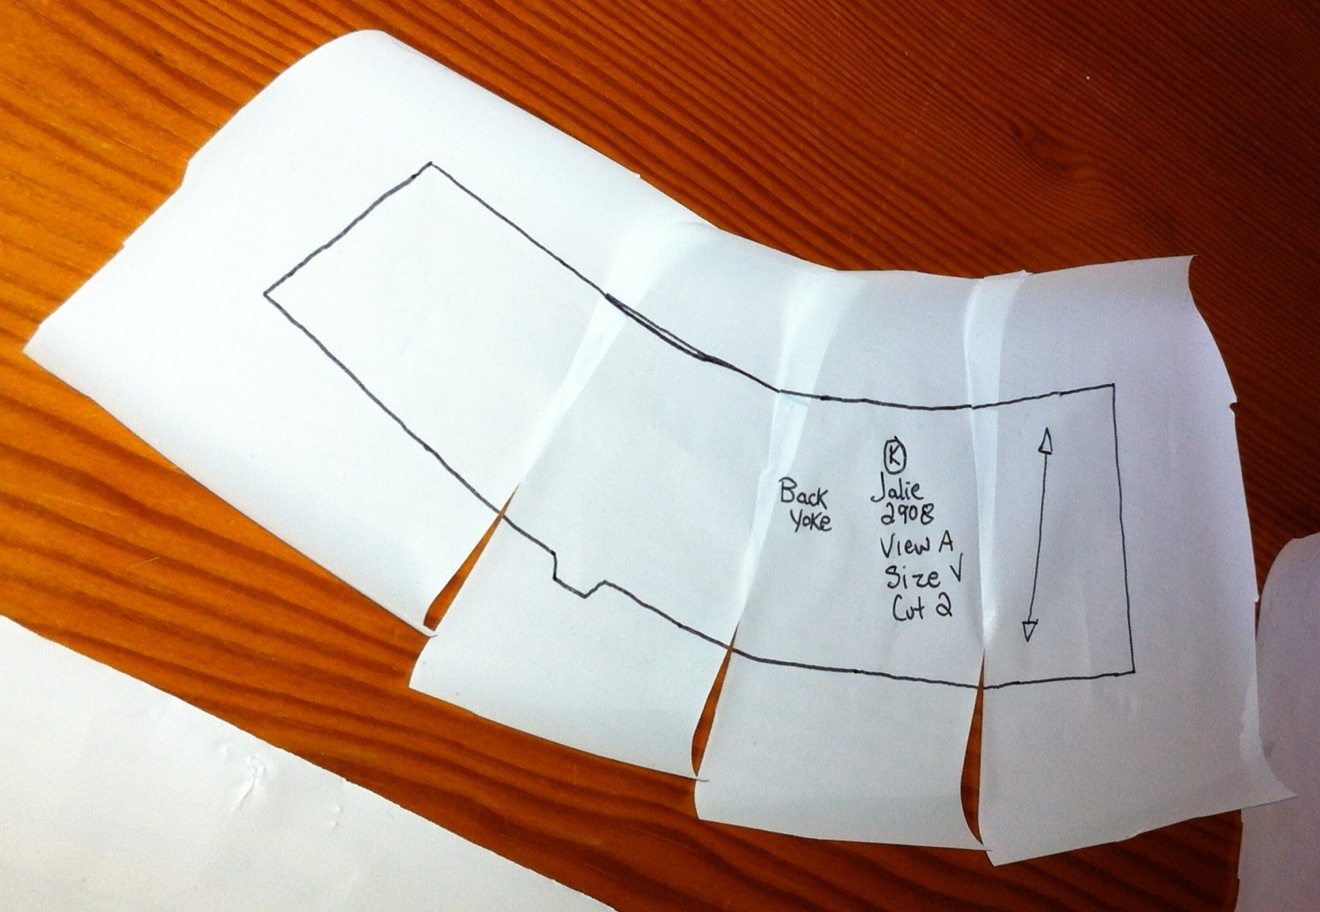
So the good news was, I didn’t need to trace another copy of my pattern—just take a few inches out of the length. And Tyo wanted her vision completed badly enough she was even willing to help cut the fabric.

The cutter. (In my floral jeans, although you can’t actually assess the fit in this picture)
Which is not a thing that happens, ever. So yeah.
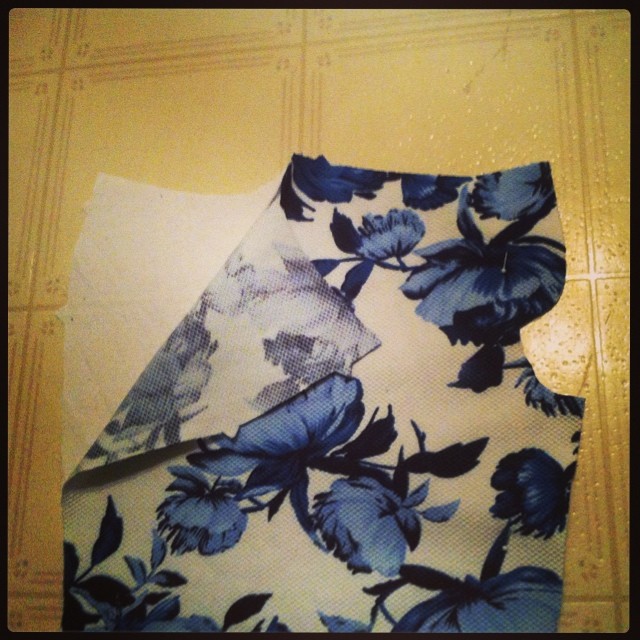
As for the Vision behind the Pants? Well, we don’t have Hot Topic in Canada (at least, not in my backwater corner of things), but Tyo has a dear friend whose parents are, um, a little more well-heeled than we (mind you that does describe a fairly large chunk of the Canadian population) and tend to take their children on cross-border shopping trips of fairly epic proportions (Fellow Canadians should note we are not part of the 80% of Canada’s population that lives within a two-hour drive of the US border. Such trips require hours of driving and hotel stays). And said dear friend had a pair of Hot Topic jeans that were one colour on one side, and another colour on the other side. So we scoured the stash for the best black denim, and then went through all the purples (how on earth did I end up with four different lenghs of purple denim? I may have a Problem.) to find one which best matched, which turned out to be this totally-intense primary (OK, secondary) purple. That I couldn’t photograph in true colour to save my life, but anyway. It’s a very bright, clear purple.
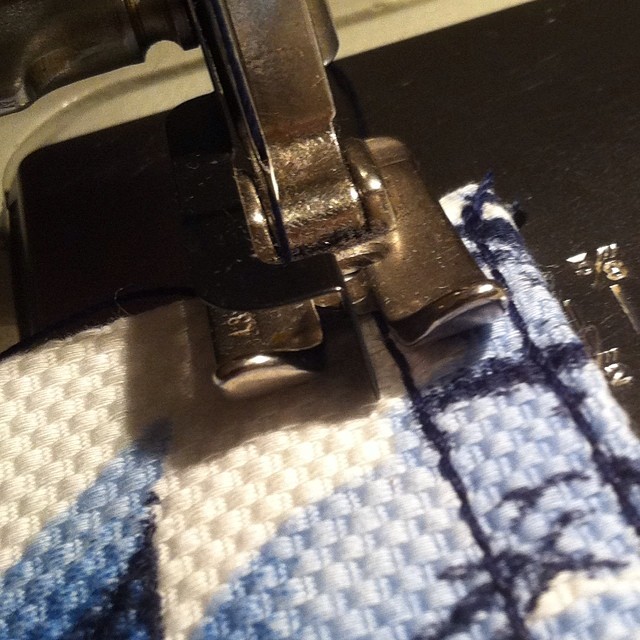
One good thing about cutting jeans this way—you pretty much have to cut in a single layer, which is a good idea anyway if you want jeans that hang straight, but I am lazy and always talk myself into cutting folded. Sometimes I get away with it, sometimes I get really annoying twisty seams.
Other than that, I don’t have much to say about the actual construction, except that I did modify things for a stitched-on fly extension, which I think I prefer to the cut-on one all my other jeans have had to date (storebought jeans always have one that is stitched on—I think the seam gives needed reinforcement to the fly edge, especially in stretchy jeans). It’s obviously not a make-or-break detail, and I’m still not terribly comfortable with how you do a fly this way, since it’s a bit different and I did end up having to do some unpicking… but it’s a thing to work on, anyway.

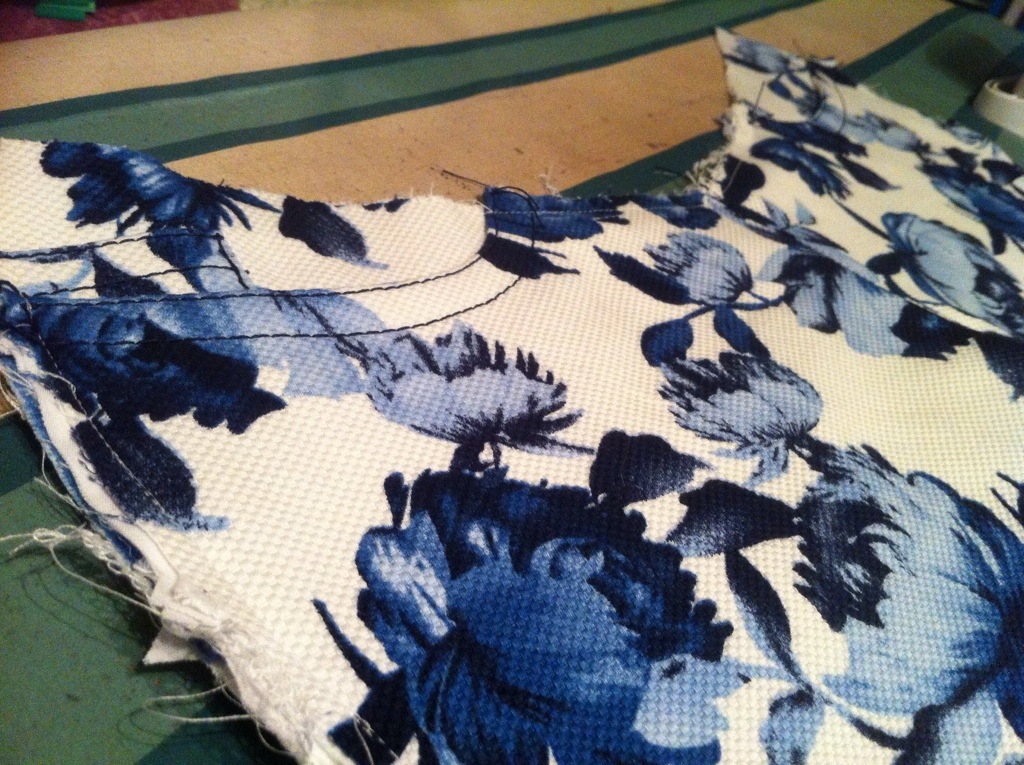
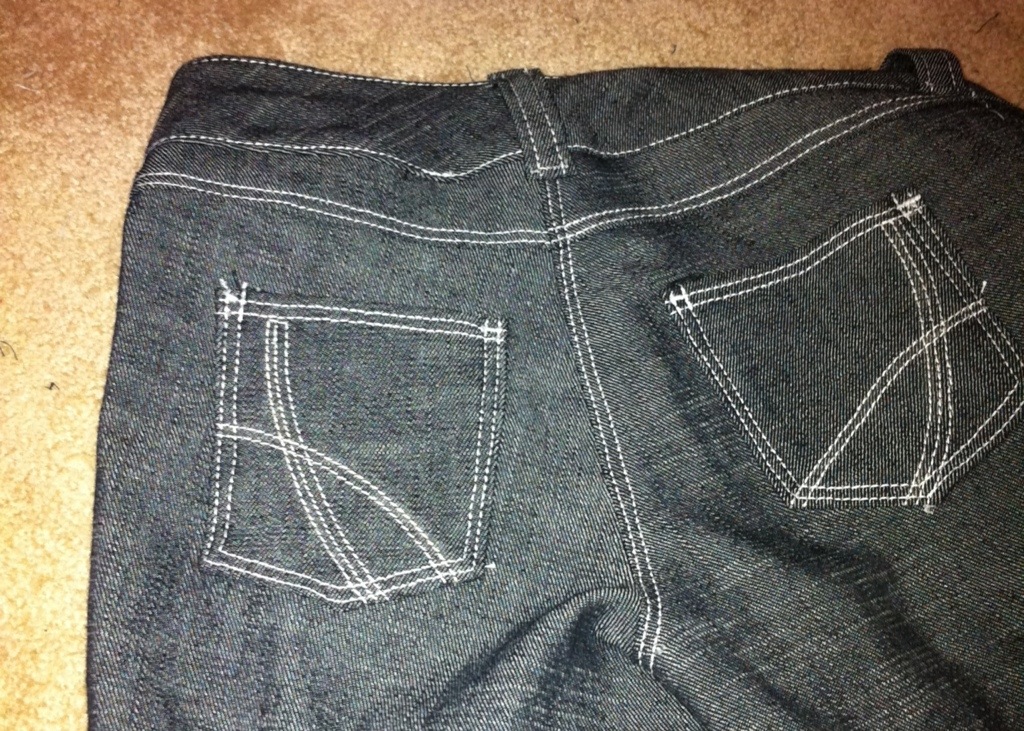
Back Pockets
Tyo specified that the main construction should keep colour to its appropriate side—probably a good thing. Left to myself I would probably have colourblocked everything, and it would have ended up looking really busy. As it is, I couldn’t resist swapping the back pockets and the belt-loops, and I’m not sure if it adds to the overall look or takes away. Minimalism might have been a better idea. Oh, well. I do like the doubled belt-loops at the sides as well as the back.

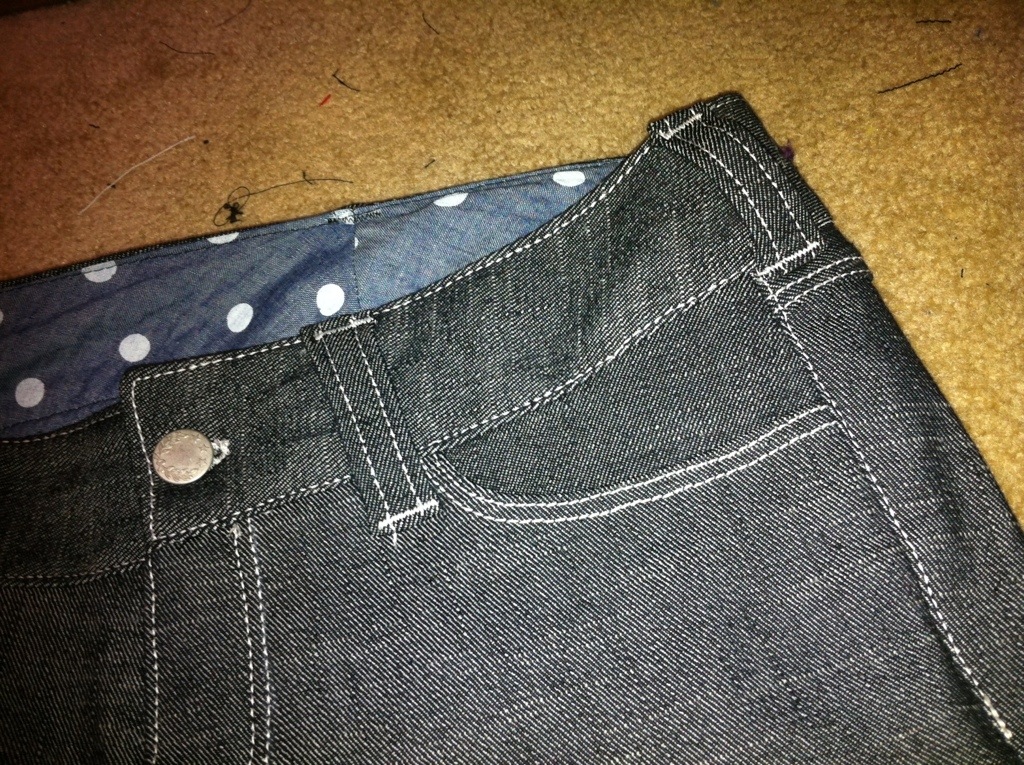
Two buttons
I finally remembered, after regretting it my last couple of projects, that my currently-favourite-waistband pattern piece is a bit wide, and the jeans buttons I can get a hold of here are a bit small, so a single button results in a rather insecure attachment that lets the waistband roll over in weird ways. Two buttons, however, is perfect. (I also made Tyo try them on while I marked the button location, so I don’t THINK I need to move them over, which I still have to do with my flower jeans, because the position that looks like it’s lined up nicely when the jeans are laying flat is actually too “loose” when the jeans are on a body and the waistband is under tension—leading to chronically-low-flying flies.
One final detail, which you probably noticed in the earlier pictures, was inspired by some jeans a character in one of our favourite family TV shows, Lost Girl, wears. I can’t find any good shots, but I screen-capped this one:

Kenzi’s laced-up jeans
The Kenzi character wears at least a couple pairs in this style, with the sneaky inner-thigh lacing, which I knew Tyo loves as much as I do. And, Fabricland recently started carrying some fairly sturdy grommet-tape (where was this stuff two years ago when I was looking for it for the steampunk Hallowe’en costumes?!?)

Lacing!
So I added some. It was ridiculously simple to do, although its obviously a bit of a different look than the inspiration. Still, a fun, unique detail, and definitely one no one else has.
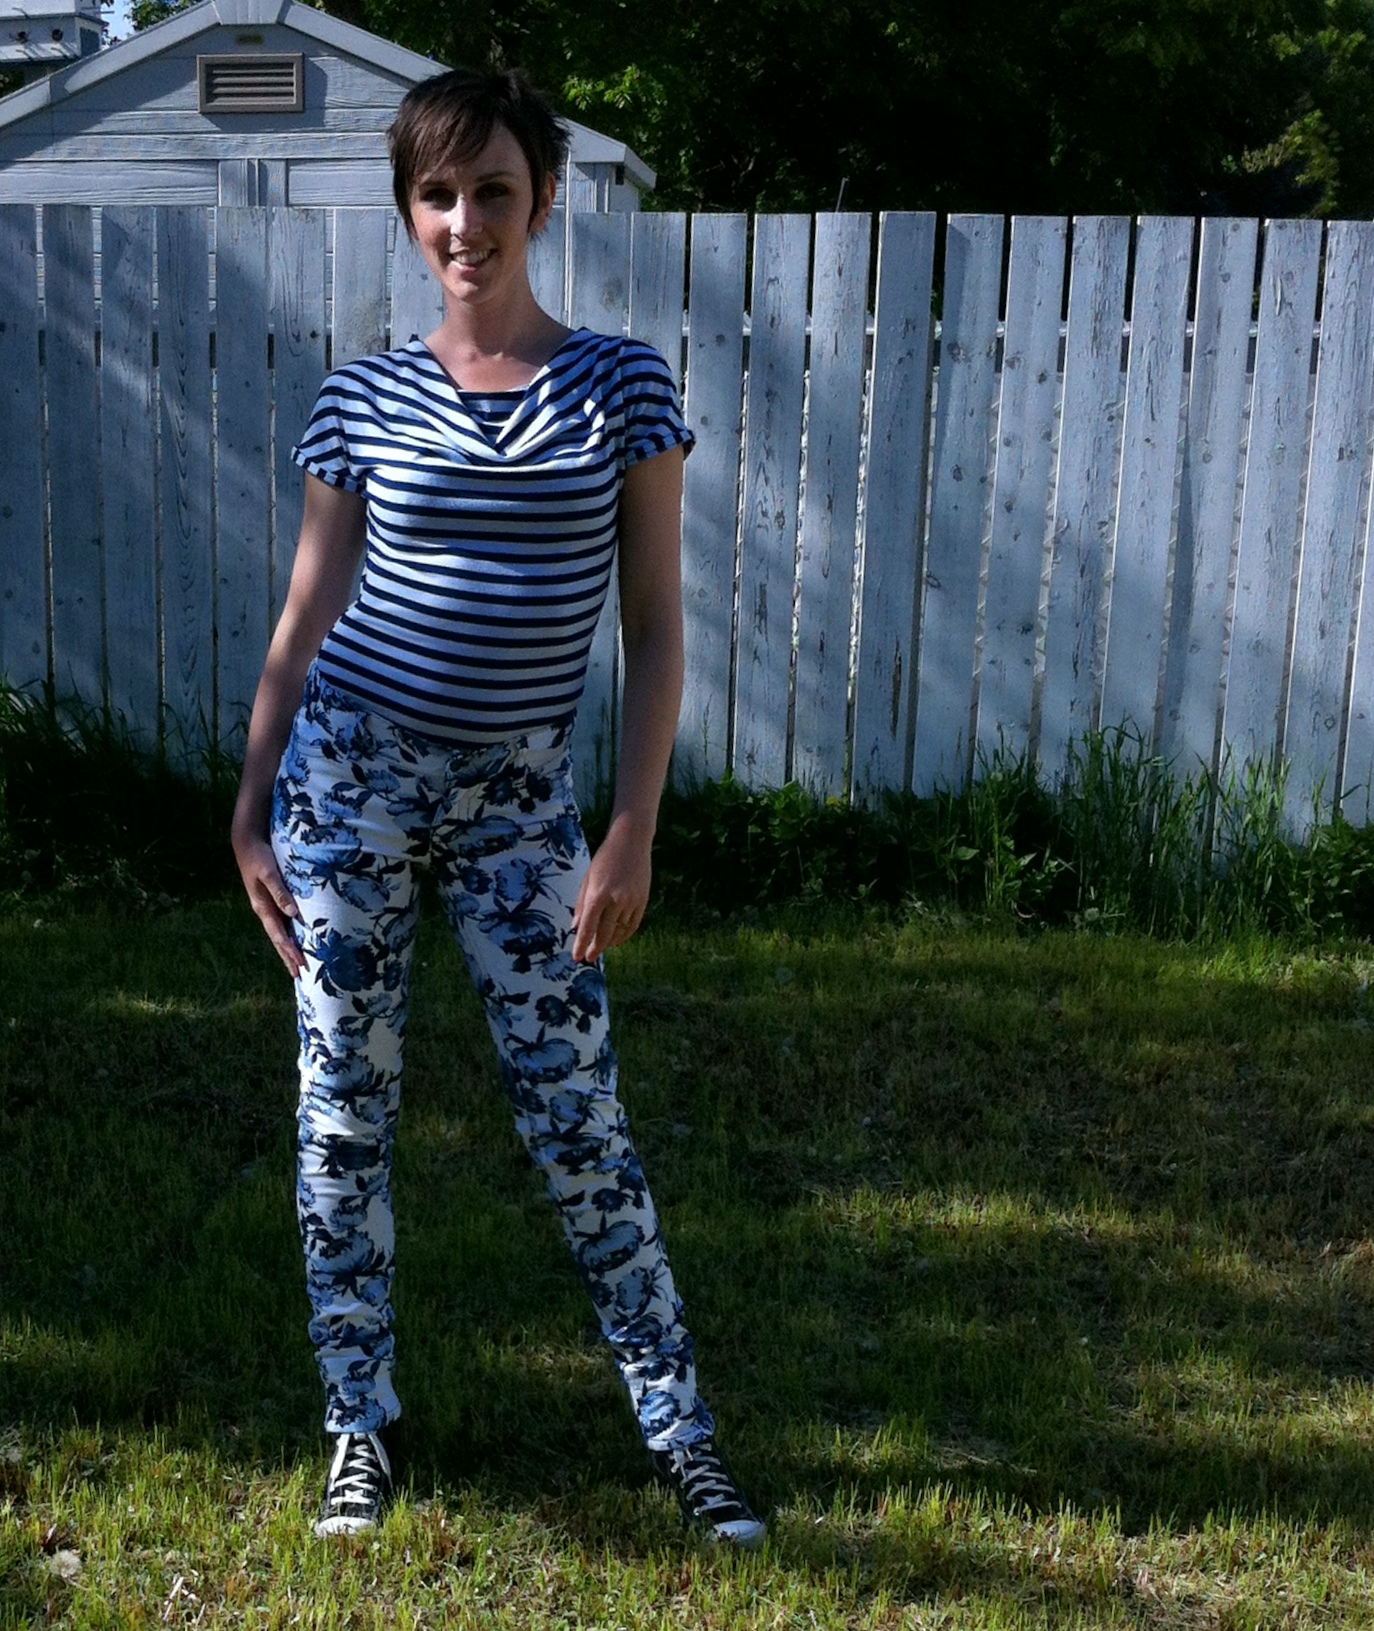
We took a bout a bazillion photos of Tyo in the jeans, but it was the end of the day and we were rushed so there was a lot of blur and not a lot that did the jeans justice.
I’ll still subject you to them anyway.

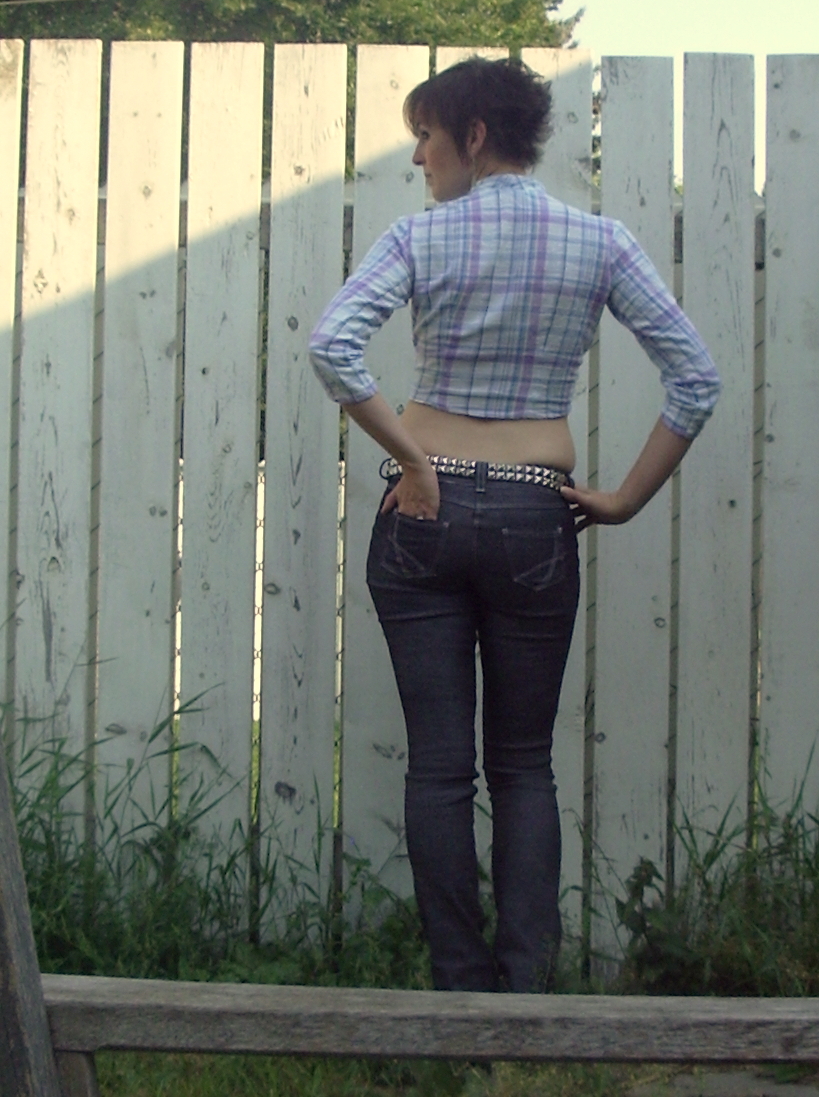
Back view, with pockets and blur.
I should note one more thing: these are not true “skinnies.” They were made according to my personal favourite leg-style, which I would call a stovepipe—tapered and form-fitting to the knee, absolutely straight below it, which creates jeans that are snug through the calf but not actually skinny in the ankle. I asked Tyo if she wanted them skinnified, but she said she likes this shape, and it doesn’t seem to have decreased the cool factor (although it has its drawbacks when we get to stuffing-pants-into-winter-boots weather).

Great pose, plenty of blur.

‘Tude.
I did try them on, but lucky for Tyo, they’re just a little bit too short. 😛
Obviously this first-day-of-school project is a bit out of date at this point >_<—I’m currently working on a Hallowe’en costume for the Stylish sister-in-law, and hating it mostly because it’s not for MEEEEEE, and dying to work more on ridiculous historical clothing projects that I have no actual need for. Not that I have a need for much clothing, at the moment, other than perhaps warm fuzzy things to get me through the impending winter. Hopefully I’ll manage to blog some of that in a more reasonable time-span… hah.
In the meantime, I’ll just be happy that my kid still thinks the things I make are “cool”.
At least sometimes. 😉


")


