I really wanted to make a corset for Hallowe’en.
Of course, I was a wee bit occupied making the most psychotically intricate costumes for the twins, so…
I did not finish in time.
But, it is finished now.
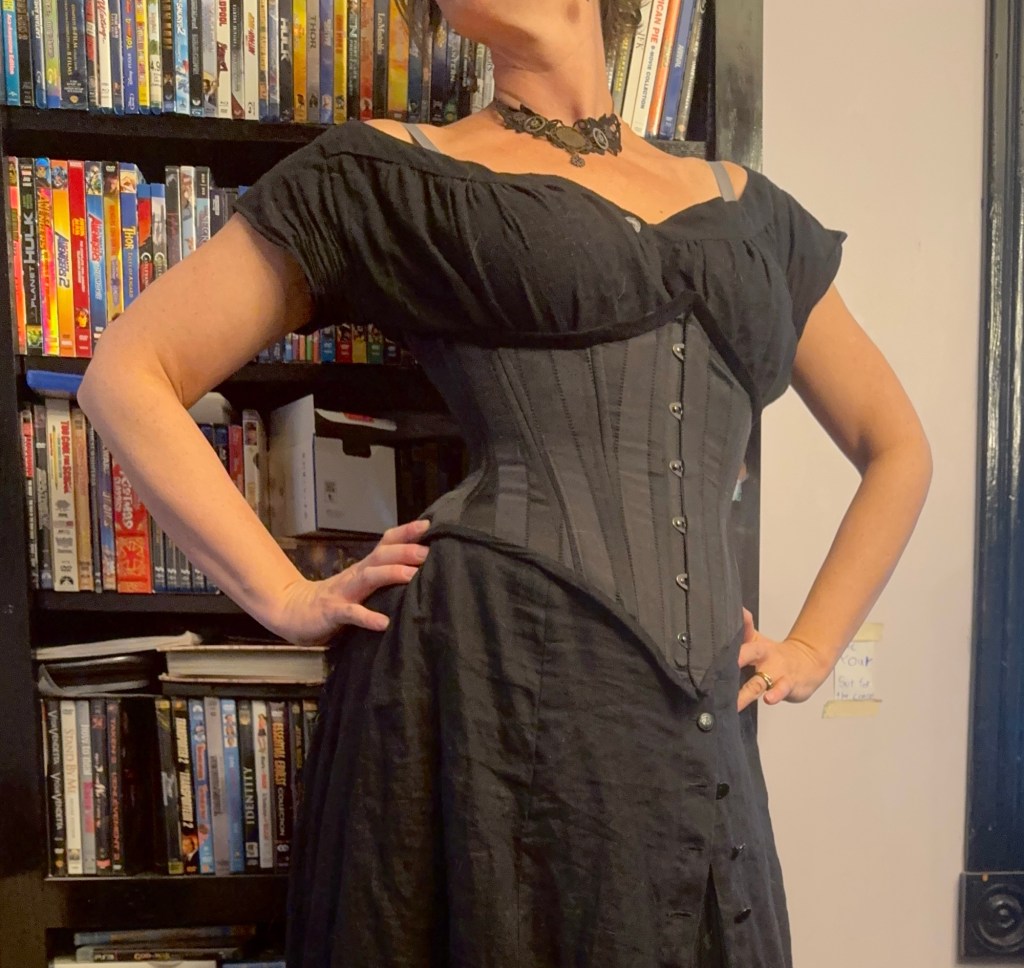
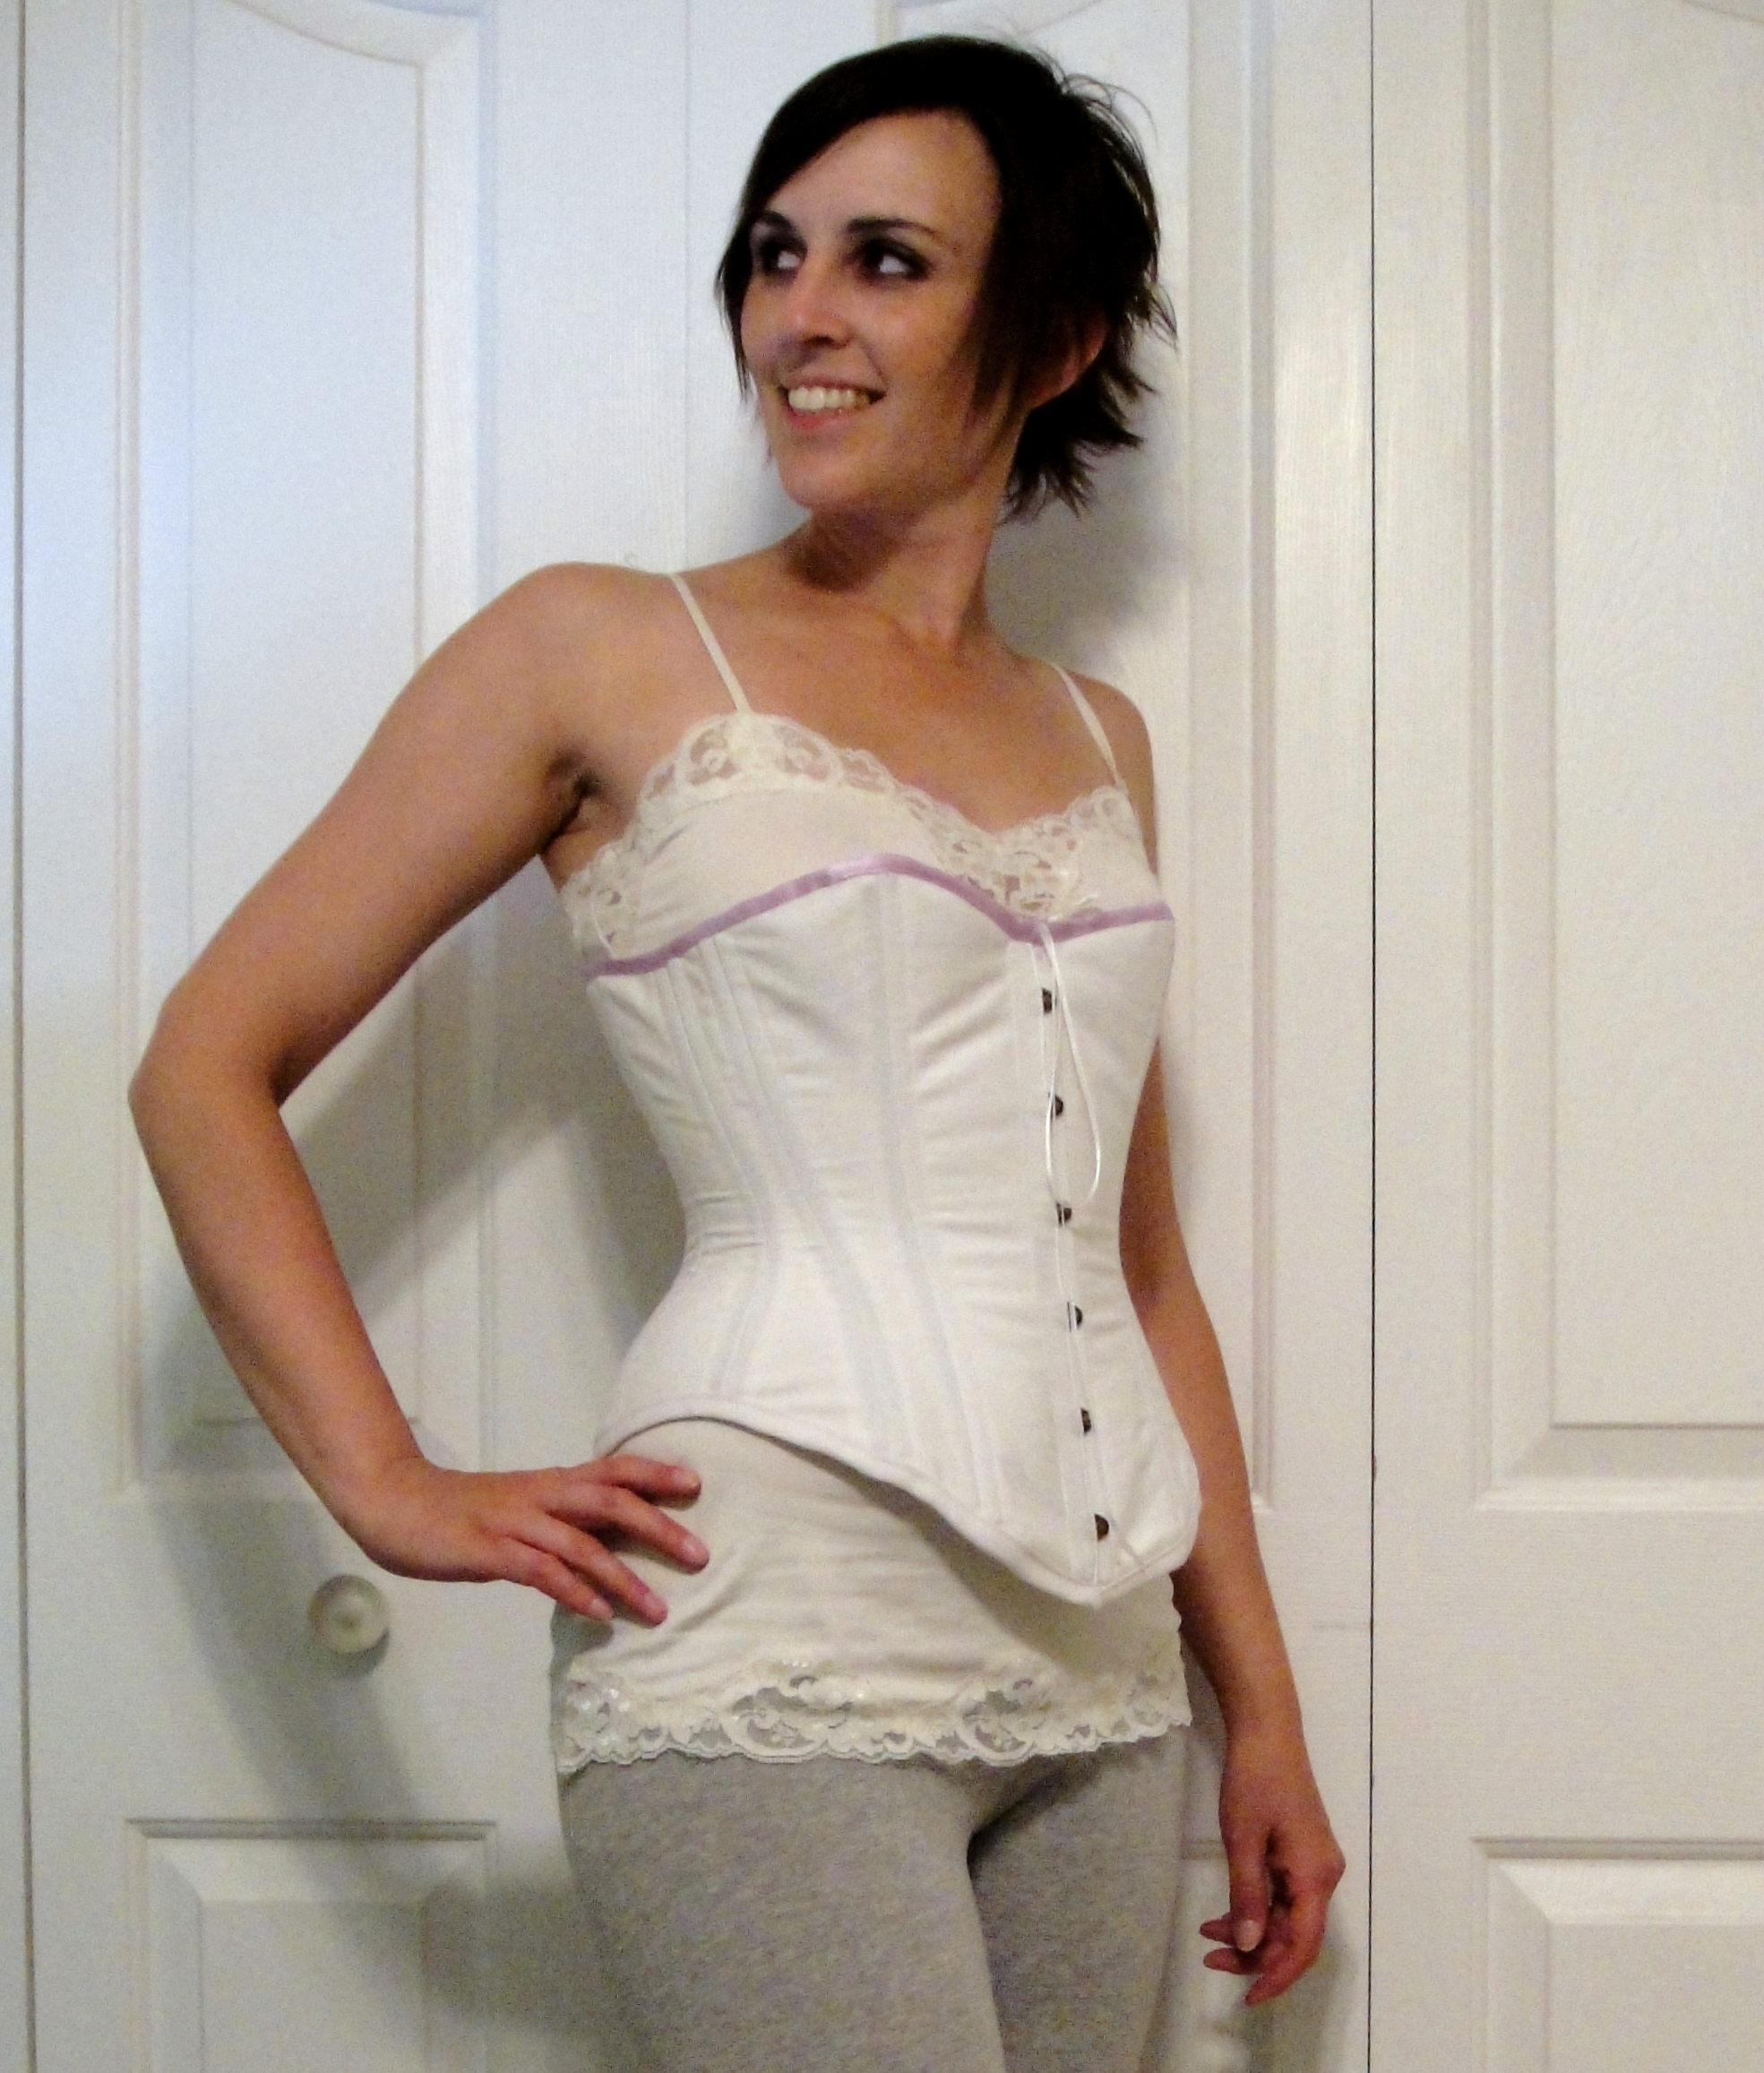
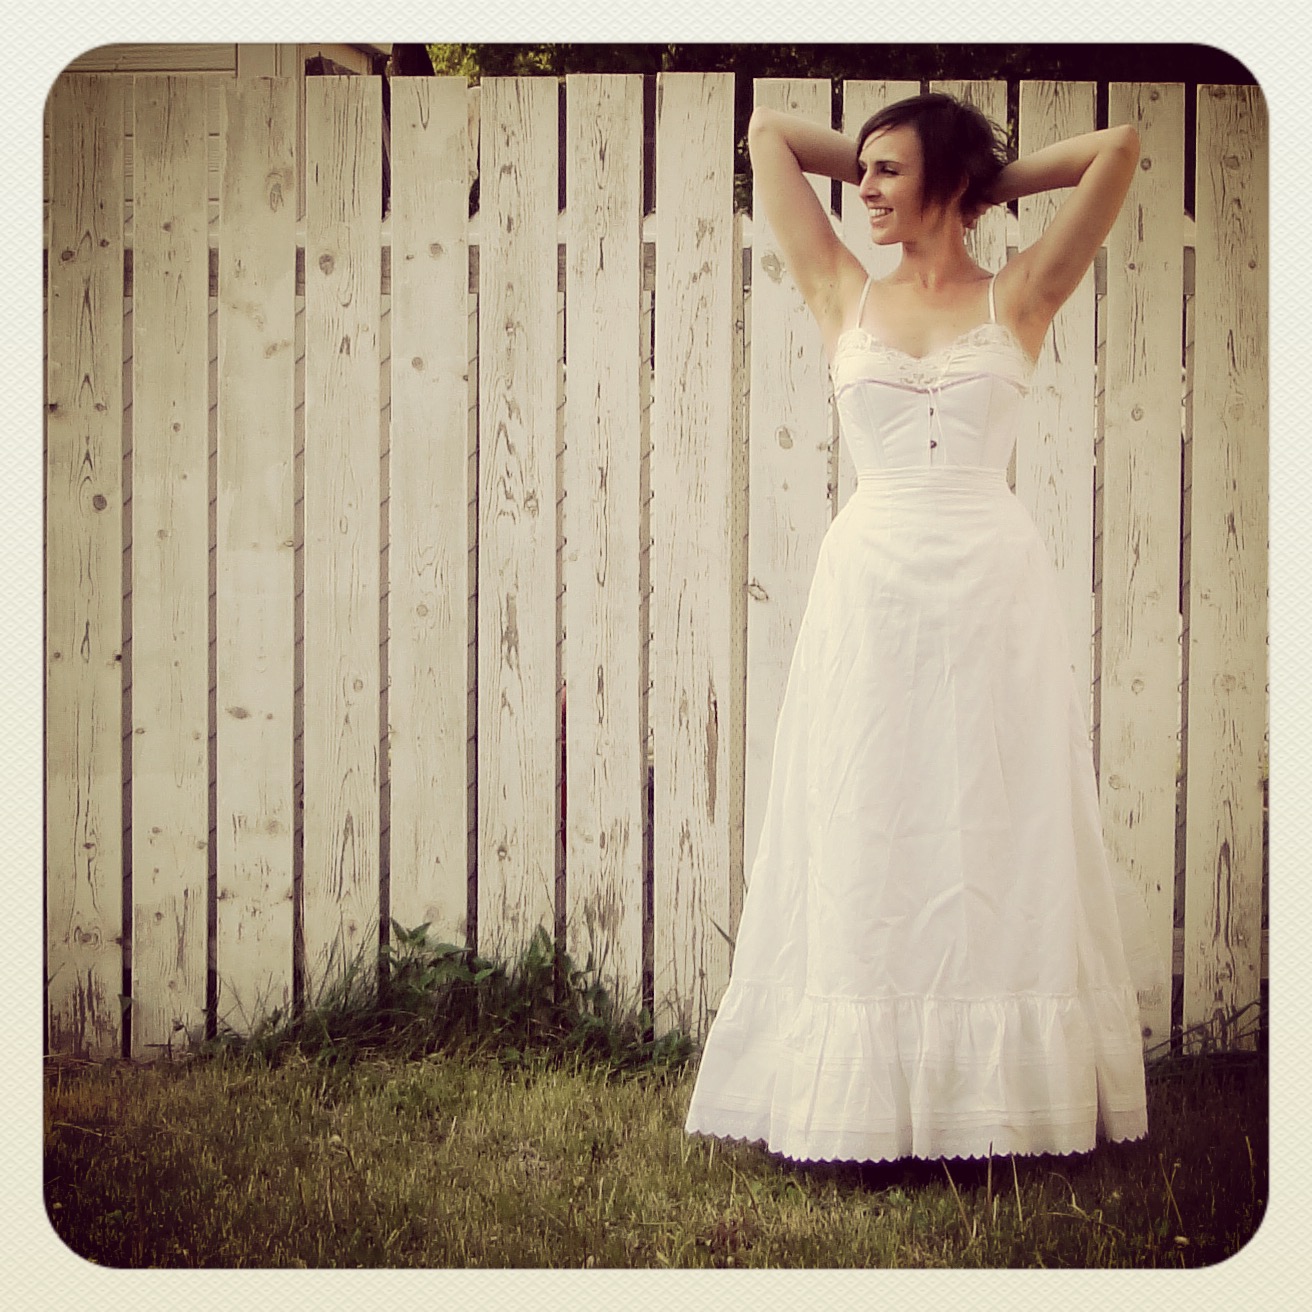
There were a few things that prompted this. One is that I’ve wanted a black underbust corset for, basically, ever. Well, technically I have one. Two, even, if you count this little Swiss waist, which is perhaps more of a boned belt. And I do wear the first one quite a bit, but a) it’s very sequiny and 2) it really, really doesn’t have enough hip spring (and never did).
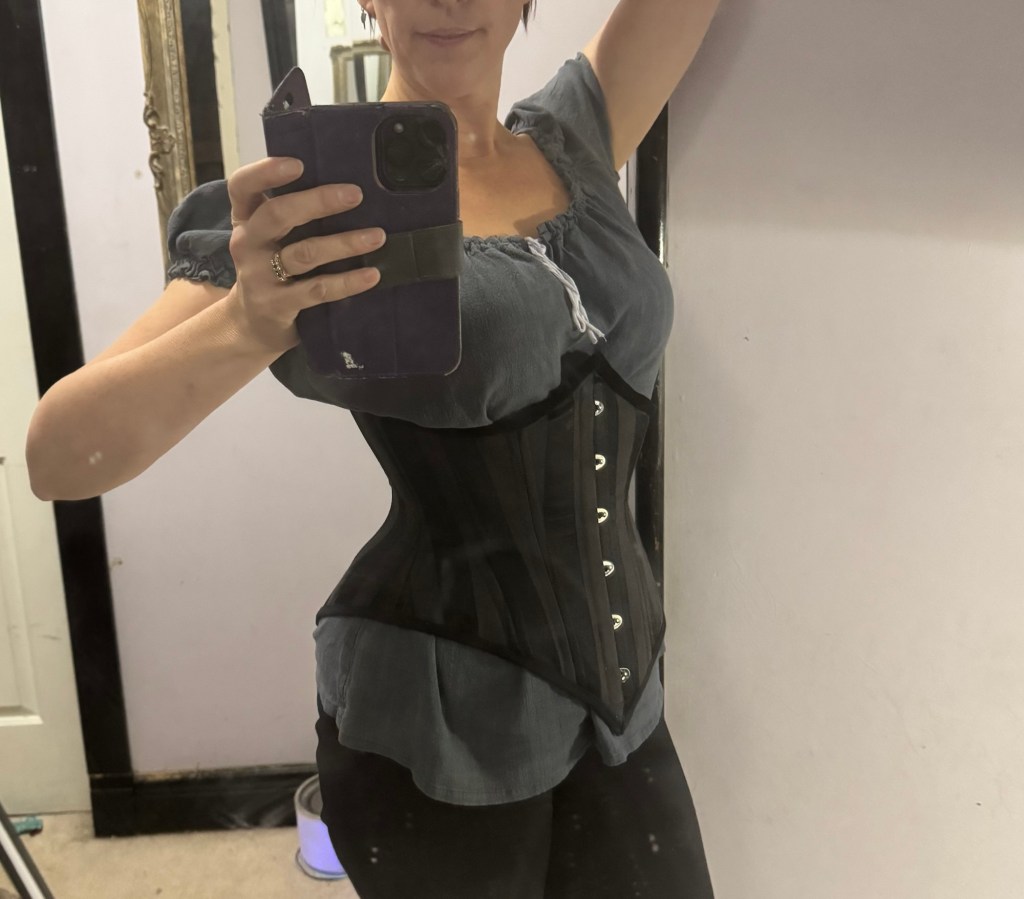
And I had had a corset in mind for this stripey upholstery brocade ever since I snagged a remnant of it back when I worked at Fabricland.
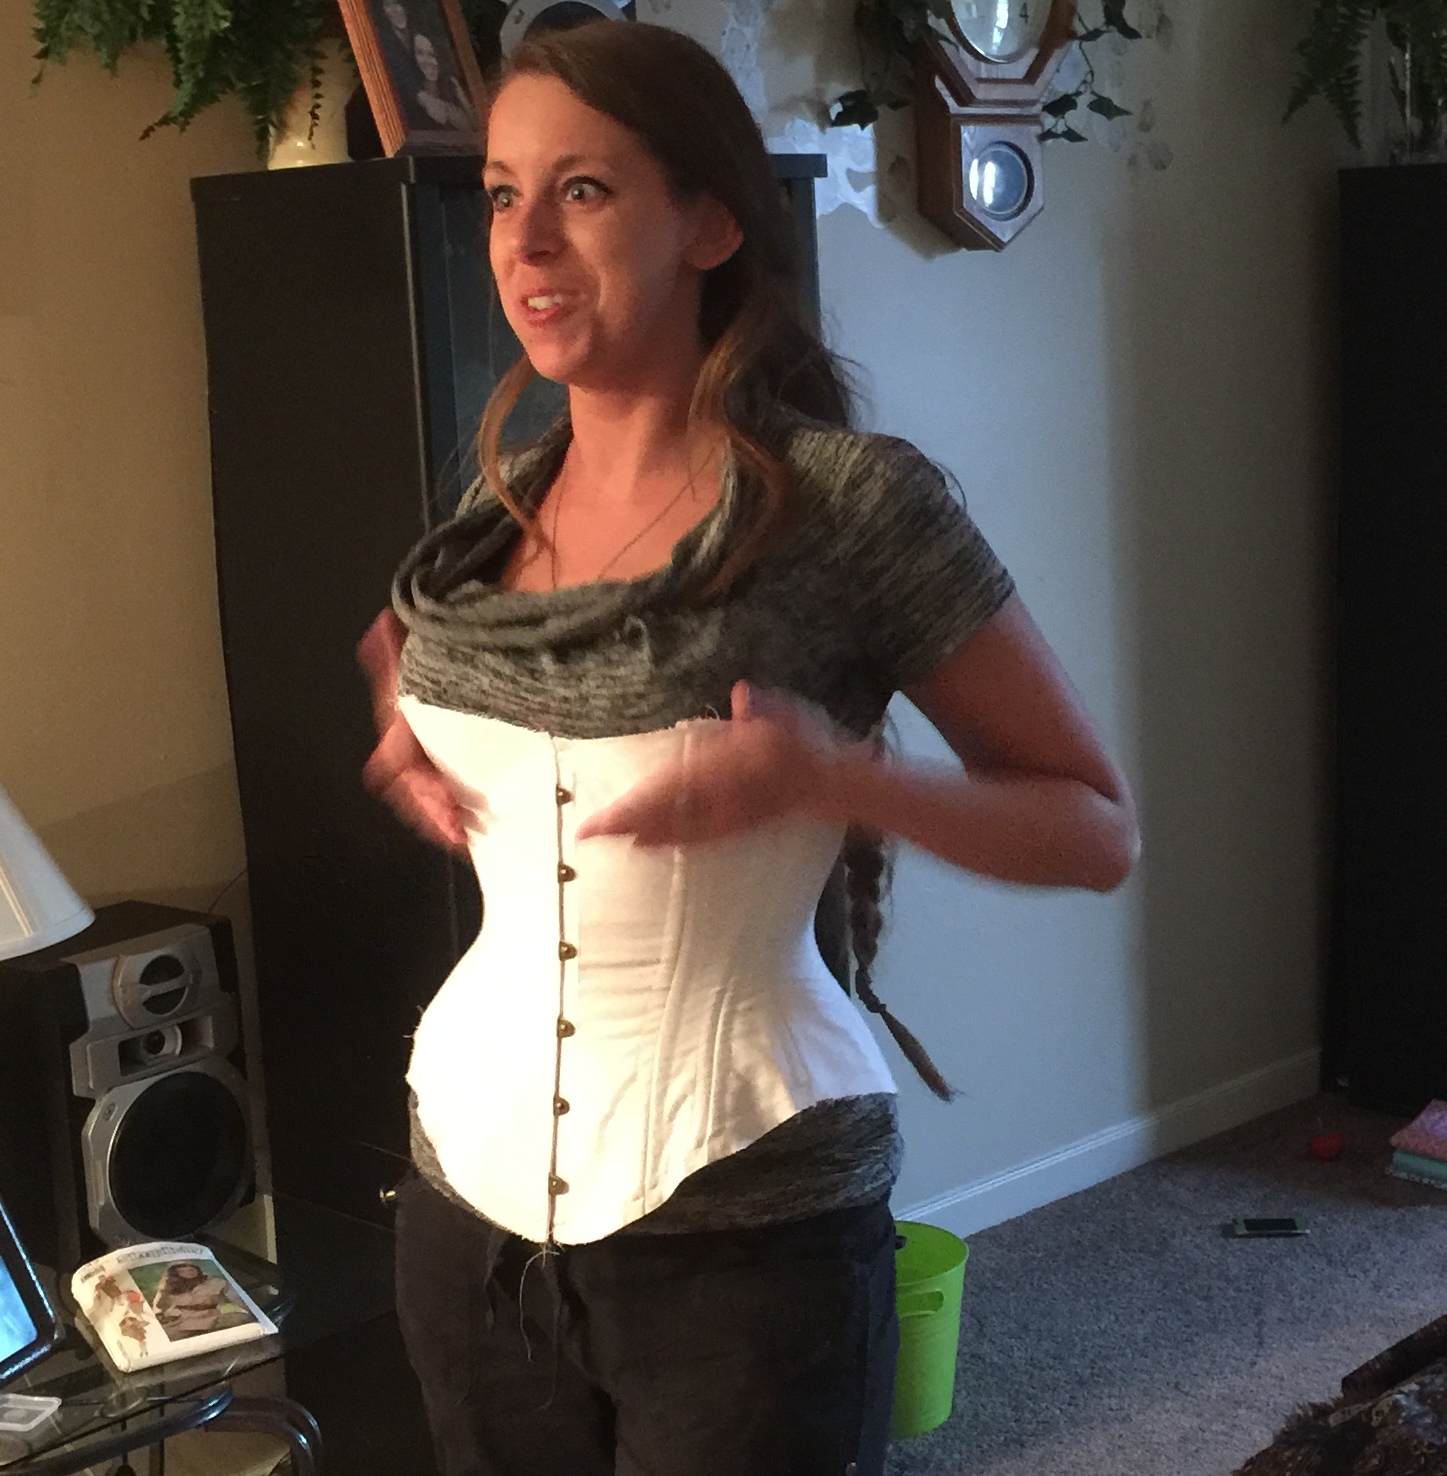
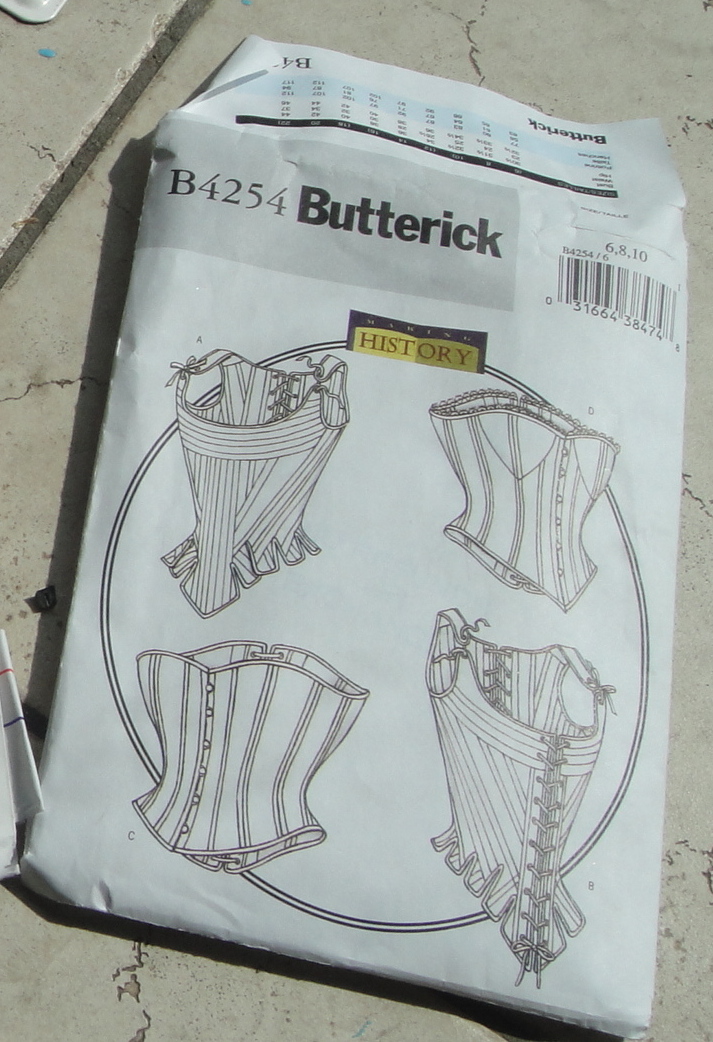
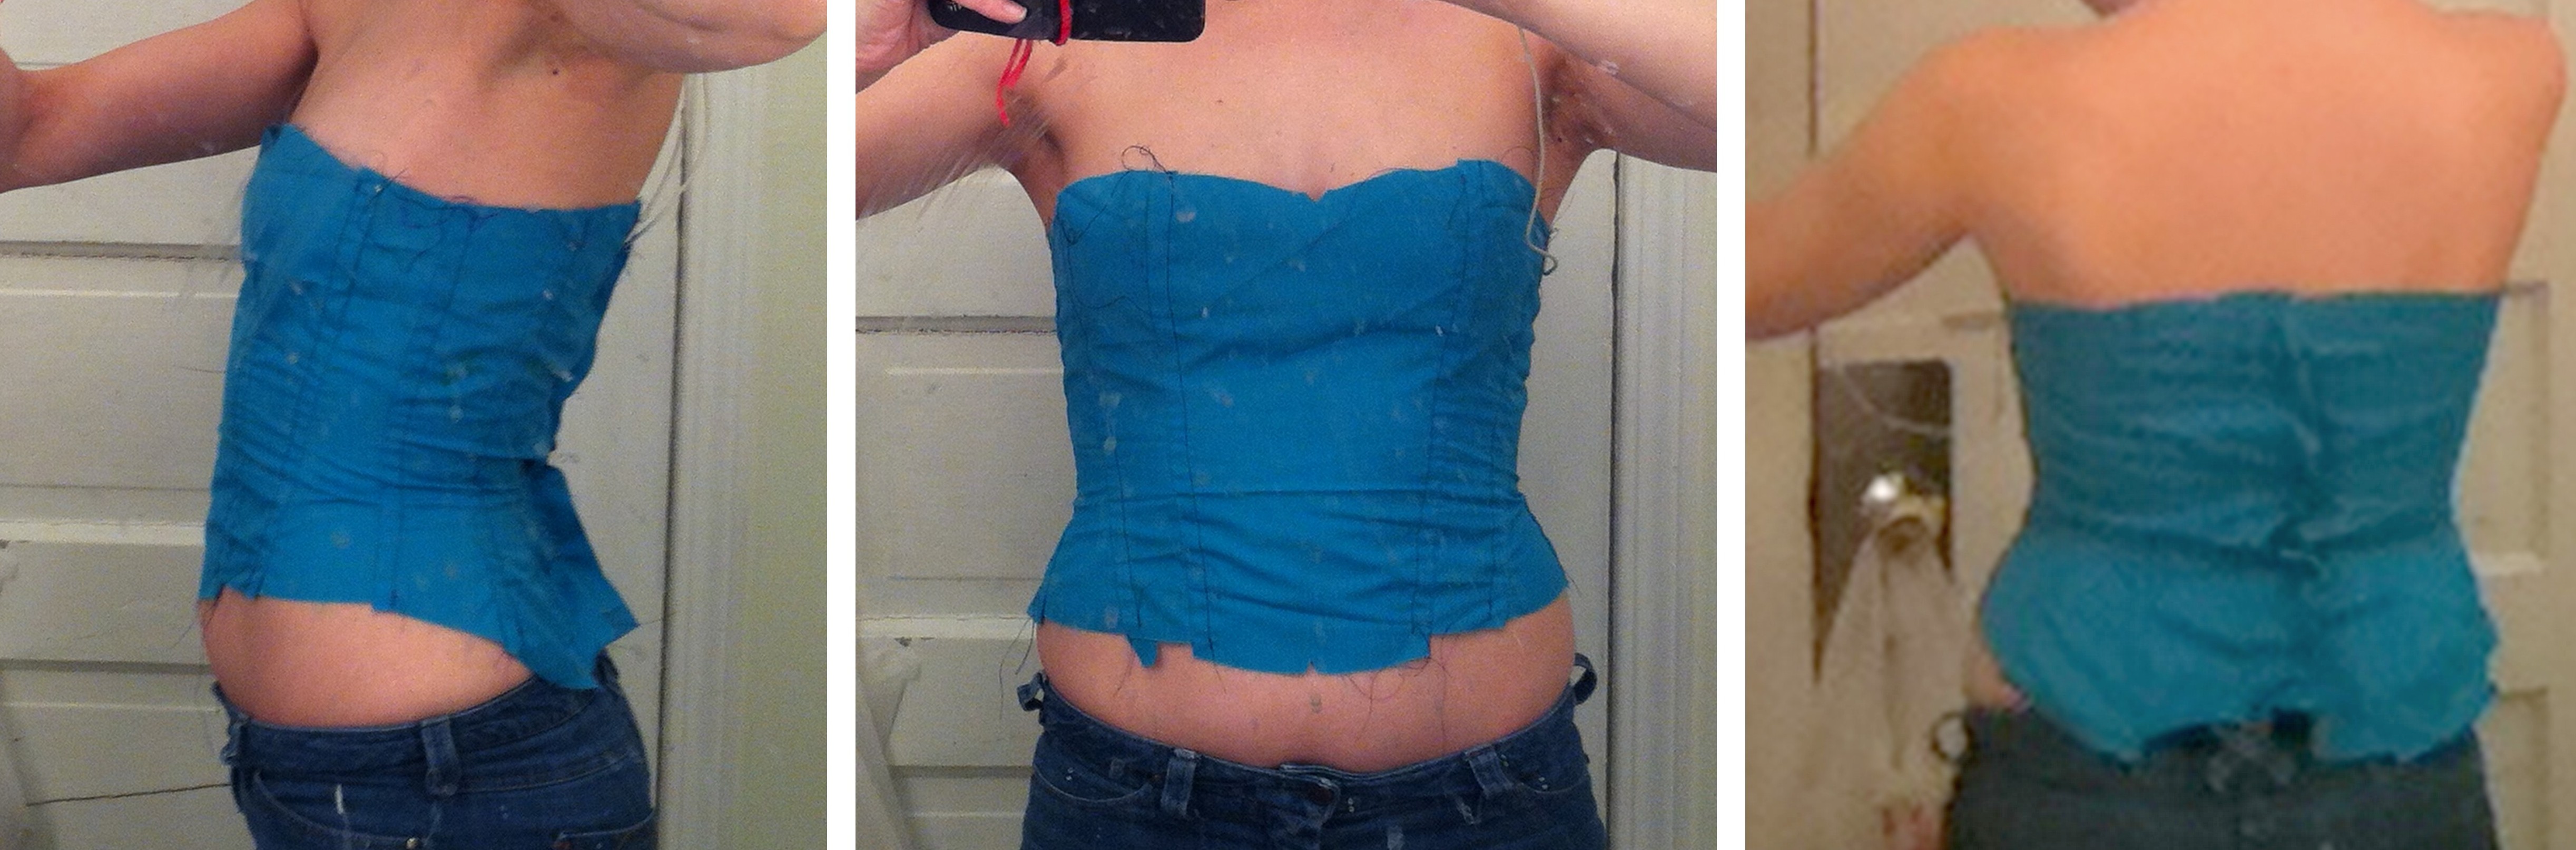
So this is basically an adaptation of my white underbust corset from not-quite-two-years-ago. Except that that one is currently a wee bit big on me, (fluctuating bodies are very annoying, by the way) so I shaved down the pattern by about 1/4” per piece.
Then panicked that that was a bit too much and sewed with slightly skimpy seam allowances. But it seems to have worked out all right as I have a comfy 3”-ish lacing gap fairly evenly down the back. So I should be ok if it stretches a bit, or if I get bigger again this winter.
I have finally gotten the hip shaping on this pattern just about perfect, I think, for my body at least. I had to tweak one side a tiny bit but I think that had more to do with imprecise sewing. I find I have more luck with corset fitting trying on the final version partly boned than I ever do fitting mockups.
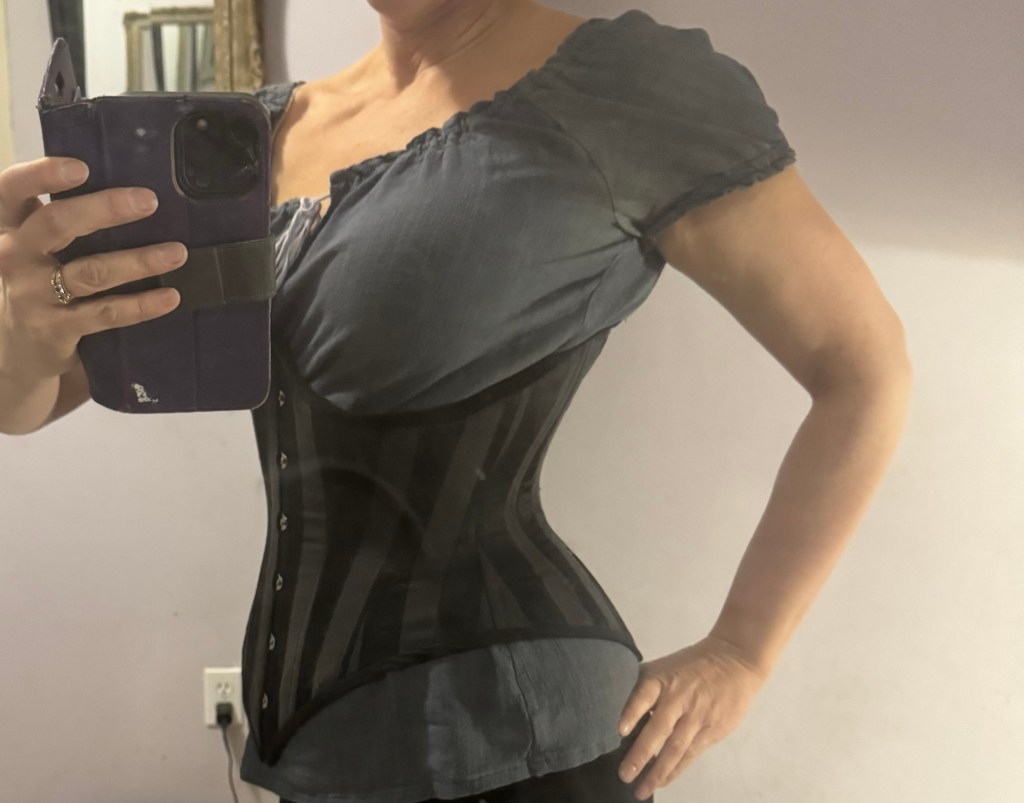
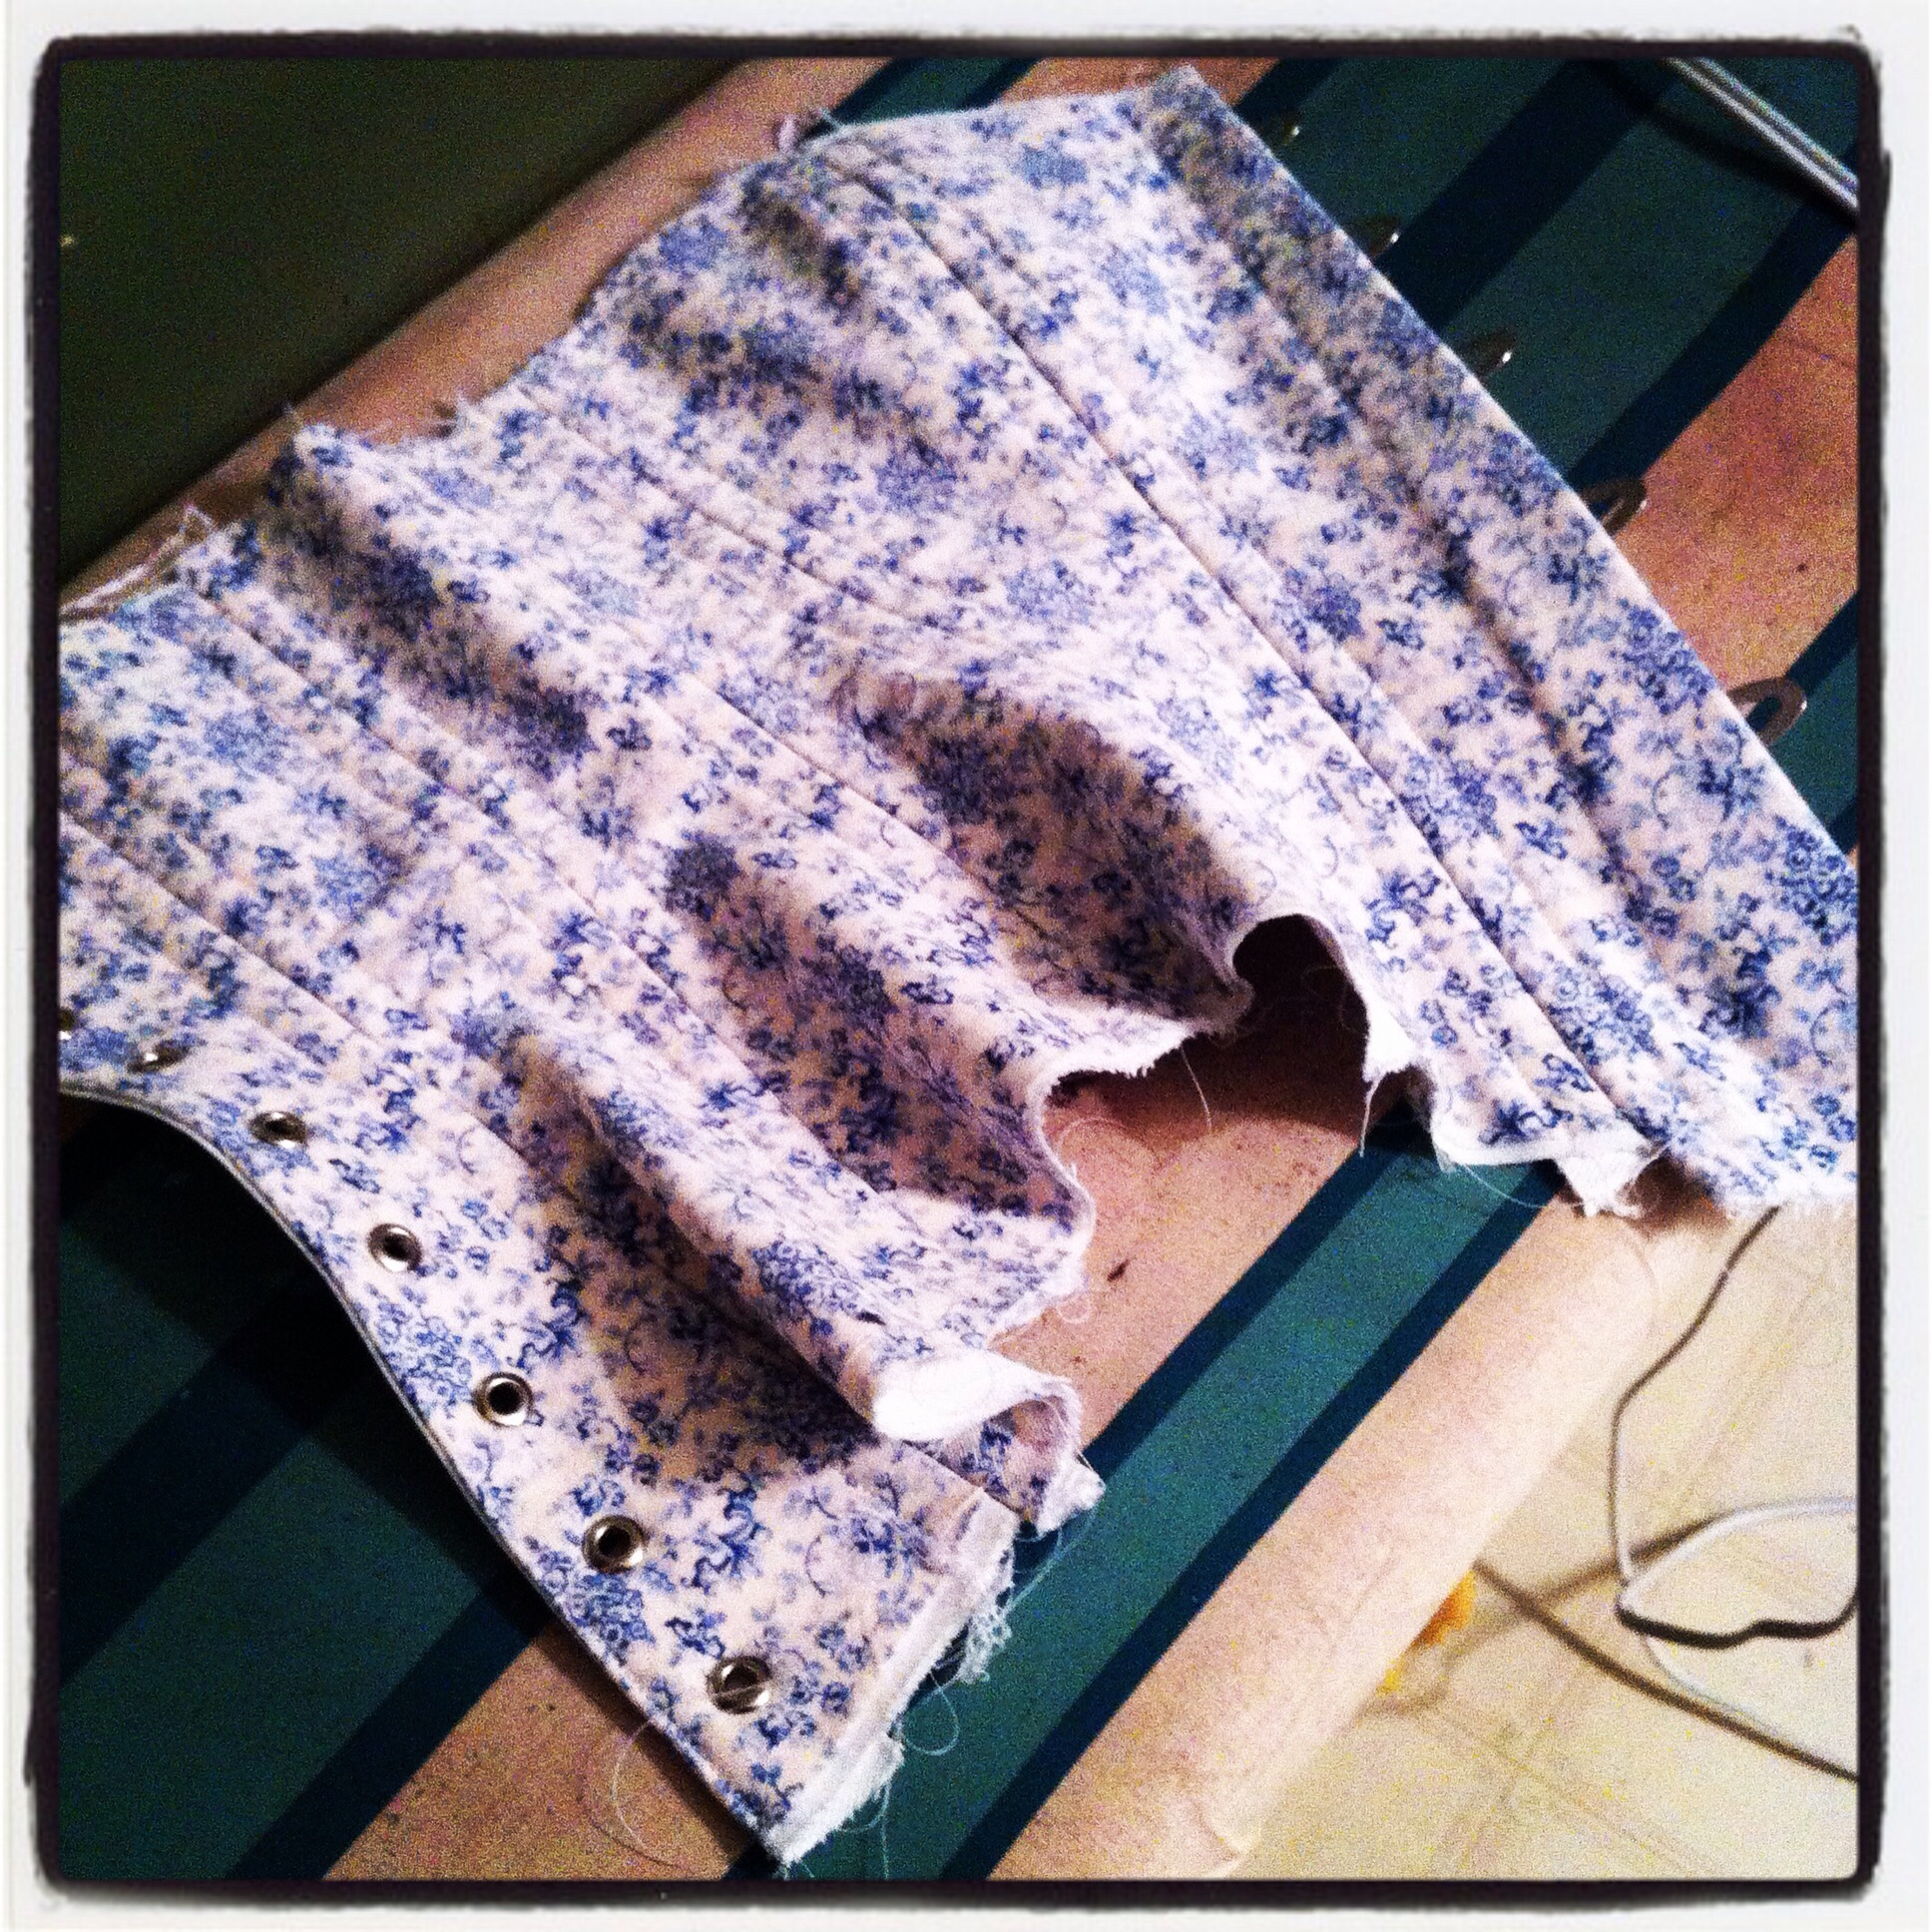
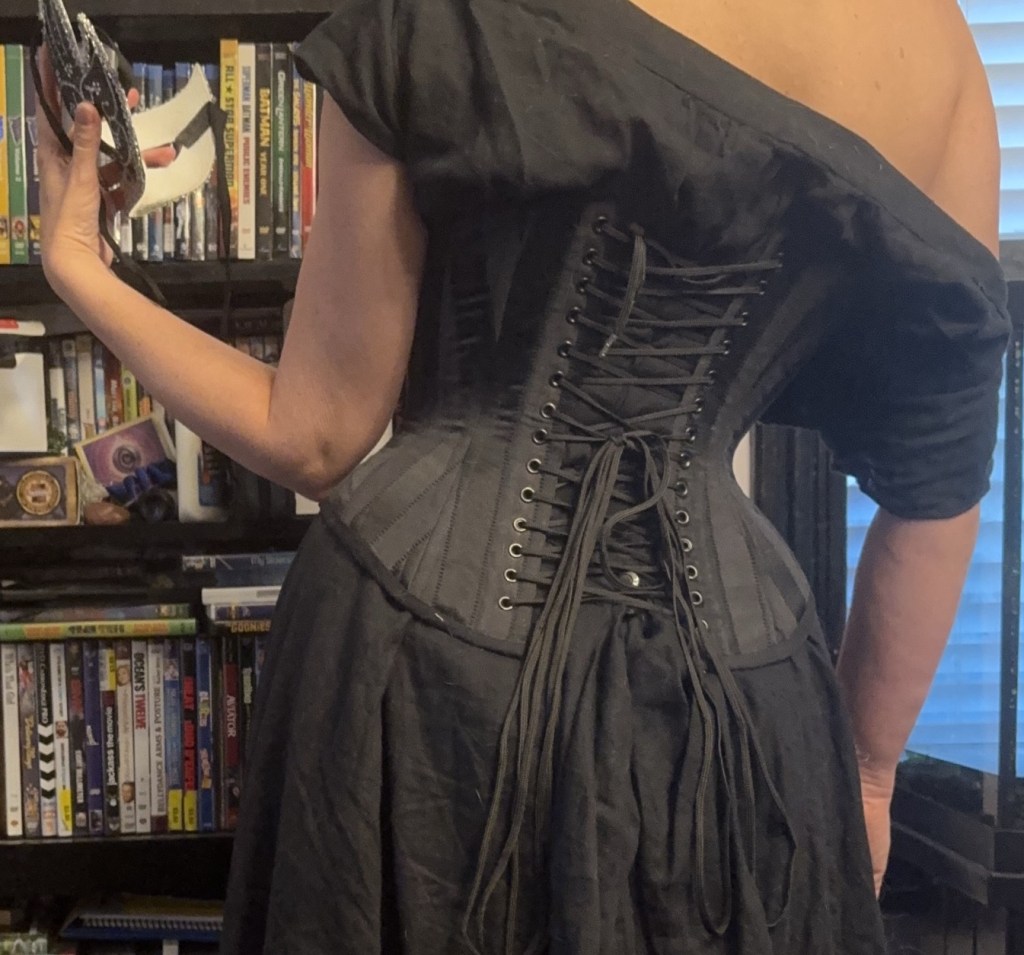
I tried, roughly, to line up the stripes so that they met and diverged in pleasing ways, and were roughly symmetrical, though I did end up opposite on left and right sides.

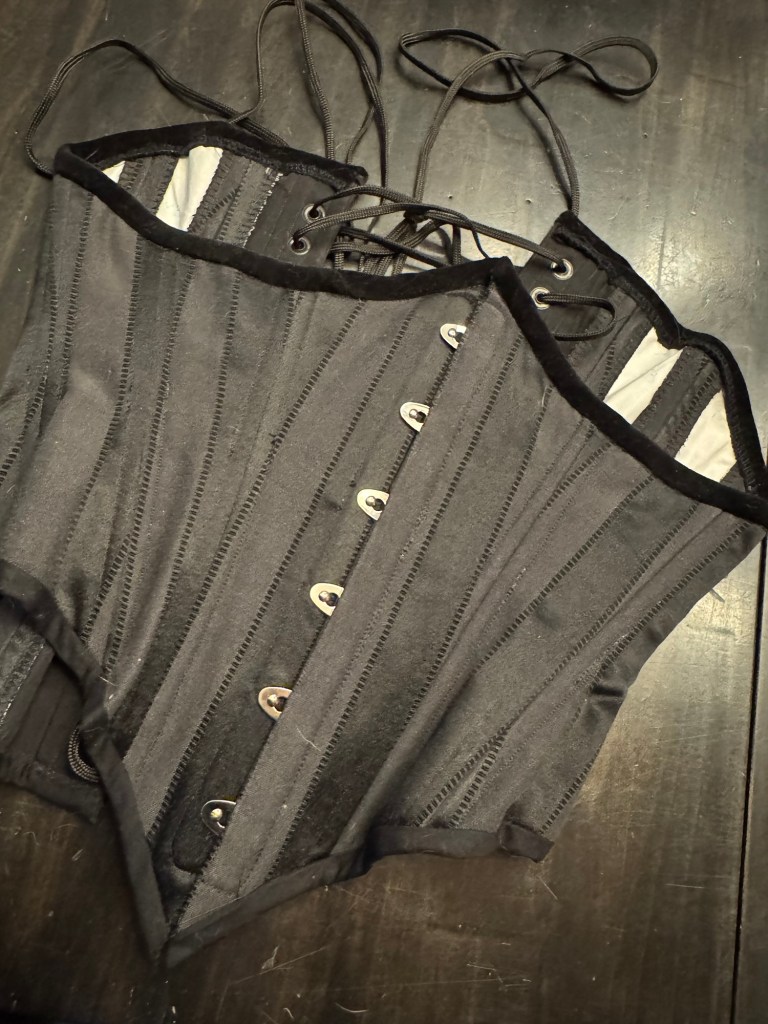
I underlined the upholstery fabric with ticking, for a lightweight strength layer, and then added a whole nother layer of black broadcloth lining in the centre front and back panels, so the white ticking wouldn’t peek through. So it is a fairly heavy beast, definitely an outerwear as opposed to underwear corset. Making the holes for the grommets was a little brutal. Every once in a while I think about investing in a grommet press, but the part that drives me nuts is always making the holes, not hammering the grommets…

The busk is an old one salvaged from an early, non-wearable corset attempt, with a gunmetal finish, though that doesn’t really show in the pictures. I didn’t have any grommets to match so I used black ones, which I think were left over from the first time I used this busk, actually. I also used up almost all the boning tips I have in stash, so no more corsets until I can manage to order some more. Well, unless I just use plastic boning.
I added a waist stay, though the twill tape I used isn’t as aggressively stable as the grosgrain ribbon I prefer to use. It matched though.
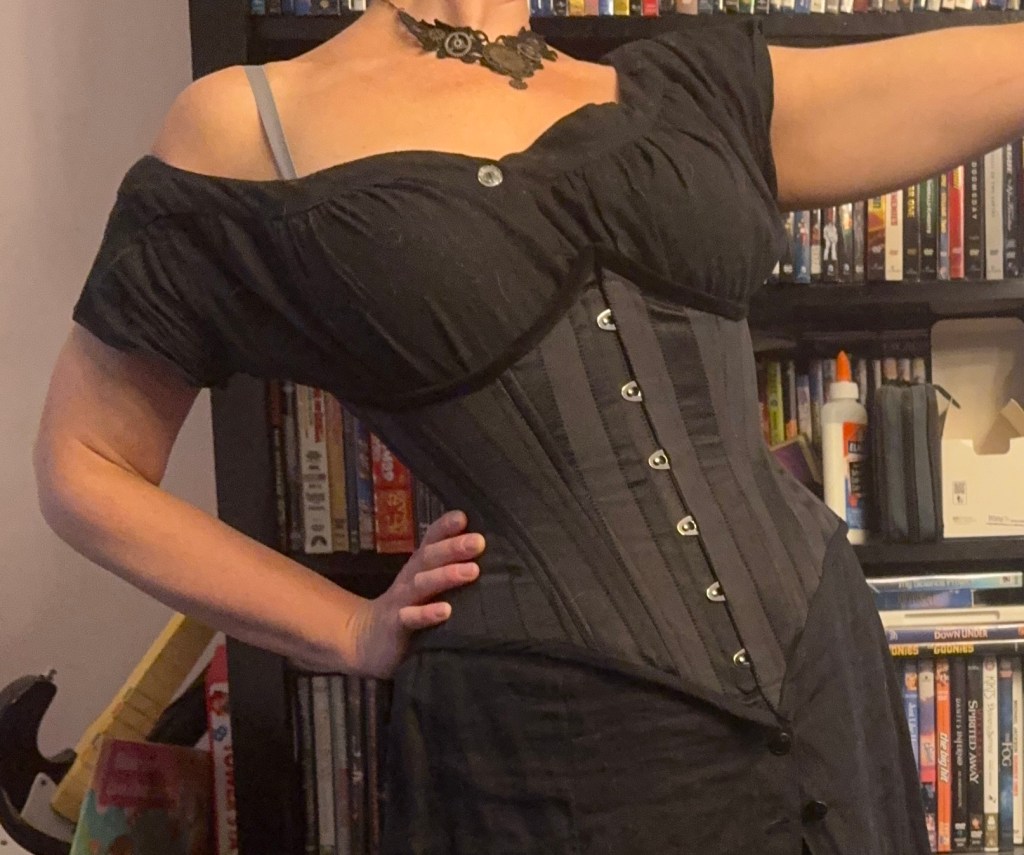
I cut the hip higher on this version, aiming for a sharp point in the front. Perhaps I should’ve made the back sharper as well, but i find the lacing gap reduces this effect anyway so I didn’t bother.
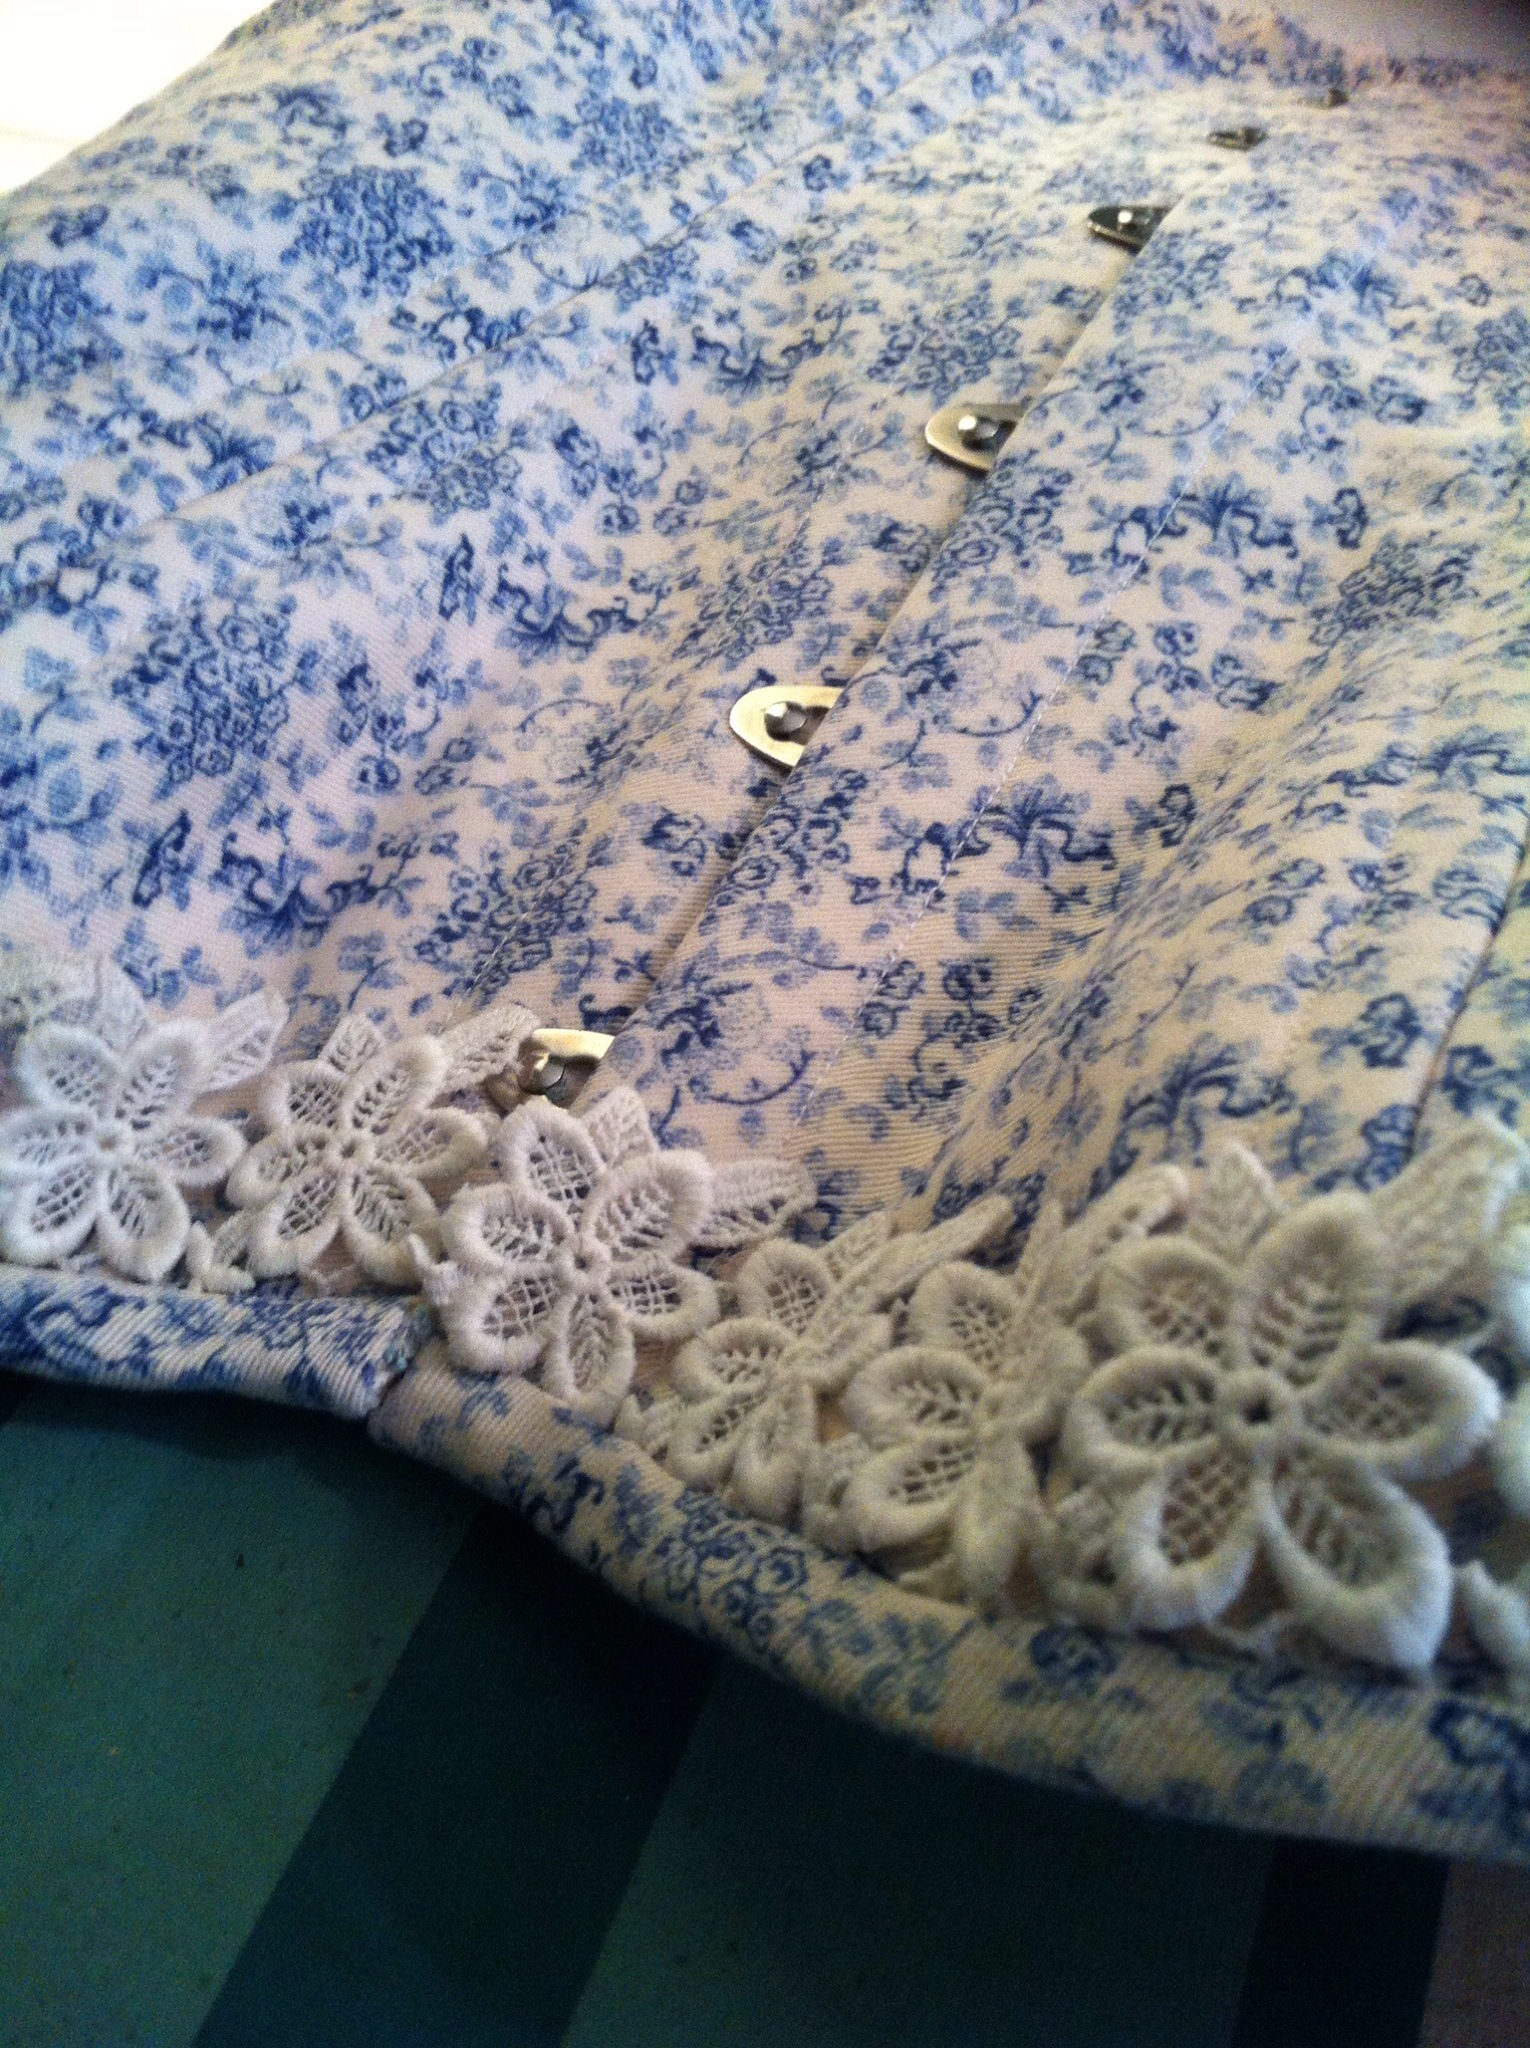
I used a lightweight black (homemade) bias tape to bind the bottom, and some bias velveteen to bind the top, for a luxurious line. Not sure that I totally love it, as it adds more bulk at the top, but I didn’t have enough of the bottom tape for the whole corset. It is pretty and luxurious, though.
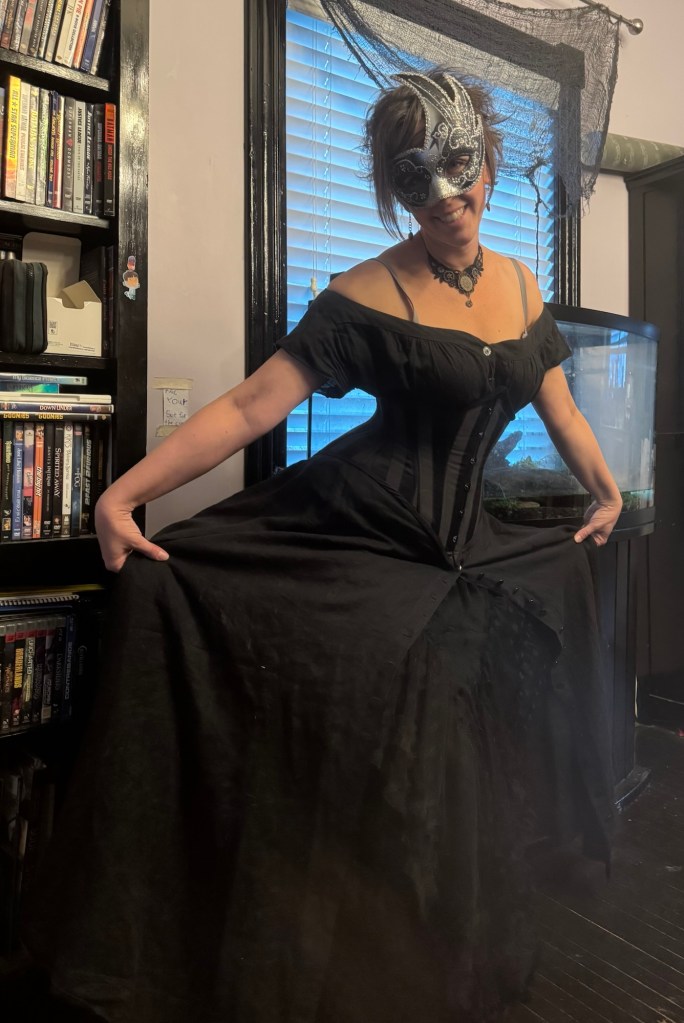
And that’s pretty much it. Quite happy with how it turned out. A very fun addition to the wardrobe. But now it’s time to get back to sewing leggings for the twins’ endlessly lengthening legs.