Almost a corset.
Remember when I did a mock-up for a corset? Yeah, me neither (well, barely.) I think it was last spring sometime? Anyway, finally this past weekend I had—wait for it—leisure time! Nothing that needed to be made with an instant deadline! (And my husband wasn’t playing Final Fantasy 14, which is also sapping the sewing time these days. I’m not gonna apologize for that, though, down-time is down-time and I love back-seat gaming.)
So, after spending most of my Saturday puttering around tidying the perpetual mess that is the sewputer room and finishing the odd UFO and repair, I finally got the itch to pull out the altered pattern for Butterick 4254 and bash out a second toile. (swayback adjustment and a variety of take-a-bit-out-here, add-a-bit-there-type alterations.) And then made some alterations to that, and then finally bit the bullet and started in.

Pretty details.
The fashion fabric is a lightweight twill with a toile-ish print that I spent ages ogling at my local Fabricland about two years ago. It was 70% off, but I was dead broke and couldn’t justify a random purchase, especially since I didn’t have any idea what I would make with it. Then it sold out, and I was sad. Then, one day, I happened to be at the *other* Fabricland in town (which never happens), and guess what I found… in the bargain centre for $2.00/m.
At that price, even stone-broke me could justify it. The last 2m came home with me… and have sat taking up space in my basement ever since, although I did hit on the idea of using some for a corset a year or so ago.
I chickened out on using my precious coutil (ordered along with spiral steel boning and grommets from Farthingales corset in Ontario) for this first run, instead using a sturdy white twill I got as a hand-me-down from a friend’s de-stash. We’ll see if I regret this later on.

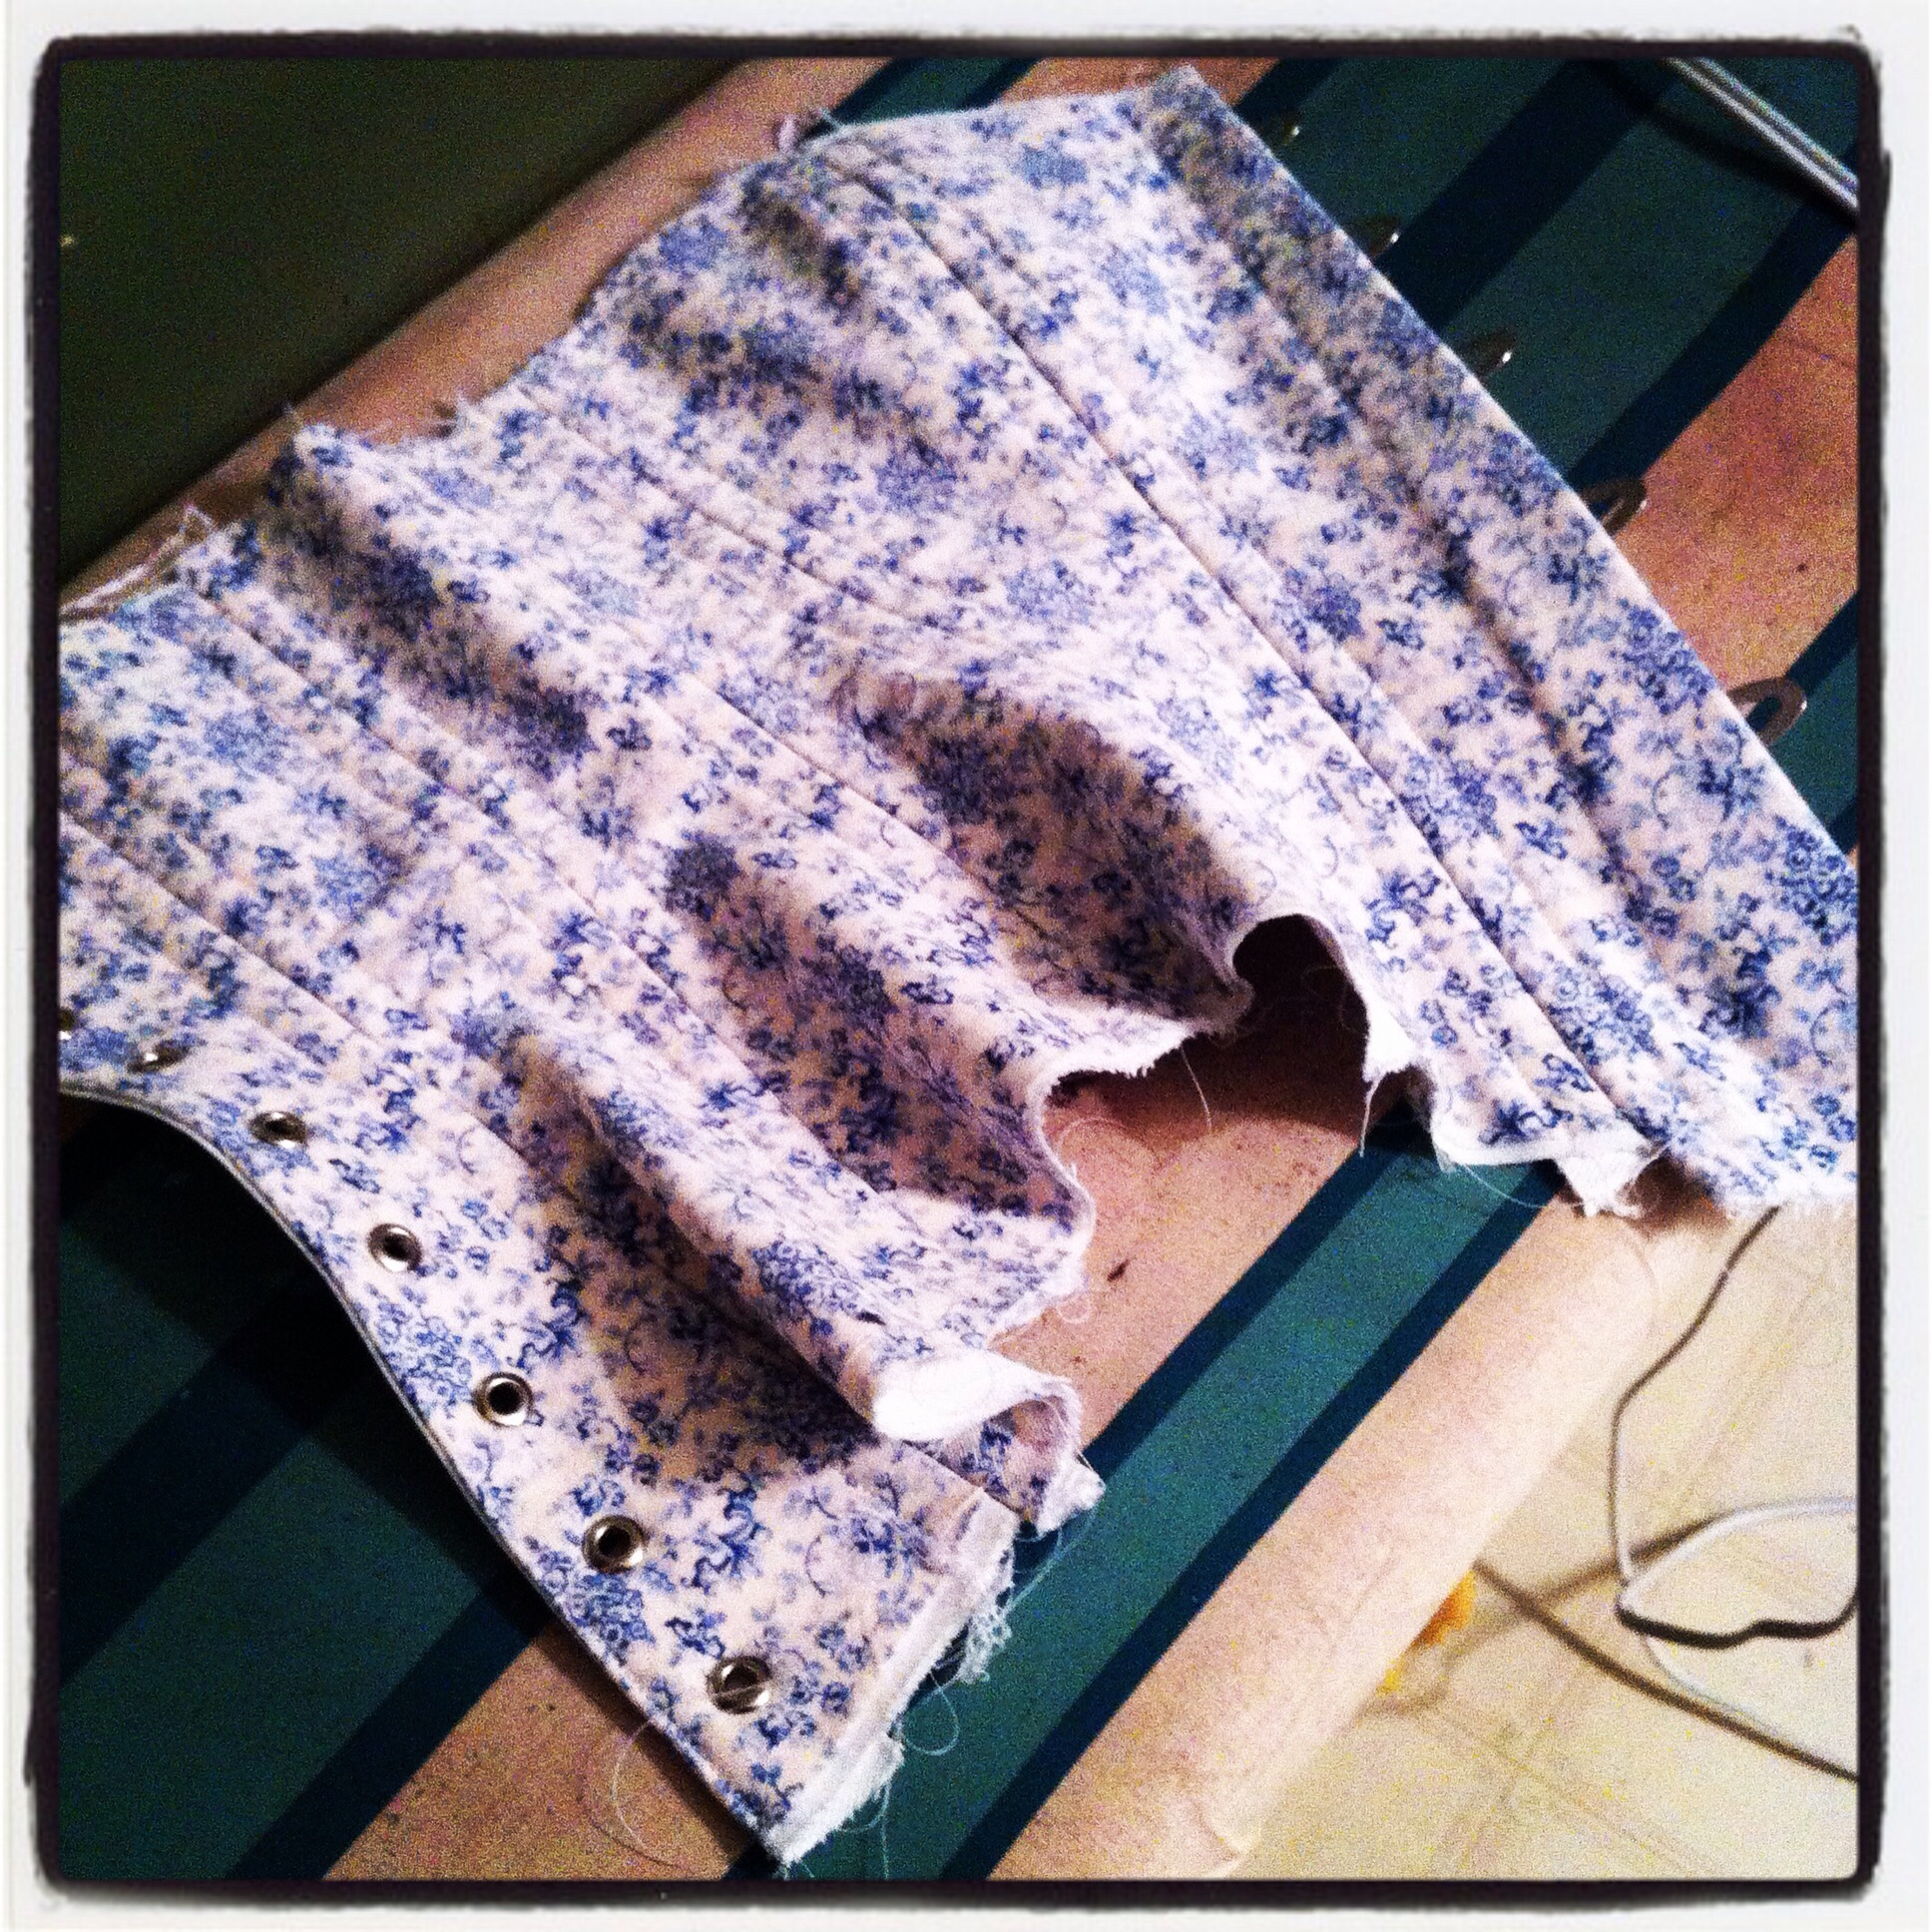
Guts.
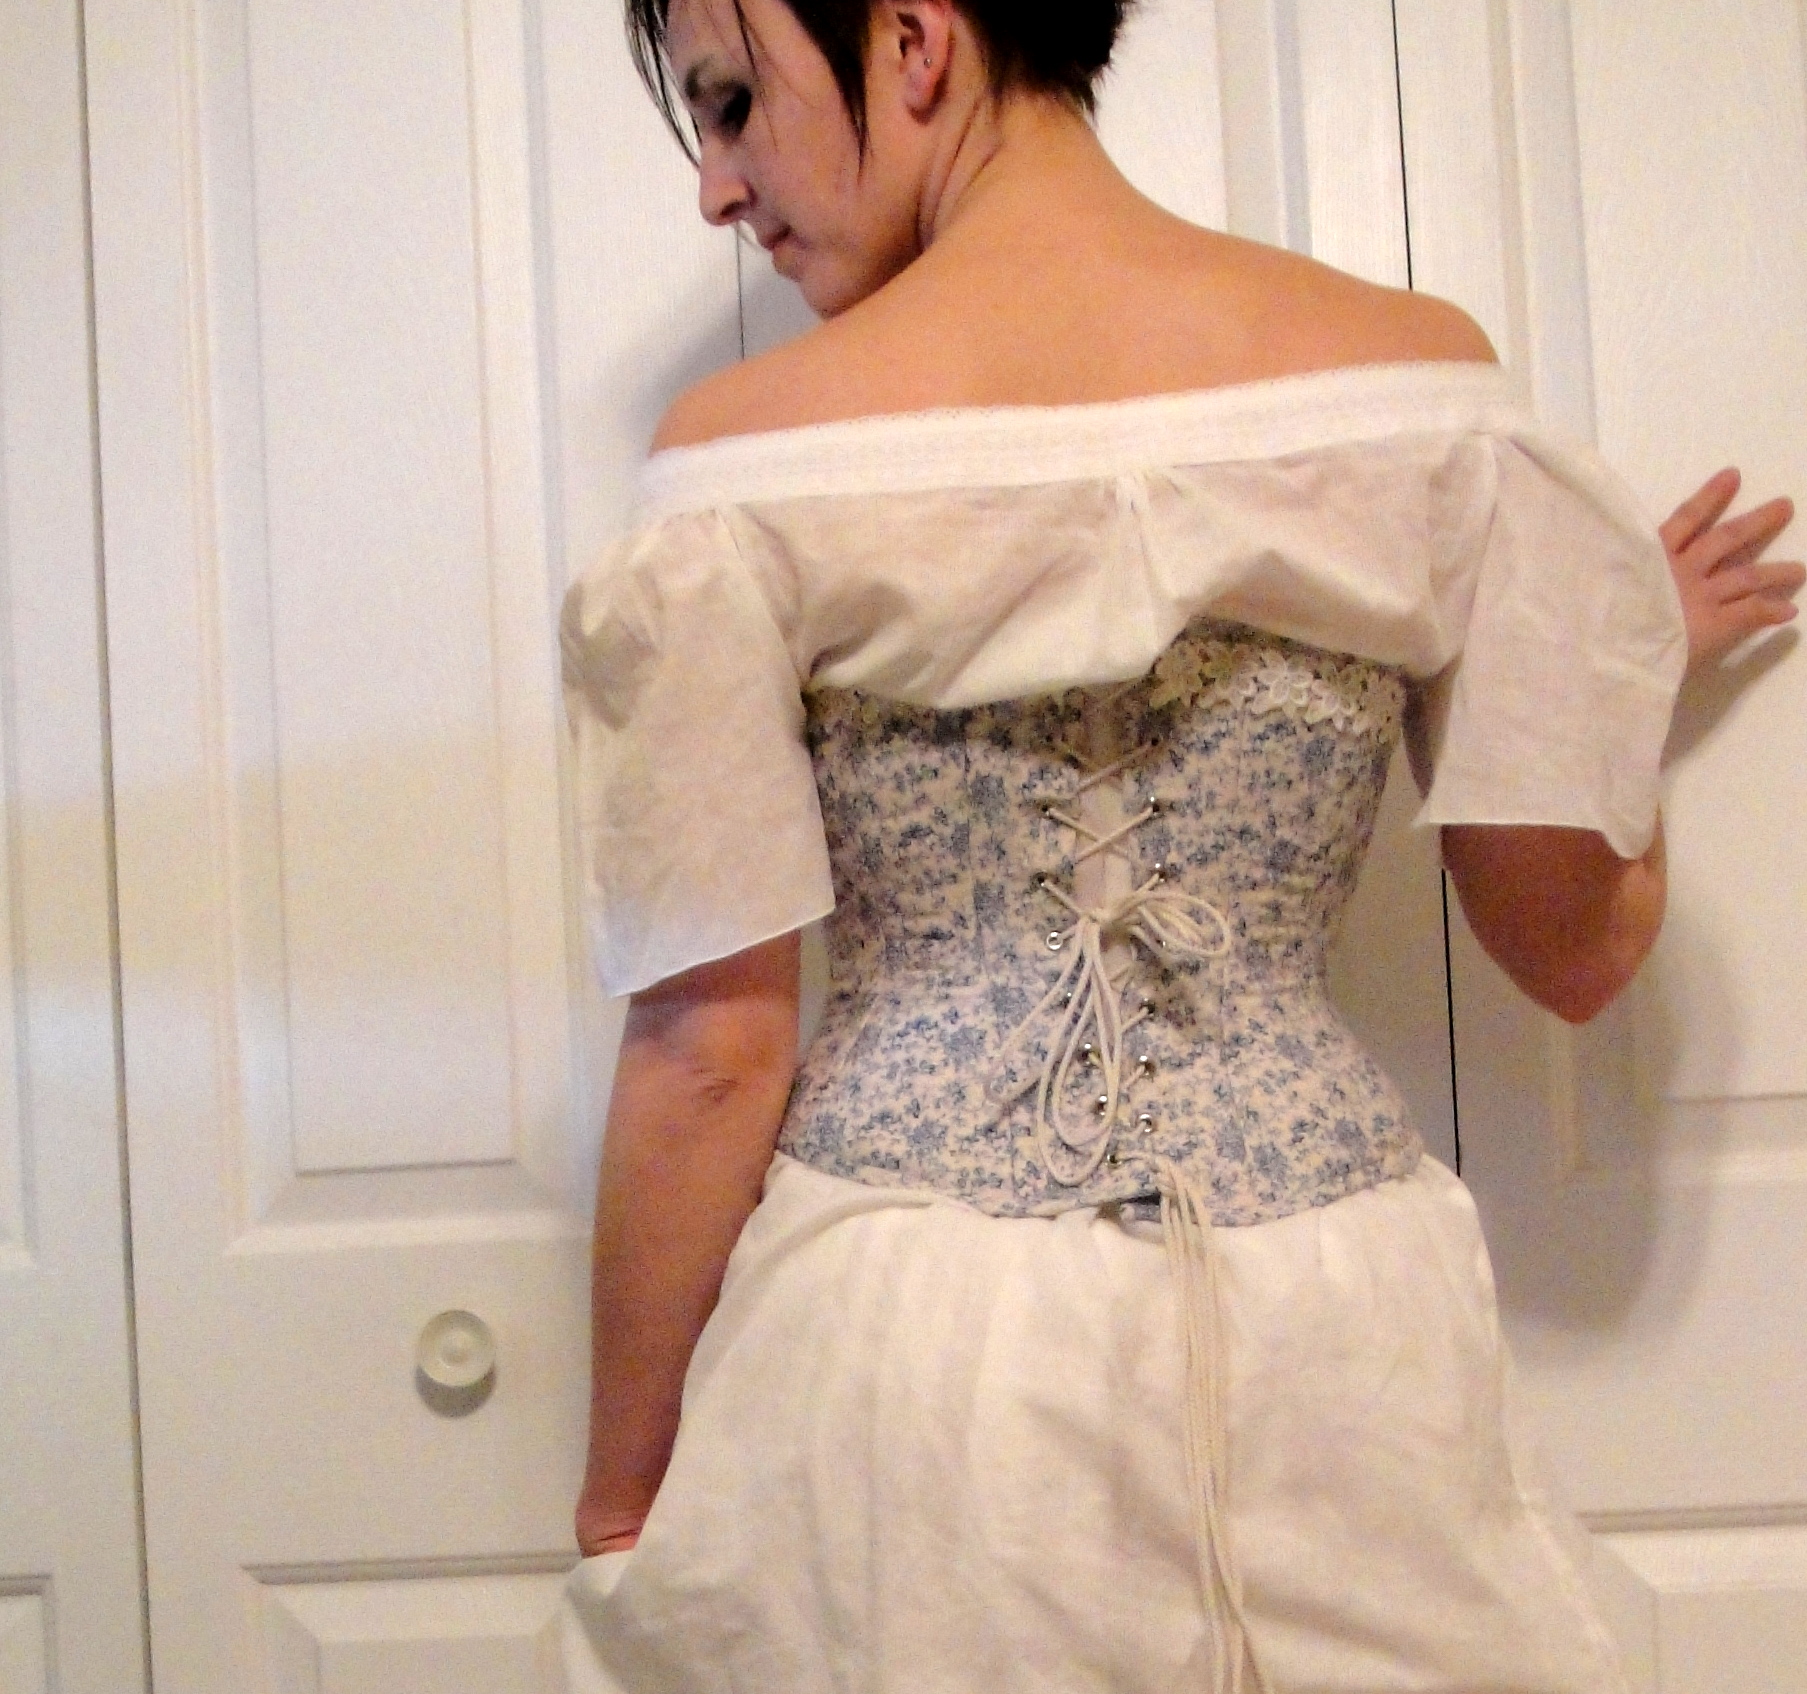
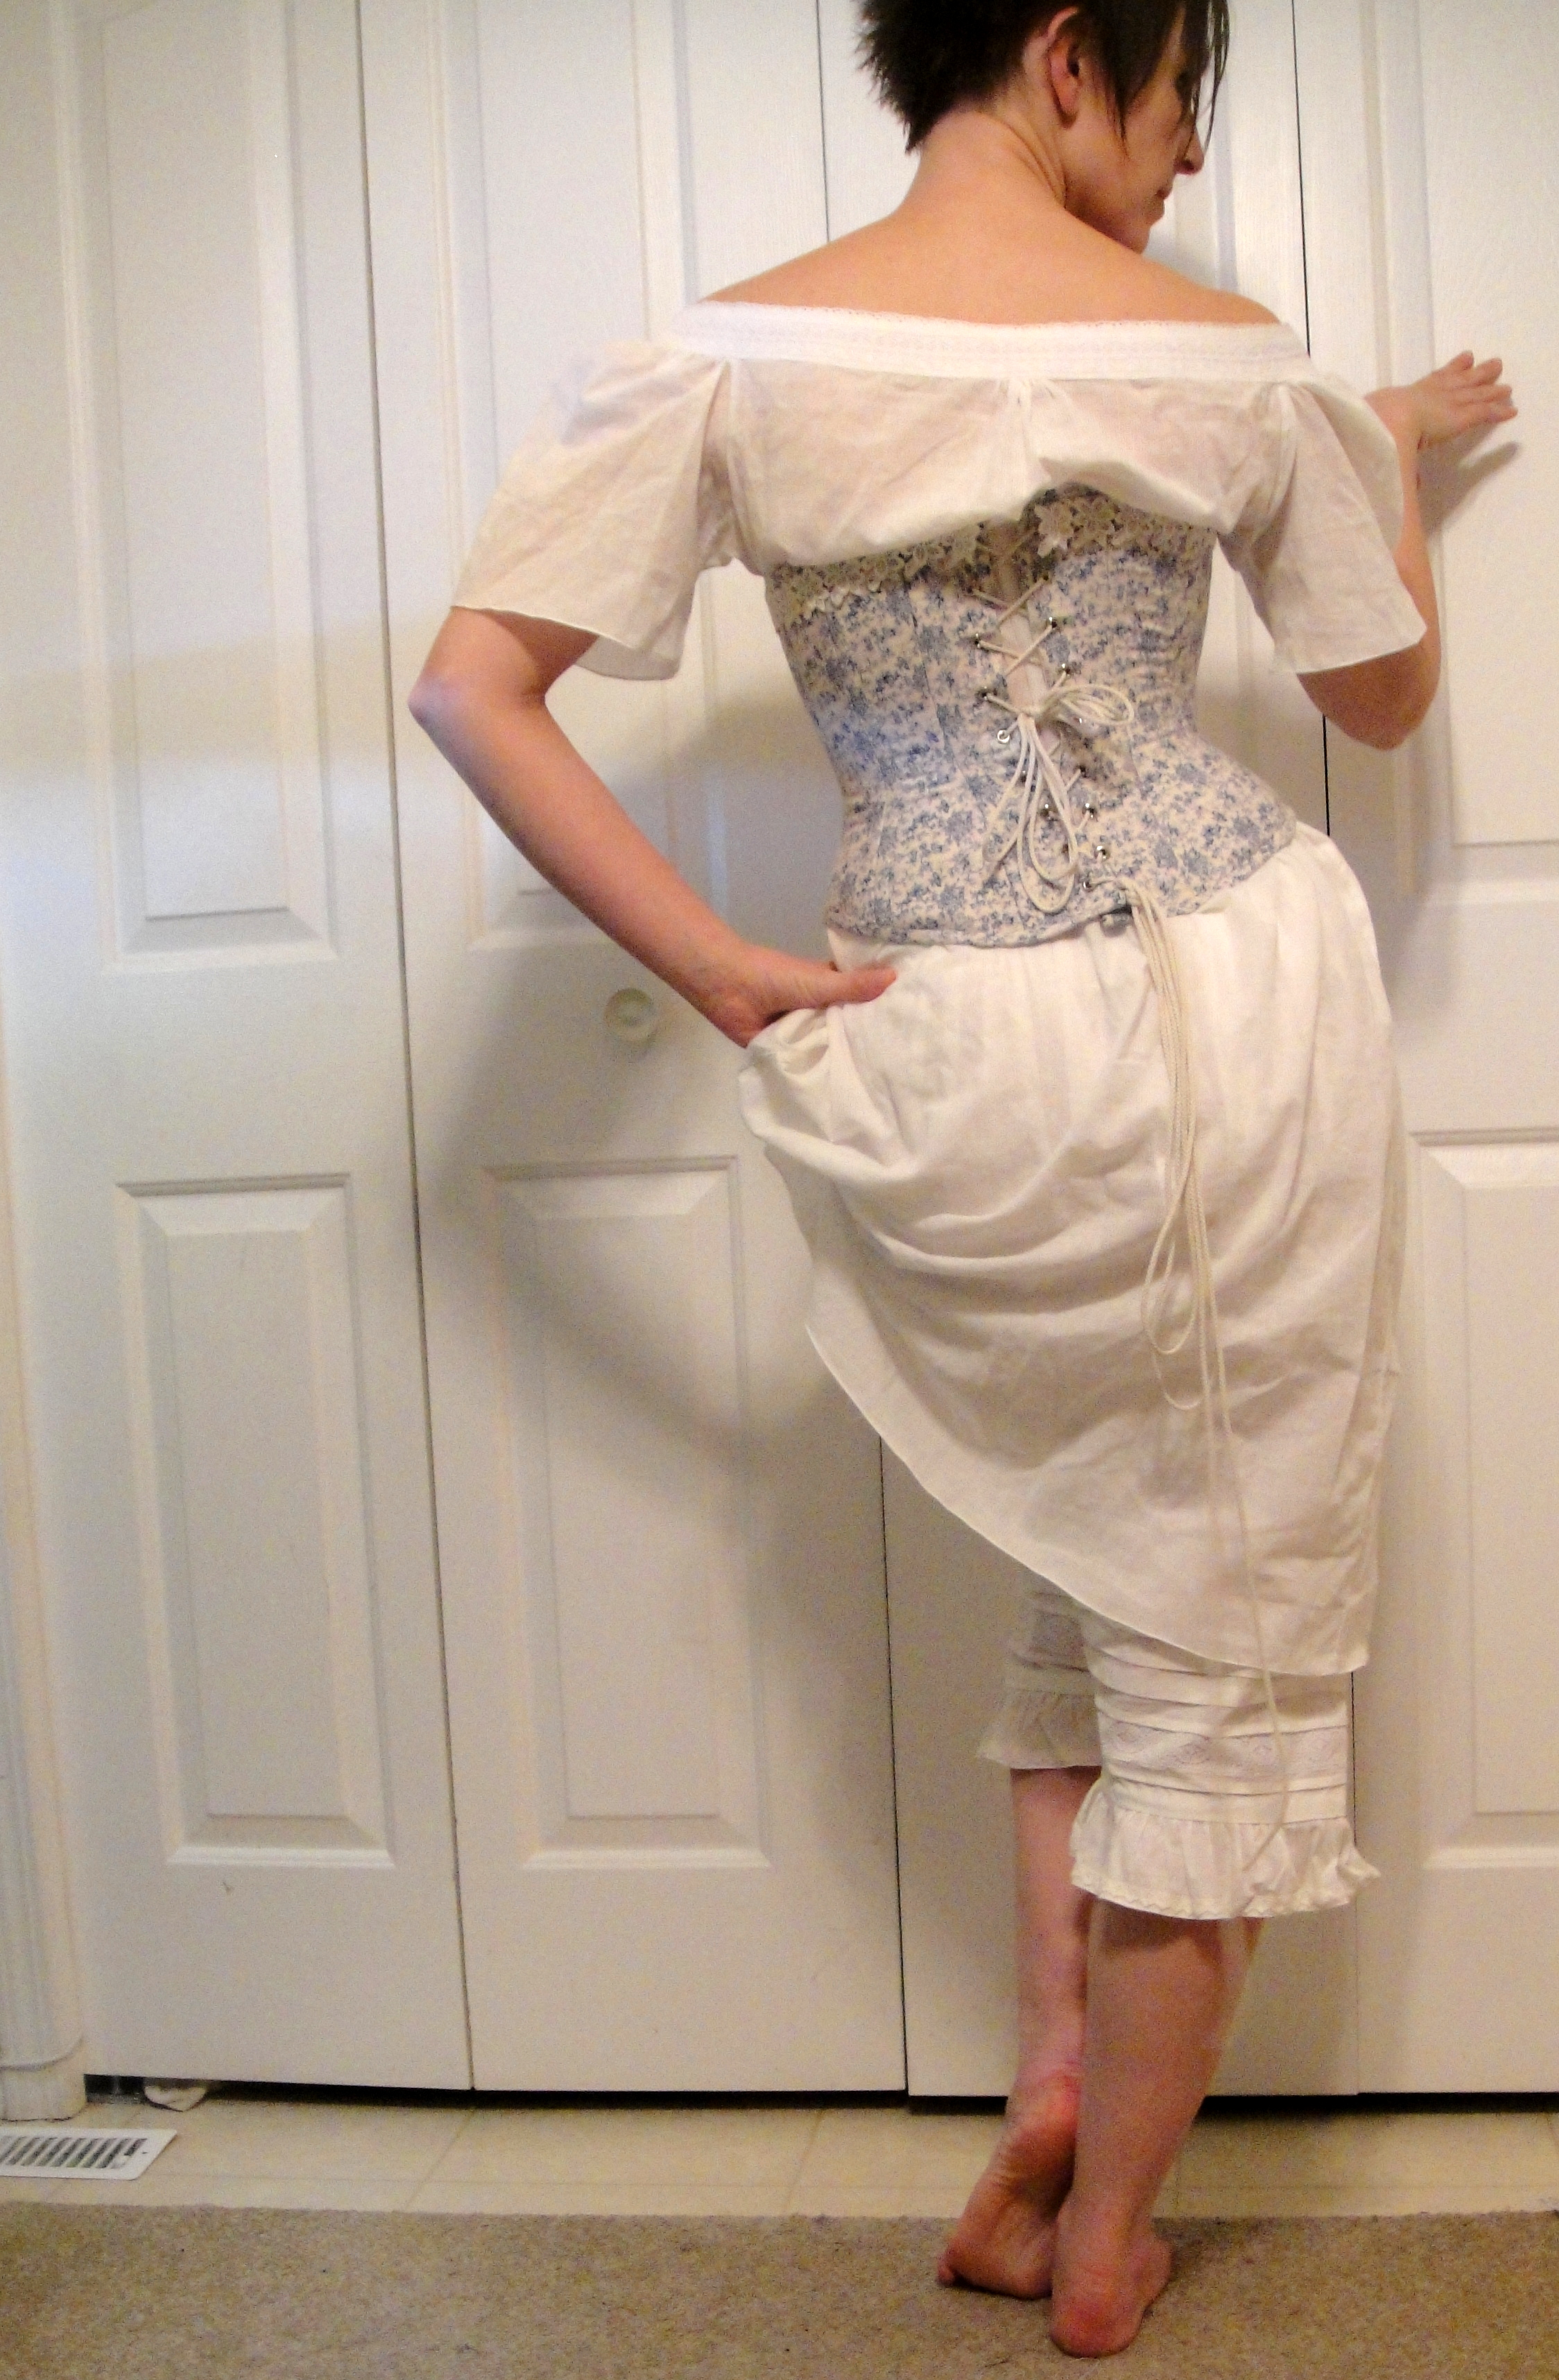
For my instructions, I pretty much followed “The Basics of Corset Making,” for a double-layer, alterable corset. As per the pattern, all the bone casings are on the seams of the panels, and I just serged the edges before topstitching them down, so historical this is not (even though I’m going for a fairly traditional sort of look. I think. >_<) The only other place I added a casting channel was beside the grommets in the back, as I thought it would need a bit more support in that area. Having a channel on each side of each seam makes for what seems like a LOT of bones, but I guess that’s not a bad thing?

Grommets & setting tools
I think my least favourite part of the whole construction was setting the grommets for the back lacing. I ordered grommets, as I said, from Farthingales, just to see how they compare to the ones available at Fabricland. The Farthingales ones have a much wider rim compared to the hole size, which makes them look larger and seem much more substantial, so that’s nice. The setter that came with them (and I don’t recall if it was separate or included), though, was identical to the Unique-brand one I have from Fabricland… that I’ve always used for grommets the next size up. The cupped base fit the wider rim of these grommets nicely, but I found the upper part, that you hammer on, was just too wide to fit in the small hole—I wound up using the upper part of a grommet-setter I already have, for the smaller size grommets. This worked quite well, but if all I’d had was the one that came with, I would’ve been unhappy. It’s not even the hammering that I dislike, (I can say this because I only hammered my fingers once this time.), it’s the poking-hole-and-then-working-grommet

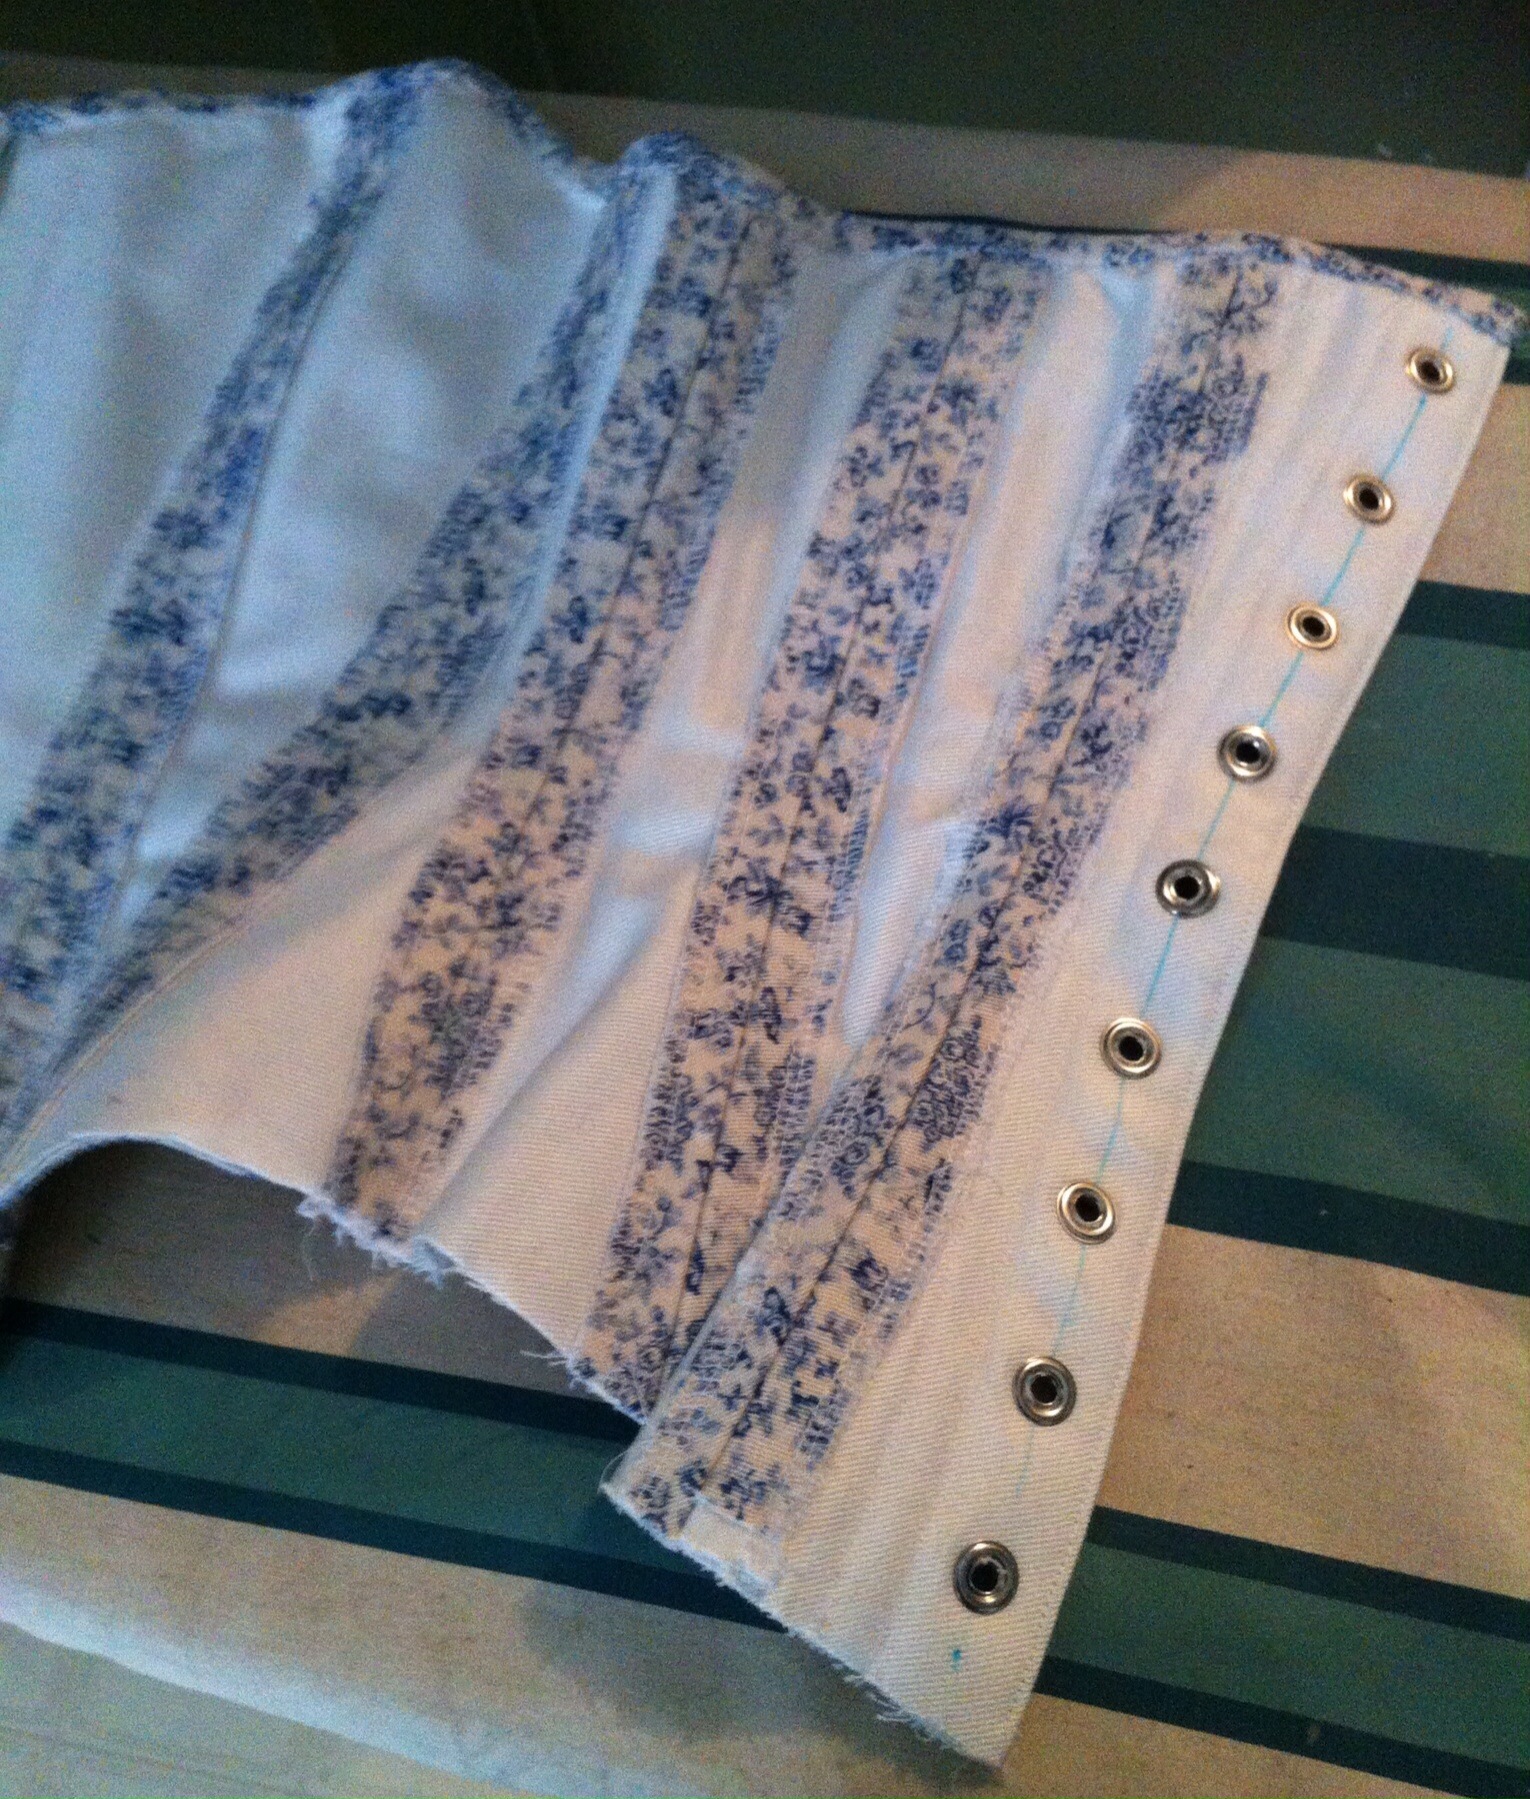
Set grommets. (Baggie to the left is Unique-brand eyelets with the same hole-size, but much narrower rings so they look smaller.)
I haven’t been able to do a proper try on, since I’m still lacking a real lacing cord (I thought I had ordered one when I ordered the grommets and coutil but, um, apparently I forgot to change the “1” metre measurement to the 8 I was intending to order, so, um, one metre of lacing does not do me a hell of a lot of good.) and none of my piddly little wire-cutters are really up to cutting the spiral steel. I did manage to pick up a more robust wire-cutter after work yesterday, and spent the evening merrily cutting and tipping bones, but I won’t be able to get lacing cord before tomorrow at the earliest.
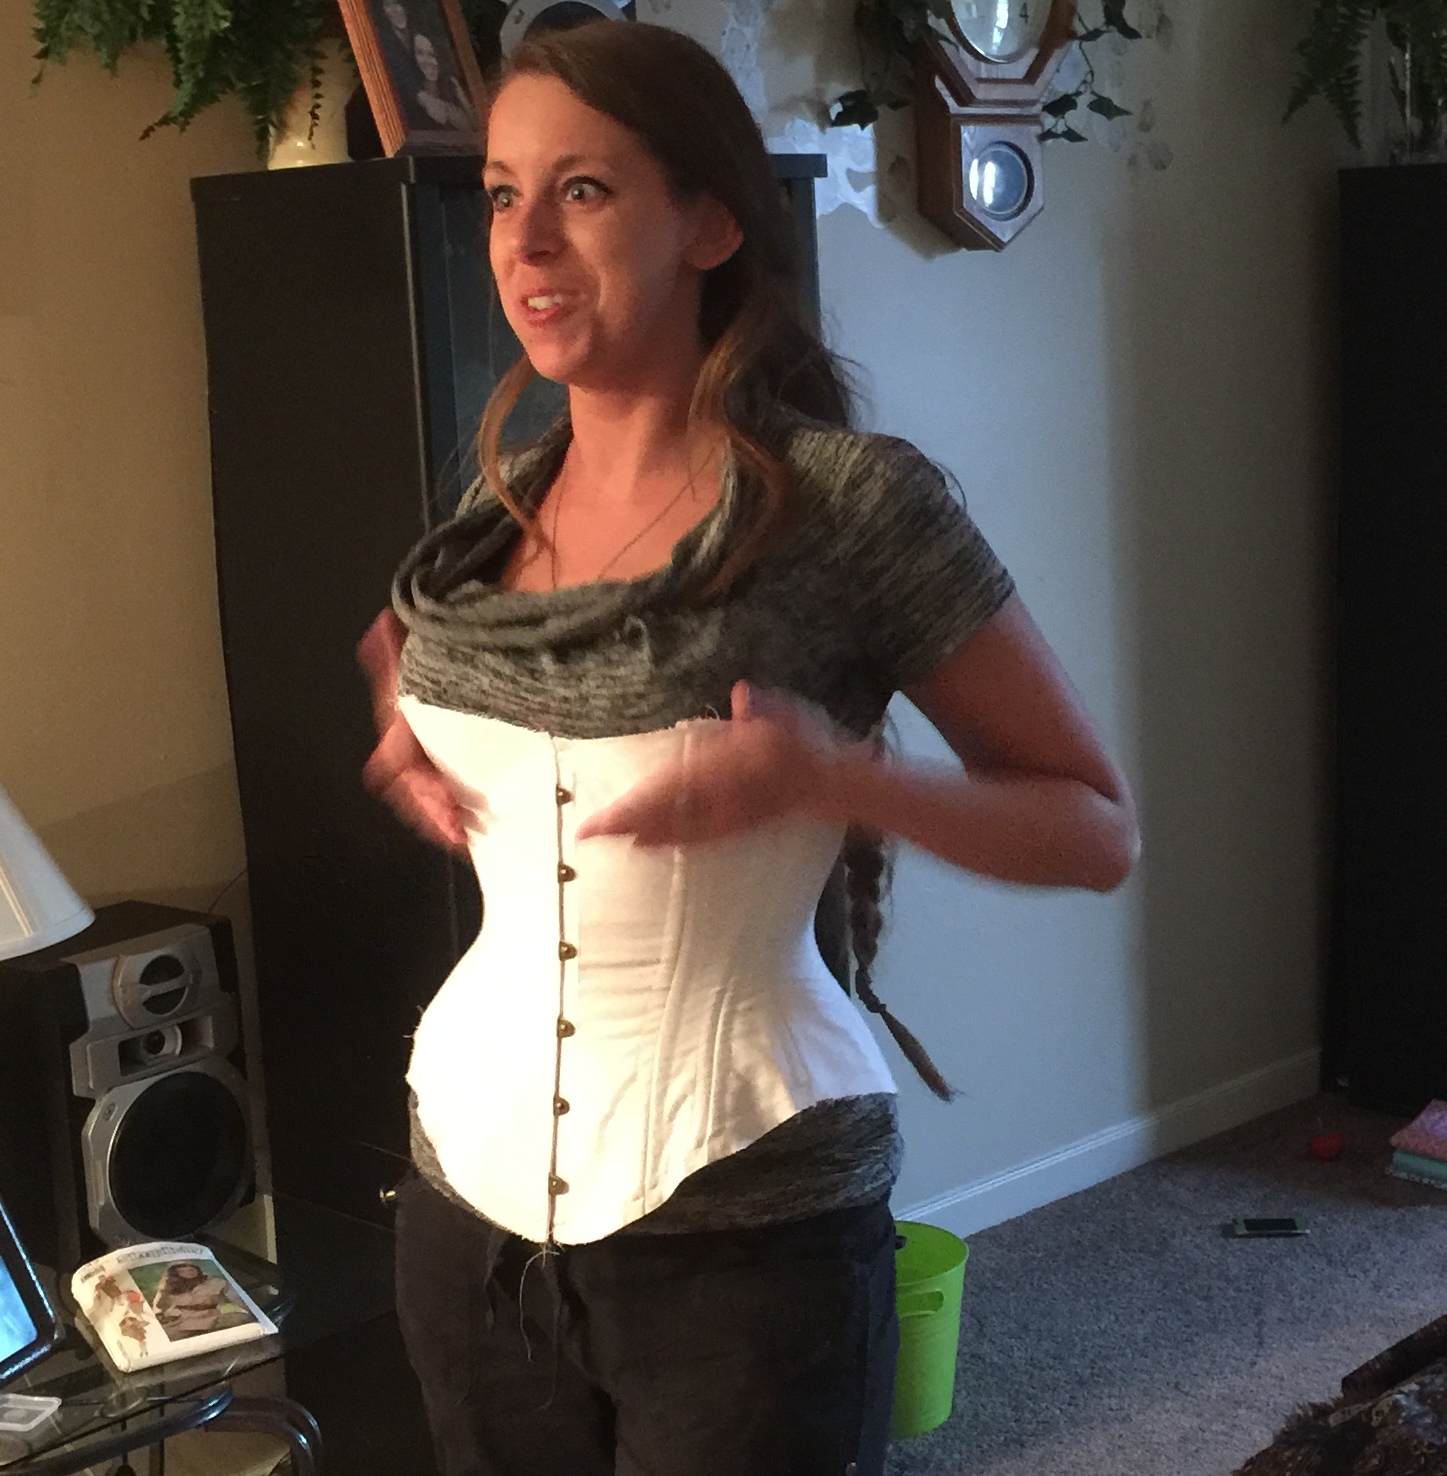
ANYWAY, I was startled how much waist reduction I did get just as a quick, bone-free try on (before my cotton string “lacing cord” broke)… well, reduction for me, anyway. I have very little space between my ribcage and hips, and my ribcage is tubular, or maybe just barrel-shaped. As in, doesn’t taper towards the bottom. Let’s just say I’m not expecting dramatic results.

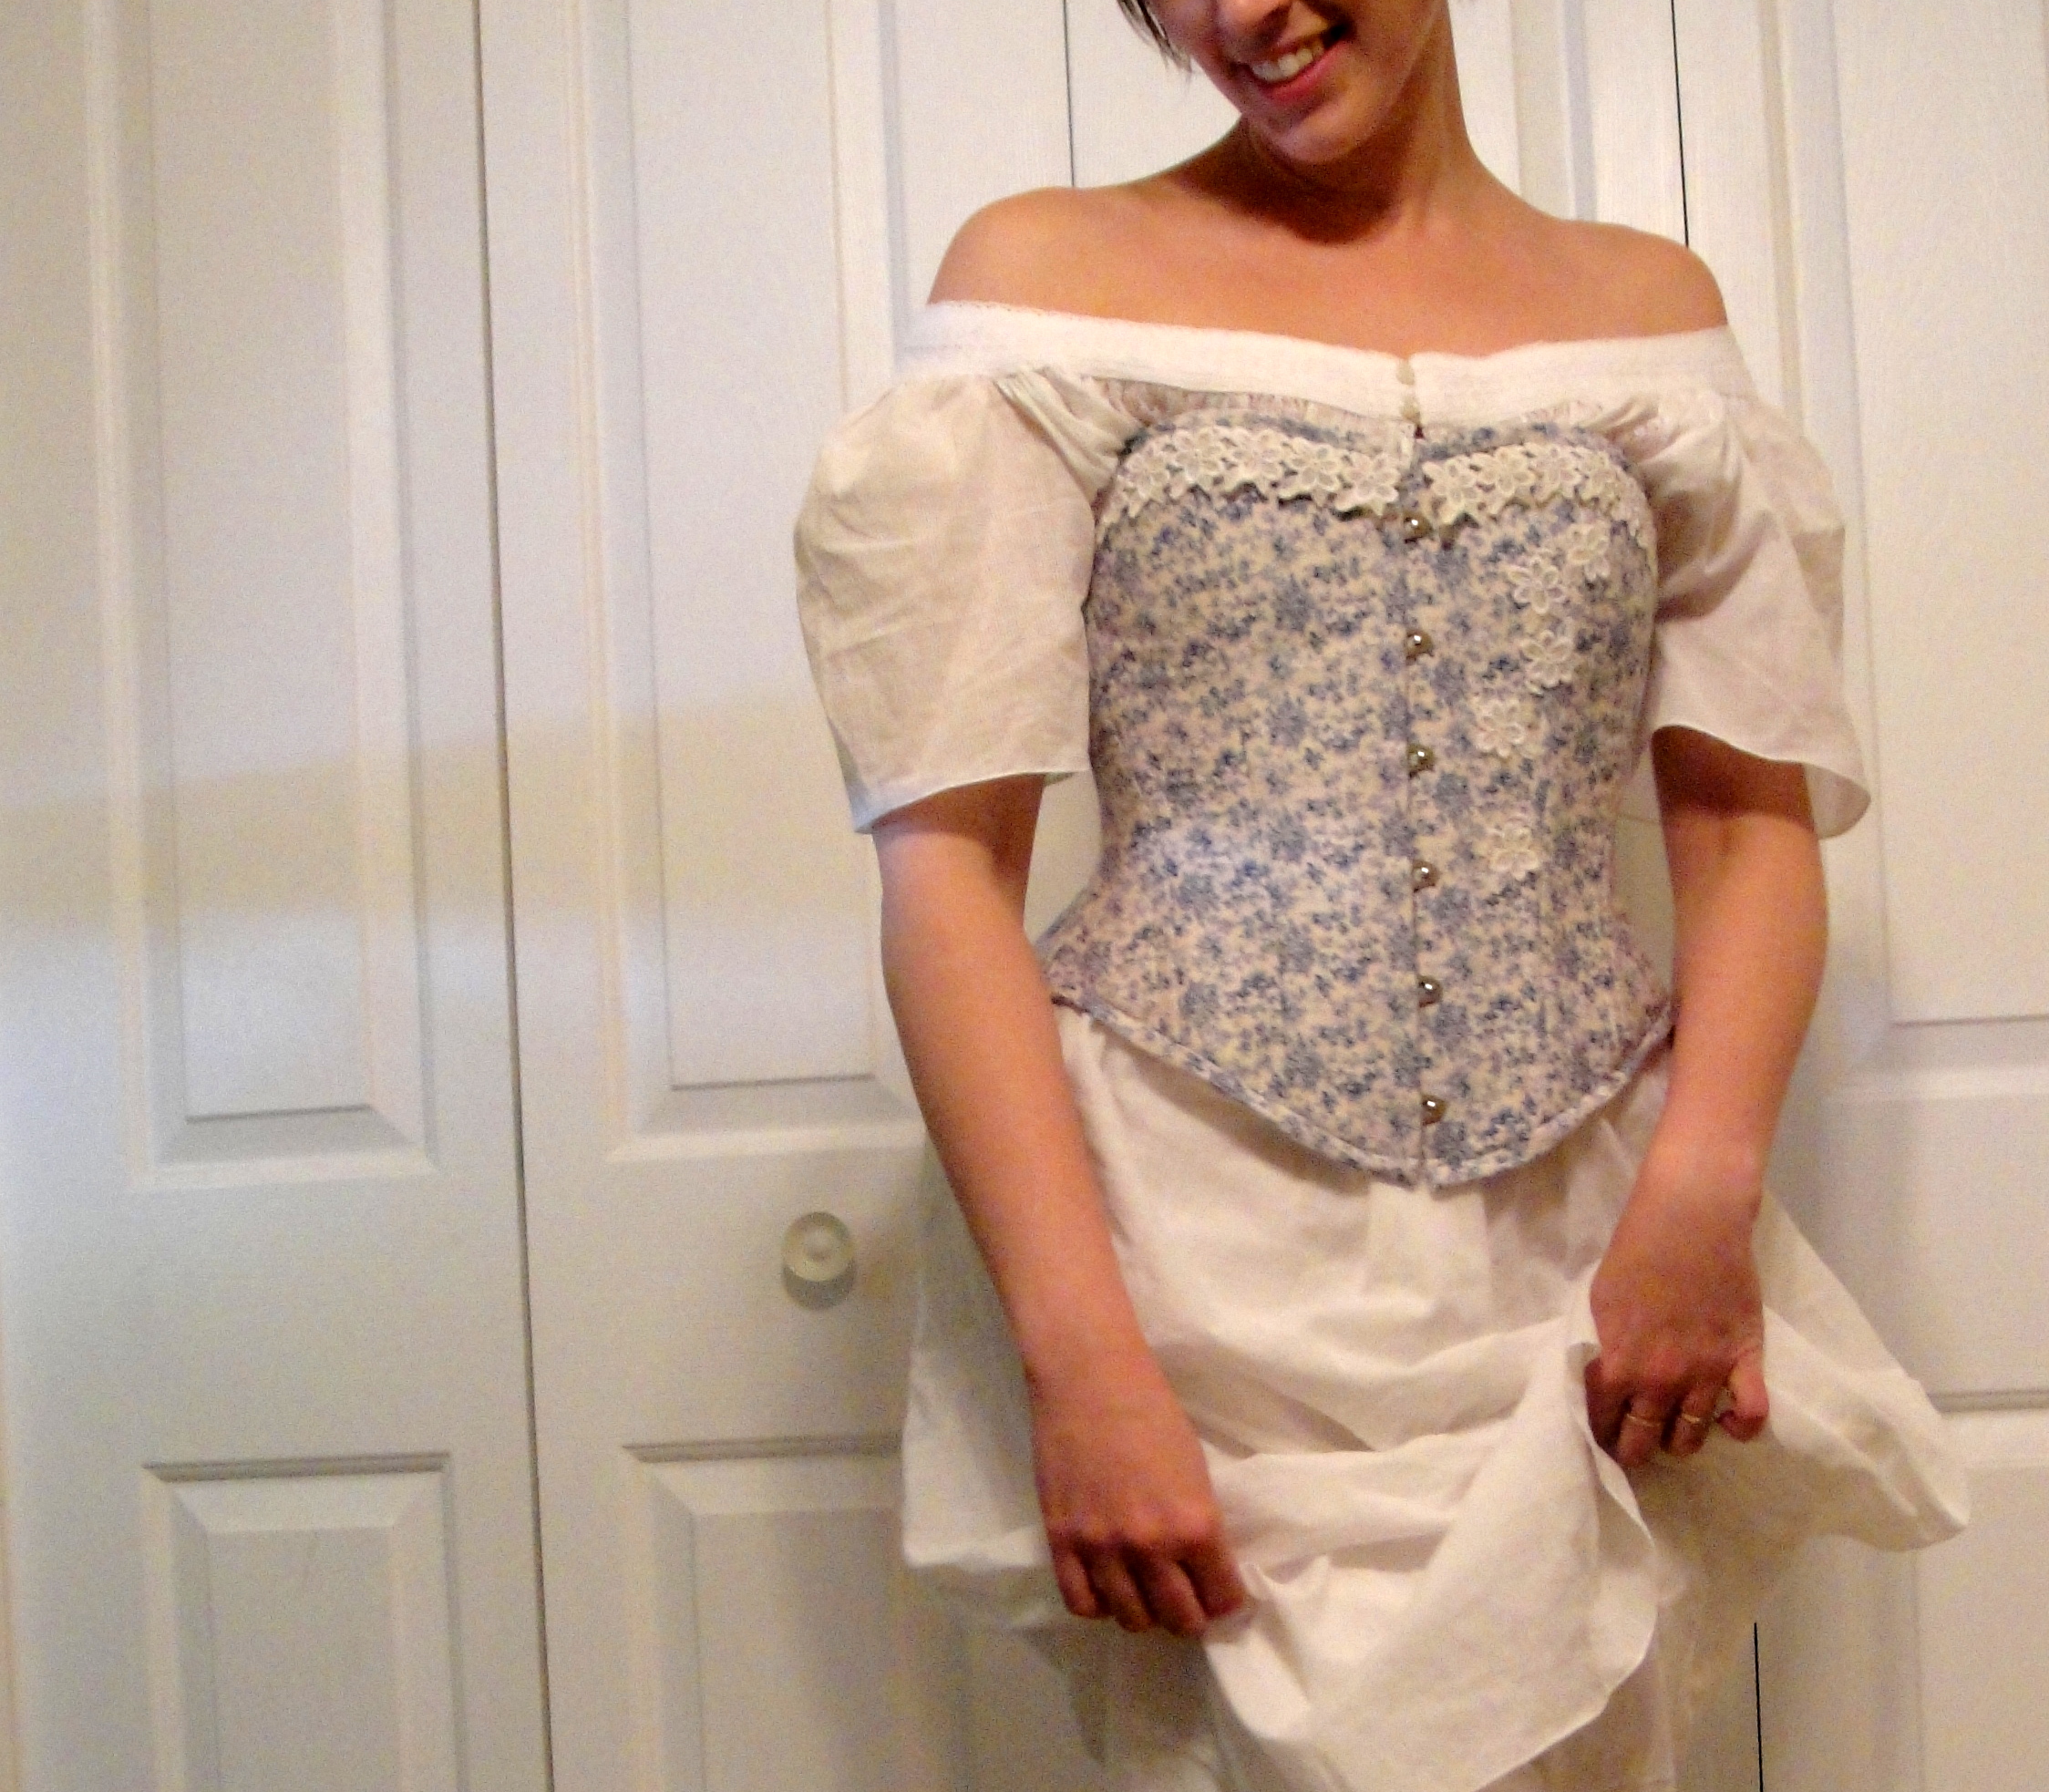
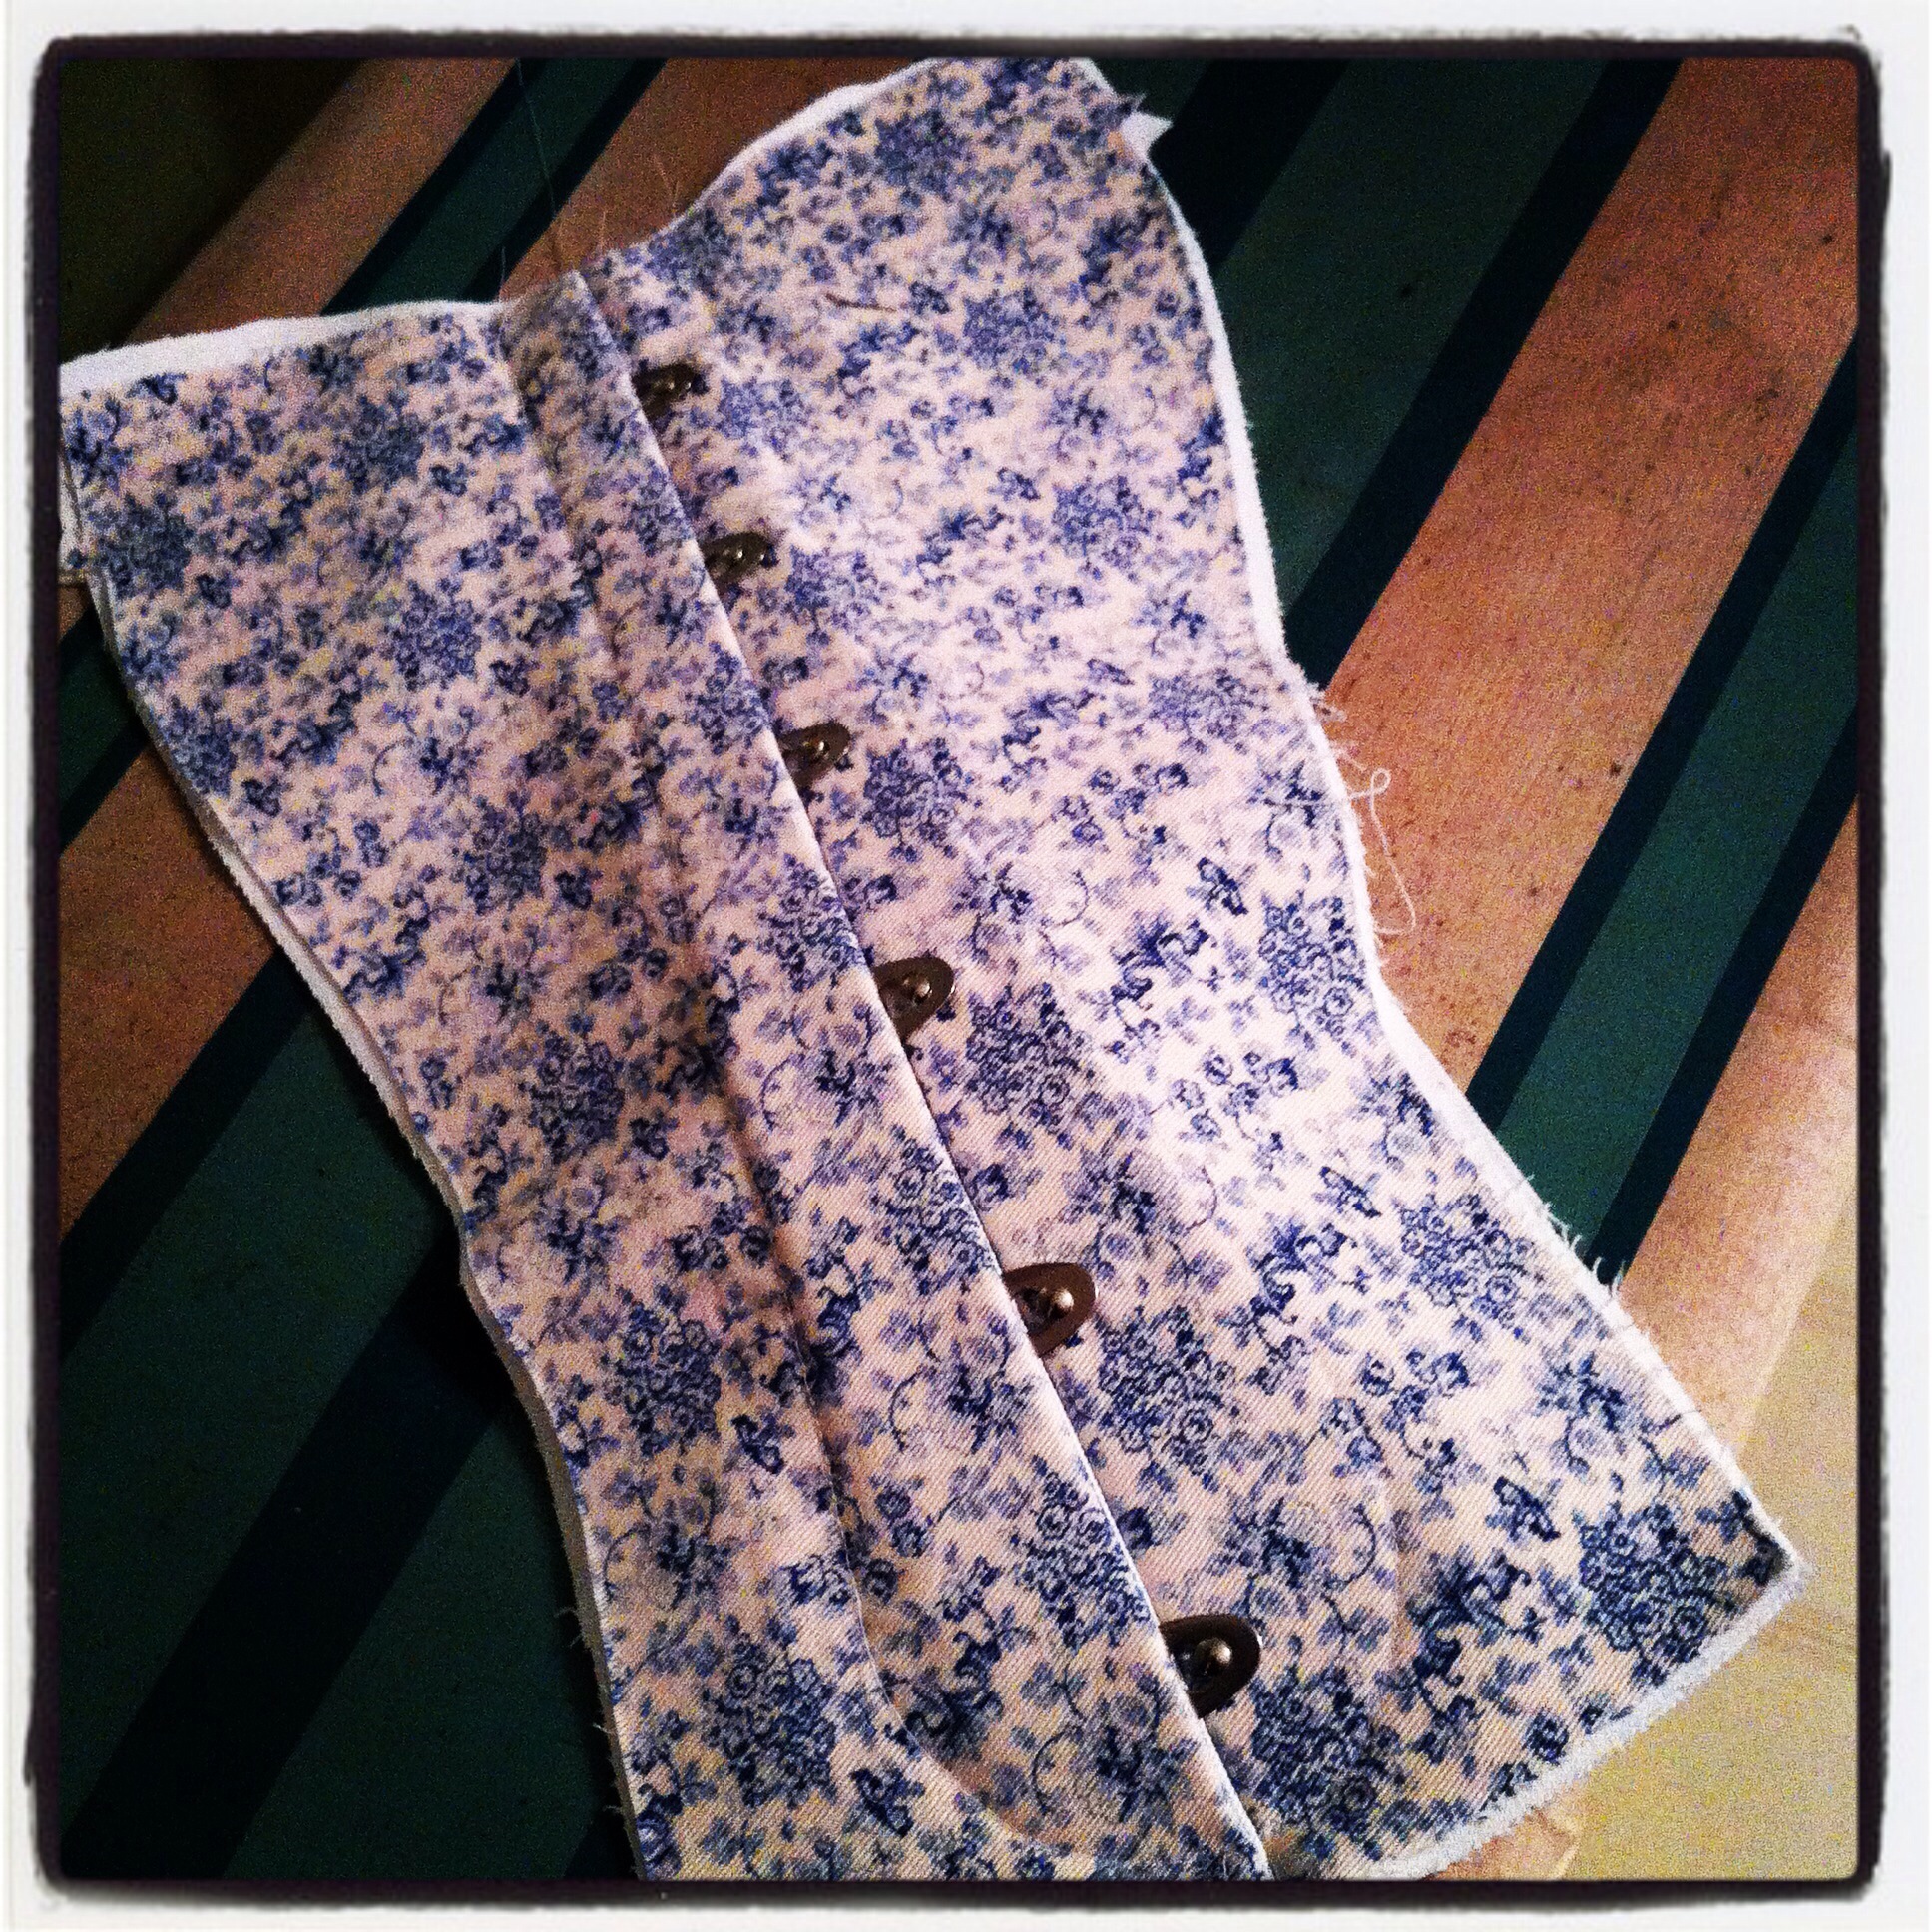
Corset front with spoon busk.
I did have to un-bend the curve of the spoon busk, as it doesn’t fall in the right place for this style (it was that or replace the busk. >_<) I’m a little disconcerted how hard that wasn’t. And I may yet have to take apart the front bustline seams as I’m not convinced the bust curve is in the right place, but I don’t want to make that call until I can do a proper try-on, which won’t happen until I can get some approximation of lacing cord, maybe later this week.

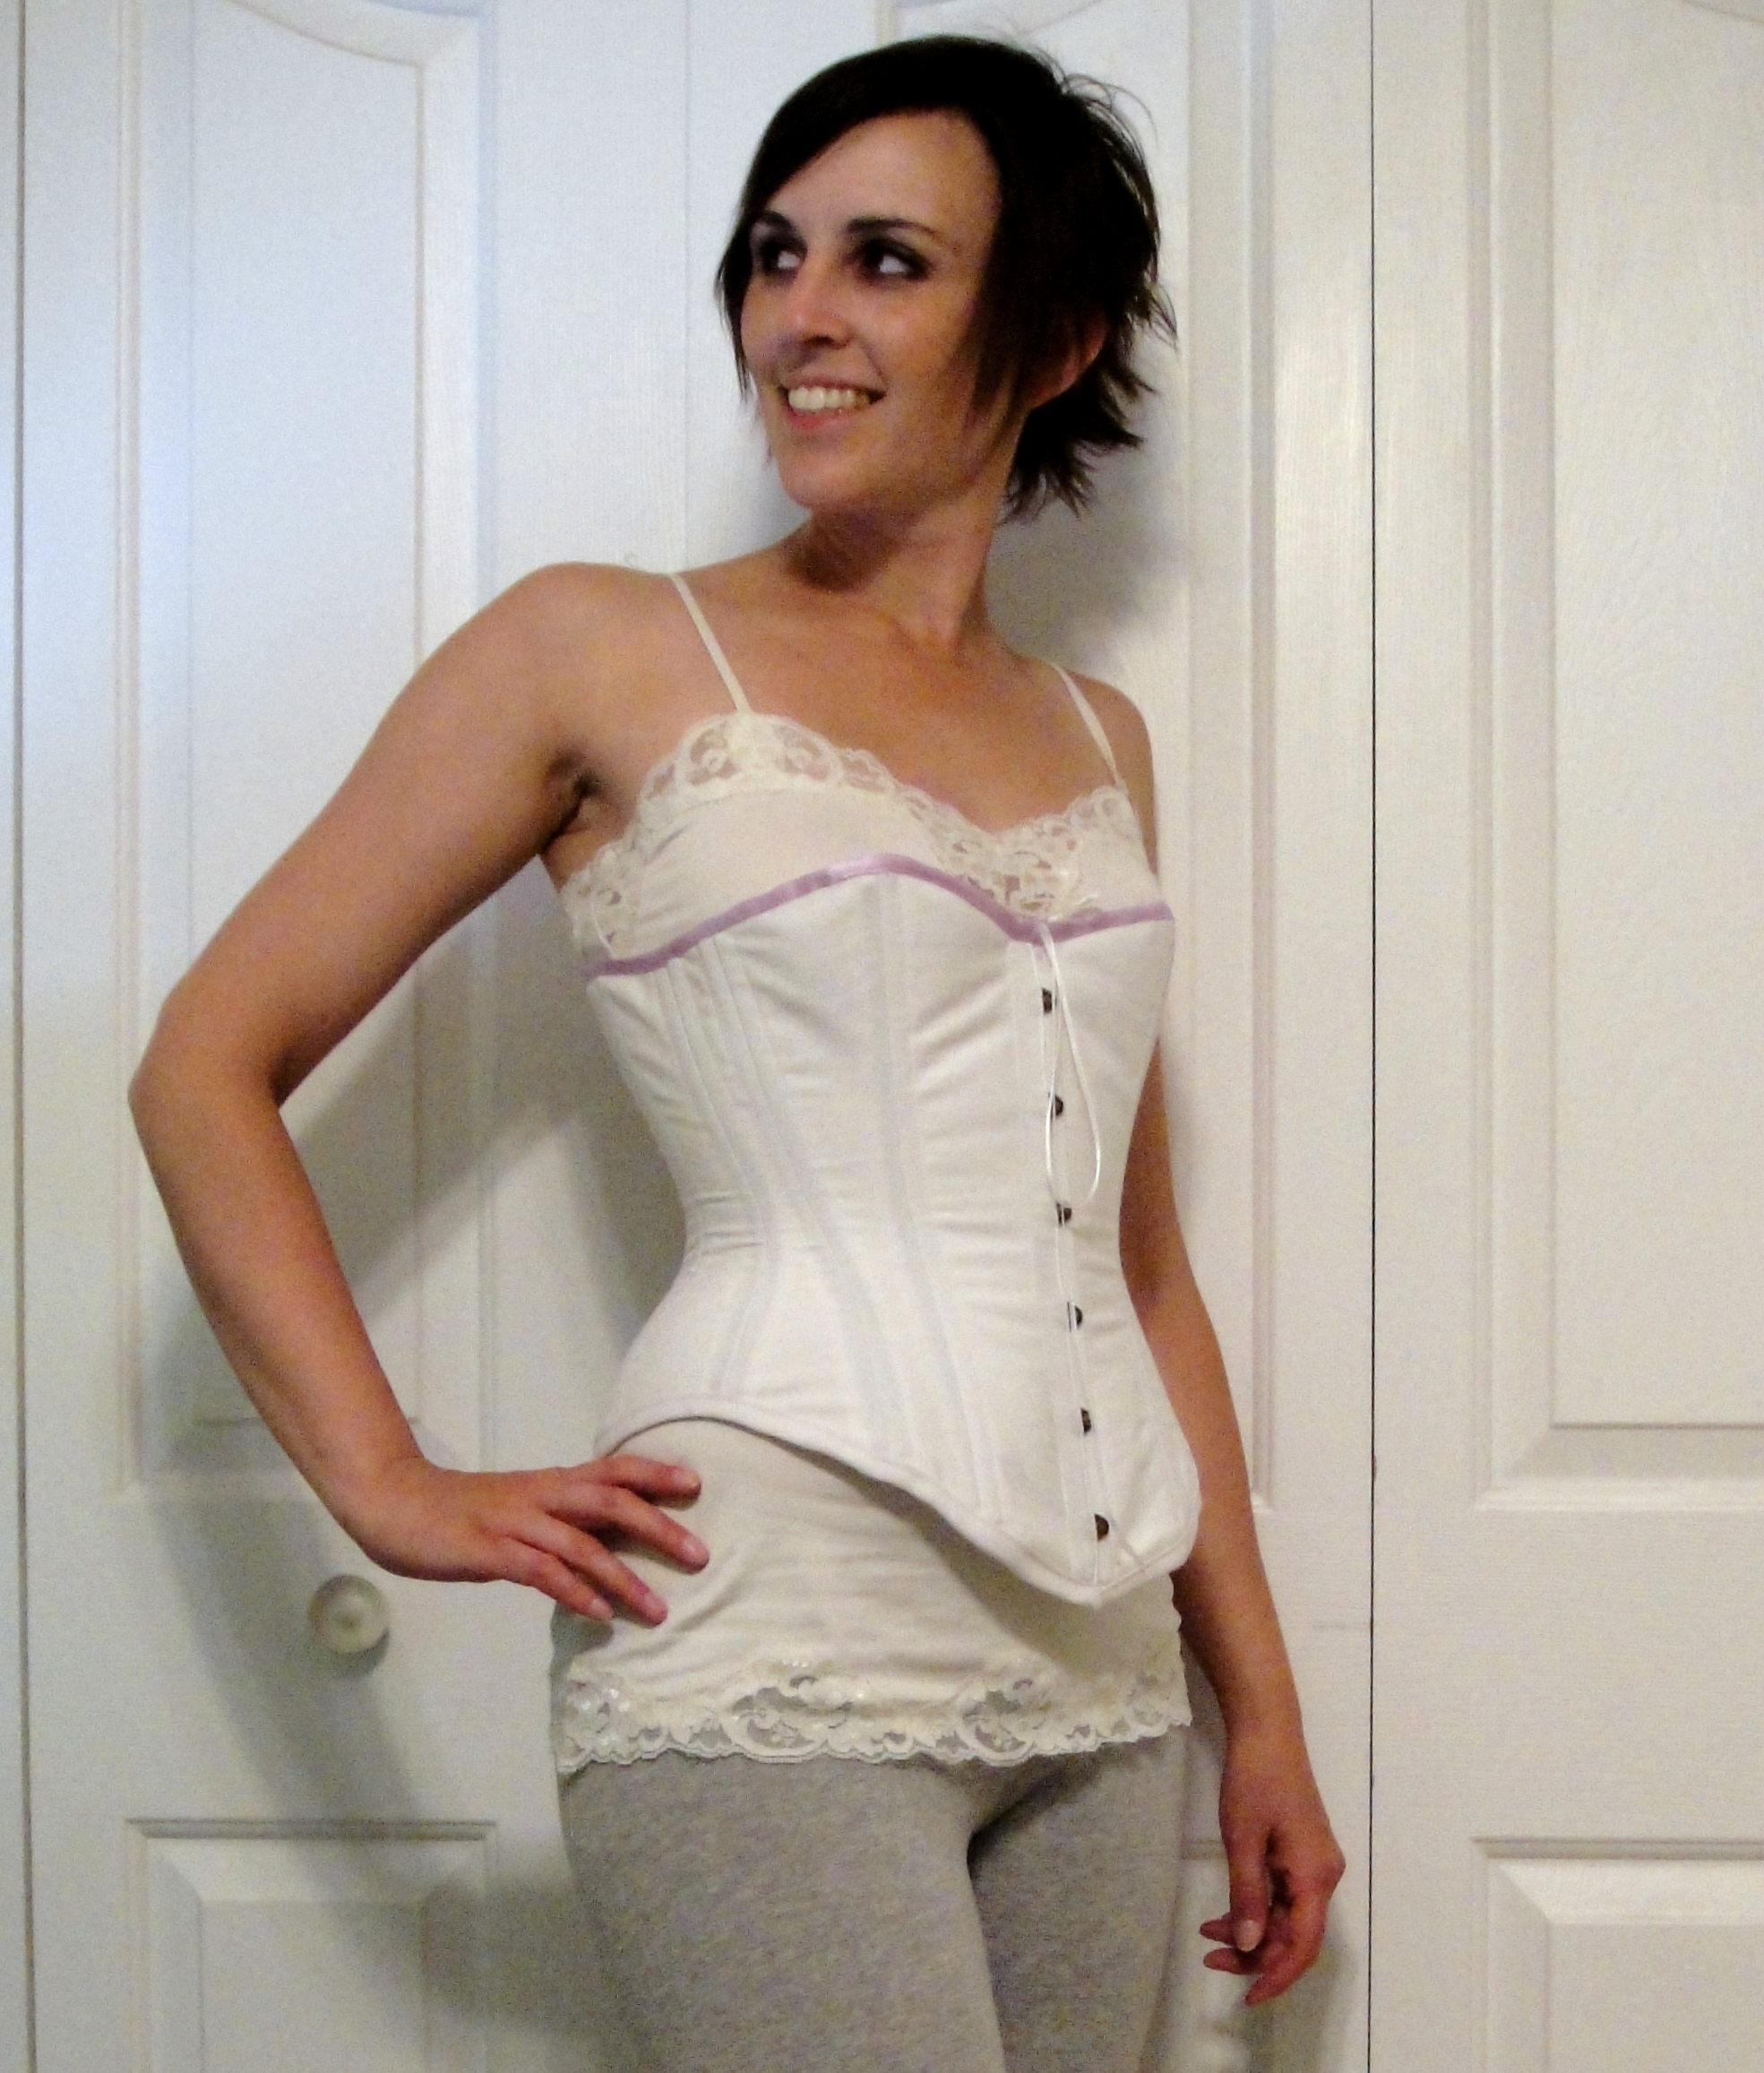
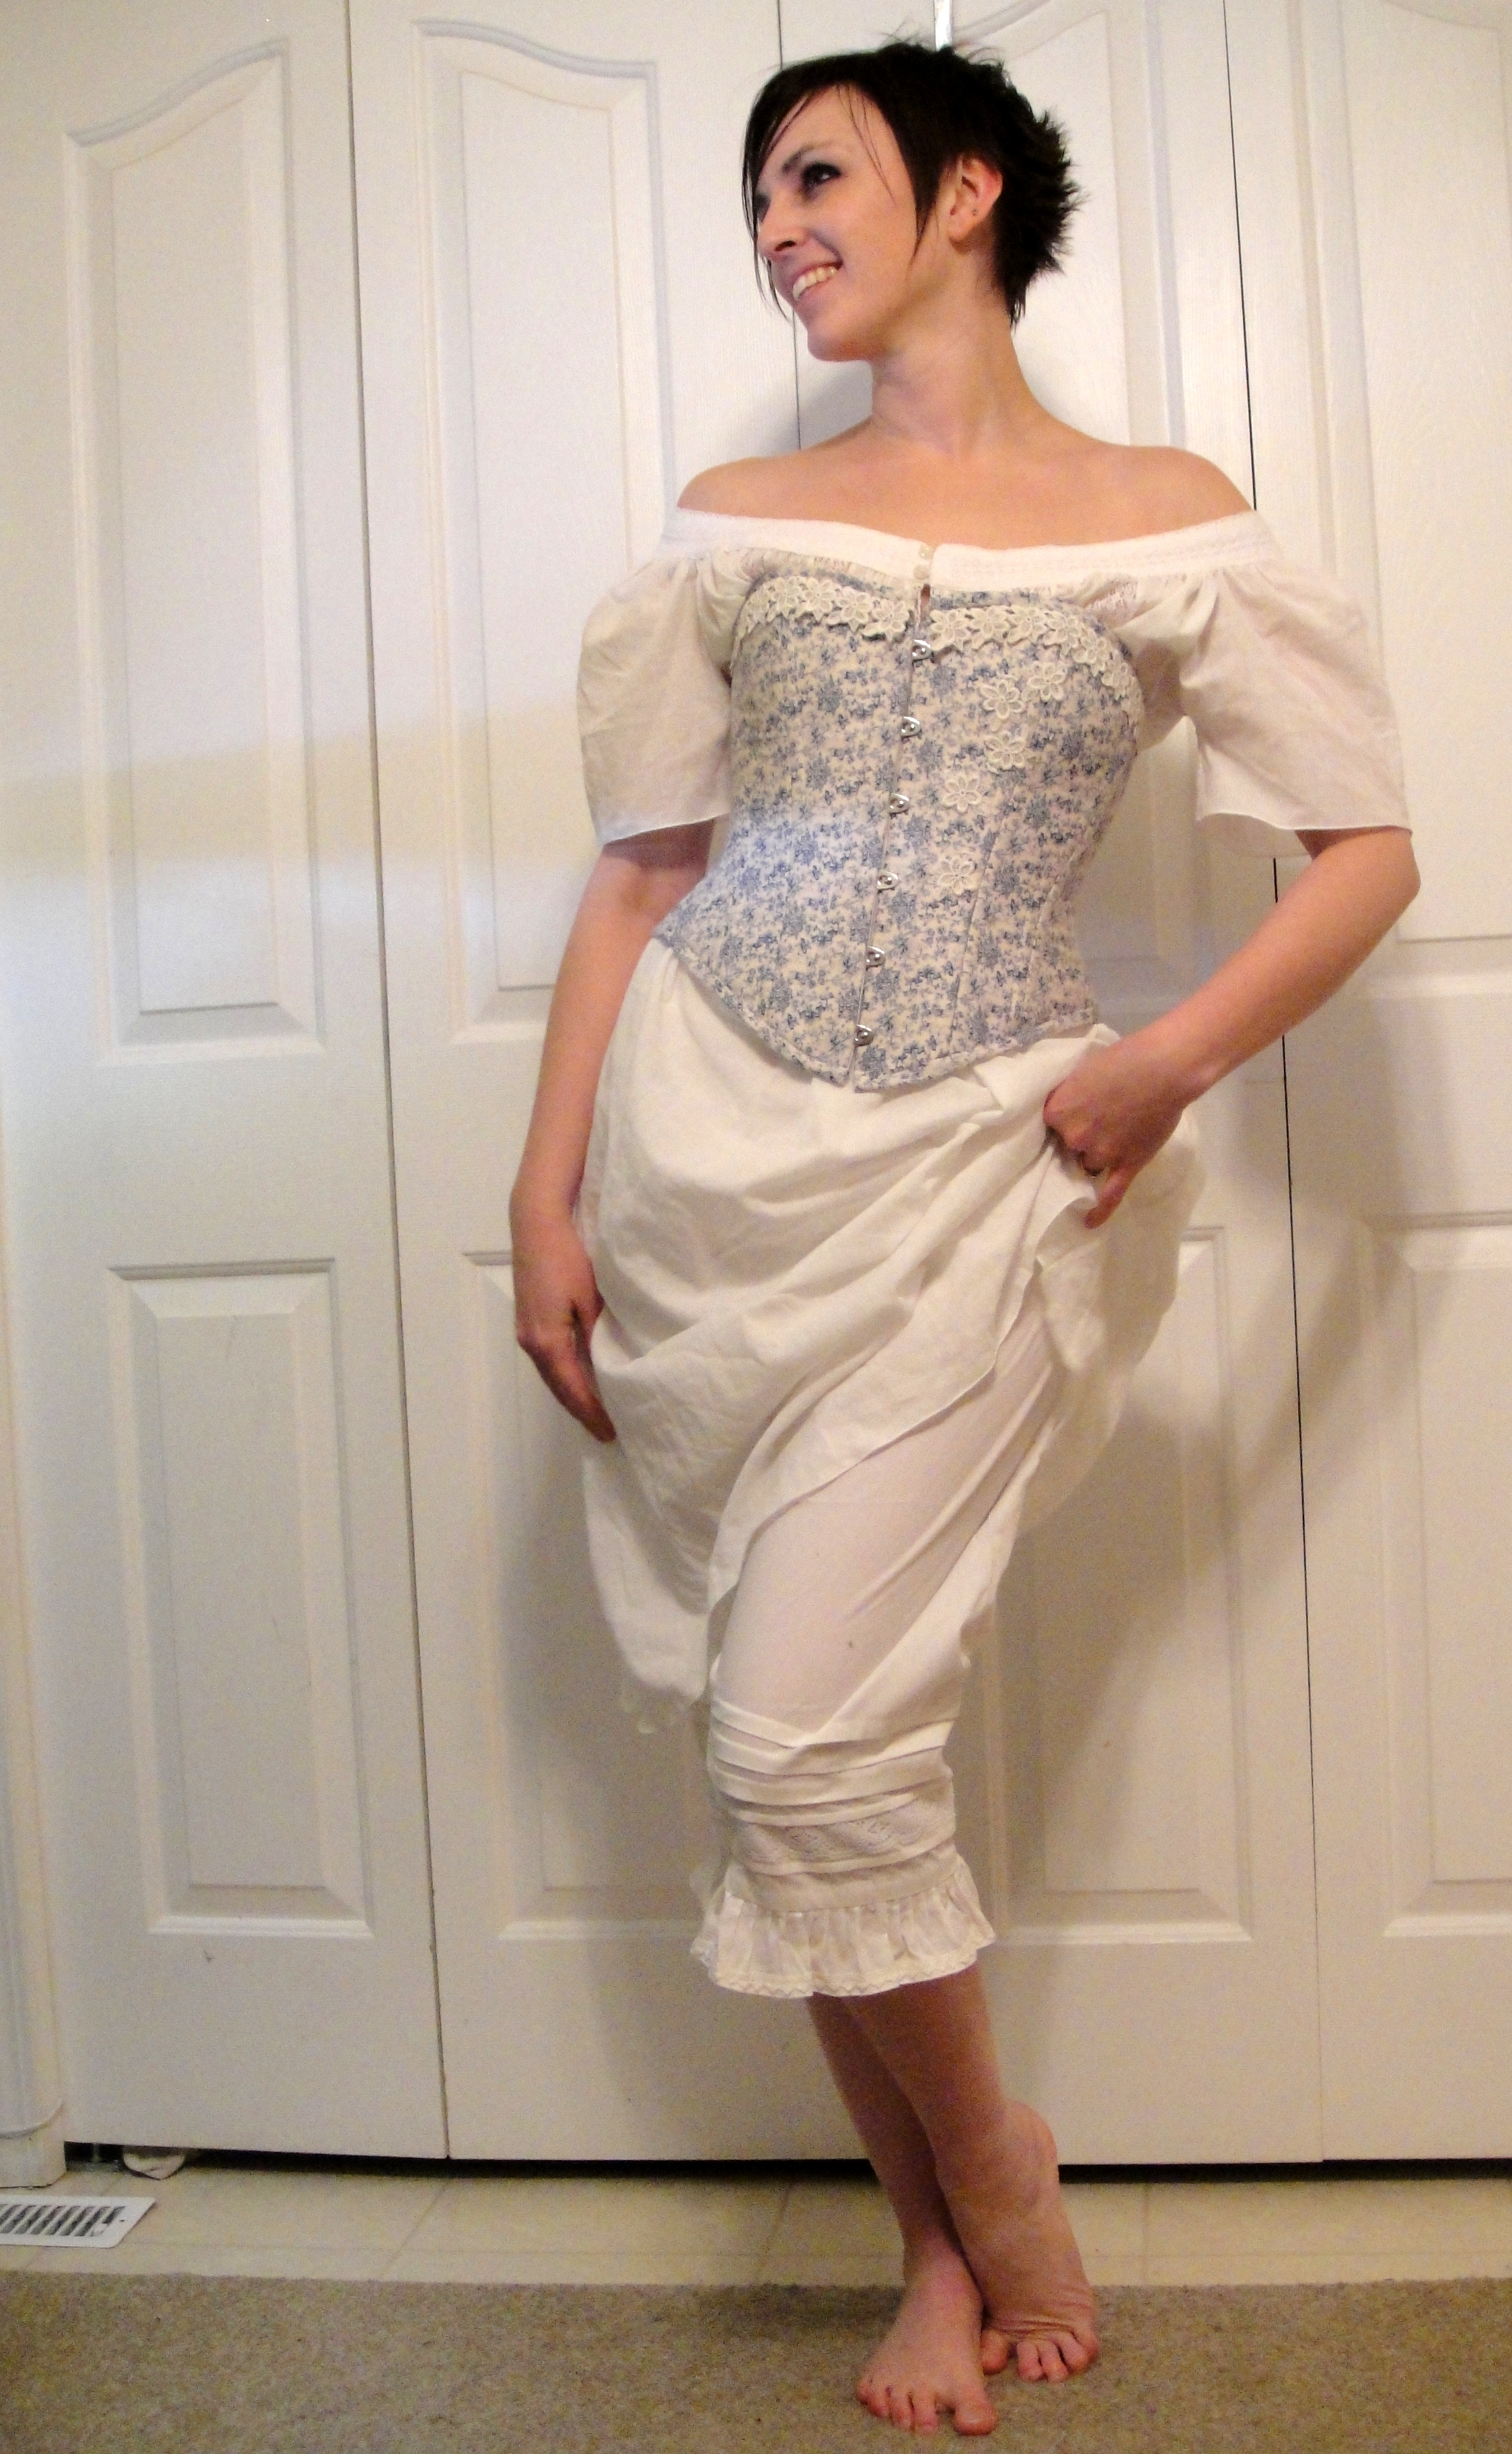
Looking curvy! (by my standards.)
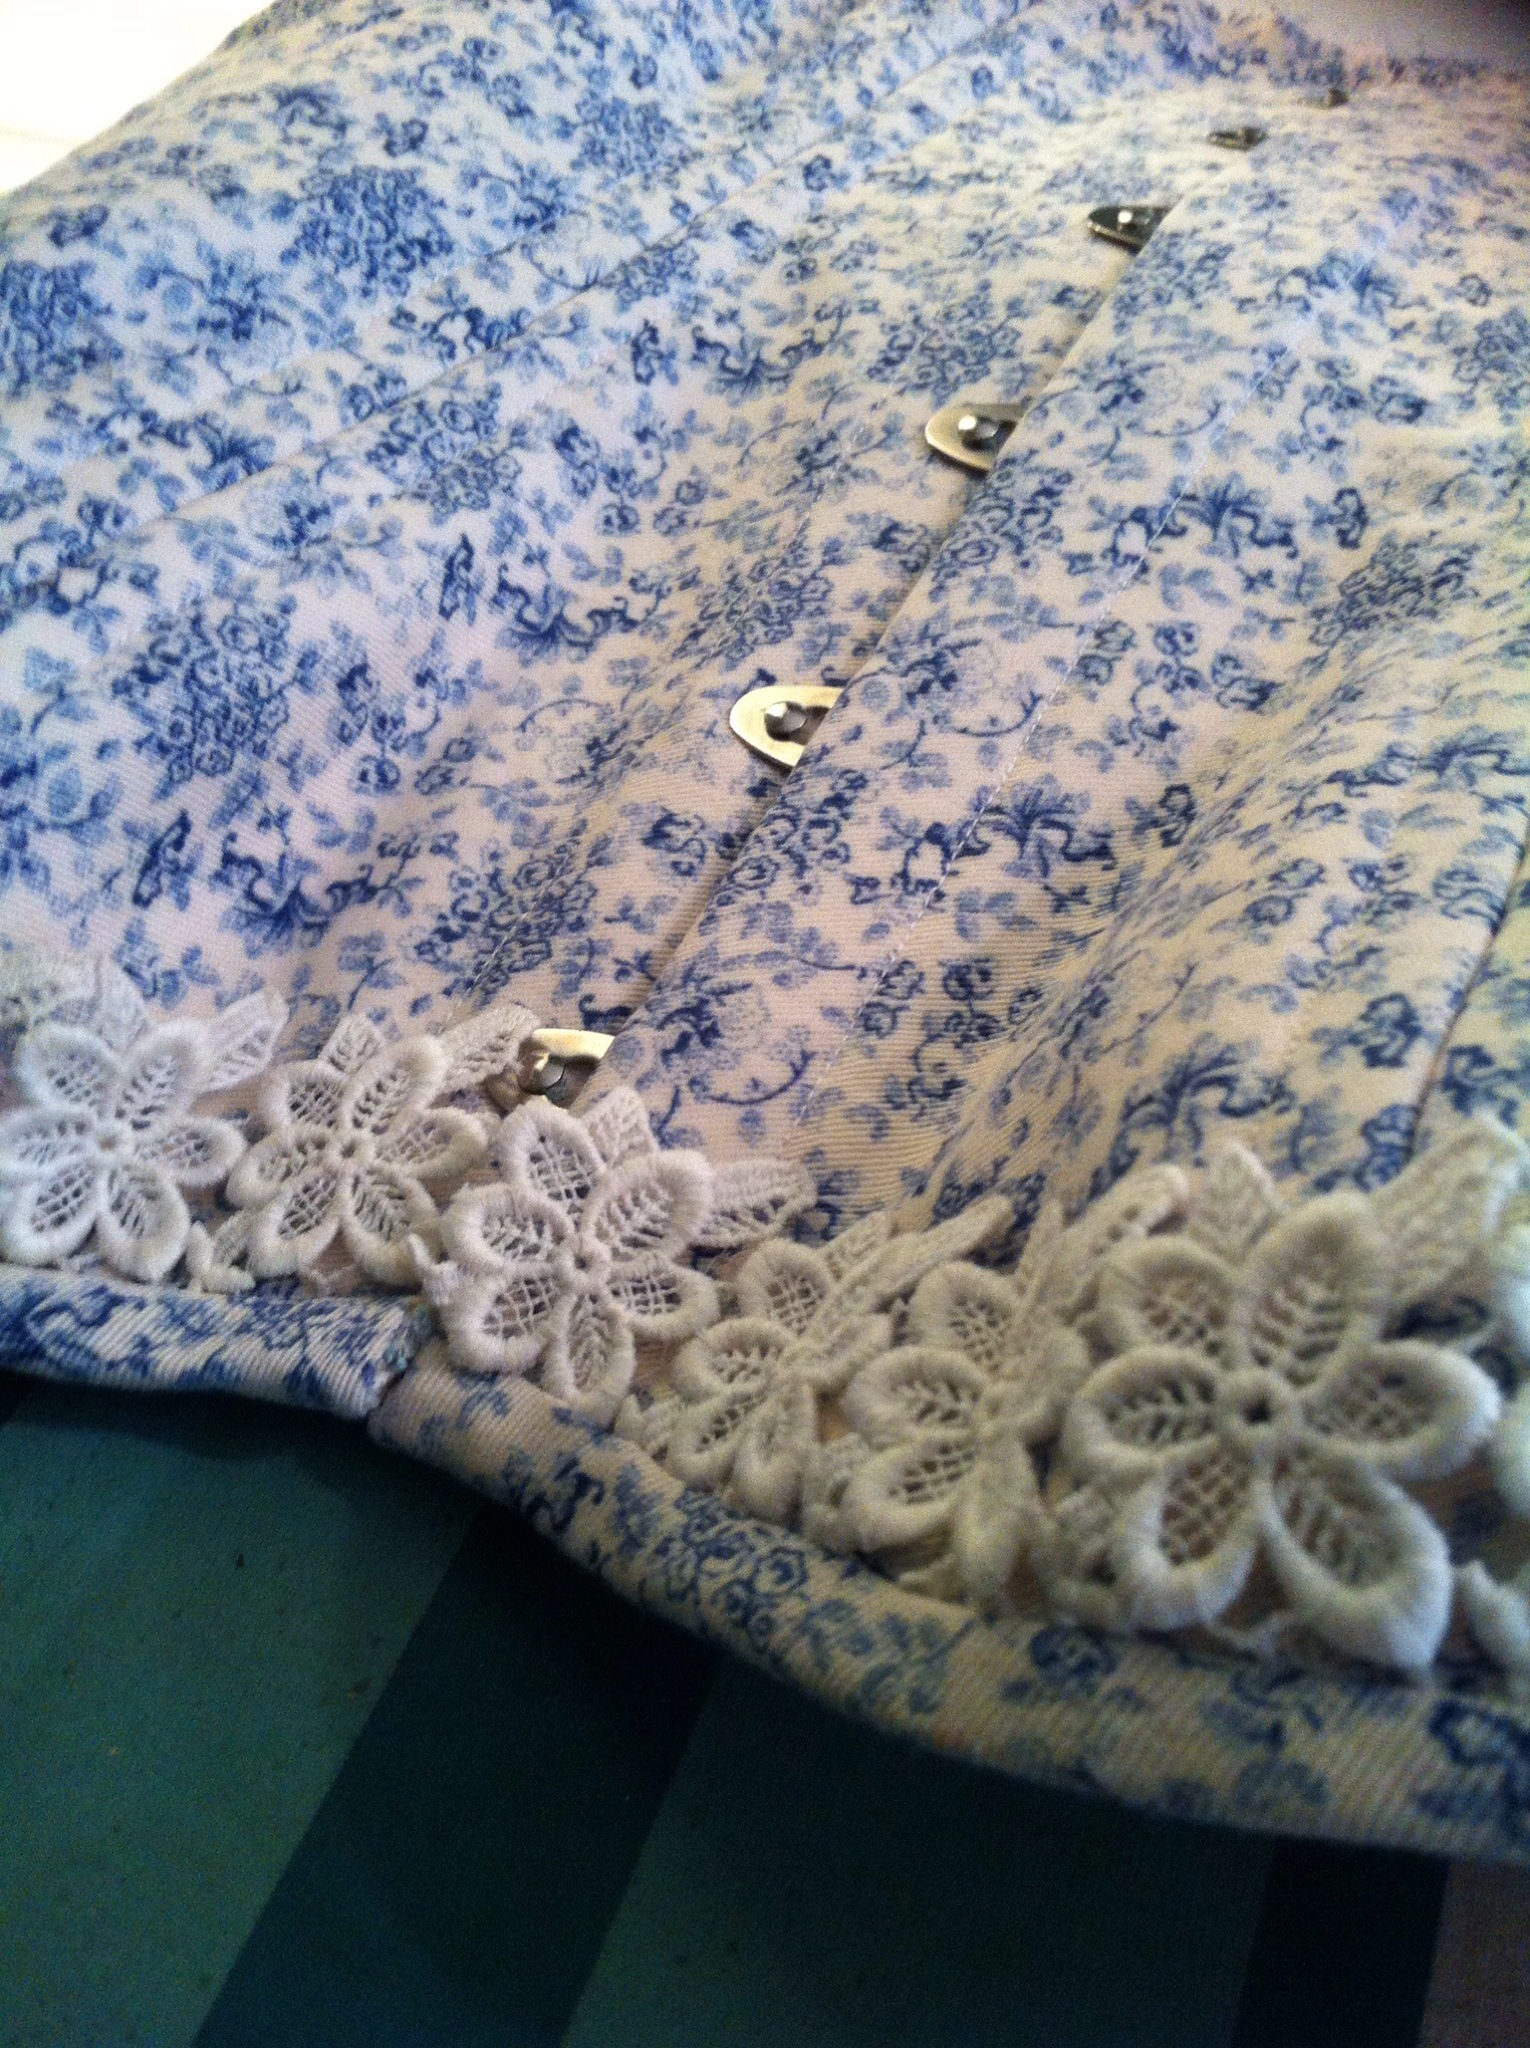
I kind of got ahead of myself in the finishing department, adding lace and binding to the top of the corset. I will probably regret that when/if I do have to re-shape the bust seams. Oh, well. The lace was one of those random remnants that floats about a stash, but there was just enough to do the top of the corset—perfect. (OK, with five flowers left over. I’ll call that perfect.)

More pretty details.
I hope I can make it work once I get to try it on, because I think it’s really pretty right now…

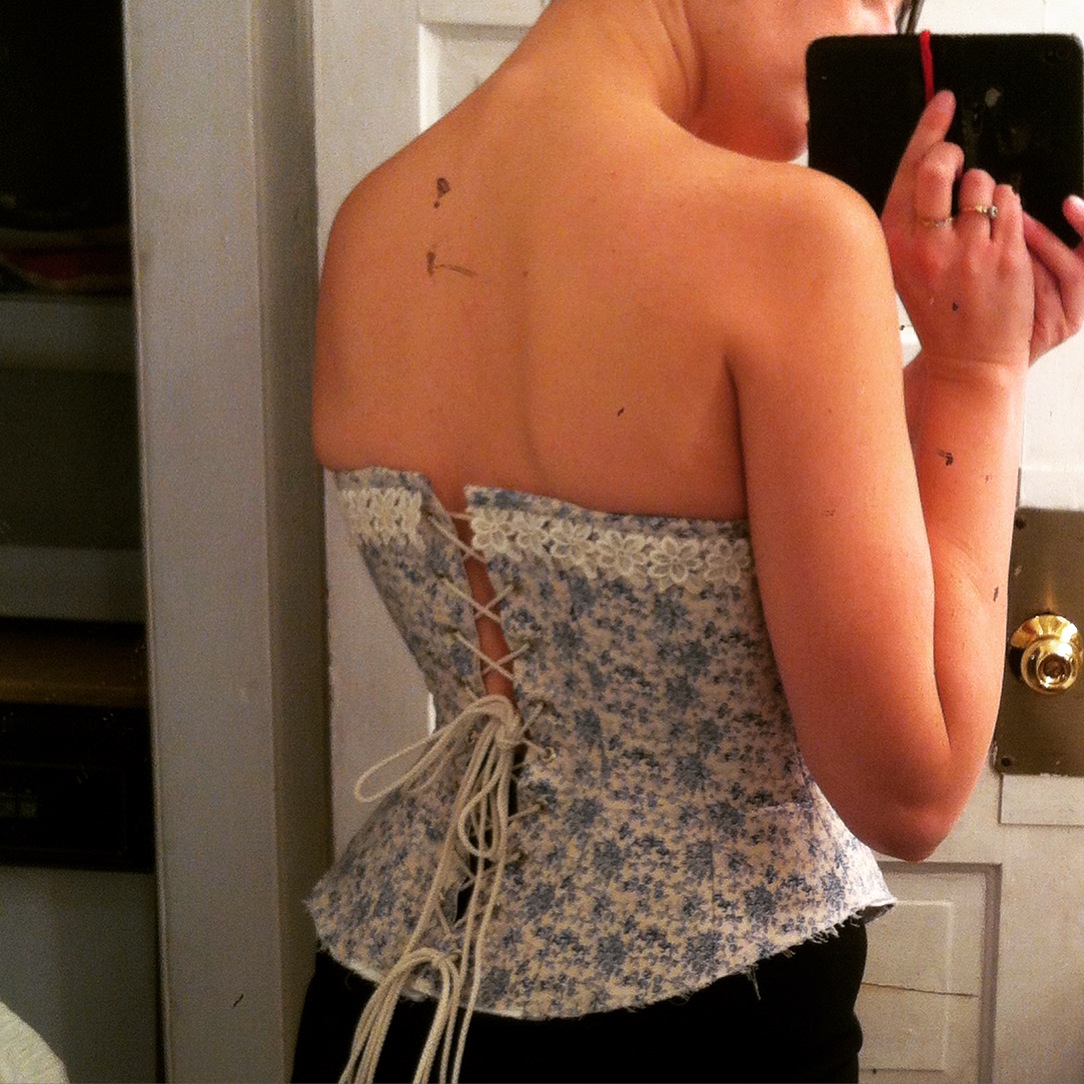
 Of course as soon as I got the antique pink corset I wanted to copy it. If only to get a better sense of how it is shaped.
  This is not such a replica. If anything, it’s a crude approximation, with little of the delicacy and grace of the original. Everything is too heavy—the fabric, the boning, even (especially) the lace. It is excused only by the fact that I REALLY wanted to do a work project with this pale-pink Chinese brocade, because, um, gorgeous.
  The pattern is my altered version of Butterick 4254. The fabric is a Chinese brocade, the strength layer made from ticking. I’m out of busks, so since this is a work project I subbed in something we do carry at work—hook and eye tape. It’s not as pretty as a busk, but a bit more delicate, which is in keeping with the style of the original. It’s also really annoying to hook up, by the way.
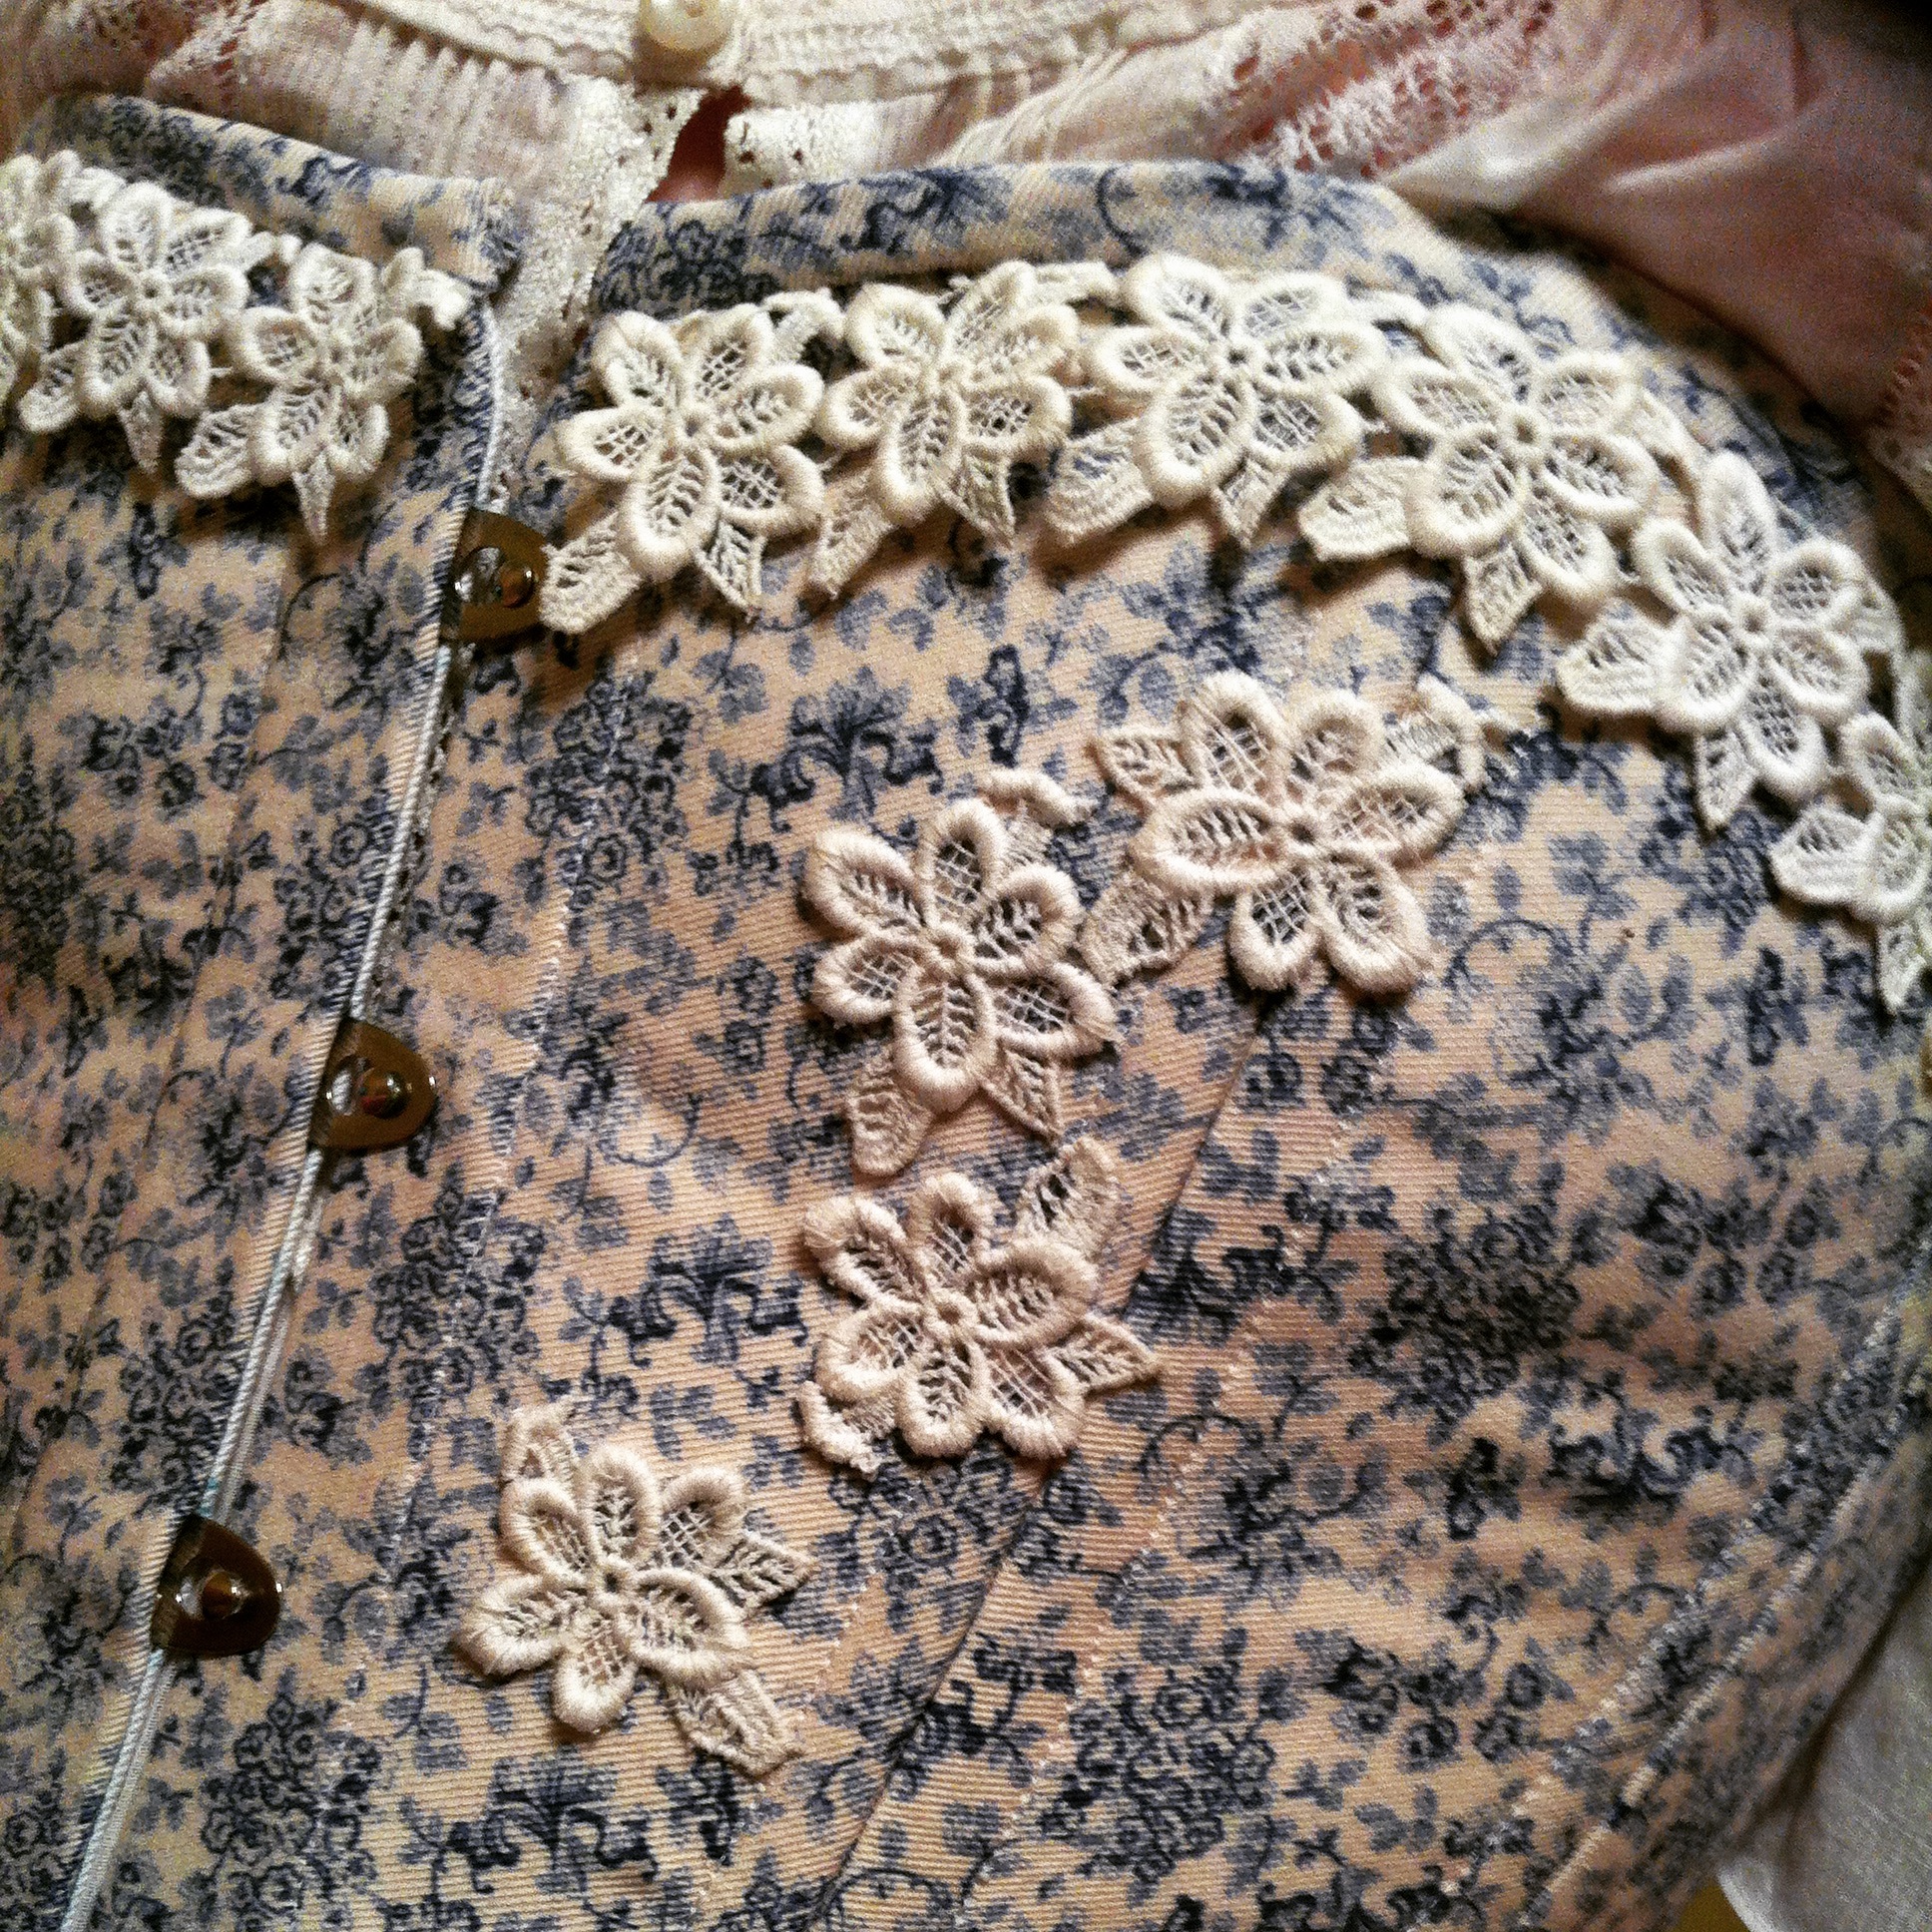
  I made a number of poor choices in the construction, but I will say that the top and bottom lace hides any number of sins, and enhances the Victorian-hourglass impression as well.
 It is growing on me.
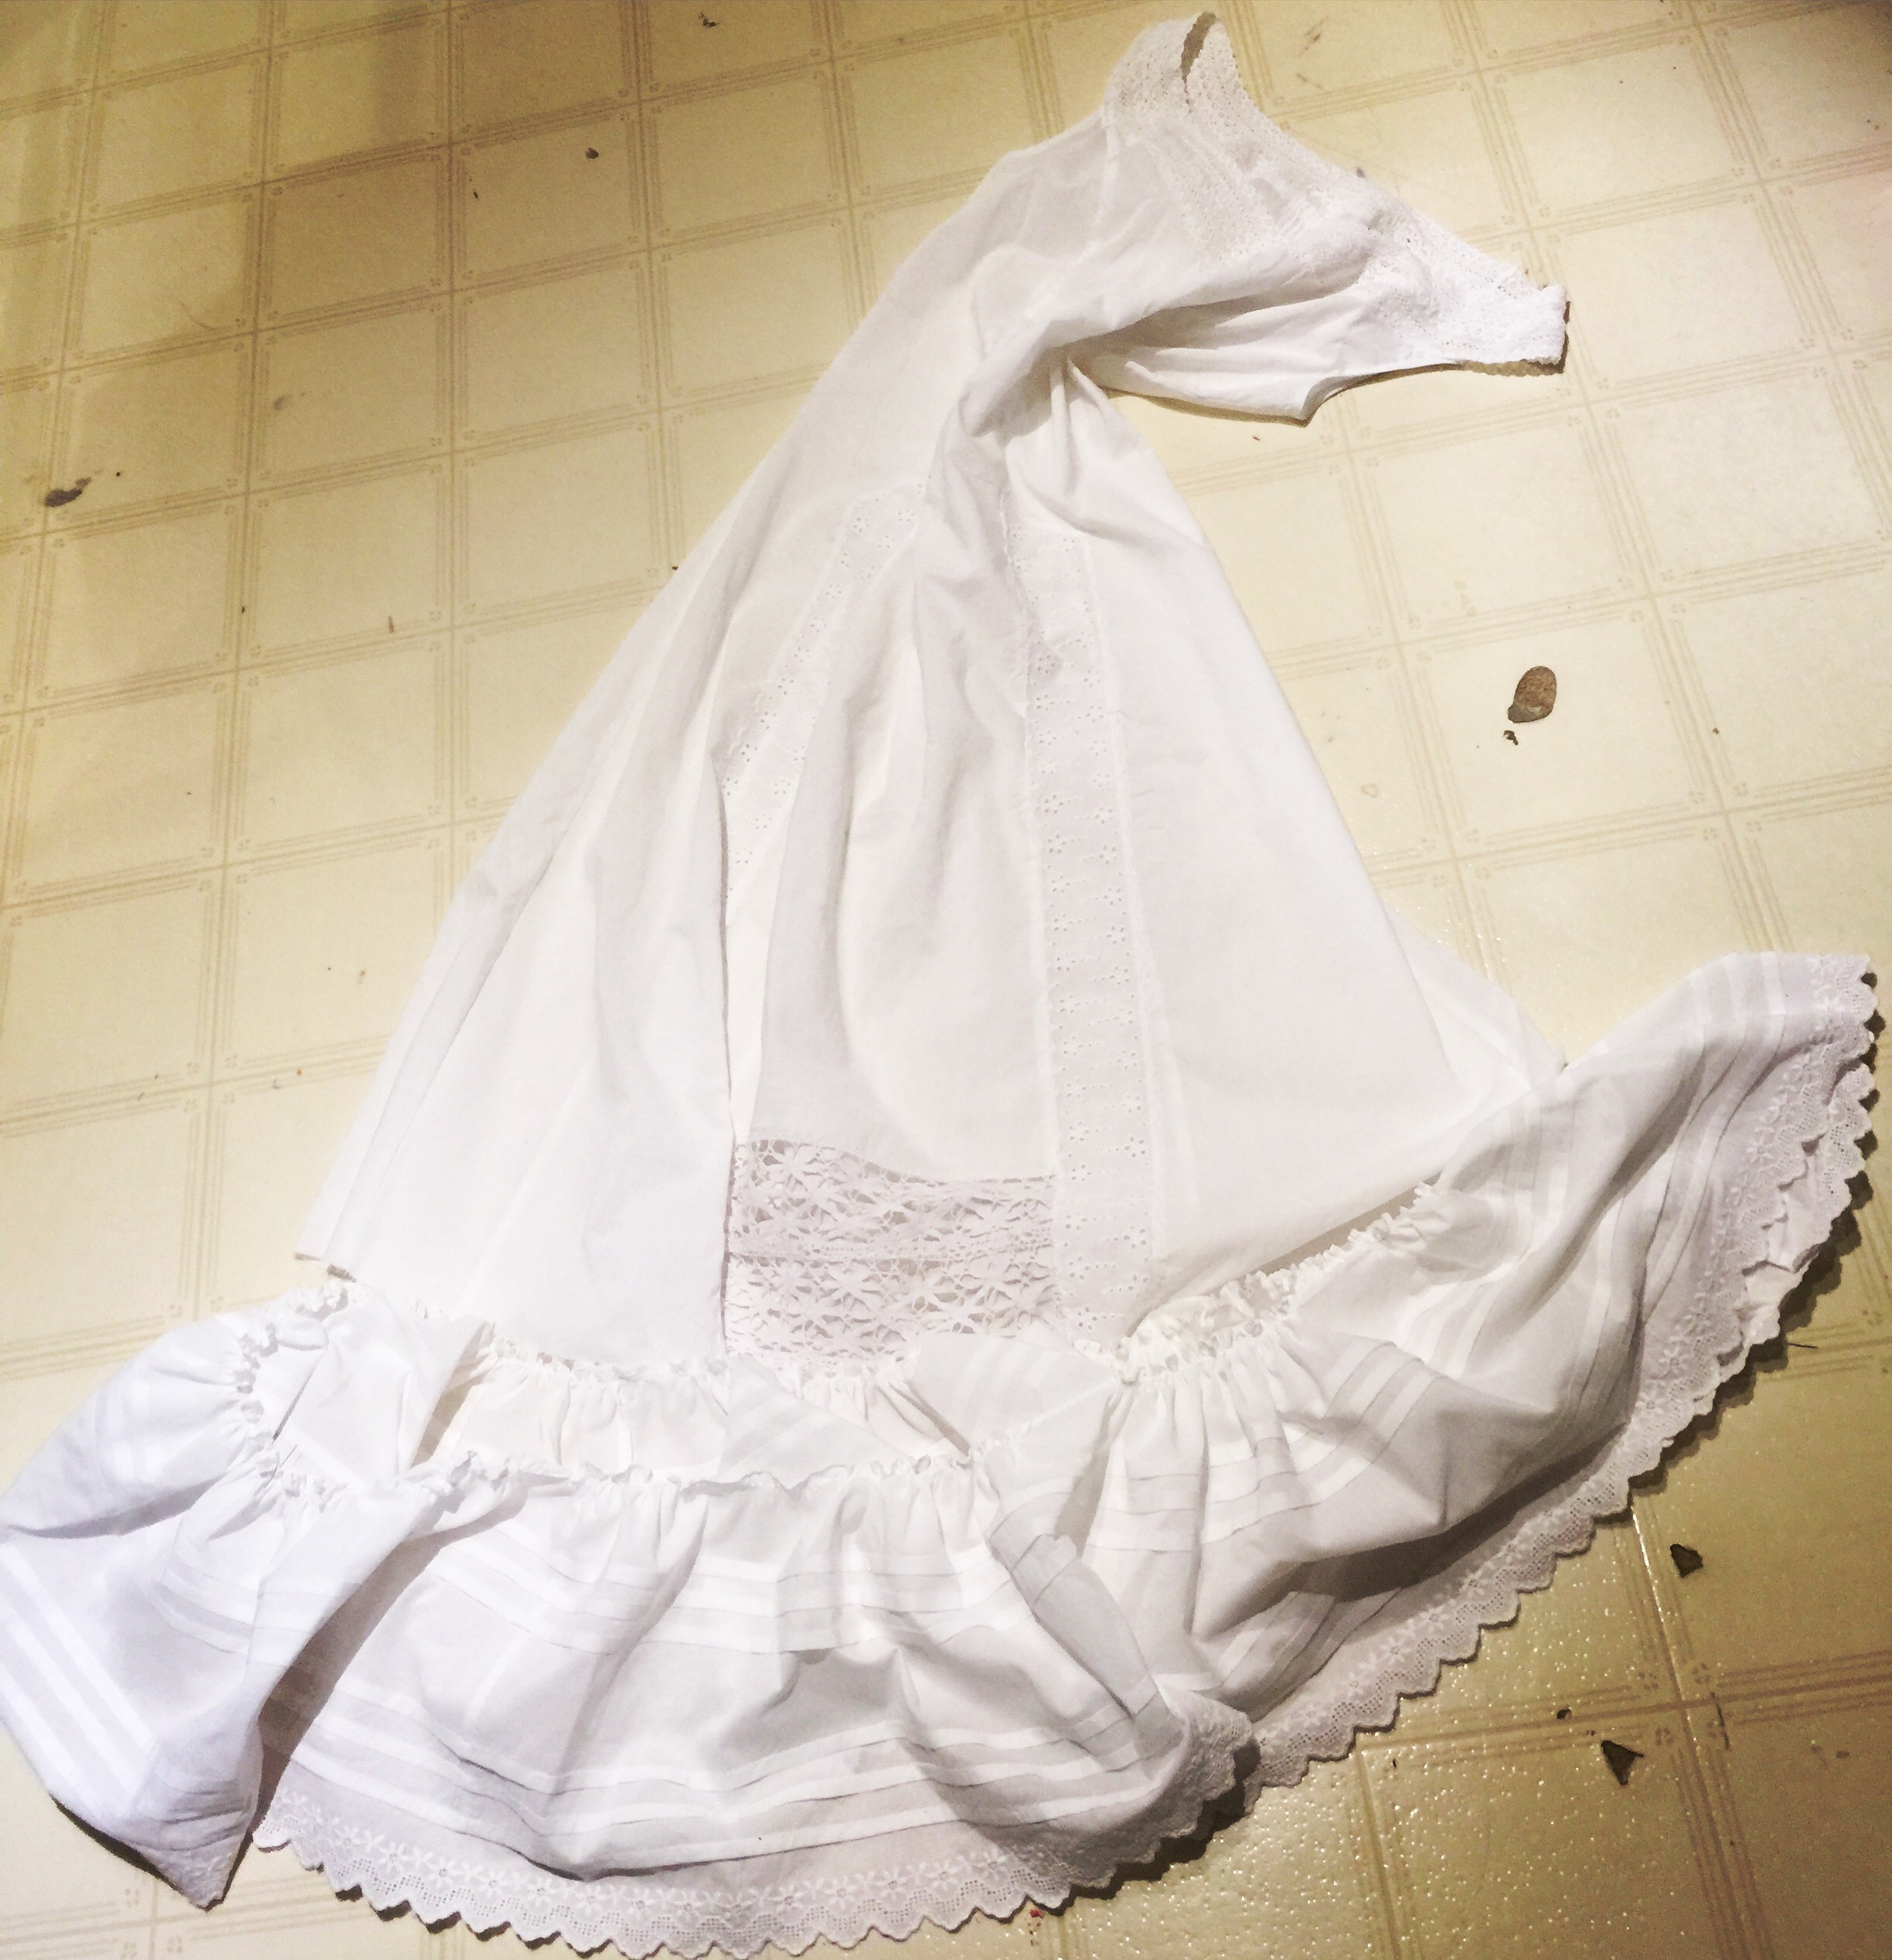 I made a princess-line chemise to go with it, mainly because a corset alone on a display mannequin looks a bit, ah, naked—fine for a contemporary corset, not quite the right look for a Victorian one. I was inspired by originals like this:
 Although I didn’t want to do buttons, because time. Most of the princess-seamed chemises I could find online seem to come from 1900+, but The Home Needle (1882) mentions them so they were around. I couldn’t find any patterns I was super into, plus this is not exactly a proud piece of historical recreation, so I pulled out a princess-seam dress pattern, McCall’s M7189, in fact, though I think it doesn’t matter that much which exact one. I added a bit at the waist so I could slip it in without a closure, and deleted a bit at the top to add the lace neckline and straps—this took some interesting stretching and squishing of the lace to create the curve. There are two rounds of lace and I was completely astonished when it turned out to sit just right on my shoulders.
  Then I tried to save time while putting the ruffle on the bottom by using my ruffler foot to attach it, and had to tear it out three times because I made it too small. Dur!