
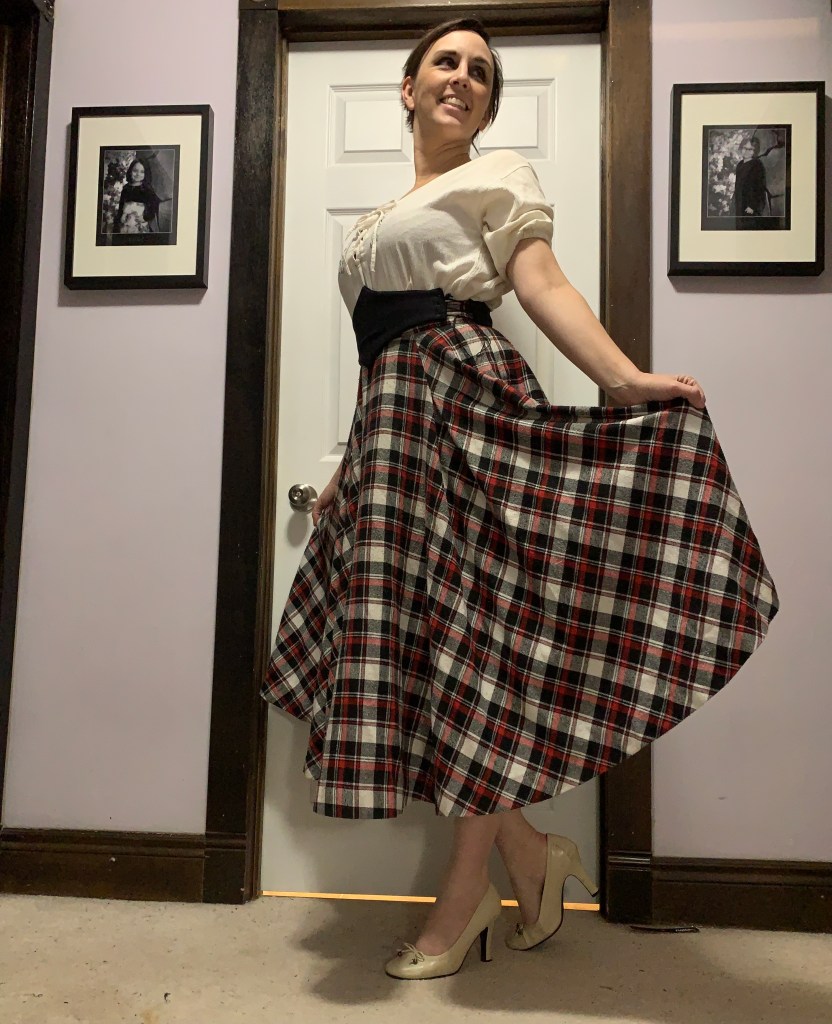
As I toy with historically-inspired and whimsical touches to add to my wardrobe, I decided a modest Swiss waist would be a fun addition, that might make blouses like the shirt refashion something I could actually wear. I’ve never liked how I look in loose tops tucked into a waistband. Or gathered skirts for that matter. It has something to do with the shortness of my not-so-narrow waist. But, the addition of a wide belt can help with this, and a Swiss waist seemed like a very fun way to play with this idea.

This one is inspired by this original and pattern on Koshka the Cat, but definitely scaled down. I also decided to put the lacing on the side instead of the centre front or back, mainly for increased adjustability but also because I couldn’t quite face that many hand-worked eyelets. This choice is probably the least historically-justifiable in the construction, and, it turns out, my least favourite part of this make, but it’s still wearable.
A fair bit actually went into this little thing, not least because I did the vast majority of the sewing by hand. The nice thing about a hand-sewing project, though, especially a little one like this, is that I can pick it up and do a few stitches here and there, while watching TV with the family, whenever the twins are distracted.
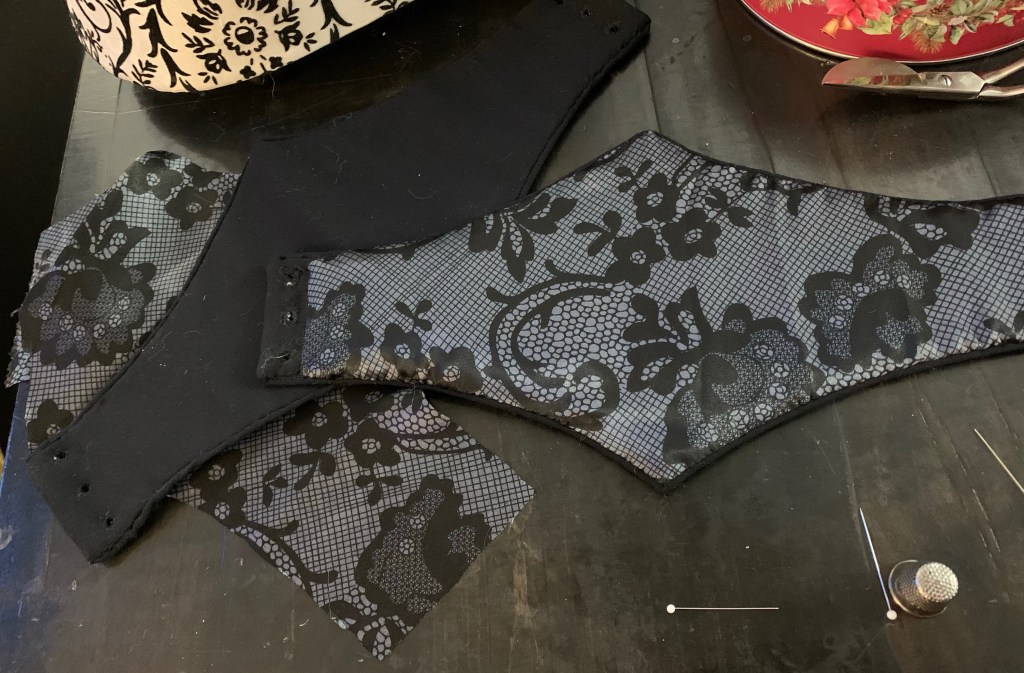
I couldn’t find my cotton ticking (my first choice for light-weight corset-type things), so I went with hair canvas for the strength layer. By some miracle, my hunt for scraps of black fabric turned up the last remnants of my tropical-weight wool suiting used in this dress many moons ago, and there was just enough room in the odd-shaped scraps to cut the main pieces on grain and the bias strips for the piping more-or-less on bias.
I used two layers of hair canvas, stitched to create the boning channels. A bone at each short end to support the lacing and two at the centre, although in hindsight I could probably have done just one at the centre. When I made the pattern I was still debating on whether I would want to have it open at centre front or back, so I marked a boning channel on each side there, and didn’t think about it. I used 1/4” spiral steel boning, which is basically my default, although I might’ve gone with spring steel if I could’ve found my tin snips. (My corset-making box has gotten sorely denuded as I haven’t made one in a long while—the needle-nosed pliers also got plundered for other household tasks, forcing me to hunt down replacements, and my good wire-cutters somehow got switched for larger but inferior ones. All of which added time and frustration to what should’ve been a small and simple project. Anyway.

To give my thin wool a more substantial feel, and cover the scratchy hair canvas more effectively, I added a layer of flannel behind the fashion fabric. I added the piping and then catch-stitched top and bottom into place by hand.

The most annoying part (aside from finding my tools) was making the hand-worked eyelets. (According to the Dreamstress, who is much more of an authority than I, Swiss waists and other corset-type garments as outer wear, never had metal eyelets). Not so much the actual stitching of them, as the making and keeping the holes open through two layers each of wool and flannel, and four layers of hair canvas (since I included extra seam allowance of hair canvas at the sides, to support the eyelets. Fortunately my awl hadn’t gone missing, as I basically had to poke my hole open again after each stitch.

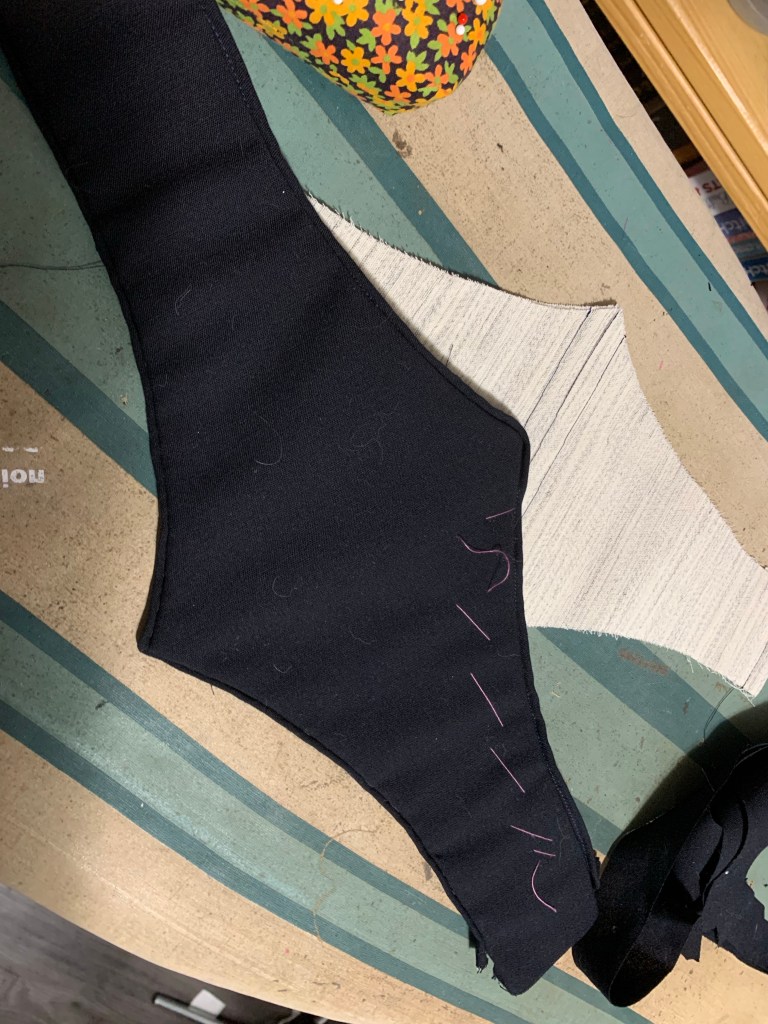
Once those were done, the final phase of adding the lining (which again I did by hand, slip-stitching it in place) was positively pleasant. The lining fabric is a slippery poly charmeuse used originally for lining this jacket (where it made me want to set things on fire) and then again for lining my winter walking skirt, where I merely hated working with it. Good thing it’s absolutely gorgeous. I have about a yard left, but I have to say applying it by hand to the insides of the waist was supremely meditative and satisfying. Maybe I need to only sew slippery fabrics like this by hand.
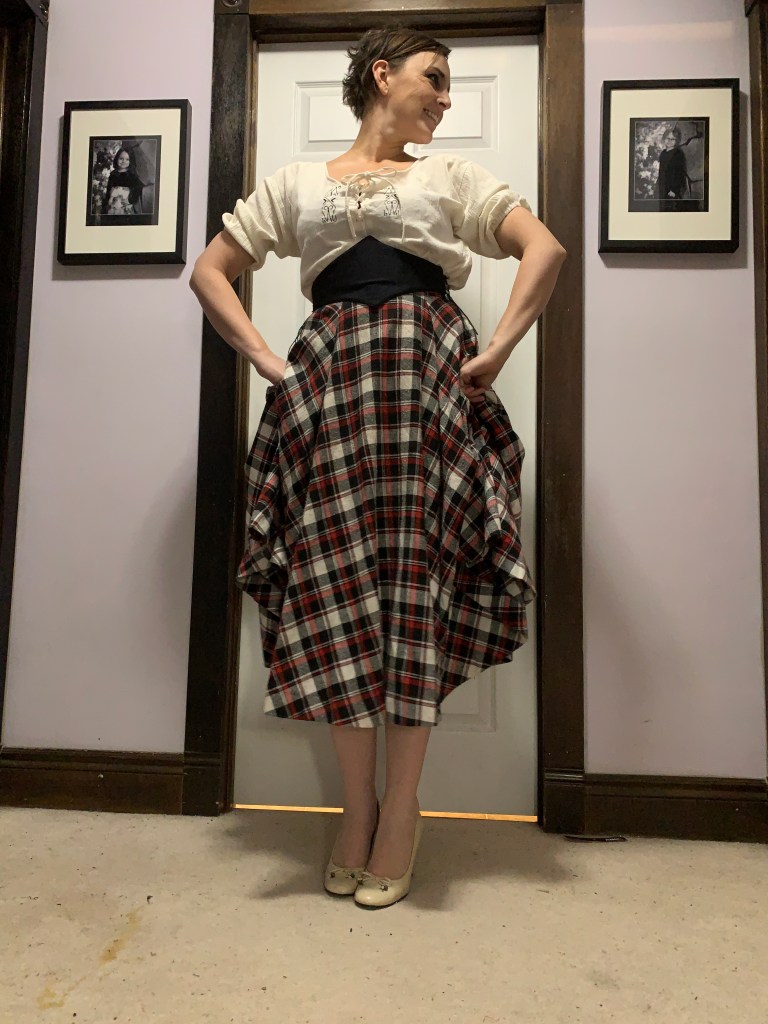
Anyway, the result is cute. The lacing gaps are about the size I planned, but overall look would be better without them. However, I wanted the adjustability. I think it would look nicer with a wider lacing—I was planning a black 5/8” ribbon, but I used up my stash of that on Syo’s grad dress last summer. Not sure if it will make the jump from costume to real-life use, but we shall see!


