
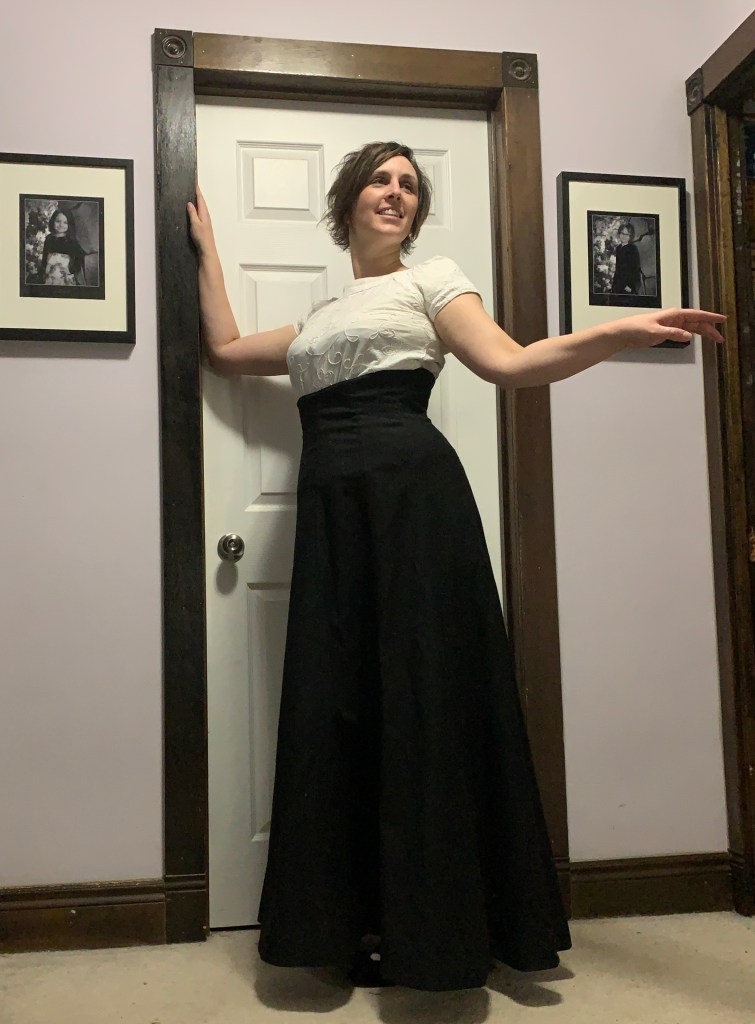
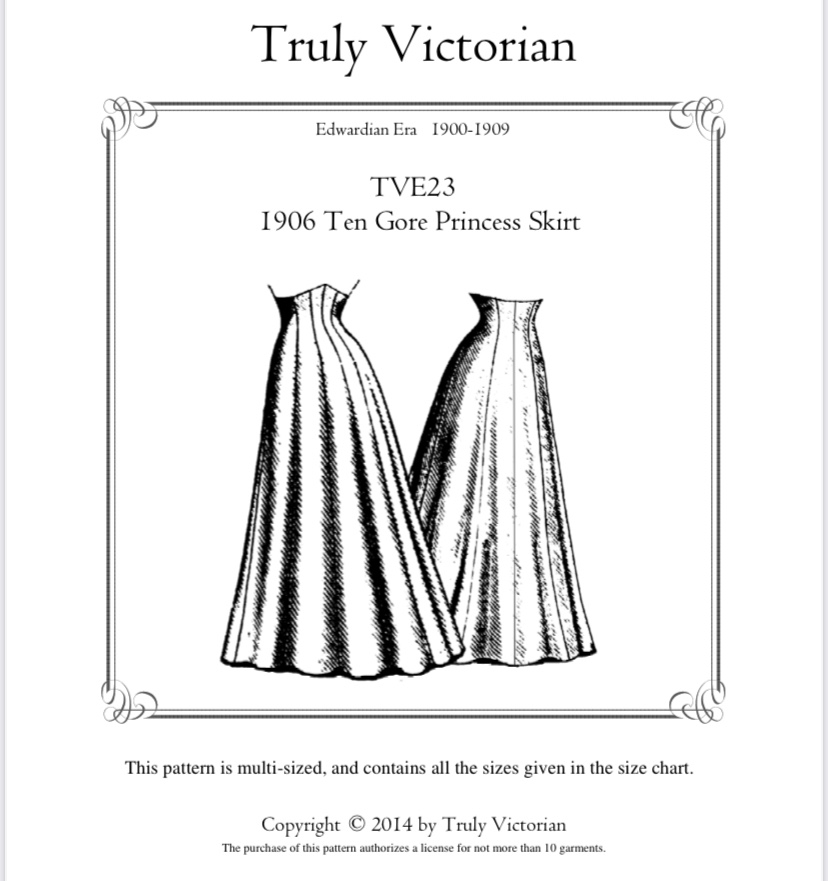
K I’m on a bit of a costuming binge, though a lot of it hasn’t hit the blog due to waiting for pictures (never a smart thing for me to do). Maybe I just like wearing corsets right now, maybe I’m just not feeling mainstream sewing fashion, maybe I actually have enough clothes… anyway. I bought the Truly Victorian 1906 Ten Gore Princess Skirt back in the fall, probably like everyone else who watched Bernadette Banner’s video around that time. I finally got it printed in early December, and over the holidays began very, very slowly poking away at it.
The process began with an epic hunt through the fabric stash. I had a feeling, not even a memory really, that I should have an appropriate length of black suiting somewhere in stash. My (arguably excessive) stash these days lives in a series of clear plastic bins stacked along one wall of my sewing room, and while this isn’t an ideal setup by any means it’s space efficient and protects the fabric from at least some of the hazards of a basement storage space. I usually have a rough idea of where most things are, but in this case I wasn’t even sure that the fabric I was looking for existed.
Anyway, my quest wound up taking me through approximately three quarters of my bins. I (re)discovered a half-forgotten length of black linen, several suiting pieces that would’ve been appropriate except for size, a VERY large length of brocade I had completely forgotten about that wants to become a tea gown of some kind, and several other pieces that would make nice skirts. But then finally, after a couple of hours and creating an impressive amount of mess, I reached the bottom of the last stack of bins (well, technically there were two other stacks, but no way I was tackling them that day)—and there it was. Five metres of soft wool twill suiting, light and drapey and utterly perfect. I can’t describe my exultation.
Anyway, once the fabric was located (and at least some of the mess tidied) the work could begin. I steamed the wool in the dryer. I muslined the lining/corselet pieces for the upper skirt, after doing a small swayback adjustment on the back and side back pieces, and determined (as I expected from the pattern measurements) that I needed to go down a size in the waist. In hindsight I wish I’d gone up a size in the hips, too, because it’s quite fitted over the hips and I always like more room there, but I should probably just let the hip seams out a bit anyway. A small adjustment gets you a fair bit of room when there are ten seams. A slightly larger swayback adjustment might be in order for the next version.

Like most of my sewing this fall (or the last few years) construction has proceeded in incremental fits and starts. I spent a lot of time researching my construction via a number of original sewing manuals, both electronic and paper. Not that there’s anything wrong with the methods the pattern describes, they are historically accurate and in the end my deviations were quite minor.

My biggest curiosity was on how to do the lining. I’ve sort of had it drummed into my head that historical (Western-style) clothes were flat-lined (aka underlined.) This is how Bernadette Banner constructed her lovely version of the skirt. However, that’s not the directions for the pattern, and I was curious about the disparity.
It turns out that in the 1890s, a new method of lining skirts started to gain popularity—the “drop skirt.” This is made by sewing the lining (and materials like taffeta and “lining material” are mentioned rather than cotton) entirely separate as its own skirt/petticoat, or sewing separately then sewing both skirts into the same waistband—aka a modern, free-hanging lining. By the early 1900s, the separate lining is considered the preferred method with flatlining being distinctly old-fashioned, and my 1908 copy of the American System of Dressmaking states the following:

Anyway, eventually I settled on an unlined (except for the waist area) skirt, and hopefully I will make the appropriate “drop skirt” eventually.
To line the waist/hip area I used a heavy crepe-backed satin. A lightweight coutil or heavy cotton might have been better—I thought the black denim I used for my corset was too heavy, and most of the other black fabrics I had around seemed too light. We’ll see how it wears, I guess. On the other hand, having a slippery surface on the inside may come in handy since it’s pretty hard to hook up the back placket behind myself so I often end up turning the skirt around backwards to put it on. I added a tiny red tag to the inside of the front to make it a bit easier to make sure I end up with the right seam in the right place.
I considered binding the seam allowances, as would have been period appropriate. Then I serged them. I didn’t make a lot of concessions to speed in this project, but I feel like I’d still be binding seams if I had take that route. Sometimes speed is just what you need.

I added piping to the top edge as I thought that would be a nice touch, and it is, except for the part where it’s almost invisible since it’s black and this will probably mostly be worn with blousy tops that will cover it anyway. There is a narrow bias facing sewn on the inside of that to finish the top. Potentially it might have been easier and less bulky to just use a wider bias tape for the piping and use that for the facing, but having a bit more structure at the top of the skirt also doesn’t hurt. It is VERY bulky right around the top hook, though, despite some very aggressive trimming of the seam allowances in that area.

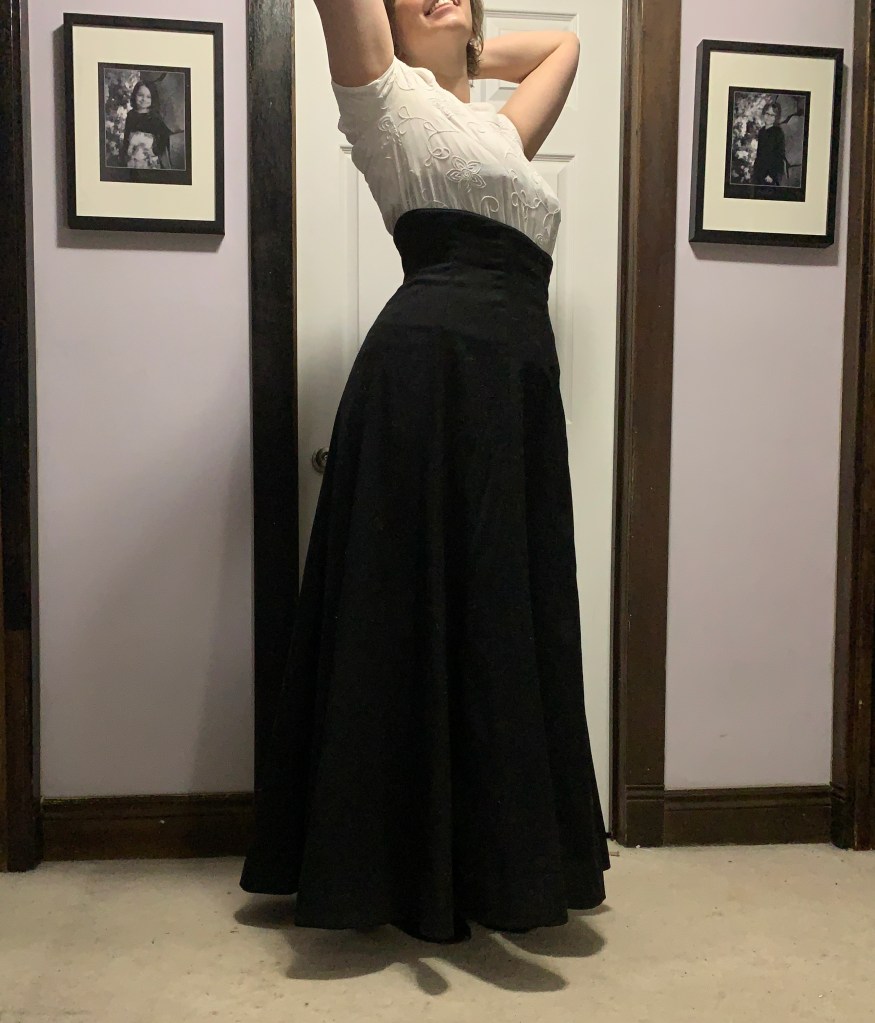
I added a piece of spiral steel boning to each seam, more or less the length of the inner corselet/waist lining. This keeps the portion of the skirt above the waist from folding down, and smooths over the upper hips, but it did also cause the skirt to stand out from my corseted waist in a way that the un-boned skirt hadn’t. I added a waist stay to combat this effect, but I’m thinking that either the waist shaping wasn’t an adequate match to the corset or my fabric + lining combo still has too much give. On the other hand it means that even though the skirt was cut with corset-wearing in mind, I can wear it uncorseted as well.

The pattern calls for a bias hem for the facing, made out of self fabric. I wanted to add a velveteen binding to the bottom of my skirt. long story, but basically velveteen seems to have been a material of choice for this purpose. Or braid. I do actually have a length of vintage braid that I think must be similar, but it is only about 3m long and the skirt requires over 5m, so that won’t work. But I did have a lovely little remnant of black velveteen, that turned out to be just enough for what I needed.

Most of the descriptions I read of the velveteen have you apply it after creating the hem, faced or otherwise, but one from 1903 mentioned how the velveteen could serve as a facing. Since the pattern calls for facing the hem anyway, that’s what I went with. And also I’m a lazy 21st century person disinclined to hand stitch around a hem like this three times, which seemed to be what most of the descriptions called for. I will say, intentionally rolling a facing out so that 1/16” of velveteen showed at the bottom of the skirt felt VERY unnatural, and there are definitely places where it doesn’t show as much as it probably should. Will I go back and fix that? I’d like to say yes but, um, probably not.

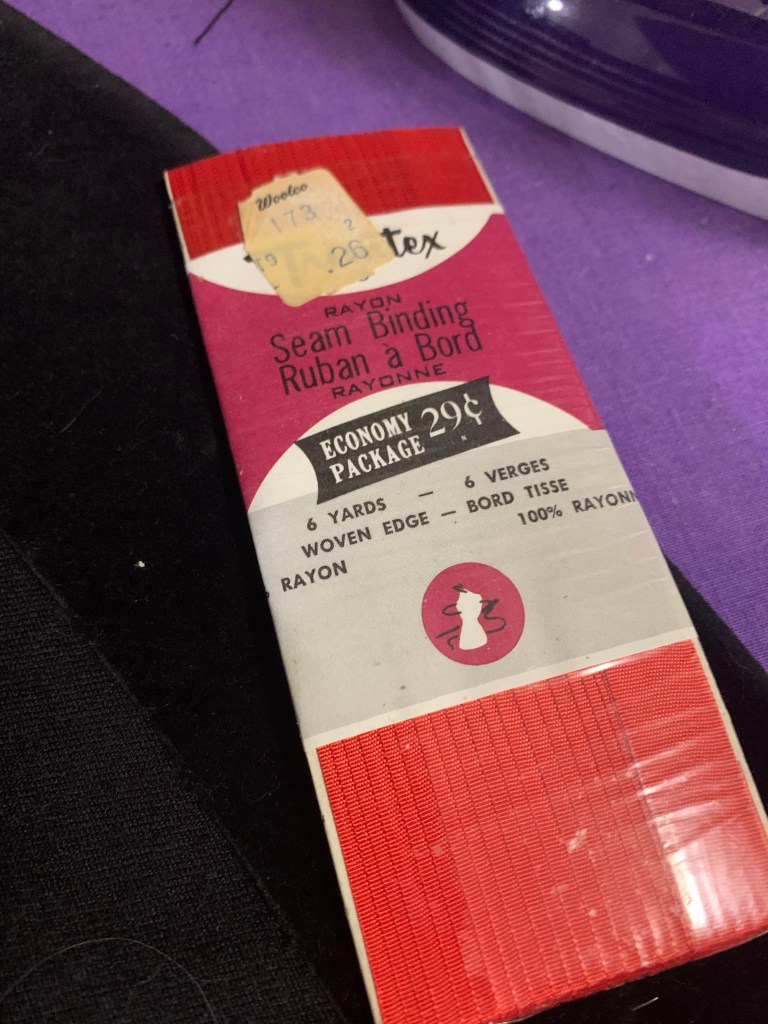
I wasn’t sure how to finish the top of the velveteen, but eventually decided I didn’t want the bulk of folding over the hem. I didn’t have 6 yards of black seam binding in stash, but I did find a rather lovely red vintage rayon seam binding, so I went with that. It did NOT like being sewn to the velveteen, and stretched it out terribly, despite my best efforts, so it’s incredibly wrinkly and gathered in the final skirt, but I don’t hate the effect.
So the pattern is drafted to have a finished length of 41” at the front, from the waist down. My measurement was 42”, so I added 1” to the skirt length all around when cutting. Now I’m not sure if it’s just that my soft wool fabric is prone to stretching, but when it came time to hem I wound up turning up close to 2”… so I could most likely have saved myself that added effort and fabric. Oh well.

Anyway, I’m super happy to have this in my wardrobe, hopefully bridging the (ever diminishing) gap between costume and everyday wear. Before the twins I had a black wool gored skirt made from a 1970s Burda pattern that was an absolute workhorse, and I have missed it sorely. The only thing this skirt is lacking is pockets, which I may yet decide to add… I don’t want to interfere with the gorgeous line of the hips, but I really, really like to have pockets at work. Next: definitely need to start planning a lacy blouse to go with.


I love this. Very flattering silhouette. Is it heavy? I kind of hope it is, in a good way.
I’d say satisfyingly so—not nearly as heavy as some other costume skirts.
I enjoy seeing all your creations and thought you would enjoy this woman’s site: https://www.facebook.com/missastadarling https://www.facebook.com/missastadarling She makes a lot of Victorian era clothing.
Have a nice day!
Jeff L. >
Thank you! I will have a look.
🤩 gorgeous! I also love the little pop of red on the inside. It’s like a happy secret. How does it swish? It looks like it should swish and twirl deliciously. 😊
The red is fun. The swish is amazing.
Fabulous! I love the extra research about flat lining vs. dropped skirts – it’s really interesting to see how techniques changes as technology changes and fashions changed in that era. Can’t wait to see this look with a lace blouse – it will be amazing!
Yeah it was fun to look into—even if I ended up just following the pattern! 😂
Pingback: Pixie’s Blouse | Tanit-Isis Sews
Pingback: Persis-tence | Tanit-Isis Sews