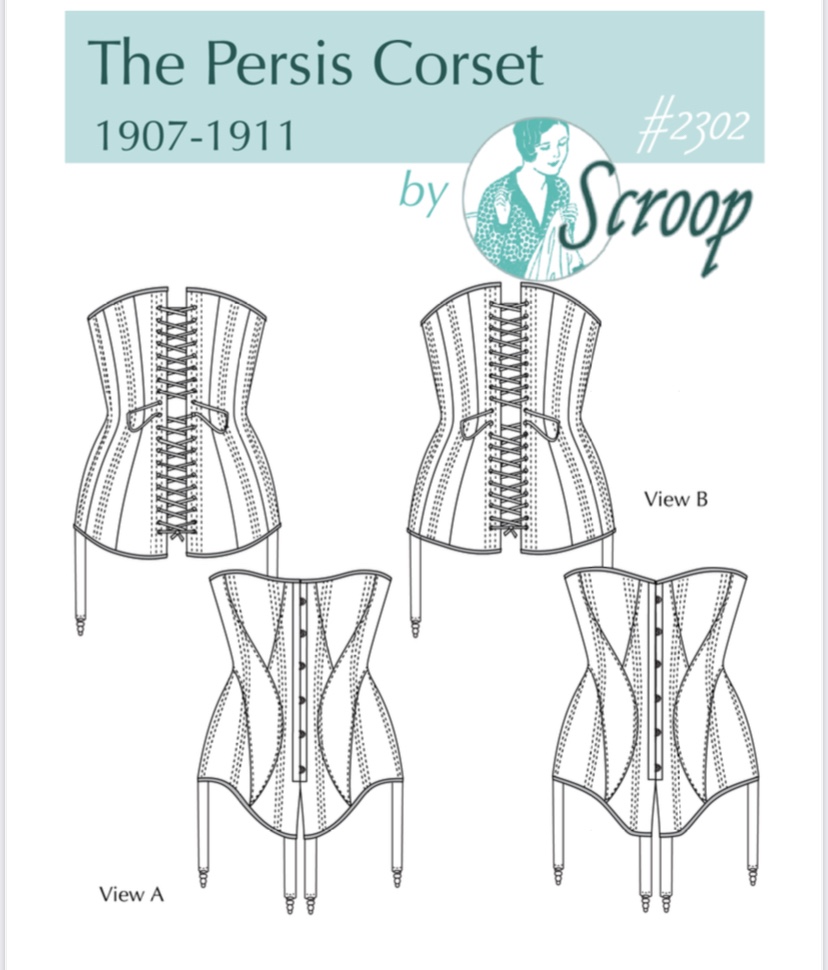
I fell hard for the Persis Corset by Scroop Patterns the first time I saw it, in the call for pattern testers back in the early summer. I put in my name to test (something I don’t think I’ve ever done before!) but sadly got declined. (In hindsight, I think I’m the same size as the original draft. So, um, probably they had that size tested already.)

Anyway, when it finally came out in about August I bought it most promptly, and ordered a metre of lovely grey coutil from Farthingales…
And then I did about five other projects, but really, in the grand scheme of things, not too much procrastinating.
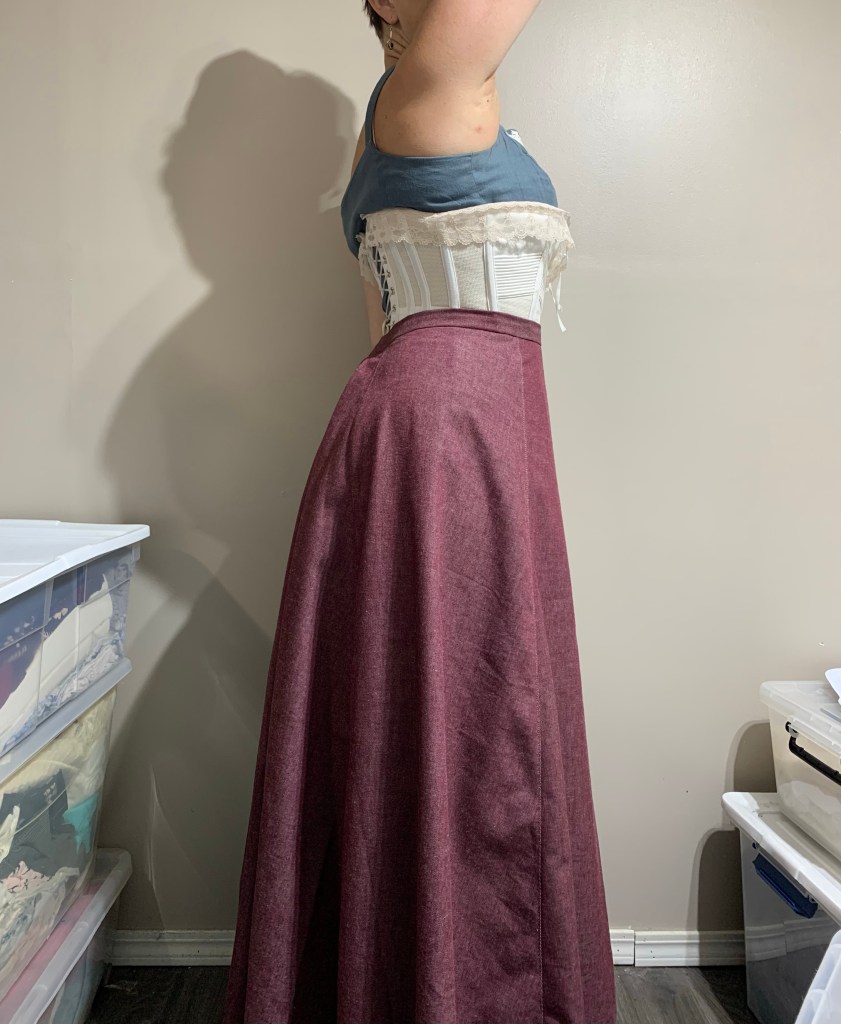
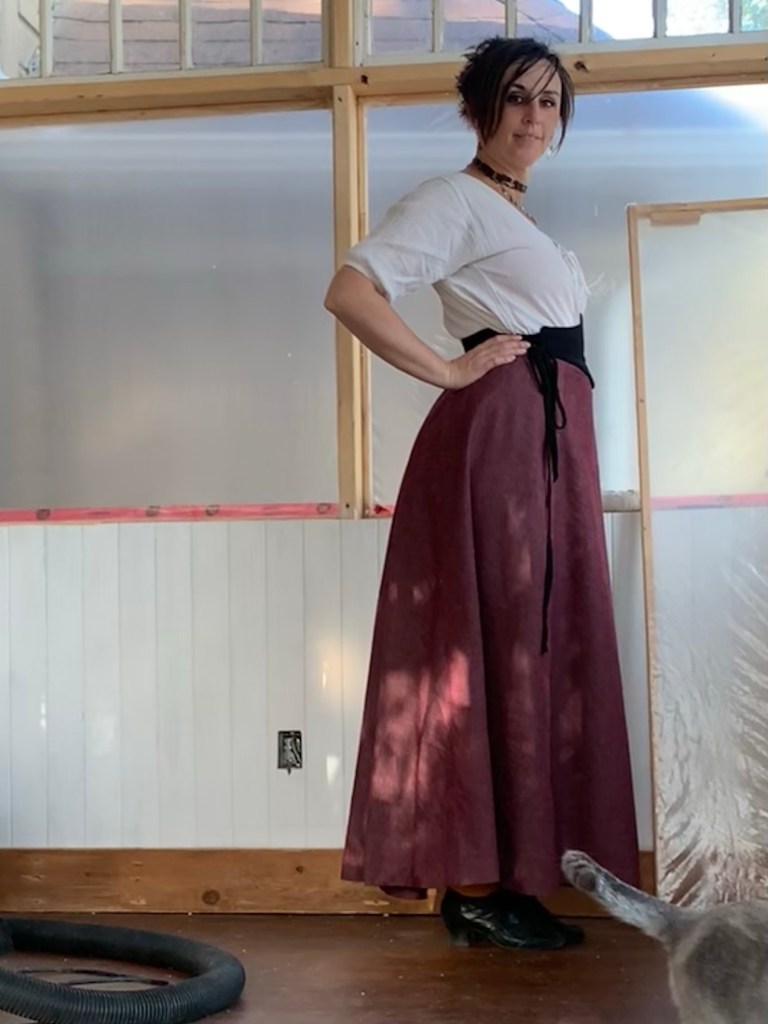
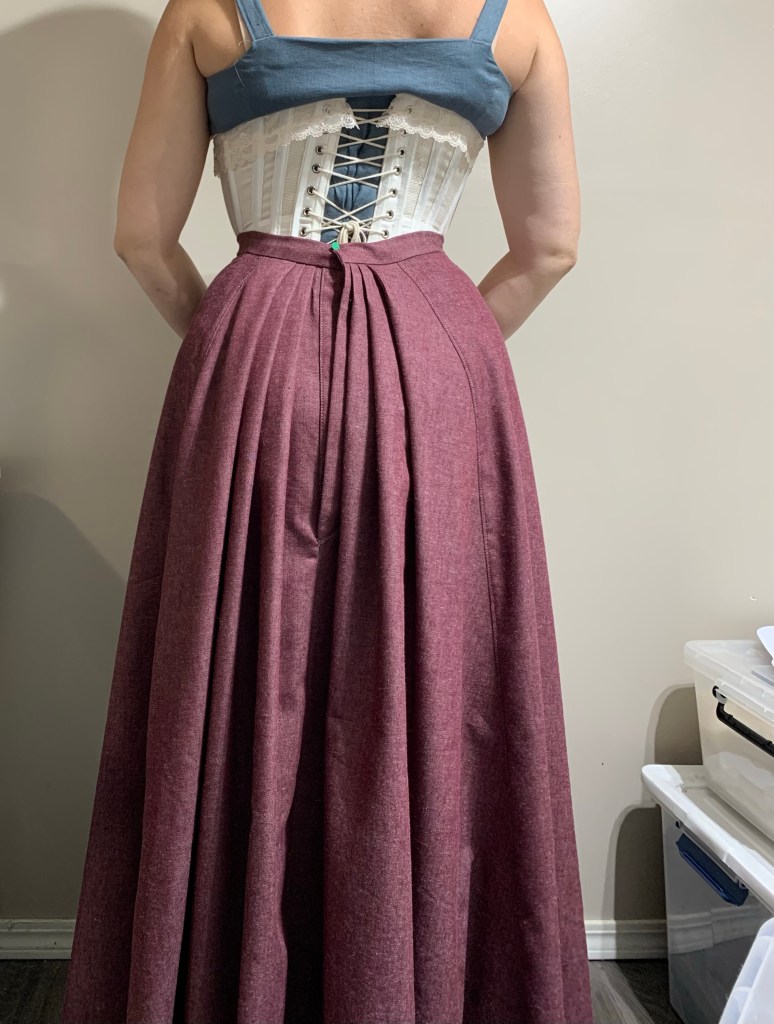
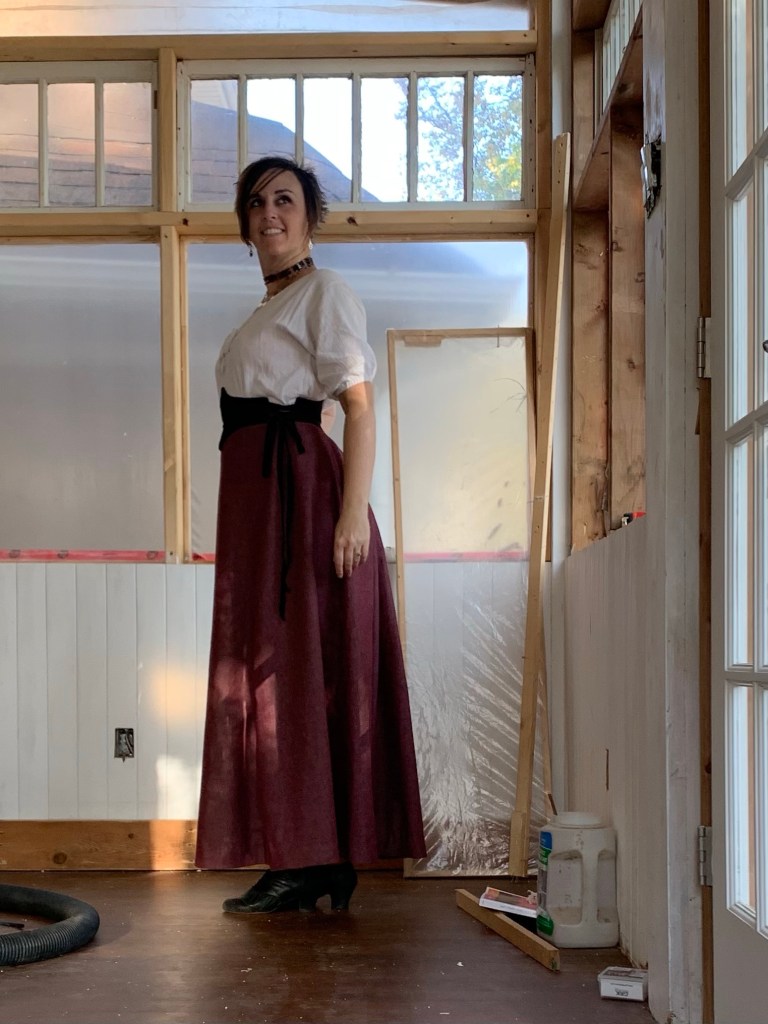
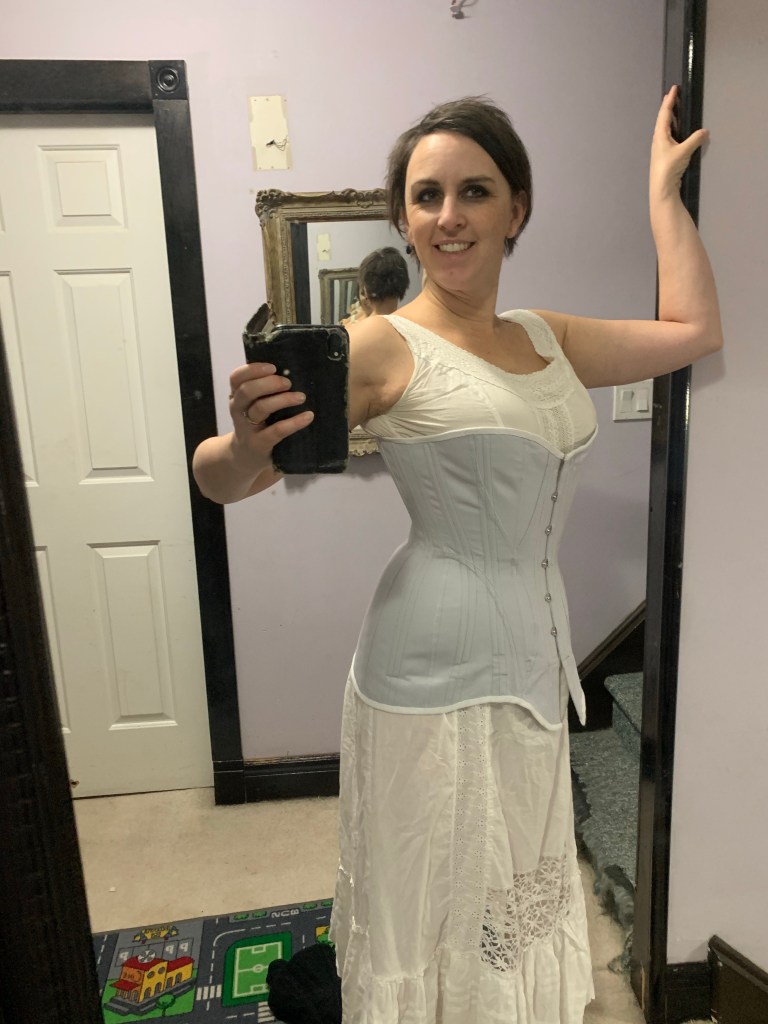
So, the Persis is designed to be an Edwardian kind of shape, accurate to about 1907-1911. The silhouette at this point was still quite curvy but beginning to tone down on the hips—no more padding or extra structure there. The longer shape helps create a smoother line over the hips. My black Princess Skirt is from much the same period and would benefit from a corset like this to go underneath, because my other corsets tend to leave a visible bump right where they end on the hip.
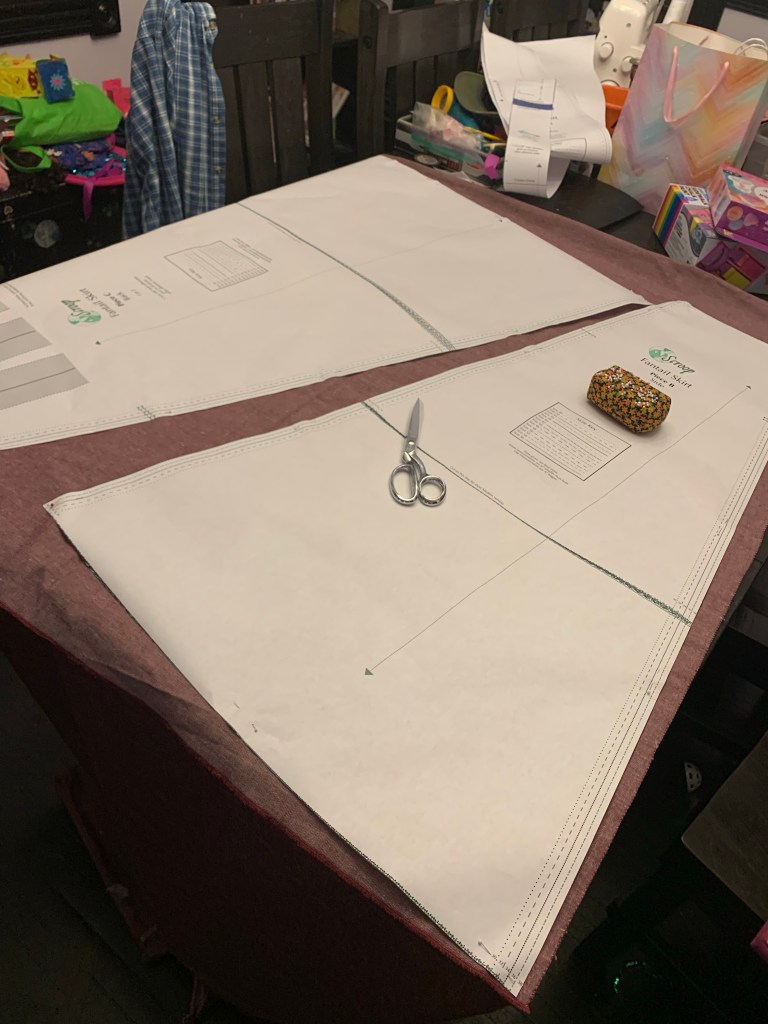
The pattern has a lot of good fitting information, which is really nice. It has two fit options for the hips, “Average” and “Slender”, and each has three options for the bust size. (And for those who get the pdf copy shop printed, each sheet is one complete pattern so if you’ve decided which hip version you want you needn’t print both, like I did). To my surprise the bust measurement instructions put me in the largest size of the bust gores, since I have more than 5” difference between my underbust and full bust.

However, I also do not have the slimmest of hips, despite them not being terribly visually wide. Based on my measurements, even with the “Average” hip version, my hips were a size up. So I made the size 36 for the bust and waist and graded up to the 38 for the hips.
I also decided to preemptively do a small swayback adjustment. I don’t always do this in corsets, but I find that if I don’t I have a tendency to slouch, and I’ll just be more comfortable overall if I do it.
And then, wildly, rashly, I decided to cut right into my coutil and just go for it.
Why would I do such a silly thing?
Well, on the one hand I trust Leimomi and her detailed sizing instructions. In particular, I wasn’t too worried about length; I’m a smidge short-waisted but corsets of this era are starting to edge towards the underbust so if it wound up too tall I could just trim it down and if it’s too short, we’ll just call that a design choice. Also, corset pieces are small so I figured if major changes were necessary I would just recut a couple of the side pieces. This corset also features both bust and hip gores, too, which can be fairly easily swapped out if needed. (Although I then went and promptly finished the reversed felled seams as per the pattern so, maybe not so easy.) Additionally, I don’t often find corset mock-ups super useful, as the fabric and boning never seems to behave quite the same.

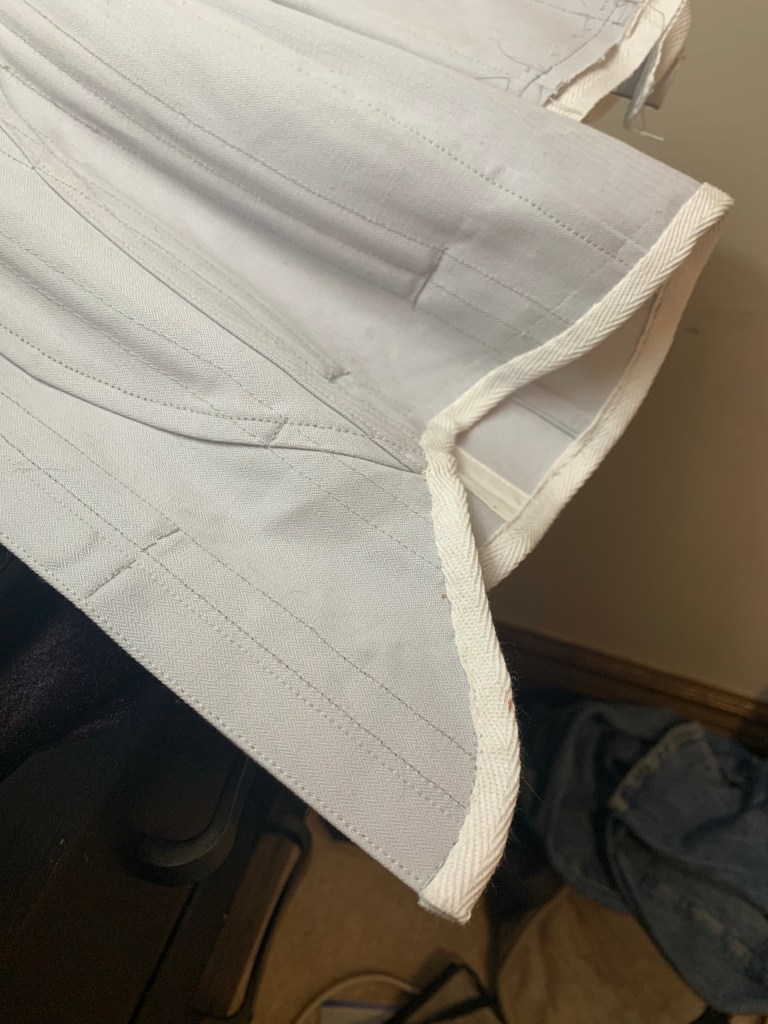
However, this decision to fit as I went played hell with the order of construction, which is designed to give a really nice finish with negligible ability to alter. So I was kinda winging it, which led to some maybe not ideal decisions. in particular, it wasn’t possible to nicely tuck the waist stay in behind the boning channels. I also inserted the busk first, as I tend to, but that made sewing the swooping curves if the front panel a little extra tricky. The cardboard-like texture of this coutil doesn’t help either. So I ended up with a pretty large jog at the hem. There may also have been a cutting error involved that I didn’t catch, since the unevenness is so symmetrical on both sides. I’m pretty sure it’s not a pattern error. My stitching is definitely not the best I’ve ever done, either, but I love the overall look enough that I’m refusing to dwell on it.

The whole construction was delayed a fair bit as I got halfway through inserting the grommets and ran out (apparently this can still happen even when you order grommets by the gross, who knew.) I had to make an emergency corsetry order to Farthingales Corsetmaking Supplies. I had hoped to have the whole thing ready for hand finishing by my Victorian Sewing Circle in November, but as it played out the package with the grommets didn’t arrive until about an hour before Sewing Circle. Which was still a full day early, and on a Sunday no less, so no complaints, really. I raced to set the last ten grommets, threw everything I thought I would need to cut the bones and finish off the corset into my bag, ran off to Sewing Circle (a whole other fiasco involving a train and a parade)… and forgot several key items. But still, progress was made, and eventually I got it to a state where I could try it on.
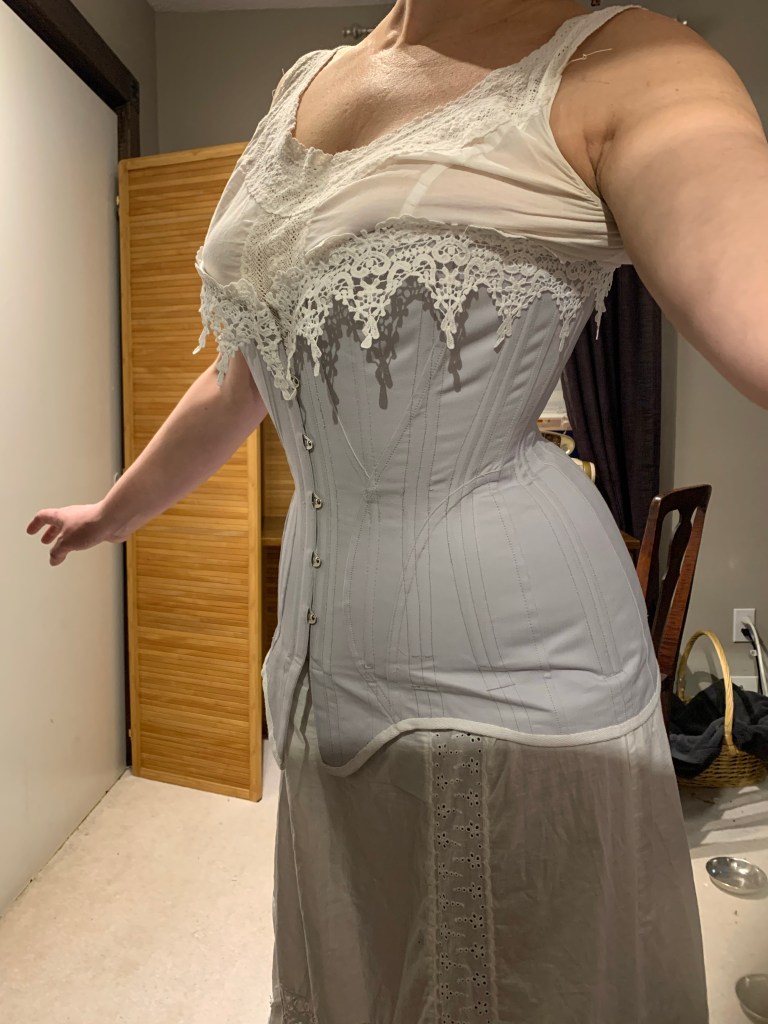
The hips fit like a glove. The swayback adjustment—total success. Might even make it bigger if I made it again. Back lacing gap—perfectly even.
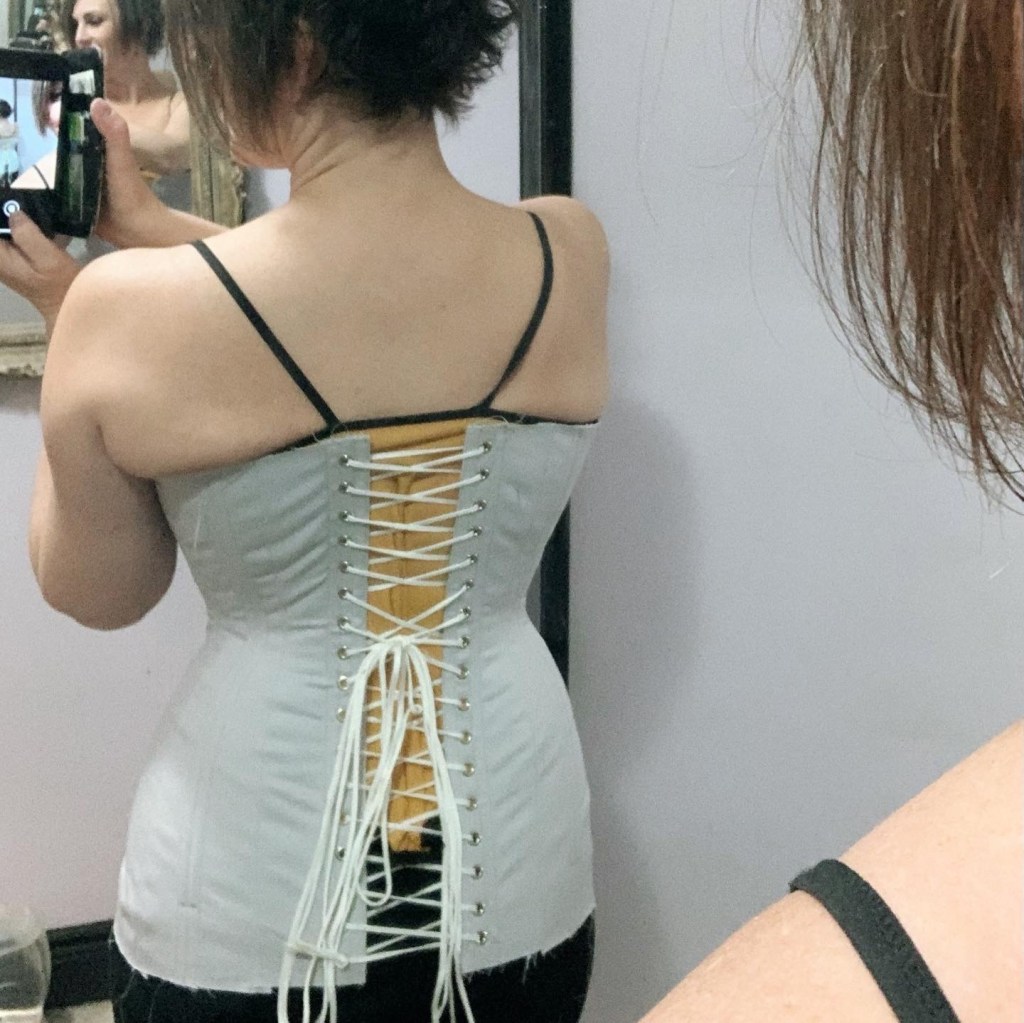
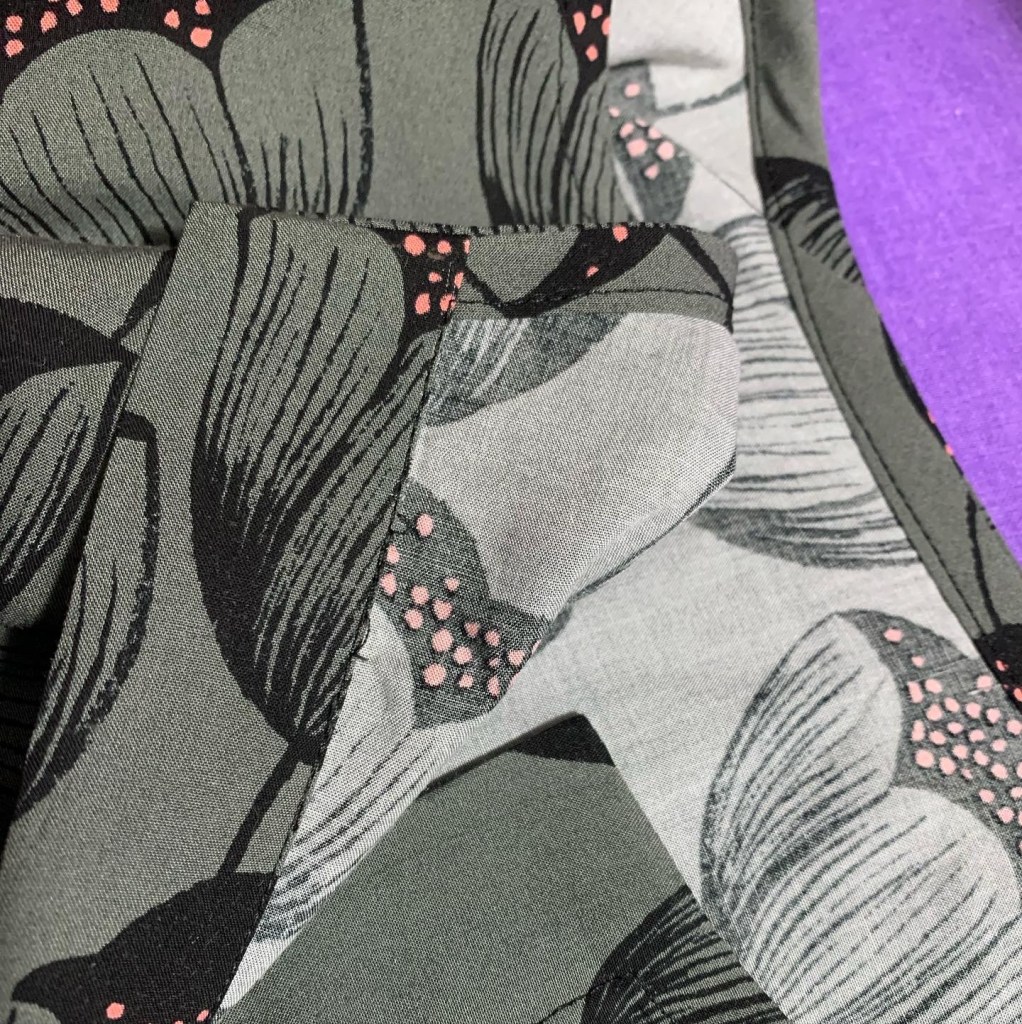
There was a little bit of extra room in the bust and maybe a bit too much height at the bust and under the arms.
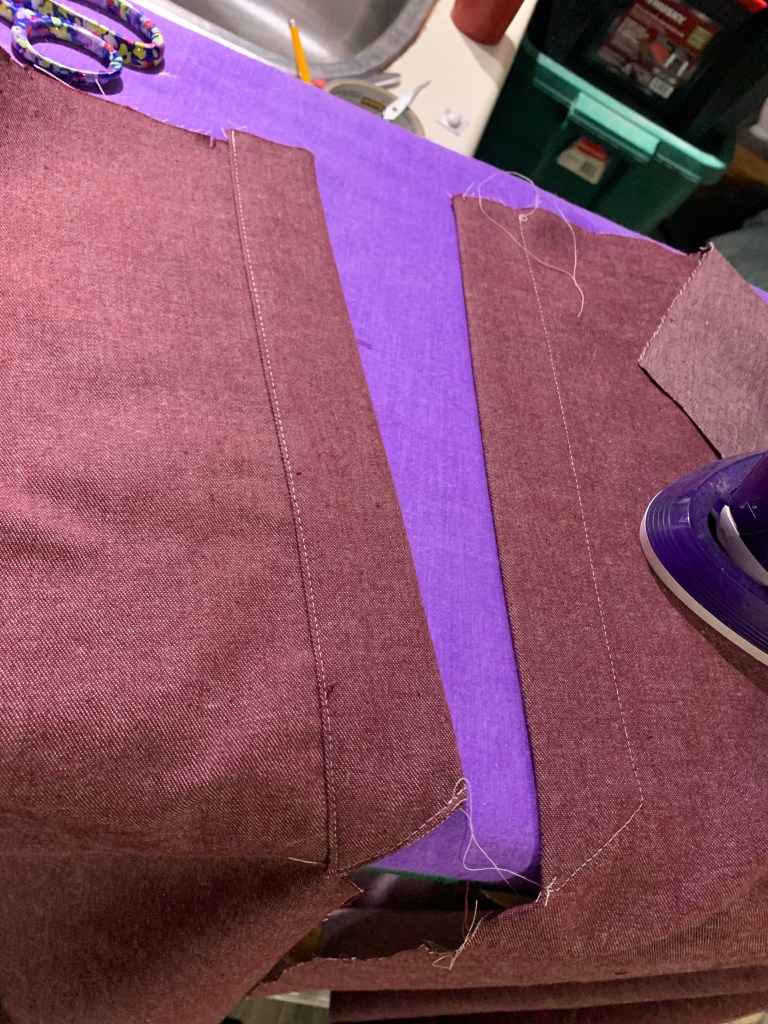
So I unpicked one edge of the gusset (the one that wasn’t yet a flat-felled seam), trimmed off about 1/2” of width, tapering to nothing at the base of the gusset, and then went ahead with flat-felling all the seams.
This corset calls for 1/4” plastic whalebone boning, and since I had to do a corset order anyway, I ordered some. It was my first time using the stuff, though a lot of online costumers seem to swear by it. And I will say, it was fantastically easy to cut to size and insert, especially nice when I decided at the last minute that the bones over the thigh area needed to stop an inch or so higher than they did. However, I think the bone to space ratio has to be a bit higher. The pattern includes instructions for increasing the boning in larger sizes, but the size I made still fell within the “base boning amount”. However, there was still some wrinkling over the bust, so I added another single bone there, and I kind of wish there was another row in the back and maybe the one side seam.
I found the busk I had ordered a little disappointingly floppy, so I wound up using a spring steel bone beside the busk, and another one would have been a good idea; the pattern calls for two in this area but I couldn’t for the life of me figure out how to fit them into the space designated on the pattern. This may have more to do with imprecision in my stitching than anything else mind you. My one complaint about the patterns is that the facings have very little wiggle room if your channels are even the slightest bit larger than the pattern calls for. In particular, if I made it again I would widen the front facing to include the two boning channels that are supposed to flank the bust. This would be much easier than trying to fit a separate boning channel into this small space.

Anyway, I did eventually get the waist stay inserted and the top and bottom edges bound with twill tape.
It’s a fantastically comfy body hug of a corset. The long line takes a long time to lace up, but does look great. I should probably add a hook and eye to hold the extension below the busk a little more closed.

I would have liked to add a drawstring to the bust but discovered at the last moment that I was down to about 10” of the 1/4” cotton stay tape I like to use for this. So I skipped it, and I think it’s fine in this case.
I waffled over the top lace for a WHILE before deciding to go for broke with the last bit of this heavy-duty scalloped lace. It took me a minute to get used to it
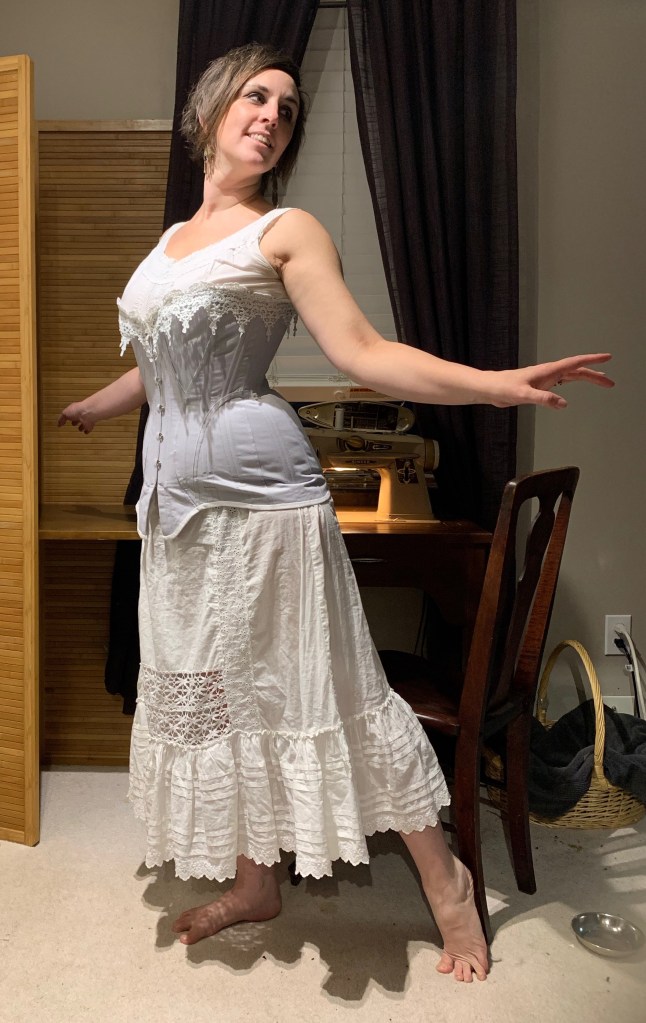
On the whole I think it’s a pretty fabulous pattern. The swoop of the seam on the front is unique and lovely; the fit is pretty much spot on. There is a LOT of information provided on fitting, which is nice. The construction as given makes for a gorgeous finish inside and out, even if I didn’t follow a lot of the methods since I wanted to fit as I went.
The worst part, in the end, is that now I have to wear clothes over it!