 I’m on vacation! Ten glorious days away from BOTH jobs—ten days that are already shaping up to be way busier than I would ever have wanted—but anyway. One of my goals was to take the kids to my mom’s family farm.
 One of the things I like doing down there is hand-sewing. It lets me scratch the creative itch while still socializing with the relatives. But my ongoing project (sewing miles of trim on a Victorian skirt) is a bit bulky. So, I wanted something else. And, because I’m on a linen tear, I wanted to make a stab at a simple Mediaeval chemise (or shift, if you prefer.)
The Karl Kohler chemise, in fact.
 Anyway, using a particular historical item as the basis for what you want to create is great because it cuts down a LOT of the uncertainty. But not all of it, nor does it stop you screwing up. 😉
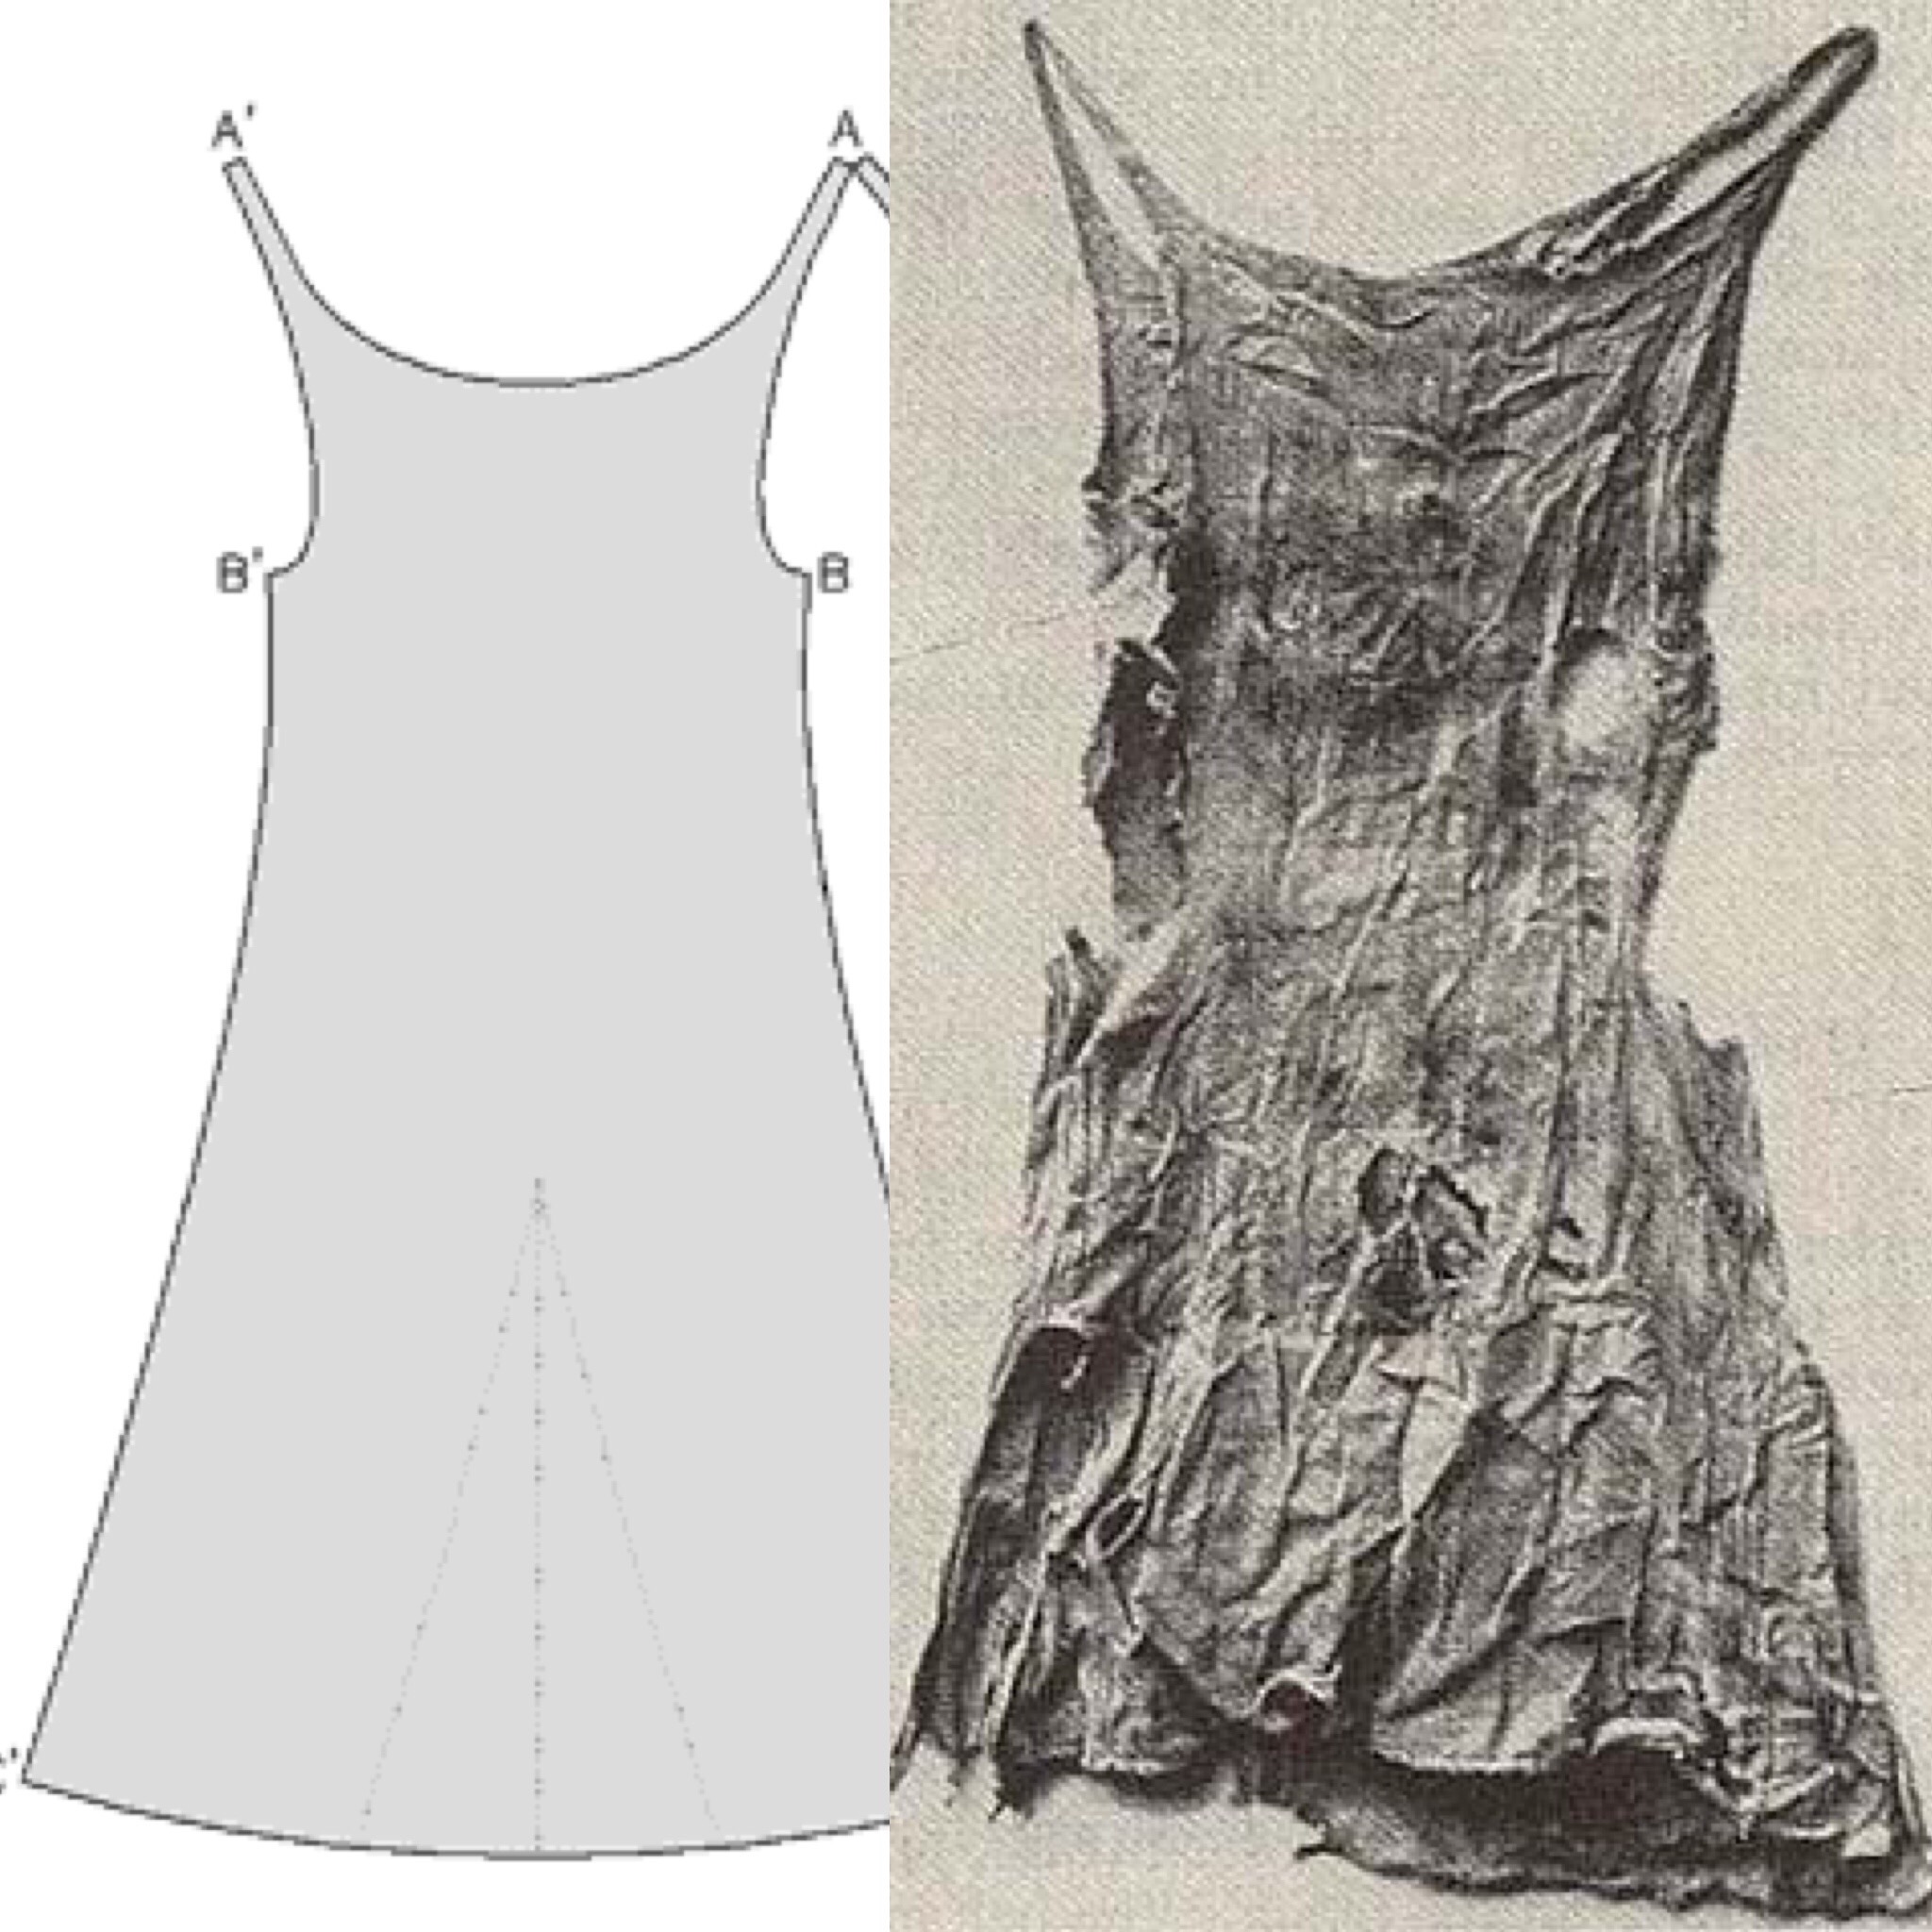
Anyway, I first ran across the rather grainy images above on Pinterest; they derive from this site, which identified the source of the image and said the shift was from the 14th century. (1300s)
Some more digging turned up a study on 14th century shifts that by Barefoot Sewing included a version of this same shift. It looks as if Reconstructing History has a pattern for it as well.
The most complete info I could find about it, though, comes from Medieval Baltic. This little PDF digs into the history of the image and the find a bit more, and has what seem to be pretty good citations although as I don’t read German I can’t confirm that. Anyway, according to her translation:
“It was made from very coarse linen and the doubled-seams are sewn together with thick stitches. There is evidence the bottom of the shirt of inserted wedges on both sides – so-called ‘Spiele’[lit. games?]. It is 68 cm long and, between the shoulders, 29 cm wide. Of interest are the narrow shoulder-straps.”
She also says:
Qaantz (1907; 188) then goes on to describe the chemise, as being made from very coarse linen, hemmed by folding over the edge of the fabric twice, and sewn together with “thick” stitches. At the bottom of the shift, there is evidence for wedges being inserted on both sides – ie. gores. He then goes on to give it’s measurements as 68 cm long, and 29 cm wide at the shoulders.
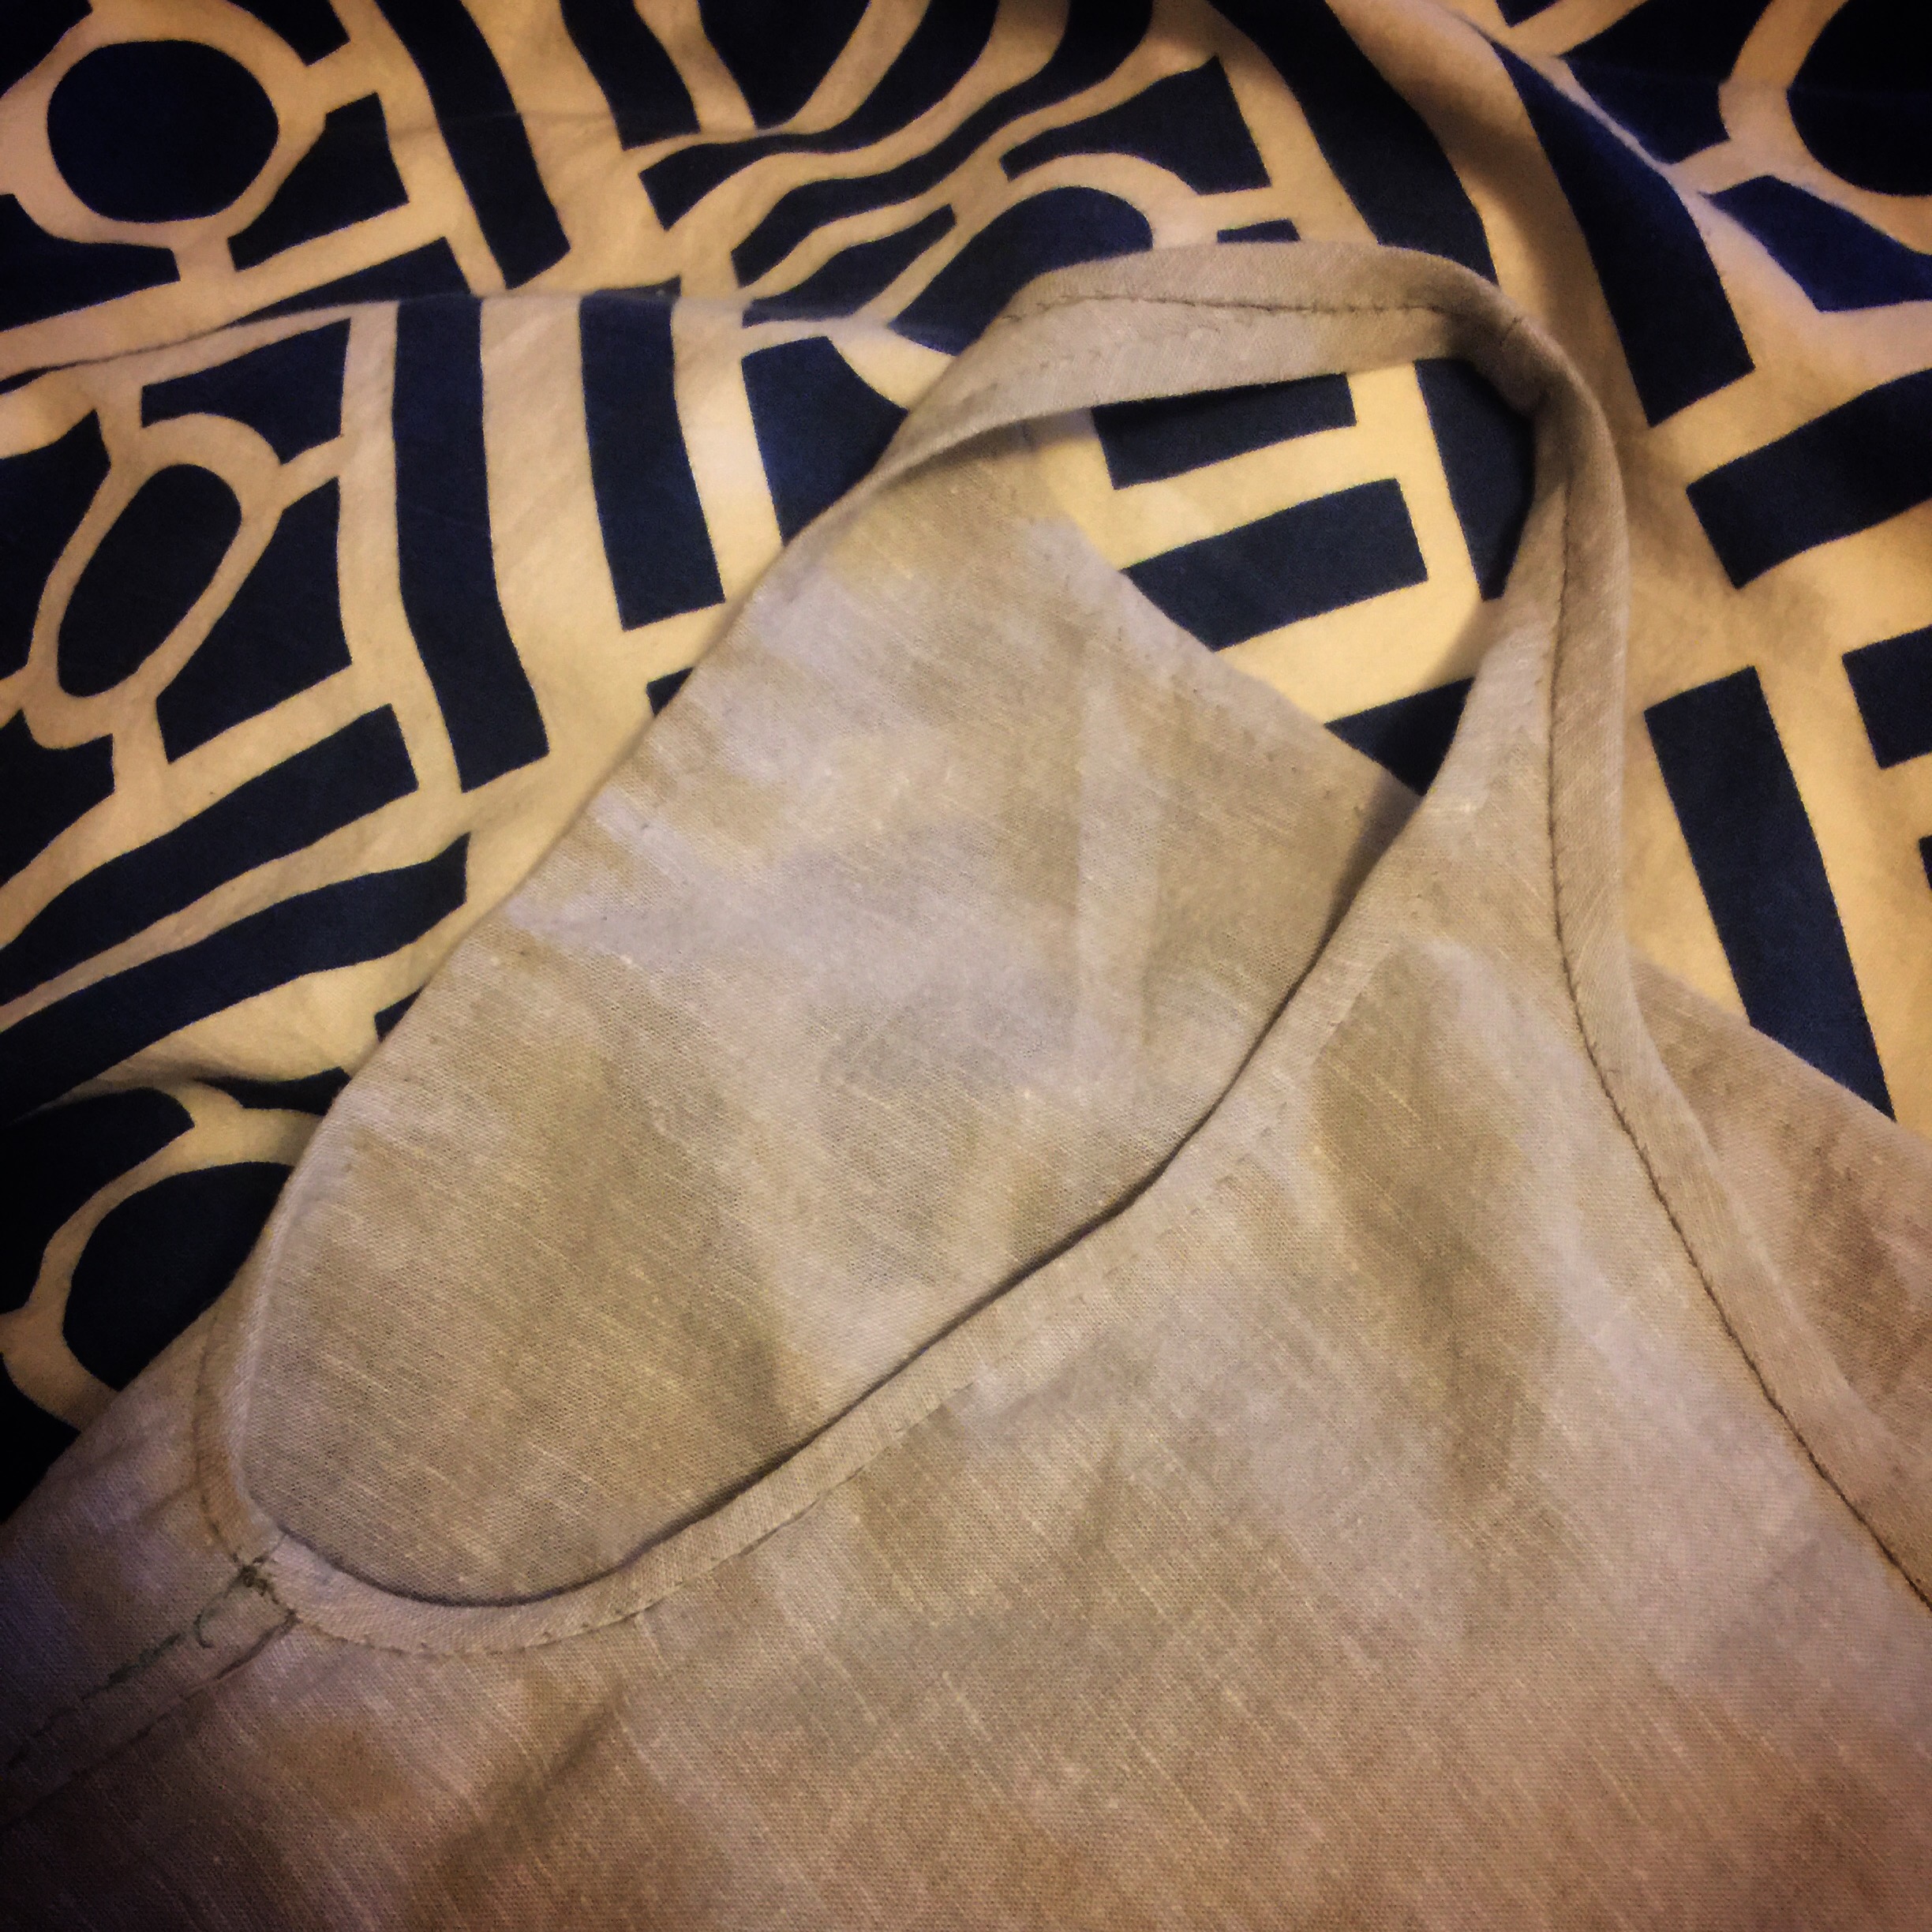
Now, based on the translated quote I was inclined to think “double seams” refers to felled seams (typical for finishing chemises in the much later periods with which I am more acquainted) but her description seems to be talking about the hemming of the garment. I can’t comment, again, as to which is correct—I did both.
 Unfortunately, I found this great PDF after I had already made my pattern and disregarded the alleged gores since you basically can’t see them at all in the photo. Ah, well.
Anyway.

Wardrobe malfunction waiting to happen.
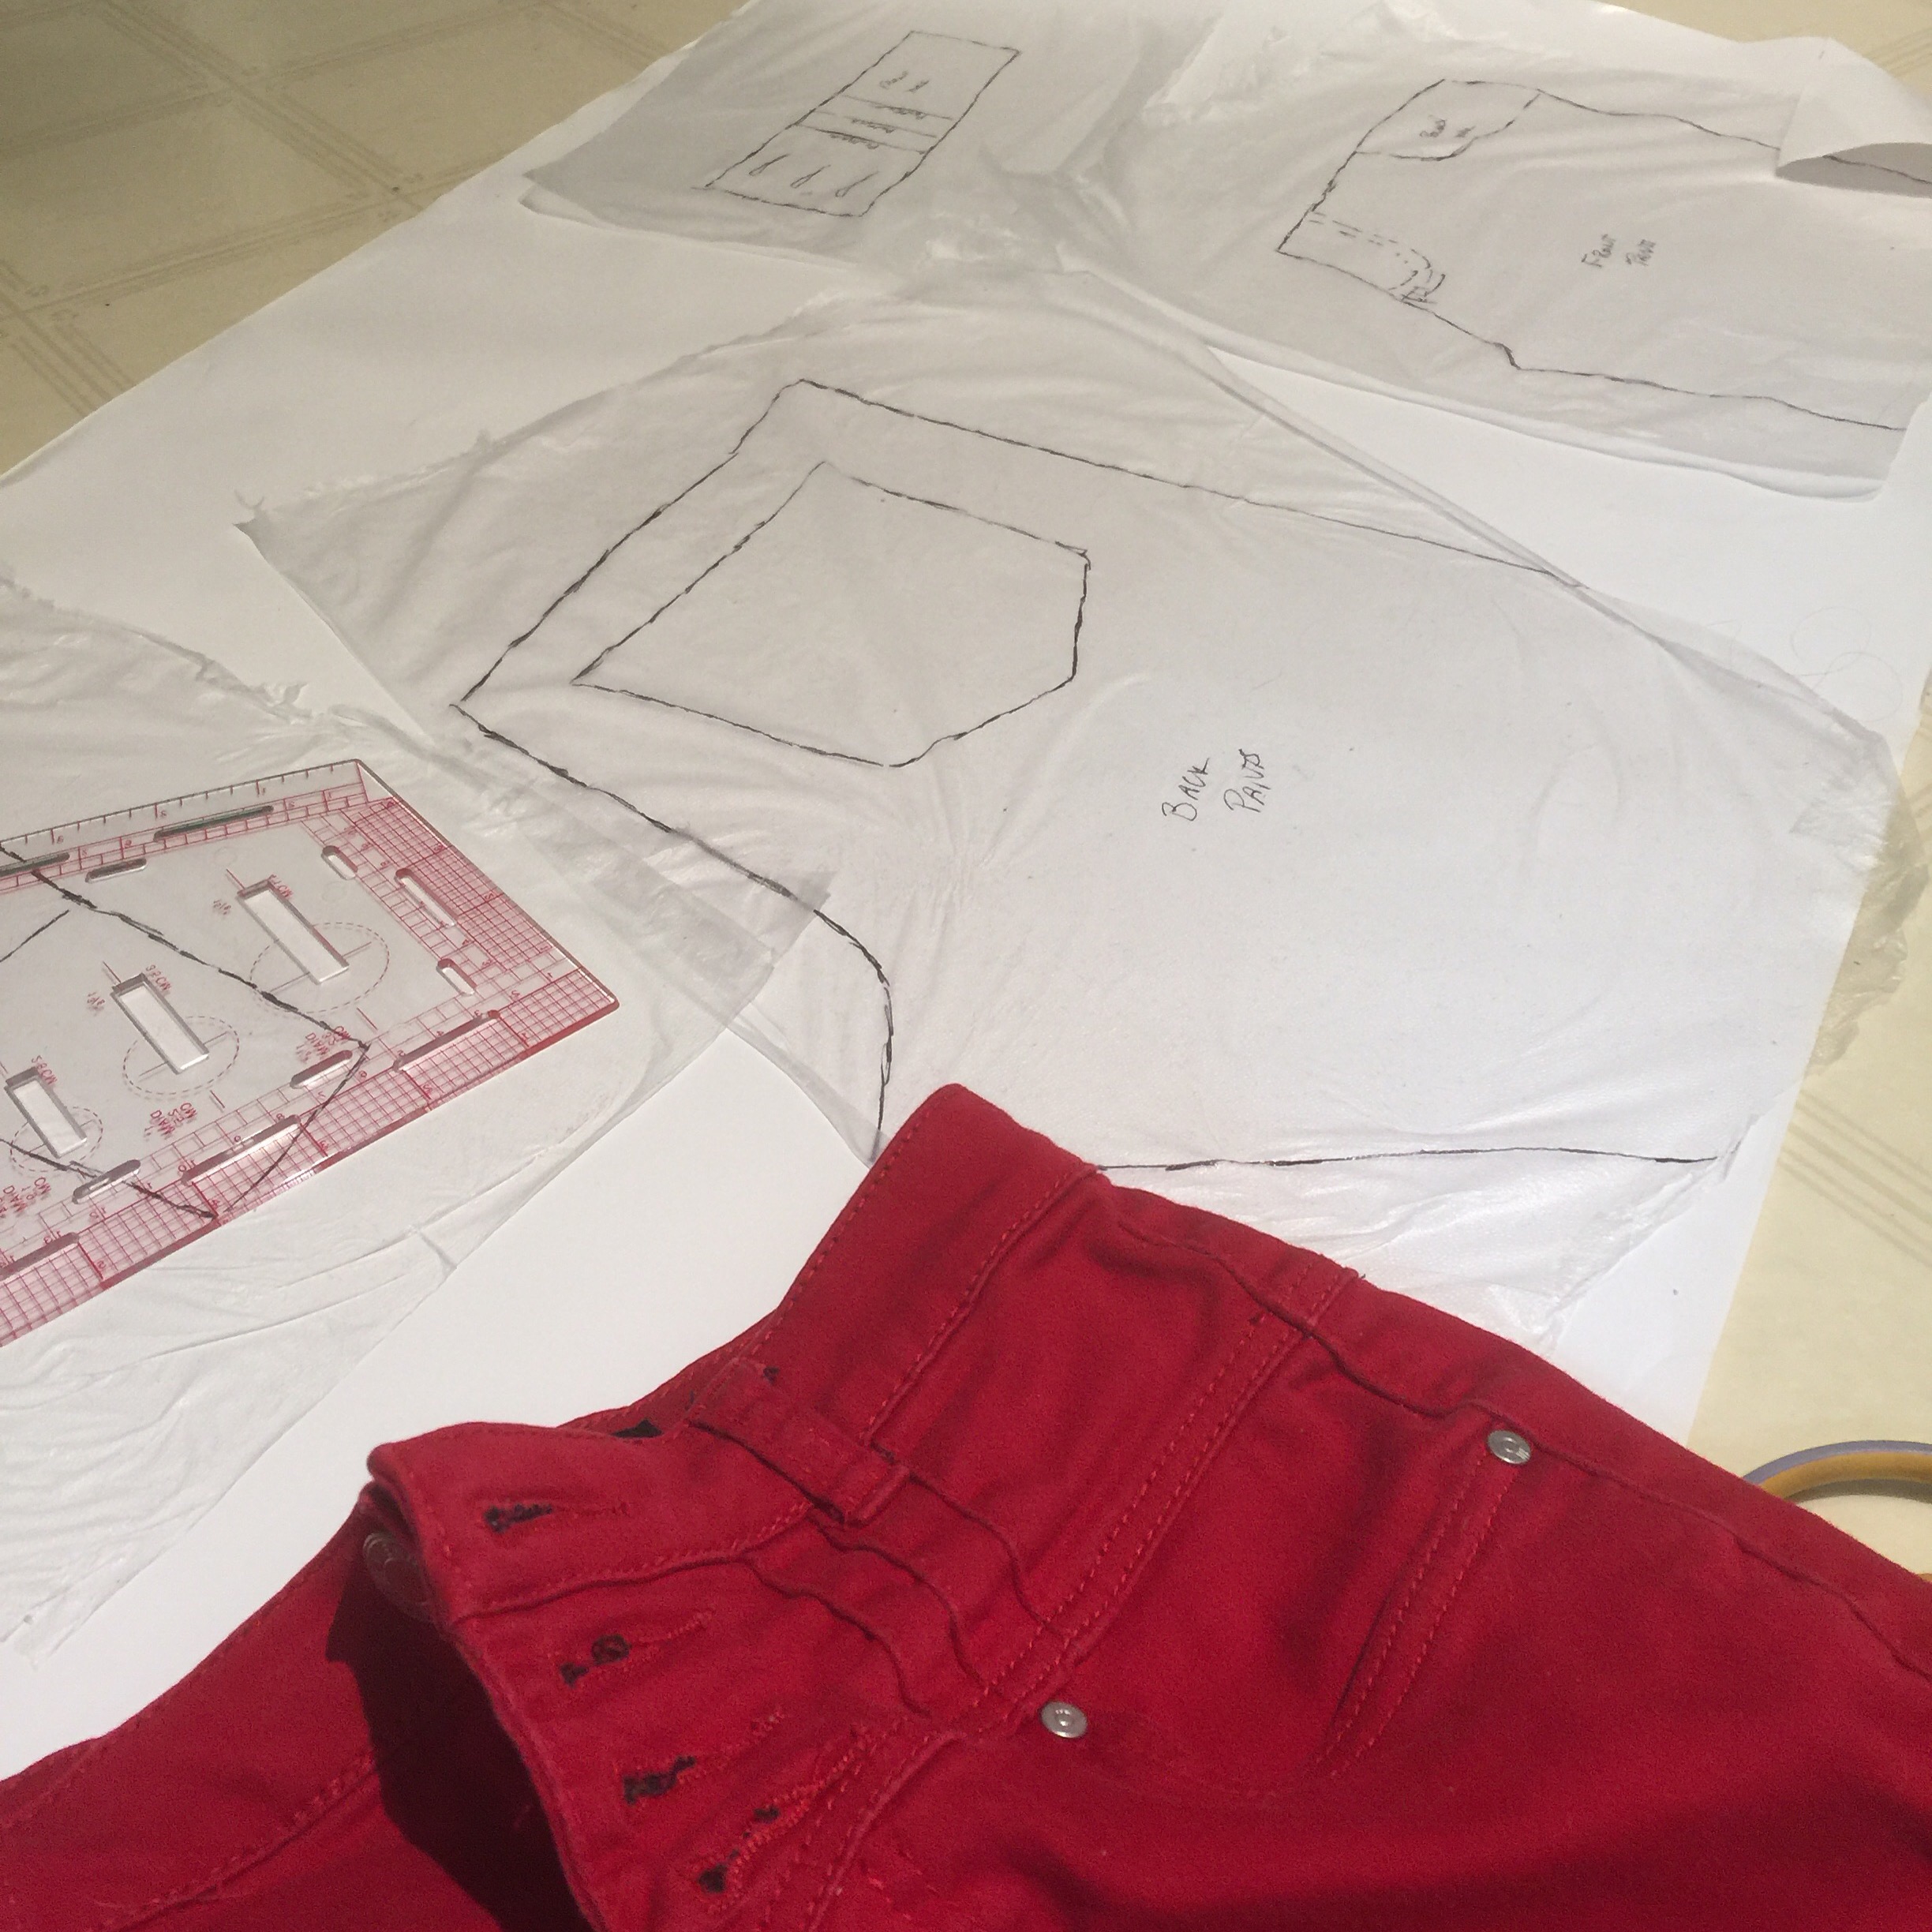
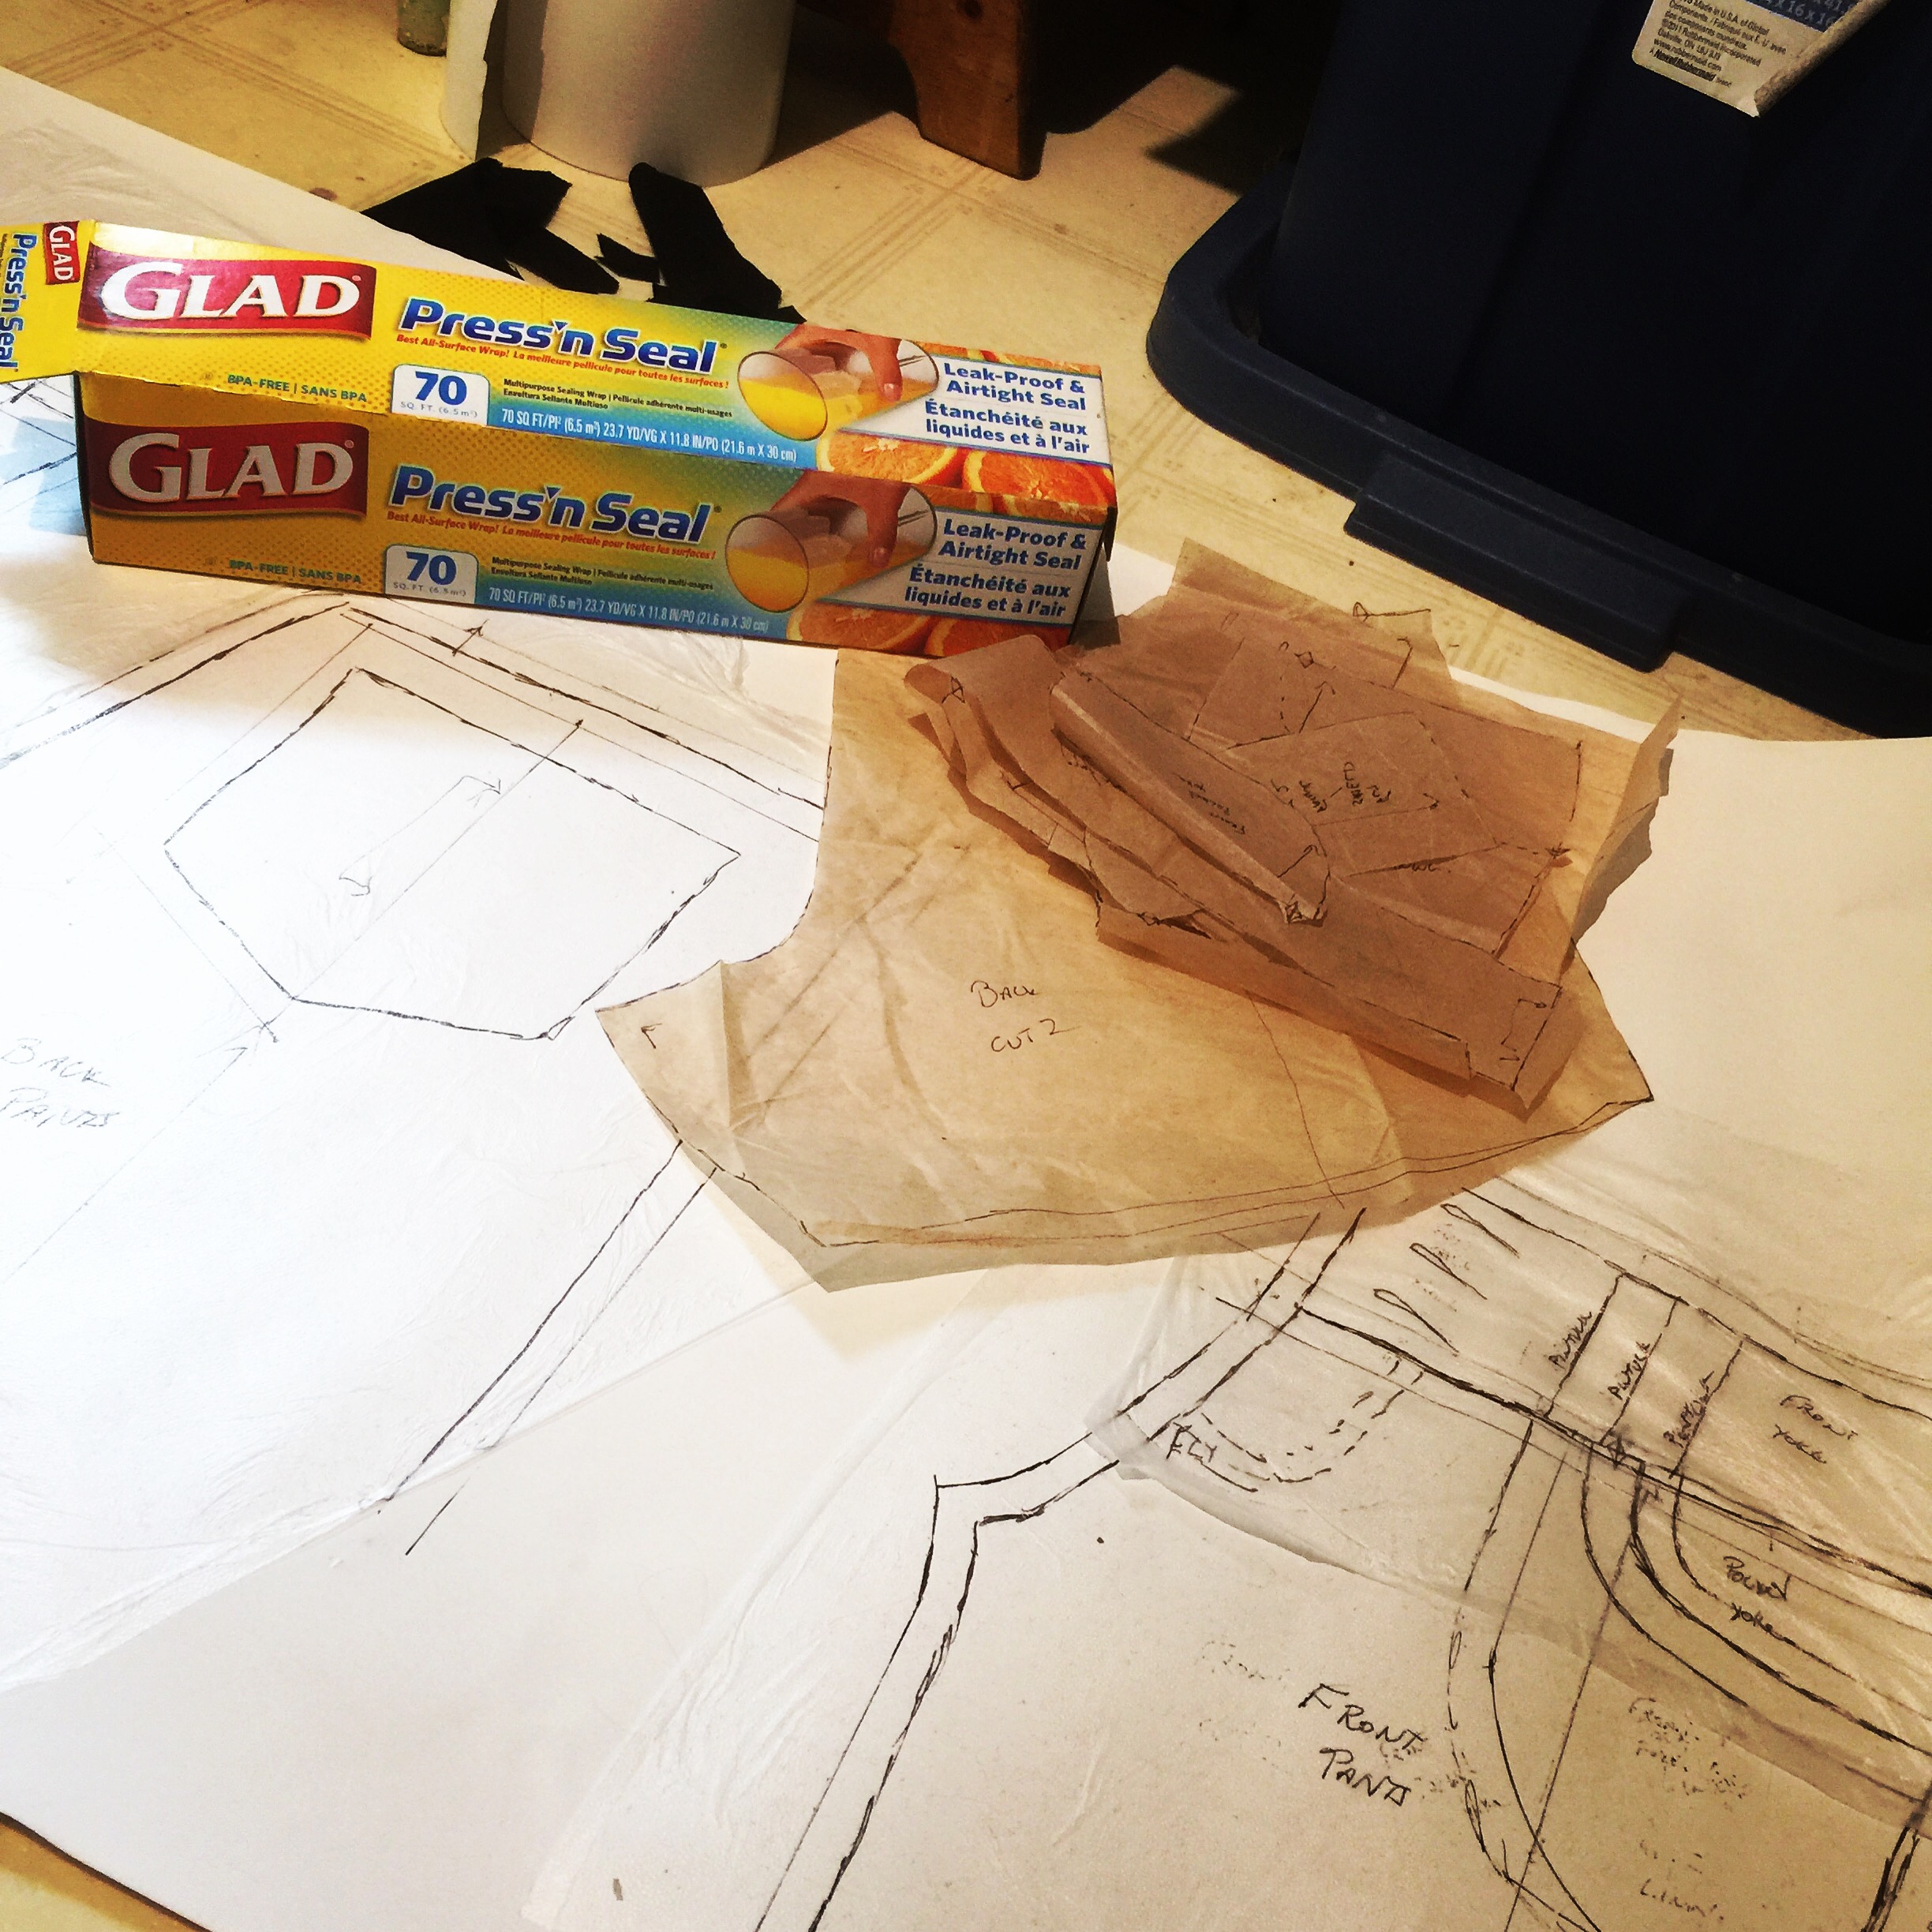
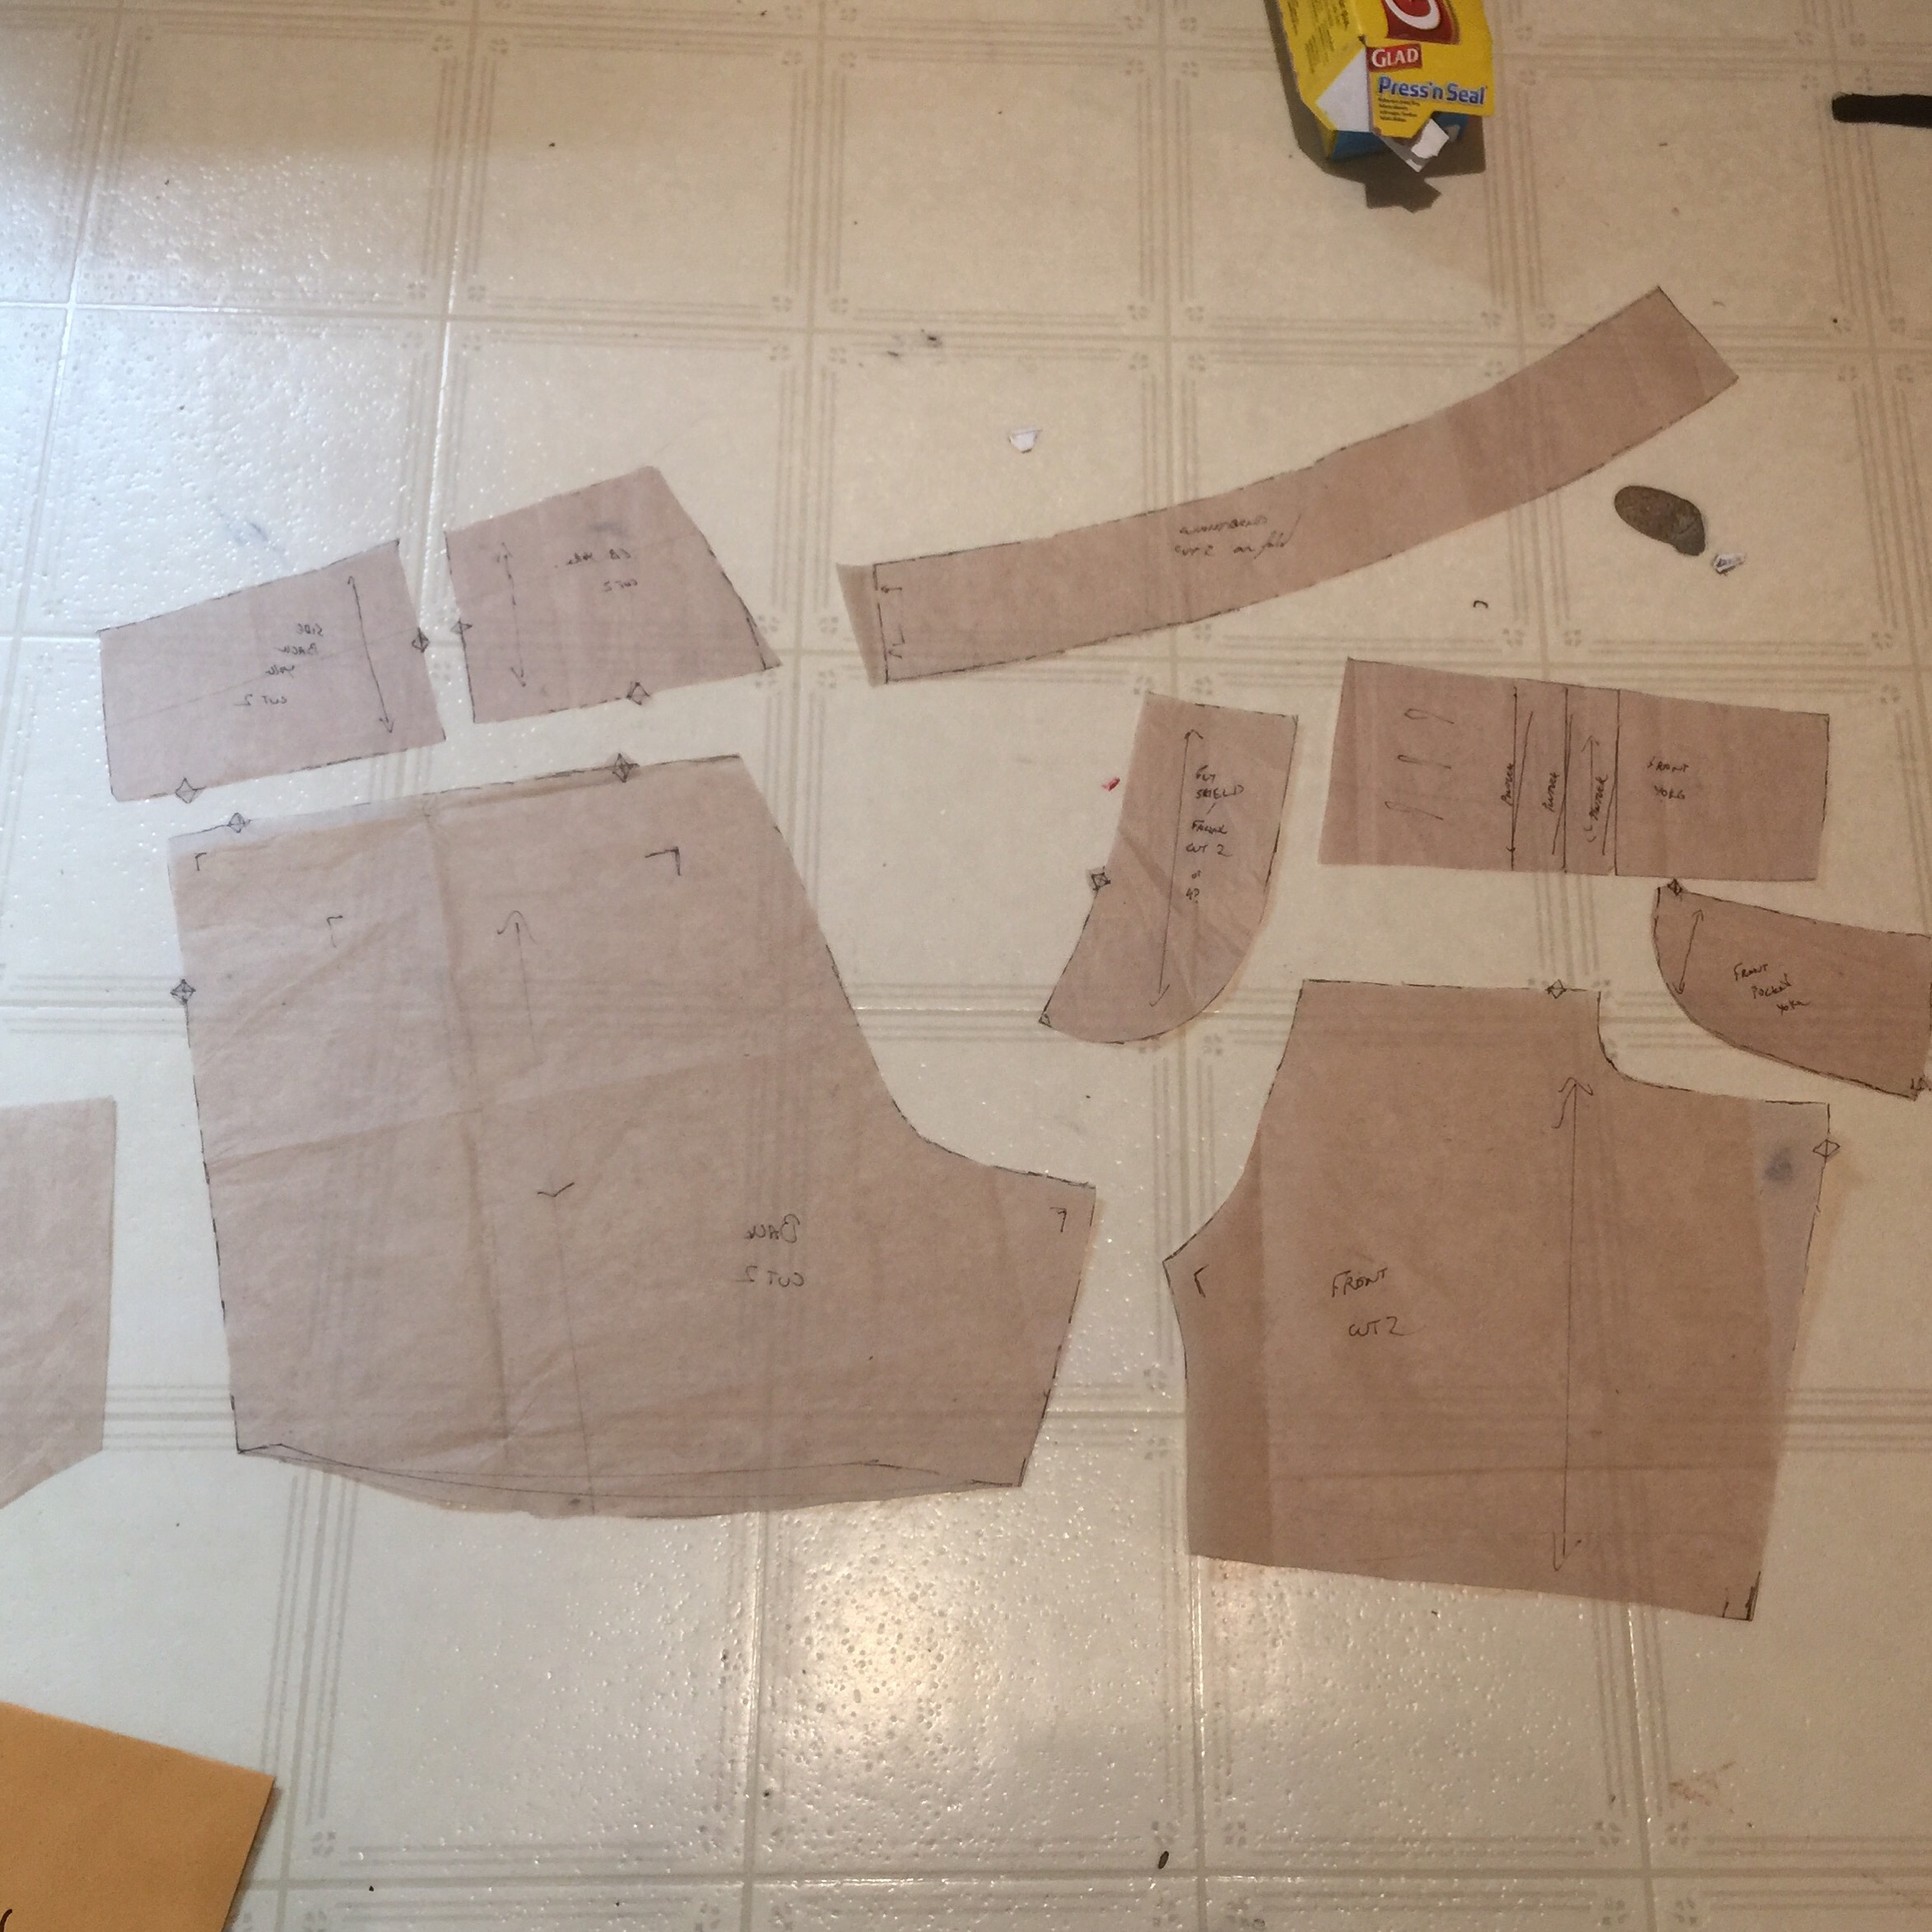
I did not use the commercial pattern above; I opened the diagram picture up in Inkscape, resized it to match the scale, and then traced over the lines to make a digital half-pattern. Some flipping determined that yes, indeed, the diagram suggested the same piece would work for front and back. I did a tiny bit more tweaking, widening the whole (based on the diagram scale the bust only looks about 32″, and I needed at least a couple more than that.) but otherwise didn’t change anything.
Mediaeval shift pattern from diagram
Click the link above to see a non-tiled PDF (Adobe reader is pretty good at printing tiled versions these days, though.) There are no markings and no seam allowances, and I’m pretty sure there are some issues with the diagram anyway, so use at your own risk. The finished bust is about 34″ on my version.
 From the word descriptions and the gores on the diagram, if I were to draft this up again I would probably make the main fabric a rectangle about 16-17″ wide (note—this is wider than the 29cm at the shoulder the text describes. That measurement doesn’t really make sense looking at the diagram, but there’s no scale on the photo and I’m not sure how the measurement was taken) and add the gores at the centre front and back. (Though the text seems to indicate they should be at the sides.) the text also says the whole length should be about 70cm, while mine is more like 110 cm based on the diagram. And that’s not including the long straps. All things being equal, I suspect the diagram is more likely incorrect than the text, but anyway. I was working with the diagram first.
 So here’s a couple more thoughts.
Those straps are whack.
 I mean, if they are made by just hemming the edges, that’s a method prone to stretching, and they do look stretched out in the picture to me. (Apparently it was found wrapped around a wooden plate, and I almost wonder if the straps had been stretched around the plate to secure it in place) anyway. WAY whack long.
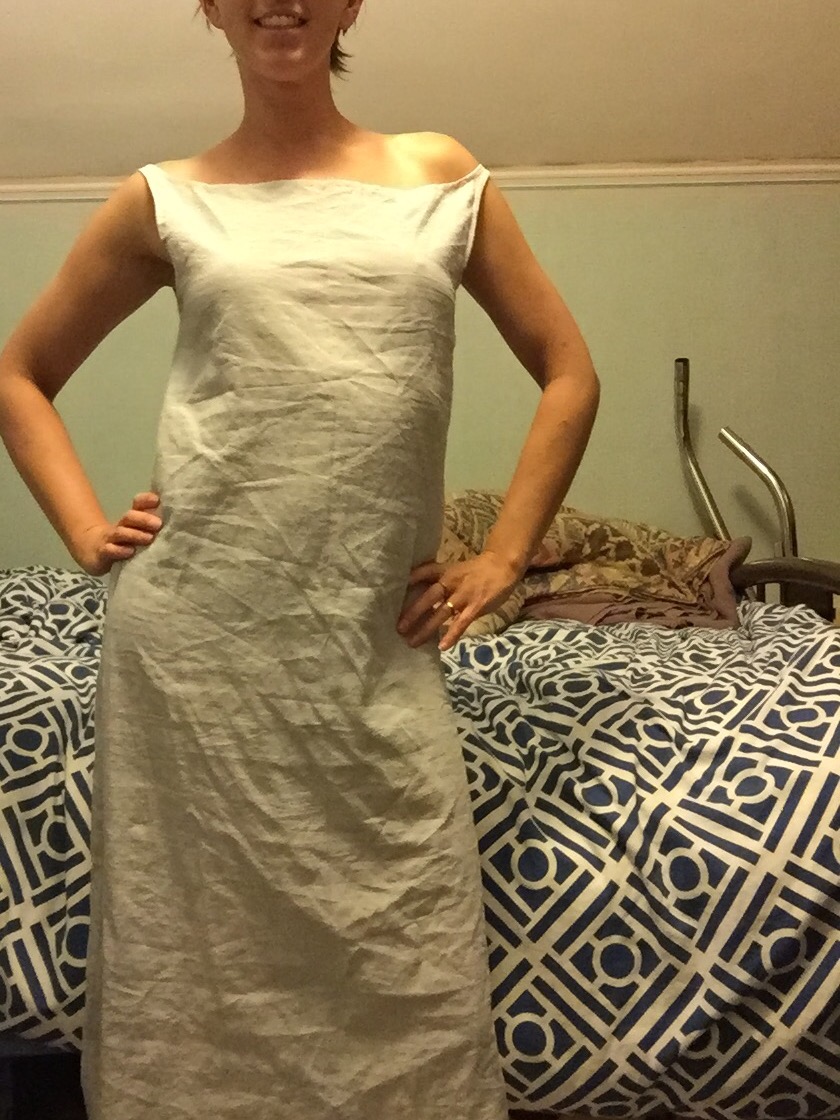 I had to cut off about 3″ from each side to get it to KINDA sit right, but it’s still a little long (low under the arm). And wide. Again, I wonder if the original was stretched, and also how accurate the diagram was. Maybe this wide angle is an artifact of stretching exaggerated by the diagram. Super wide, and I don’t have narrow shoulders. I do have a slightly short torso, but we’re talking 1/2″ shorter, not 3″ shorter. And the scoop under the arm is still rather uncomfortably low. If I had kept the full strap length, my boobs would fall out the side. Even looking at the photo, the straps would easily go wider than the chest circumference.
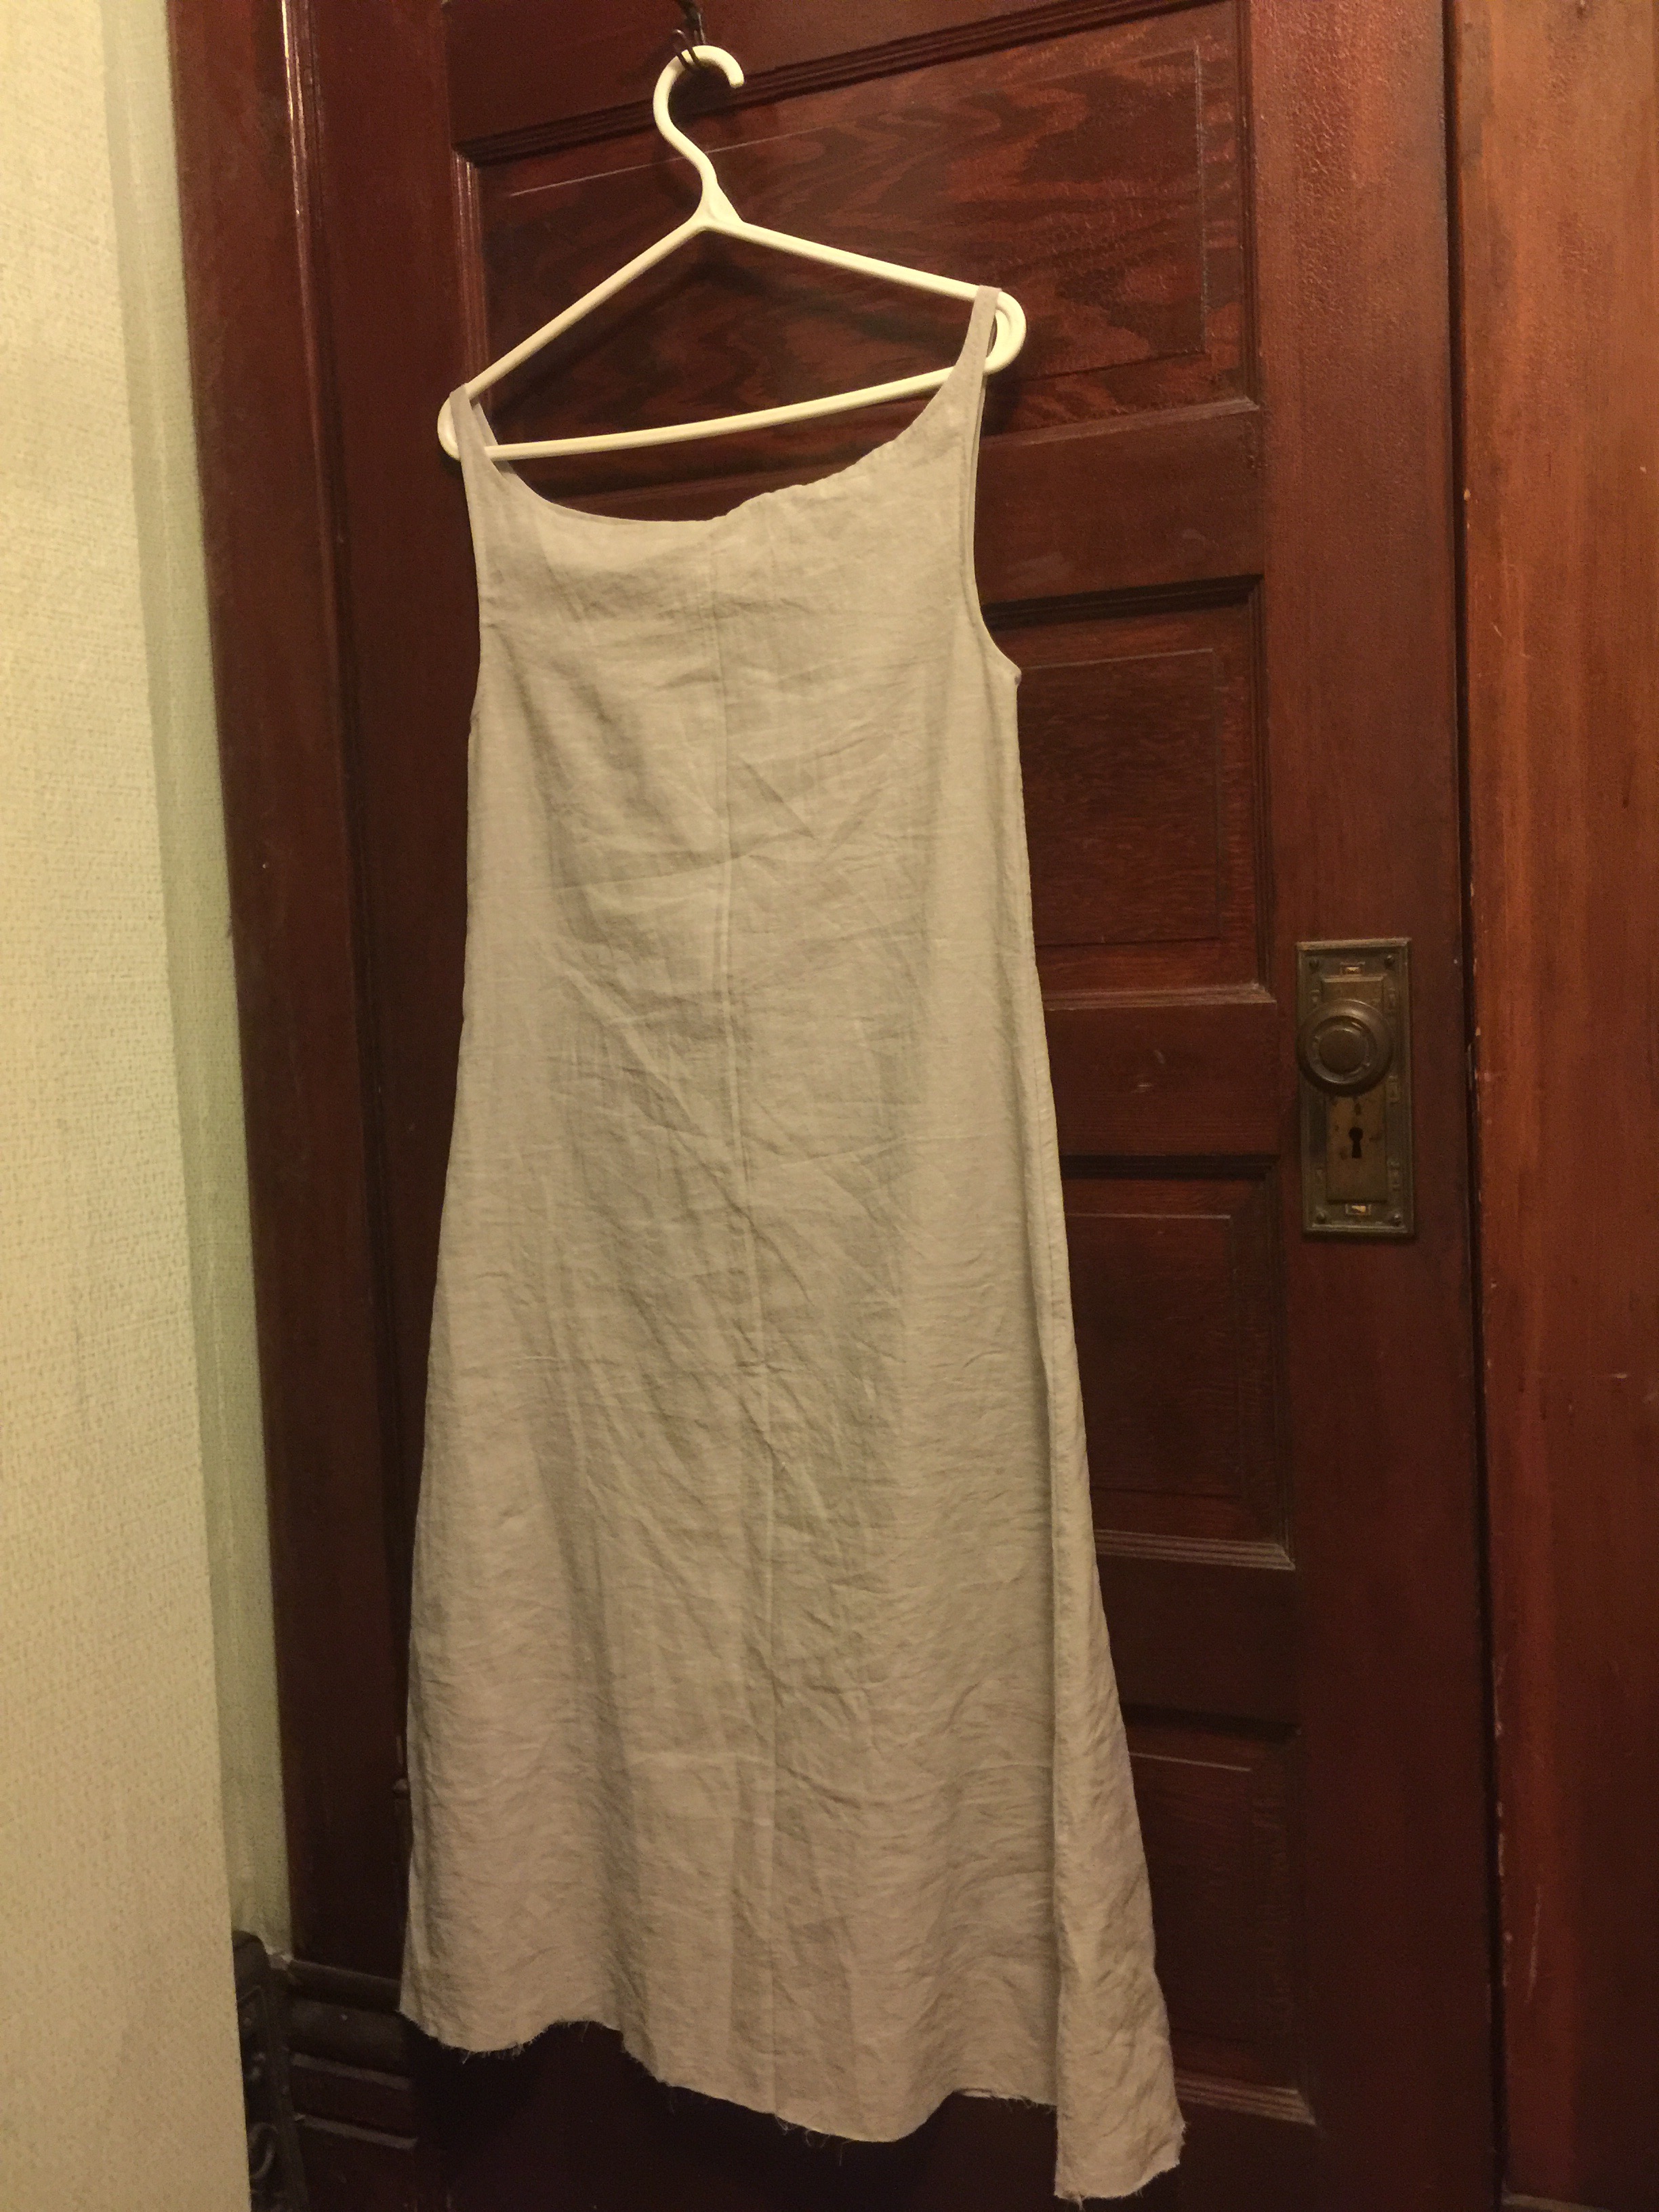
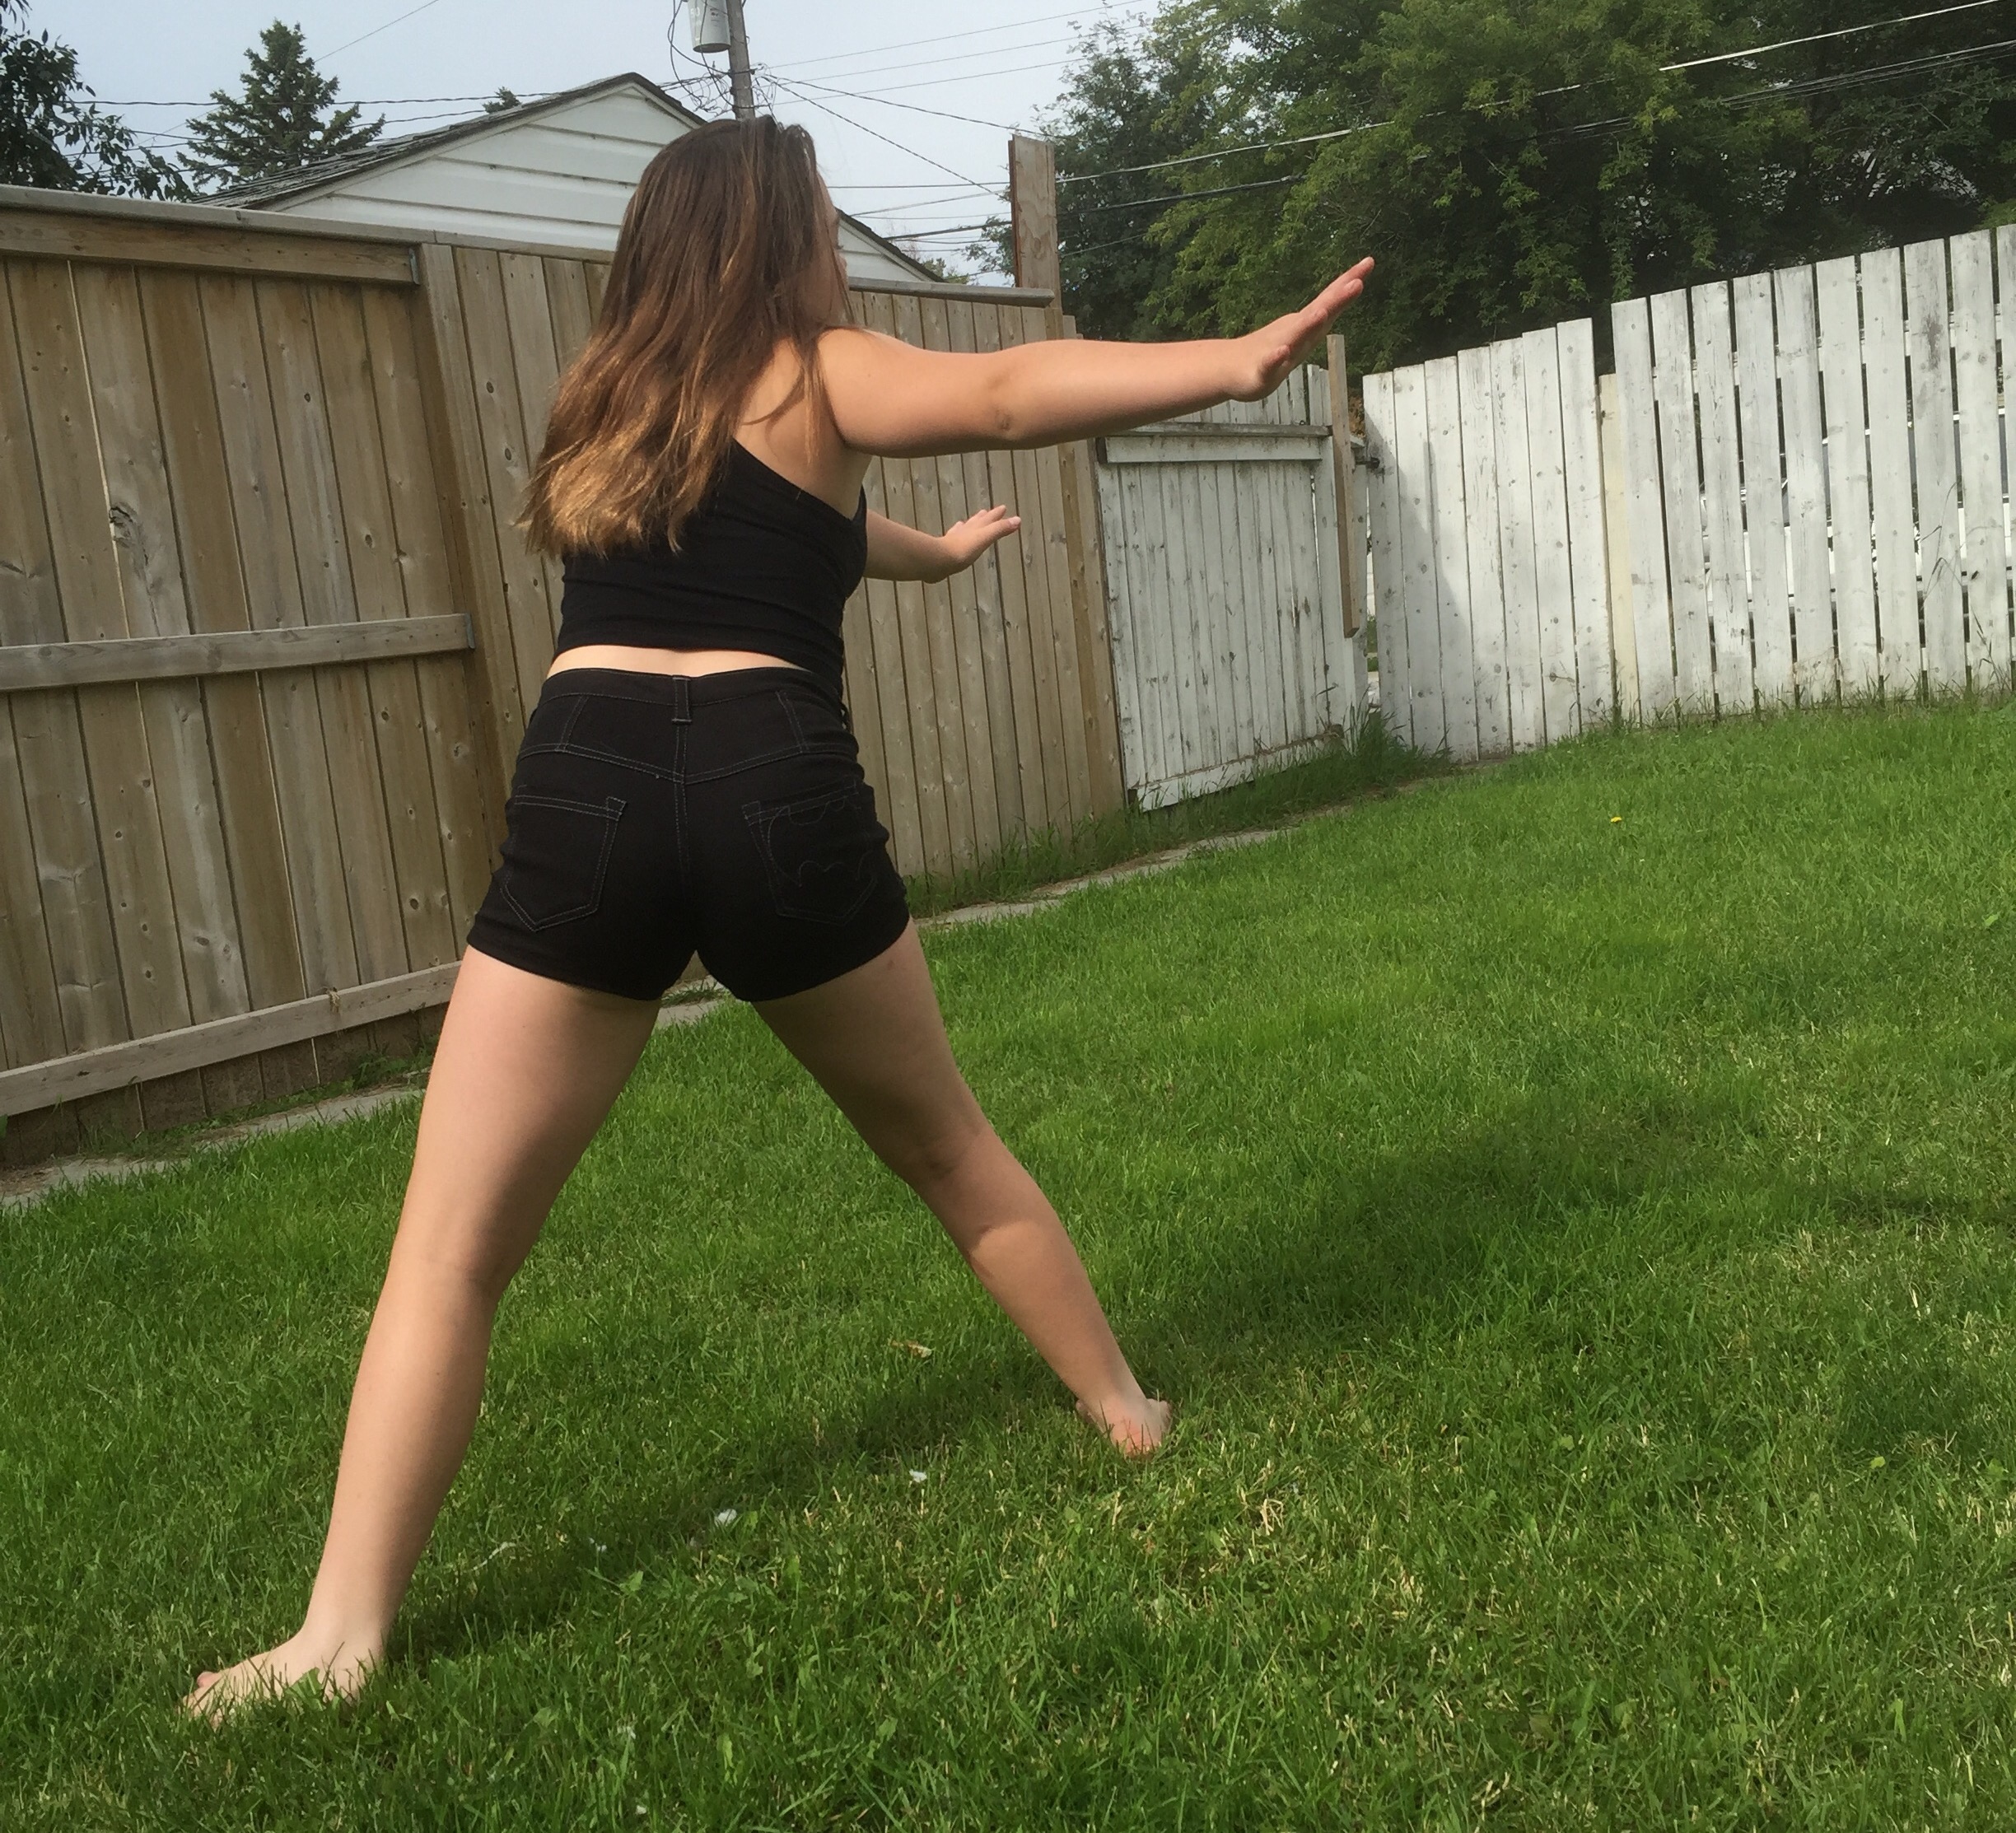
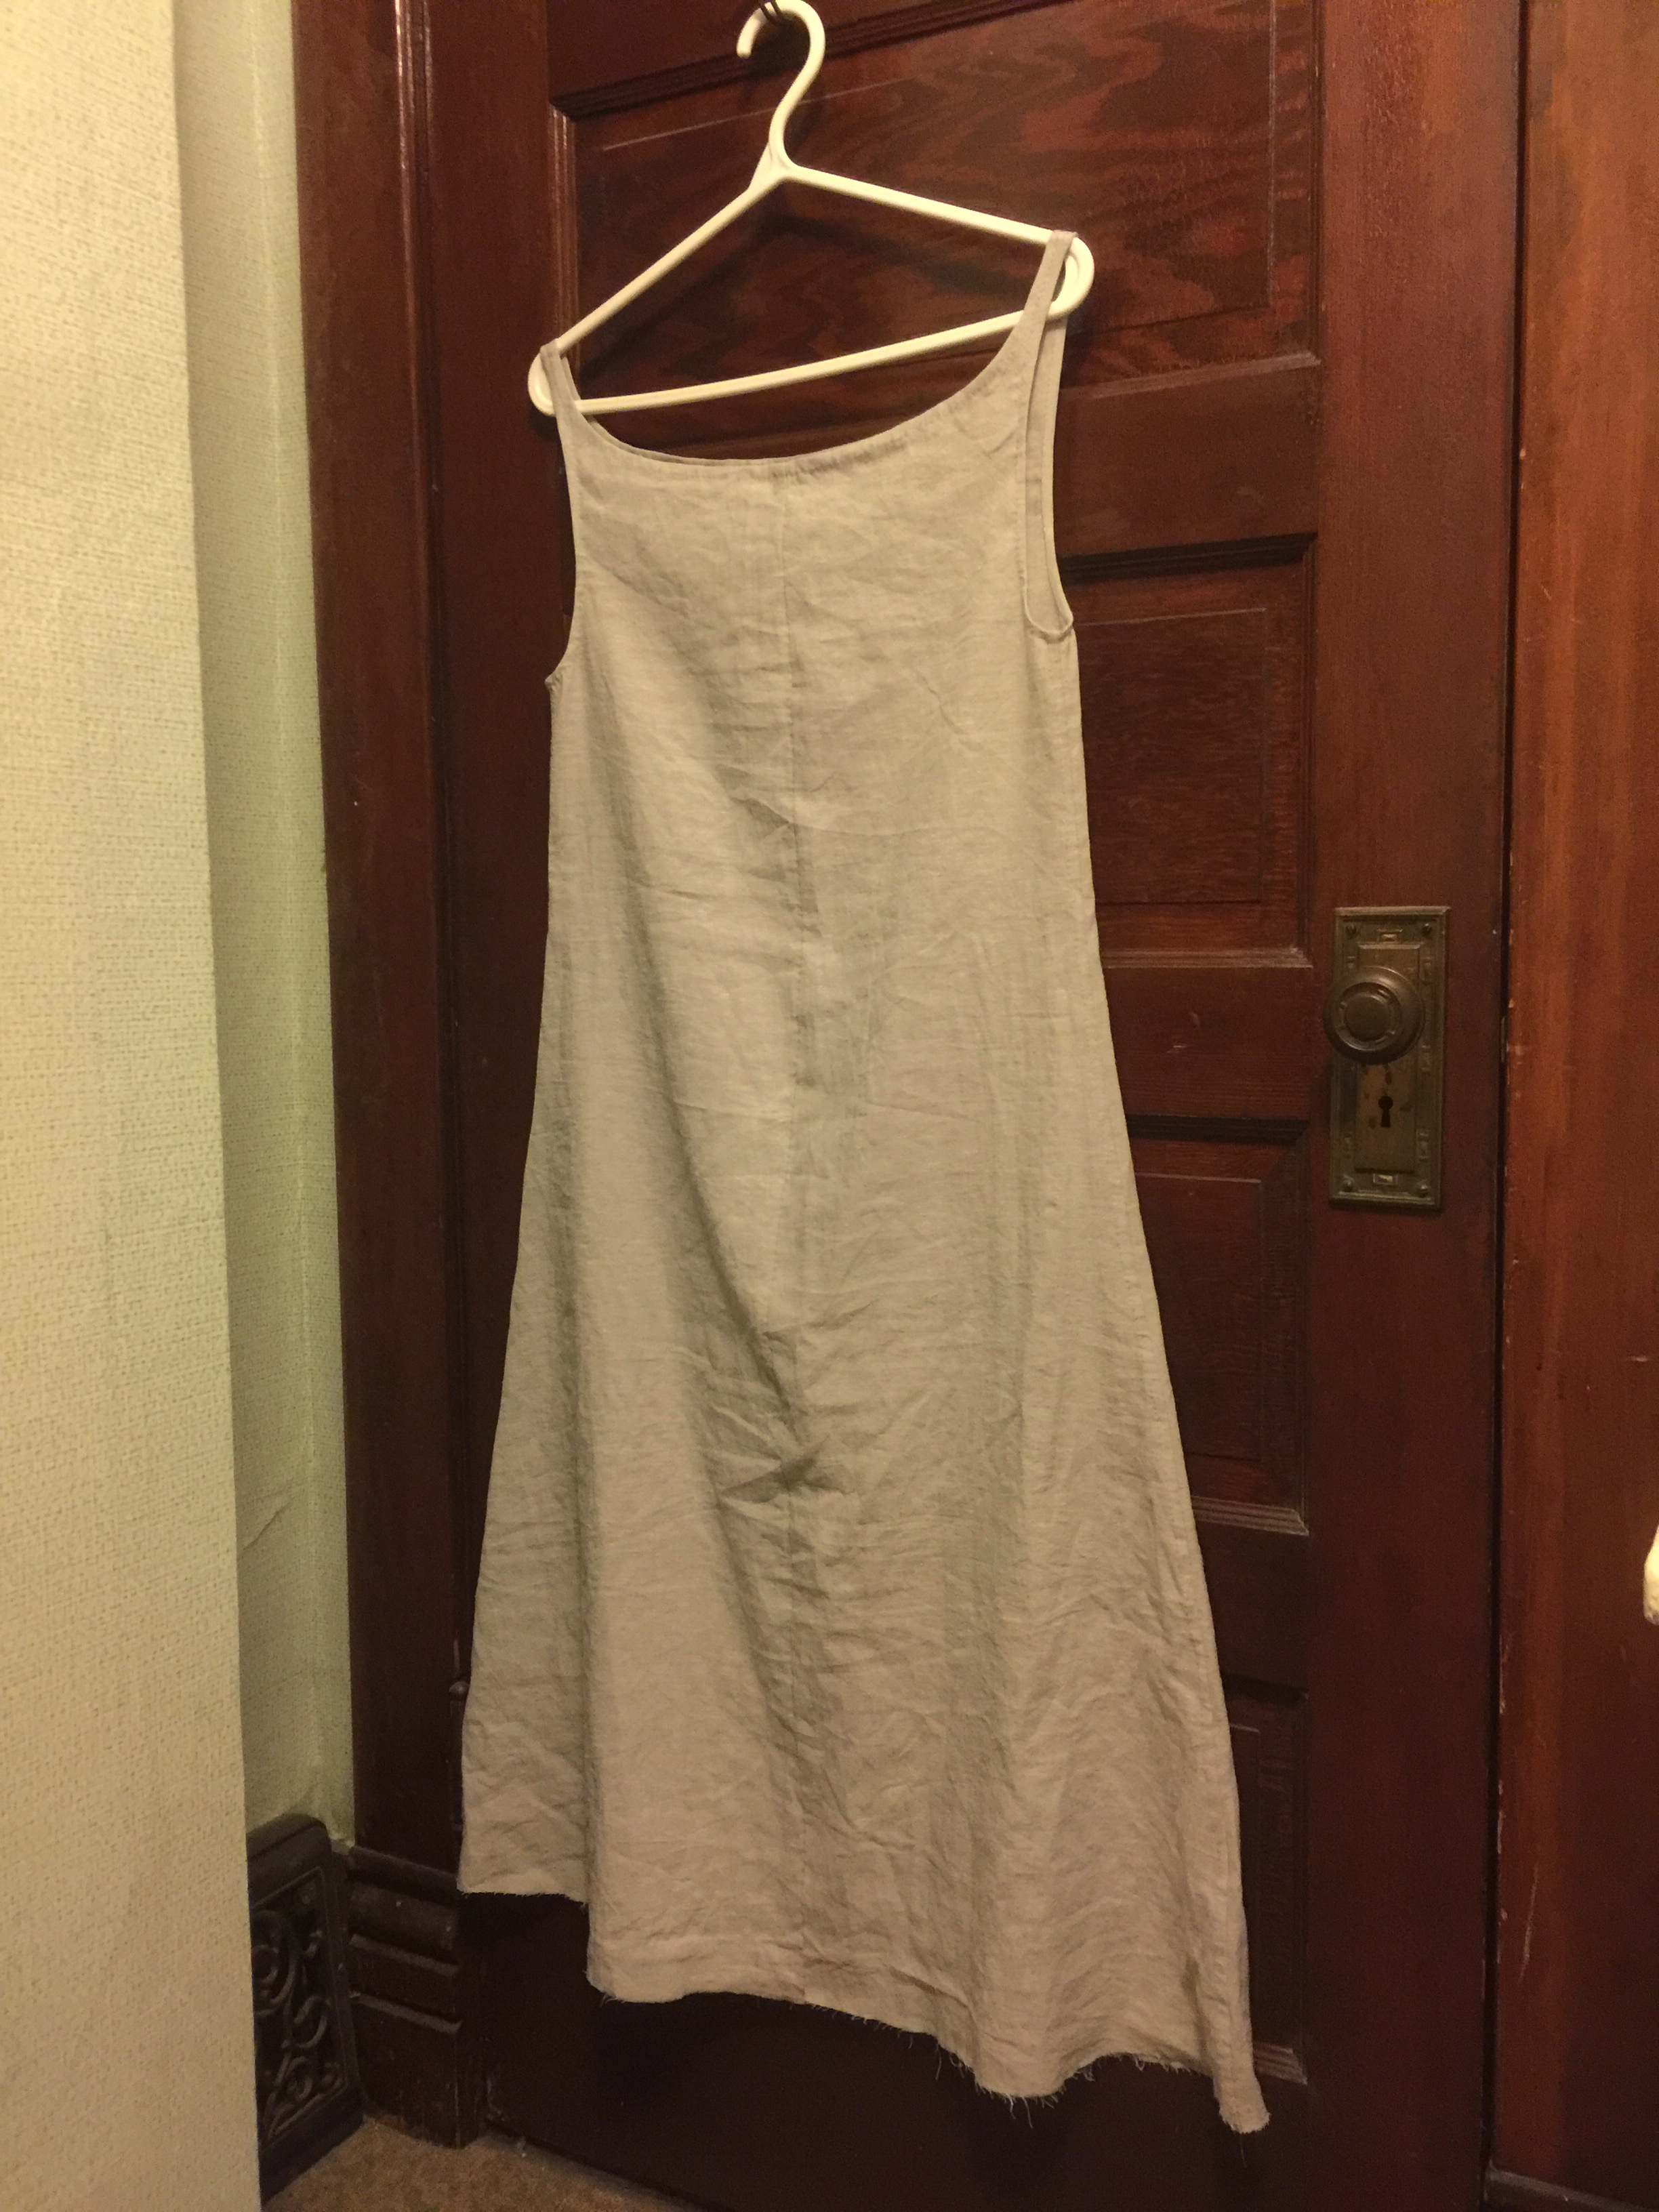 Oh, my version has a back seam. Pure fabric conservation. I took it in a bit to reduce some of the crazy folding my swayback was generating.
 Anyway, fun experiment, and successfully completed in about a day and a half of lackadaisical hand-stitching. People who make historical costumes seem to be fond of grading themselves on their accuracy, but I’m never clear on how you would do this. So what do you think? Fabric is reasonable but not accurate—linen-cotton blend, not pure linen; thread is cotton. Completely hand-stitched, possibly with period techniques although I haven’t done extensive research into mediaeval hand-stitching (they would work for the Victorian stuff I have read, except that my stitch lengths are way huge by those standards. On the other hand the original apparently had “thick stitches” so I’m not too fussed.) I feel like overall that’s pretty good, except for the weirdness of the pattern.
Also, is it weird that I love flat felling as a hand-stitch finish, but I hate doing it by machine? I really hate it by machine. But I kinda just want to sit and pet those hand-felled seams.


 I’ll forgive you if you don’t remember


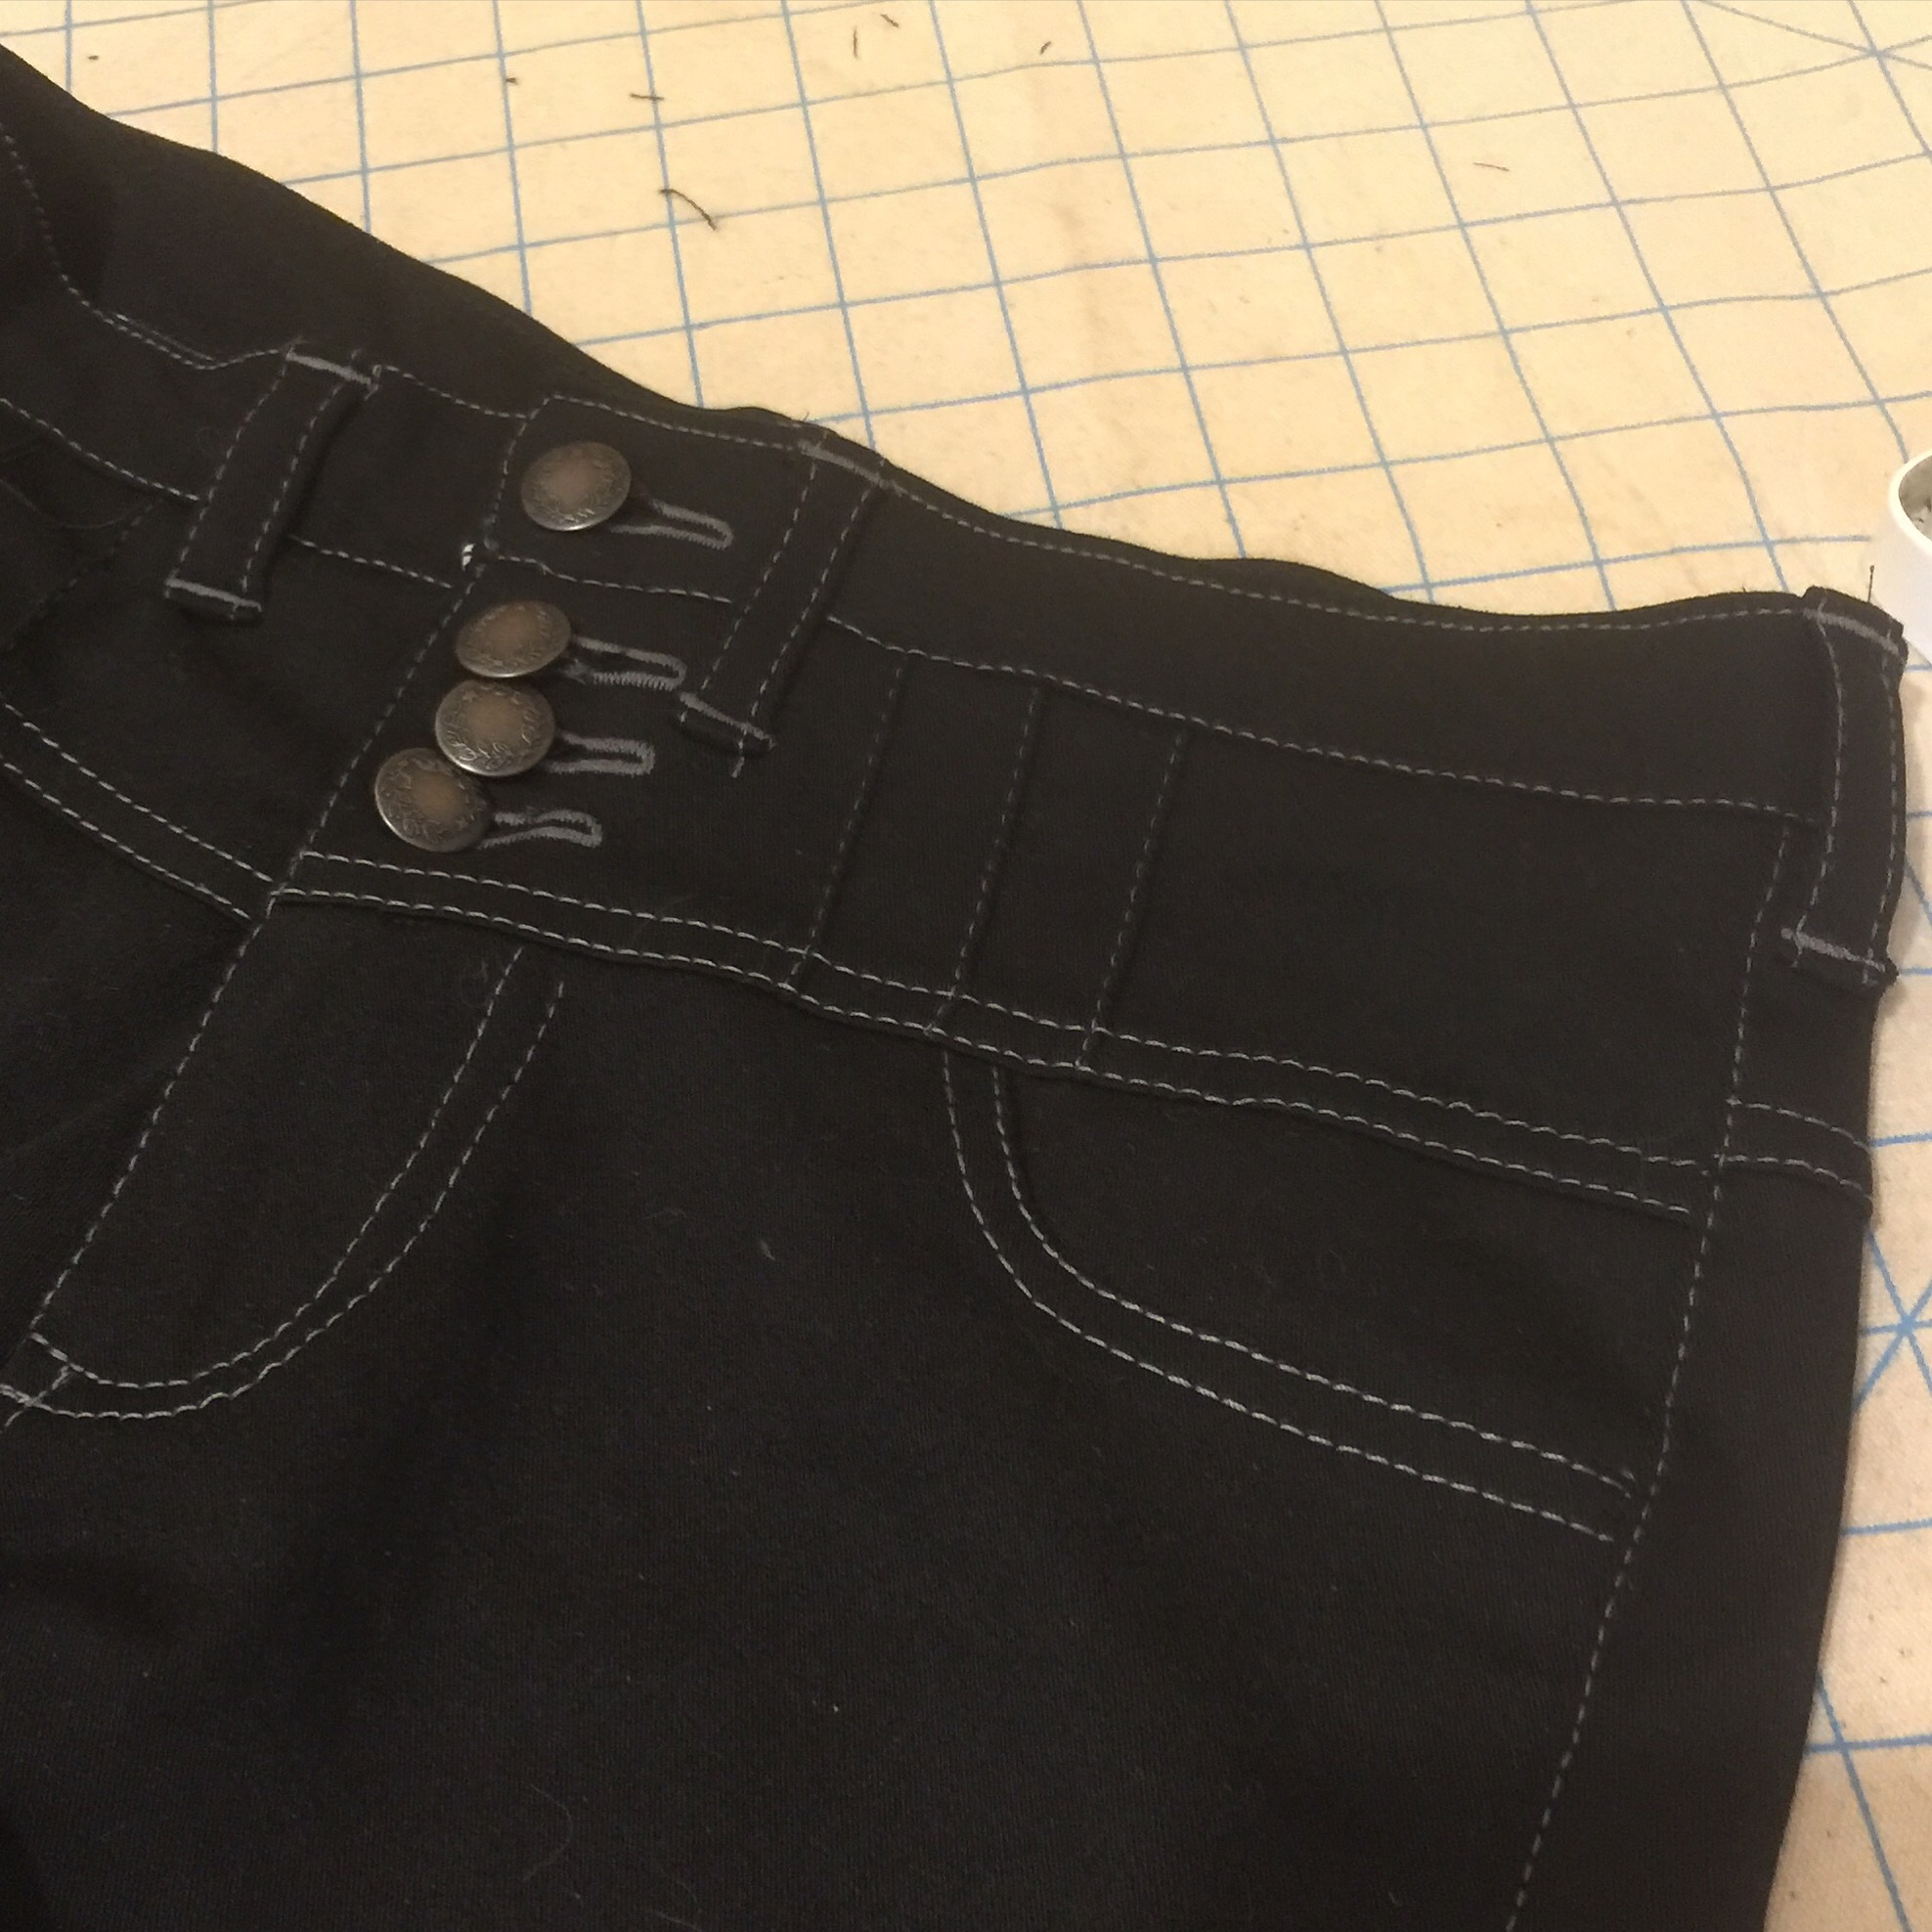
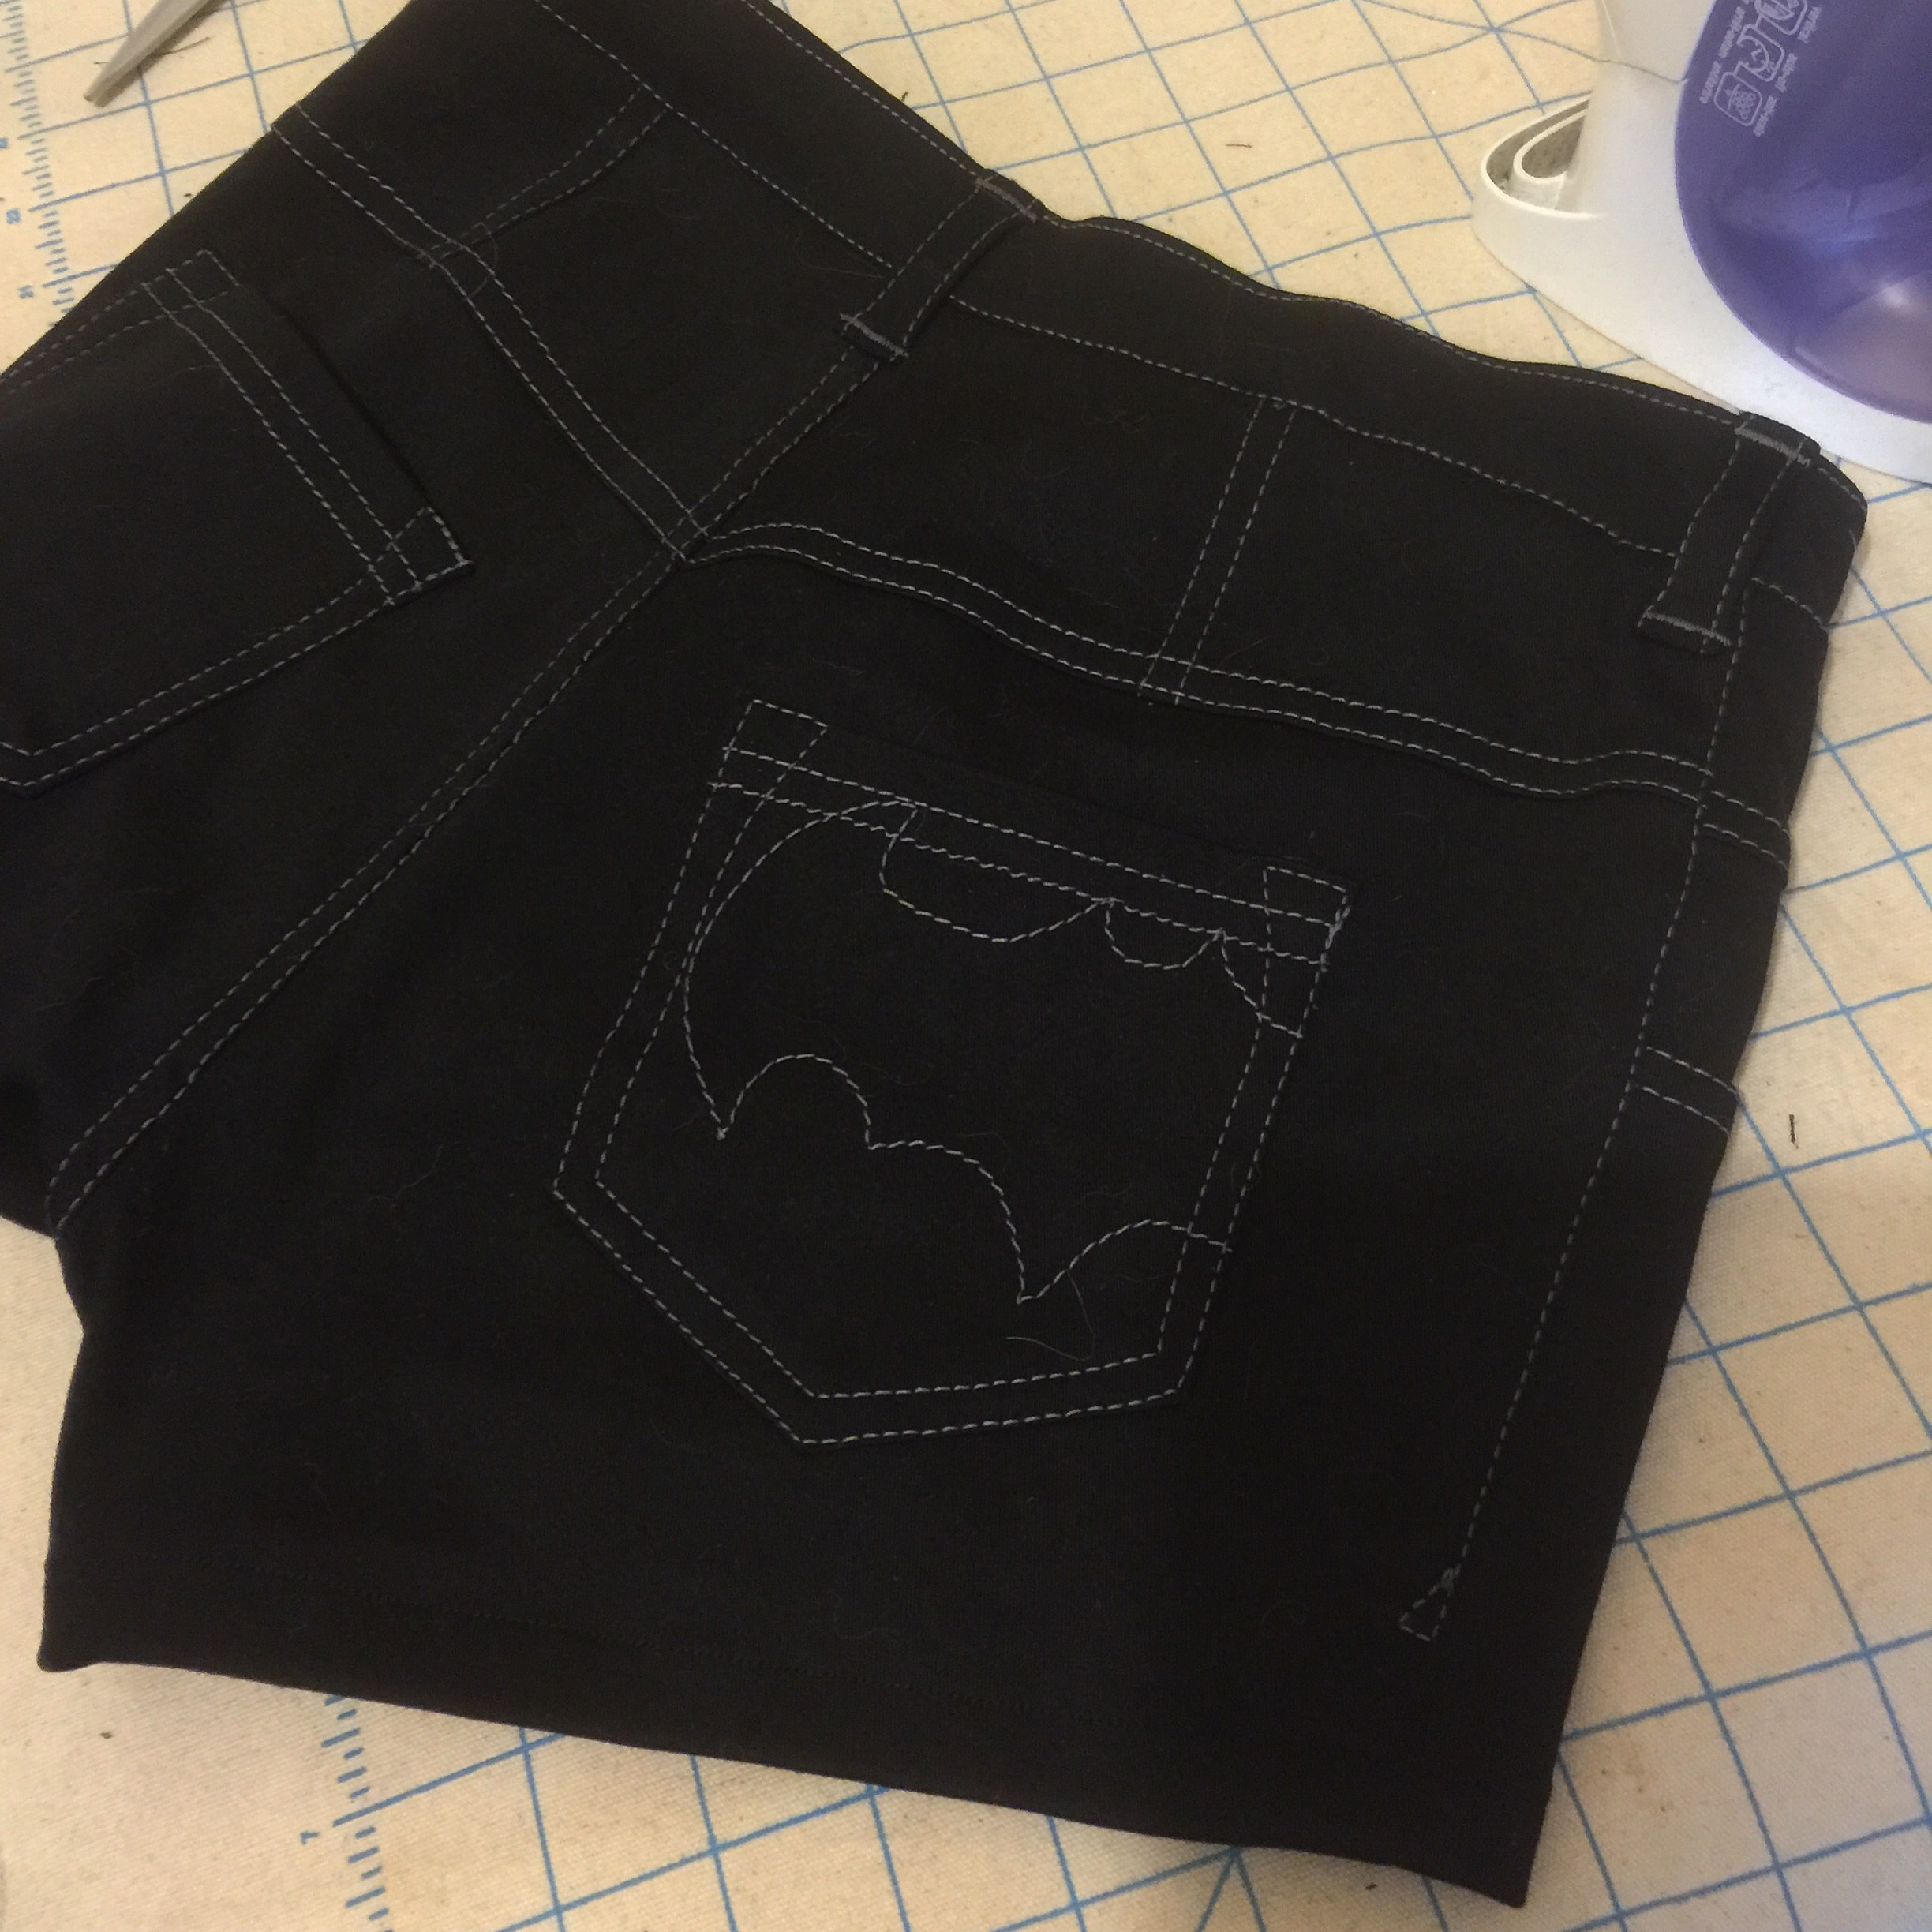
 The buttons are all mother of pearl, from the Antique Button Stash—they roughly match, except for the big one at the top.


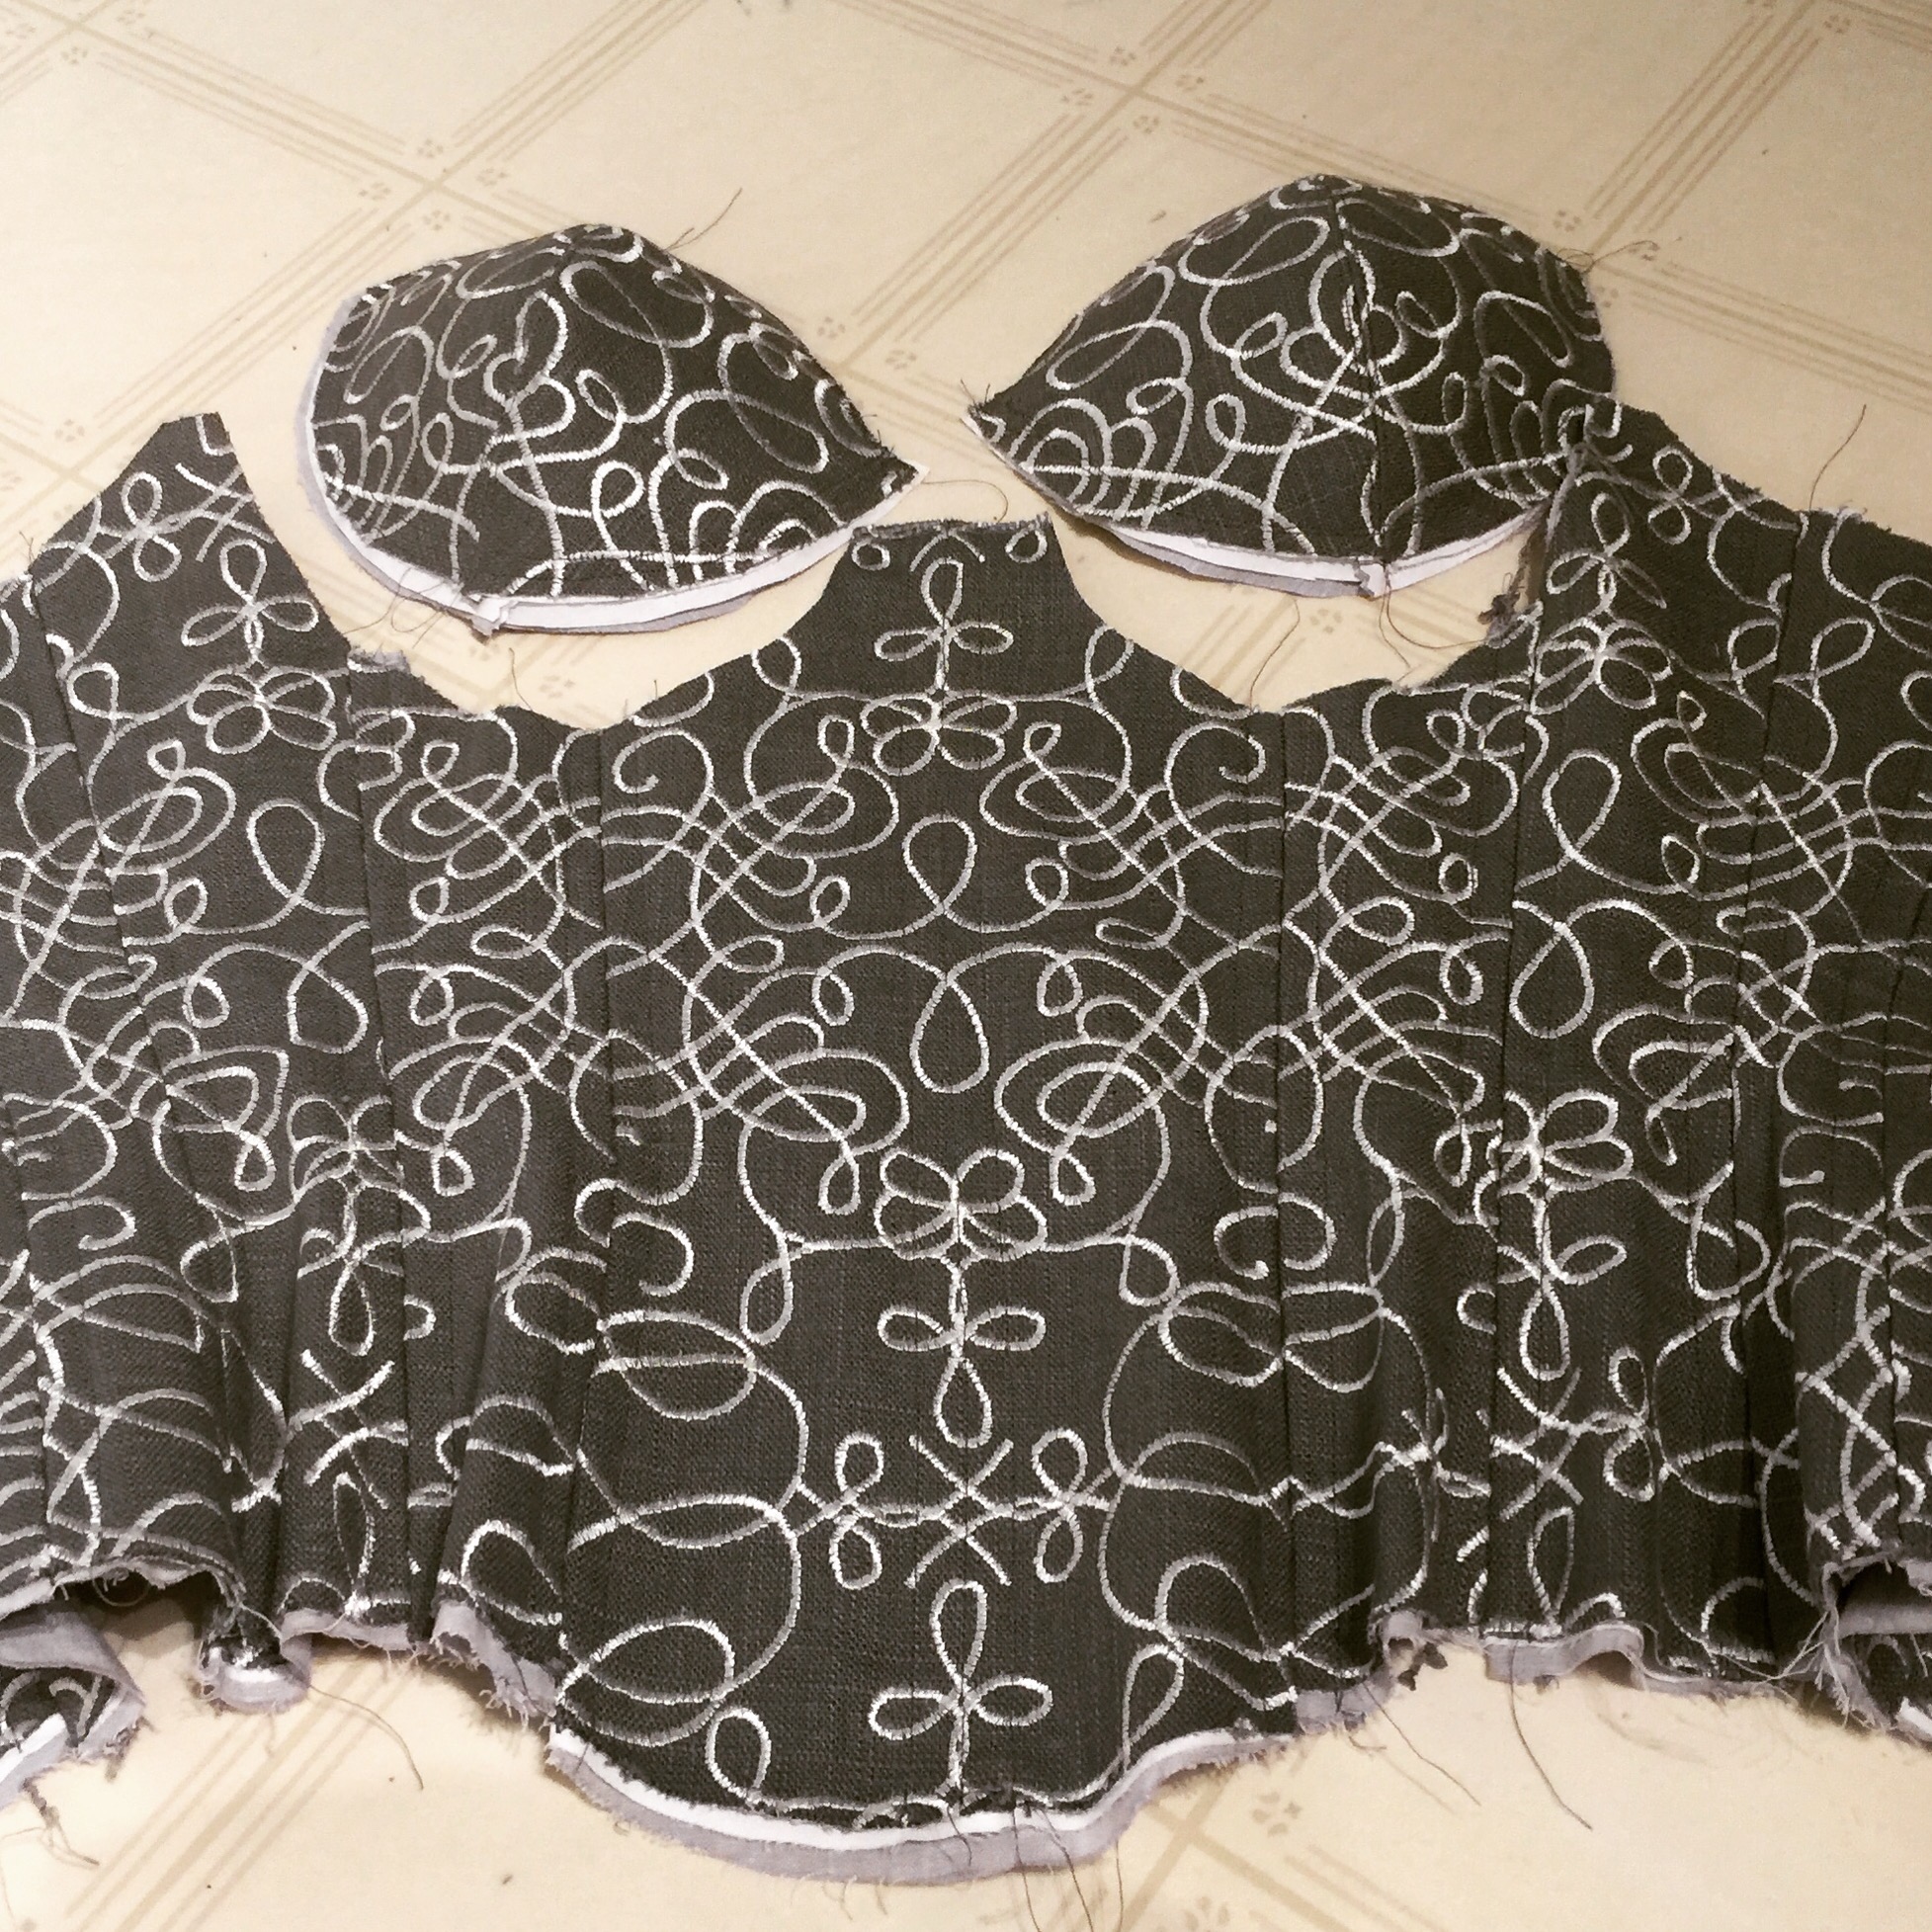
 The materials I chose were affected quite a bit by this being a shop project. Aside from the busk, I used ticking instead of coutil, and tried substituting Bosal in-R-form (a bag making product) for the poly laminate foam the pattern calls for for the cups. What I didn’t make do on was the boning—I used my usual 1/4″ spiral steel, double boned at each seam. I kinda construct all my corsets the same way—one trick pony, I guess. I know it’s not he strongest way, but it makes them easier to adjust and alter, as you go or after the fact. And I haven’t had a seam split on me yet.

 The bust cups affect the fit a lot, too, incidentally, so don’t take your fitting too far without them, if you’re going to use them. I don’t think I’ve really nailed the bust fit. Even downsizing to a 10 in those pieces the cups were a bit large, though with the foam lining it doesn’t show so much in the photos. I made some minor tweaks to the shape to round the bottom a little more smoothly and bring in the top 1/8″, and I played around with making some little chicken fillet push-up pads.
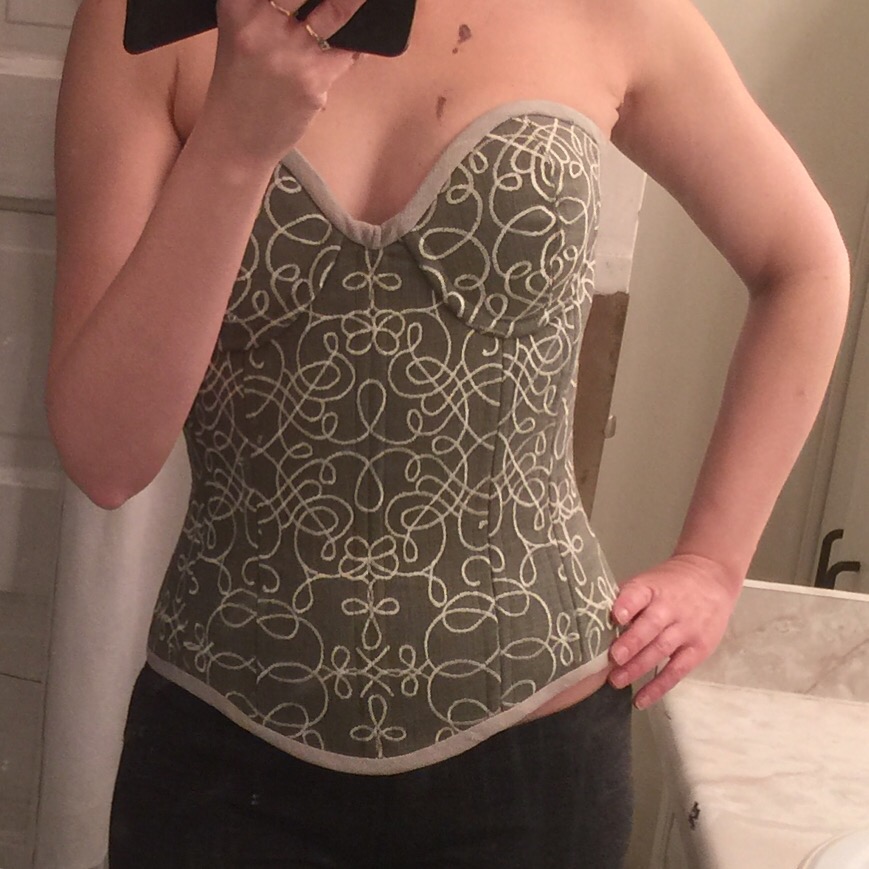


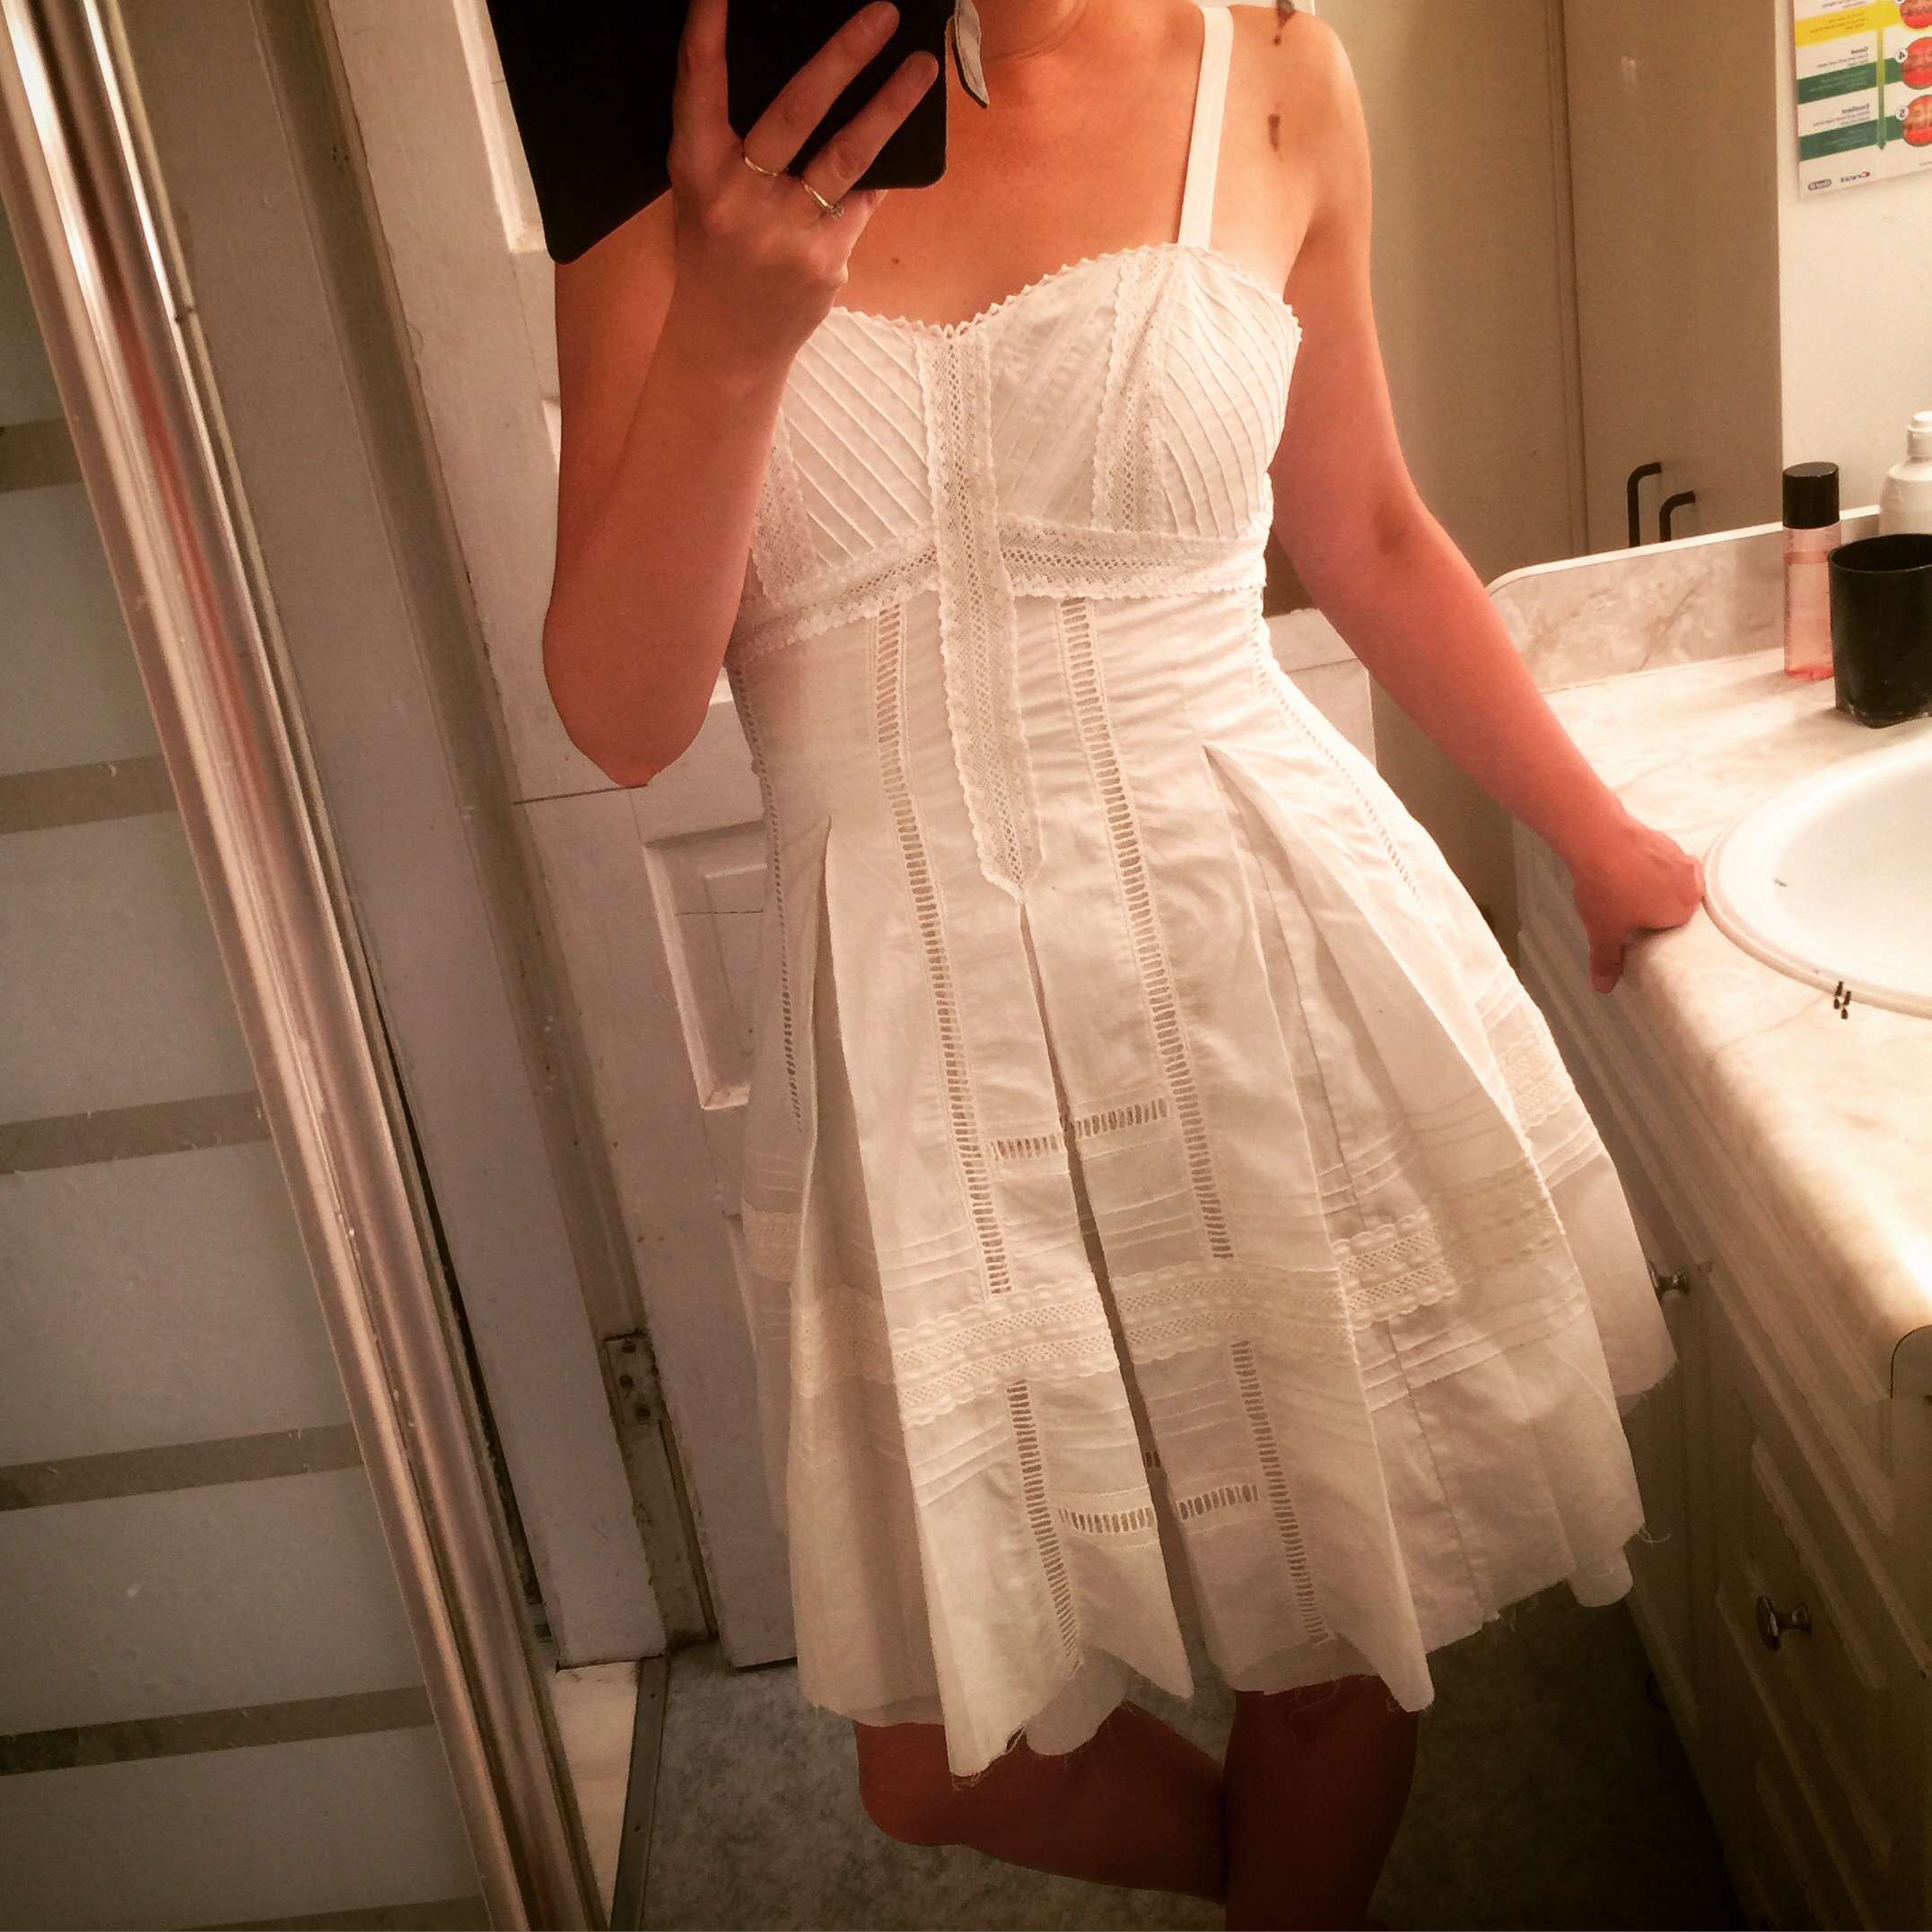
 All in all it’s very pretty, and feels very sleek and smooth, so that’s nice. It makes me think of an elven princess. Probably some delicate silver jewelry would be in order.

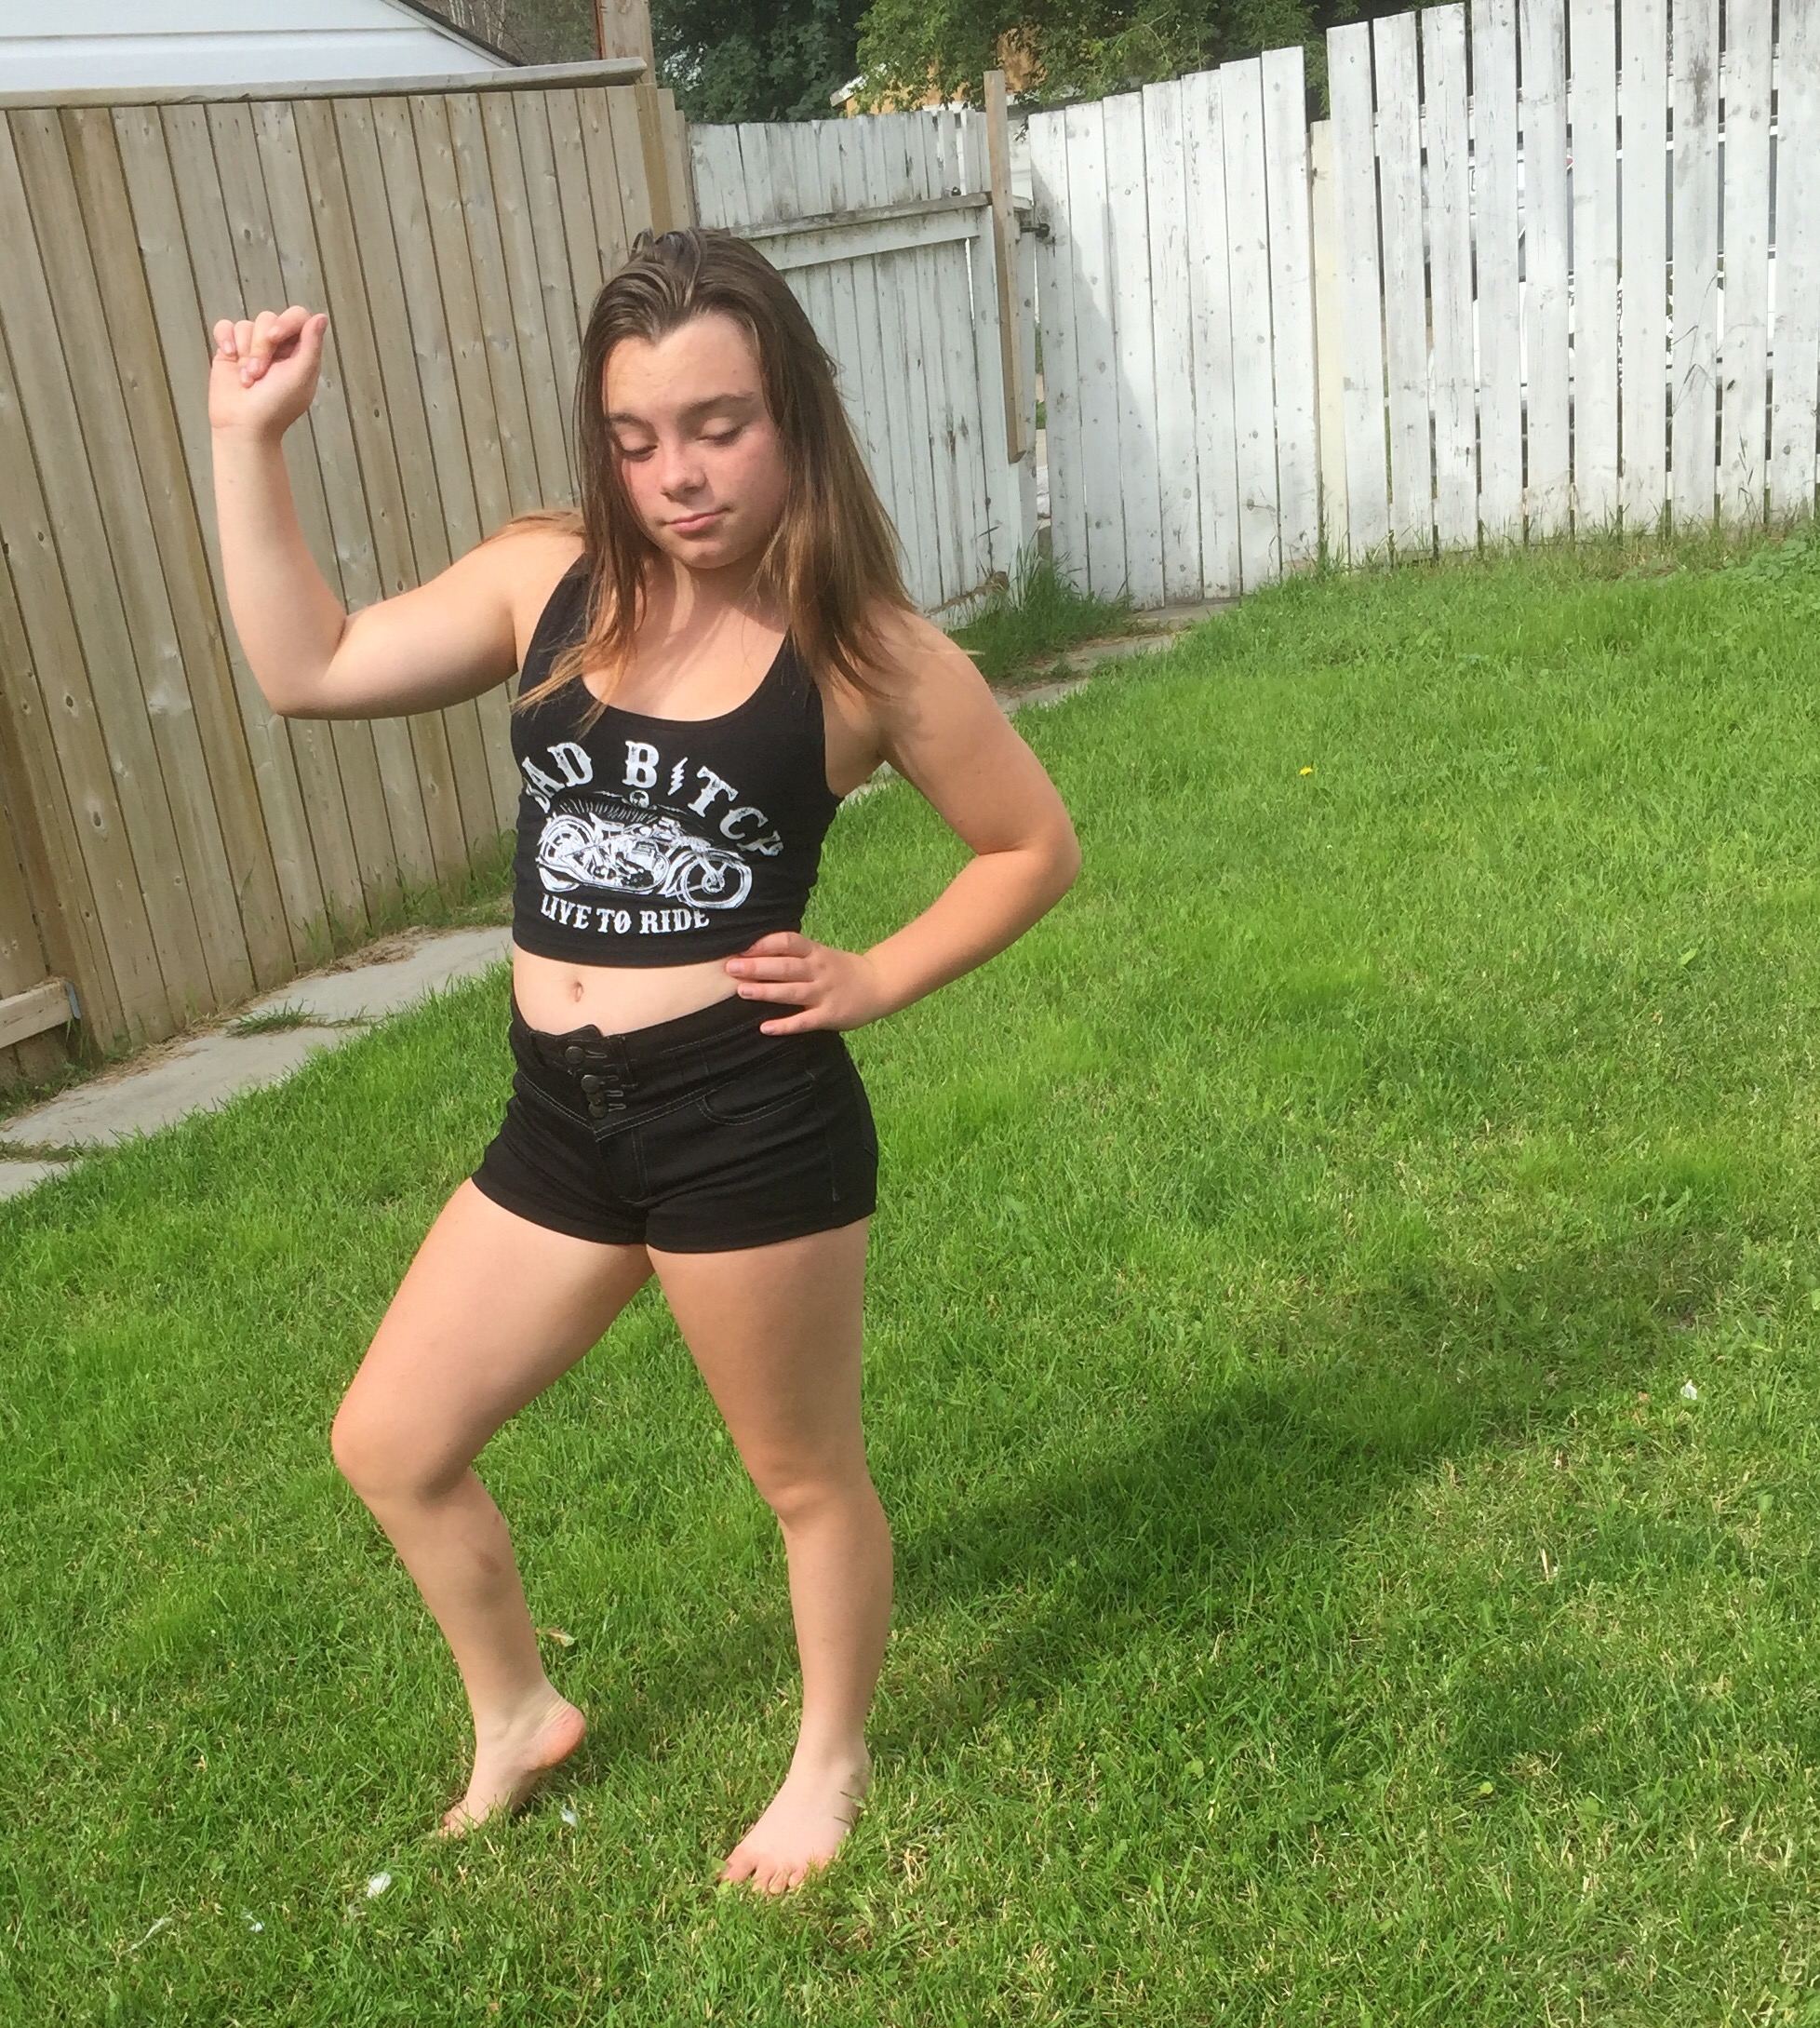
 Hey, a girl can dream. I can also wear it swanning around the house (as I did the day I wrote this). I’m getting to like this crop-top-with-high-waist thing. (It only took me what, three years, to wrap my head around it? Bear with me, I’m well past the prime age for adopting new styles.)
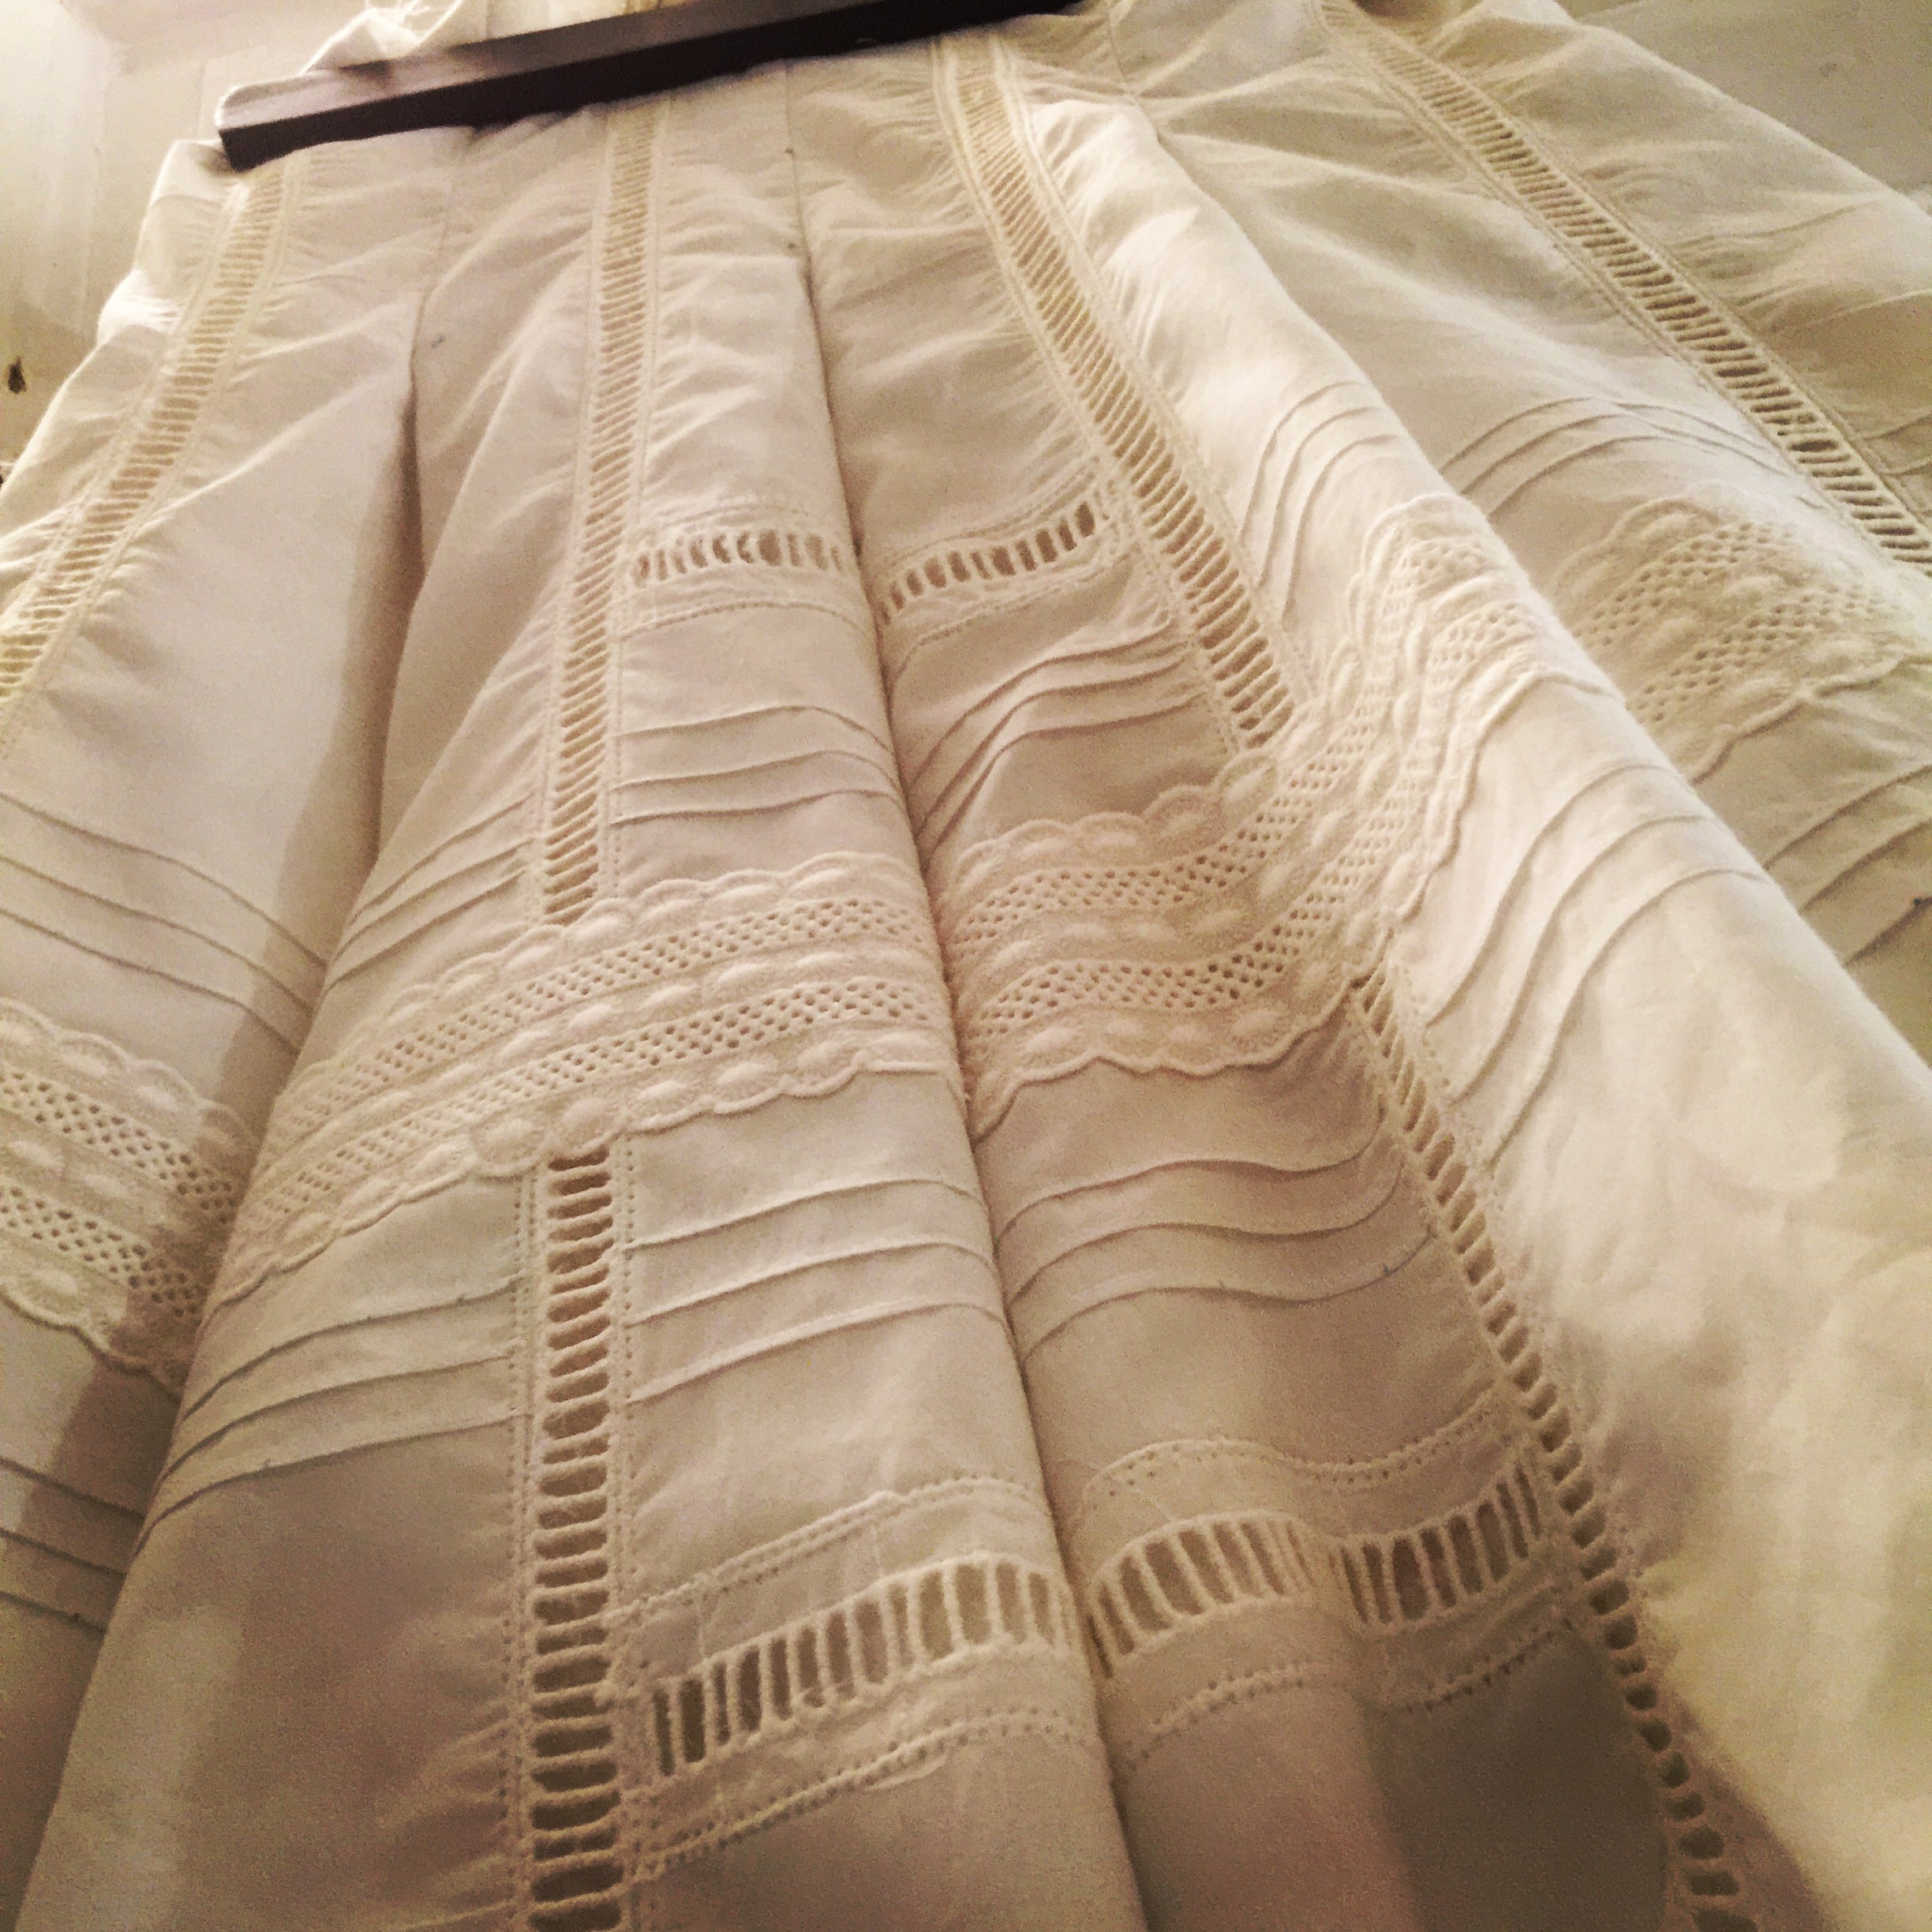
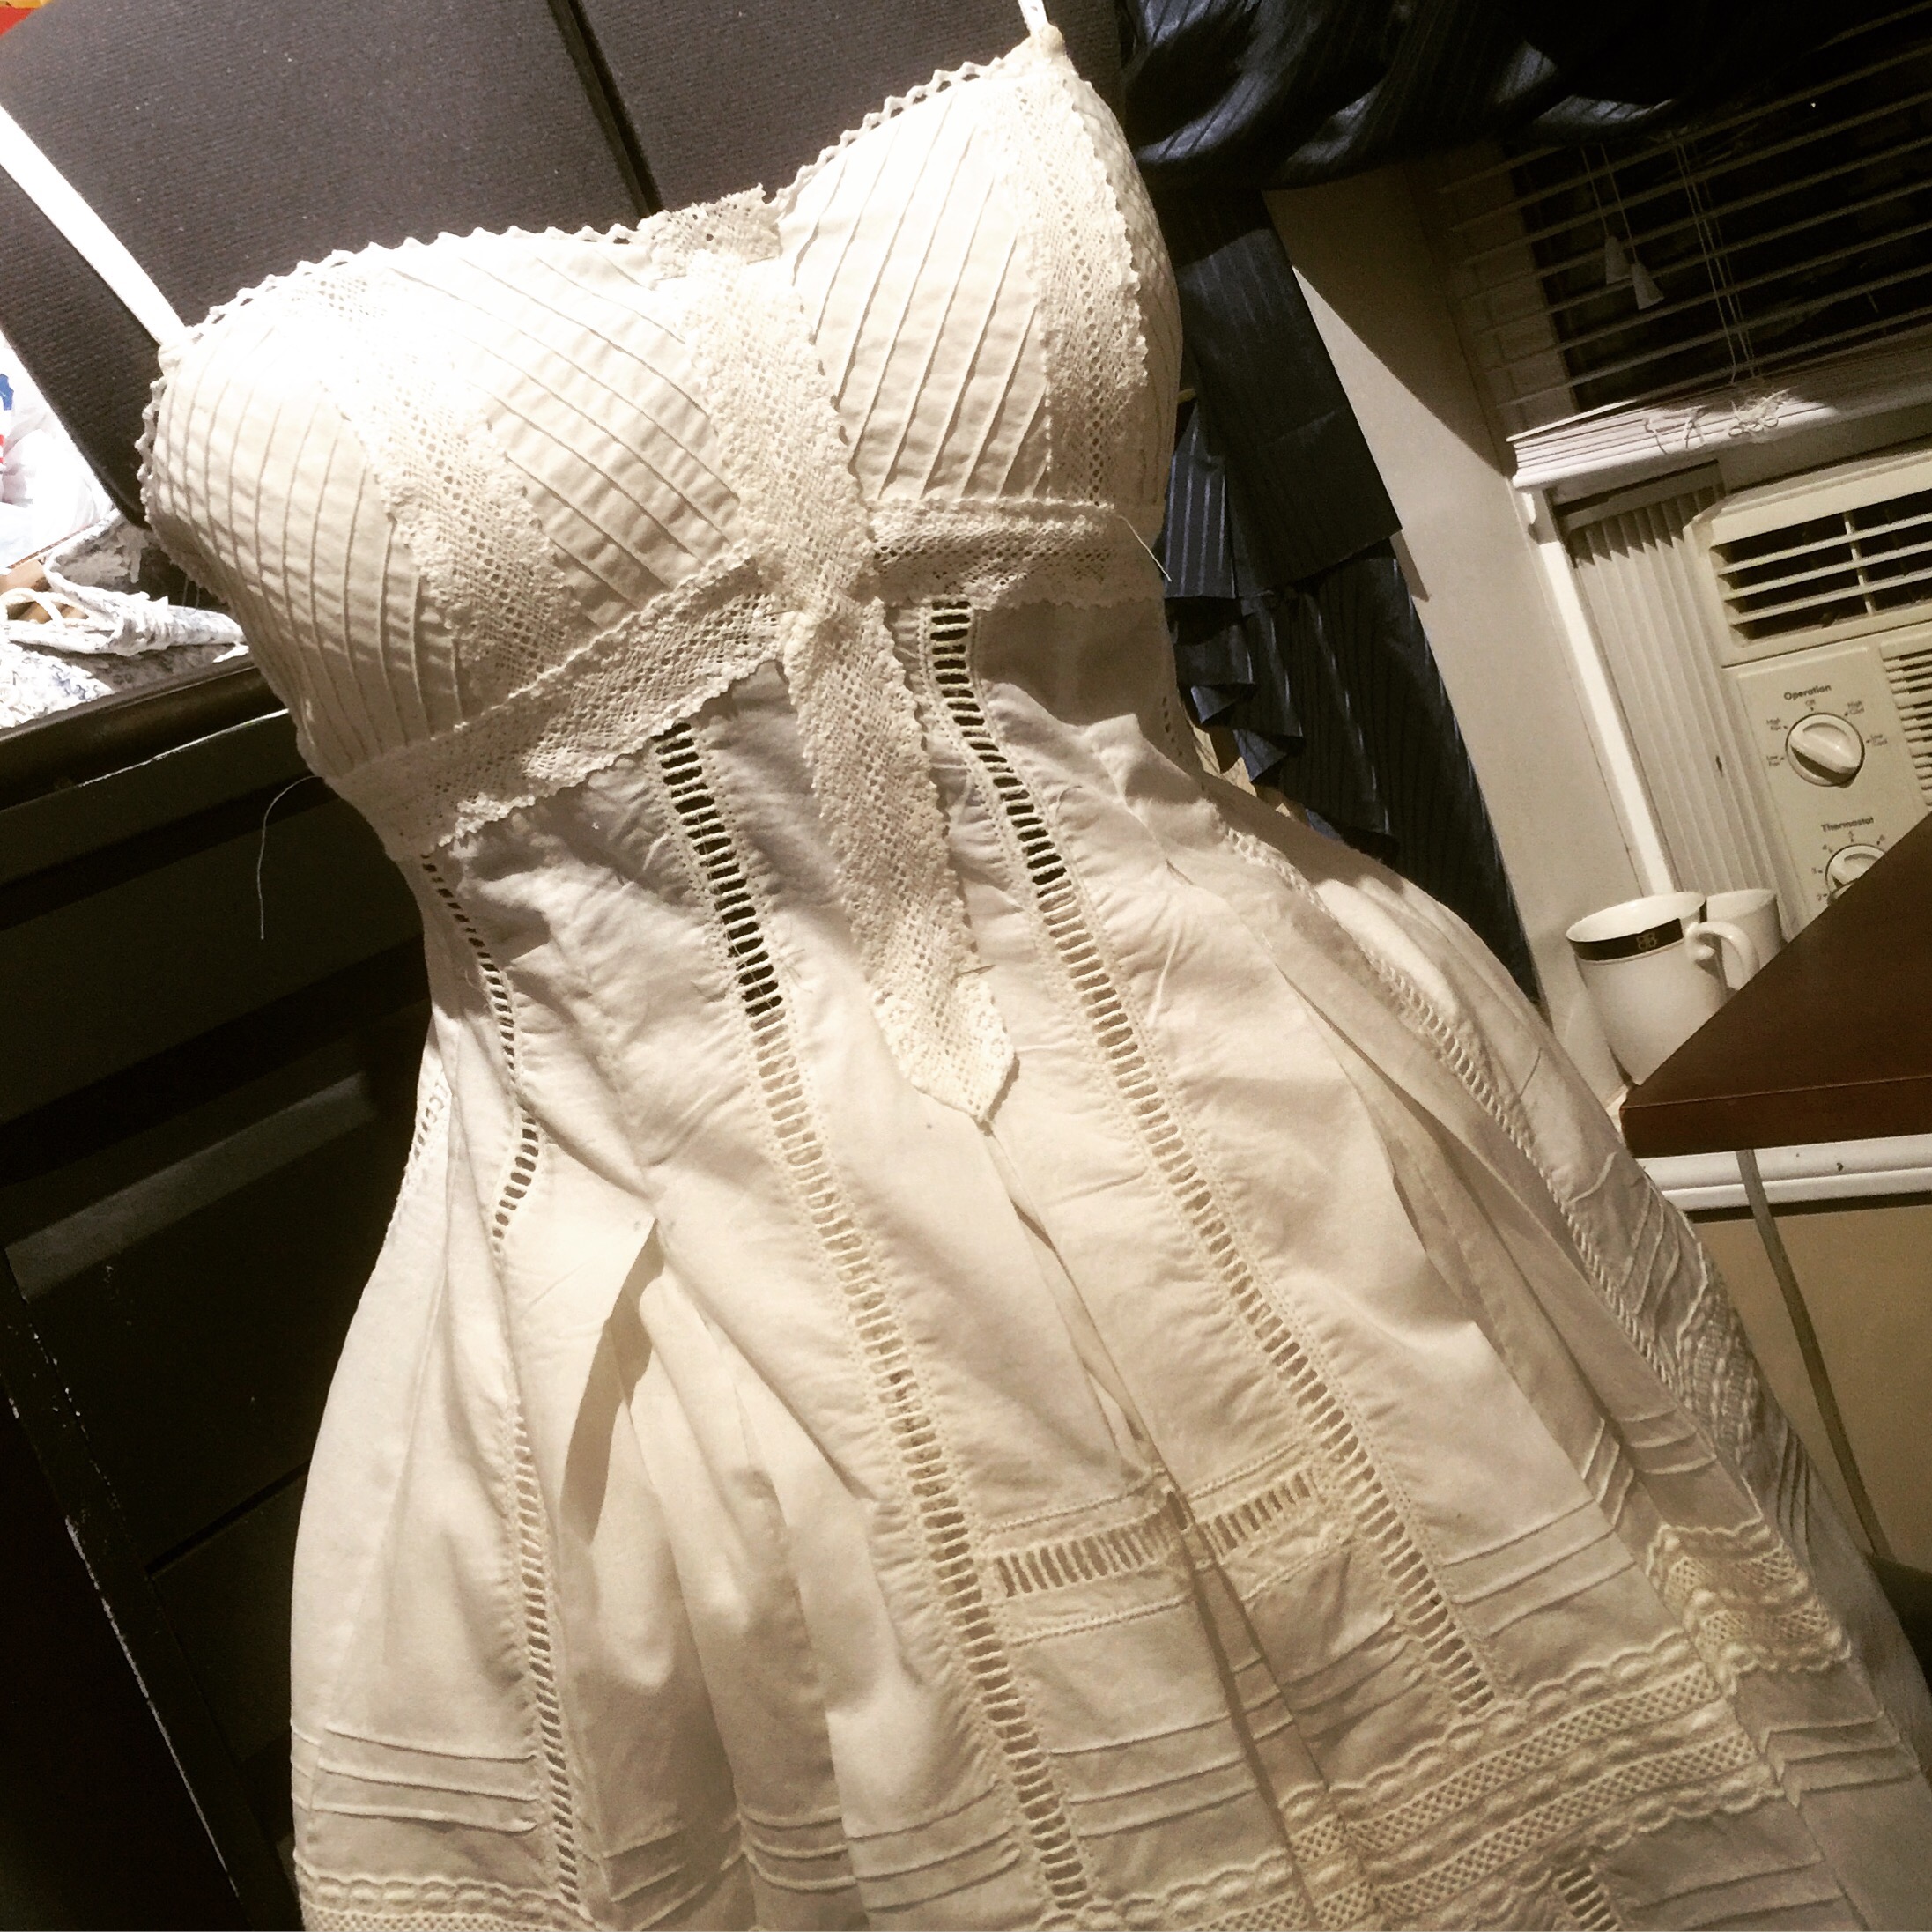
 I had hoped to cut the centre front panels from the last “large” scrap of the embroidery, but alas it was too small—I had to settle for just making that the lower portion of the side fronts.
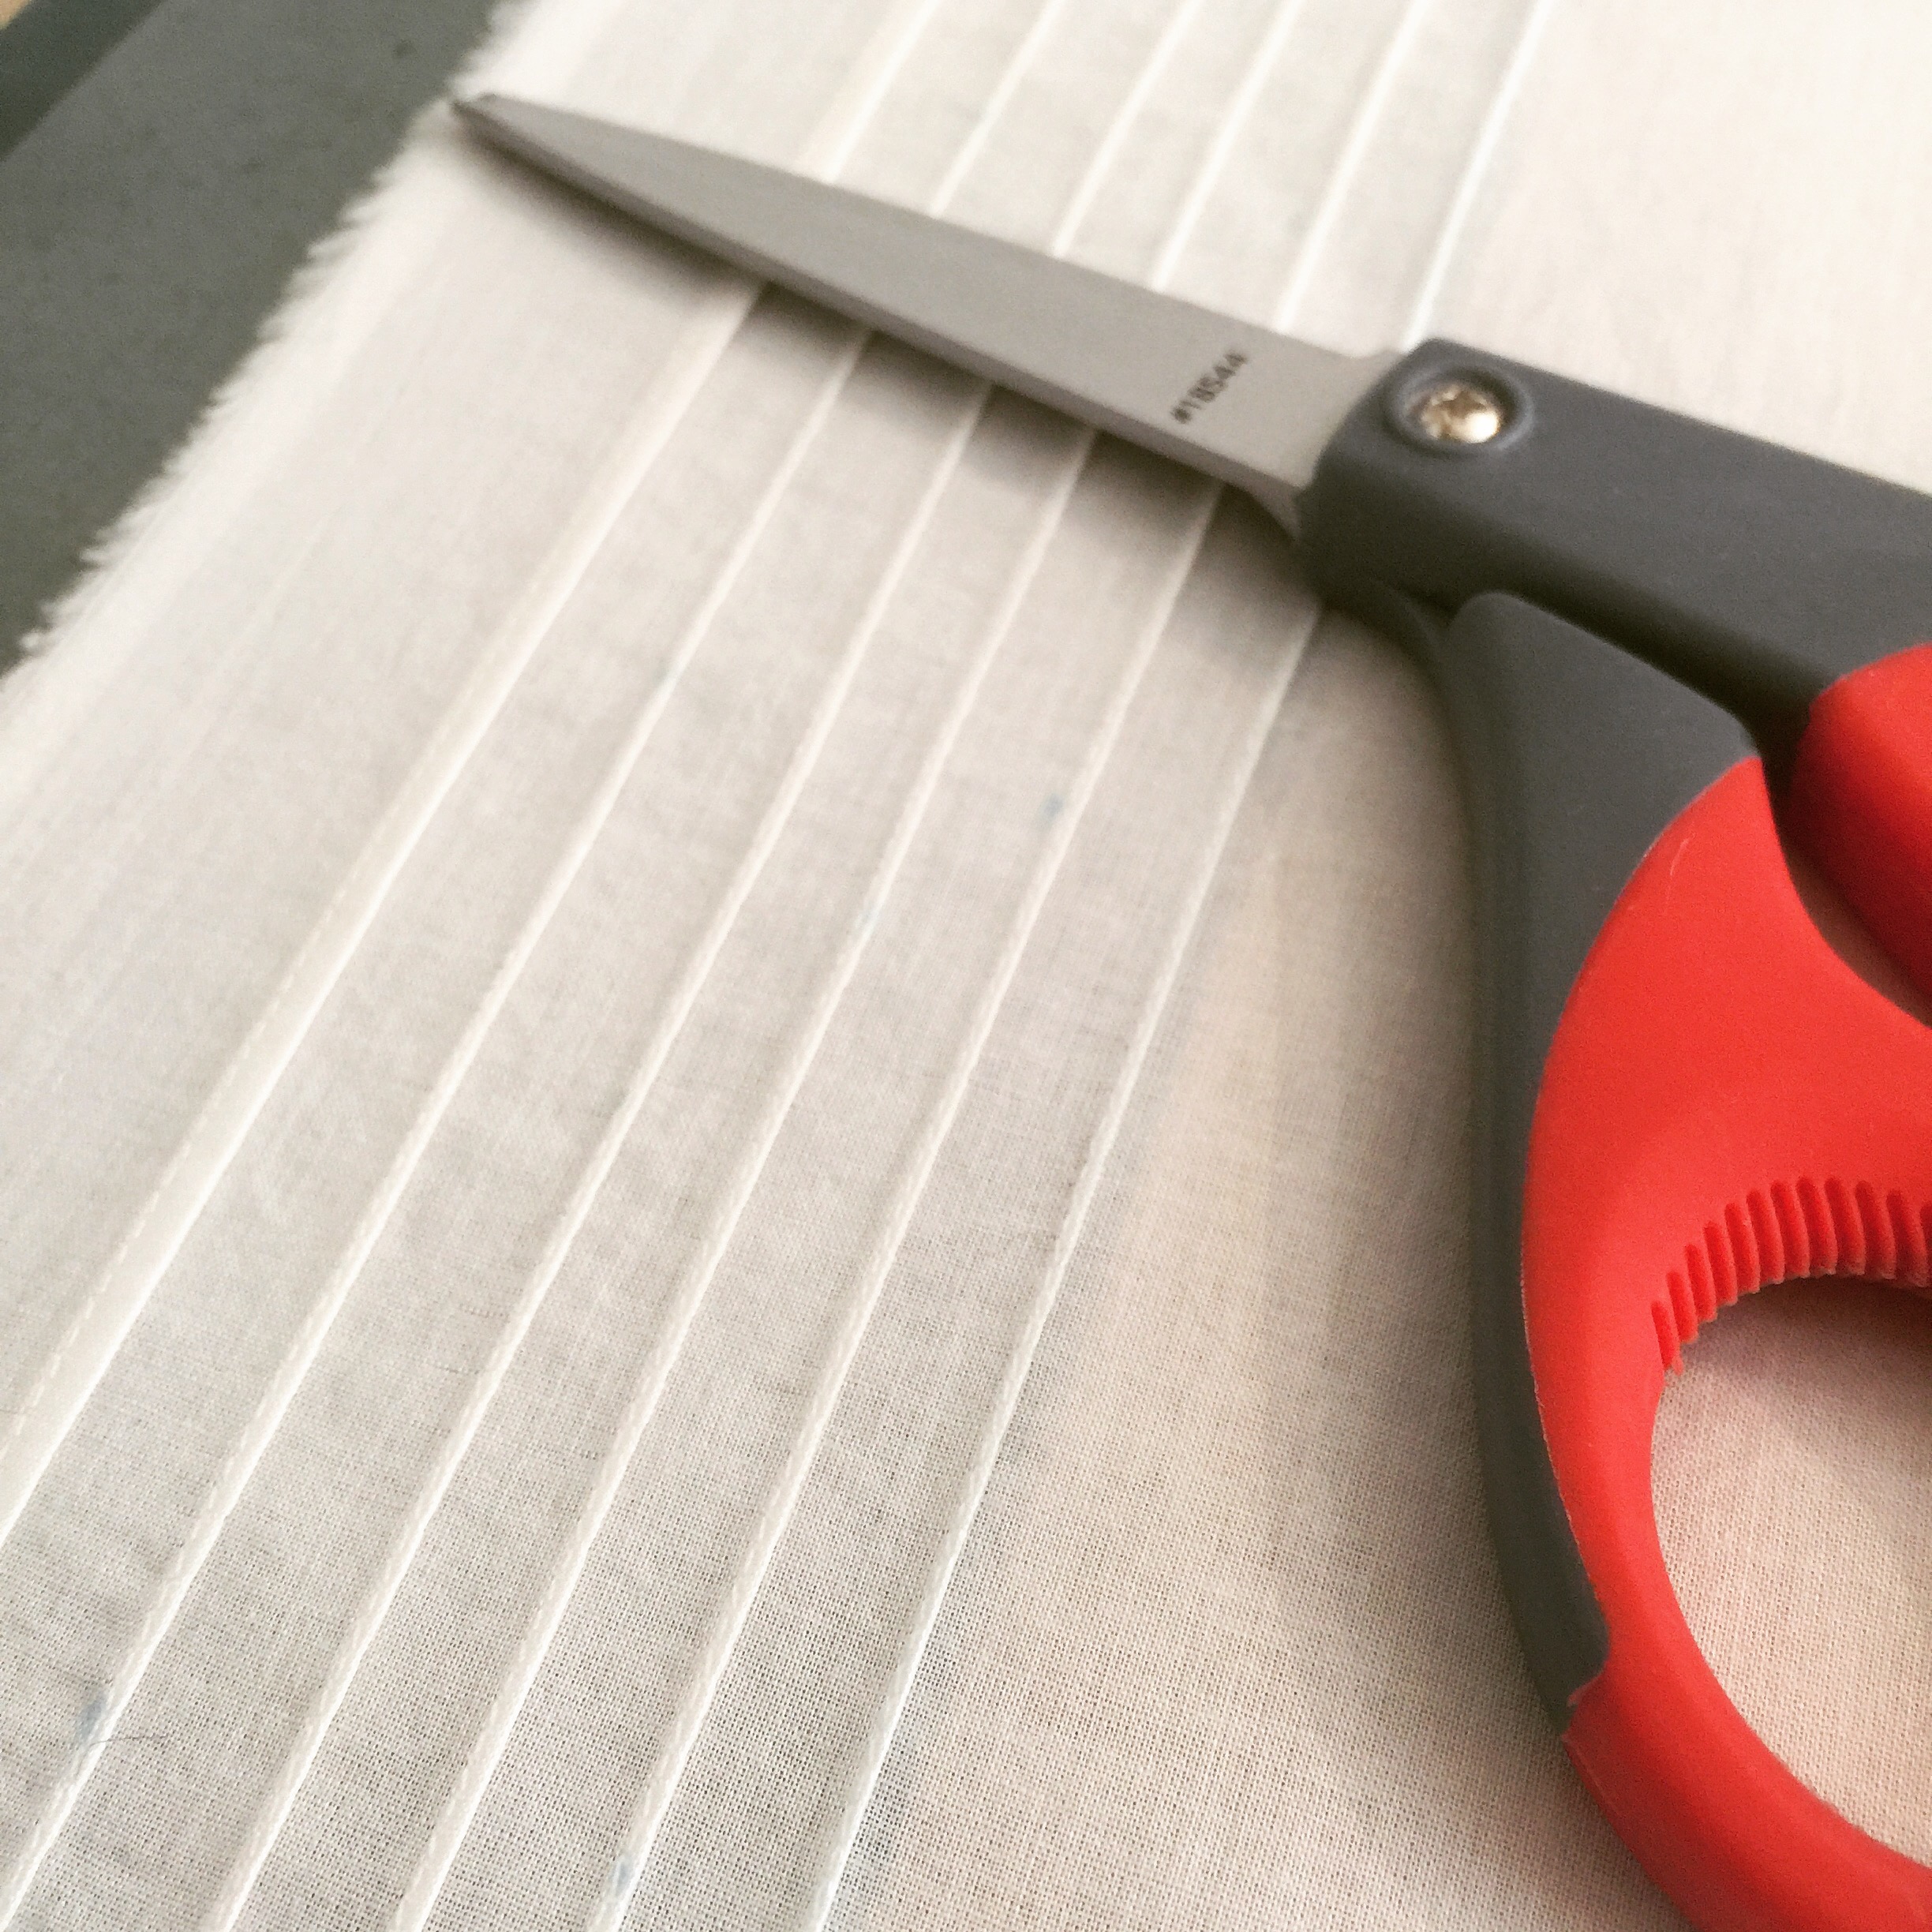
 This left the front rather boring, so I ended up hand-stitching a little embroidered bit in place over the closure.
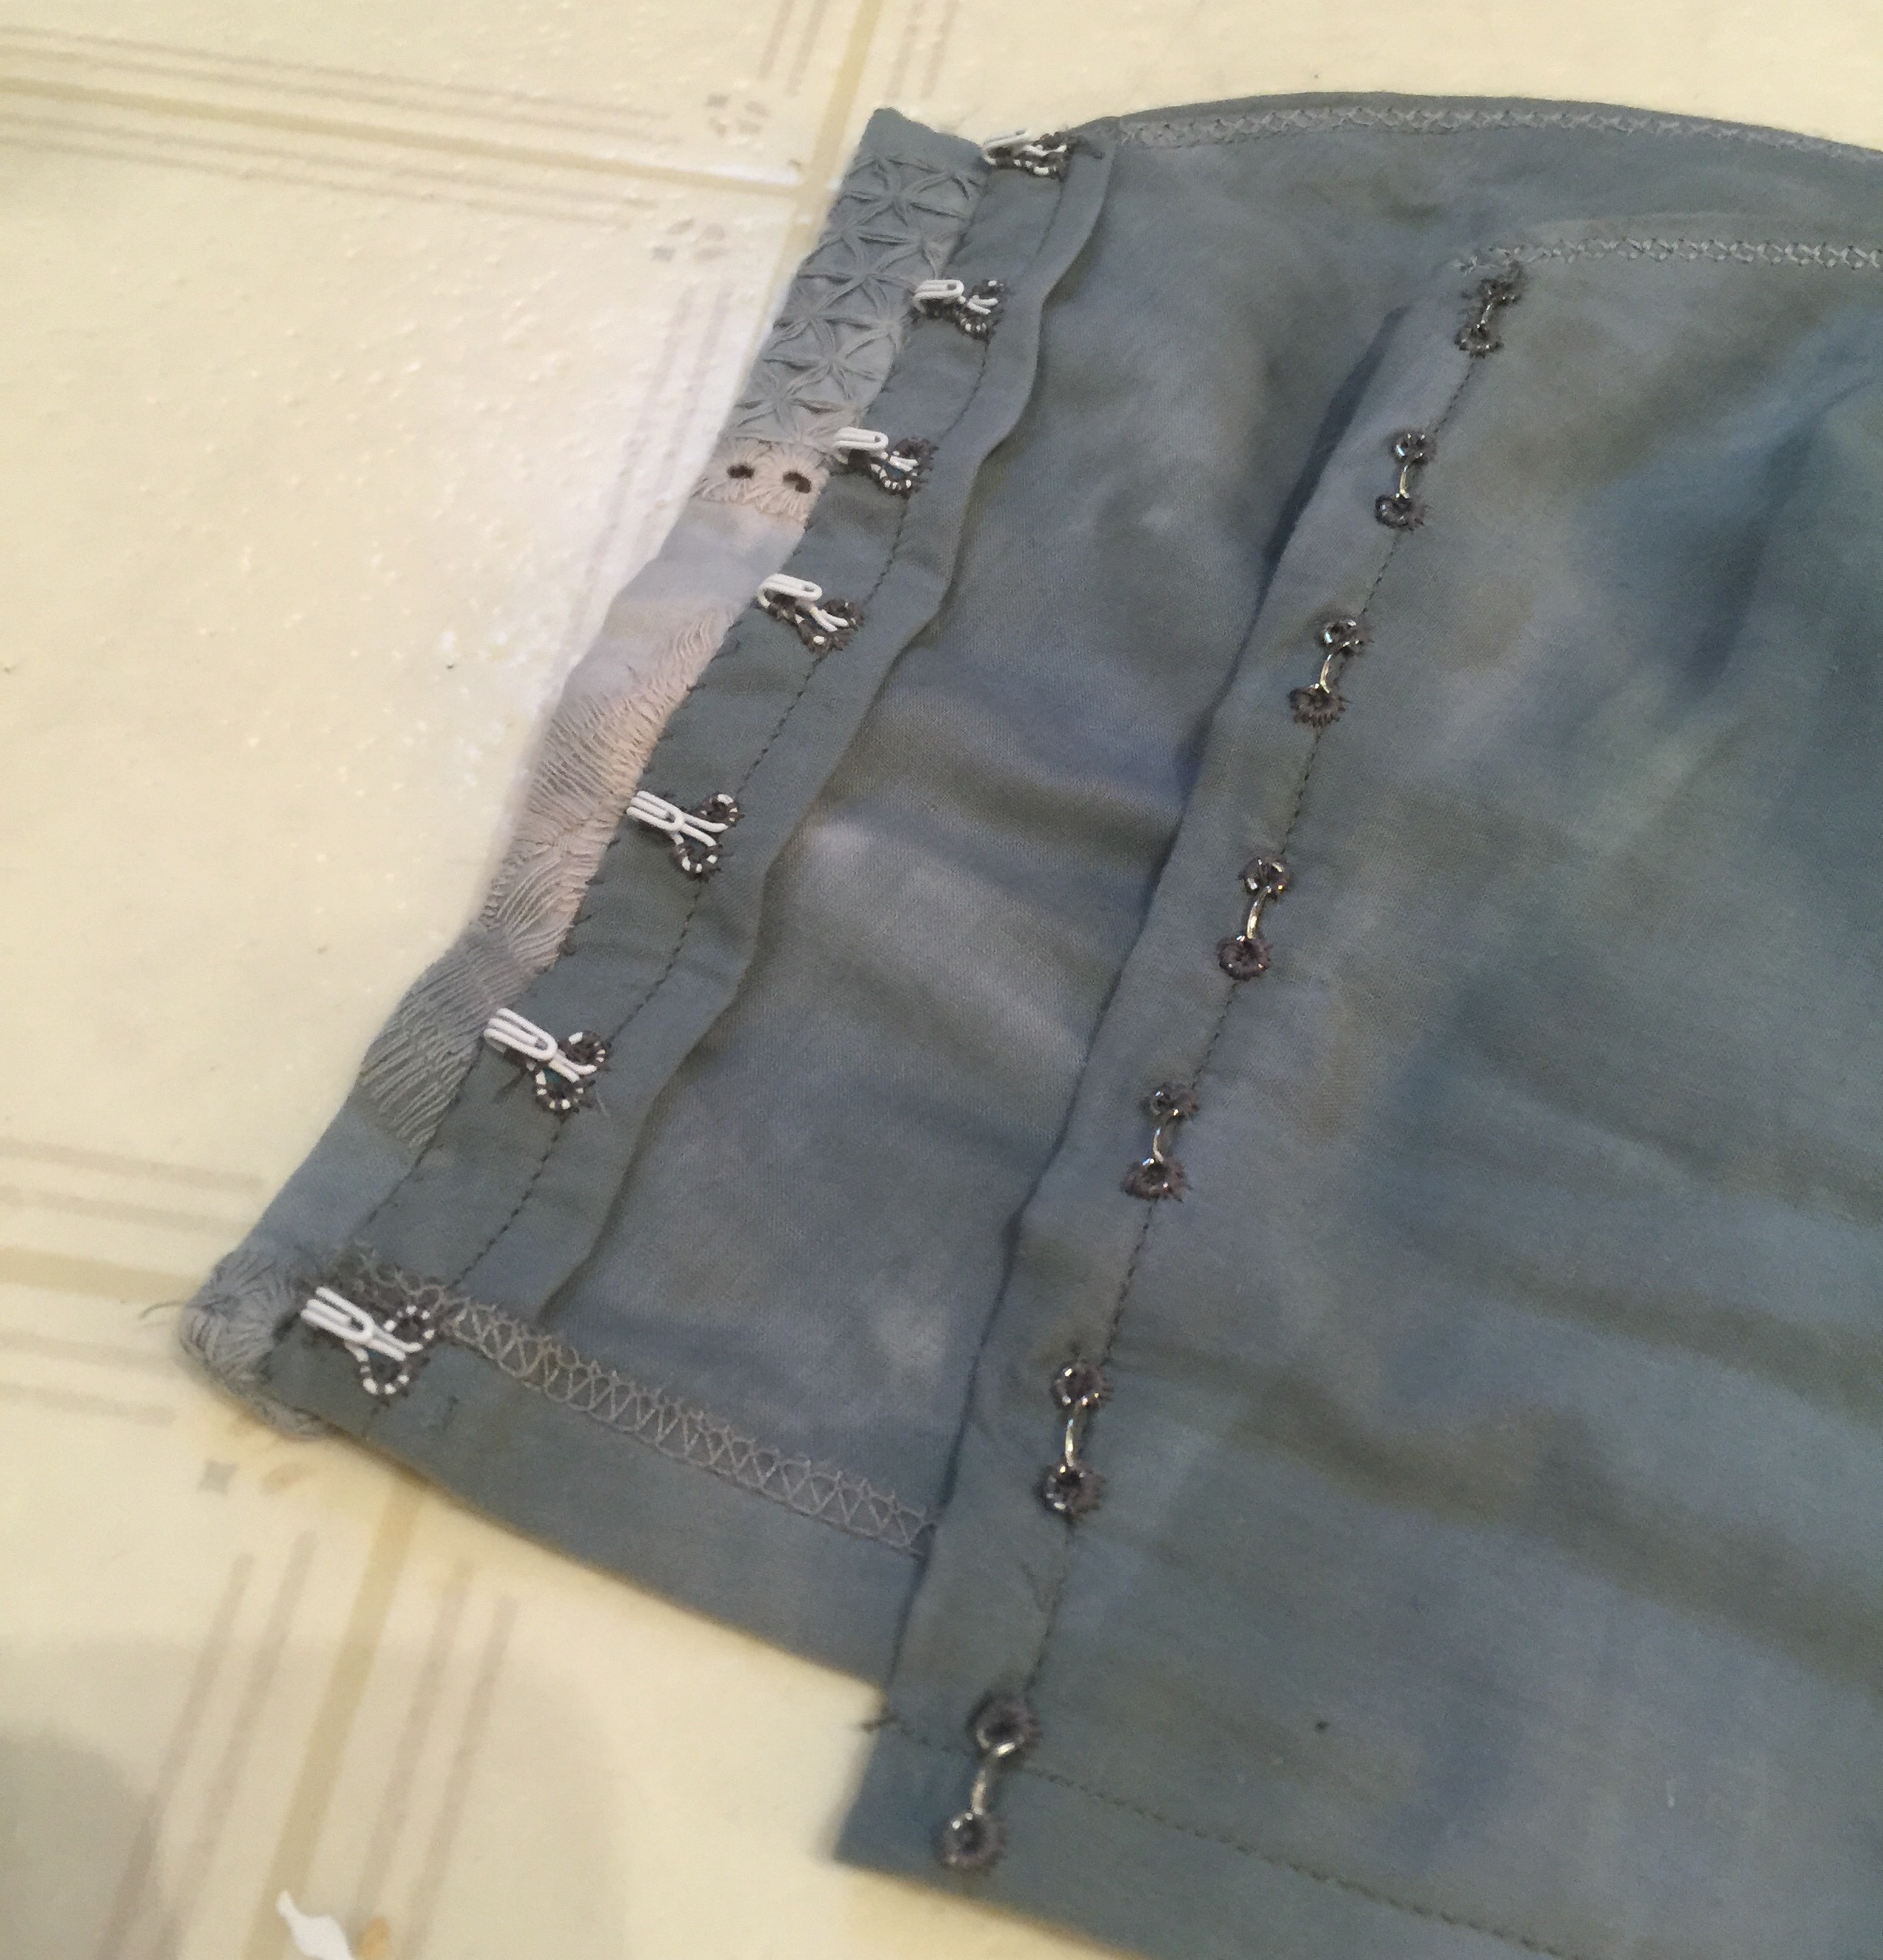
 I had a lot of fun with the construction; everything is clean-finished inside and out except the bottom hem. I wish I could describe all the inside-folding-burrito shapes I got this thing into, but words fail me.
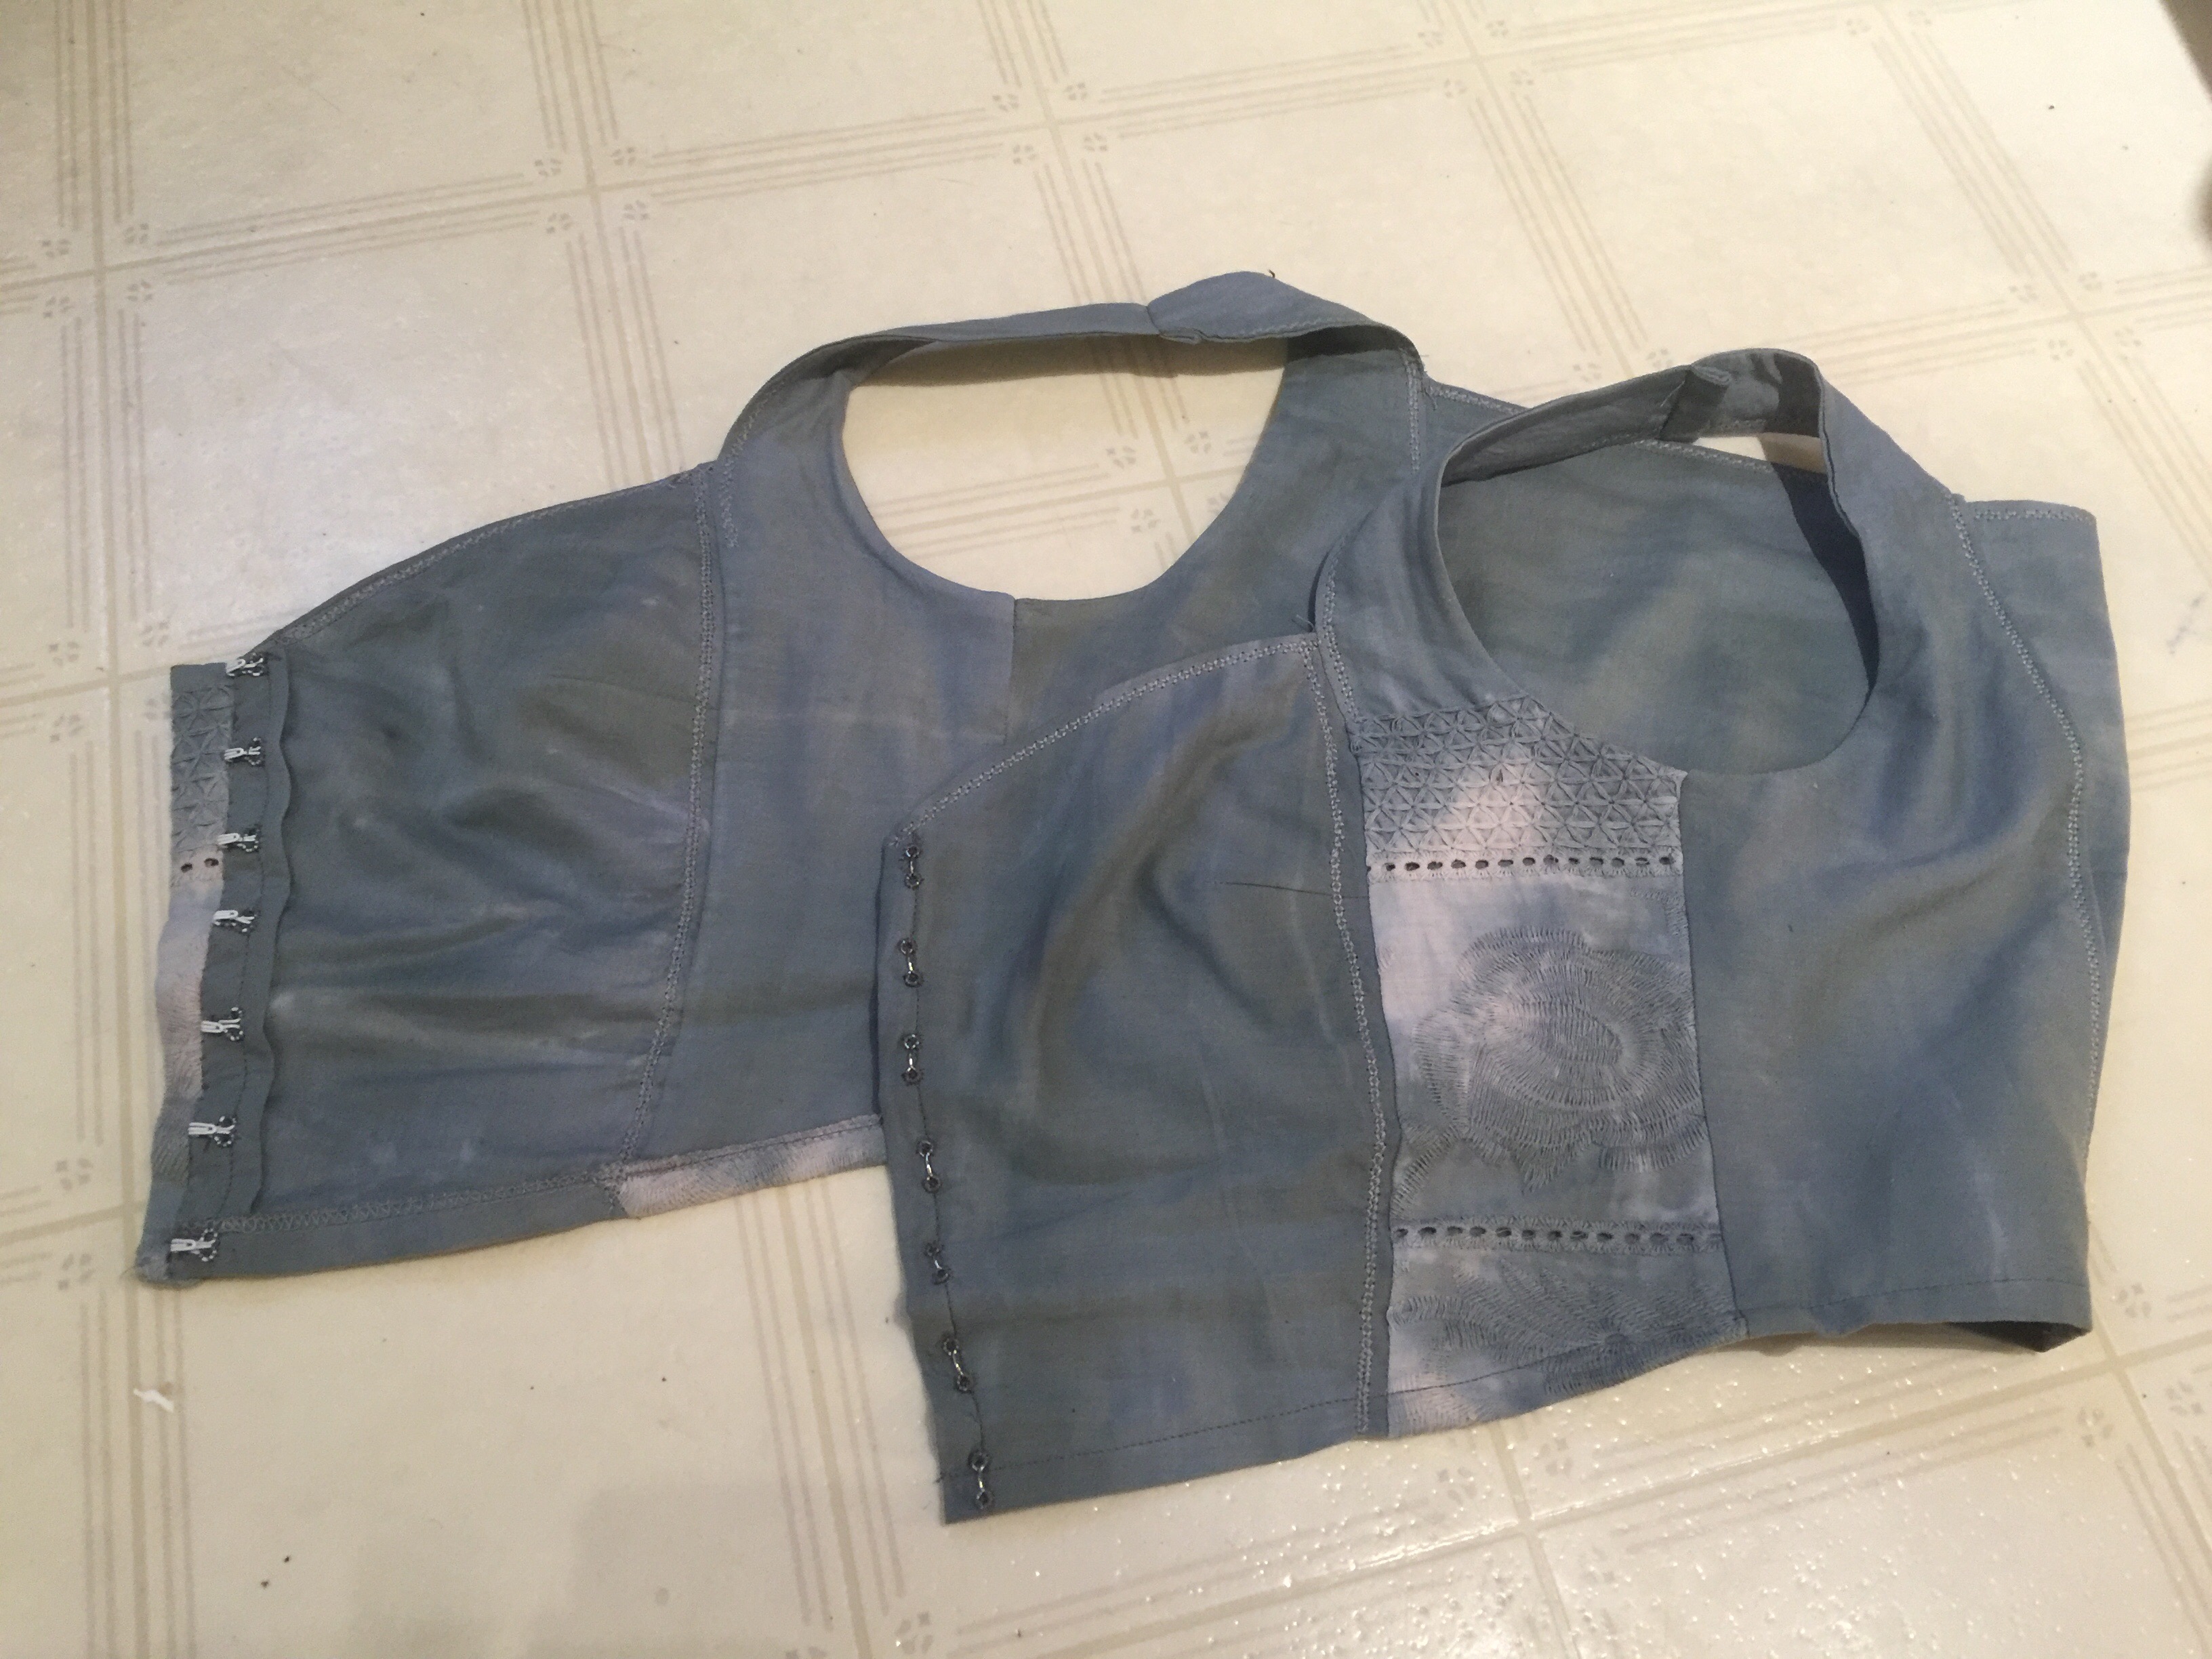
 I initially skipped my usual petite alterations (not sure why), but then I wound up taking in the shoulders and cutting off a good 1/2″ from the bottom (more like 1″ at the back), so I probably wound up in much the same place. Ah, well.

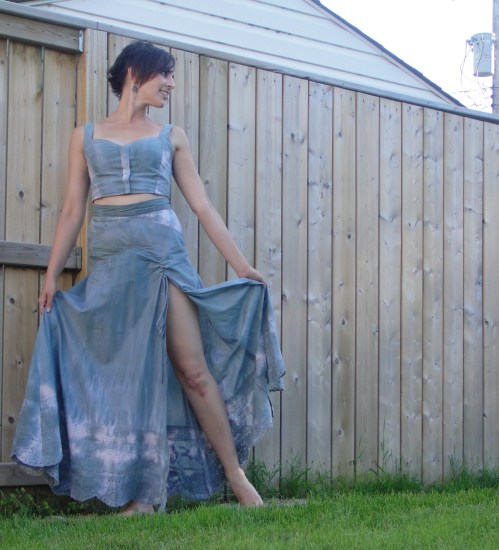
 The whole outfit feels wild and wood-witchy and mysterious to me, which I am enjoying immensely. (And if you don’t think so, well, feel free to keep it to yourself. I’m having fun here 😉 ) Now if only I could be taking photos in an ancient oak grove, maybe with a few standing stones kicking around for ambiance…


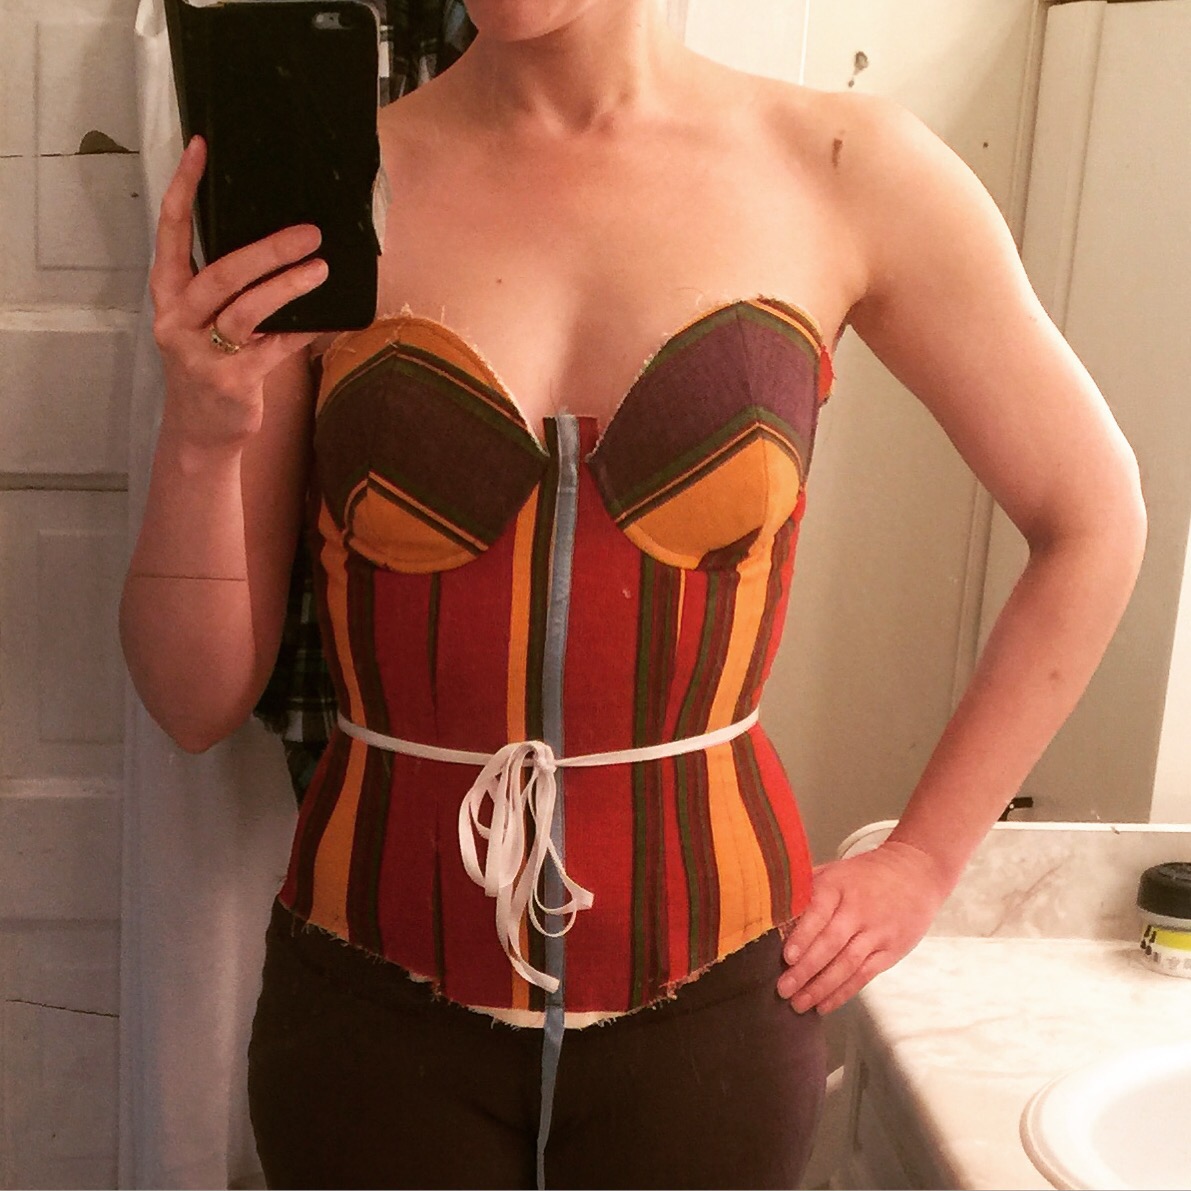
 And, well, it ain’t Simplicity 7514. I did more fit-fiddling on this damn thing than I have in quite a while. At least that’s easy with all the different seams on this pattern.
 I’m not sure how entirely I can blame the pattern, however. I cut a size 12 knowing it would probably be large, but that was the largest size in my pattern envelope and I was too
 AND the pattern was meant to be lined, so doesn’t have facings or any other nice way to finish the top, and again I was too

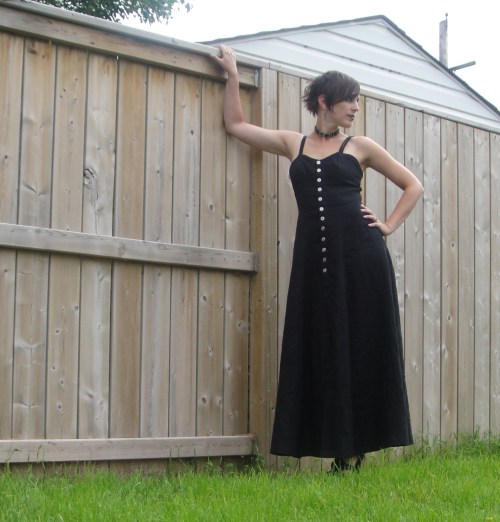
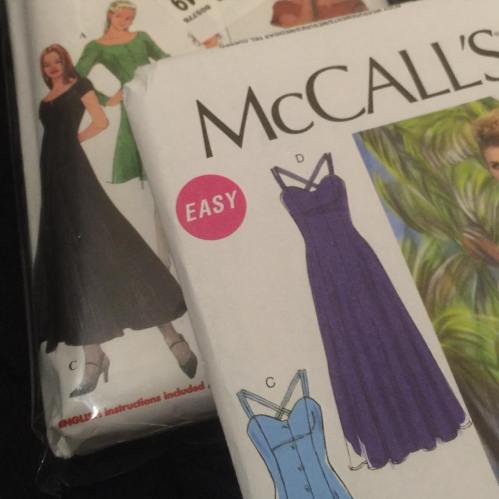 So a few years ago I got this nice, substantial, shiny black linen with the plan of making a shirt for my husband—but it’s a bit heavy for his taste in linen shirts, so it has languished. And it surfaced during some recent stash diving, and I realized that there’s way more than the two-ish metres I had thought I’d bought—more like four or five. Yowza! And I was suddenly seized by the need for a swishy long black linen sundress. I dug up some options and posted them on Instagram, and the chorus was in favour of McCall’s 7640. And it did seem like it would be a really great linen sundress.
 But I still REALLY liked the idea of a long black version of Simplicity 7514. So I dug around stash some more, and stumbled upon this piece of black bargain centre fabric ($4.00/m tag still attached) that I didn’t have earmarked for anything. (I didn’t recall right off the bat but as construction, especially ironing, went on, I remembered the reason I picked it up. 100% wool, in what I suspect they would call a tropical weight.
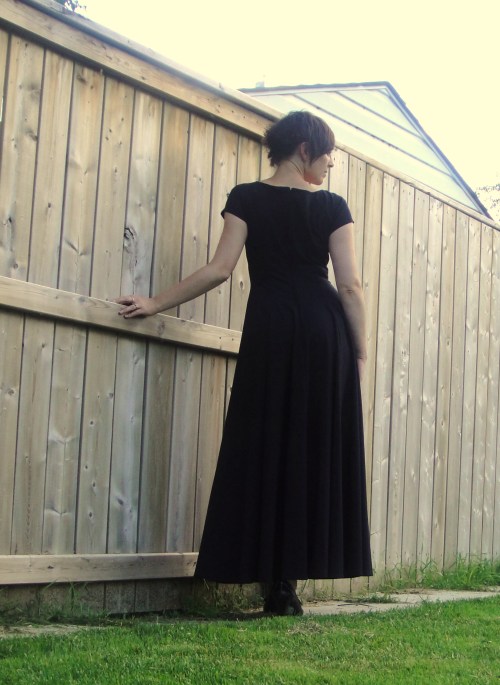 It’s been a long time since I made a Simplicity pattern, what with them not really being available up here any more. It was really nice, especially since the ‘vintage’ pattern (© 1997) has much thicker tissue paper than the current patterns seem to.
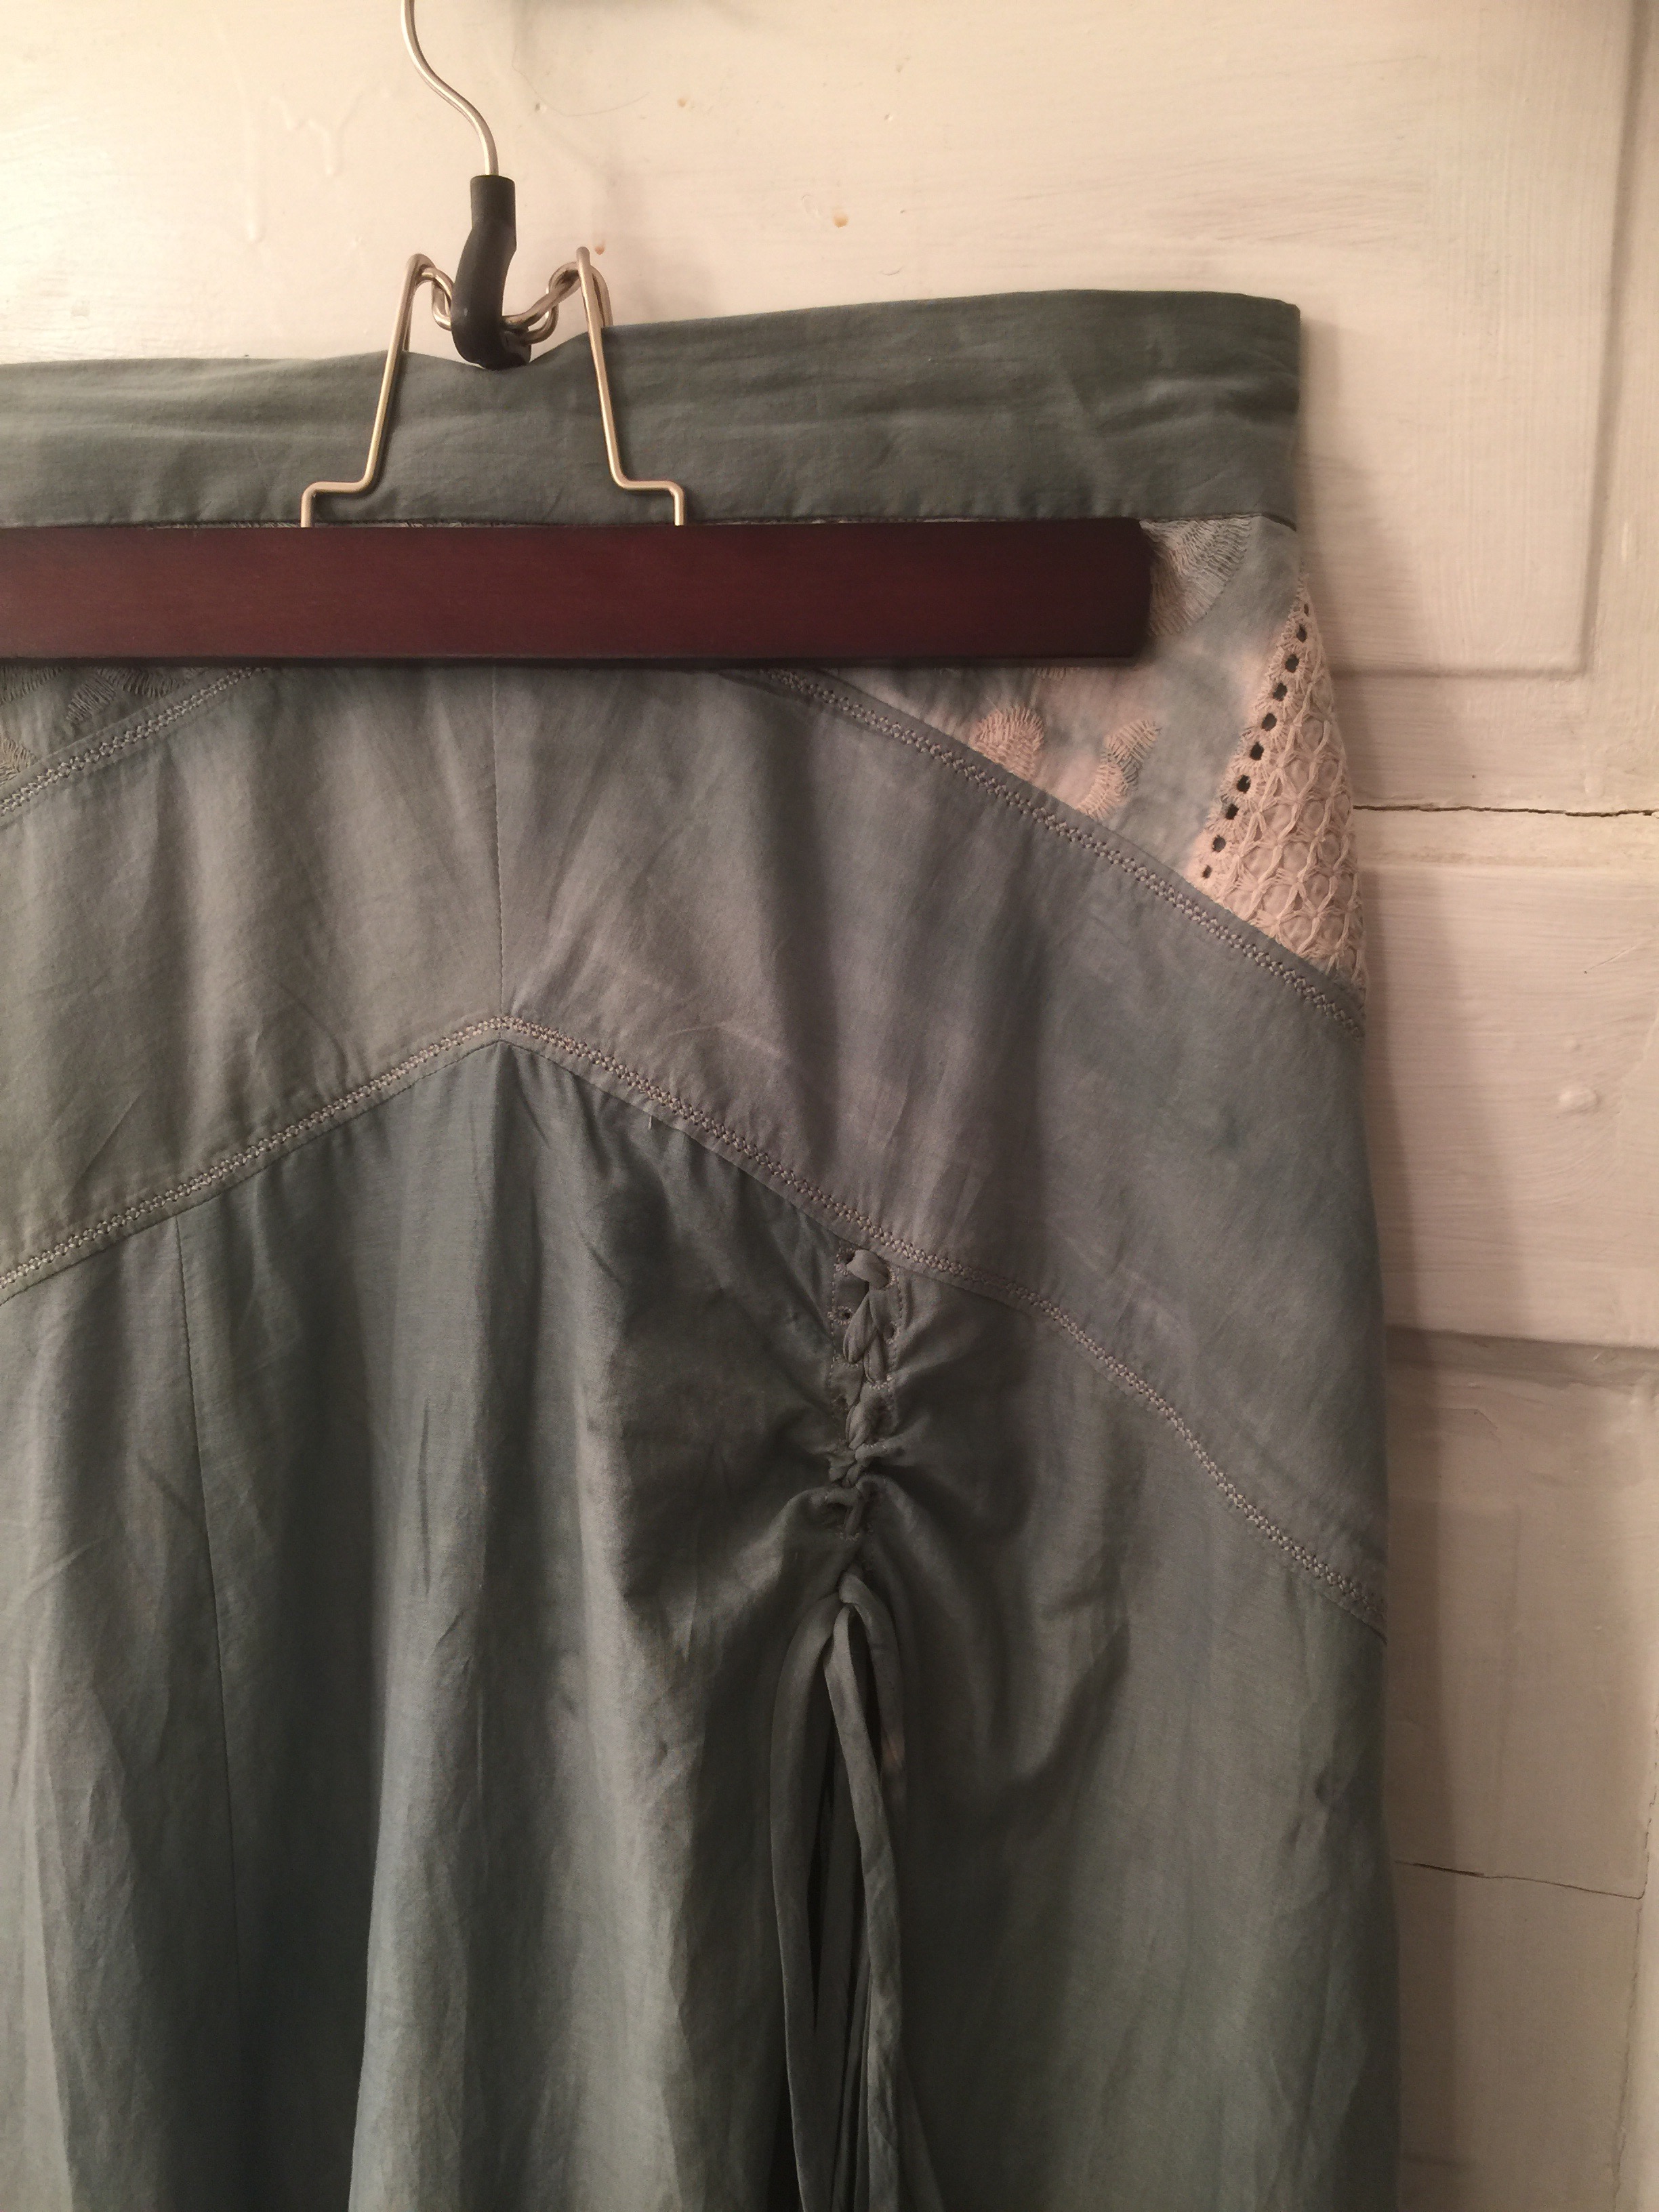
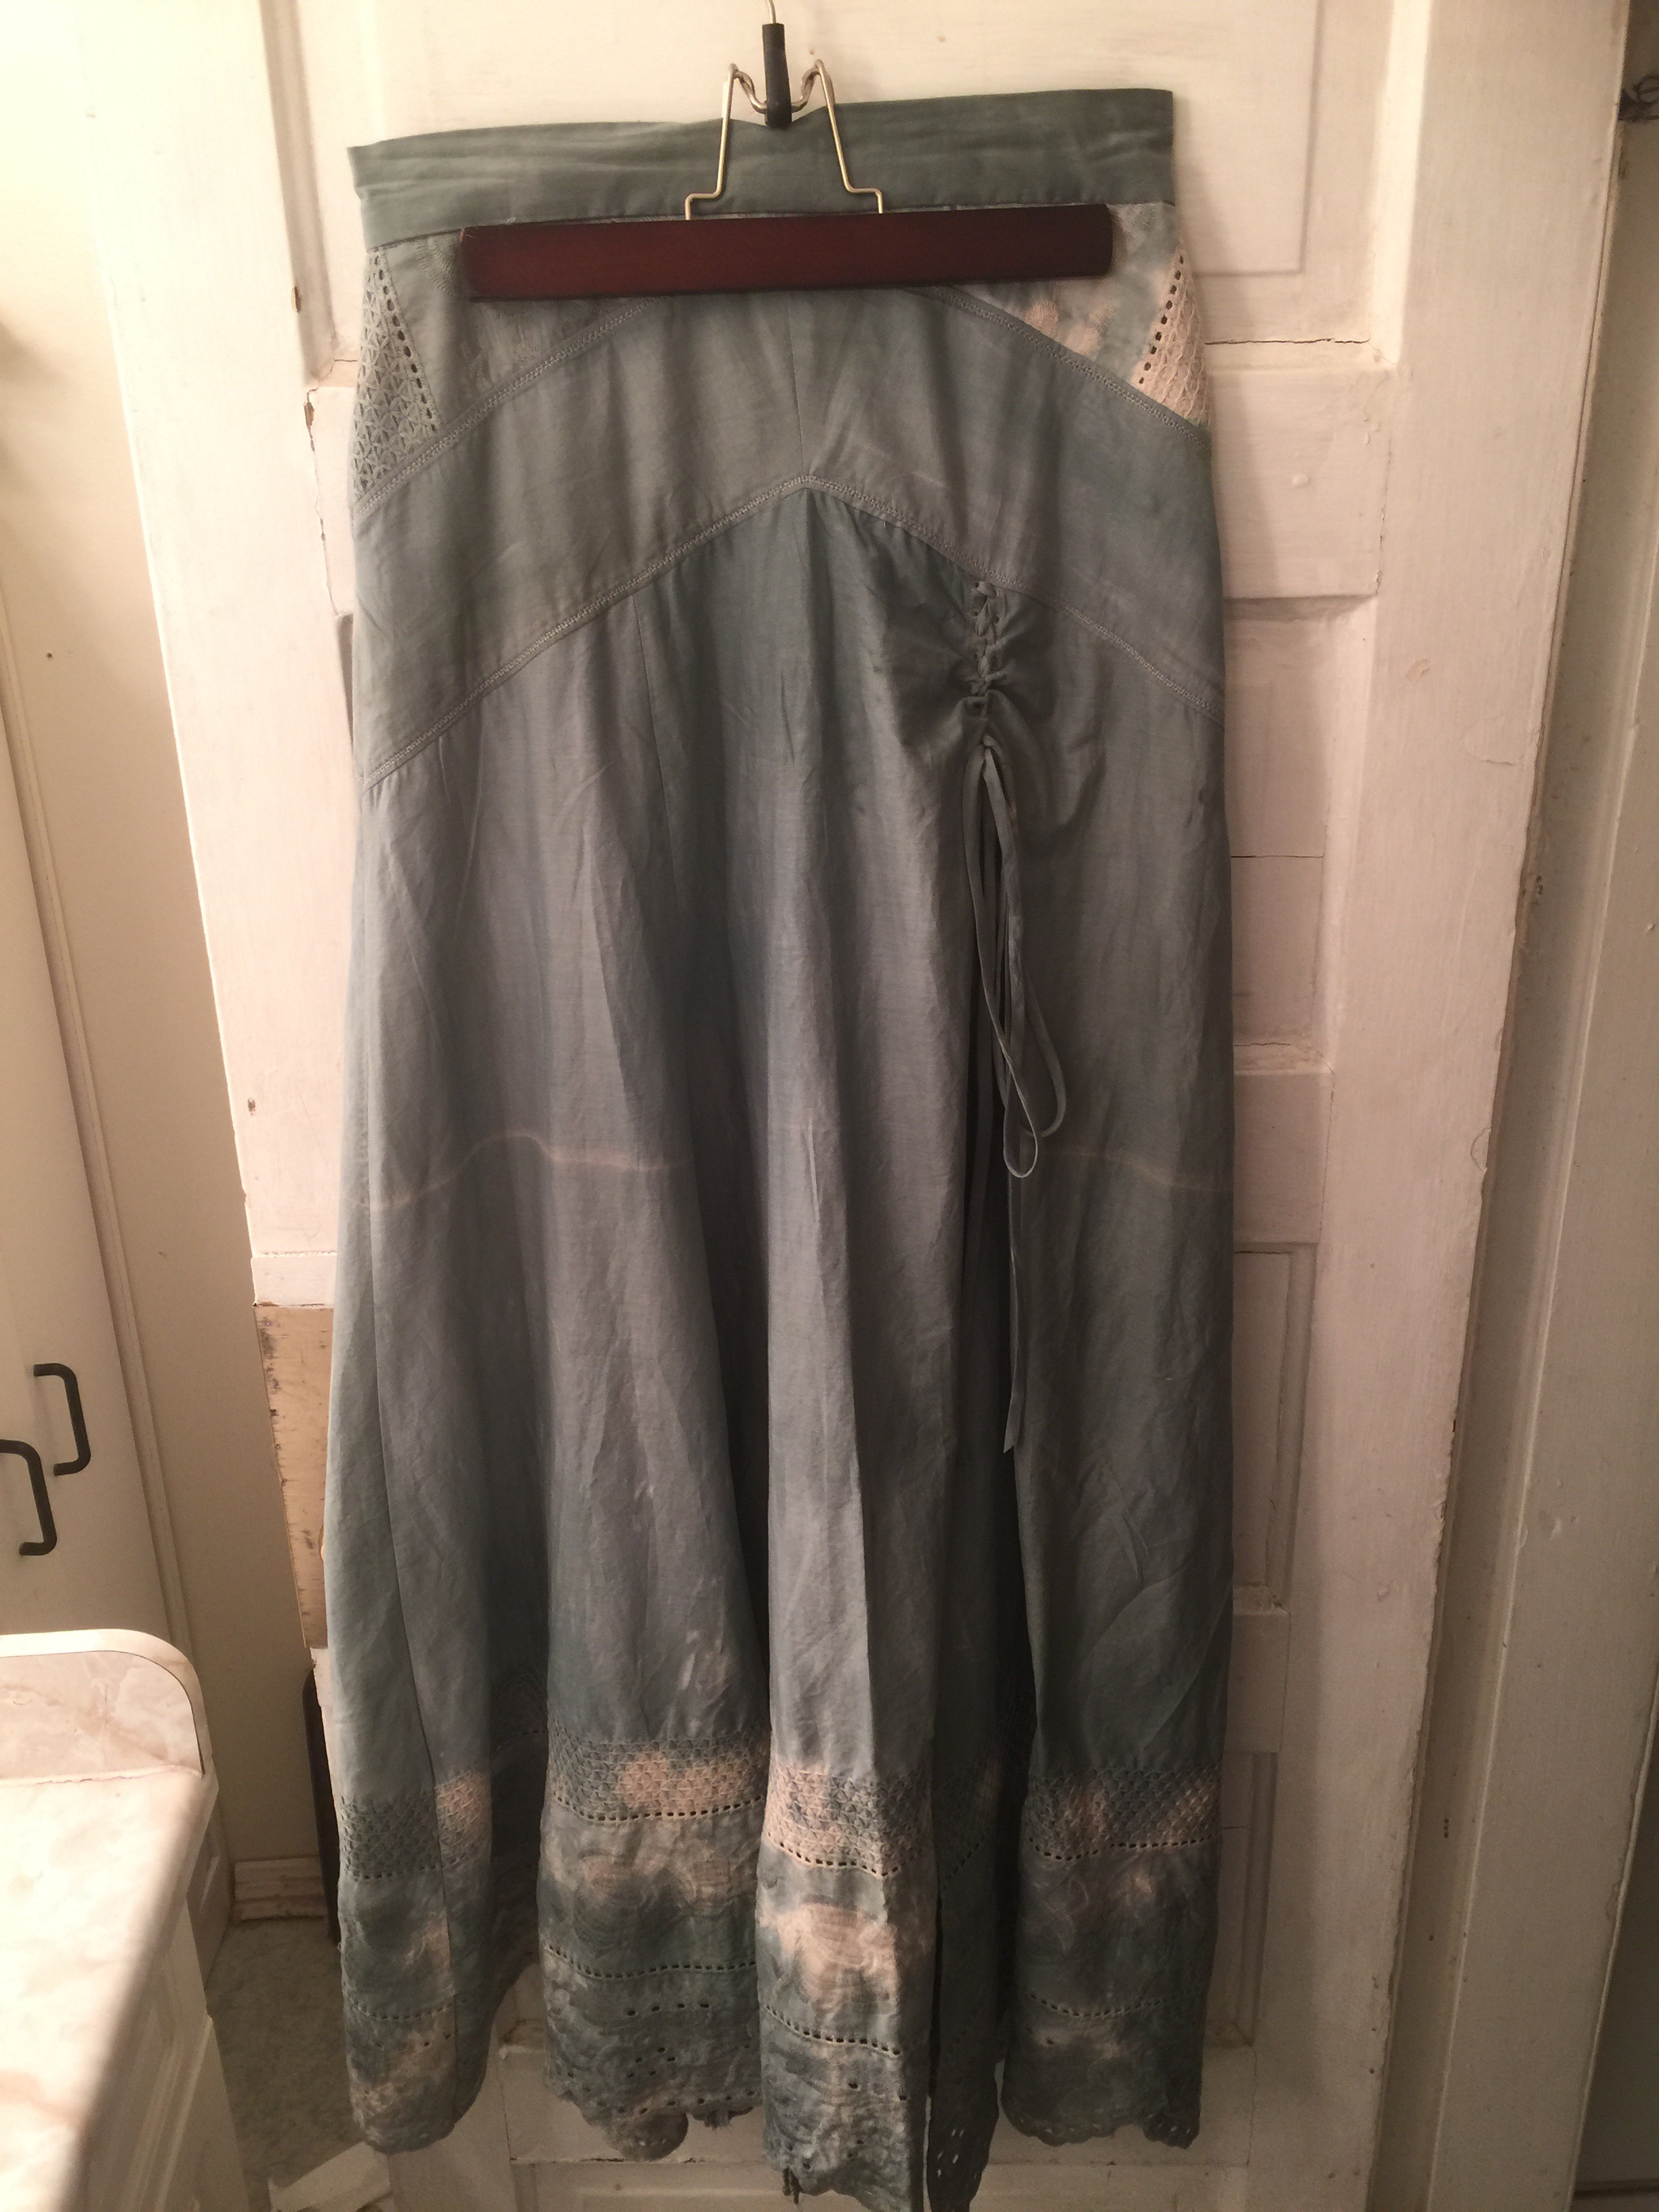
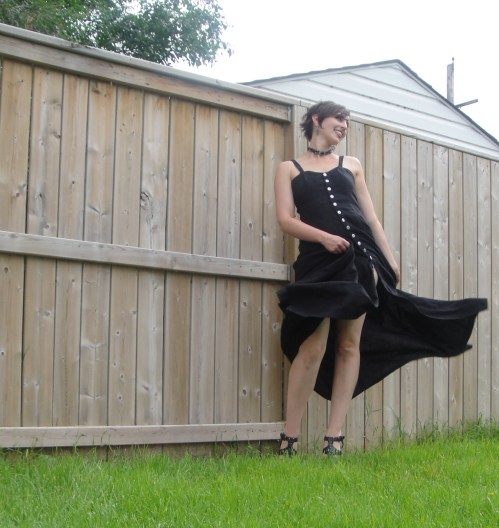
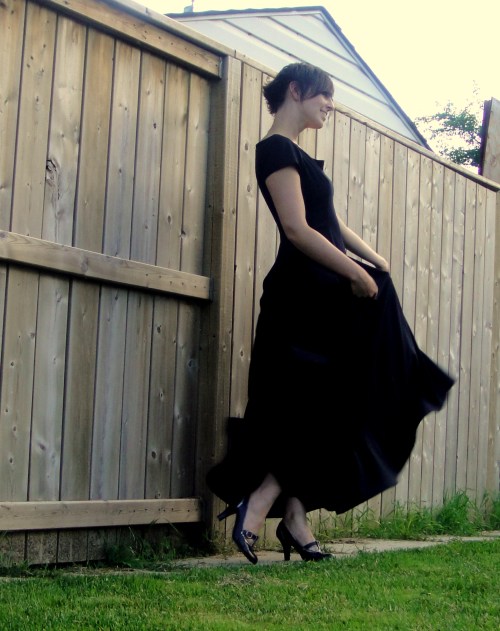 The skirt is very, very swishy, and the fabric has a great drape.
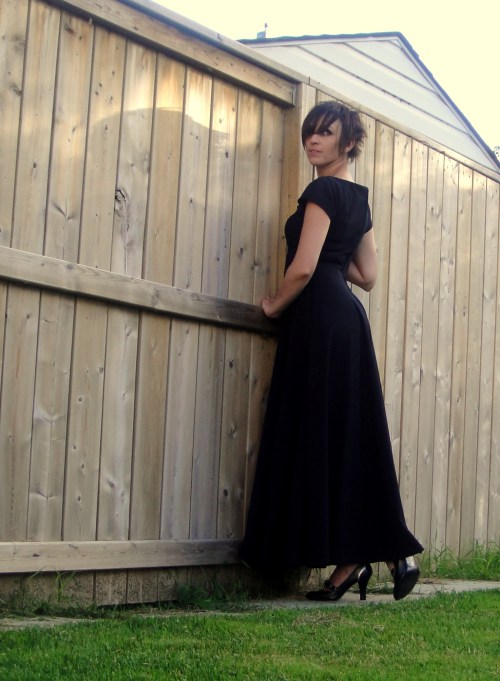
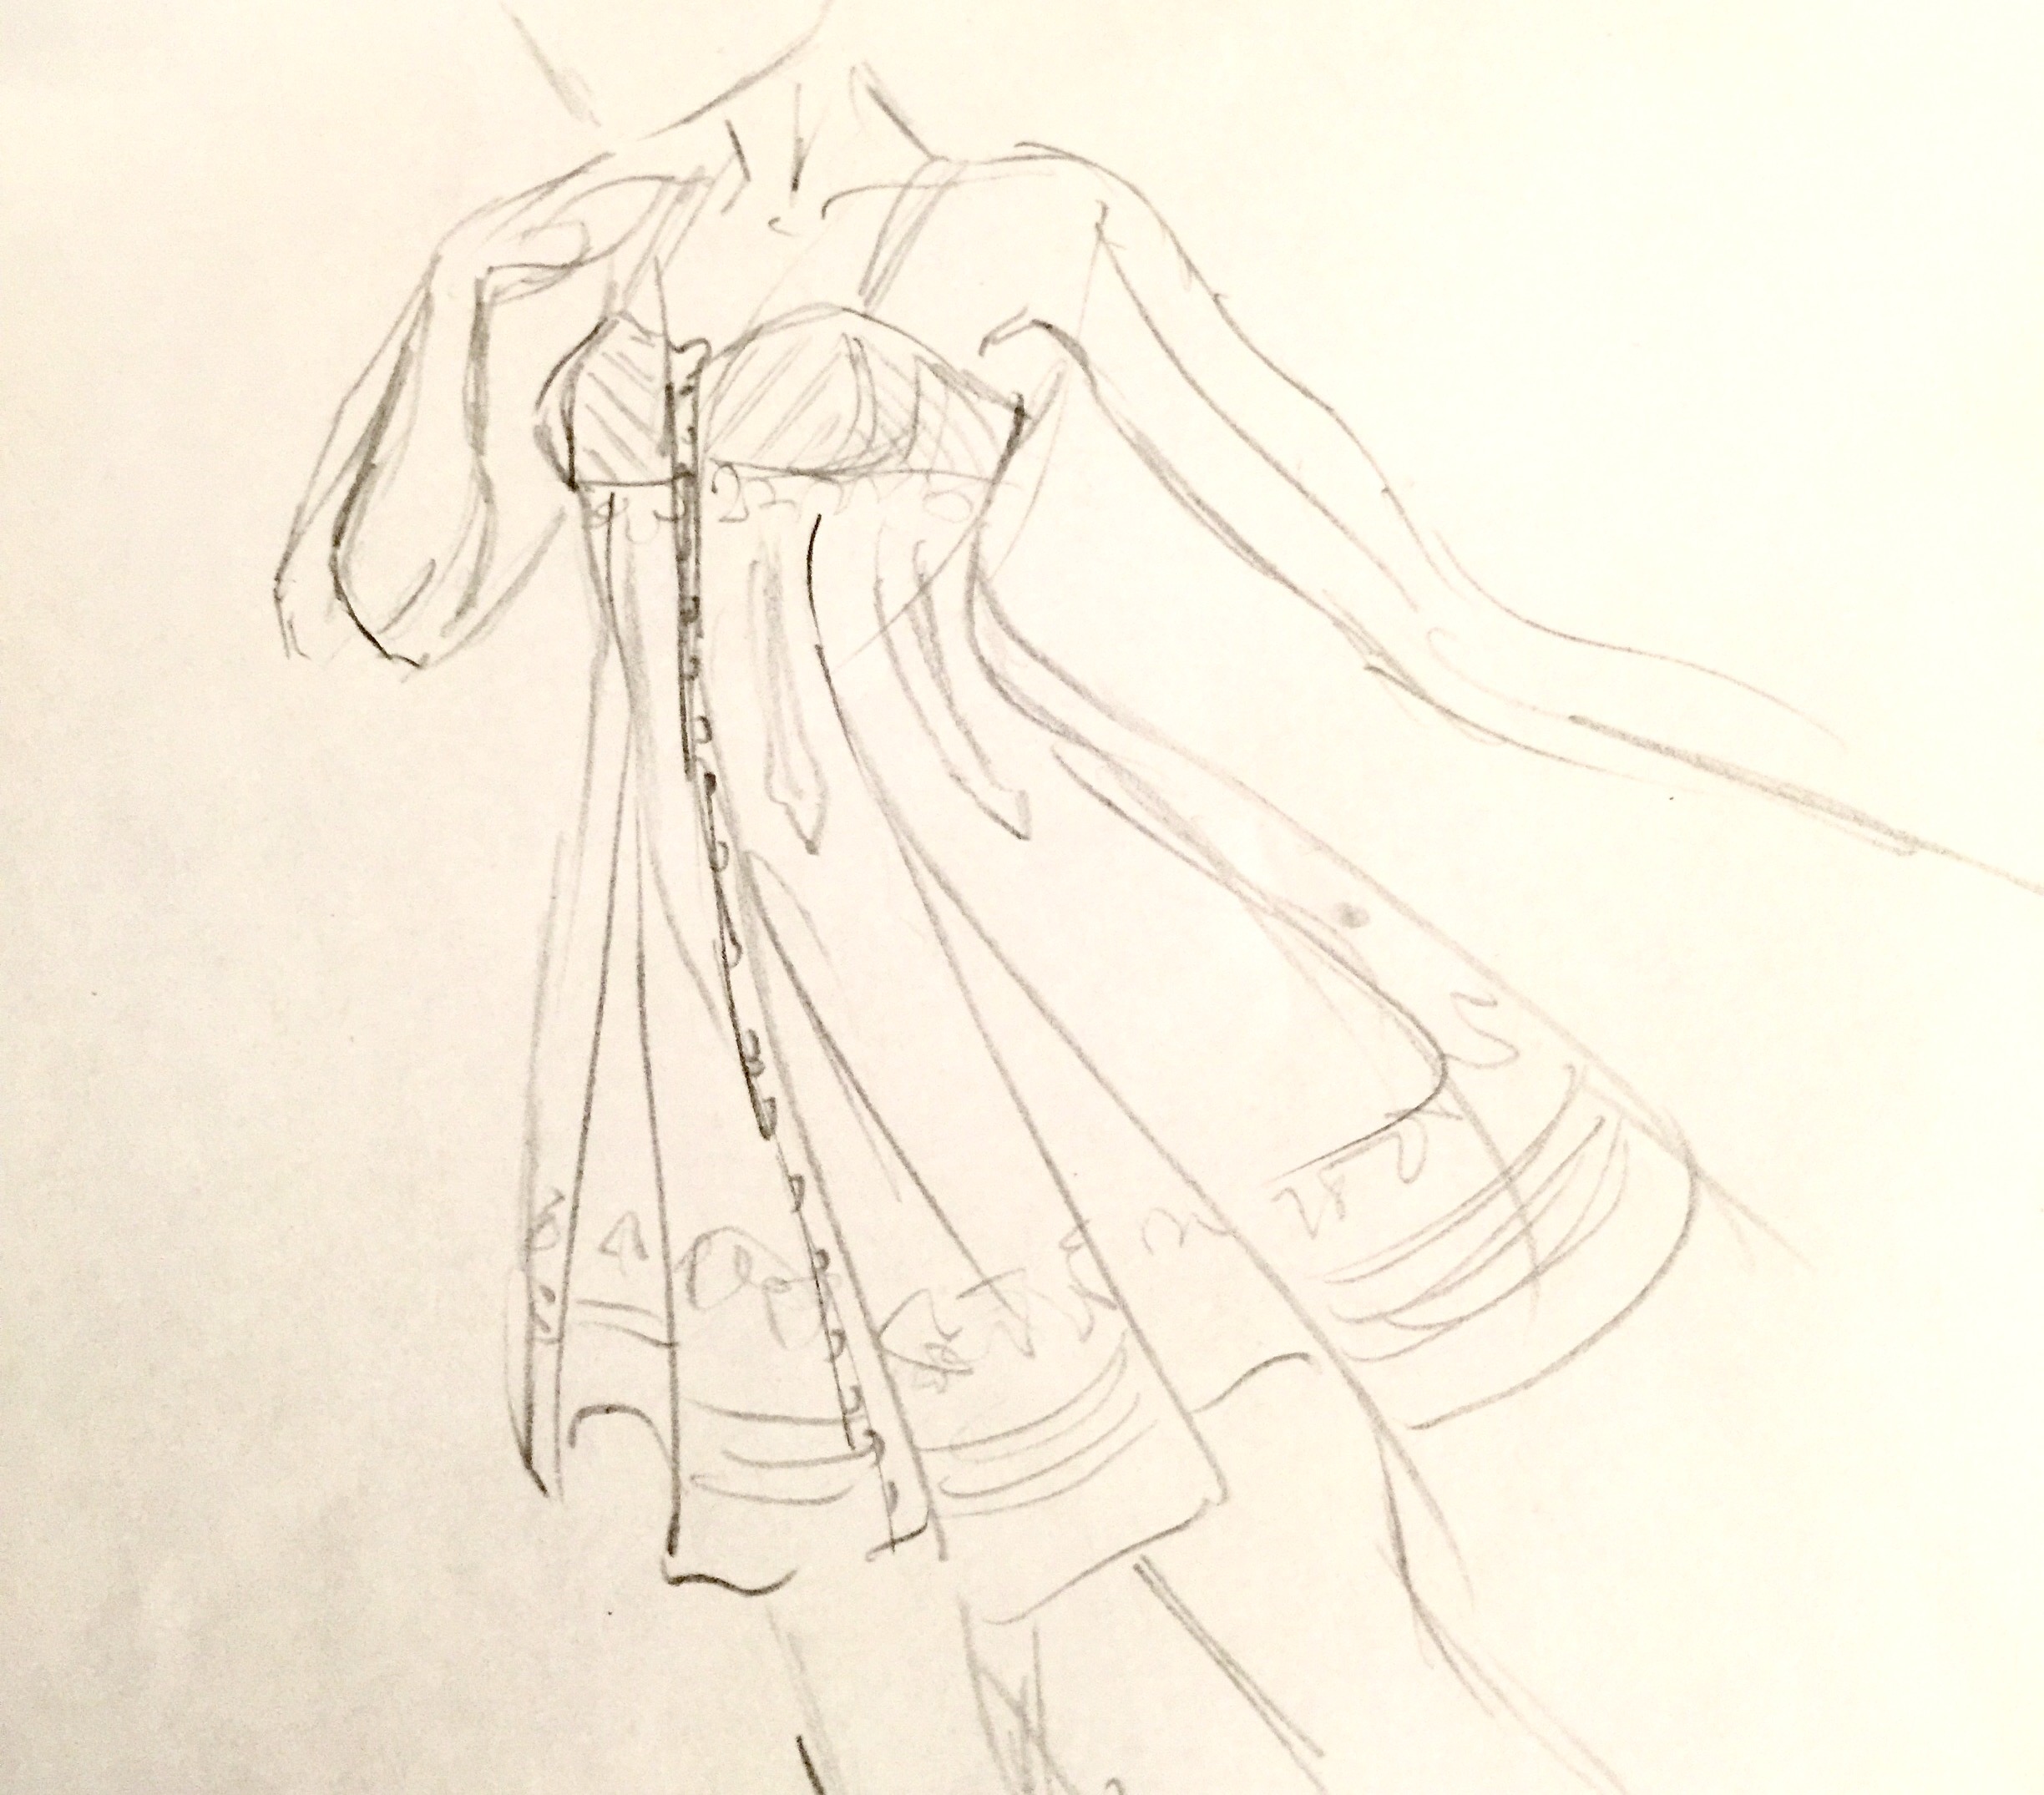
 Can I tell you a secret? This dress reminds me of a mediaeval


 And I didn’t need to be. What a sweet, straightforward sew.
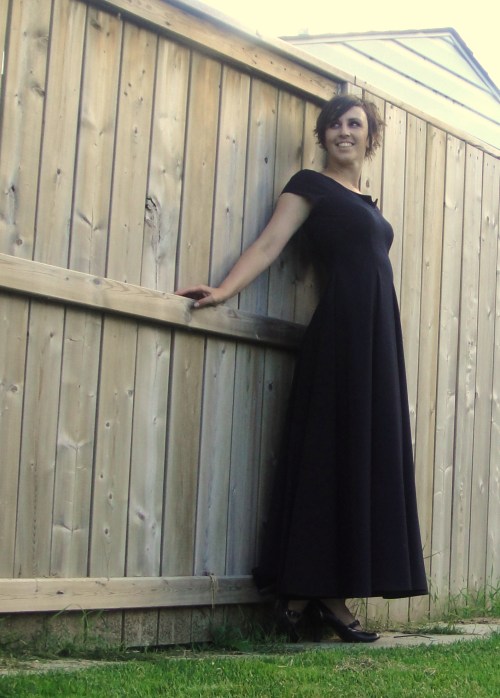
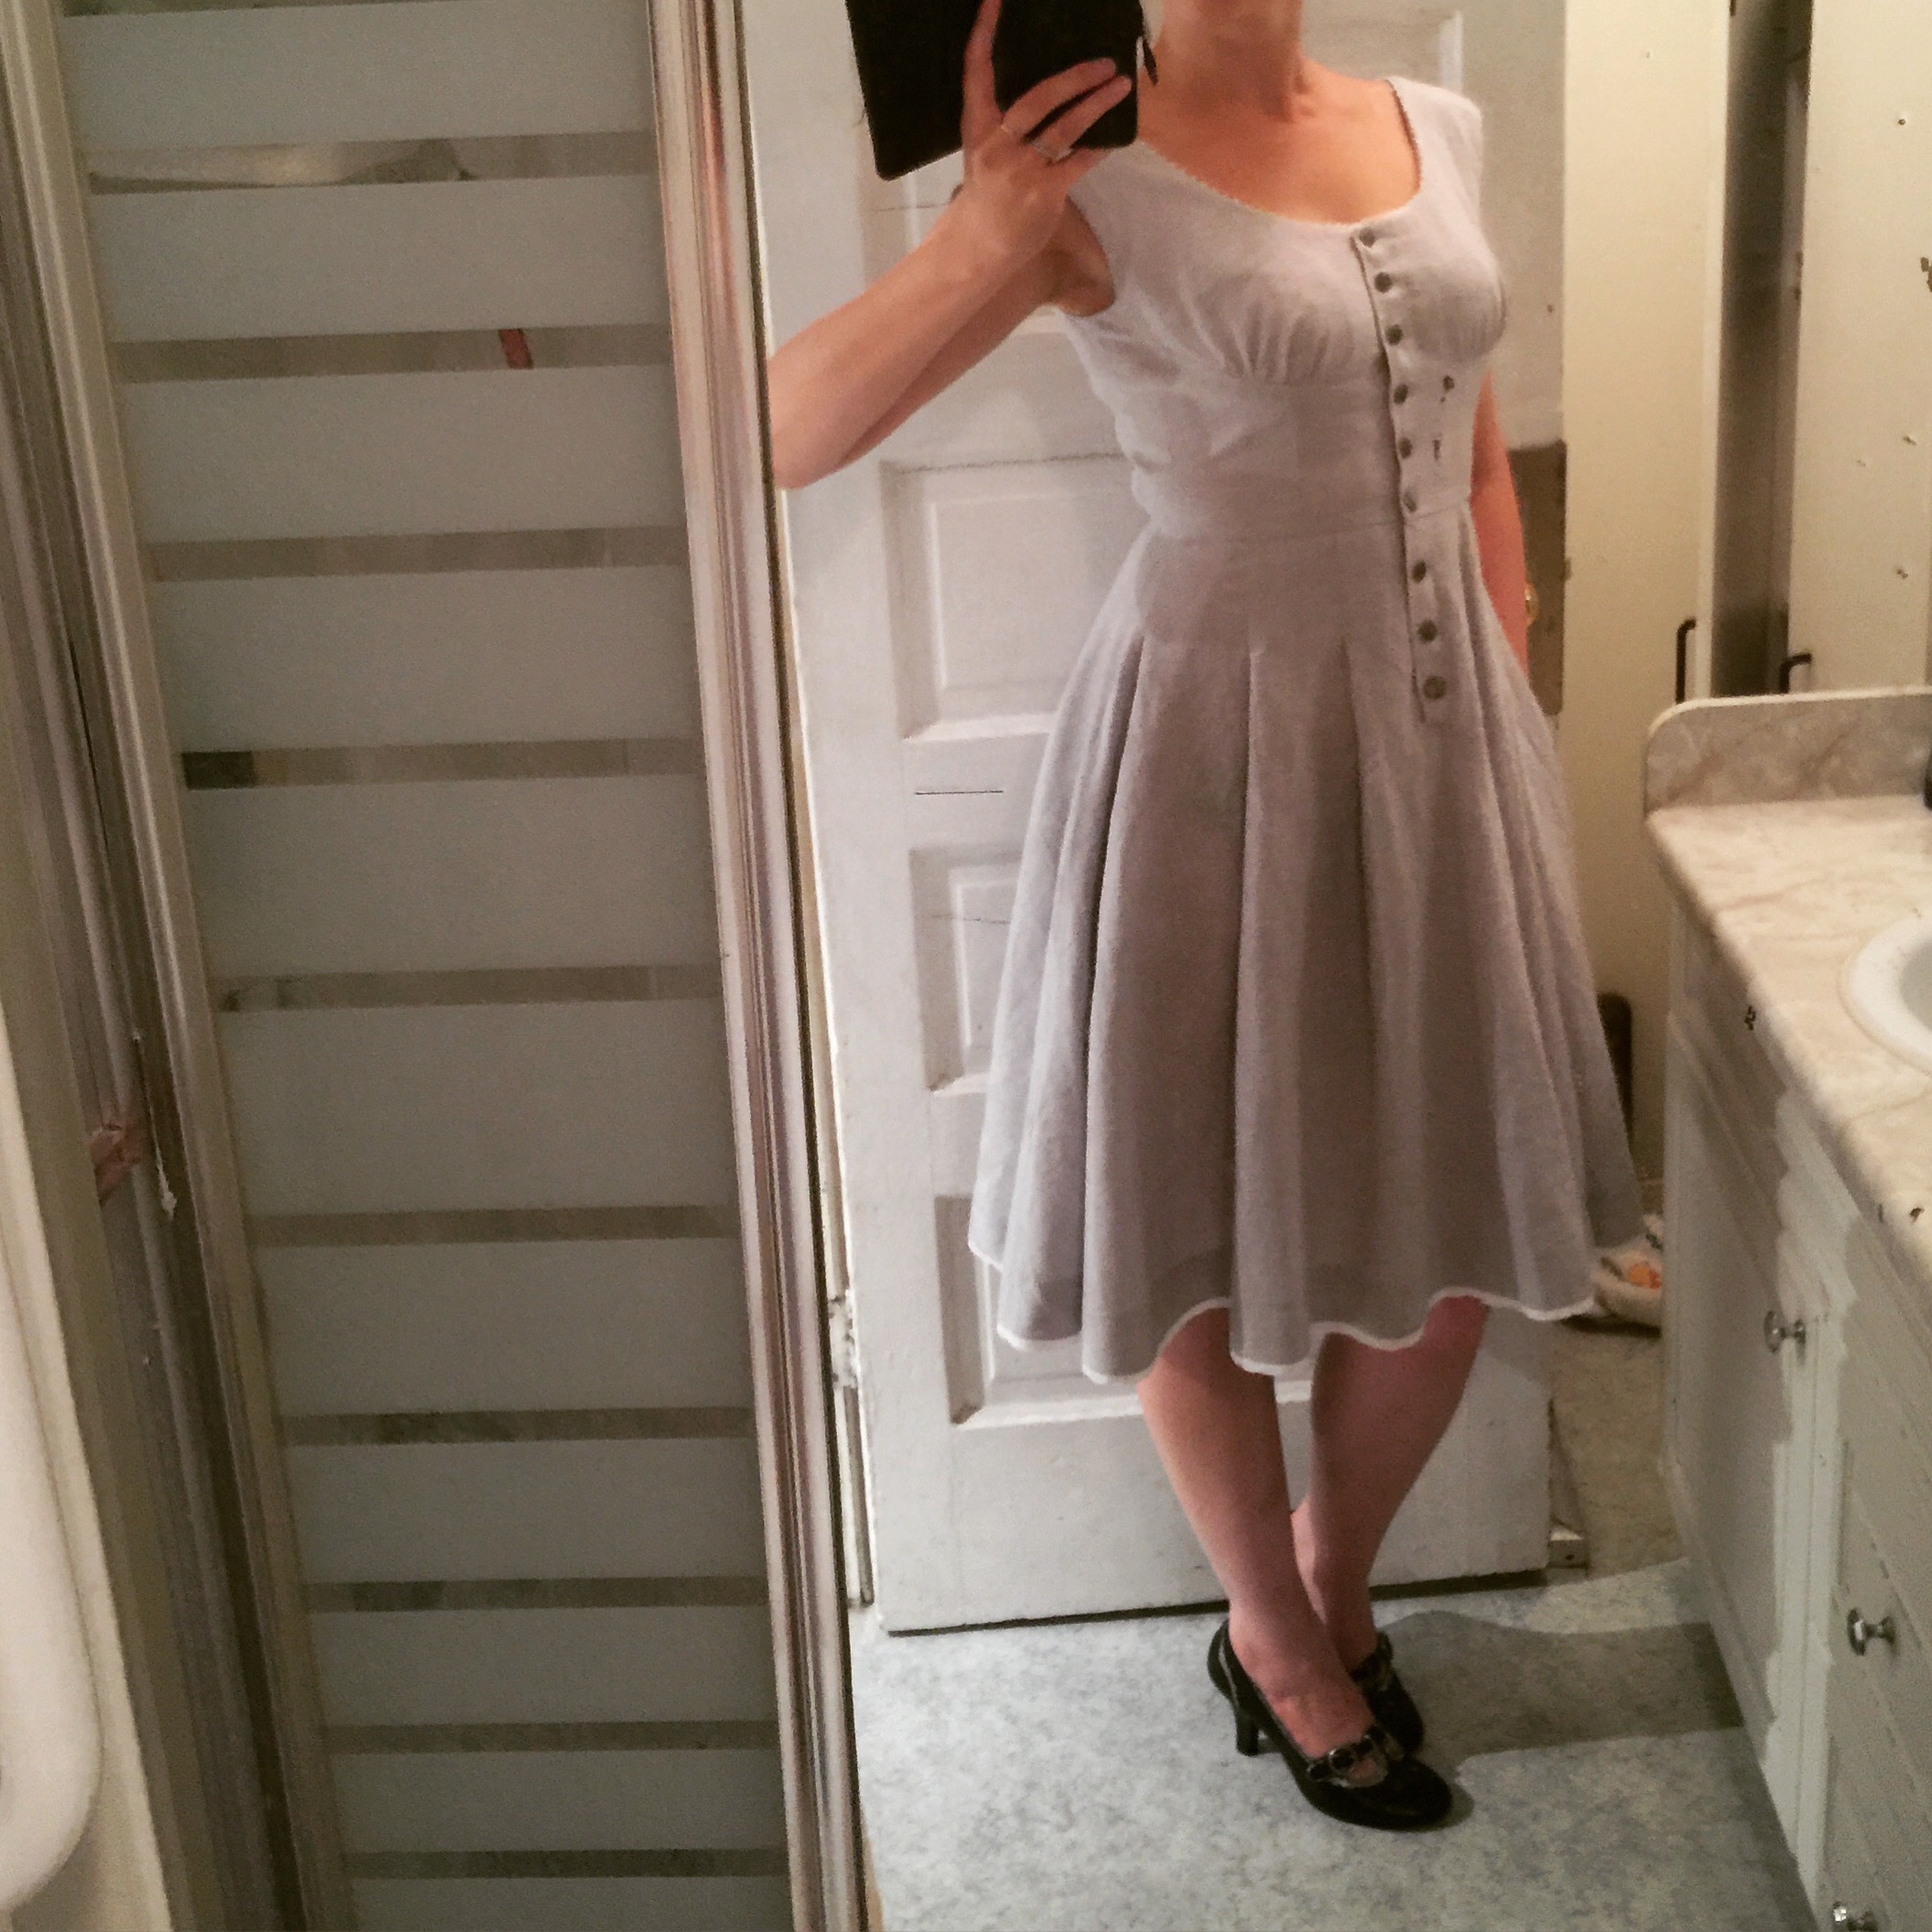
 I’m not sure I did the pleats correctly—I followed the markings but then stitched them down, whereas in hindsight the pattern illustration just shows them being pleated. And my rear pleats don’t meet the way they seem to in the illustration, either. Probably because of the stitching-down thing. I like the stitching down, though, as it controls the fullness right below my waist—I don’t like gathered skirts at my natural waist as they just make me look boxy, and I was a little nervous of the pleats.
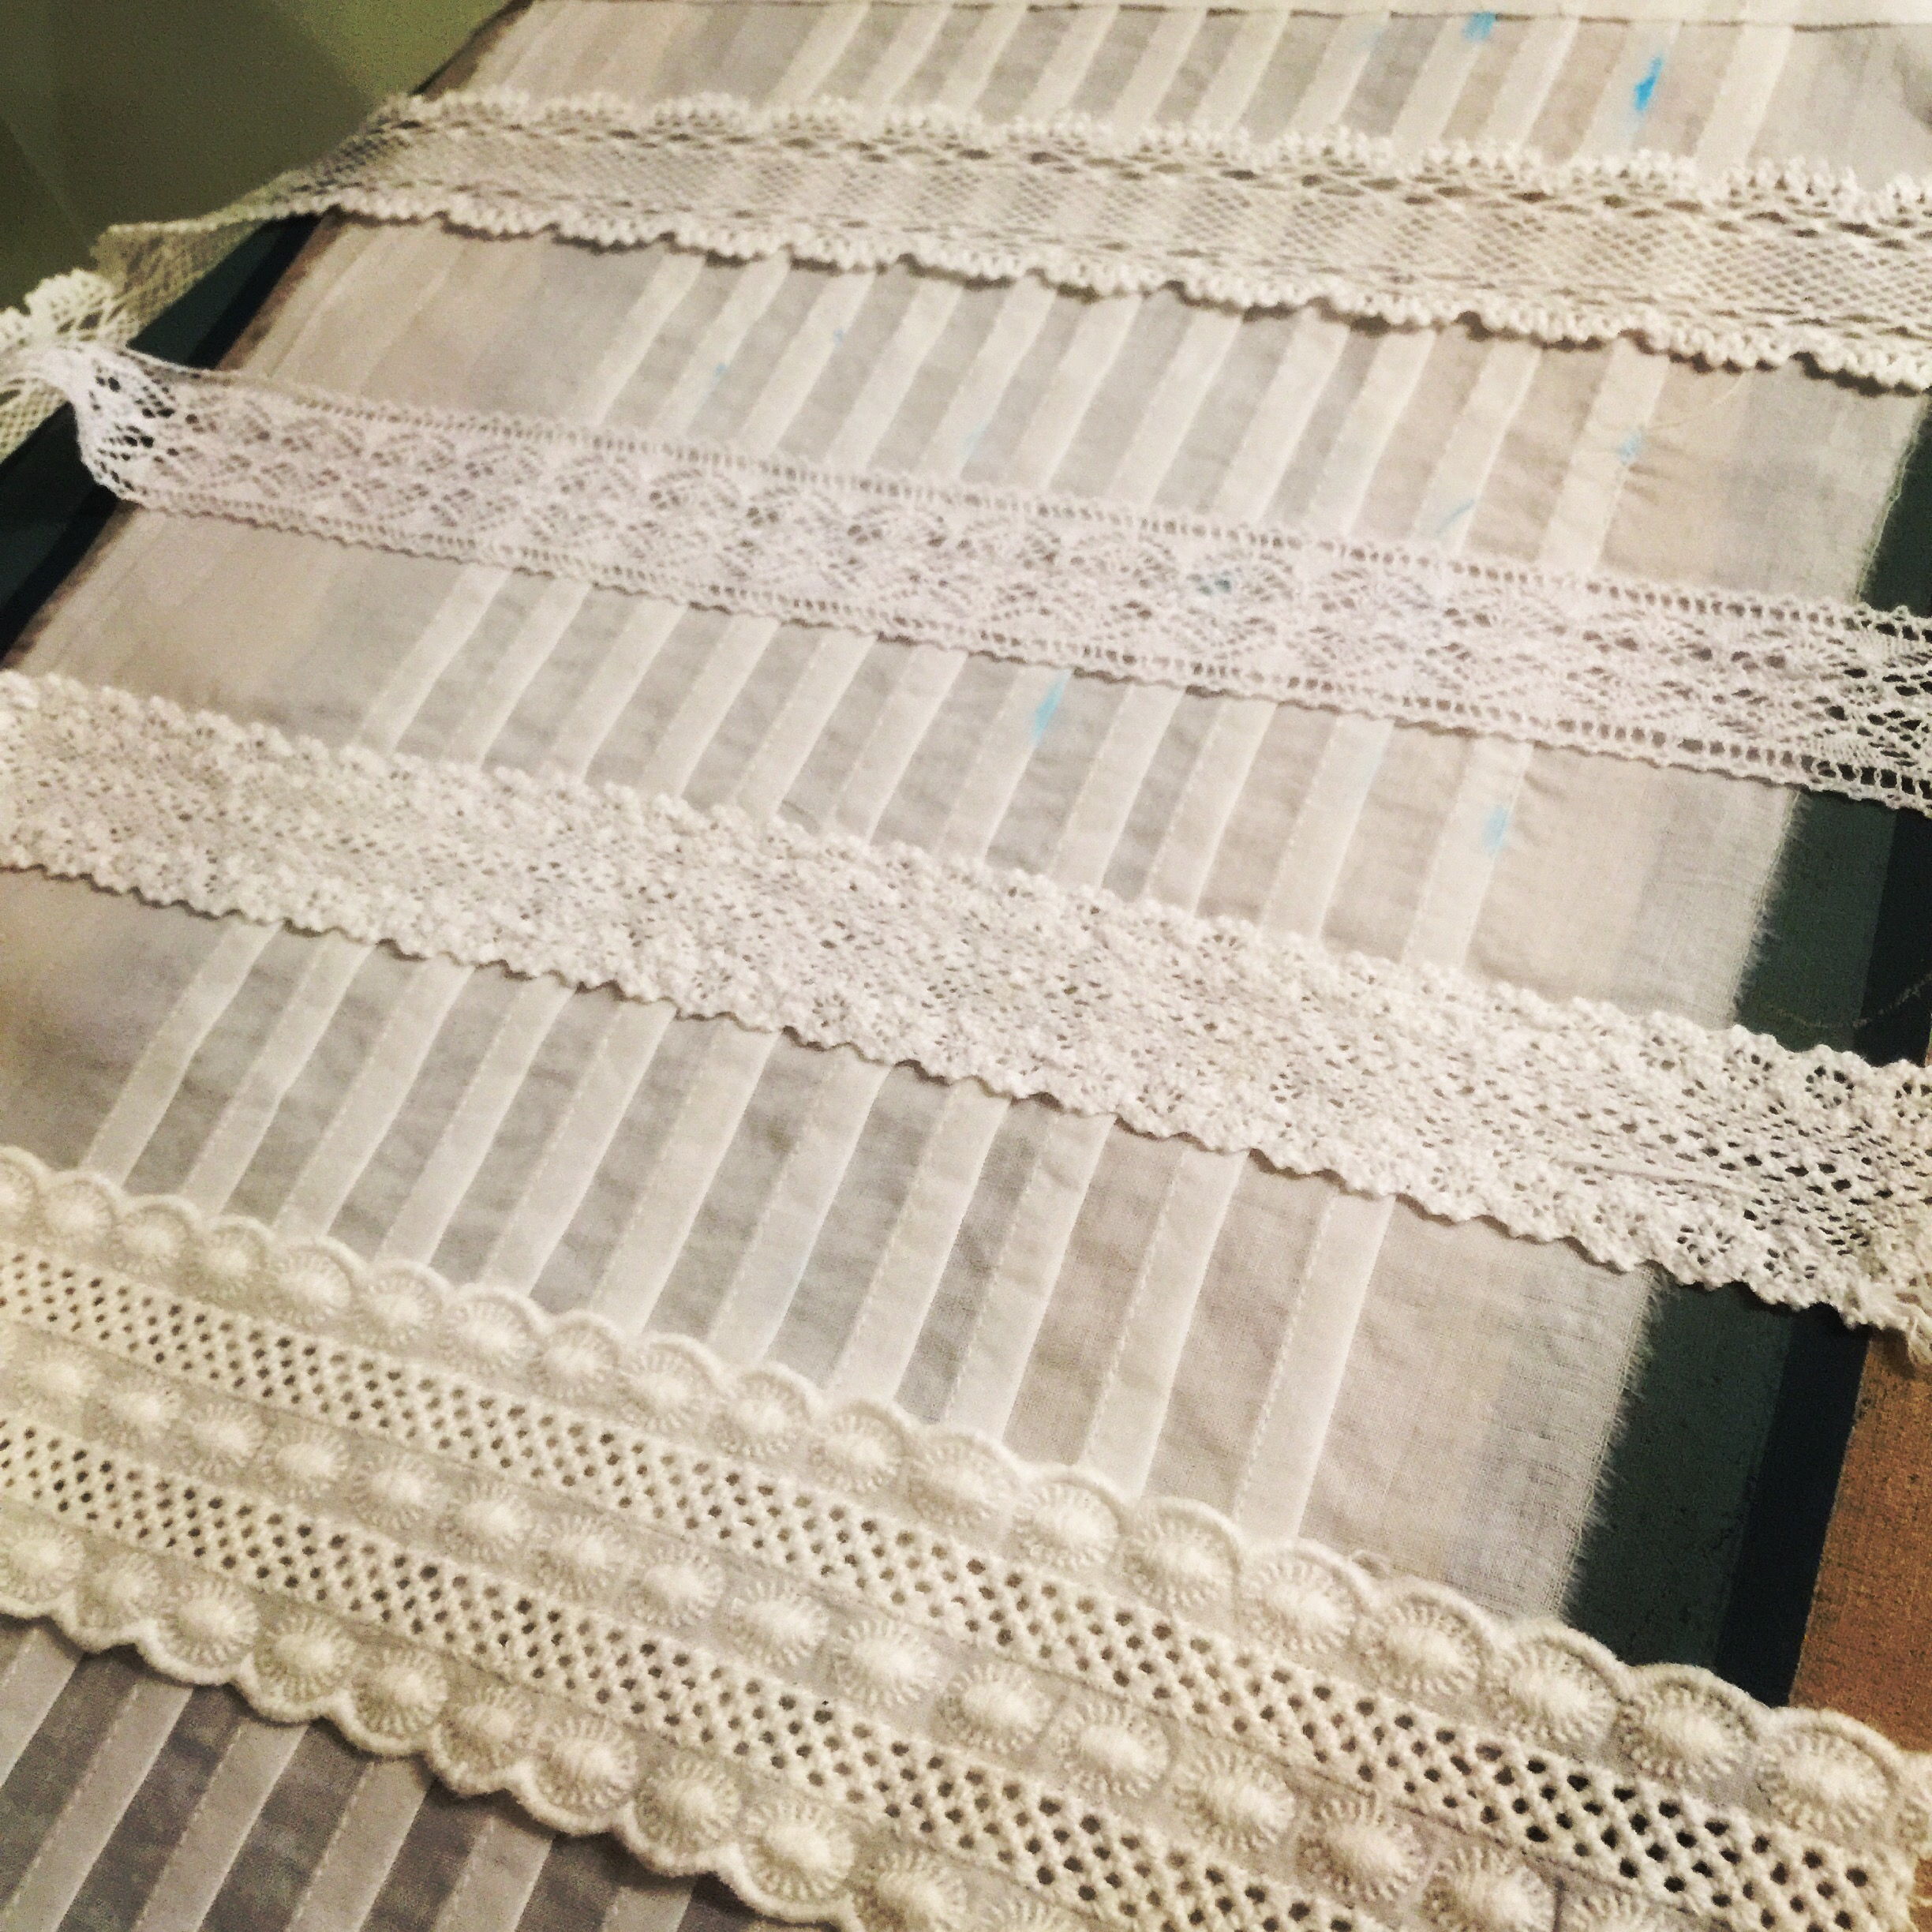
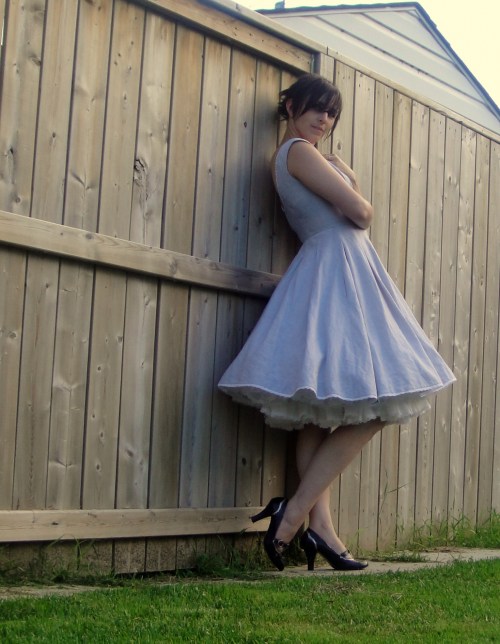 I like the lace at the neckline; I was initially on the fence about the lace at the hem, but I got it as part of the project so I thought I’d better use it, and it’s grown on me.
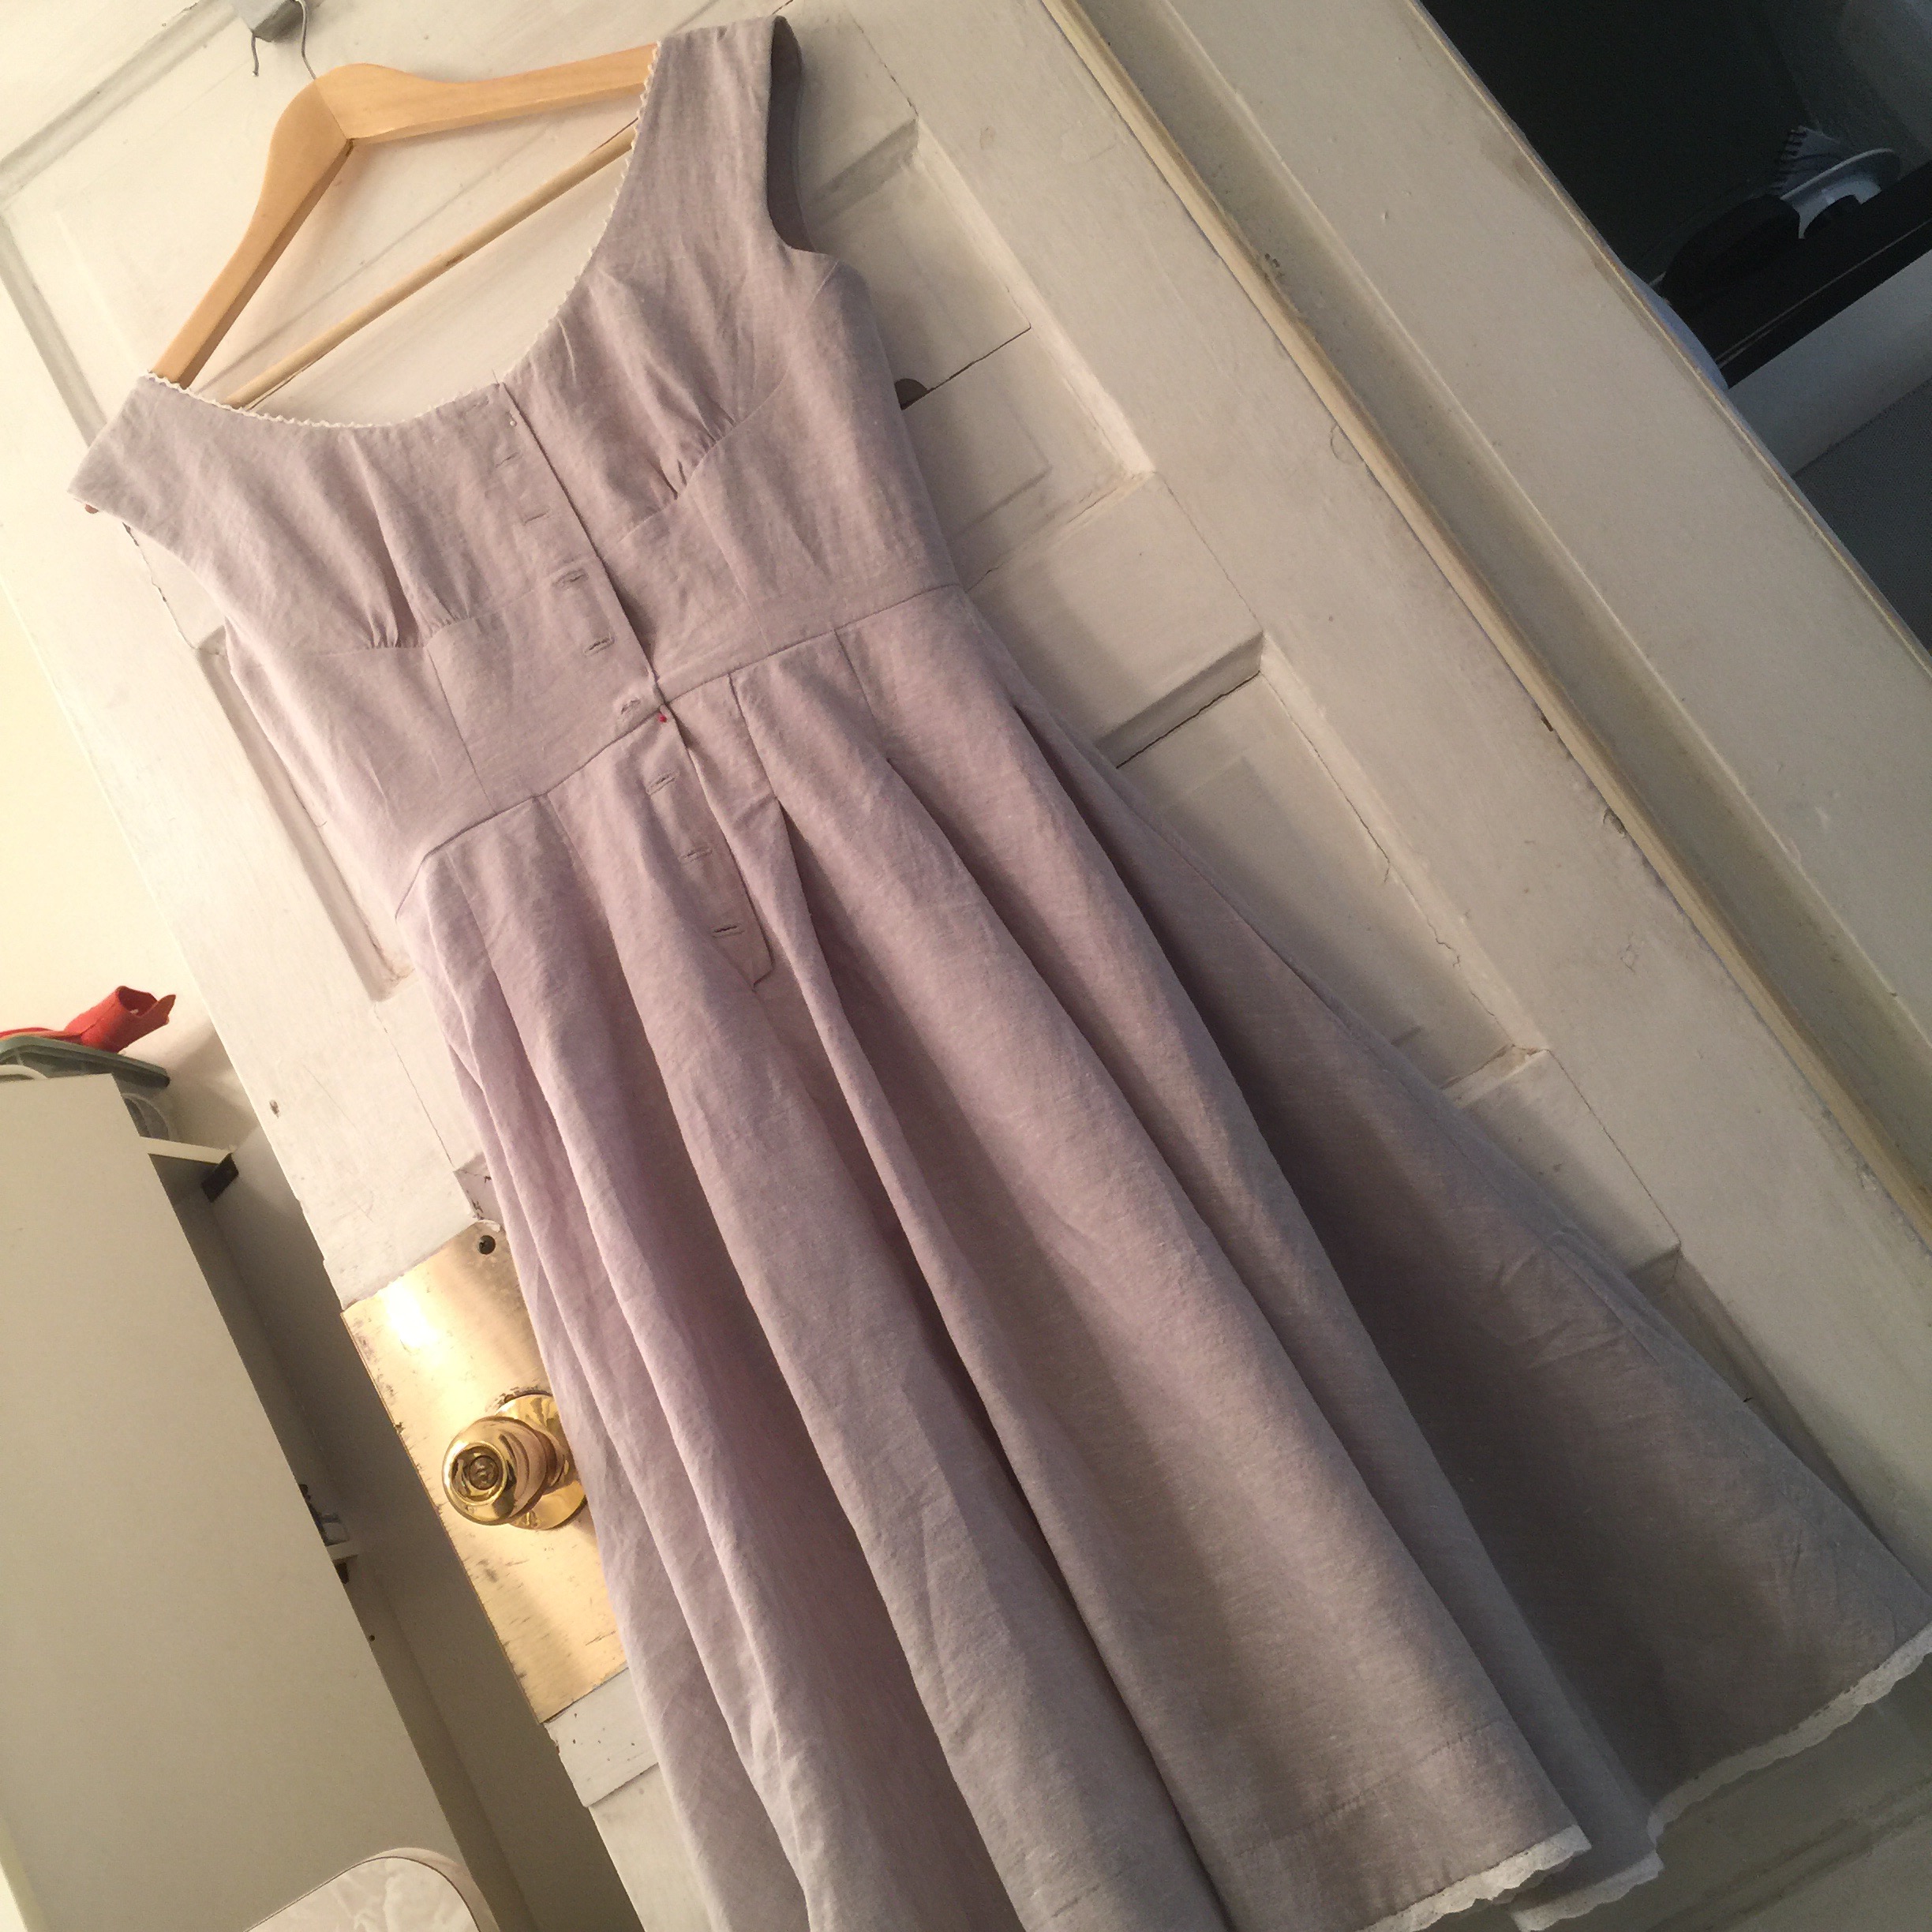
 All in all, this was a nice, quick project with a nice fabric and surprisingly little drama. I’ll take it!