
Last weekend I continued to futz with the Victorian outfit. The waistband is still a mess, but I hemmed the skirt. And hemmed. And cried. And hemmed. And it’s not perfect but it’s hemmed (not pinned!) and doesn’t look too terrible from a safe distance, so we’ll go with that.
 The next (almost final?) phase of the half-assed Victorian outfit is the draped overskirt. They’re not quite mandatory for 1880s outfits, but pretty darn close. My texts say either “these things are crazy, go get a pattern” or “use about this much fabric and go to town.”
And of course, “But be tasteful.” The Victorians were big on taste, apparently. But also sure that basically no one had it. Personally I’m pretty sure I will fail at taste, so I’m not going to sweat it.

I did, in fact, buy myself a pattern, last summer, Truly Victorian 368, the “Waterfall Overskirt”. I wanted to see a basic idea of how they went together. It was very interesting, and also very simple, once you had it it laid out for you.
I’m planning on using the waterfall version for my blue dress, so I wanted this one to be different. I had a vague mental image of the overskirts that leave one side ungathered so there is kinda a point at the bottom. 
To start, I eyeballed what I had left of my grey suiting (around 2m) and estimated what I wanted to drape over the front, and cut that much off.
After some experimenting, I took my general shape (a rectangle with a bit more length on one side—mostly to do with the shape of the fabric I had remaining) and added the lining and an interlining of some random stash drapery sheer that was thin and a little crisp, on the theory that it would give my thin and drapey suiting a bit more body.
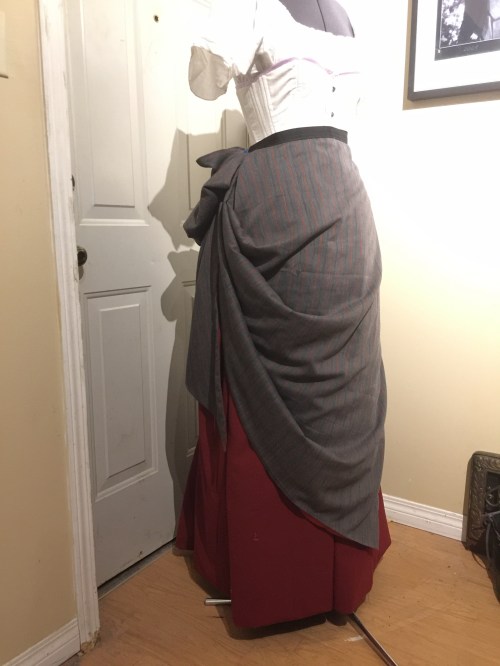
I was all set to put in darts when I decided I didn’t want the disruption in the stripes, so I cut a curve out of the top instead to go around the waist. There followed a lot of futzing with pins and playing with pleats until I had it arranged to my liking. I’m very glad I took the time to adjust the dress form for wearing my corset—it took a fair bit of wriggling and padding but with the corset it actually approximates my corseted shape quite well—kind of like those skin-tight covers they talk about making when you pad out a custom dress form. Unlike anything it has ever done for my un-corseted shape.
But doing this kind of draping without a form would be tricky.
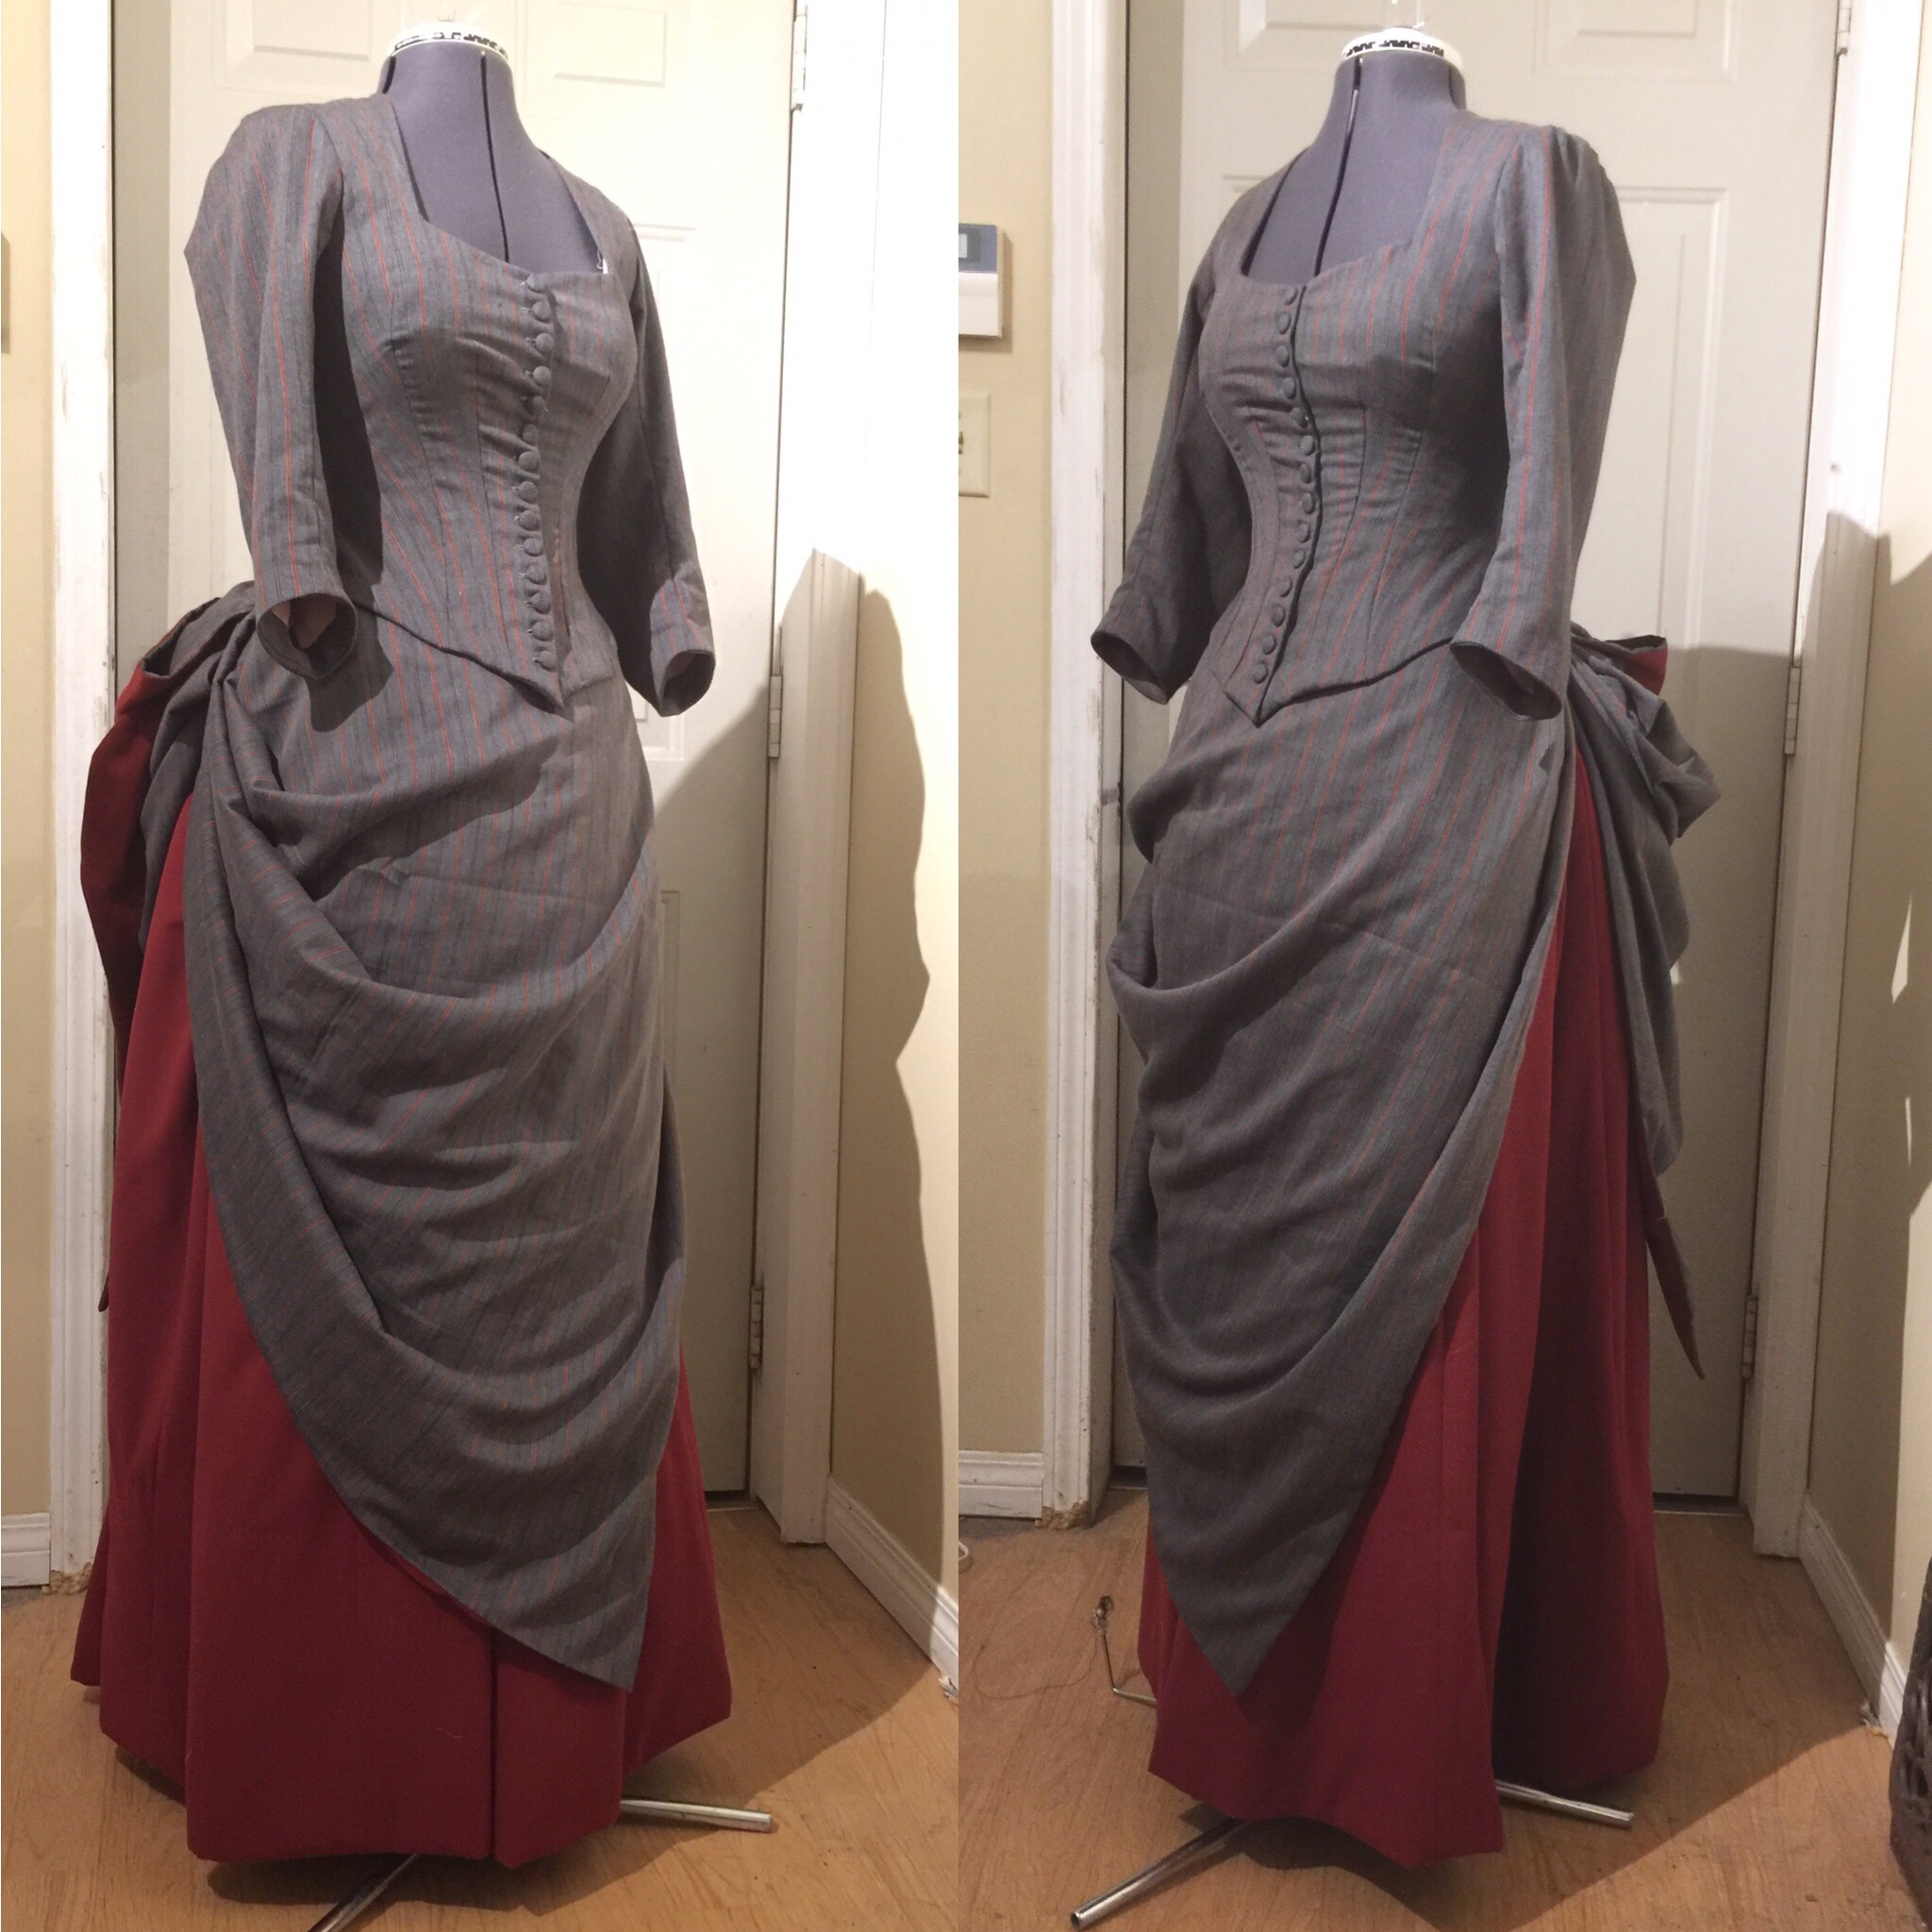 The back drape I cut into some shallow points at the bottom, finished the edges (it’s just lined and turned, with the same interlining as the front), and then started pleating and pinching and messing around.
 I ran a piece of grosgrain ribbon down the inside of the back to anchor the central tucks onto. On its own I actually liked it better without it being all tucked up in the middle, but once I layered the bodice tails over I added some more tucking.
 I had messed around with pinning up the tails before, but I think I have a much better arrangement now.
 And I like the button. I think I need to move my waist stay down a bit in the back, so the bodice hugs the back a little better.
 And then I need to bite the bullet about trim. I have a ton of 5/8″ satin ribbon in the right red, some pleated, some not… But what, where, and how much is enough? Or too much. Is it possible to have too much of anything on a Victorian getup? I think we’re straying into “taste” territory again…


Holy cow! This is amazing! Downton Abbey much?
Thank you! 🙂
It certainly is fascinating watching your progress with these different pieces. Beautiful!
love love LOVE 1880’s fashion. Most. Well, in line with 50’s New Look Dior, but lately 1880’s draping takes my cake. For instance, I would wear this dress to the grocery store.
You know… I’m thinking skip the trim. I mean, you ARE the queen of piping, so there’s that, but…. it’s already so much with the skirts and contrast red, the trim will take it from grocery store appropriate (in my head) to… not.
🙂 XO – P
The back looks so much better now!
Oh, and I forgot to say that a waistband might help you get the back of your jacket close to your back. All the fabric hanging down pulls on the back and a waistband sewn in on the seam allowances and closing with hooks and eyes was generally used in the Victorian times…
Yes, it has one (it’s called a waist stay) but it still pulls away below where it sits—have to see if I can move it down or something.
Damn. Thank you for documenting this so well. I’m not a Victorian, but I do appreciate the ‘too much is not enough’ theory of decoration. The little authentic stuff I’ve seen has way too much trim, and all self made. Ends up more like applied texture than decoration.
Altogether, a pleasing shape thus far!
It’s looking so awesome! Love the colours and the shape and I’m so beyond impressed. No real input on the trim, although if what you say about Victorian styles is true, then I think the correct answer might be GIVE’ER. 😀
Pingback: Victorian Romp | Tanit-Isis Sews