Tag Archives: finished projects

The (not so) pretty

20130812-065415.jpg

If you garden, you’ll know that there are lots of perfectly edible foods grown that end up just, well, not being terribly attractive. The carrot with two points. The lopsided apple. We eat them from the garden because, well, food is food and the taste matters more, but we’d probably never buy such an oddity in the grocery store (which wouldn’t sell it to us anyway.)

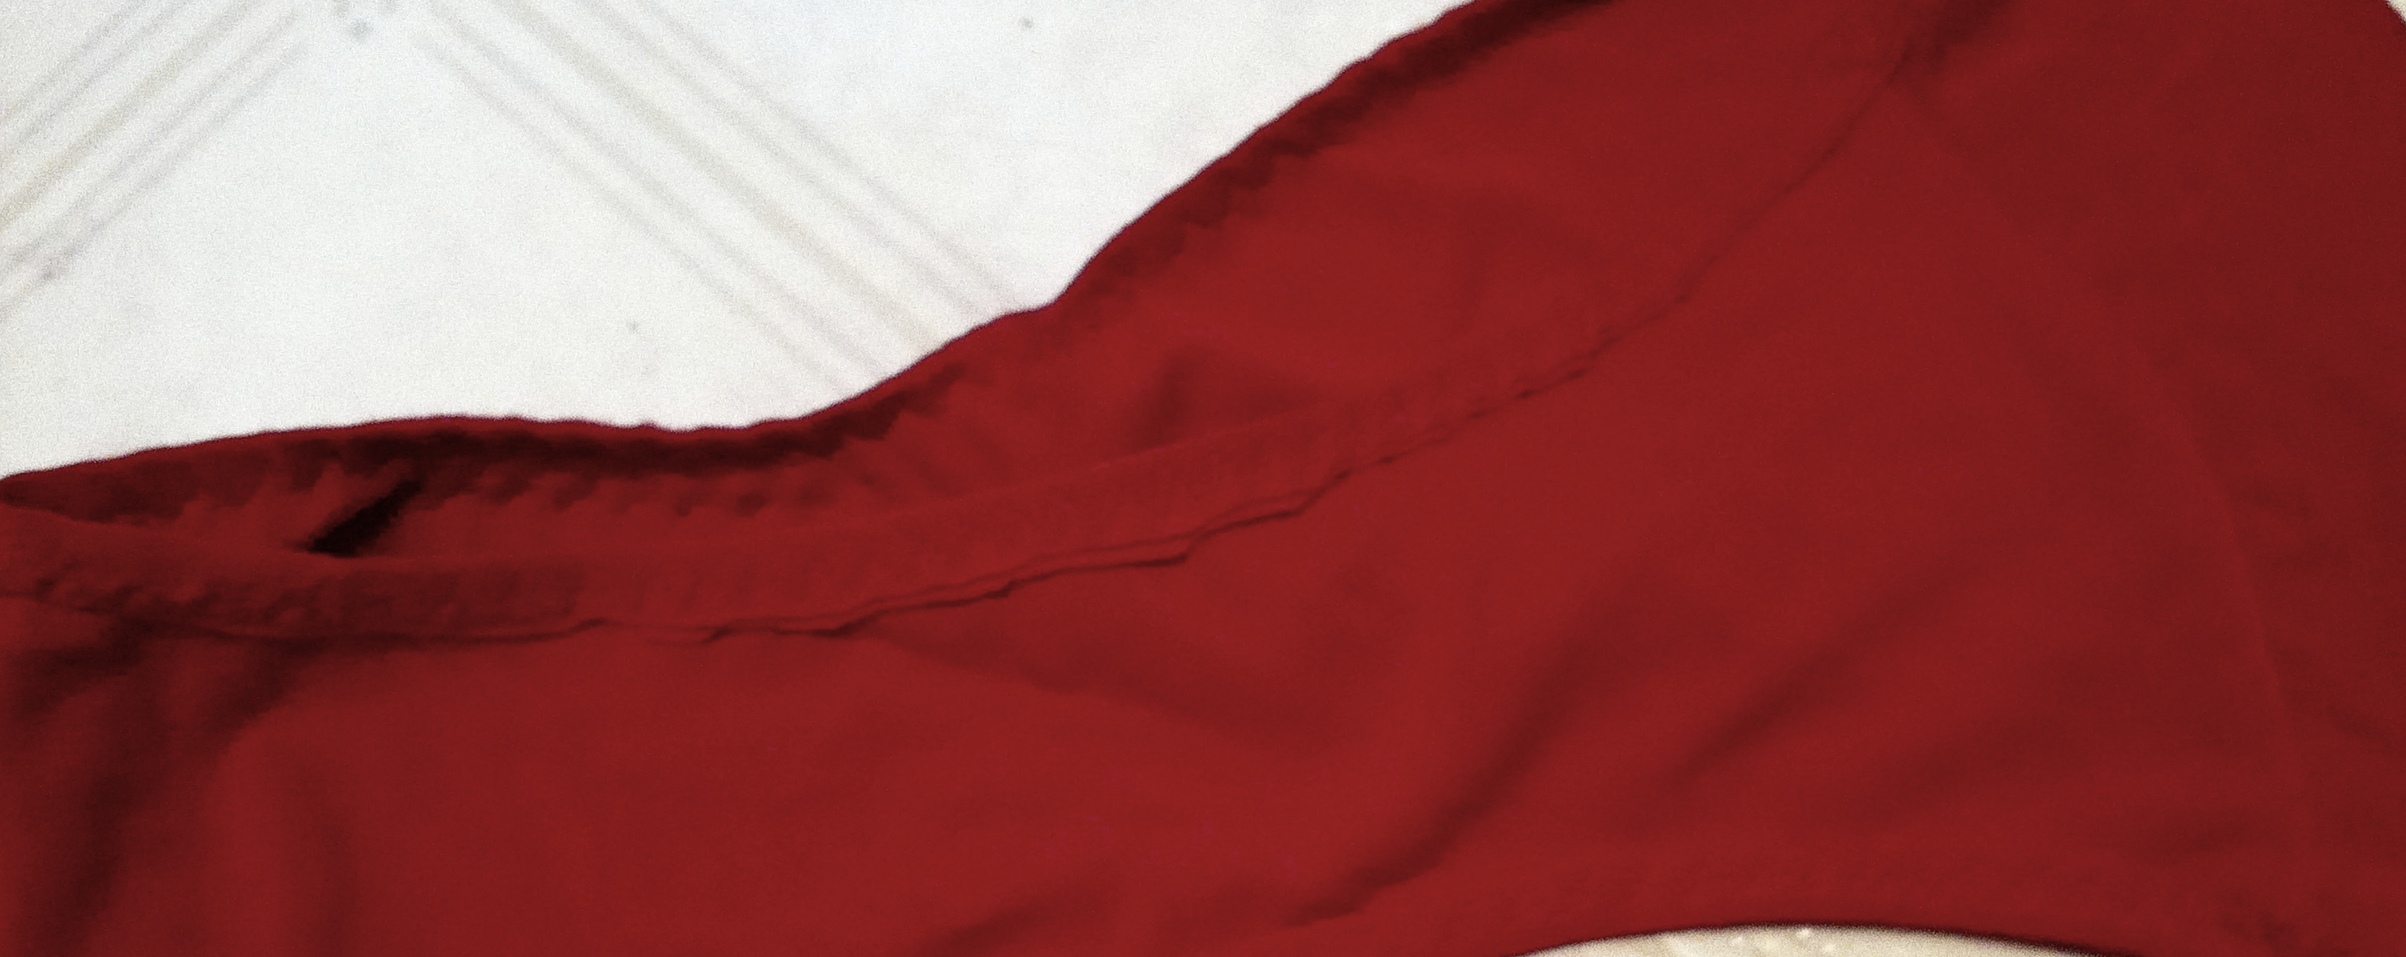
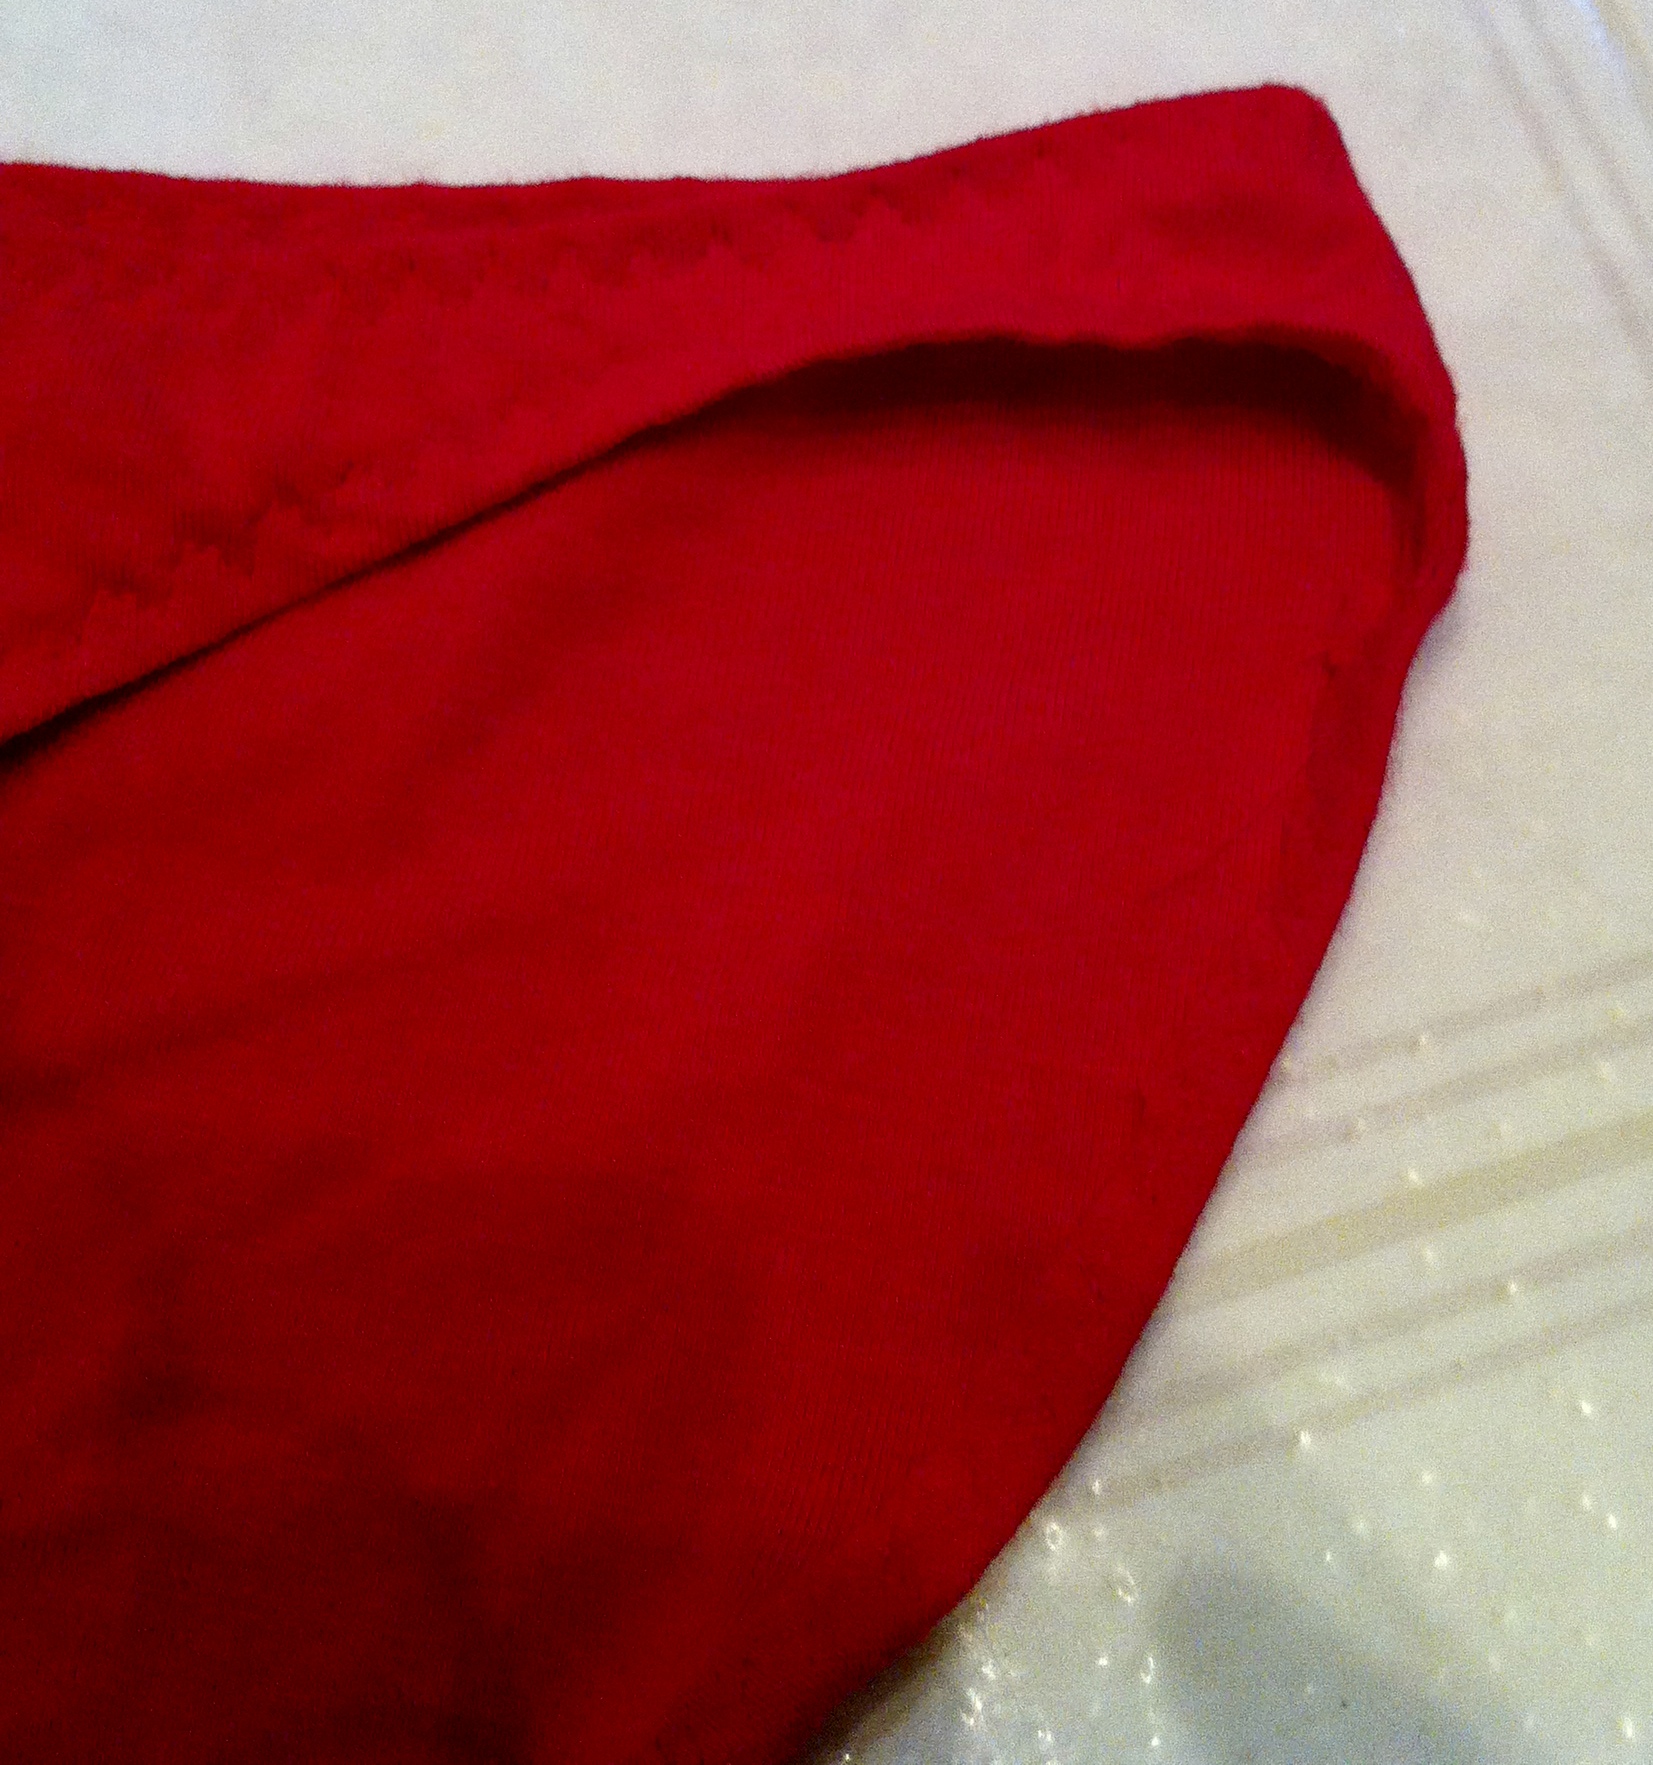
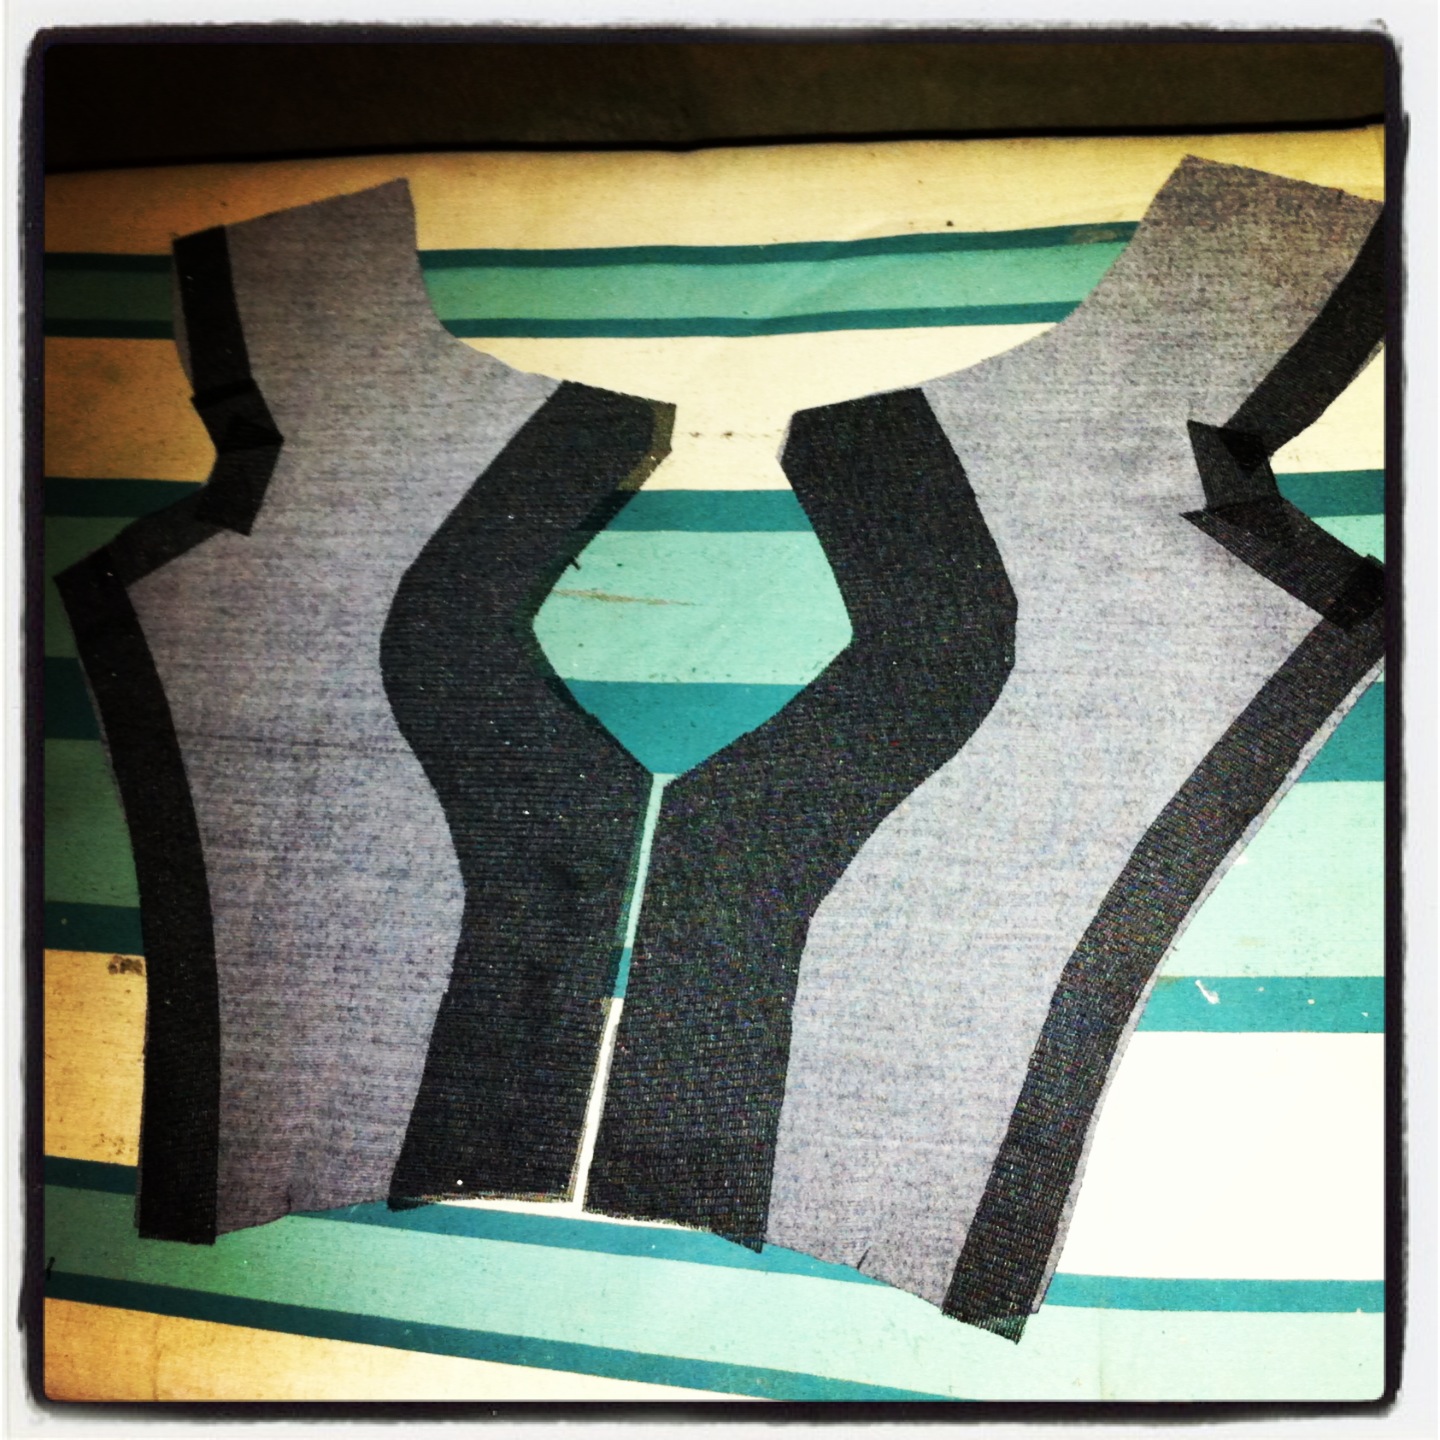
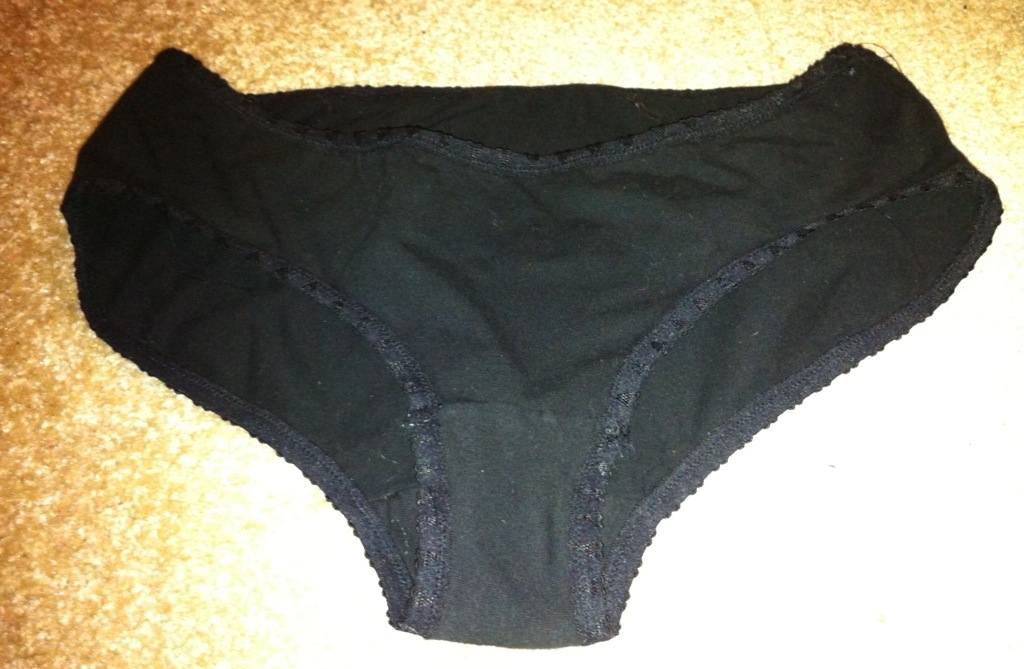
Well, this is kinda how I felt about my first “successful” set of undies made last fall. Sure, they were comfy. The fit was fine, or at least no more annoying than most of the storebought ones. But DAMN they were ugly, especially in the drawer. And who wants to reach for ugly panties, I ask you? My butt has standards!

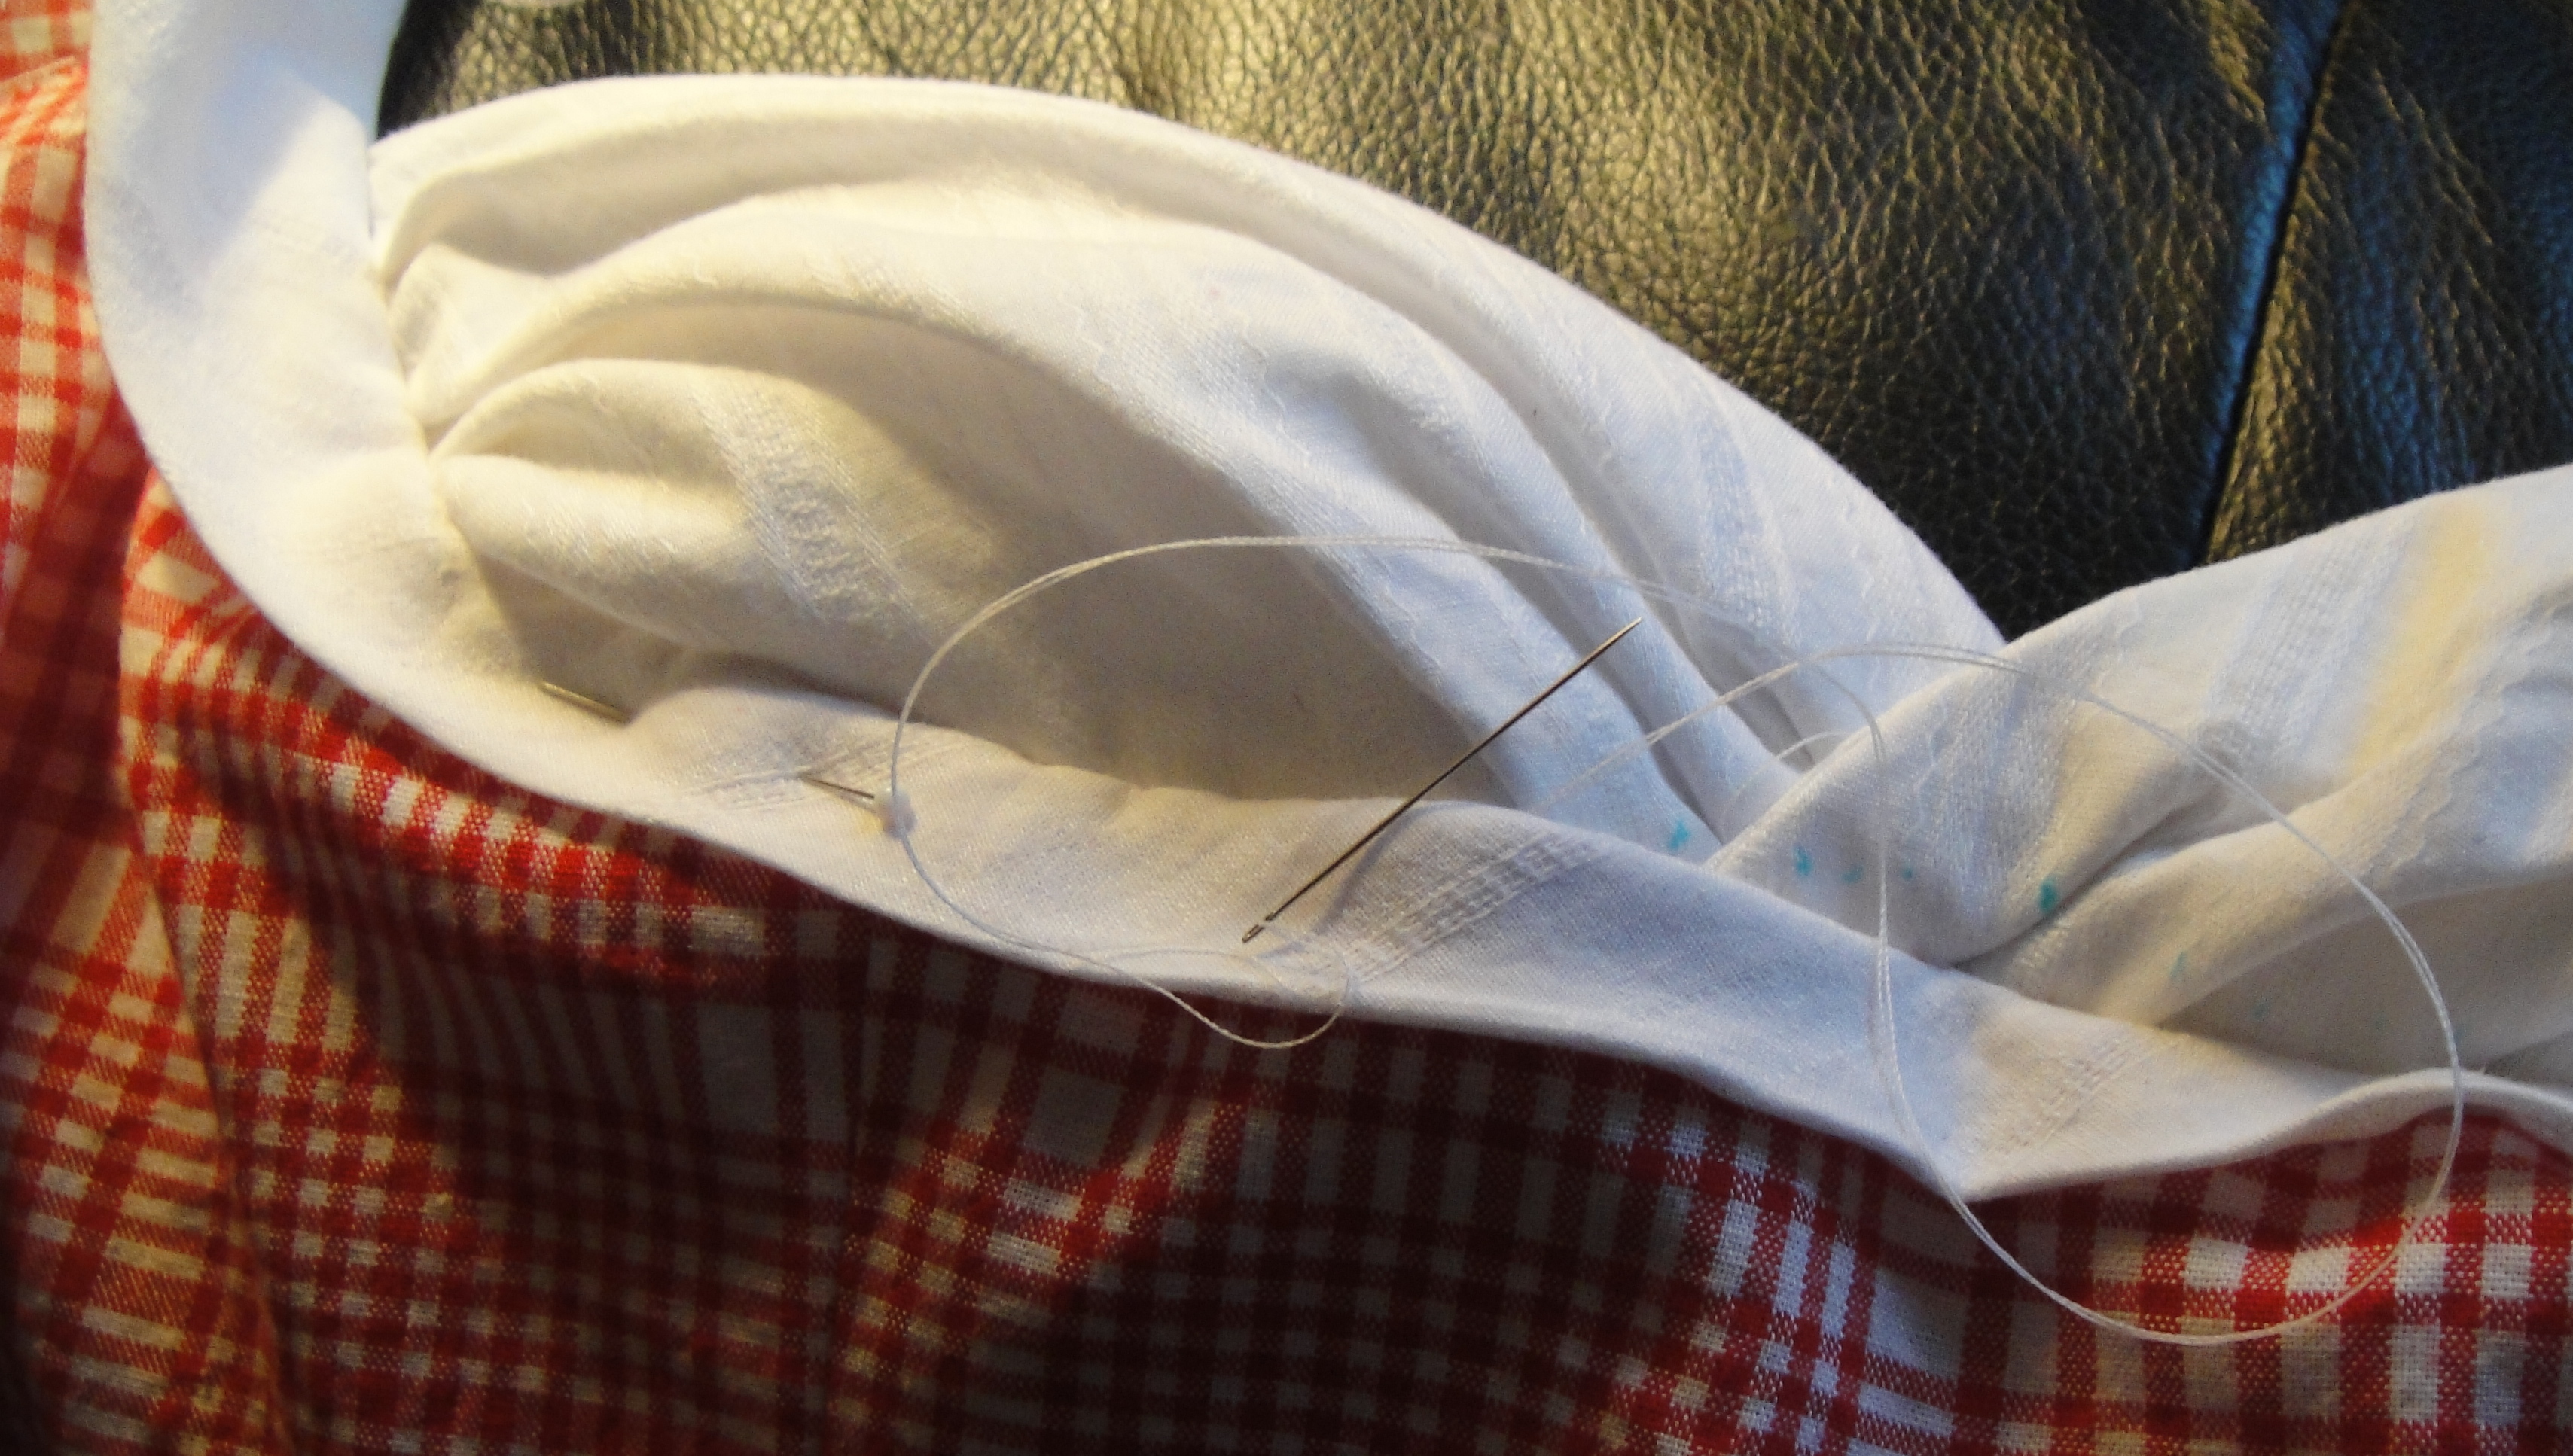
So eventually I caved and hacked off the old elastic and bought some black fold over elastic and then the whole kit ‘n kaboodle kicked around, never in the same place at the same time, for ages.

20130812-065425.jpg

It was the perfect size of project for my wedding-sewing-recovery phase, though, so sometime last week I settled in with a zig-zag stitch and a determination to stretch the elastic as little as necessary without getting weird, wavy, stretched out panties.

They still won’t win any beauty prizes, (especially with my crappy overexposed photos) but they’re at least pleasantly functional. They are comfy, though I won’t claim I’ve reached any particular pinnacle of high fitting. More importantly, I’m feeling happy to reach for them in the underwear drawer. And that is important, right?

In other news, we’re visiting Cowtown this week, so enjoy a photo from the (not quite) Rockies.

20130813-064917.jpg

4 Comments

Filed under Sewing

How to Sew A Wedding Dress

Dresses

OK, so I’m kinda tempted to answer that in one word. “Don’t.” Which is not actually how I’m feeling, but close enough that it seems pretty hilarious. I might not be entirely sane at the moment, though, so probably best to disregard that.

So, right now, there’s so much to say I don’t even know where to begin.

Butterick 3441

The pattern, as you know, was Butterick 3441, a pattern lurking in that vapid no man’s land between contemporary and vintage, complete with really awkward pattern photo. It had most of the features the bride wanted, however, barring a few minor tweaks—more so than anything else we looked at. We settled on the pattern back in the winter, made up a practice dress in the spring, and then dawdled over ordering the fabric until pretty much the last possible second. Such is life. Did I mention the bride (Epona) got pregnant a few months after we’d picked the pattern? Which kind of killed my inclination to finish early, anyway.

Yaaaaah! Scary!

Yaaaaah! Scary!

So, the pattern itself is pretty basic. Epona was not into a fussy, restrictive dress. She did want a lace overlay over the skirt, and lacing in the back. The lacing seemed like a REALLY good idea after the pregnancy happened. And I was both excited and terrified when I managed to talk her into using REAL silk and PRECIOUS lace. Yikes.

So, I don’t know how much to go into fitting details. Epona is not tall and she is rather curvy. I was pretty sure a small full-bust adjustment would be in order, and absolutely certain that some serious shortening was required. I was correct on both counts, although I still wonder if a larger FBA might’ve been helpful. I still can’t quite figure out where the underbust seam of this pattern is supposed to fall—it seems like it isn’t meant to come all the way in under the bust. At least, it didn’t on Epona, and it didn’t on Stylish either (since Stylish’s Maid of Honour dress was made from the same pattern, albeit in a different size.) Weird. Anyway, I kind of wish I had split Epona’s larger post-FBA dart into two smaller darts, but, well, that idea scared me even more than shaping one big dart, although maybe it shouldn’t’ve.

Wedding Dress Trial #1

Wedding Dress Trial #1. With train. Pretty little train.

I wanted to cut the skirt on the bias, too, which led to some more playing around with the pattern, and trying to figure out how to make it accommodate a six-months-pregnant belly gracefully. After we had determined that she could wriggle into and out of the practice dress without the zipper, I decided to omit it from the final dress, since I learned from Thread Cult that zippers in bias-cut garments are generally asking for trouble. Though in this particular style, I think it wouldn’t’ve been a big issue since the zipper would be hidden behind lacing and lace draping. Anyway, I left it out.

The fashion fabric was a delicate (very expensive) silk charmeuse ordered locally; I ordered silk habotai and organza from Dharma Trading for the lining and interfacing. I hadn’t originally been planning to interface the bodice—the pattern called for it, but I certainly didn’t see the need on the practice dress. When it arrived, the silk charmeuse was both thinner and softer than its polyester cousin—and when the lace arrived, heavy with all that beading, I knew interfacing was going to be a thing.

In an attempt to organize my thoughts coherently, have a heading:

Cutting:

Cutting layers

Cutting layers

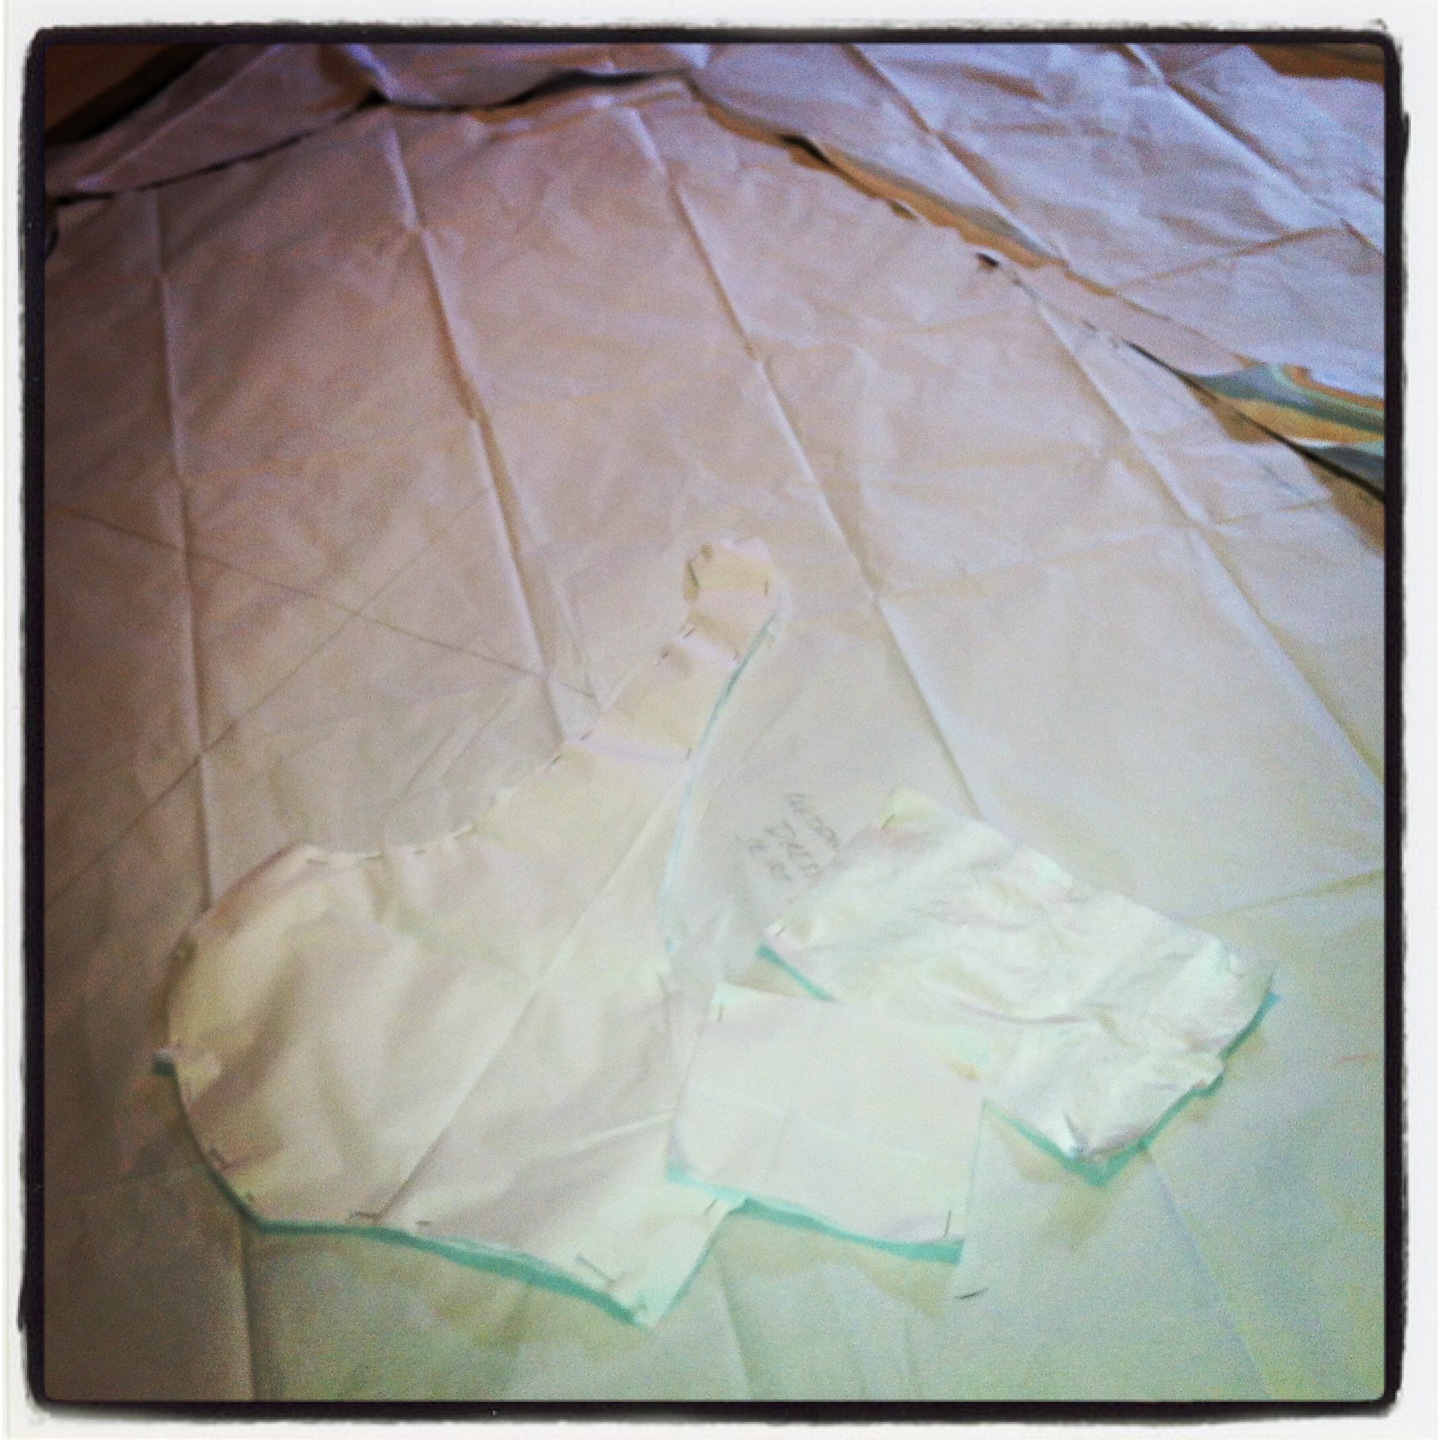
I used tissue paper layered above and below the fabric to help stabilize it when I cut everything out. This worked fairly well, although I then proceeded to layer both fashion fabric, lining, and silk organza interfacing and cut all at once. This wasn’t hard—even layered, these are ridiculously thin fabrics—but may have led to less-than-optimal grain placement on some pieces. On the other hand, once everything was basted together it seemed to keep the proper shape just fine.
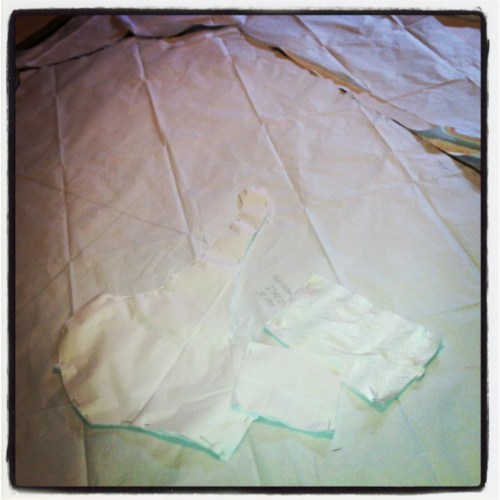
Cutting shapes

Cutting shapes

On the practice dress I used almost exactly three metres of 150cm wide fabric. The silk was only 140 cm, and sold in yards. I was figuring 3.5 yards would do it, but the fabric store lady talked Epona into ordering four. Which turned out to be just about exactly right, so Fabric Store Lady 1, Tanit-Isis 0. I had only ordered three yards of the lining, however, which turned out to be not enough to cut the skirt on the bias even without the small train. Oopsie. So the lining skirt was on grain. Again, with the lace overlay in place, I don’t think it made much of a difference to how the dress looked or moved, but oh well.

Bodice construction:

Hand-basting with silk thread.  Mmmm, yummy silk thread.

Hand-basting with silk thread. Mmmm, yummy silk thread.

I didn’t start out planning to go all couture on the bodice, but sometimes these things happen. First, since I had to add the organza interfacing (which added the perfect amount of body to the bodice, and yes, that sentence does make me snicker), I was hand-basting like crazy. While I was at it, I added some on-grain and selvedge stabilizing strips of organza around most of the edges on the back pieces, where the lace would weigh most heavily. It took forever, (ok, most of a day) and I do not regret any of it.

Seam-allowance casing and boning piece

Seam-allowance casing and boning piece

Although Epona didn’t really want any boning, the combination of heavy lace and halter dress and corset-style lacing scared the pants off of me, so I added some light-weight, zip-tie boning along the sides and side-back seams of the bodice (where the lacing loops inserted.) I just added a second row of stitching in the seam allowance (fortunately I thought of this before I went and graded my seam allowances) to make the casing. I cut the zip ties to the right length, cut the ends rounded, and then smoothed by melting in a lighter flame. I may have been a little overzealous in the smoothing department, hence the brownish ends. Oh, well. So far, anyway, no harm has come to the dress.) I don’t think Epona would even have noticed the little bones if I hadn’t mentioned them, and while I can’t be absolutely sure they helped, I’m sure they didn’t hurt.
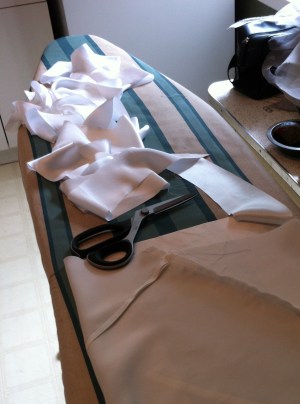
Making continuous silk bias tape. Mmmm, silk bias tape.

Making continuous silk bias tape. Mmmm, silk bias tape.

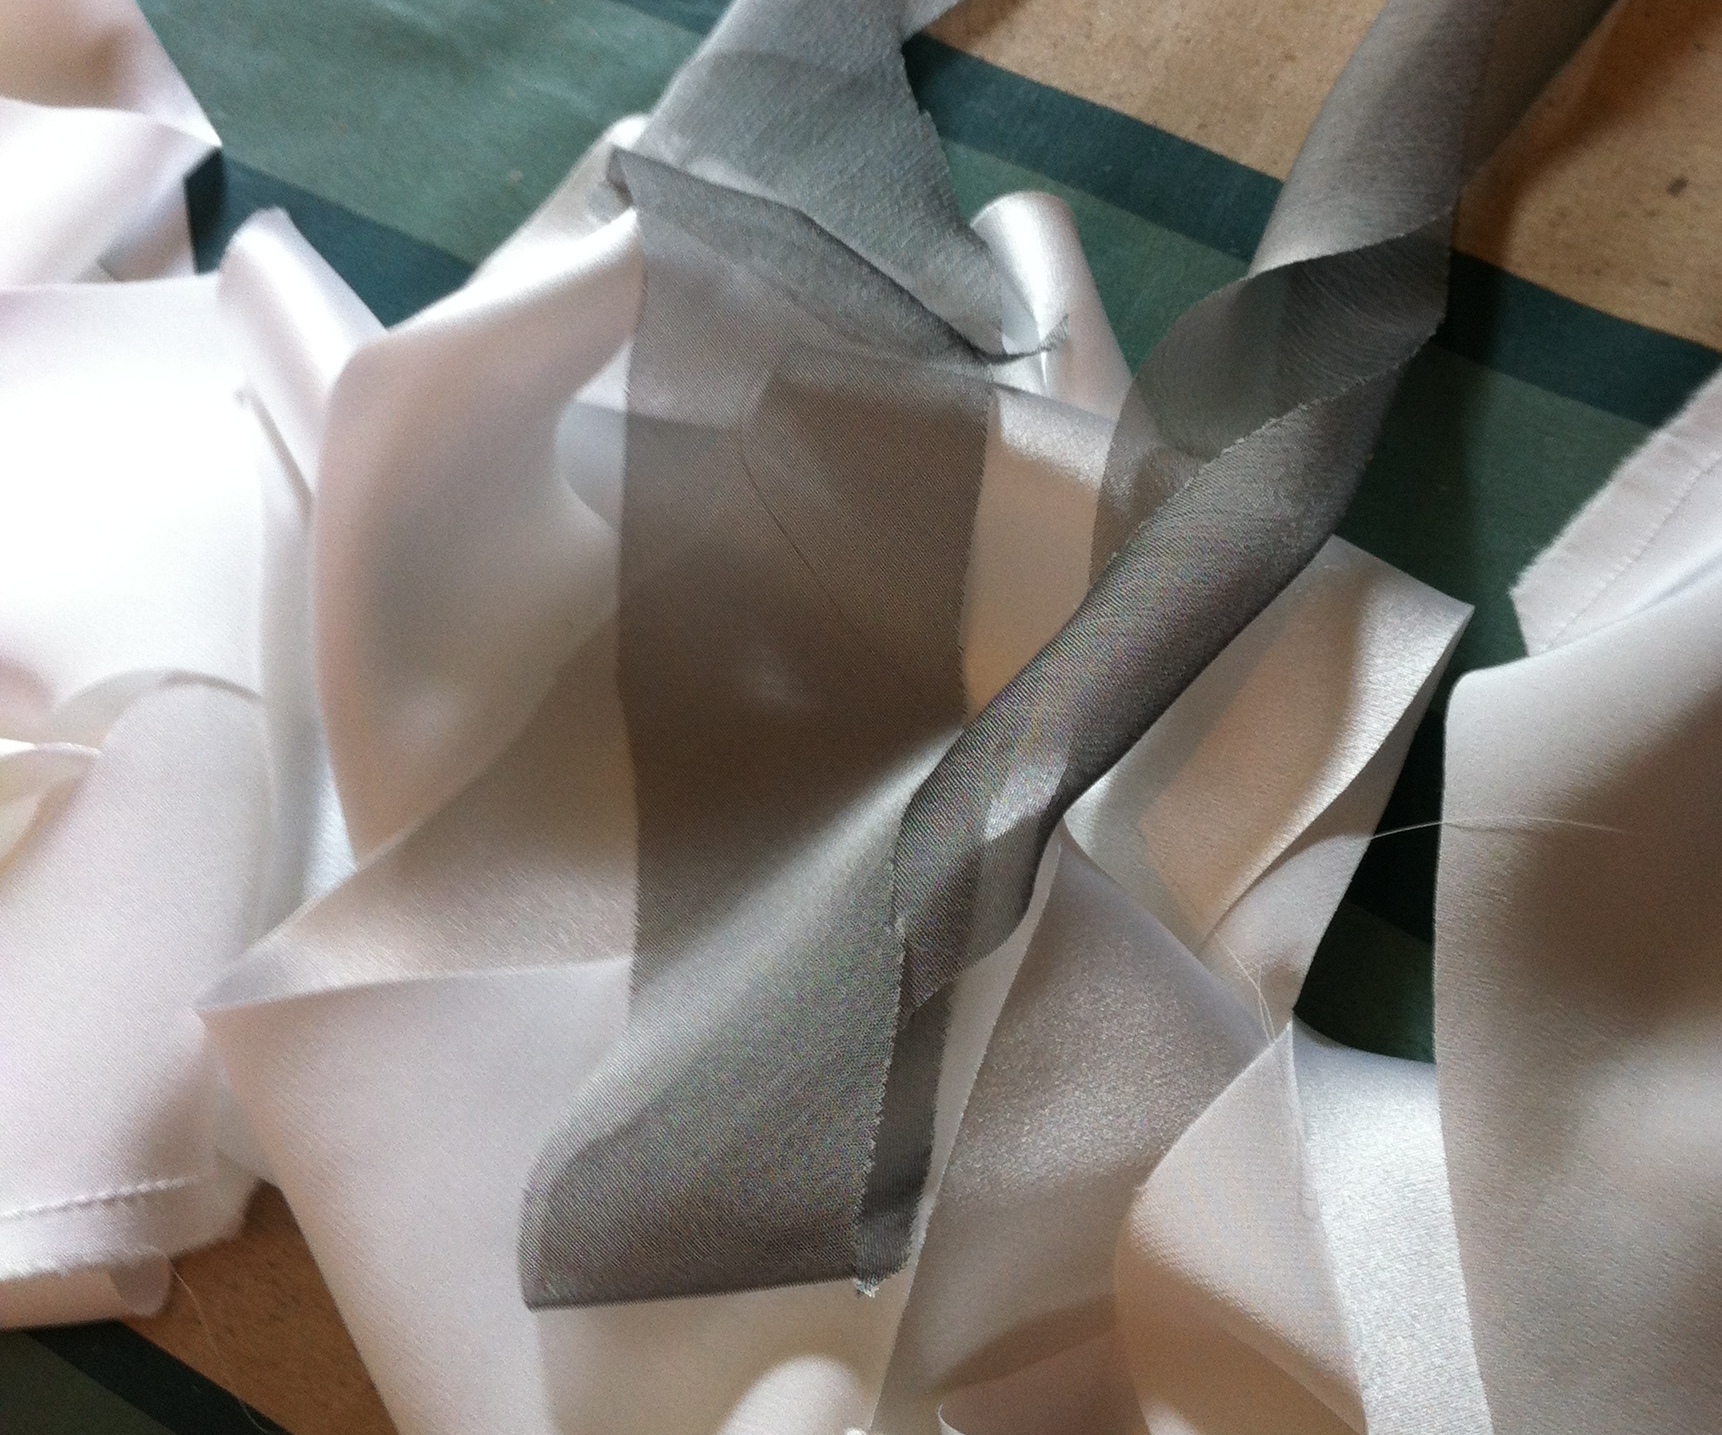
I knew from the practice dress that I wanted to pipe the upper edges of the bodice, but I had decided I wanted a silver piping rather than just the white on white. I had silver chiffon left over from the skirt overlay for the Maid of Honour’s dress, but experimentation determined that it needed a solid silk under-layer to look really good.
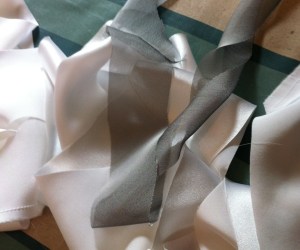
White silk bias tape and polyester chiffon bias tape. A match made in hell.

White silk bias tape and polyester chiffon bias tape. A match made in hell.

Yes, I layered poly chiffon bias tape over silk charmeuse bias tape to make my piping. Did you know you could do that? I didn’t, either. I started (after make shitloads of bias tape… I always make way too much) by stitching the two layers together about one seam-allowance away from one edge. Once this was done, I wrapped the two stitched layers around my piping core (a slender wool yarn in this case) and basted them into place. This was not without a few ripply mishaps, but once all was in place it looked pretty darn fine. I lived dangerously and applied the piping by machine, no hand basting! CRAZY!

Bodice, constructed.

Bodice, constructed. Oh, yeah, I added hanger loops. I hate hanger loops, but they were absolutely necessary in this case.

I also hand-basted the darts and the loops for the back lacing. Did I mention I was using SILK THREAD for all of this? Aside from the fact that it’s like five dollars for a teeny little 100m spool, man that stuff is dreamy. It’s so soft. My White machine didn’t like sewing with it (the tension would go intermittently weird) but the Featherweight didn’t even blink. Yay, Featherweight. And the silk thread was very nice for hand-basting.

You can see the bust weirdness on Stylish’s dress here. (on the left), which is cut from the same pattern as the wedding dress.

The main thing I’m NOT satisfied with about this dress (and don’t tell the bride because I don’t think she noticed) is the darts. Maybe it’s the way I was trying to shape them, but they seem a little baggy and draggy and angled funny on this pattern. I dunno. Me and the darts, we have never really gotten along so well, y’know? Gimme a good ol’ princess seam any day. The problem was the same for both Epona and Stylish, who have very different busts, so I’m inclined to blame it on the pattern…

The Dress

Skirt

After the cray-cray that was the bodice, the skirt was almost an afterthought. I used French seams. They work okay. I still wish they were narrower, but they may actually have approached the actual seam allowance width, which I always feel is pretty hit-or-miss with French seams. I didn’t have any problems with puckering along the seams, possibly because of the silk thread (another episode of Thread Cult, the guest mentioned that polyester thread can sometimes cause puckering because it has a certain amount of elasticity, something which gives it extra strength but can make really light-weight fabrics pull up on themselves. I did not sample a poly seam to compare, but anyway. This was my observation—the silk thread worked really well. Well, on the Featherweight.

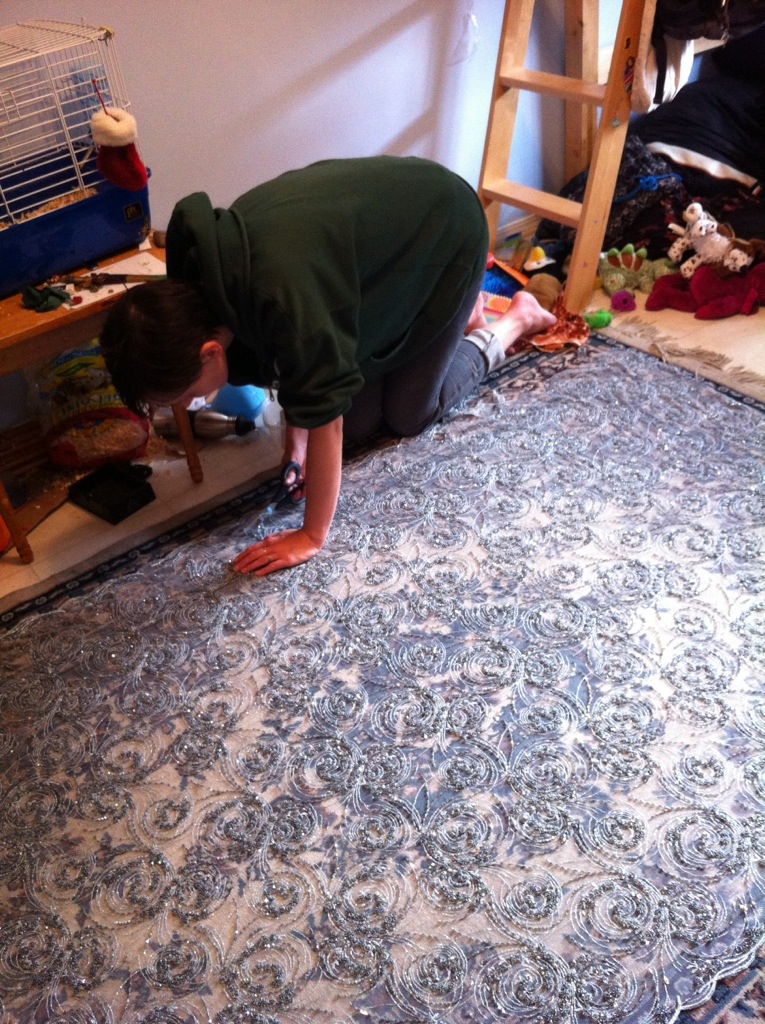
Lace. Cutting. Yikes.

Lace. Cutting. Yikes.

Lace

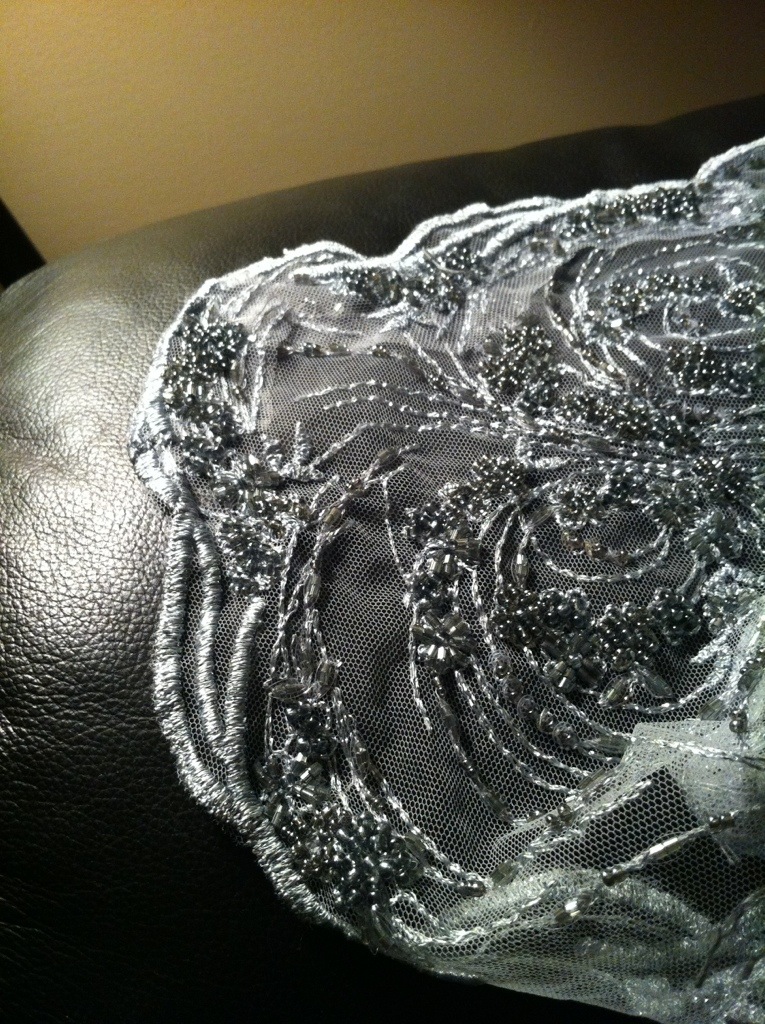
And then there was the lace. I spent a full day, basically, on the lace. My goal was to cut it as little as possible. But one thing I did have to do, was cut the scalloped edging off of one edge and piece it on to the cut ends, to form the edges of the front opening in the overlay. The length of the overlay at the front was decided by how much scallop I had to piece in there. Because of the heavy beading on the lace, there was no chance of machine stitching any of this. Hand stitching it was—up one side, down the other, knotting frequently, and then trimming the mesh close against the stitchings so nothing was flopping around.

Can you see where the pieced part still needs to be stitched down?

Lace corner, one edge pieces, waiting to be trimmed.

Actually, working with the lace was much less nerve-wracking than working with the satin—knots and sloppy stitches all disappear into the texture of the lace and nothing showed once the edges were trimmed. I think it looks pretty darn good, if I do say so myself. I didn’t want to do a back-seam in the lace, so elected to just let the excess drape down the back of the dress. I think it worked, anyway, although the weight of the lace completely collapsed the delicate train that looked so sweet in the practice dress. So the final dress had no train. C’est la vie.

Lace.

Lace.

And did I mention that my iron died at 10:30 at night the day before the wedding, just as I was pressing the hem? Which I hand-rolled, by the way. That was a lot of hand-rolled hem. I was able to borrow an iron the next day out at the farm, and really the creases from travelling  (the garment bag wasn’t quite as long as the dress) were worse than the un-pressed hem, but anyway. As inevitable mishaps go, this is a pretty minor one, except that now have no iron.

And now, random bridal photos.

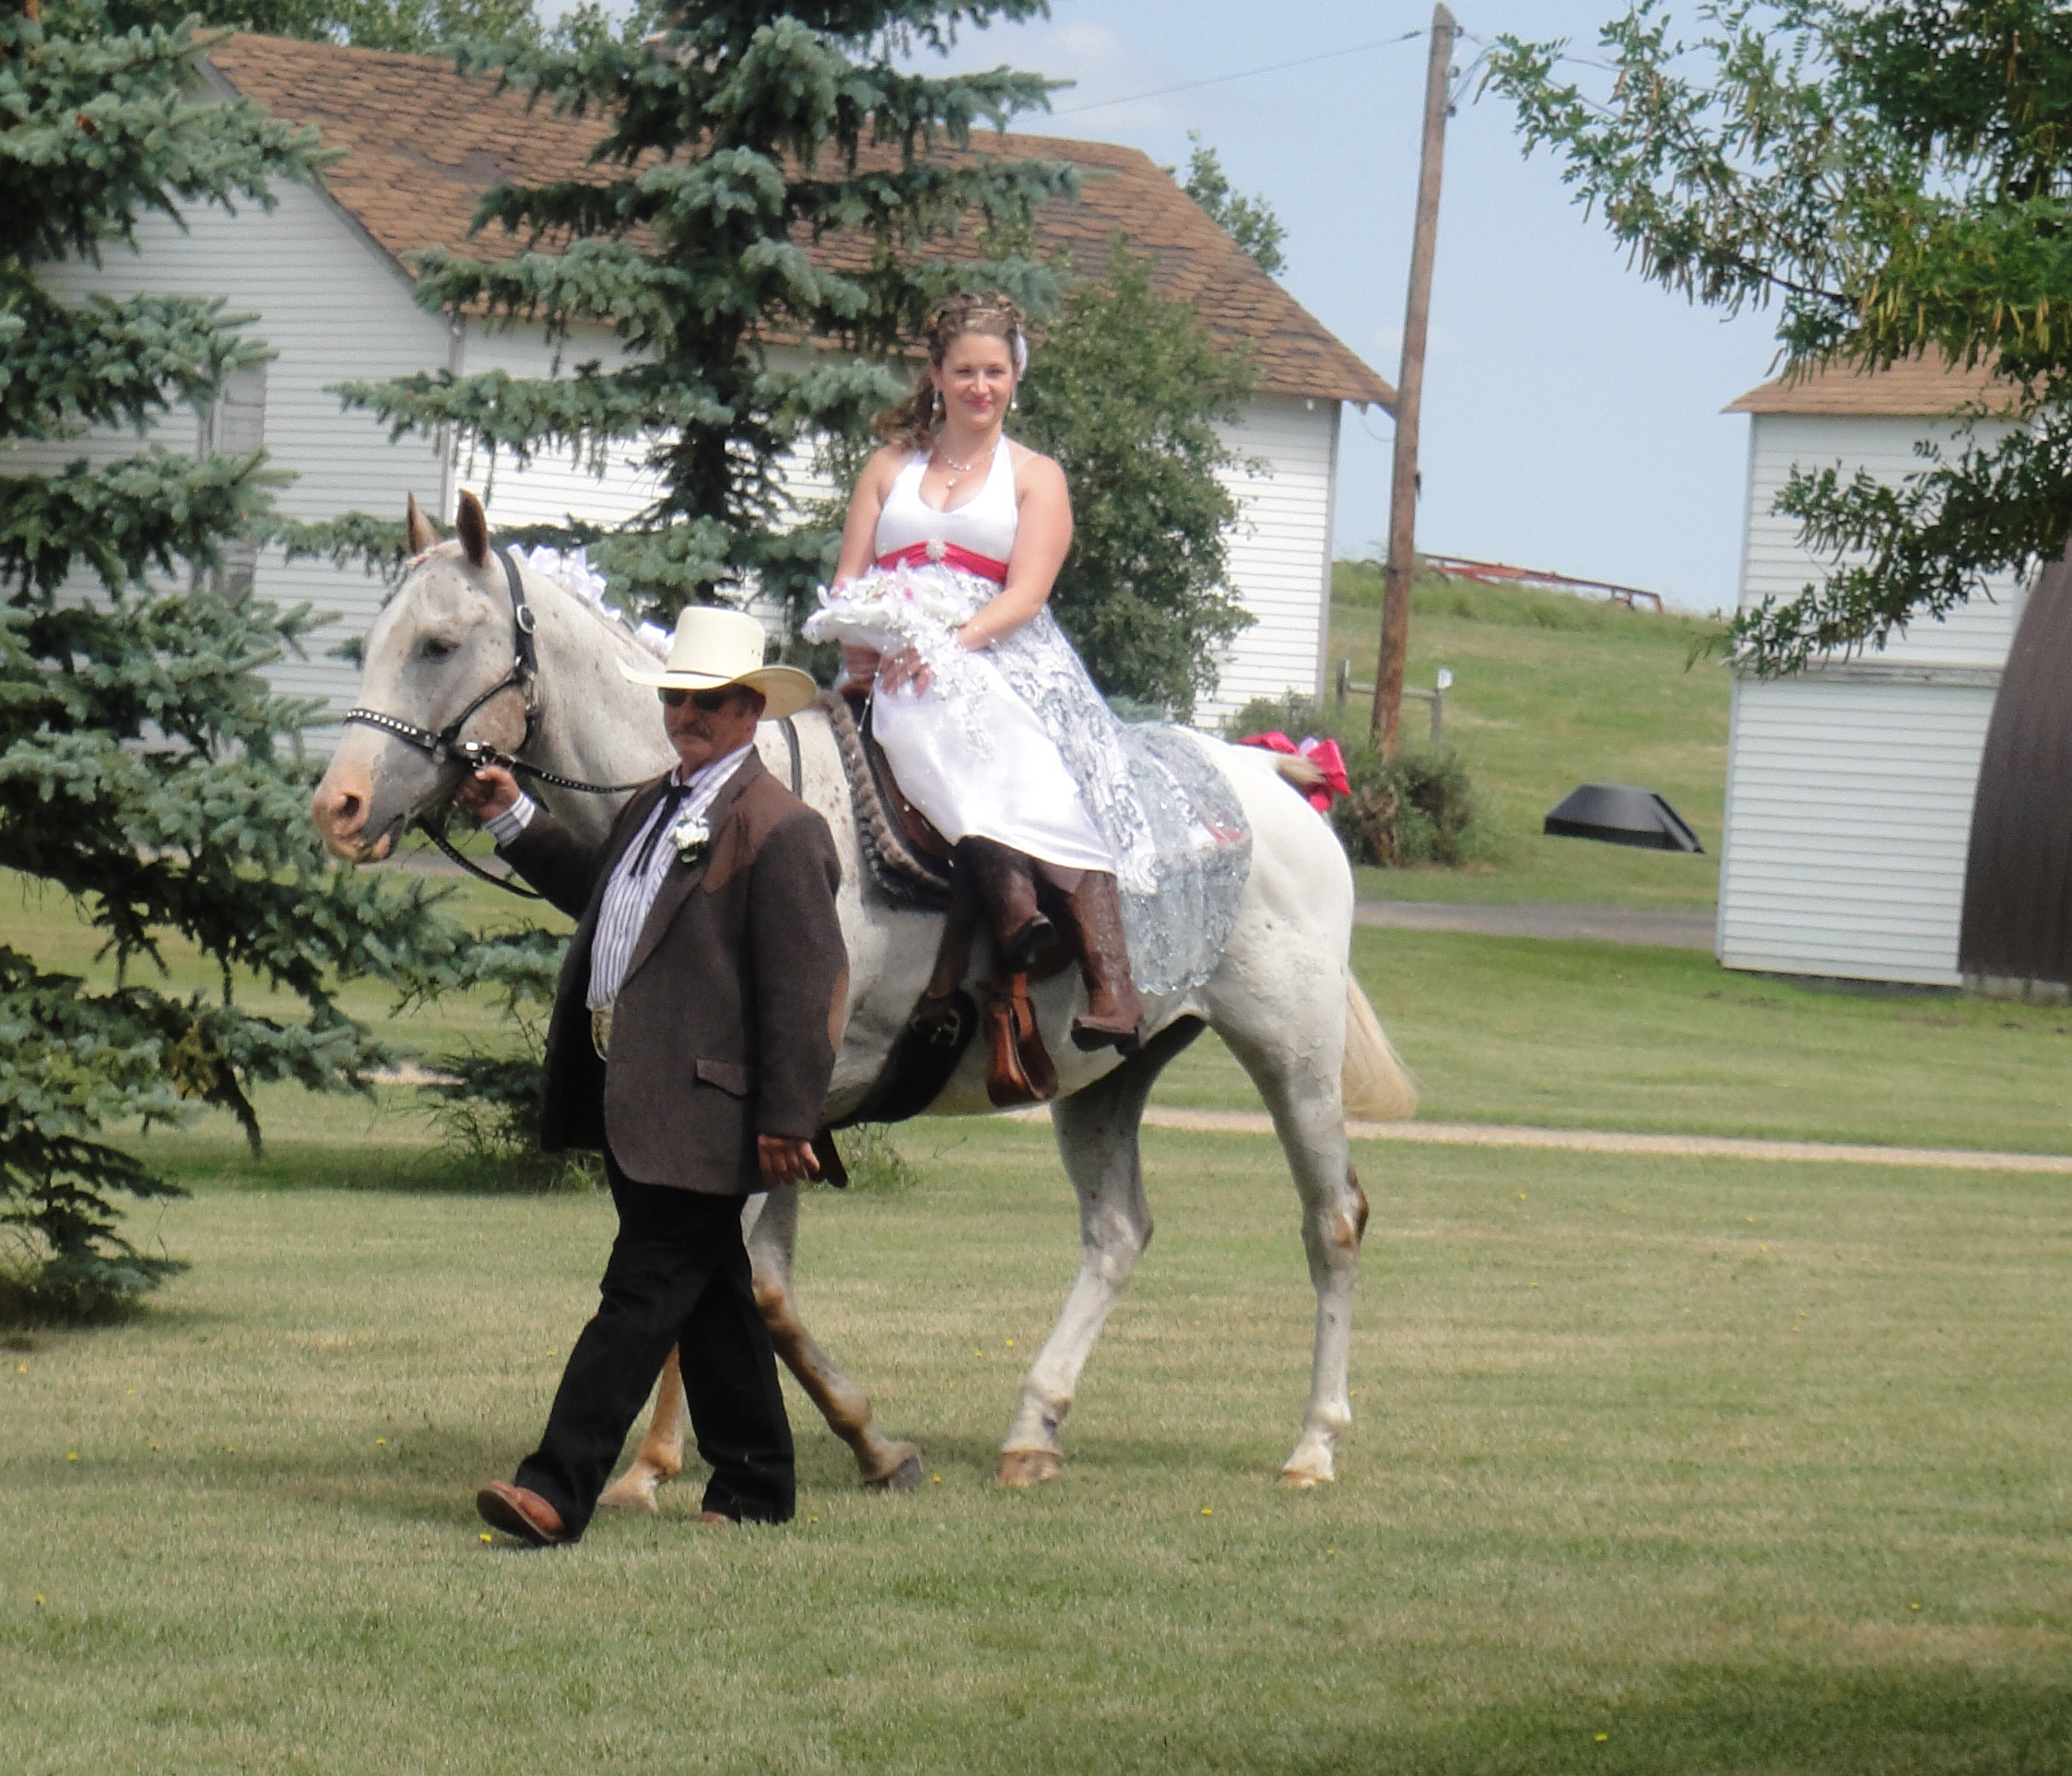
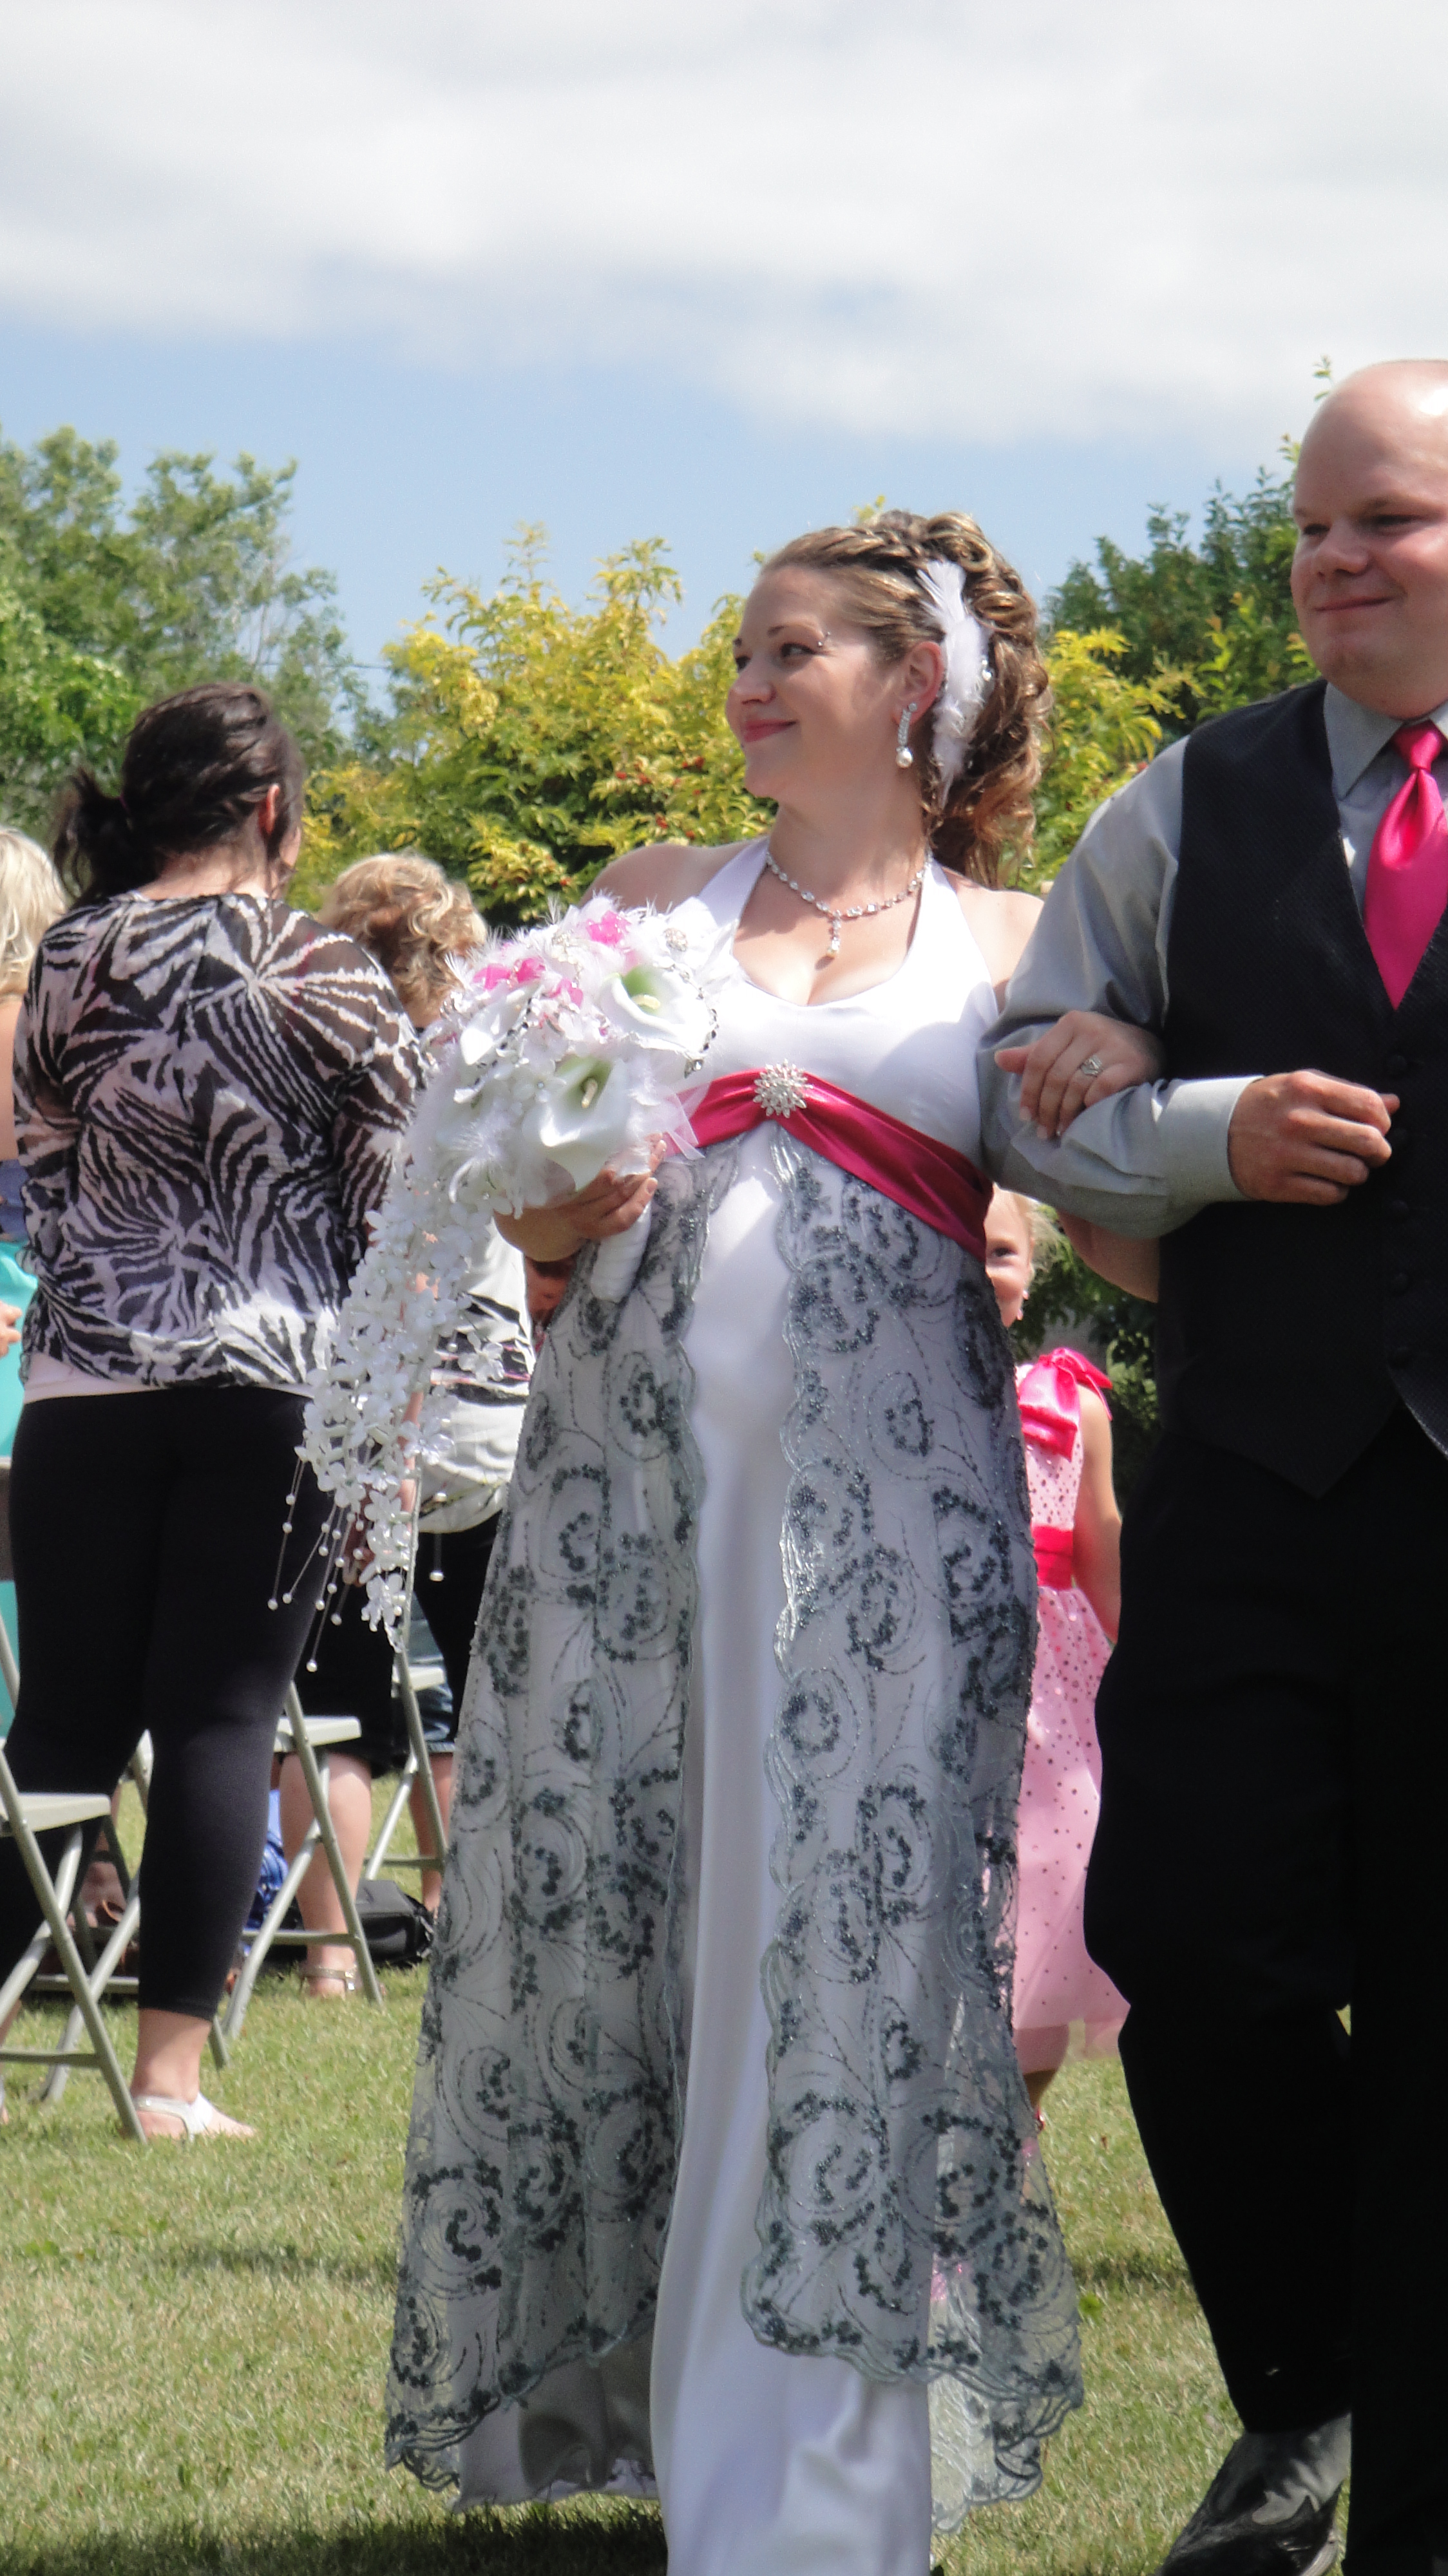
The bride’s entrance.

Yes, she rode in on a horse. It was That Kind of wedding. Don’t get me started on the music at the dance.

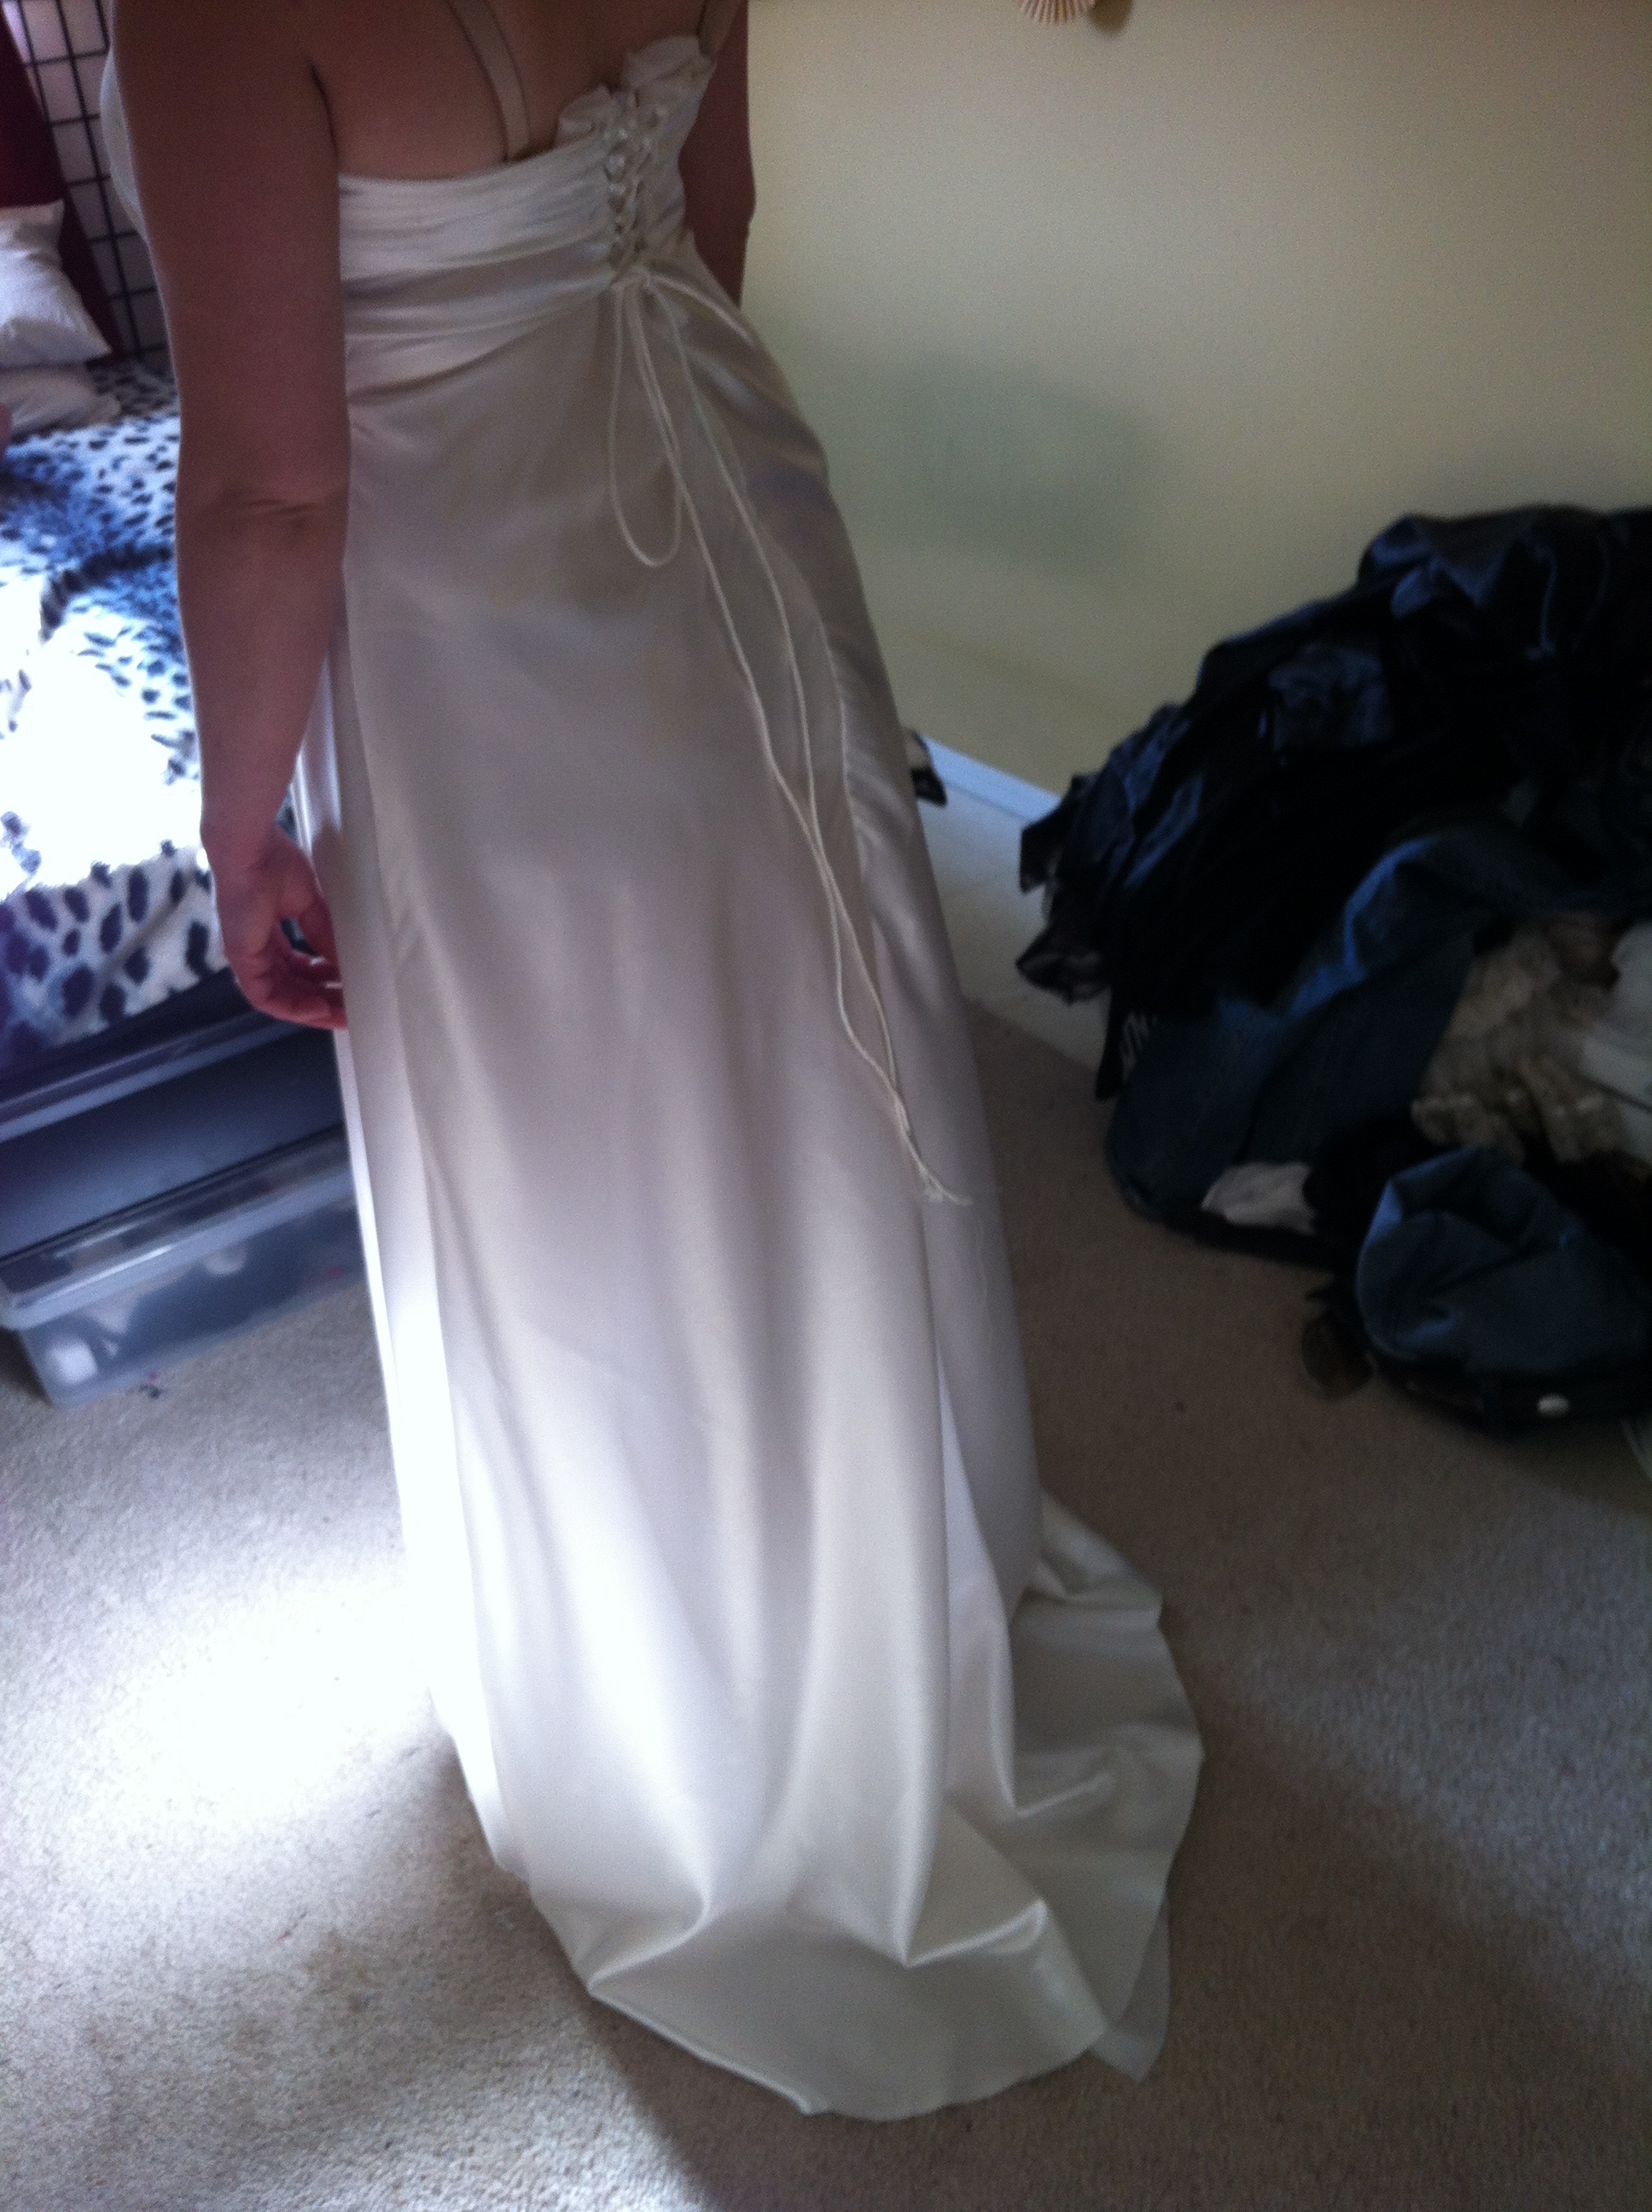
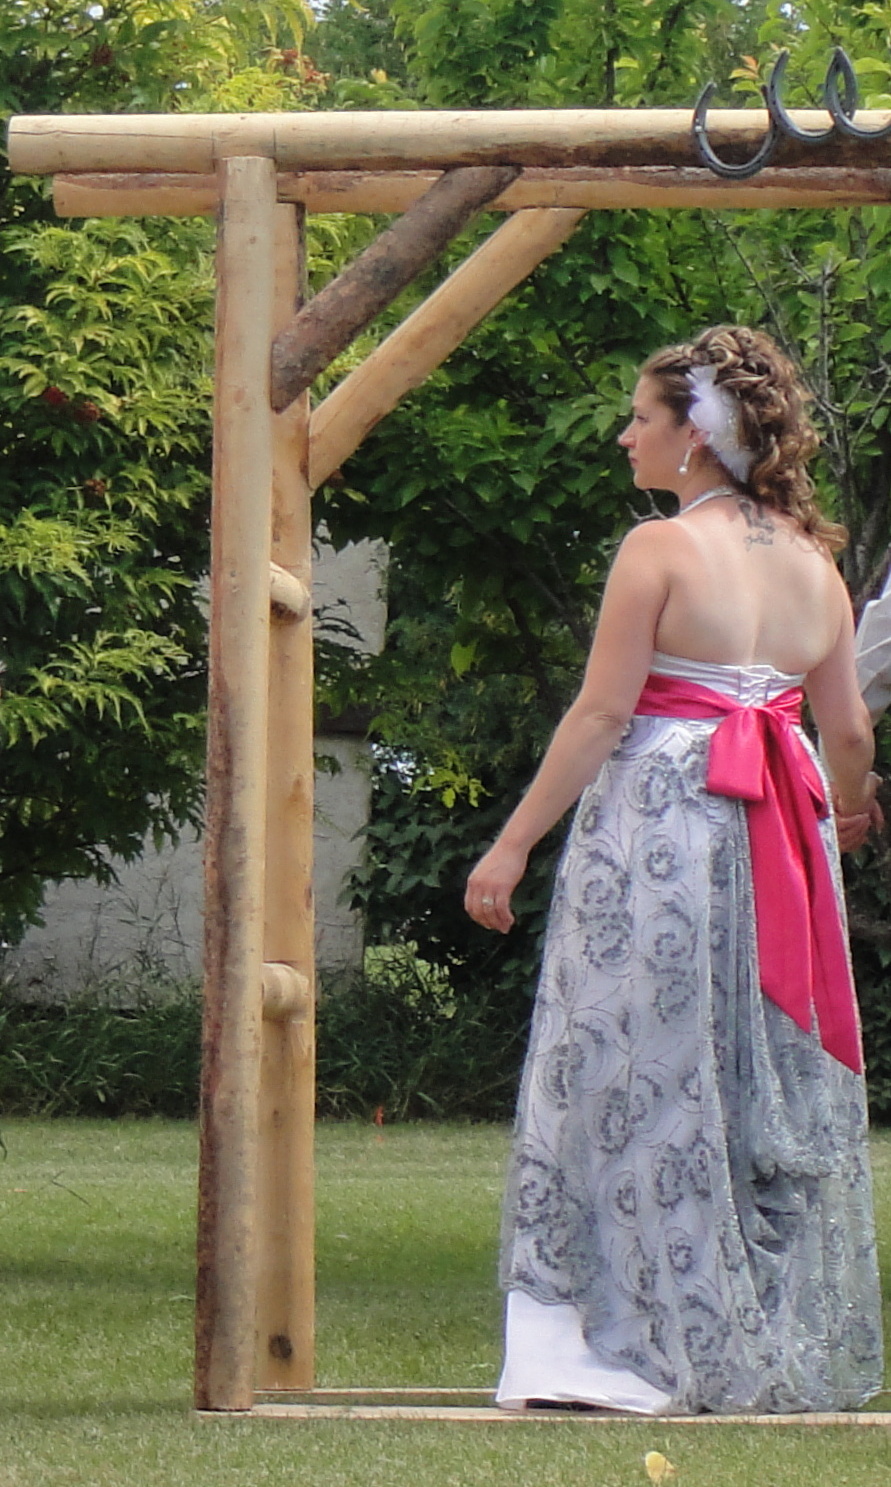
Back view

You can kinda see the draping at the back of the lace, where I refused to cut the damn stuff any more than I absolutely had to.

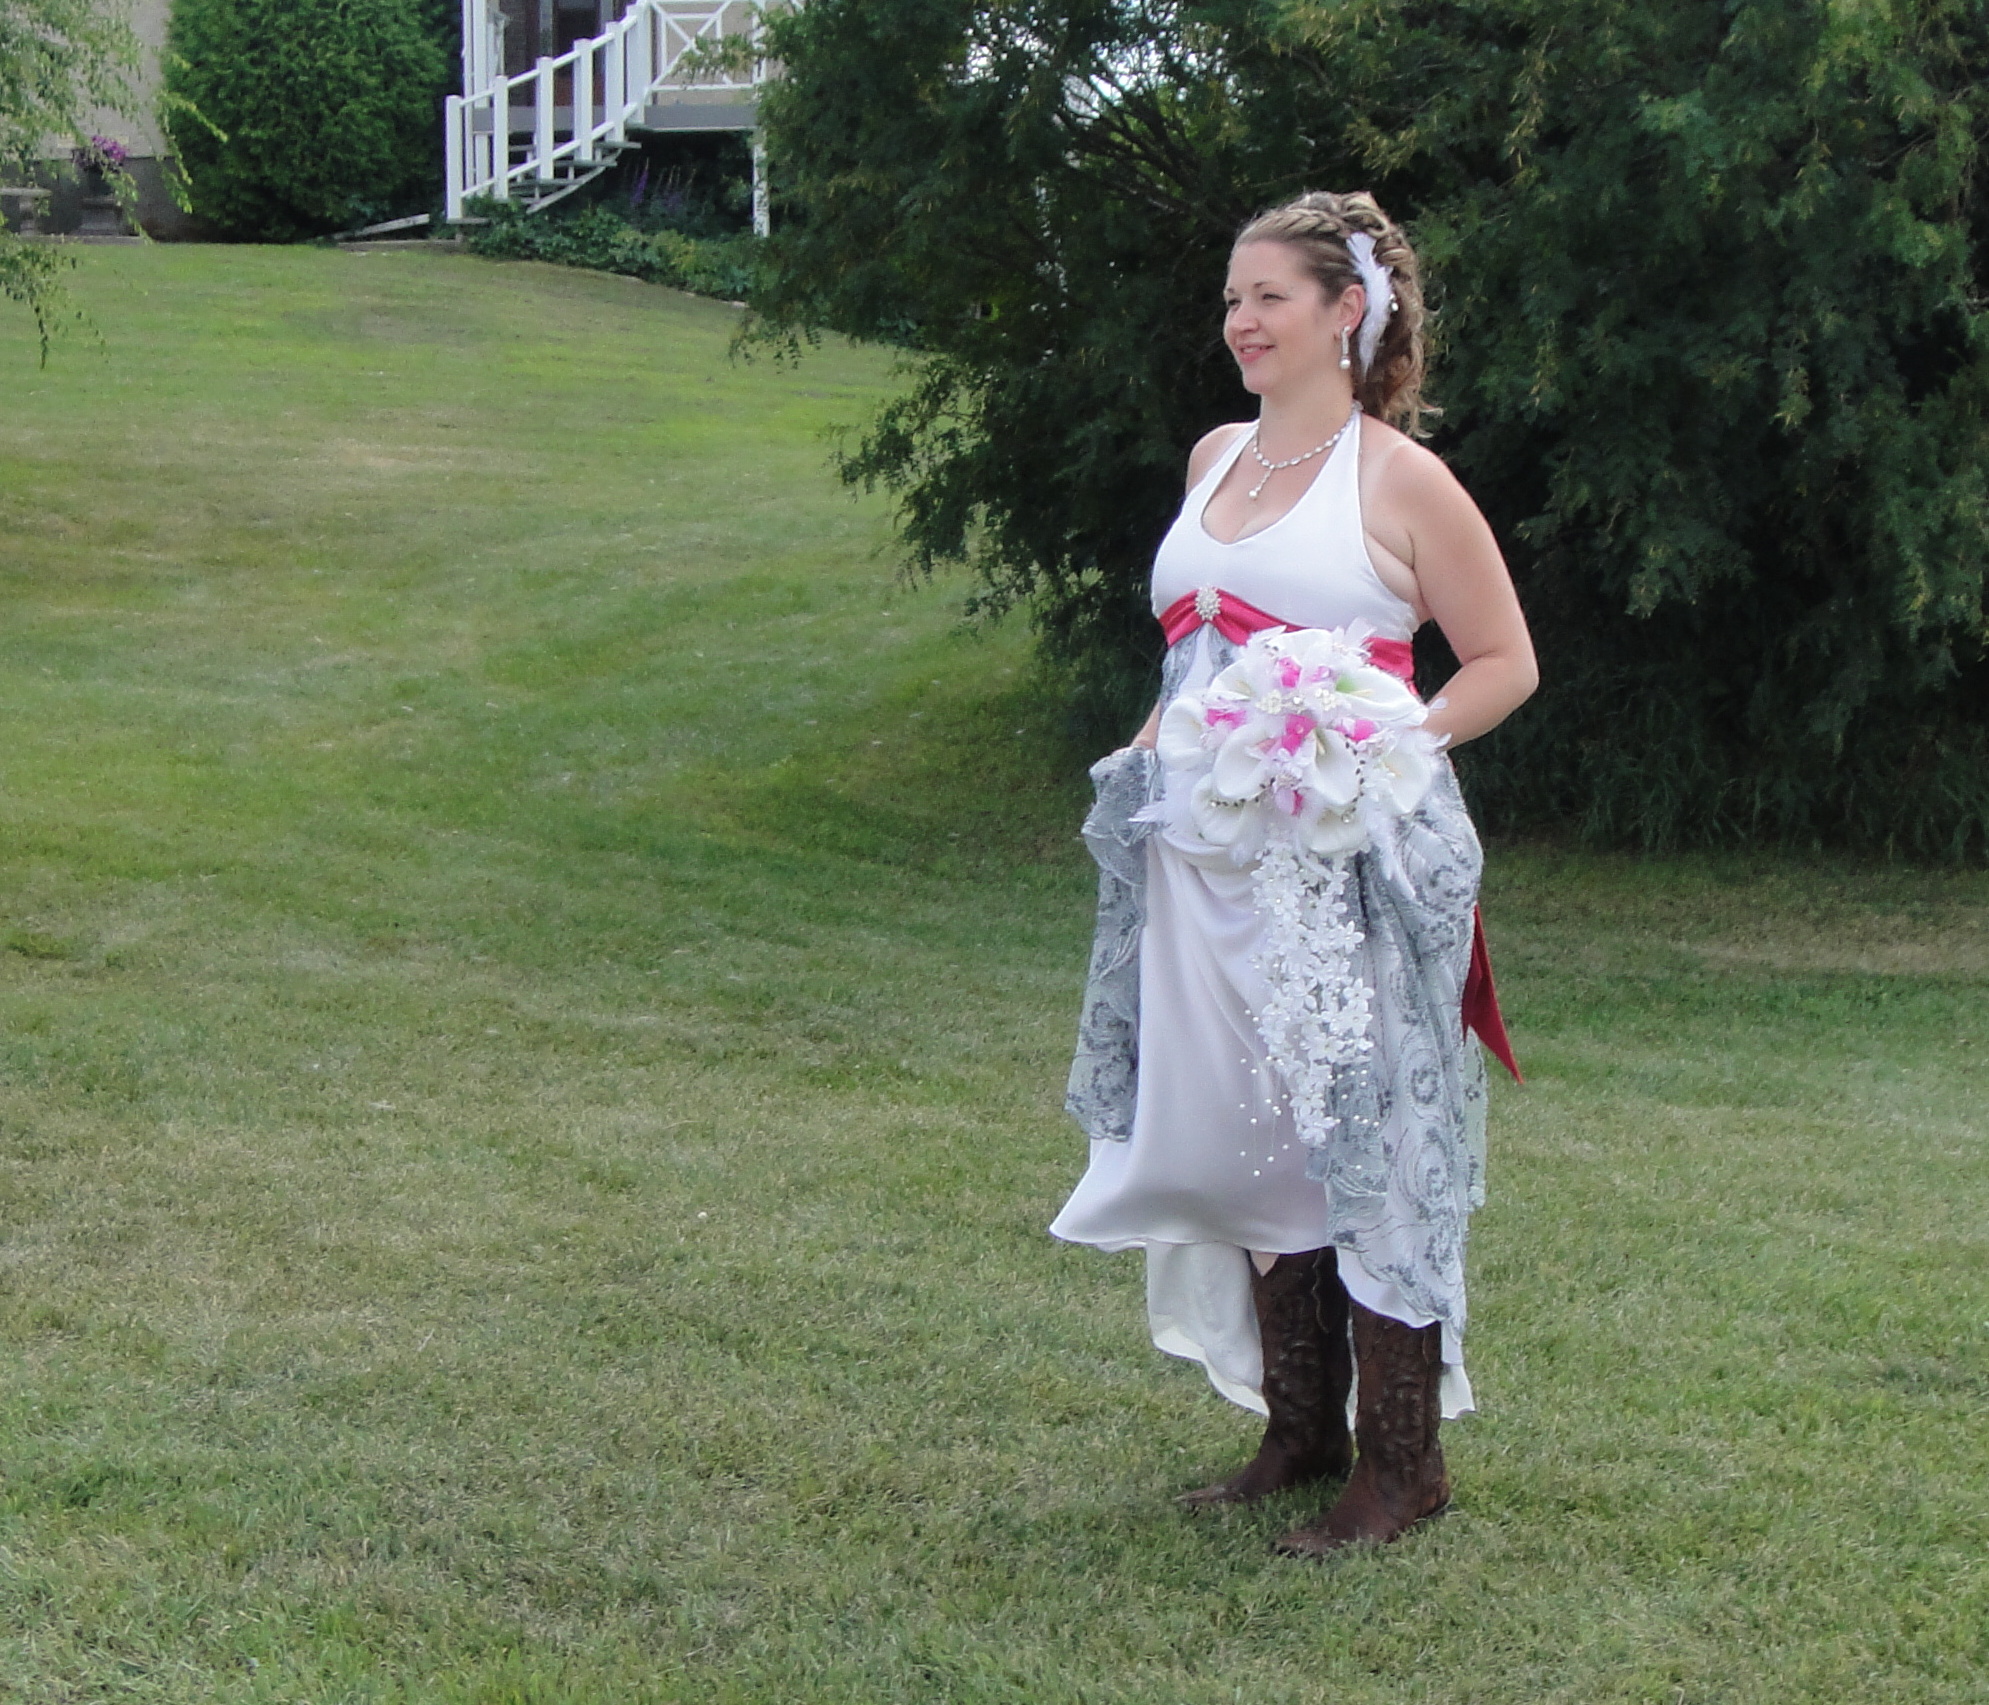
Front view.

This is probably the best view of the dress as a whole. You can’t see where I hand-pieced in the scalloped edge all along the front “slit” of the lace. Neither could Epona, even when I pointed it out to her. Also, I haven’t talked about the sash, which was ridiculously simple compared to the rest of the dress, but I really, really love how it brings the dress, and the whole wedding party together, frankly.

The wedding footwear.

Ok, I don’t know that you can see much here, but it’s a great picture anyway.

The whole shebang. Well, the part of it that I was responsible for, anyway.

I did NOT sew the flower-girl dresses, modeled by Fyon and the Waif, who you’ve met previously. Their mother, my Stylish sister-in-law, is the maid of honour (closest to the bride). I will talk more about the bridesmaid’s dresses later, because this is already an insanely epic post—they’re not nearly as involved as the wedding dress, mind you.

I’ve mostly stuck to photos of the bride here, but you can see more of the wedding photos (mostly taken by my Crafty sister-in-law—yeah, we were keeping it in the family) on my Flickr set. I can’t wait to see the official photos, though.

Resources used:
Bridal Couture (Susan Khalje)
Couture Sewing Techniques (Claire Schaeffer)
Fabric Savvy and More Fabric Savvy (Sandra Betzina)
Sewing for Special Occasions (Singer Sewing Reference Library)

35 Comments

Filed under Sewing

Interlude

20130729-225819.jpg

While I grapple with the enormity that is wedding sewing and try to put together something resembling a coherent post (hah!), let me entertain you, however fleetingly, with a top Syo made herself.

20130729-225832.jpg

It is drapy and cute and I just might want one. It comes from the “tying knots in fabric until it fits” school of fashion design, which I suspect is the oldest such school. We then replaced the knots with a few serged seams, because that was easier than threading the sewing machine.

20130729-225842.jpg

I think I could use a few of these projects myself…

8 Comments

Filed under Sewing

The Home Alone Dress

What's that?

What’s that?

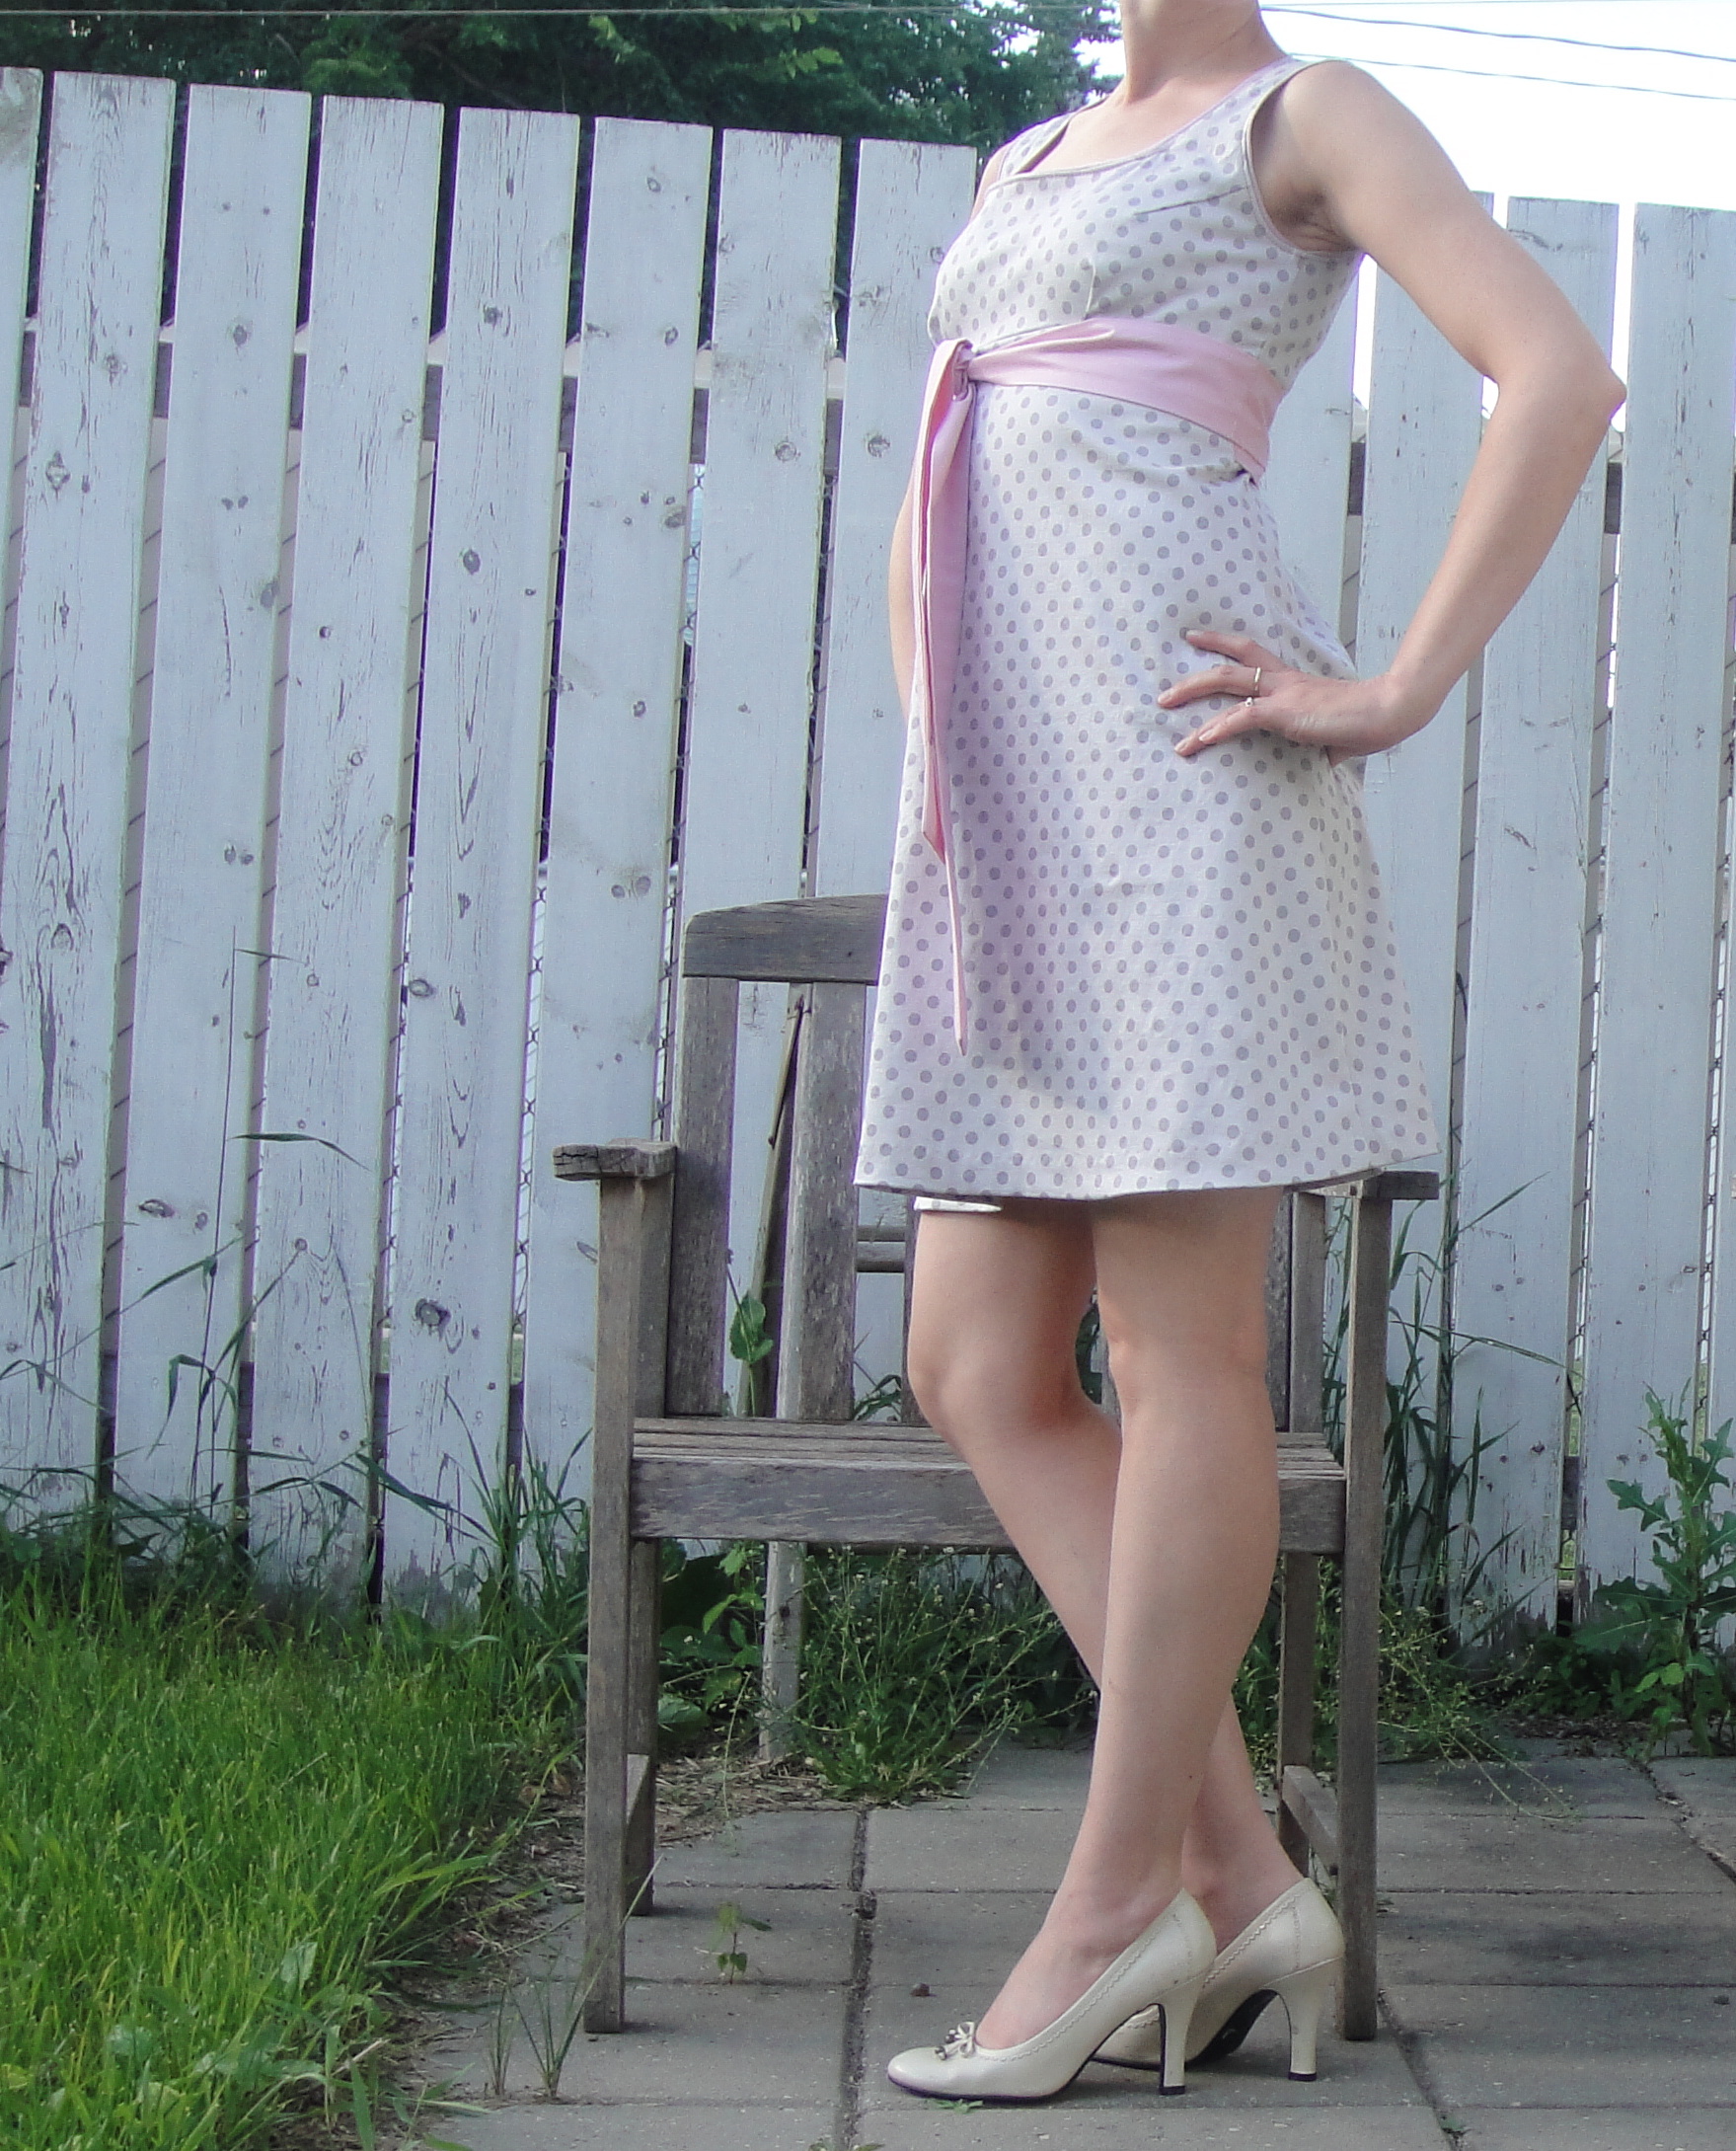
I have fifty million things I’m supposed to be doing (like, um, sewing a wedding dress!). So what did I do when my husband and kids left me behind while they went to the lake for the weekend?

Why, I made something that was barely on the queue!

Butterick 6890 is cute and has been marinating for a while, but there are plenty of patterns ahead of it in the queue. But when I found myself with a house to myself and the itch to sew something selfish, I did something a bit unusual—I started from the fabric.

20130714-011430.jpg

Butterick 6890

My typical MO is to move from pattern to fabric to project. This is mostly because I have my patterns catalogued electronically and it’s easy to paw through them and pick one, whereas I’ve been far more lax about my fabric. The problem with this approach, of course, is that it’s not an optimal way to use up stash fabric, and tends to result in me just buying more fabric for the new project. Anyway, this wasn’t an option on a precious solo Saturday night.

I had a lot of constraining criteria. I wanted a pattern that was pre-cut, one I could use with minimal alterations, and not have to trace. It had to be a pattern I could ACTUALLY find in the flesh. Once I pulled out this piece of glorious polkadot stretch denim, which I picked up just after Christmas and thoughtfully pre-washed at some point (thank you, past Tanit!,) I had only just over a metre of my chosen fabric, so it had to be a SMALL pattern.

Butterick

Butterick 6890

Butterick 6890 fit the bill in a lot of ways. It was short. It was pre-cut. It’s a Junior Teen size which means I didn’t have to petite the bodice. It was a size 11/12, which has a 32″ bust—a bit small for me, but I was pretty sure the stretch would more than make up for that. I did a small square-shoulders adjustment, and a somewhat bigger swayback adjustment, and got cutting. It became obvious almost immediately that while I can sew up a Junior Petite pattern almost without alterations to the bodice, the Junior Teen size-range is pushing it a bit more. I wound up sewing the shoulder-seams and underbust seam with 1/4″ seam allowances to get as much height as I possibly could. It worked, but barely. I am also, ah, rather bustier than the Junior Teen draft. While this is a nice problem to have for once, I had to add some hasty tucks under the bust (perhaps making proper darts would’ve been better, but I was in a hurry), and correspondingly narrow the front skirt. I also added some more shaping to the back seam, which helped a lot. Oh, and the stretch meant I could leave off the zipper, too!

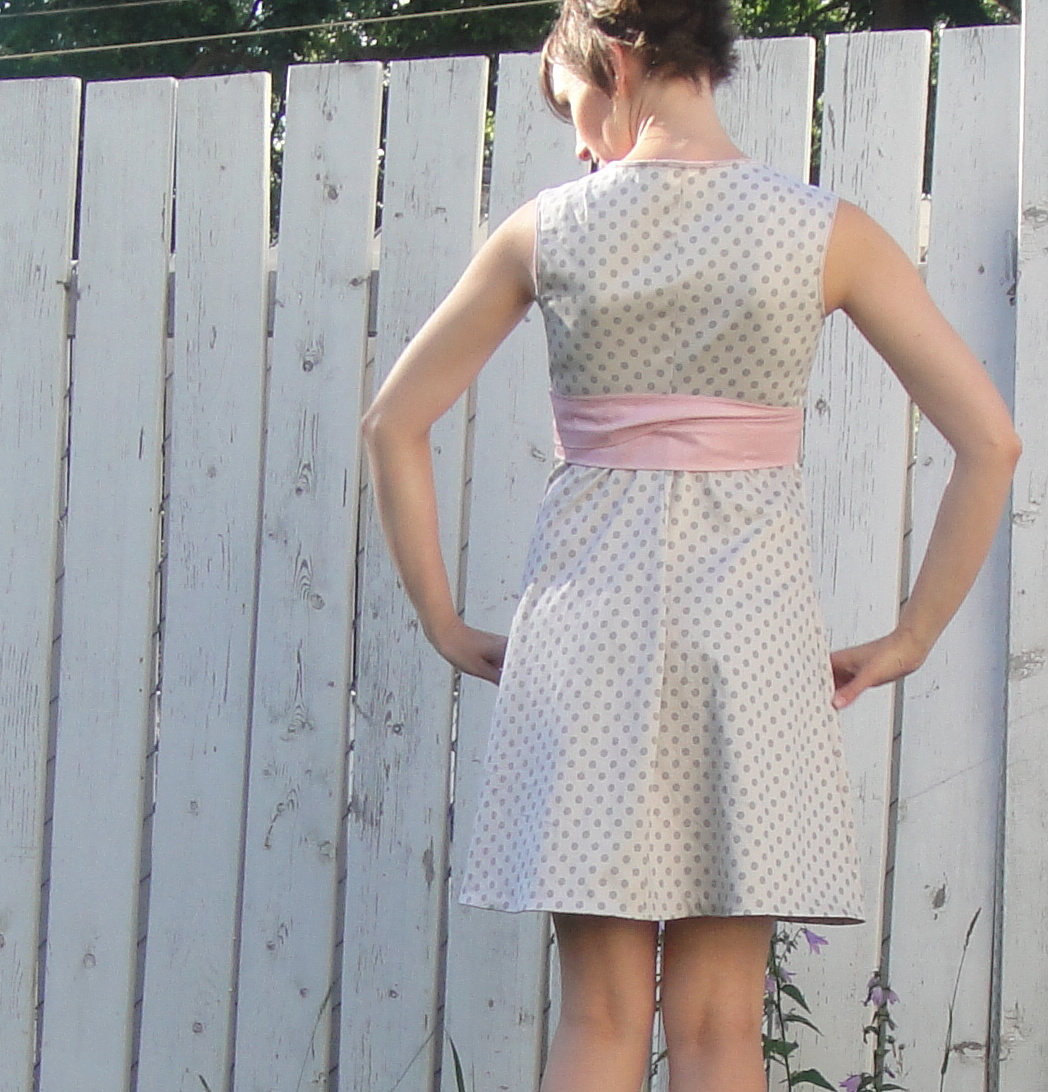
Back

Back

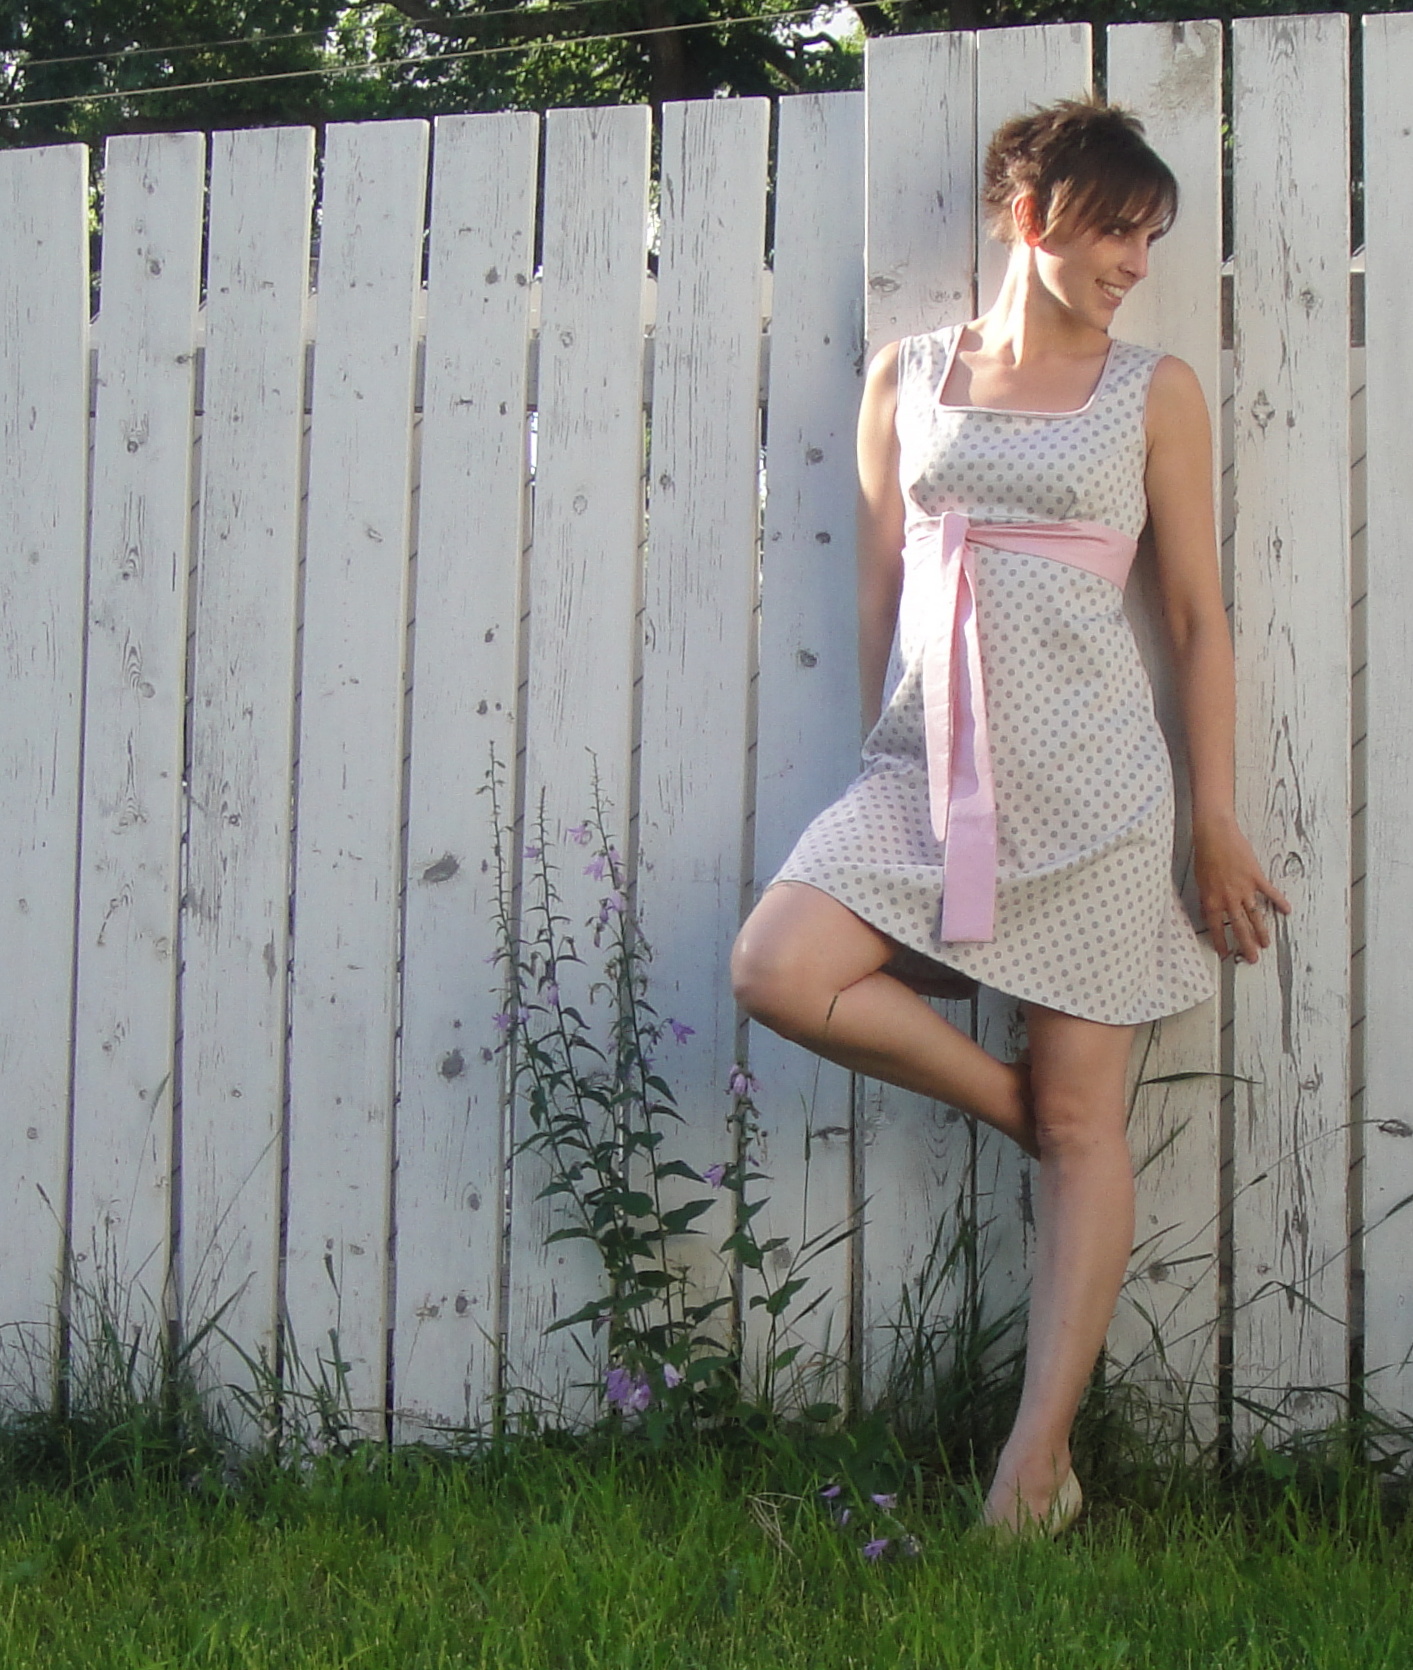
I still didn’t have enough fabric for the sleeves or facings, and the bodice back includes a good chunk of the selvedge. I considered alternative fabrics for the sleeves, but the only colour I liked enough with the grey, a pale pink, I had barely enough to make the sash ties out of. I really, really wanted to do a piped finish on the neckline and arms anyway. I was SO relieved when a scour of my notions stash turned up the bias tape left over from my Last Sundress of last year (which is totally my fave thing to wear when it’s super hot*, and also the perfect dress to wear to the outdoor pool. ) It was the perfect greyish-pink shade, and even not too different from my sash fabric!

20130715-070837.jpg

Piped finish

I made one major booboo early on—when trying on the bodice I didn’t stabilize the neckline first—oops! So it’s a bit stretched out and tends to gape if I don’t stand perfectly straight, especially after the disaster that was my first attempt at finishing the edge (which involved attempting to bind it with straight-grain fabric pieces from the scraps from the sash.)  But once I found the bias tape and did a REAL piped edge, it worked really well. To get a clean (if not couture) finish, I serged the raw edges of neckline + piping, pressed them to thei nside, and topstitched. Voila!

20130715-070855.jpg

Bias-faced hem, hand-stitched

A topstitched hem would probably have been appropriate for denim, but, well, I was in love with the way the pink bias tape worked with the grey. And I’m kinda in love with bias-faced hems… anyway. this is what my finished hem looks like, with a fun peep of pink on the inside.

Lounging

You can see the underbust tucks in this photo.

I don’t think I can describe how much happier and more relaxed I feel, having accomplished a wee bit of selfish sewing. And I’m so glad I got this finished, even if I did stay up rather past my bedtime to get it done.

Posing

Posing. You can see the neckline gape here.

*Super hot by Canadian standards. Which is low 30s C, so far this year. I know this falls short of truly brutal tropical heat. It’s scrumptious.

23 Comments

Filed under Sewing

In which I make underwear, and ramble

2013-06-007

A plethora of (underwear and swimwear) patterns

So it’s no secret that making my own underwear has been a bit of an elusive unicorn for me. The most recent attempt got worn only a couple of times before I chopped off that horrendous elastic and tossed it in a corner to think about what it had done… if when it resurfaces I’ll give it another shot at elastication, because that was really the main problem with that pair. Really, the biggest problem in all these attempts has been me, usually because I wasn’t trying terribly hard to get the elastic binding right.

Purple-flowered swim suit fabric

Purple-flowered swim suit fabric

Yesterday, on a whim and in need of a quick me-project as I languish in an unending doldrum of sewing-for-others, I pulled out every swim-suit and underwear pattern I own, this being a somewhat overlapping group. It felt really nice to dive through my physical patterns, and I even made a few, very paltry, efforts in the direction of organizing them again.  Although I don’t need a new swimsuit particularly, the Swimalong seems to have gotten into my brain at a subconscious level, since I’ve been doing things like buy swimsuit fabric (and elastic, and hooks) and petting my swimsuit patterns, well, since April, really.

I could, of course, always use some underwear…

McCall's

McCall’s 4471

So I settled, finally, on one I’ve been wanting to make up for quite a while now: McCall’s 4471. I’m not particularly into any of the tops, but view E, the low-rise bottom, looked very much like what I usually look for in underwear. (Or, at least, what I looked for before I became enamoured of boy-cut shorts, but we won’t get into that, yet.) So I pulled it out, exulted that the pattern was uncut and complete (I don’t usually actually check my thrift-store patterns for this until I’m  trying to make something, which is occasionally a source of heartbreak), and traced out the size 12.

Voila

Voila*

My next big advantage, over the last few pairs I’ve tried, is that I am sewing on my White. Seriously, if I can get the motor fixed so it doesn’t stall on startup, that $10 thrift-store machine would be hands-down my favourite machine at the moment. The adjustable presser-foot pressure is SO helpful with knits, especially think and slinky ones. Because, oh yeah, in my hunt through the exceedingly-disorganized fabric pile, which scrap of fabric did I select? Why, none other than the culprit of my last-summer wadders!

Indifferent finishing

Indifferent finishing

Considering what this fabric put me through last time I looked at it, I wasn’t going to attempt anything too fancy for the finishing. Since I didn’t have any matching lingerie elastic, I elected to go with clear elastic in the classic and ever-tacky fold-under-and-topstitch method. Cheesy, you say? Bite me. We’ll call it a (‘nother) muslin. A couple of test-runs suggested that the fabric and elastic slid smoothly together, needling almost no tension on the elastic to make a smooth, yet sturdy, edge.

Very high cut and skinny over the leg

Very high cut and skinny over the leg

So, the construction. This pattern has a single-seam crotch insert, a la storebought underwear but not as nice a finish as if you have a seam at both ends of the crotch lining. I’m not sure how they wanted you to finish the edges, but there’s no binding pieces so I presume they  expect you to do some variant of fold-over-and-topstitch. It’s possible I folded over a little more than was intended, but anyway—the main thing that surprised me was the height of the cut over the leg, and the narrowness of the front right over the leg. I’m more into a lower-cut, 70s style leg these days (or even a boy-short. Yes, the Rosy Ladyshorts are on the to-make list.)

The one thing that was perfect, however, was the rise. Front and back. And this is the first, of all the patterns I’ve tried, that had that right off the bat. So if nothing else, I’m feeling like I can use this pattern as a reference for how other patterns might fit.

In the meantime, I’ll have to give them a wear or three to see how they work out. The elastic that looks so nice and almost-smooth may actually be too loose and ride all over the place. But I’m kinda insanely excited to have red underwear to go with my red T-shirt bra…

*These are some really frickin’ terrible photos. Ugh. However, I wore the undies today, so no more photos will be taken until laundry is done, and possibly not even then, because, well, because.

ETA: they go smashingly with my red T-shirt bra, but may need some little knit ruffles to match properly. They look a little plain. Also, while I think a little more tension on the elastic in the derriere region would have not been a bad thing, they are no worse for sliding around than my storebought undies of a similar cut, and didn’t grow unduly during the day. I will just say, it feels really good to get something at least semi-wearable out of this evil knit. I don’t know that it’s the best for underwear—I suspect it will wear out quite quickly—but it was adequate for testing purposes, anyway. And I’m sufficiently chuffed that I felt comfortable comparing the pieces to this vintage independent pattern from the Stylish Haul and tracing out its largest size. 🙂

Kandel Knits # 73

Kandel Knits # 73

10 Comments

Filed under Sewing

Close Encounters of the 4th Kind

Big 4, that is.

I did something a little while back that, in hindsight, is new to me. I made a Big 4 stretch-knits-only pattern.

I made View E. Duh.

I made View E. Duh.

I mean, I have lots of them. I just haven’t really made any up before. (The odd kids’ pattern excepted) Not really intentionally, but just because Jalie and Kwik Sew or Burda or a few other indie patterns always seemed to have something a little more what I was going for.

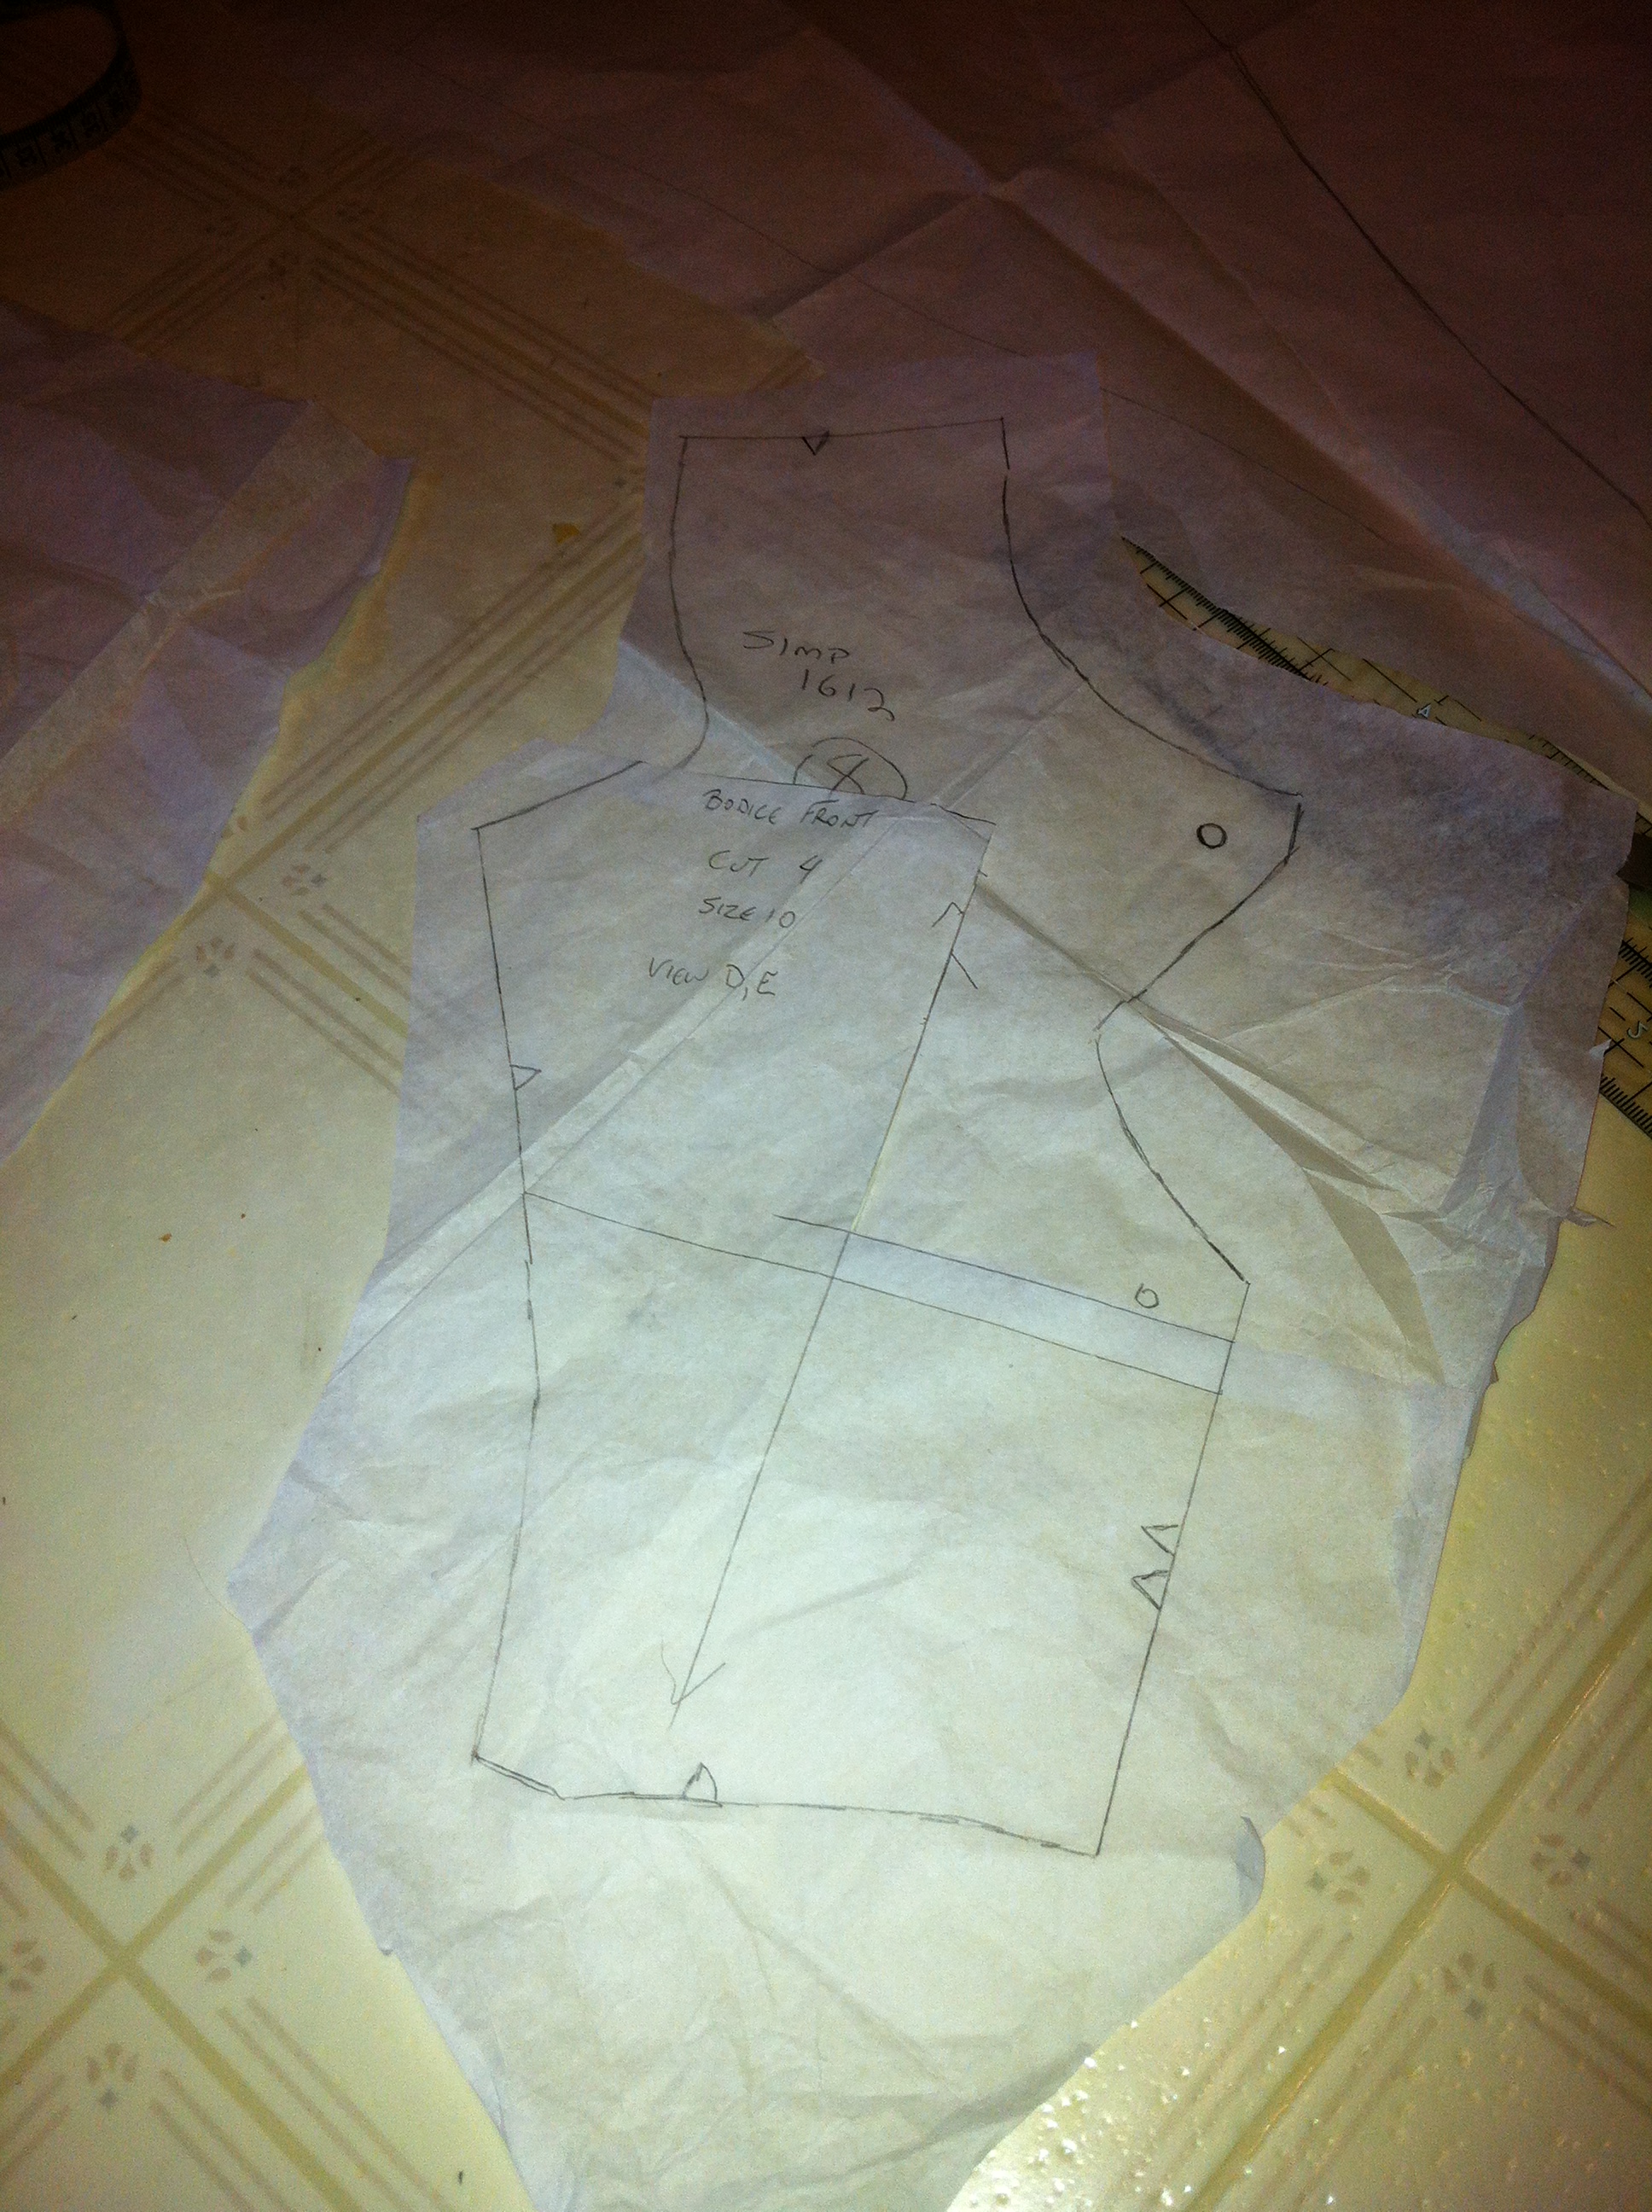
But then Simplicity 1612 threw itself in my way, and, well, how could I resist?

Simplicity 1612 and Border Print

Simplicity 1612 and Border Print

I mean it, how? Especially View E done up in this gorgeous knit—drapey without being too fiddly, with a crazy-perfect border print. How could it go wrong?

Above-bust adjustment. I made it stepwise so as not to raise the neckline.

Above-bust adjustment. I made it stepwise so as not to raise the neckline.

It started well. I decided to make a 10 (I often make a 12, but I was pretty sure smaller would be better for this pattern. I made my usual changes to the bodice—shortening both between bust and shoulder, and between underbust and waist. I took advantage of the rear seam to do a swayback adjustment, and mindful of Sunni’s advice, (and some previous personal disasters) I reduced the amount of gathering at the front just a smidge.

Interfacing

Interfacing

I was worried about the crisp, cut-out appearance of the bodice, so I used lots of knit interfacing. (The pattern only called for a little right at the front opening.) I’m not sure if I used not enough or too much, but I sure didn’t get it just right…

What's right

What’s right

Ok, so off to such a good start, right? And, well, let’s start with what’s right. (Apologies for the craptacular photos, by the way—I’ve been sitting on this hoping I’d get better ones taken but it hasn’t happened yet and I figured I should just get this posted before I forget everything.) Anyway. Fit—good! Bust was at a perfect level, sizing was right on, a little bit of tweaking of the back seam helped a bit there, and overall just WOW. Look at that fabric. Love it. Long, sleek, elegant shape.

Flippy shoulder

Flippy shoulder

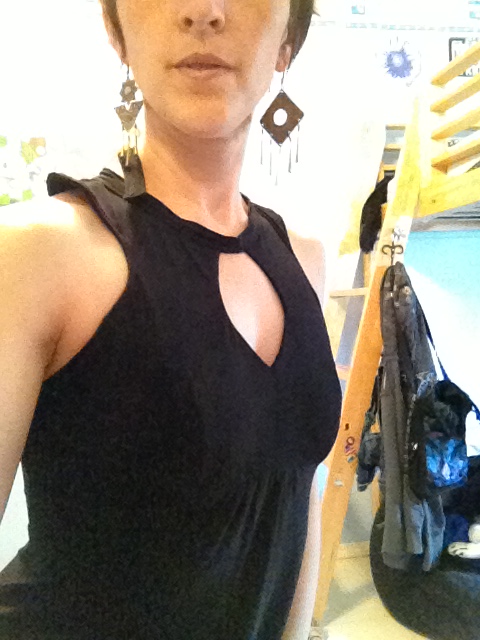
The devil, as always, is in the details. Worst is the neck-circling shoulder-thingy. I’m not sure if I should’ve interfaced this entire circle, or not interfaced it at all.  Or maybe done a bound edge all along the arm-area-opening. Anyway, one side flips up. The other doesn’t. The neck-band-tie isn’t stretched enough to lie flat (I matched markings and everything!) and was wavy and bubbly, so I topstitched, which wasn’t a good idea, either. I think it’s a bit wide, really, too. The bodice is lined and the princess-seams don’t tend to line up perfectly, which makes some weird ridges; I should go in and hand-stitch them together, except that hand-stitching knits just irks me. Irrational, I know, since I’m perfectly happy to hand-stitch the snot out of anything else. /sigh. I guess I’m just feeling like the whole construction and finishing of the dress is, hmm, not quite as “knit like” as I’m used to.

Back view

Back view

One last, maybe piddling, little point: scroll back up to look at the cover art. See how smooth and sleek the dress is in the back views? Ok, so I’m not perfect at back shaping, but here’s the thing. In order for a dress to hug the back like that, the front needs to be snug. At least with the way my back curves… maybe you non-swaybacked people out there have different experiences. Well, the only way to make that happen in this dress would be to totally get rid of the gathered looseness in the front. And, well, I like a little bit of looseness over my belly these days, thanks. Plus, y’know, it’s part of the design.

2013-04-29 11.29.40

Rolled hem!

On the bright side, after fighting with my serger tension issues for almost two hours, I finally managed to get it to produce a nice, stretchy, rolled hem! (I wrapped some button thread permanently between the tension discs for the needle thread. It holds them open enough that they have a normal tension, now.) I used white thread and Oona’s trick and coloured in the black areas with permanent marker, although real fabric marker would’ve been better.

Purty?

Purty?

I keep hoping that some time in the magic closet helps me forgive this dress’s flaws, because really, it’s black, who’ll actually notice them? People notice the crazy print and that’s pretty much where it stops. But so far, I notice them (especially that flippy-up shoulder!), and it’s been a couple of weeks already. Maybe I should just re-do that neck band? maybe with some FOE instead?

At least I got one Me-Made May wear out of it...

At least I got one Me-Made May wear out of it…

Grum.

22 Comments

Filed under Sewing

An Un-Blogged Shrug

20130524-084433.jpg

Vintage Shrug, Teal

I’m pretty happy this year with keeping my Me-Made May posts off-blog—the outfit shots seem to make sense on Instagram, Twitter, and Flickr—but since I never actually blogged this little shrug, I thought I’d throw it in here. After I made my Tiramisu last winter, I had just enough of my green wool jersey (exclusive of moth holes) to squeak out another version of my vintage shrug pattern, something I’ve been meaning to do for AGES. However, I finished this one (they are very quick to make) and promptly stuffed up royally on the buttonhole. I seem to recall putting something in the instructions about making the buttonhole before you attach the neck band, but why would I read my own instructions? /headdesk. Because getting a buttonhole centred on that little band (in a knit!) after it’s attached is nearly impossible, doofus. Inserting a wee bit of interfacing inside the end of the band would probably be a good idea, too, come to think of it. Hindsight 20/20, etc. Anyway, due to this stuff-up, it languished for most of the winter until I finally bestirred myself to sew a hook and eye on (I was dreaming of a pretty black knotted frog clasp, but was far too lazy to make that happen. Yet, anyway.

Even wearable, it’s not as versatile as my cream and black versions are, because I’m still a bit hesitant in my colour pairings. I tend to only want to wear it with something black. Frankly, I tend to only wear it with this dress. But I do really like it with this dress.

Original, First clone (size medium), and second clone (size small)

I have noticed something about the shrugs—I really like them to fit SNUGLY. I never wore my first clone (or the original, for that matter) much because they were a bit loose around the body. When I graded the pattern, I made my cream version out of the size small and liked it MUCH better. Last fall some time I got up the courage to do surgery on the first (black knit) clone. I didn’t change the sleeve length, but I did take in the entire under-arm seam on both sides, just a little bit at the arm (which is quite close-fitting)  to a couple of inches off the side. This adds a seam to the hem band at the side, but made the whole thing fit just how I like it—like the picture on the right. Being able to do this alteration right at the end is handy given the way knits sometimes stretch unpredictably, too.

Of course, if what you like about the shrug is the loose, batwing look, please go for it! 🙂 And if you have a version, I’d love to hear about it, too. 🙂

7 Comments

Filed under Sewing

Shirt-tales

A long-awaited shirt

A long-awaited shirt (Also, GRASS! NO SNOW!!!!)

A long time ago, I made Tyo a shirt. And she loved it very much, but since I had made it in a pattern a couple of sizes too small, it was outgrown pretty much instantly. A replacement was mandated, but despite my best intentions, I allowed myself to be distracted with frilly dresses and fleece pants and other frivolities for, well, nearly two years at this point. I think it was Gertie’s pattern that put Tyo over the edge, though. Anyway, she marched down to the savage pit of despair that is my basement “sewing area,” dug through the chaotic array of teetering, half-unpacked boxes*, and emerged, victorious, with this fabric, which she had picked out, long ago, for a replacement shirt.

20130512-123527.jpg

Burda 04/13, pattern #120

The next question was, of course, the pattern. What she REALLY wanted was an enlarged version of the original pattern. It being a Lekala, this is theoretically not that hard, but I wasn’t quite prepared mentally to figure it out. She’s also been wanting a tie-front shirt, too, which seemed like a more seasonal option, anyway. So I decided I’d use this tie-front pattern from the April Burda, which I picked up a few weeks back, thinking particularly of this pattern for Tyo. Of course, while Tyo (who is nearly thirteen) is now overlapping into the lower end of women’s sizes (when did THAT happen?), this particular pattern only goes down to a 36, and really she needs a 34. And even then, about five cm less of body length. Fortunately, in the foggy recesses of my brain I remembered something about the Selfish Seamstress’s long-ago tutorial on grading down nested sizes. Actually, this wasn’t nearly as difficult as I had thought it would be. I suspect taking the time to highlight my closest line on the pattern sheet helped. Then I added seam allowances, which was basically adding back the width I had just removed, by the way. OK, I know there’s more to it, but just sayin’. For my final trick (such a good mother I am), I removed the five cm in extra length, half from the armscye area and half from the torso above the waist. I even walked my seamlines afterwards to check that they were good. I NEVER do that.

Then, I spent a slightly ridiculous amount of time pinning the major match-points on this wiggly, gauzy plaid. Seriously, I think cutting separate layers would have taken less time. It would’ve been worth it, though… except that I then proceeded to cut out both front and back with absolutely no regard for matching the sideseams. So all was basically for naught. DURRRRRR. This is why we don’t sew (cut out) late at night. *headdesk*

Sleeve

Sleeve

I opted to at least try to match the sleeve in the front armscye.  /sigh.

Closeup, with funny look. Funny looks are mandatory, it appears, these days.

Closeup, with funny look. Funny looks are mandatory, it appears, these days.

I actually think this is a ridiculously cute little shirt. I love the simple collar (even if I couldn’t make heads or tails of Burda’s instructions for sewing it, and consequently winged it and made a bit of a hash.) I love the one button above the tie, and the gathered elastic on the sleeves (even though Tyo has warned me she will probably just roll them up.) The fit is pretty decent. The shoulders are a wee bit wide (and I did measure her shoulder width!) but perhaps that’s how it’s meant to be. I can’t quite tell if the waist length ended up right since the tie kinda scrunches everything up, but I guess that means it doesn’t matter, anyway. Despite being spongy and shifty, this is a really lovely fabric to work with. Also, yes, I was too impatient to wait until I had a real button on, so she has it pinned with her Mockingjay pin.

She's a cool kid.

She’s a cool kid.

The one thing that could’ve been a bit disastrous was the long, diagonal front edge of the ties, which is a hot ripply mess just waiting to happen. Fortunately for me, this fabric was fairly amenable to being steamed back into shape, and fortunately for anyone else who tries this pattern, once they’re tied I think it doesn’t matter too much. I mentioned I made a hash of the collar (well, mostly the finish on the inside.) I also managed to snip through the outer fabric when finishing this seam, so there’s an interesting little “detail patch” in one shoulder that I forgot to photograph for you. It’s totally cute and intentional-looking. Right? Right. We’ll go with that. In an attempt to neaten up my nasty collar-innards, I stitched a white flat-fold bias tape along the shoulder/back neck seam, which worked out reasonably well, and makes for some nice stabilization in that area for this spongy fabric. My seam-finishes are nothing to write home about, serged with a bit of topstitching… except that they are, because I haven’t been able to serge anything this lightweight in aeons without wanting to tear my hair out. I came up with a stop-gap solution for my serger’s overly aggressive needle thread tension—I wrapped some sturdy buttonhole thread in between the tension discs and cut it off short. The extra thread holds the discs open just enough that they have something resembling a normal tension for the actual serger thread. Hooray! Yes, I know this is not an Approved Solution (TM), and it will probably explode without warning into a Tangle of Overlock DOOOOOOM without warning. But it’s working and I really don’t have the money to get my serger serviced AGAIN (especially since the last servicing totally failed to correct this problem and may actually have exacerbated it.)

One final face

One final face

And I think that’s all I have to say, except that this is actually only the second Burda magazine pattern I’ve sewn, ever. And I’d be totally tempted to make myself one, except that there’s no way it would look as good on me as it does on her. I would like to figure out that collar, though.

Oh, and she wants another—in red. That’s my girl. 🙂

*I have a high tolerance for functioning around mess. This is particularly unfortunate for my neat-freak husband.

34 Comments

Filed under Sewing

Fleece Pants Season Finale: Fleece Pants For ME!

Unglam MMMAY13 pic

It’s really not that often that I completely fail to blog something I make. I’m pretty compulsive that way. Or at least, until this past winter when it seemed like everything from getting photos to getting computer time (never mind the sewing time to begin with) was like slogging through quicksand. There’s a number of things that have slipped through the cracks, the last few months. So sad.

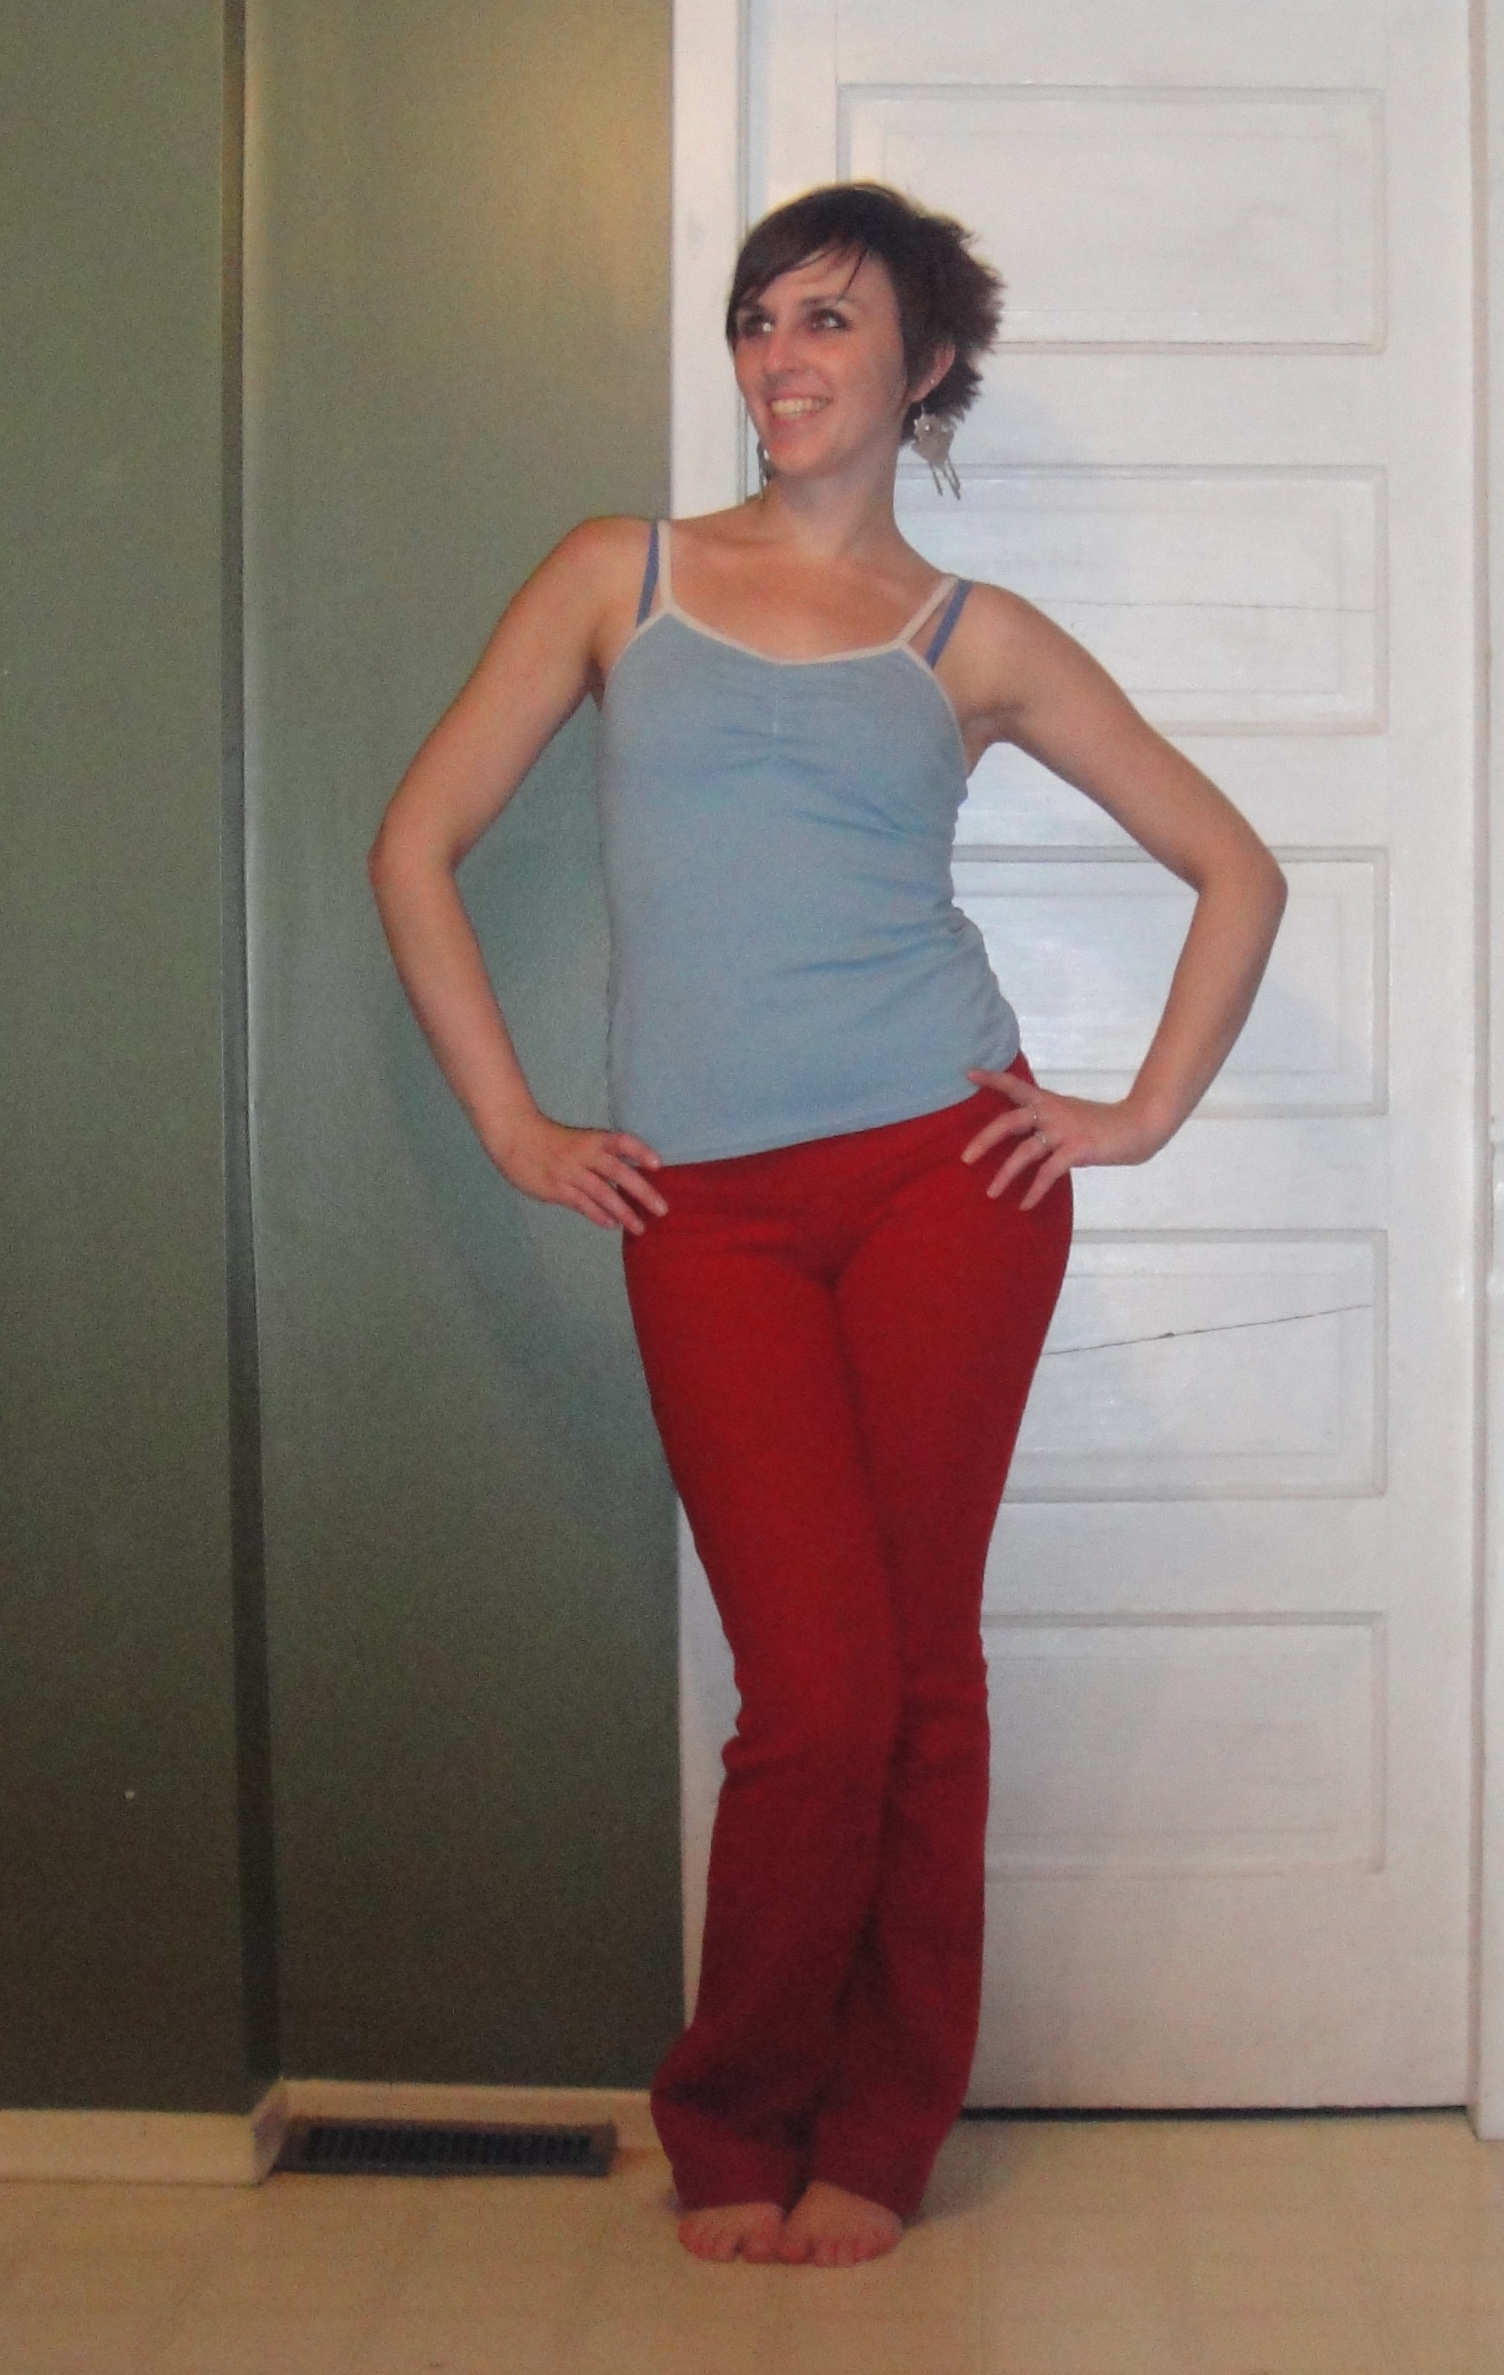
Despite the lack of blogishness, these pants have already been documented via instagram  and flickr, because they have to be the single most-worn thing I’ve ever made myself. Even if it’s mostly for that hour or two between crawling out of bed and actually getting ready for the day, few days have gone by since their completion (sometime in February?) without me wearing them for at least a little while.

Booyeah

Booyeah

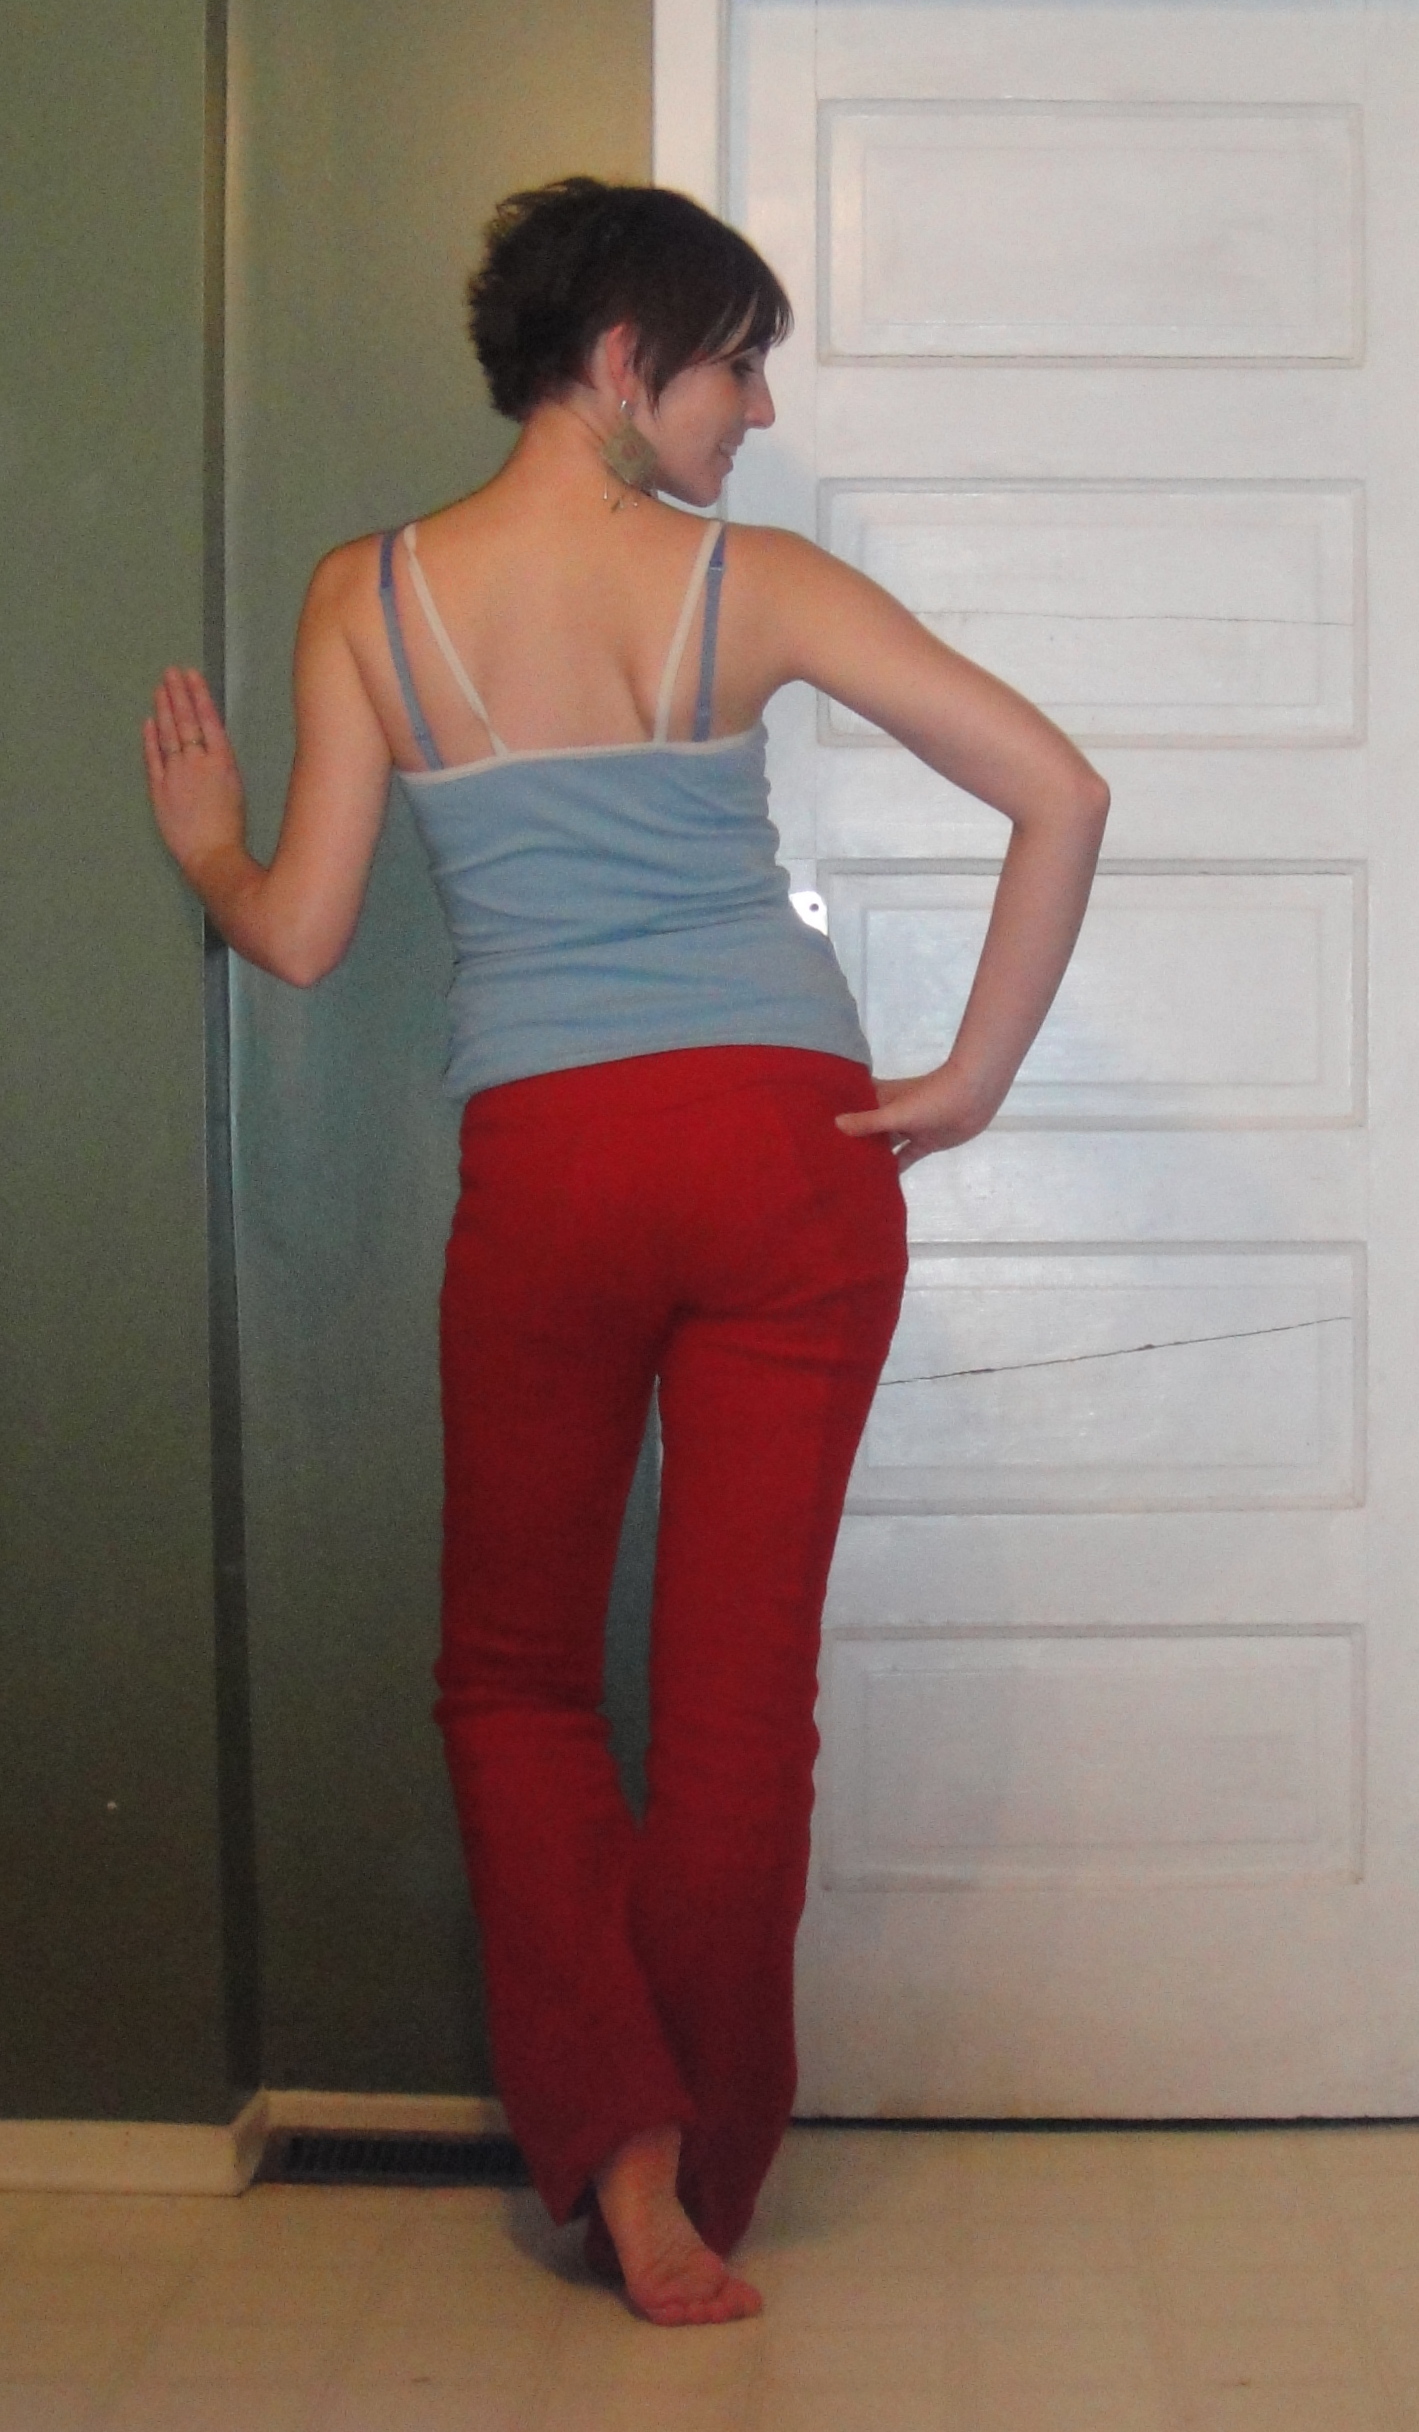
I don’t really have much to say about the construction at this remove. Fleece is easy to work with. I used Jalie 3022, in about a size U (my usual being either R or S), and with a ton of extra leg length, to allow for the limited stretch of polar fleece. If I were to do it again, I’d give myself a wee bit more height in the rear (something I’ll figure out about Jalie patterns someday), and use a heavier elastic in the top—I used a 1cm elastic as per the instructions, and while I love how unobtrusive it is, it’s not quite beefy enough to keep everything quite where it ought to be in fleece. In the normal-fabric pair I made last winter, it was fine.

Back view

Back view

I don’t think I can quite explain to people who come from warmer climes how happy having these pants to reach for in the morning has made me. I’m not quite sure why they aren’t mandatory Canadian attire, right alongside the hockey jerseys and Mountie hats.* It could be argued that they are perhaps a wee bit warm for standard indoor wear, since we have those first-world conveniences like central heating. I will not be making this argument, especially not when I’m trying to convince myself that it’s a good idea to get out of bed in the pitch-dark of an icy winter morning. At those times, cold is a state of mind.

Ooo yeah

Ooo yeah

I also really, really love that they’re red. Especially with my blue tank top. I just need a red sweater.

Also, Red.

Oh, yeah, I have one. I’m starting to realize I have a LOT of red. That’s a good thing of course, it’s my favourite colour, but when did it become so dominant in my wardrobe?

In any case, even though winter has finally broken (daytime highs in the twenties C, can I have a Hallelujah?), I am still reaching for these in the morning, and I probably will continue to as we turn off the heat for the summer (although Saskabush doesn’t get as reliably cold at night as Cowtown did). And I’ll continue singing the praises of my fleece pants, because they make me So. Frickin’. Happy.

*I do not, and never have, worn a Mountie hat. Or a hockey jersey, actually.

26 Comments

Filed under Sewing

Wrestling with the Picnic Dress

The Picnic Dress

The Picnic Dress

My Summer Picnic dress (aka Butterick 5882), is finished. It was a bit of a rushed make, as I had a deadline, and, well, I kind of had a bad case of the perfectionism that didn’t really work out. I mean, it never does, but usually I manage to keep it in the bag when it comes to sewing, or to let it out in only small, manageable ways.

Which is not to say that this dress is not a success. I think it is, or will be, once I’ve had a few weeks to put some distance between myself and all the seam ripping. So, this dress was kinda a bad idea in a lot of ways—limited time frame, unfamiliar pattern (I haven’t made a lot of Buttericks) and having a really crisp, clear vision in my head of what I wanted it to turn into. Which is always a perilous thing. On the upside, the fabric is a lovely, well-behaved cotton woven plaid, and the lining is a cotton-poly broadcloth. Easiest things to work with in the world.

So close

So close

I covered the first few stages of the dressmaking already, which went relatively smoothly. The first hitch came, predictably, when I tried to attach cups to bodice.

I’m not sure what was off—my cutting, my seam allowances, my marking of the CF line? But no amount of fiddling could get my cups to line up with the bodice pieces’ notches and still fit properly at the upper/outside edge; if I forced the edge to fit, they were overlapped WAY far. I went ahead and stitched anyway, hoping against hope that somehow it would all work out, but end up with a weirdly-folded, mashed mess that didn’t fit my bust AT ALL. I couldn’t bear to take a photo of the mess my pretty little cups became.

Rippit, rippit.

After I recovered from that (which took a day or two,) I decided that damn the seamlines, I had to make this thing fit me, after all. Thence followed a lot of fiddling and futzing in front of the bathroom mirror. Tape was invoked. Pins were applied liberally. Apparently my bust is much wider than the pattern was drafted for? Or… something.

Fitting, fitting, fitting. With tape.

Fitting, fitting, fitting. With tape.

You can see how much wider the cups on my bust are than the curve of the bodice. Oh, yeah, I also took 1/4″ out at each sideseam at this stage, for a total of 1″ around the whole bodice. And there was still some to take in at the back, although I’m not sure how much because I used it to make the lapped zipper extra-lappy. Maybe I should’ve made the 10? I’ve had 10s end up too small, though, so that scares me. /sigh.

Keeping track of boning

Keeping track of boning

Incidentally, the tape is very handy for keeping track of the bones. I stuck them to the wall in the order that they needed to go into the dress. Although this brown paper tape was a bit too sticky, and did some damage to the casings when I peeled it off. Oopsie.

My shape for the bust.

My shape for the bust.

I widened the opening for the bust cups quite a bit.

Hand stitching the cups in place.

Hand stitching the cups in place.

And then, I fell back on that good old standby when things don’t fit… lots and lots of hand stitching. The cups are stitched in entirely by hand.

The extra part of the cup.

The extra part of the cup.

This is the part of the cup that got “cut off” when I moved everything around to fit me. I decided to leave it, sandwiched between the two layers, as it’s padded and seemed to be smoothing and supportive. Also, the pattern doesn’t call for the bones to run all the way up the bust, but I wanted them that way, so I attached these two bones to the shell, while the rest are attached to the lining.

And voila!

And voila!

And somehow, it actually fit!

Faced skirt hem and lining hem.

Faced skirt hem and lining hem.

I wish I could say that it was smooth sailing thereafter, but there were still a few issues. I wanted a lapped zipper in the back. I’m not good at them, but sometimes you just have to go “What would Gertie do?” And I do like the look better than a centred application. Anyway, because I was also taking it in, I think, this didn’t play well with the back skirt seam (which I had already sewn at this point, yes, and serged. More ripping. Argh. I was able to squeeze enough bias tape for a not-terribly-wide hem facing. I interfaced my bias tape (prior to bias-tape-cutting) in the hopes of getting a slightly stiffer hem, but I think with the weight of this fabric it mostly just weighted the hem down more. Which is not awful—I do like a swishy hem—but not quite what I was hoping for. I should, perhaps, have sucked it up and done horsehair braid. One triumph was the edging on the skirt lining—I was able to coax a successful rolled hem from my geriatric serger! Those of you with fancy newfangled sergers that do rolled hems at the touch of a button have no idea, I’m sure. Mine requires a screwdriver, a different needleplate, and disengaging the blade to work properly. In celebration, I zig-zagged this teeny little lace trim along the edge, which has been kicking around forever. I think it’s cute, although the fact that it has a lot of snags already is tweaking that perfectionism I mentioned.

Full view

Full view

OK, enough whining. Deep breath. Step back. Enjoy. Please ignore the footless tights.

Back view

Back view

You’ll have to forgive my altered photos. It’s the “Cinemascope” effect in Google Picasa, and I love the sun-baked look it gives. This dress deserves to be sun-drenched. Yes, those are still snowbanks in my back yard.

It'll do.

It’ll do.

And on that note, I’m going to breathe deep, let it all go, and enjoy my dress. And hope for some real sun-drenched days in the future.

59 Comments

Filed under Sewing