Dresses
OK, so I’m kinda tempted to answer that in one word. “Don’t.” Which is not actually how I’m feeling, but close enough that it seems pretty hilarious. I might not be entirely sane at the moment, though, so probably best to disregard that.
So, right now, there’s so much to say I don’t even know where to begin.

Butterick 3441
The pattern, as you know, was Butterick 3441, a pattern lurking in that vapid no man’s land between contemporary and vintage, complete with really awkward pattern photo. It had most of the features the bride wanted, however, barring a few minor tweaks—more so than anything else we looked at. We settled on the pattern back in the winter, made up a practice dress in the spring, and then dawdled over ordering the fabric until pretty much the last possible second. Such is life. Did I mention the bride (Epona) got pregnant a few months after we’d picked the pattern? Which kind of killed my inclination to finish early, anyway.

Yaaaaah! Scary!
So, the pattern itself is pretty basic. Epona was not into a fussy, restrictive dress. She did want a lace overlay over the skirt, and lacing in the back. The lacing seemed like a REALLY good idea after the pregnancy happened. And I was both excited and terrified when I managed to talk her into using REAL silk and PRECIOUS lace. Yikes.
So, I don’t know how much to go into fitting details. Epona is not tall and she is rather curvy. I was pretty sure a small full-bust adjustment would be in order, and absolutely certain that some serious shortening was required. I was correct on both counts, although I still wonder if a larger FBA might’ve been helpful. I still can’t quite figure out where the underbust seam of this pattern is supposed to fall—it seems like it isn’t meant to come all the way in under the bust. At least, it didn’t on Epona, and it didn’t on Stylish either (since Stylish’s Maid of Honour dress was made from the same pattern, albeit in a different size.) Weird. Anyway, I kind of wish I had split Epona’s larger post-FBA dart into two smaller darts, but, well, that idea scared me even more than shaping one big dart, although maybe it shouldn’t’ve.

Wedding Dress Trial #1. With train. Pretty little train.
I wanted to cut the skirt on the bias, too, which led to some more playing around with the pattern, and trying to figure out how to make it accommodate a six-months-pregnant belly gracefully. After we had determined that she could wriggle into and out of the practice dress without the zipper, I decided to omit it from the final dress, since I learned from Thread Cult that zippers in bias-cut garments are generally asking for trouble. Though in this particular style, I think it wouldn’t’ve been a big issue since the zipper would be hidden behind lacing and lace draping. Anyway, I left it out.
The fashion fabric was a delicate (very expensive) silk charmeuse ordered locally; I ordered silk habotai and organza from Dharma Trading for the lining and interfacing. I hadn’t originally been planning to interface the bodice—the pattern called for it, but I certainly didn’t see the need on the practice dress. When it arrived, the silk charmeuse was both thinner and softer than its polyester cousin—and when the lace arrived, heavy with all that beading, I knew interfacing was going to be a thing.
In an attempt to organize my thoughts coherently, have a heading:
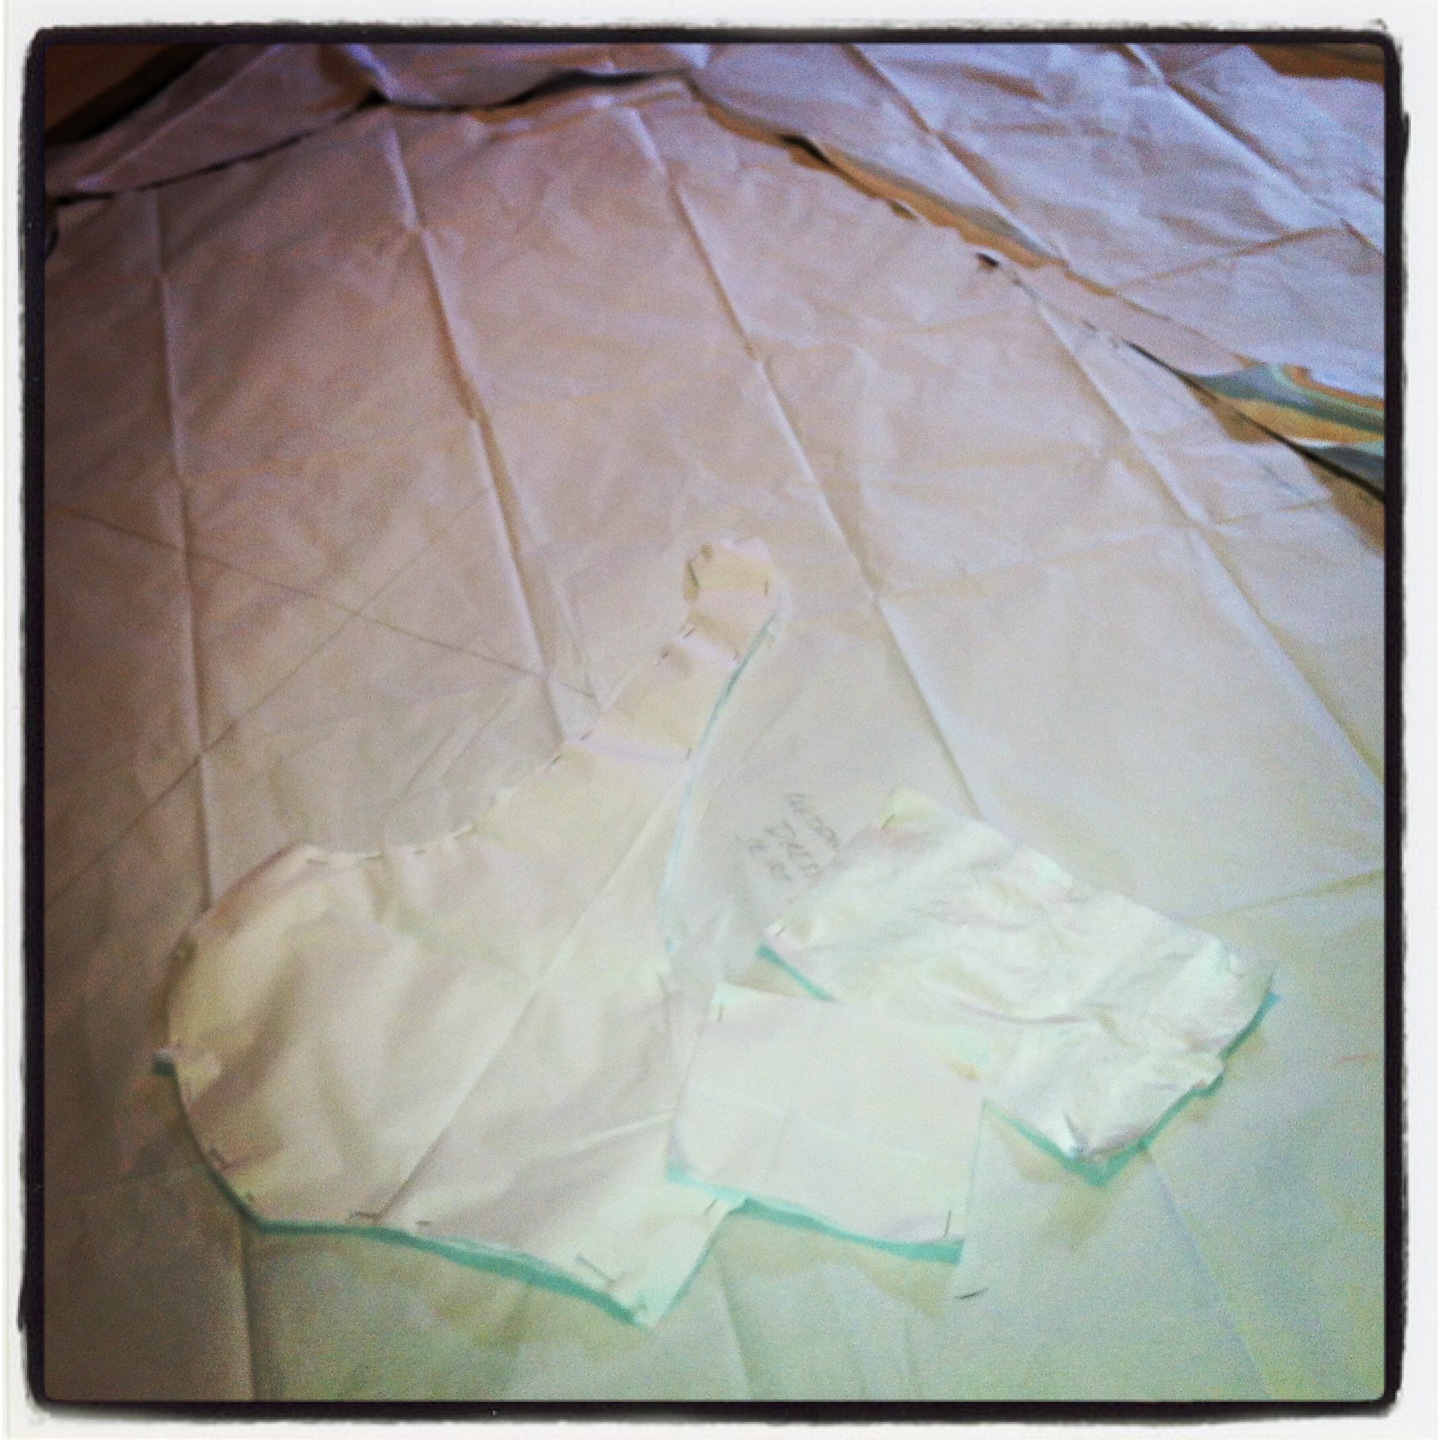
Cutting:

Cutting layers
I used tissue paper layered above and below the fabric to help stabilize it when I cut everything out. This worked fairly well, although I then proceeded to layer both fashion fabric, lining, and silk organza interfacing and cut all at once. This wasn’t hard—even layered, these are ridiculously thin fabrics—but may have led to less-than-optimal grain placement on some pieces. On the other hand, once everything was basted together it seemed to keep the proper shape just fine.
Cutting shapes
On the practice dress I used almost exactly three metres of 150cm wide fabric. The silk was only 140 cm, and sold in yards. I was figuring 3.5 yards would do it, but the fabric store lady talked Epona into ordering four. Which turned out to be just about exactly right, so Fabric Store Lady 1, Tanit-Isis 0. I had only ordered three yards of the lining, however, which turned out to be not enough to cut the skirt on the bias even without the small train. Oopsie. So the lining skirt was on grain. Again, with the lace overlay in place, I don’t think it made much of a difference to how the dress looked or moved, but oh well.
Bodice construction:

Hand-basting with silk thread. Mmmm, yummy silk thread.
I didn’t start out planning to go all couture on the bodice, but sometimes these things happen. First, since I had to add the organza interfacing (which added the perfect amount of body to the bodice, and yes, that sentence does make me snicker), I was hand-basting like crazy. While I was at it, I added some on-grain and selvedge stabilizing strips of organza around most of the edges on the back pieces, where the lace would weigh most heavily. It took forever, (ok, most of a day) and I do not regret any of it.

Seam-allowance casing and boning piece
Although Epona didn’t really want any boning, the combination of heavy lace and halter dress and corset-style lacing scared the pants off of me, so I added some light-weight, zip-tie boning along the sides and side-back seams of the bodice (where the lacing loops inserted.) I just added a second row of stitching in the seam allowance (fortunately I thought of this before I went and graded my seam allowances) to make the casing. I cut the zip ties to the right length, cut the ends rounded, and then smoothed by melting in a lighter flame. I may have been a little overzealous in the smoothing department, hence the brownish ends. Oh, well. So far, anyway, no harm has come to the dress.) I don’t think Epona would even have noticed the little bones if I hadn’t mentioned them, and while I can’t be absolutely sure they helped, I’m sure they didn’t hurt.

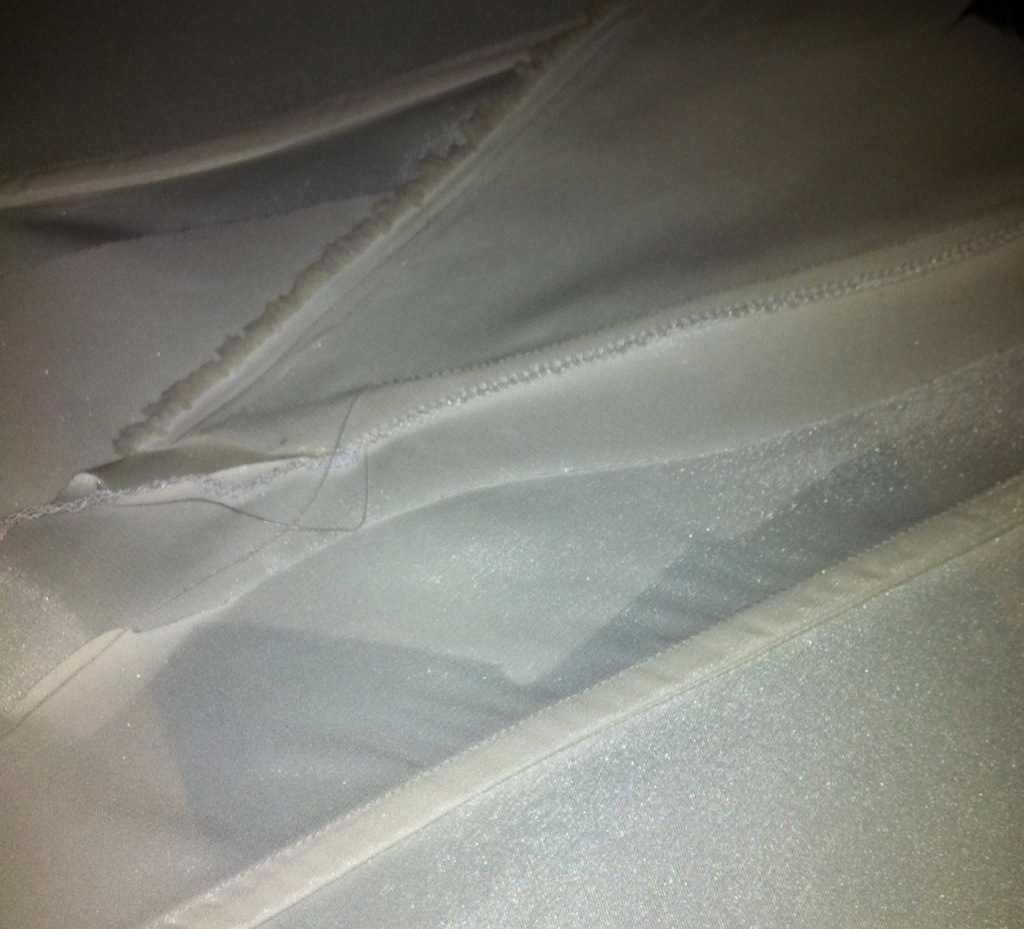
Making continuous silk bias tape. Mmmm, silk bias tape.
I knew from the practice dress that I wanted to pipe the upper edges of the bodice, but I had decided I wanted a silver piping rather than just the white on white. I had silver chiffon left over from the skirt overlay for the Maid of Honour’s dress, but experimentation determined that it needed a solid silk under-layer to look really good.
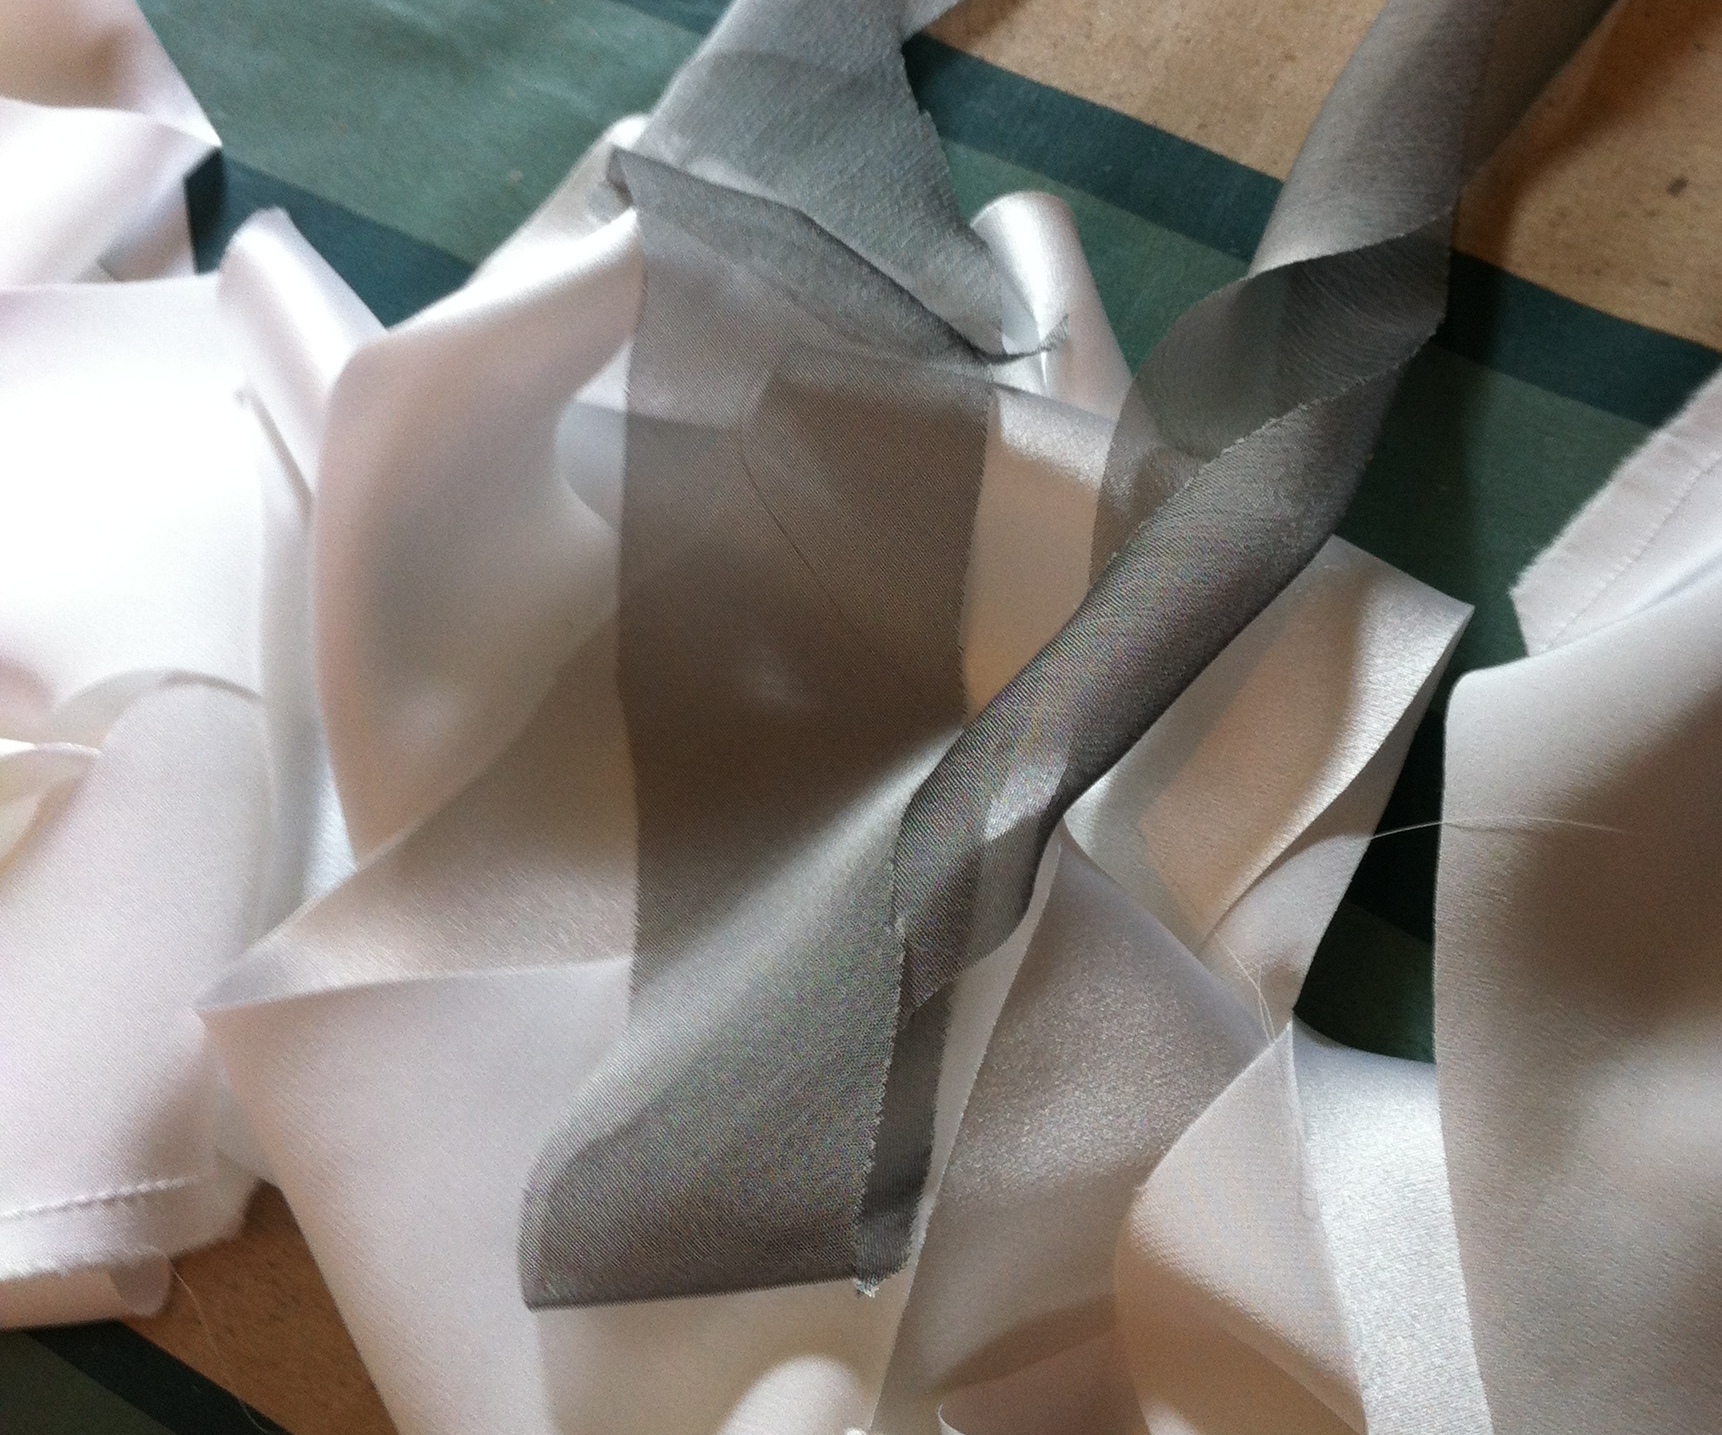
White silk bias tape and polyester chiffon bias tape. A match made in hell.
Yes, I layered poly chiffon bias tape over silk charmeuse bias tape to make my piping. Did you know you could do that? I didn’t, either. I started (after make shitloads of bias tape… I always make way too much) by stitching the two layers together about one seam-allowance away from one edge. Once this was done, I wrapped the two stitched layers around my piping core (a slender wool yarn in this case) and basted them into place. This was not without a few ripply mishaps, but once all was in place it looked pretty darn fine. I lived dangerously and applied the piping by machine, no hand basting! CRAZY!

Bodice, constructed. Oh, yeah, I added hanger loops. I hate hanger loops, but they were absolutely necessary in this case.
I also hand-basted the darts and the loops for the back lacing. Did I mention I was using SILK THREAD for all of this? Aside from the fact that it’s like five dollars for a teeny little 100m spool, man that stuff is dreamy. It’s so soft. My White machine didn’t like sewing with it (the tension would go intermittently weird) but the Featherweight didn’t even blink. Yay, Featherweight. And the silk thread was very nice for hand-basting.

You can see the bust weirdness on Stylish’s dress here. (on the left), which is cut from the same pattern as the wedding dress.
The main thing I’m NOT satisfied with about this dress (and don’t tell the bride because I don’t think she noticed) is the darts. Maybe it’s the way I was trying to shape them, but they seem a little baggy and draggy and angled funny on this pattern. I dunno. Me and the darts, we have never really gotten along so well, y’know? Gimme a good ol’ princess seam any day. The problem was the same for both Epona and Stylish, who have very different busts, so I’m inclined to blame it on the pattern…

The Dress
Skirt
After the cray-cray that was the bodice, the skirt was almost an afterthought. I used French seams. They work okay. I still wish they were narrower, but they may actually have approached the actual seam allowance width, which I always feel is pretty hit-or-miss with French seams. I didn’t have any problems with puckering along the seams, possibly because of the silk thread (another episode of Thread Cult, the guest mentioned that polyester thread can sometimes cause puckering because it has a certain amount of elasticity, something which gives it extra strength but can make really light-weight fabrics pull up on themselves. I did not sample a poly seam to compare, but anyway. This was my observation—the silk thread worked really well. Well, on the Featherweight.
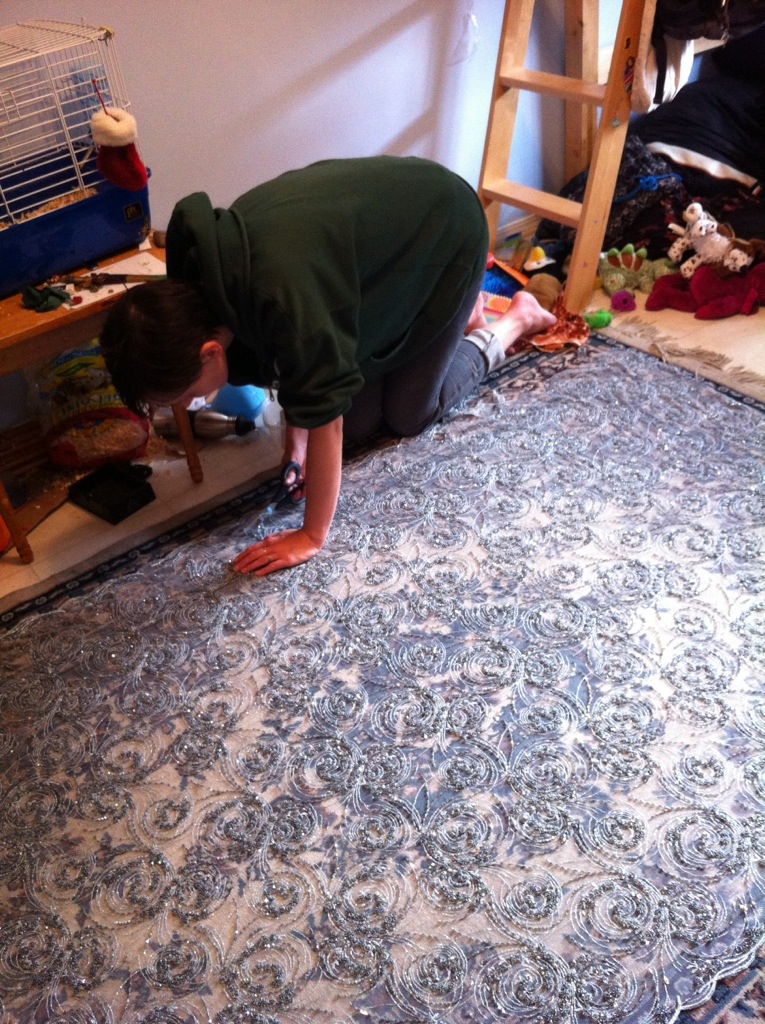
Lace. Cutting. Yikes.
Lace
And then there was the lace. I spent a full day, basically, on the lace. My goal was to cut it as little as possible. But one thing I did have to do, was cut the scalloped edging off of one edge and piece it on to the cut ends, to form the edges of the front opening in the overlay. The length of the overlay at the front was decided by how much scallop I had to piece in there. Because of the heavy beading on the lace, there was no chance of machine stitching any of this. Hand stitching it was—up one side, down the other, knotting frequently, and then trimming the mesh close against the stitchings so nothing was flopping around.

Lace corner, one edge pieces, waiting to be trimmed.
Actually, working with the lace was much less nerve-wracking than working with the satin—knots and sloppy stitches all disappear into the texture of the lace and nothing showed once the edges were trimmed. I think it looks pretty darn good, if I do say so myself. I didn’t want to do a back-seam in the lace, so elected to just let the excess drape down the back of the dress. I think it worked, anyway, although the weight of the lace completely collapsed the delicate train that looked so sweet in the practice dress. So the final dress had no train. C’est la vie.

Lace.
And did I mention that my iron died at 10:30 at night the day before the wedding, just as I was pressing the hem? Which I hand-rolled, by the way. That was a lot of hand-rolled hem. I was able to borrow an iron the next day out at the farm, and really the creases from travelling (the garment bag wasn’t quite as long as the dress) were worse than the un-pressed hem, but anyway. As inevitable mishaps go, this is a pretty minor one, except that now have no iron.
And now, random bridal photos.

The bride’s entrance.
Yes, she rode in on a horse. It was That Kind of wedding. Don’t get me started on the music at the dance.

Back view
You can kinda see the draping at the back of the lace, where I refused to cut the damn stuff any more than I absolutely had to.
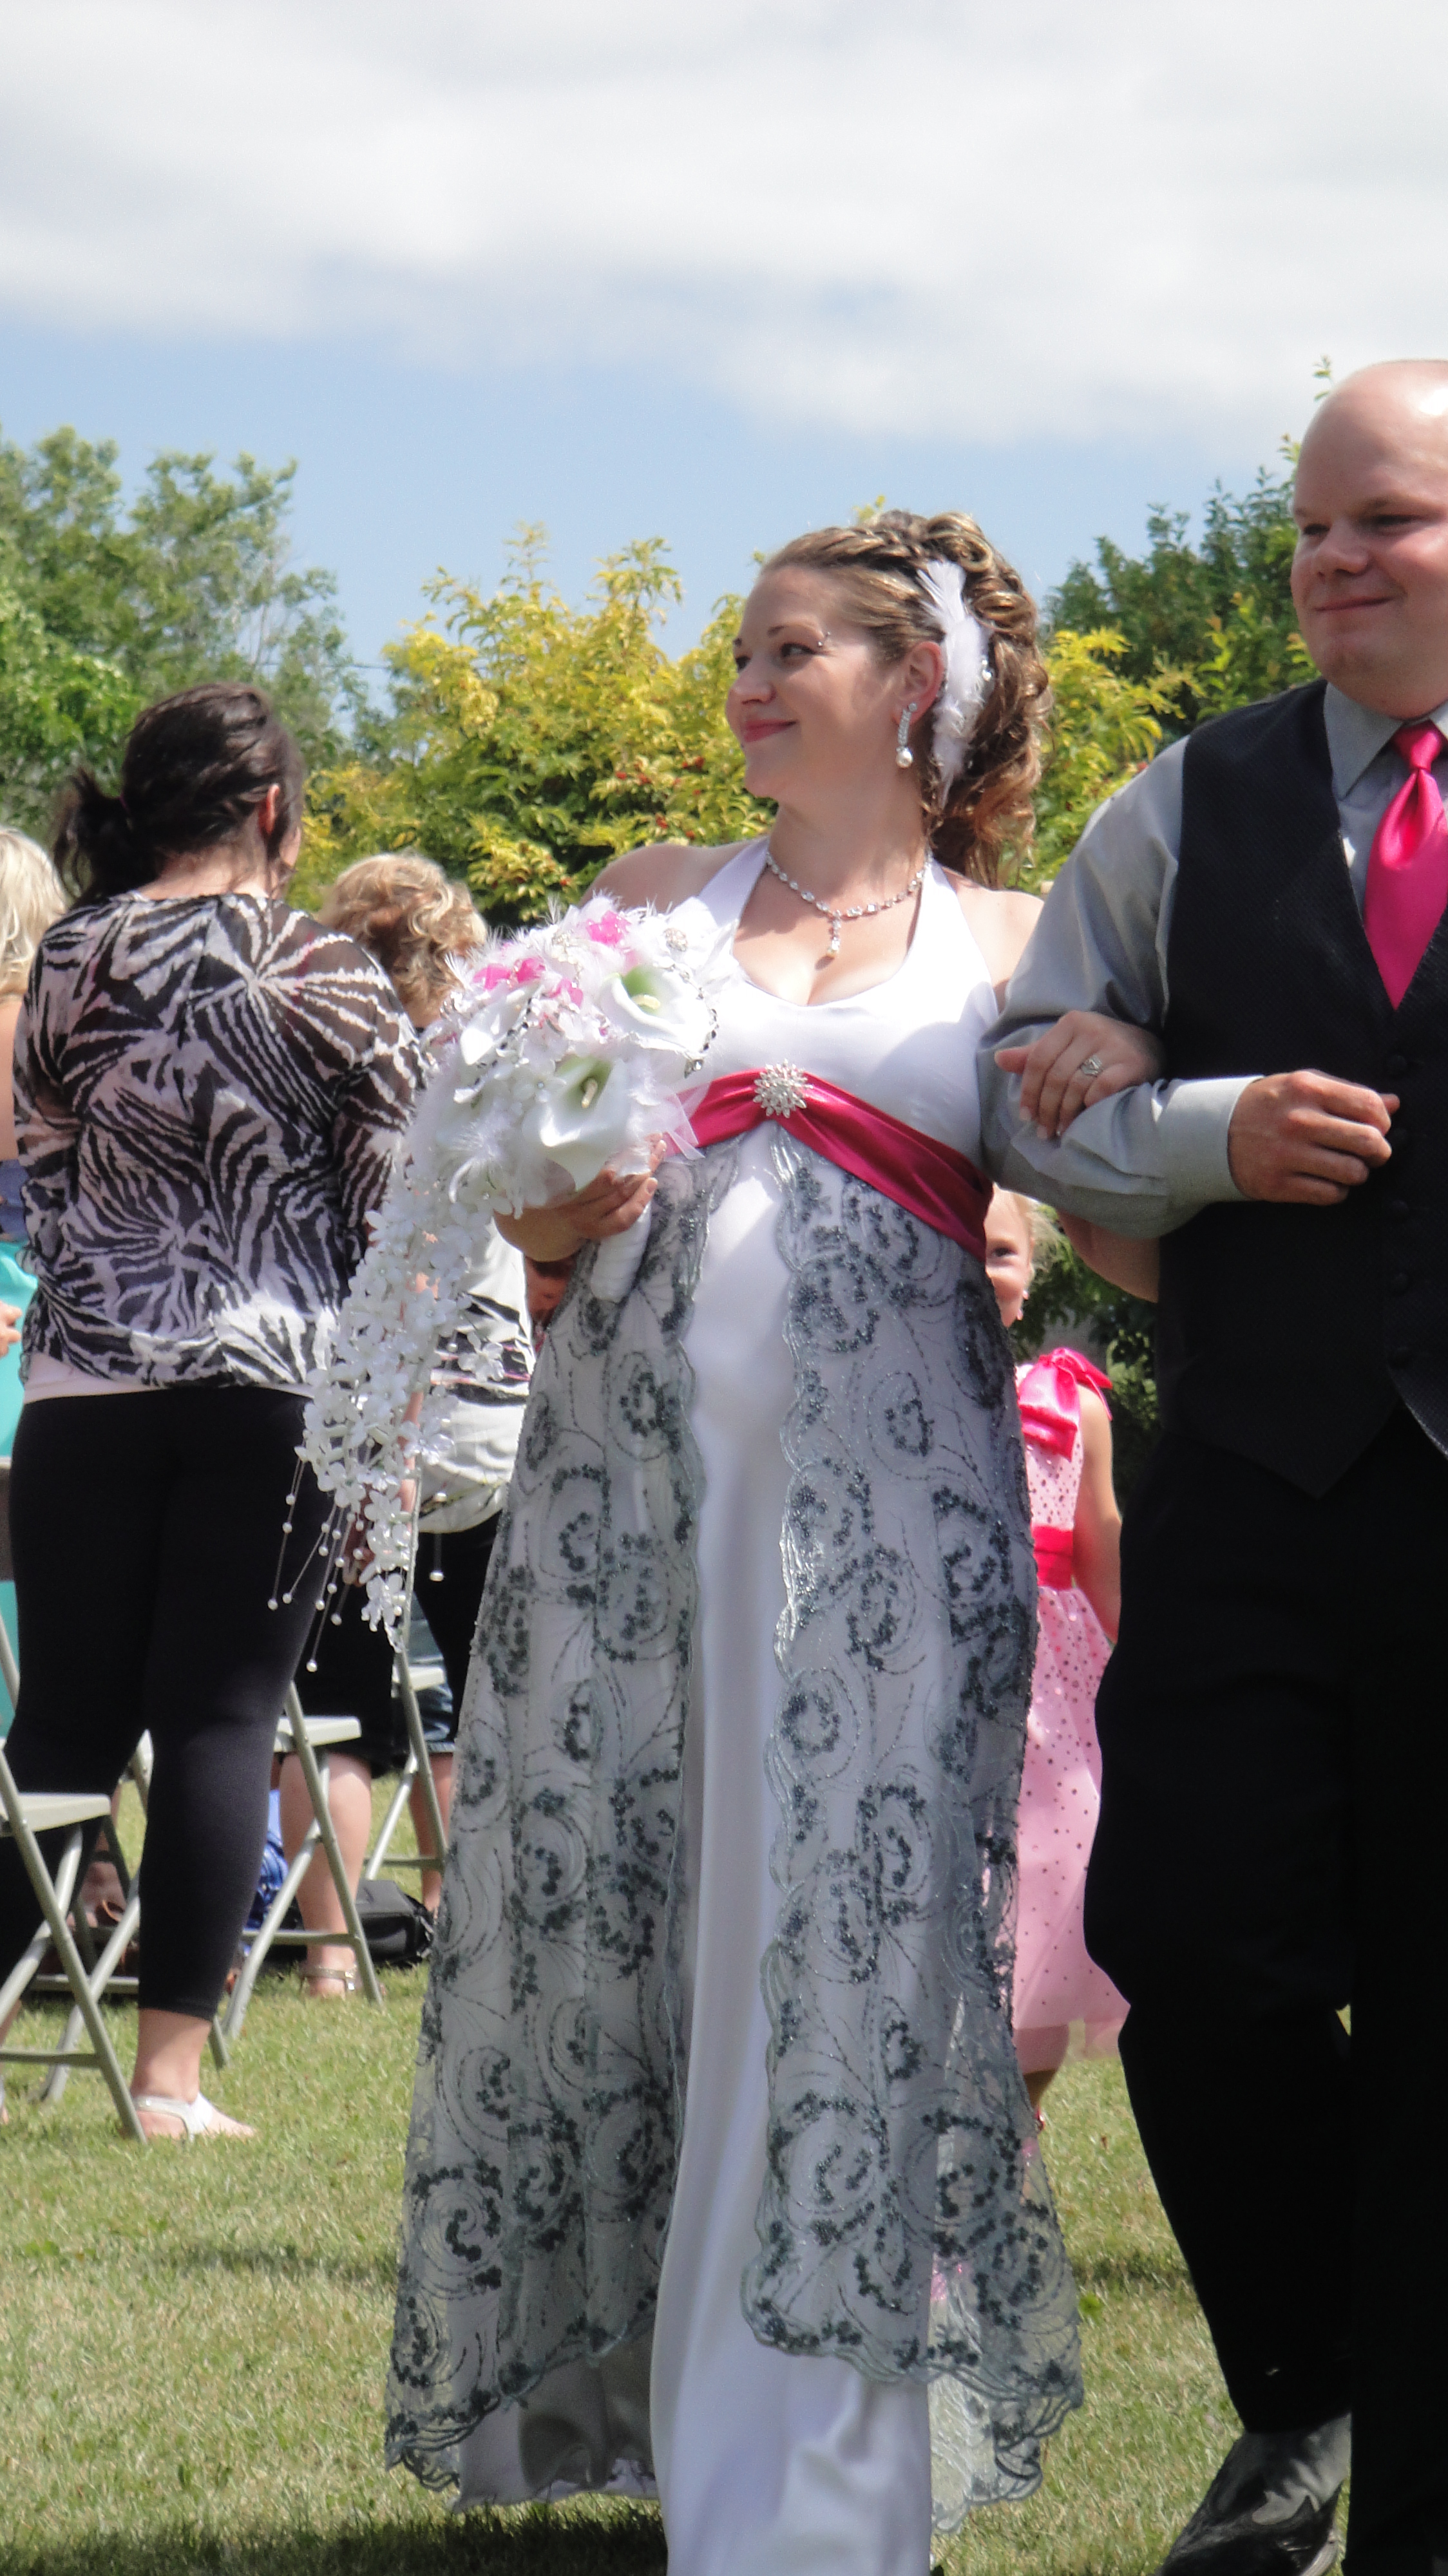
Front view.
This is probably the best view of the dress as a whole. You can’t see where I hand-pieced in the scalloped edge all along the front “slit” of the lace. Neither could Epona, even when I pointed it out to her. Also, I haven’t talked about the sash, which was ridiculously simple compared to the rest of the dress, but I really, really love how it brings the dress, and the whole wedding party together, frankly.
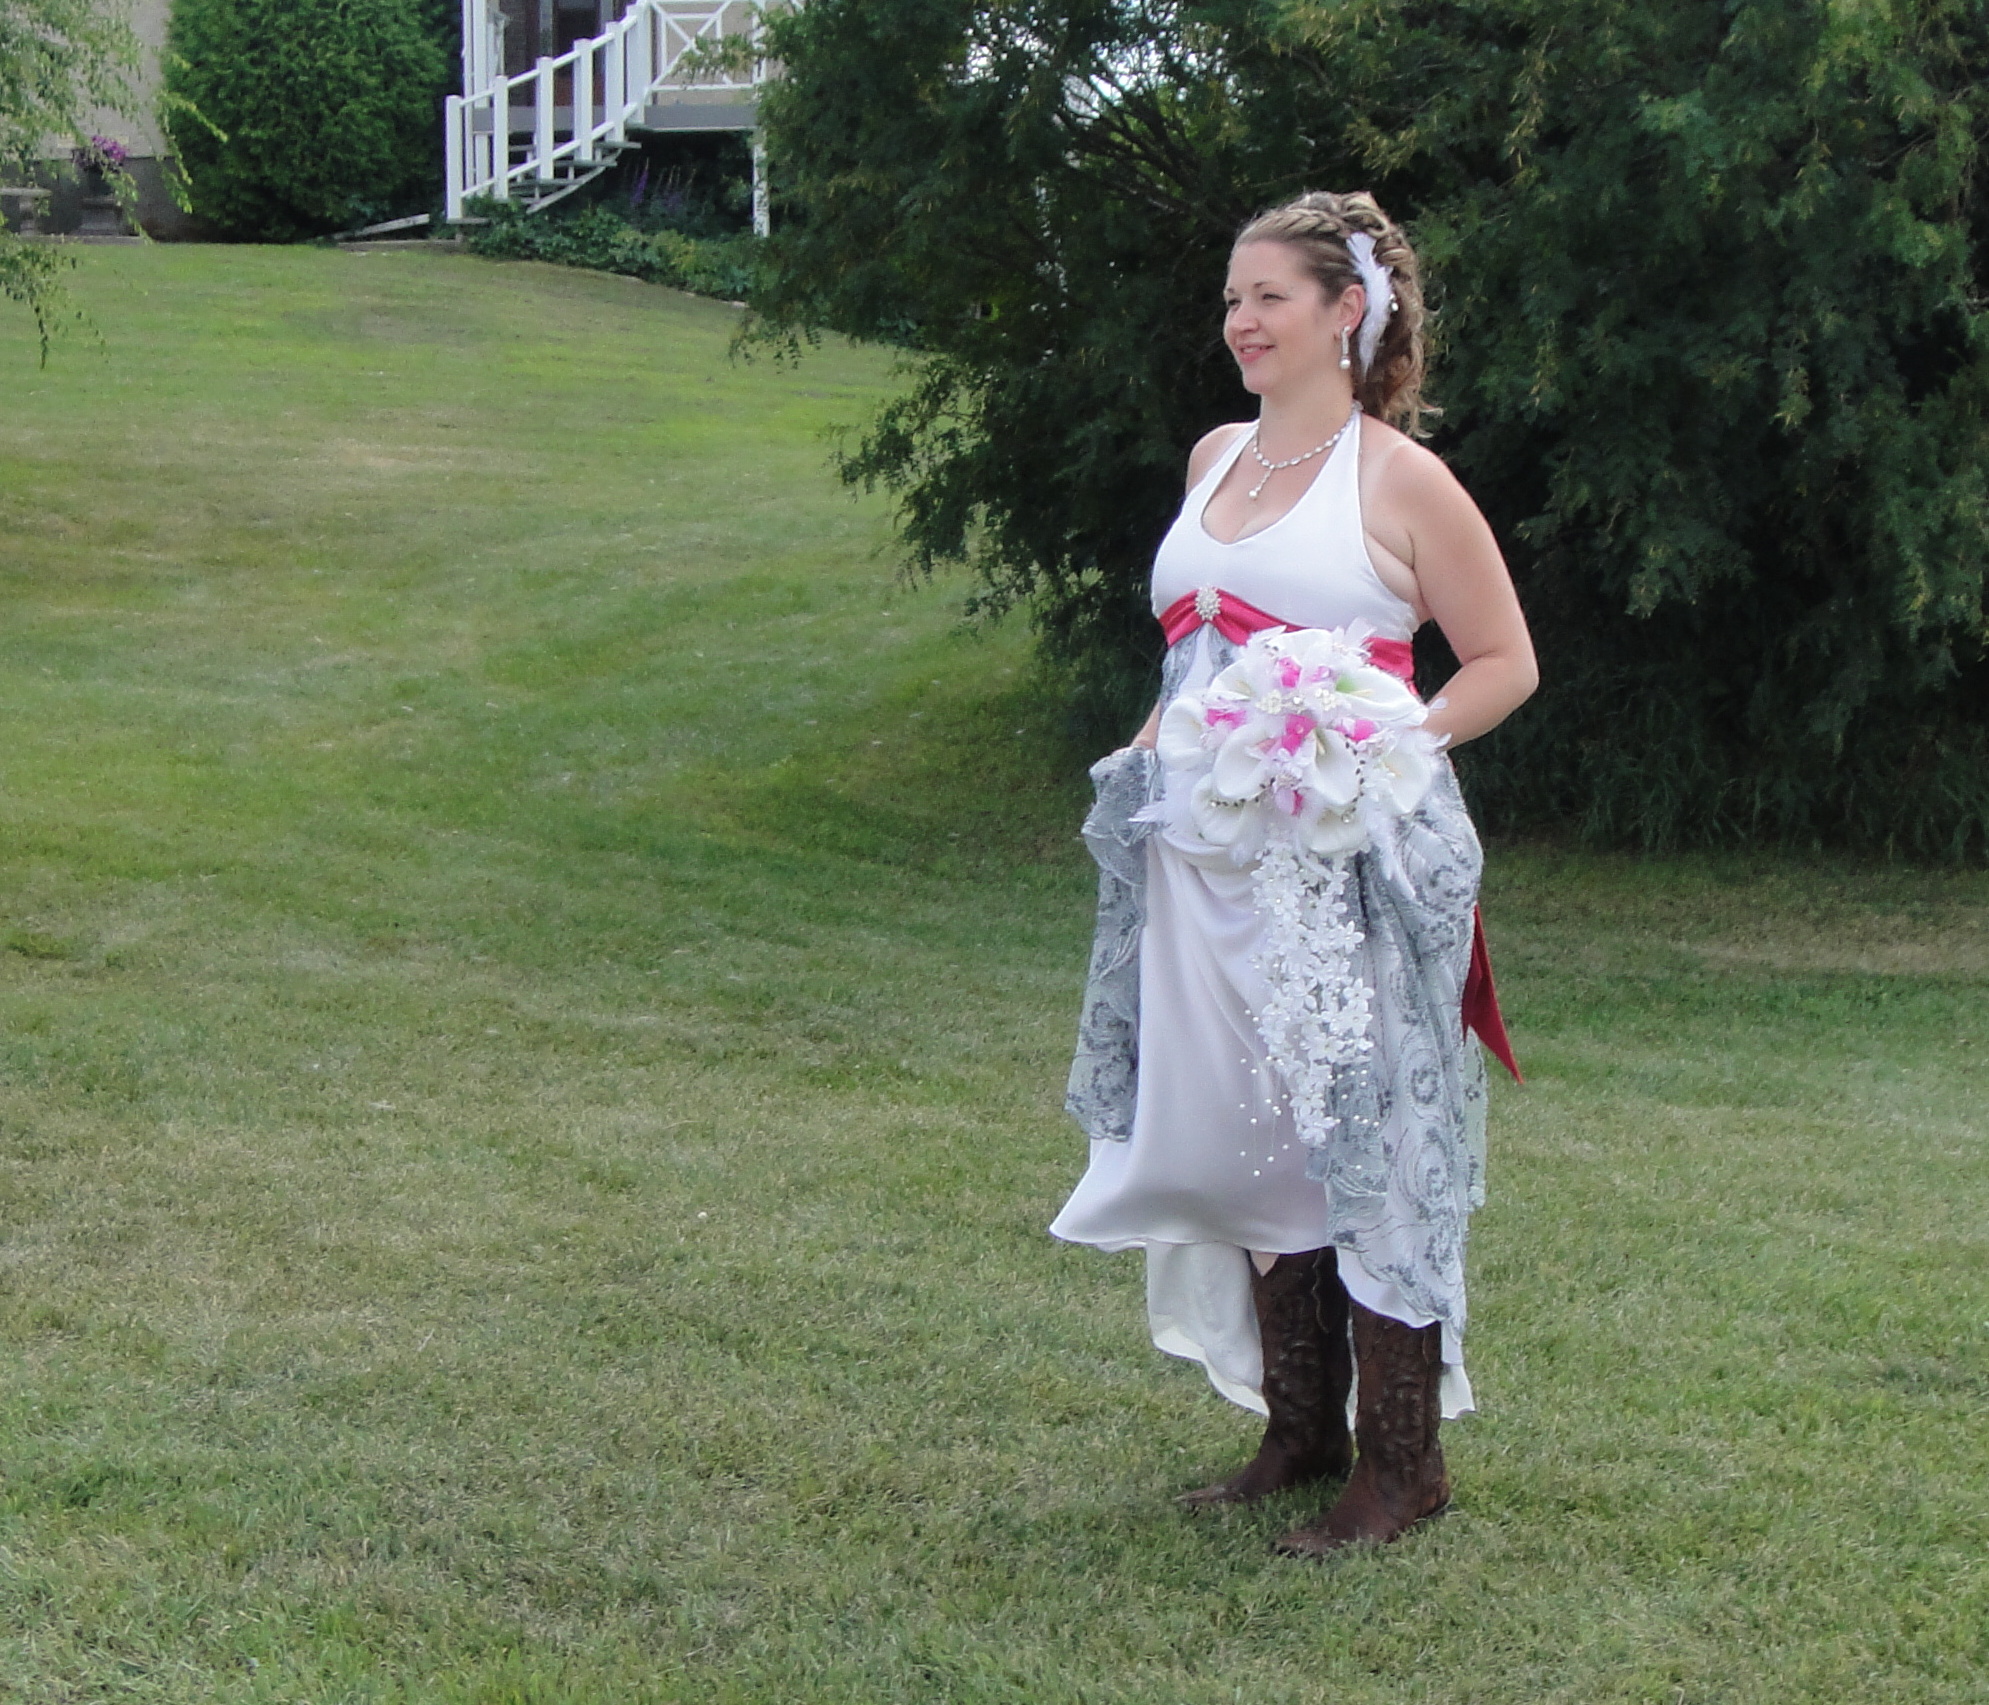
The wedding footwear.
Ok, I don’t know that you can see much here, but it’s a great picture anyway.

The whole shebang. Well, the part of it that I was responsible for, anyway.
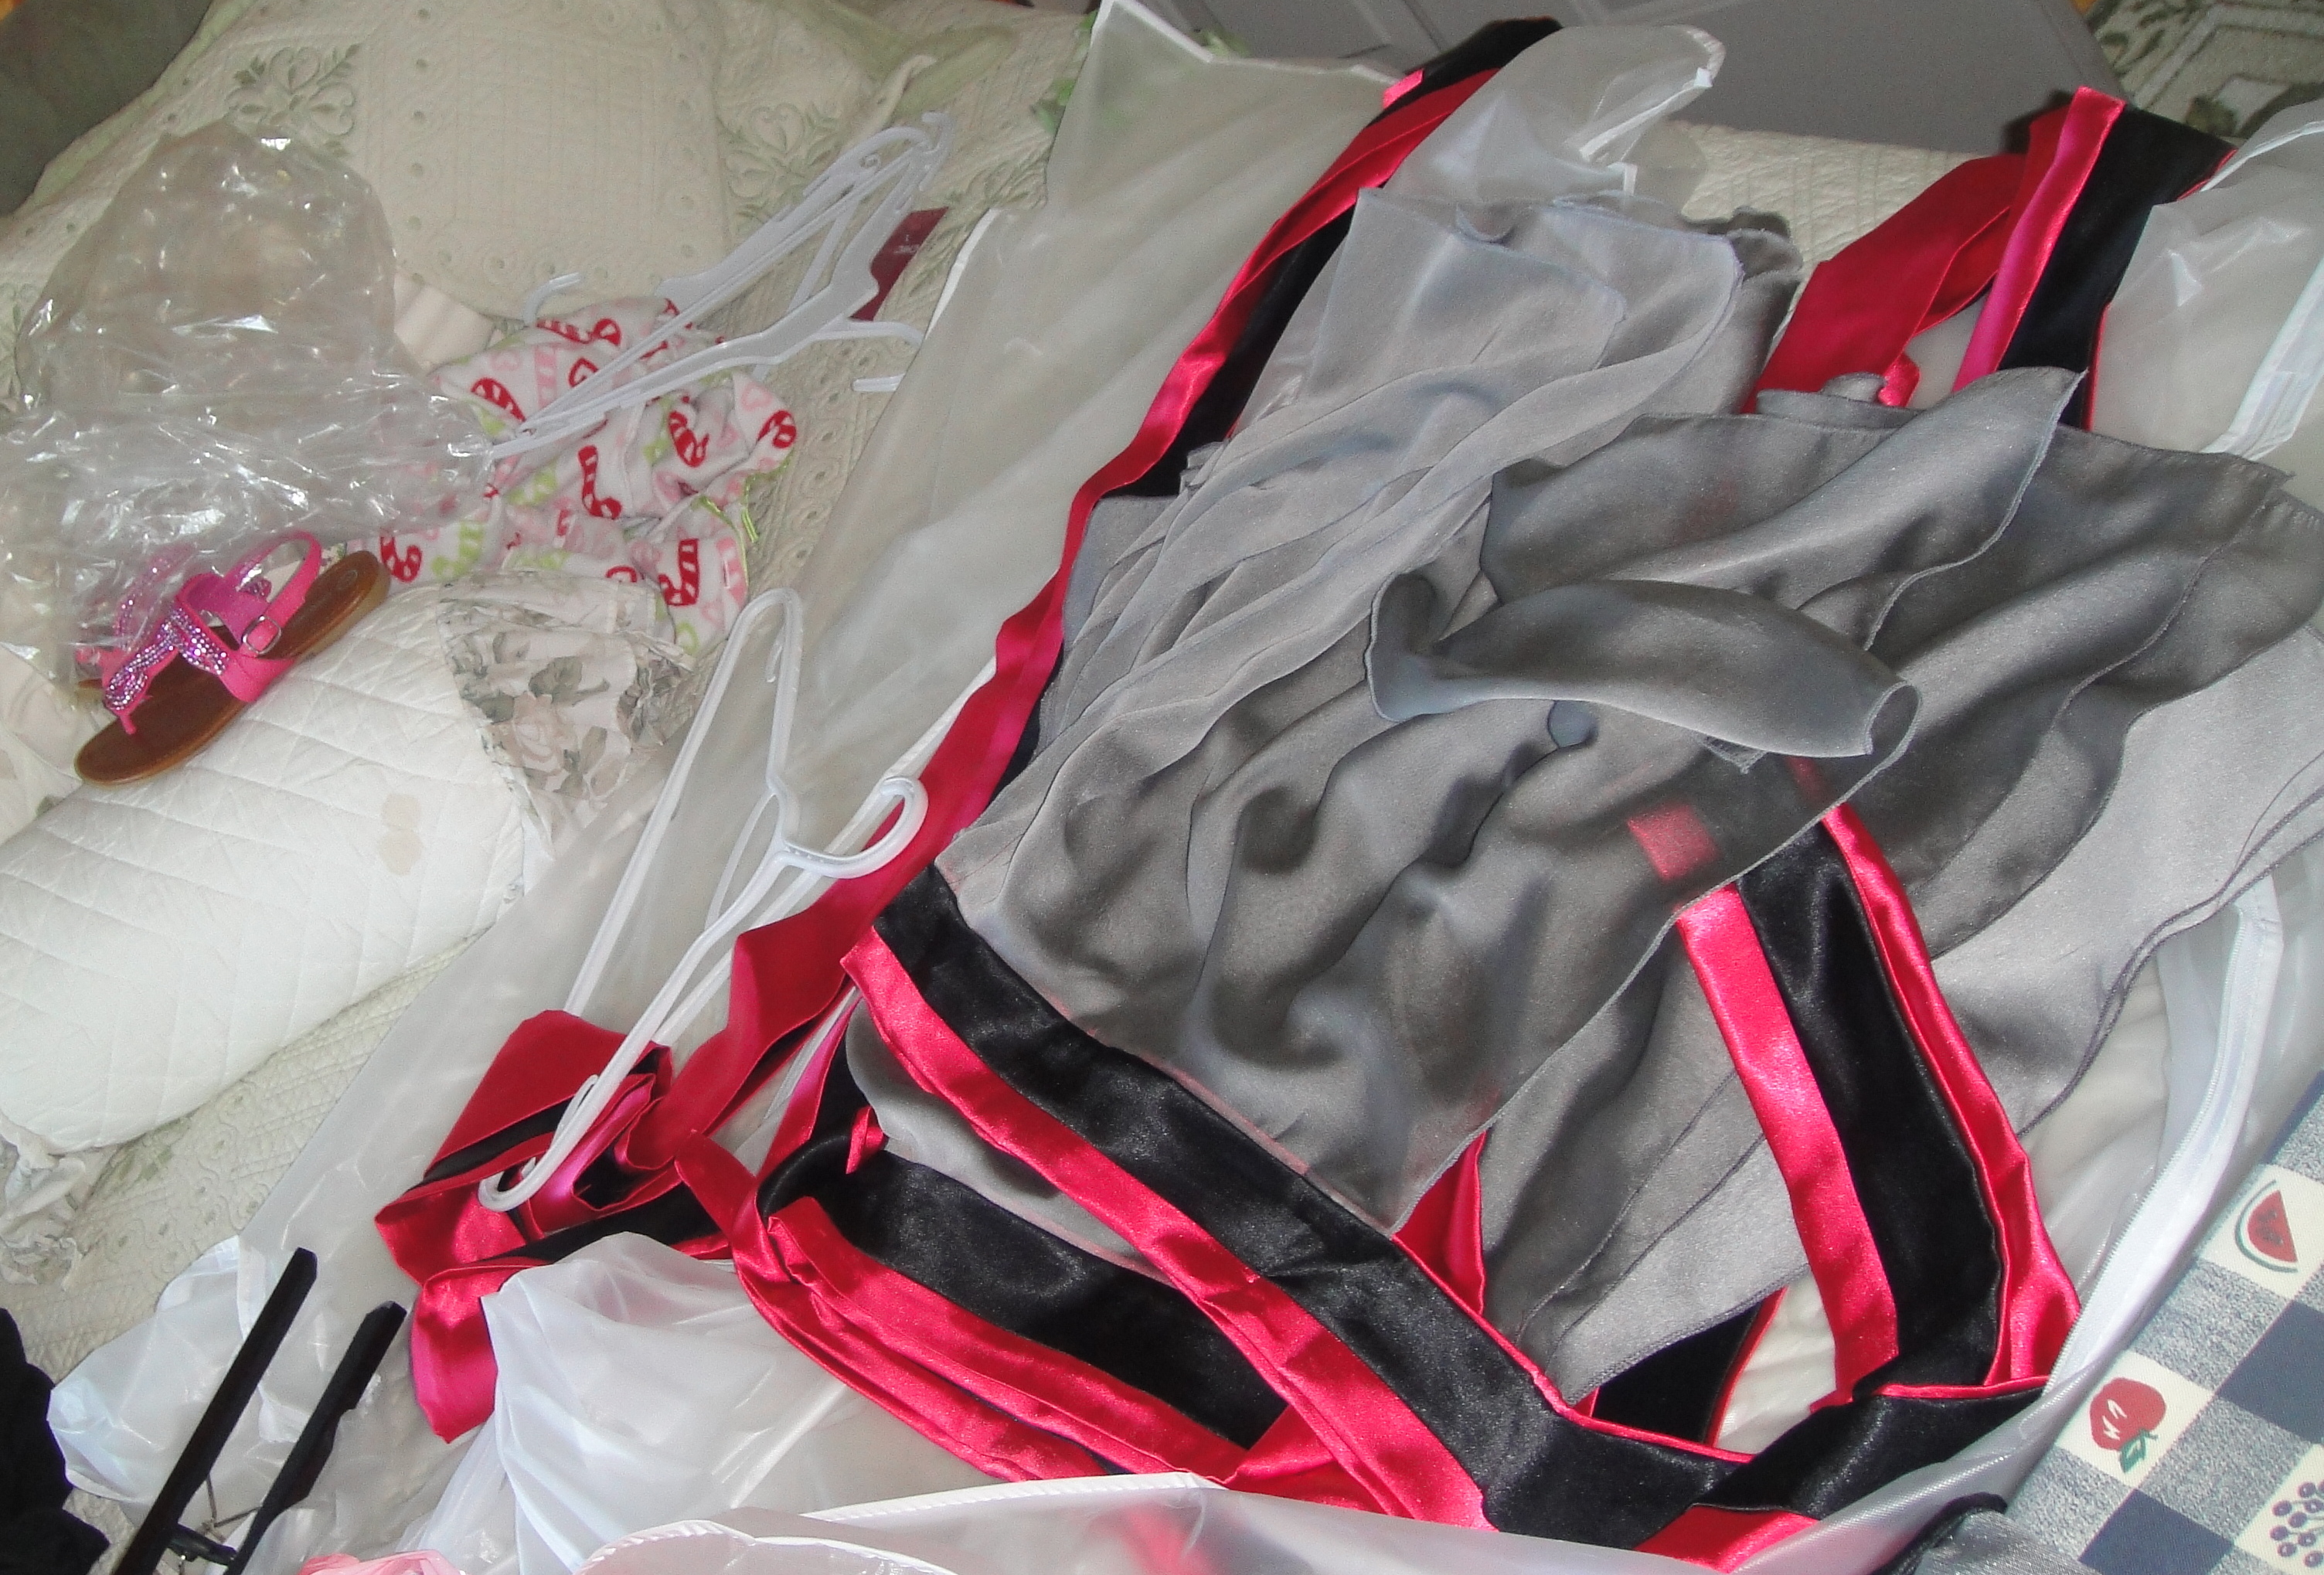
I did NOT sew the flower-girl dresses, modeled by Fyon and the Waif, who you’ve met previously. Their mother, my Stylish sister-in-law, is the maid of honour (closest to the bride). I will talk more about the bridesmaid’s dresses later, because this is already an insanely epic post—they’re not nearly as involved as the wedding dress, mind you.
I’ve mostly stuck to photos of the bride here, but you can see more of the wedding photos (mostly taken by my Crafty sister-in-law—yeah, we were keeping it in the family) on my Flickr set. I can’t wait to see the official photos, though.
Resources used:
Bridal Couture (Susan Khalje)
Couture Sewing Techniques (Claire Schaeffer)
Fabric Savvy and More Fabric Savvy (Sandra Betzina)
Sewing for Special Occasions (Singer Sewing Reference Library)