
(Most of this post was written in early 2016 when I made this Jasper. But I couldn’t seem to get it photographed. Today I happened to be wearing it (which I do nearly weekly in the winter) and since my new(ish) hallway is perfect for snapping really quick photos, I actually managed to take some!)
 I think I bought the Paprika Patterns Jasper Sweater/Dress pattern the day it came out. Seriously, I’ve been reading Lisa’s blog since she was first playing around with this hood design in 2011 or something. I even started to draft up a version of the hood pattern based on her early tutorial. I didn’t get around to testing that version, as I’m easily distracted, but you get the idea how much I liked it. I even bought this fabric over a year ago*. (*2015)
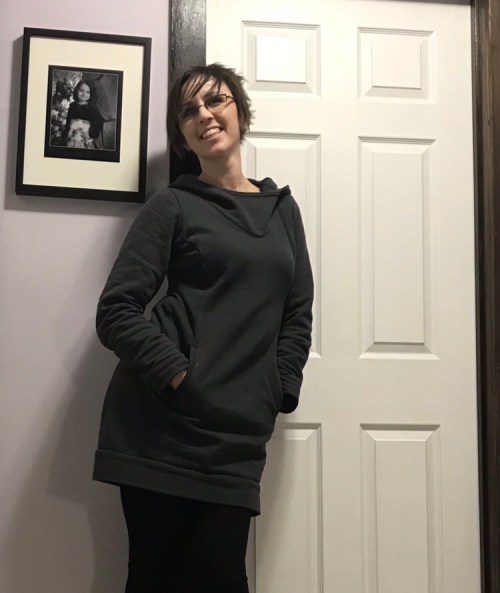 So why did it take me so long to make up? I honestly have no clue except that I’ve been having a hard time with PDF patterns the last year or two. It’s probably more mental than anything else, but the paper patterns have been getting sewn while the PDFs just languish. Having my printer on the fritz for a large chunk of last year didn’t help either…
 Anyway, nothing like a holiday to get you over a hump like that. In the wake of Xmas, I finally got myself motivated to tape the pieces together and make it up. Mainly on New Year’s Eve.
My measurements put me squarely in the size 3, which was lovely, but the pattern indicated it was drafted with 2.5″ ease at the bust but only 1″ at the hip. This seemed a bit snug to me, so I cut a size 4 at the hip area. I added about 2″ to the sleeve length (quite modest for me) based on comparison with my sleeve block, but made no other alterations.
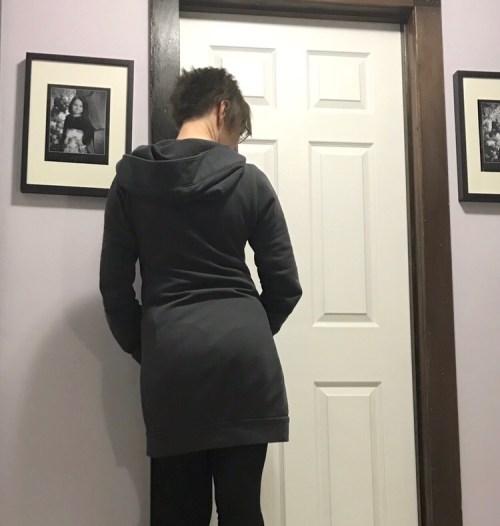 I spent an uncommon amount of time (for me) reading the instructions, since I was clueless about both the front pocket construction and the hood construction. They were great although the hood directions lost me a bit. I still got my hood together, so it’s all good, but I won’t swear there weren’t some details I glossed over. She has a tutorial on her site, so probably I should’ve looked at that. Impatient.
Once I got it together (I love how the sleeve goes in!) it was very blousy in the back, so I took a good chunk off those handy rear princess seams.
 My new sewing machine let me down, however. It’s really been a trooper, but when it throws a tanty (best Austrialianism ever. I feel entitled to use Aussie slang now that I’m related to one. My brother took his citizenship down under this past fall. Yay him. Boo for us.) it throws it. It would not top stitch the pocket welts. Would not, no way no how. This thing has plowed through five layers of tartan wool plus double-layered leather, but it did not like the layer of cotton spandex under all the layers of fleece. Like, five skipped stitches for every one that took. Next time I will try moving the needle to the side, and maybe also paper underneath.
Once I got through that part, though, things were gloriously breezy. I finished it in time to wear to New Years at my mother-in-law’s.
 I will add one note: the pocket basically makes a separate tube inside the sweater. If you’re putting it on and find it’s strangely tight, you might be on the wrong side of that tube. I kind of burst a lot of stitching figuring that out.
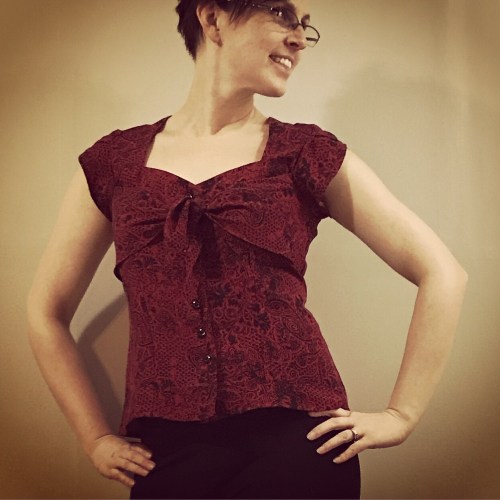
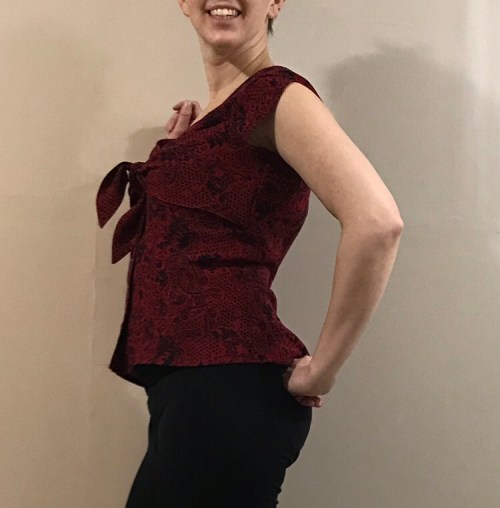 The fabric is a rayon twill, and while it is just as soft and fiddly as any rayon, it’s really quite glorious. I love the slightly heavier drape of it.
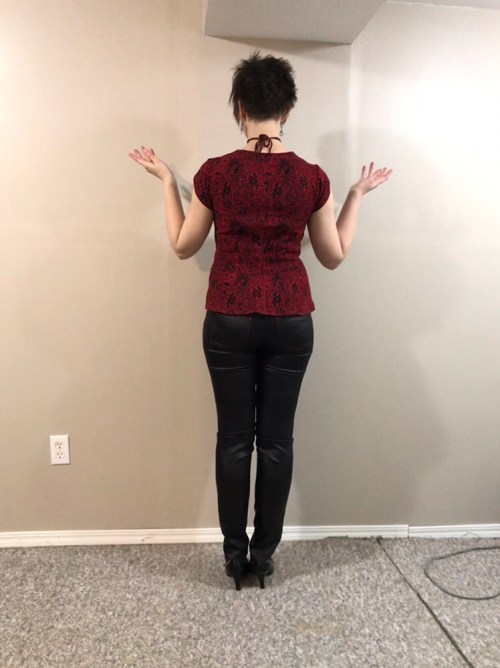 Anyway. The result was pretty good size-wise, I think. Just a tiny bit of taking in here and there. Keep in mind that’s going down two full sizes, given my measurements these days. The back does seem to hang up a bit, so maybe a bit of tweaking there is in order. On the other hand, I don’t have to look at it.
 I used a featherweight knit interfacing for the facings, which was a great idea except that then I went and stabilized the main fabric of the neckline with a heavier knit interfacing for absolutely zero stretch, while the facing had a small amount of stretch, which is a recipe for gaping facing. Not bad, but not perfect.
 I do like the pattern a lot—it’s adorable. The bias cut front ties are as much fun as they look. I dealt with the tulip sleeves by the simple method of lining up the underarm seam and sewing up from there, although I did make a bit of effort to make sure the crossover top lined up on both sides. There’s a marking you’re supposed to match but of course I forgot to mark it.
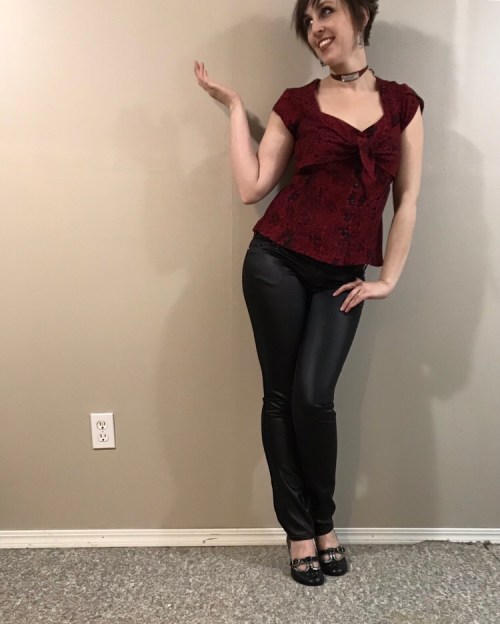 Whether it’ll become a wardrobe staple is another question, but I’m glad I gave it a try. I’d kinda like to make one with a matching skirt, for a summery-dress effect. We’ll see where I land when it stops being -30C for more than a few days.
 On the other hand, it took the top stitching like gold. That was beautiful. I used a newish-to-me machine, a hand-me-down Elna that a friend insisted I take.
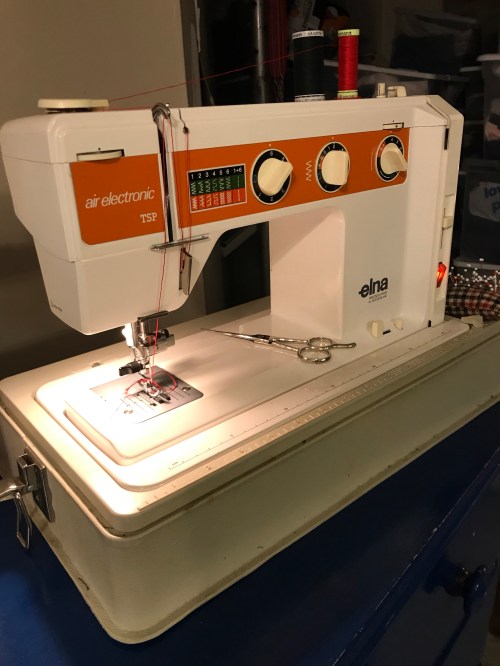 I think I may have found my new favourite topstitching machine. It handled the extra-thick topstitching thread flawlessly, has a speed control, and the weird little bubble foot pedal gives great control. I won’t crown it quite yet—it did struggle and sometimes balk at some of the thicker spots, and this fabric is thinner than most denim—but the signs are good.
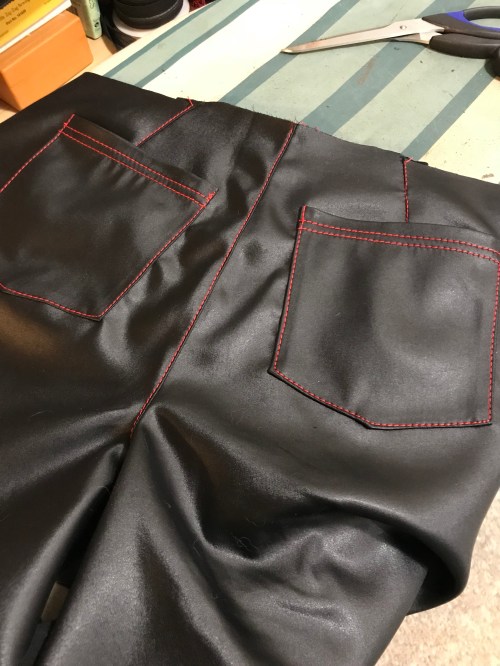 The pattern is Burda 6855, a basic skinny-jeans-styled pattern which differs from classic jeans only in having rear darts rather than a yoke. I actually like that feature as it’s easier to adjust fit on the fly, not to mention faster to sew. I used it last year to make two pairs of jeans for a work project I never managed to blog, that are actually the only jeans in my regular wardrobe rotation right now. And I thought it would suit this slightly-fancier-looking fabric.
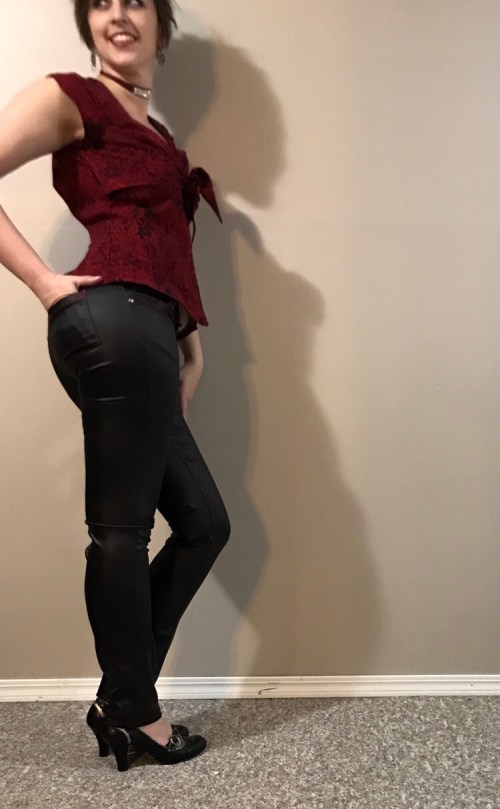 I actually originally intended to try the high-rise view of the Ginger jeans in honor of #nofearjeansmonth, but I couldn’t quite pull it together to get it printed (my printer is detached in the bottom of the closet at the moment since my husband needed more room on the computer desk for cat beds. Don’t ask.) so I settled for a quick and familiar pattern.
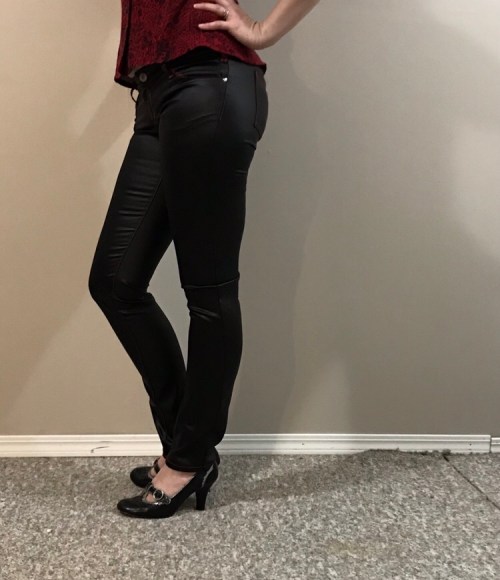 The fit was pretty much as expected though I should have added more height to the back rise—I knew I needed a bit there but even more would’ve been good. I don’t love how this fabric drapes—did I mention that? So I don’t know that this pair is really a successful anything. But they’re not terrible, and I enjoyed the process if not the result. Also I bothered to put in rivets, which I haven’t done in ages. I like it. And it’s a lot easier with my new-ish awl for poking the holes.
 Well, when I made them up today, my kids agreed with me—about the ugliness. Not so much about the wanting them part. So I guess I now have a pair of ugly camo leggings.
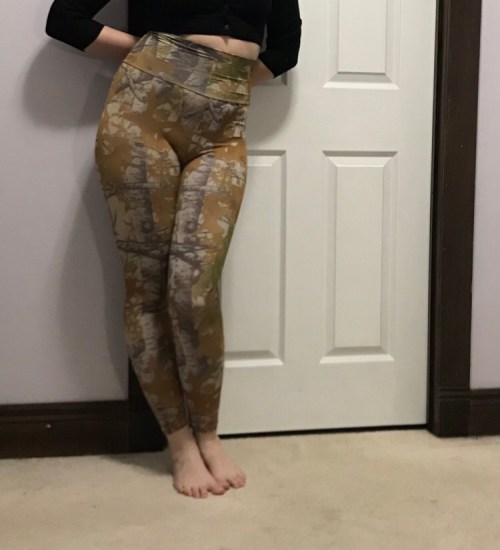 I confess they’re kinda growing on me though. Even though the fabric is the kind where the colour fades as it stretches, it’s silky smooth and feels really nice.
 I modified my trusty old Jalie 2920 by adding a slightly shaped double-layered cloth band at the waist rather than elastic, creating a smooth high-rise effect I’m enjoying. Which probably has everything to do with my changing relationship with my body these days, but we won’t dig too deep into that today. Anyway, so I have a new pair of leggings, and I think I like them. They don’t go with anything, though.
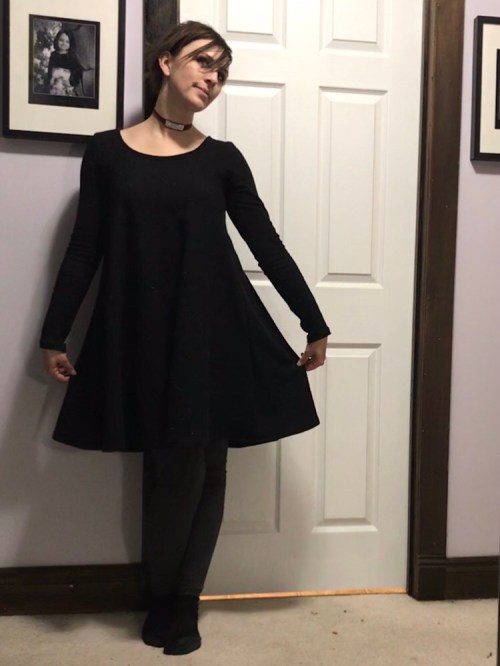 Last weekend, whilst procrastinating finishing my mom’s coat, I was kinda on a roll. I made the stripey almost-Jasper, and then moved on to some really quick projects.
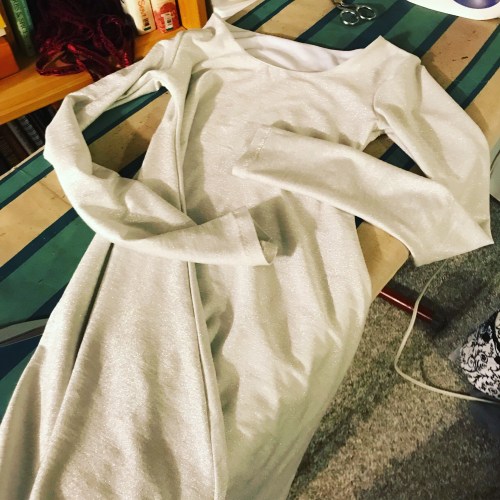 A dress for Fyon’s birthday (who is eleven now, somehow), much less impressive but more practical, hopefully, than her present last year. I used Jalie 3349, a ballet leotard pattern, and morphed it into a tent-dress type shape starting about 2″ below the armpit. The only problem is that I decided to do just a half-lining in the upper body, to make the thin fabric a bit more opaque, and it doesn’t always lie flat. Maybe I should’ve done a full lining, but I thought
  the outer fabric would get caught up on it.
 Which brings us to the other thing I made for myself, another
  Not that you can see anything much of it in the photos. Darned black.
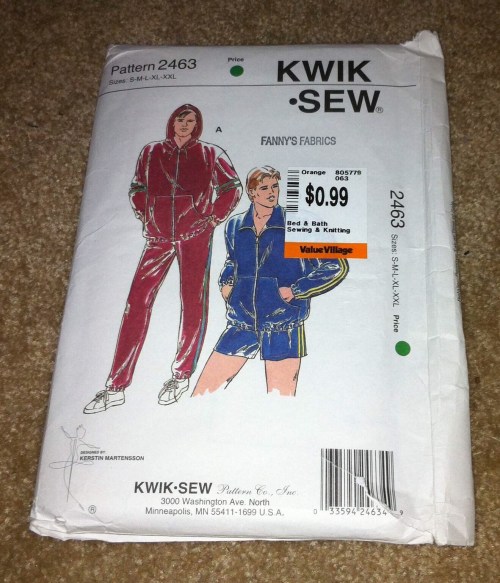
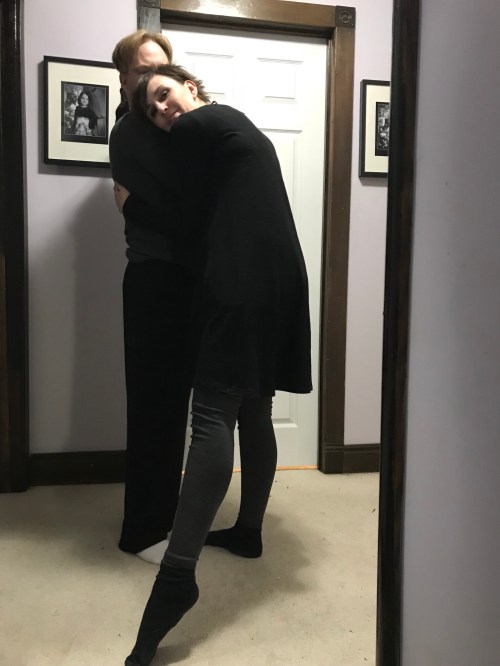 Oh, look, there is a photo of my husband in his comfy Kwik Sew pants, because he accidentally wandered through my photos a couple of times.
 My mom’s coat is almost done—just needs buttons and the hem finished—so I took some time to play around. I had pre-washed this stripey end of heavy French Terry back before Christmas, thinking of a Paprika Patterns Jasper sweater-dress. But time was at a premium and then I realized that stripes plus princess seams could, um, be a little bit of a headache. Plus I was not at all sure I’d have enough fabric.
 I took my knit sloper, added a bit of ease since the fabric is not overly stretchy, and traced out a fantastical side seam with hip bubble right onto my fabric.
 Anyway. What I’m basically doing is excusing my lackadaisical attempt to get my stripes to line up. Sorry not sorry?
 I also didn’t do any fun stripe-playing, partly out of concern for stretch issues but mainly from lack of fabric. It would’ve been pretty cool to cut the hood frame with the stripes running vertical, though. Oh well.
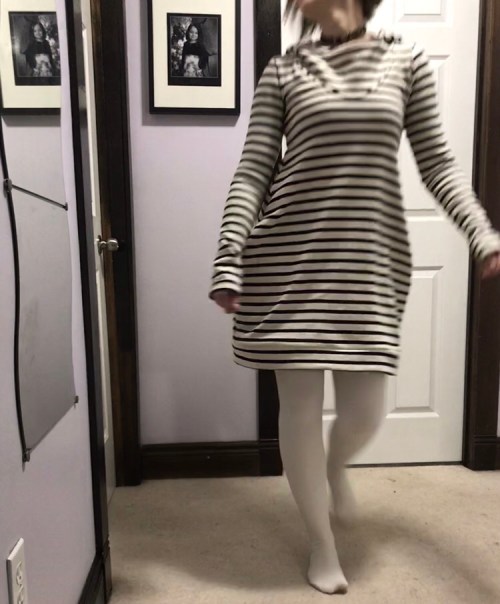 I forgot the pockets when I first sewed up the body, so I had to go in and retrofit them in, but it was worth it because a) pockets, and b) they kinda support the weird hip shape. There’s a strip of fusi-knit where each pocket piece is sewn on.
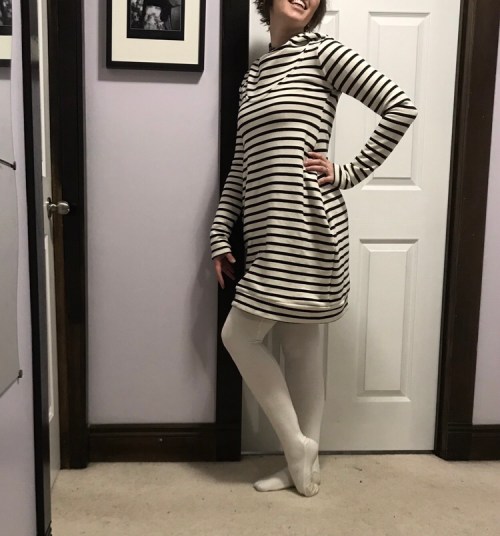 So, um, basically this is another in my attempt to create an entire wardrobe of sweater-weight cozies. Maybe this urge will fade… maybe by May?
 I drew my aunt in the family Christmas lottery this year. This is my mother’s sister, who is in charge of everything, and who is at a point in her life where, if she wants it, she probably has it already.
 My aunt has a distinct style and tends to wear a lot of black with bright jewel tones. I figured a black or grey sweater with a touch or two of bright colour might be just the thing.
 Some more pattern digging turned up the out of print Butterick 5528—views A and B both seemed like they would suit my aunt and be doable with my limited amount of fabric. I made no alterations, but I did determine that I wanted to make the longer view B.
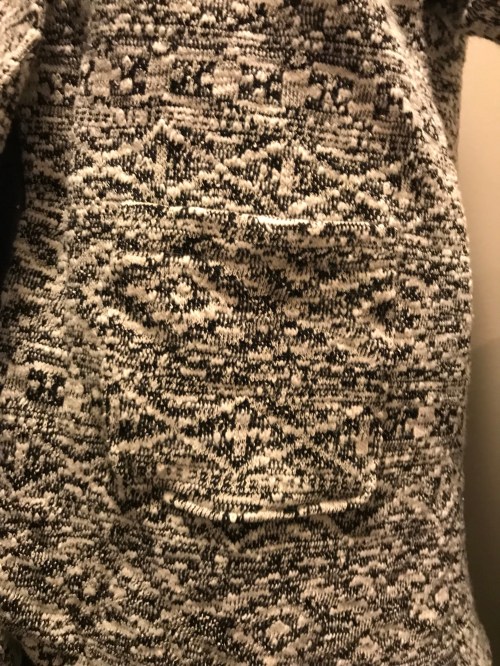 The biggest hurdle was cutting out. This fabric is a subtle stripe, and I was hopeful I’d be able to at least roughly match it. I cut out the front panels first—then promptly realized that the big piece is the BACK, and had several panicked moments considering whether or not I even had enough fabric to cut the back, even if I didn’t match it. In the end I wriggled it around and the locations of the stripes do match, but the direction is opposite so the sequence is off. I can live with that. I did have enough random bits to make sure my pockets and cuffs lined up nicely. The hardest thing about cutting this fabric is that the stripe only shows on the right side, so you can’t easily just put your first cut piece face down and line up the stripes around it for the second. Fortunately it’s a simple pattern.
 I used some teal tricot to make a binding for the edge of the very narrow facing. It gets topstitched down, which is nice and fast, and didn’t turn out too terrible. And apparently I failed to get a decent picture of it. I really need better light in the basement. I used fusible knit interfacing in the undercollar (works much better!) cuffs, and facing, which was more or less perfect.
 The front isn’t meant to overlap—the pattern features a button on each side with some kind of closure between. Probably the instructions elucidate. I just grabbed a purple hair elastic and stitched it down the middle into a figure-8, which seems to work well and can be easily replaced if it goes missing. I couldn’t find any large enough teal buttons in stash but I thought the purple was a good substitute. The pockets are a little small, but most importantly they’re there, and almost perfectly matched!
 My aunt seems very excited about it. I’m hopeful it will be neutral enough to pair with a bright hat or scarf (or shirt), without being too boring.
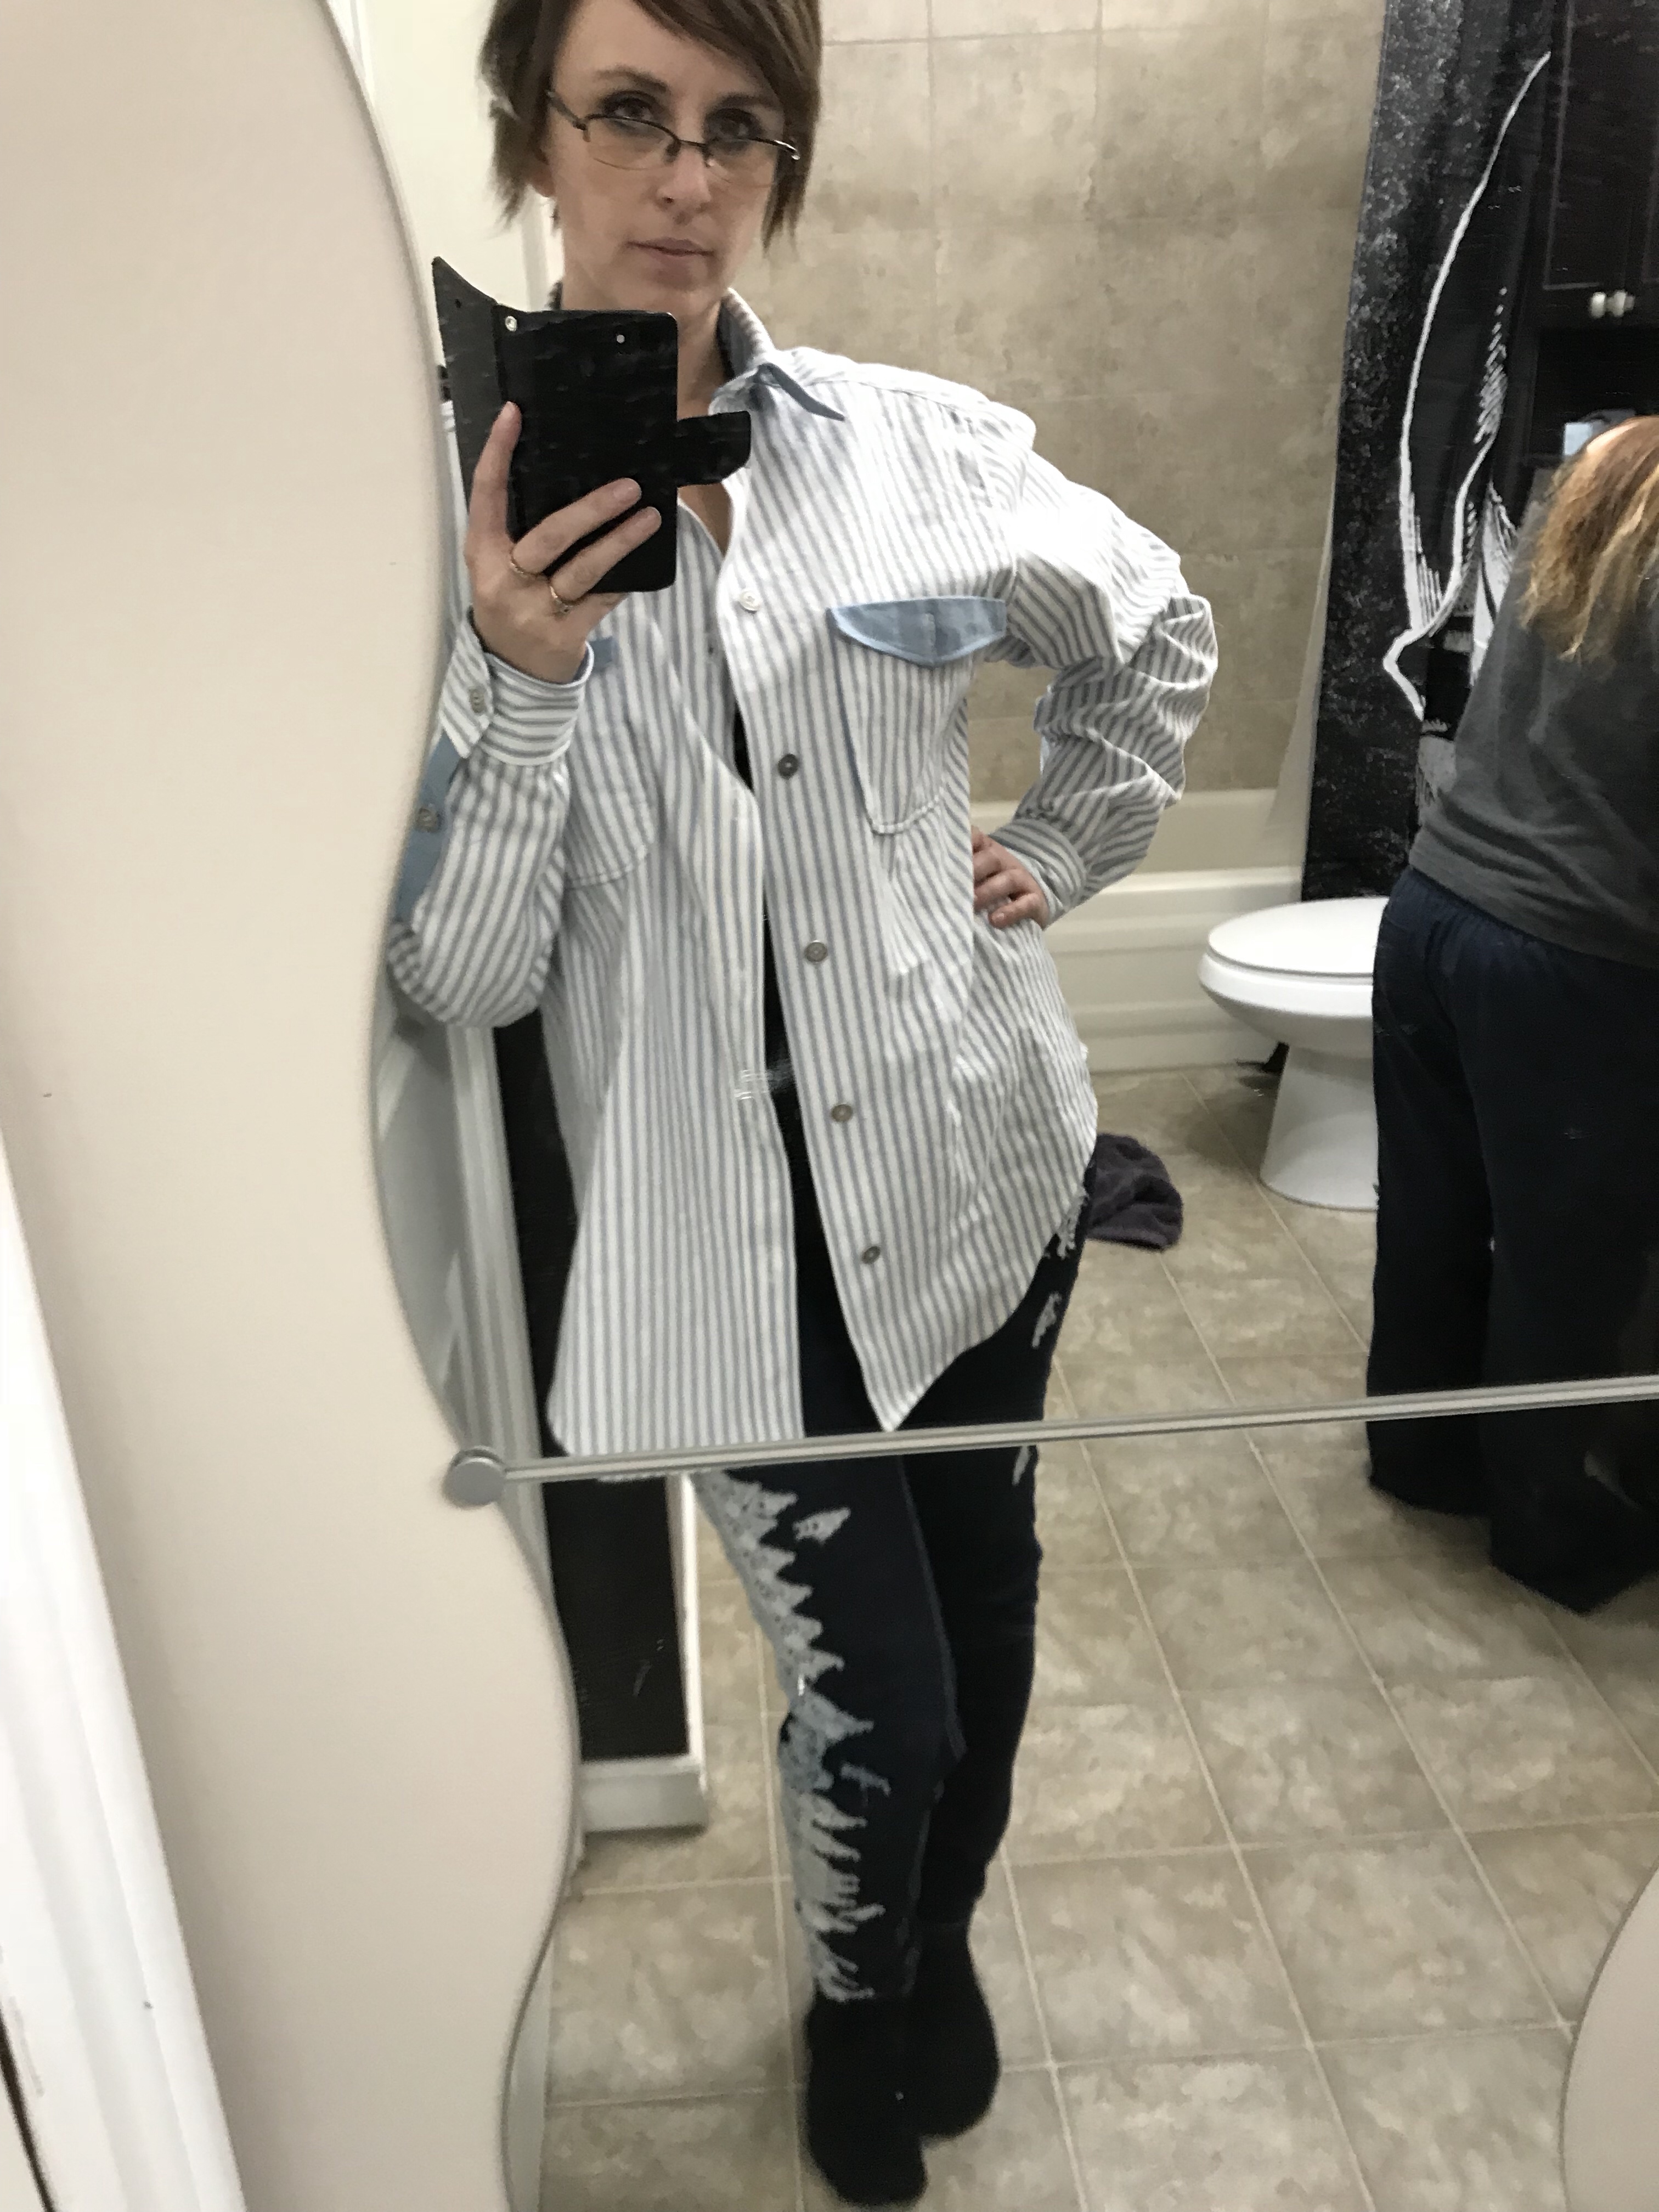 This is another one of those projects that seemed like a good idea at the time. Actually, i didn’t even mind the making so much. It was the making myself start making it that sucked eggs. I have a terrible time motivating myself for unselfish sewing.
 For a pattern, since I was doing this as a shop project, I went with
  I got a bit of coordinating quilt cotton to make contrast facings and a few other touches of color. The fun of menswear is in the little details, and it takes the right mindset for me to get in the mood.
 I don’t feel like this is a crowning example of shirt making. My stitching isn’t quite as precise as I’d like, and the soft twill liked to shift around. I topstitched some of it at about 1/4″ and some is edge stitched and I like the edgestitch better, but not enough to go back and redo it all. I used three machines in construction, not counting the serger, which I only used to finish the armscye since I’m too lazy to flat-fell. I used my usual Janome for the main construction, with walking foot to facilitate stripe matching on the collar and back yoke. I used my grandmother’s old Rocketeer for the buttonholes. And I used a 70s-era Elna a friend gave me last summer for the top stitching, since it has a speed control, which is pretty much my favourite thing for top stitching ever.
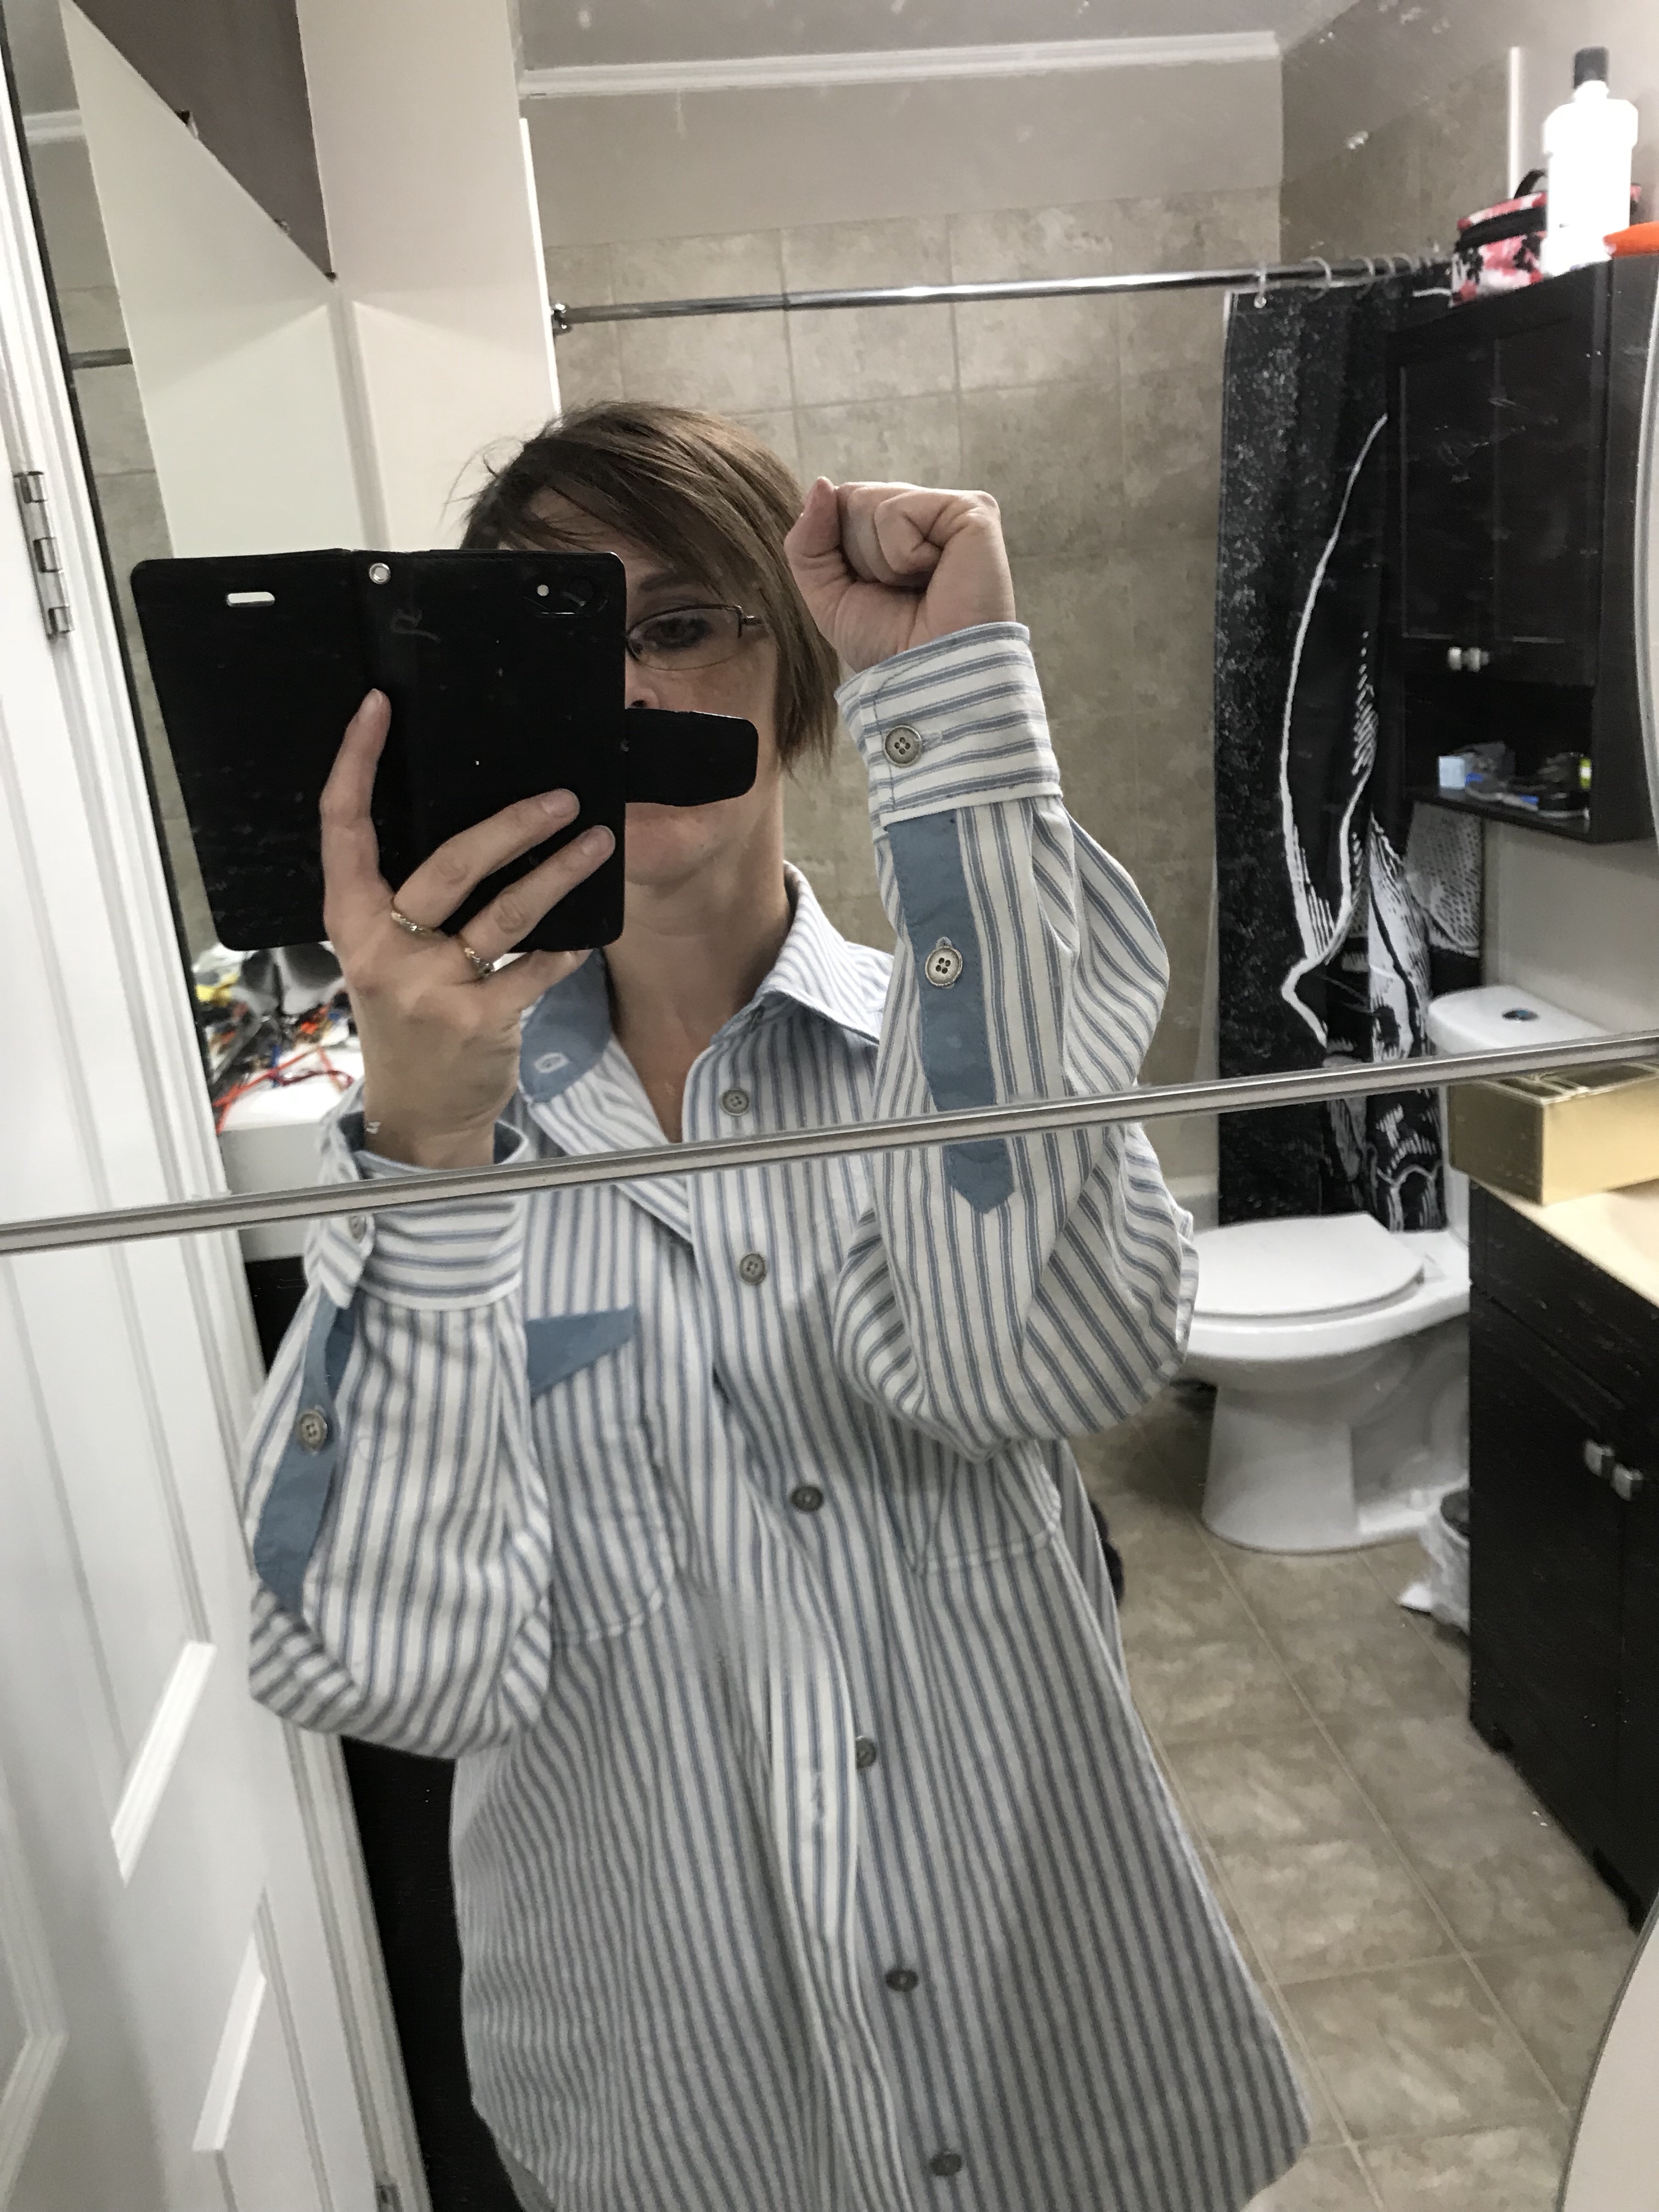 On the other hand, I really like the overall effect. I like my little blue touches.
 I kicked ass on the buttonholes (once I smartened up and put wash-away stabilizer under them all.)
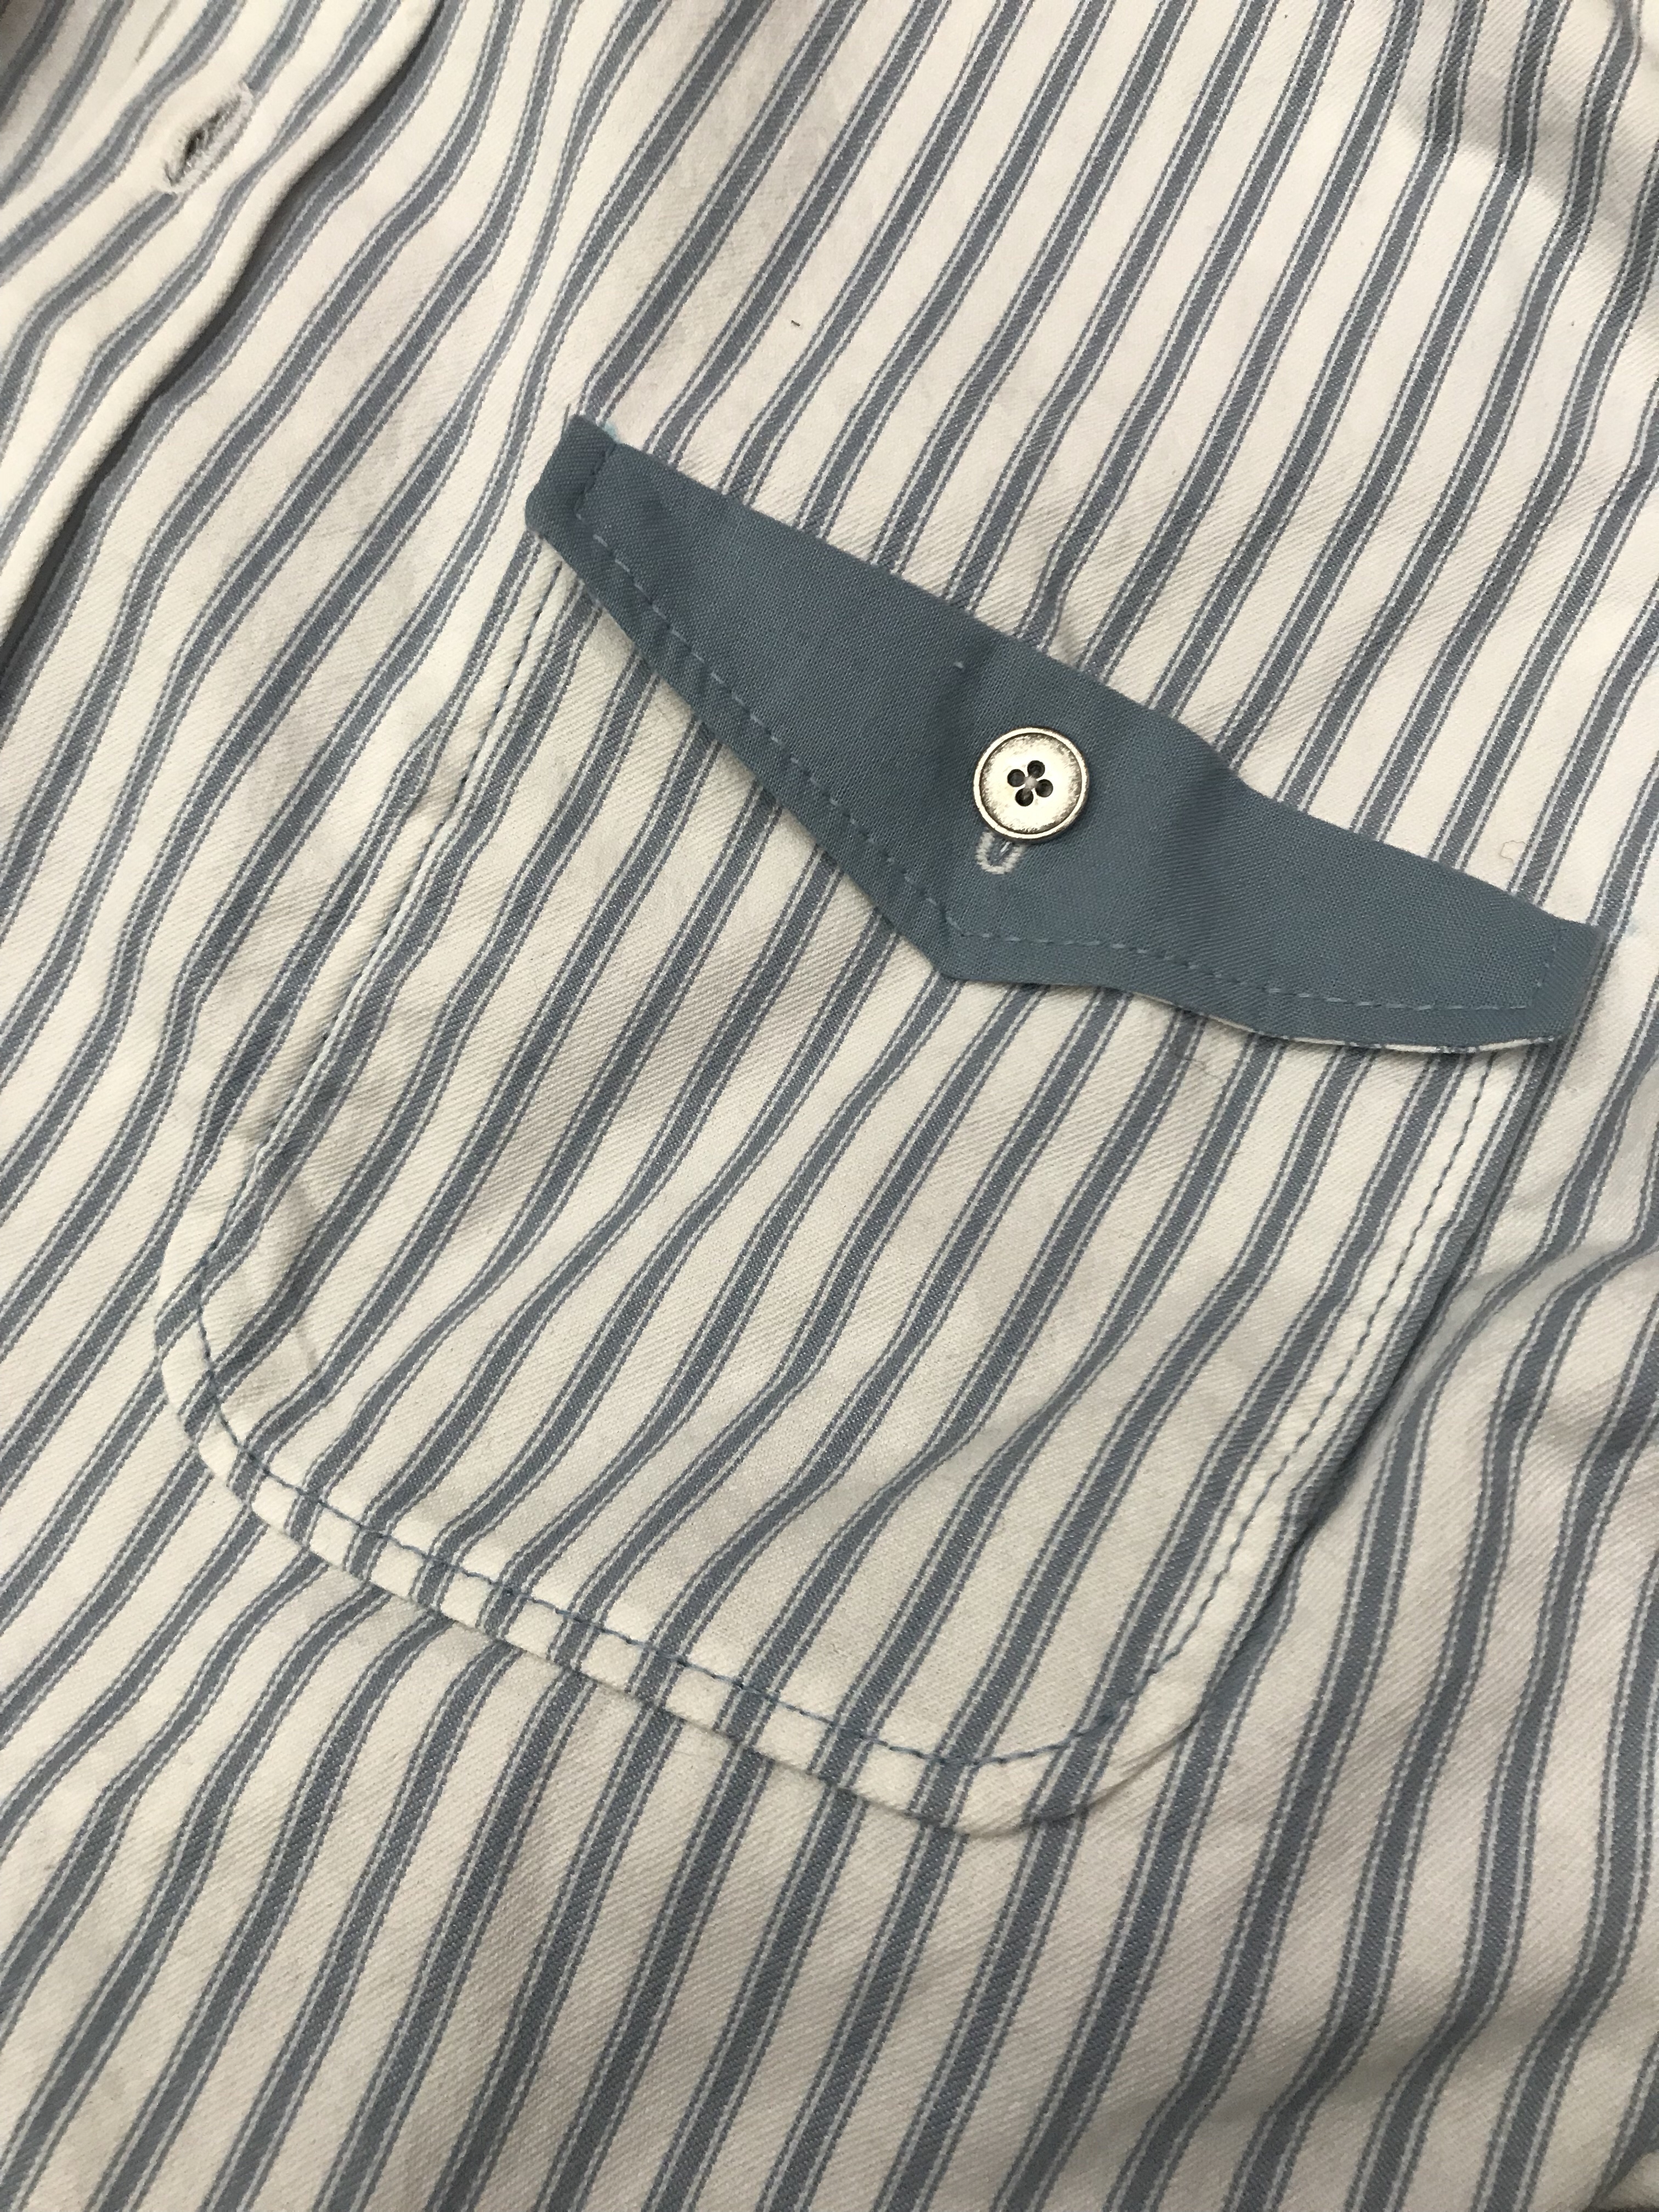 I really like my pocket mod. (I used the pattern piece provided but not the construction method.)
 And I think for a slouchy comfy shirt it might actually be just fine, even if I won’t be showing off my fine details.
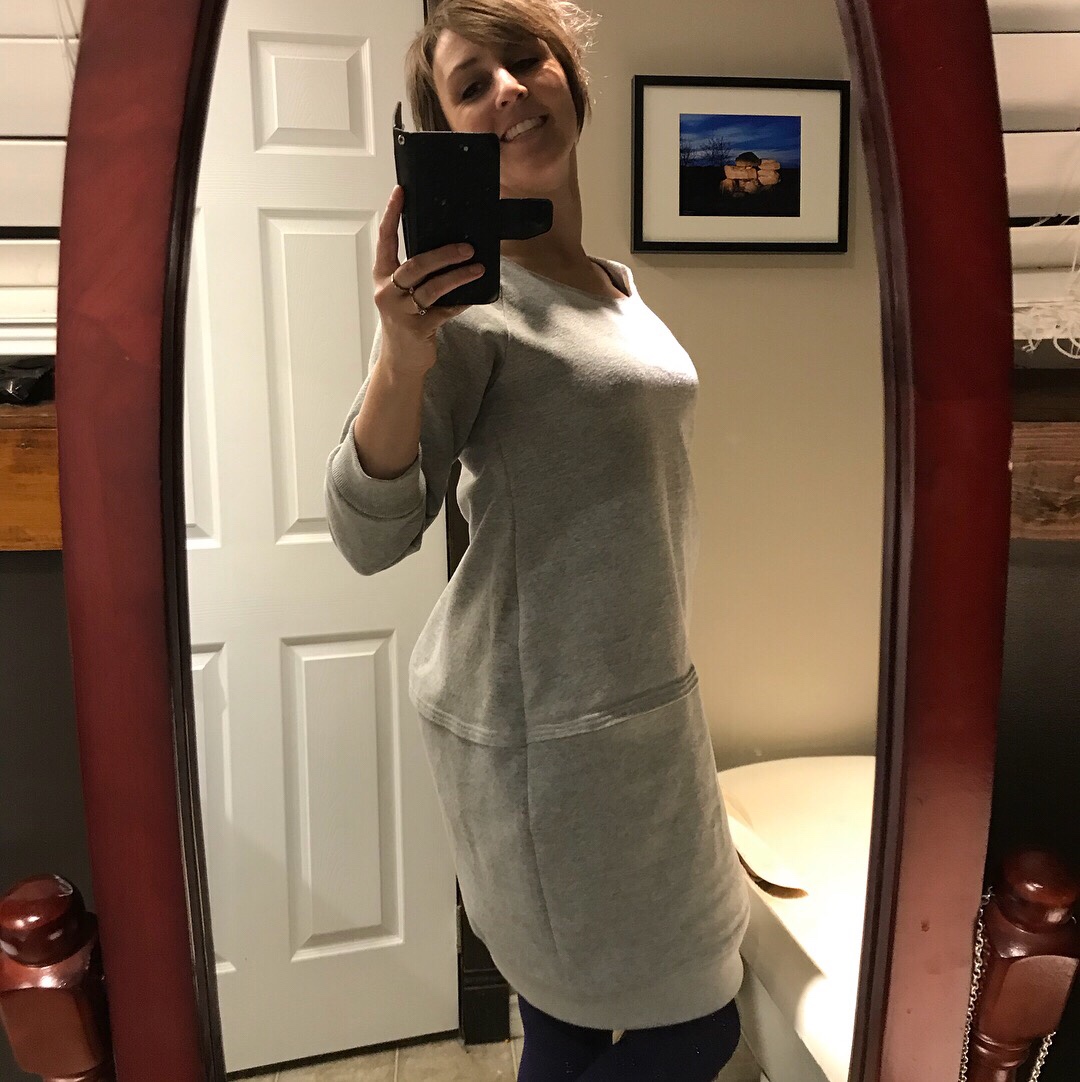 I don’t refashion much. Generally I’d rather send something to a thrift store than take it apart. I’m pretty happy about this exception, though.
 I made
  I considered shaping the hems, but went with a wide rib-knit band after I was able to find the same piece of grey ribbing.
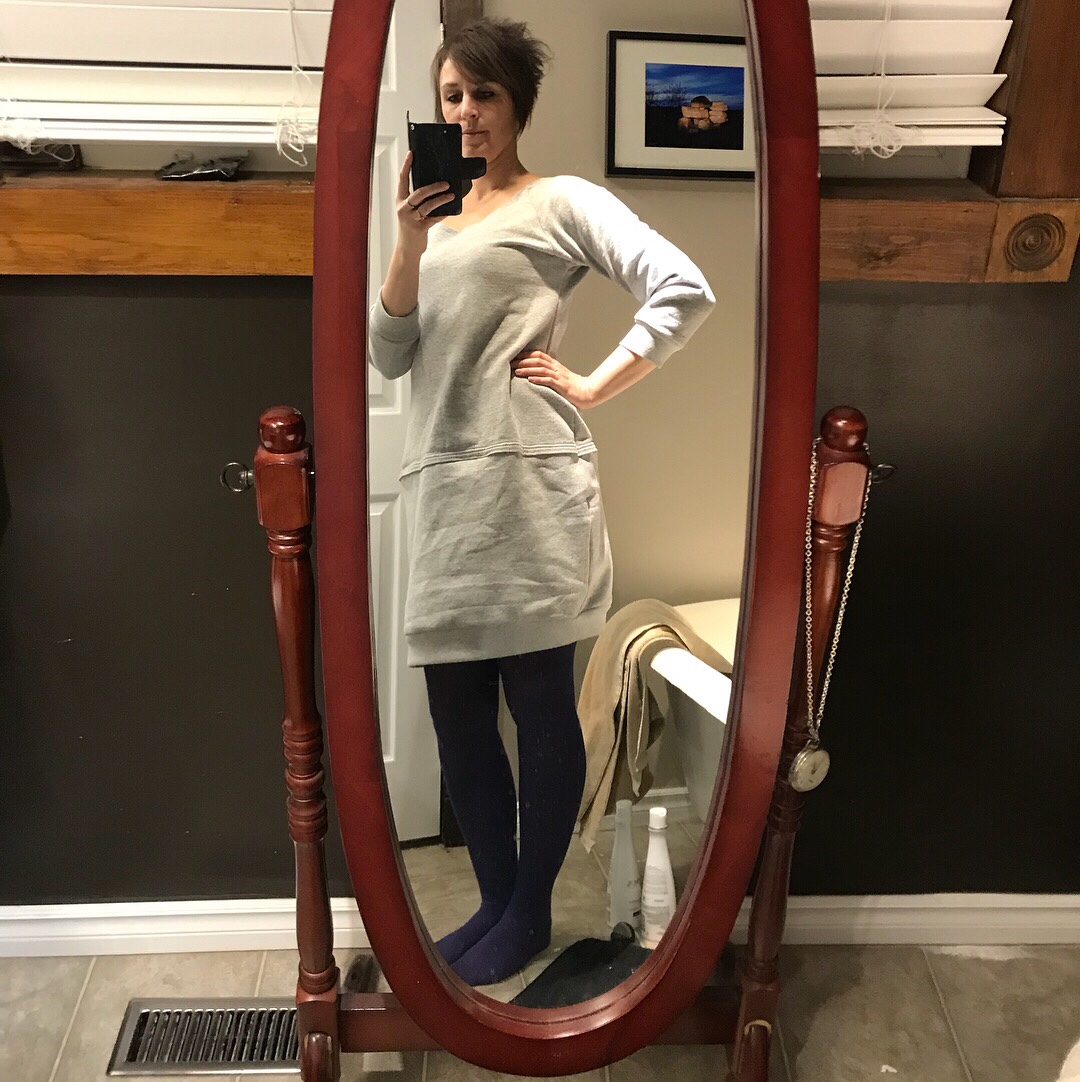 The only thing I’m thinking about now is adding pockets. EBoth my other grey sweater dresses have them, and I love the feature. As Syo pointed out, it would be easy enough to add some in the hip seam.
 One of the recurring themes of Canadian life is the perpetual quest for clothing which is both weather-appropriate and stylish. And comfy. Comfy would be nice. Sewing my own clothes has made this quest a bit easier, but it’s still pretty easy to get sidetracked by fun but impractical makes.
 I finally decided to make it happen for a shop project this fall, since all I want to sew right now is warm and cozy stuff.
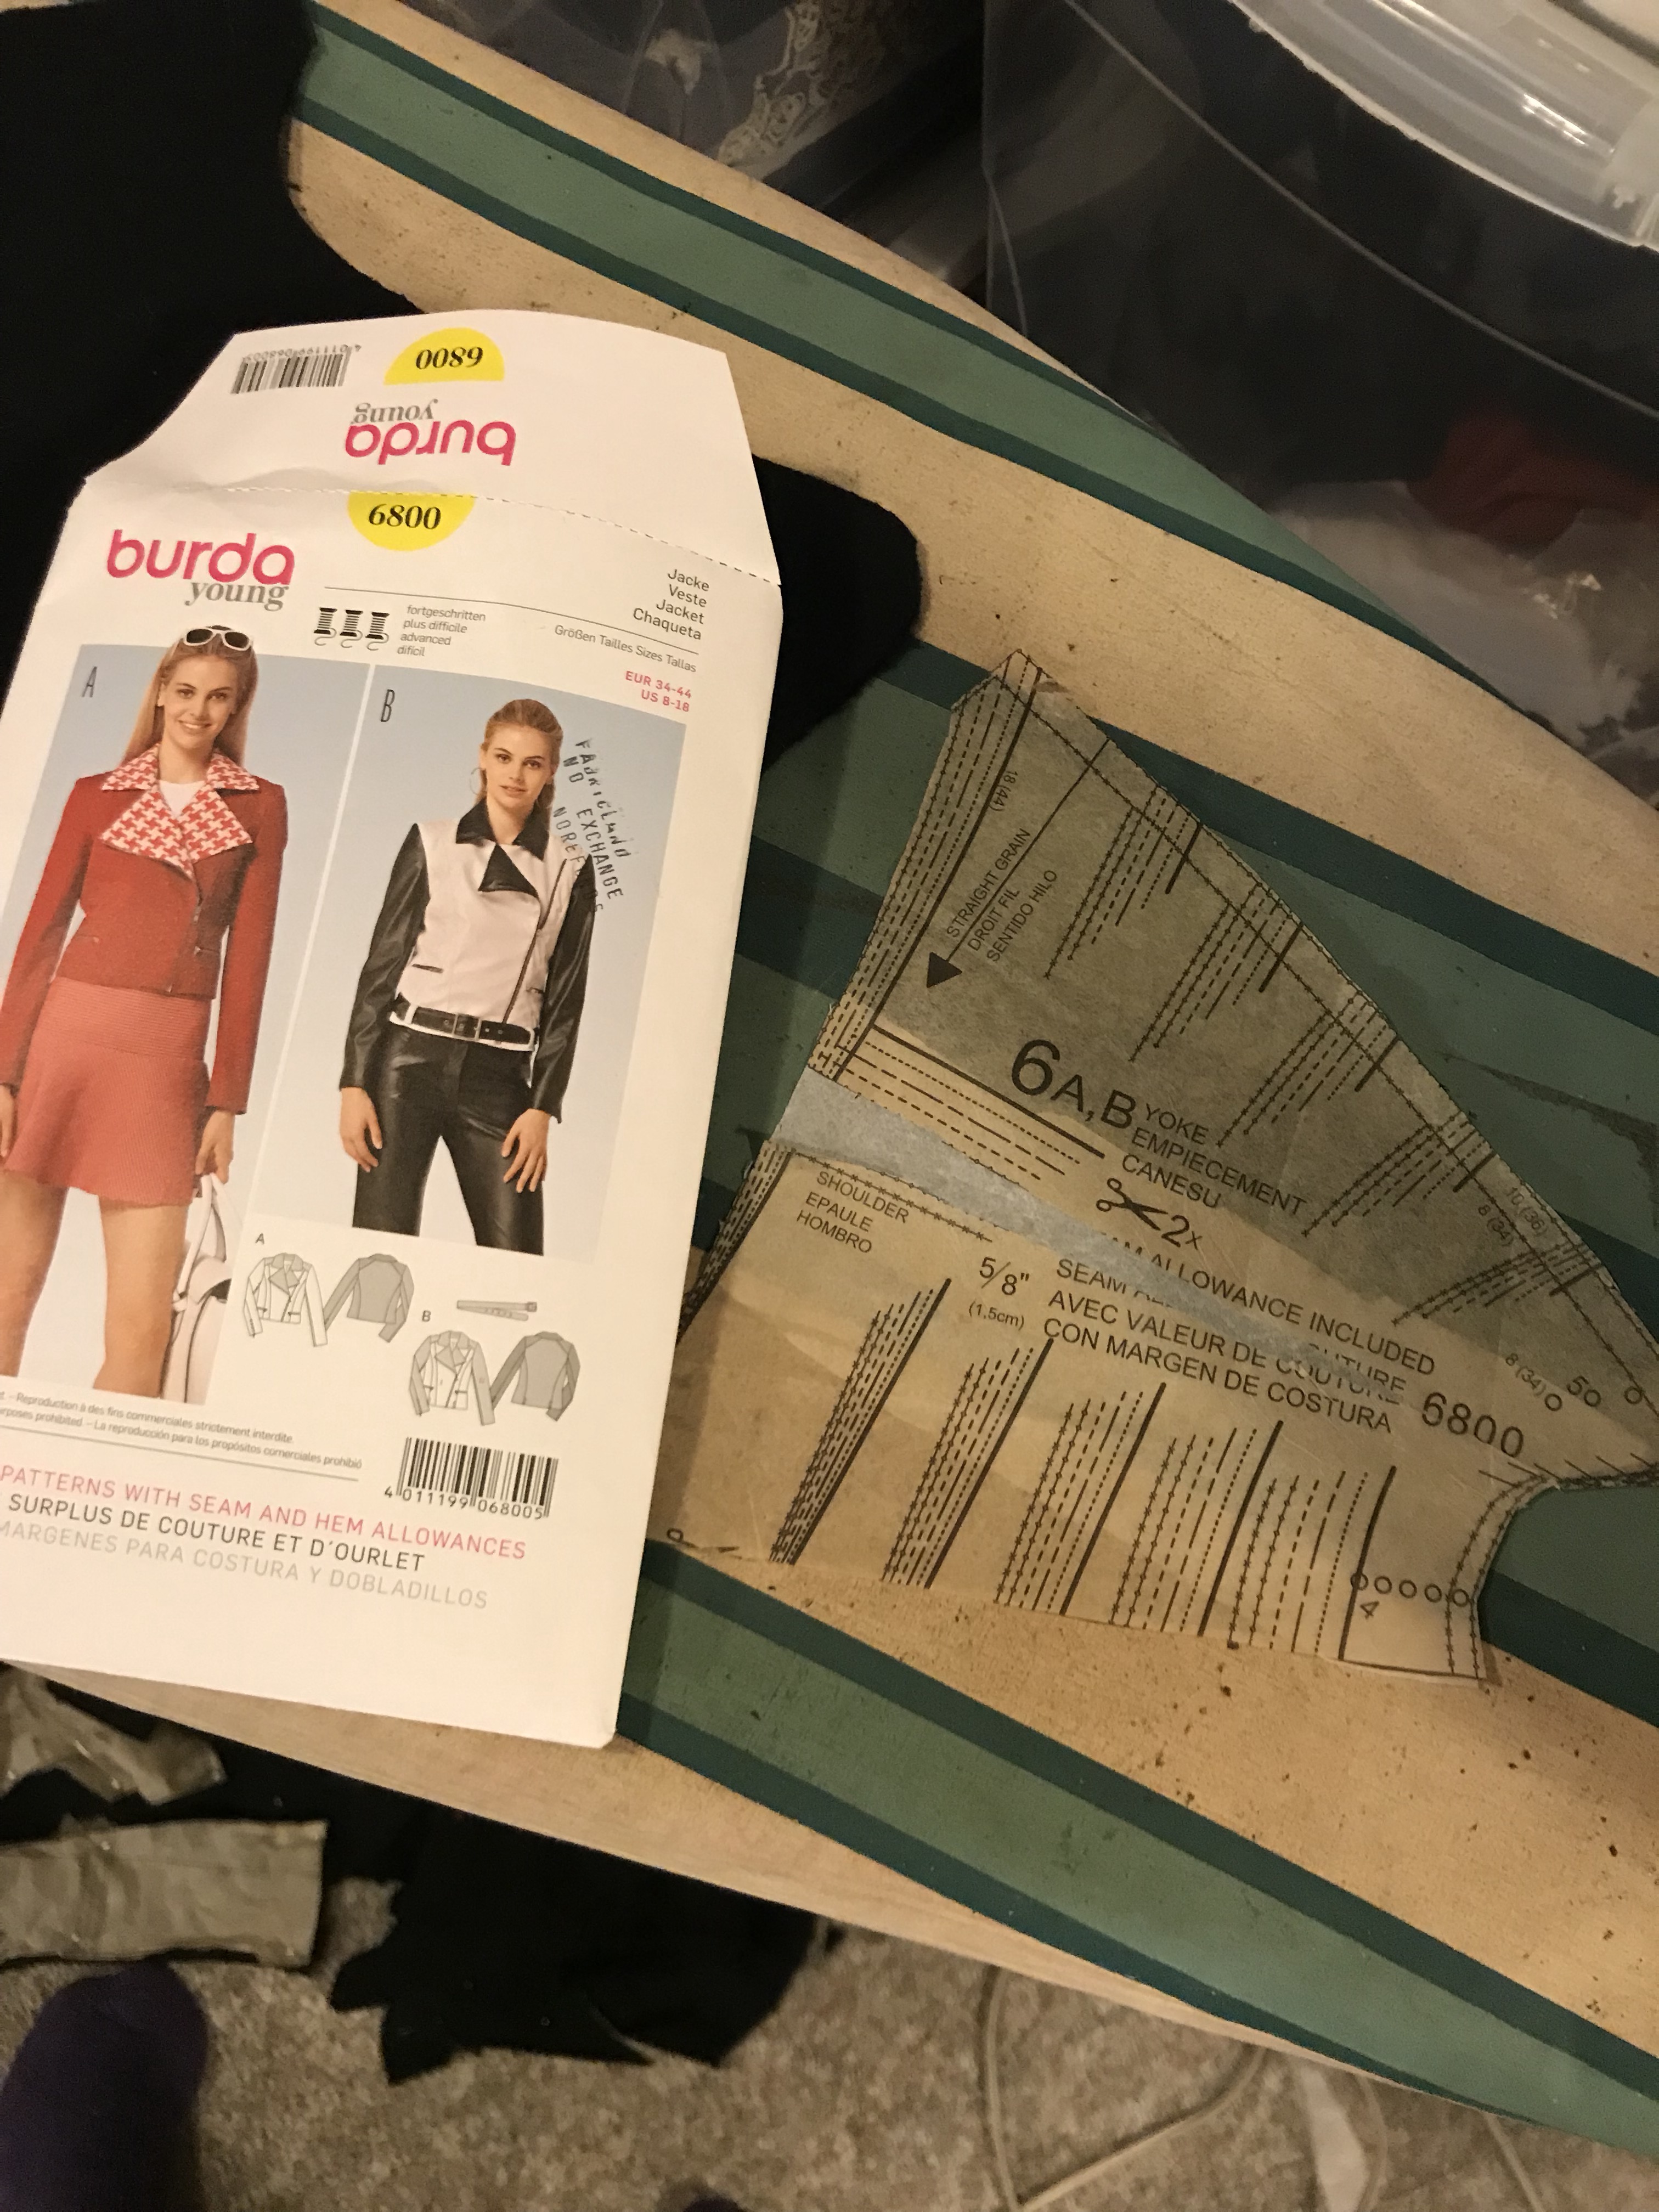 I squared the shoulders slightly. Glad I have now figured out how to do that in a shoulder yoke situation.
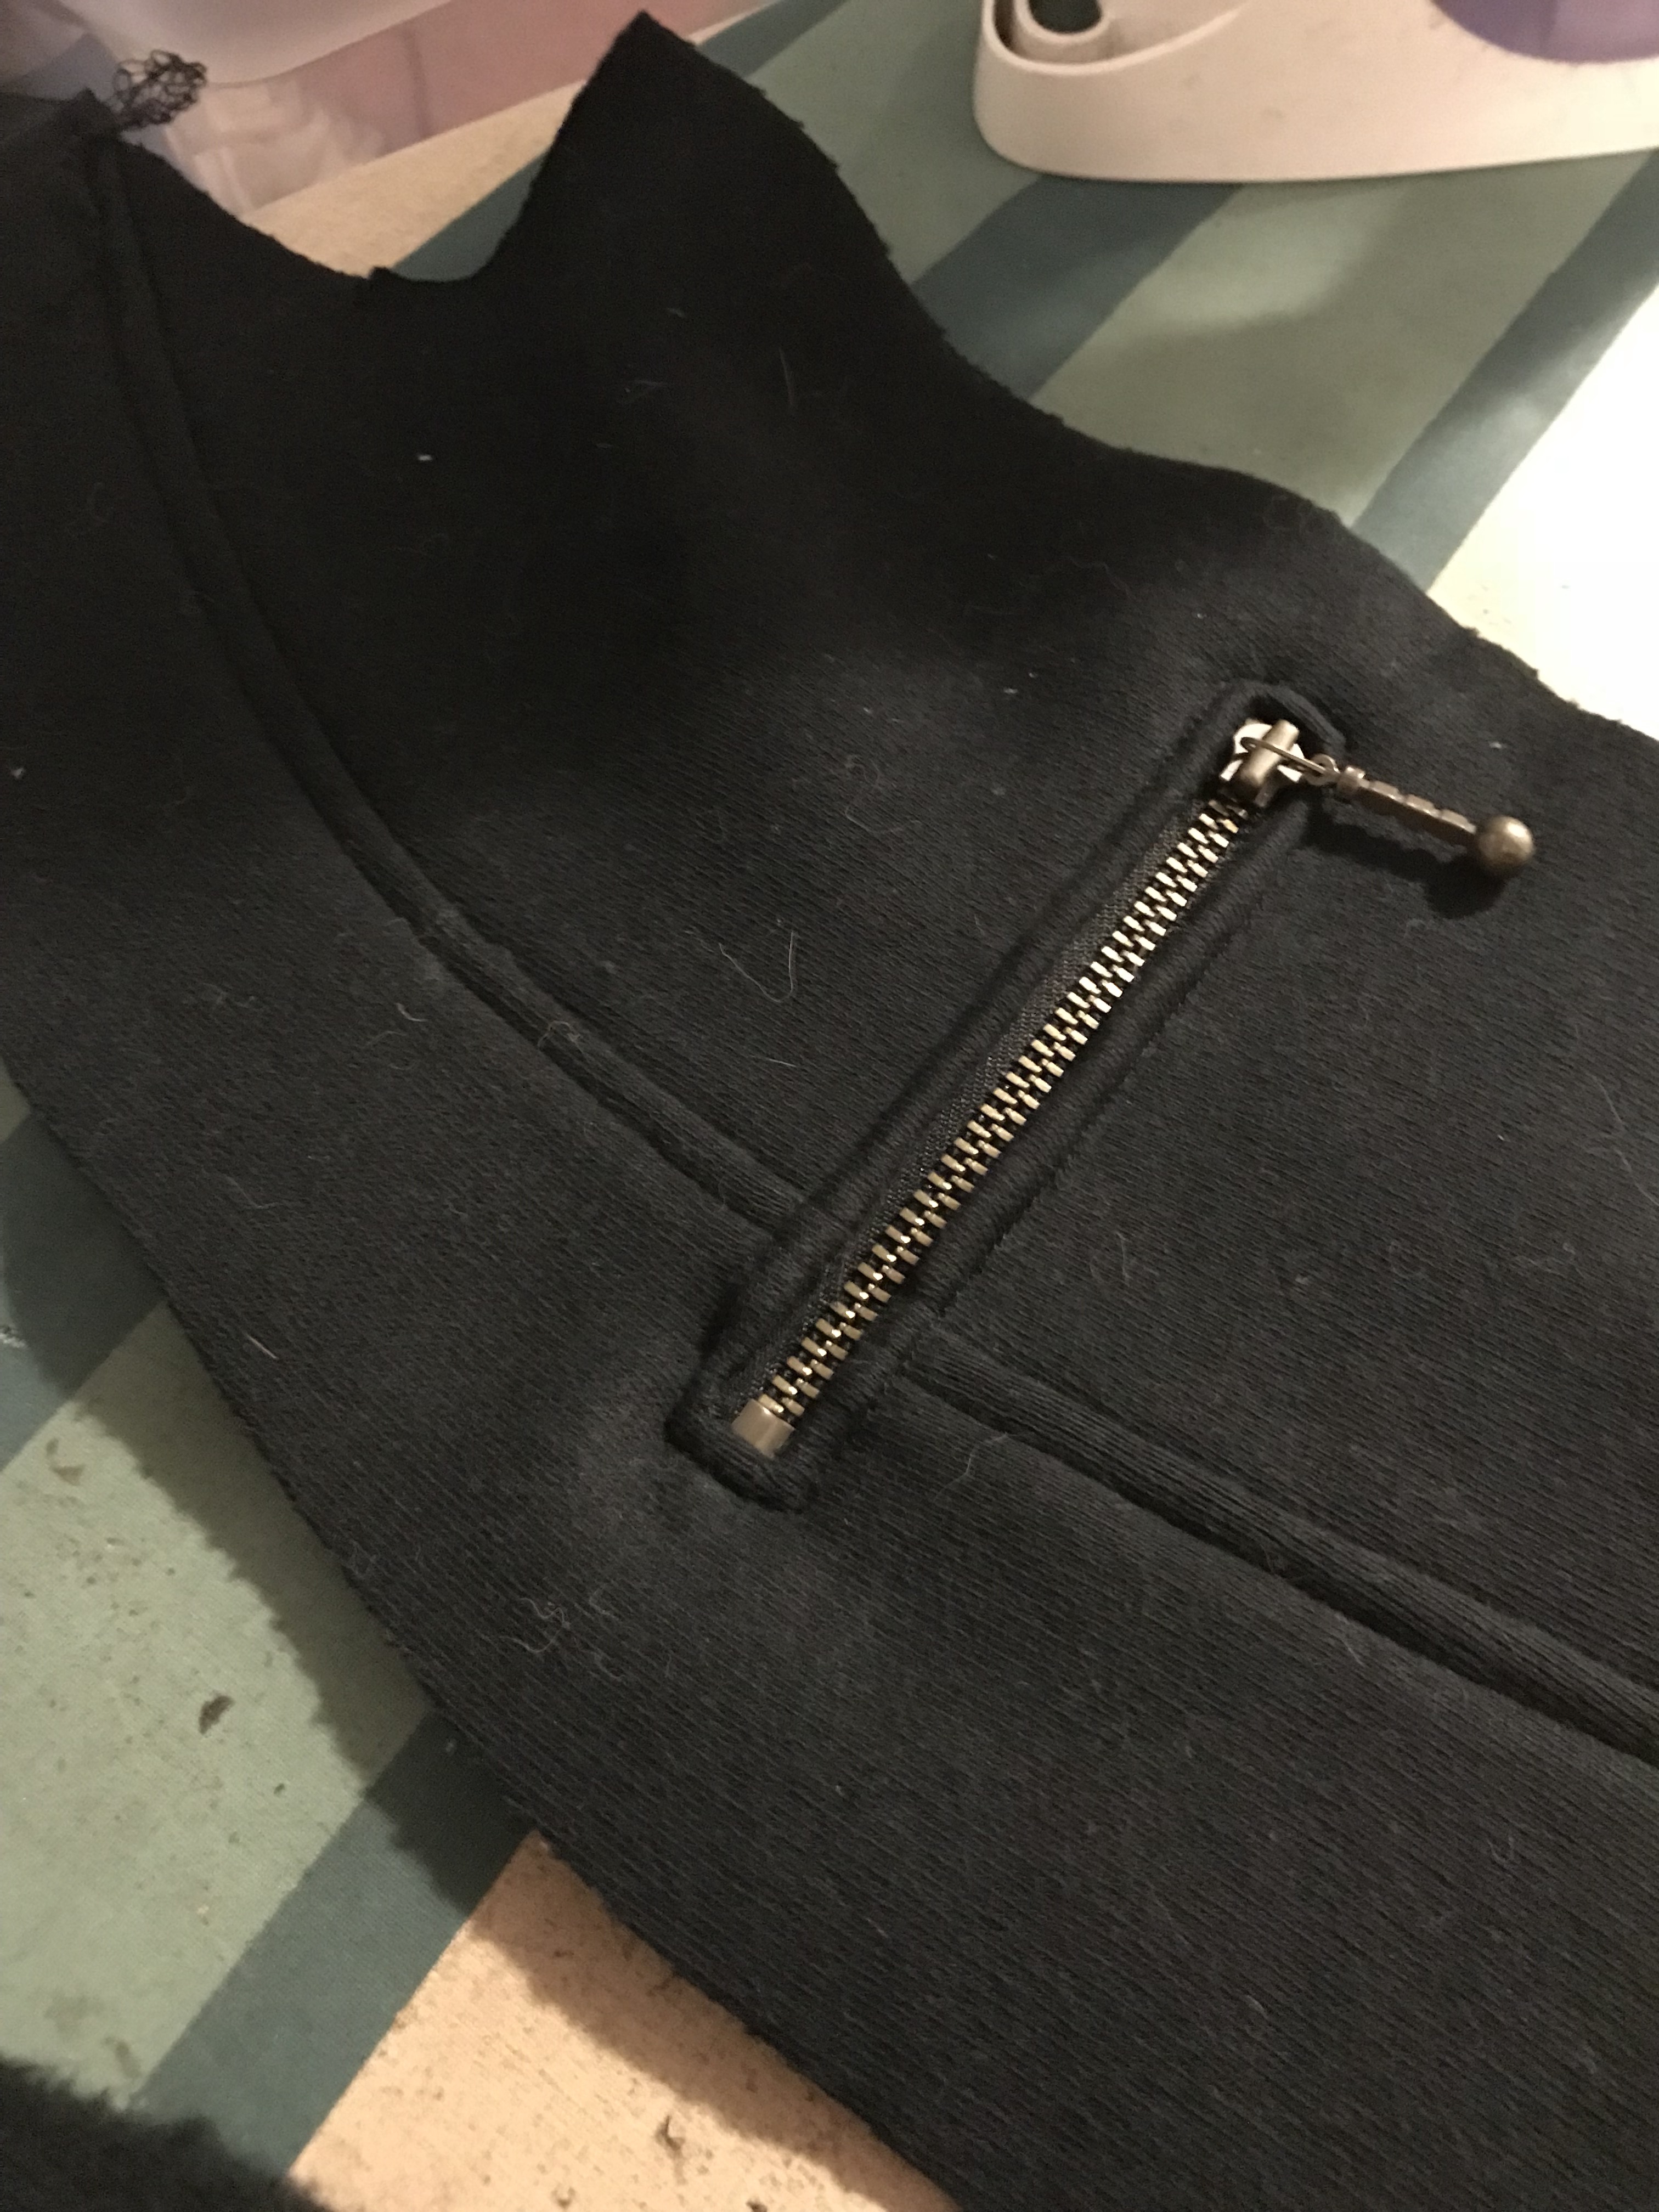 The pockets are located below the waist, but I didn’t want to lose them, so as soon as I had the two front panels together I tried them on to make sure there would be room for little under boob pockets. There was. Did I mention I used the pocket piece as drafted? These are teeeny pockets.
 I am just hoping they’re big enough for a credit card. In hind sight, since my version isn’t lined, I should’ve cut the pocket pieces to match the shape of the front panels, so their edges could be fully caught in the seams. Plus I’d get at least slightly bigger pockets that way. The pockets were cut out of cotton spandex jersey scraps. I fused a strip of fusible knit where the opening would be. There was a lot of fusible knit involved in this project. It turns the beefy sweatshirt knit into something that almost has the feel of laminate foam. Possibly a didn’t need quite as much as I used, but I find that a hard call to make when I’m constructing a woven pattern out of a knit.
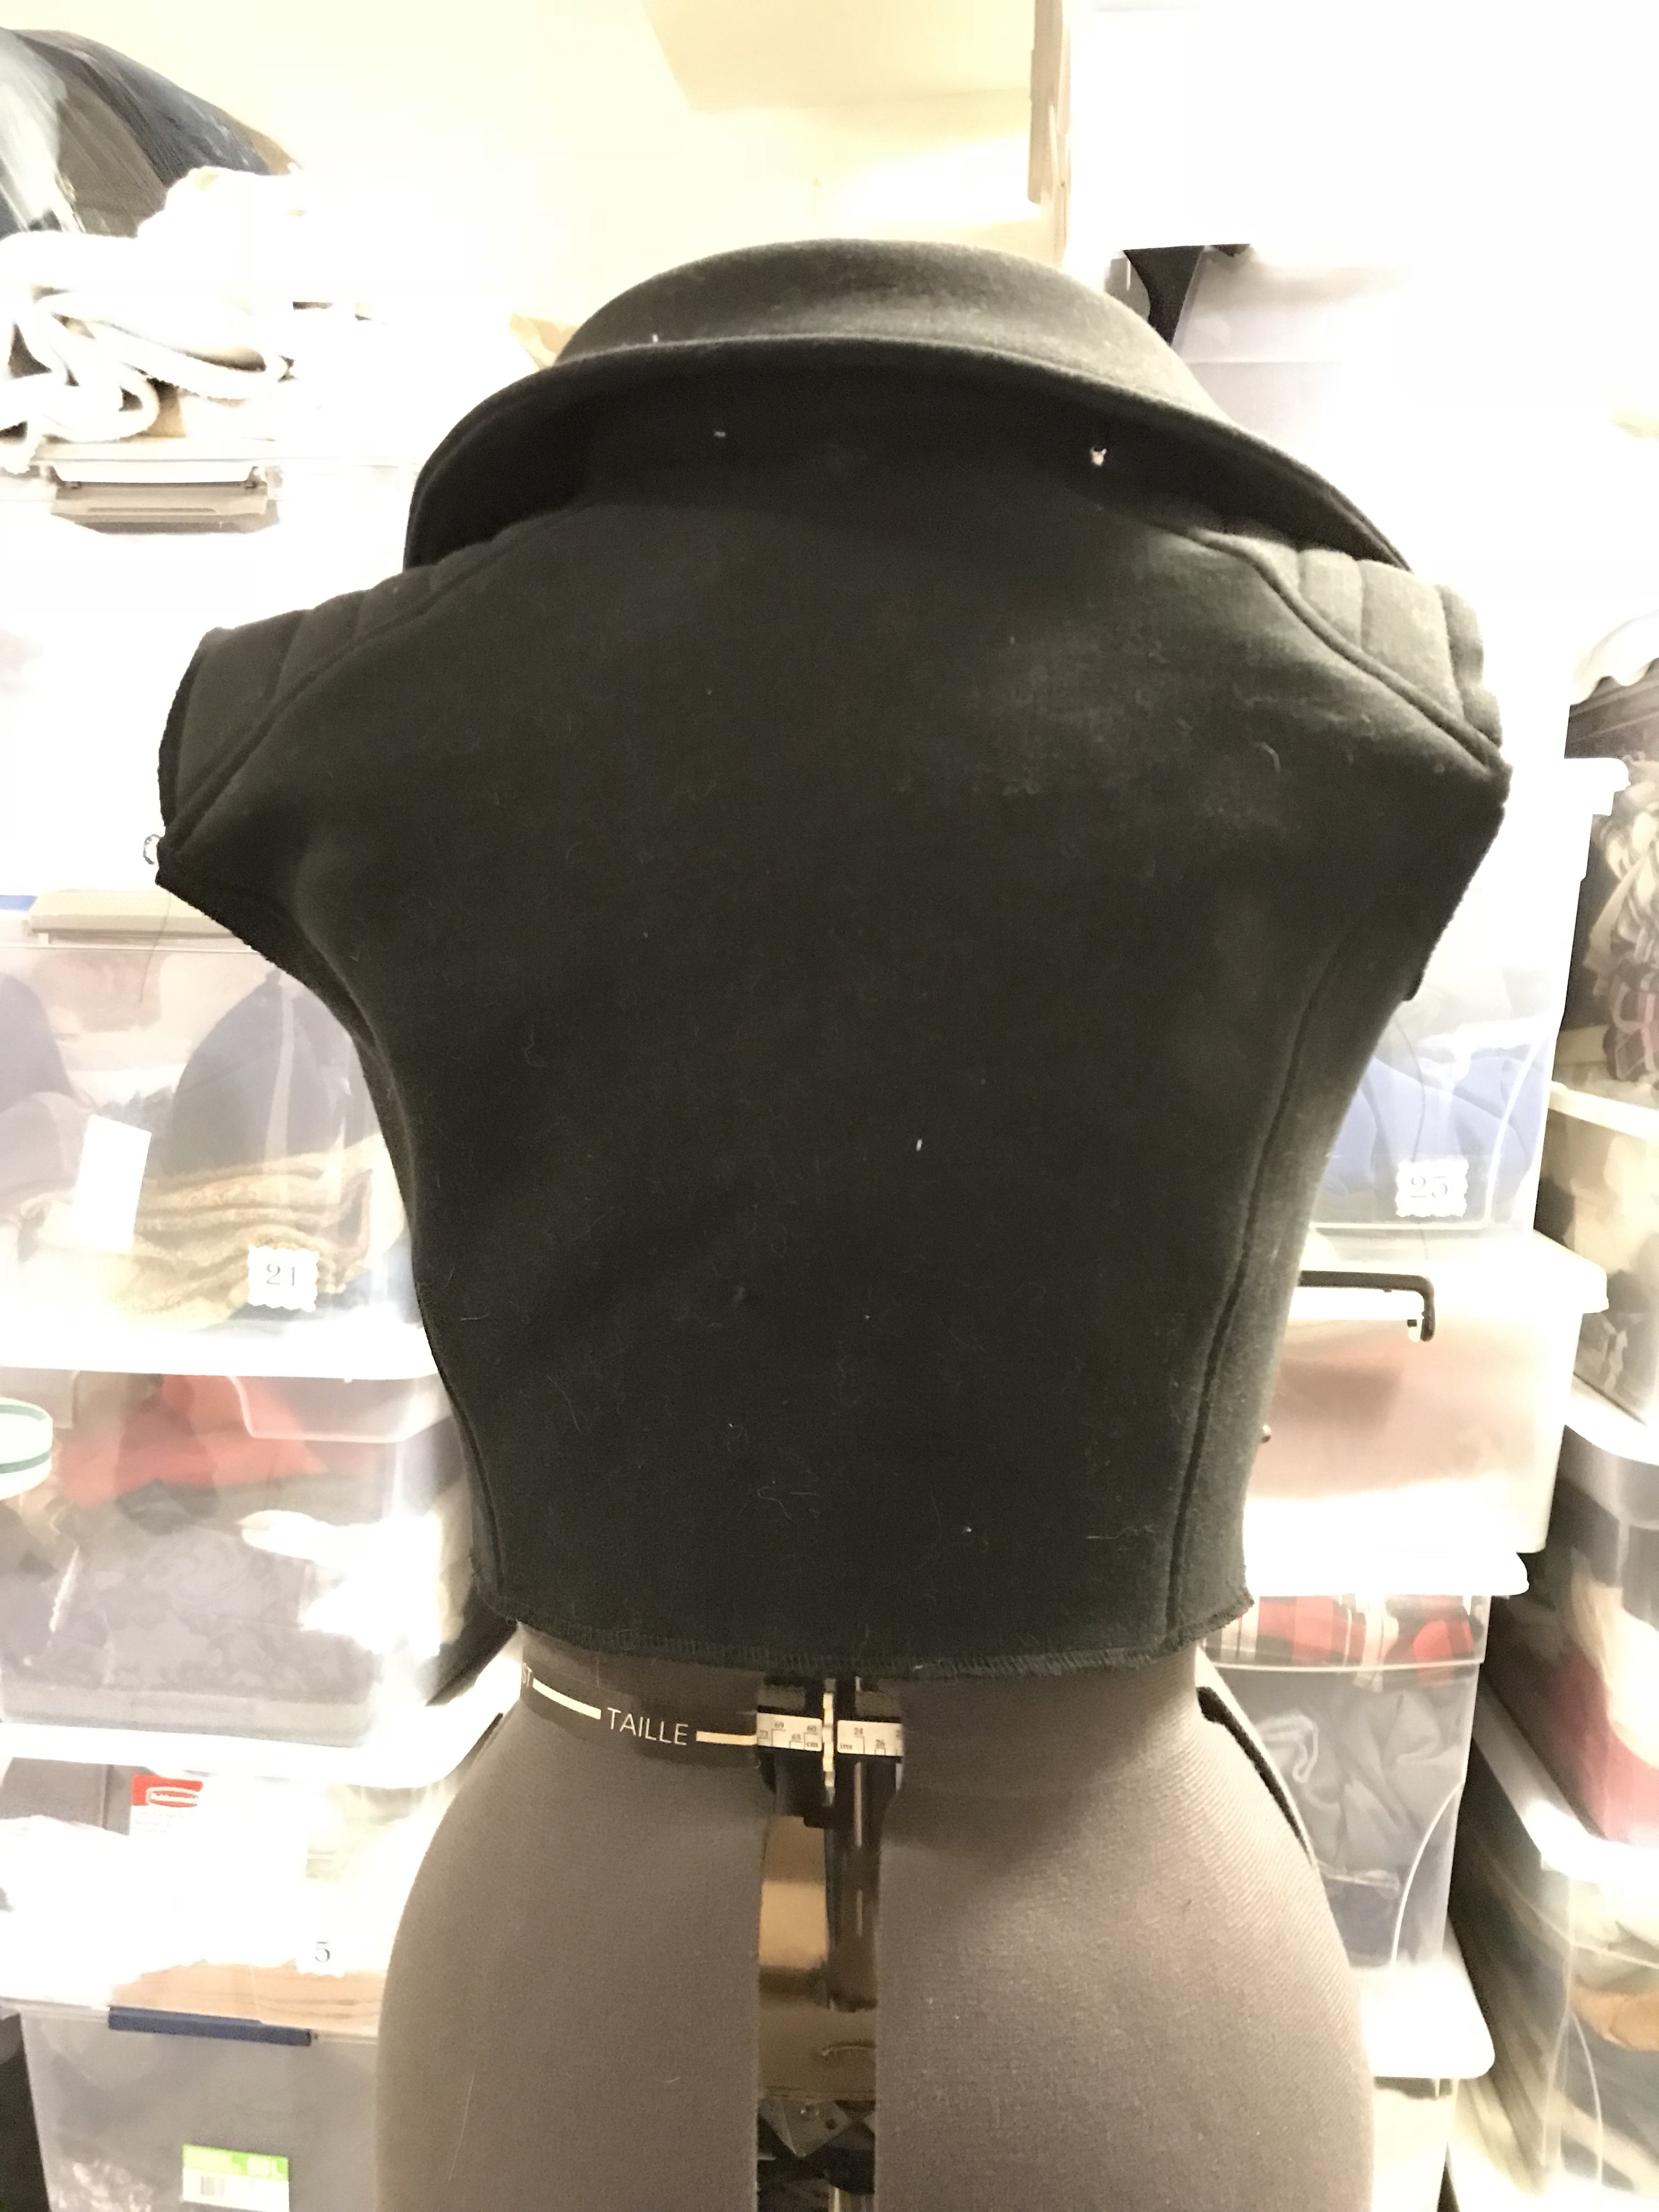 After I got it to the try-on stage I realized I wanted to take in the princess seams in the back for a closer fit there. Of course, this was after I’d already topstitched. Pulling topstitching out of a spongy, thick knit is a special circle of hell, I think.
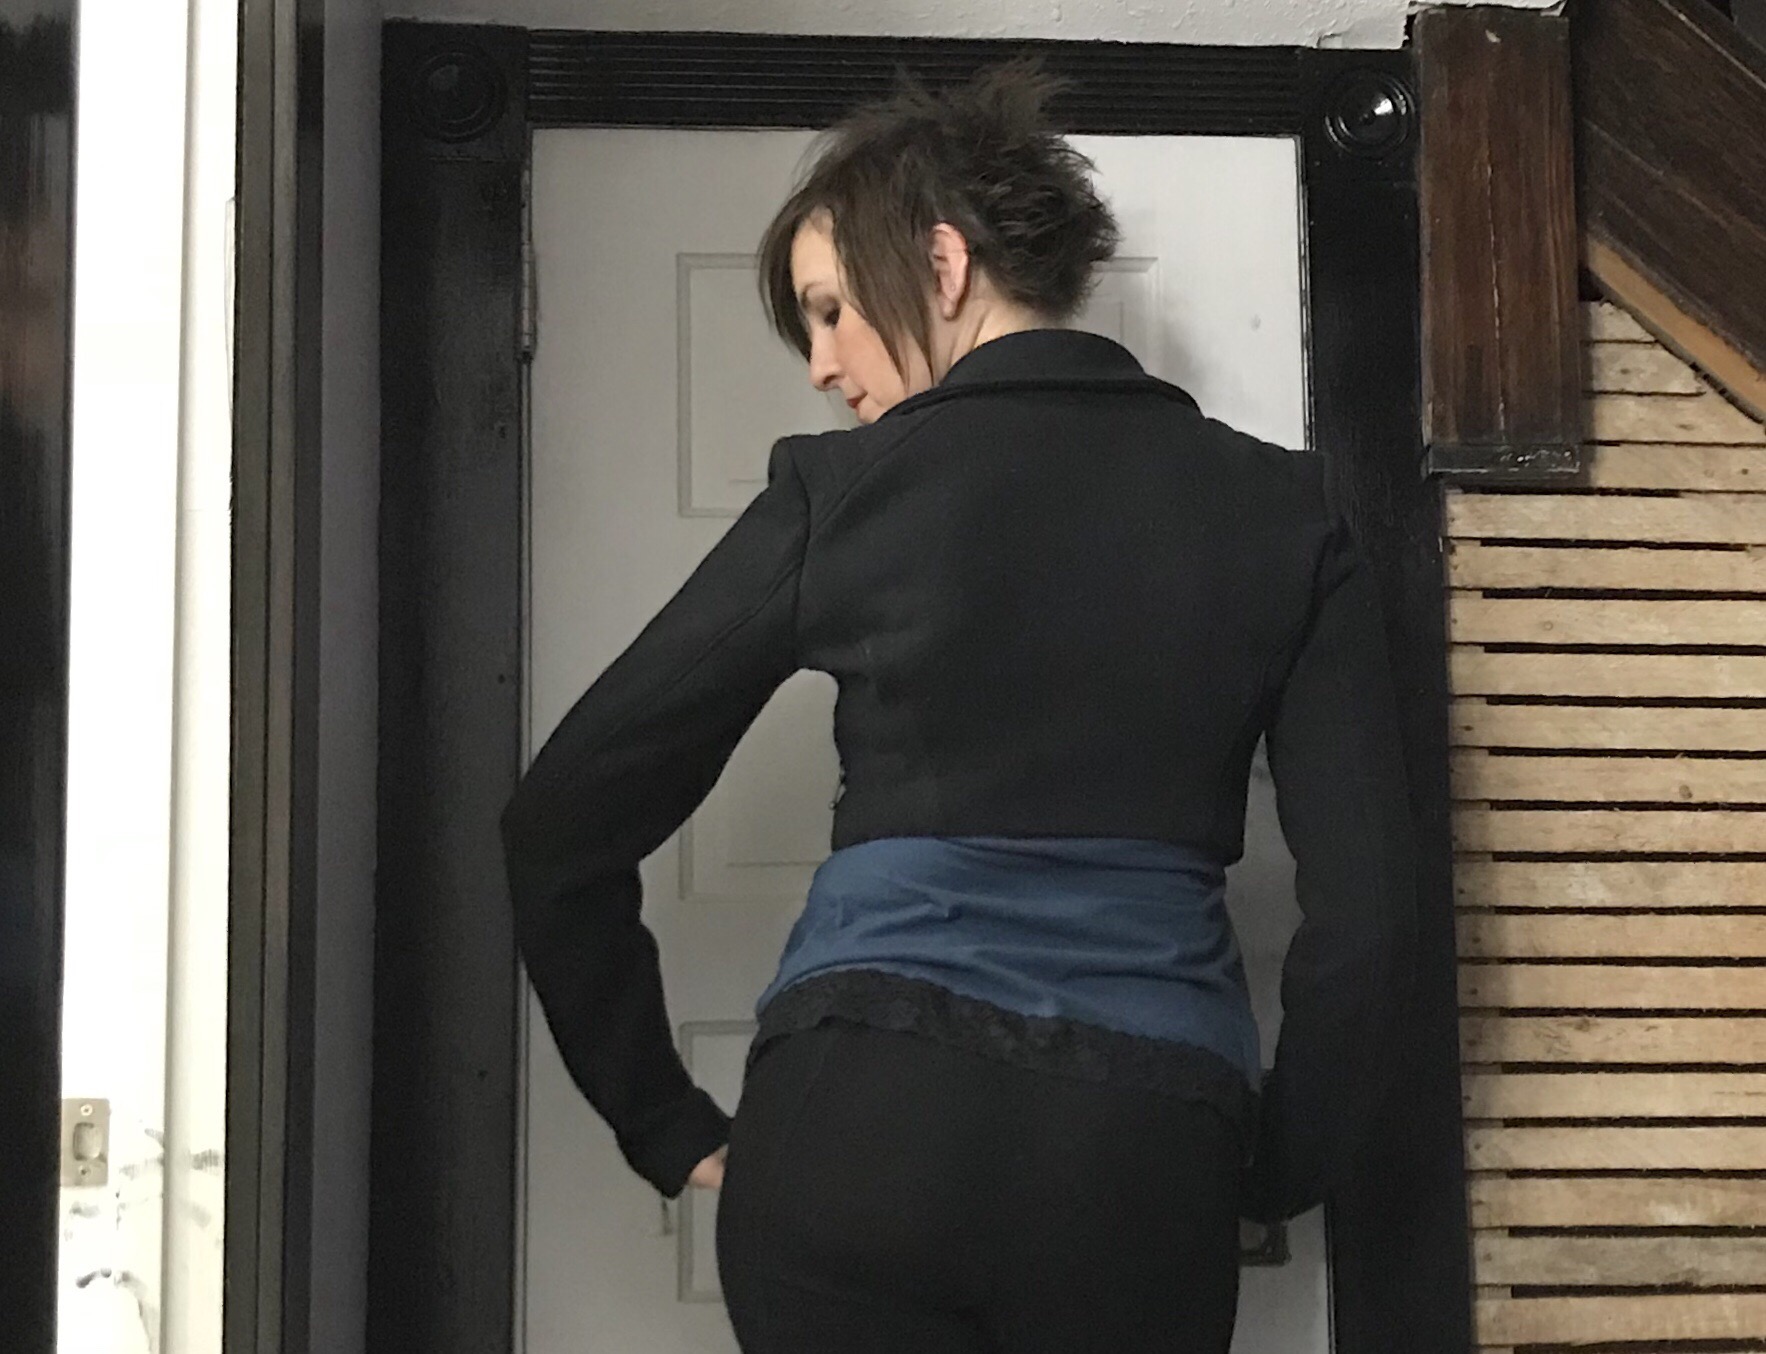 The shoulders are a bit wide, I think as a jacket vs. sweater consequence. I could’ve narrowed them but it would’ve messed with the evenness of the quilted lines on the shoulder yoke. First world problems. Speaking of which, those shoulders are pretty crazy. It’s a layer of batting sandwiched between two layers of sweater fleece, and they’re almost in football pad territory. I used my walking foot for the quilting and it still shifted a bunch, but I was able to more or less trim things back I to shape after.
 I didn’t do my usual “petite” alteration, but I did raise the underarm on both bodice and sleeve. That was simpler given the pieces involved. Also lengthened the sleeve 2″. I could’ve probably gotten away with 1″, but extra long sleeves make me happy.
 This is one of those projects I’m sad I have to let hang for a month. I would’ve worn it at least twice this week already. On the other hand, I really didn’t want to pay for the fabric. So there’s that.
 In the meantime, I’m supposed to be making a motorcycle cover. That isn’t nearly as fun as the jacket, by the way.
 I even like it with my new


