It’s been a while since I made anything for Osiris. I think the last thing was a pair of indifferently-fitting fleece pants for last Christmas, distinguished only by the fact that they were the only thing I sewed anyone for Christmas. He’s not really demanding in that department, but he was definitely starting to pout, especially after all the Hallowe’en sewing I did for the kids (hopefully I’ll manage to post about that eventually, if not check my Instagram feed. :P). And it’s certainly not that I don’t have lots of ideas of things to make him. I have the Thread Theory Strathcona henley printed out but still needing taping. I’d still like to try jeans, but I didn’t think I had the energy for a major project. Turns out the joke is on me since this simple sweatshirt spiraled well out of control.
So, why a sweatshirt? Well, Osiris is many things, but foremost among them is an 80s boy. I can’t explain it, but there’s something about that decade that appeals to him. And there are few things he likes better than a warm, cozy sweatshirt.
Which, it turns out, is actually pretty hard to find these days outside of a thrift-store. Everything is hoodies with zippers. On the other hand, though, a sweatshirt is dead simple to make.
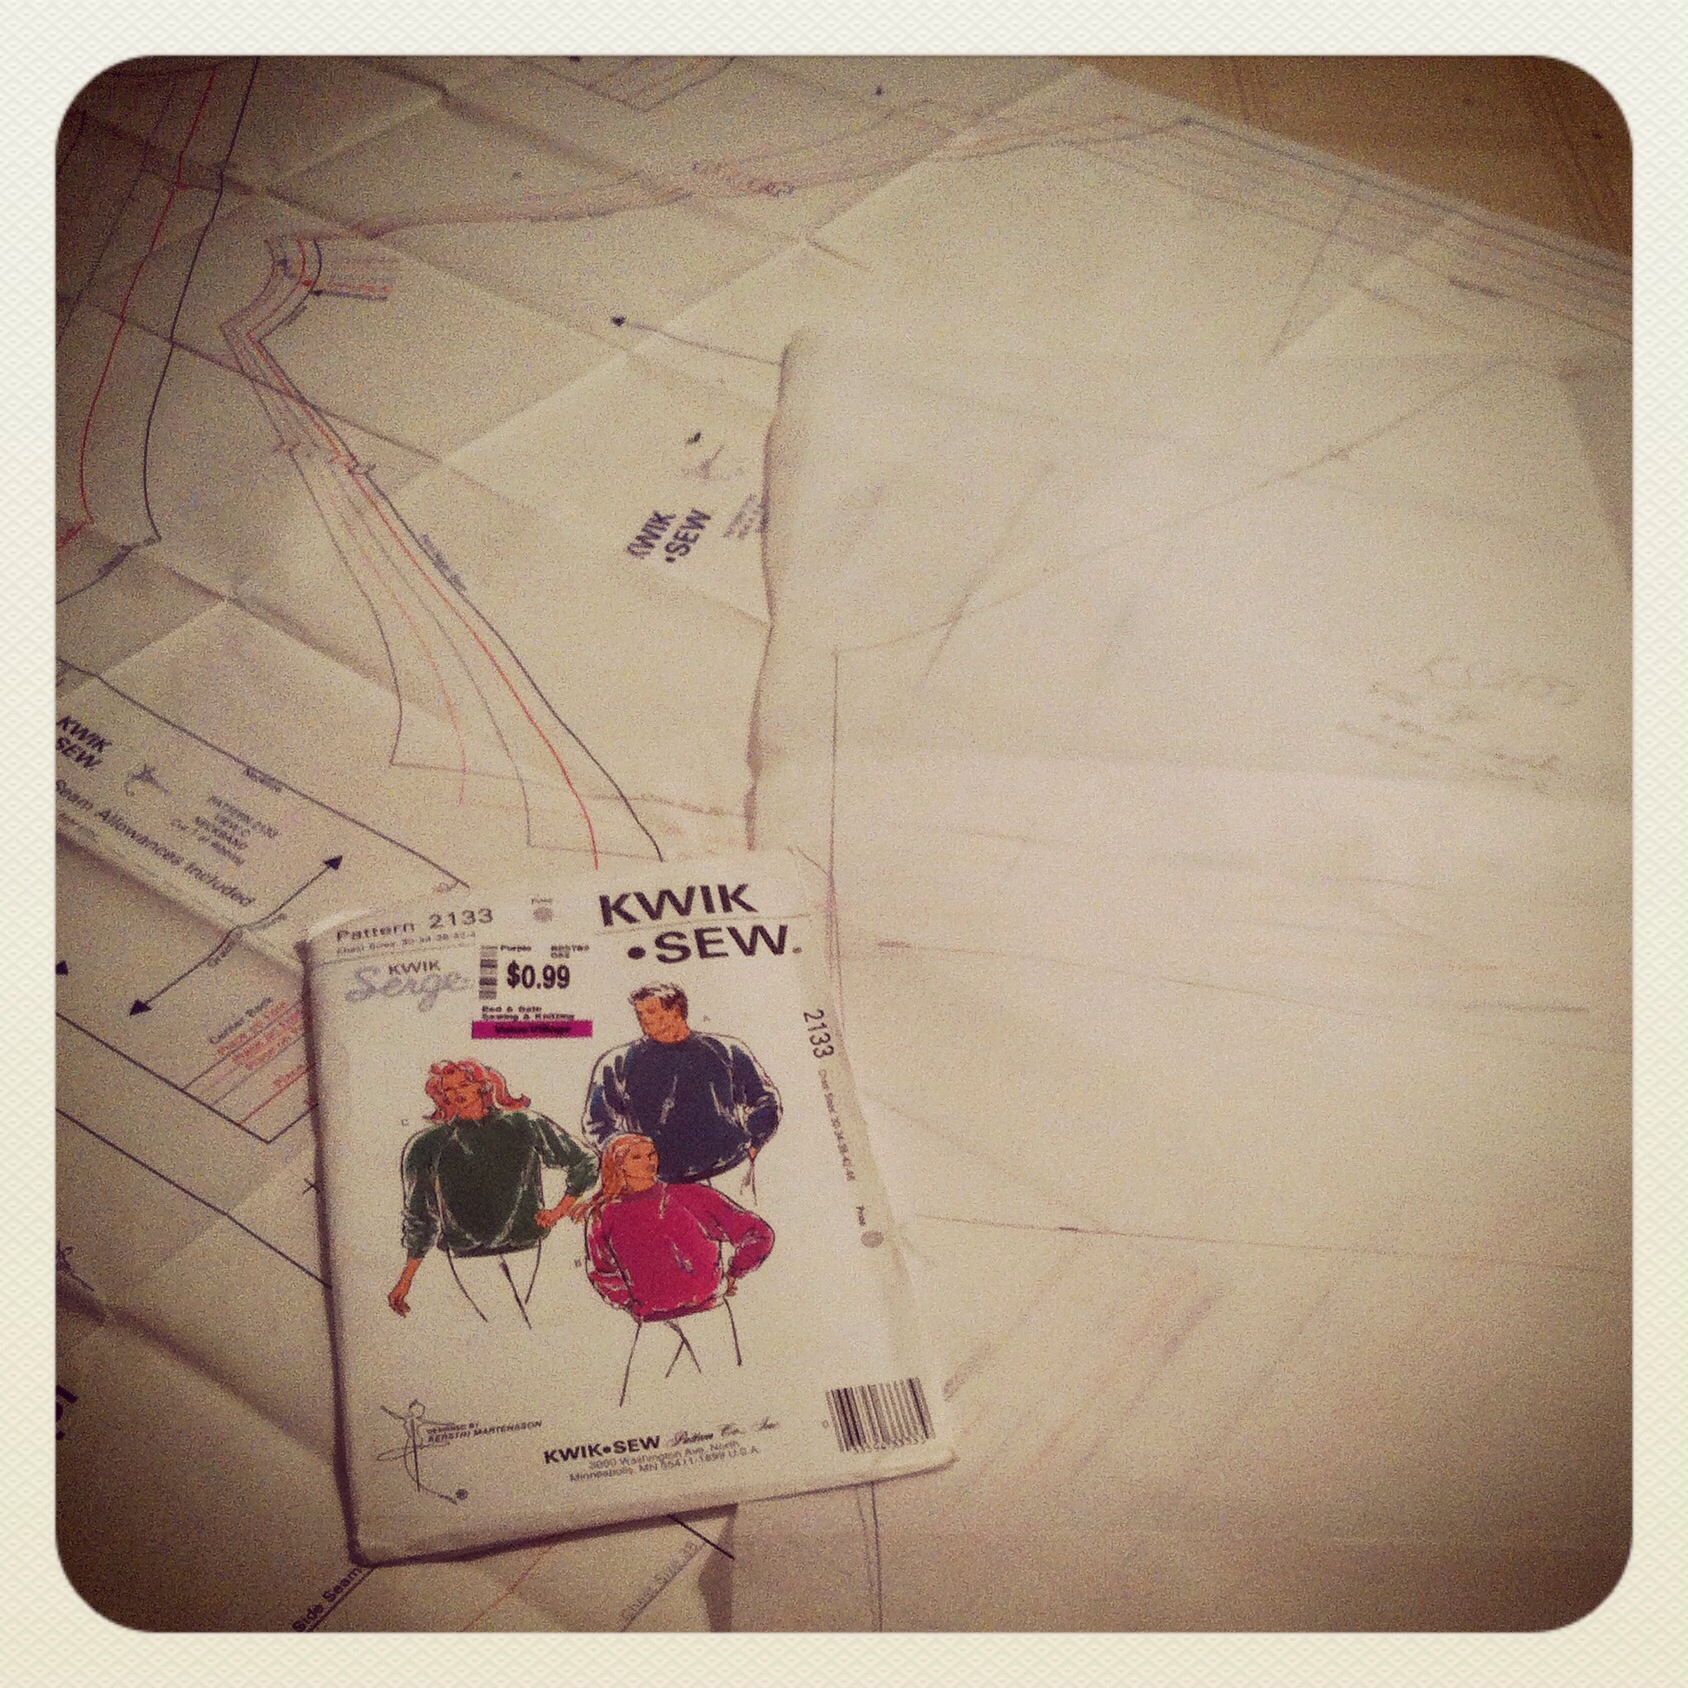
I started out with Kwik Sew 2133, a stylish gem all the way from 1991 (Which, let’s face it, from a style point of view was still firmly 80s.) I wanted the classic raglan-sleeve style, if only because the two other sweatshirts in Osiris’s current collection (yes, both from the thrift store) are set-in-style sleeves.

Being (justifiably) wary of late-80s/early 90s sizing, I rounded down and made the size 38 rather than the 42 (Osiris has a 40″ chest), although looking at the finished product I could have gown down another size easily (It occurs to me that I may just prefer seeing him in form-fitting clothes. 😉 ) Like me, Osiris is long-limbed, and I wound up adding a full four inches to the sleeve length—body length was just fine.
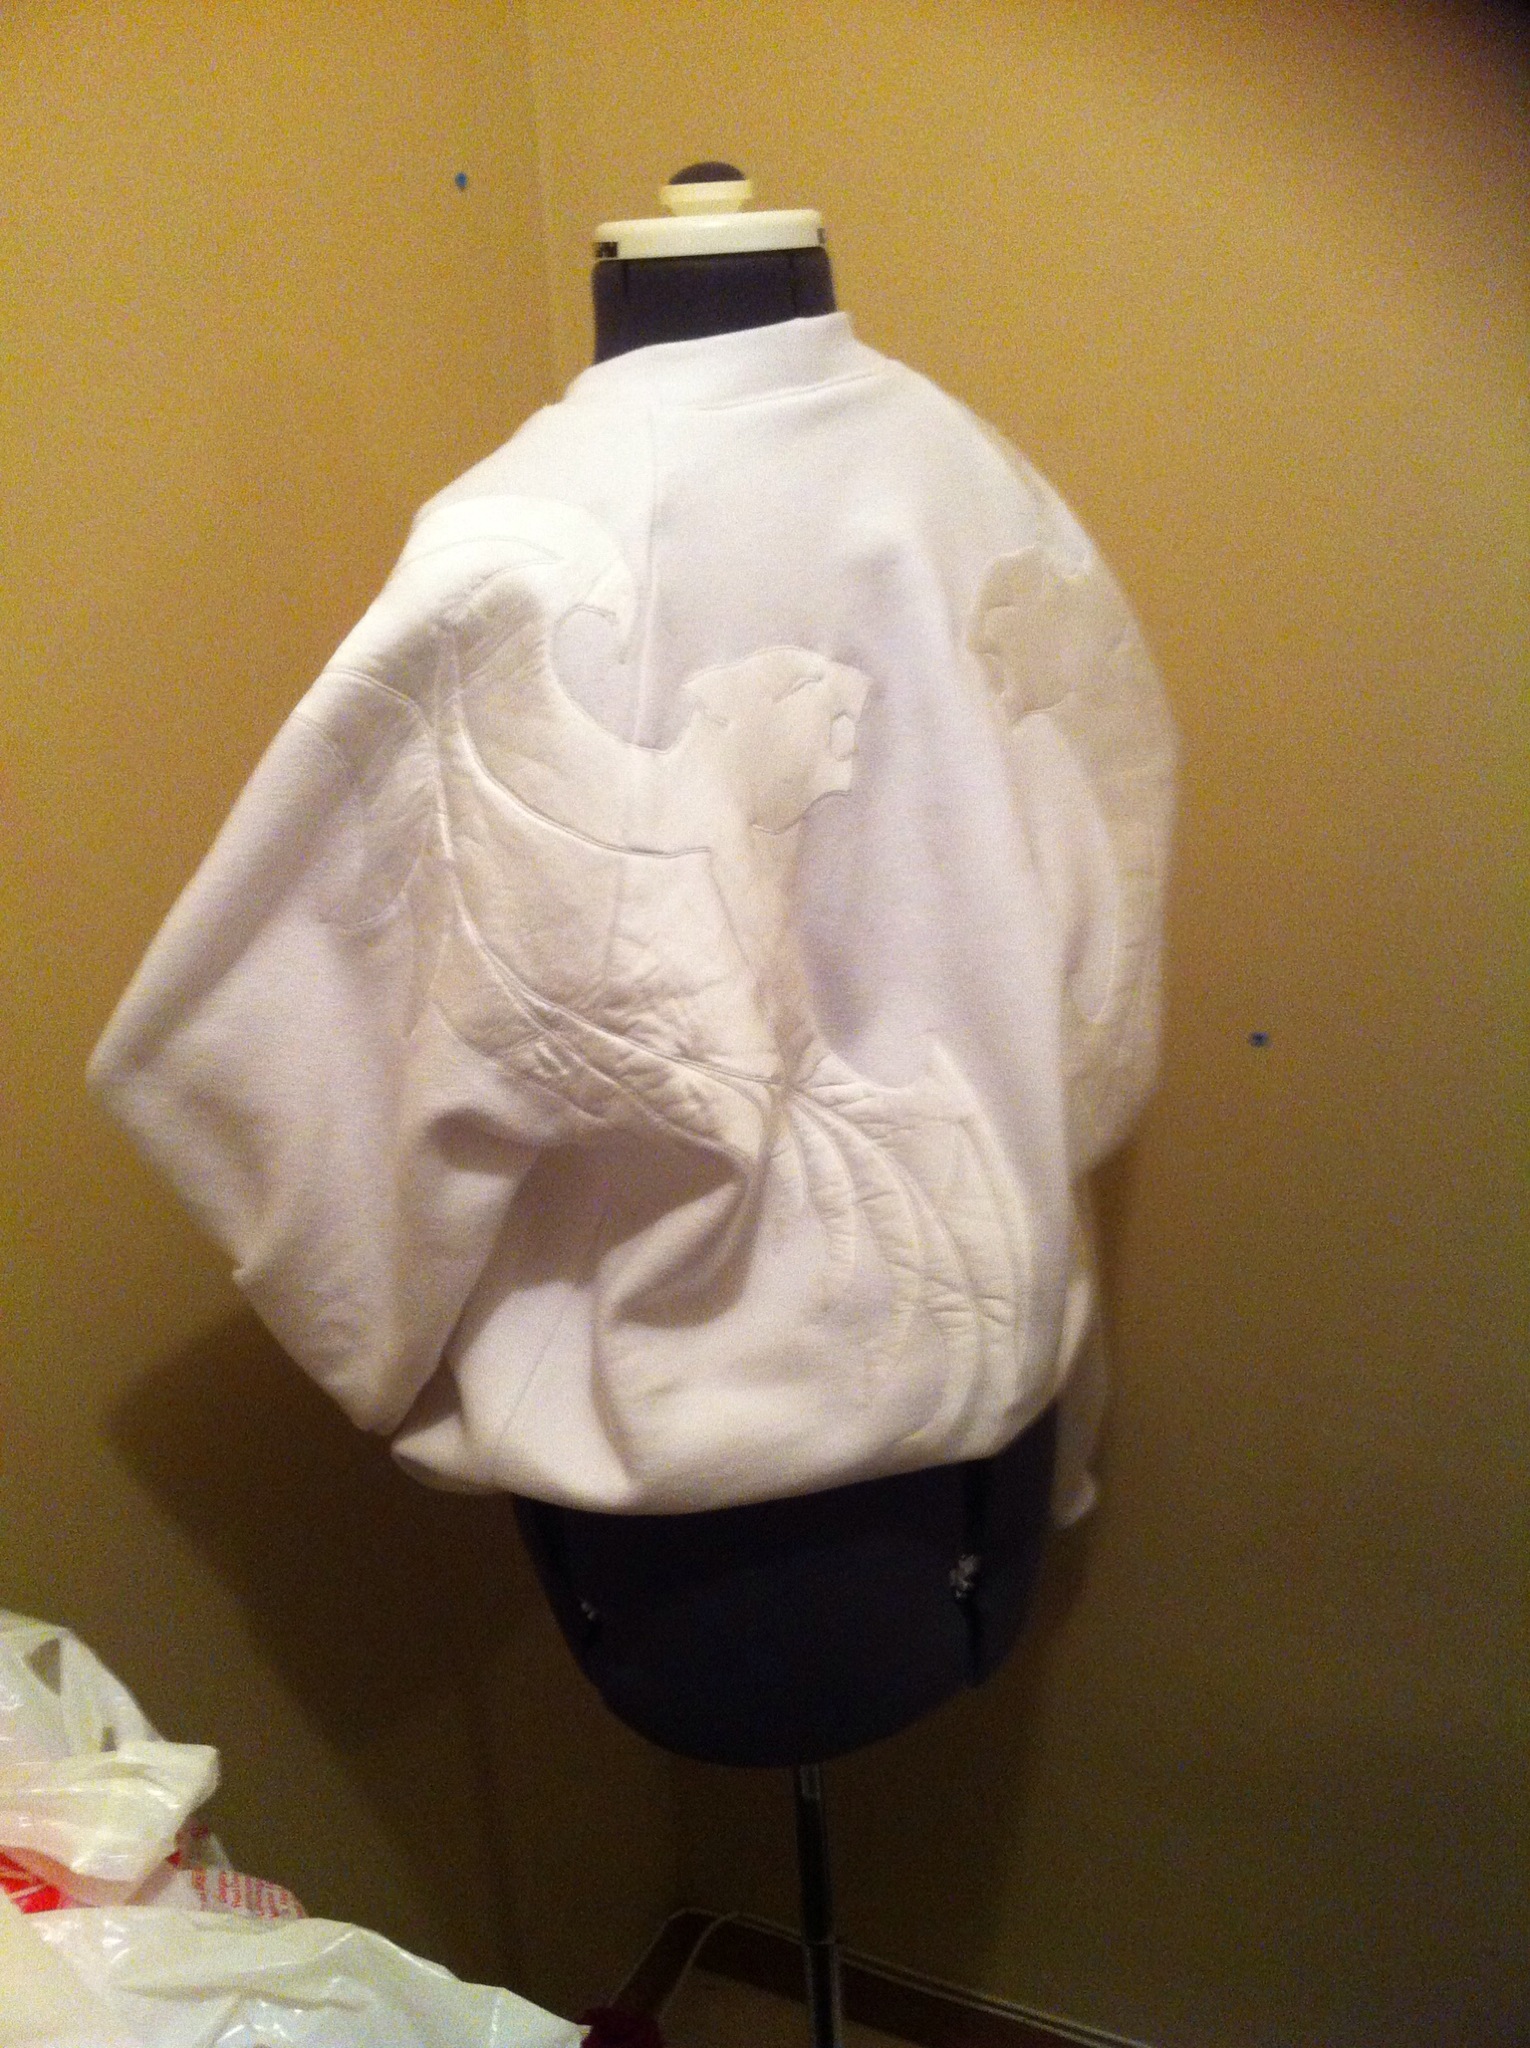
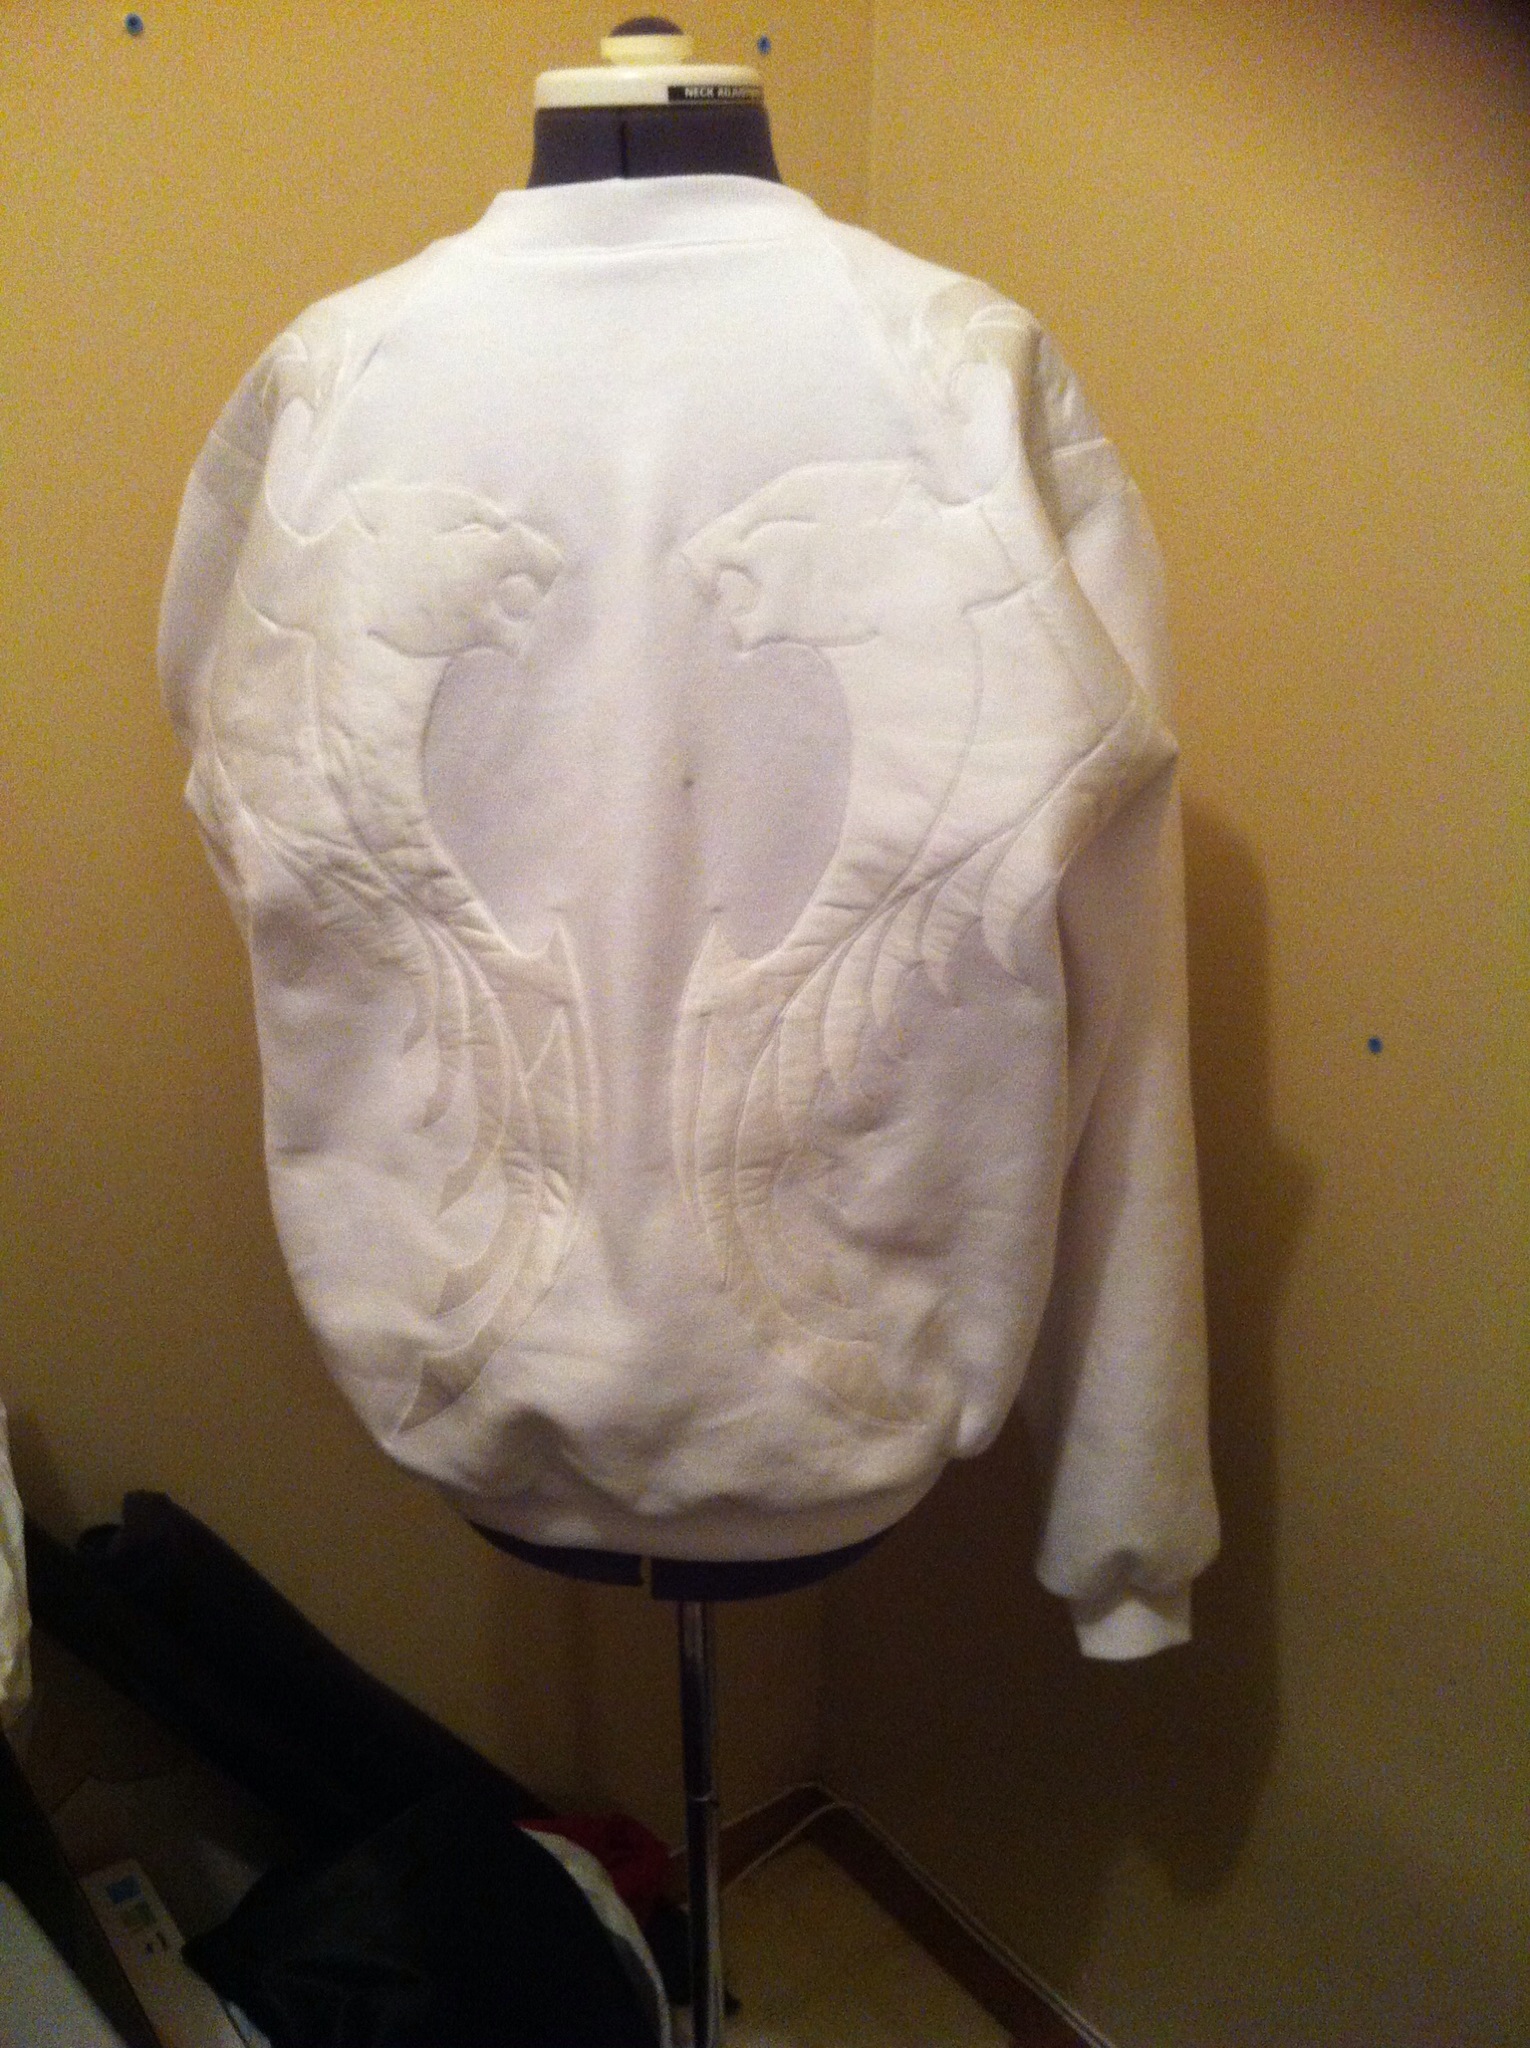
Then… things start to go a little sideways. I didn’t want to make just a plain sweatshirt… it needed something a little special. A wee bit of bling. But something subtle, classy*… Maybe some white-on-white appliqué? Something unique, special, Osiris.
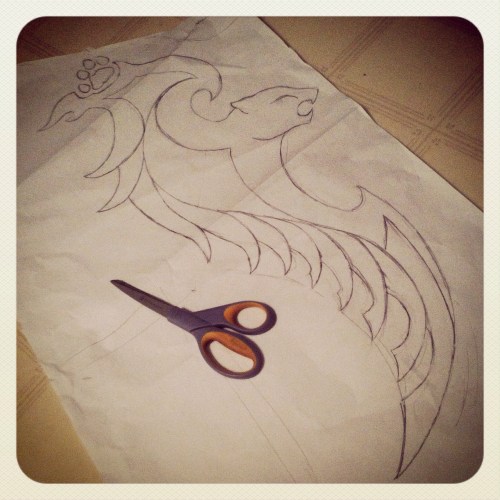
Next thing I know, I’m ogling tribal angel-wing designs on Pinterest and sketching out an angel-wing/cougar design to go down the back of the sweater. That pretty much killed a weekend; then there was another pause when I figured out I was two inches short of having enough steam-a-seam to do both wings.
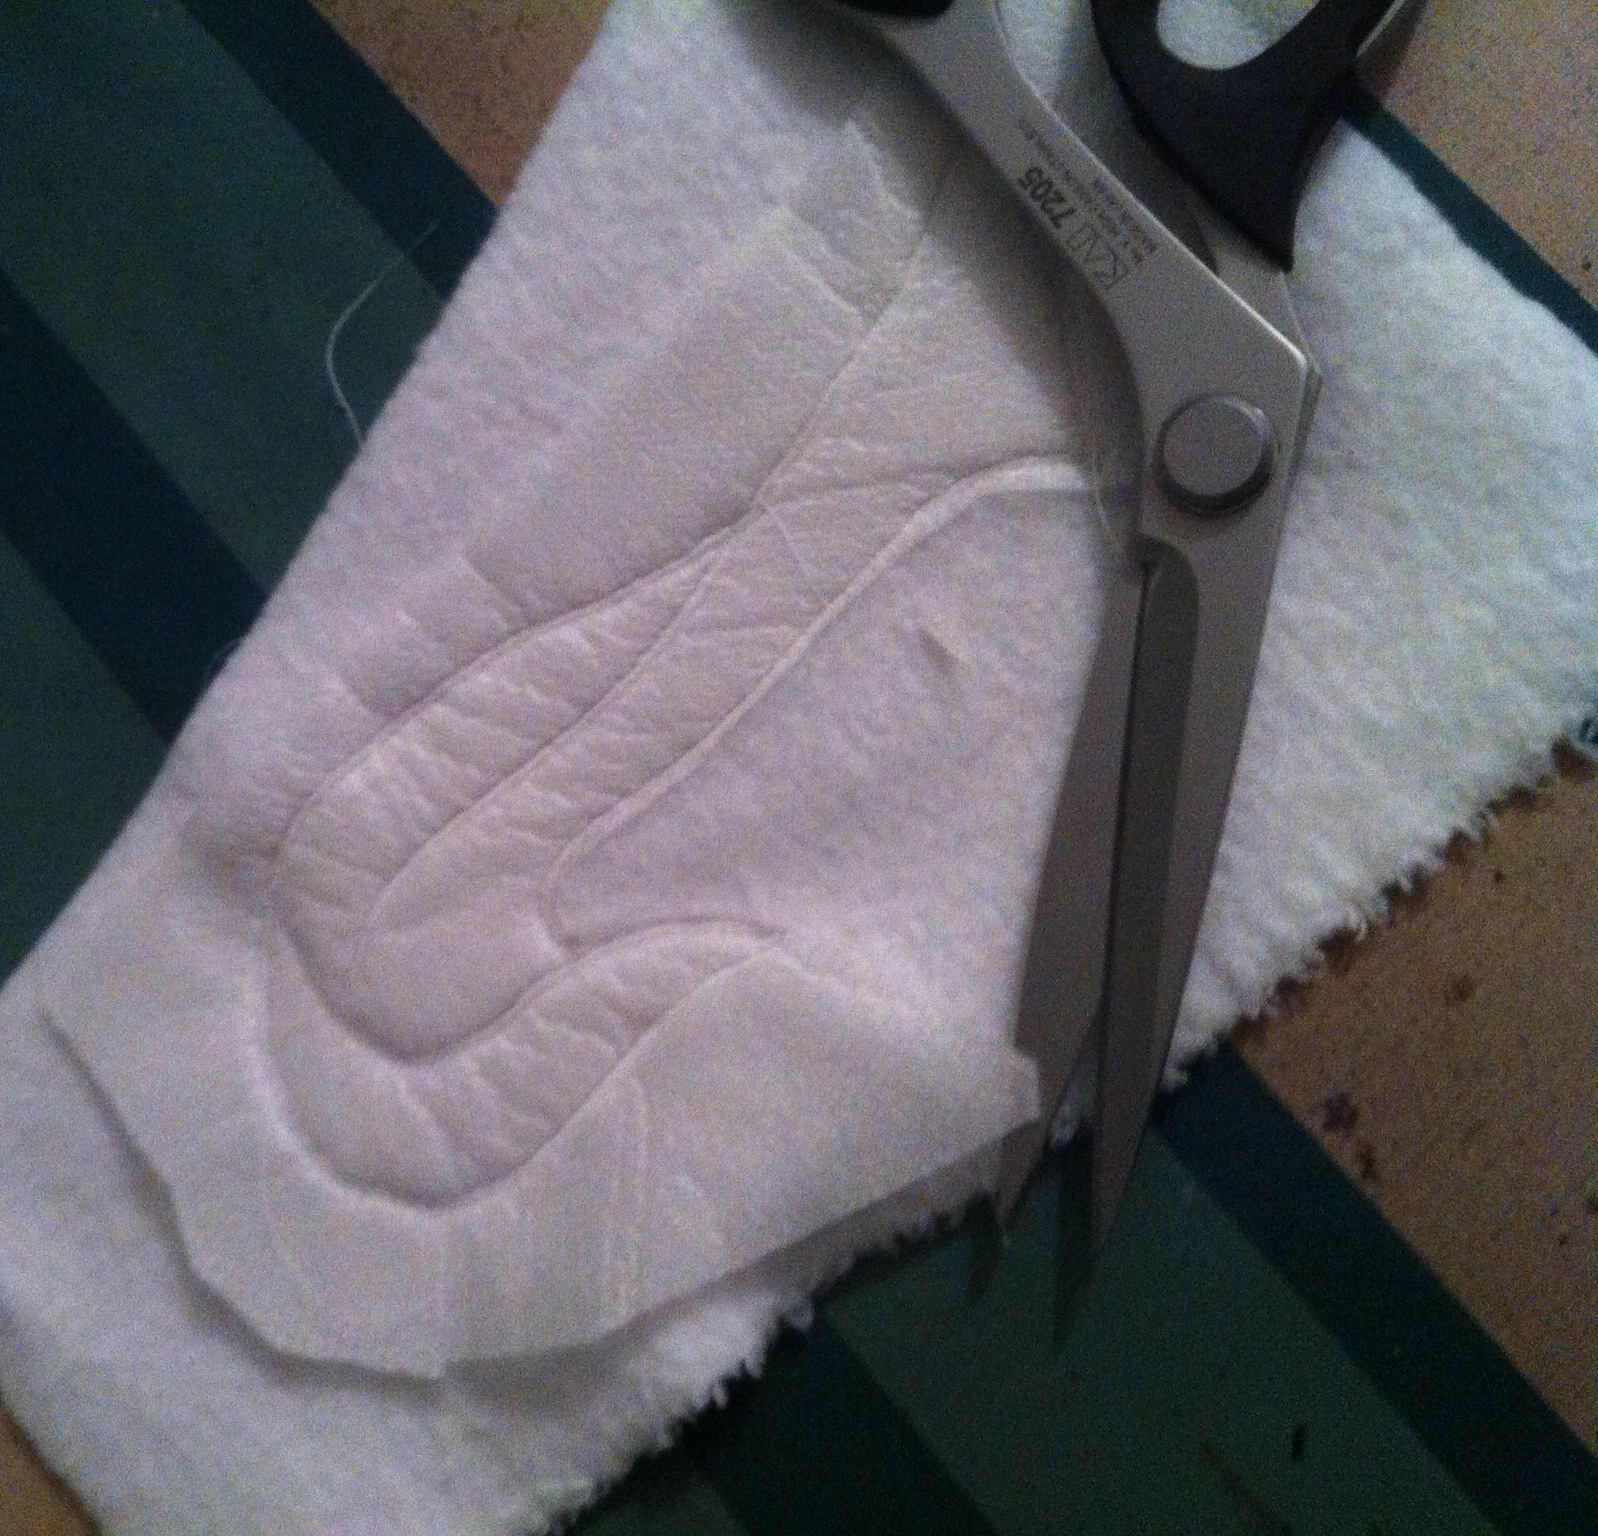
To do the appliqué, I traced out my design on Steam-a-Seam (lite) and fused that to the thin satin I had chosen for the applique (only because it was the best match for colour & sheen in the store. I wish I could have found a beefier satin in the right shade of white, but them’s the breaks.) I traced the internal lines out in my blue wash-away pen. Love that thing. Cut that out and fused it in place on the half-constructed sweatshirt. The design spans the back raglan seams, so I had to sew those ones first. I was a little worried about how my stitching would look when crossing those seams, but it didn’t end up being a huge deal.

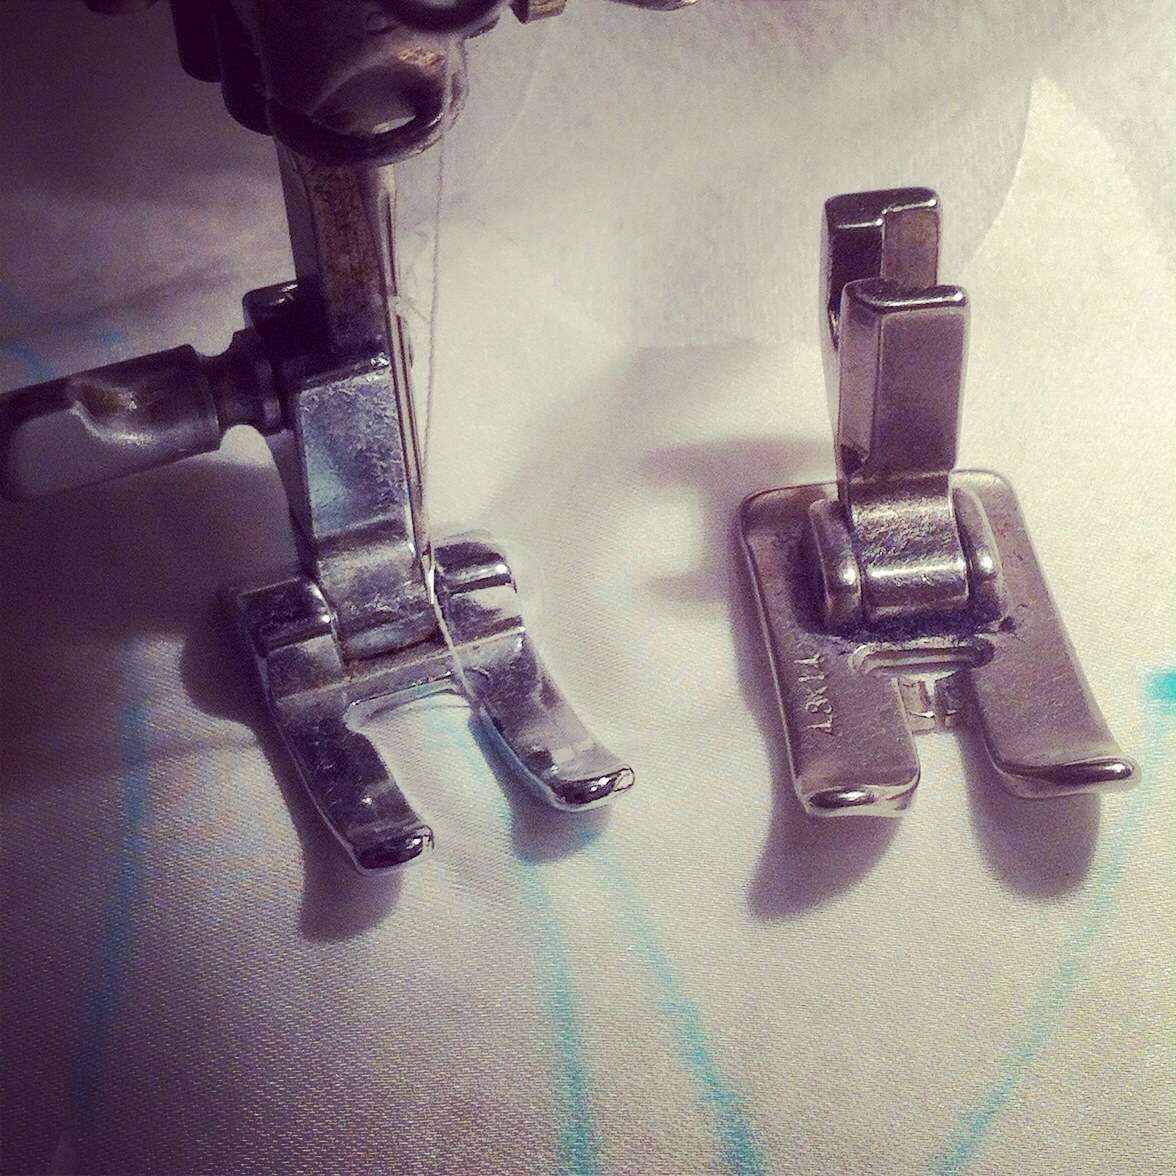
I like this open-toed foot for doing appliqué. You can see everything, and there’s a groove on the bottom for the satin stitch to slide through.

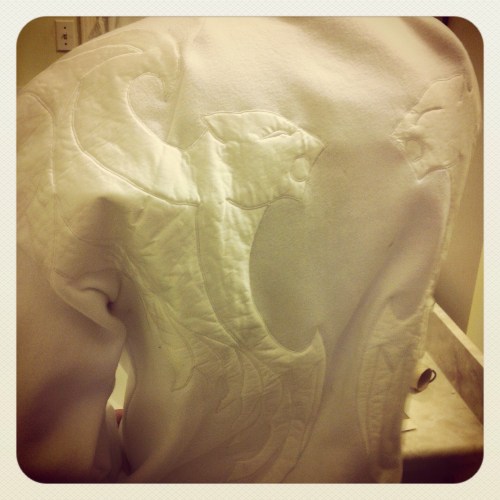
For the first time, I tried underlaying the applique with a cut-away stabilizer; in the past when I’ve applique’d on sweatshirt fleece the edges have often been a bit wavy, and this takes care of that nicely, although it does add some stiffness (and probably reduces the cuddly factor of the sweatshirt, too.)

After that, it was all over but the zig-zagging. And more zig-zagging. And more zig-zagging. I’d like to think I’m getting a bit better at making my curves smooth… it’s sorta like driving, no sharp corrections, kid.
I used my Pfaff 360, (my main machine now that the White is out of action), which worked quite nicely as it has this handy little lever on the stitch-width control that lets you narrow things down to nothing (or widen them), then pops right back to the set width when you let it go. Very handy when you are applique’ing something with lots of points like, oh, feather-tips.

I was pretty relieved once he could actually try it on and the shoulder paw prints fell more or less where I hoped they would and the whole thing seemed fairly proportional. I stitched the little pawprints last, and I was terrified the whole time that I was going to ruin the whole thing, as they’re the smallest bits with the tightest curves. They’re not awesome and they are a little bit wobbly, but I guess they’re ok in the end. (Well, it’s not like I’m going to redo them! 😉
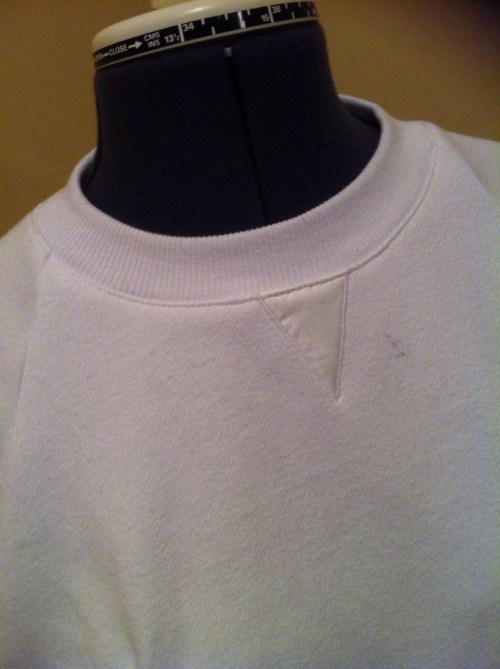
I did want to make sure I added the little triangle on the front neckline. Also, I am incapable of sewing white without it getting dirty. >_<

Other than that, it’s pretty standard but pretty much what I wanted. The applique has a bit of crinkliness (do I dare say cardboardiness?) to it that I think is due to the satin being too thin for the weight of even the light Steam-a-Seam, but I’ll deal (although I do worry about how it will hold up over time, especially since this is made with the good heavy-duty fleece that will probably be going strong years from now.

Incidentally, this may be the first time I’ve actually used proper rib-knit for bands with a pattern that called for it. The pieces are TINY compared to the fleece pattern pieces, but they stretch out just fine. It is nice working with the “right” fabrics for a knit pattern… 🙂

Anyway, here’s hoping that Osiris is warm and snuggly for a long time to come… (and that he can keep all that white clean. >_<)
*OK, maybe the word I was looking for was kitschy after all?

 I don’t refashion much. Generally I’d rather send something to a thrift store than take it apart. I’m pretty happy about this exception, though.
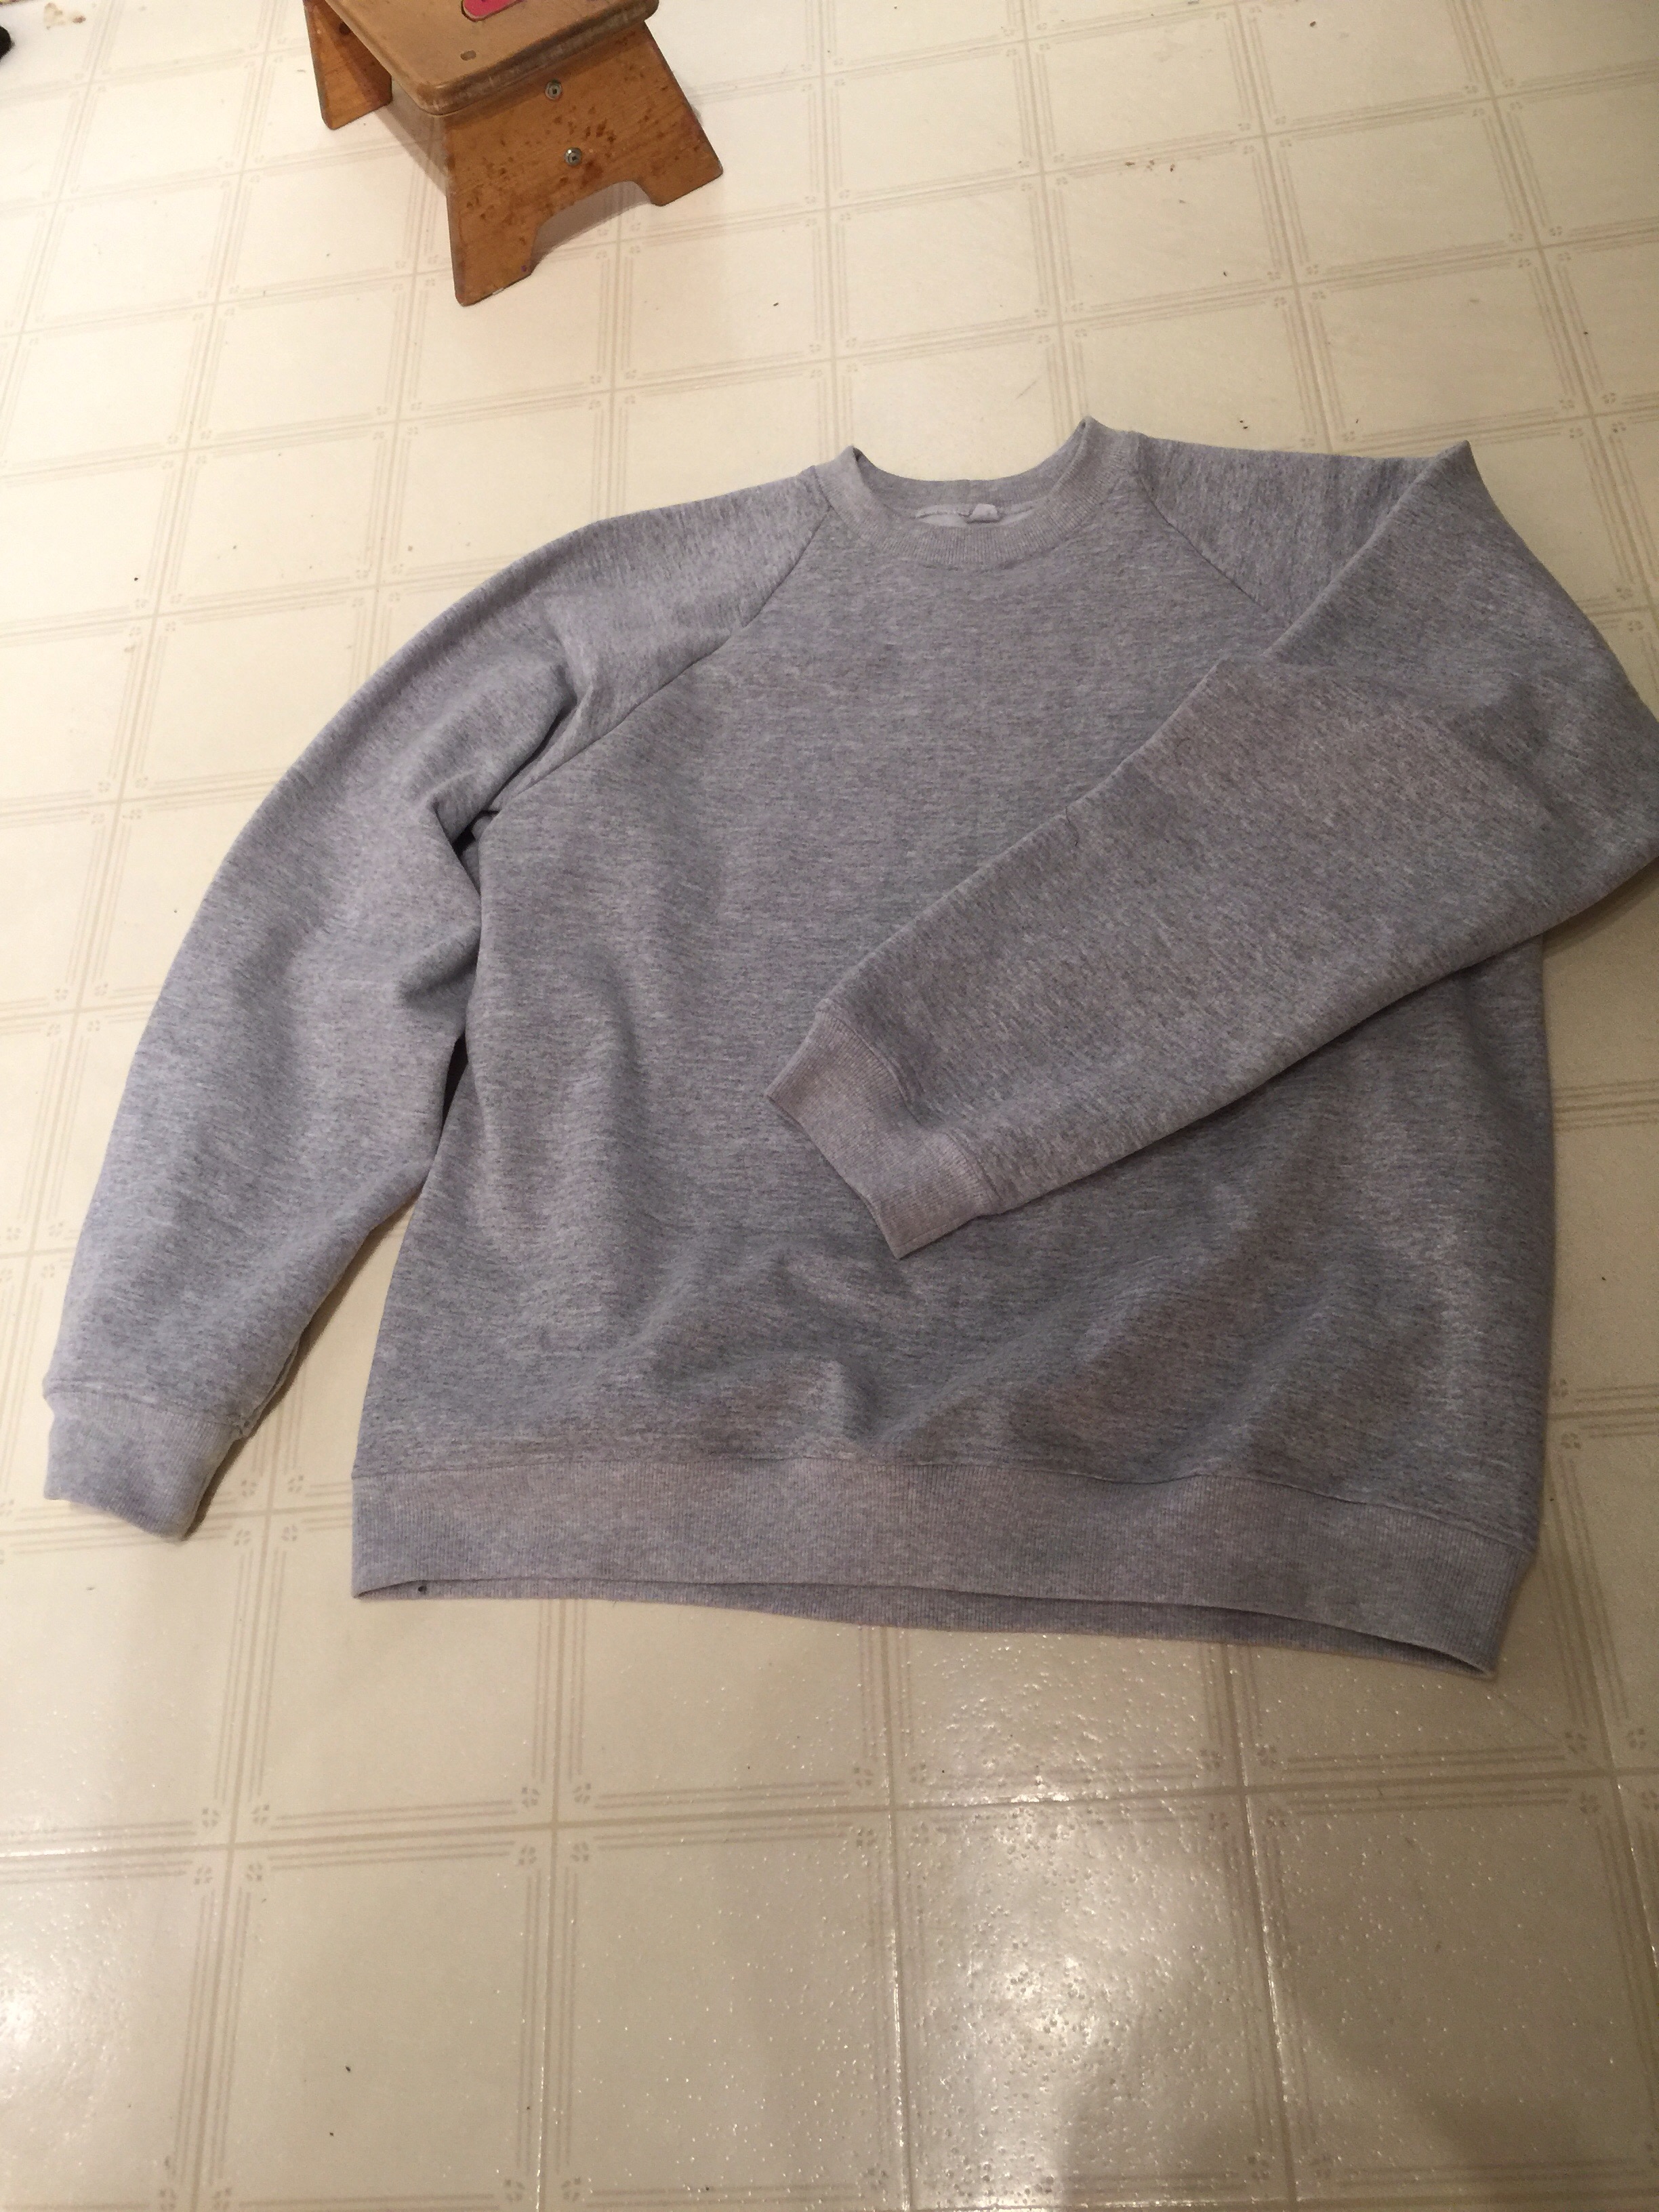
 I made this grey sweatshirt (scroll down, the post has a bunch of little projects in it) for my husband about two years ago. It was Kwik Sew 2133, a classic “vintage” sweatshirt of a style it can be hard to find in stores these days. And to his credit, he did wear it. For a while. Then he decided to wash it.
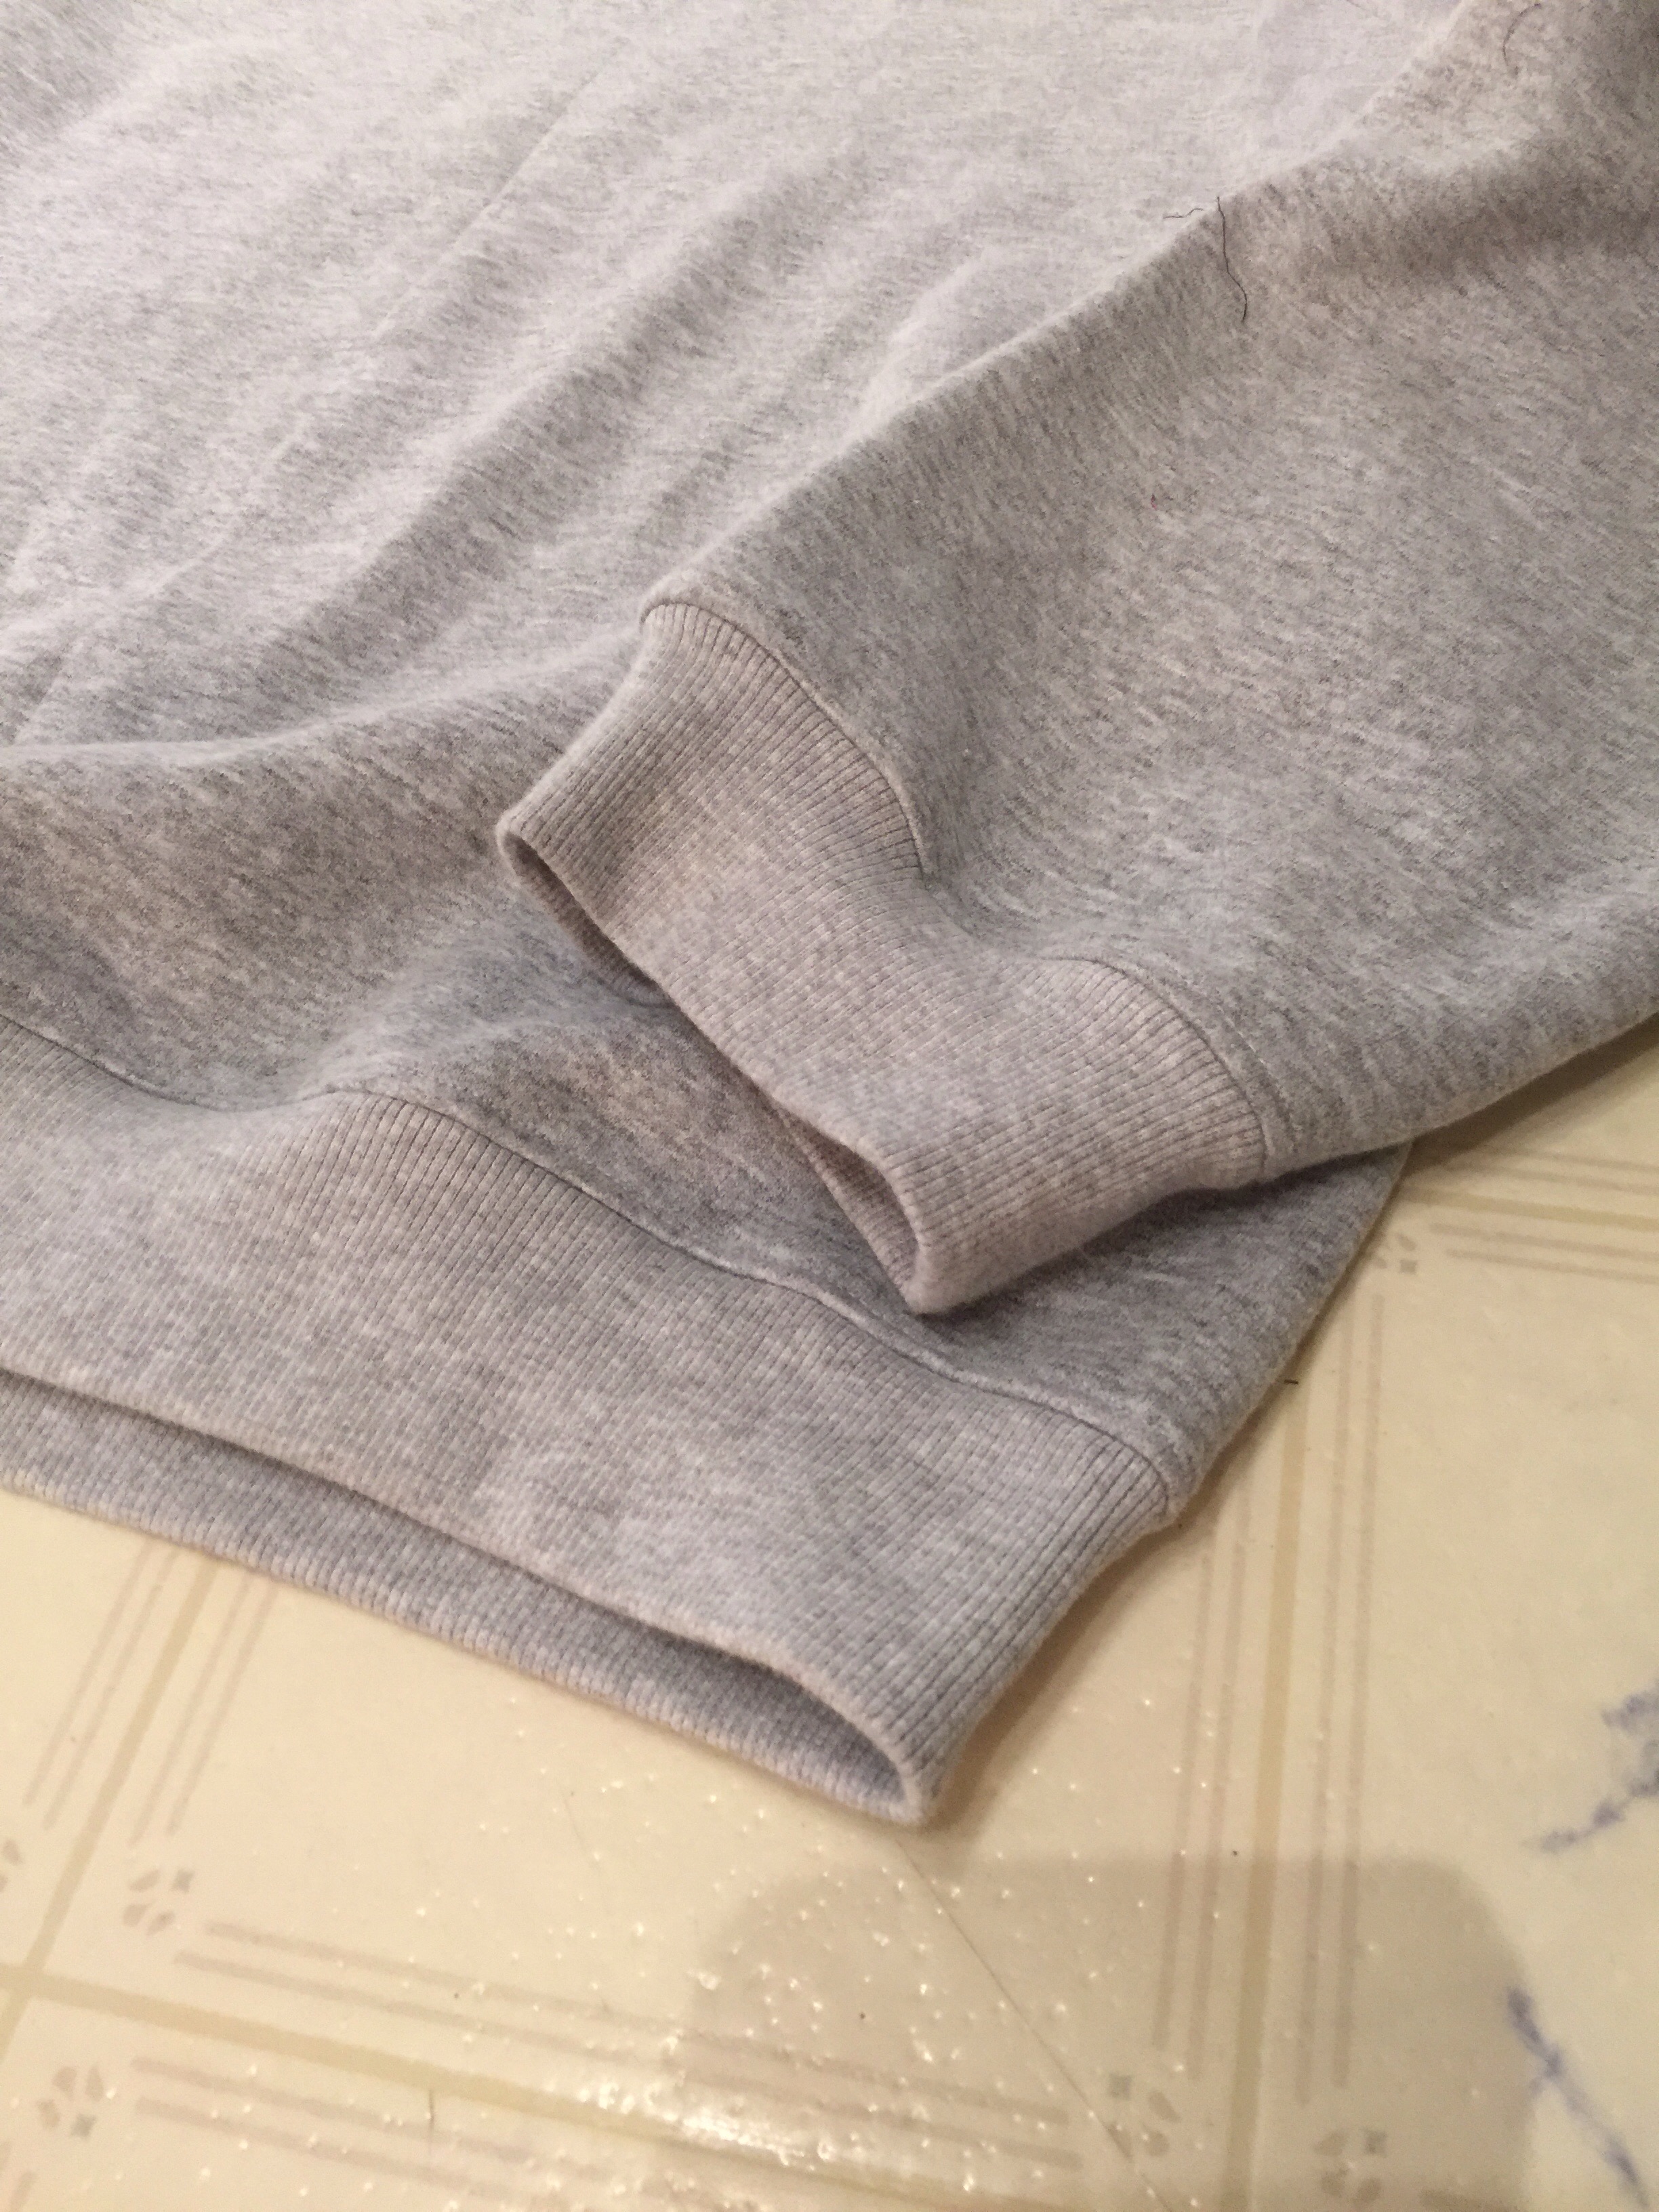
 I considered shaping the hems, but went with a wide rib-knit band after I was able to find the same piece of grey ribbing.
 The only thing I’m thinking about now is adding pockets. EBoth my other grey sweater dresses have them, and I love the feature. As Syo pointed out, it would be easy enough to add some in the hip seam.