 For my February project at Fabricland I took out a double project of lingerie: the plan was for one Watson set and one Marlborough (ulp!) + underwear to be determined set (ended up being another Watson bikini, because why mess with perfection? 😉 ).
This was prompted mainly by timing—it’s a season where they don’t really want you to take out projects in last fall’s fabrics, but we didn’t have much in for the spring fabrics yet—so the selection is limited to the “regular”, non-seasonal stock. This lack of options made me finally buckle down and get around to doing something I’ve been procrastinating at for years now. A lingerie project.
My fabrics of choice were from the bridal section, stretch mesh and non-stretch lace, and the main inspiration: some really gorgeous ruched elastic they carry at a ridiculously inflated price, that only comes in these stupid little one-yard packages. Way too annoying to spend my own money on—perfect for a project. Part of the problem with sewing bras based on Fabricland stock is that things are a little hit and miss—the strap elastic doesn’t match the band elastic, there’s underwires but only one style and there’s no actual power mesh. So in many ways these projects feel very ad hoc. However, having done this I’m feeling a bit more comfortable with that—it’s not like I have significant support needs requiring industrial materials.

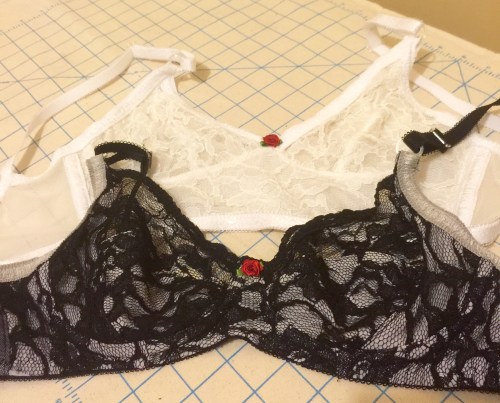
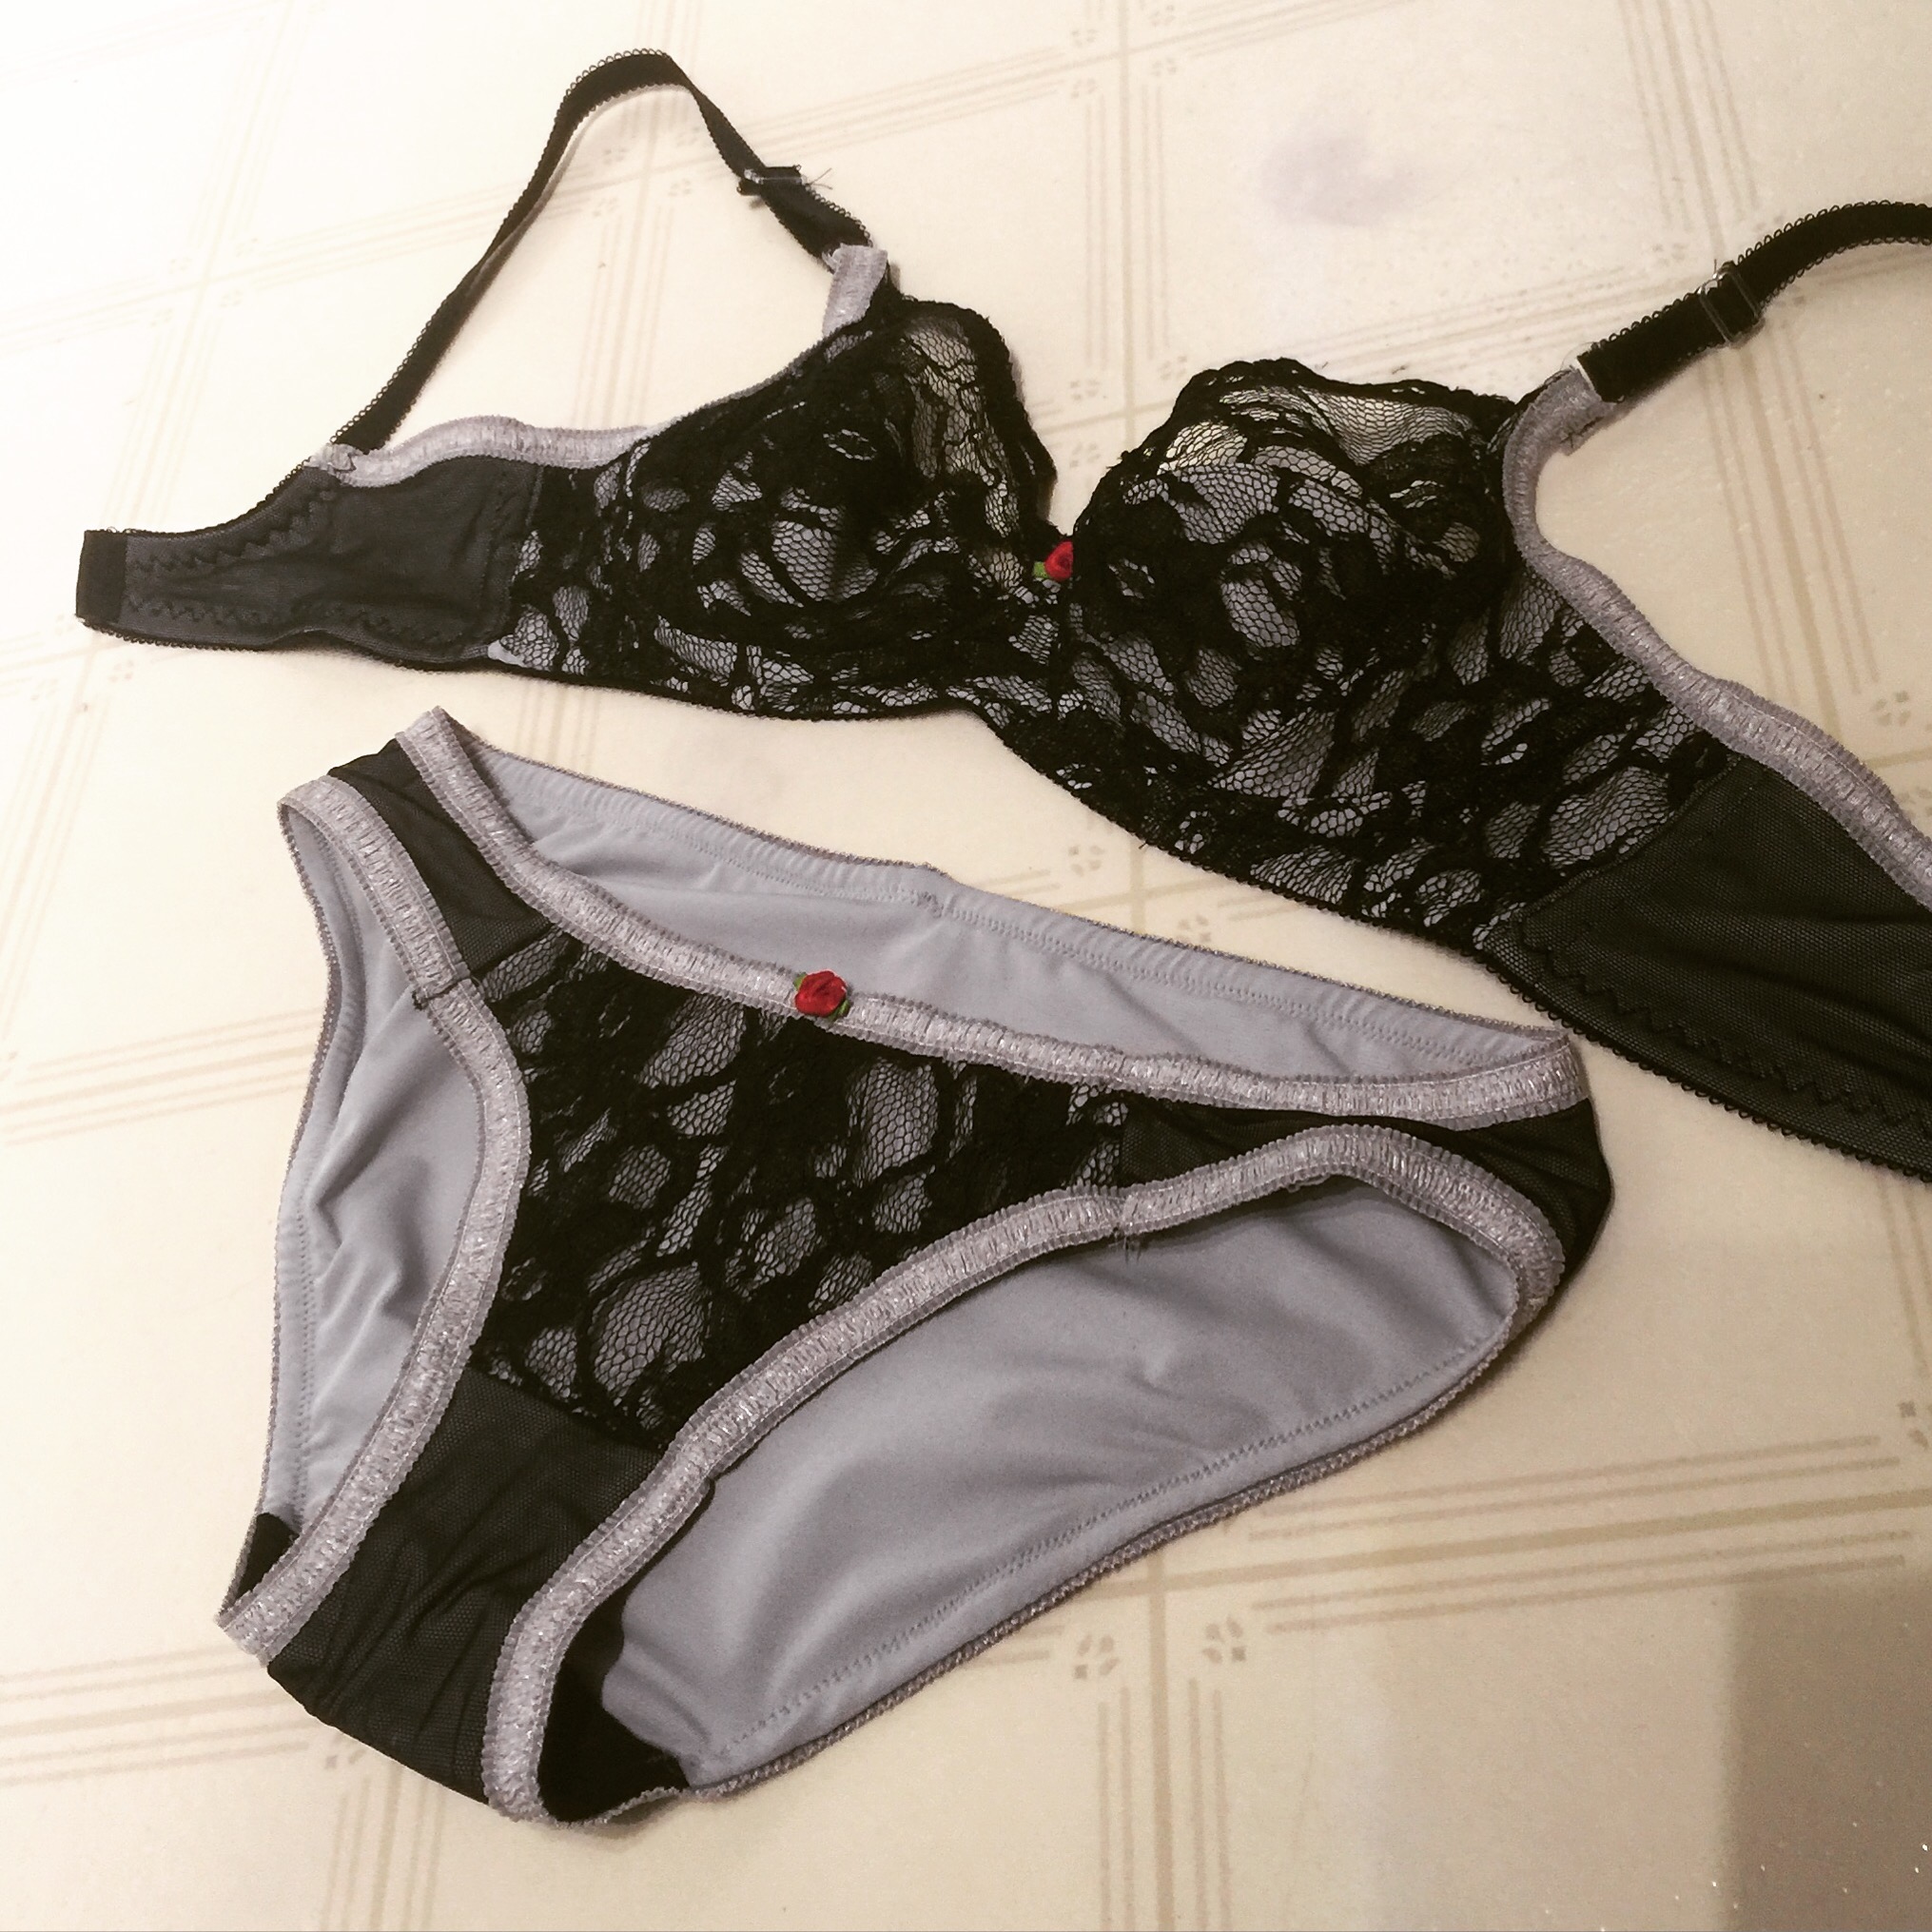
I started with the familiar; I’ve made the Watson set before, so you’d think it would’ve been a breeze. Well, blame passing time or being still sick, but I managed some pretty good stuff ups, despite the previous experience. The stretch mesh I was using for the back band has a LOT of stretch, so I downsized the band. And the first version of the cradle I cut out, I didn’t realize that apparently a large corner had torn off the pattern piece. So I had to recut all that (in three layers), after I had basted everything together and then realized my cradle didn’t match up with my band piece. D’oh.
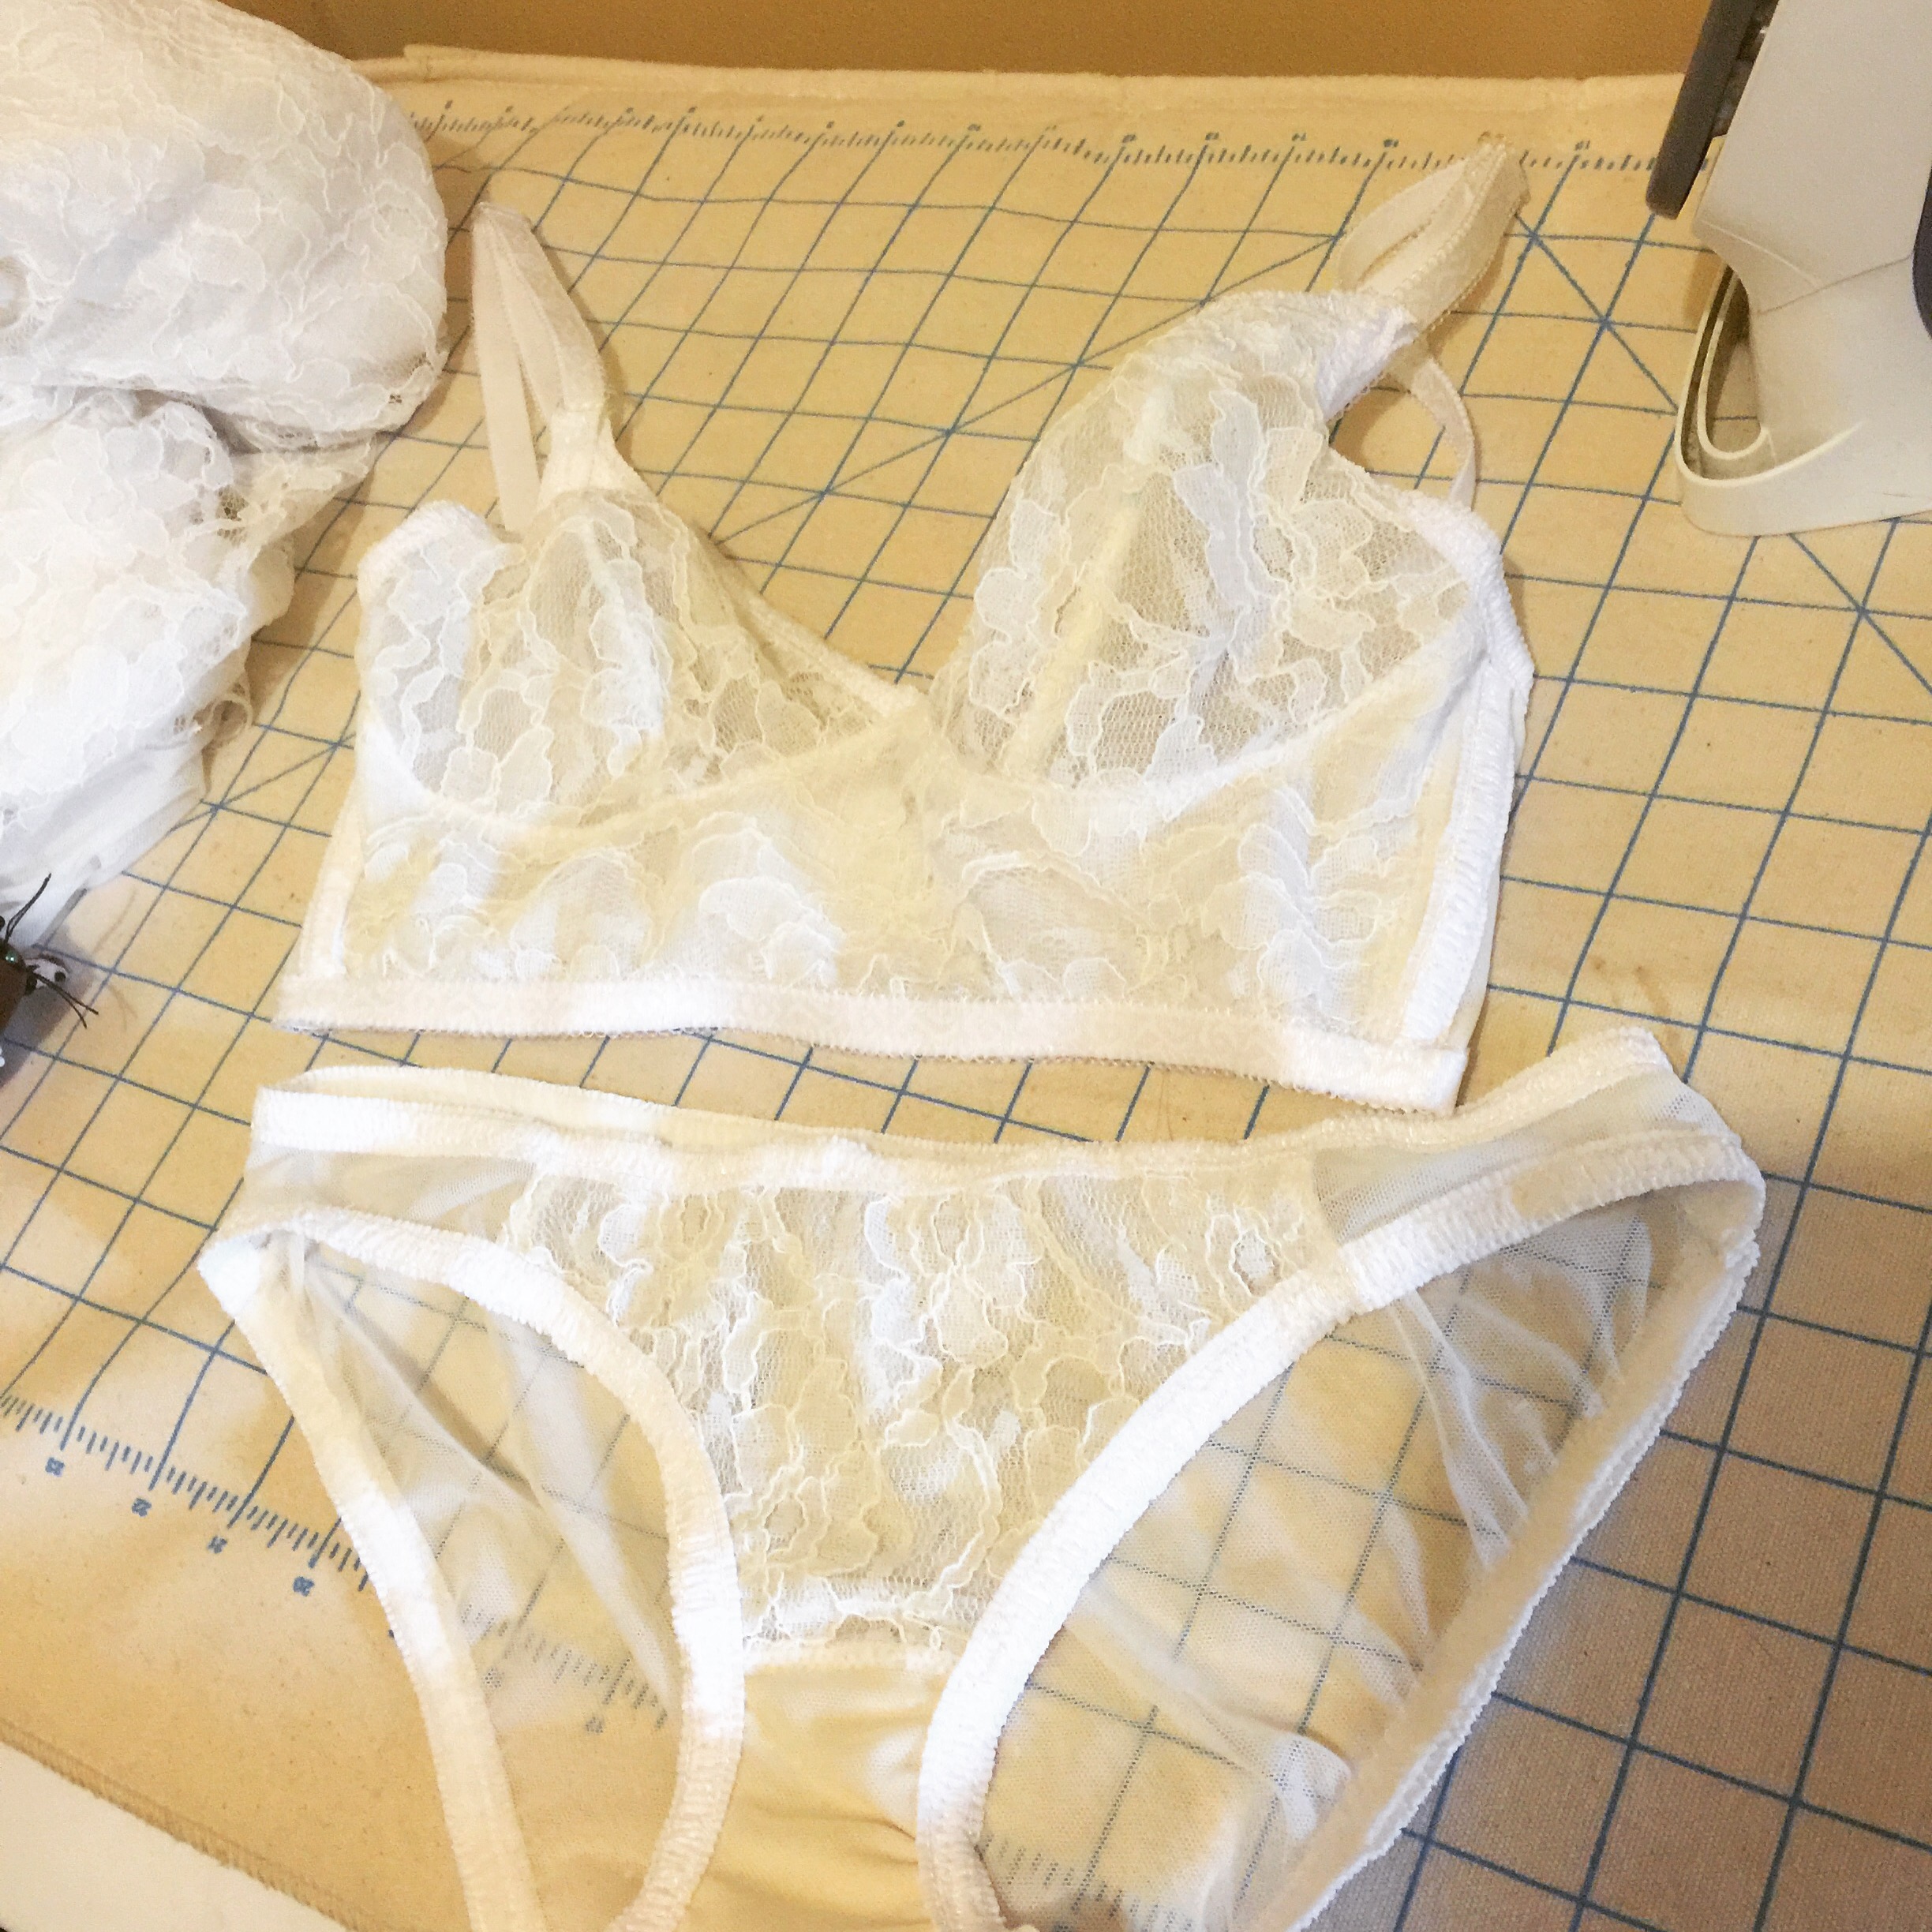
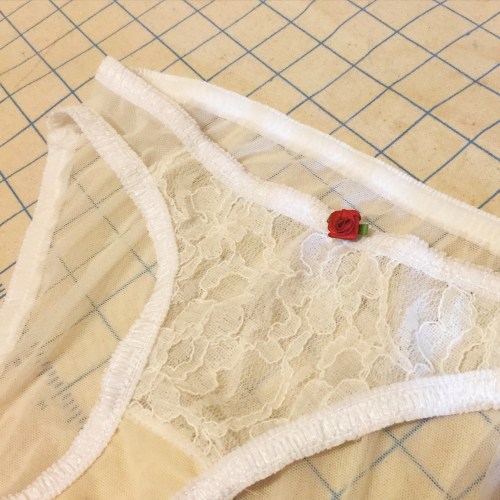 Then, when applying the elastic to the panties, I used too much elastic on the first leg, leaving me short for the second leg (remembering my elastic all came in 1 yard packages)—so the elastic for the second leg is significantly tighter. Either looks fine, though I suspect they will feel a bit weird on, but the bikinis look rather weirdly lop-sided. Bleh. The project must hang. 😉 one thing that did work out was adding a panel of my lace to the front of the bikini—this turned out super cute. I basically just traced off the front pattern piece, sliced where I wanted my panel to end, and added seam allowances.
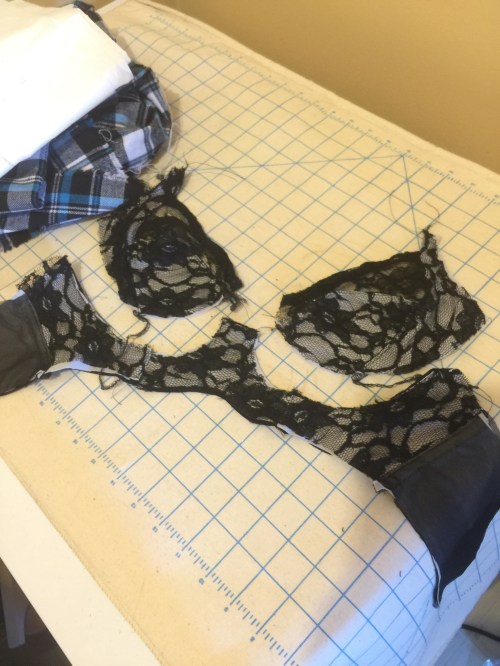
Once I recut the cradle, the construction of the bralet wasn’t bad, but a couple of things bit me in the ass. First was my decision to downsize the band. BAD idea. Especially when I had also decided to double the mesh in the band. Too tight. Way too tight.
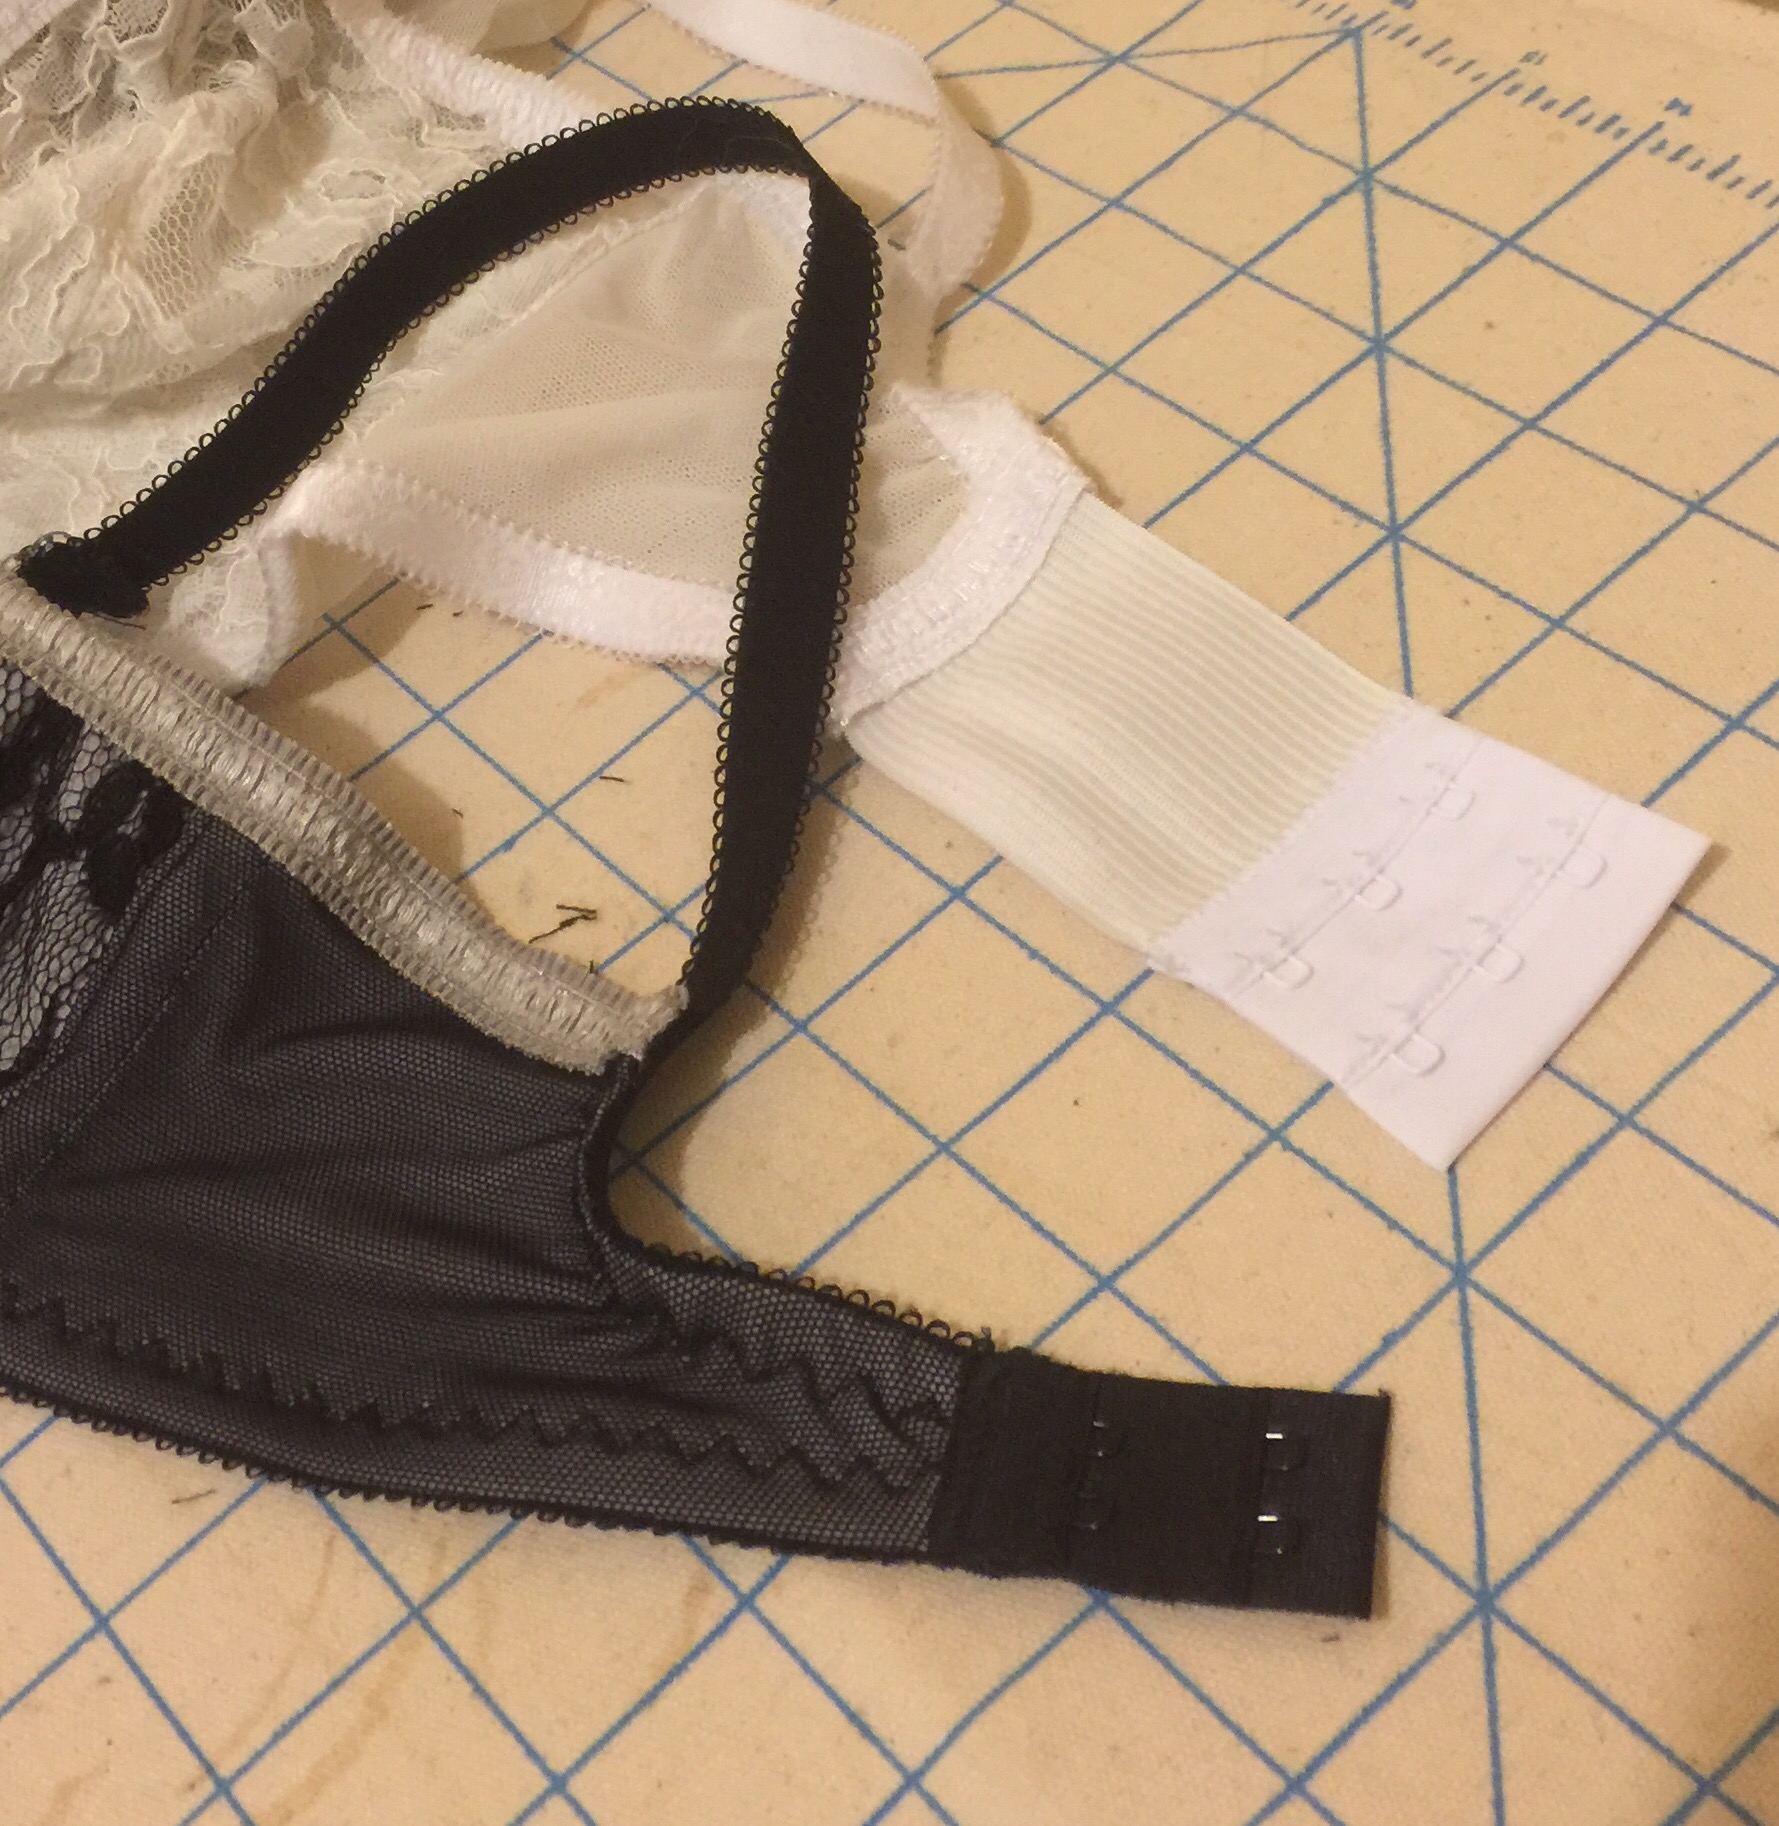
 Fortunately (?) the bra backs Fabricland sells come with this weird chunk of elastic attached to one side, which I was able to use to extend the back. So it will go around, even if it’s a bit fugly.
 My biggest problem with my first two Watson bralets is that the wide long-line bands don’t stay in place. My ribcage flares at the bottom, and they just wriggle their way up. So to try to ameliorate that for this one, I added boning channels (with some scraps of my fancy elastic) over the side-seams. This seems a bit overkill for what’s supposed to be a soft bra, but if it works, it works, right? Mind you the jury is still out on it working. Because:
When the great try-on moment came, it became clear that the cup size that fits me in a cotton spandex jersey, does not fit me very well in a non-stretch lace. Lots of cutting in. Pouting, I got Tyo to try it on, since her bra size is about one cup letter smaller than mine these days. Yup, great fit. But, it’s a sweet off-white lacy bralet with rosettes… Not really her style. At all. Syo, on the other hand, seems to like it. Oh, and it fits her, too. So I think it will have a home. Maybe. Both my kids, like me, are foam cup types, so I’m actually not sure anything else will get worn.
 And then, with the warmup done, it was time. Marlborough time. A scroll back through Instagram informs me that I muslined this pattern a mere 76 weeks ago! Yikes. At that time I was pretty impressed with the fit, which seemed to need only a minor tweak to the side seam. But in the meantime plenty of sewing anxiety had set in, and I stalled and faffed over not having the right notions and wrang my hands about what colour my first bra should be and generally just avoided the problem. So really, taking this out as a project with a deadline, was pretty much perfect for cutting through all that avoidance.
 And now, having done it up, I’m not quite sure what I was so nervous about. Yeah, there are lots of little pieces and I wish there were maybe a few more notches to help keep track of which way the pieces fit together, but I love sewing with 1/4″ seam allowances, and by hopping back and forth between my 1/4″ foot and my edge stitch/stitch in the ditch foot the sewing itself was pretty slick. And the Instagram peeps were there to hold my hand while I panicked over my half-ass channeling, arguably the scariest part of the whole process.
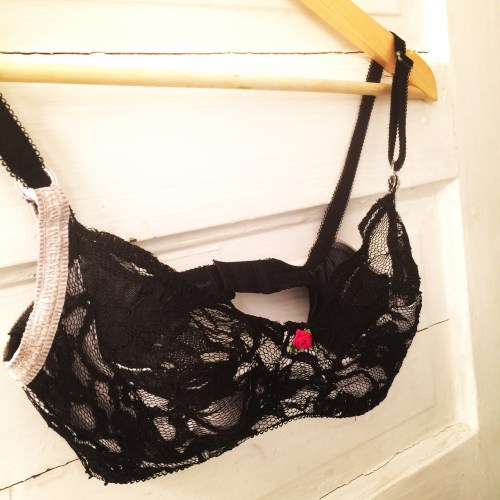
For this set I layered the stretch mesh and non-stretch lace over a thin grey poly spandex knit. I kinda wish the grey showed more, actually, and maybe that I had used mesh over the power bar rather than lace, so it would show more. And maybe stretch more.
 Because the biggest problem, again, is that the non-stretch lace is less forgiving than the stable-but-with-some-give earlier version. The power bar—the vertical piece at the side of the bra—actually kinda cuts in at the seam to the other pieces, not a nice look, though also not evident in the pictures, so it probably isn’t as bad as I think it is. And the shape is more pointed in the lace than it was in my scuba first version. Not a bad shape, but a little different.
For my own information, I’m going to add that the underwire I’m using is about two sizes larger than the “right” underwire for this size. This means it’s wide enough not to cut in at the side of my breast, which is one of my biggest complaints with store bought bras. I also had to shorten them significantly on the cleavage side to fit this pattern, which is fine if you have the tools for that but less fine otherwise.

At the end of the day, though, the biggest issue, which has nothing to do with the pattern or fit itself. This is a soft cup bra. I’m a foam padding & push-up girl, if I’m going to actually wear a bra. The last time I wore a soft cup bra was over a decade ago. In particular, the right padded bras mean I don’t need to worry about small bust adjustments in my sewing. So that, more than anything else, might be what keeps me from using this bra much. But I am curious. It wouldn’t be the first time sewing has coaxed me to experiment outside my comfort zone.

 Not much to say here.
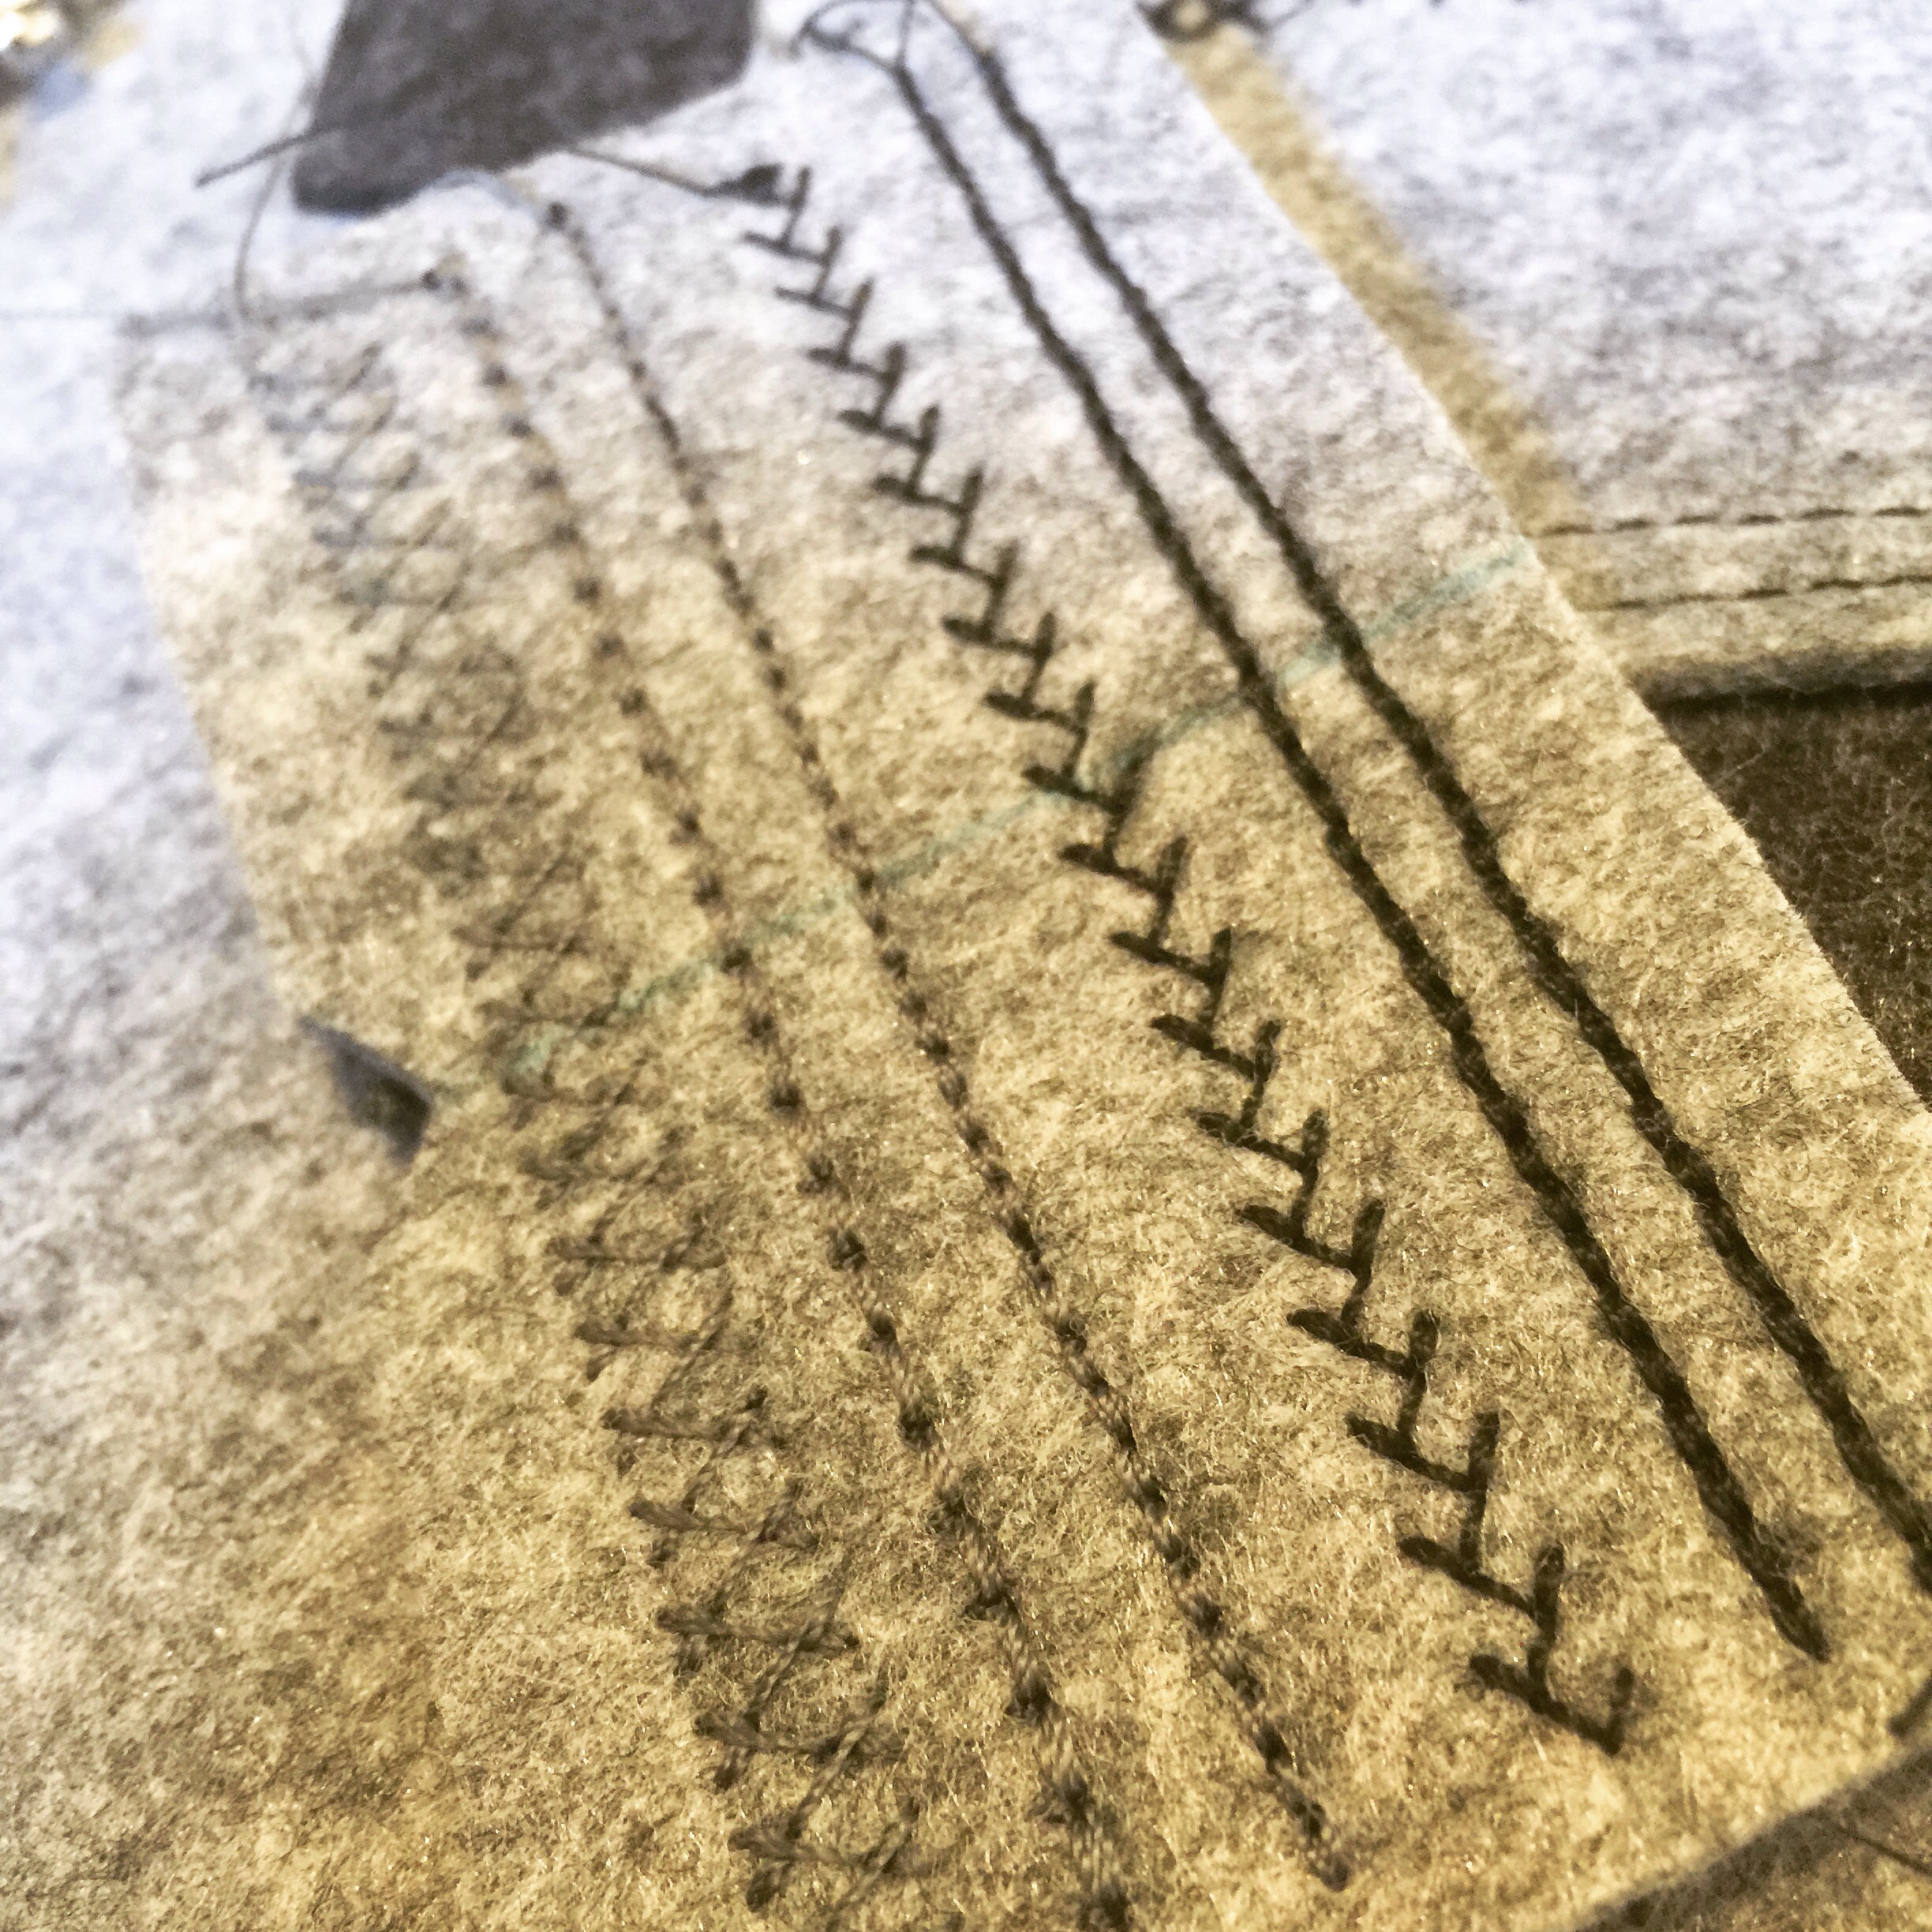
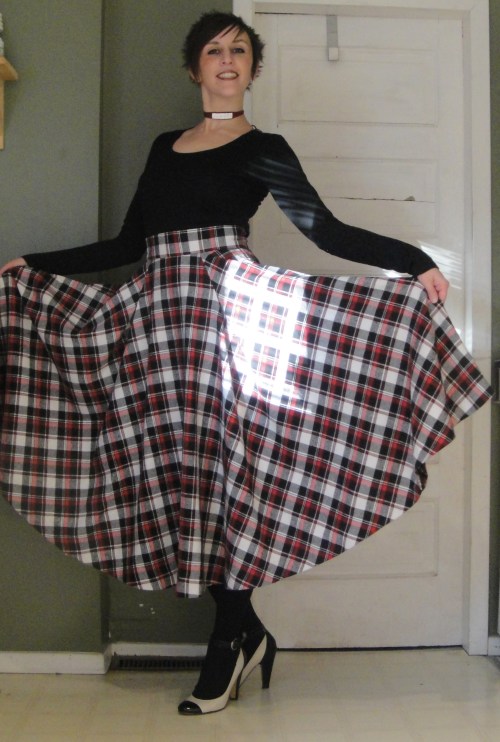
 Unlike other shirt patterns I’ve sewed with, this KS one had only 1/4″ seam allowances. Throughout. Now, I’m a fan of narrow seam allowances generally, and I got excited for a bit because the 1/4″ SA would actually work with my flat fell foot! BUT, on a soft flannel it was really easy to miss the seam allowance if there was a miscut (and I am not the world’s best cutter) or for the seam to ravel on handling before I could get it finished. I’d like to try it again on a finer shirting. With felled seams. (They felt too firm for the soft flannel feeling I was going for.) I wound up having to darn part of the back yoke where I had missed the seam allowance. Bad seamstress.
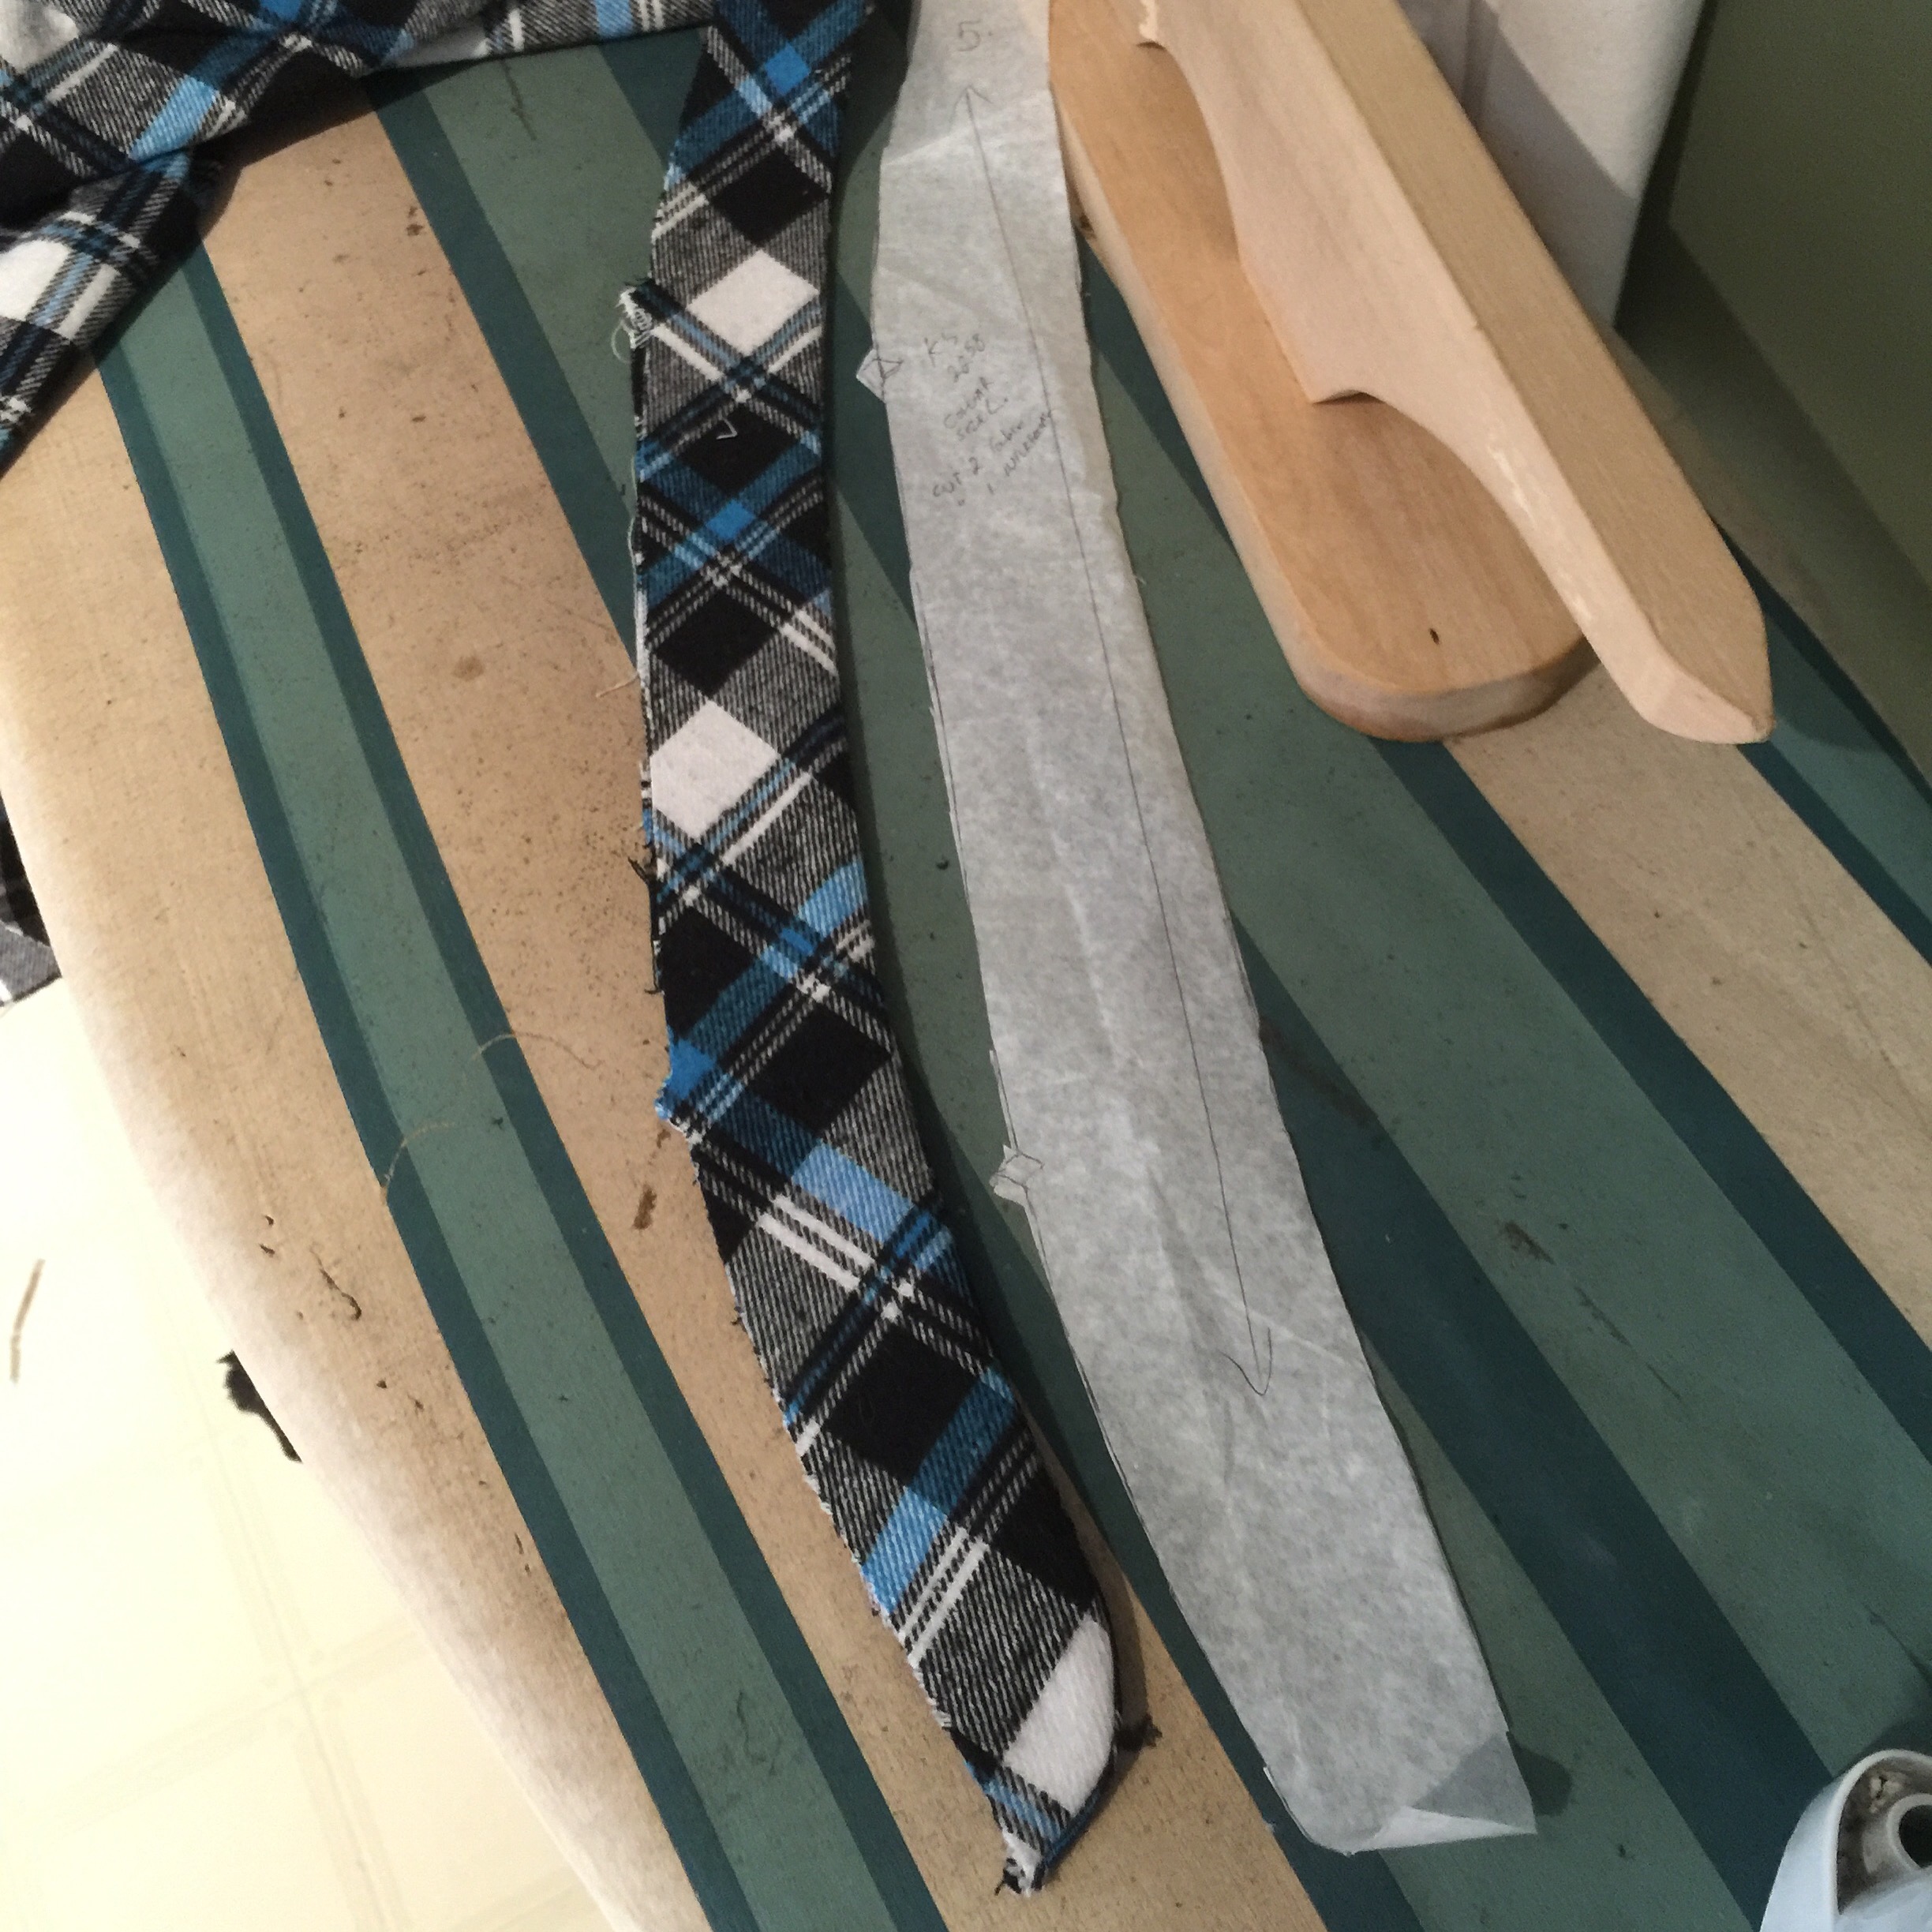 I cut the M to go with his 40″ chest, and added a generous 4″ to the sleeve length (based on previous experience), though that might have been overkill. I graded up to a size L in the collar, as collars are always too small on him, but wound up needing to add about 2″ more.
 I tried very hard to match my plaid meticulously, except for cutting the hard bits on the bias. (Collar, cuffs, yoke and plackets.) I succeeded horizontally except at one armpit, and failed miserably at matching vertically across the fronts. I keep thinking I know how to do that and failing at it, so I should really re-read all the tutorials. 😦 Sewaholic has a great one that makes perfect sense when I read it. 😦
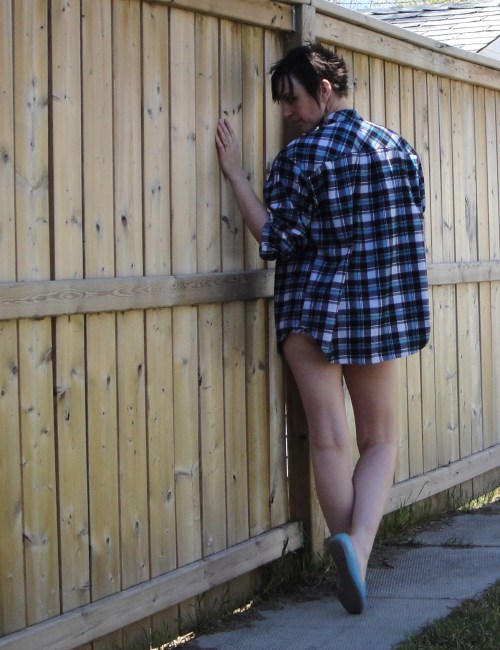 I cut & sewed it when I had a few days off after Easter, then realized that none of the buttons I had enough of were suitable* and had to hold off for a little while, at which point I had lost all drive (plus he was already wearing it—it’s not like it’s destined for office wear.)
 Eventually, though, I managed to get some plain black buttons and see them on, and it’s been in pretty common rotation since. And I even managed to cut another Burda 6849 out of the remainder for Tyo, assuming I can motivate myself to actually sew it up.
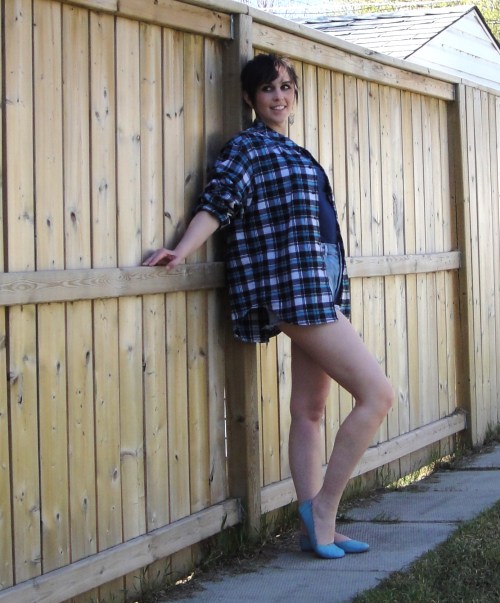
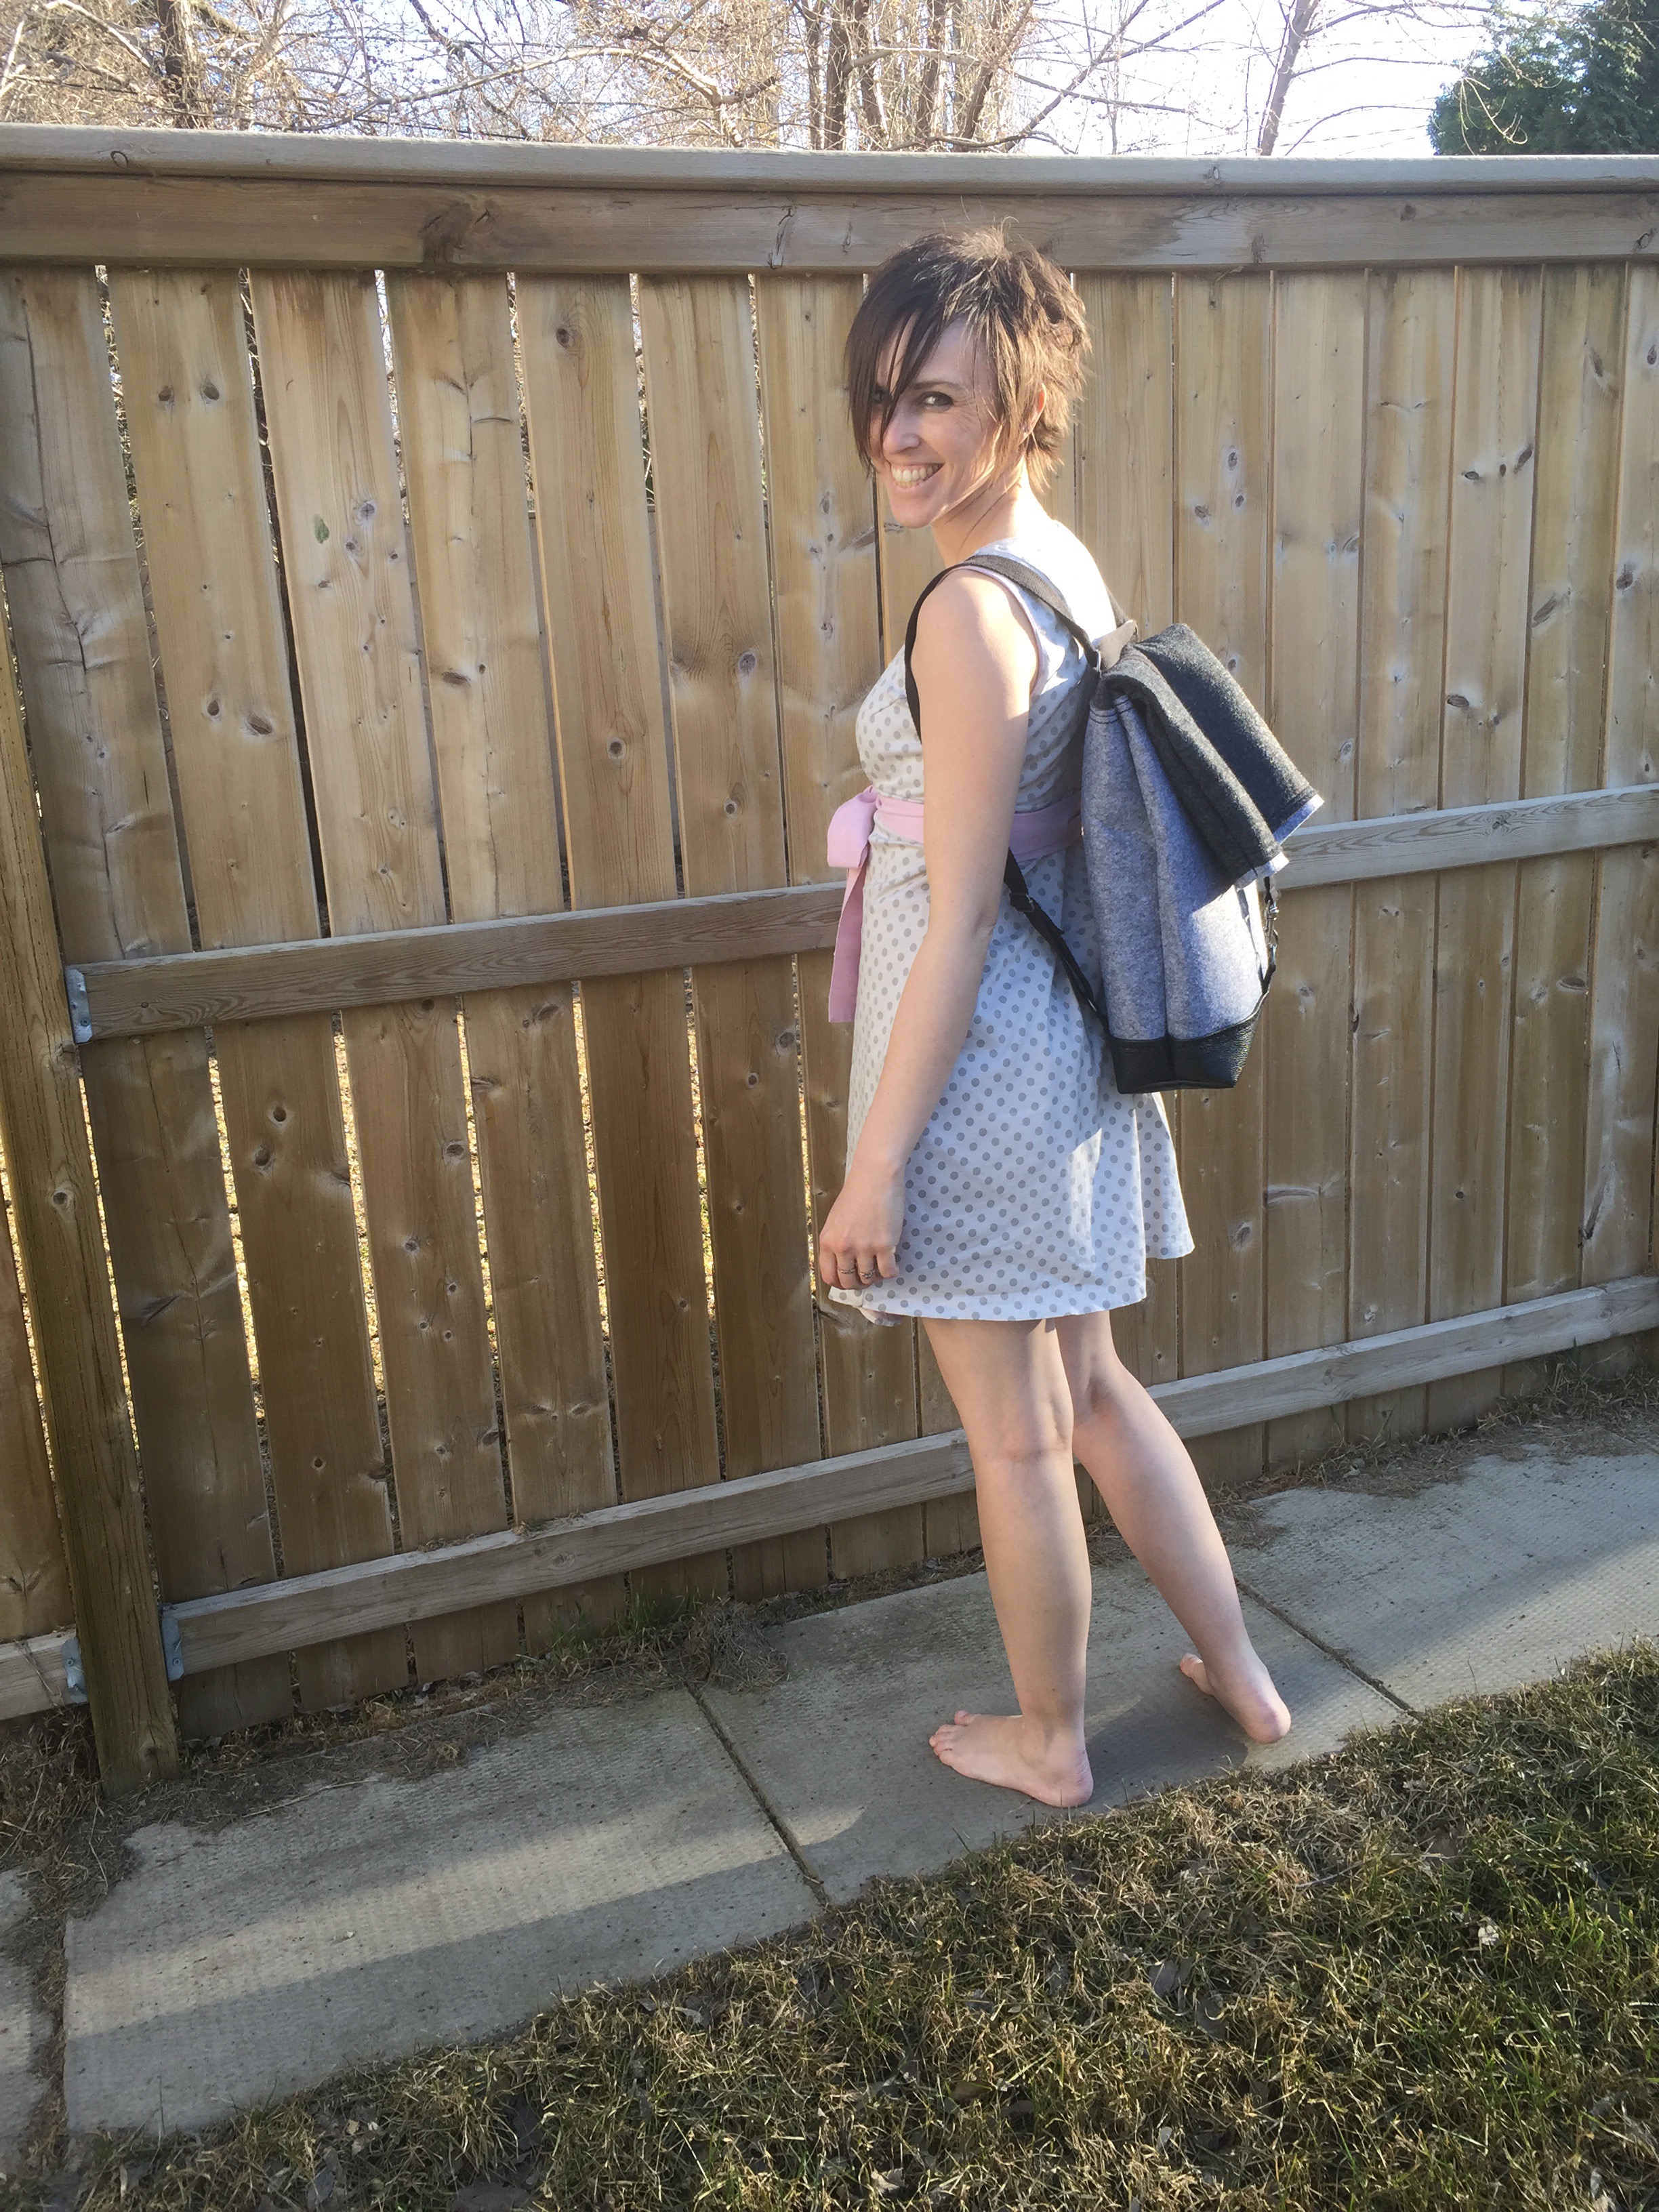
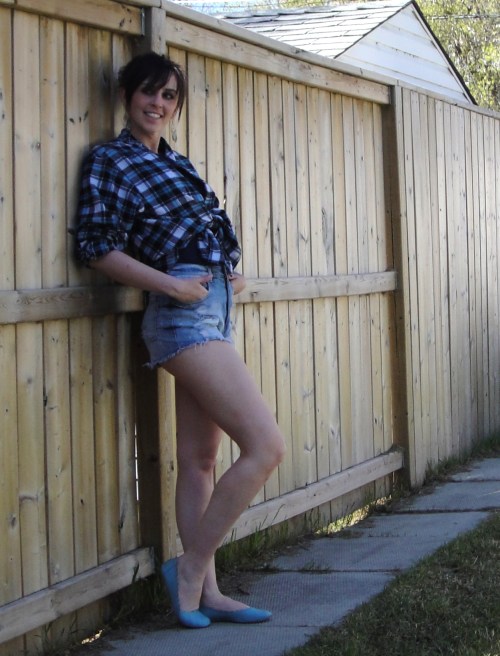 And that’s about it, really. Oh, the front knotted look is as per the husband’s style instructions, and the high-rise-ass-hanging-out-shorts were acquired by one of my children from a friend. My husband forbid them to wear the shorts out of the house, so I have stolen them. I haven’t worn anything with this high a rise since I figured out I could cut the waistband off my Levi’s 501s in about 1998. It feels profoundly weird.
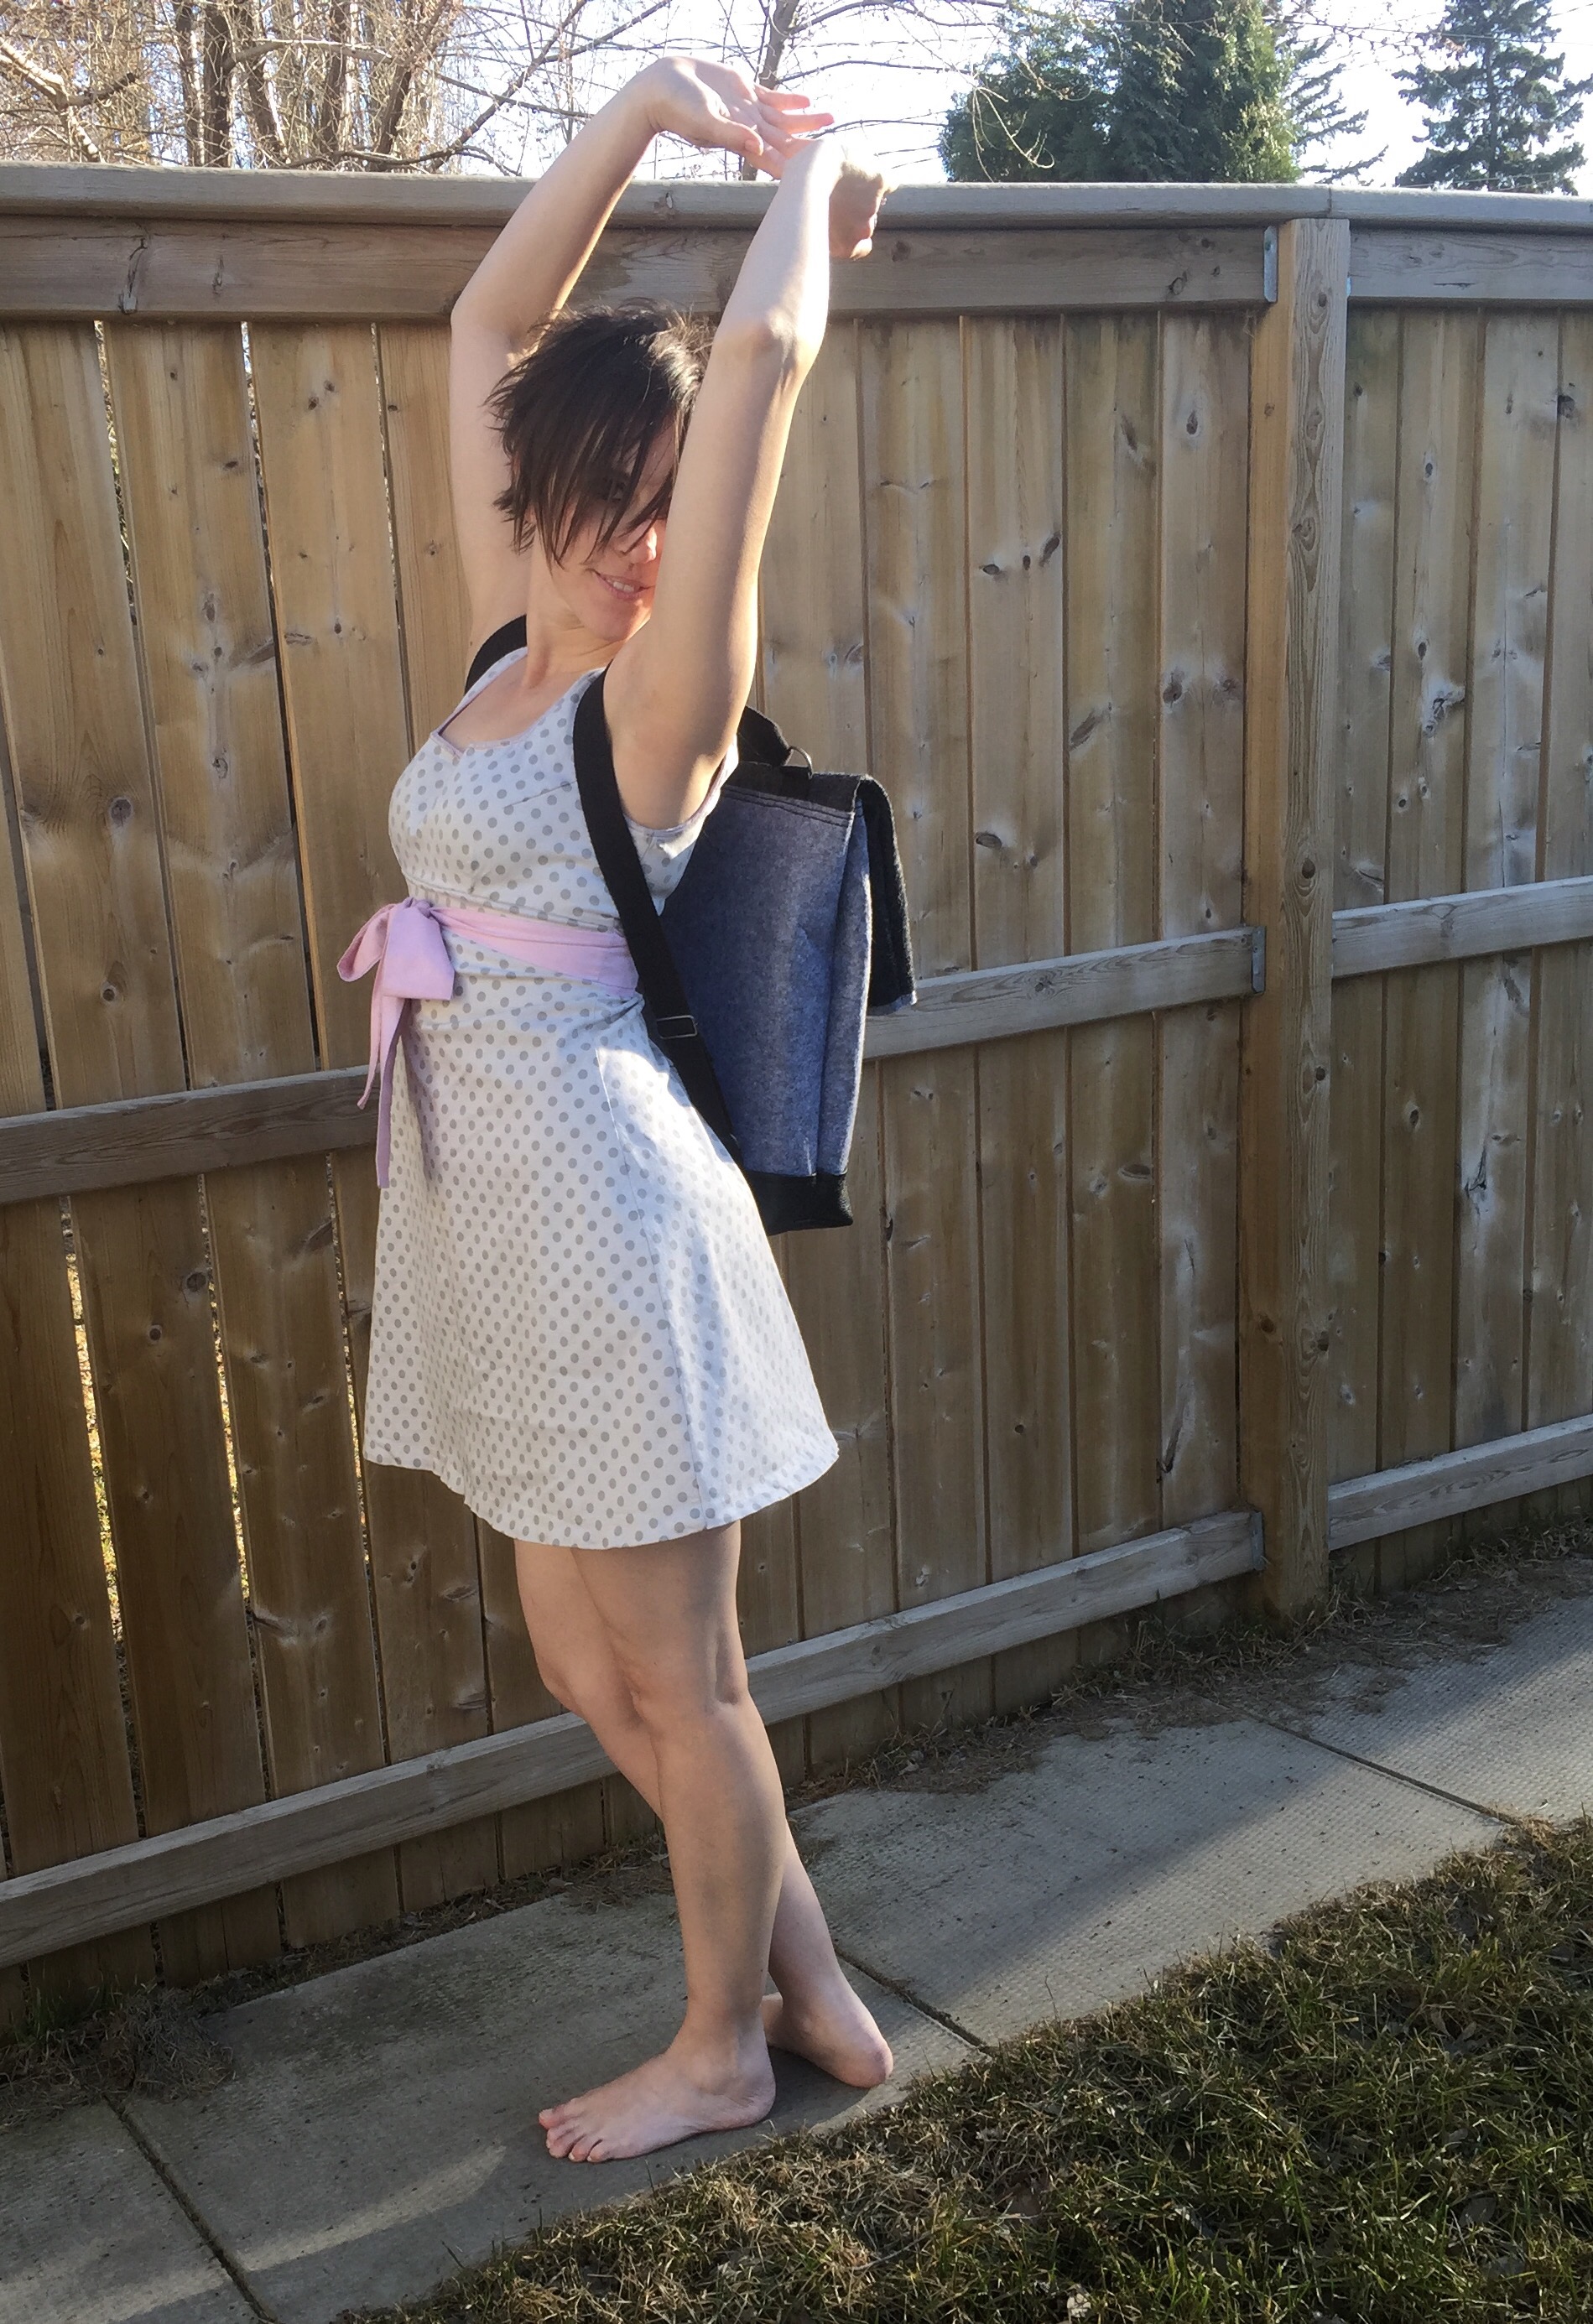


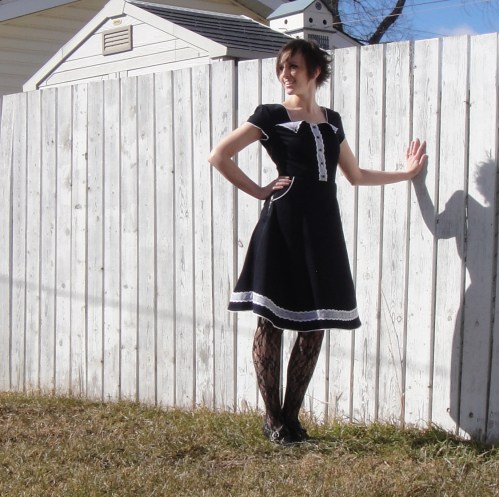
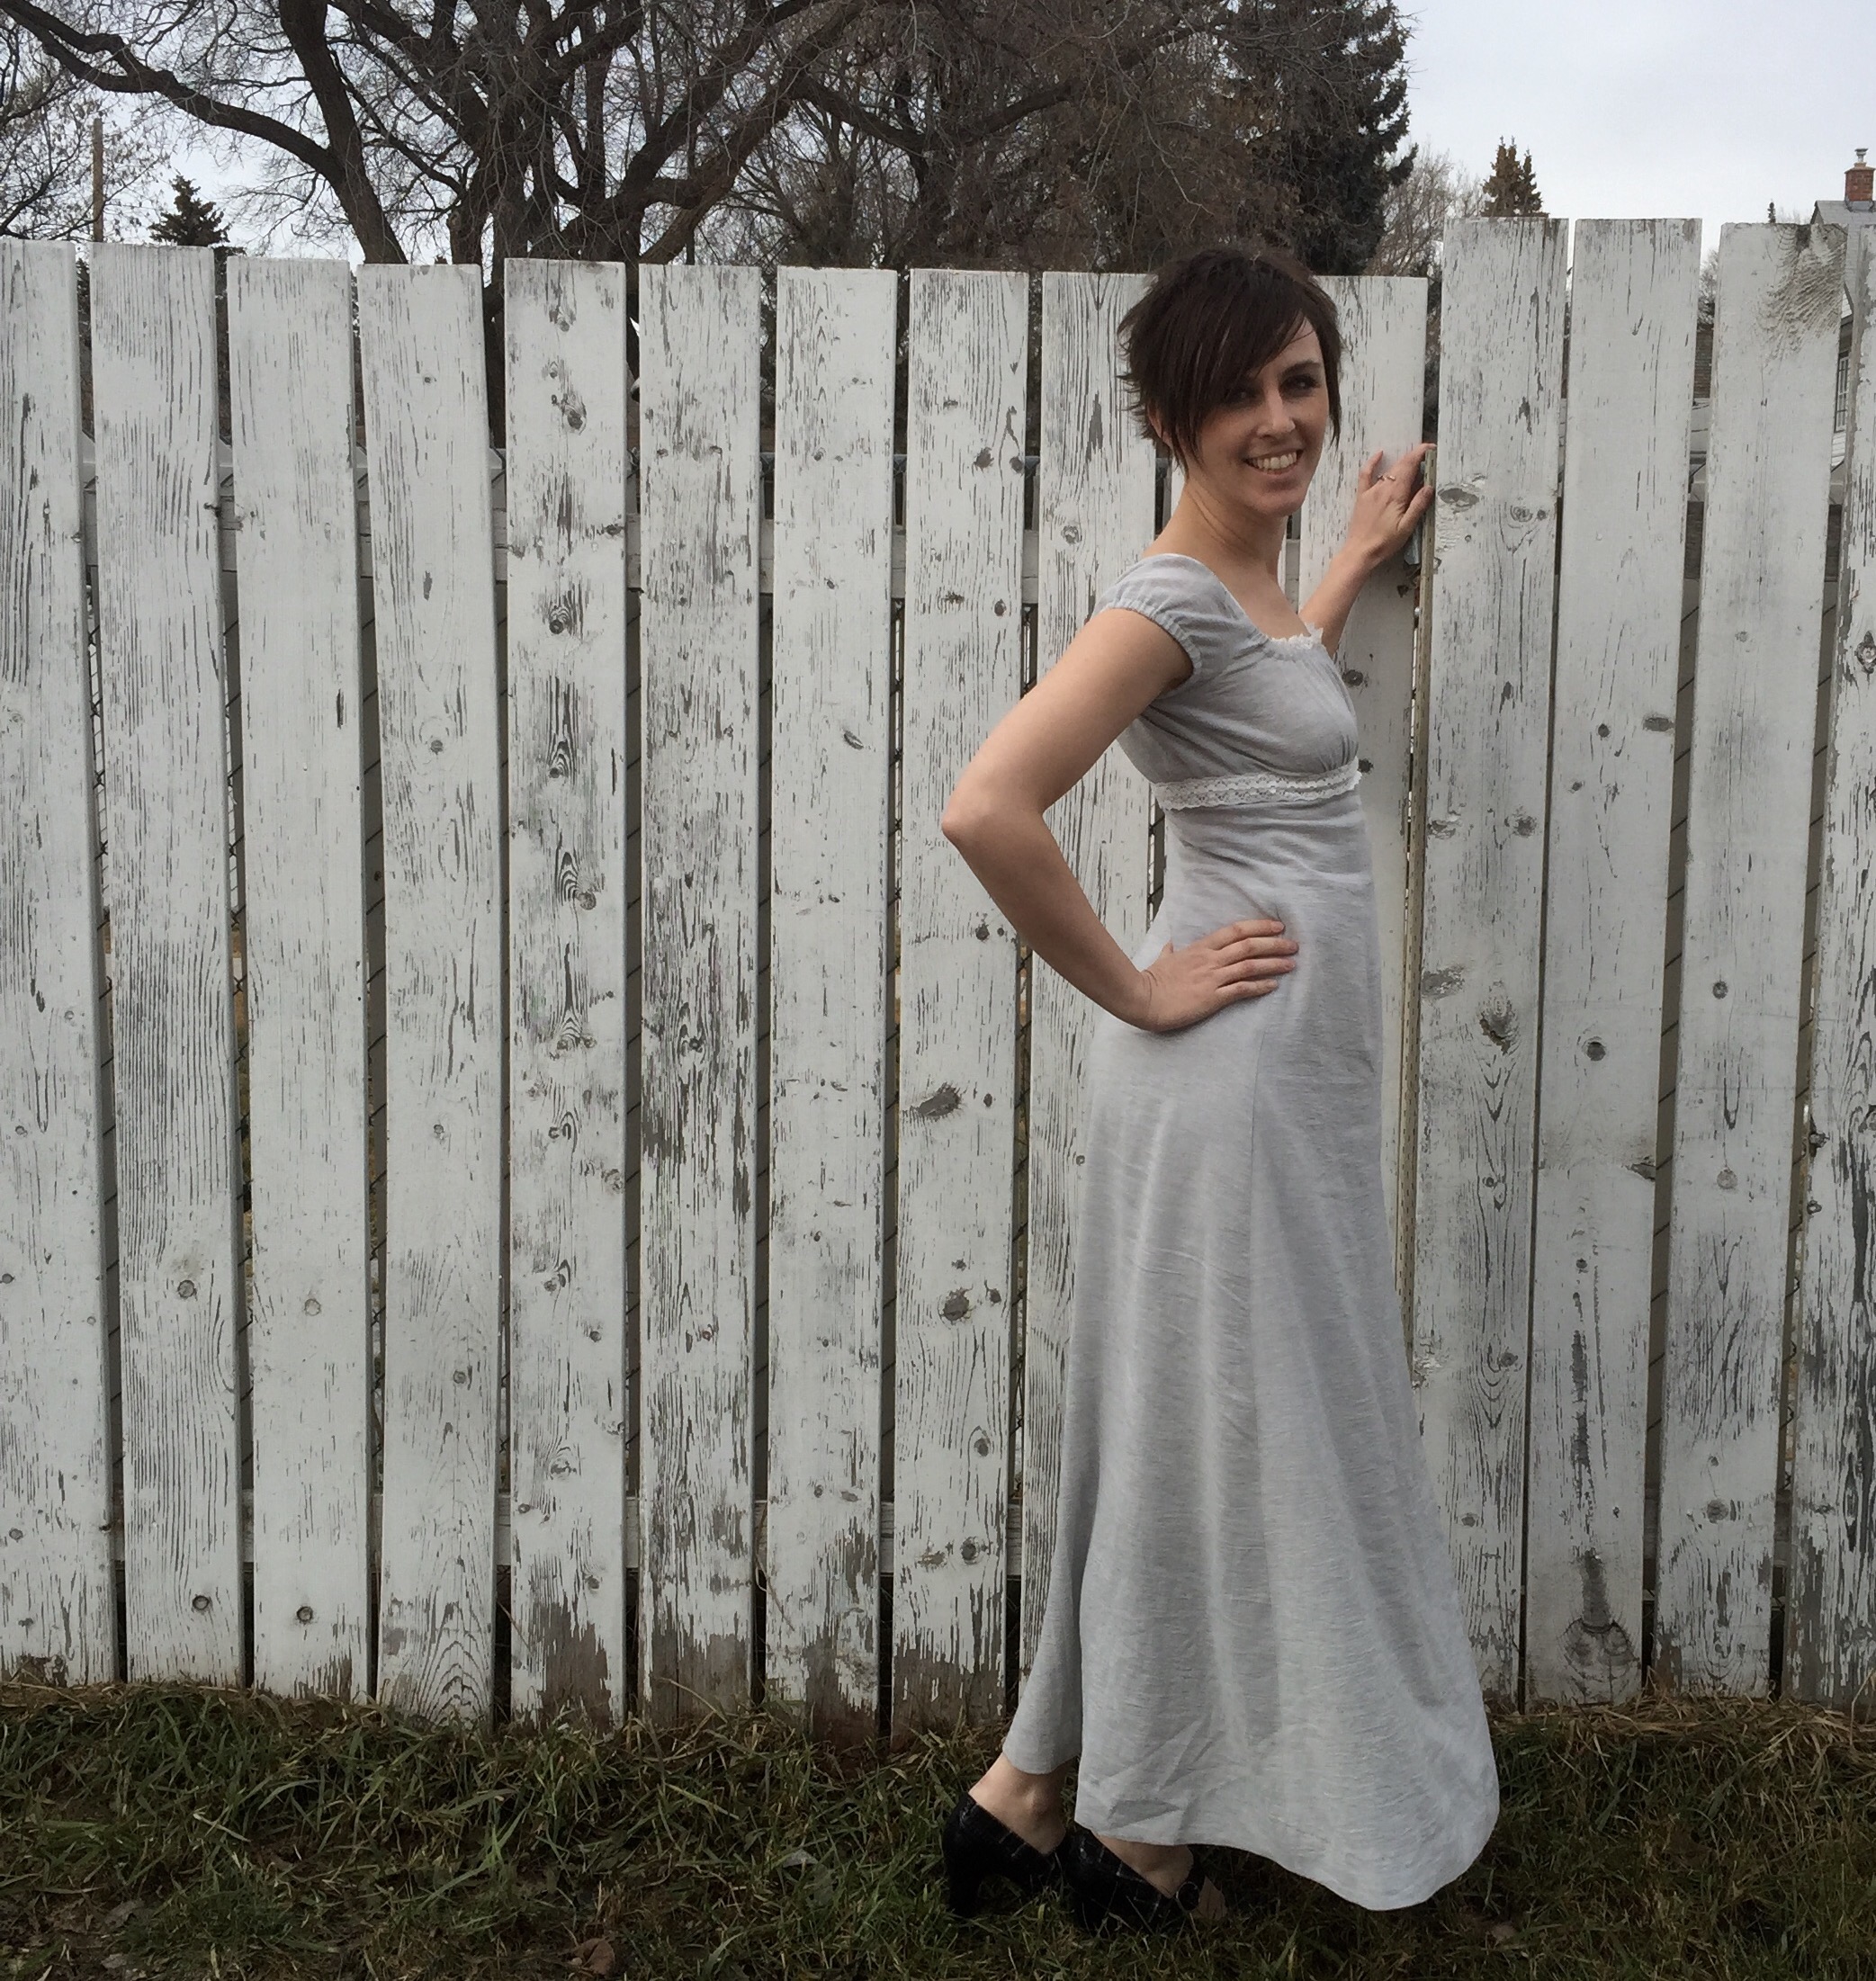
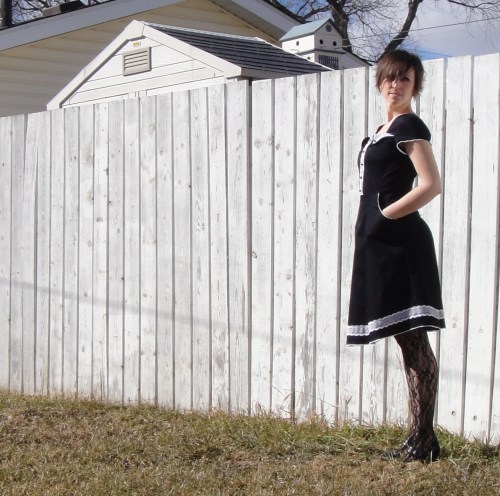 No sooner do I declare that I like a bit of edge in my clothing, than I make a bunch of things that are super sweet.
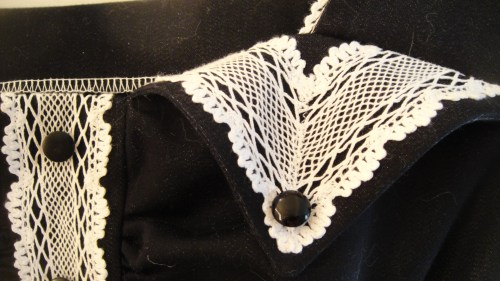

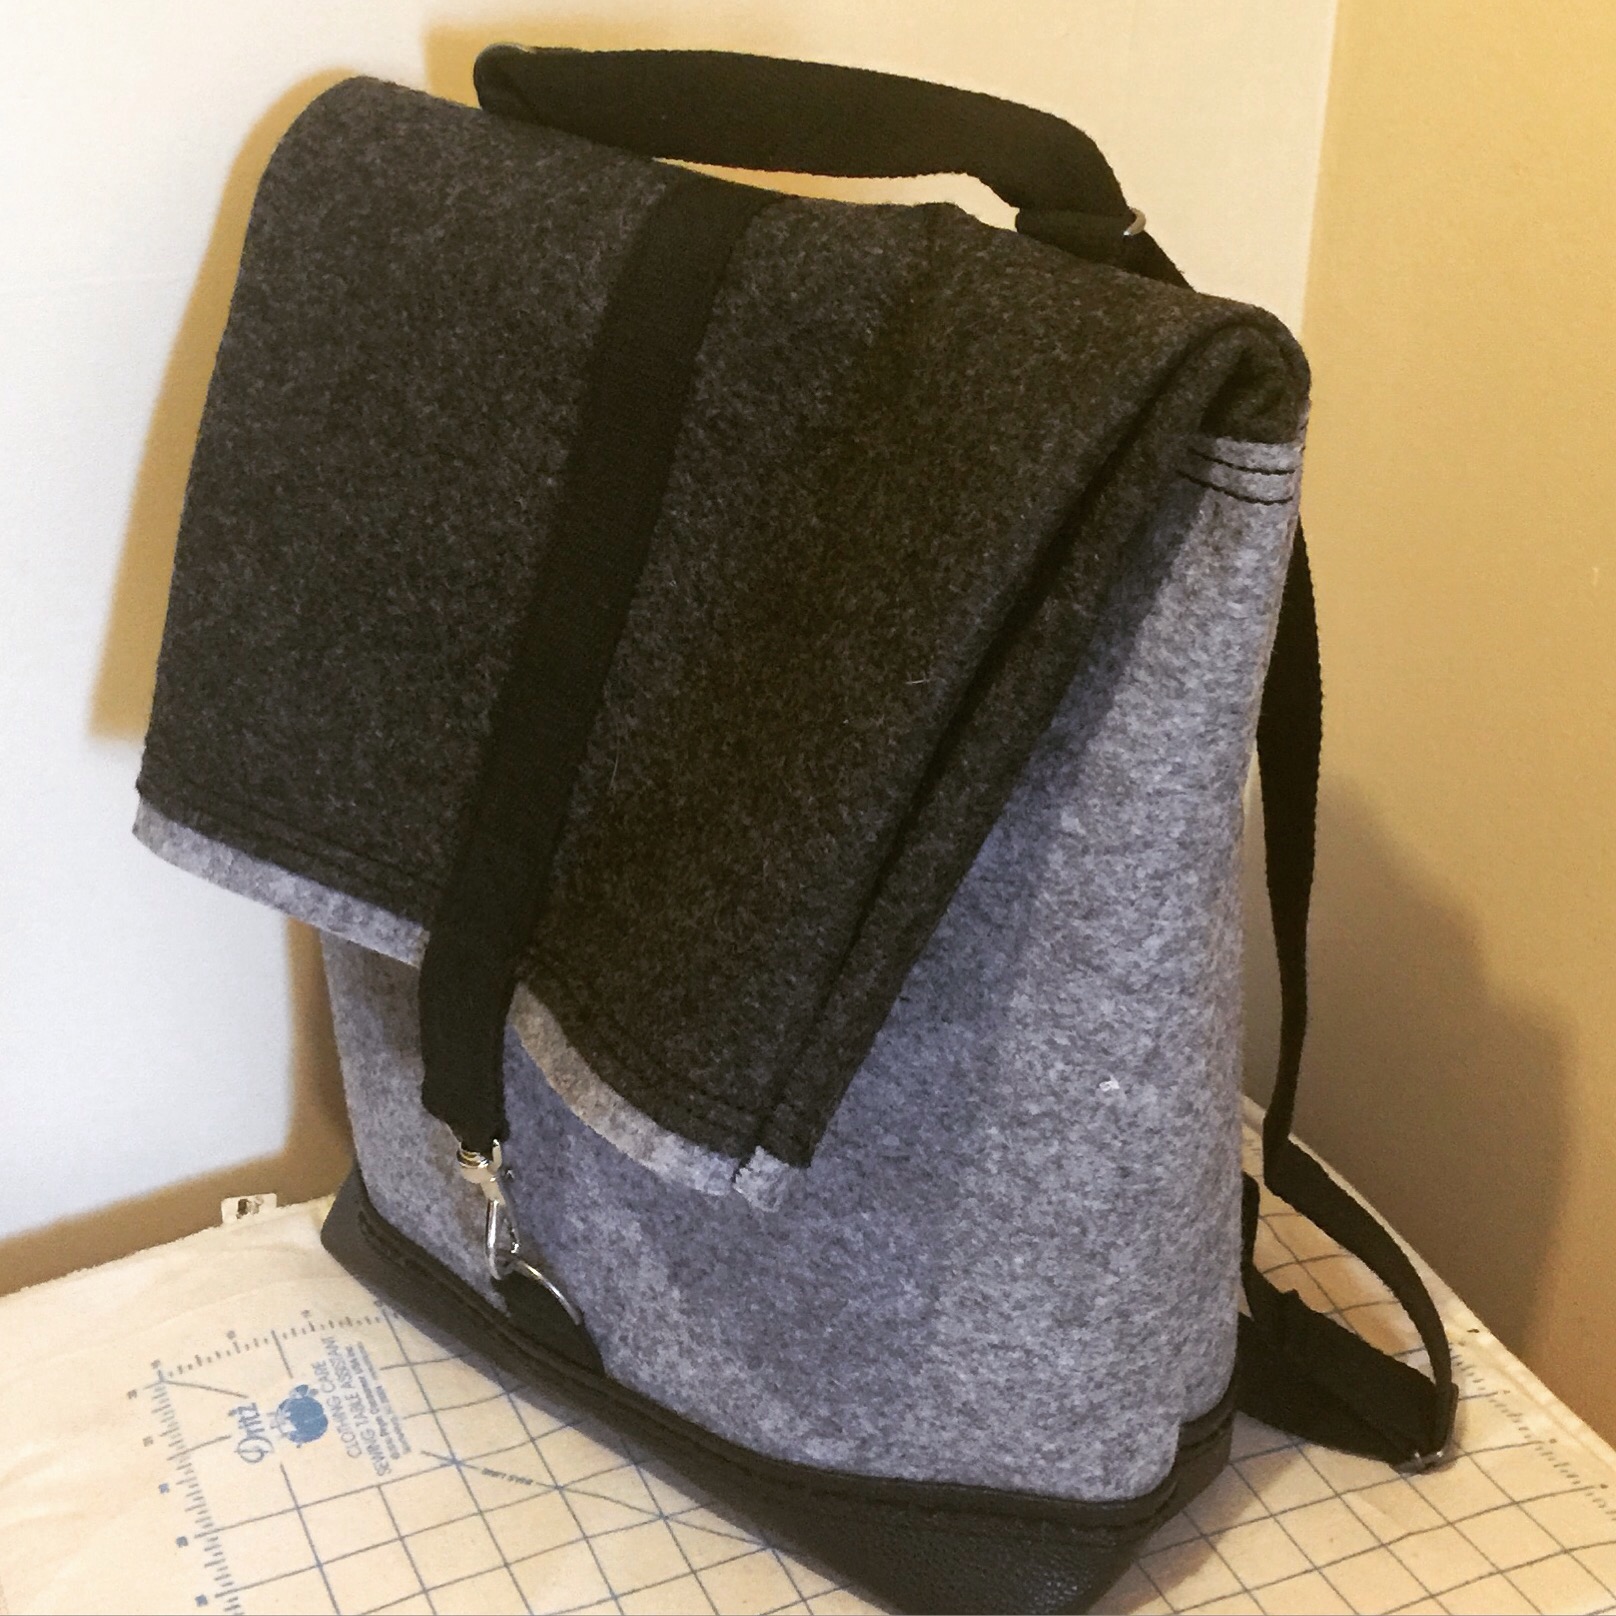
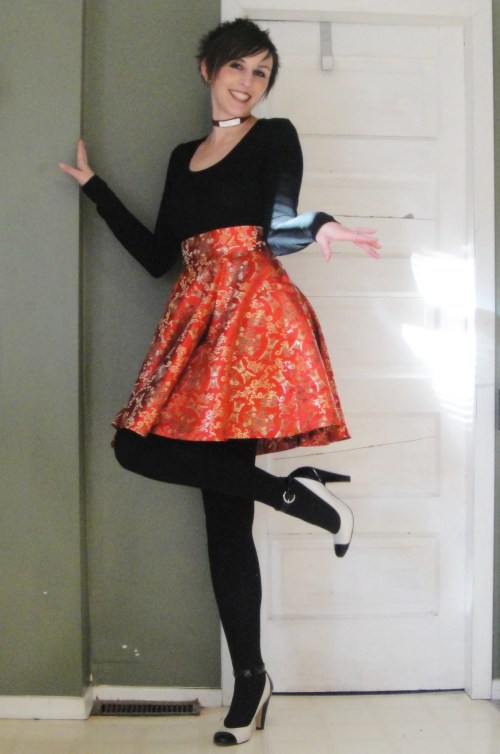
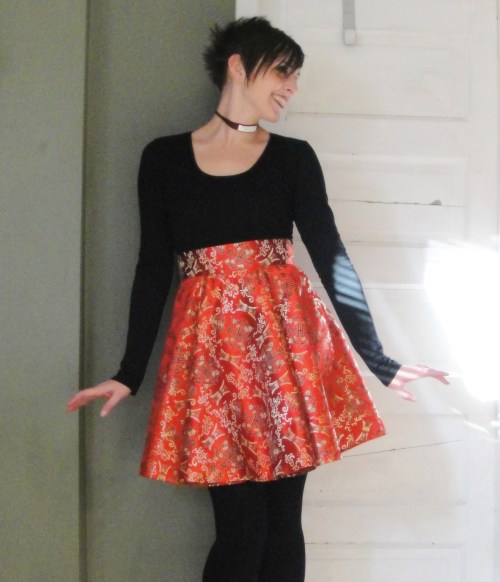
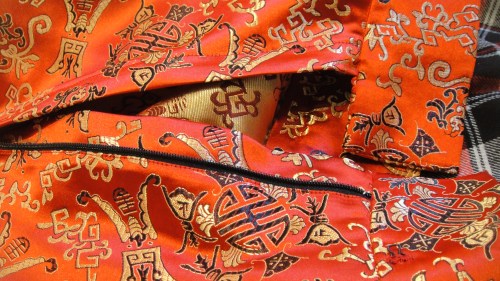
 A couple of construction notes: the pattern calls for self-lined shoulder pieces and cap sleeves. I substituted a navy stretch poplin for these pieces (as well as the pocket lining) because of my heavier fabric. I also went a bit off road on the construction, as I wasn’t completely fond of the method described. I am pretty happy with what all I did, even the moment when I had the entire bodice rolled up inside the little front “placket” so I could machine finish it. Just not with the fit. /sigh.
 I’m not sure if this is the wisest style decision I’ve ever made, but I do like the flatness of it. It goes with the denim but seems a bit out of place with the lace. And the fancy pull is gigantic. Oh, well.

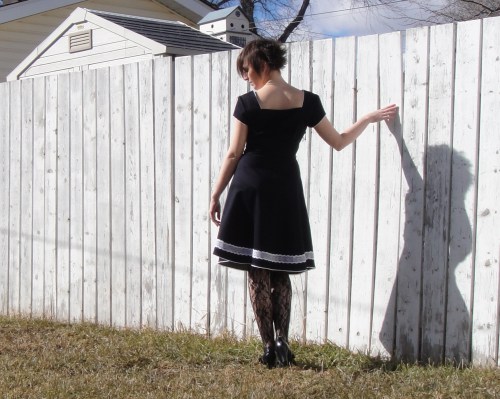
 It does look a bit like a Victorian bathing suit.
 My
My 
 Anyway, this completion happily coincided with a couple of things. With my most recent
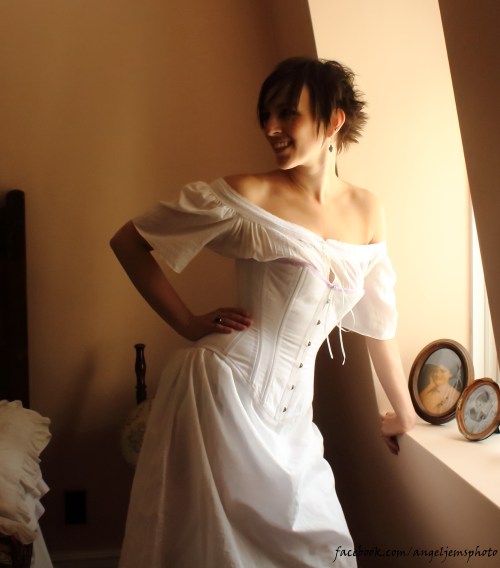
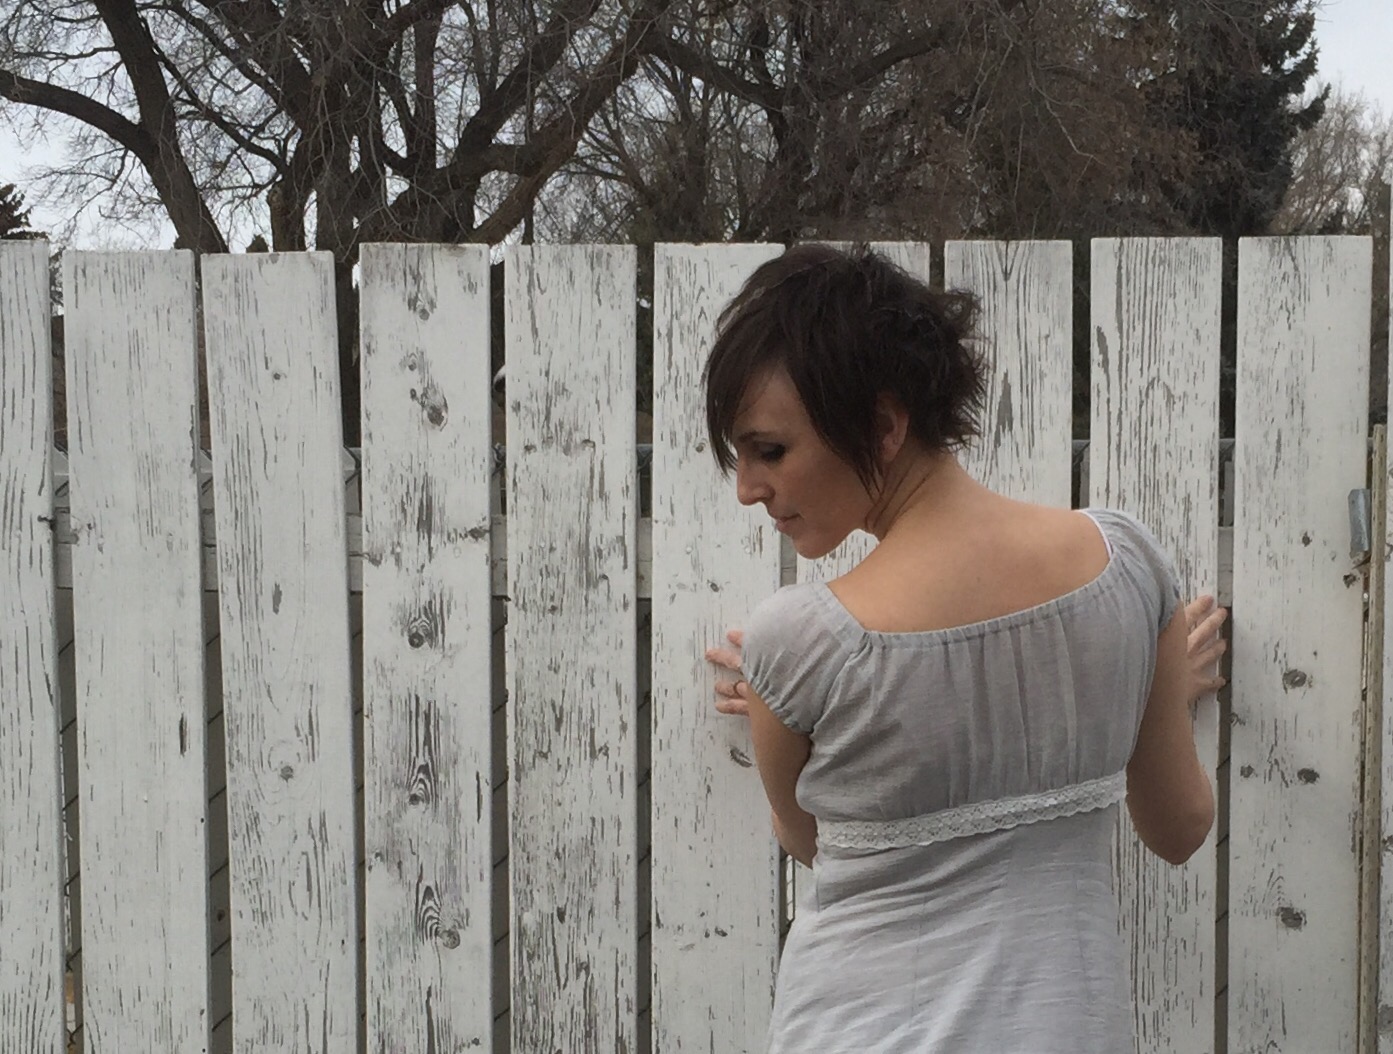
 We bounced around the house, playing with the light.
 Every room was different.


 I may have had a bit too much fun with the editing process, making sepia and low-colour versions. Oh, well. They’re my photos and I’ll cheese ’em up if I want too. I also lost the cover off one of my fabric-covered buttons while getting dressed, so that had to be photoshopped out of a bunch of pics. I will warn you, I also took the liberty of some SERIOUS Photoshopping once or twice—so if you catch yourself wondering “is her waist really that small?” The answer is probably “no, not even in a corset.” PICTURES LIE!!!!


 *you’ve seen my hair, right? Short of concocting a story about how I cut it off and sold it to buy a chain for my husband’s prize watch, which he sold to buy me a comb for my beautiful hair, we’re kinda stuck. I don’t have an appropriate wig, and I’m disinclined to go out and buy one at the moment. I also don’t have a period hat for the outdoor shots.

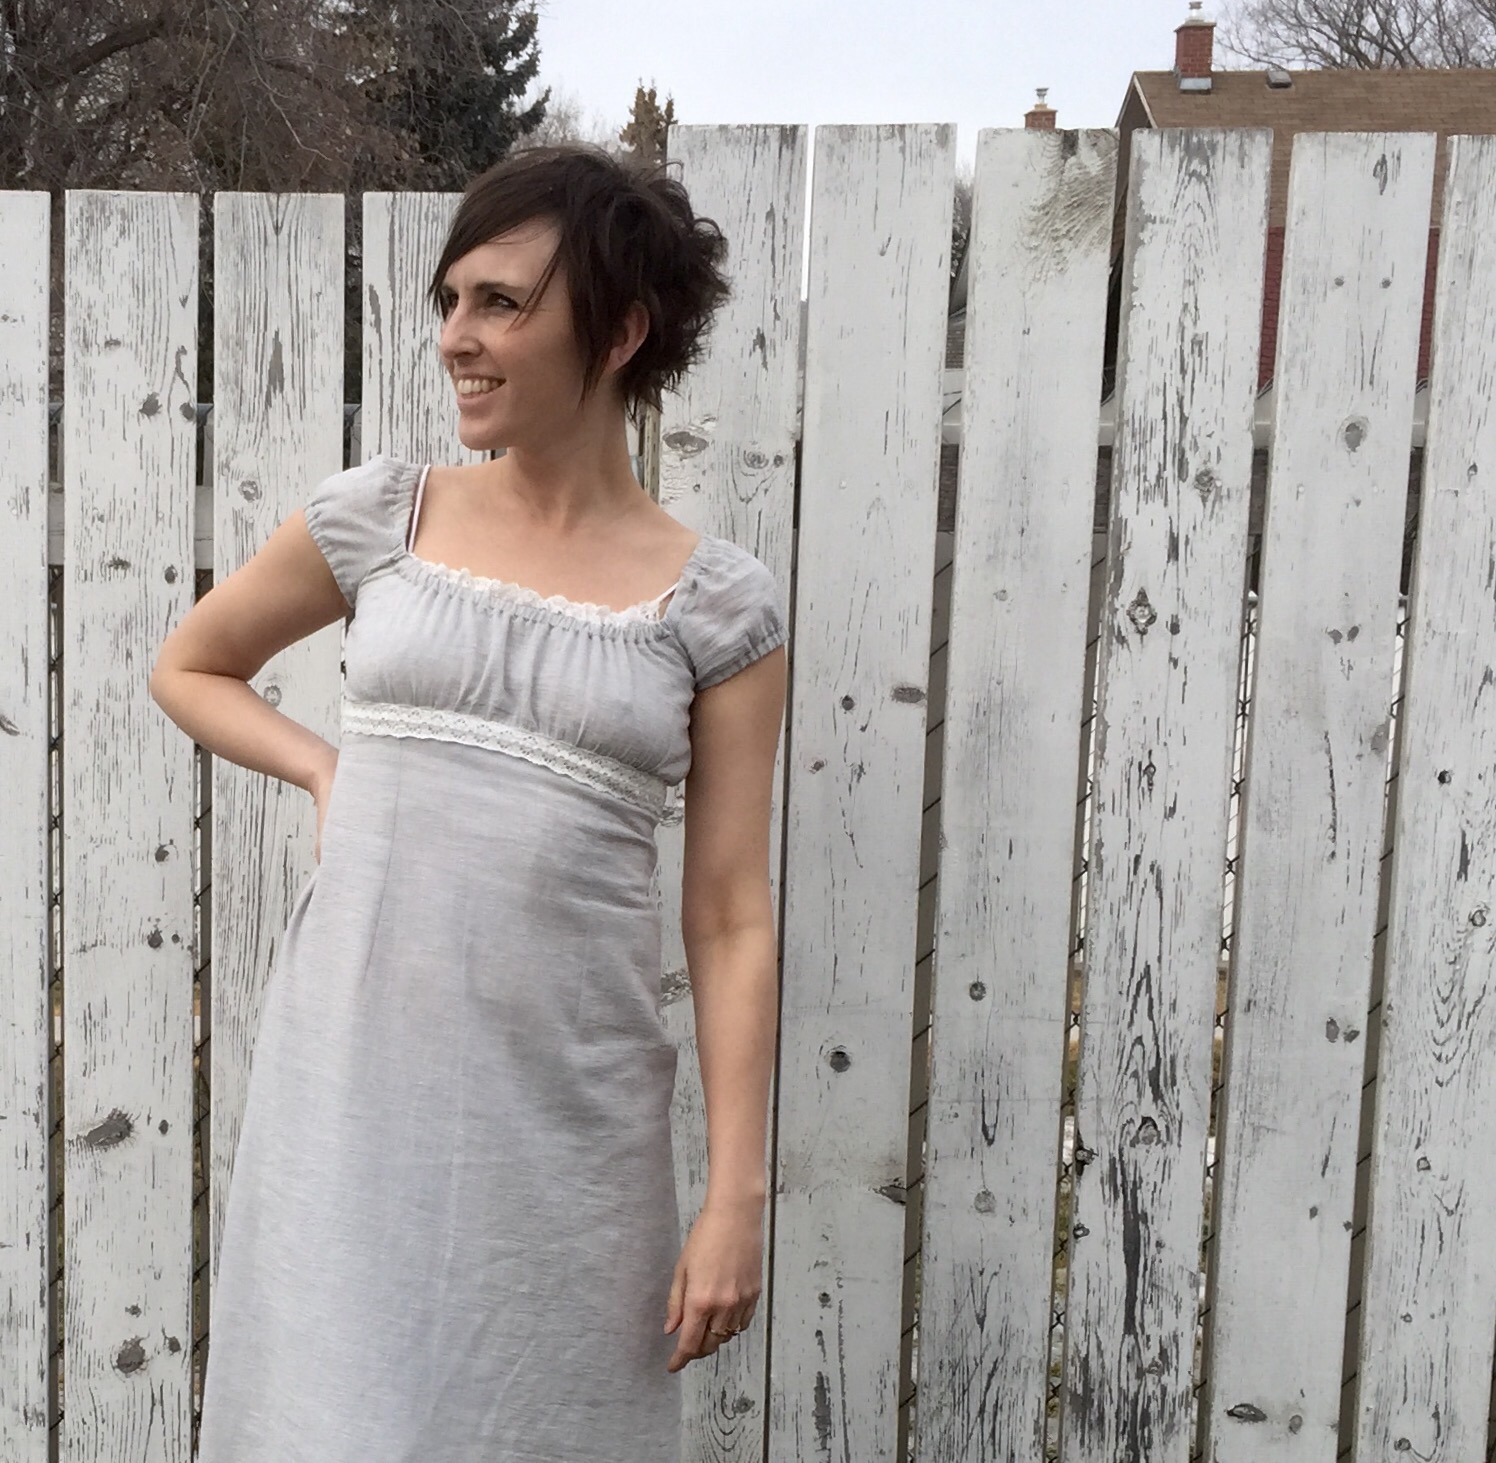

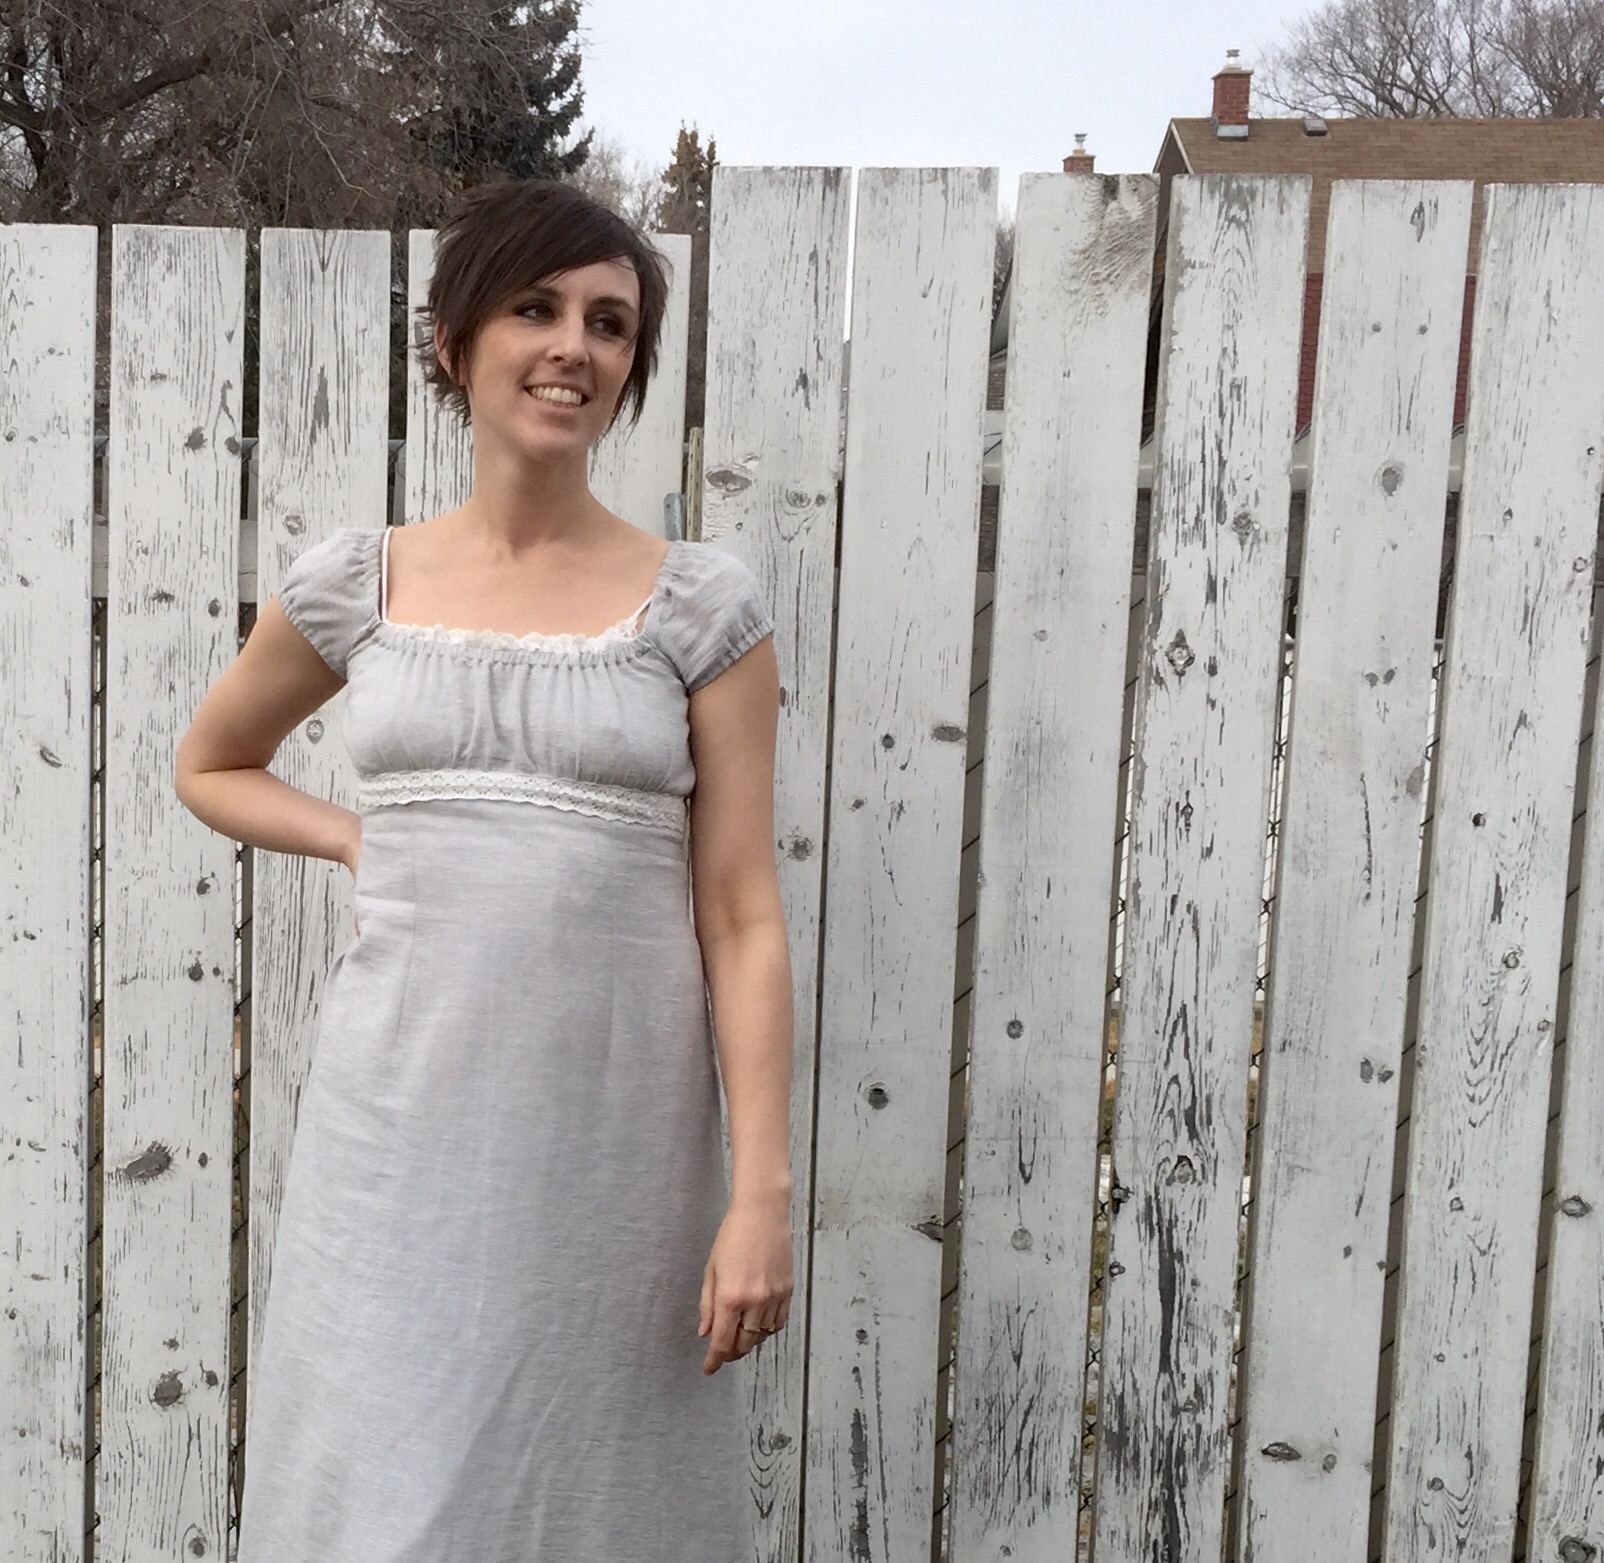

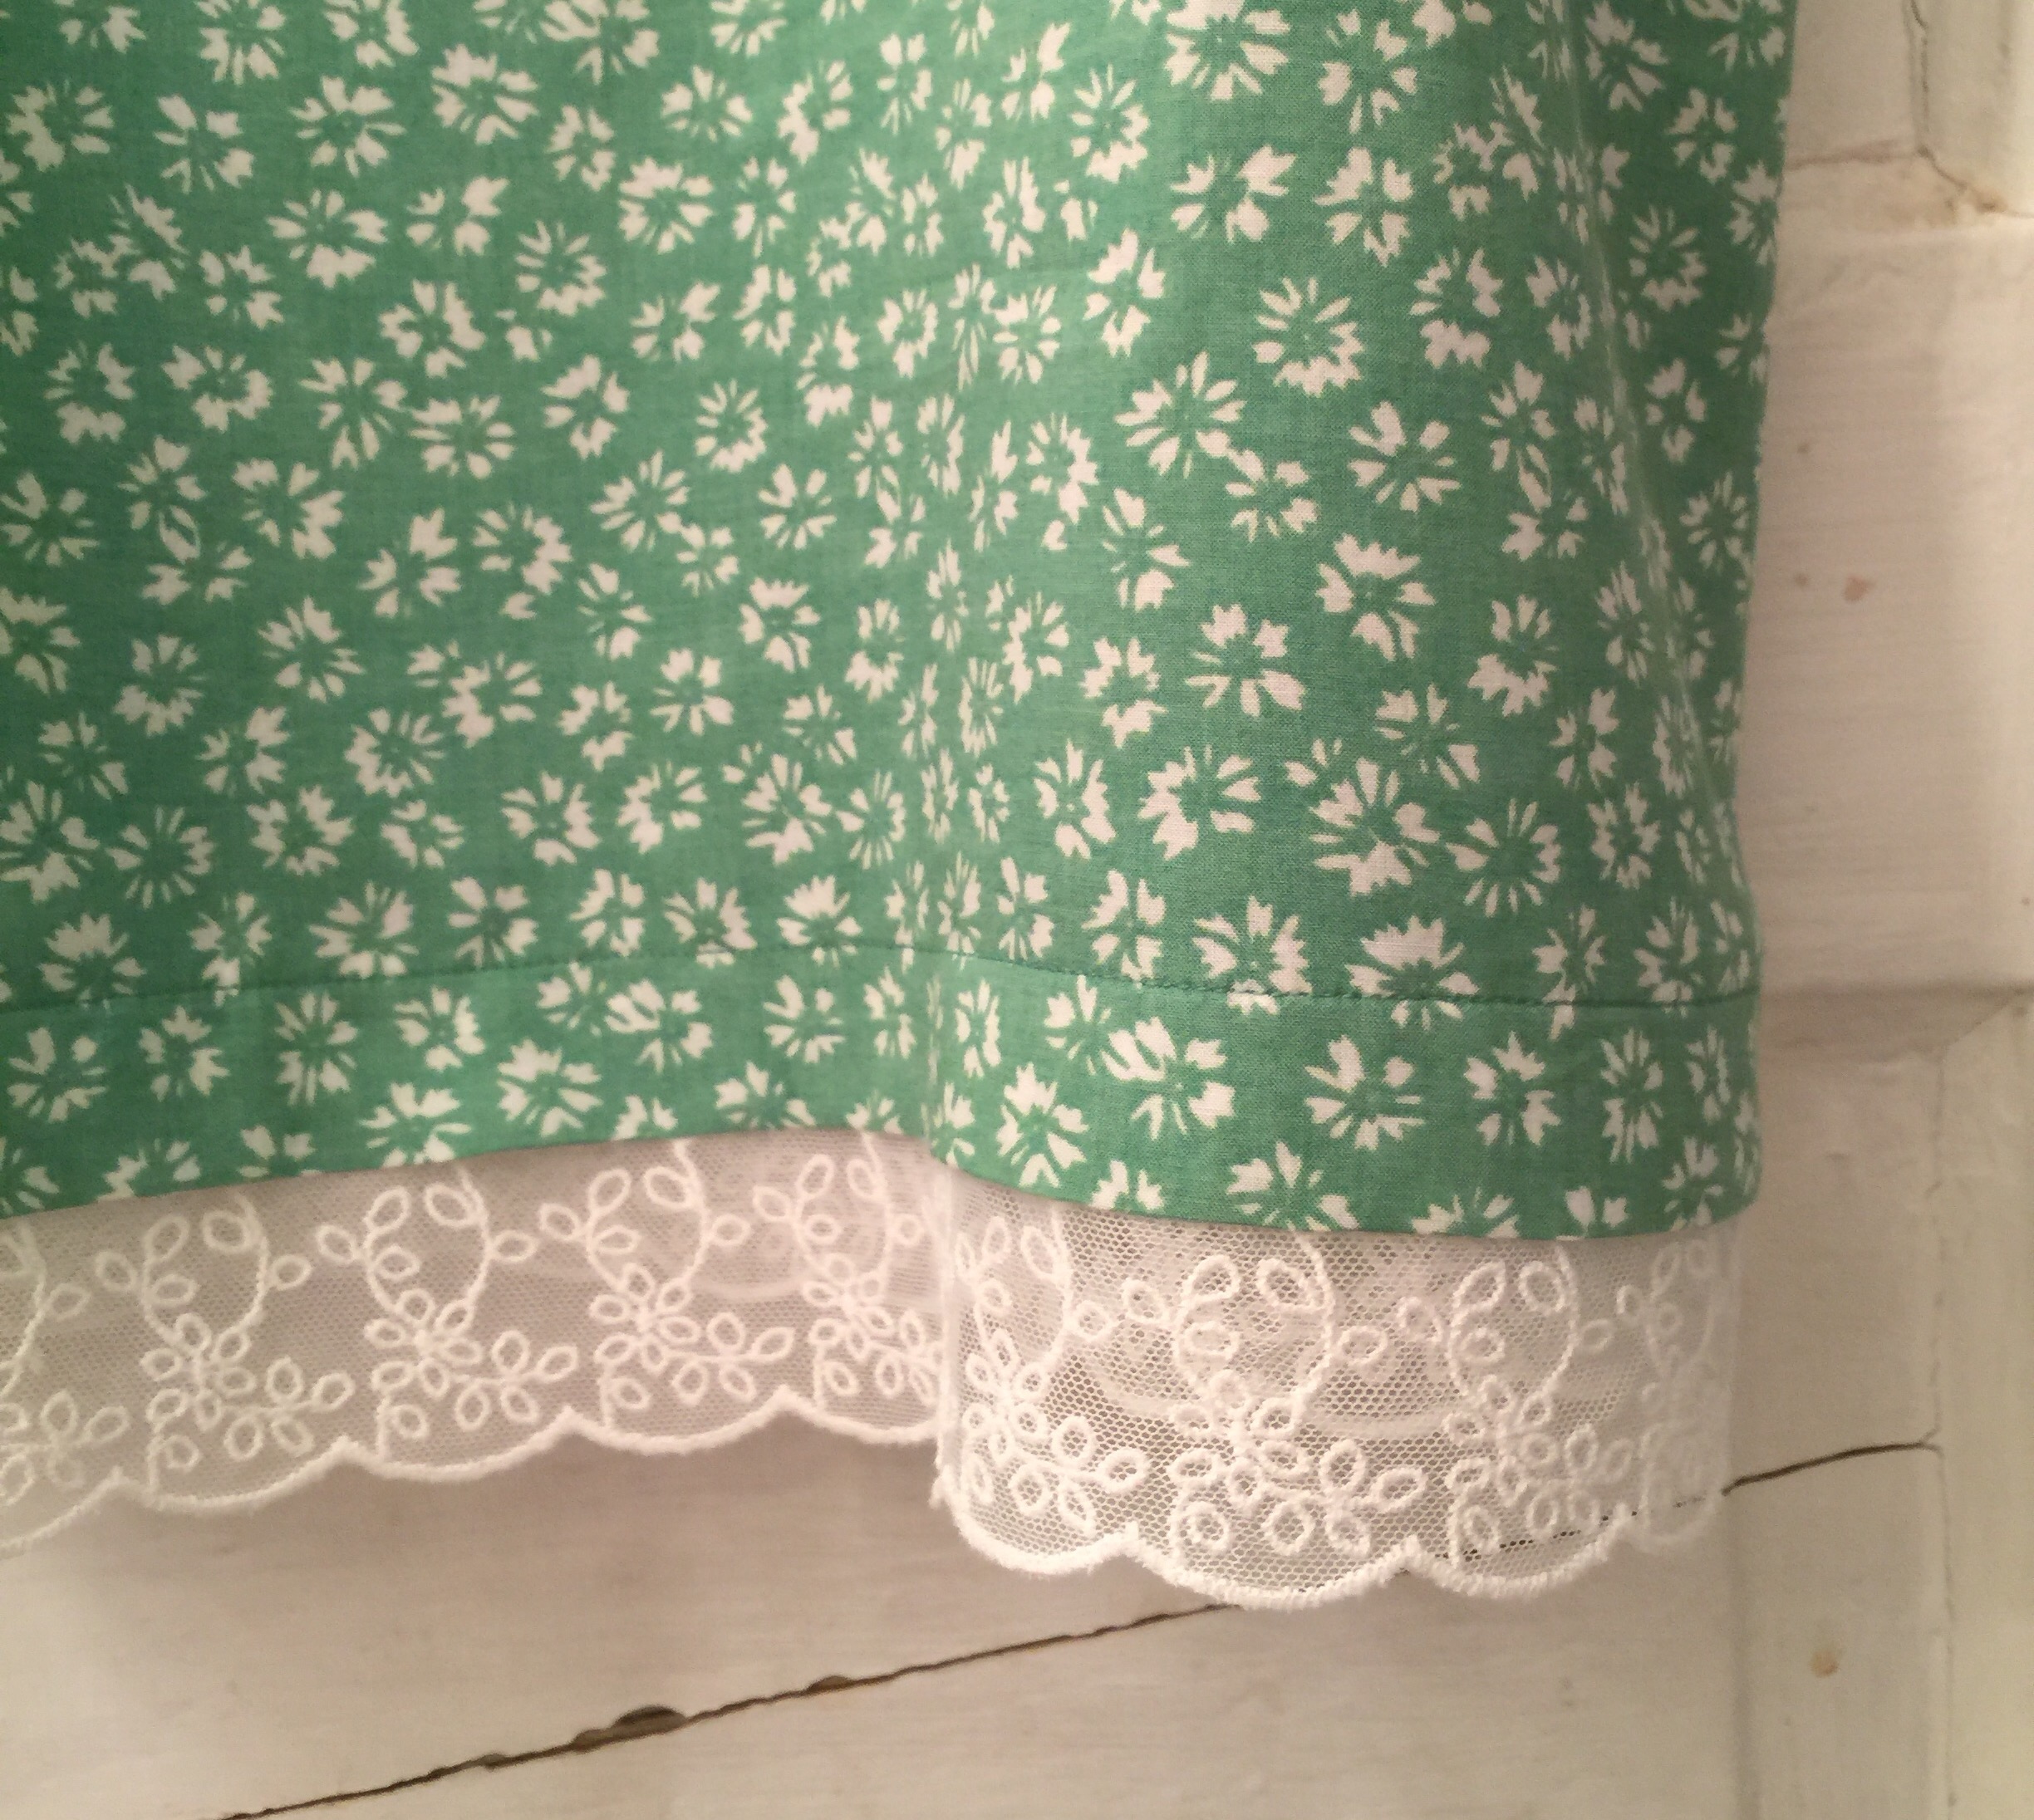
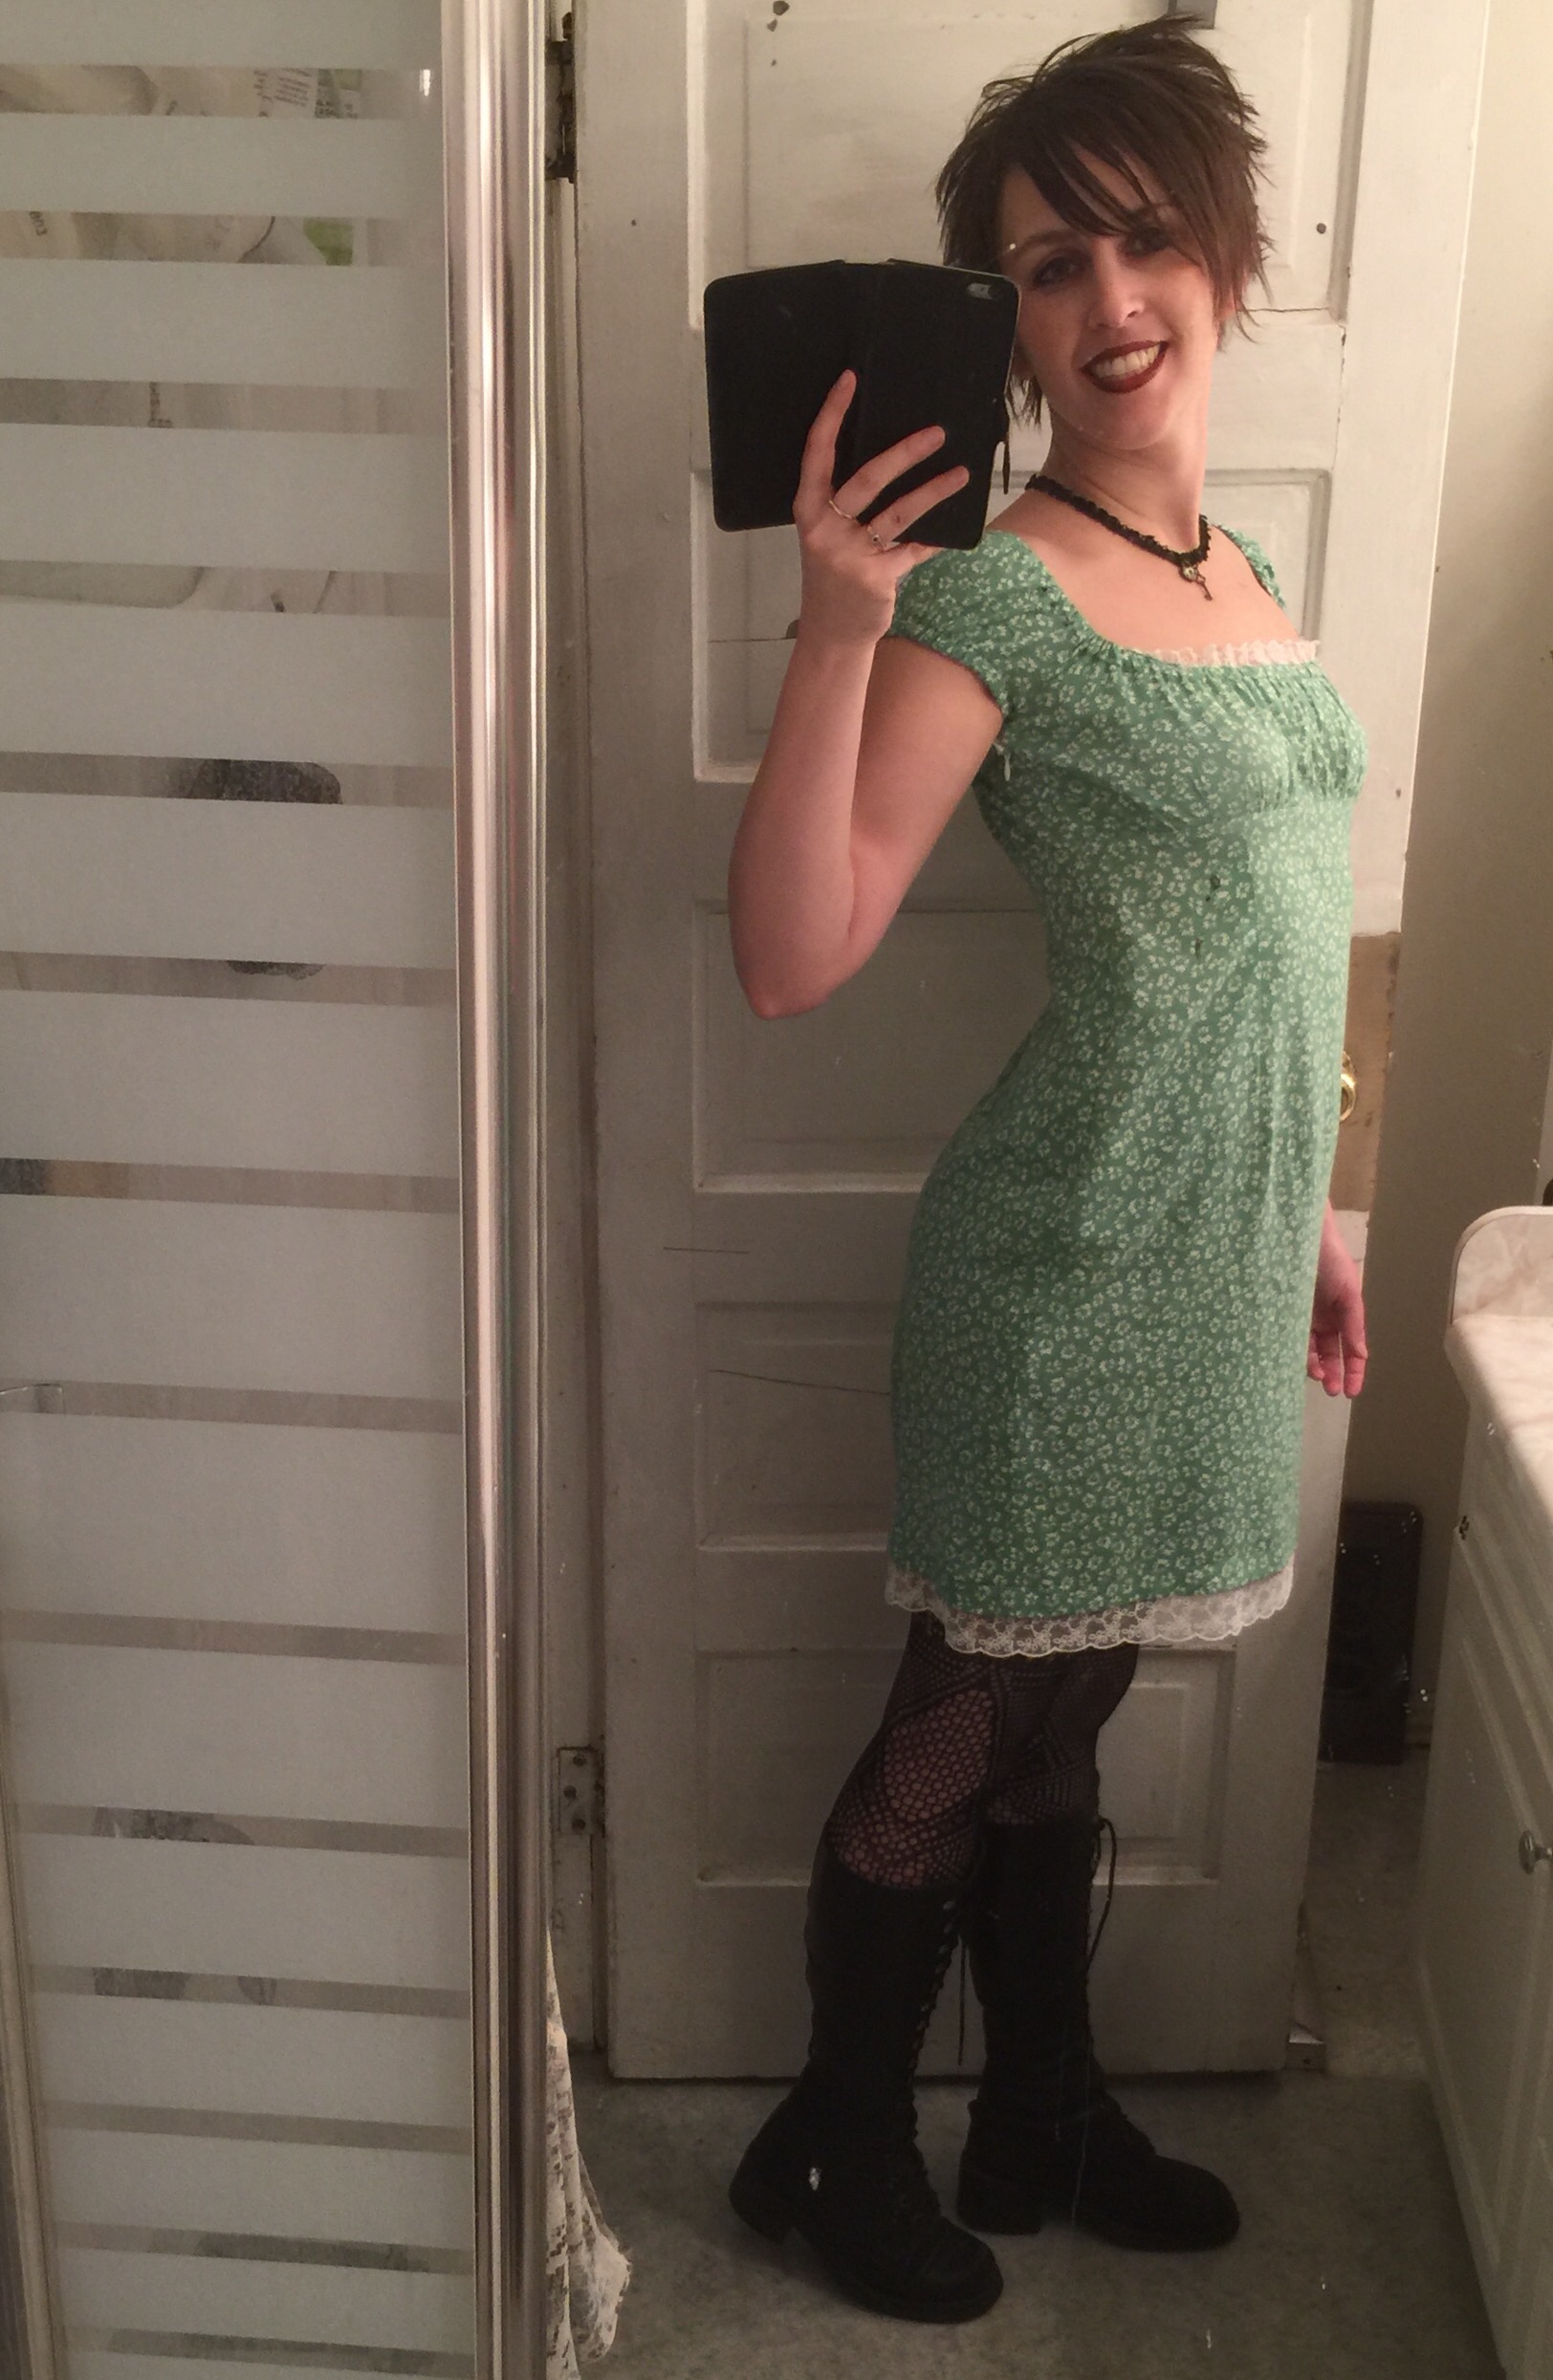
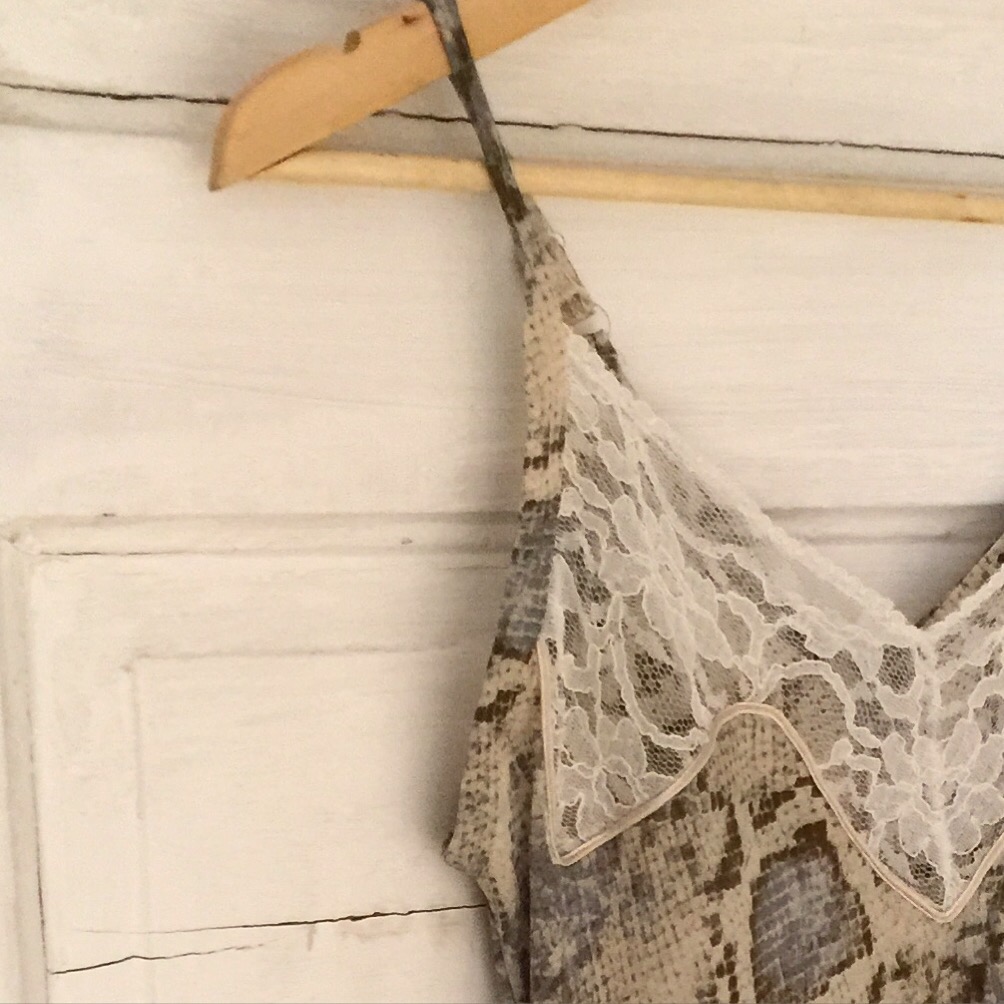
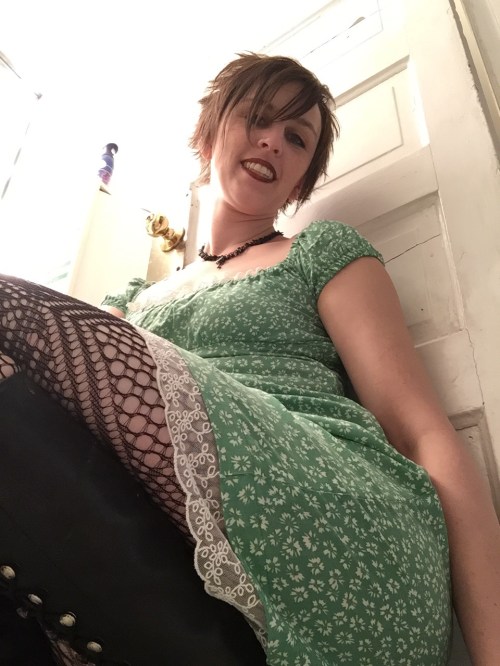 So a little while ago, I fell in love with a fabric at work. Because that doesn’t happen like every two seconds. This was a sweet rayon with a print that felt very vintage, in a soft green that is not at all my usual palette. And then we got this adorable embroidered net lace, and the pairing raised the delicate sweetness to soaring heights. Completely in love. But a little worried about making something from it that I actually want to wear. I generally like a wee bit of an edge to my sweetness, and lately I’ve been feeling that a bit more keenly. This rayon seemed like it wanted to be a drapey 30s or 40s style dress, which are sweet but not really edgy.


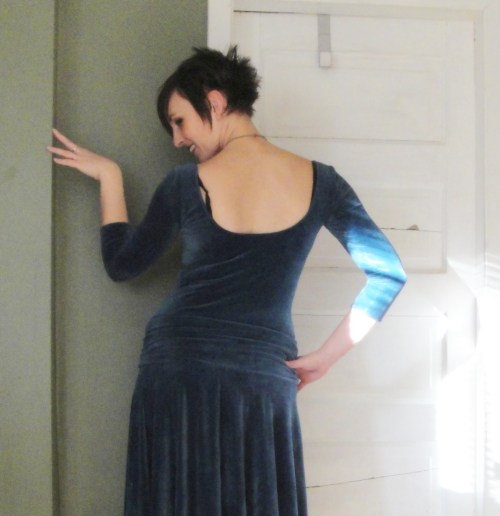
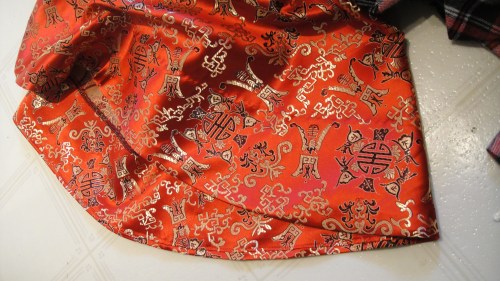
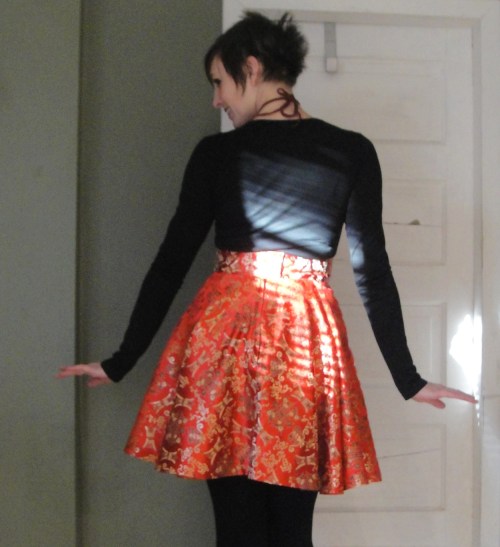
 OK, so I’m gonna say right off, this is a weird pattern. It’s simple, or at least it should be. It’s designed for wovens with a stretchy knit waistband—using the stretchy velour for the skirt part didn’t seem to be a problem. It’s not a full circle skirt, though it’s close. Here’s where the weirdness kicks in: the pattern piece is meant to be cut on the fold (or rather, mirrored) twice—but the fold/mirror line is not the grain line (nor is it a simple 45 degrees to it or anything else that would make sense).
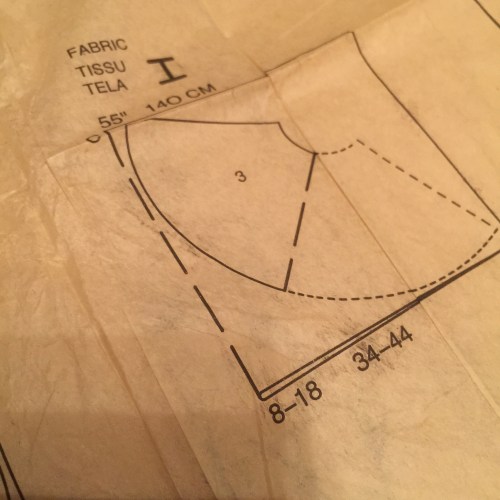
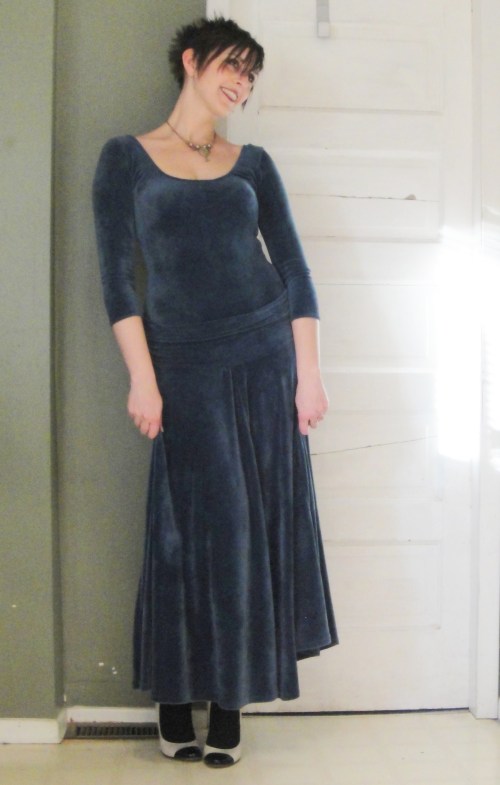
 OK, so despite several attempts and quite a few successful crop-top versions, I haven’t actually had a Nettie that I was willing to wear out of the house yet. Mainly due to fabric that was either not stretchy enough or not thick enough—finding the two in combination seems to be tricky. And this fabric is both in spades—win! I also made sure to take the time to do the snap crotch; I always want to skip that step and just have it done!!!! but really I won’t actually wear the result if it doesn’t have the snaps. Note to self. Anyway, I made the one alteration that I ACTUALLY need with this pattern (shortening the armscye a teeny bit), and the result is basically perfect (although because I insist on both low back and low front it does tend to spread a bit and expose my bra straps. Meh.


 Of course, it’s a project, so now I have to go and hang it and I won’t get to wear either of them for a month. /cry. The best projects are the hardest to hang…


