
So there’s a bit of a gap in my coat collection, in that the Springy Coat is pretty lightweight, and my winter coat is fairly heavy, and I don’t have much in between. Technically my Lady Grey coat should be in the middle, but, um, much as I love the Lady Grey, that thing’s got short sleeves. -10 for practicality, Madam. Especially when made up in a hefty boiled wool.
So something in between would be pretty sweet, and it’s been a pretty long time since I made a coat that wasn’t for a tiny person.

McCall’s has some pretty cute coat patterns; I find them hard to resist, even though they aren’t terribly well drafted. (And by this I mean they use shortcuts, like having you use the same pattern pieces for the shell and the lining, not that the pieces don’t line up or anything like that.) It can take a fair bit of RTW Tailoring to get the pattern to a point I’m willing to go at it. McCall’s 7442 was better than some—at least it has a proper front facing piece and a front bodice lining piece to go with it—but I’d still recommend going over that sewalong or some other lining-drafting info before tackling it.
 My first thought was a version of view C with the hood, but after trying out the little flounce at the waist I decided to skip it. It’s cute in theory but a little too much ruffle right at the waist for my liking.
 The fabric is a “wool blend” lightweight coating (or possibly a heavy flannel) that’s only 10% wool—eyeroll—but I sure do like the look. Plus the colour scheme will work really well (if boringly) with lots and lots of the other things that I have made. To make it a bit warmer, I underlined with some heavy flannel from stash, the same stuff that I used for the flannel petticoat an age or so ago. This has made it full-on coat-like, although definitely not Canadian Winter Coat Grade. Also, underlined coating is the sweetest stuff in the world to work with. My machine blind-hem is COMPLETELY invisible because not a single stitch penetrated the outer fabric… but that’s getting ahead of myself.
 Running with the inspiration of the lace-bedecked original, I also got as much of this black cotton cluny lace as I could fit in the project budget.
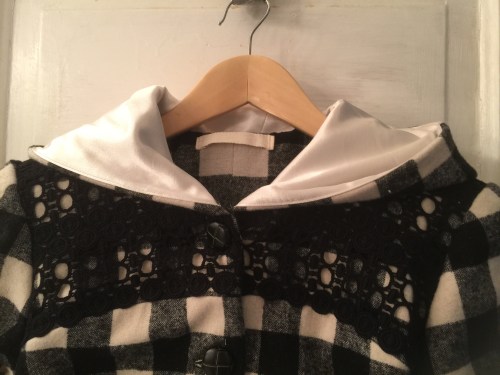 And I had just enough to go to town, covering not only the front and back yokes, but getting bands at the hem, waist, and sleeve hems as well. With only the tiniest sliver to spare!
 You might find this a bit unbelievable, but this is the only coat I have with a hood. It’s not quite big enough, from my point of view, to look good up, but it’s just right for wearing down. And I’m sure if I wear this far enough into the fall (assuming I can wear it, when the chips are down) I’ll test it out for warmth. At a certain point in the Canadian winter you give up on caring about what things look like.
I did, however, screw the pooch pretty big time on this one. I mean, it’ll pass for what it needs to do—it’s a work project, and it’ll hang and look decent on a mannequin for a month, but whether I’ll actually be able to wear it? Grum.
 Basically, I botched the plaid matching. Since it’s such a simple check, I guess I thought I could kinda wing it and, ah, no. Not a good idea. I should have spent much more time reviewing/researching. Or just thinking. Gah. All the different seam-lines (yoke, waist) didn’t help either.
Anyway, despite way more effort than it deserves, I totally failed at the most crucial of match-points—vertical lines right down the centre front. WTF, Tanit? HEADDESK.
 And I stretched and eased and fudged and tweaked and made it work, kinda, but, there was a price, which was that I had to trim off some of the centre front bodice. And that I lost what had been a vertical stripe match from left side to right side, in order to match bodice and skirt. Maybe not the right call in hindsight, especially since this meant I also lost inches, where you don’t really want to lose inches in a fitted coat that I was already making down a size. Which means the whole damn thing is tight, bordering on way too tight. Not what I wanted in a brand new coat. And you can see the awkward pulling across the front, especially above the bust, where there just isn’t as much fabric as there should be.
 Otherwise, I was pretty happy with my fit alterations. I started with a size 10 in the shoulders & bust, grading to a 12 at the waist, and squaring the shoulder down to the size 6 height. I did a petite through the armscye (but then forgot to take anything out of the sleeve cap, which led to a bit too much ease there, oops. My fabric was forgiving enough to accommodate it, but I wish I’d remembered in time to just trim it off. I’m glad I didn’t go with the straight 12 though as the shoulders are still a little boxy. I should have lowered the dart point a little bit, but the pulling above the bust bothers me a LOT more than the high dart.
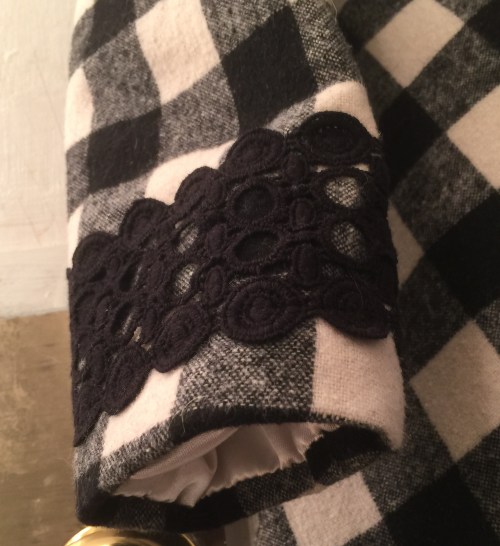 I do like the two piece sleeve, although I did need to taper it in a couple of inches at the wrist—the bicep width is great, though. After comparing it with the sleeve for my Springy Coat, I added only 3cm of length, but then I lost about half of that trying to get the stripes to match up between my under and over-sleeve, and it’s still long enough. Which means that’s a very long sleeve to begin with, since it’s not unusual for me to add 3″ of length, not 3 cm. I wish I’d been able to keep the full 3cm, though—somehow with turn of cloth and everything it wound up about the same exact length as the Springy Coat sleeves, which are just a little shorter than I’d like. (Keeping in mind that I am obsessed with overly-long sleeves. Probably the length would be perfect for a normal person.)
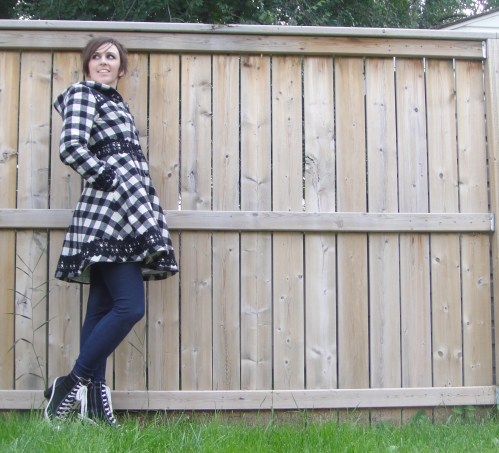 Oh, yeah. It comes with pockets! They are obscenely tiny. Make them bigger. BIGGER.
 I do enjoy my lace, even though it adds to the business of my busy fabric. I used two rows to cover the yoke parts, and just had to piece in a tiny bit right along the shoulder-line.
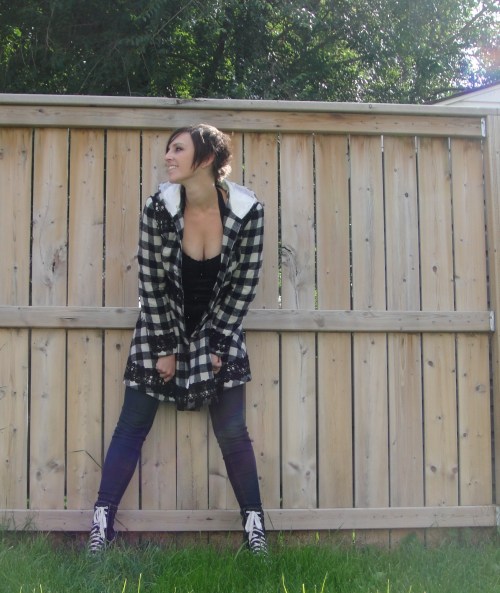 I think that’s it. I like the pictures. I love how it looks on the hanger. It just remains to be seen if tight is actually TOO TIGHT.
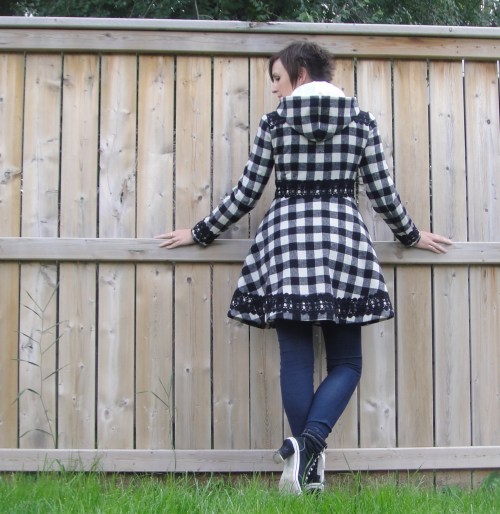 The hood looks perfect when it’s down. Just the right amount of fabric to sit nicely.
 Oh, I almost forgot the buttonholes! I did them on the Rocketeer using my vintage buttonholer. I was terrified because of the thickness of the fabric, and it OWNED. Not a hesitation, not a bunching, nothing. Even on the sections that were covered with lace. Perfect. I went around three times to get the coverage nice.
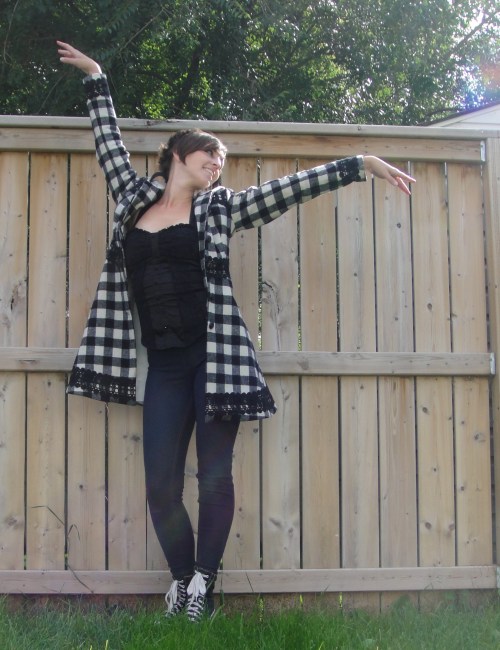 All in all, I think I will be happy once the plaid-related trauma fades…

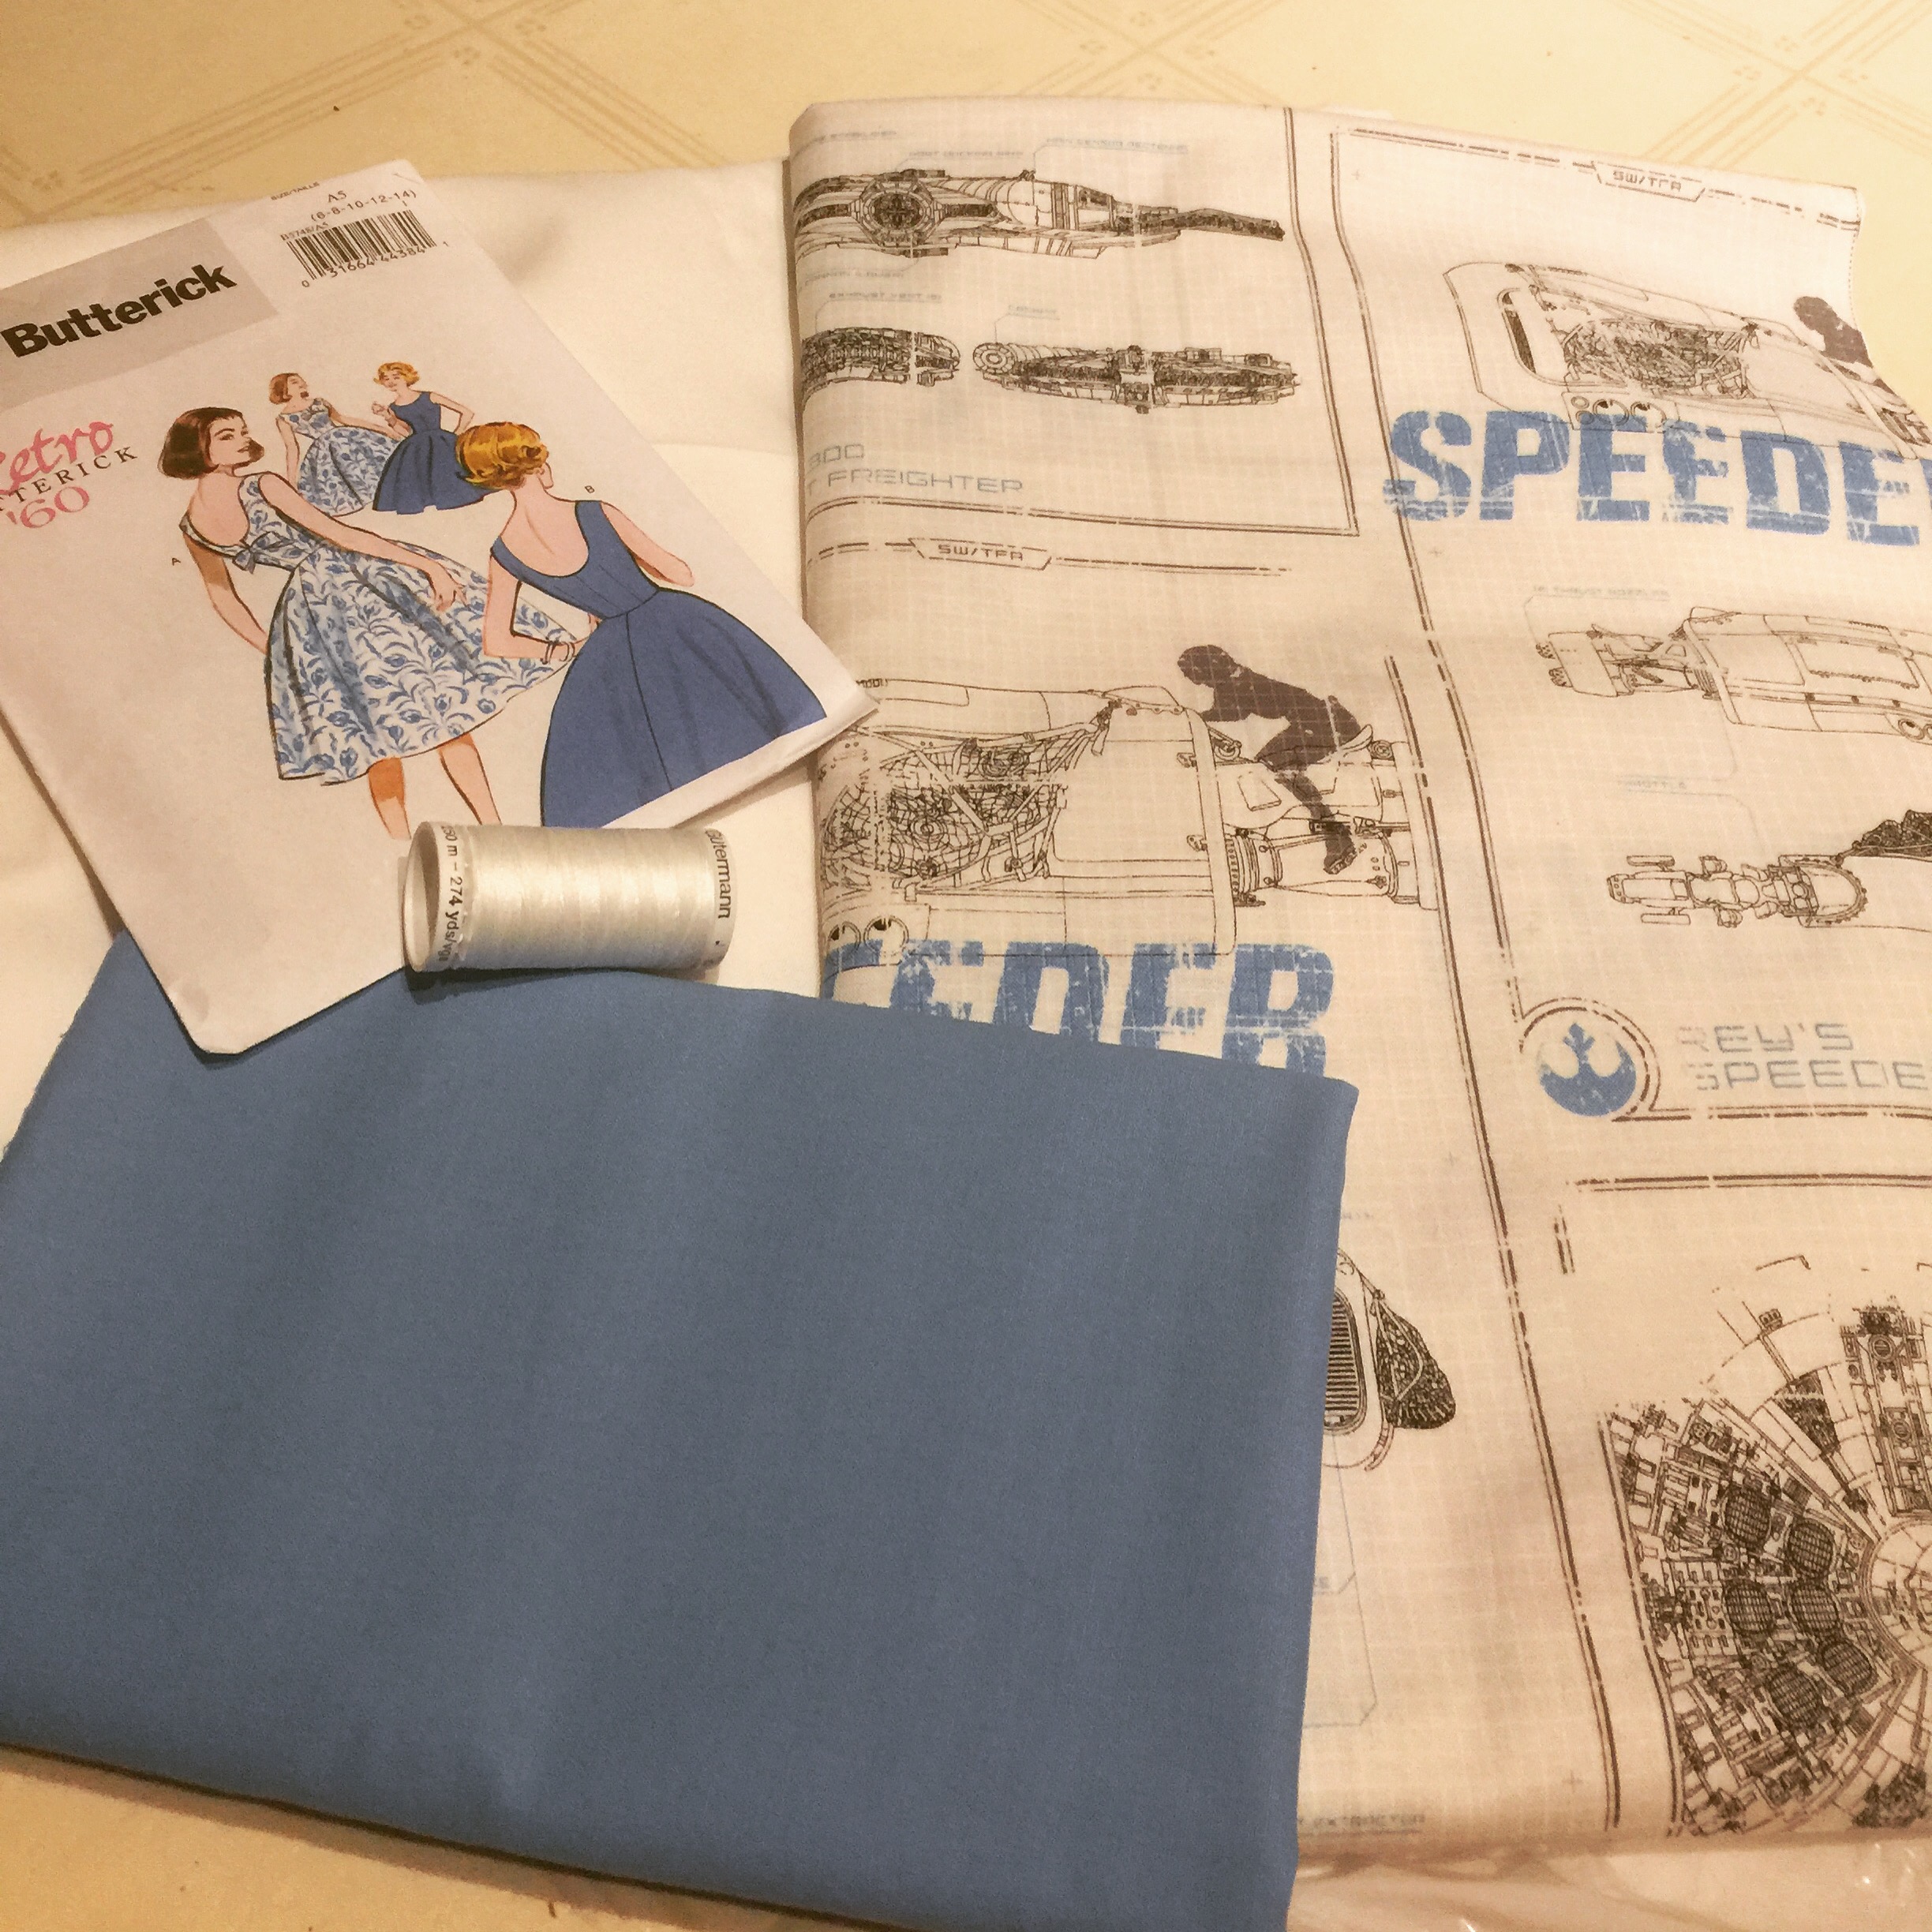
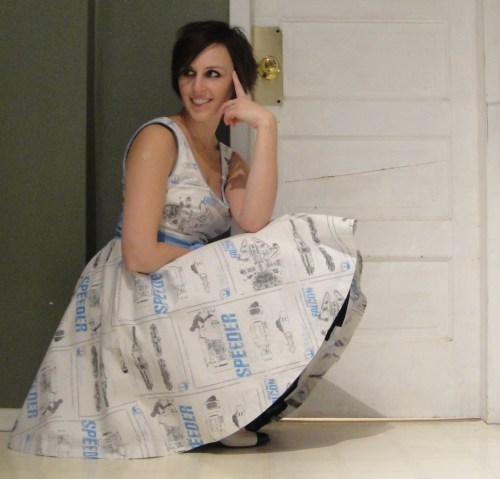 A day after I finished my wearable muslin of Butterick 5748, I had the Star Wars dress ready to go. Most of the pain was in the cutting out, anyway, although I wasn’t too fussy. Mostly I just made sure the midline seams aligned along breaks in the big square tiles of the print.
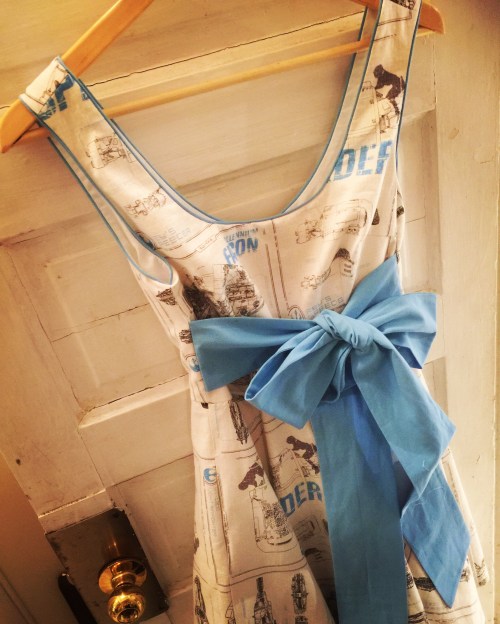 Probably not much to say here—I went over the dress deets in the post on my first version.
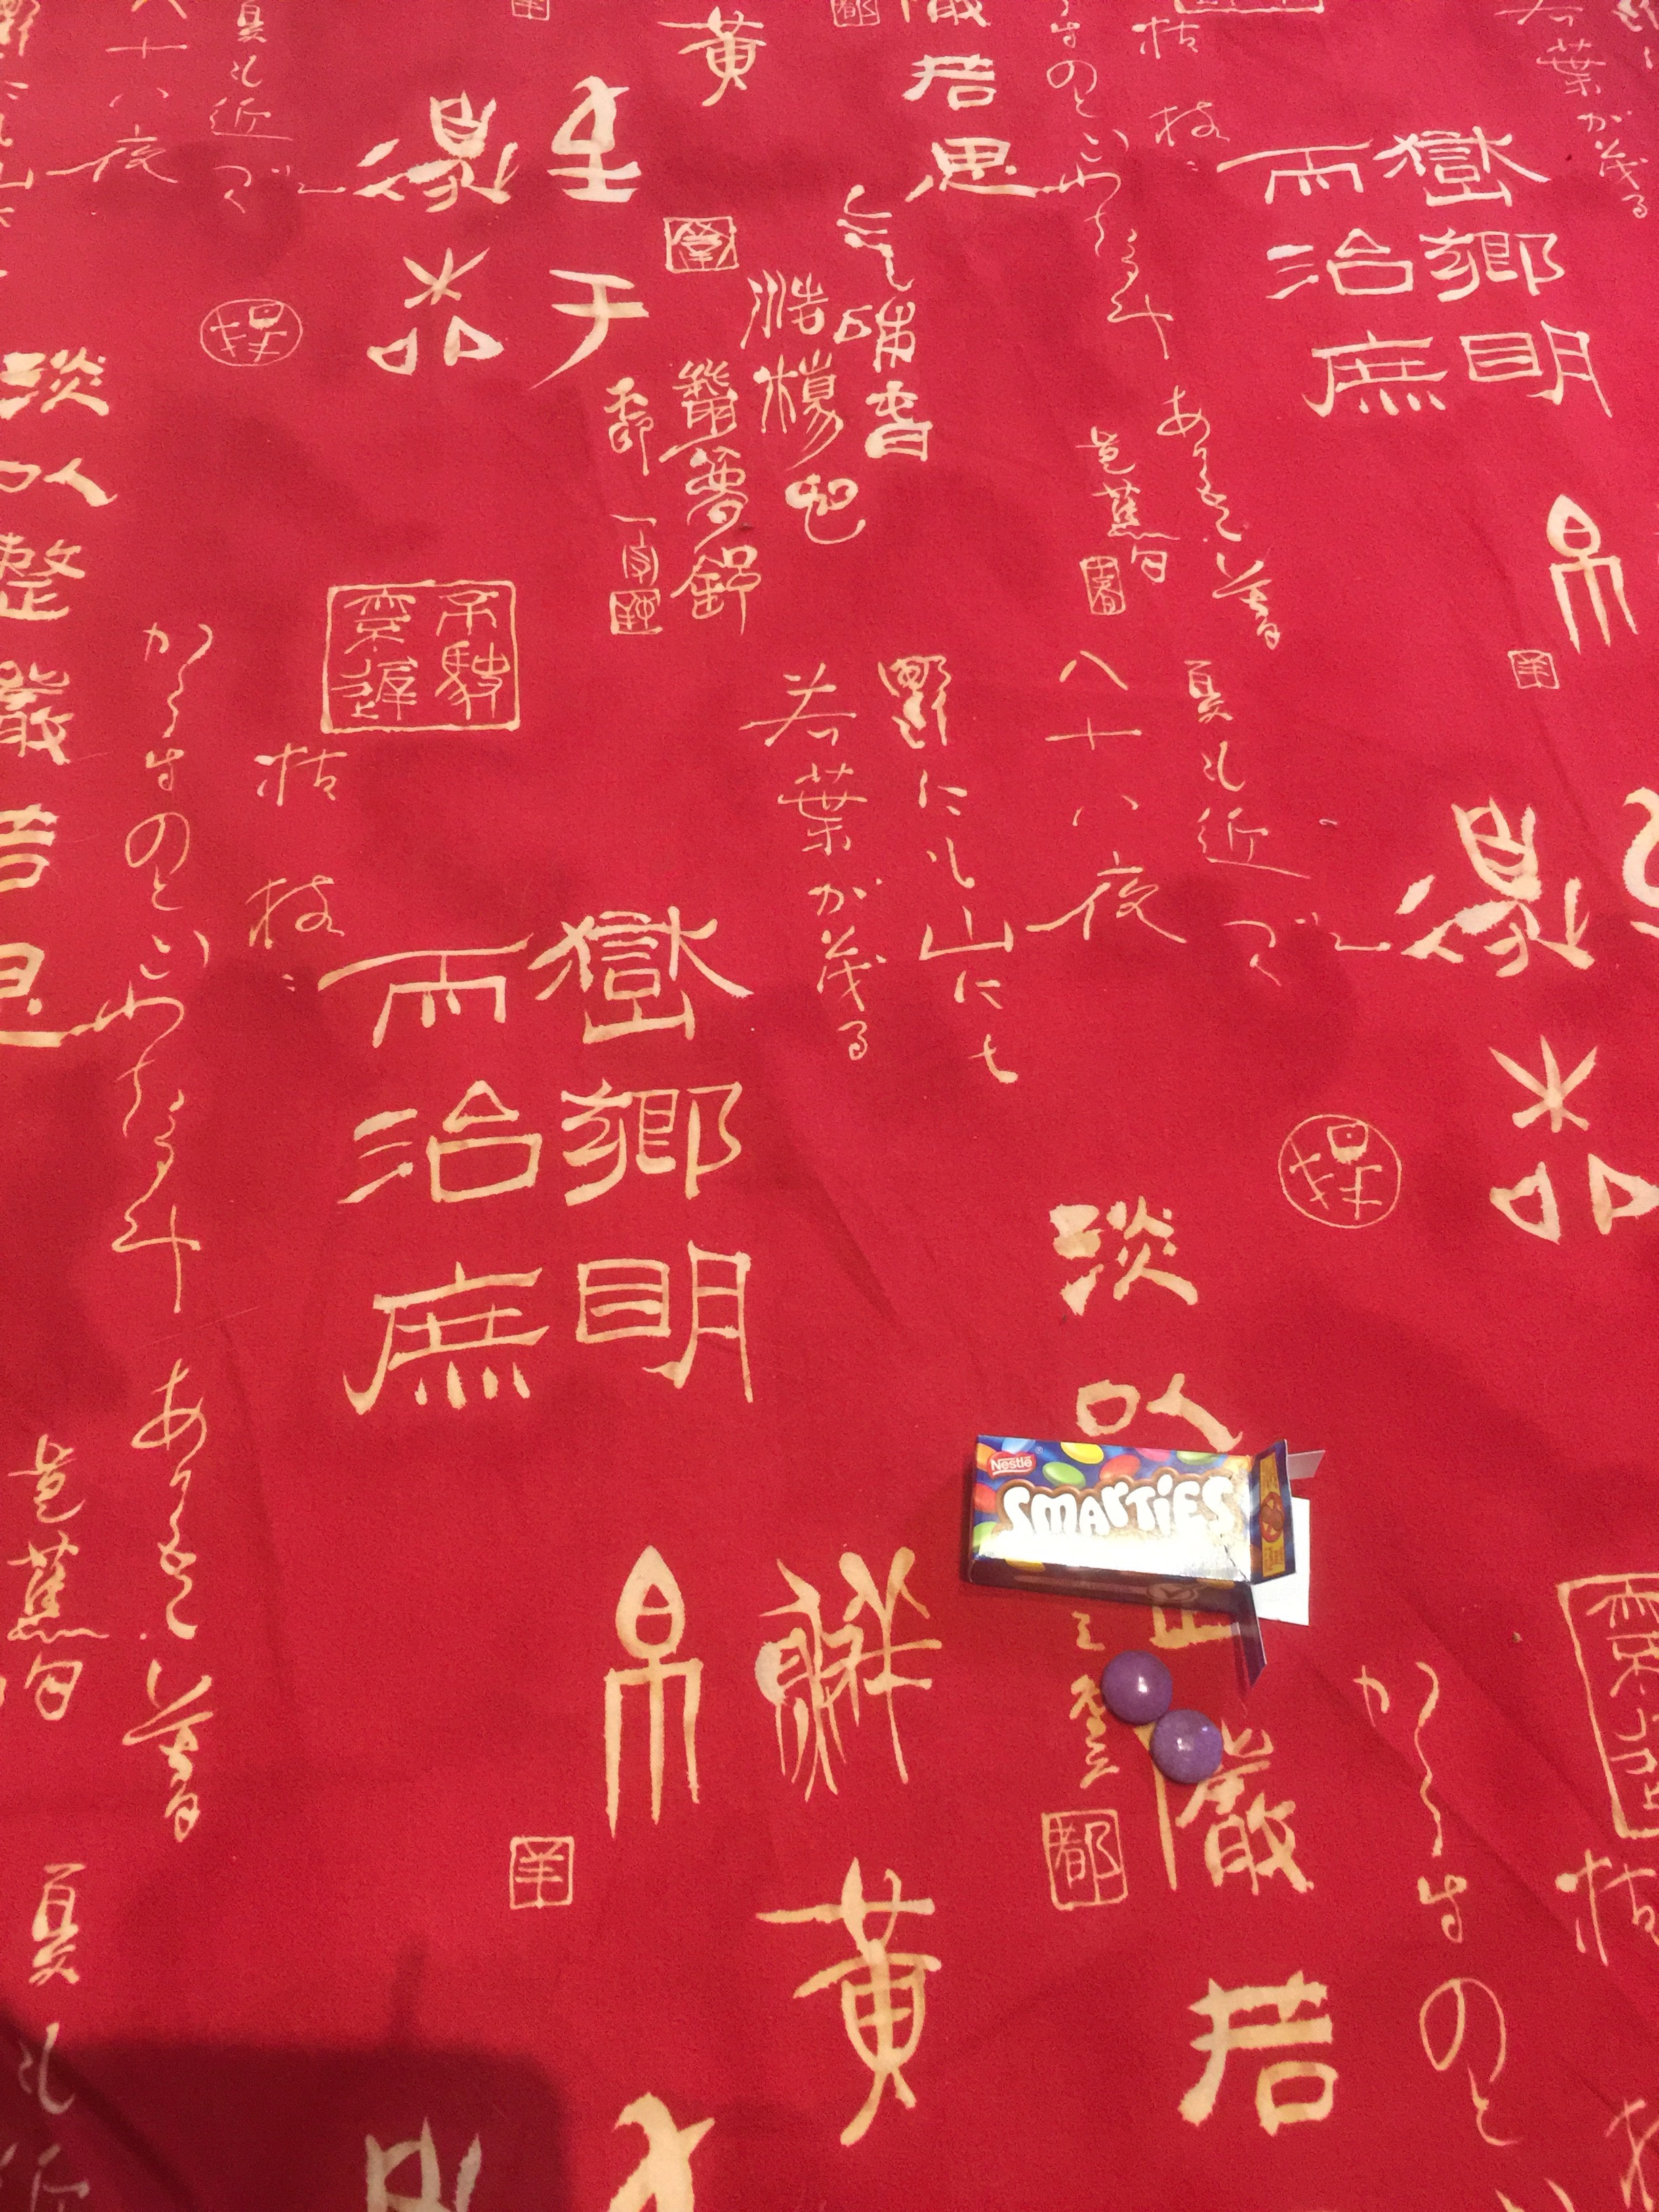
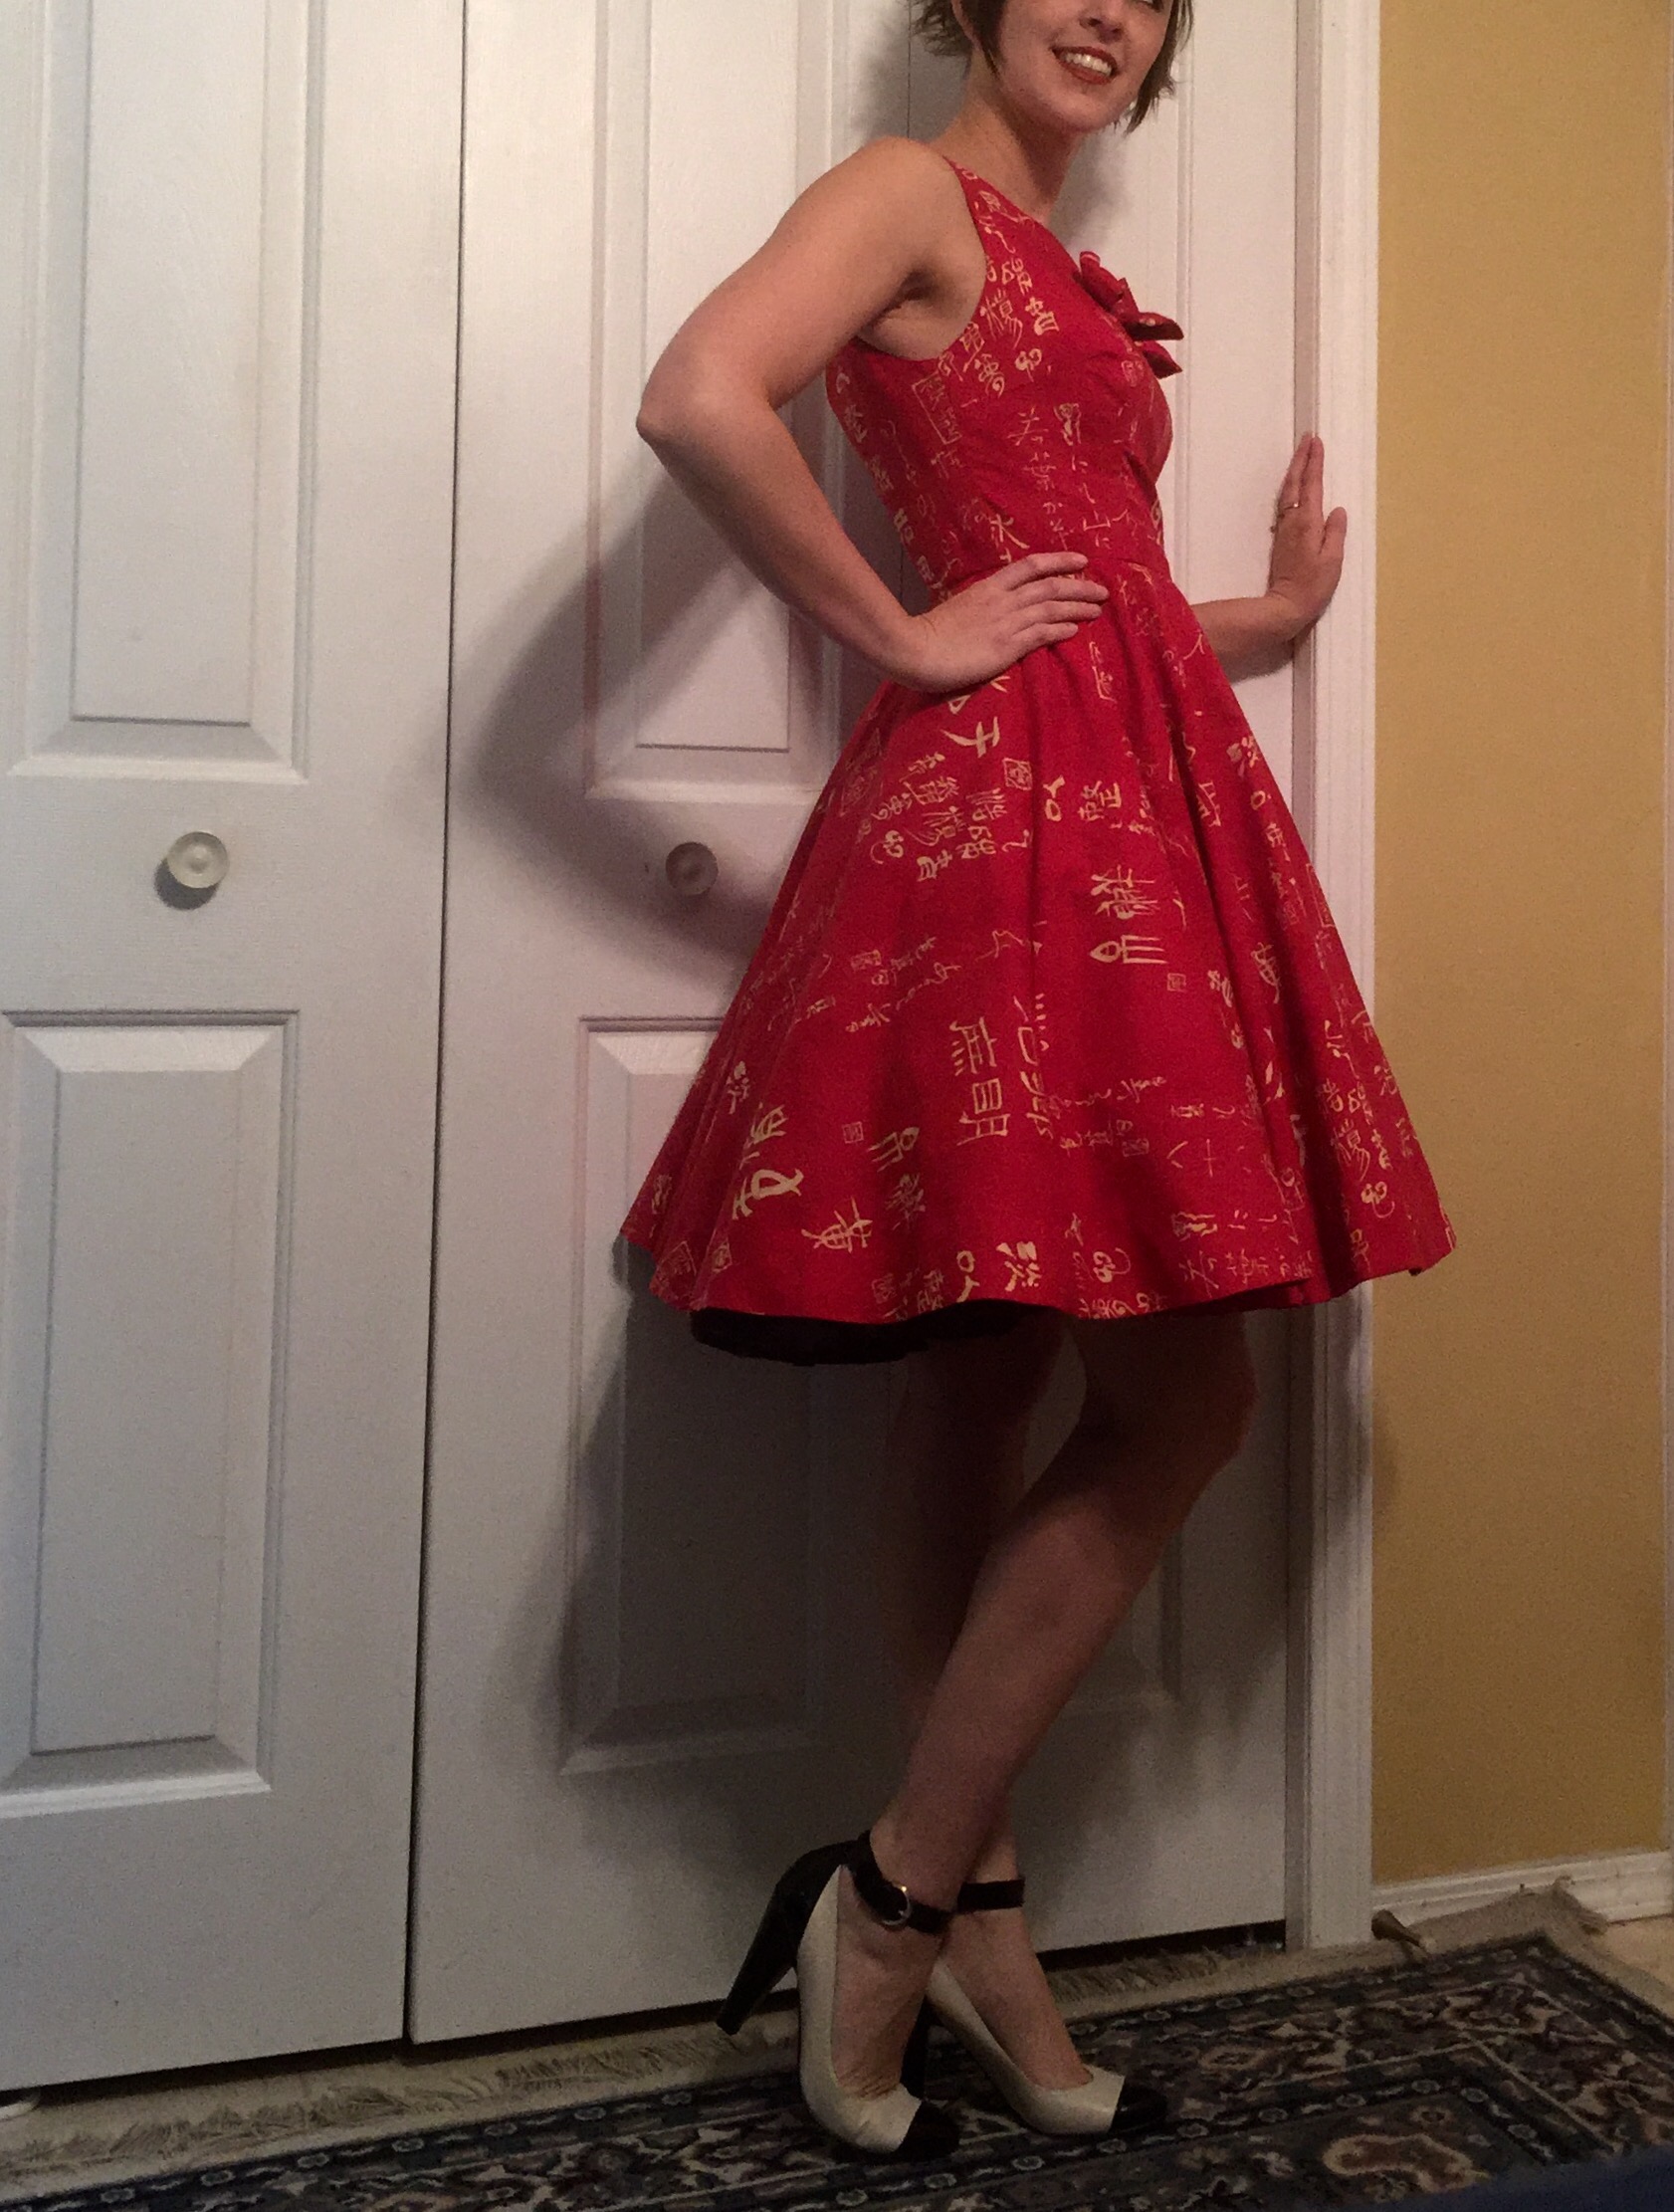
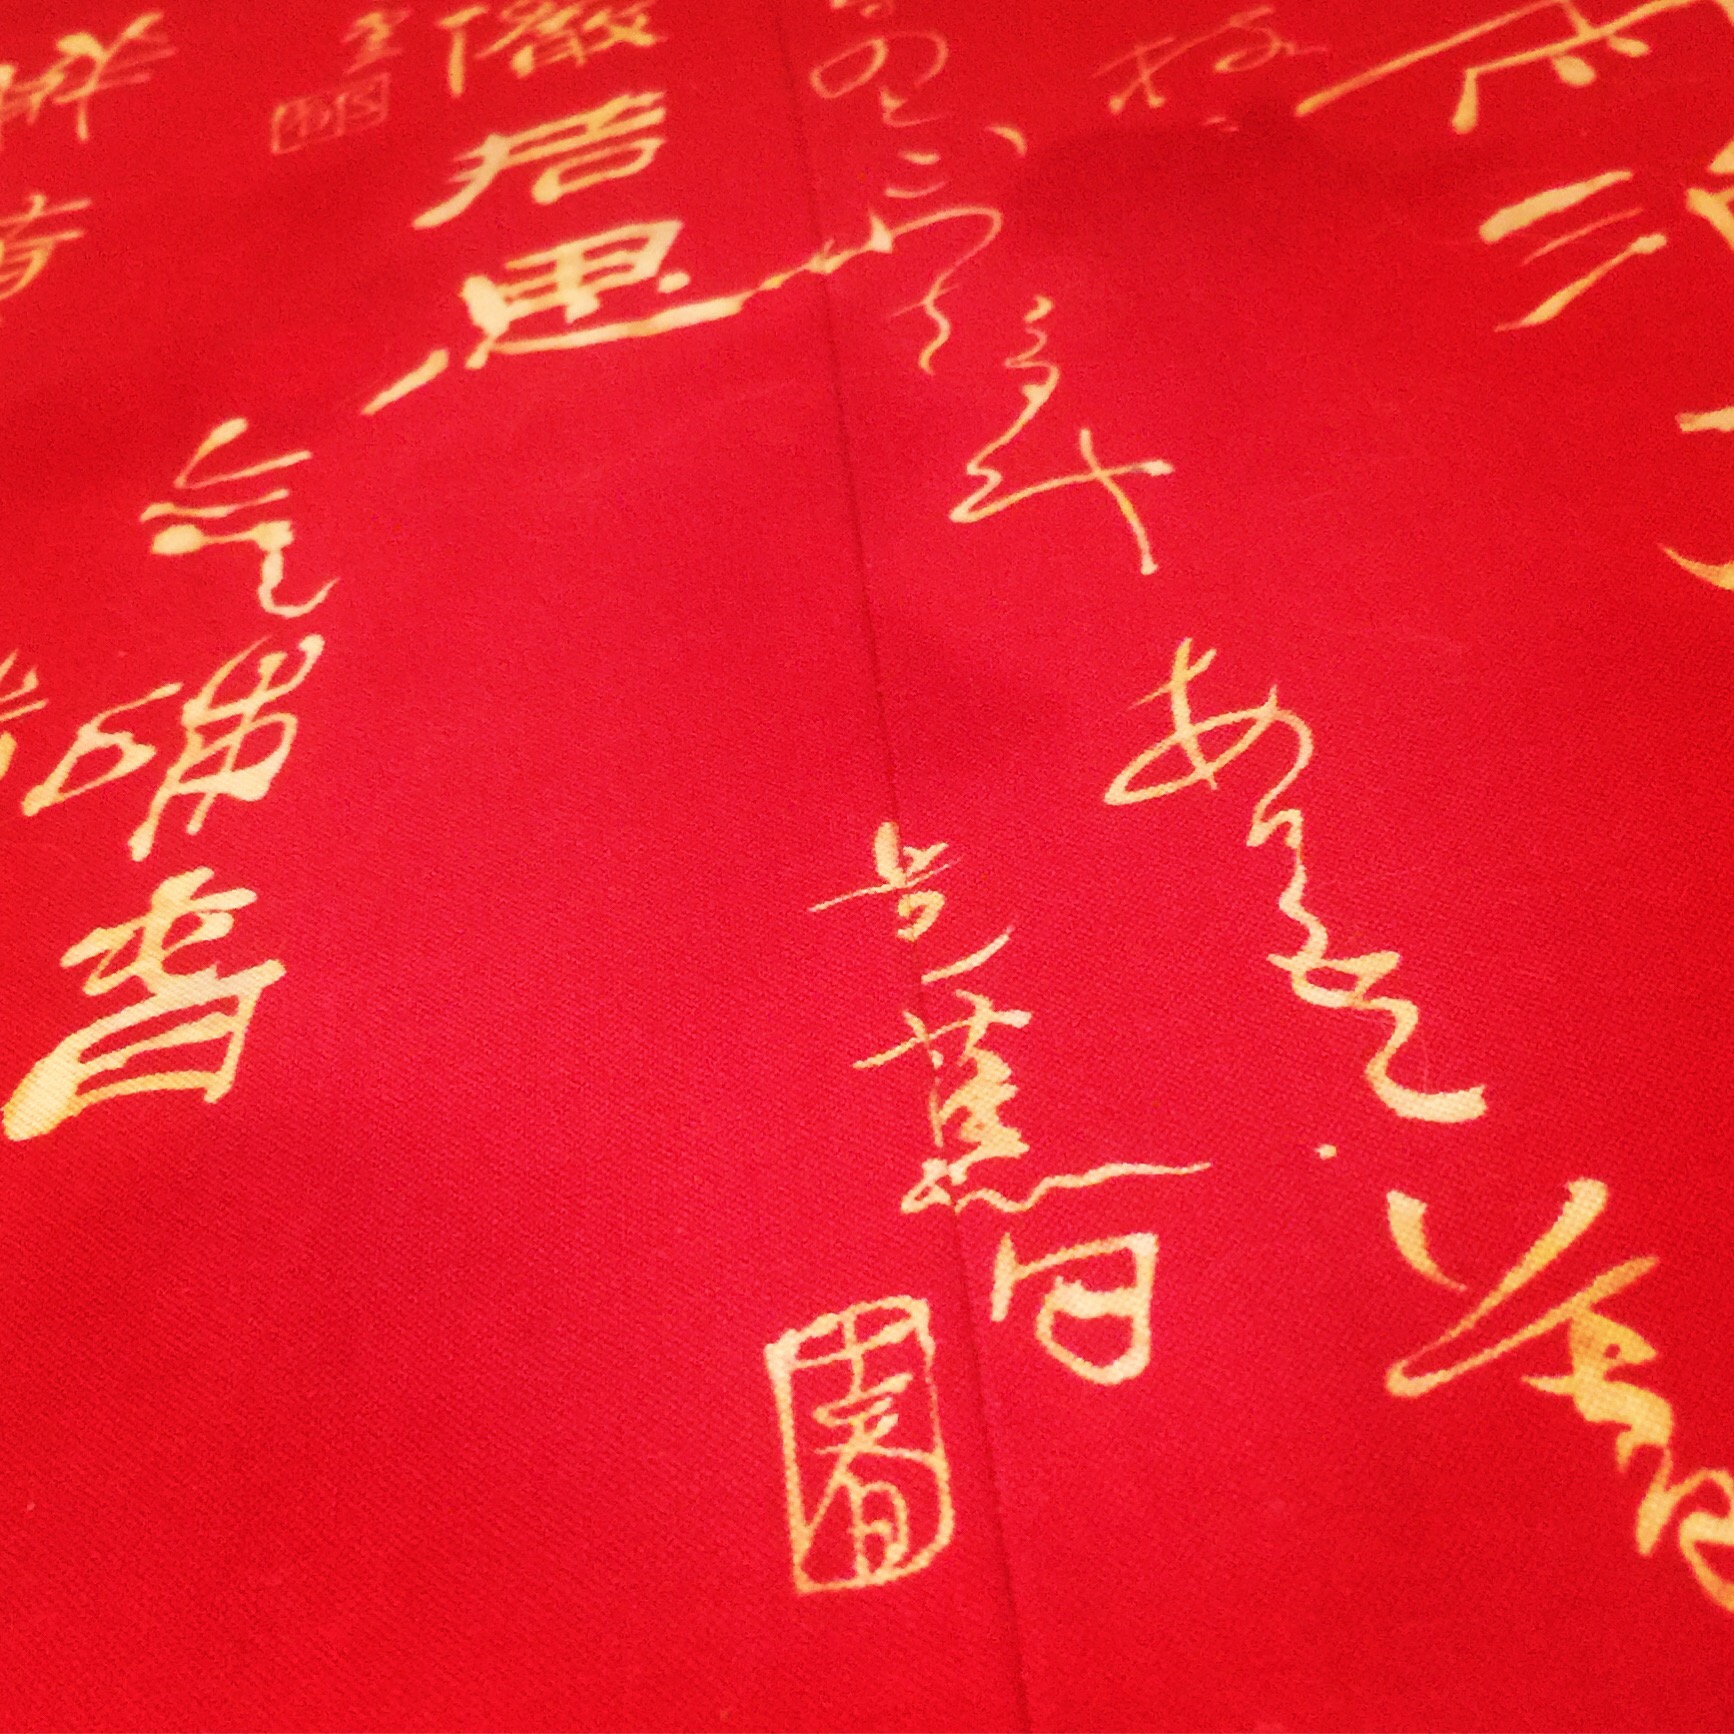
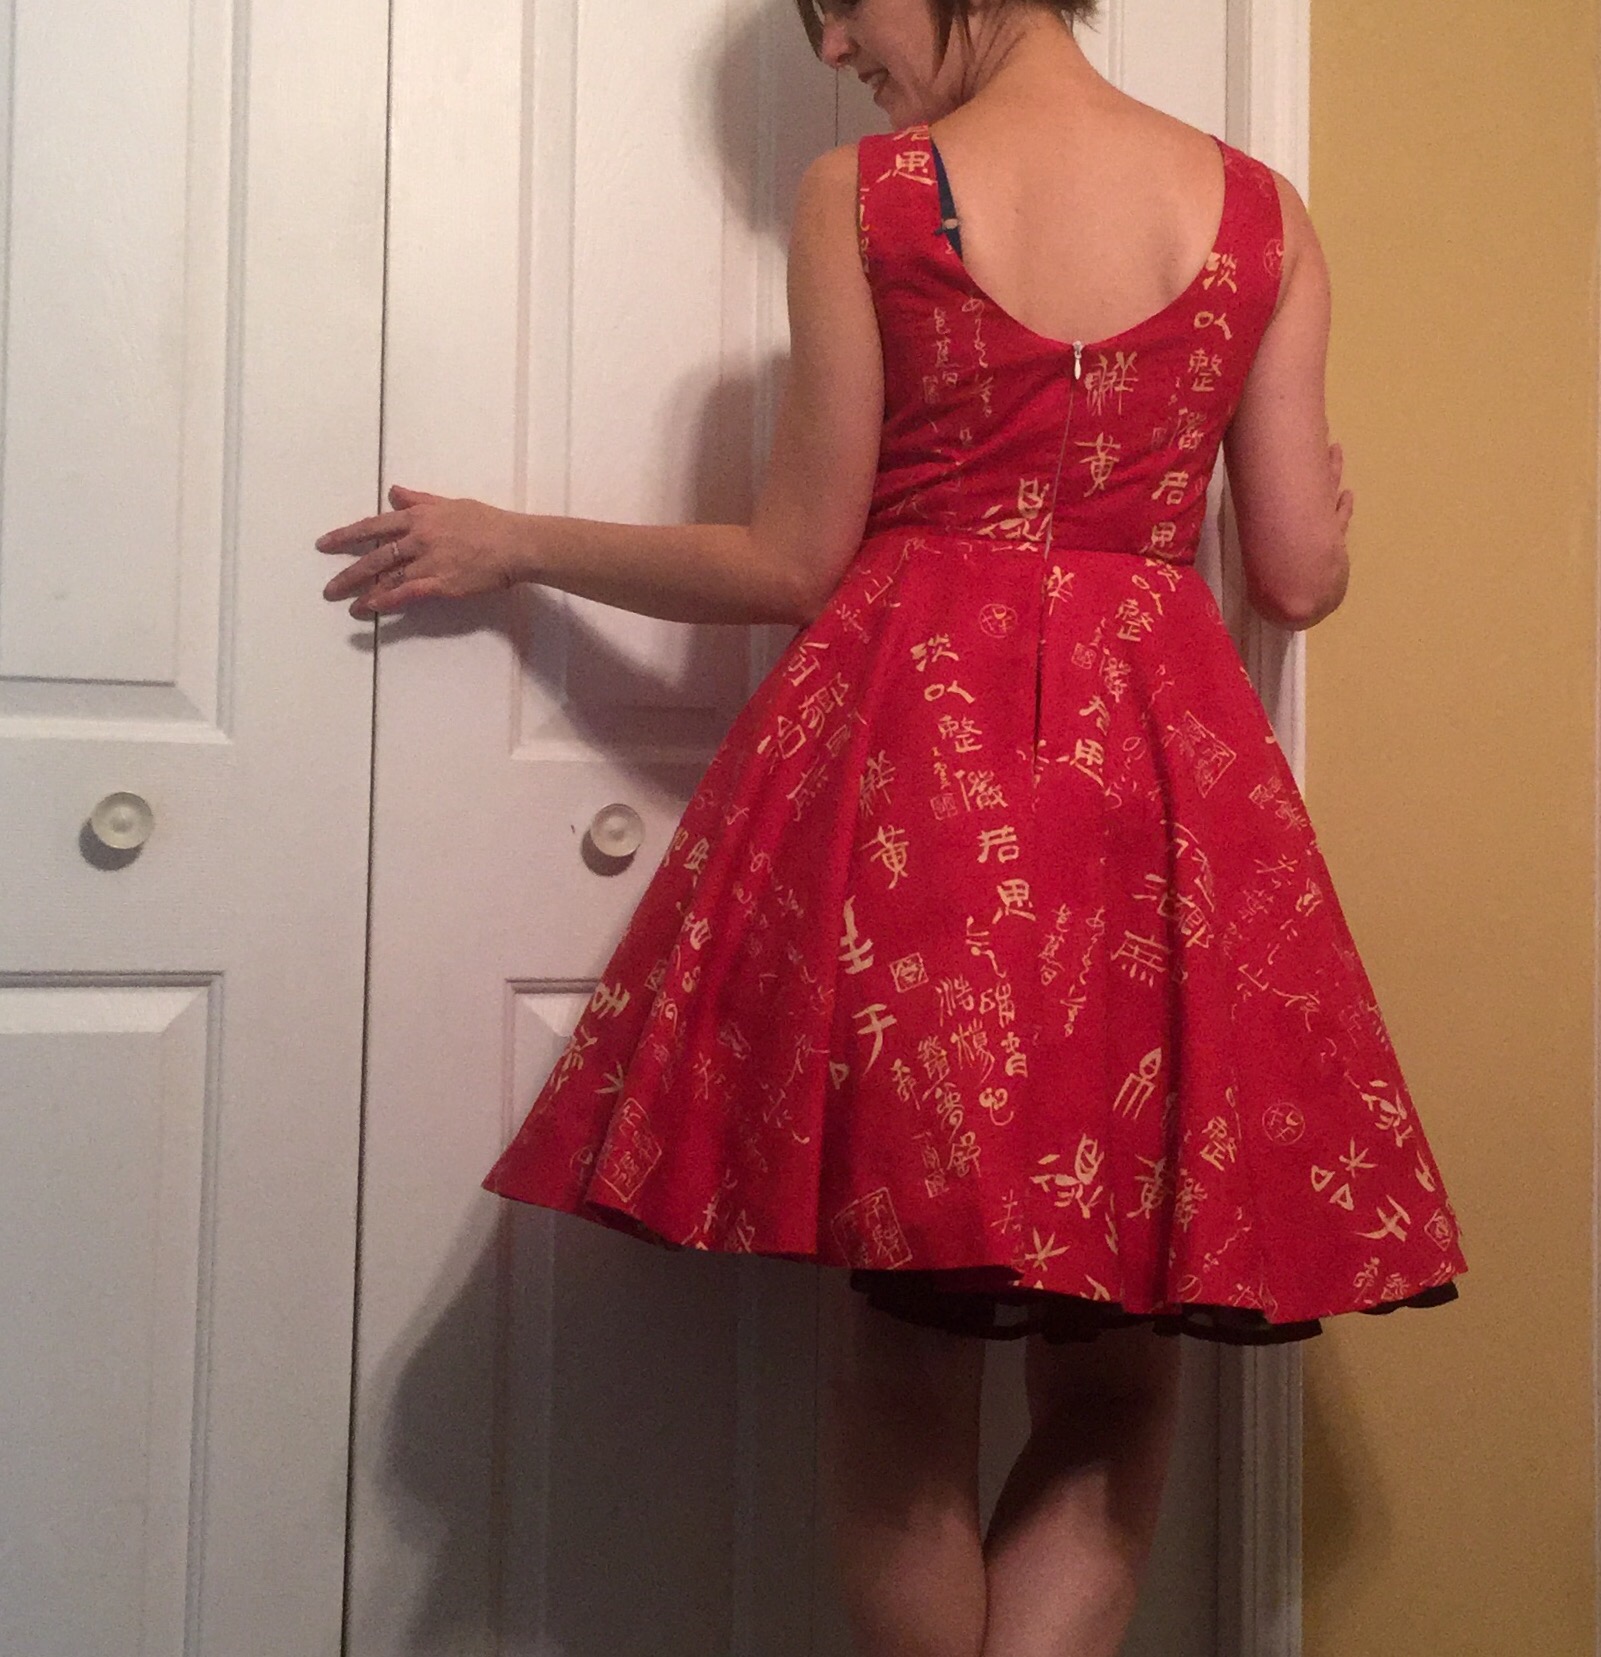
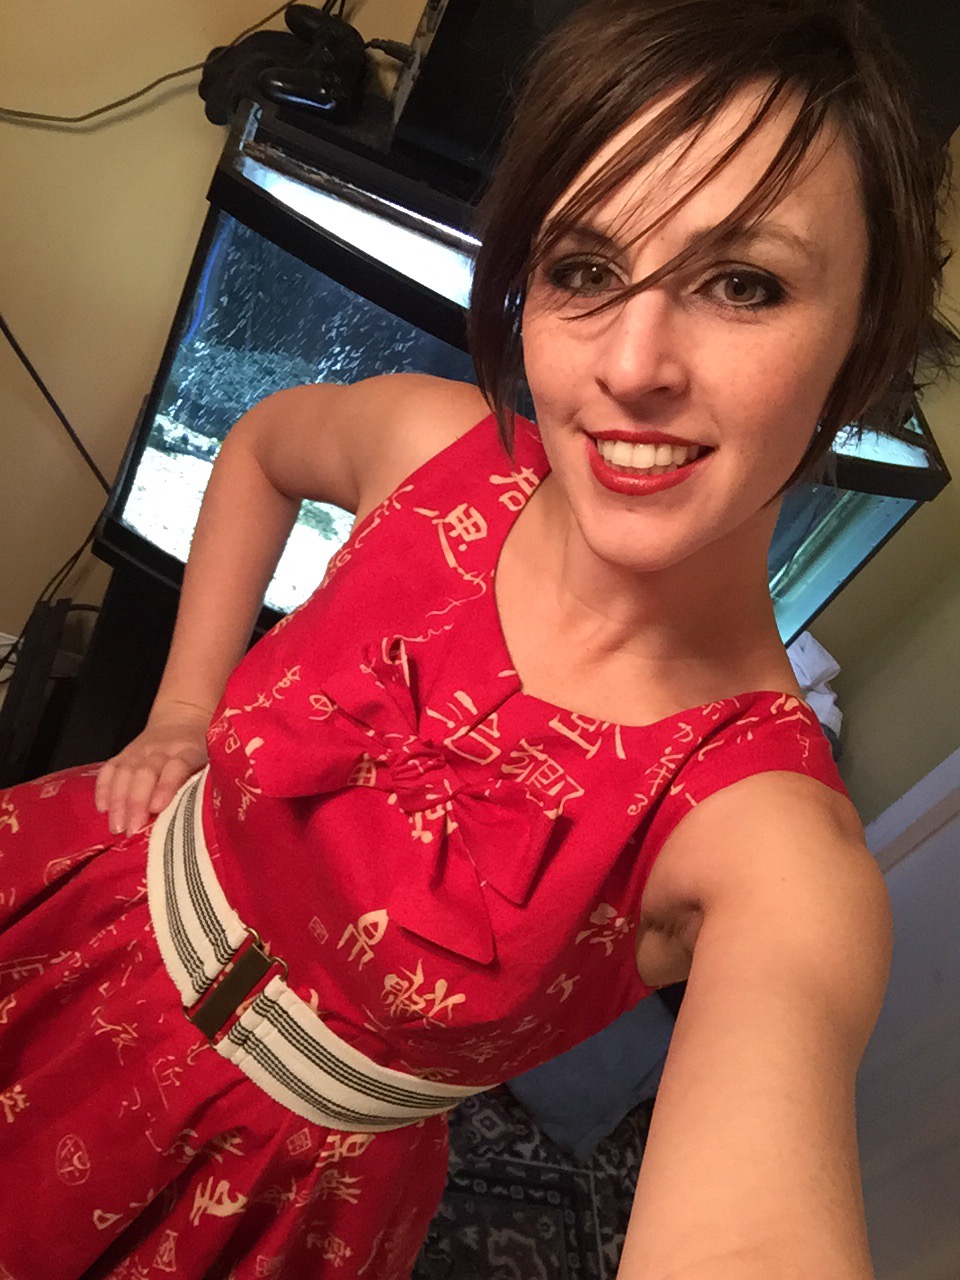
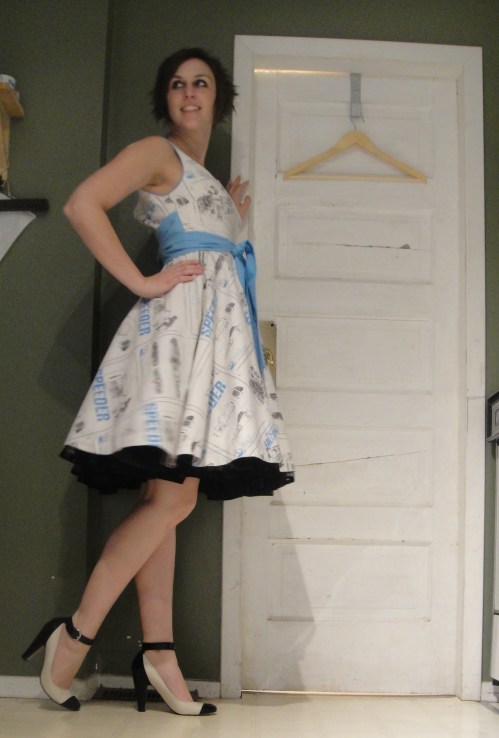 This version is fully lined, whereas the Kanji dress I onlylined the bodice. Not much difference to the final dress, although it does make the skirt a little more substantial.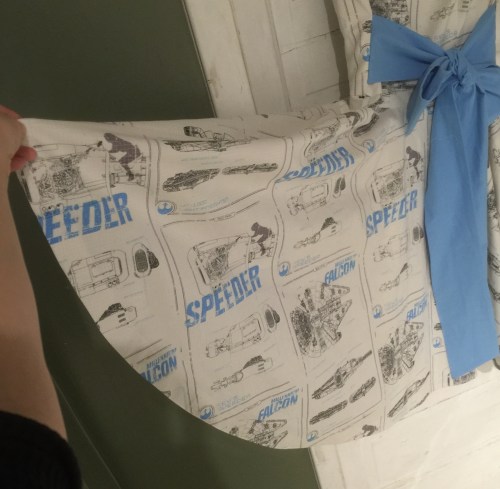
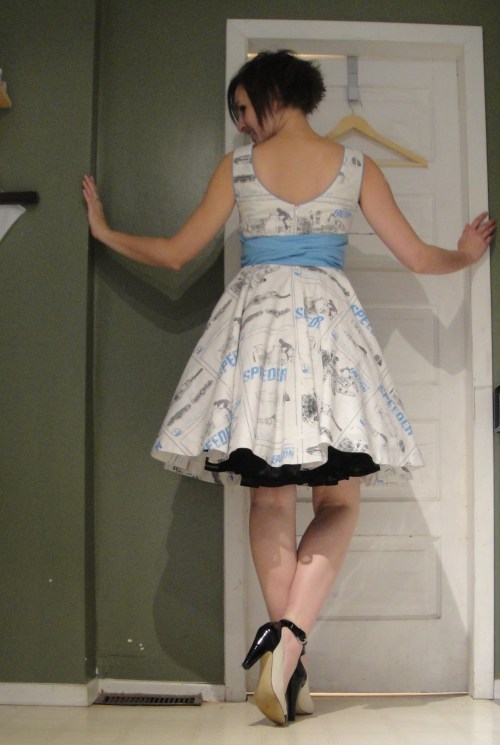 I lowered the neckline in a smooth scoop. And then apparently took all my pictures from the side so you can hardly see. WTF.
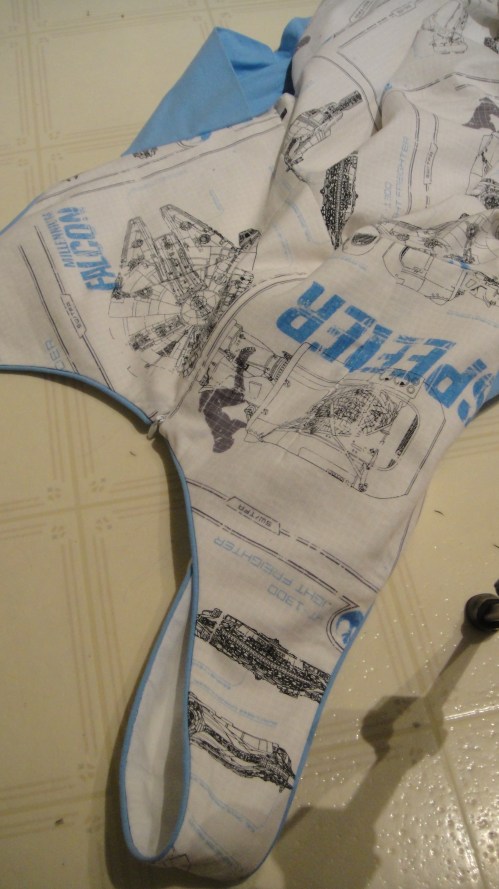 I love adding piping but I’m not the best at making it mesh with the clean-finish methods I was using… maybe need to do some further research, there.
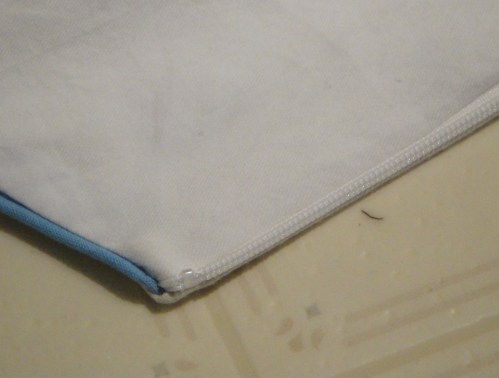 The zipper went in so nicely, though. Quilting cotton is a beautiful thing sometimes. And the lining fabric, which is this super-soft cotton shirting that seems to have the world’s tiniest twill weave ever. Love it.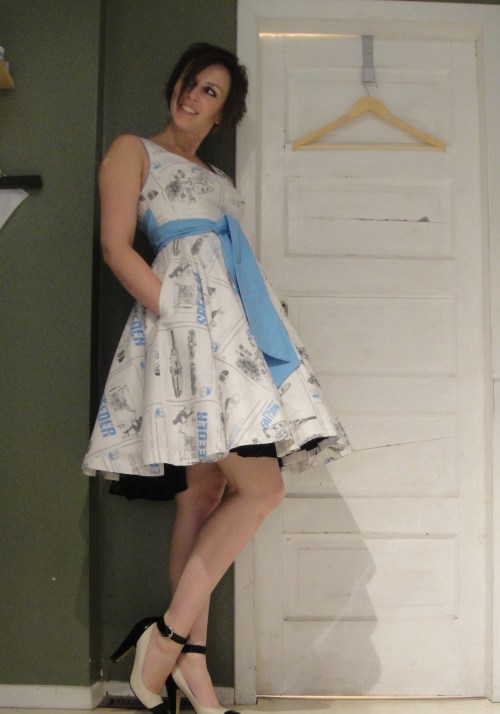


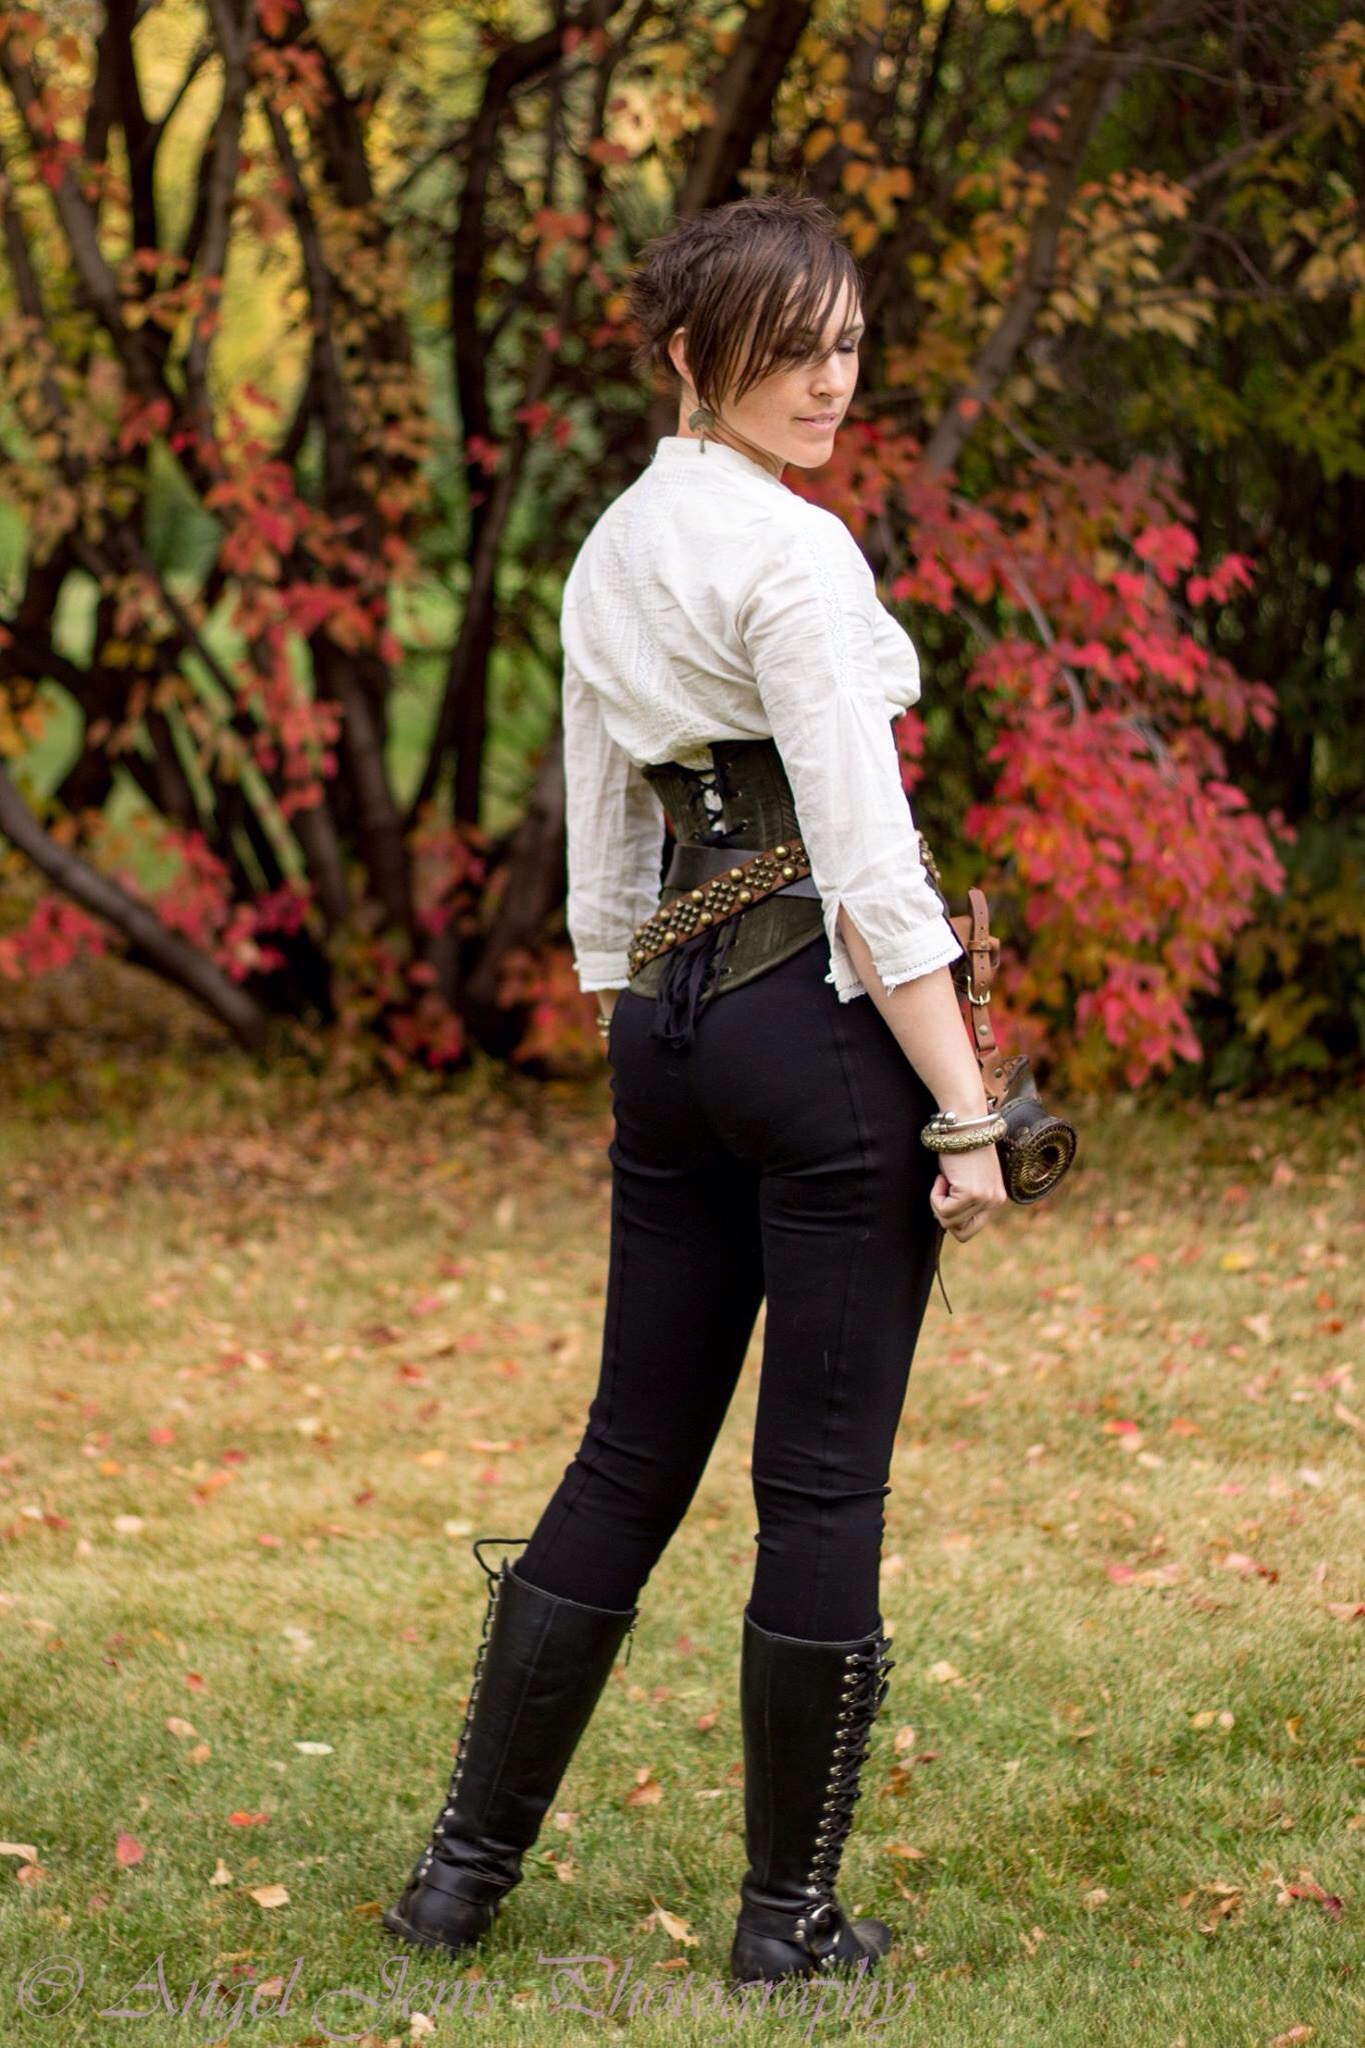
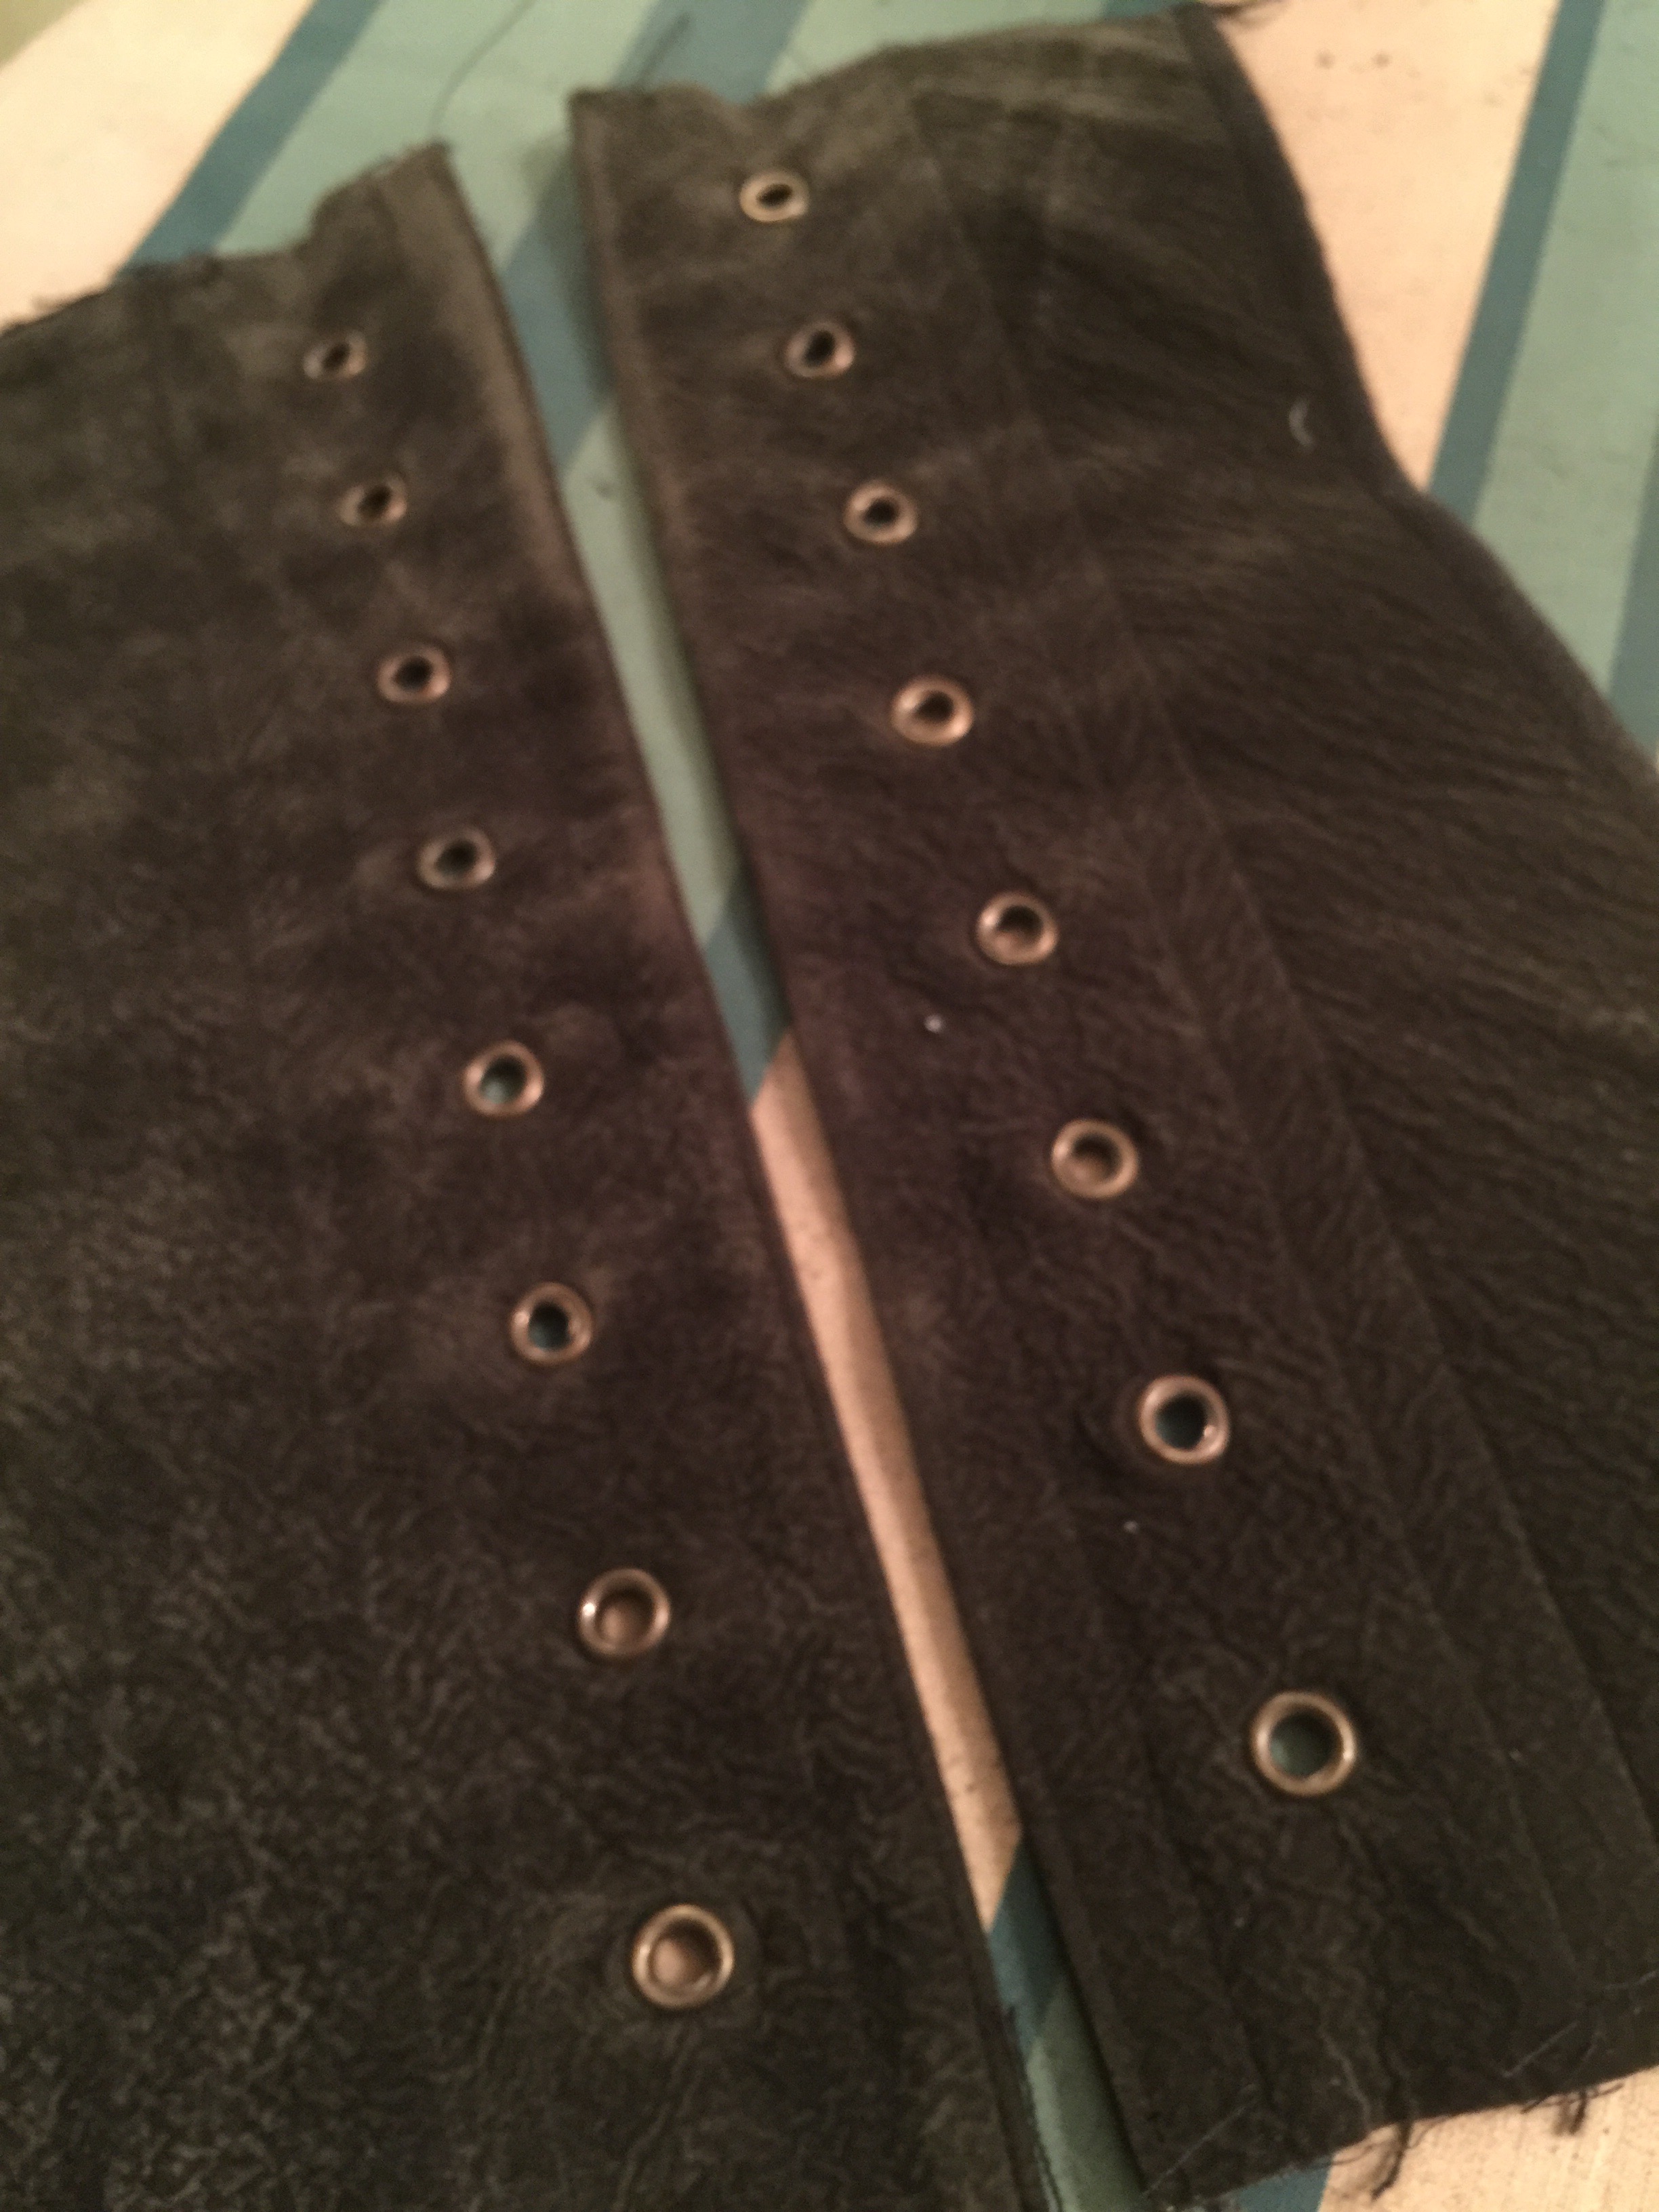
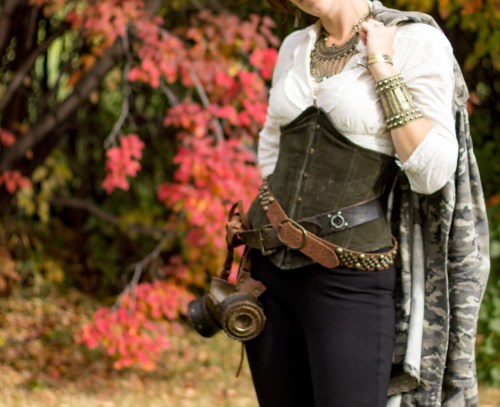 It’s the method described in “The Basics of Corset Bulding” by Linda Sparks (mainly used because that’s the book I have. 😉 for making an alterable corset. You construct the front piece with the busk and the back pieces with the grommets, first. Then the other pieces are sewn together, and the seam allowances stitched open to make bone casings. But this time, I put in the bones around the grommets in the back, and then tweaked the fit—finalized some seams and added bones, and tweaked a little more—and so on until everything was just right. This let me get the fit I like, the shape I like, AND end up with a super comfy corset, so I’m pretty stoked.
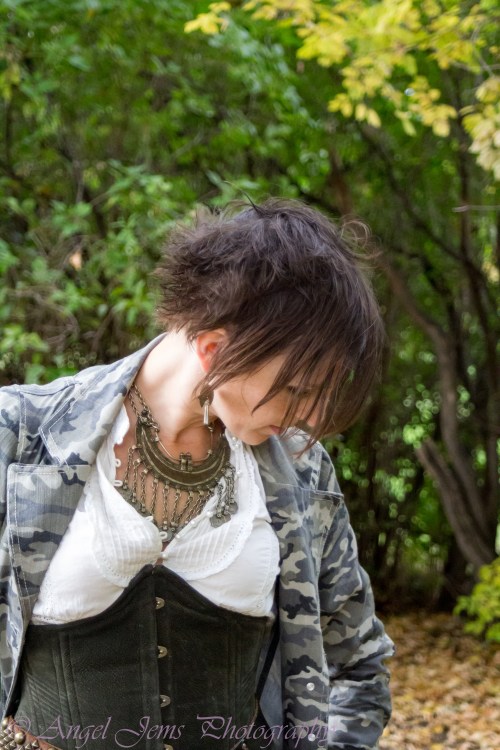 For fun, I added small sections of cording in the front. I think a bigger or firmer cord would’ve been a good idea, but they were fun.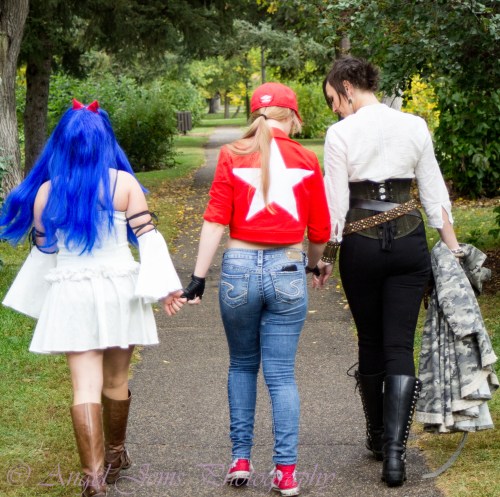
 My sister-in-law shot us amidst gorgeous autumn leaves, which are lovely and natural and not really suited to an outfit that demands wrought iron and gaslight, but I wasn’t willing to go further than the next-door park on that particular morning, so I’ll take it.
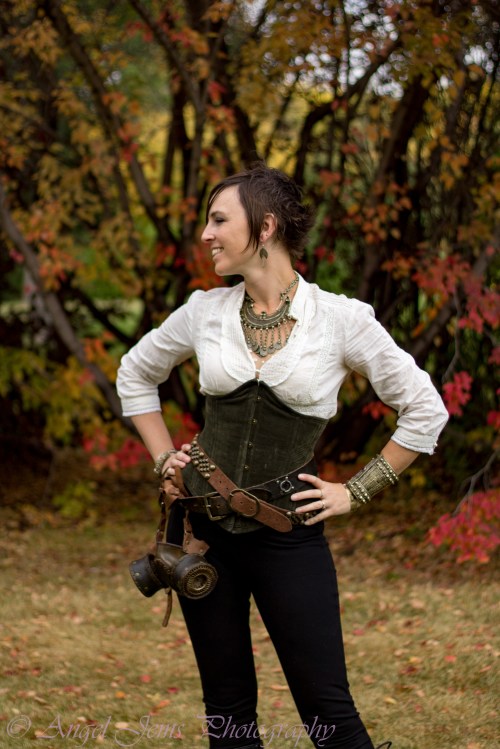 That’s the same white pintucked (not made by me) blouse I wore
 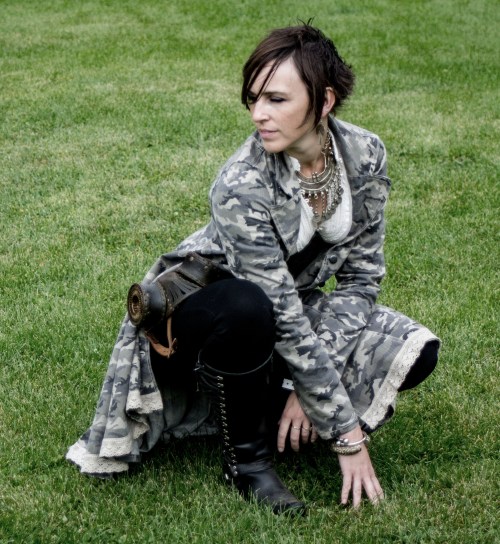 The camo coat wasn’t actually the best topper for the outfit—it kinda swamped the corset & hip decor, though it looked cool from certain angles. I have enough of the faux suede left to make a matching jacket; I’m thinking something cropped and faux-military would be fun. Maybe in another year?

 Anyway, I bit the bullet with Butterick 4249 by John Kloss. Incidentally this also reminds me of Daughter Fish’s
 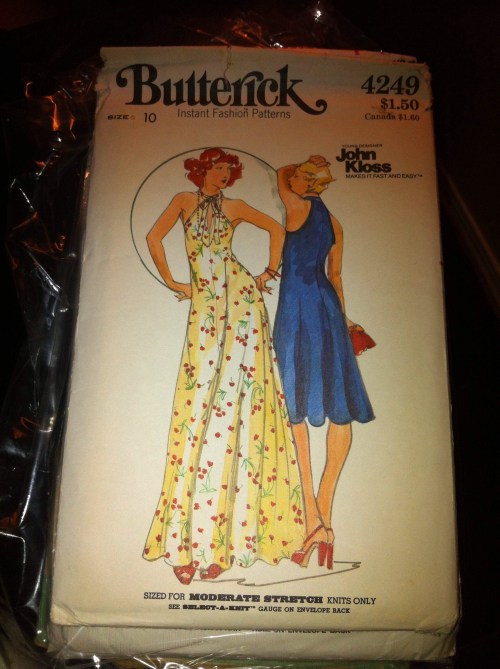 So, um, tent-y it was. I should’ve taken pictures, but, um, no.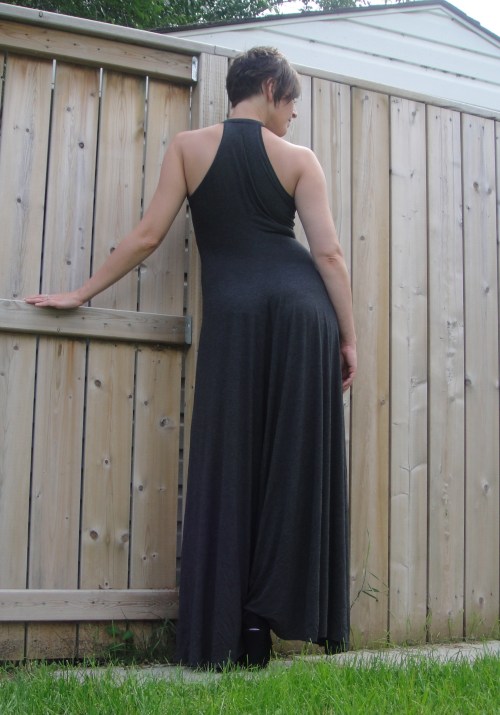
 I made a couple of adjustments to the construction. The pattern had faced armholes; I used a band instead. I interfaced the sides of front opening with a fusible knit. Both of these were very good ideas. I cut the neckband on the cross-grain (pattern piece called for it to be on the lengthwise grain, not that that would have helped a whole lot with this stretchy fabric.)
 Anyway, pretty happy with this, despite all the surgery and limited tent-osity. This was the last sewing of my vacation (I kept doing family stuff. Jeez. Darn family, getting in the way of important things), “finished” in the afternoon after we put Tyo on a plain for Vancouver Island, but before I had to go to my first shift back at 5:00 pm. So at least I got to wear a new dress back to work. And then on my first full day back it was nasty and rainy, so I did get to wear my
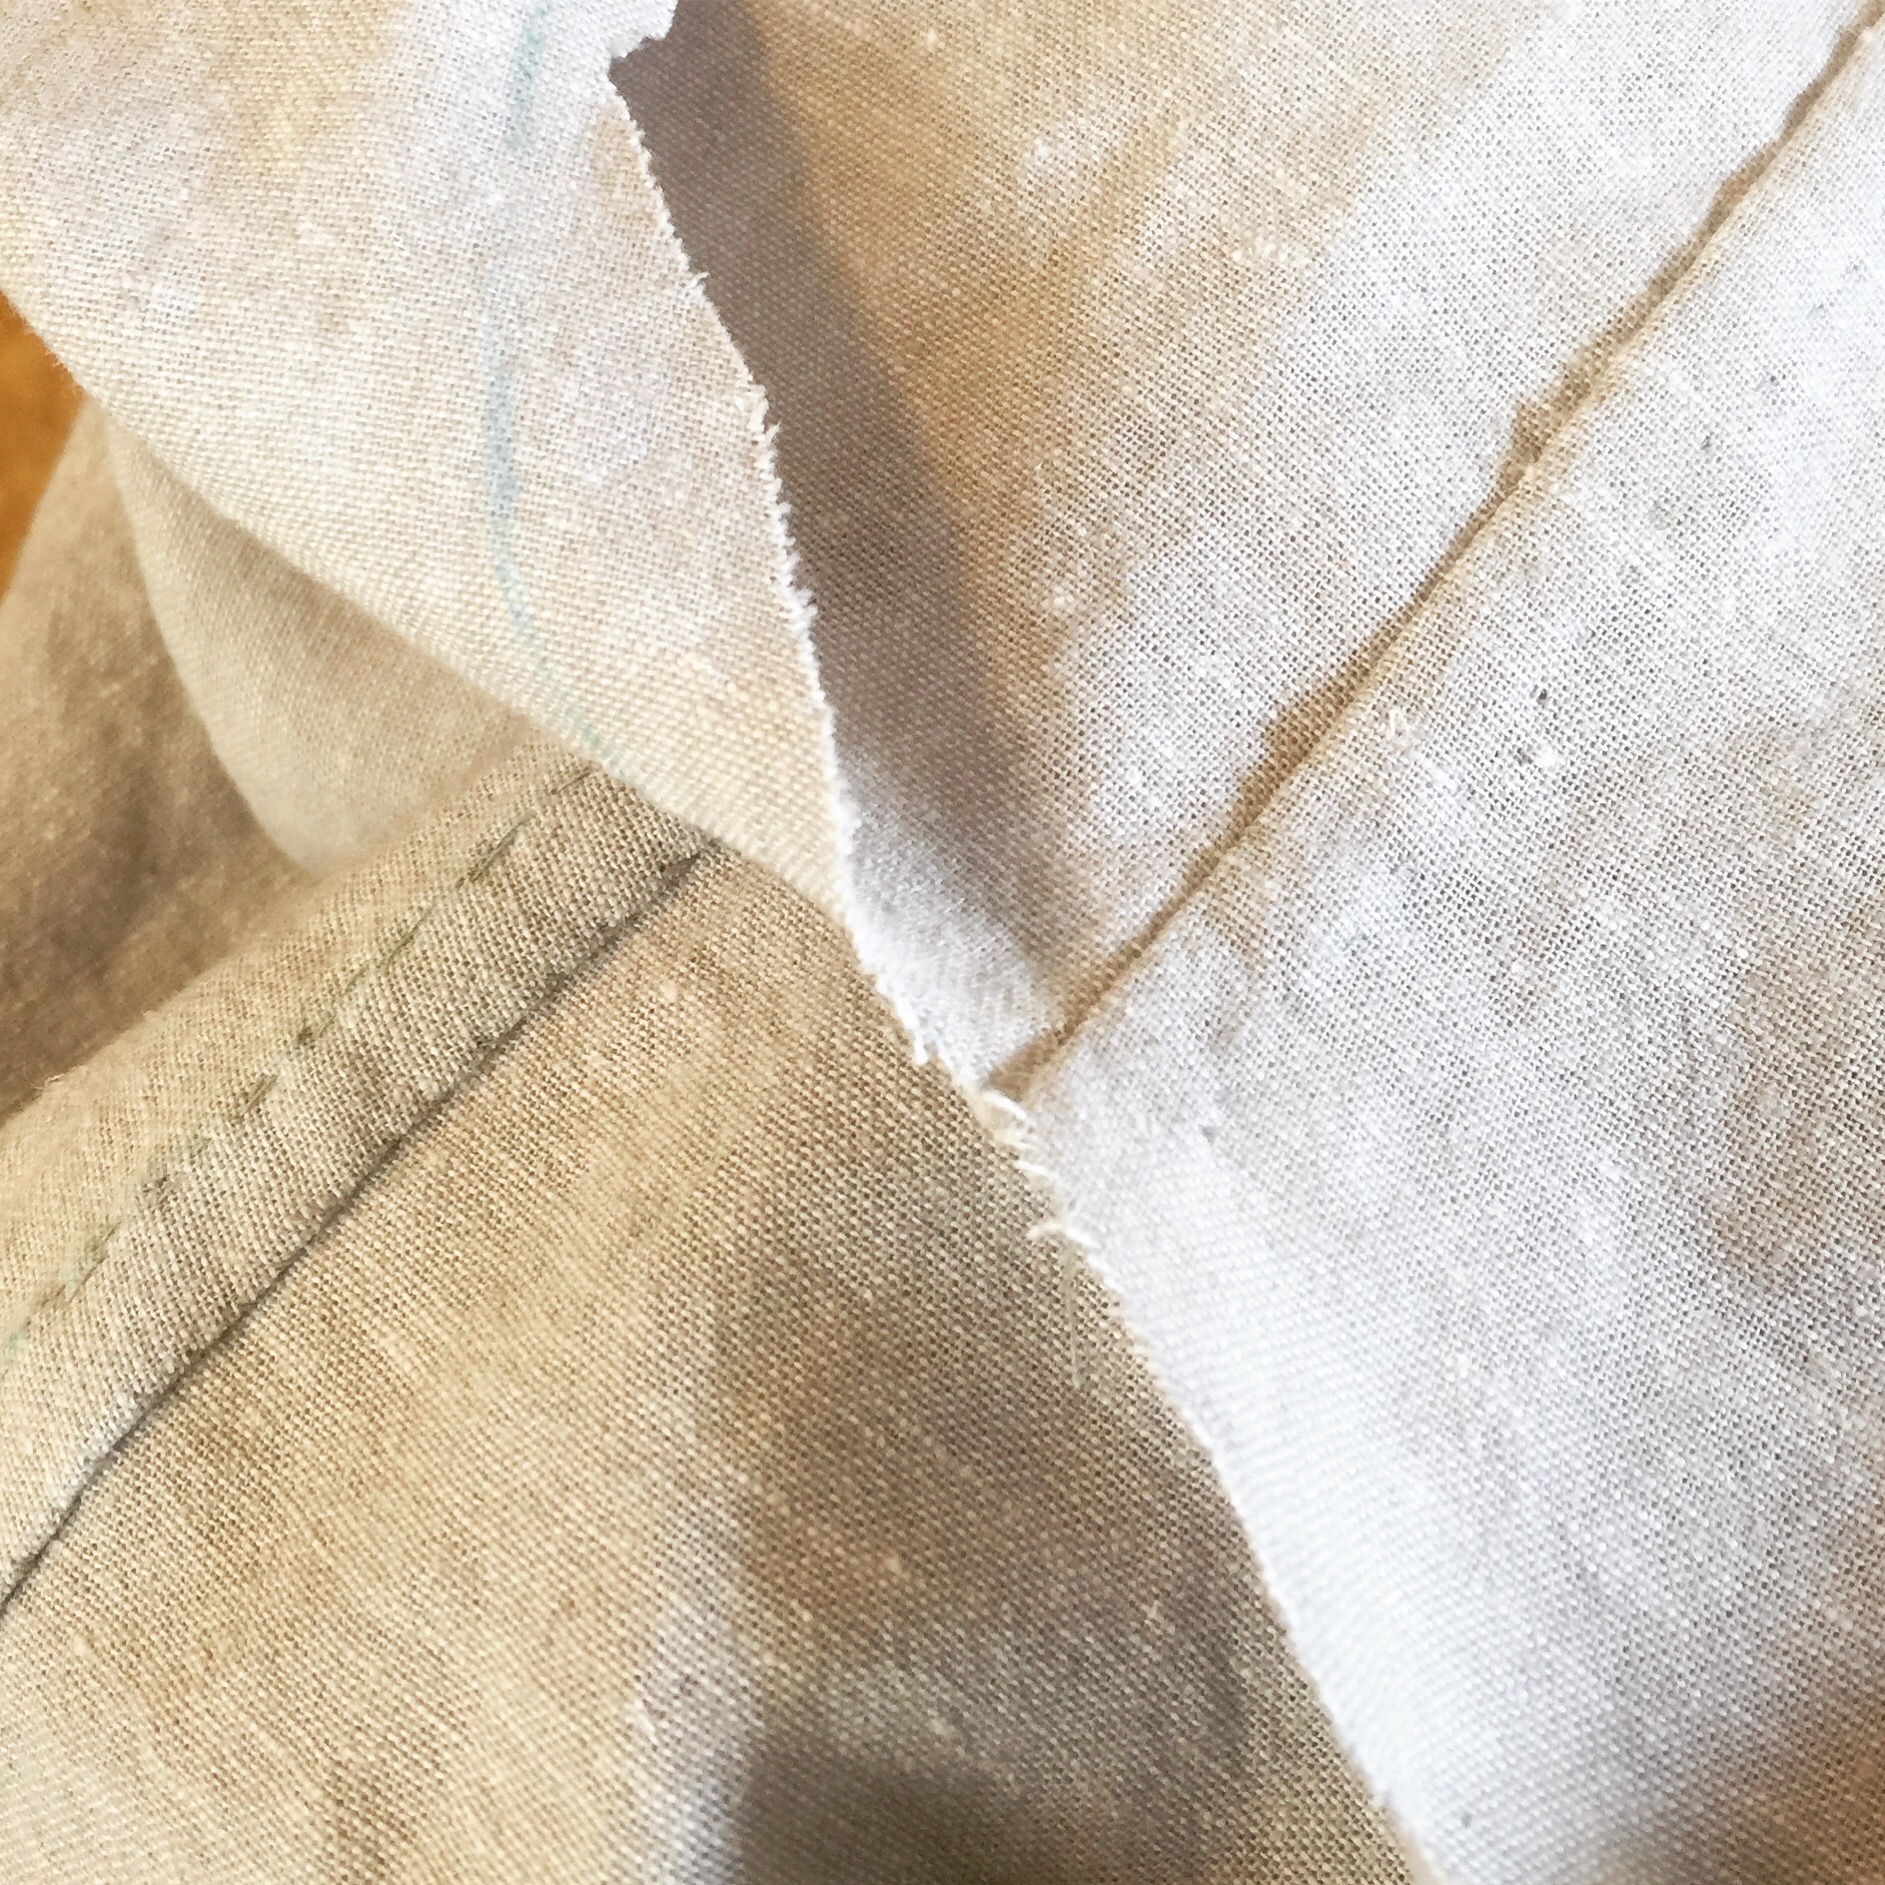
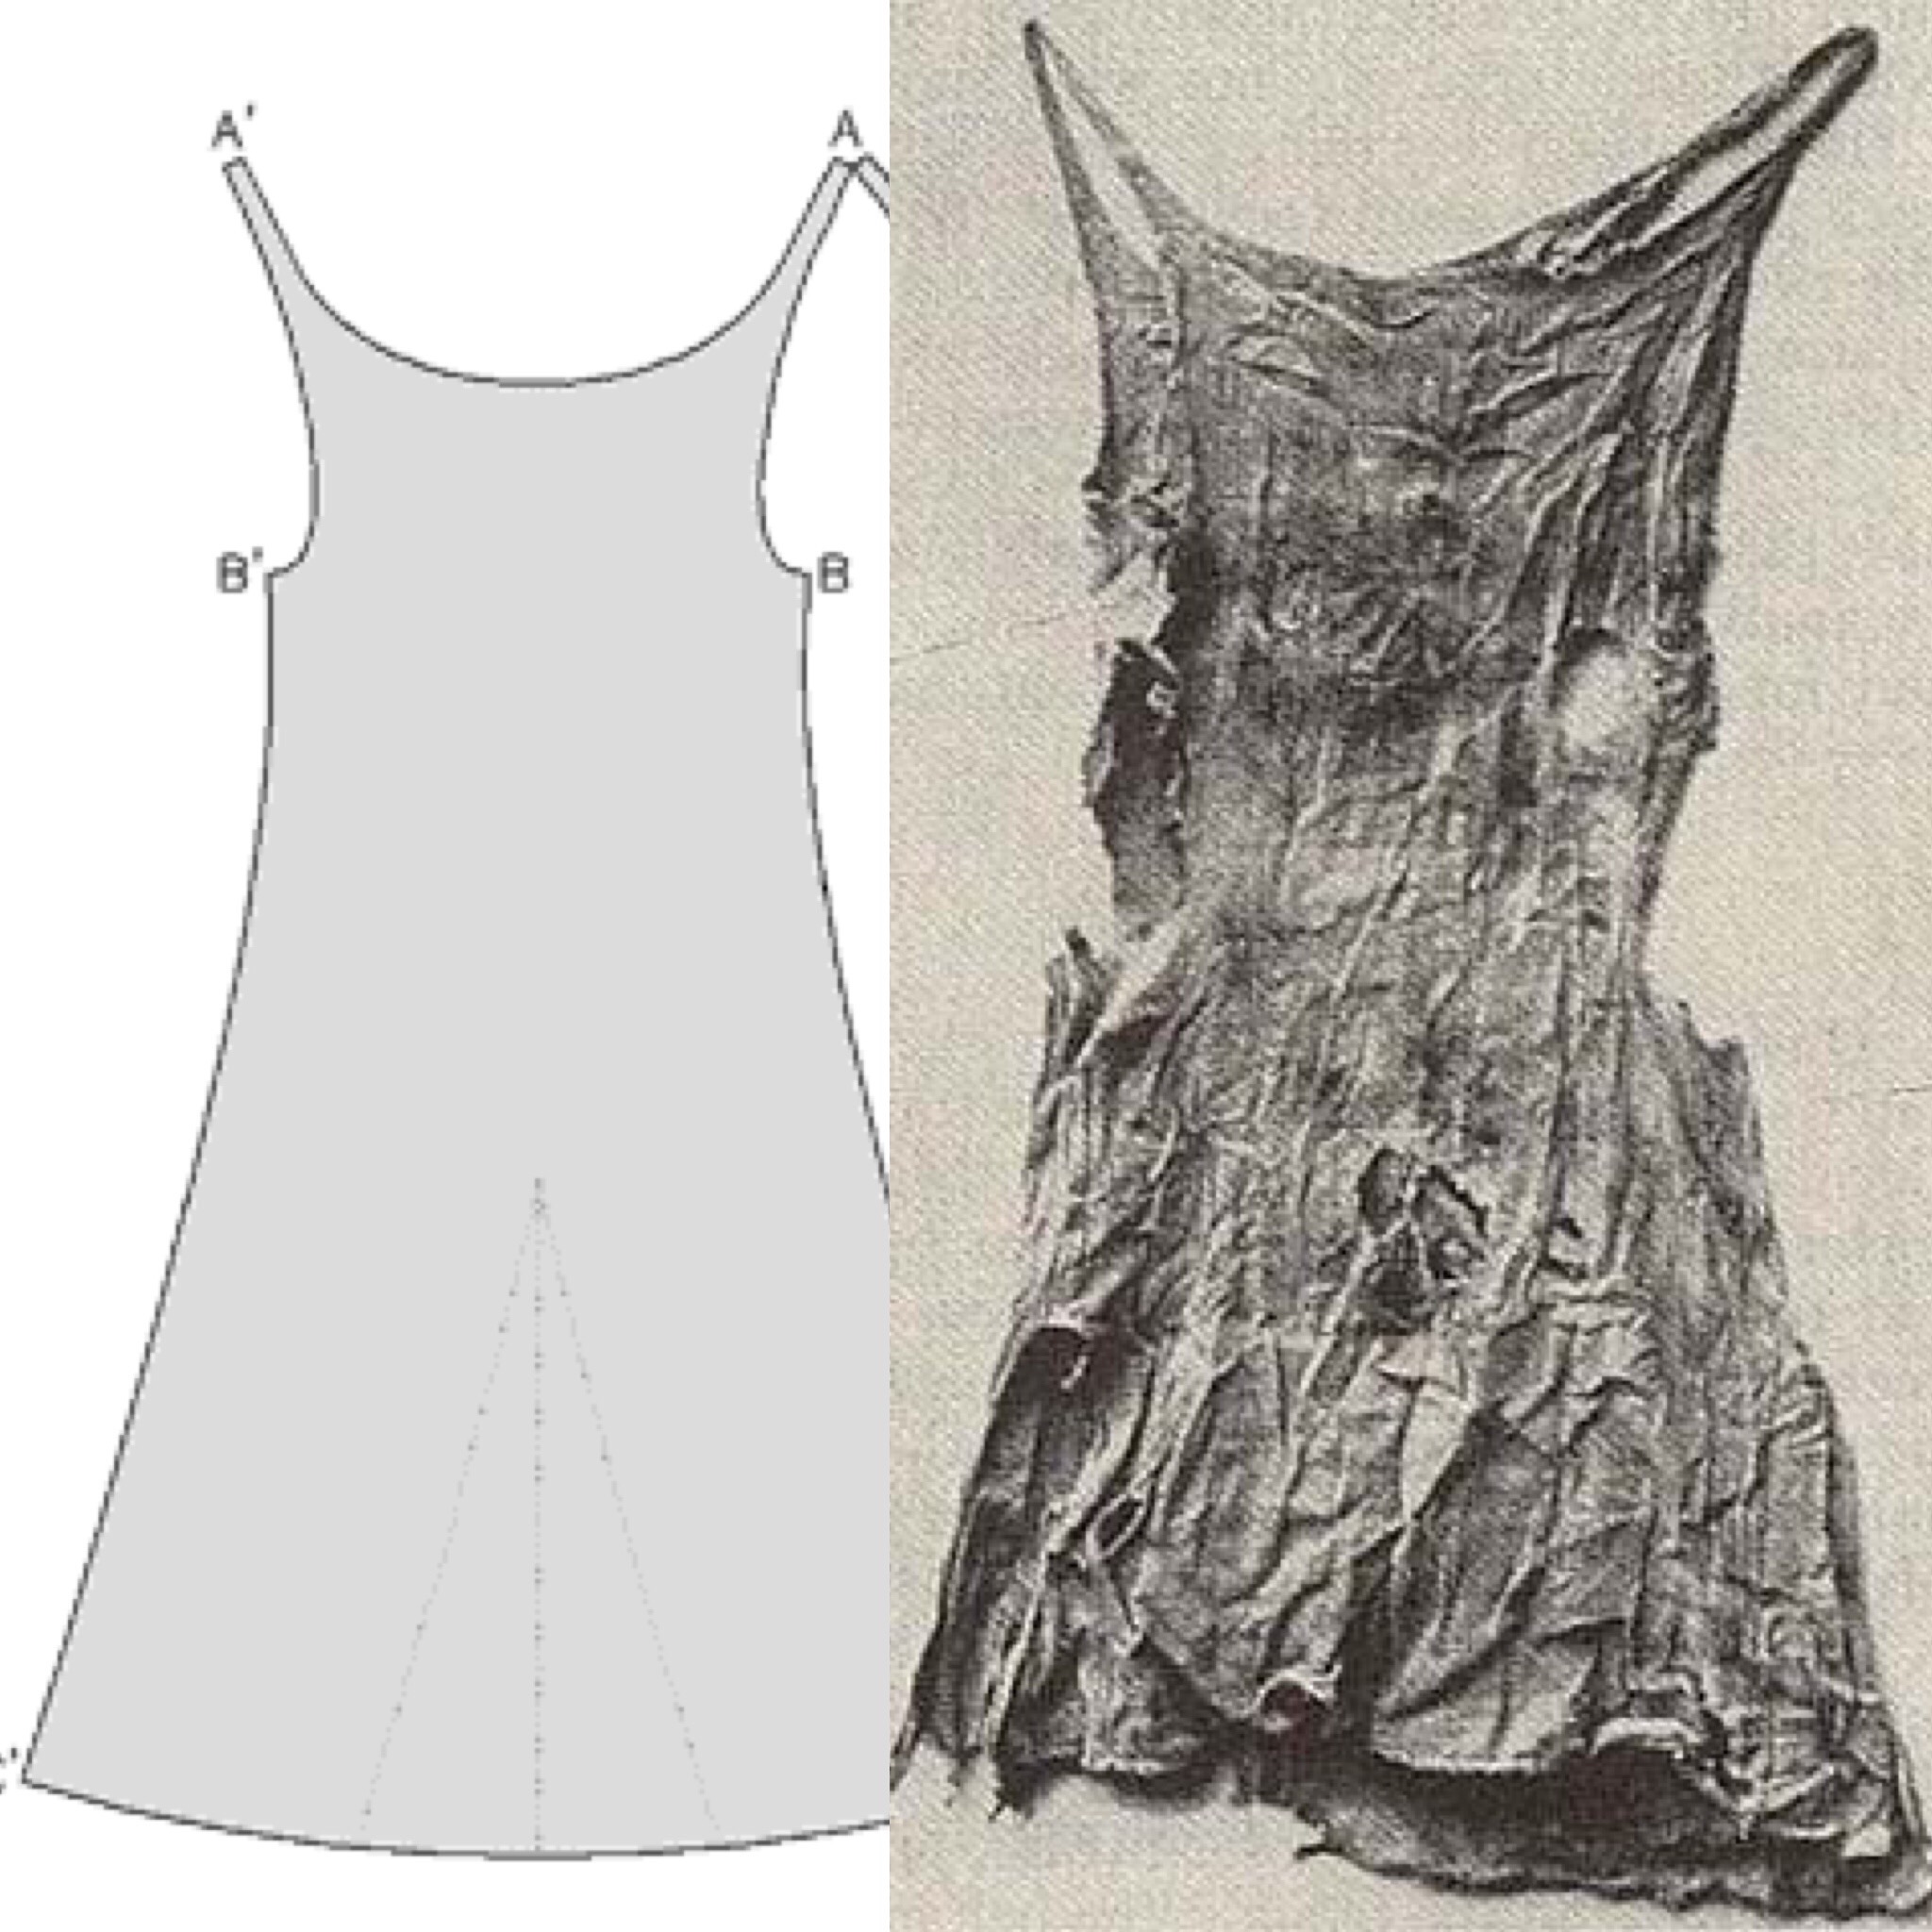
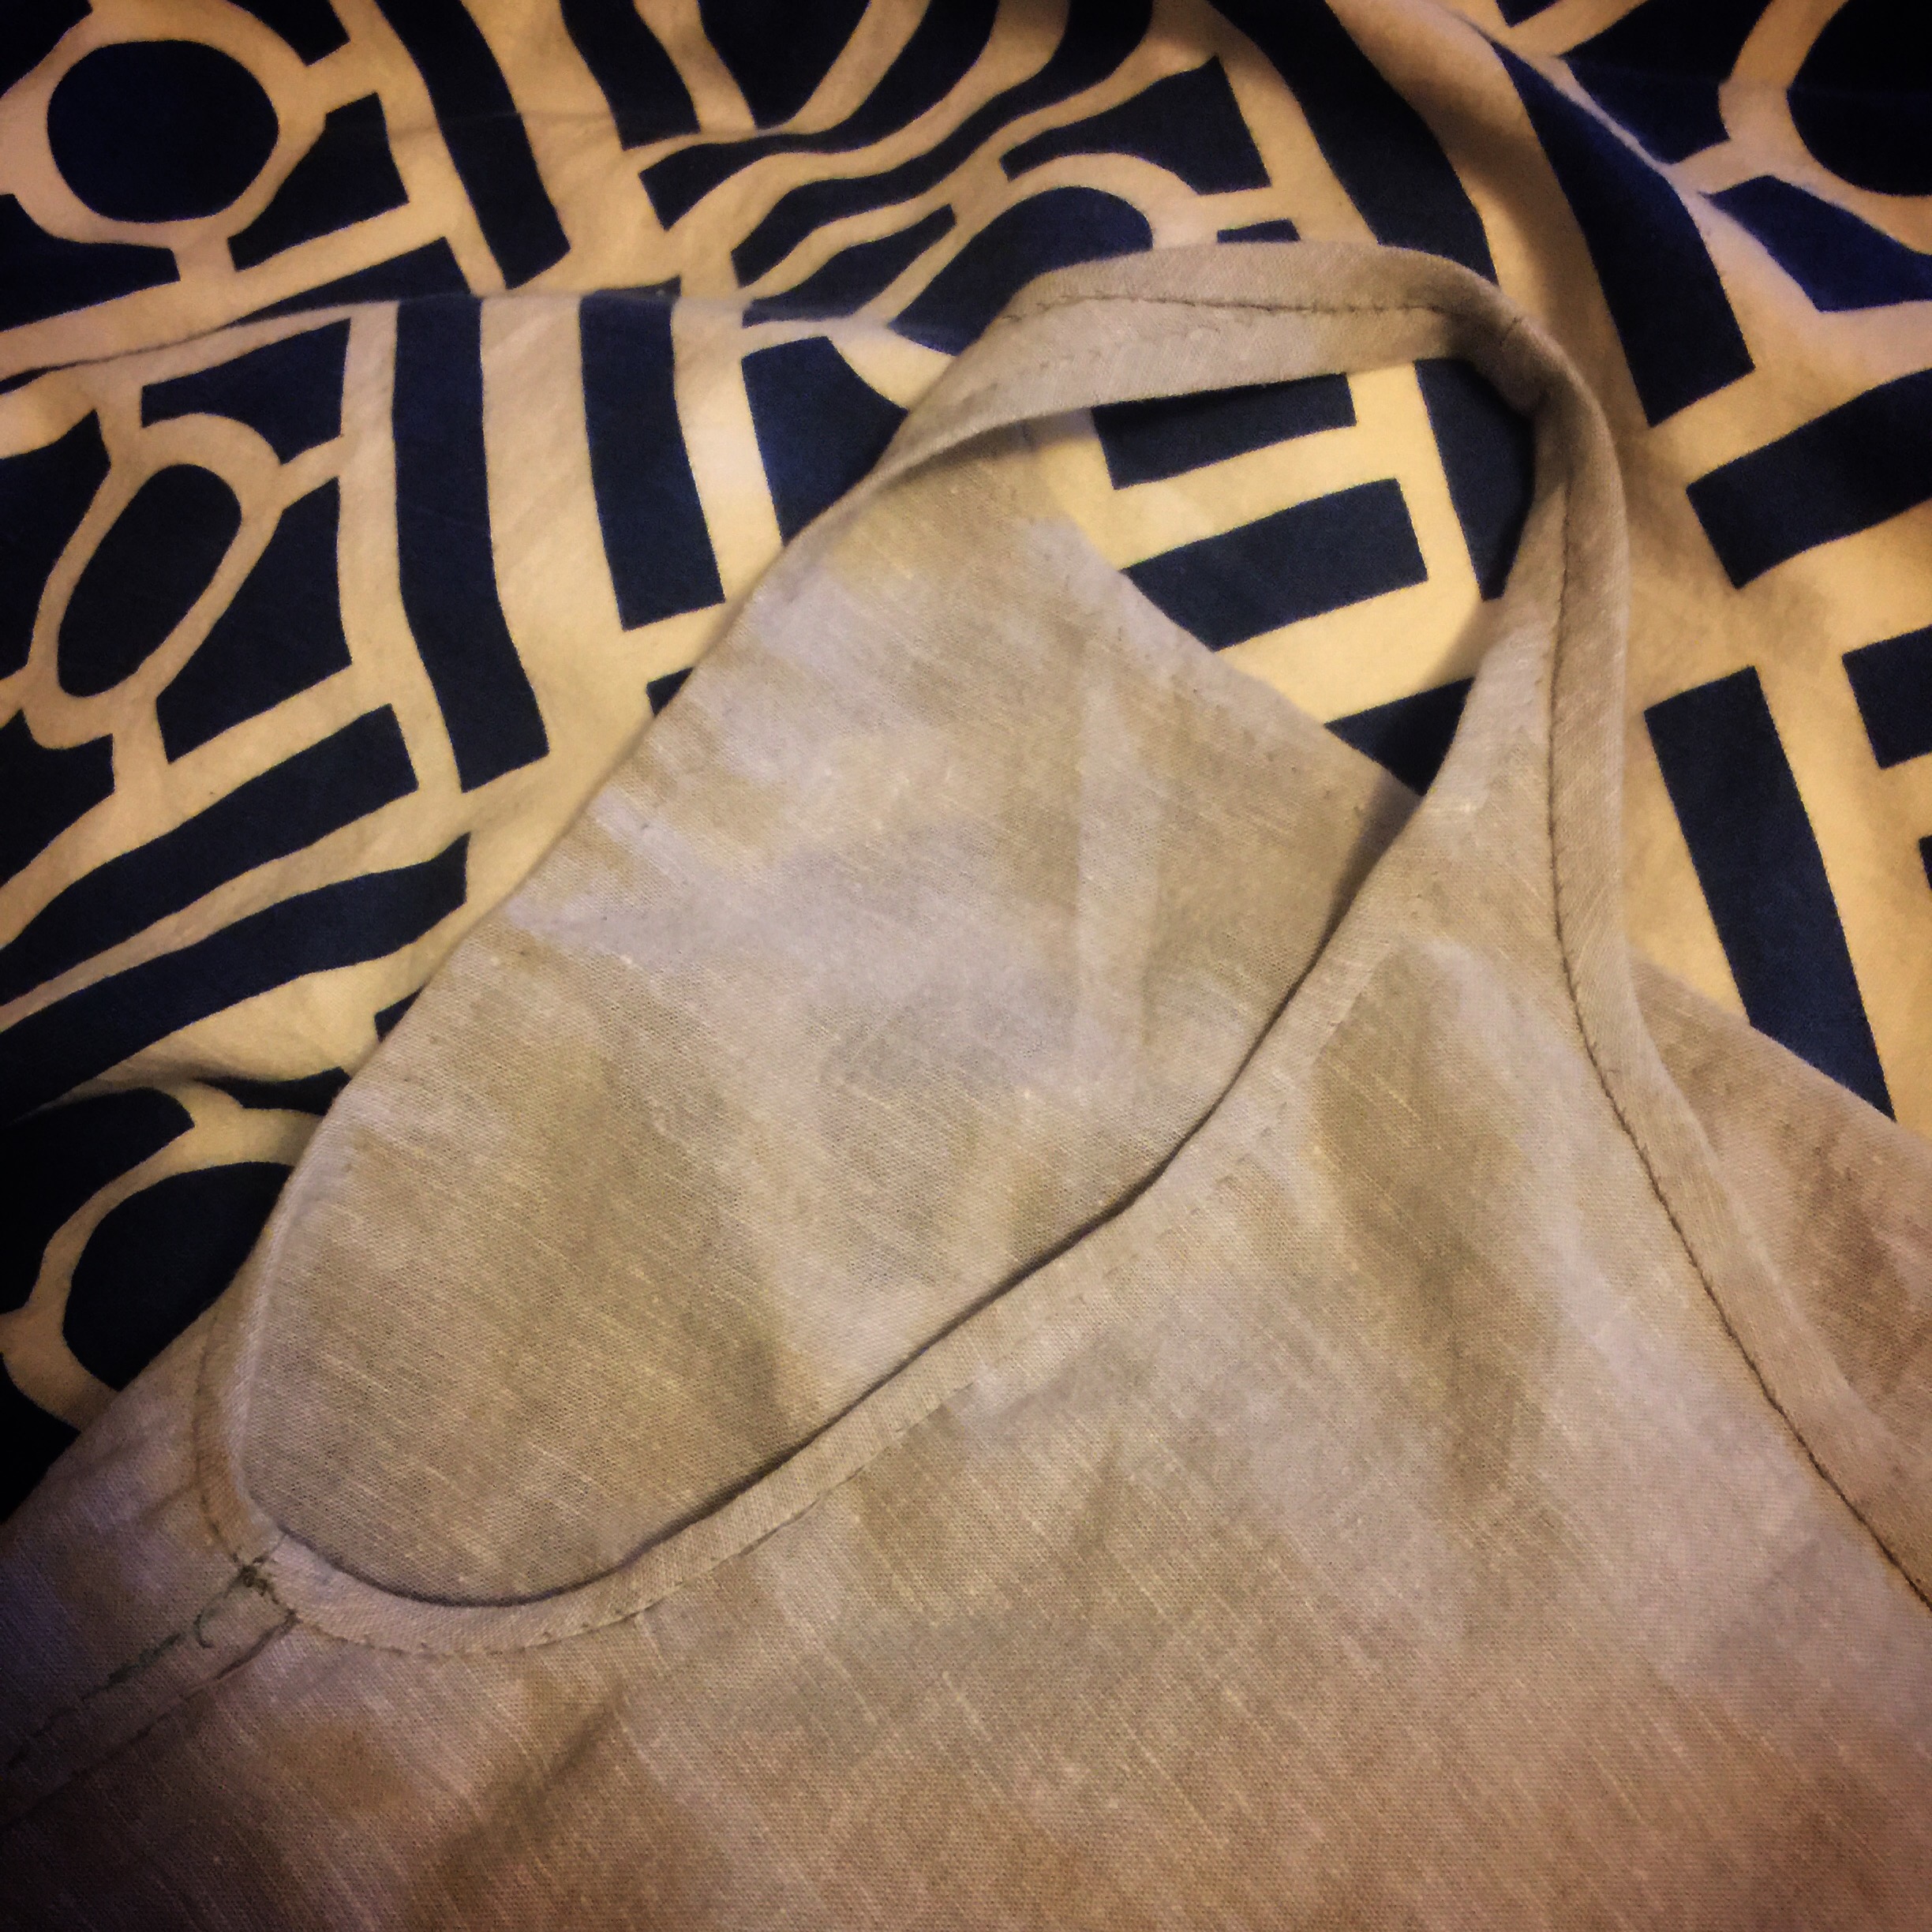

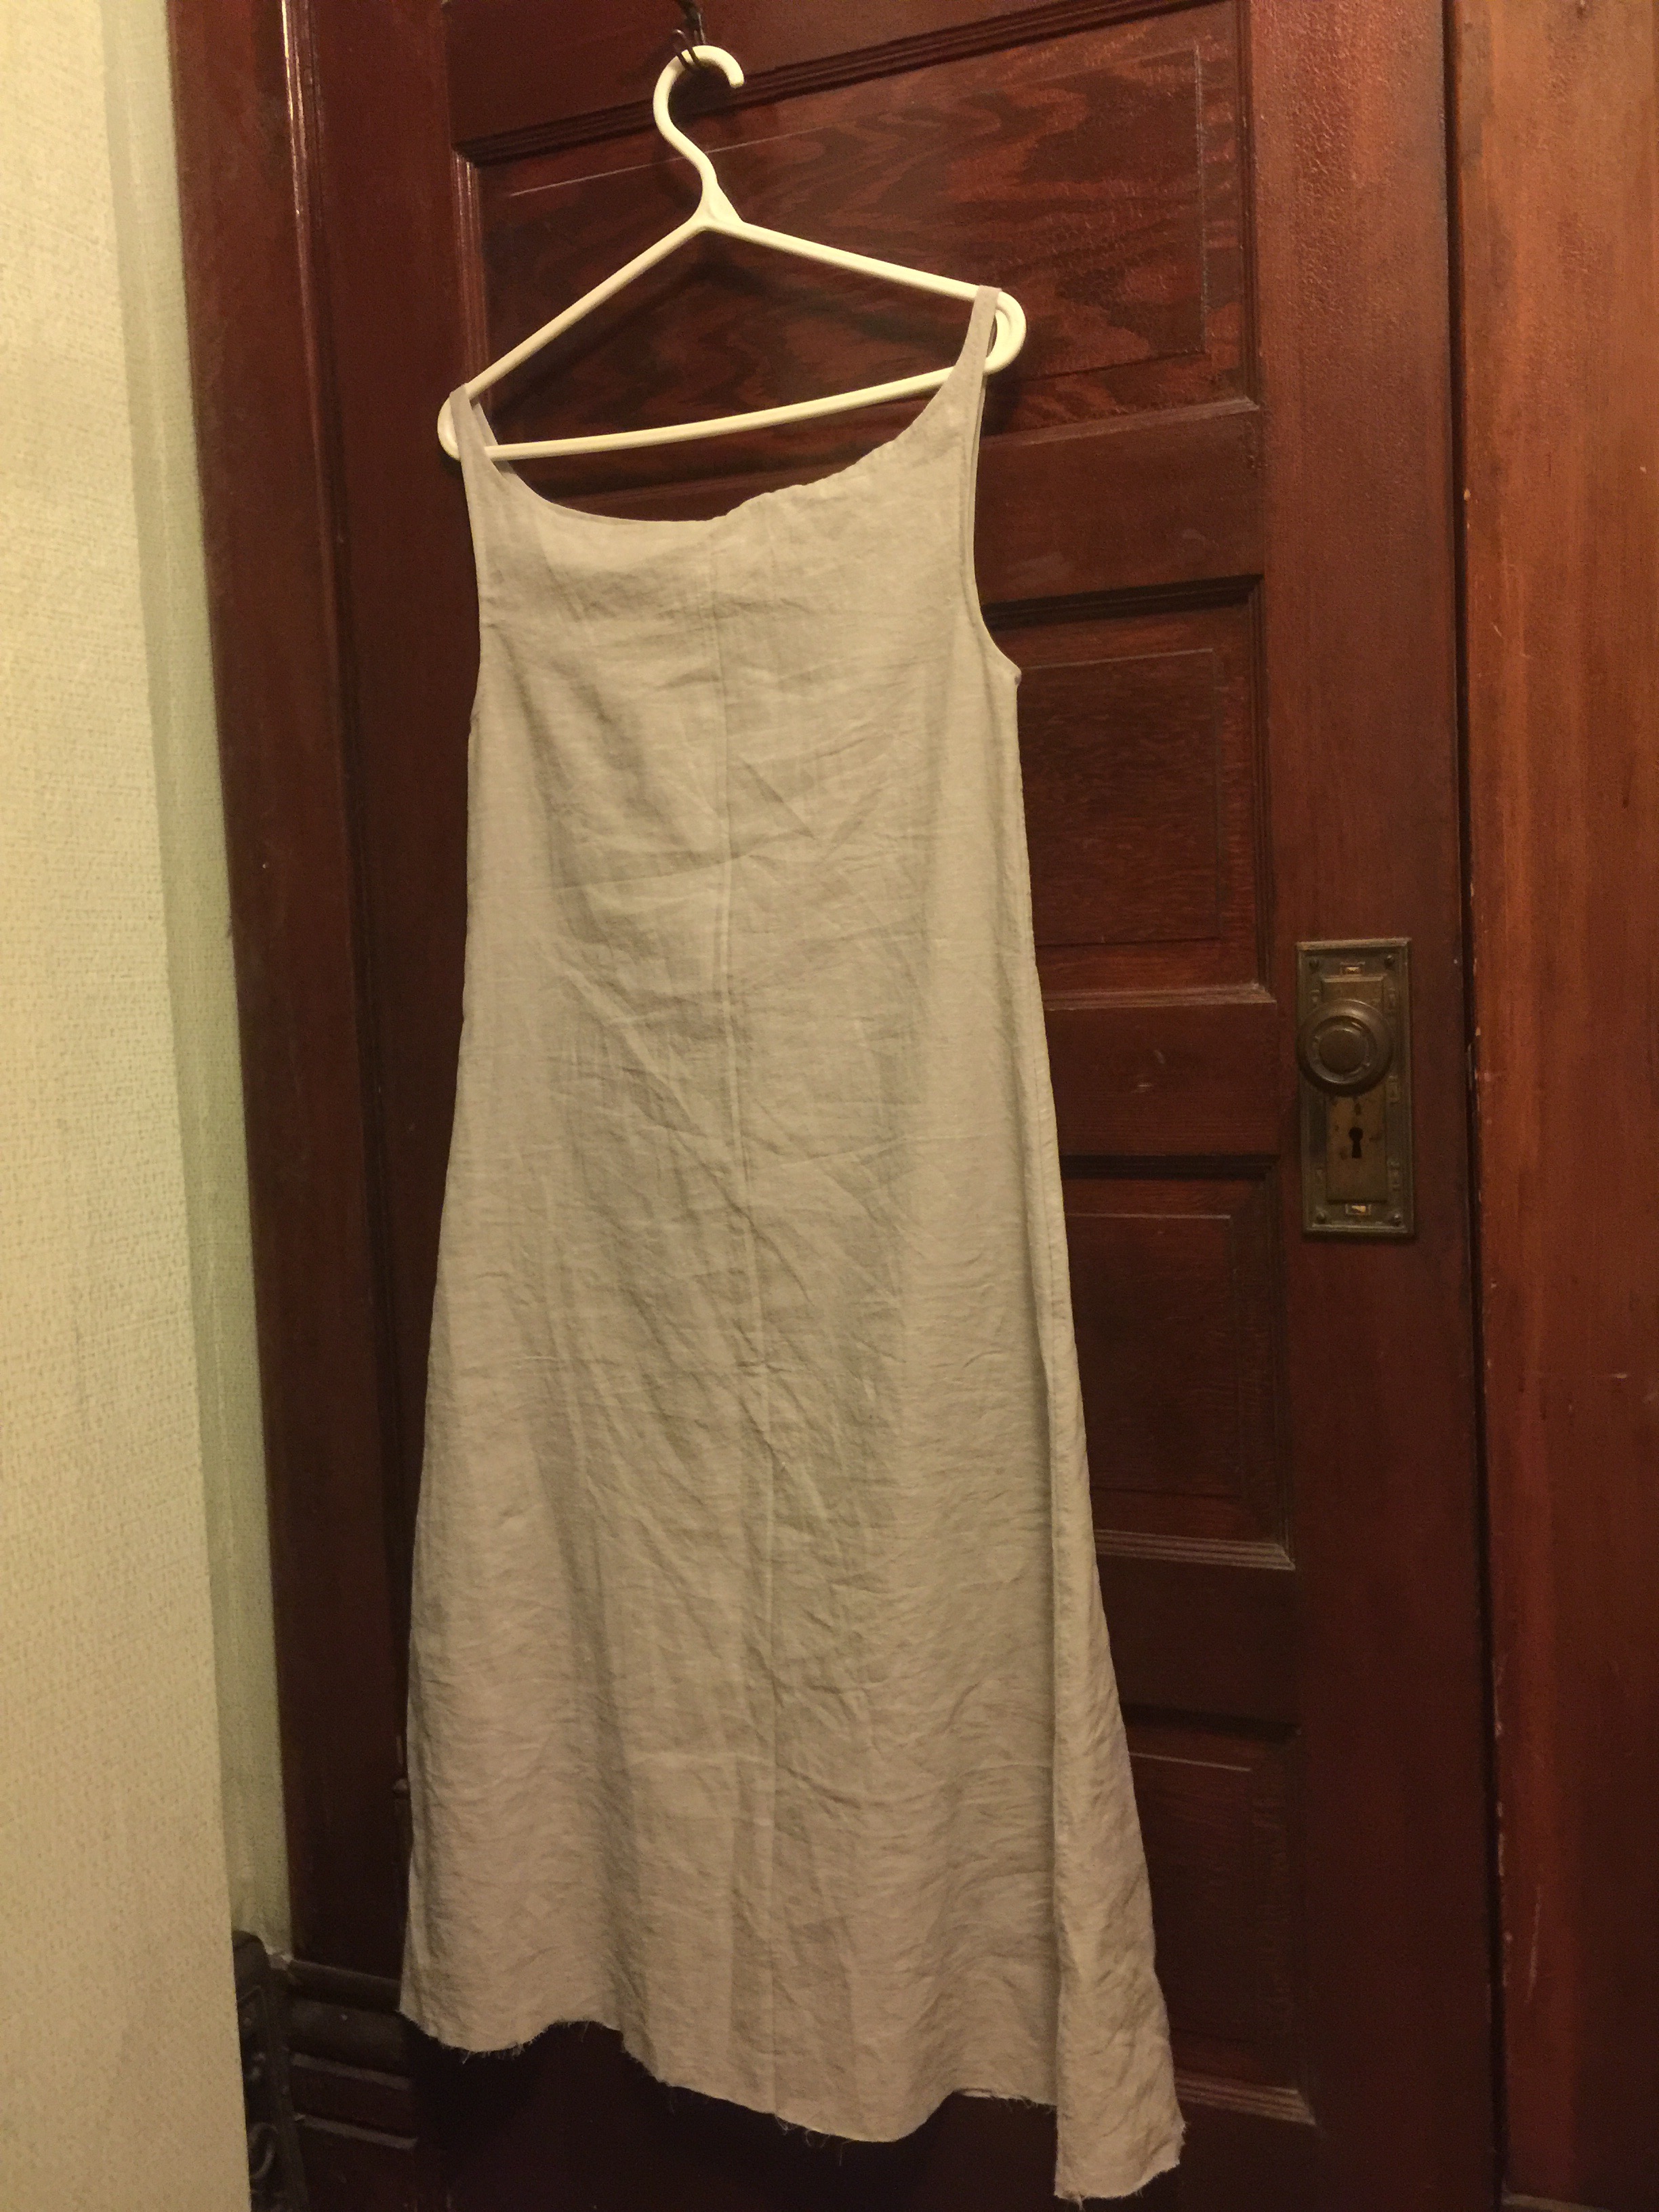

 I mean, if they are made by just hemming the edges, that’s a method prone to stretching, and they do look stretched out in the picture to me. (Apparently it was found wrapped around a wooden plate, and I almost wonder if the straps had been stretched around the plate to secure it in place) anyway. WAY whack long.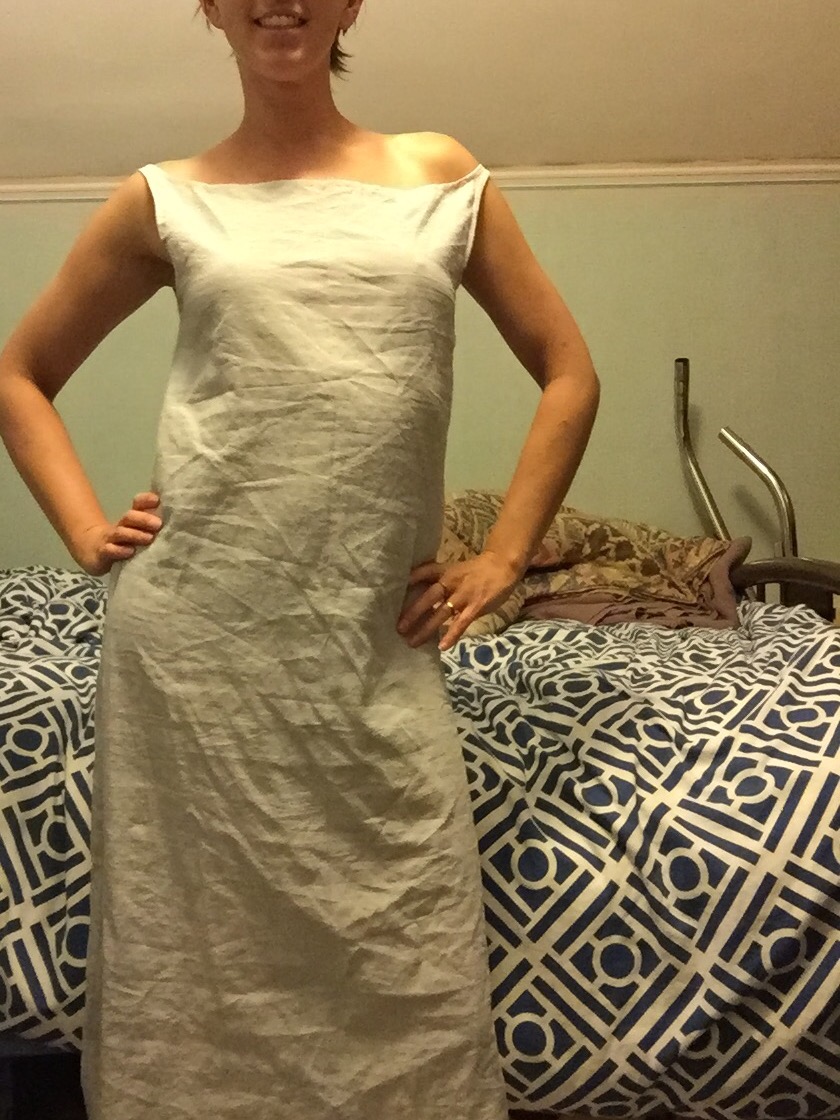
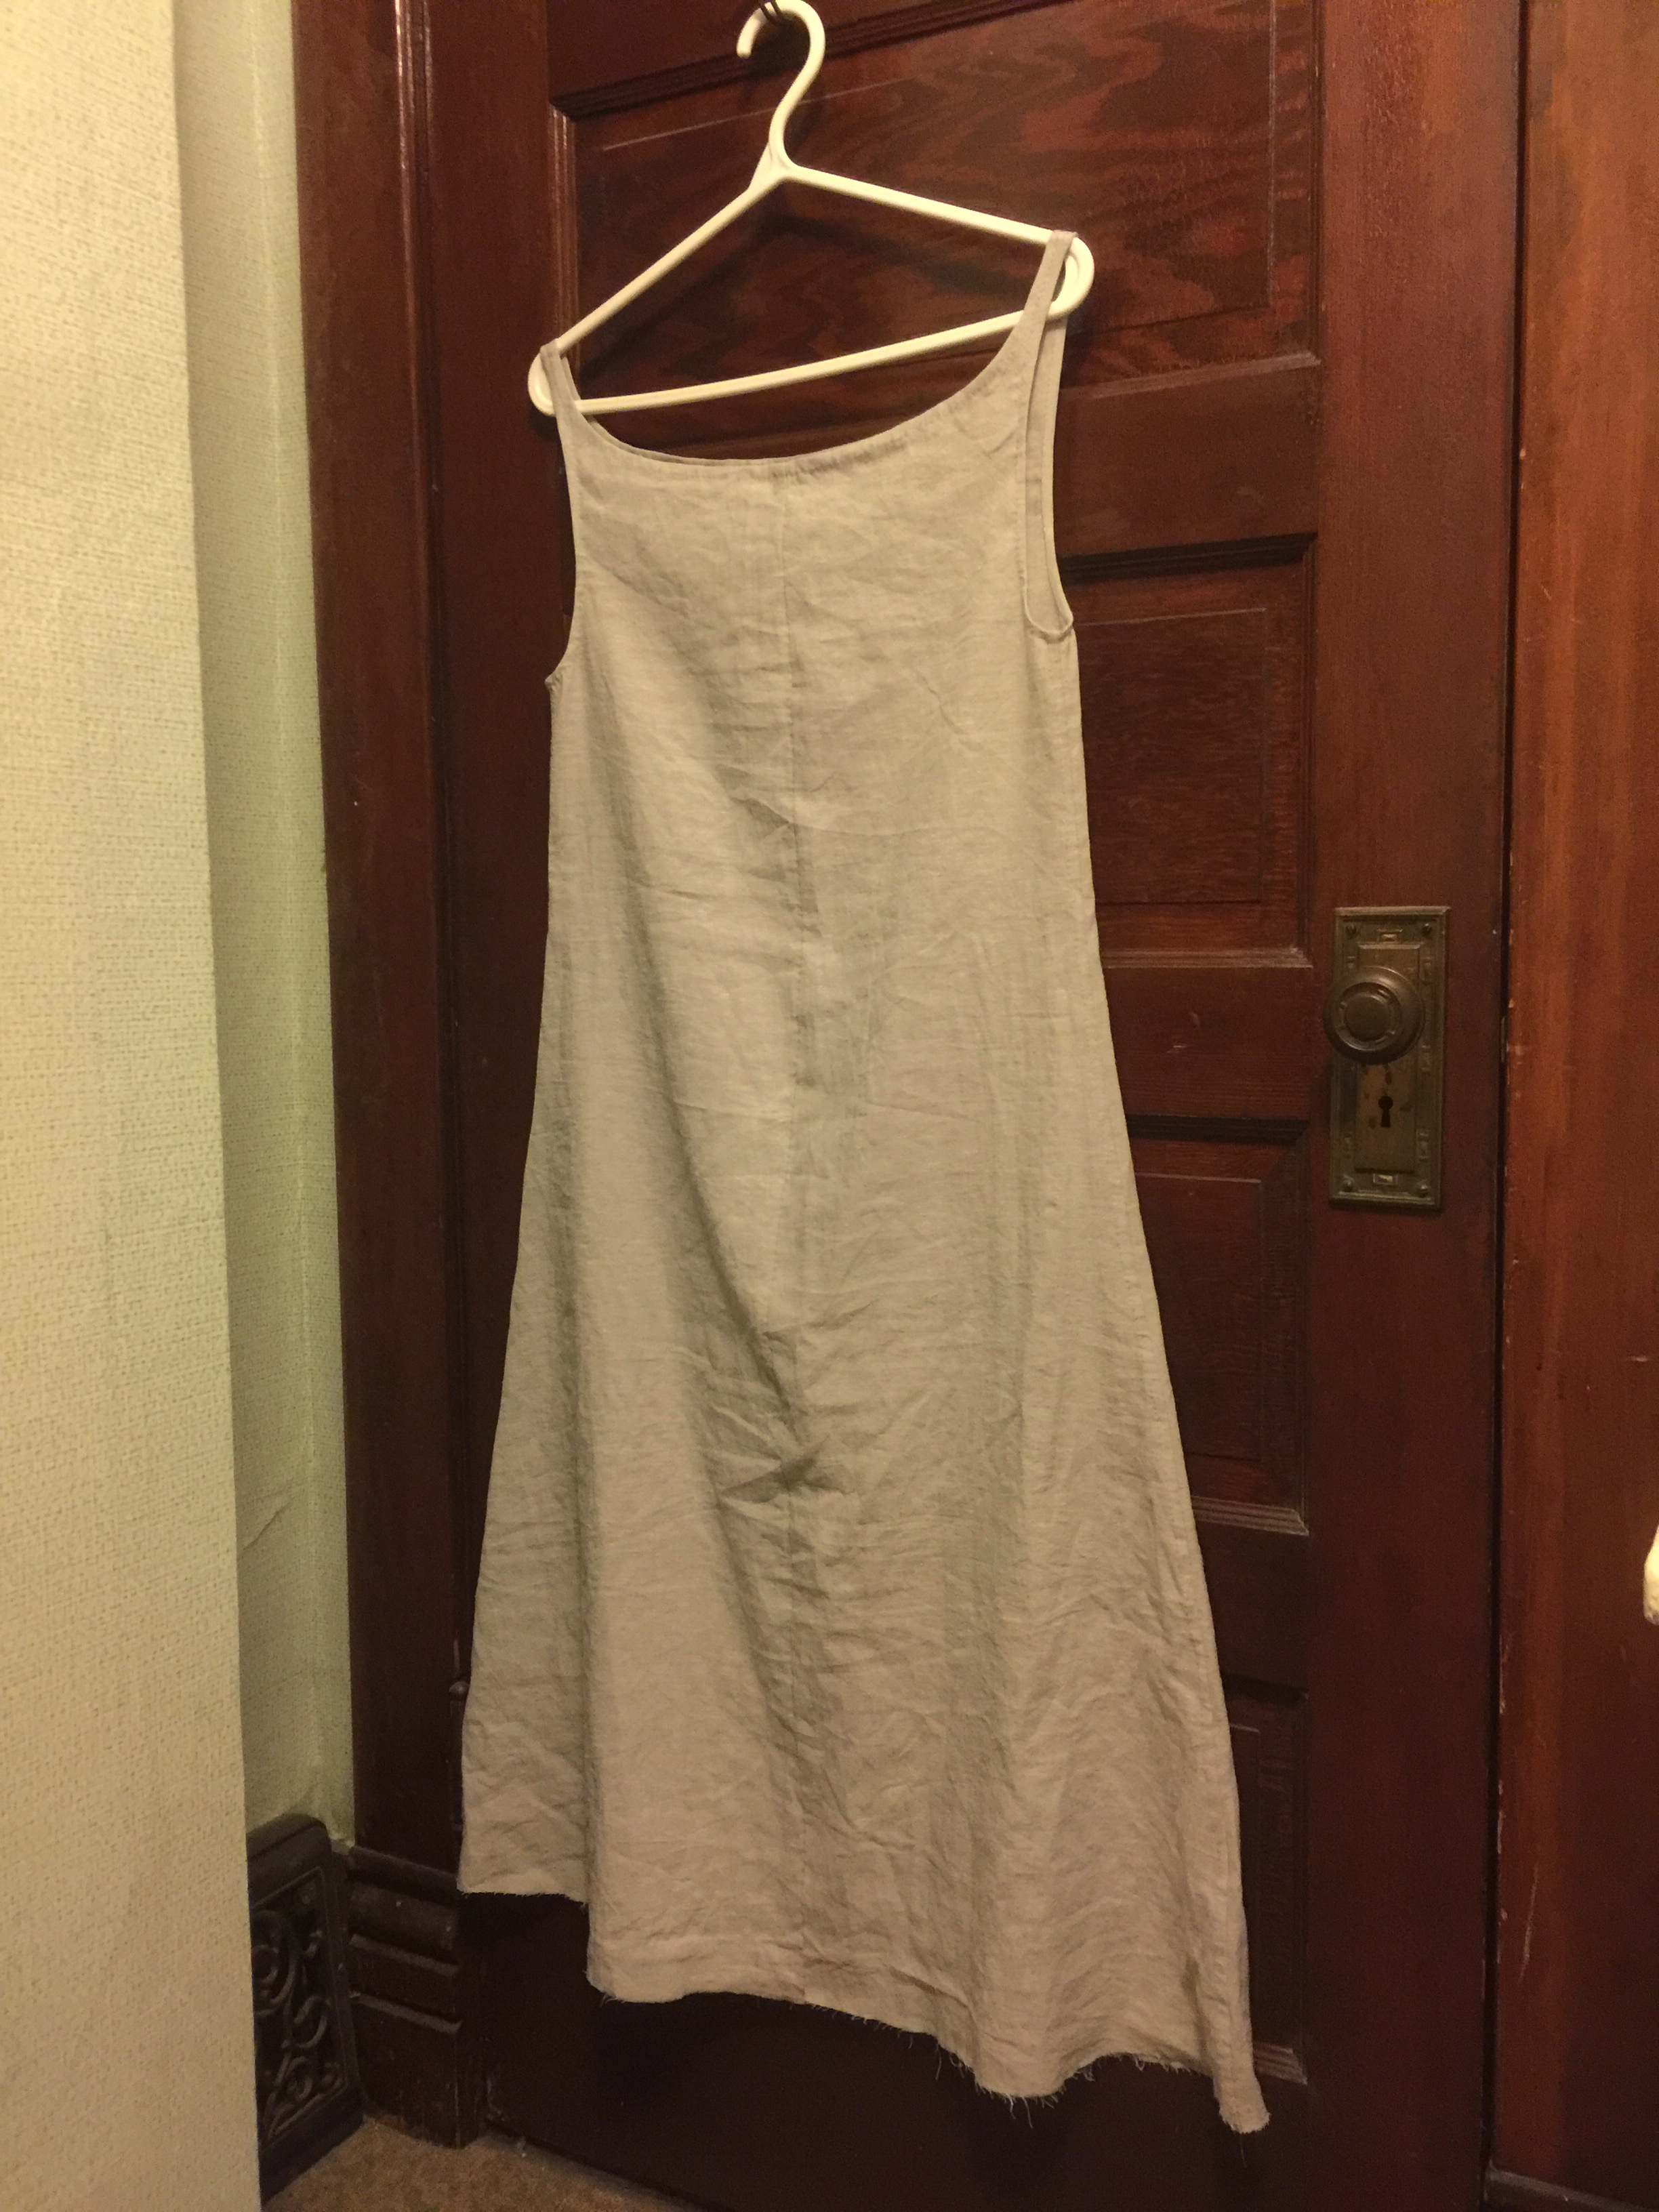
 Anyway, fun experiment, and successfully completed in about a day and a half of lackadaisical hand-stitching. People who make historical costumes seem to be fond of grading themselves on their accuracy, but I’m never clear on how you would do this. So what do you think? Fabric is reasonable but not accurate—linen-cotton blend, not pure linen; thread is cotton. Completely hand-stitched, possibly with period techniques although I haven’t done extensive research into mediaeval hand-stitching (they would work for the Victorian stuff I have read, except that my stitch lengths are way huge by those standards. On the other hand the original apparently had “thick stitches” so I’m not too fussed.) I feel like overall that’s pretty good, except for the weirdness of the pattern.
 I’ll forgive you if you don’t remember


 The buttons are all mother of pearl, from the Antique Button Stash—they roughly match, except for the big one at the top.
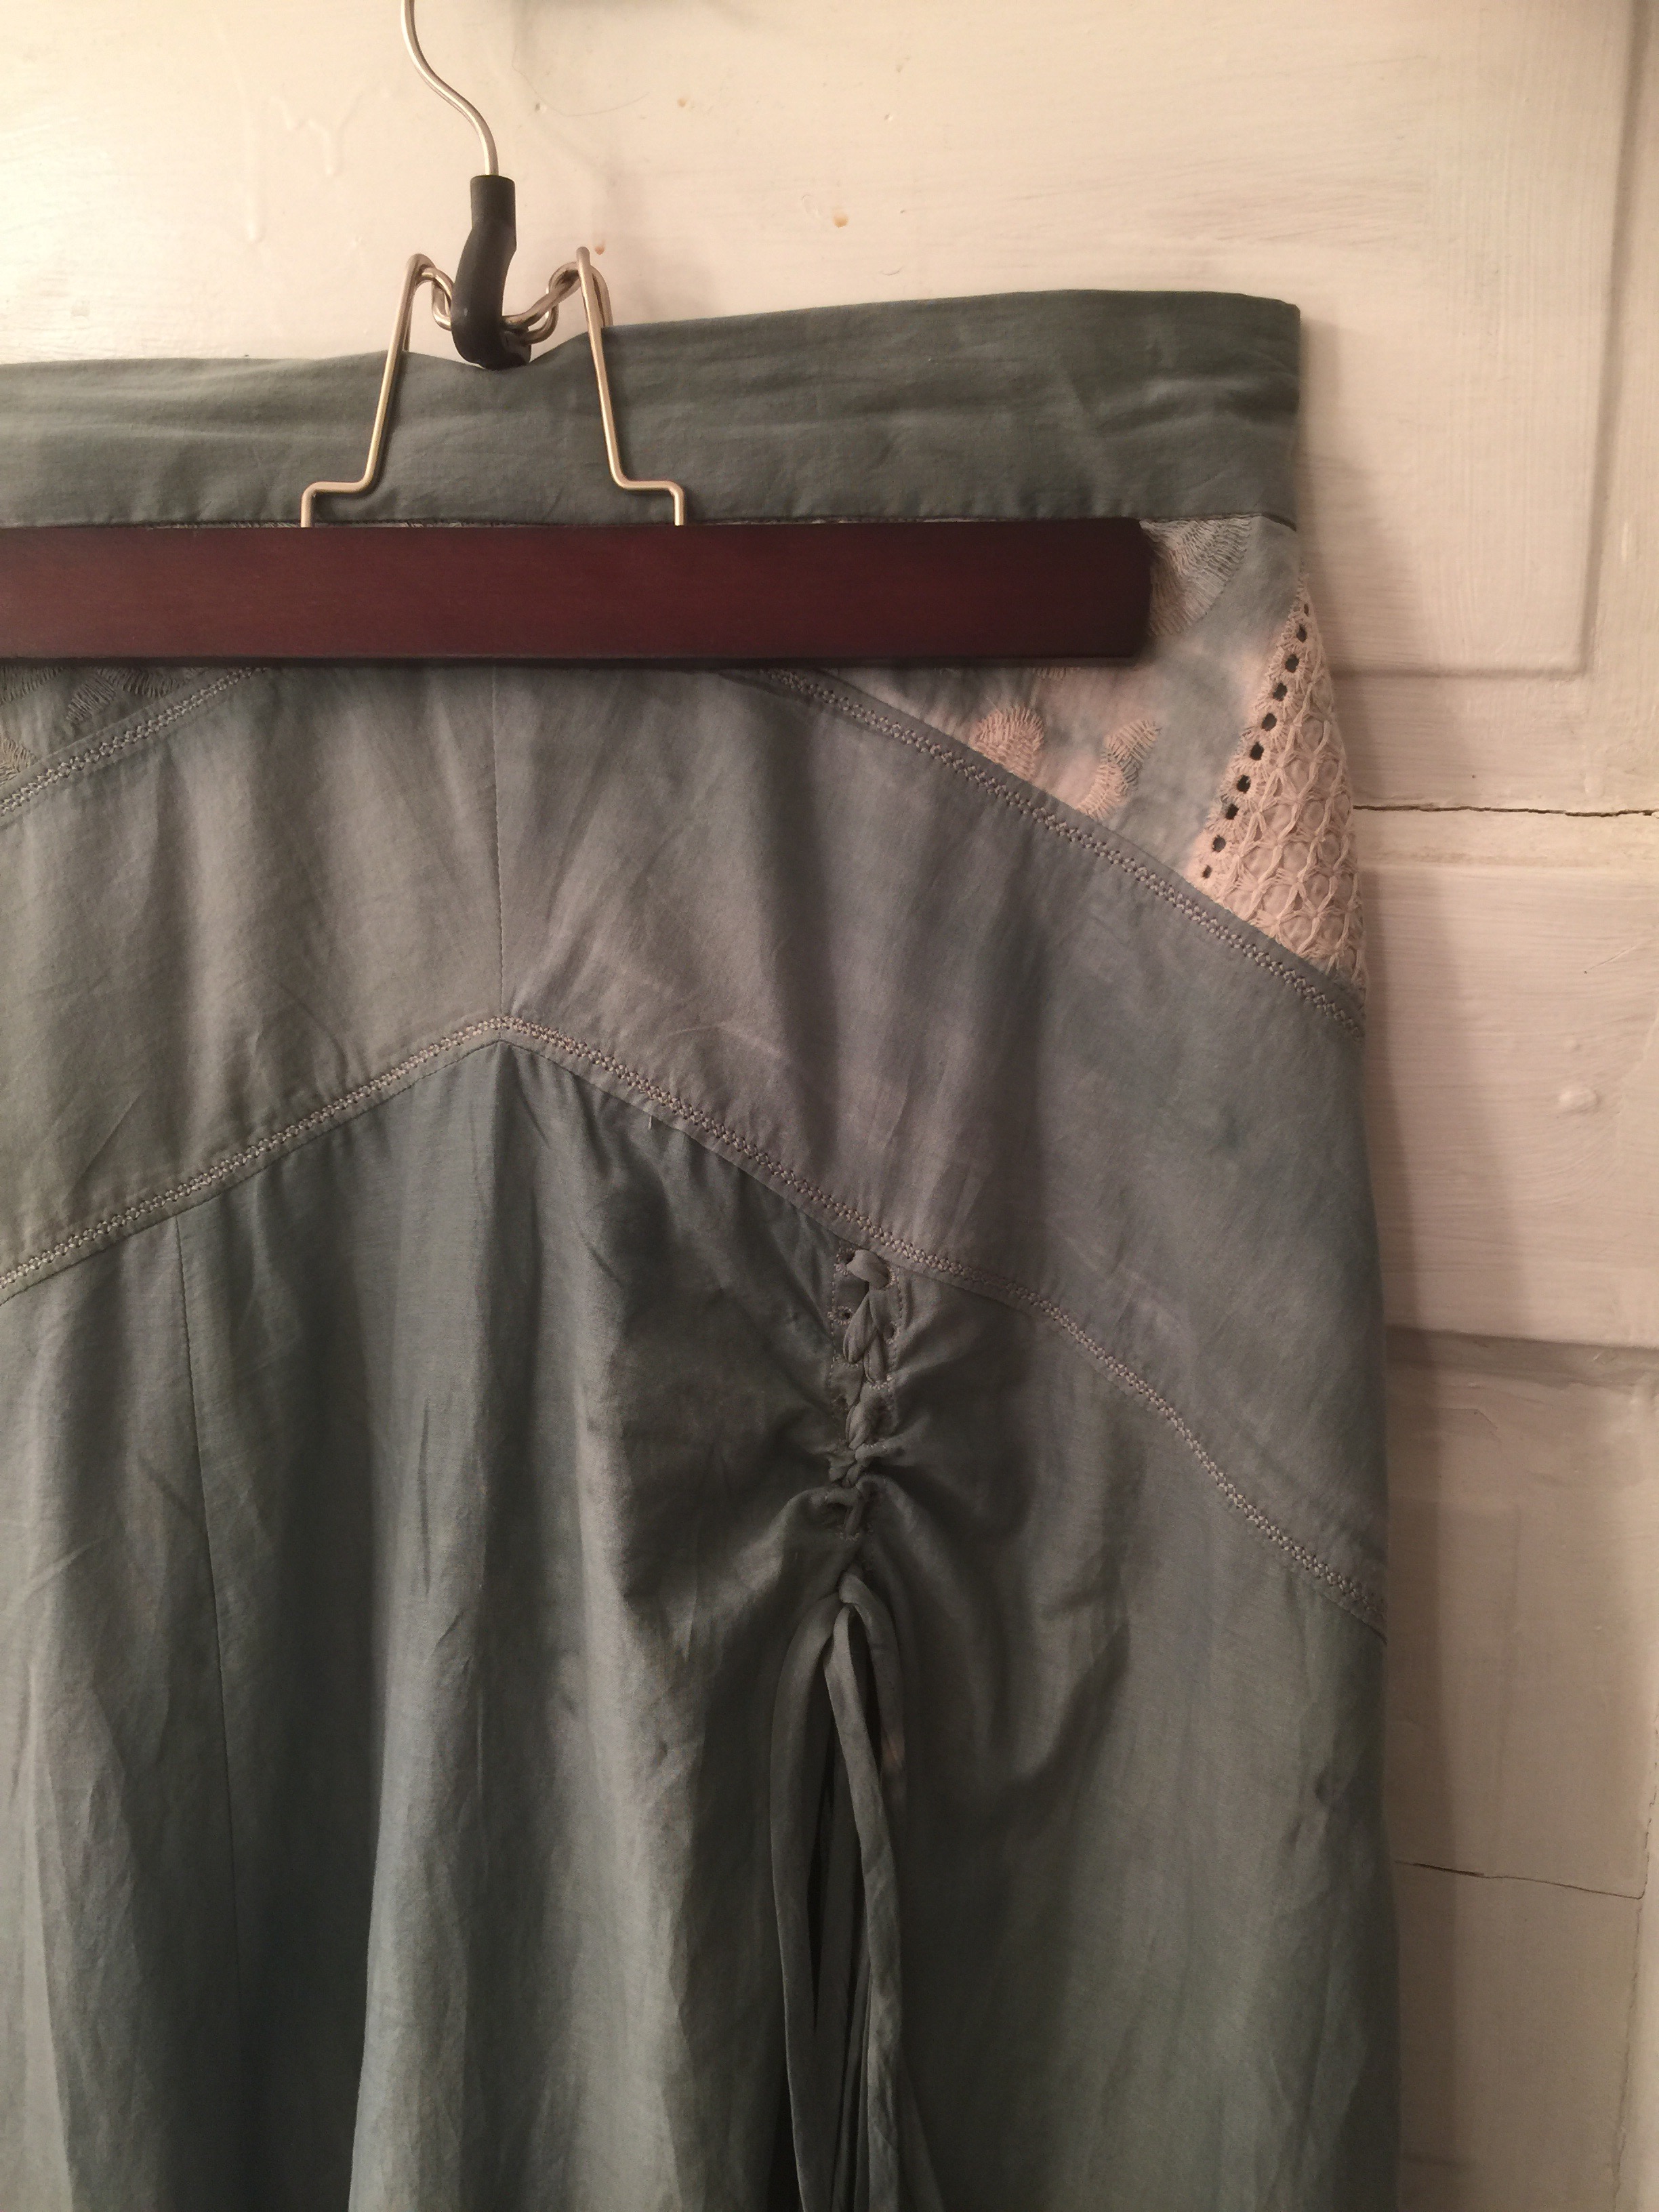


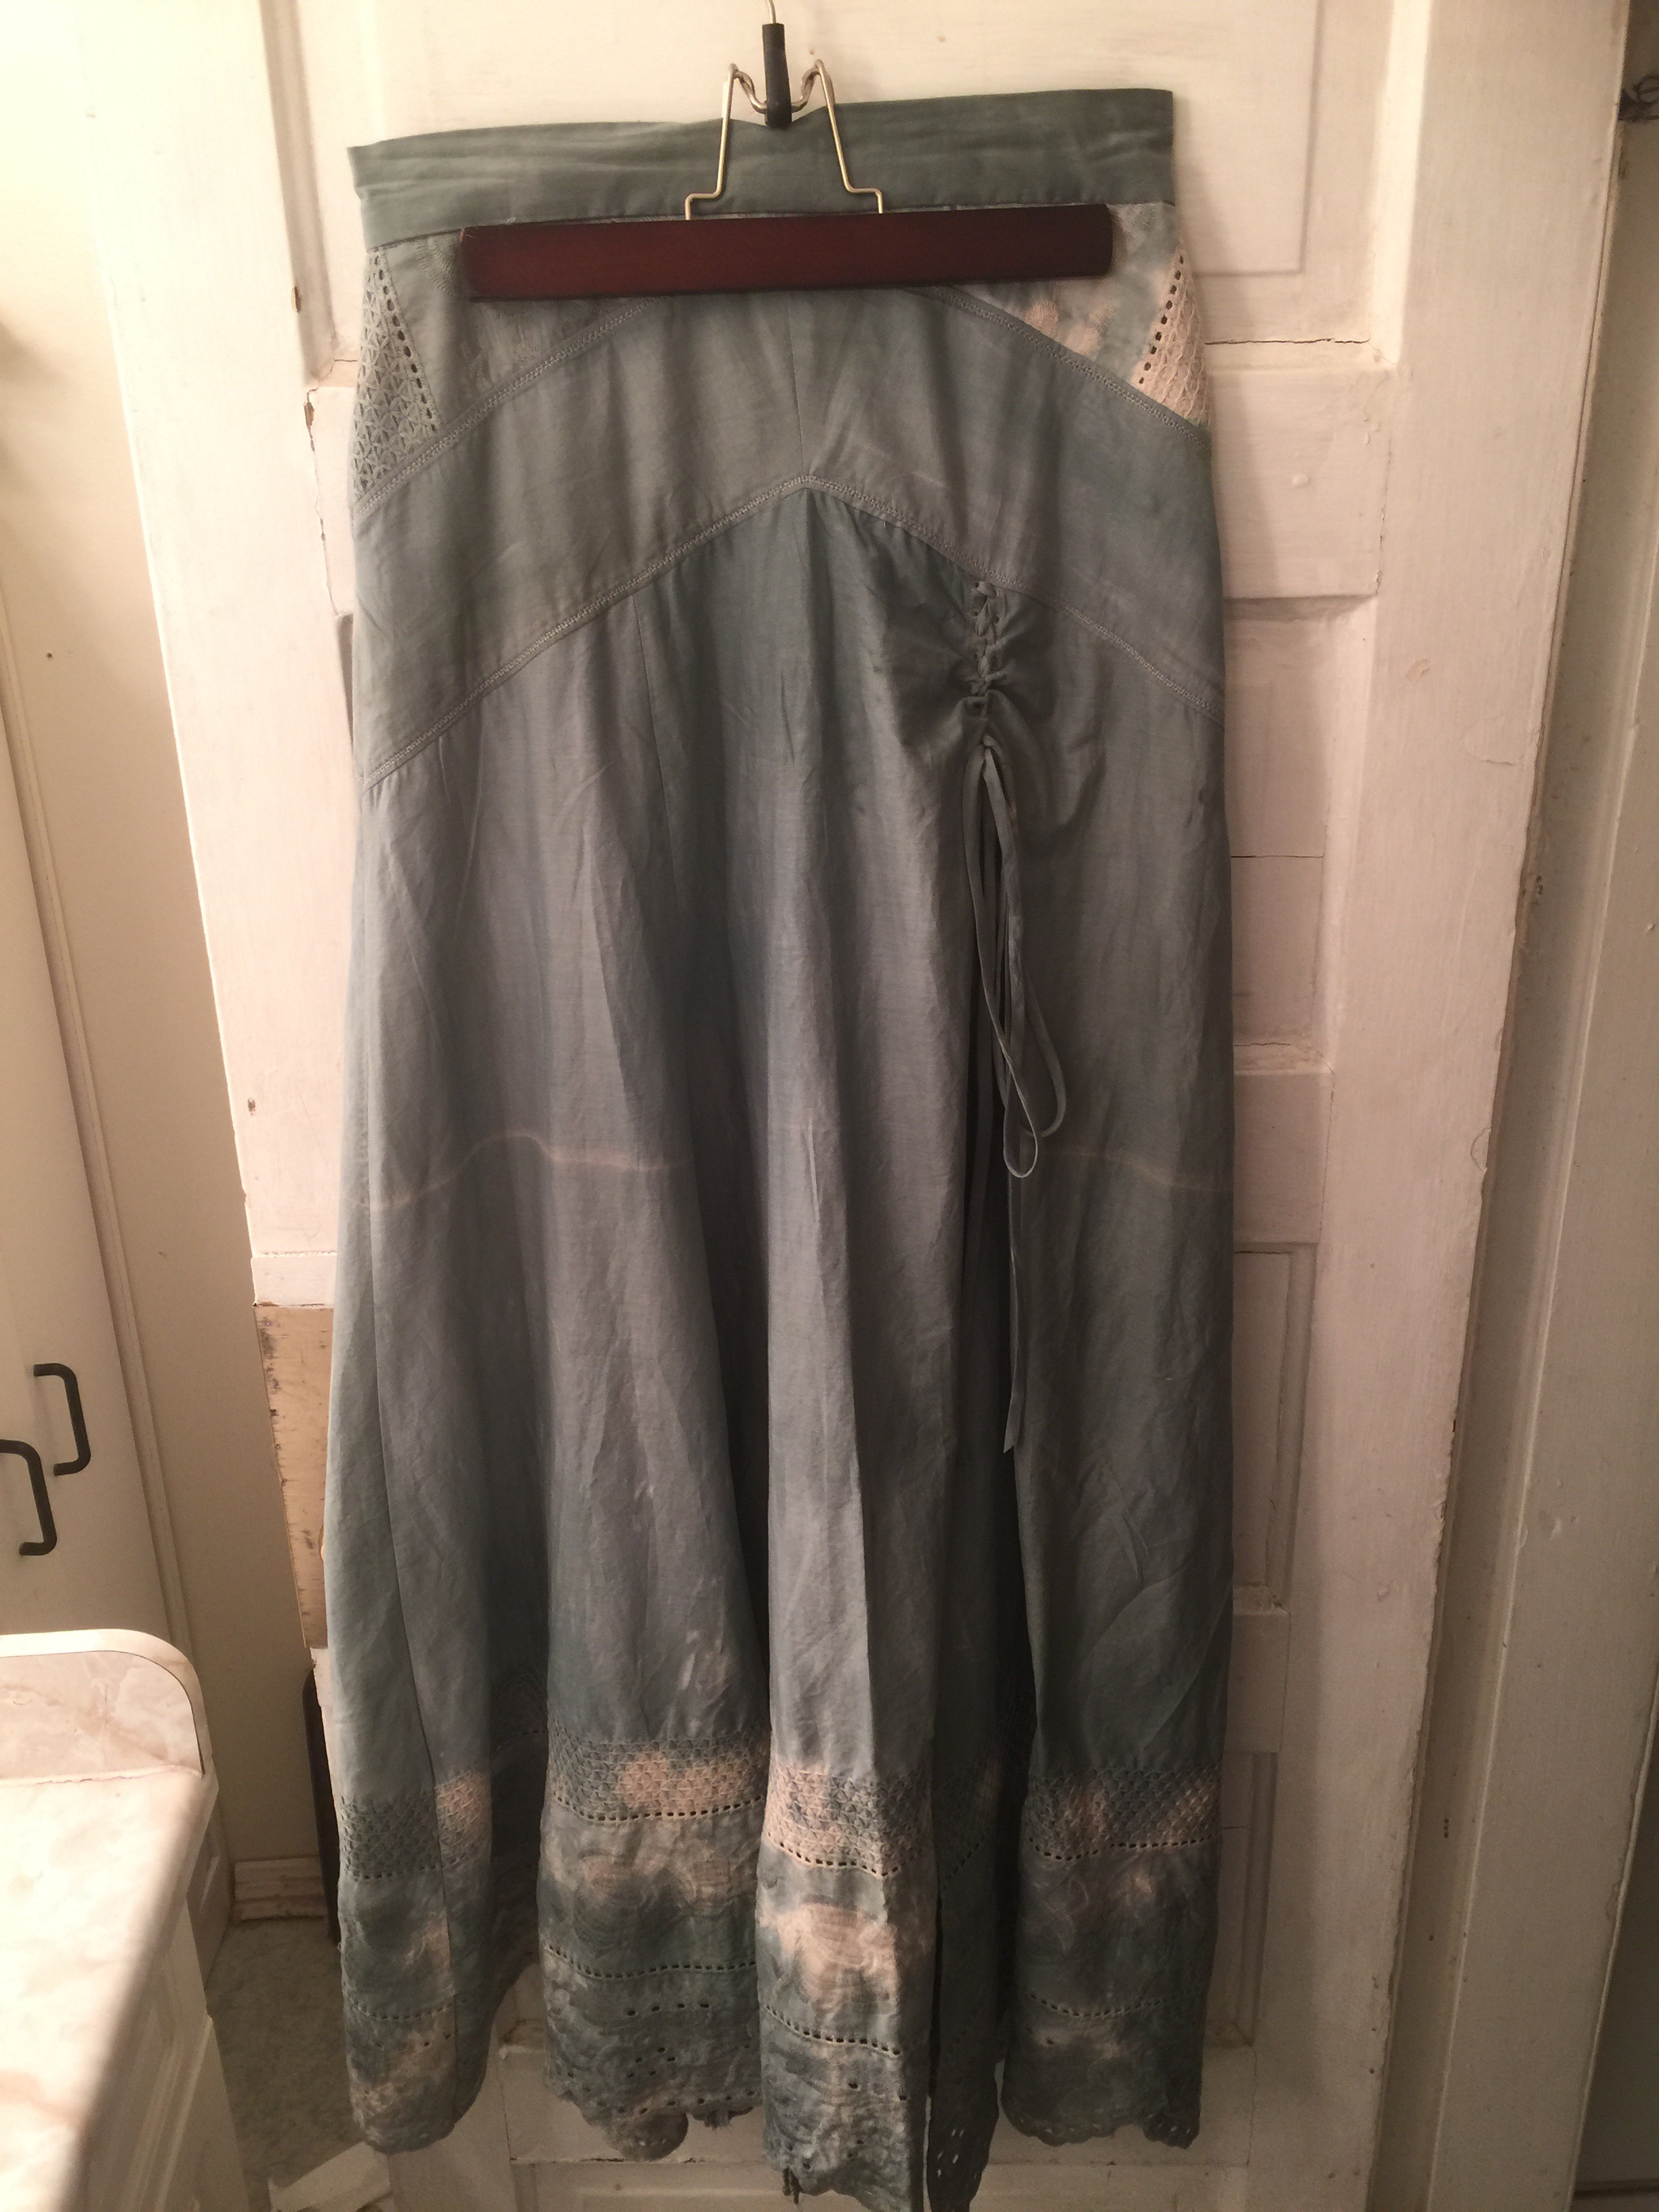
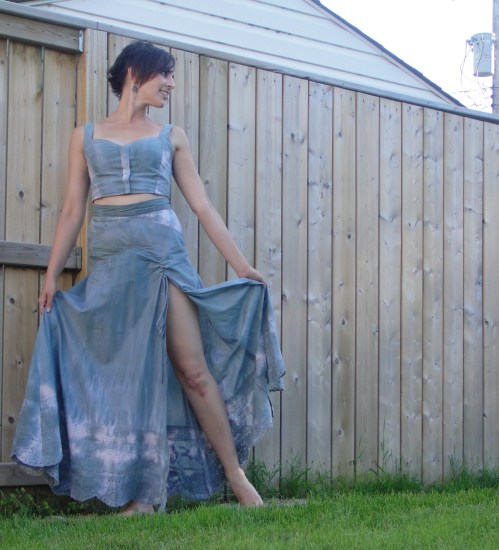
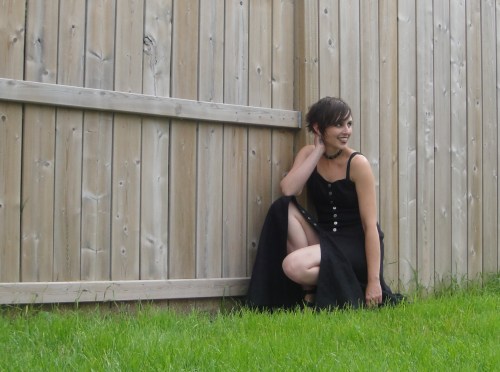
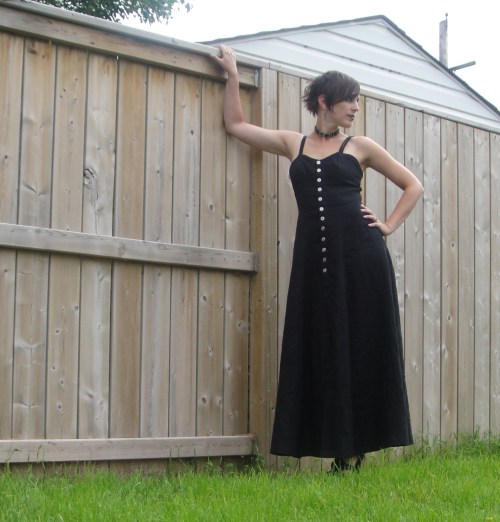 And, well, it ain’t Simplicity 7514. I did more fit-fiddling on this damn thing than I have in quite a while. At least that’s easy with all the different seams on this pattern.
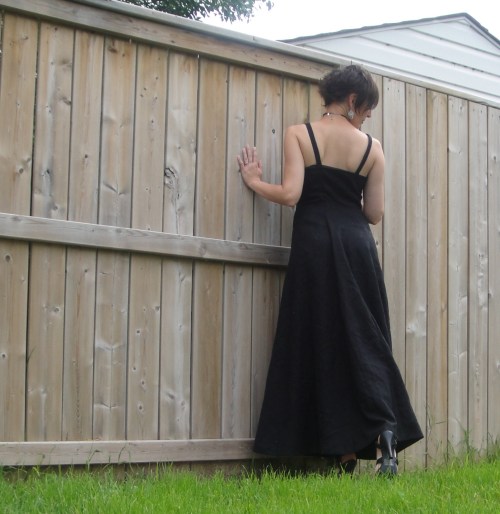 I’m not sure how entirely I can blame the pattern, however. I cut a size 12 knowing it would probably be large, but that was the largest size in my pattern envelope and I was too
 AND the pattern was meant to be lined, so doesn’t have facings or any other nice way to finish the top, and again I was too

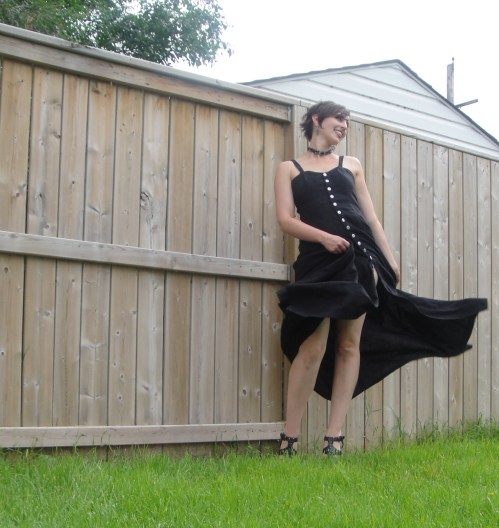
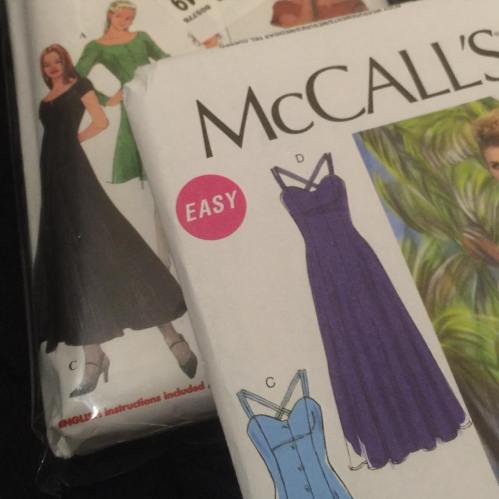 So a few years ago I got this nice, substantial, shiny black linen with the plan of making a shirt for my husband—but it’s a bit heavy for his taste in linen shirts, so it has languished. And it surfaced during some recent stash diving, and I realized that there’s way more than the two-ish metres I had thought I’d bought—more like four or five. Yowza! And I was suddenly seized by the need for a swishy long black linen sundress. I dug up some options and posted them on Instagram, and the chorus was in favour of McCall’s 7640. And it did seem like it would be a really great linen sundress.
 But I still REALLY liked the idea of a long black version of Simplicity 7514. So I dug around stash some more, and stumbled upon this piece of black bargain centre fabric ($4.00/m tag still attached) that I didn’t have earmarked for anything. (I didn’t recall right off the bat but as construction, especially ironing, went on, I remembered the reason I picked it up. 100% wool, in what I suspect they would call a tropical weight.
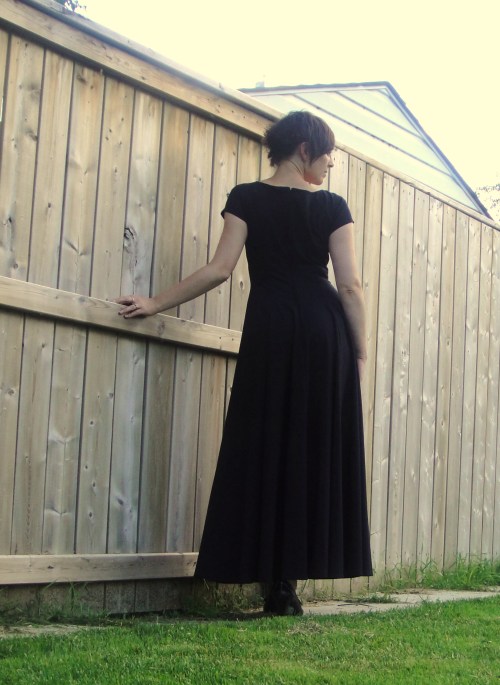 It’s been a long time since I made a Simplicity pattern, what with them not really being available up here any more. It was really nice, especially since the ‘vintage’ pattern (© 1997) has much thicker tissue paper than the current patterns seem to.
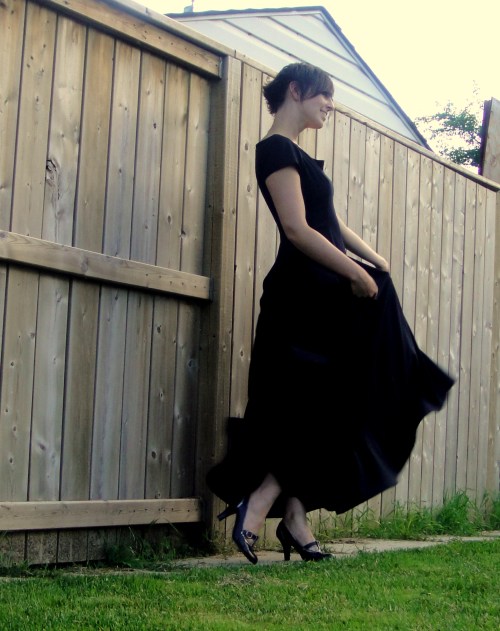 The skirt is very, very swishy, and the fabric has a great drape.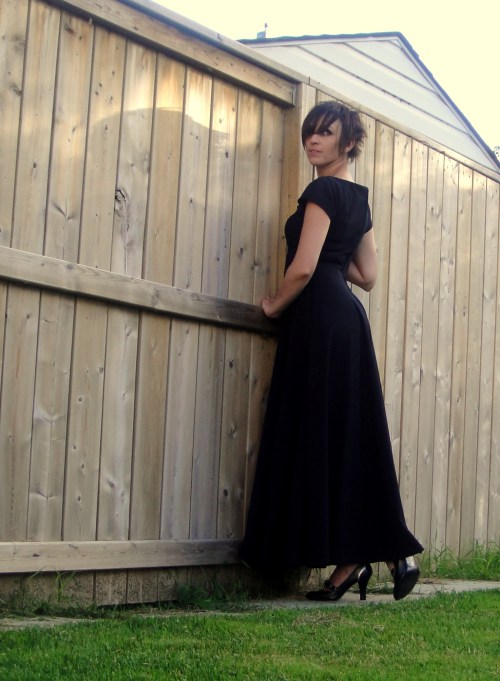
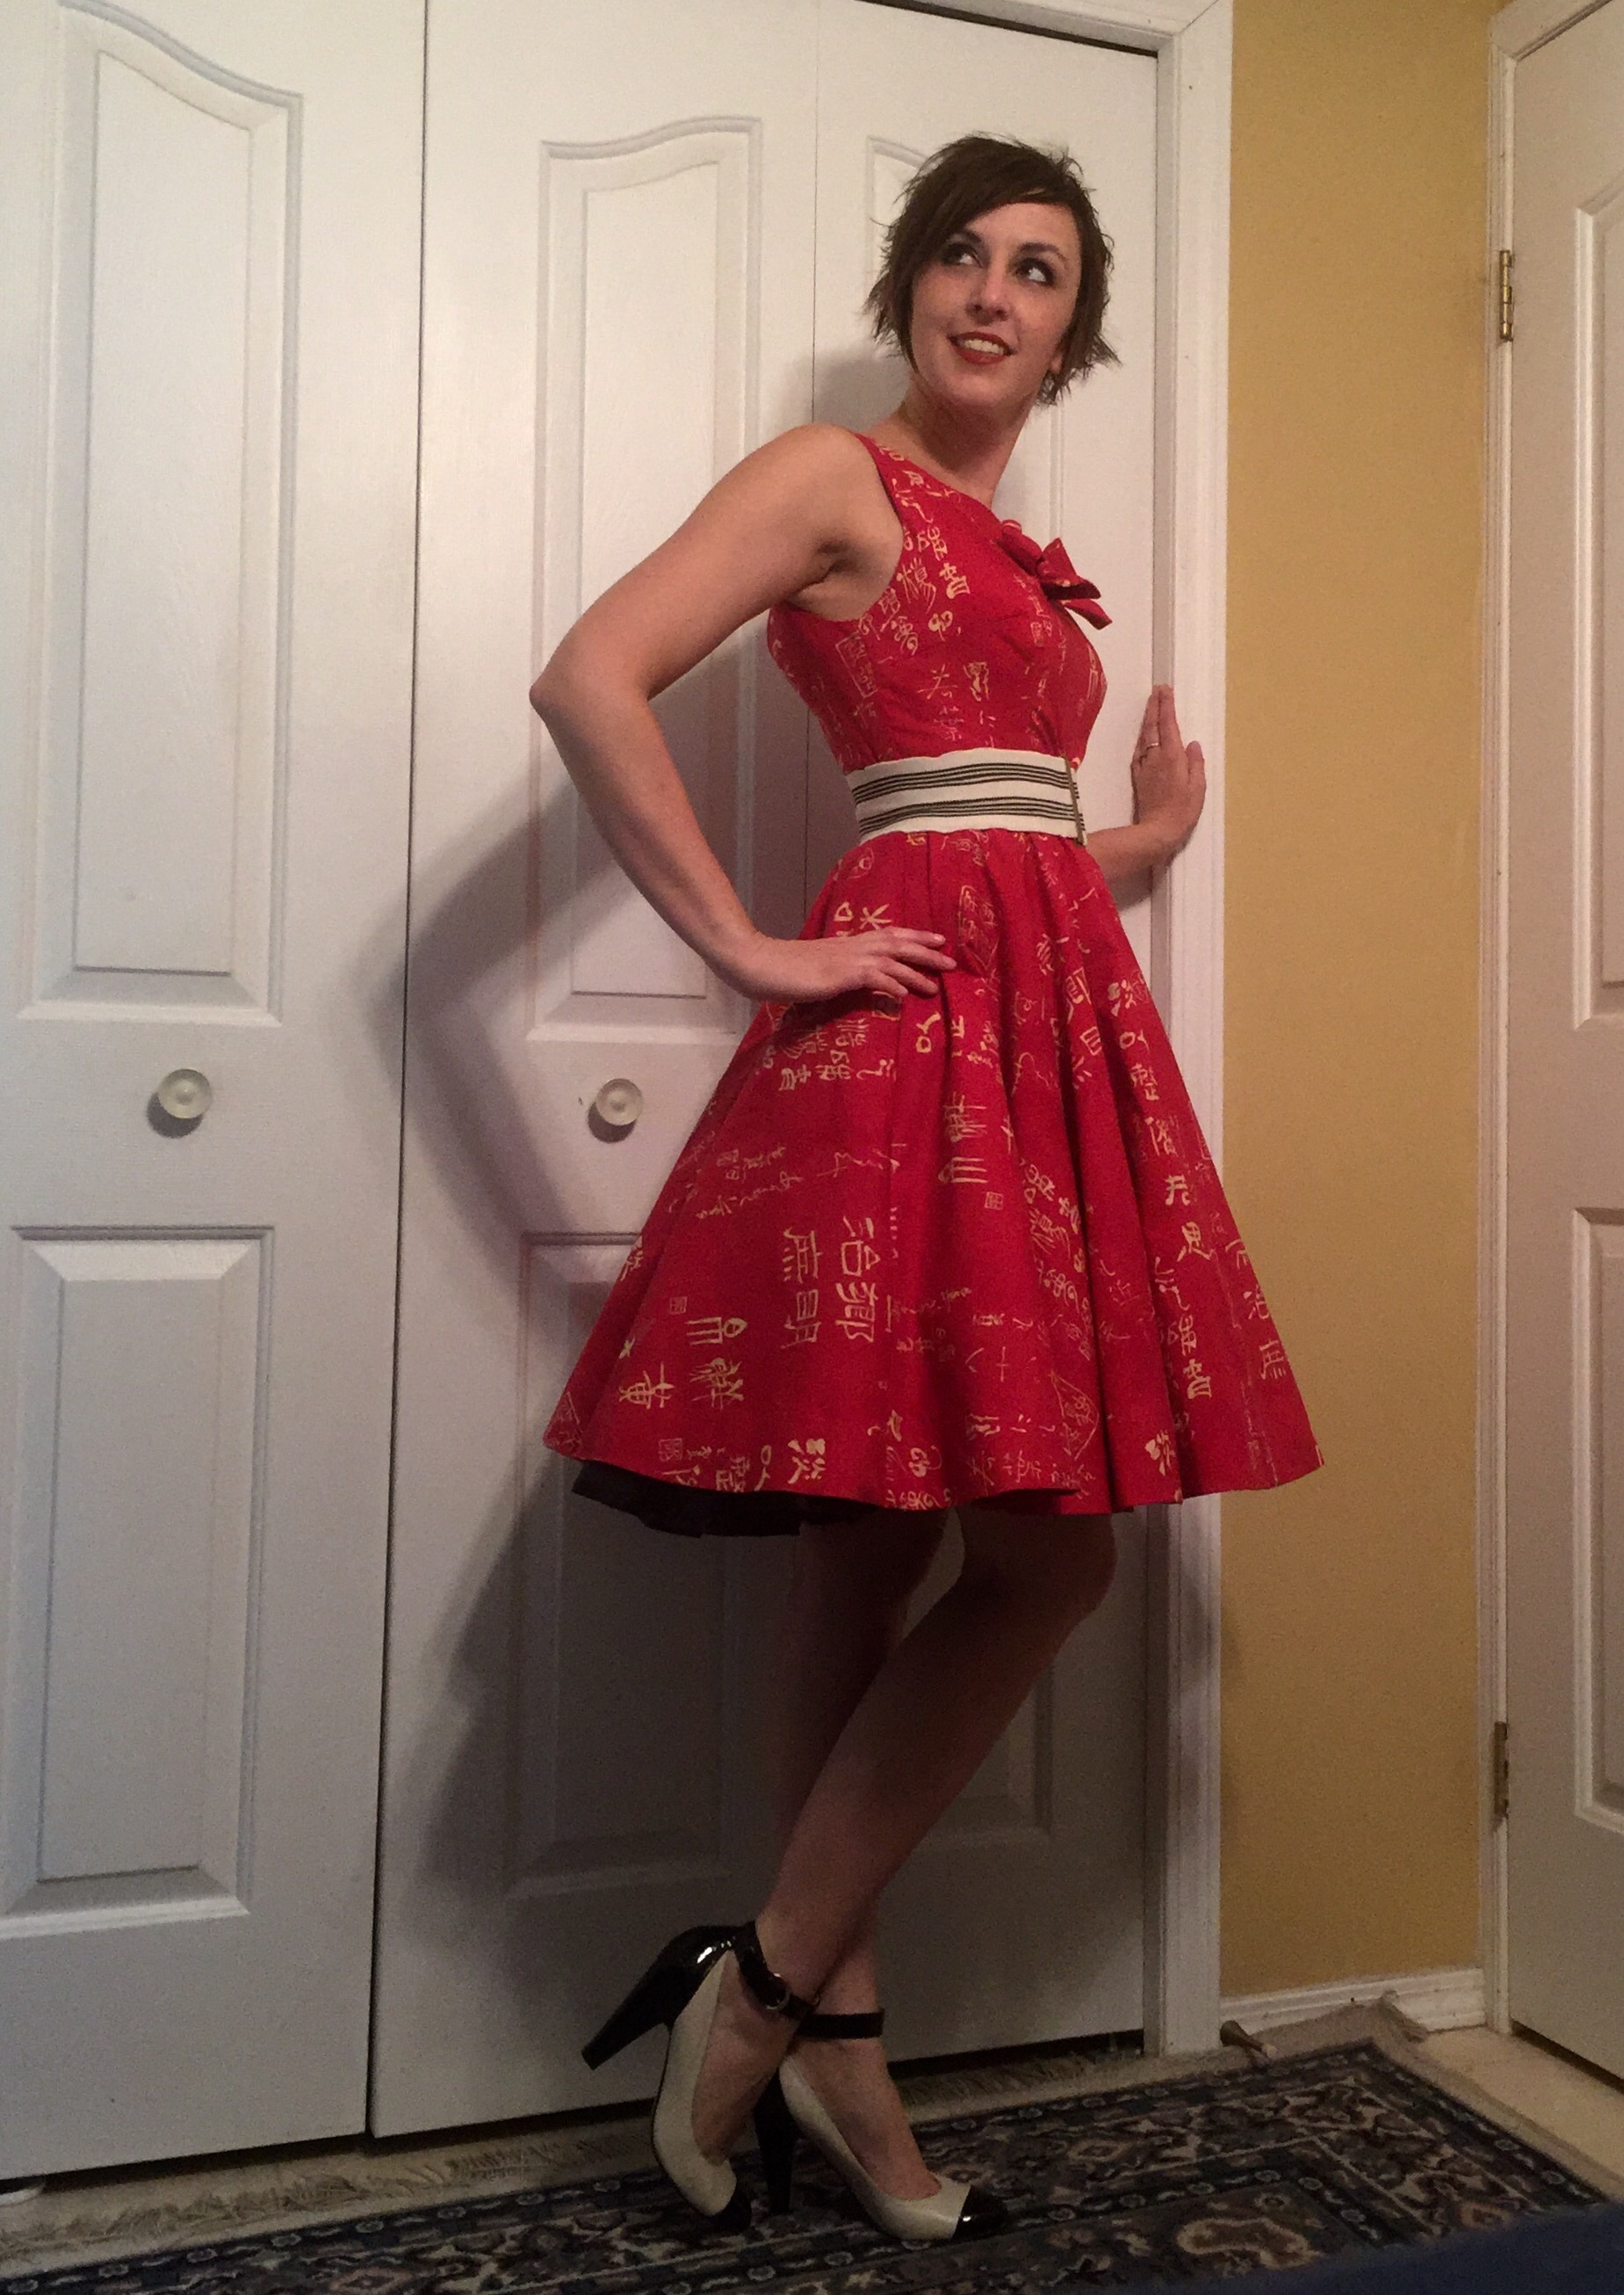
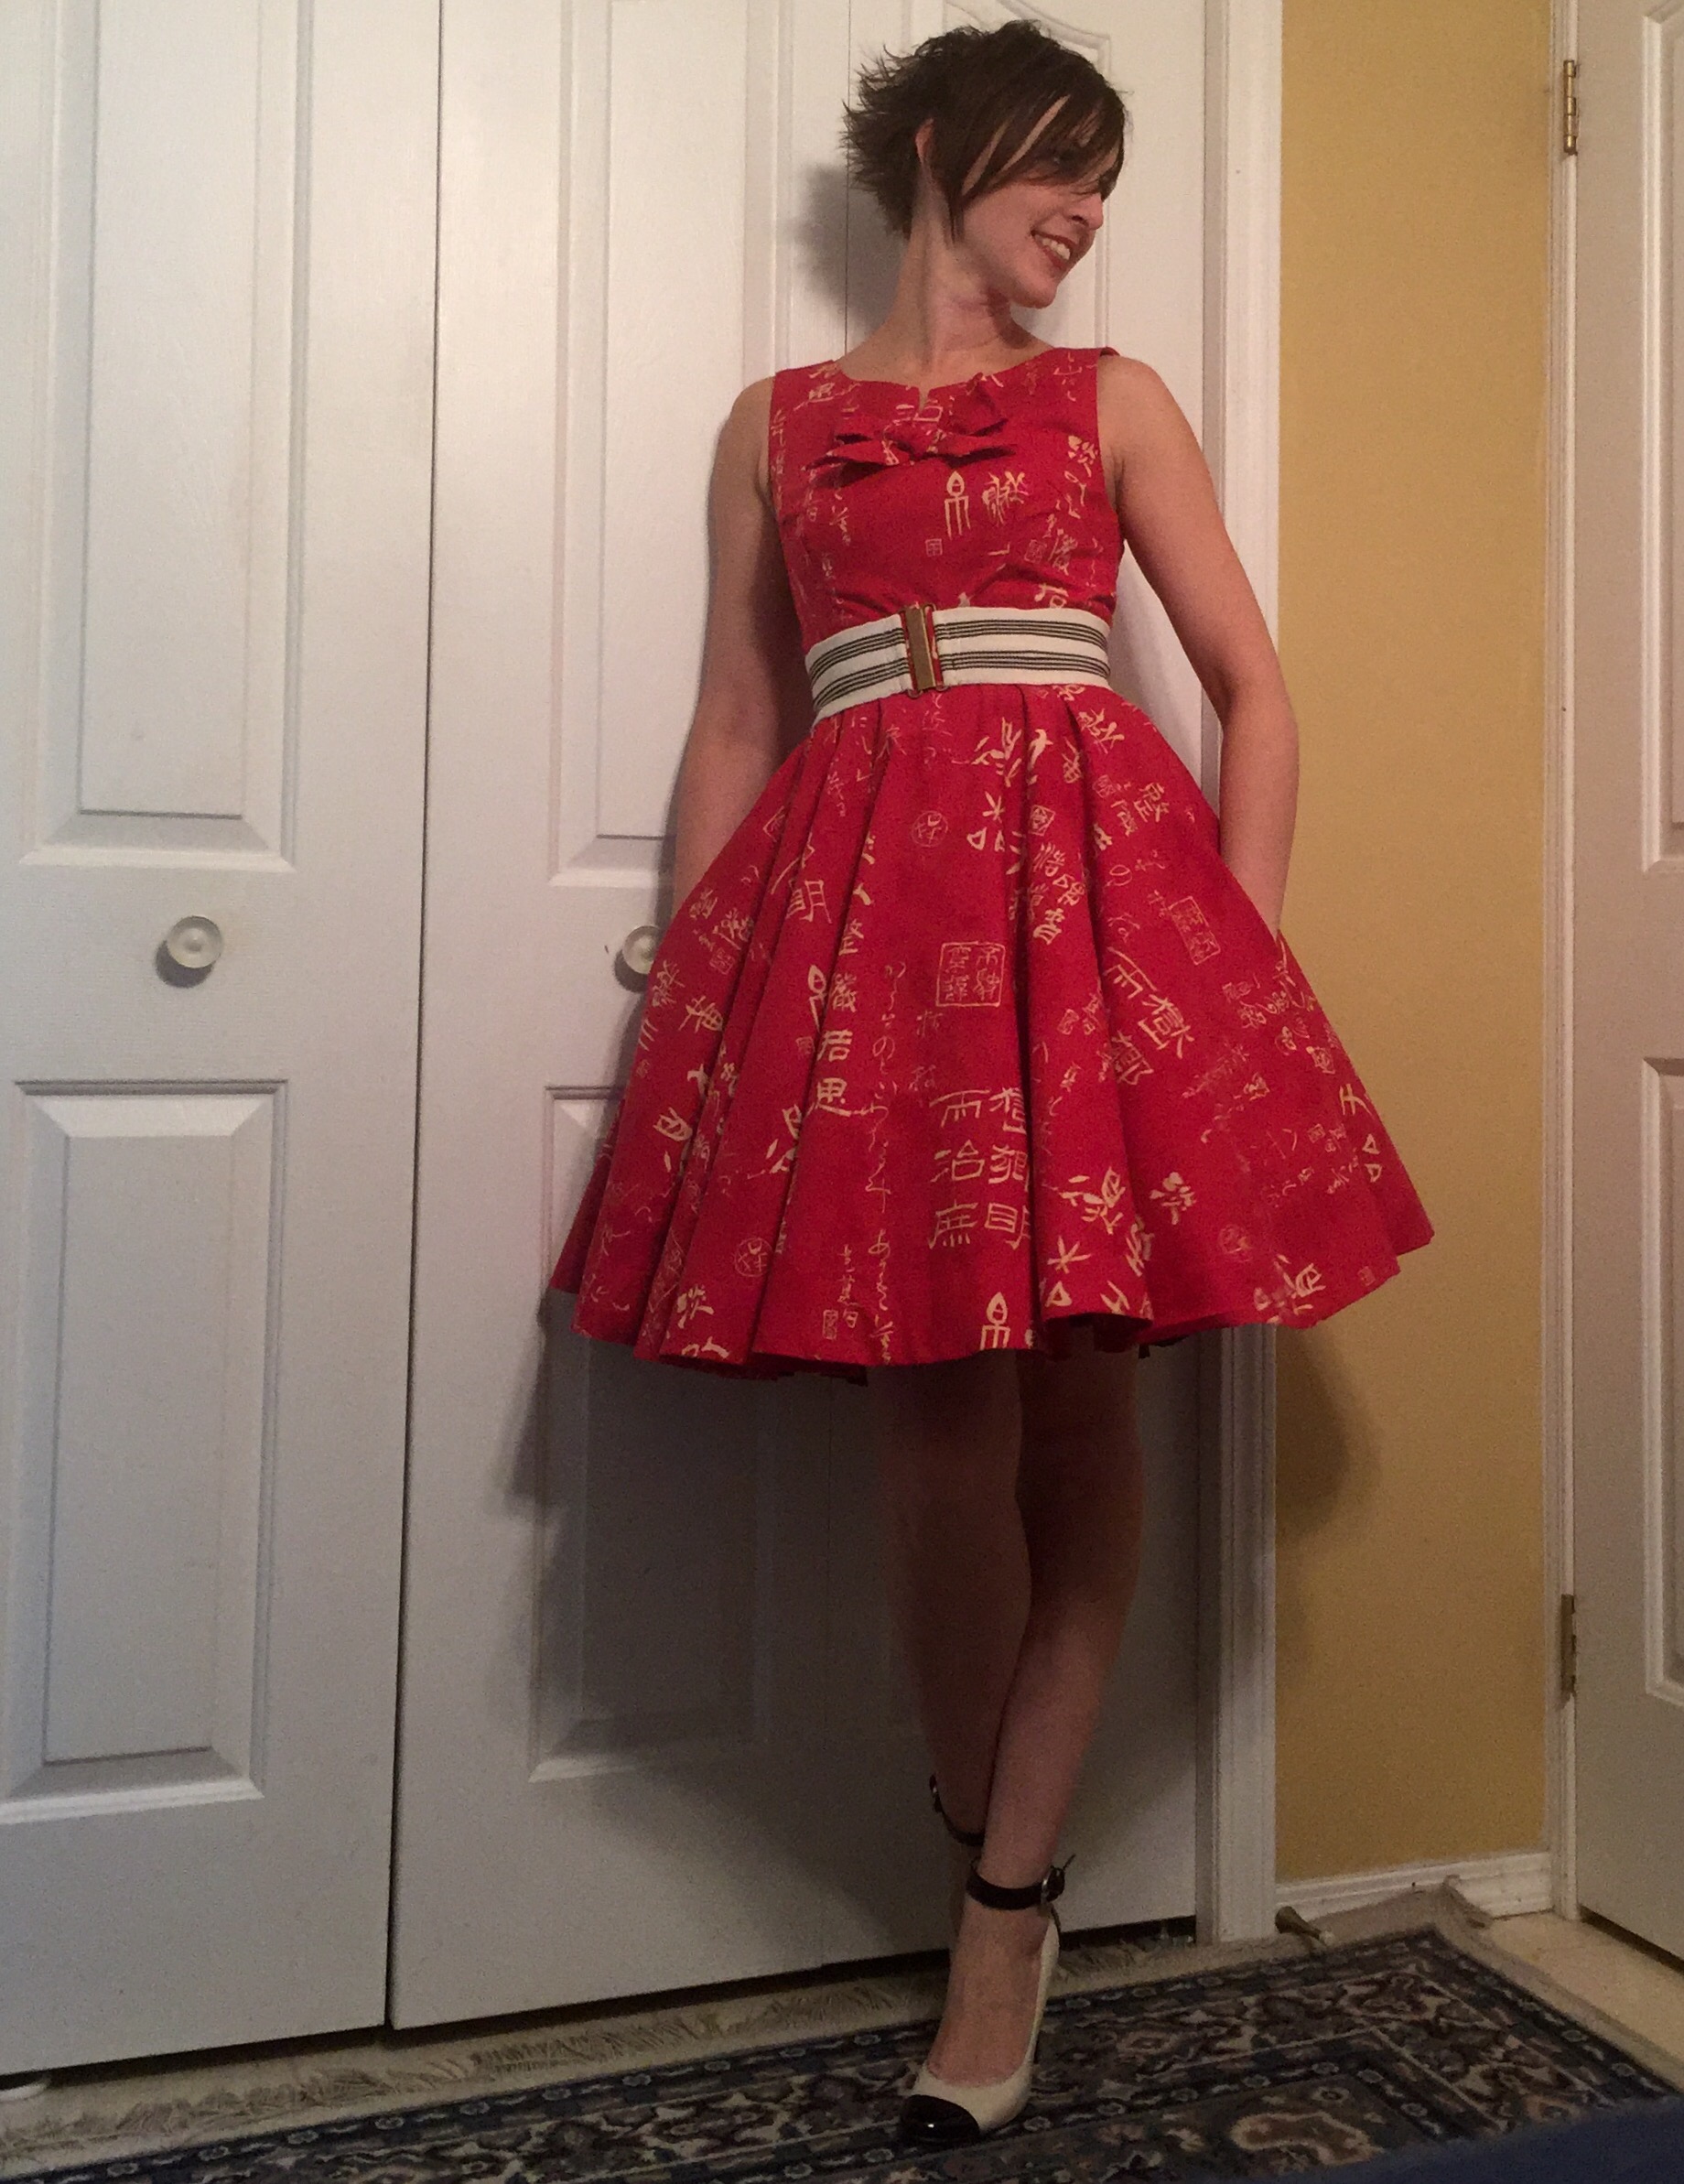
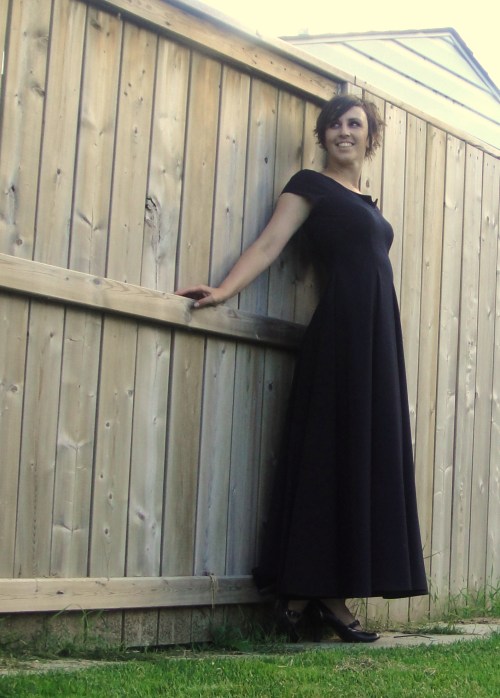 Can I tell you a secret? This dress reminds me of a mediaeval


 And I didn’t need to be. What a sweet, straightforward sew.
 I’m not sure I did the pleats correctly—I followed the markings but then stitched them down, whereas in hindsight the pattern illustration just shows them being pleated. And my rear pleats don’t meet the way they seem to in the illustration, either. Probably because of the stitching-down thing. I like the stitching down, though, as it controls the fullness right below my waist—I don’t like gathered skirts at my natural waist as they just make me look boxy, and I was a little nervous of the pleats.
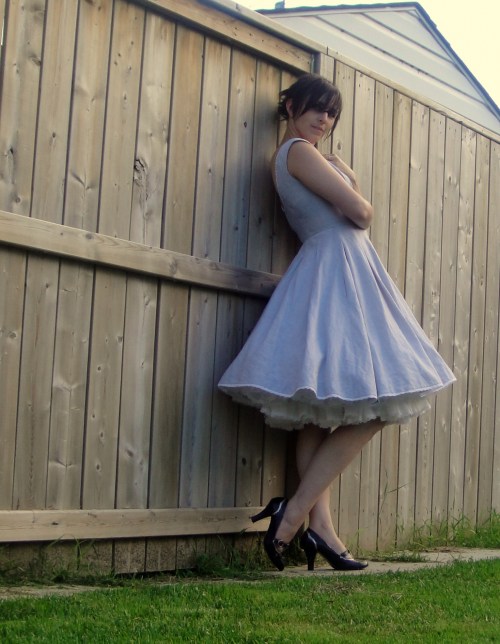 I like the lace at the neckline; I was initially on the fence about the lace at the hem, but I got it as part of the project so I thought I’d better use it, and it’s grown on me.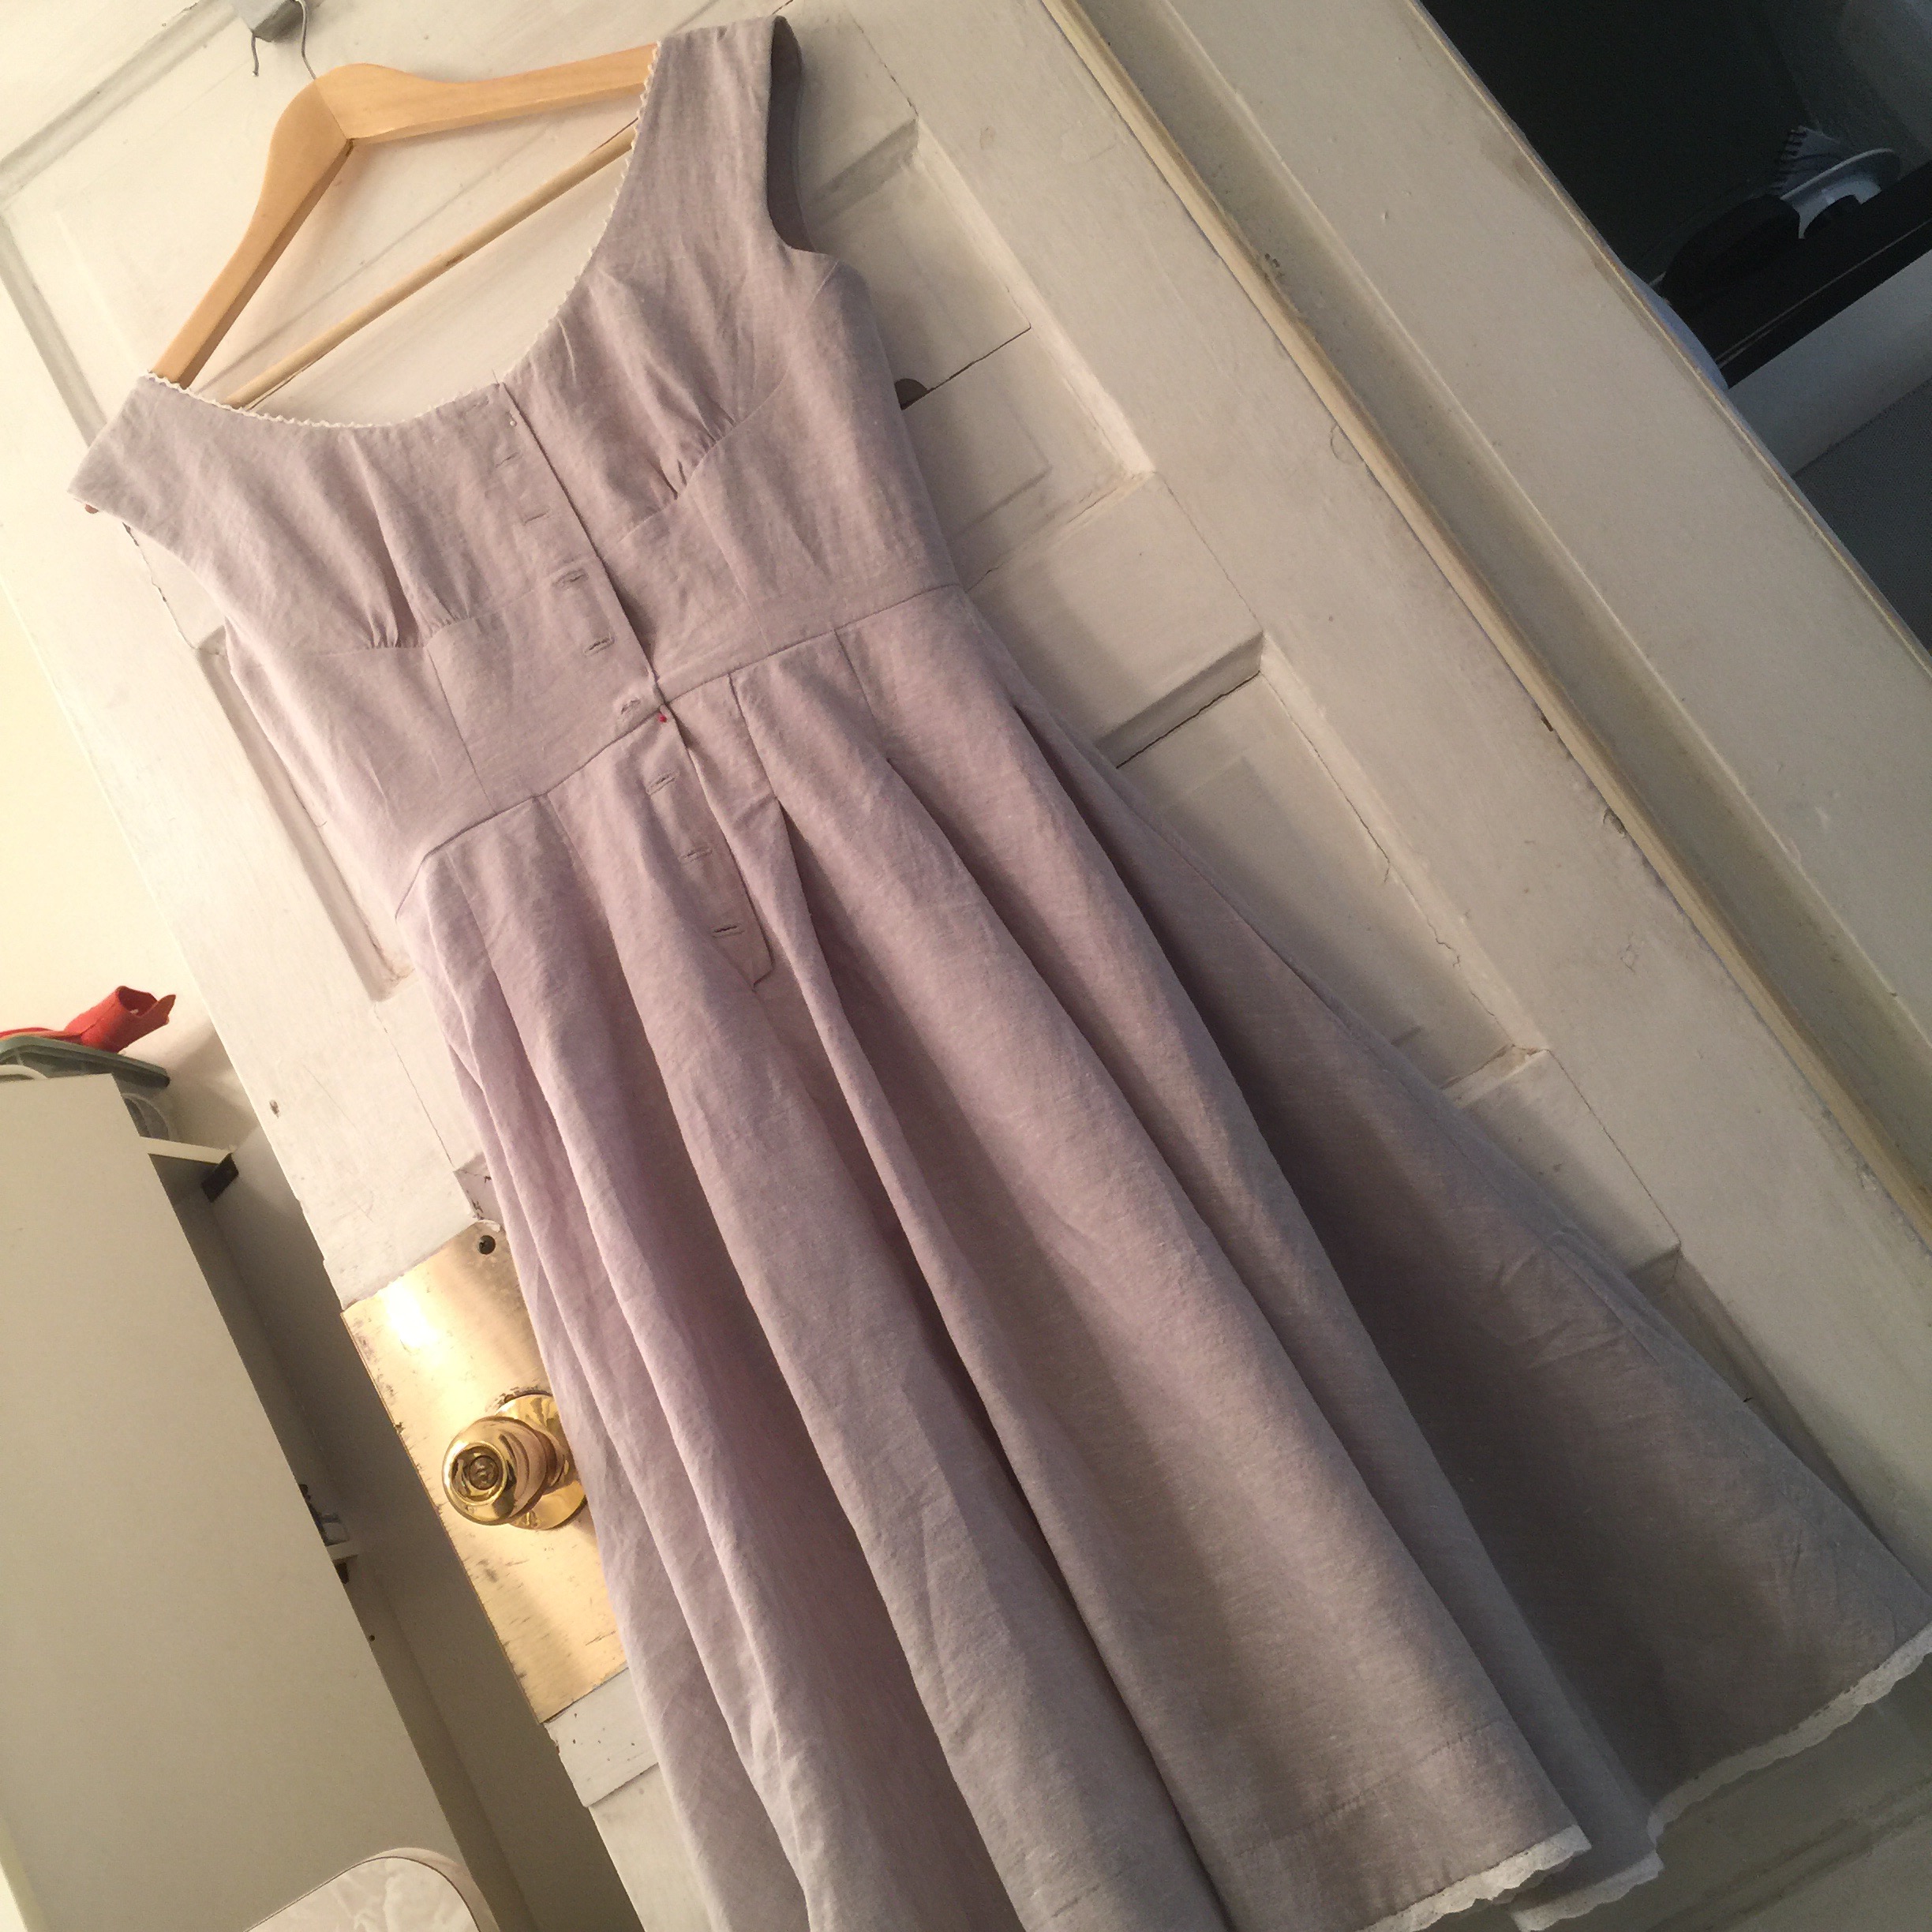
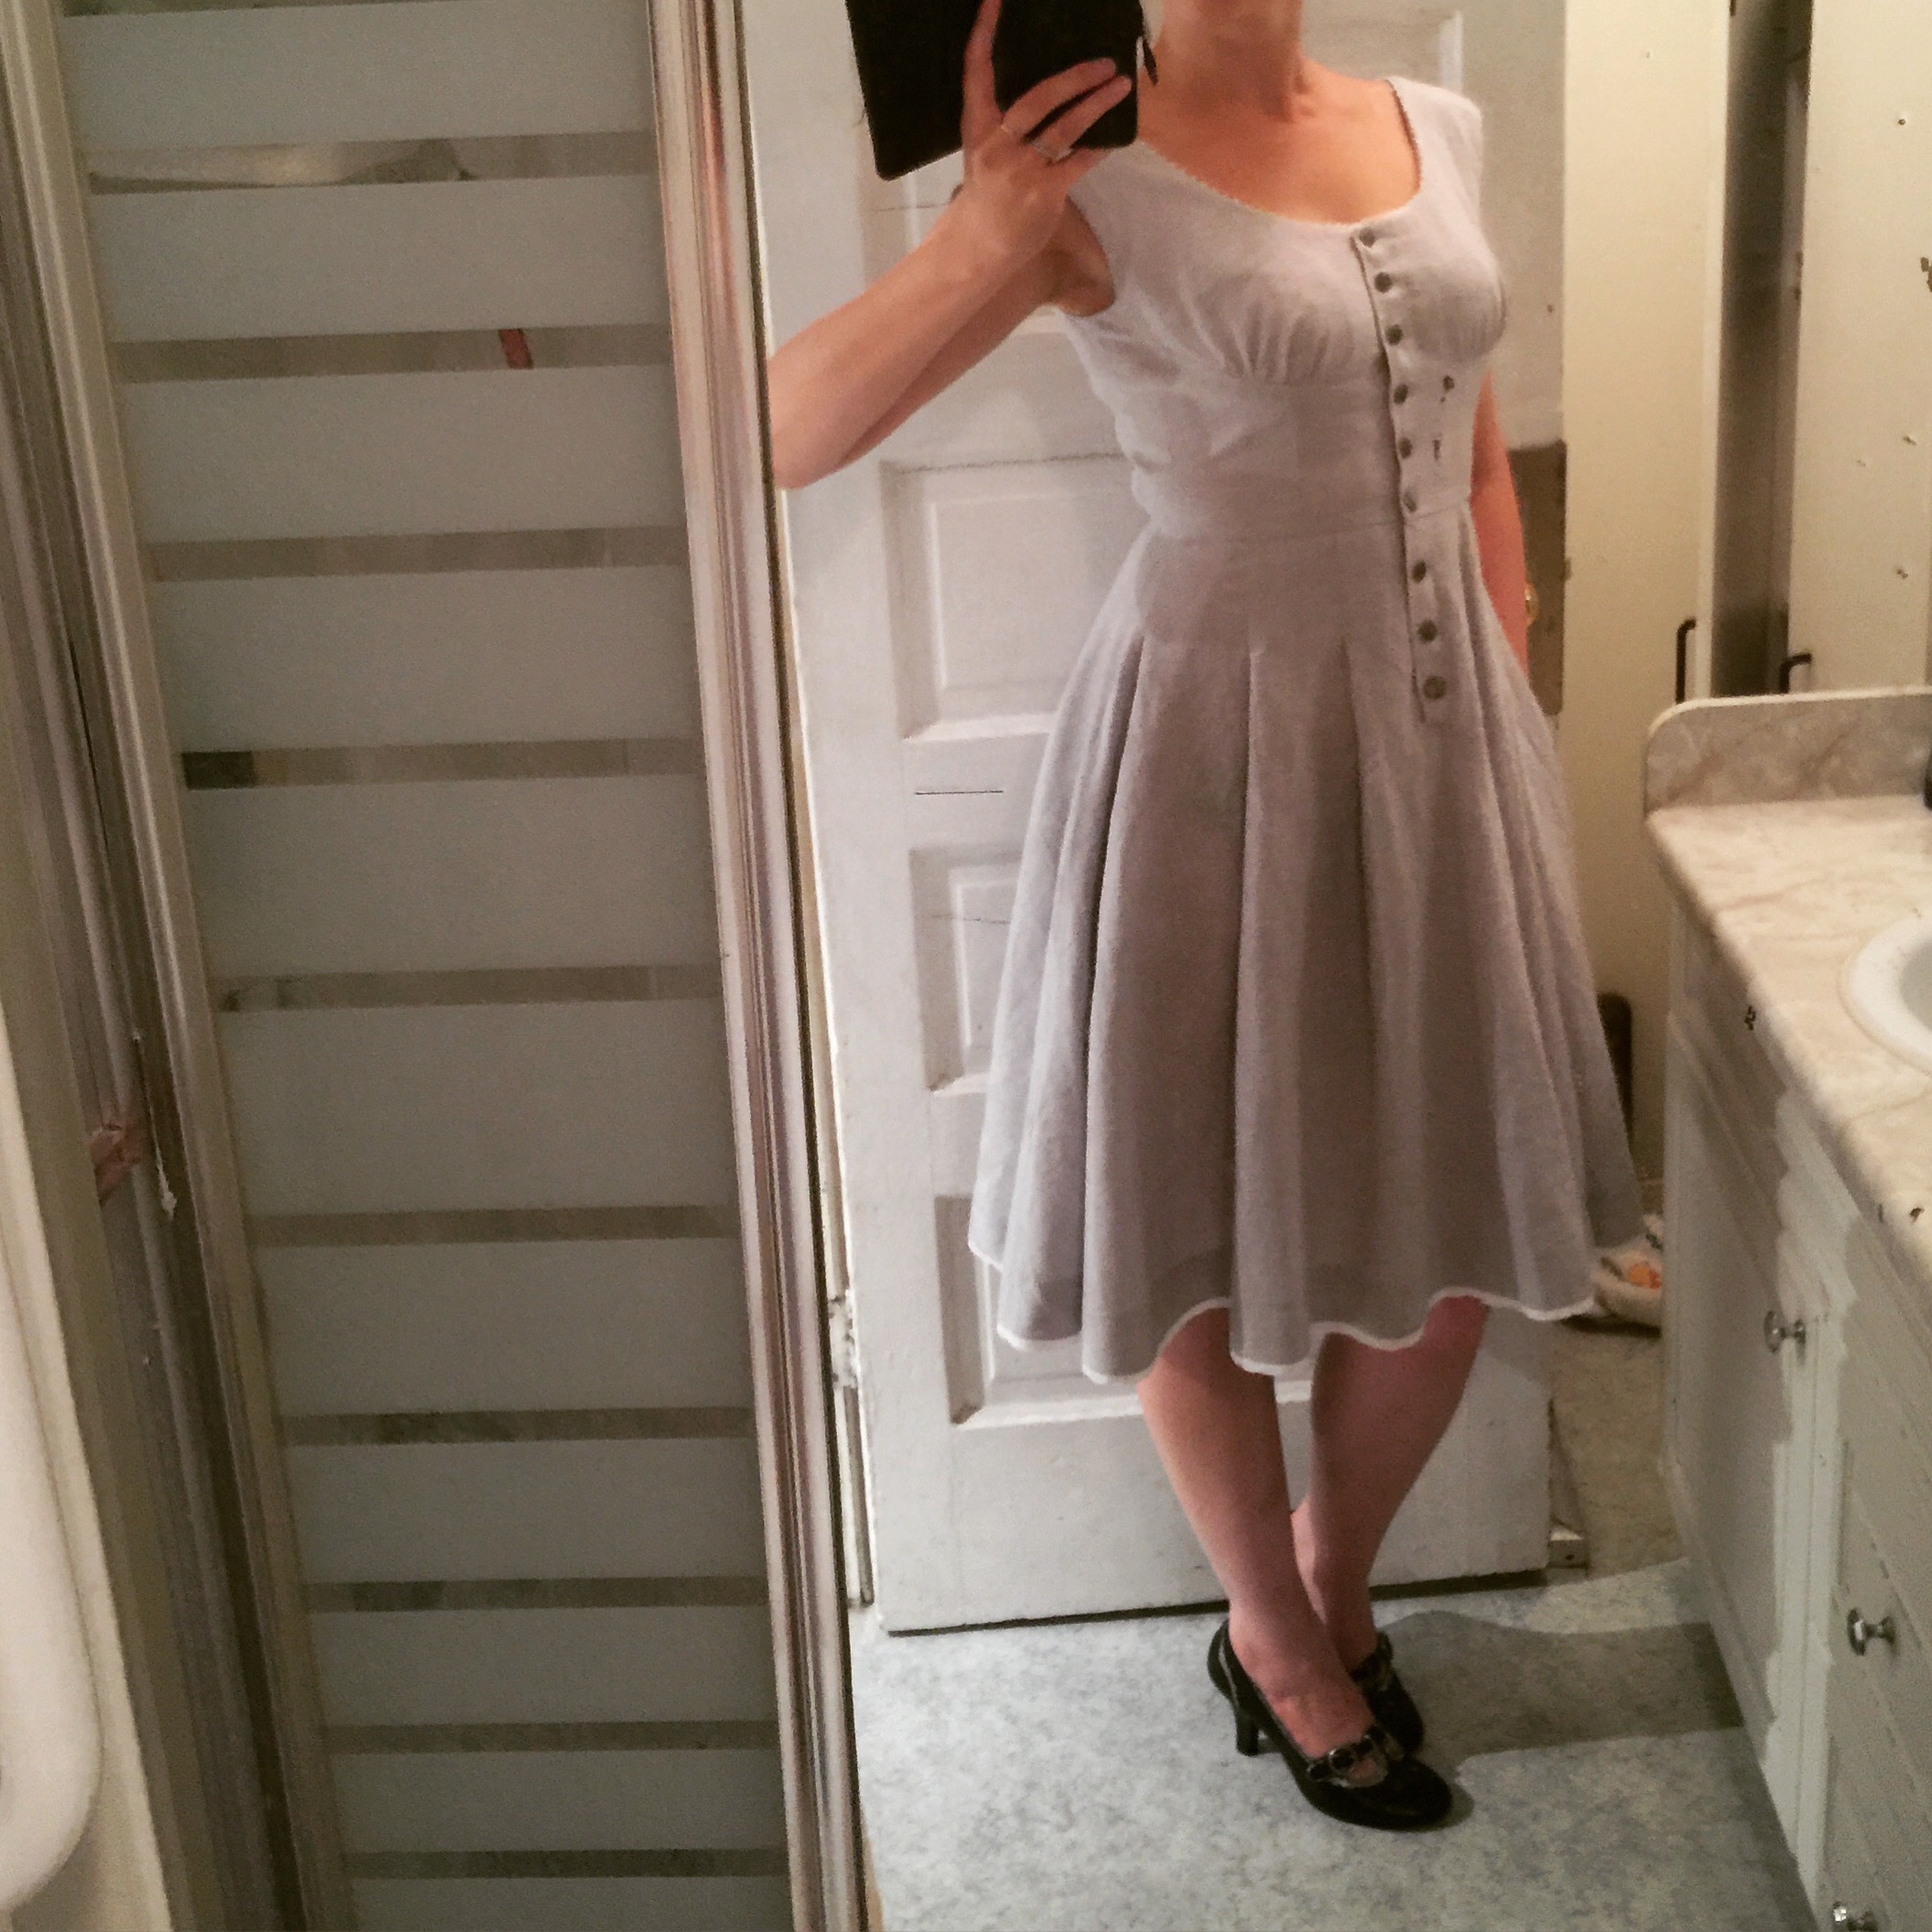
 All in all, this was a nice, quick project with a nice fabric and surprisingly little drama. I’ll take it!


