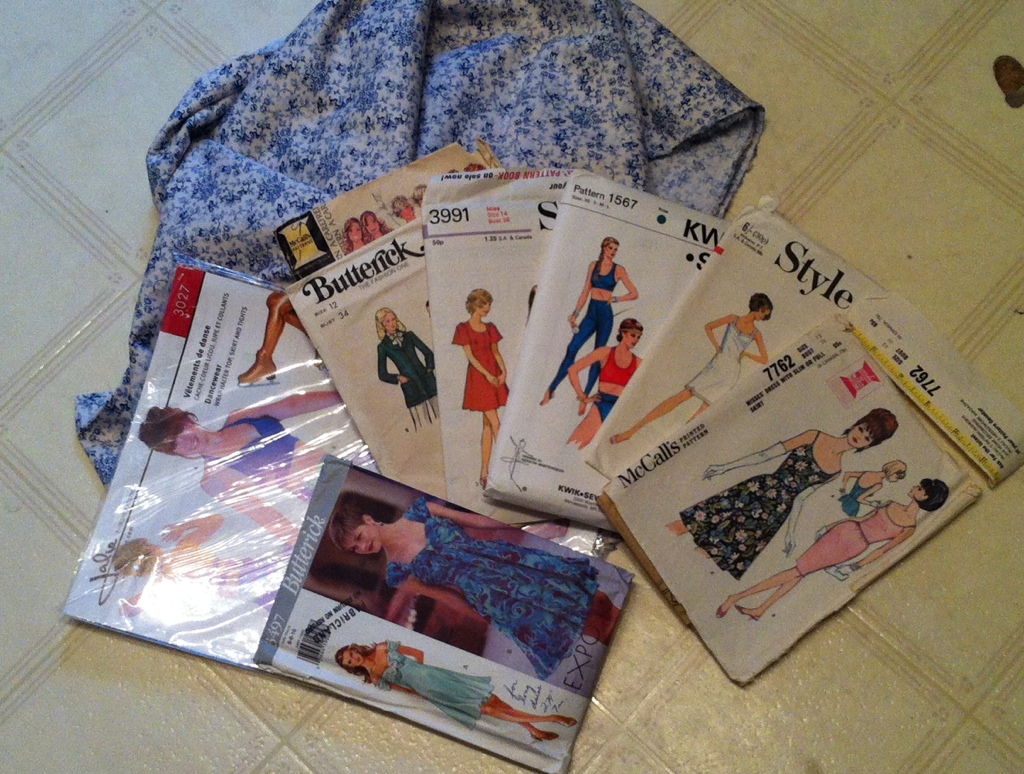
The Picnic Dress
My Summer Picnic dress (aka Butterick 5882), is finished. It was a bit of a rushed make, as I had a deadline, and, well, I kind of had a bad case of the perfectionism that didn’t really work out. I mean, it never does, but usually I manage to keep it in the bag when it comes to sewing, or to let it out in only small, manageable ways.
Which is not to say that this dress is not a success. I think it is, or will be, once I’ve had a few weeks to put some distance between myself and all the seam ripping. So, this dress was kinda a bad idea in a lot of ways—limited time frame, unfamiliar pattern (I haven’t made a lot of Buttericks) and having a really crisp, clear vision in my head of what I wanted it to turn into. Which is always a perilous thing. On the upside, the fabric is a lovely, well-behaved cotton woven plaid, and the lining is a cotton-poly broadcloth. Easiest things to work with in the world.

So close
I covered the first few stages of the dressmaking already, which went relatively smoothly. The first hitch came, predictably, when I tried to attach cups to bodice.
I’m not sure what was off—my cutting, my seam allowances, my marking of the CF line? But no amount of fiddling could get my cups to line up with the bodice pieces’ notches and still fit properly at the upper/outside edge; if I forced the edge to fit, they were overlapped WAY far. I went ahead and stitched anyway, hoping against hope that somehow it would all work out, but end up with a weirdly-folded, mashed mess that didn’t fit my bust AT ALL. I couldn’t bear to take a photo of the mess my pretty little cups became.
Rippit, rippit.
After I recovered from that (which took a day or two,) I decided that damn the seamlines, I had to make this thing fit me, after all. Thence followed a lot of fiddling and futzing in front of the bathroom mirror. Tape was invoked. Pins were applied liberally. Apparently my bust is much wider than the pattern was drafted for? Or… something.

Fitting, fitting, fitting. With tape.
You can see how much wider the cups on my bust are than the curve of the bodice. Oh, yeah, I also took 1/4″ out at each sideseam at this stage, for a total of 1″ around the whole bodice. And there was still some to take in at the back, although I’m not sure how much because I used it to make the lapped zipper extra-lappy. Maybe I should’ve made the 10? I’ve had 10s end up too small, though, so that scares me. /sigh.

Keeping track of boning
Incidentally, the tape is very handy for keeping track of the bones. I stuck them to the wall in the order that they needed to go into the dress. Although this brown paper tape was a bit too sticky, and did some damage to the casings when I peeled it off. Oopsie.

My shape for the bust.
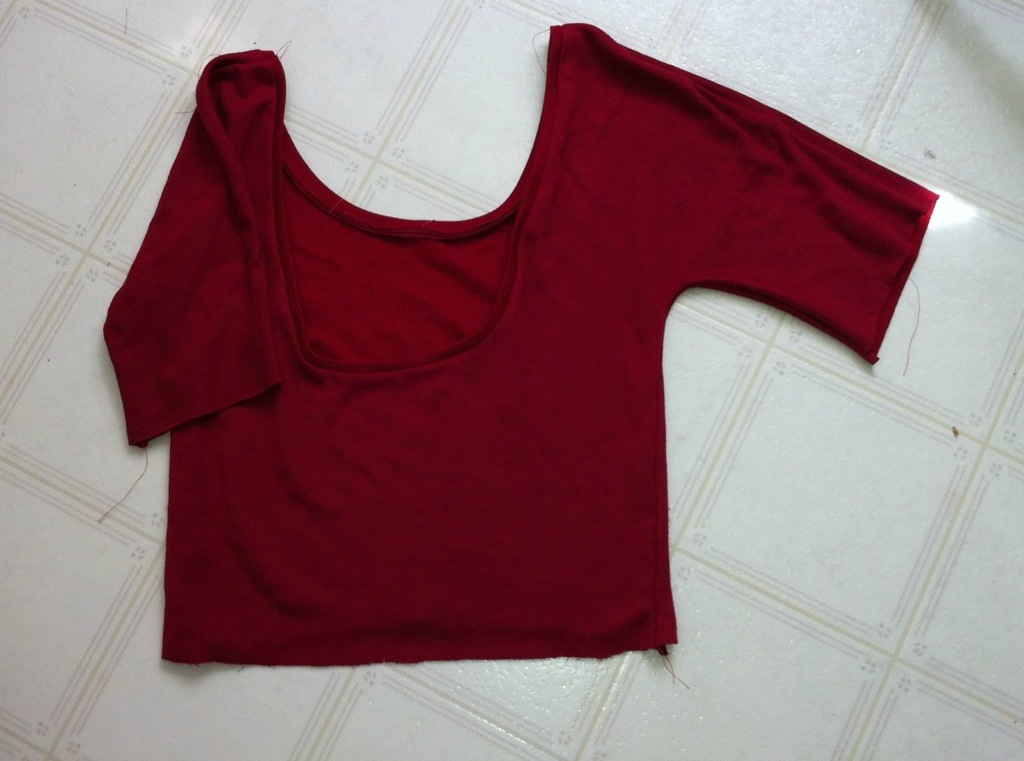
I widened the opening for the bust cups quite a bit.

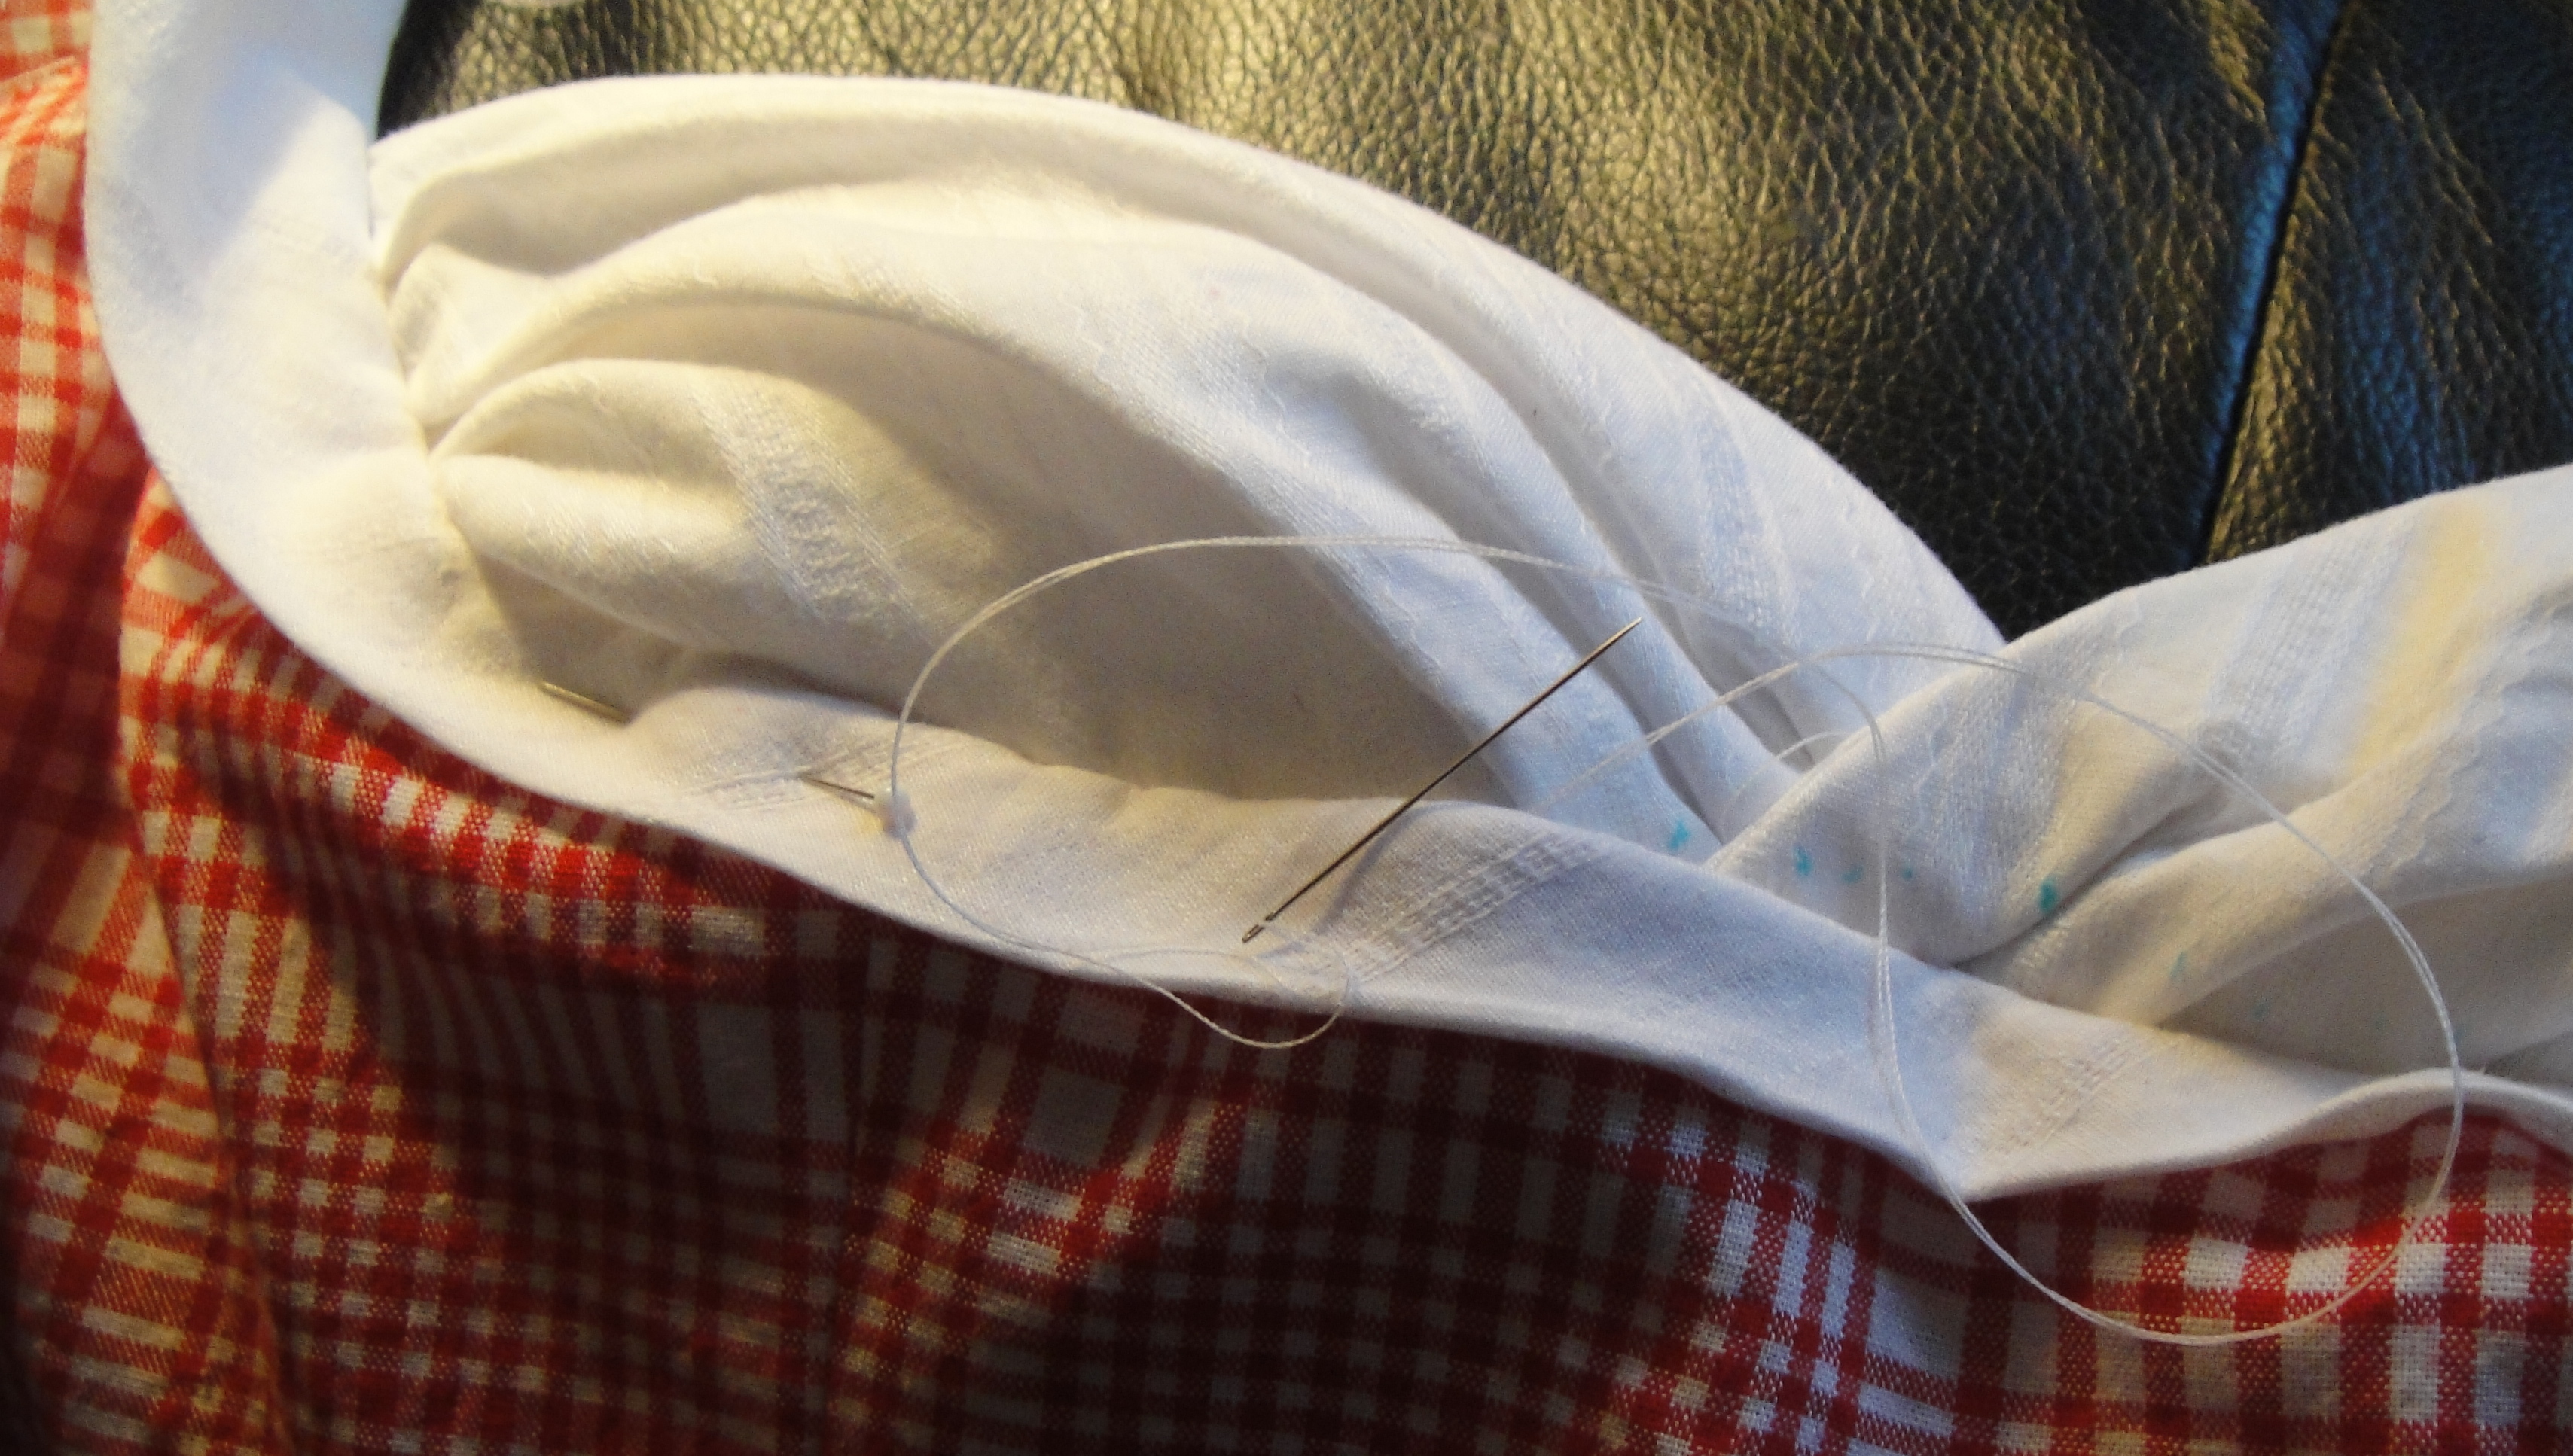
Hand stitching the cups in place.
And then, I fell back on that good old standby when things don’t fit… lots and lots of hand stitching. The cups are stitched in entirely by hand.

The extra part of the cup.
This is the part of the cup that got “cut off” when I moved everything around to fit me. I decided to leave it, sandwiched between the two layers, as it’s padded and seemed to be smoothing and supportive. Also, the pattern doesn’t call for the bones to run all the way up the bust, but I wanted them that way, so I attached these two bones to the shell, while the rest are attached to the lining.

And voila!
And somehow, it actually fit!

Faced skirt hem and lining hem.
I wish I could say that it was smooth sailing thereafter, but there were still a few issues. I wanted a lapped zipper in the back. I’m not good at them, but sometimes you just have to go “What would Gertie do?” And I do like the look better than a centred application. Anyway, because I was also taking it in, I think, this didn’t play well with the back skirt seam (which I had already sewn at this point, yes, and serged. More ripping. Argh. I was able to squeeze enough bias tape for a not-terribly-wide hem facing. I interfaced my bias tape (prior to bias-tape-cutting) in the hopes of getting a slightly stiffer hem, but I think with the weight of this fabric it mostly just weighted the hem down more. Which is not awful—I do like a swishy hem—but not quite what I was hoping for. I should, perhaps, have sucked it up and done horsehair braid. One triumph was the edging on the skirt lining—I was able to coax a successful rolled hem from my geriatric serger! Those of you with fancy newfangled sergers that do rolled hems at the touch of a button have no idea, I’m sure. Mine requires a screwdriver, a different needleplate, and disengaging the blade to work properly. In celebration, I zig-zagged this teeny little lace trim along the edge, which has been kicking around forever. I think it’s cute, although the fact that it has a lot of snags already is tweaking that perfectionism I mentioned.

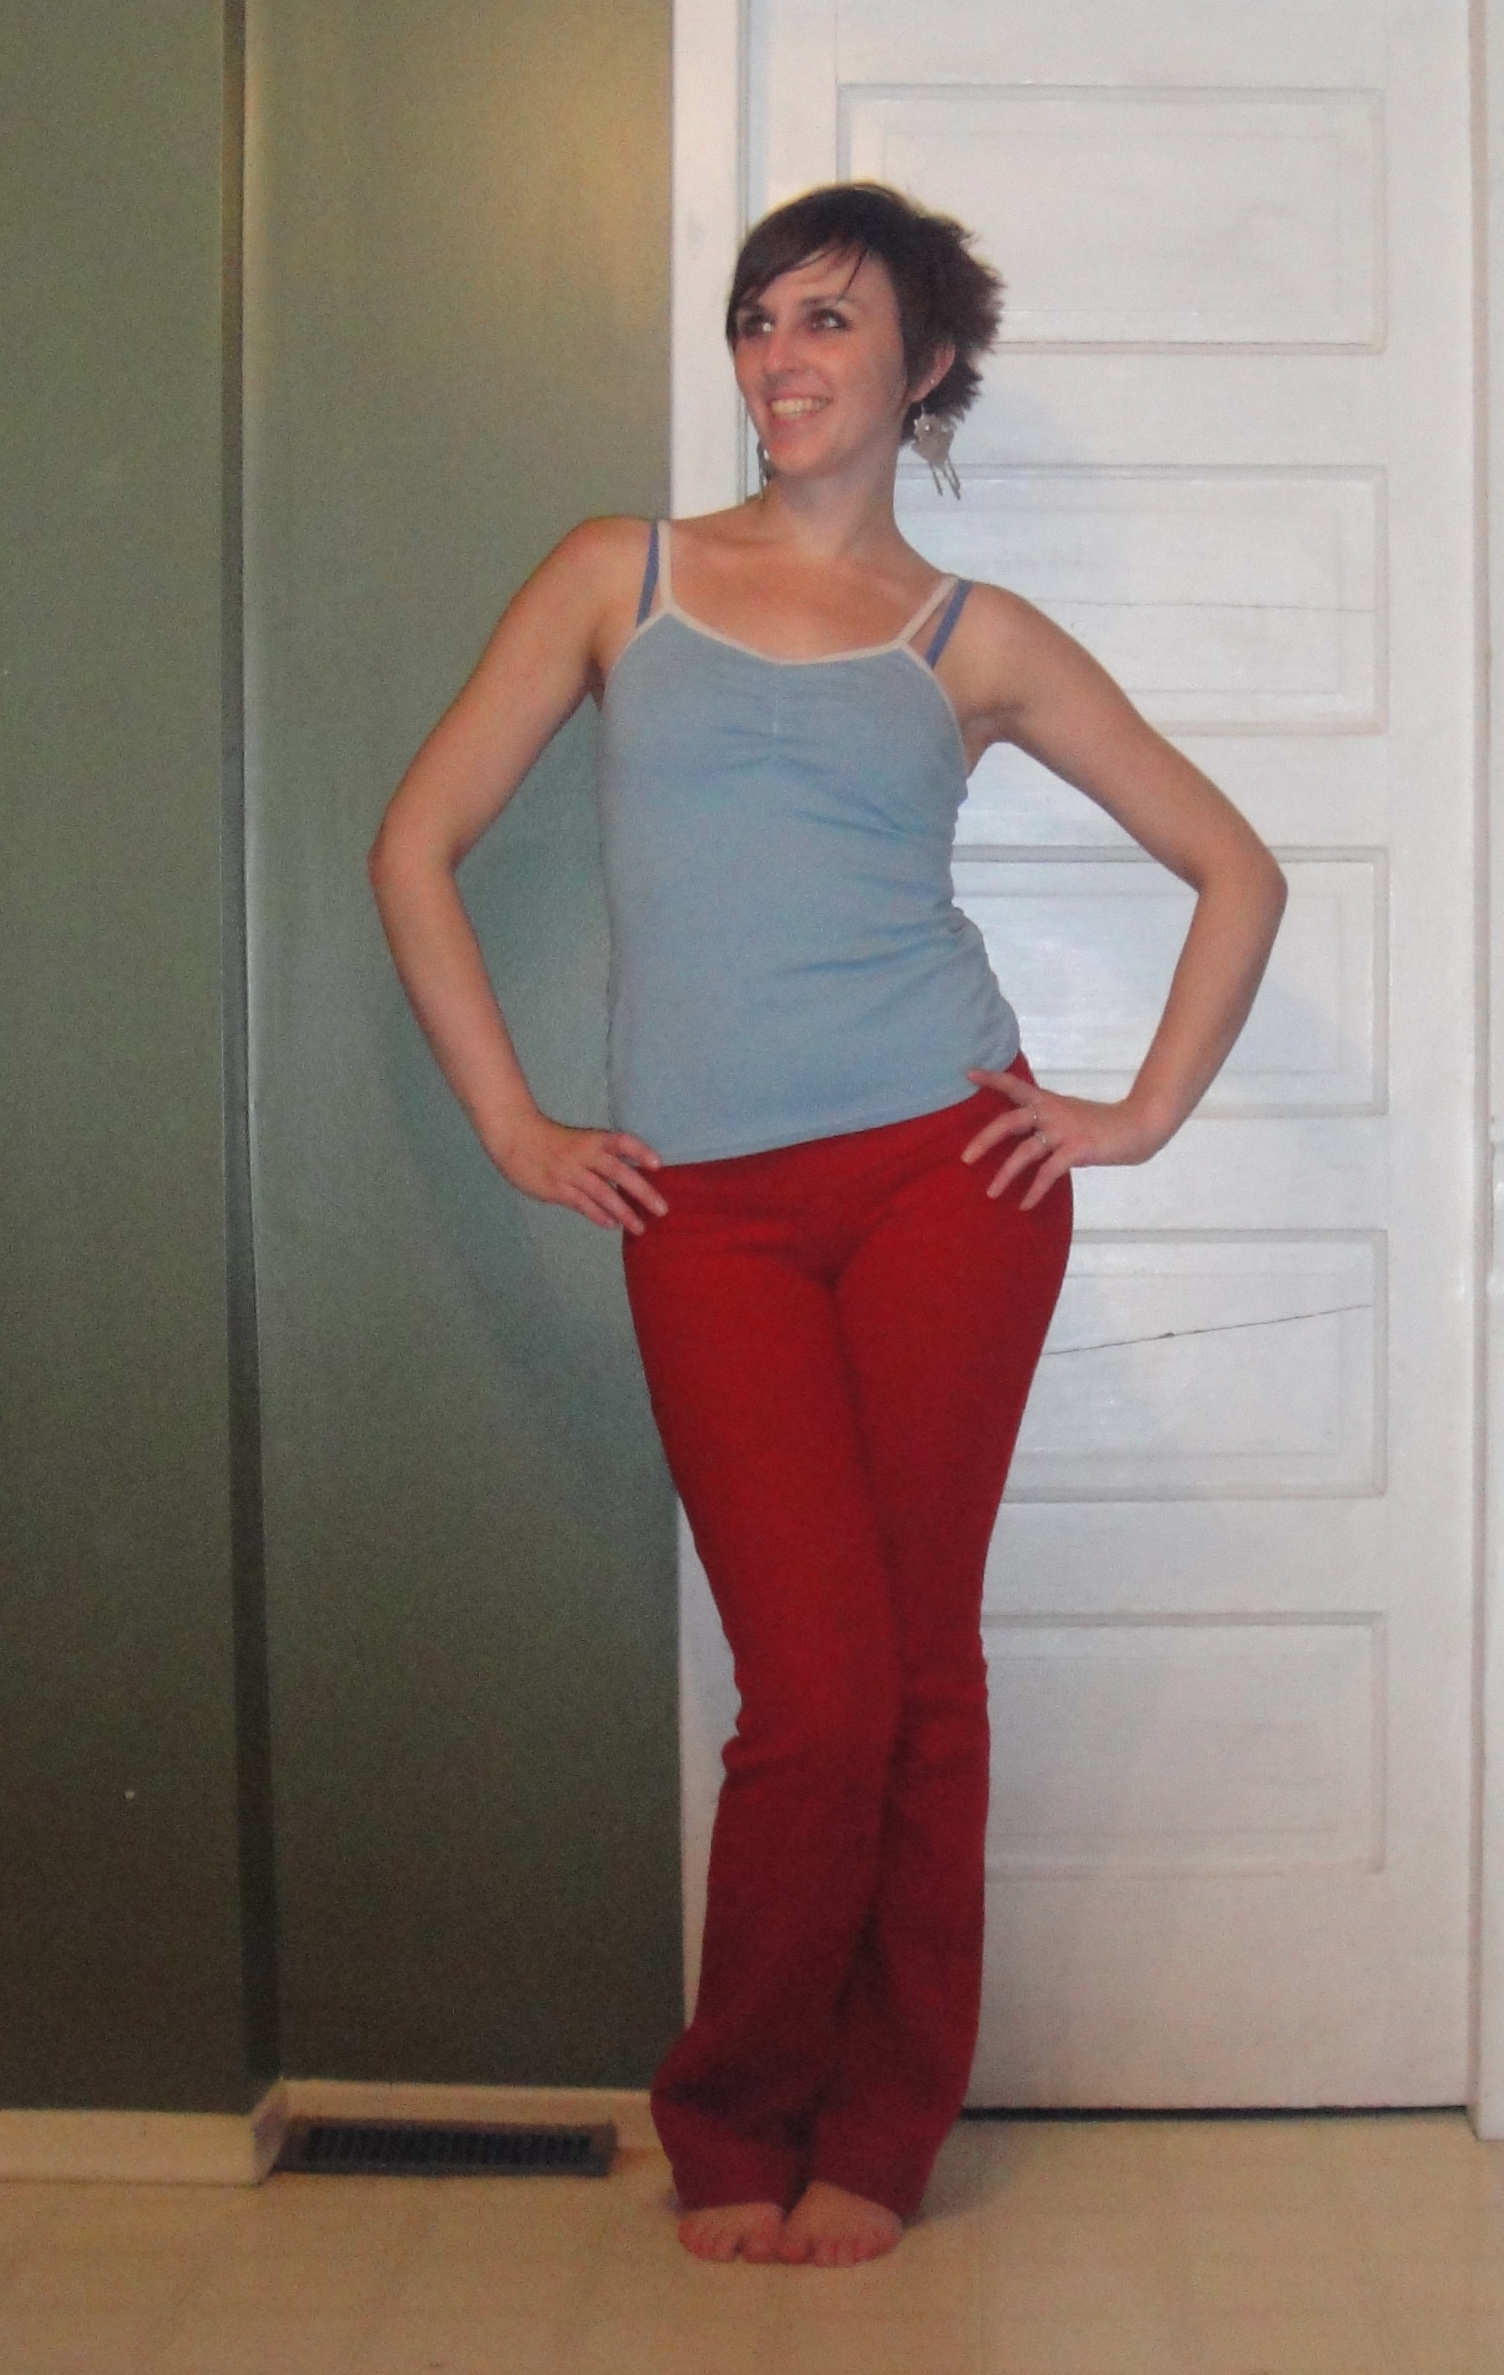
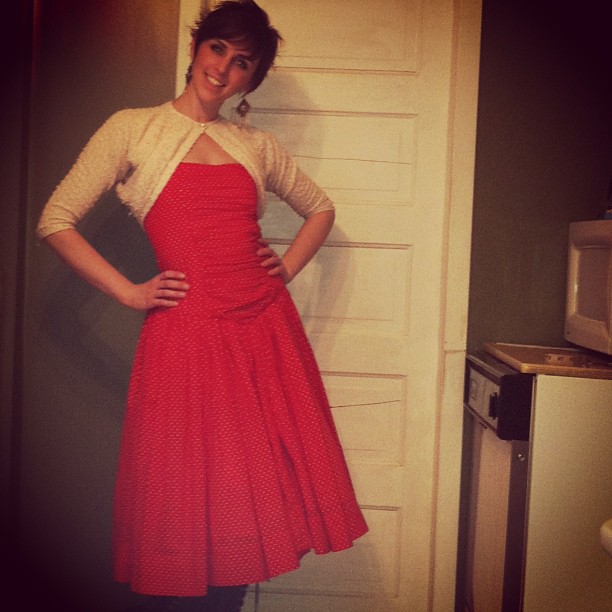
Full view
OK, enough whining. Deep breath. Step back. Enjoy. Please ignore the footless tights.

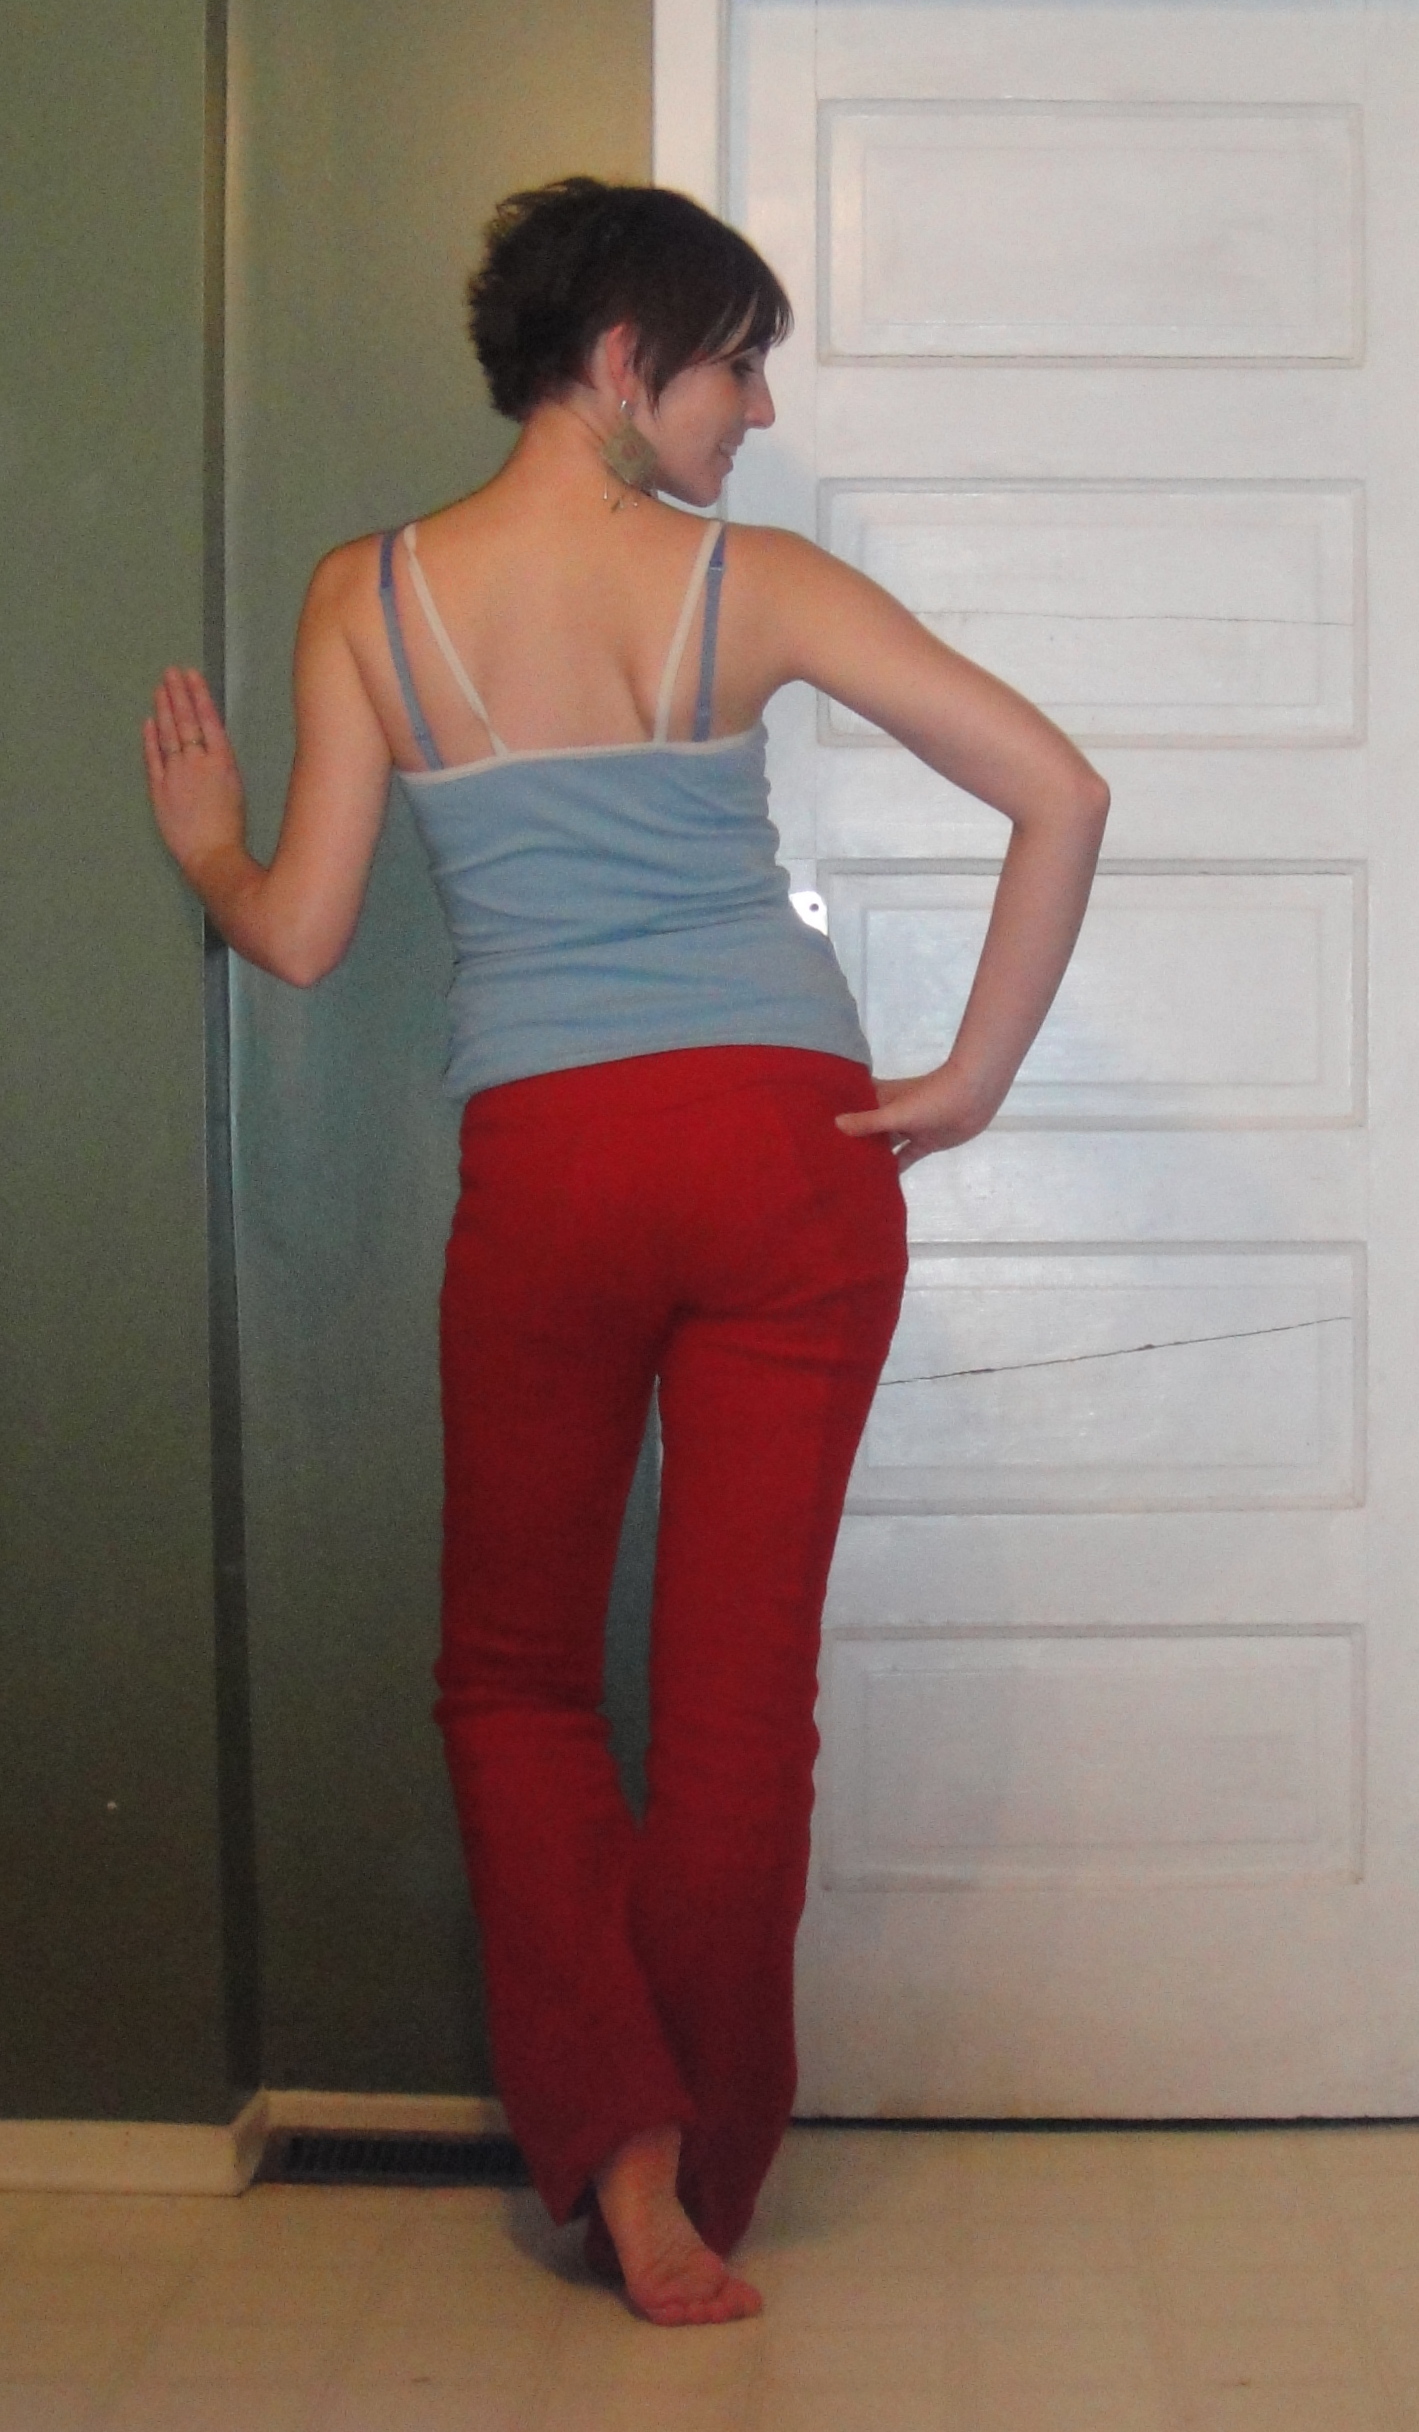
Back view
You’ll have to forgive my altered photos. It’s the “Cinemascope” effect in Google Picasa, and I love the sun-baked look it gives. This dress deserves to be sun-drenched. Yes, those are still snowbanks in my back yard.

It’ll do.
And on that note, I’m going to breathe deep, let it all go, and enjoy my dress. And hope for some real sun-drenched days in the future.