Category Archives: Sewing

Hallowe’en (Epilogue)

Y’know, that slow bit after all the exciting stuff, only read by the true fans who love the characters more than they love good storytelling? That’s kinda how I feel posting this so long after Hallowe’en, when all the excitement, and even most of the candy, is long gone.

20131107-202354.jpg

Regardless, because it’s my blog and I’ll blog late if want to ;), here’s some quick and not terribly organized glimpses of my Hallowe’en outfit. It’s not really a costume since I’m not actually anything in specific, but I still had a lot of fun making it and wearing it. Even if I did work the whole damn day AND evening so the only pictures I got were crappy bathroom mirror pics and staffroom selfies. I am obviously not a real “Millennial;” I suck at selfies.

20131107-202329.jpg

Man I miss my basement-bedsheet-photo studio! These days even if I might have time to take some decent pics it’s a gamble whether I’ll even be able to FIND my tripod, and that doesn’t even address the complete lack of any thing approaching appropriate space in our current home.

20131107-202145.jpg

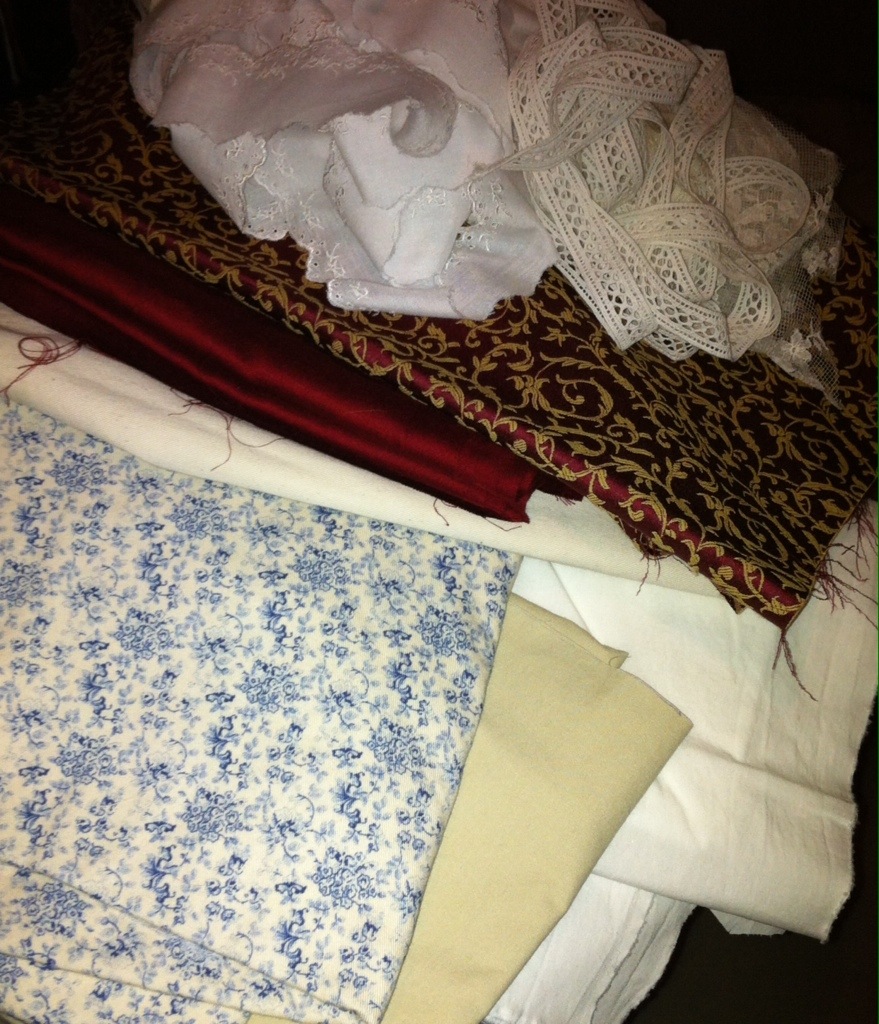
You can’t have a circle skirt without a petticoat (ok, I can’t, anyway), so of course I had to make a crinoline. As it turned out, I had to make two—the neon green tulle one I made first was, unsurprisingly, woefully inadequate. So I pulled out the black crinoline fabric and ribbon I bought last spring to make a black petticoat, which worked really nicely, although I fear it’s more costume-grade pouf than everyday pouf. I may have to make another, not-so-fluffy one for every day wear. Which means I’ll have four crinolines to store. My husband may leave me, just so you know.

20131107-202200.jpg

Also, no circle skirt is complete without horsehair braid. I covered the join in a scrap of my fashion fabric, which, if you can’t tell, was an awesomely over-the-top acid-green taffeta with black spiderweb flocking. Don’t ask me why it needed to be a circle skirt, but can you really imagine it being anything else? Short of a complete eighteenth-century ballgown, anyway. That would also be awesome.

20131107-202216.jpg

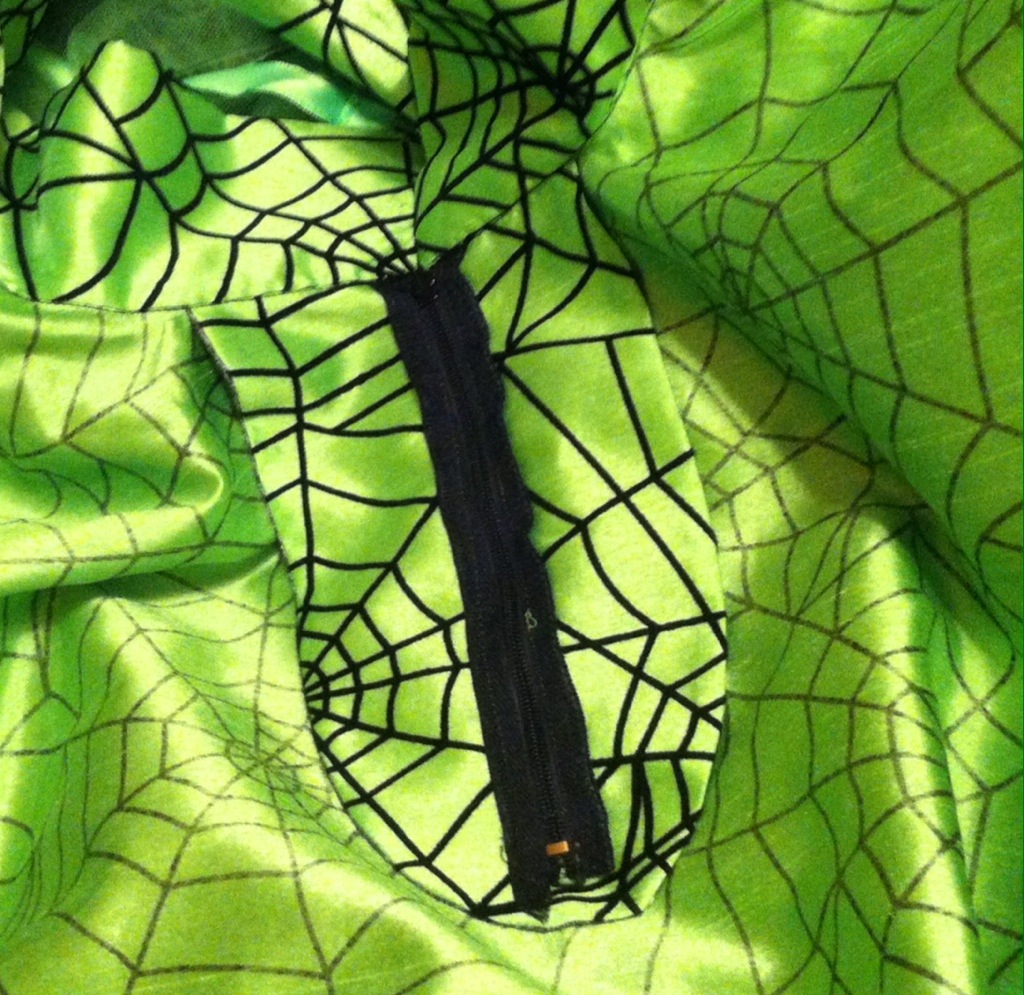
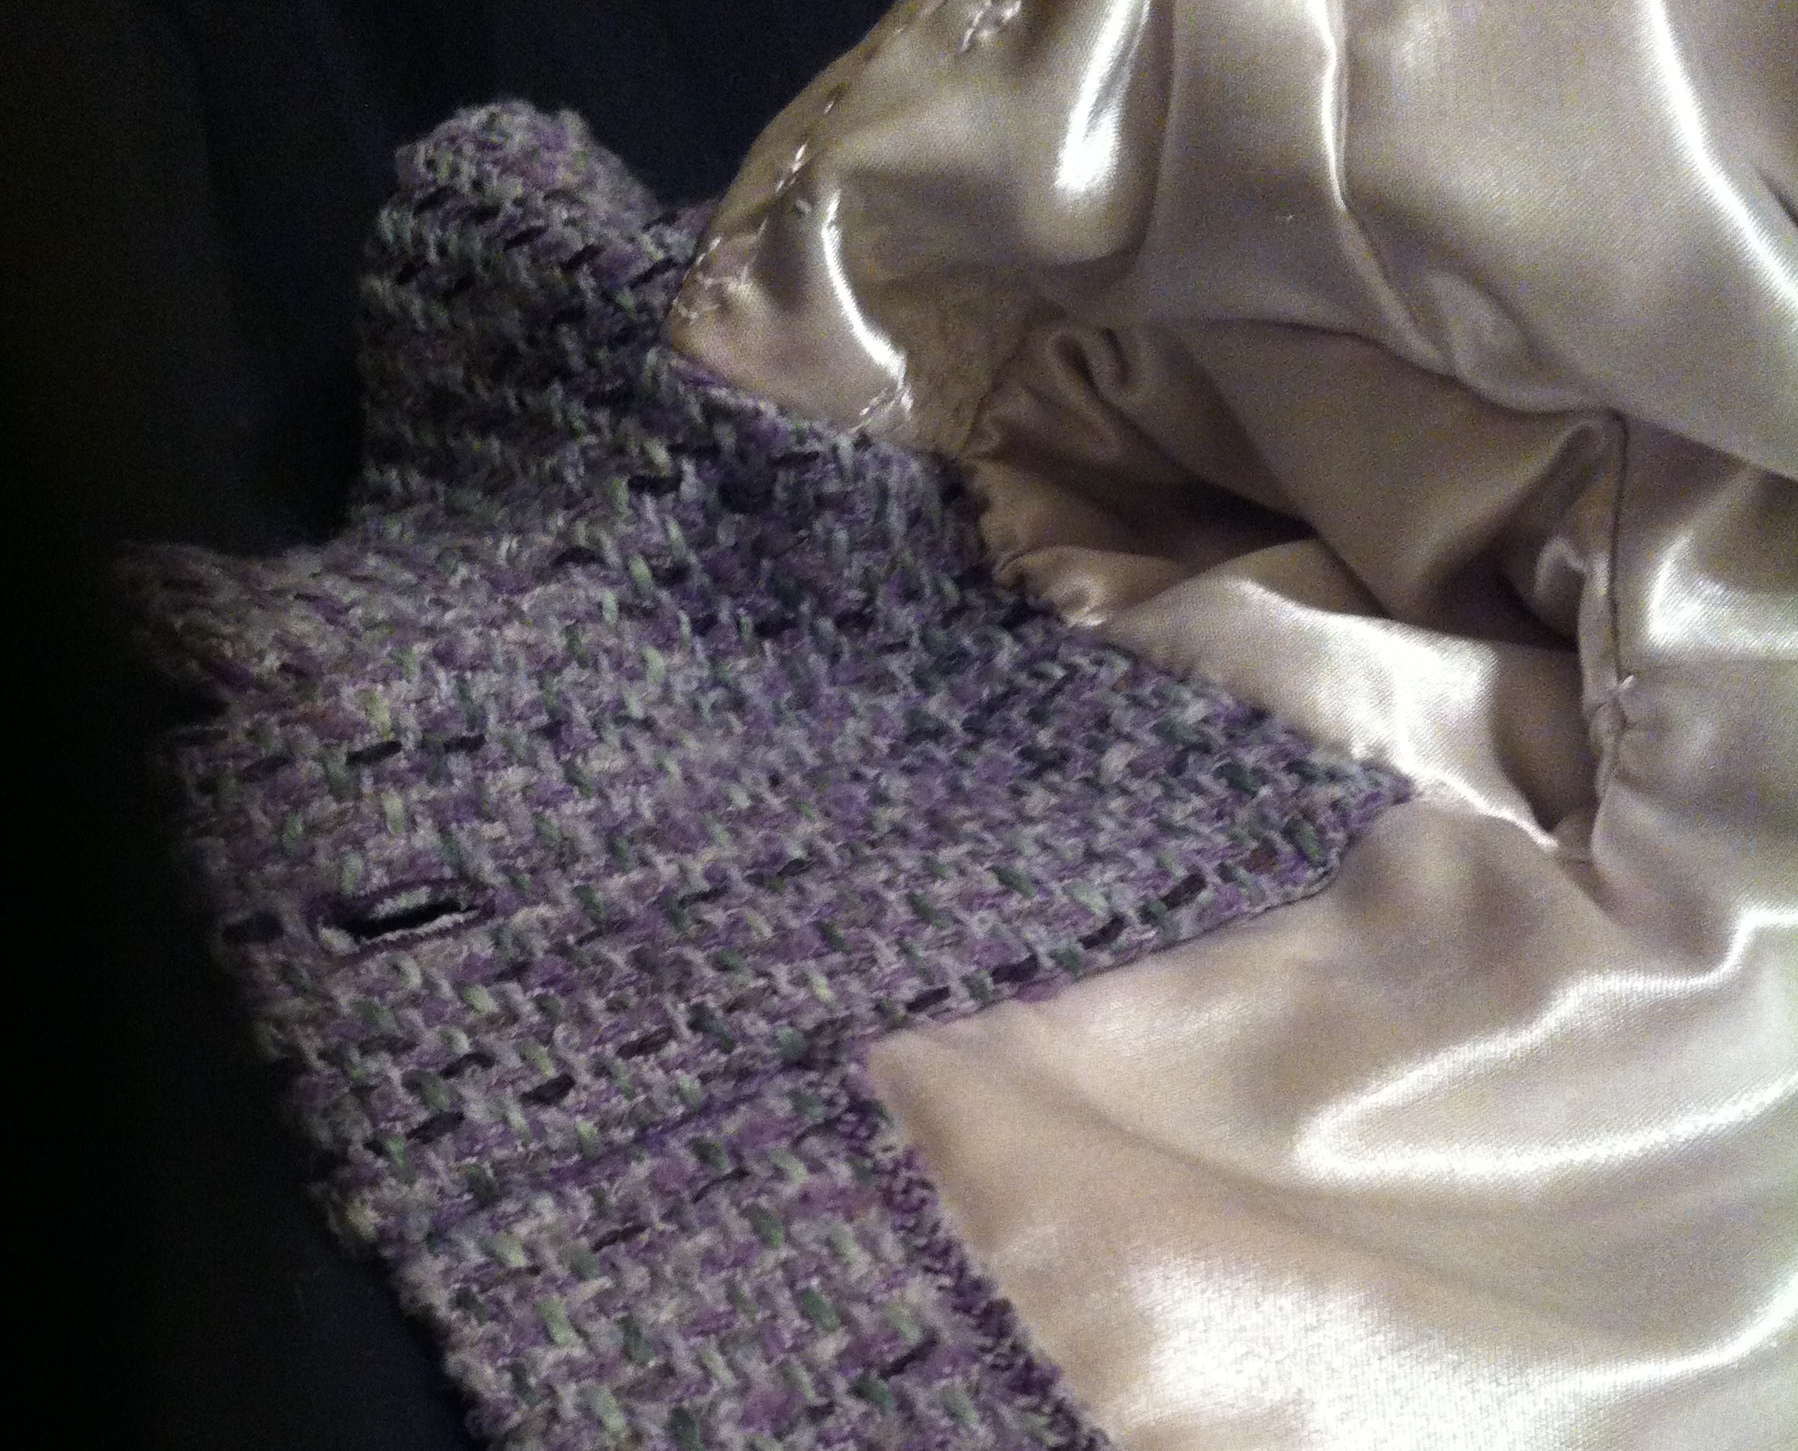
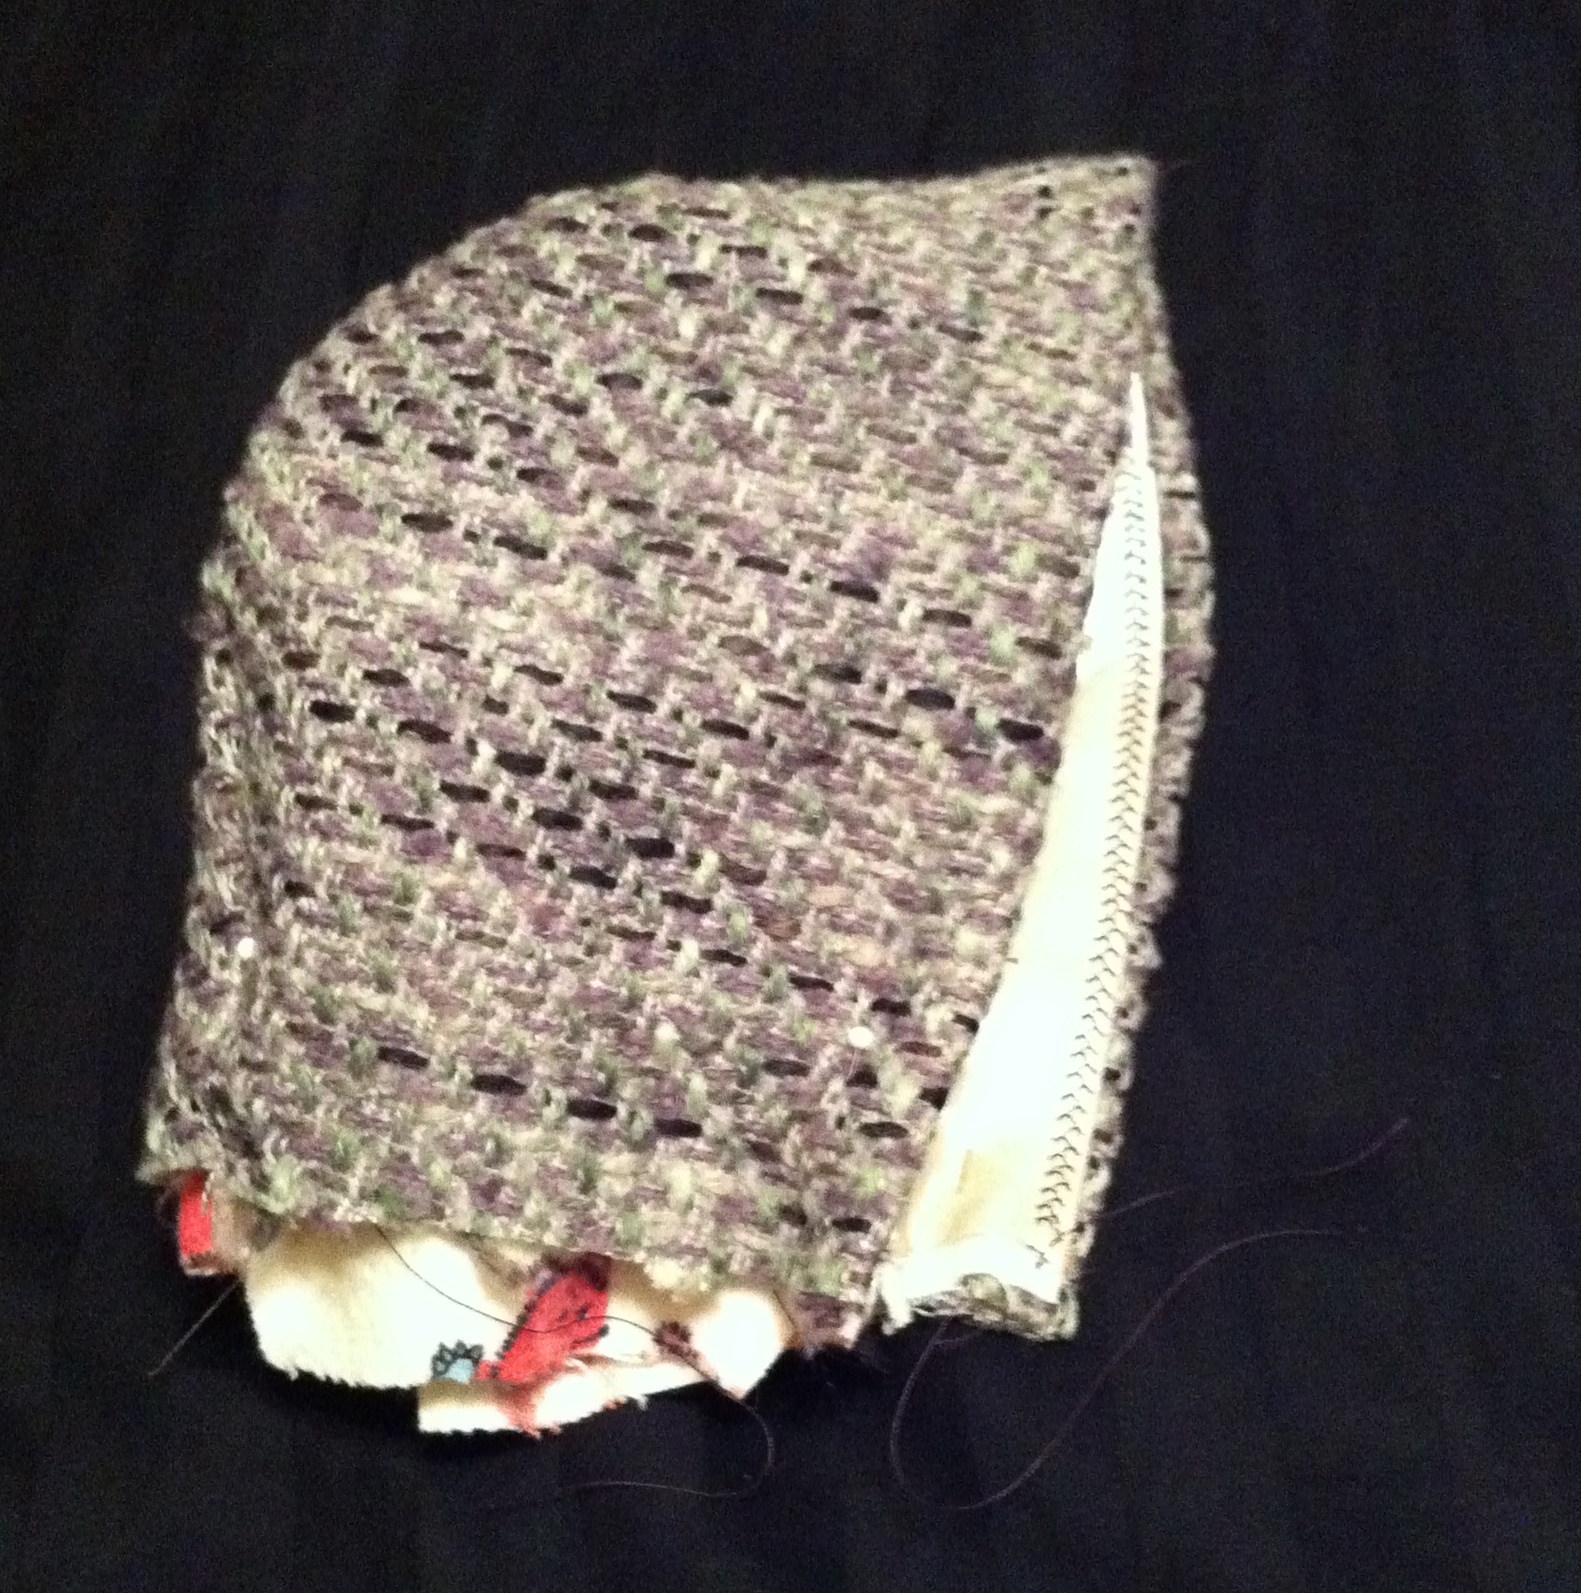
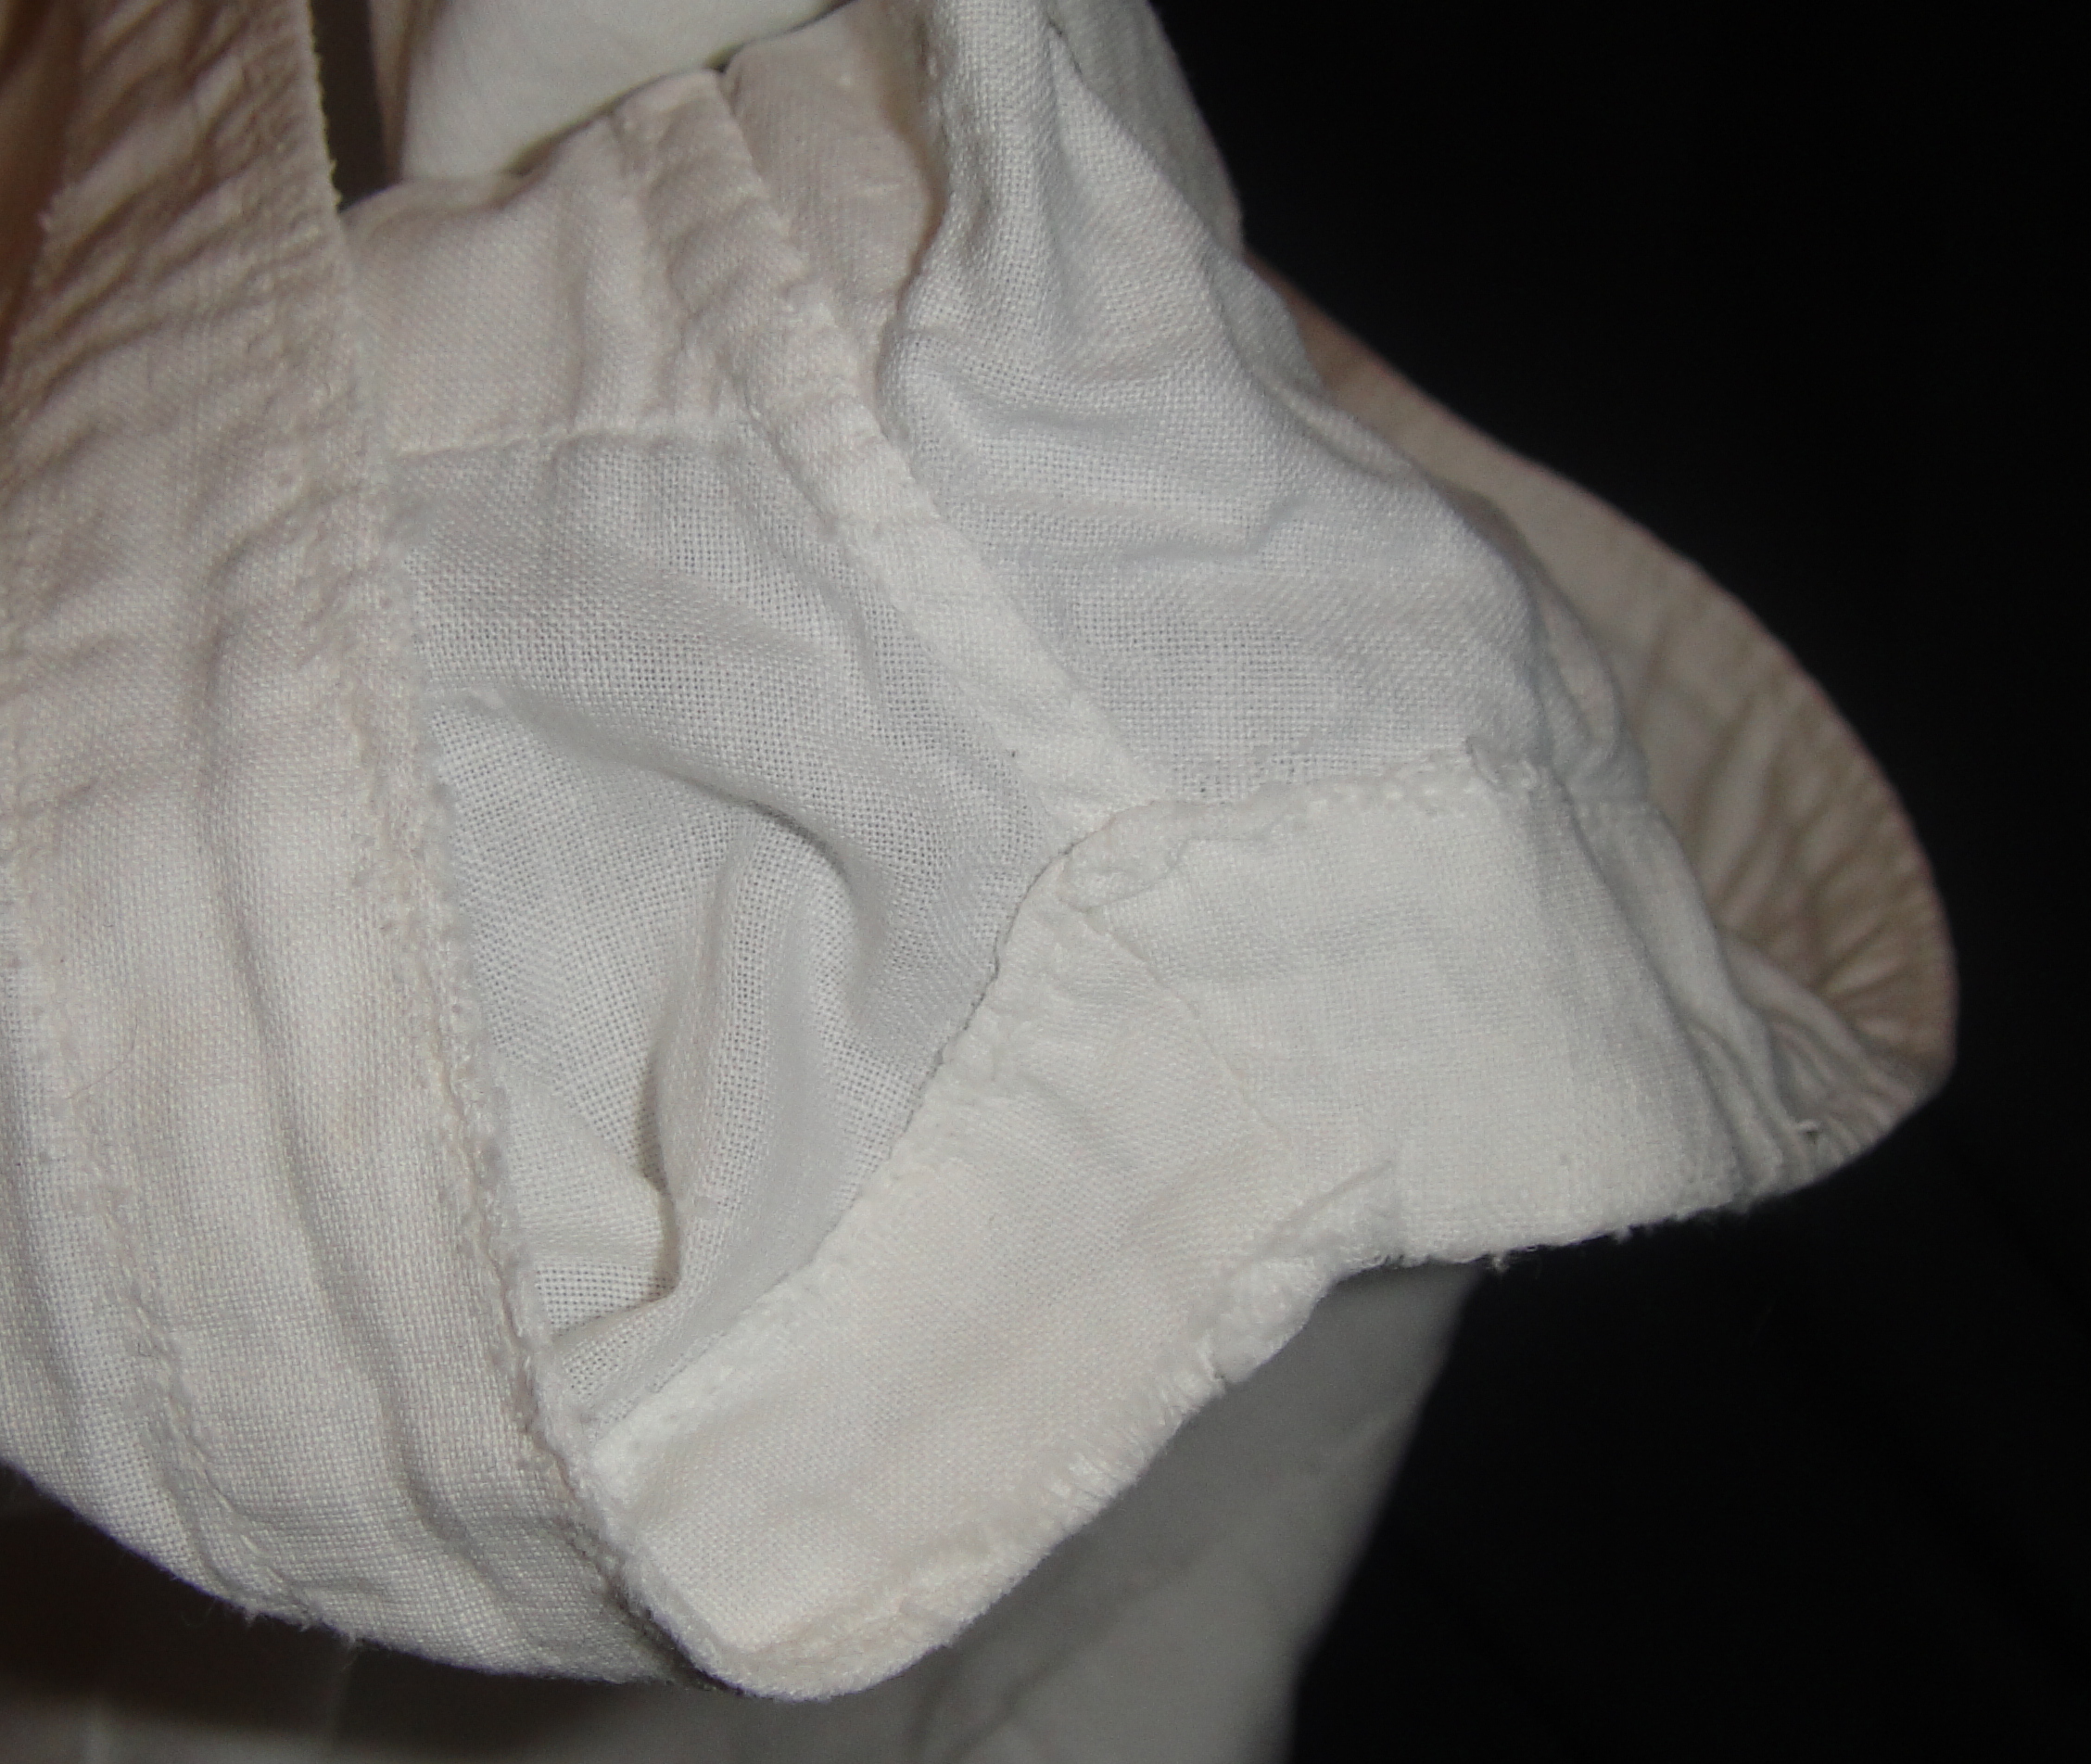
I constructed my circle skirt EXACTLY the same as my old grey one, even using the same waist template from Elegant Musings. This is the facing for the slit I made for the not-invisible zipper.

20131107-202237.jpg

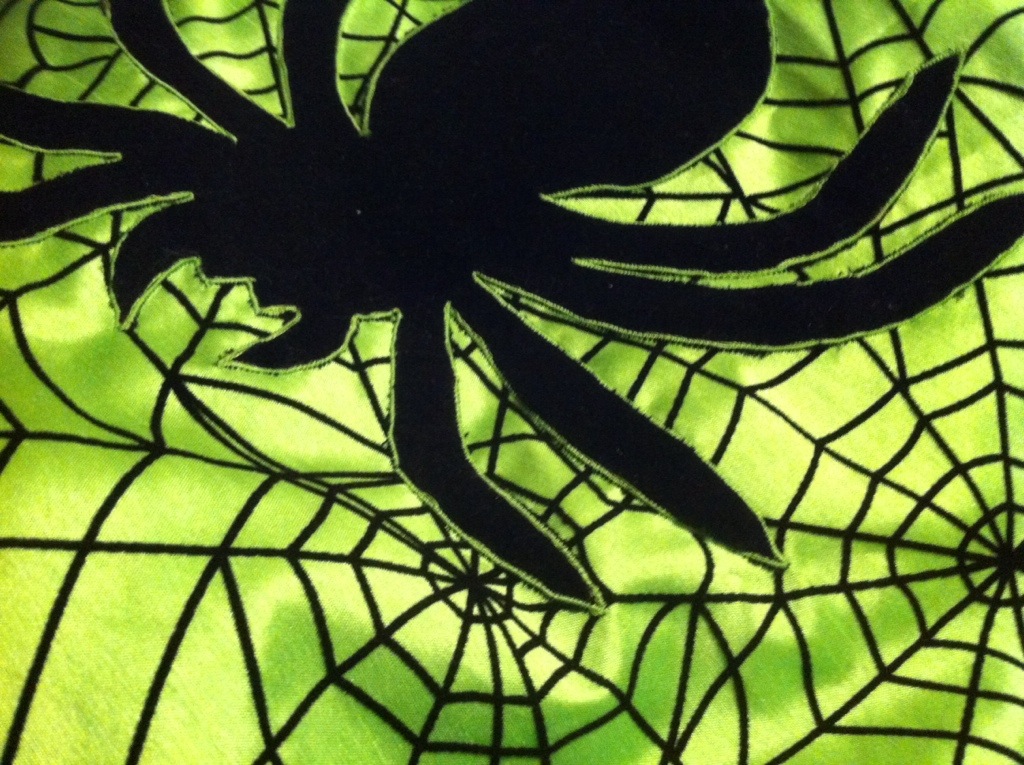
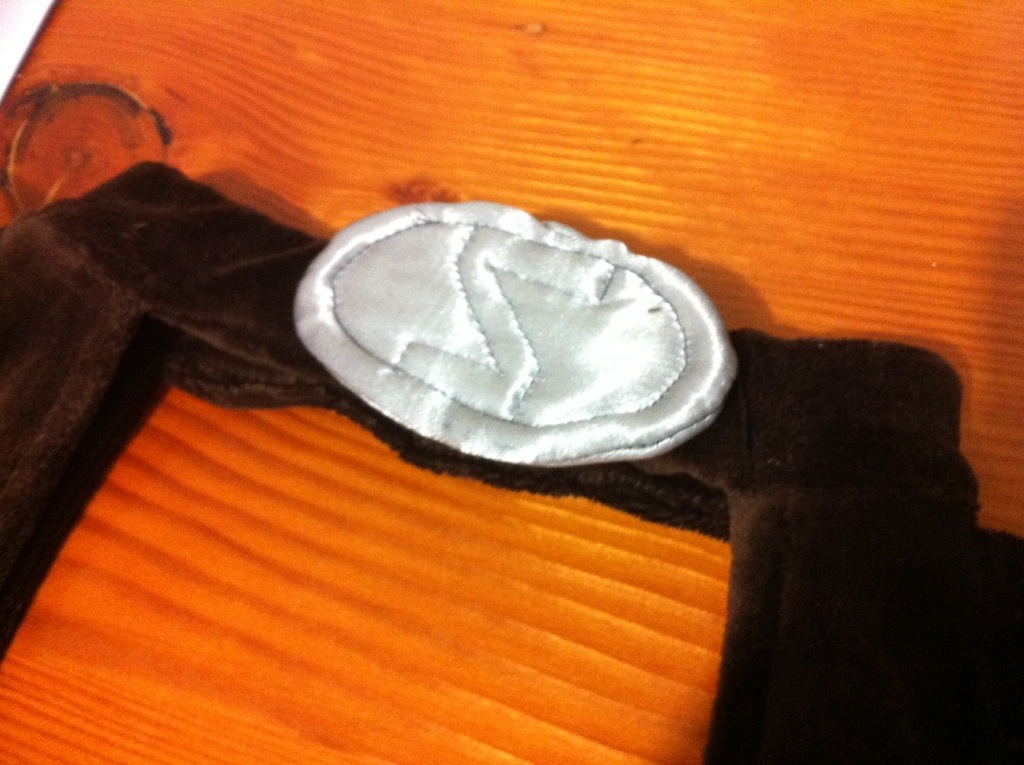
Of course poodles are traditional for circle skirts, but this one had to have a spider. I wish I’d had enough of my green thread to go around the applique a second time so the black edges didn’t stick out—I wasn’t really thinking about that when I bought my thread and only got an itty bitty spool. I used a supplementary (acid-green) cord of embroidery floss under the zig-zag to give it a bit of dimension, and because, ah, the manual for the Rocketeer (on which I sewed all of this) suggested it. I love the little techniques old manuals suggest. Although somehow they never mention all the massive amounts of actual skill it takes to use most of these techniques. So, y’know, your black velour fabric doesn’t stick out on the wrong side of your zigzag.

20131107-202257.jpg

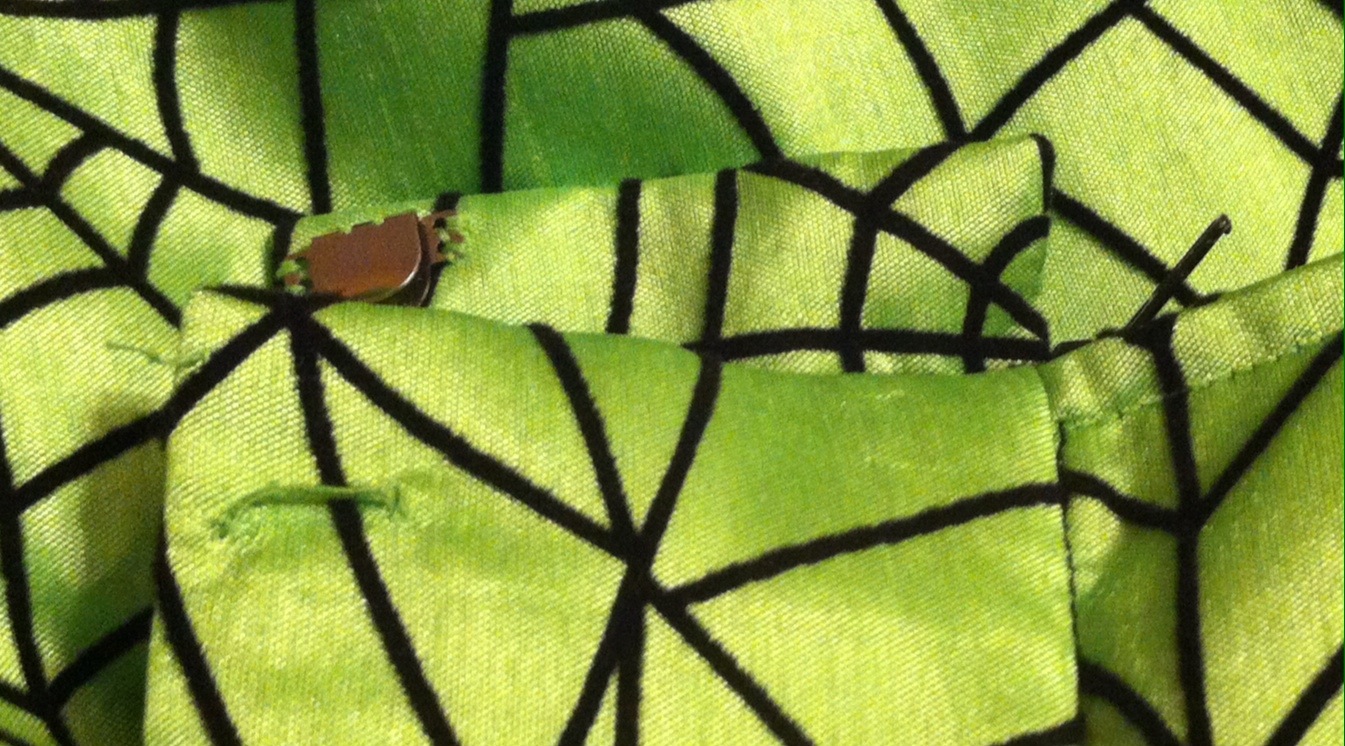
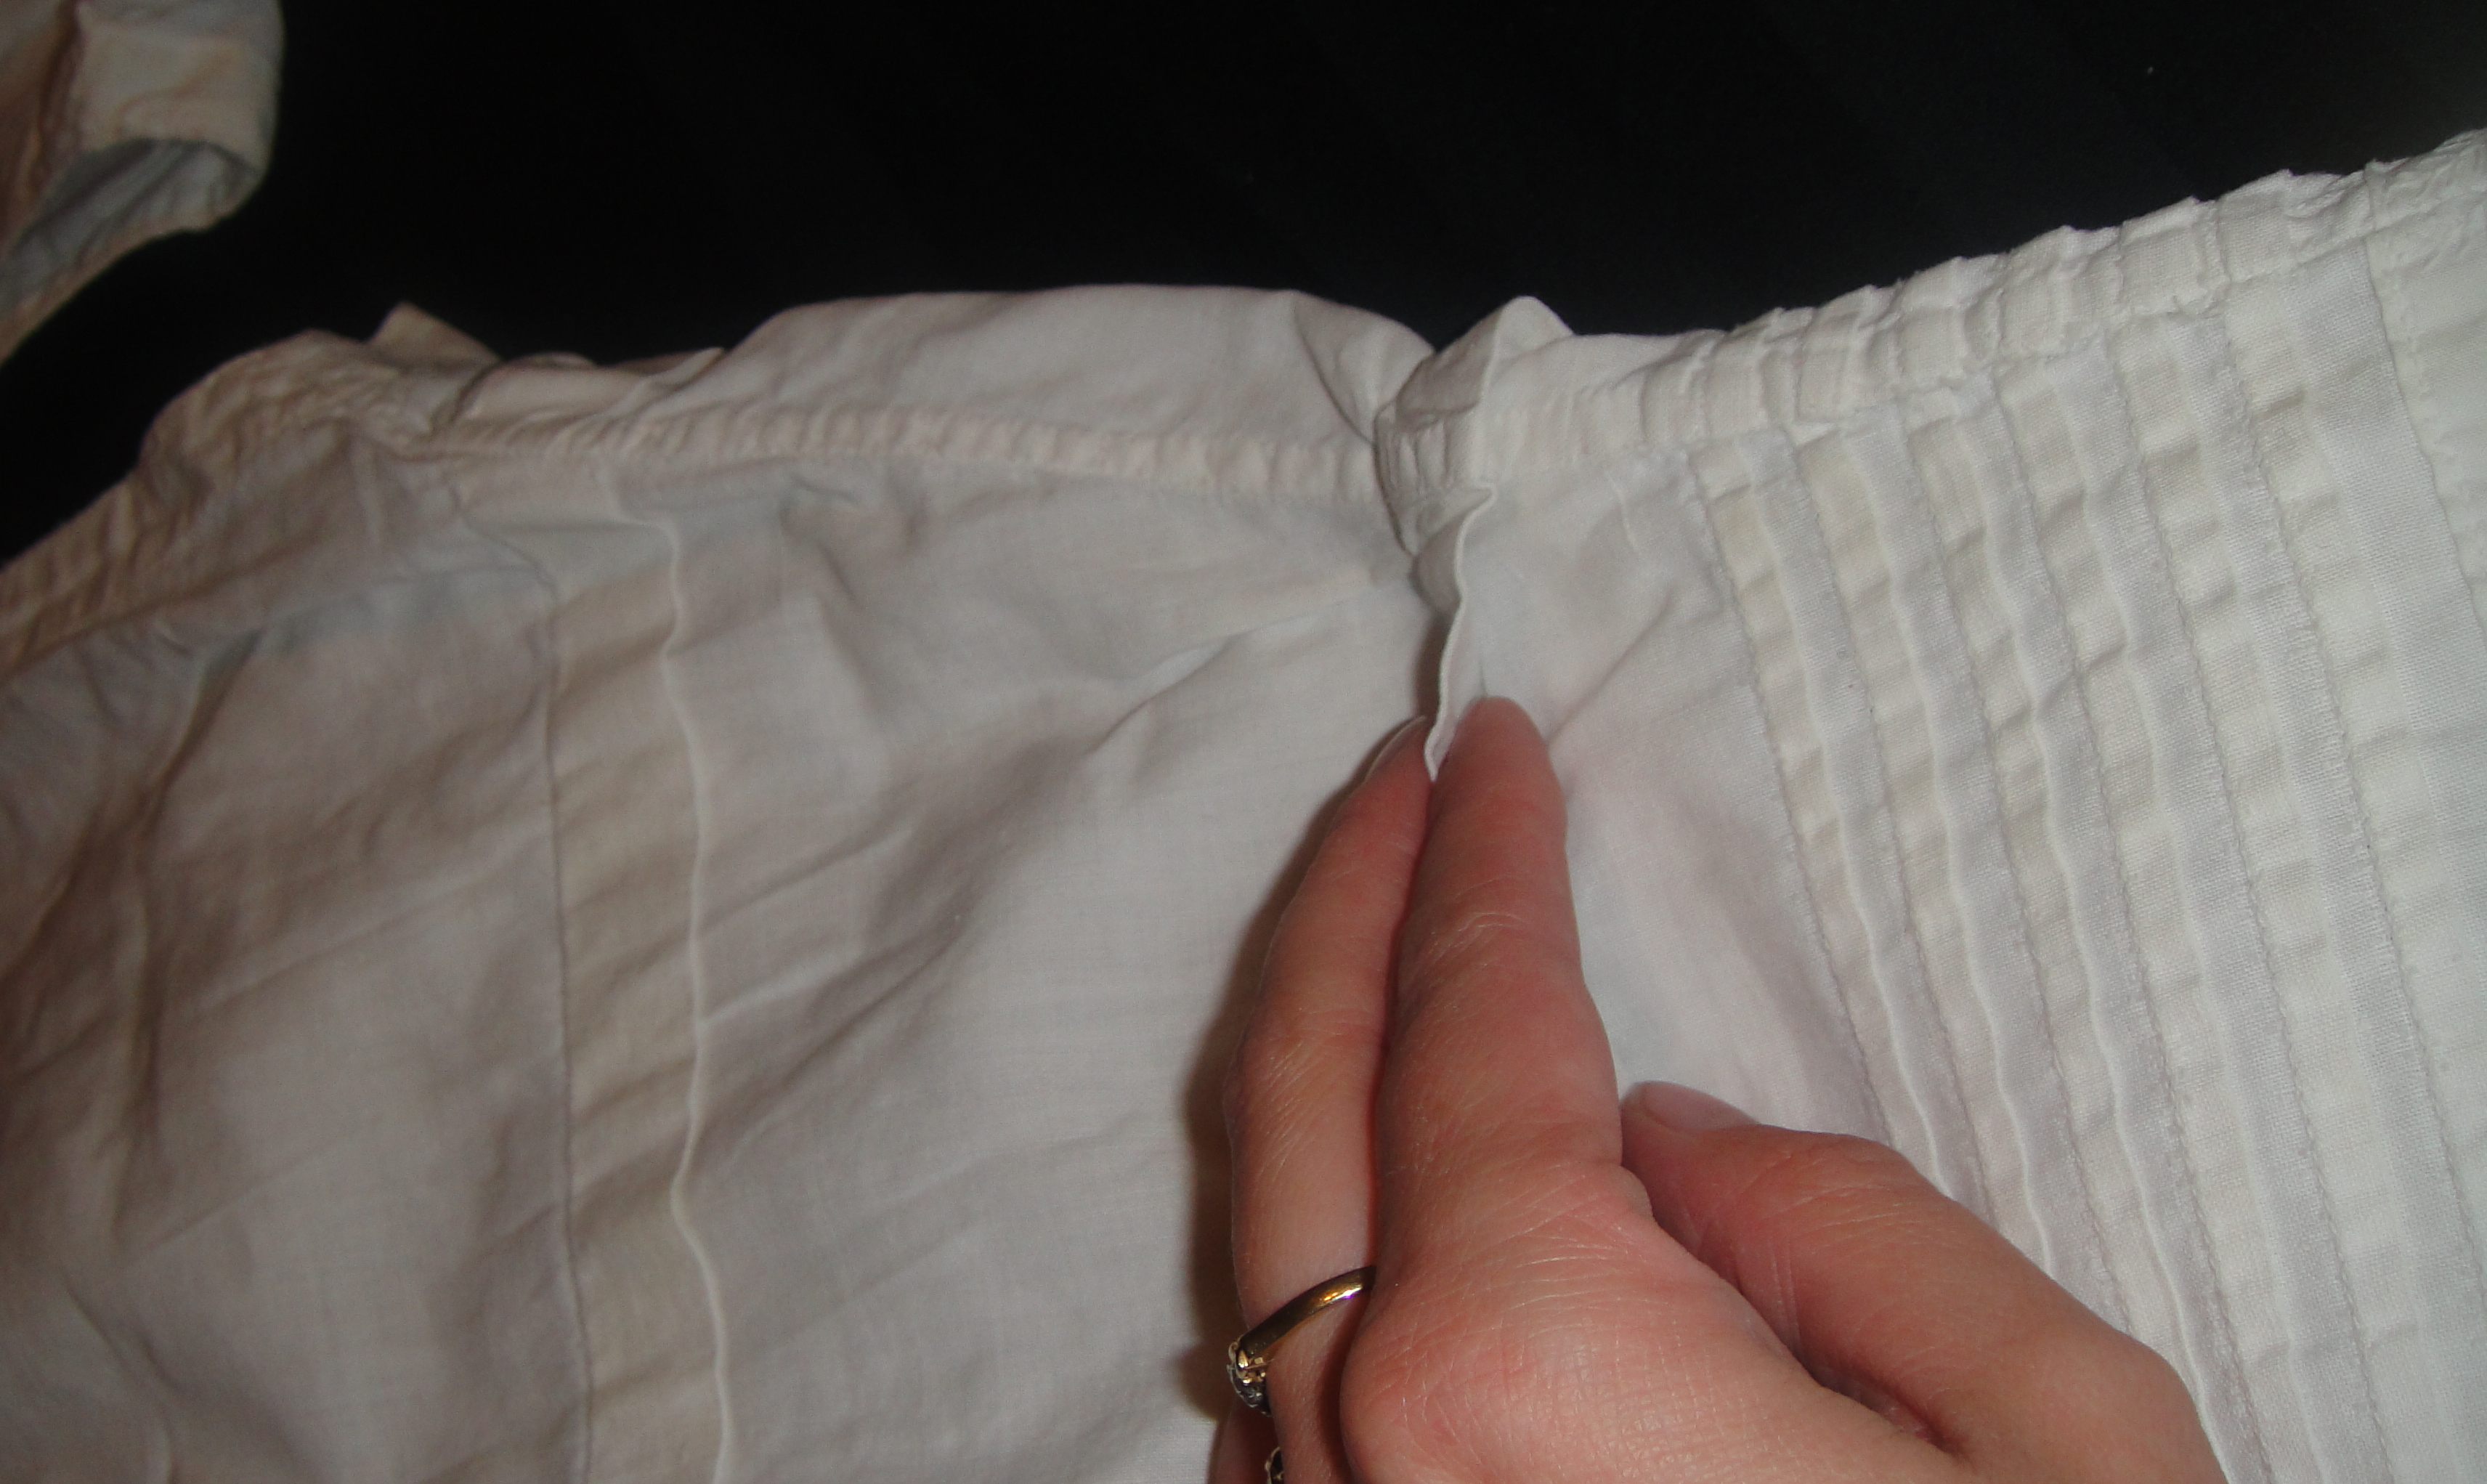
I used a skirt hook and a thread-chain loop. We’ll pretend this was a couture touch, and not because I couldn’t find a bar to match my hook. It needs a second hook & bar, too… I confess day of I just used a safety pin. Do you see how wide that waistband is, by the way? I think it was around three inches, finished. Which pretty much brings the top of the waistband right to my underbust. Fortunately I’m fairly cylindrical in that area, so I can get away with a straight waistband rather than a contour one.

20131107-202420.jpg

Because I’m bored of detail shots, here’s a slightly naughty pic of my layered petticoats. You can see clearly the sheer inadequacy of the green one (sheer… snork… see what I did there? hyuk, hyuk.), but the black filled it out nicely and the green was still a nice touch of colour.

20131107-202440.jpg

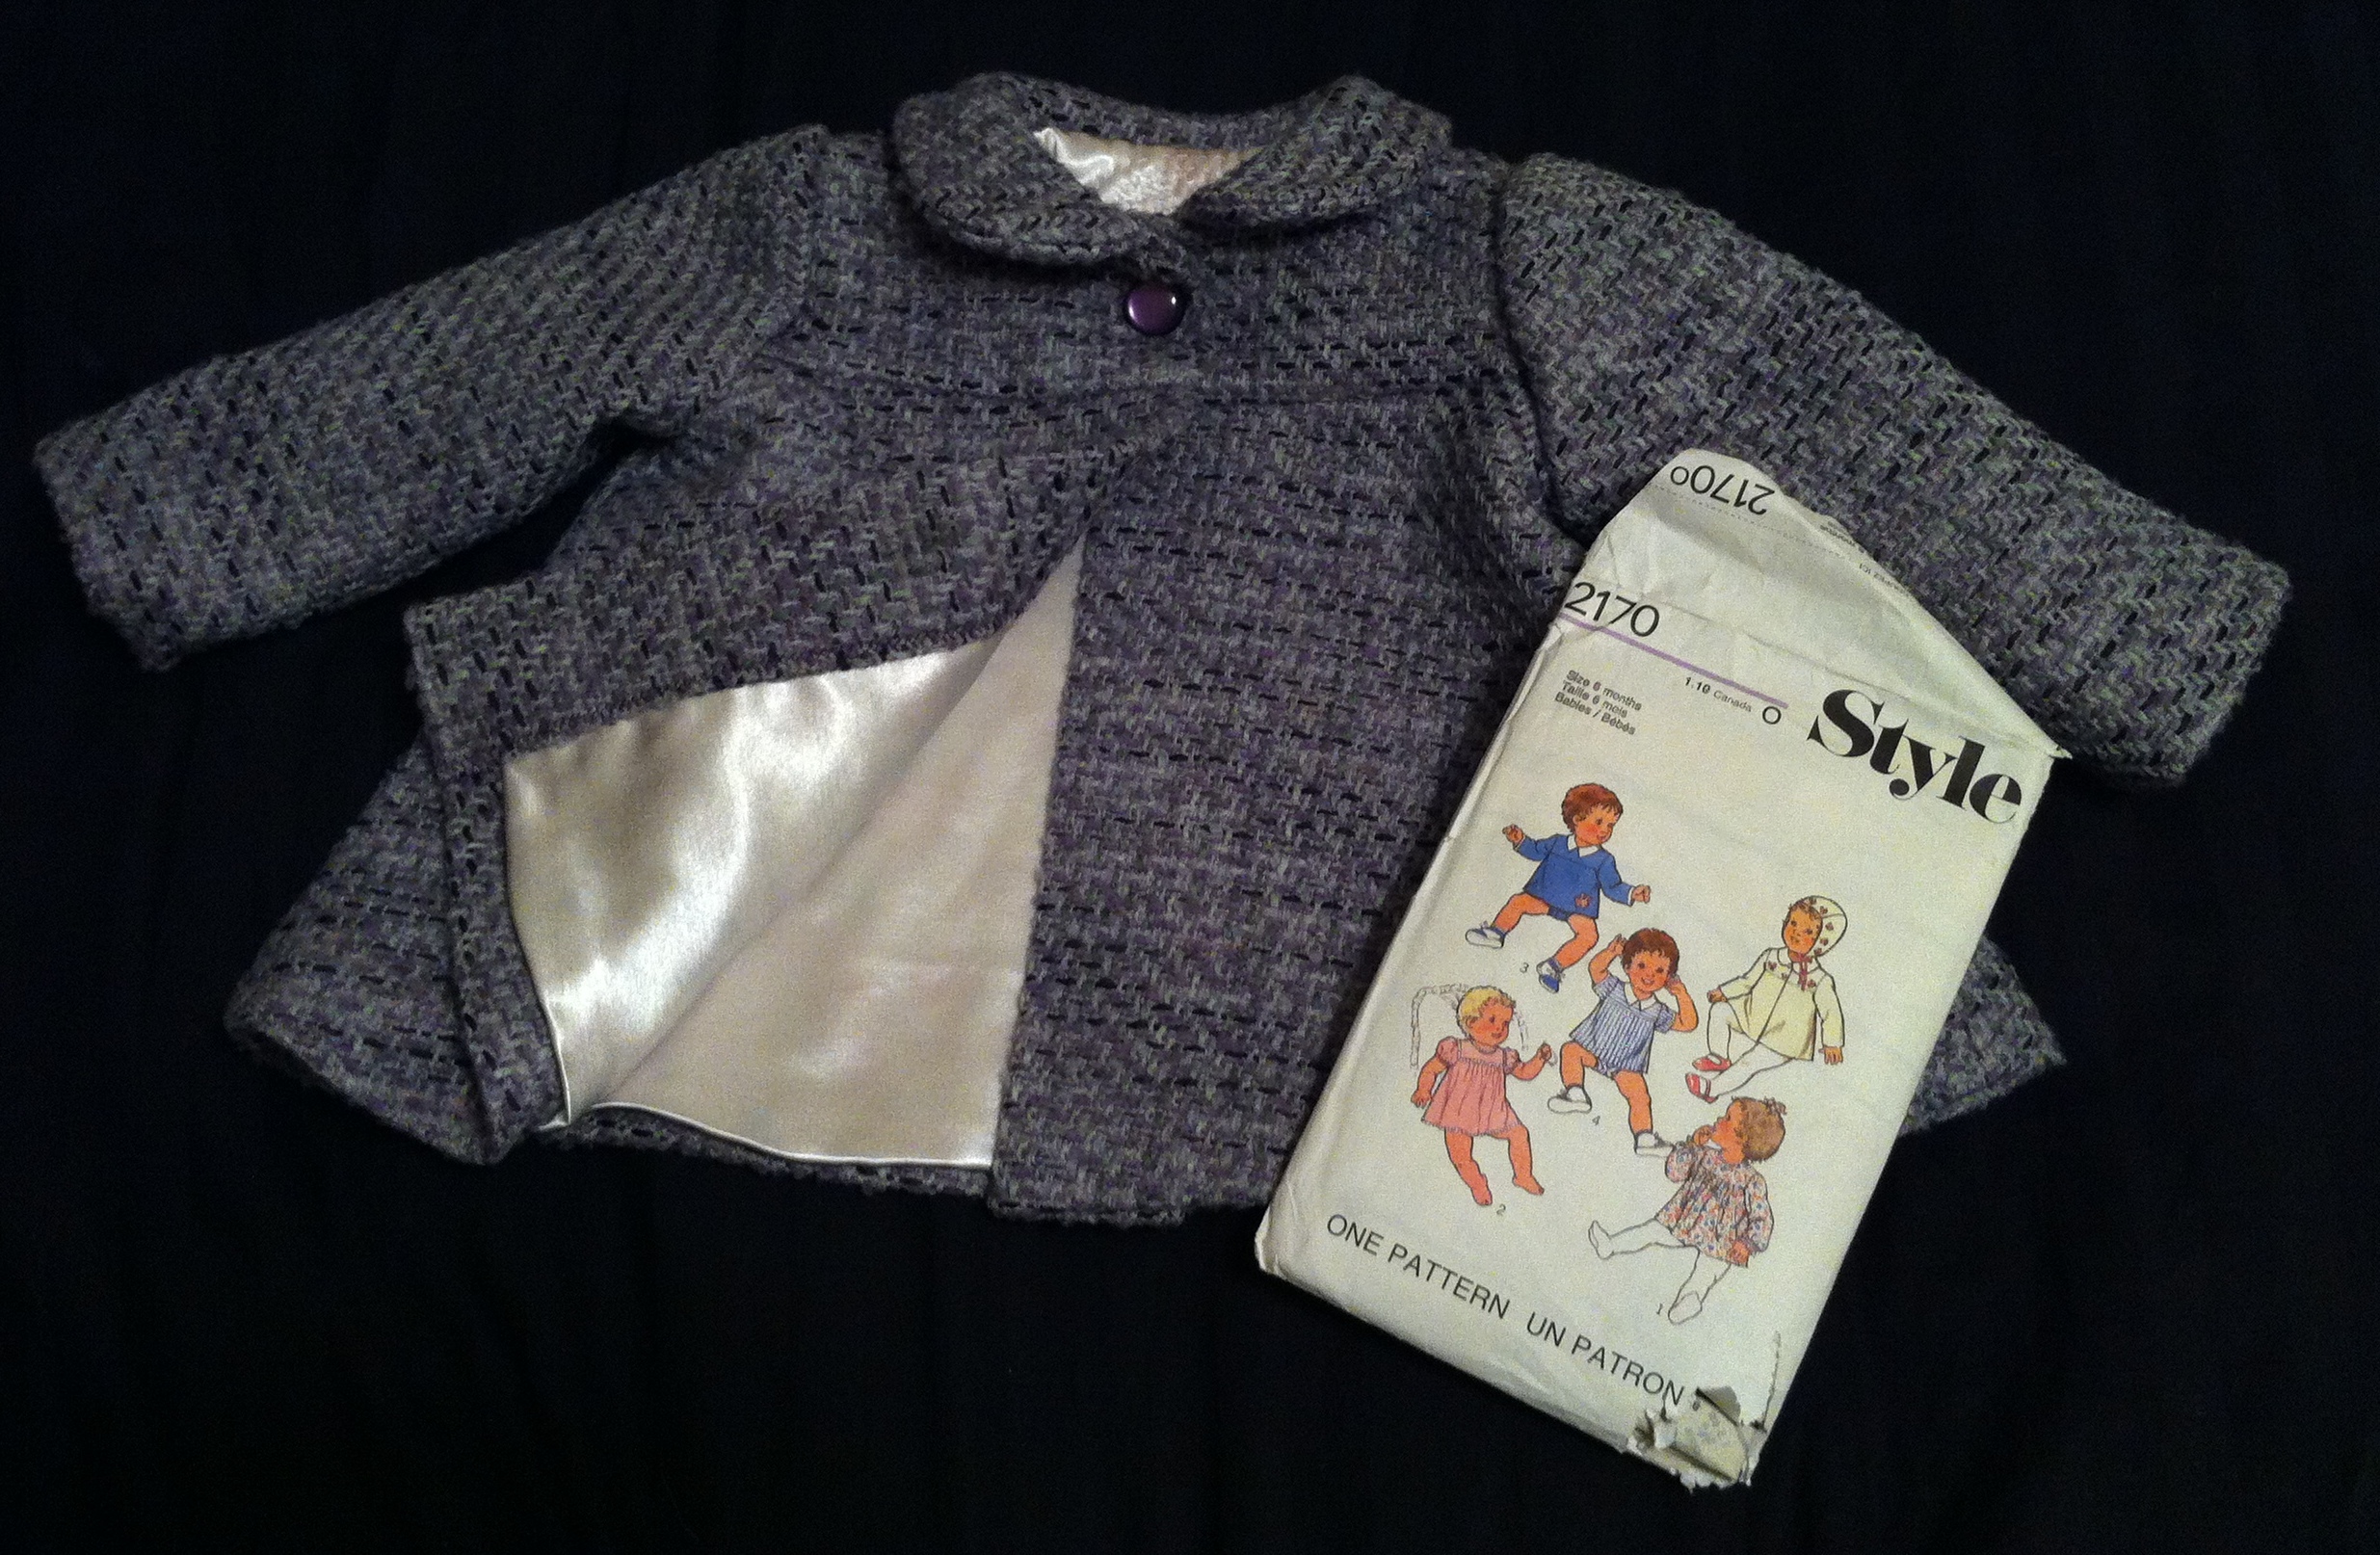
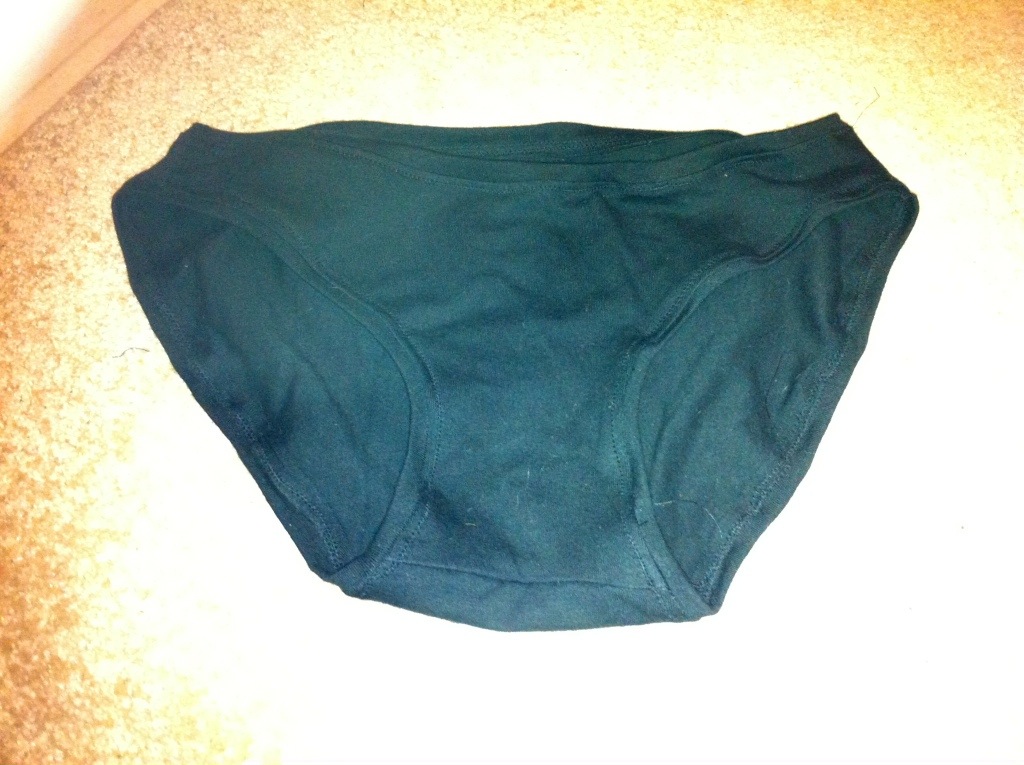
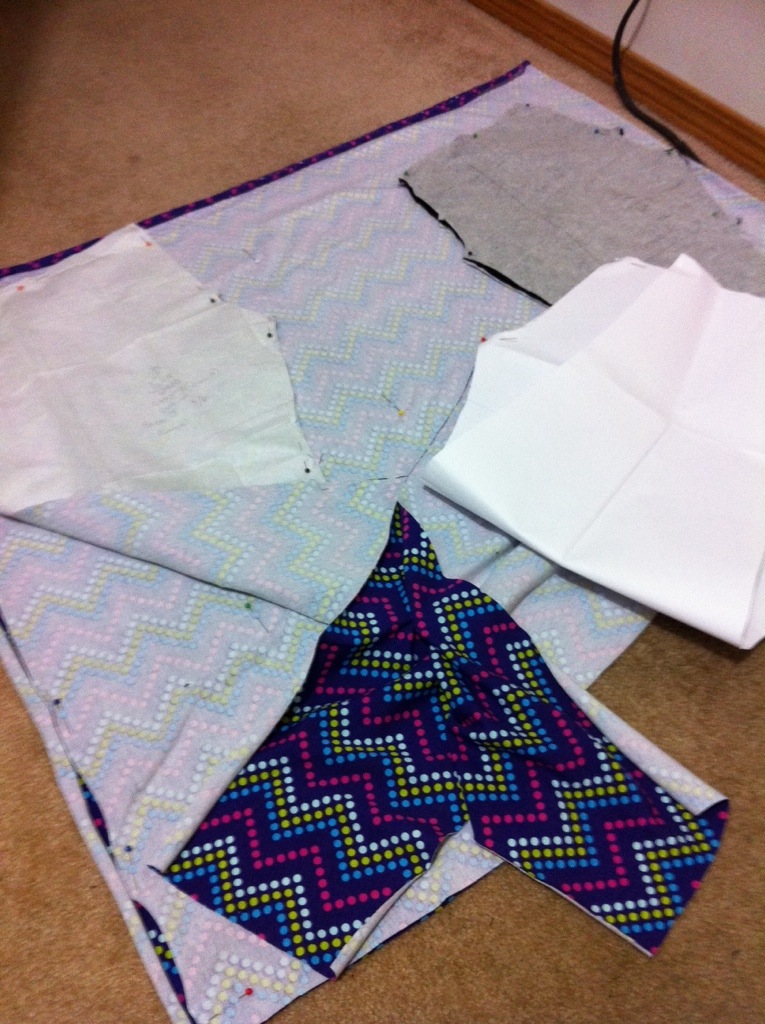
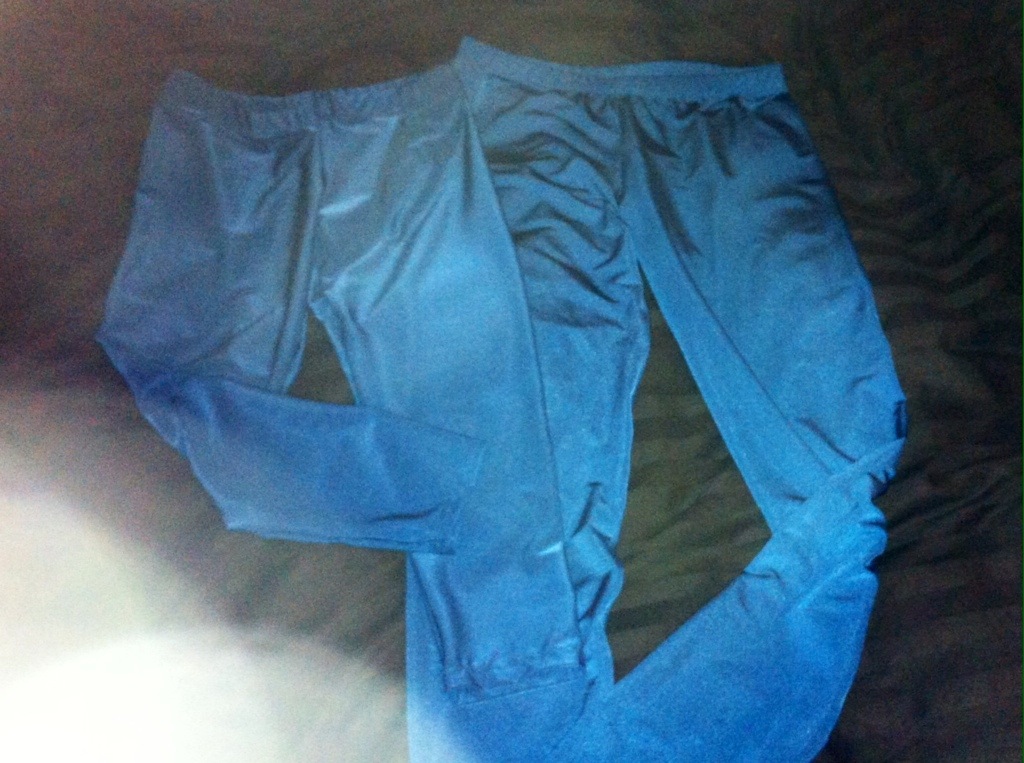
And this eye-searing green is actually the little tank-top I made to wear under the black lace blouse. I used my brand-spanking-new walking foot to sew it, and while I don’t sew enough spandex to really compare, it sure handled it nicely. I didn’t get any actual shots of the tank-top, (I used my old pattern… the real miracle is actually that I FOUND all these old pattern pieces), without the ruching, of course, but it went together fairly nicely until I got to the straps. They are ugly. But I can always cut them off and do better at some point, I suppose, and they weren’t exactly a prominent part of the costume. I cut out bikini bottoms at the same time, should I someday wish to own an acid-green tankini.

20131107-202503.jpg

I decided, rather belatedly, that what the ensemble really needed to finish it off was yarn falls. Pushes it a bit into anime territory? Anyway, it only took me three different yarn shops to find what I was looking for, which turns out to be 100% wool superwash, whatever that is. It certainly was warm, and the texture was great, although a bit fluffier would’ve been nice. These are ridiculously easy to make, just cut a bunch of lengths and tie them on to a hair elastic. I’ve been trying to look up the knot I use but I can’t seem to find it…

20131107-202535.jpg

Oh, look, here you can actually see me edging the applique! (which I adhered with Steam-a-Seam, by the way) I forgot I took this one. I’m using the “Special Purpose Foot” on the Rocketeer, which has a little piping-hole. It seems like a really flimy, cheap little foot, but I guess it’s held up for fify-some years already, so it can’t be too bad. It worked fine, anyway.

20131107-202633.jpg

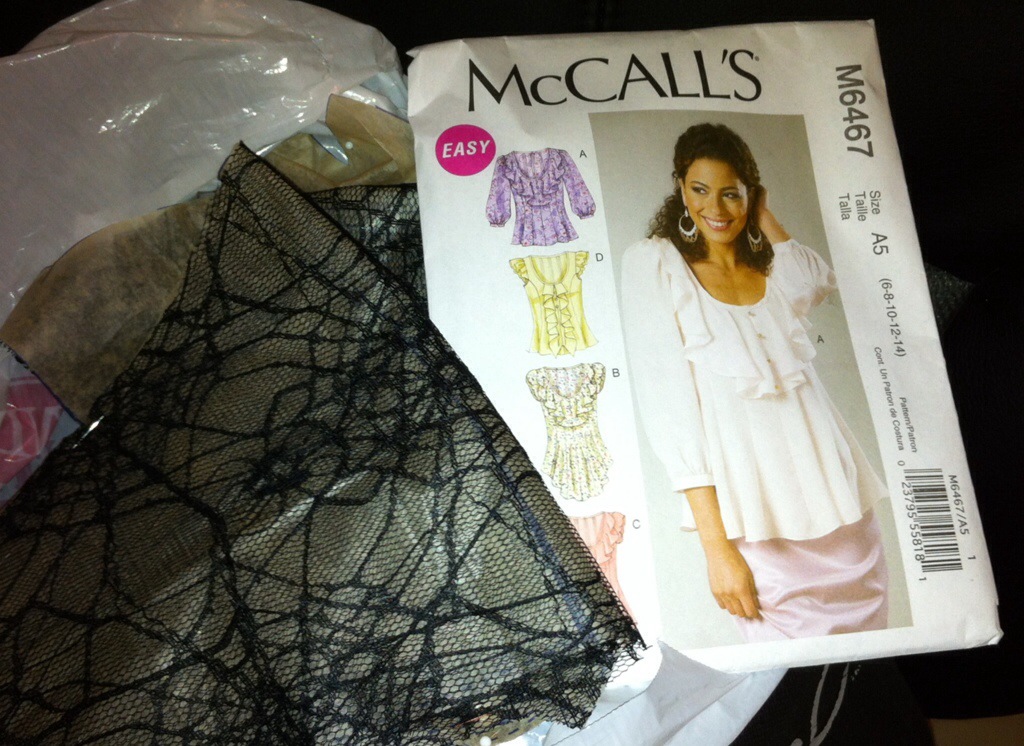
The blouse was made out of a spiderweb lace. This pattern, McCall’s 6467 (view D), was not the best choice. WAY too many seams, all of which had to be finished super-neatly, in this soft, floppy, annoying-to-sew lace. Of all the frilly blouse patterns I possess, why did I pick this one? *headdesk.* To make it worse, the pattern had hella crazy ease and I did not want it to be a sack on me (the way it looks on the envelope model). I made the size 8, a full two sizes smaller than usual. I went a little easy on my usual bodice shortening because of this, but apparently not easy enough because I had to cut down under the armpits to make it fit. In the end it looked fine and the sizing was about right, but it really wasn’t the best pattern for the job. And did I mention that’s a lot of annoying seams to sew in an annoying fabric?

Ah, well. Deep breaths. A week later, it’s all water under the bridge, right? It was a really fun outfit when it was all put together, and I have at least a couple of pieces that will (maybe?) be useful in the future.

Hope you had a scary Hallowe’en!

20131107-202821.jpg

23 Comments

Filed under Sewing

Another little thing.

It seems to be the season, or perhaps I’ve just reached a certain age. Anyway, I had to make another baby thing. For those of you keeping track, that brings my total of baby clothes ever made up to three items, two of them in the last two weeks.

I had a baby shower to go to. It was Epona’s. Some of you may have picked up on the fact that she’s, well, a bit of a cowgirl (the bit where she wore cowboy boots with her wedding dress might’ve given it away). I try not to hold it against her. So, of course, I had to make something that no one else would possibly give her.

I made baby chaps.

20131103-190017.jpg

Yup. I went there.

After I had thought of the idea, I went to the googles and found this tutorial, which was enough to get me started, anyway.

baby chaps diagram

baby chaps diagram

I started with a baby pants pattern, since I didn’t have a pair of baby pants handy. It got me in the right scale ballpark, anyway (since obviously I no longer have any idea what size babies are, see my last post for evidence.) I wanted an outseam so I could add fringe to it; in hindsight I could’ve made the inseam on the fold and saved myself, oh, six inches or so of sewing. Anyway.

I chose for my fabric this browns stretch velour a friend of my mother’s gave me because she didn’t know what to do with it. Obviously I didn’t know either, as I’ve been sitting on it for a couple of years now, but it’s soft and cozy and the colour was reasonable for leather, so I think it may have found its true calling, presuming I need to make about fifty pairs of baby chaps. I made each leg lined, so they’re fuzzy on the inside, too. I used my new walking foot from Sew Classic, and while I didn’t do comparison samples without, it did a very nice job of feeding all the layers together, straining only little when I had four layers stacked to sew the outseams.  I stitched the outseams so that the extra-wide seam allowance was on the outside, and then went to town snipping little fringes. They’re super cute now, although I won’t vouch for how they’ll hold up in the wash. Then I added the band at the top, with elastic (hopefully about the right size for a baby waist, I have no frickin’ clue at this point.), and made a belt buckle out of some silver lining left over from this vest. For the belt-buckle, I followed Sew A Straight Line’s tutorial pretty much exactly.

20131103-190035.jpg

Baby big-ass belt buckle.

Then I sewed it on backwards. That is supposed to be a Z, not an angular S. And my latent dyslexia kicked in, so I didn’t even realize it until looking at photos after. Just shoot me now.

20131103-190051.jpg

With fringe.

I actually thought the fringe turned out really well; I was not at all sure it would, and they looked pretty lame before I snipped it, but I think it worked great, maybe because there were four layers of fabric to snip.

Anyway, I think they went over well. There were plenty of onesies and blankies and even a full-blown diaper cake, but there was definitely only one pair of baby chaps.

Although, I have a sinking feeling I should probably get started on the next size up…

9 Comments

Filed under Sewing

A Very Small Jacket

In the spirit of “How much more shit can I possibly cram in,” I made a baby jacket.

Let’s back up a bit. Last winter my bestie, Ada, recipient of the gift Ruby Slip, had a baby girl. In the spring, Ada and her husband came back to Saskabush to spend six months of their parental leave around family. YAY! And I spent most of the last six months thinking that really I ought to make something for this adorable baby who is lucky enough to have one of the most wonderful people in the entire world for a mother. Of course, in my typical procrastinaty way, I didn’t make anything. I even missed my window of opportunity to make this pattern last summer:

Simplicity 3243 – Opportunity Lost

I know, pretty unforgivable. I had fabric picked out and everything.

Alas, like all good things, this idyll must come to an end. Ada and family are headed back to the balmy west coast, and I probably won’t see baby Q (and her delicious pudgy rolls) until after she’s walking. Maybe talking. Stupid distance.

Style 2170

So I got it into my head, a week ago, to finally make up Style 2170, the un-numbered coat version. I traced it out, which would’ve been incredibly easy except for some reason the envelope designers didn’t give that view a number, and while the individual pieces were marked “Coat,” the pattern overview really wasn’t very clear about which pieces were which. I ransacked the stash a bit for coating (something I am well supplied with), Kasha lining (mmmm, Kasha), and finally settled on a flannel I could sacrifice for underlining. Although it has pink teddy bears. We’ll come back to that.

Coat

Coat

Did you notice this pattern, too, is for a six month old? Yeah, real bright, Tanit. Q is nine months. She’s not exactly a wispy, waifly nine-month-old, either (see above about the rolls.) So I have a sinking feeling that this coat will probably fit for about a minute and a half. Ah, well. It’s the thought that counts, right?

Don’t answer that.

Collar. Perfect button.

Collar. Perfect button.

I had hoped for two buttons for the closure (as per the drawing) but couldn’t find any pairs in stash that worked as well as this one perfect purple button. You can see I made no adjustments for turn of cloth when stitching the collar. I only had one afternoon to construct the whole thing, I wasn’t really thinking about fine tailoring.

Fold-over facings

Fold-over facings

The front and front yoke both have fold-over, cut on facings; this made for some nifty construction I don’t think I can explain without long diagrams, but was a pain in the butt when it came to adding the lining, since the original pattern wasn’t lined and when I went to sew in the sleeves, well, the front and back yoke were all sewn to each other. There was some seam-ripping and pouting. I wound up stitching the lining sleeve to the lining body by hand; technically it could’ve been done by machine, but the space was so small and fiddly. Baby clothes are pretty annoying that way, aren’t they? There was a fair bit of ease in the sleeve cap, as you can see; I didn’t really notice with the shell fabric, which eased gloriously.

Quilting for Q

Quilting for Q

I got it into my head, during the gap between cutting and actually sewing it up on Sunday, that I should quilt the back yoke. The thought process actually went: I want flannel interlining. Interlining is sometimes quilted to the linings. Think of those gorgeous quilted petticoats you like so much. I could totally do something like that! I should quilt a “Q” onto the back yoke! Then I tried to add a bunch of curly, floral bits. I’m not good at either quilting or embroidery, so I don’t think my results are terribly legible or lovely but, well, there is a Q there if you look closely. There are also some pink smudges, because when I washed the piece to get the little purple tracing-paper dots off, it appears the pink bears on the backing flannel bled. Aargh.

2013-10-27 19.07.00

Lining and facings

I used featherstitch topstitching to attach the facing to the front lining.

Hem and seam (un)finishing

The guts.

Here you can see those darn pink bears. This flannel had been pre-washed at lest twice, and it still bled. WTF? I cut the flannel 2 cm shorter than the lining, and then sewed the hems together (which took a lot of easing on a flared coat like this) and managed to sort-of get it to lie nicely once it was turned around. My coating fabric was really fray-prone, so I blockfused it to a knit interfacing , which made it lovely to work with, but I probably still should’ve serged the raw edges. I was assuming this was a poly coating, but maybe there’s some rayon or even wool in there; it sure pressed and eased beautifully. I love coating. I found a lavender lace hem tape in stash to cover my hem, though I picked a darker purple thread to sew it on, which doesn’t look terribly nice. It’s very tidy, though, at least.

that bit

that bit

I backed the purple button on the outside with this clear, boring button on the inside. I was looking for a cute purple one, but couldn’t find one that was small and flat enough.

Back view. Very boring.

Back view. Very boring.

I kind of wish I would’ve piped the lower yoke seam, as it’s a pretty feature and hardly shows. Or maybe I should’ve done the back yoke on the bias. Ah, well. What’s done is done.

Bonnet. Fail.

Bonnet. Fail.

As you may have noticed, the pattern included an adorable bonnet. I was pretty excited about this, until I got it to this point, and looked at it, and realized that it was highly unlikely to actually fit, or cover anything enough to keep it warm if it did. So it went to the bottom of the queue and didn’t get finished. It would’ve been lovely, though.

Bonnet insides.

Bonnet insides.

Don’t you love my featherstitch understitching?

I have to say, much as I don’t love making baby clothes (they have such funny squooshy bodies, regular clothes really don’t make much sense, and they grow too quickly), I sure do love making coats. I love working with the heavy fabrics, I love the way they ease and press and even the fiddly things like turn of cloth. This was a pleasure to make just for how the fabrics handled, and it was so much quicker than a full-sized coat would’ve been.

Edited to add:

It fits! It fits it fits it fits! I added an inch to the sleeves when I made it, and they are a little long, and the shoulders are still a little wide as well. Silly over-sized baby clothes. The sleeves aren’t particularly wide, especially for chubby baby arms, but she’ll be able to wear it for a bit, anyway (and she’ll get a lot more wear out of it in warm Vancouver than she would here, that’s for sure.)

Also, Ada has promised pictures of the jacket being worn in its natural habitat. 🙂

Also, I’m apparently going to a baby shower on Sunday. Which means I may have to make more baby clothes. /sigh.

42 Comments

Filed under Sewing

Jacket Makings

20131024-202410.jpg

… Is what Stylish wrote in big block letters across her calendar for last weekend. She is organized and actually keeps track of things like that on her calendar. I know, it’s a little creepy.

20131024-202909.jpg

So, jackets. We planned to make these last year. How did that not happen, I ask you? Don’t answer. Anyway. Stylish had her pattern picked and fabric bought this time last year. Simplicity 2508 in a giant houndstooth check. Keep in mind this time last year she’d only made one garment, and I did the zipper for her. Ok, maybe a bit of working up to it was in order.

20131024-202922.jpg

Anybody remember this pattern? Of So, Zo fame? That I muslined aeons ago? That I found the perfect fabric for and have been sitting on ever since?

Well, it’s cut now. I’m commited. I probably should’ve done another muslin to check my changes on the bodice, but there’s enough fabric left to re-cut it if I have to. But I’ve decided I need a windproof underlining for this wool (which is actually a knit) so I have to go pick up something thin and nylon-y. I’m making the loooooong view, A. Did you need to ask? Oh, and it’s really long. According to the pattern envelope, 57″ from the nape of the neck. I checked and even with the shortened bodice on mine, that’s still brushing the ground on me, and I’m 5′ 7″. It’s going to be AWESOME.

20131024-202424.jpg

My Crafty sister-in-law came, too, but I didn’t get any photos (Stylish’s basement is many things, but photogenic is not really one of its talents). She’s making the same pattern as Stylish. Actually, the same view. It was really handy because she could just go down the list of pattern pieces Stylish had made and trace out the ones she needed in her size (that pattern is not the most clearly-labeled when it comes to figuring out which pattern pieces you need for which views, by the way.) Her fabric is a houndstooth, too, now that I think about it, although very different in style and scale, and she’s aiming for a fall coat, not the full winter deal. If anyone has any thoughts on FBA’ing this pattern, I’d love to hear them.

Stylish got her muslin, made in a sweater knit, almost done (still needs collar and cuffs). We had made a couple of adjustments to the pattern beforehand—she traced the size 12, grading out to a 14-equivalent below the waist, and add about 2″ to the sleeves (more may be needed), and then shortened the torso by 2″. Figuring that out for the raglan sleeves was kind of brain-wracking, and I’m still not entirely sure I got it right. Let’s just say I’m very glad I walked those raglan sleeve seams after I’d done all the alterations, because it took some serious fiddling to get them to line up. (Which makes me wonder if they matched in the original pattern, but that’s a whole ‘nother issue.) All those changes were worth it, though, because when she put the coat on the waist was in exactly the right place, there was enough room for her hips (not any extra, mind you) and the sleeves were, well, almost long enough. All we did was tweak the shoulder width a wee bit, easy to do with a raglan (narrowing them), and taking in at the back a little bit. I was trying very, very hard not to take it in too much, at least on the pattern. The “muslin” may have a future life as a sweater (or perhaps a housecoat :P) for which it would be more flattering to take it in a bit more.

The next step is going to get a bit scary, though. The Simplicity coat doesn’t have separate pattern pieces for things like the lining and interfacing. I know how to adapt those pieces (thank you Sherry!) but how heavy duty do I want to get here? I don’t want to overwhelm either of them, but I also don’t want them to spend all this time and money on inferior jackets. And how do I break it to Stylish, for sure, that she’s going to have to do bound buttonholes on her fabric? Machine-stitched ones are SO not going to happen on her thick, spongy fabric. Crafty MIGHT be able to manage machine buttonholes, but that can be even more of a headache than bound buttonholes. /sigh.

I want to say that more Jacket Makings will be happening this weekend but, well, it’s the weekend before Hallowe’en. Both kids have costumes that need to be put together (if not exactly sewn) and I have a black crinoline to finish.

20131024-215326.jpg

On the other hand, winter is definitely in the air over here. I really, really, really want a crazy-warm, long, heavy coat.

4 Comments

Filed under Sewing

Handworked buttonhole.

20131022-212744.jpg

Not awesome. Mrs. Church would send me straight back to Victorian sewing school. But it’s leap years beyond my last attempt. Sadly, it’s in the middle of a scrap with no practical purpose. /sigh 😉

27 Comments

October 22, 2013 · 9:31 pm

The Real Thing

The real thing

The real thing

I finally got a hold of my mom’s Genuine Article Victorian Drawers (TM).  Well, I can’t actually date them particularly well—but they’re certainly older than 1920s, and they’re almost perfectly in keeping with everything Victorian I’ve read about what drawers should be. Which doesn’t seem to have changed much over time, except possibly for length.

The Originals

The Originals

I gotta tell you, I feel pretty naughty for trying them on. The fabric’s in pretty good shape, but it still feels kinda sacreligeous.

Back view

Back view

They’re a little more snug than my pair.

closeup

closeup

The hem is a gorgeous eyelet lace, not gathered. I don’t think I could find a lace like this if I offered my firstborn child.

side by side

side by side

Here’s the two side by side. Neither of my lace additions are particularly spot on, are they?

that thing

that thing

Now, THAT, my friends, is a hand-worked buttonhole. Well, except for the frayed bit. You’d be a bit frayed, too, if you were over 100 years old.

button

button

I think I got my button just right, though.

Felled seam

Felled seam

I believe this seam was sewn by machine, then hand-felled. Yes, the Victorians are judging me for wimping out.

Length adjustment

Length adjustment

The wide tuck to the left was done before the inseam was stitched, as per all the different instructions. The one I’m holding here, though, was added after. I wonder if the seamstress thought the space needed “something” or if it was intended to shorten the length a bit?

yummy

yummy

I wish I’d done more narrow tucks, rather than three big ones, on my pair. No, I’m not re-doing them. Incidentally, the band of lace above the trimming lace is finishing the hem, exactly like the band finish on my pair except on the outside and pretty. I wish I’d thought of that one, dammit.

fabric and hand-stitching closeup

fabric and hand-stitching closeup

Both of us stitched the outside of the waistband by machine and then hand-stitched the inside. My stitches are not quite as neat and small as the Victorian’s, but they aren’t too bad.

In other news, reader Meadowsweet Child sent me some spoon busks all the way from civilization (aka Ontario*)! Woohoo! And I may have gotten a bit click-happy on Farthingales, so with any luck I’ll have some boning and things soon, too…

*It occurs to me that ordering supplies, for anything really, from Ontario is probably terribly historically accurate for early Saskatoon. Everything, even lumber, had to be shipped from out east. Then, since the railway didn’t even arrive until 1890, it had to be carted up from Moose Jaw, over 200 km.

4 Comments

Filed under Sewing

Misrepresentation!

20131008-161830.jpg

Kandel Knits, you lie!

This pattern was one of several by this company, which I had not run into before, in the haul of old patterns Ra pulled from the dumpster for Stylish. It appears to be another in the radiation of knit-specializing indie pattern companies that appeared in the late 60s and 70s as the big 4 failed to fill that niche adequately. It claims to be produced by a professional knitting mill, so they should know what they’re talking about, right? The most interesting thing about the pattern, of course, is the front-shifted side-seam on the bottoms, although the top is cute as well.

I made the bikini bottoms, although of course I made them up as underwear, excited by this unusual seaming feature.

Well, of course as soon as I traced the pattern, I was wondering how that was going to happen. The width of back and front pieces was pretty comparable and there was no recognizable “shifting” of the seam toward the front. Nonetheless I soldiered on.

Sizes and pattern

Sizes and “True Measure” pattern

The pattern instructions weren’t great, but they were interestingly patchy—a lot on different ways to sew knits, quite a bit on fitting (maybe if I’d followed that part more closely I’d have had more of that front-shift to the side-seam), but then the actual instruction was along the lines of “sew this seam. Now hem this.”. There was no crotch-liner piece, but it was pretty easy to improv one. There’s no information on the sizing on the pattern or envelope itself, although I THINK it’s the same sizing Kwik Sew uses for underwear—but fortunately (?) for me, the helpful previous owner had written most of the sizes and measurements out from the front. As you can maybe see in that first photo, the pattern sizes are, um, small. 32″ hip for a size 7 (I guess that’s about the same as the standard Miss’s size 8.) Even more fortunately for me (I do not have a 32″ hip. My 13-year-old does not have a 32″ hip.), the pattern is drafted for “fabric with very little stretch;” I’m thinking the “True Measure” thing means it’s drafted with 0 ease.  My fabric, while a nice, stable cotton-lycra, has a very decent amount of stretch. I used comparison with my McCall’s 4471 pattern to verify that the size 8 should be just fine. (Actually, in terms of overall width and length, AKA rise, the two patterns were reassuringly similar.)

20131008-171135.jpg

Finished set. Very adequate. Side-seams pretty much right at side.

And when sewn up, they did end up being pretty much fine, ordinary underwear (I lowered the rise a teeny bit, especially in front, but that’s typical for me), but, as suspected, that promised shifted side seam is not at all evident.

My biggest hold-back on making underwear usually ends up being the elastic. I have zillions of little scraps of knits I could use, but I tend to only buy elastic in small quantities as I need it. And then use it up pretty efficiently. So for this pair I tried something I had read about on someone’s blog (but damned if I can find where)—just using a self-fabric band. I’ll report back on how it works when I’ve road-tested them for more than five minutes, but initial fitting seems promising. As with Kwik Sew 2100, the crotch is a bit wide, but now that I’m actually paying attention that’s super-common in my storebought underwears as well. It’s not uncomfortable, just something to maybe be trimmed down in the future (and it’s worth noting that I added a band, while typical swimwear finishing would fold over at least 1/4″ on each side while attaching the elastic.

In conclusion, seems like a decent basic bikini pattern, but that shifted side-seam is nowhere to be found.

There’s an obvious solution, of course. I’ll have to draft one for myself.

23 Comments

Filed under Sewing

Little leggings, legion

20131004-193251.jpg

A small selection

Last weekend, as often happens, we went to my Stylish sister-in-law’s. Certain television premieres may have been airing that, since we gave up cable, wouldn’t be watchable chez Isis. But before the stories were watched, we sewed. I’ve had a leggings itch ever since working on the Espresso leggings for Cake Patterns, especially with the weather turning. And this purple polkadot Michael Miller knit was kinda burning a hole in the stash ever since I caved and bought it last month.

20131004-193311.jpg

Laying out little leggings

The purple was never meant for me; I handily got three little leggings out of it, for Syo, Fyon, and Waif, and there’s enough left for two more leggings or any number of pairs of underwear, depending. Stylish worked on tracing her pattern for Coat Club, but she is easily distracted by frivolities like cleaning her house and making supper, so she didn’t get much done. I, on the other hand, made five pairs of leggings, mainly by dint of ignoring everyone else.

20131004-200059.jpg

Trying on.

I spent, by far, the most time laying out and matching up zig-zags.  The purple knit isn’t as substantial as I’d originally thought and I’m really not sure how well it’ll wear—although it is CUTE. The zig-zags actually ran lengthwise on this fabric, which didn’t seem right, so I cut them on the cross-grain, which means the maximum stretch isn’t quite right. As a result the leggings are a bit snug, even on the Waif, who isn’t at all used to anything being tight.

I think the cuteness has made up for it, though—I made the leggings on Sunday, it’s now the following Sunday, and I’m not actually sure they’ve been taken off.*

20131004-193228.jpg

Tags

My fave bit was using Stylish’s embroidery machine to make little tags with the first letters of their names to help the girls distinguish between their pairs. And tell front from back. The only problem with this scheme is that Syo and Fyon have names that begin with the same letter, but they don’t live in the same house so I’m hoping it won’t be a huge issue.

20131004-193211.jpg

All mine!

And my pair? Plain black, just below knee length. I wanted them mostly for sleeping, and they have been serving that purpose nicely.

*okay, they probably have. Stylish is pretty firm about things like pjs and baths…

20131006-190006.jpg

… and more…

Ok, so in the time it’s taken me to write up this (painfully poorly photographed) post, I made up two more leggings, from this slippery nasty spandexy stuff Syo talked me into buying ages ago. I had a metre, which turned out to be just enough for a pair of leggings for me and another for Syo. It actually wasn’t bad to sew (slippery but not rolly and it doesn’t run), but I did have to sew just about everything twice, because the narrow zig-zag I used the first time around didn’t have enough stretch. So I switched to a bulkier, but stretchier, mock-overlock stitch on the White. Incidentally, Stylish’s Memorycraft has a mock-overlock stitch and an over-edge foot that works REALLY nicely with it. Since my serger a) doesn’t make strong enough seams for stuff like this, and b) has decided not to cut anything, this kind of thing has been kinda important. They’re all really slow compared to a serger, though. *pout*

Hopefully at some point this week I’ll manage to write up the underwear I’ve been making, the Hallowe’en outfit, or even the Darth Vader dress…. but next weekend is Canadian Thanksgiving, so I’m not holding my breath for too much sewing time…

5 Comments

Filed under Sewing

Sexy lingerie…

This is not. I assume adding a corset will make it better, but I am currently unconvinced. No wonder Victorians were so sexually unenthused (although they did invent the vibrator…)

So, here, only a few weeks late, are some final finished photos of my drawers. I had been holding off, hoping to get comparison shots with an actual pair in my mother’s collection, but I had a few free moments this morning while Osiris was still in bed (and so not around to laugh at me) so I figured I’d better seize them and get some photos. However, my cameria is AWOL (actually, probably somewhere in the bedroom with Osiris, and if I bang around in there I’ll wake him up and lose my opportunity), so you still get iPhone photos. Sorry. 😦

20130929-082742.jpg

Front View

The drawers fit, for a given level of “fit”. The length is about right, or maybe it’s a bit too long. Apparently they should be just below the knee—anything longer is slovenly. And the saggy-baggy-puffy-crotch thing seems to be part of the charm. Or, y’know, something.

Speaking of which, my main source of instruction have been threefold: “The Home Course in Dressmaking and Ladies Tailoring” (copyright 1908), which I actually have in paper copy, whence came the actual draft for these drawers, an ebook, “The Home Needle,” from 1882, by Ella Rodman Church, and the pair of antique drawers in my mom’s collection (hereafter referred to as “the extant pair.”). I love the 1882 book because a) it’s just about my time period (mid 1880s), b), it’s mercifully brief, and c) it’s delightfully opinionated. Mrs. Church starts right in by excoriating the sewing-machine (by the time of my 1908 book, the sewing machine was much more accepted and there is much less emphasis on hand sewing of things like basic seams.), and the state of sewing generally, and she’s full of important tips like the one above about the appropriate length of drawers. Whenever I find myself lacking, seamstresslywise, I remind myself that I keep company with all the half-ass, slipshod Victorian girls just plugging away making shoddy, poorly sewn items purely to annoy mavens of excellence like Mrs. Church. And if she finds my drawers slovenly… well, she’ll never have to see them. 😉

20130929-082757.jpg

Side view. Note puffy butt and tapering waist-band.

Although I based the draft for my drawers on the later Home Course, I did take a couple of details for them from Mrs. Church.

Drawers draft from The Home Needle (1882)

Mrs. Church’s drawers draft has a curved front crotch, and no rear crotch curve at all. This is actually the same as the drawers in Simplicity 9769. I assume this creates an extra-puffy bum, which would be desirable in the bustle era. (I wonder if the front curve has to do with the pattern being designed to have the crotch closed in the front.)

Drawers draft

Drawers draft from Home Course In Dressmaking (1908)

The 1908 draft I used, by contrast, has no curve at either front or back, but both lines angle back in pants-fashion, rather than one angling and one not.  And I departed from both drafts on one thing—when I compared my pattern with my mother’s extant pair (which, of course, I don’t know the precise dating of), I found the leg of the extant pair to be WAY, WAY narrower than my draft. So I narrowed that. Actualy, a lot of the details I wound up picking—the tucks, the lace, the ruffle, even the band finishing the crotch edges—kind of go back to that original pair.

20130929-082812.jpg

Rear view. The “chemise” is a slip left over from a 90s sheer-floral-rayon dress (you remember the ones). It actually kinda works, although the neckline is all wrong.

Although I initially drafted a curved waist-band pattern based on on the 1908 book, by the time I got around to this part of the sewing I had misplaced it and figured I would go with Mrs. Church’s instructions, which are more my proper period, anyway.  She says that although most people make a straight waistband, about an inch folded over, it’s better to make one wider at the back, that tapers to the front, and closes with two buttons rather than one. So I did. It would probably sit better at my actual waist, but despite all the fussing and futzing it turned out a bit large. I could, of course, move my buttons over, but I’m thinking the less bulk at my waist the better, once all the layers start coming together.

20130929-082848.jpg

Phew. OK, let’s stick with hanger shots.

I added a few more small tucks around my rather-ugly lace. I’m more or less okay with it now, although of course I’ve since found several laces in stash that would’ve been better. I did not remove the fabric behind the lace—there’s top-stitched lace exactly like this on the extant pair of drawers. I suppose see-through panels on your drawers might not be quite the thing, or maybe that seamstress was just a bit lazy. Either way, I have precedent.

20130929-082905.jpg

I added a few more small tucks around the wider lace. I like it better now.

I finished my inseam with a French seam, as per the 1908 instructions, contra Mrs. Church and the extant pair, both of which use a felled seam here. I can see why—the fell would be flatter and less likely to, ah, chafe delicate parts, since the low crotch sits pretty much right between your thighs. Since I don’t plan to be wearing these for days on end, well, I’ll live.

20130929-082920.jpg

Inseam, finished with a French seam.

I also finished the crotch with a straight band, as per the 1908 book and the extant pair, contra Mrs. Church, who advises some kind of a shaped facing, wider at the crotch point and narrowing toward the waistband—I couldn’t really make heads or tails of what she was describing, frankly. Which is the downside of the Victorian sewing books, but anyway.

20130929-082935.jpg

Two medium buttons

A few weeks ago my mother handed me two baggies of mixed buttons she had picked up at a garage sale. Ah, the joy. Anyway, I went through these looking for the perfect buttons, and found quite a few plain, smooth white glass buttons that seem just perfect. Medium size buttons, not small, in accordance with Mrs. Church’s instructions.

20130929-082949.jpg

Unbuttoned to show my terrible-ass buttonhole.

I remain impressively terrible at making hand-worked buttonholes (especially when I compare myself to actual examples). For something different this time I used a darning yarn that was in the sewing stuff I recently got with my Grandmother’s machine. I used it doubled and single would’ve been better, and it turns out after the fact that I was using a blanket stitch rather than a buttonhole stitch (they’re much the same except for the directly of the needle), which explains why my knots never end up in the right place. However, they are sturdy. Mrs. Church is rolling over in her grave as we speak.

20130929-083022.jpg

Now you can REALLY see the difference between the front and back waistband width.

These were pretty fun to make, although I must say finishing something and not being able (or even inclined) to immediately wear it out and about is pretty frustrating (and why I have resisted the siren-song of historical costuming in general, the last few years). Next in line: chemise, corset, petticoats, bustle. Not necessarily in that order. At my current rate that should only take, oh, another two years?

29 Comments

Filed under Sewing

Madly off in all directions

Despite actually having a wee bit of time that could’ve been spent sewing this weekend, I instead dithered to the point of getting almost nothing done.

20130922-222737.jpg

I have started a Hallowe’en outfit—not really a costume, but a fun outfit. Above will become a neon green crinoline.

20130922-222756.jpg

And then the blouse will be this spiderweb lace.

20130922-222823.jpg

This is the pile of various knits that I want to become leggings and underwear and other handy basics for the fast-impending winter.

20130922-222853.jpg

My Victorian obsession continues apace. My post-birthday splurge on some Truly Victorian patterns arrived. But I really can’t even start fantasizing about the outer layers before my underpinnings are under way. The pantaloons are finished (photos pending) so the next logical step should be the chemise, but of course the corset is far more fun to fantasize about even though I haven’t pulled the trigger on ordering the necessary hardware.

20130922-222927.jpg

I’m actually contemplating two corsets, one sedate and underwearly, and one more glamorous, using this gorgeous scrap of red and gold brocade that’s too narrow for much of anything else.

20130922-222945.jpg

I’m leaning towards this pattern for the chemise, as it appears most similar to the chemise instructions in my Victorian sewing texts—although the same texts refer to patterns that are available that have more shaping.

20130922-223013.jpg
This cotton batiste is ready to go whenever I stop dithering. Also a selection of lace.

20130922-223035.jpg

But of course what I really should be working on is this pair of jeans for my niece, whose birthday is tomorrow.

/sigh.

16 Comments

Filed under Sewing