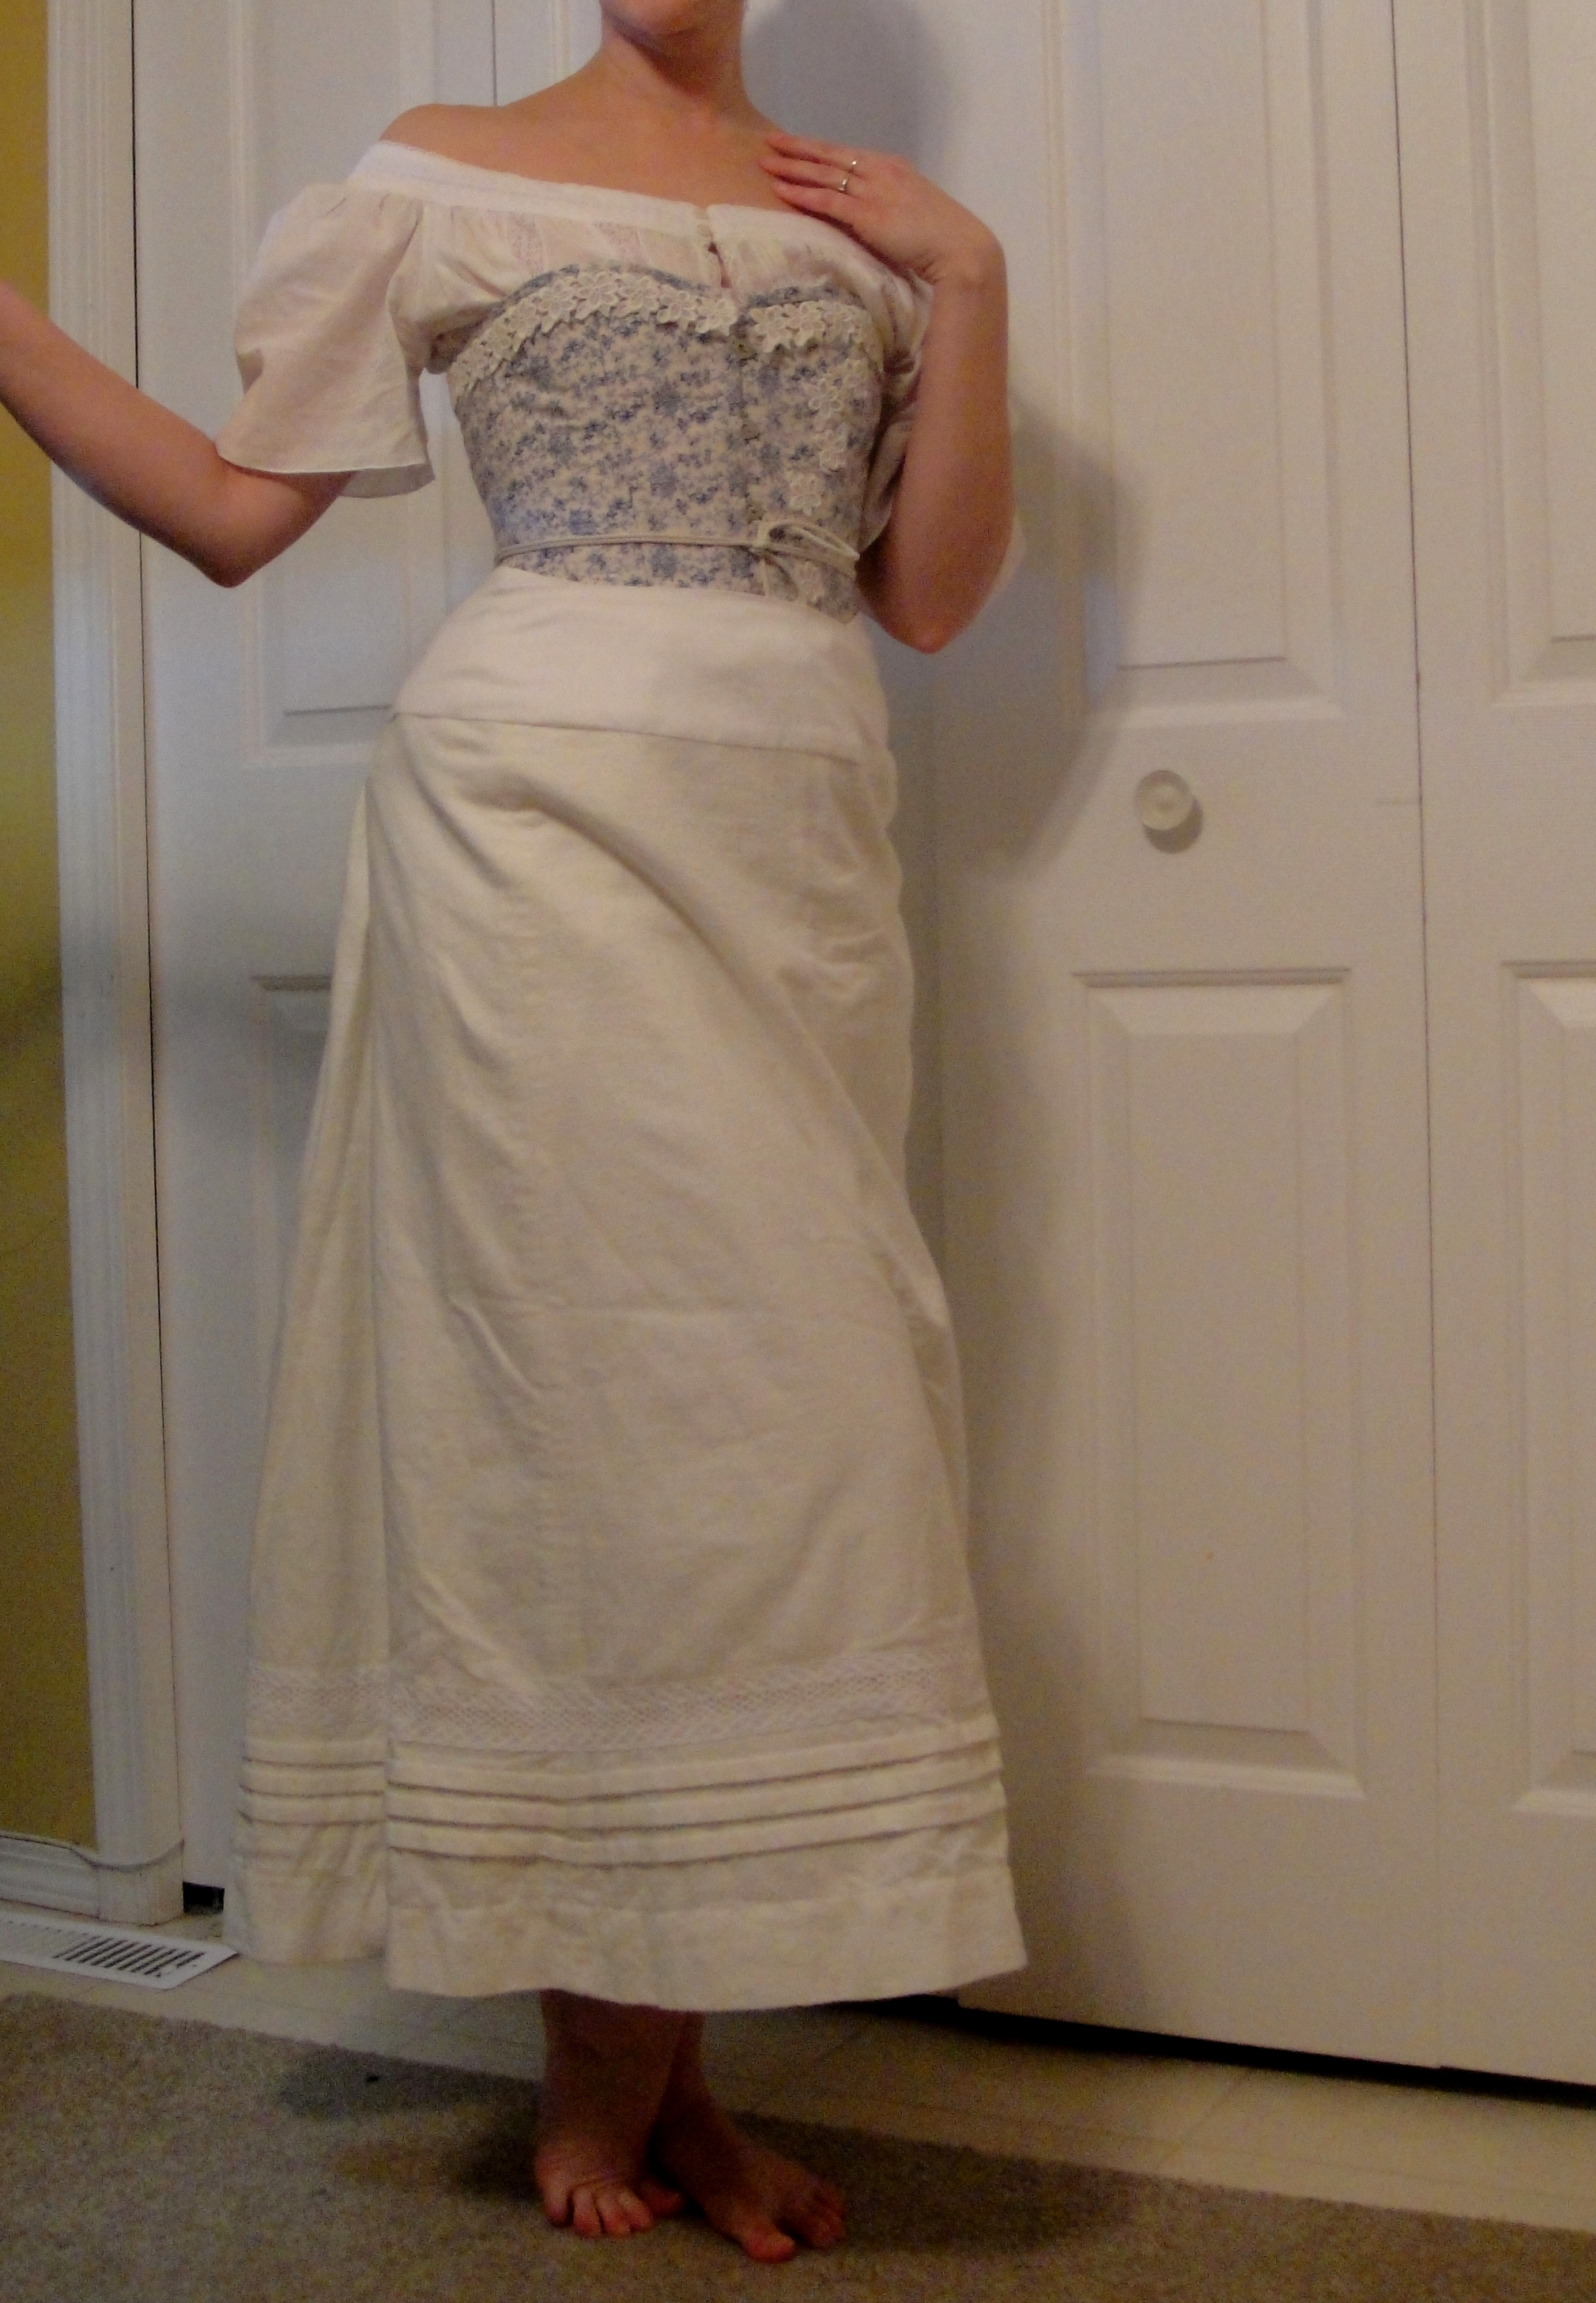
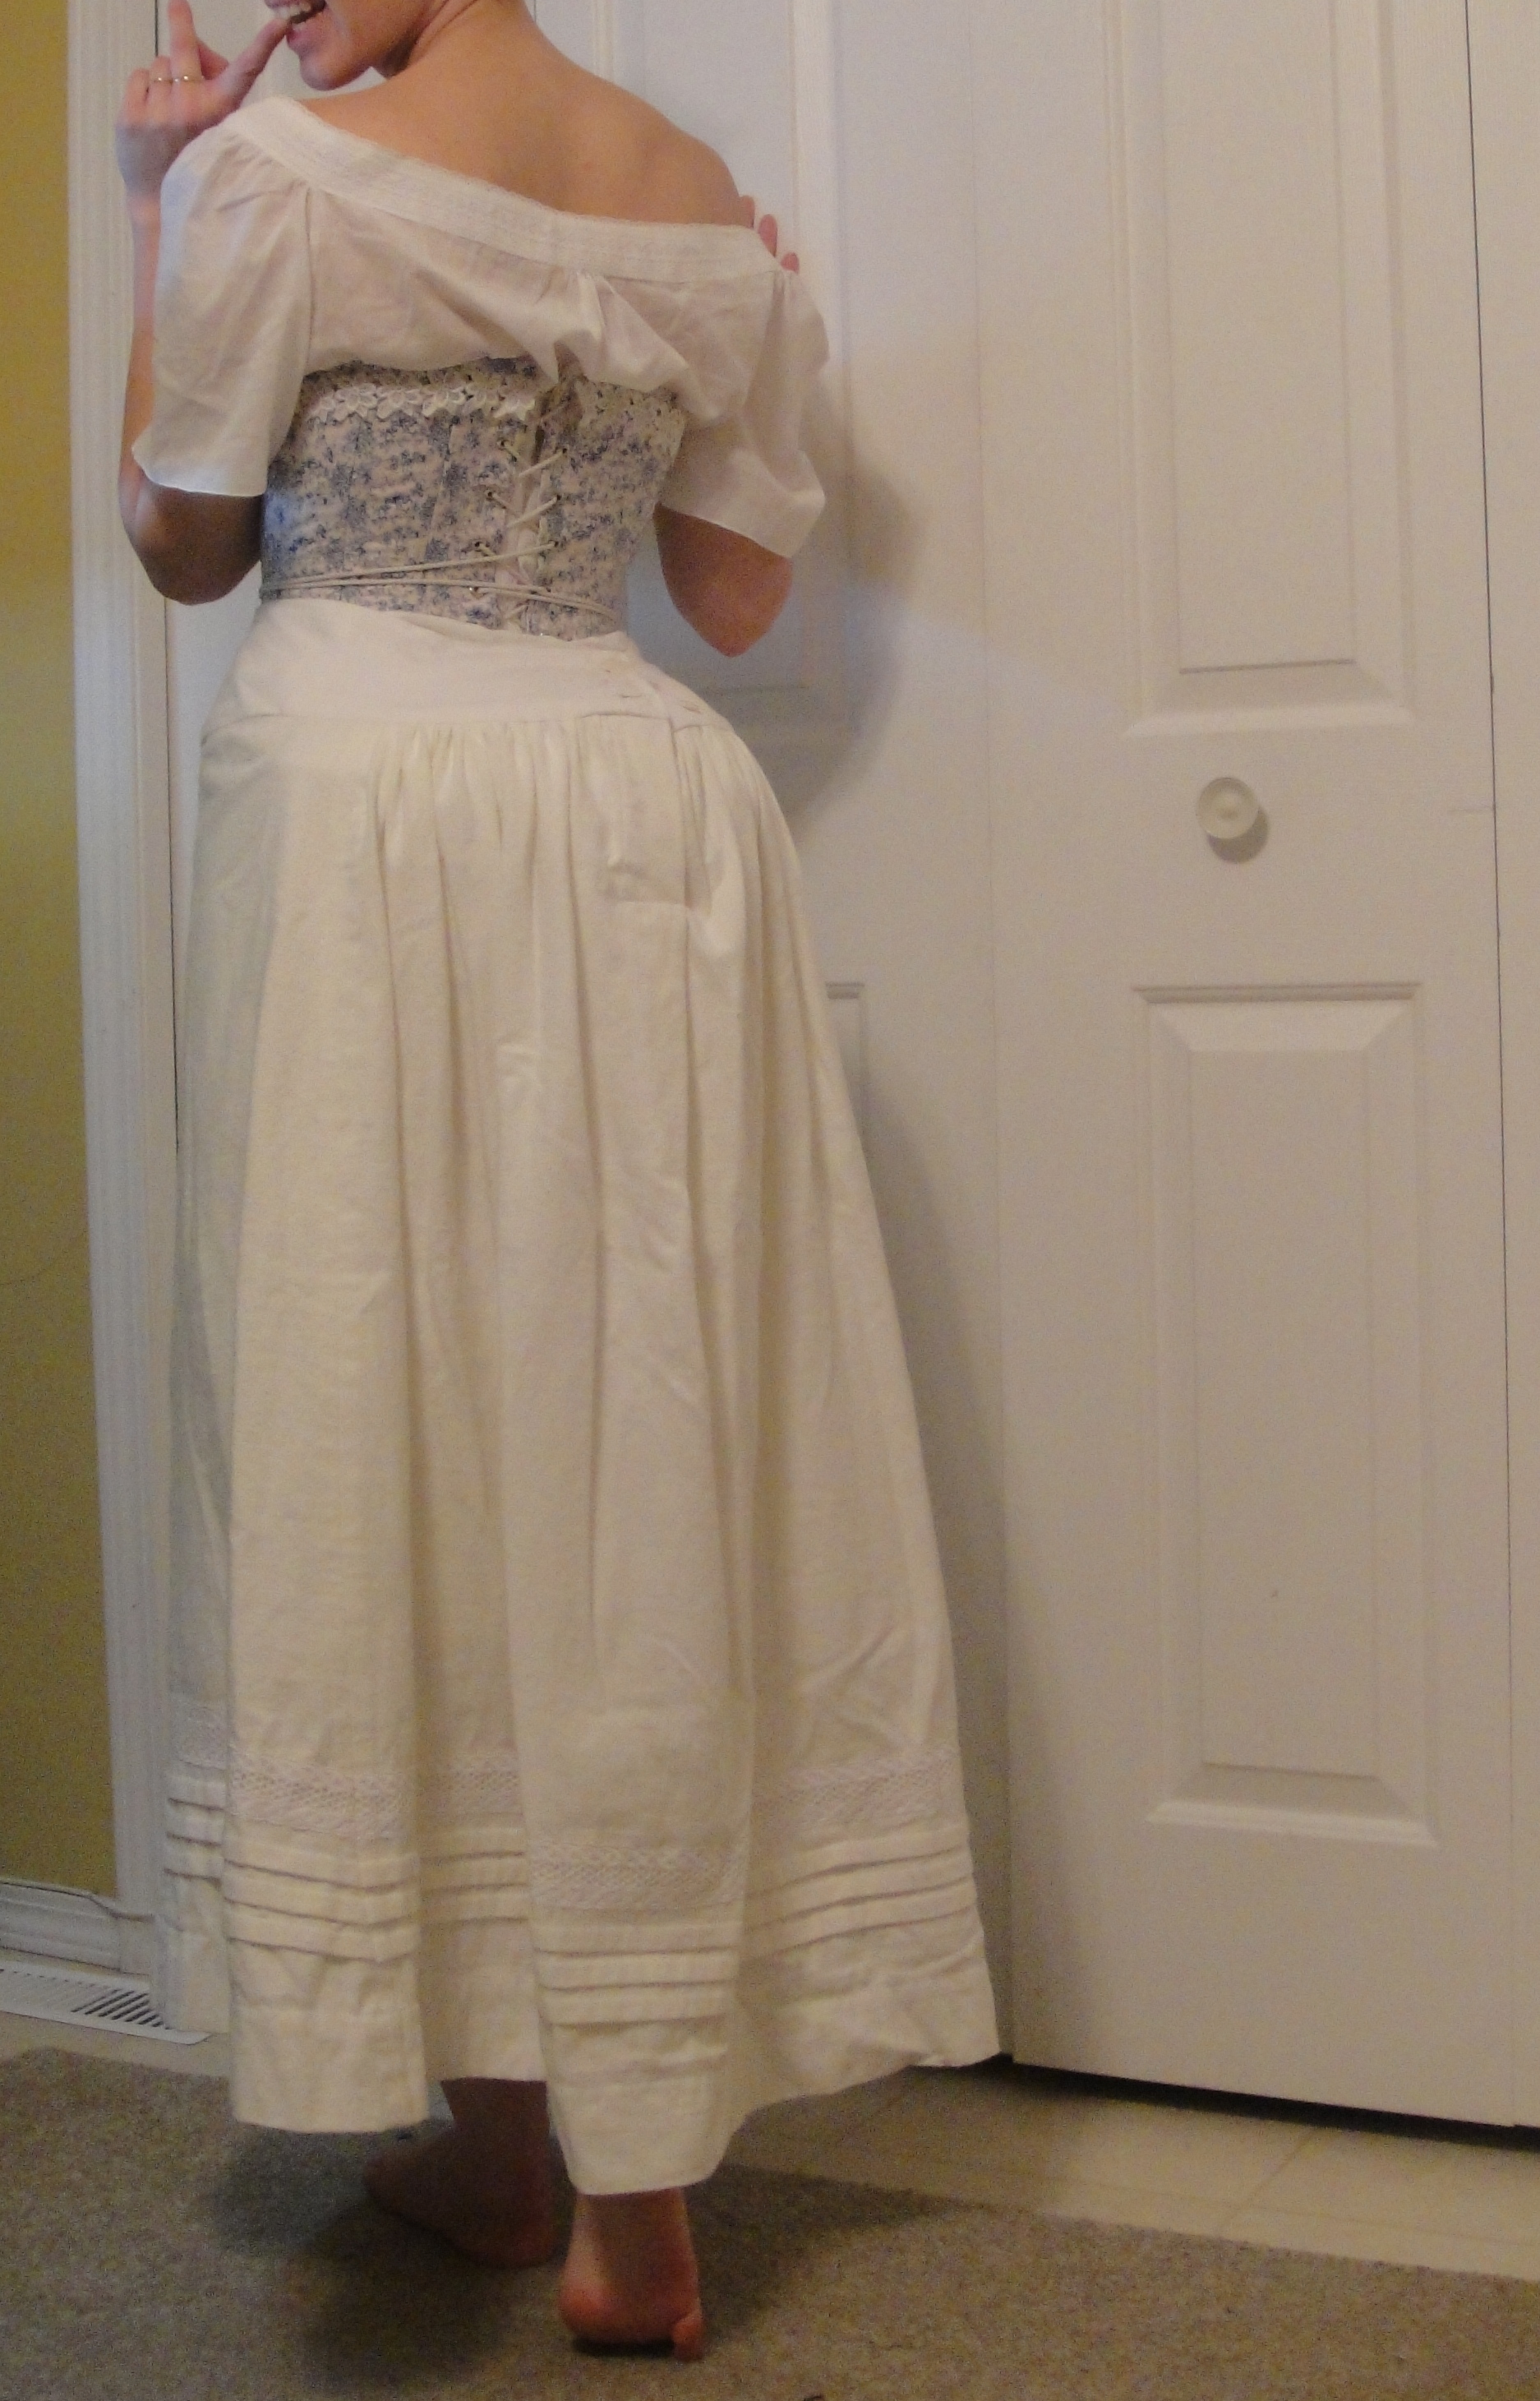
A very boring corset (and some not-so-authentic underpinnings)
I promised my husband I’d make him a shirt, so of course I had to whip up another corset.
Rather than reinvent the wheel, I went back to my Butterick 4254. First I re-traced all the pattern pieces 1/4″ narrower than before, then I made a few tweaks around the bust and waist. (Basically, more bust, less waist! Woohoo!) I decided I’m pretty happy with the overall length and shaping, I just wanted to refine the shape a bit more. Then, as I was sewing a quick mockup, I realized that my original pattern pieces seemed to be calling for 3/4″ seam allowances—and I’m pretty sure I sewed both my earlier mock ups and my blue corset with regular 5/8th seam allowances. Which explains where that extra 1/4″ on each piece came from. (I’m still glad I removed it, though, as I don’t need 3/4″ SAs to make channels for 1/4″ boning., and they cause issues like puckering, and or need clipping and things.)

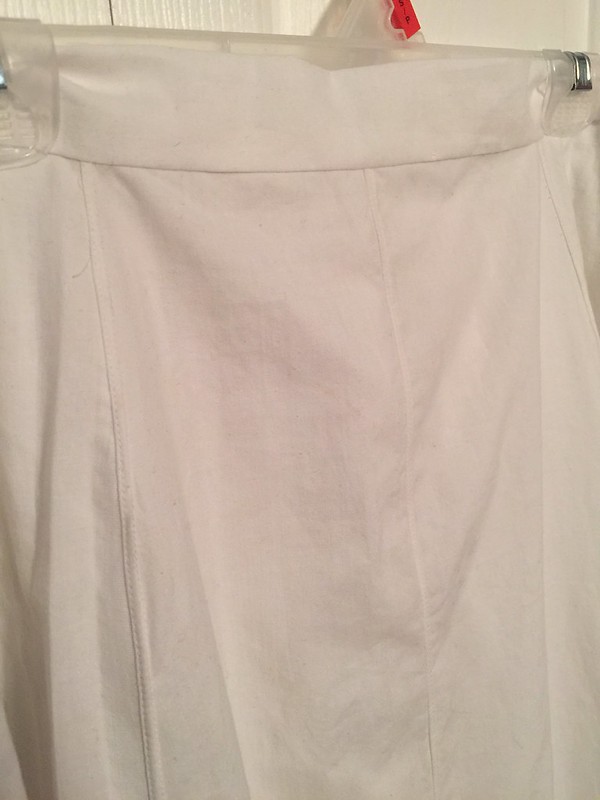
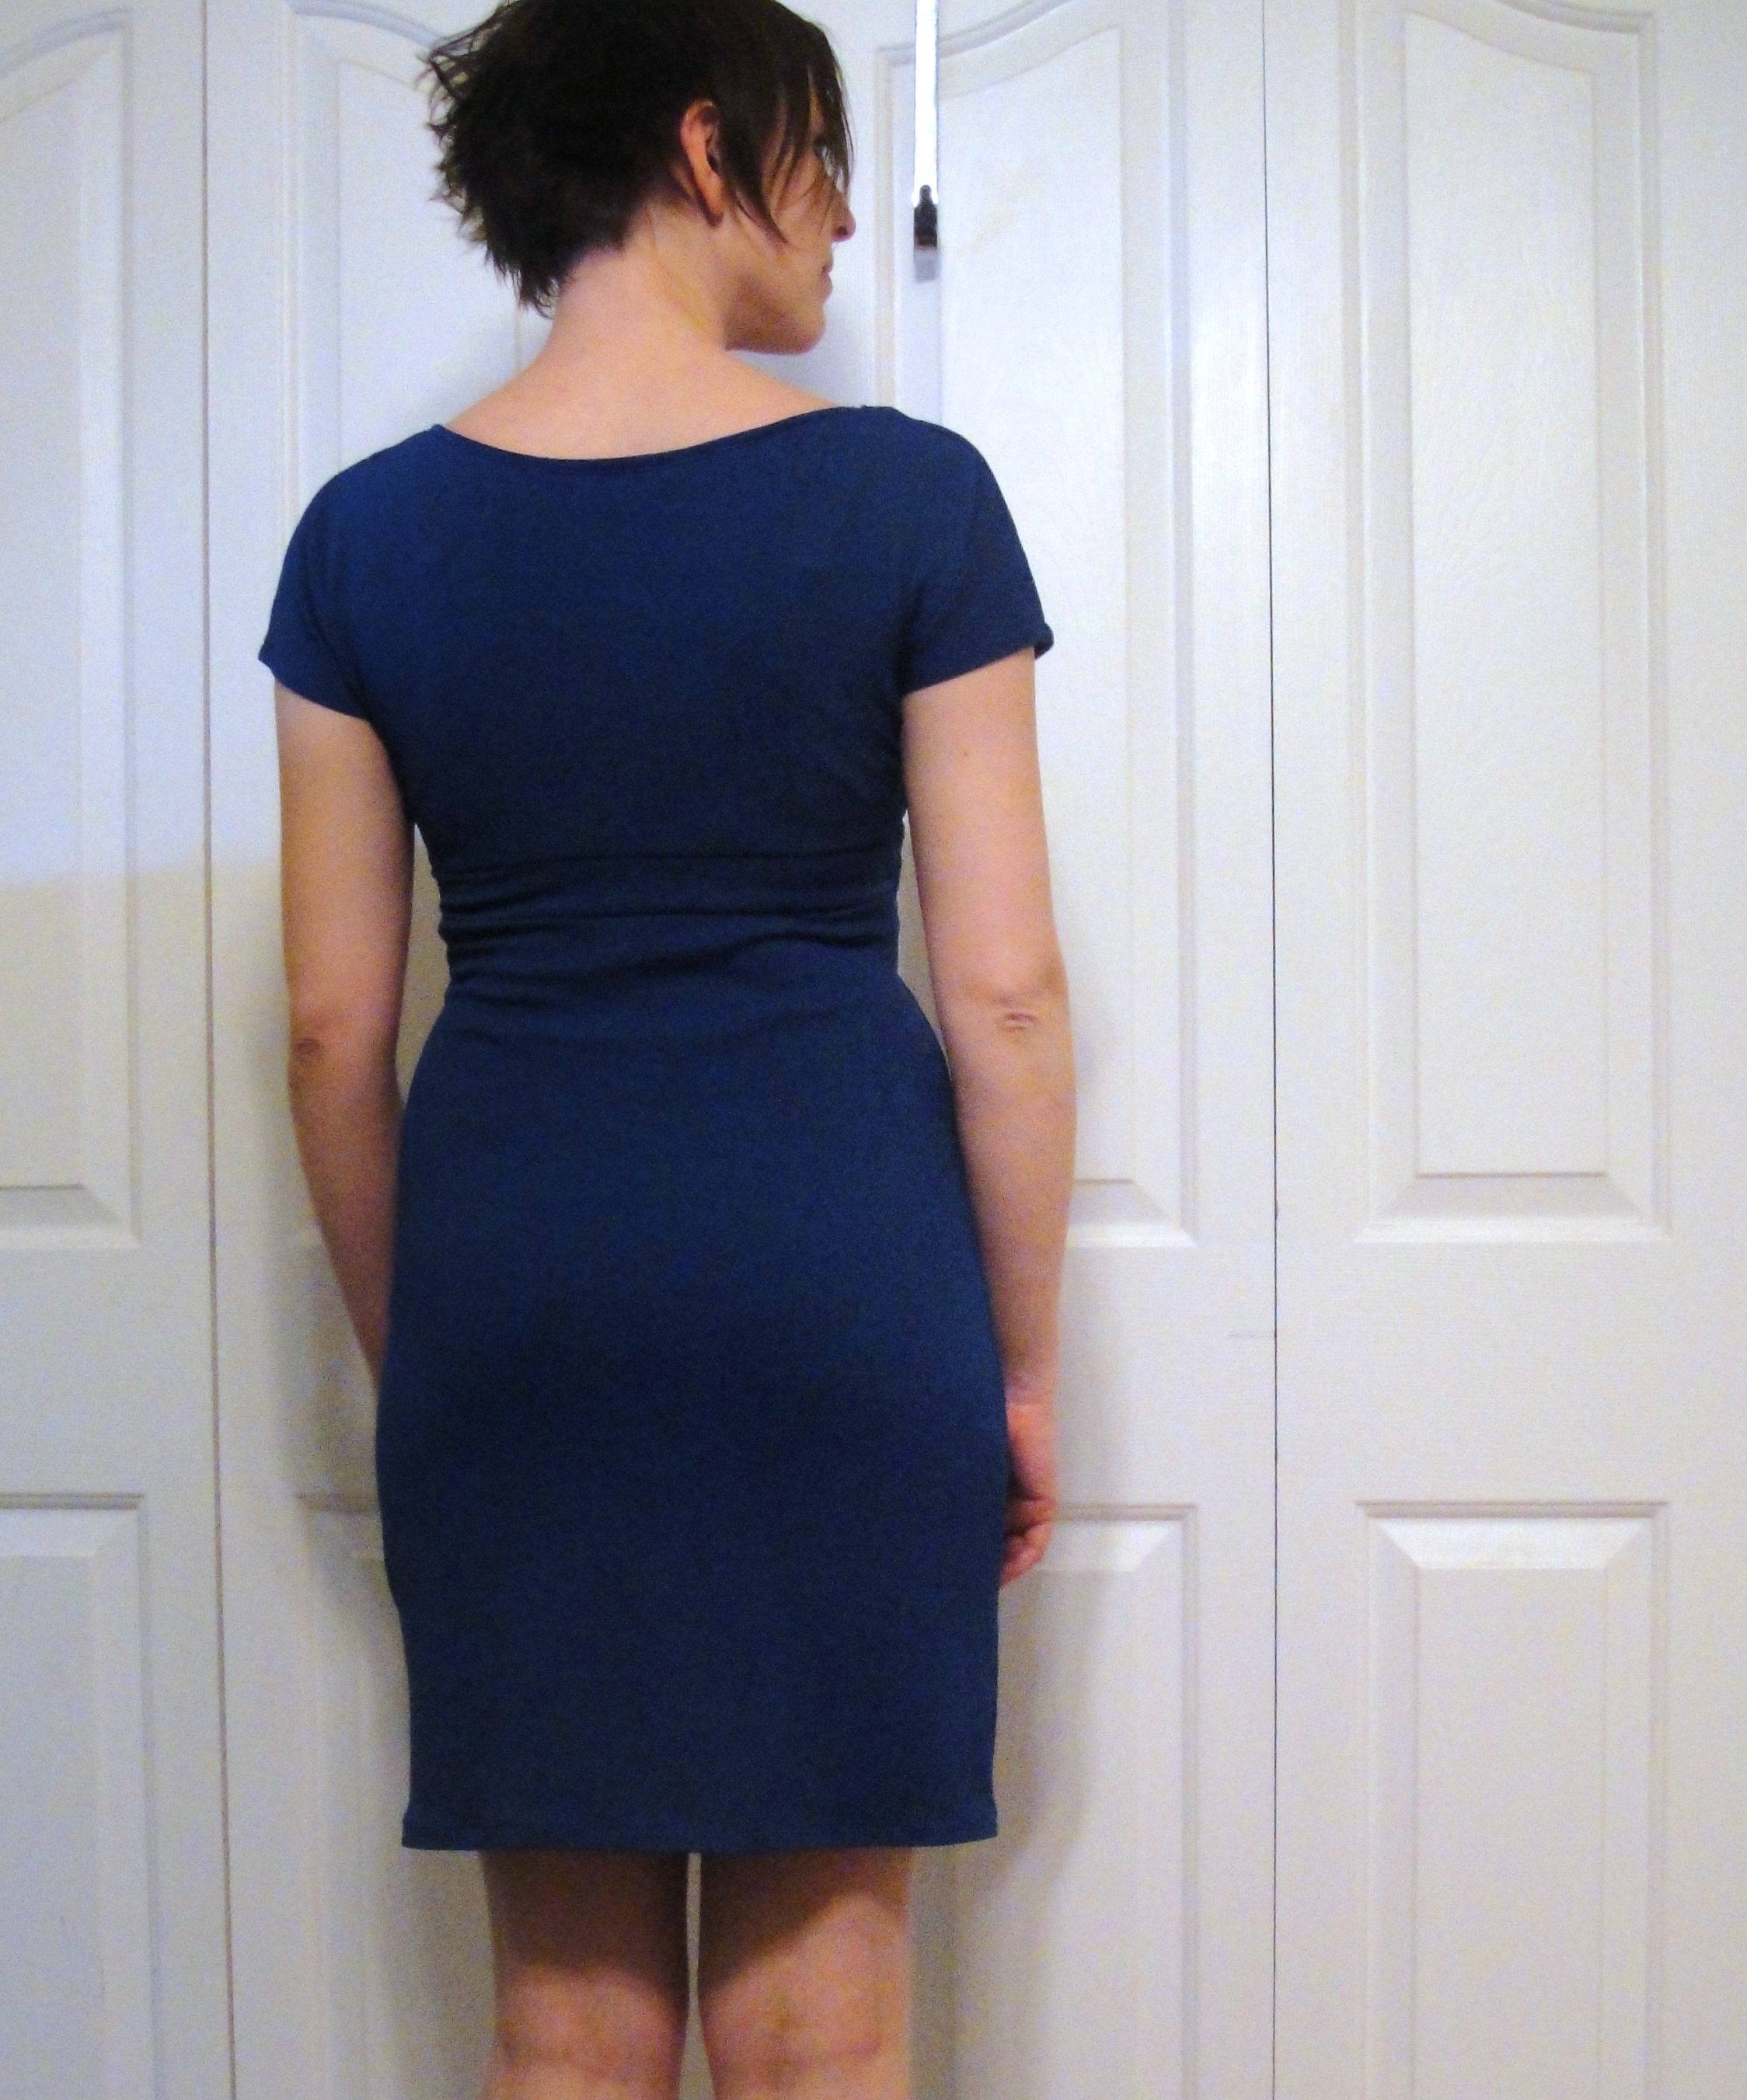
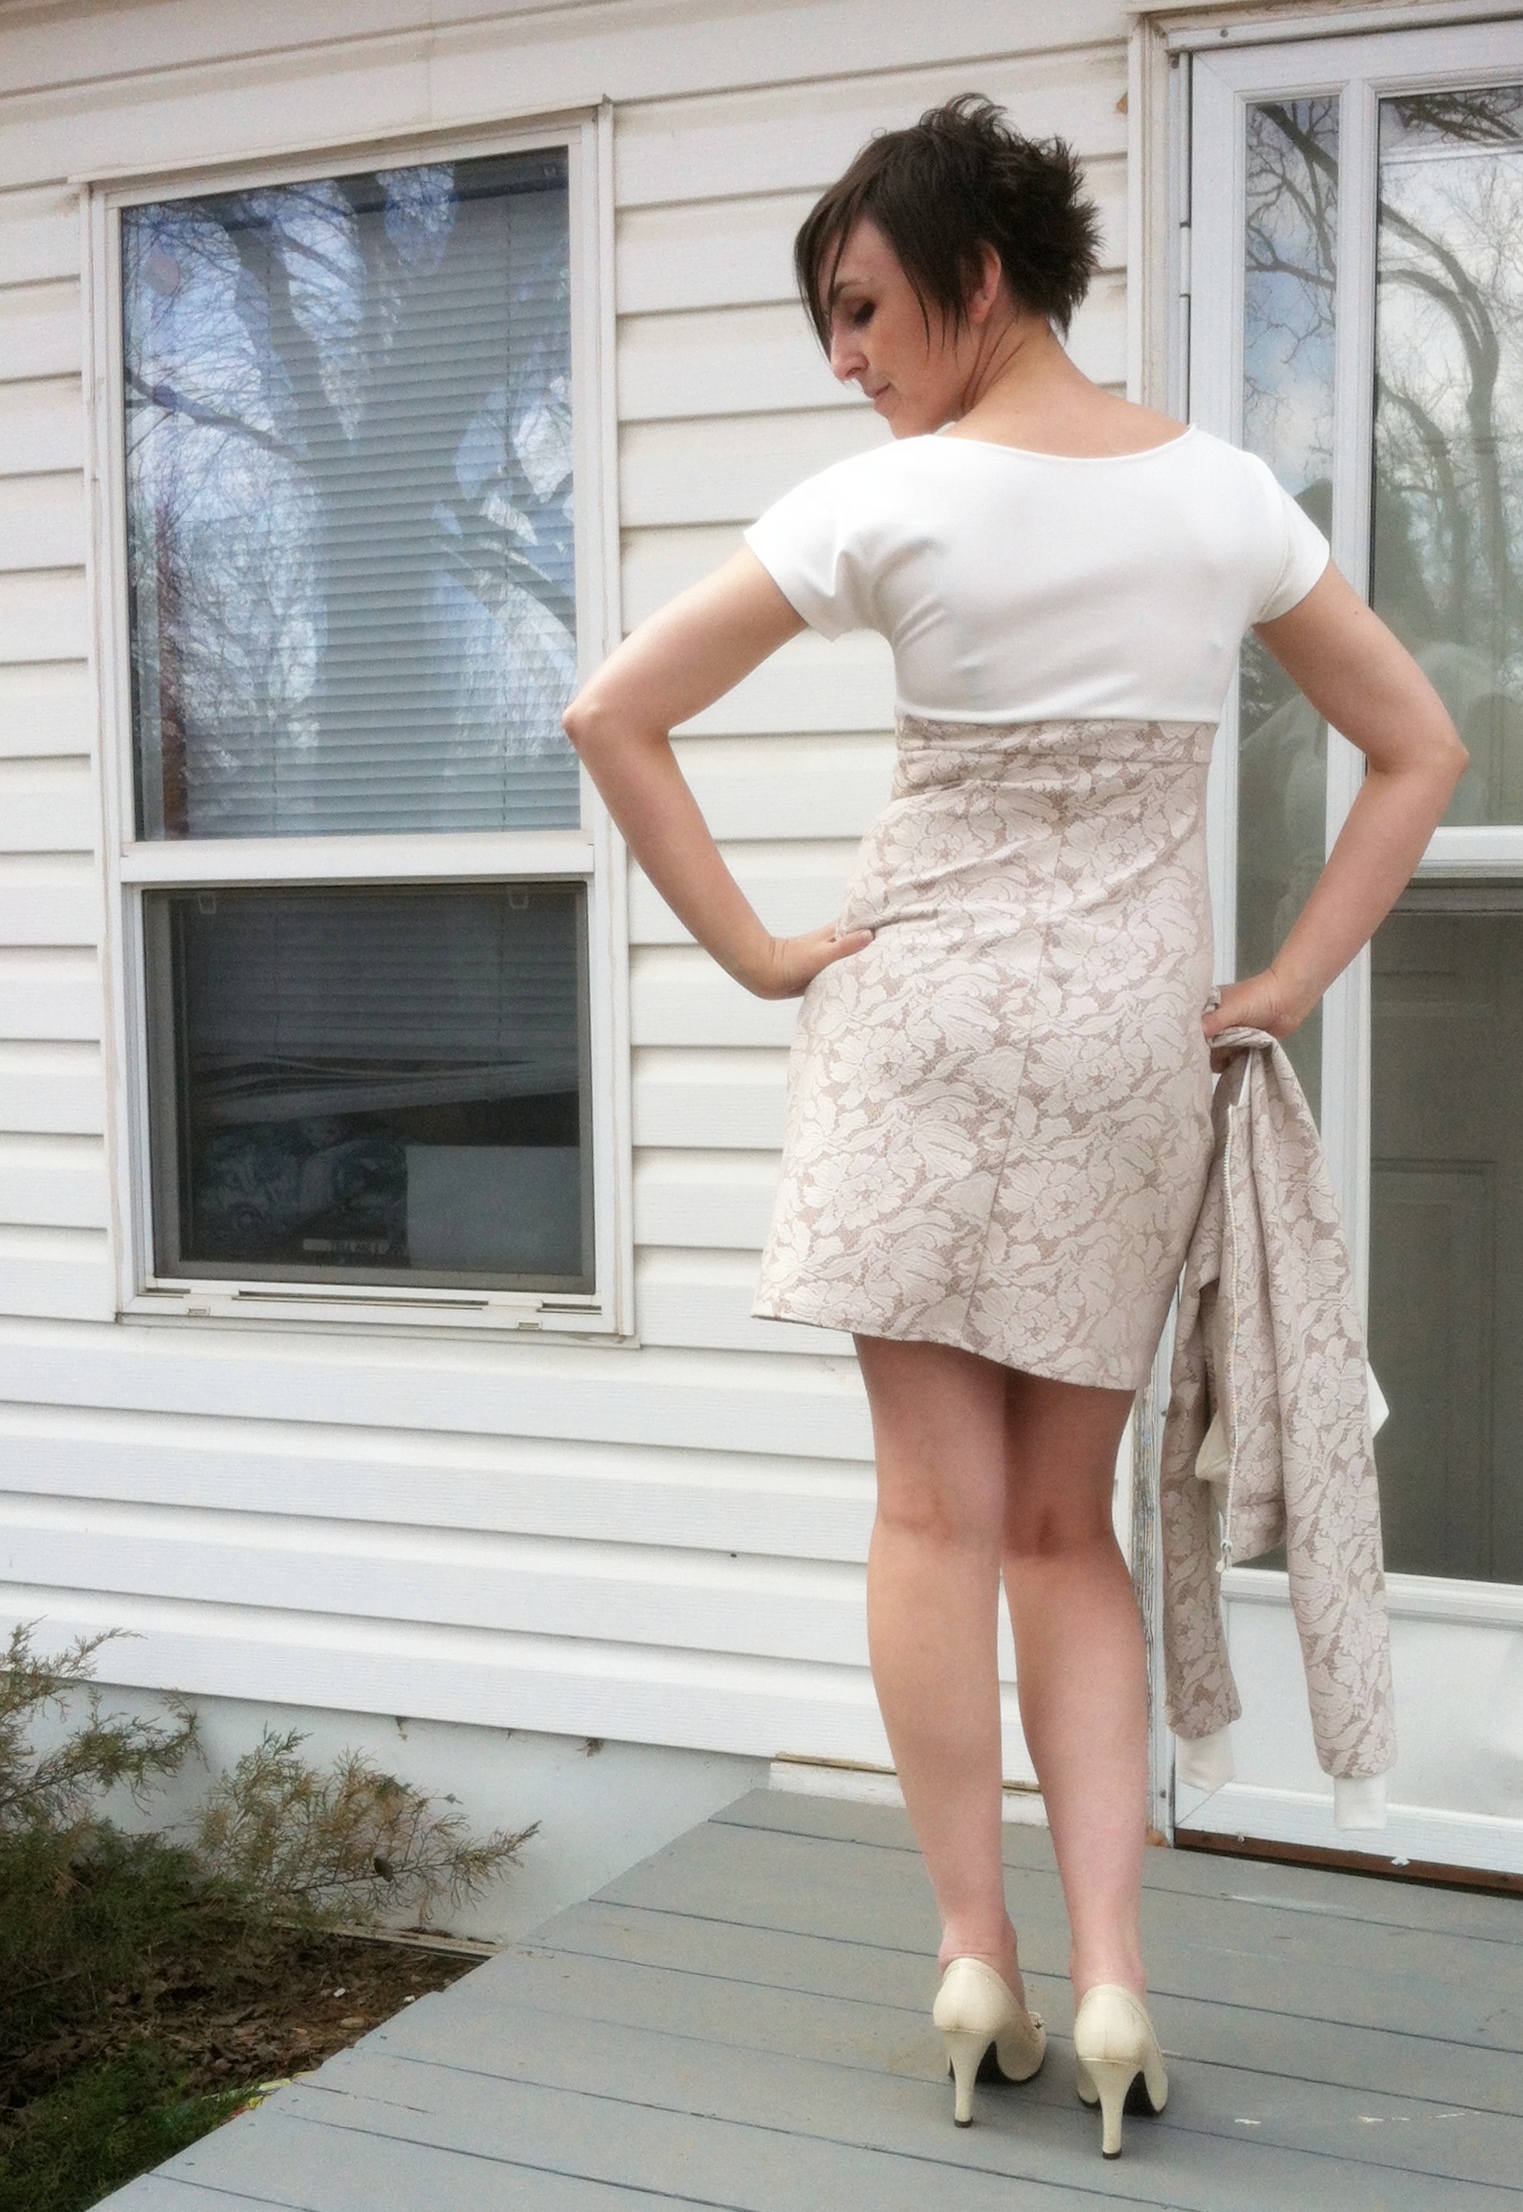
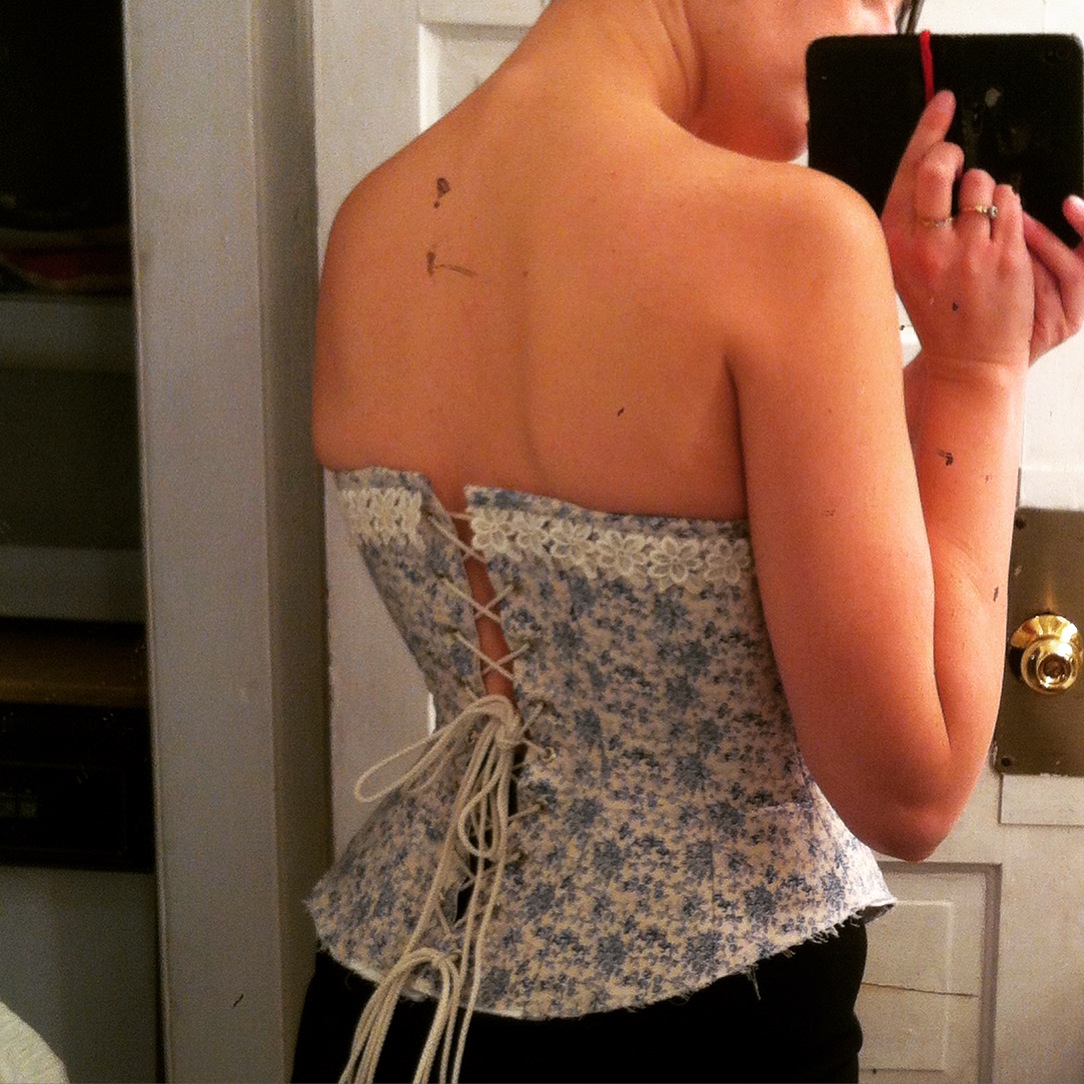
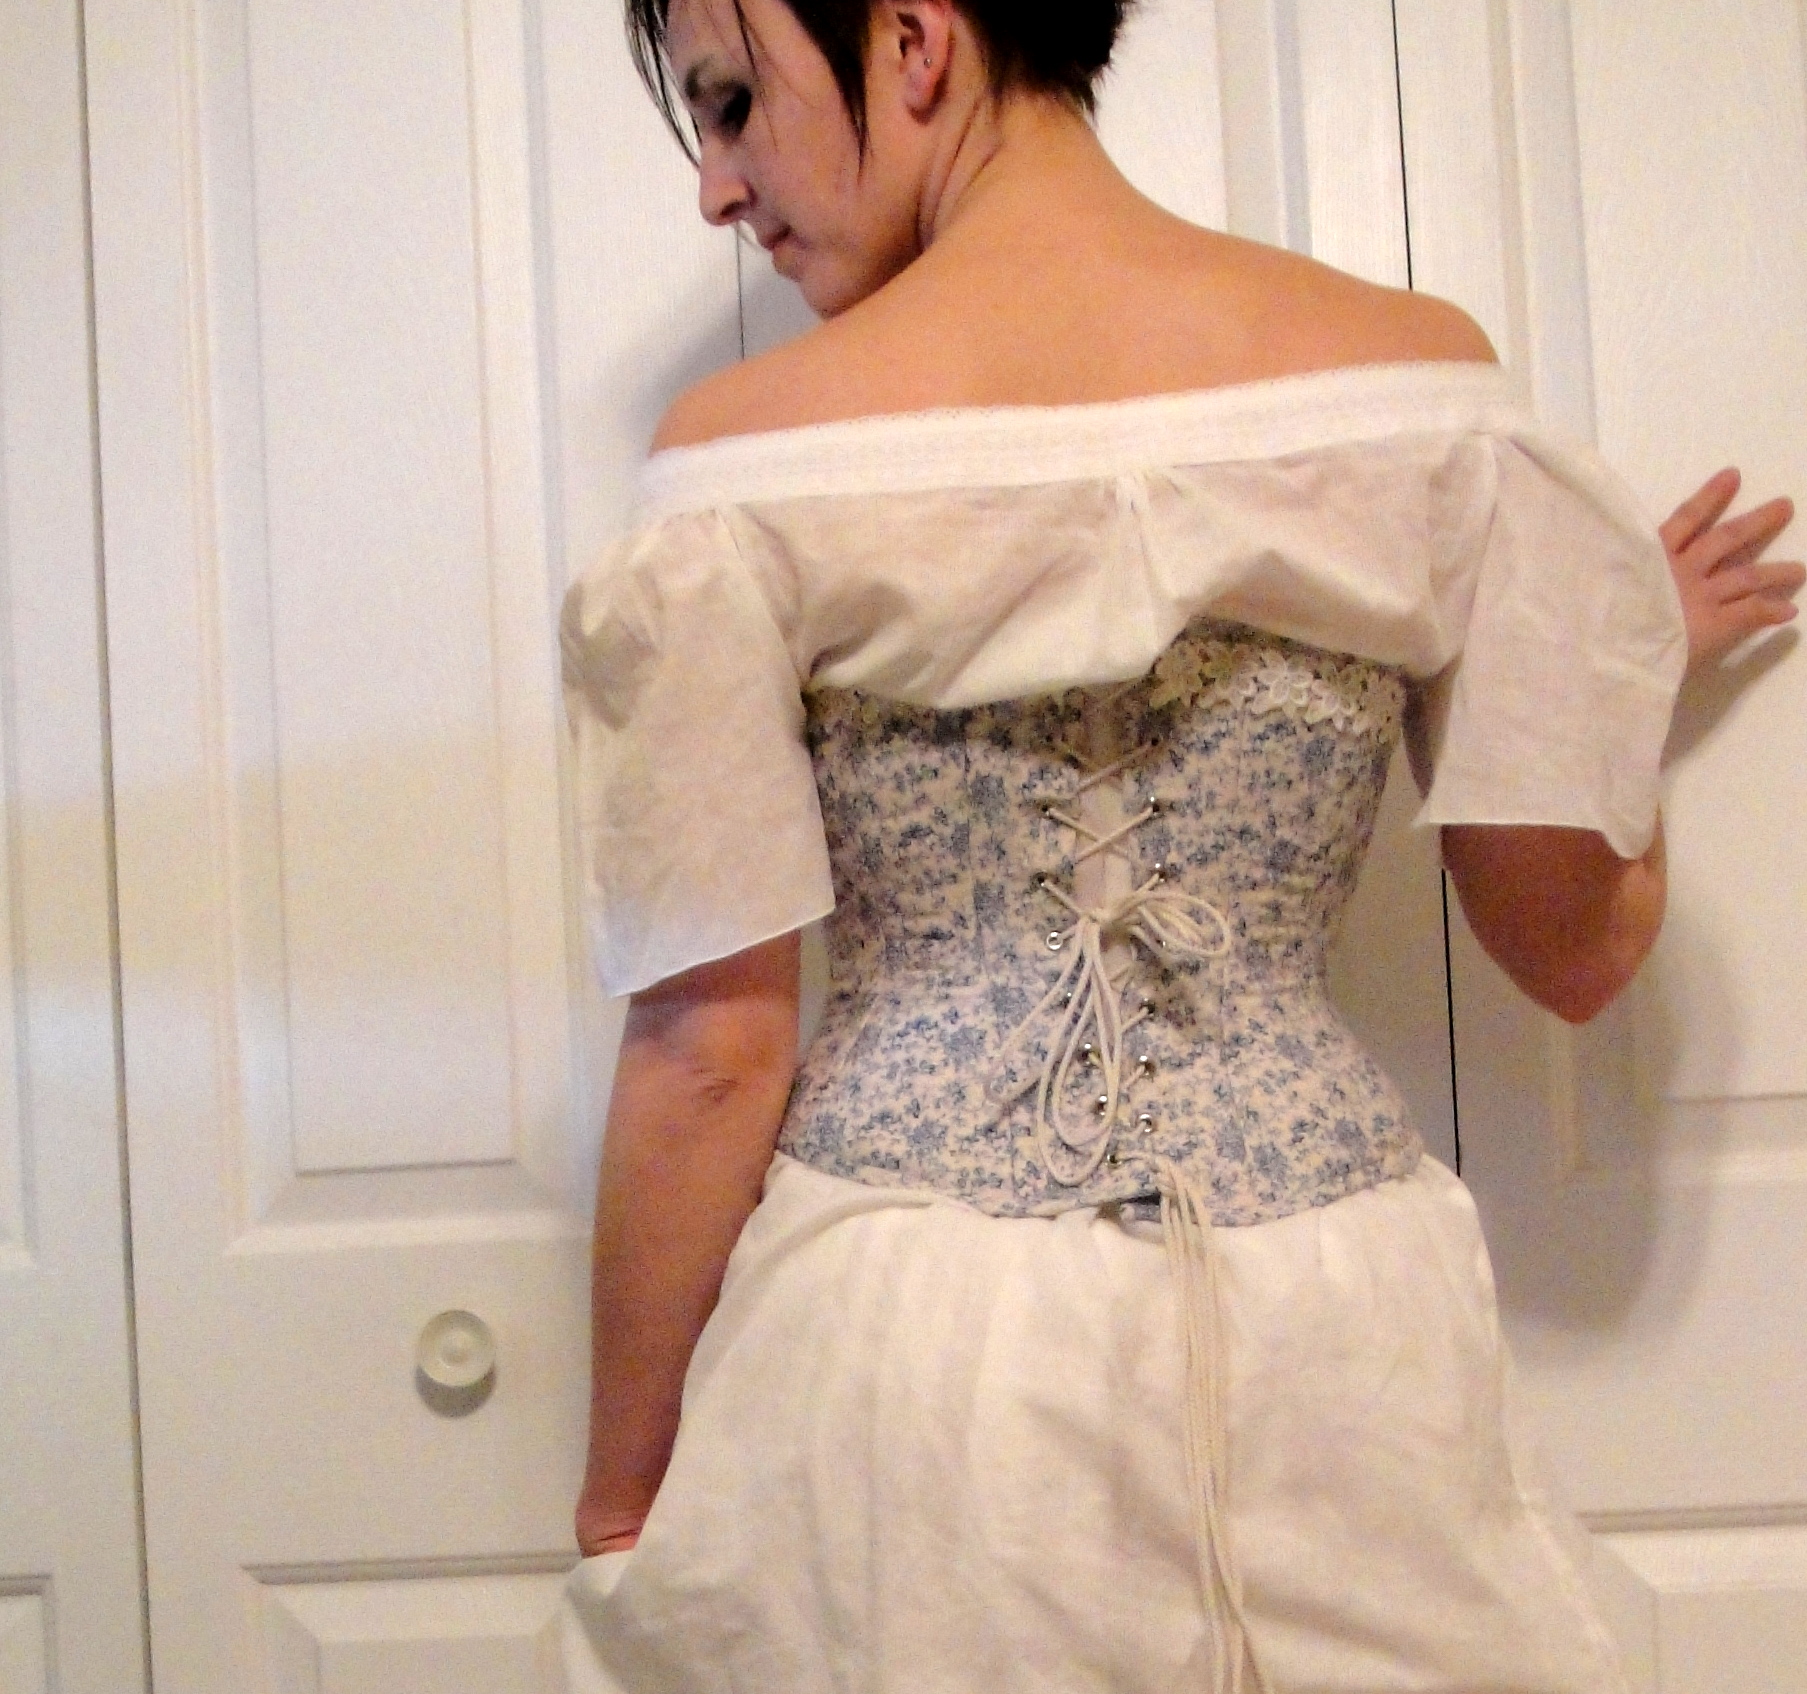
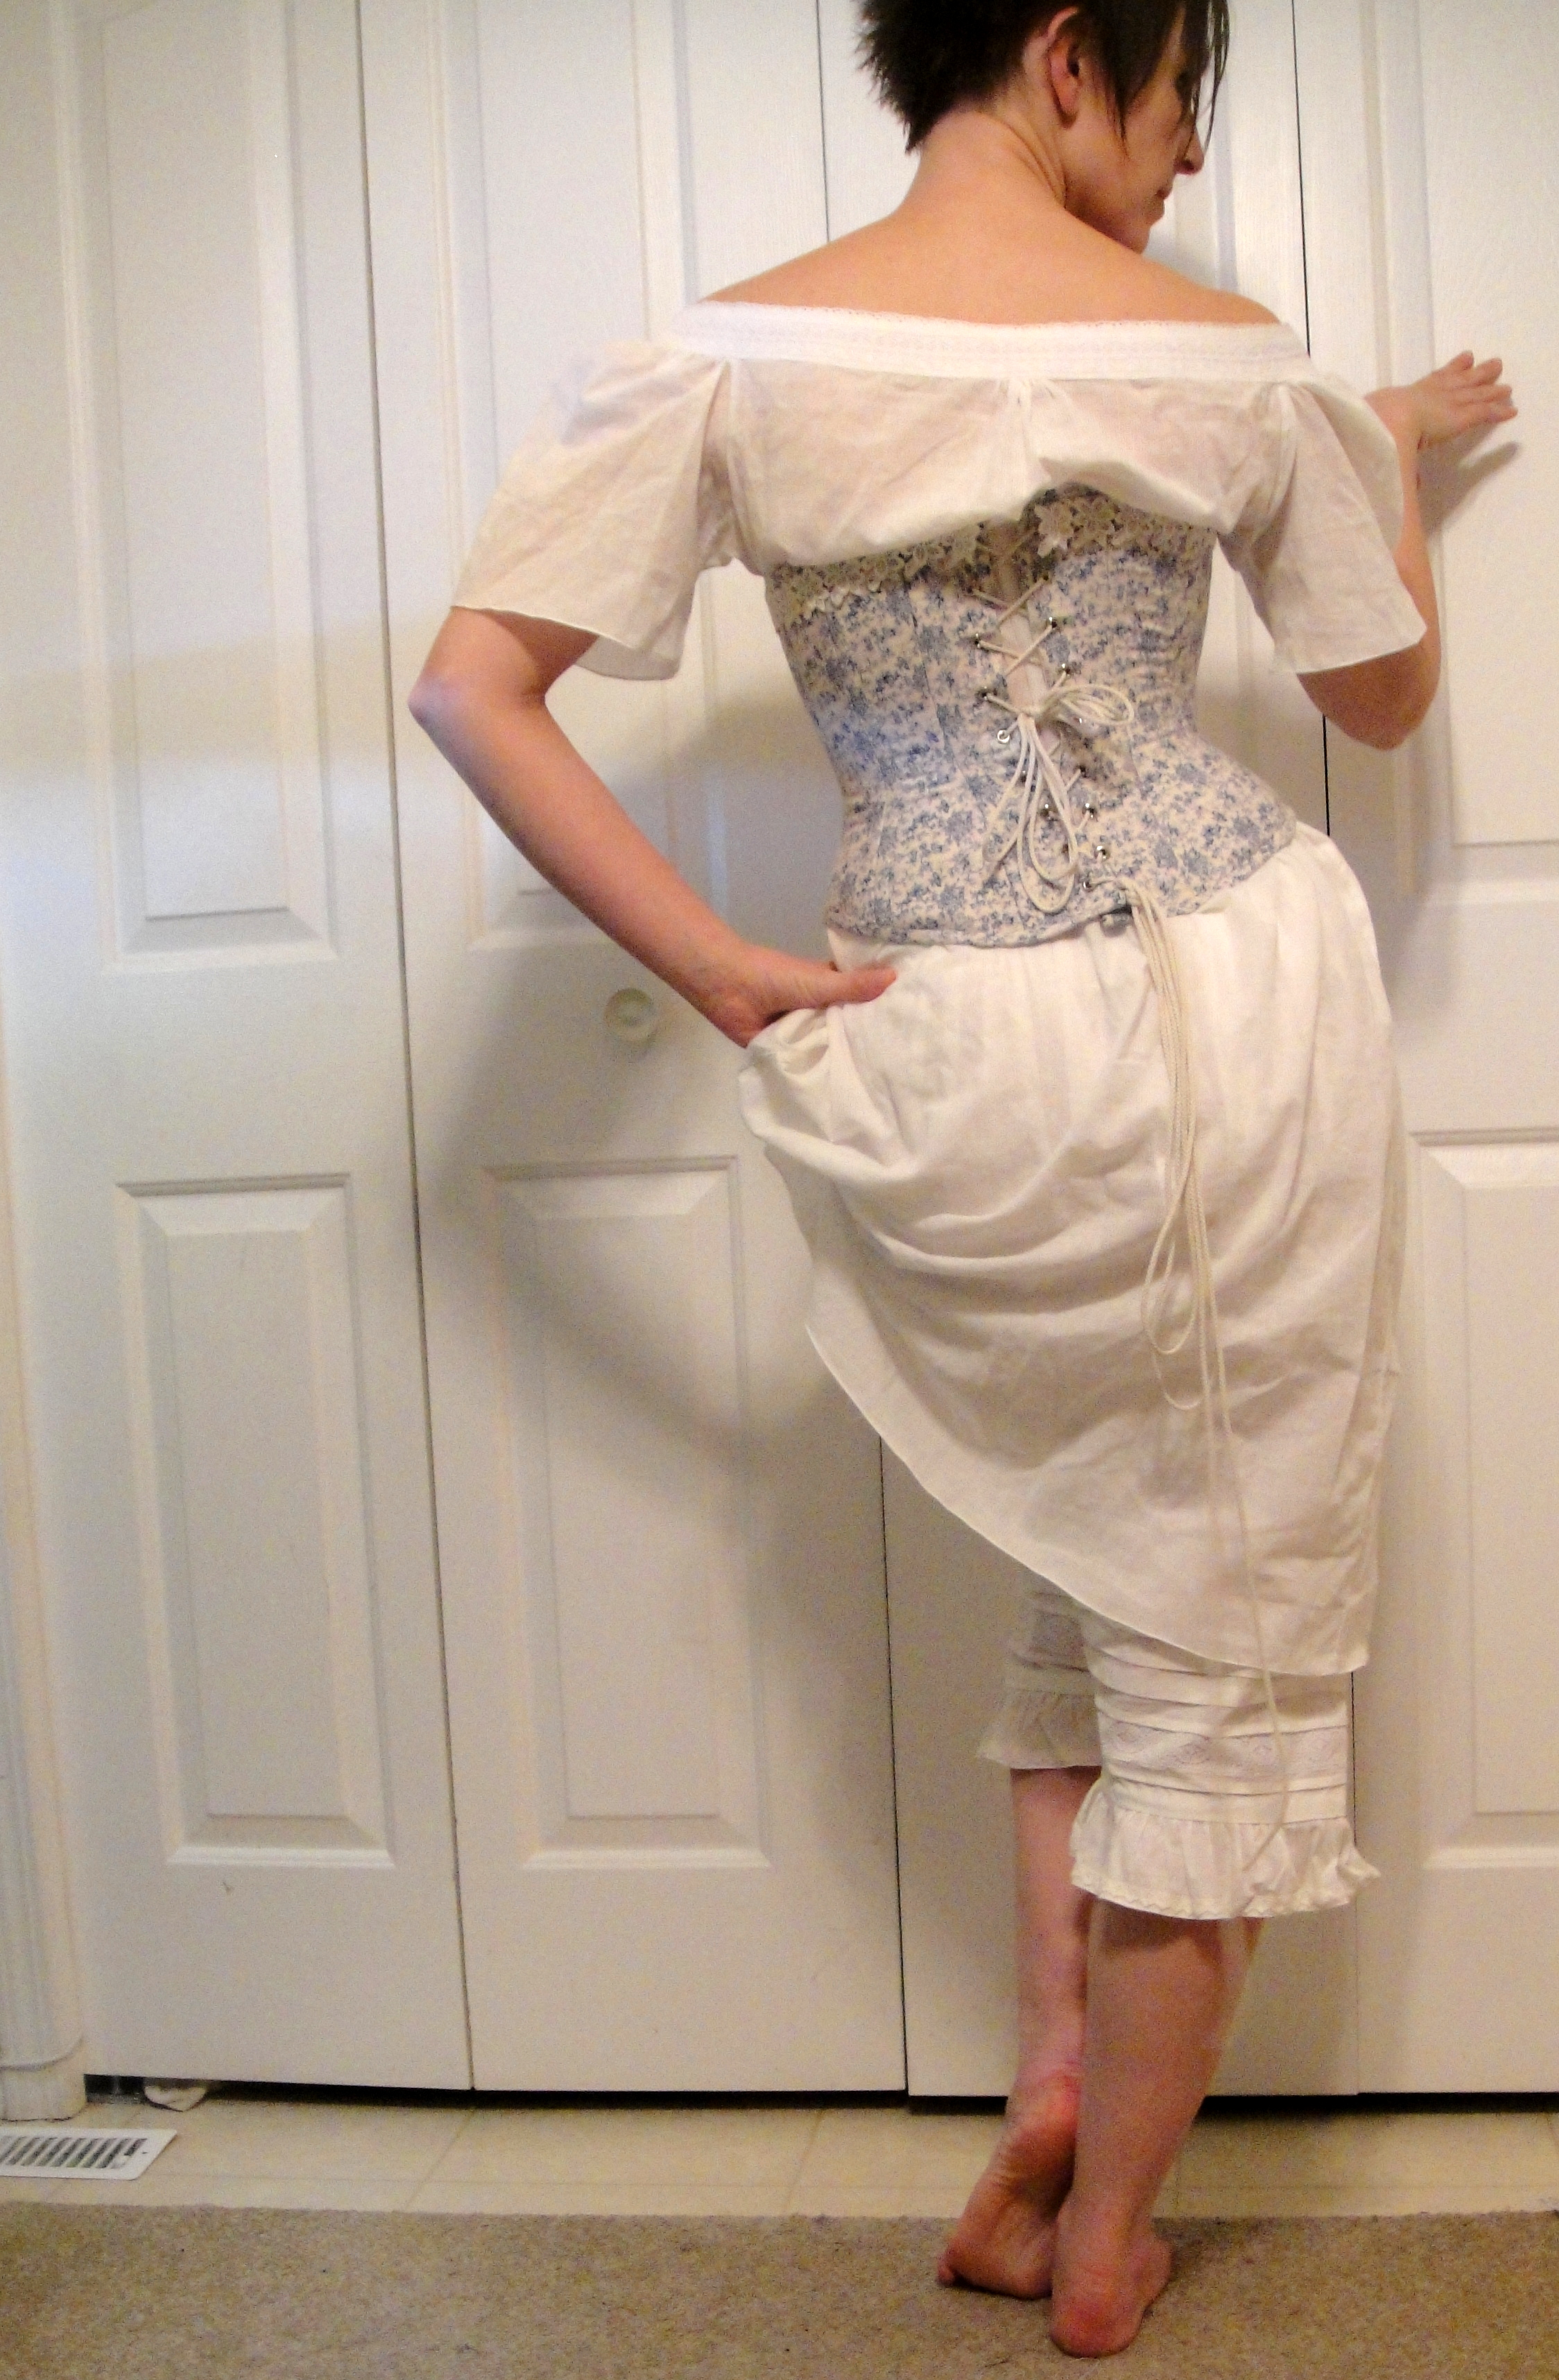
Back view.
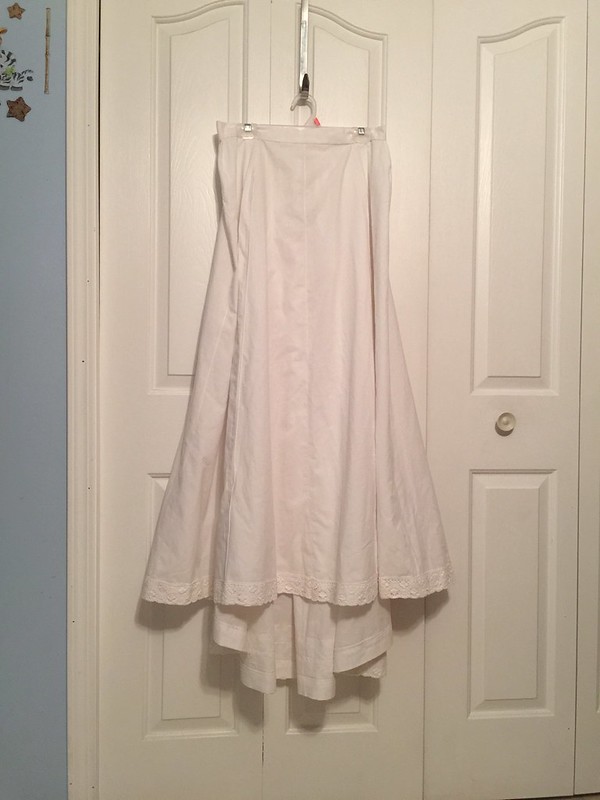
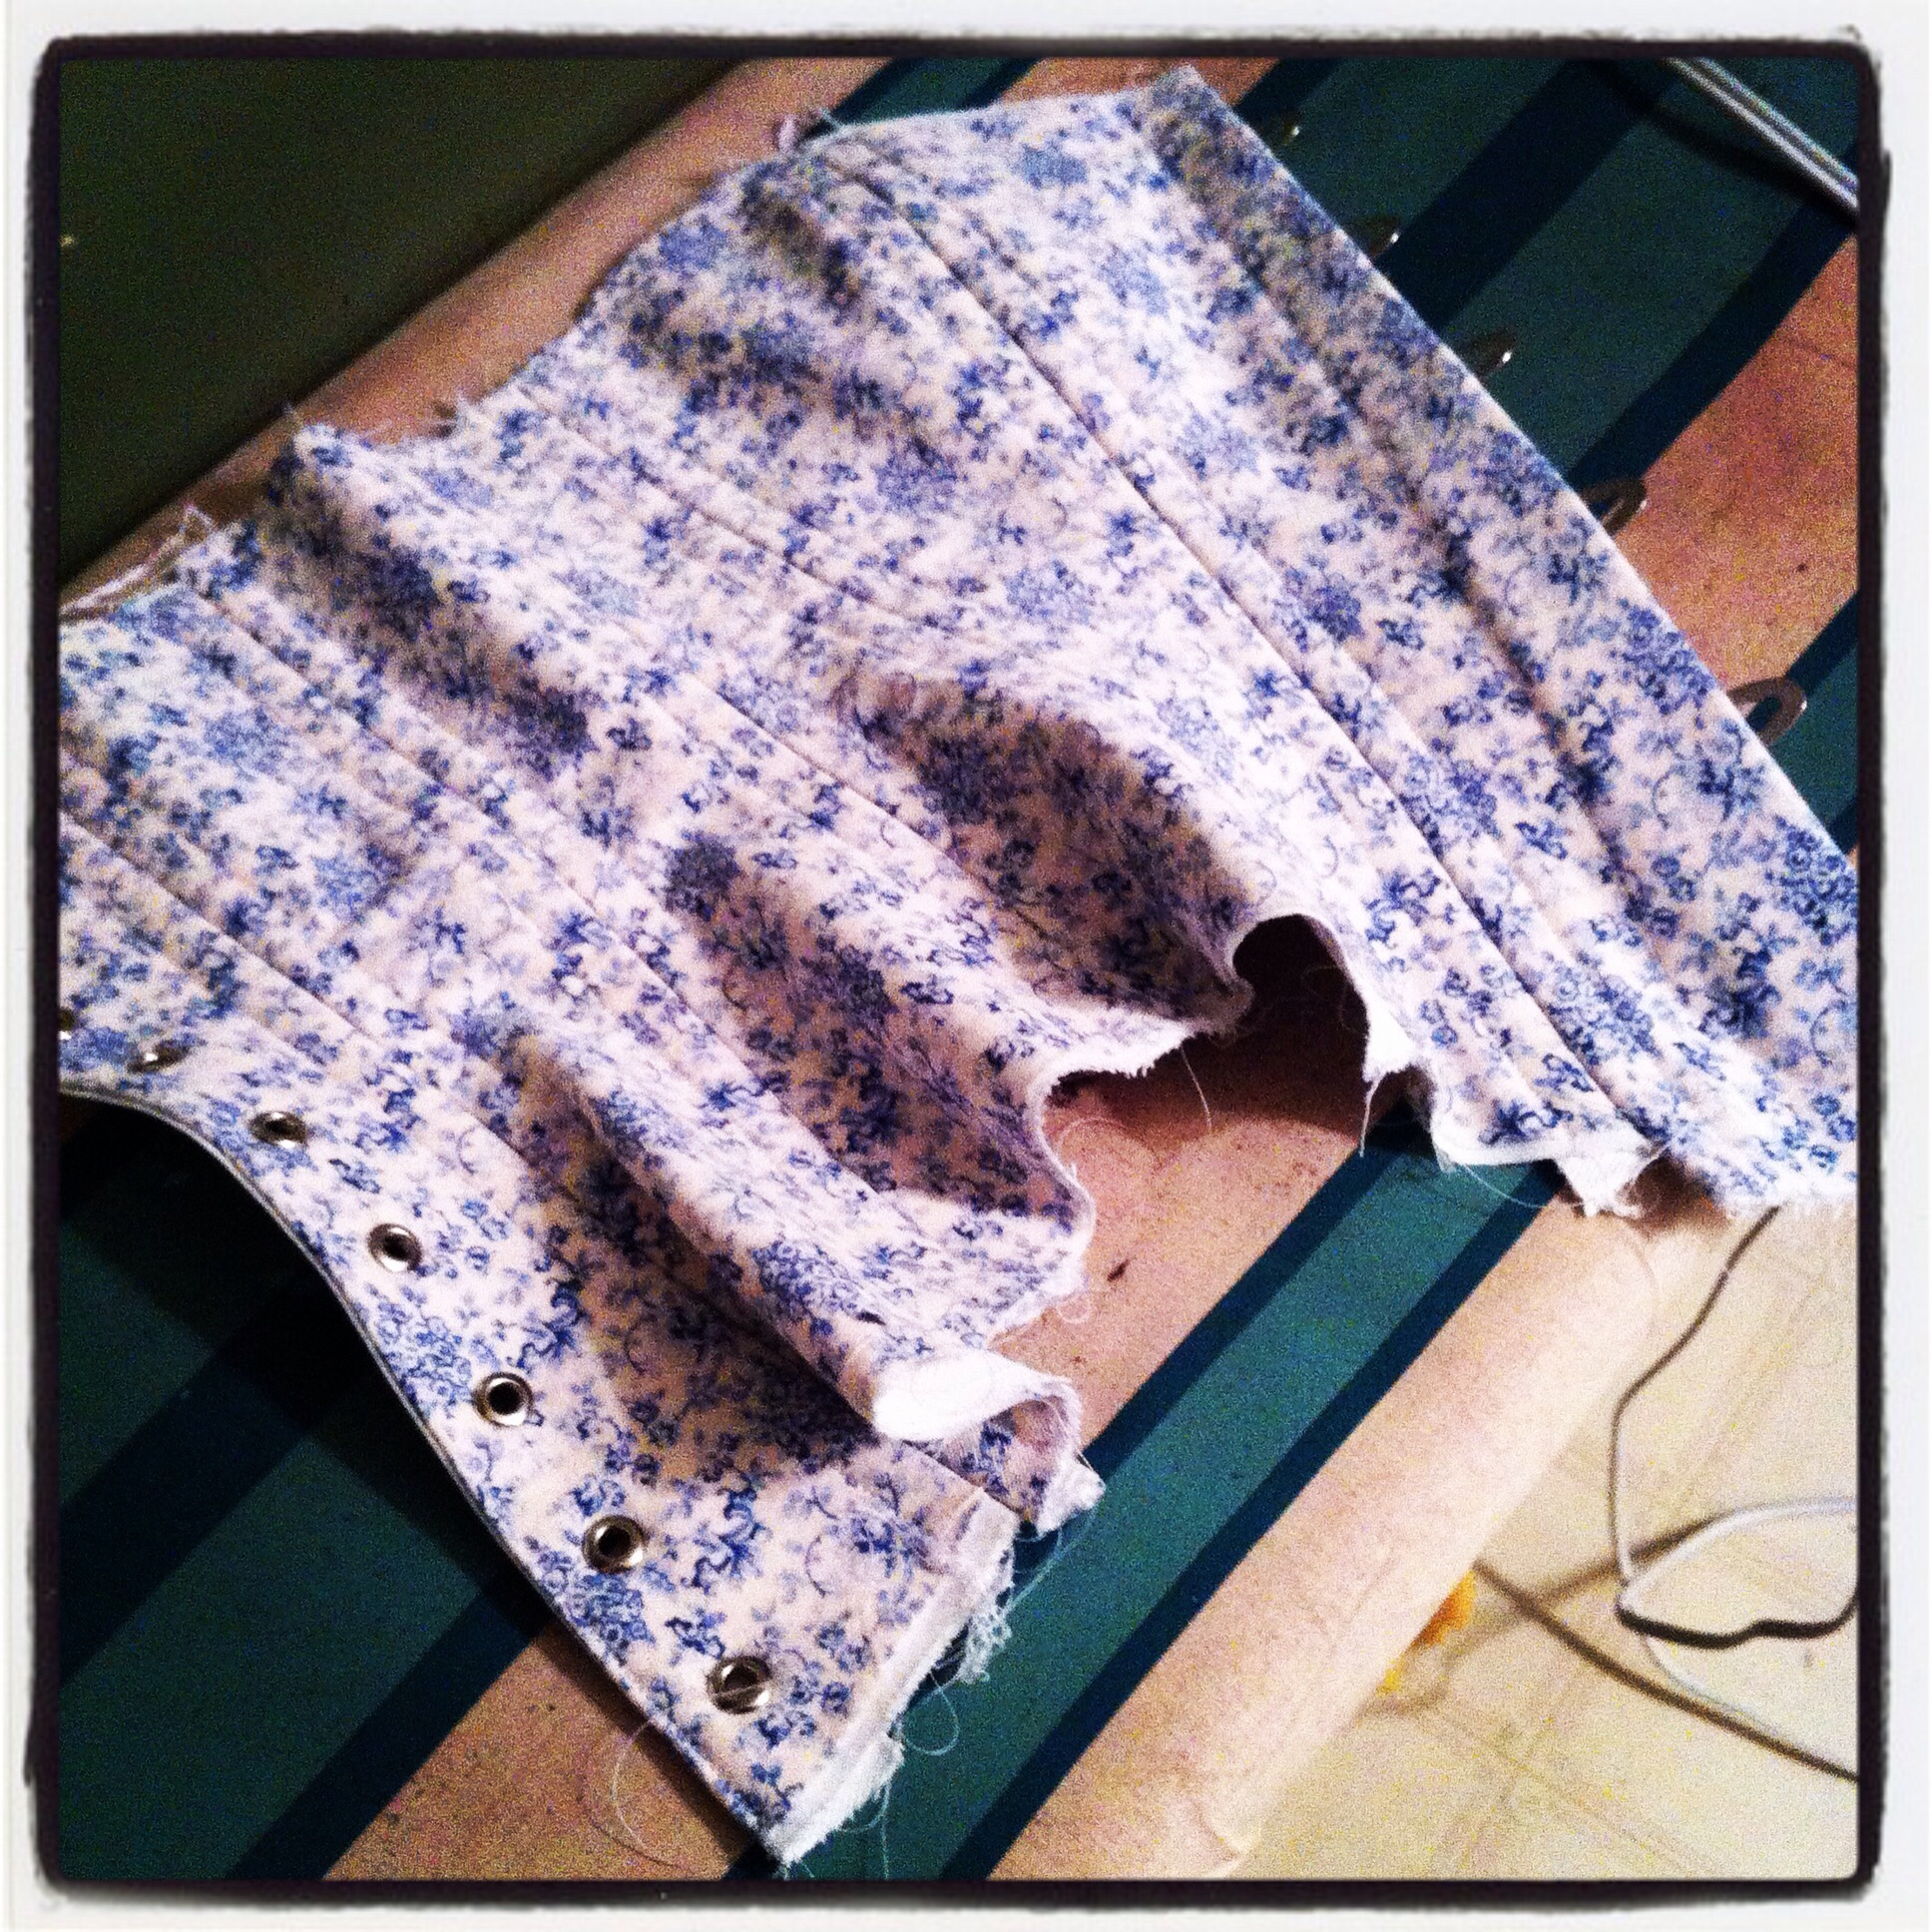
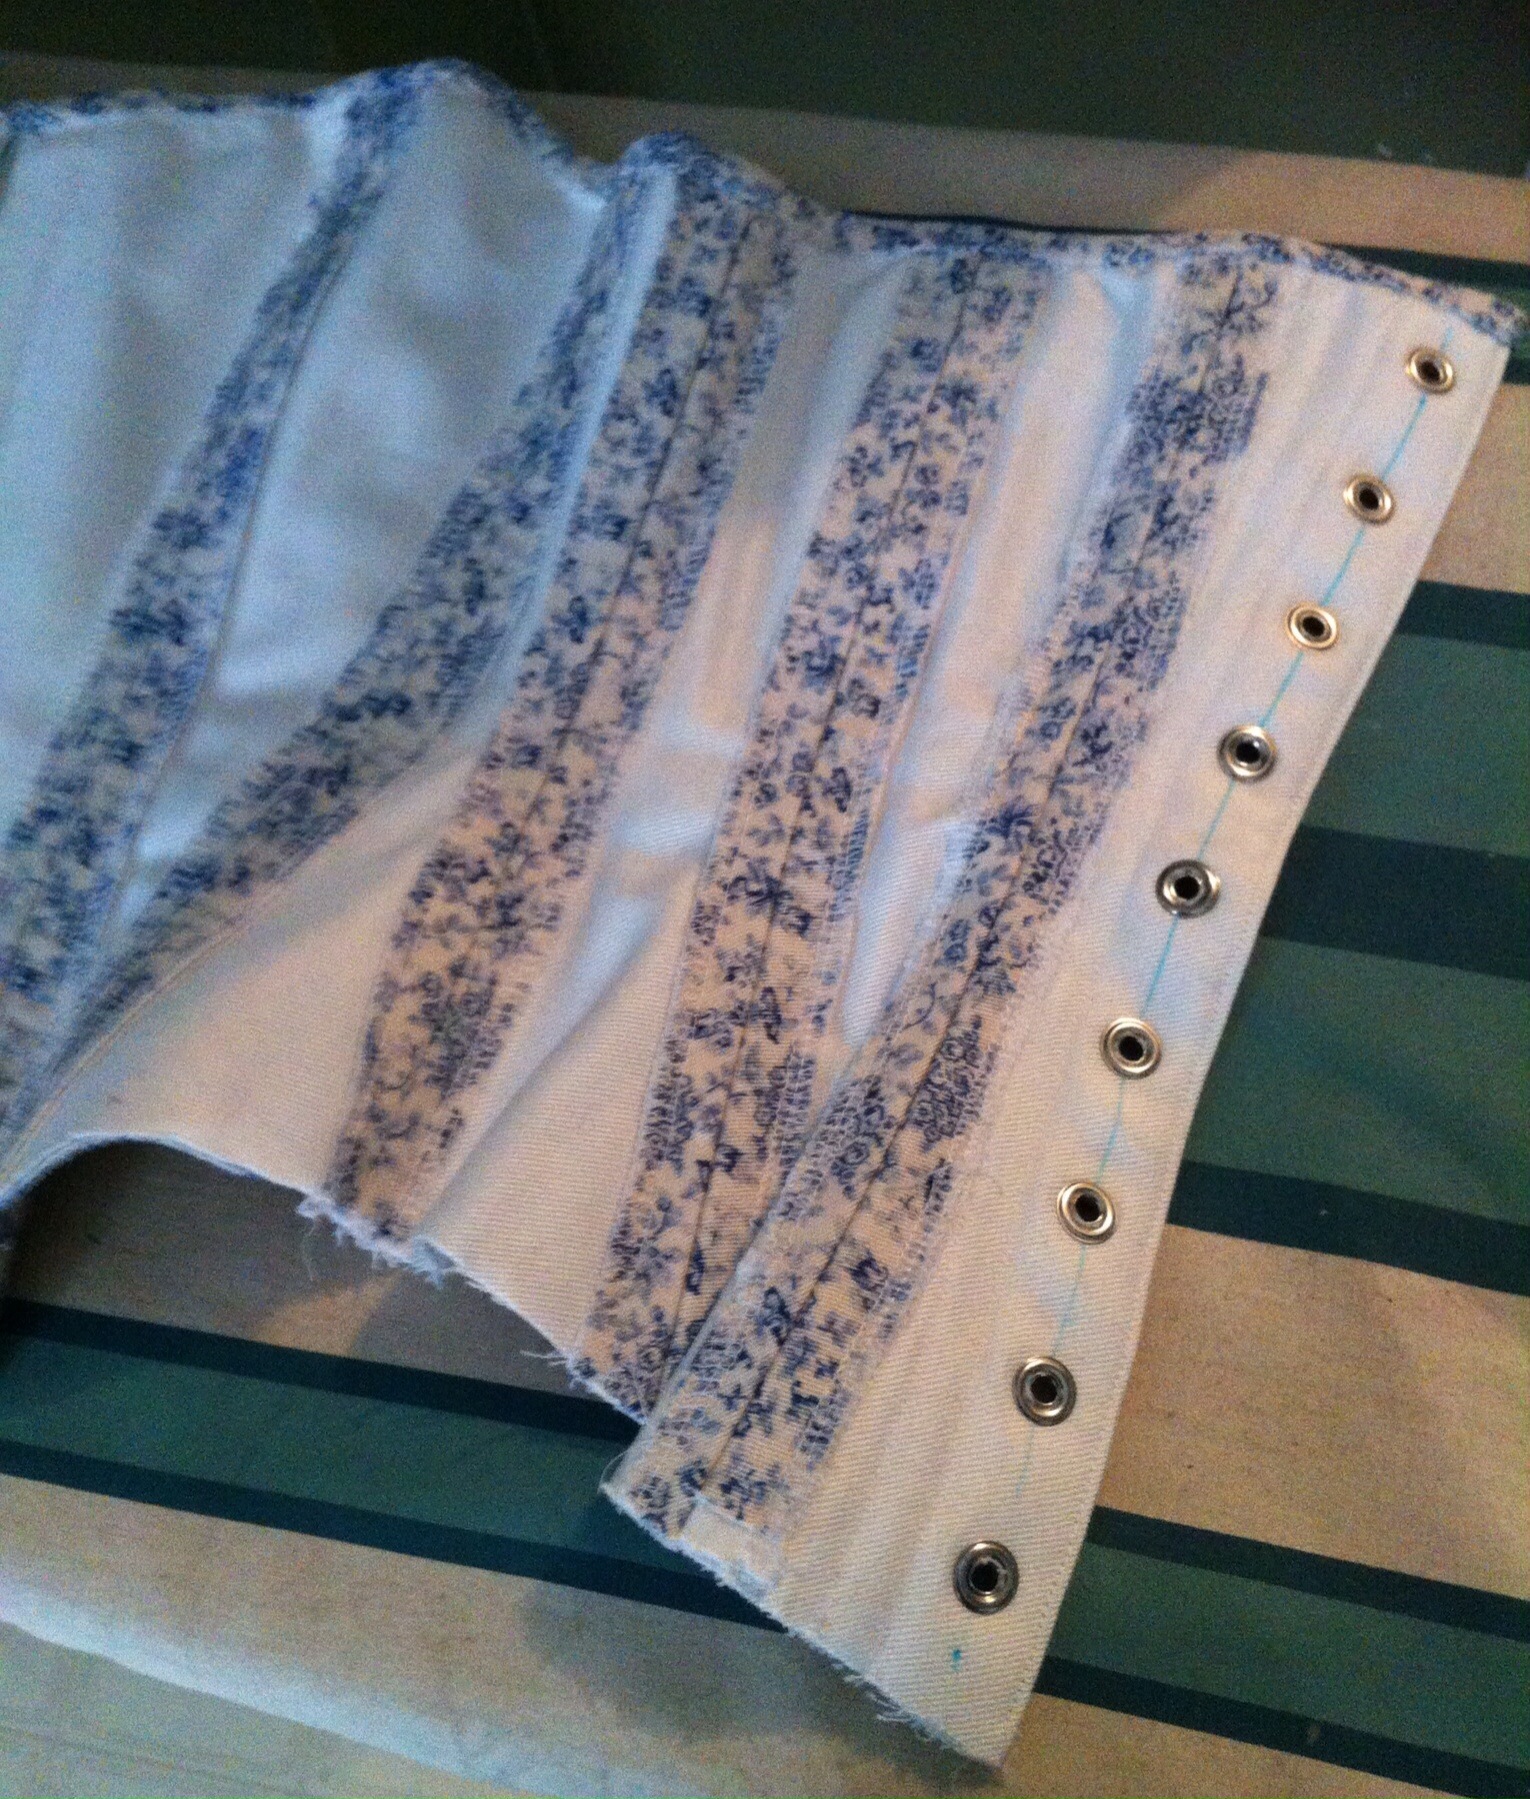
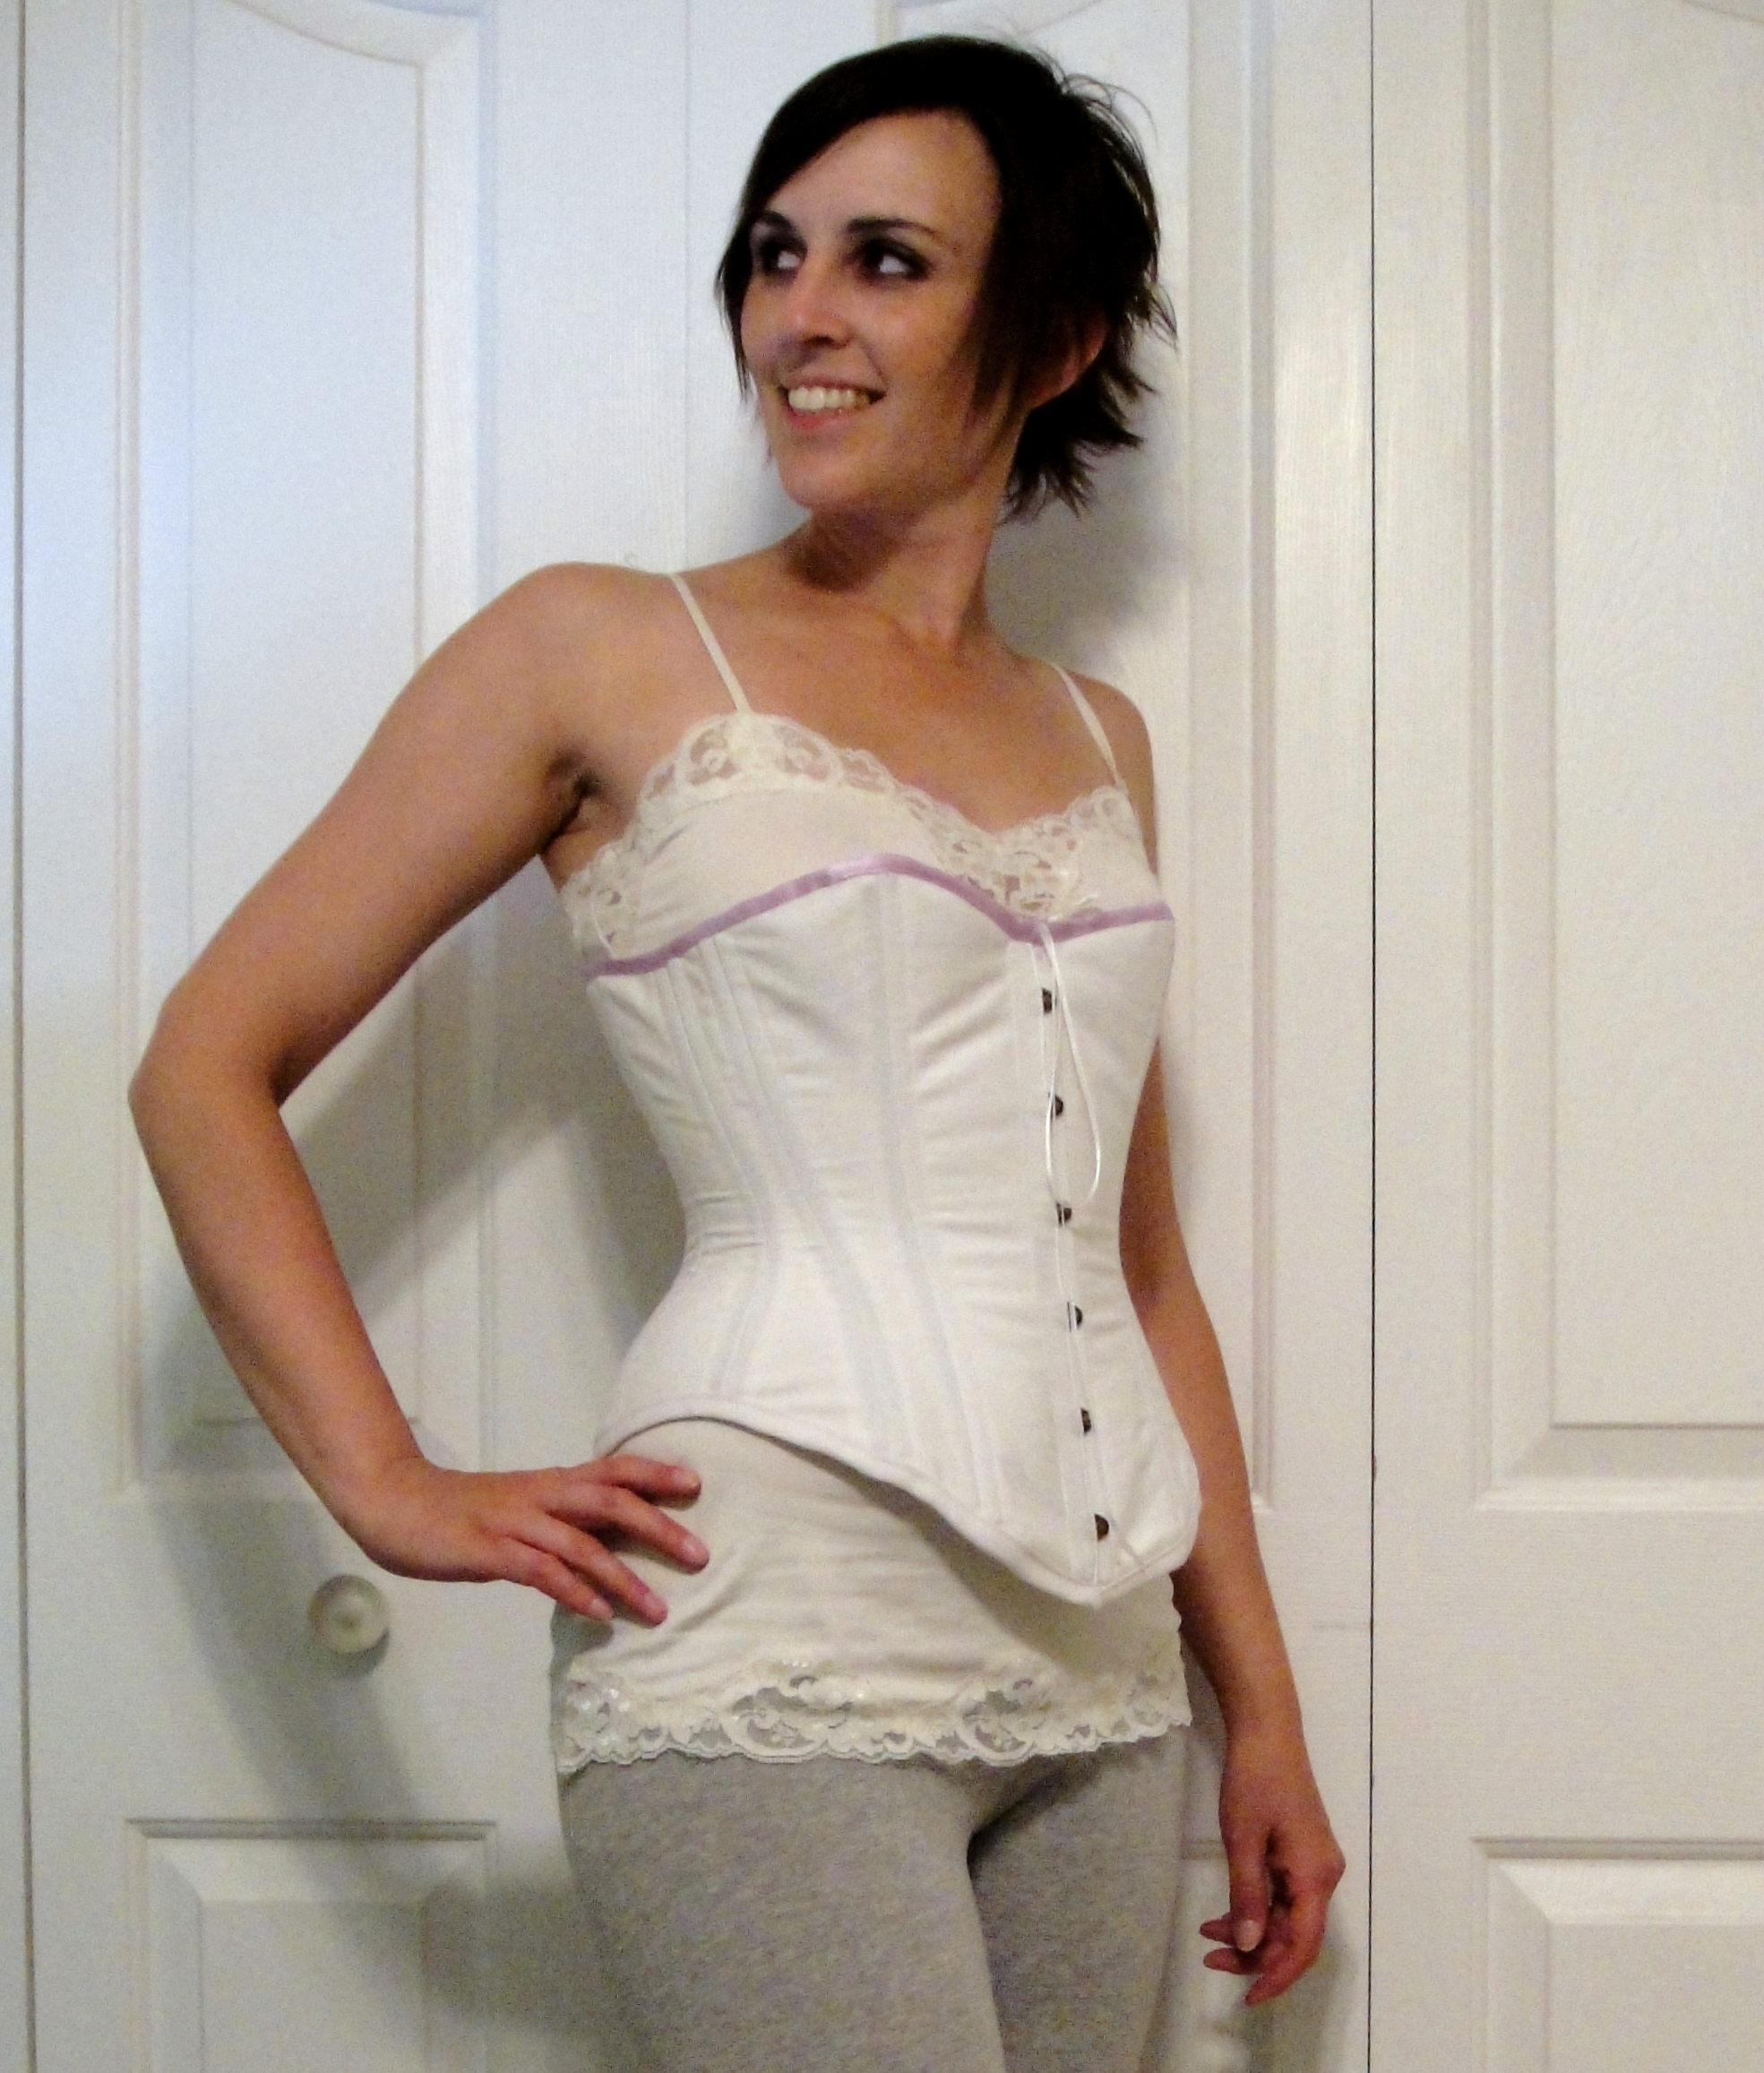
Although I was tempted by the siren-song of some of my other fancy materials, I resisted, as I really needed this to be a quick sew that I could bang out of the way and move on to other projects. Like shirts for my husband. I did dare to cut into my precious coutil, though (I used about half of the 1m I have, so I still have another corset’s worth. 😉 ). This is it, plain and un-covered, in a single layer, with serged seam allowances (so non-historical!) and hardly a lick of ornamentation.

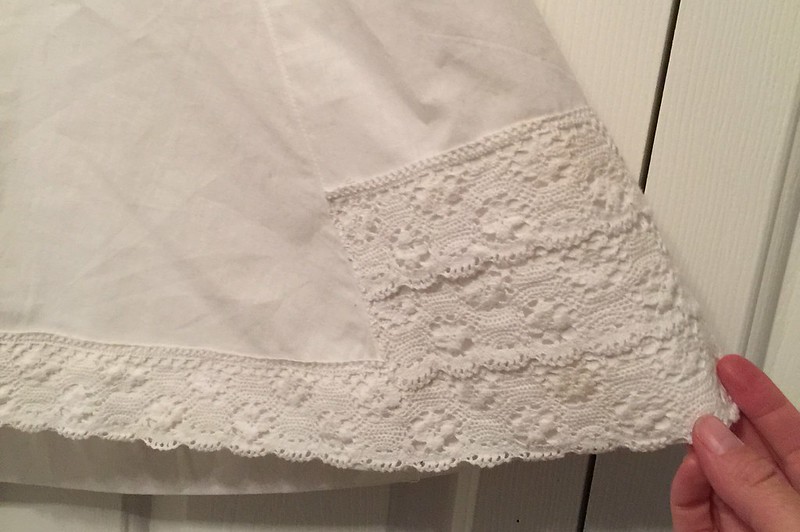
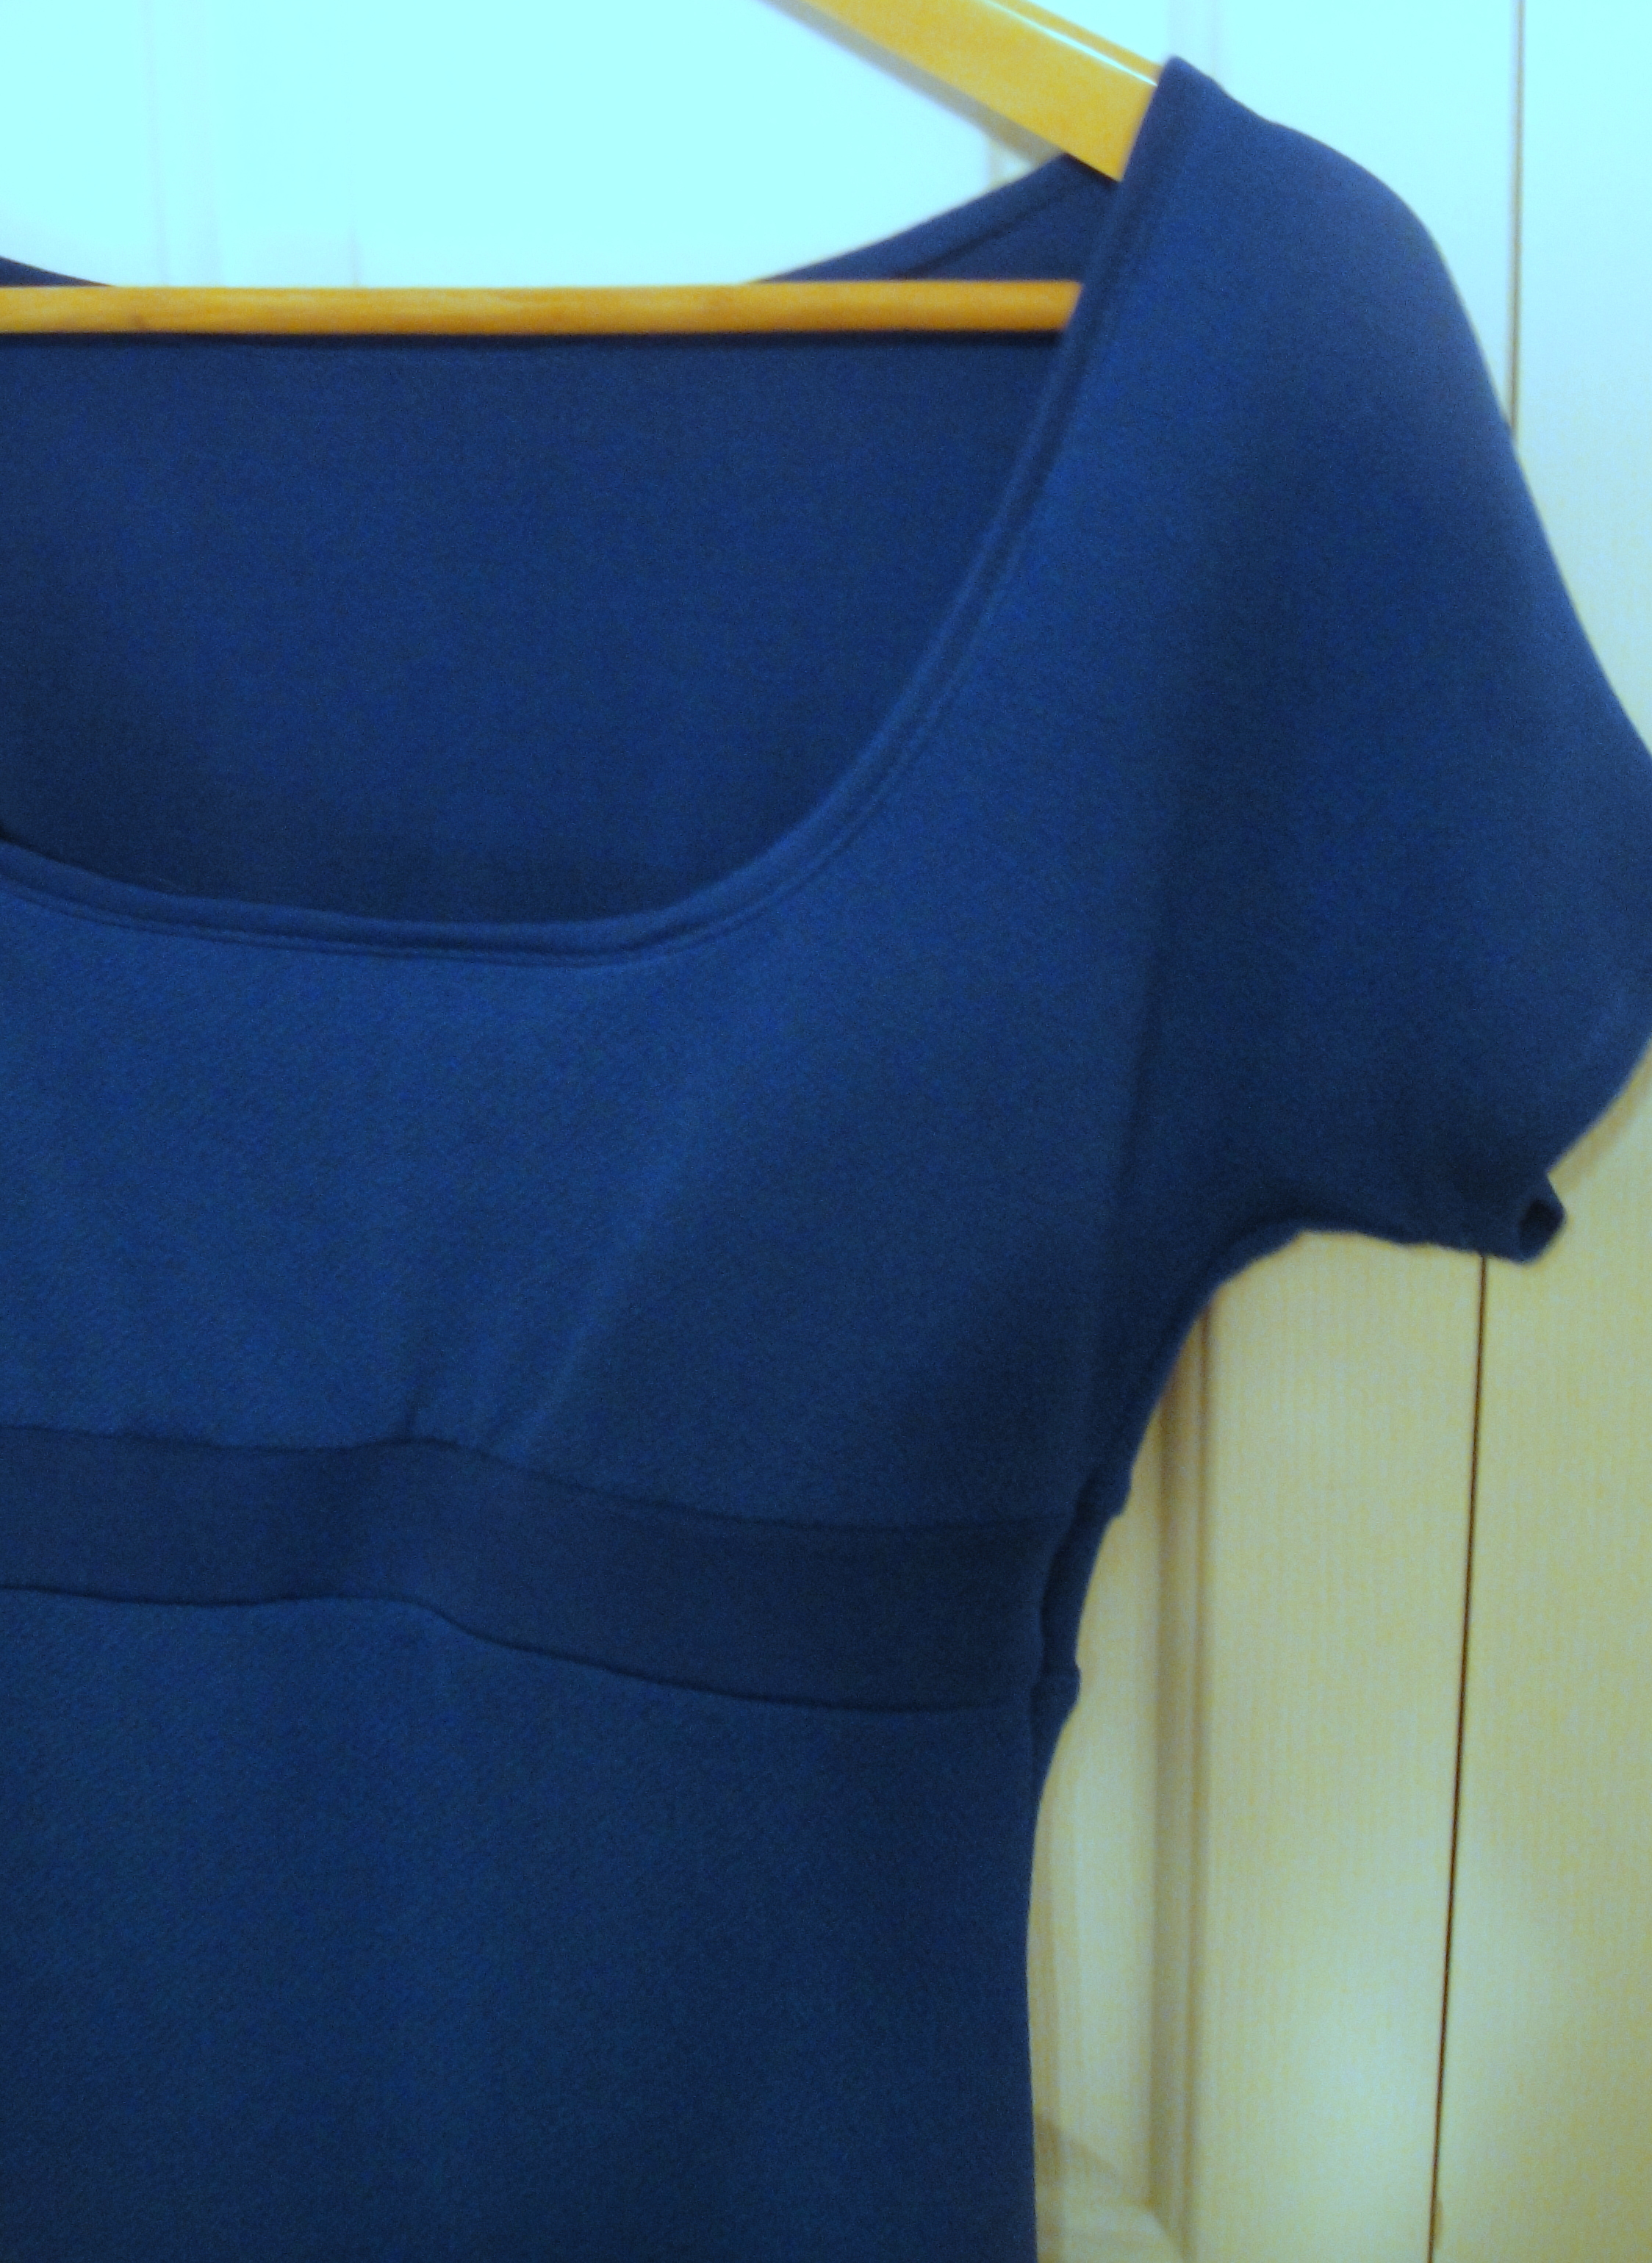
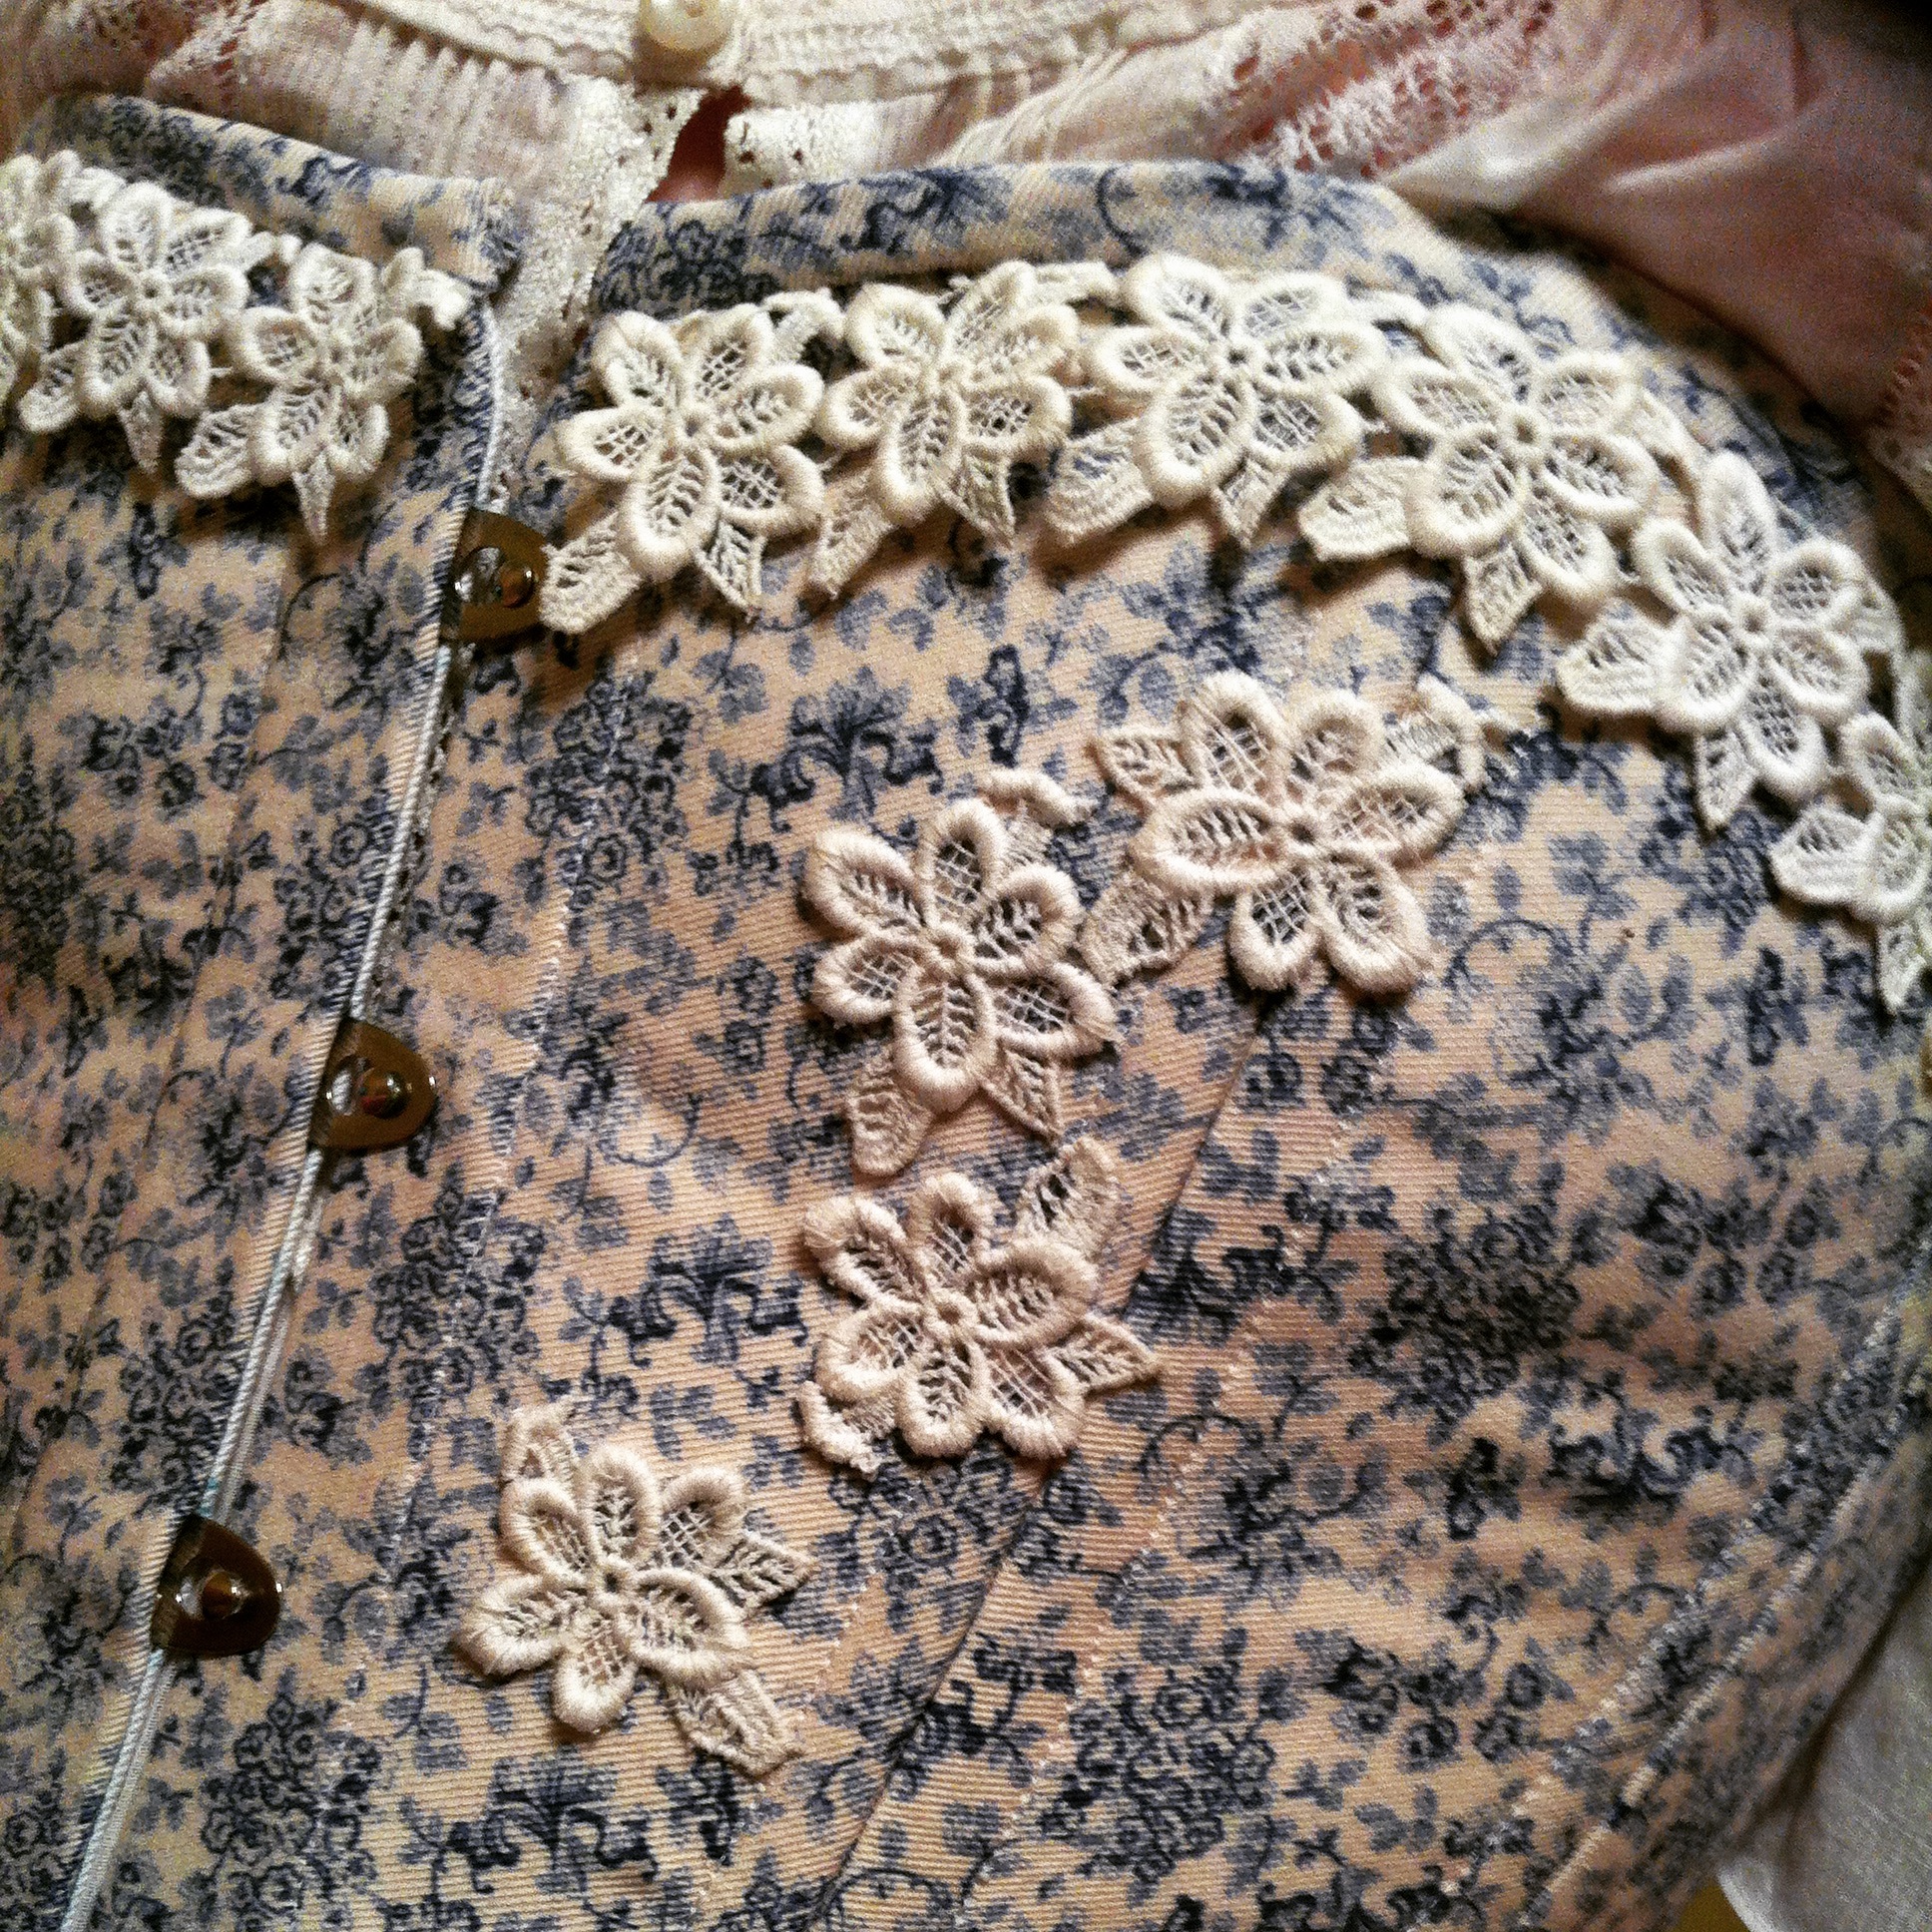
Closeup!
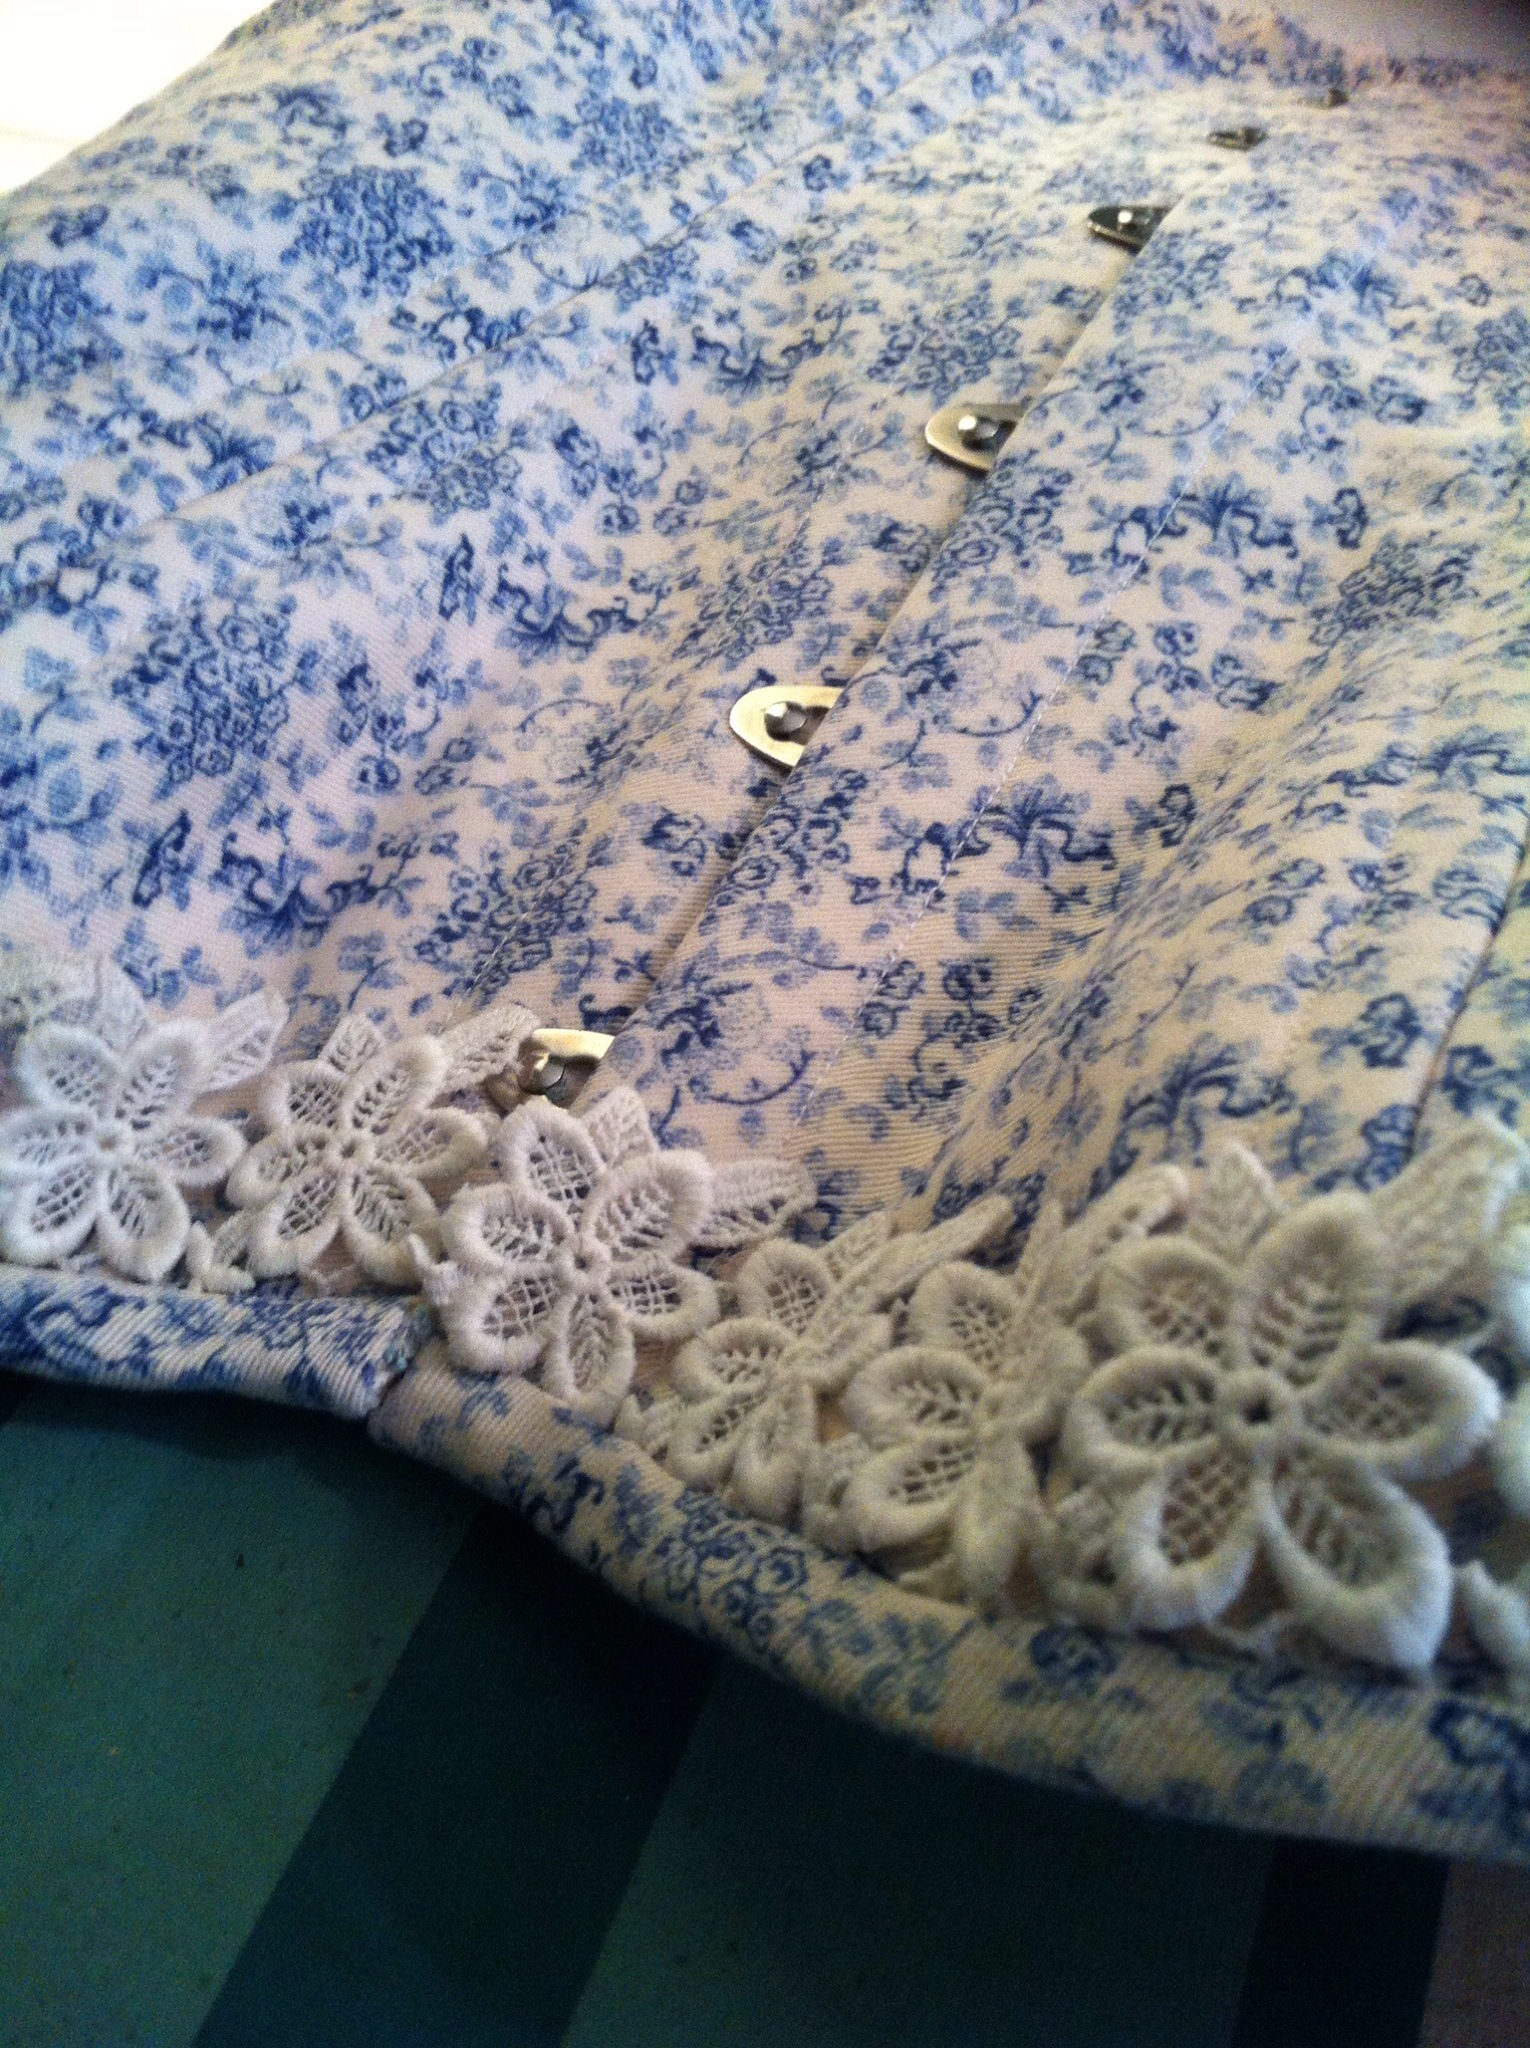
The only reason the pretty purple ribbon is there as opposed to boring old twill tape like the bottom is my friend Steph gave it to me to use. I enclosed some narrow ribbon within it for a drawstring, and I do like being able to pull it in at the bust (especially as there’s a bit of extra room up there, as I said.)

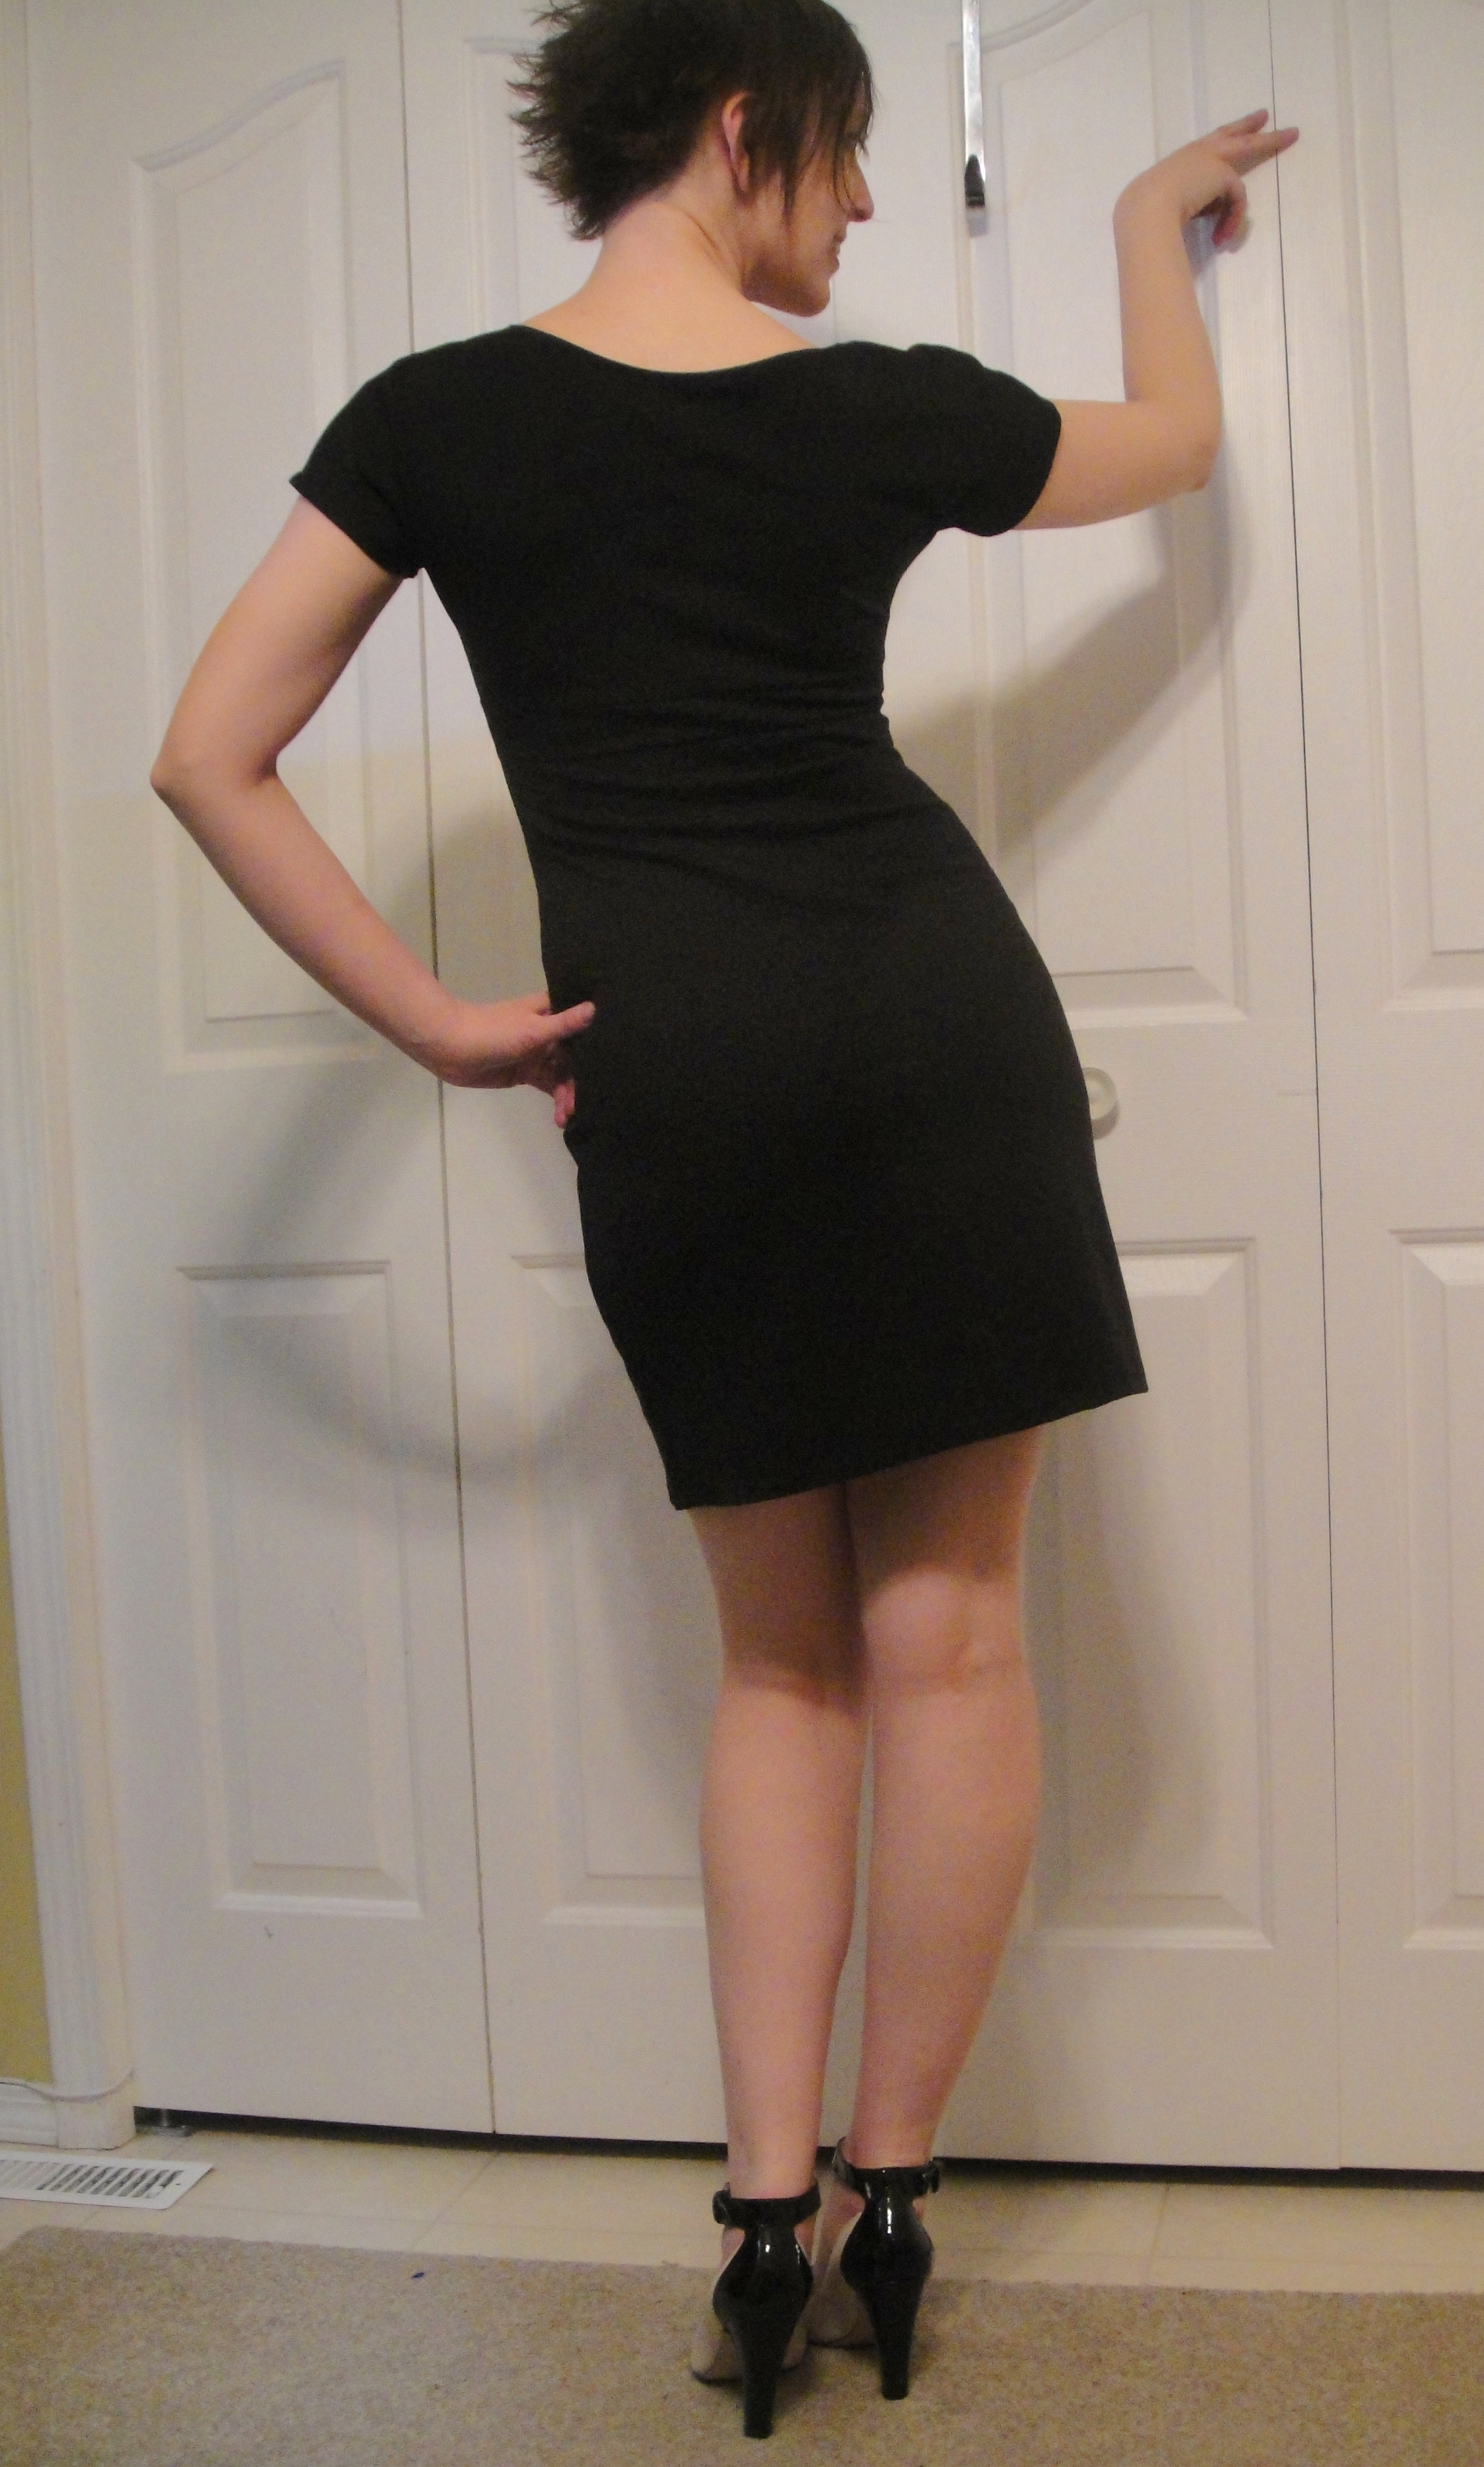
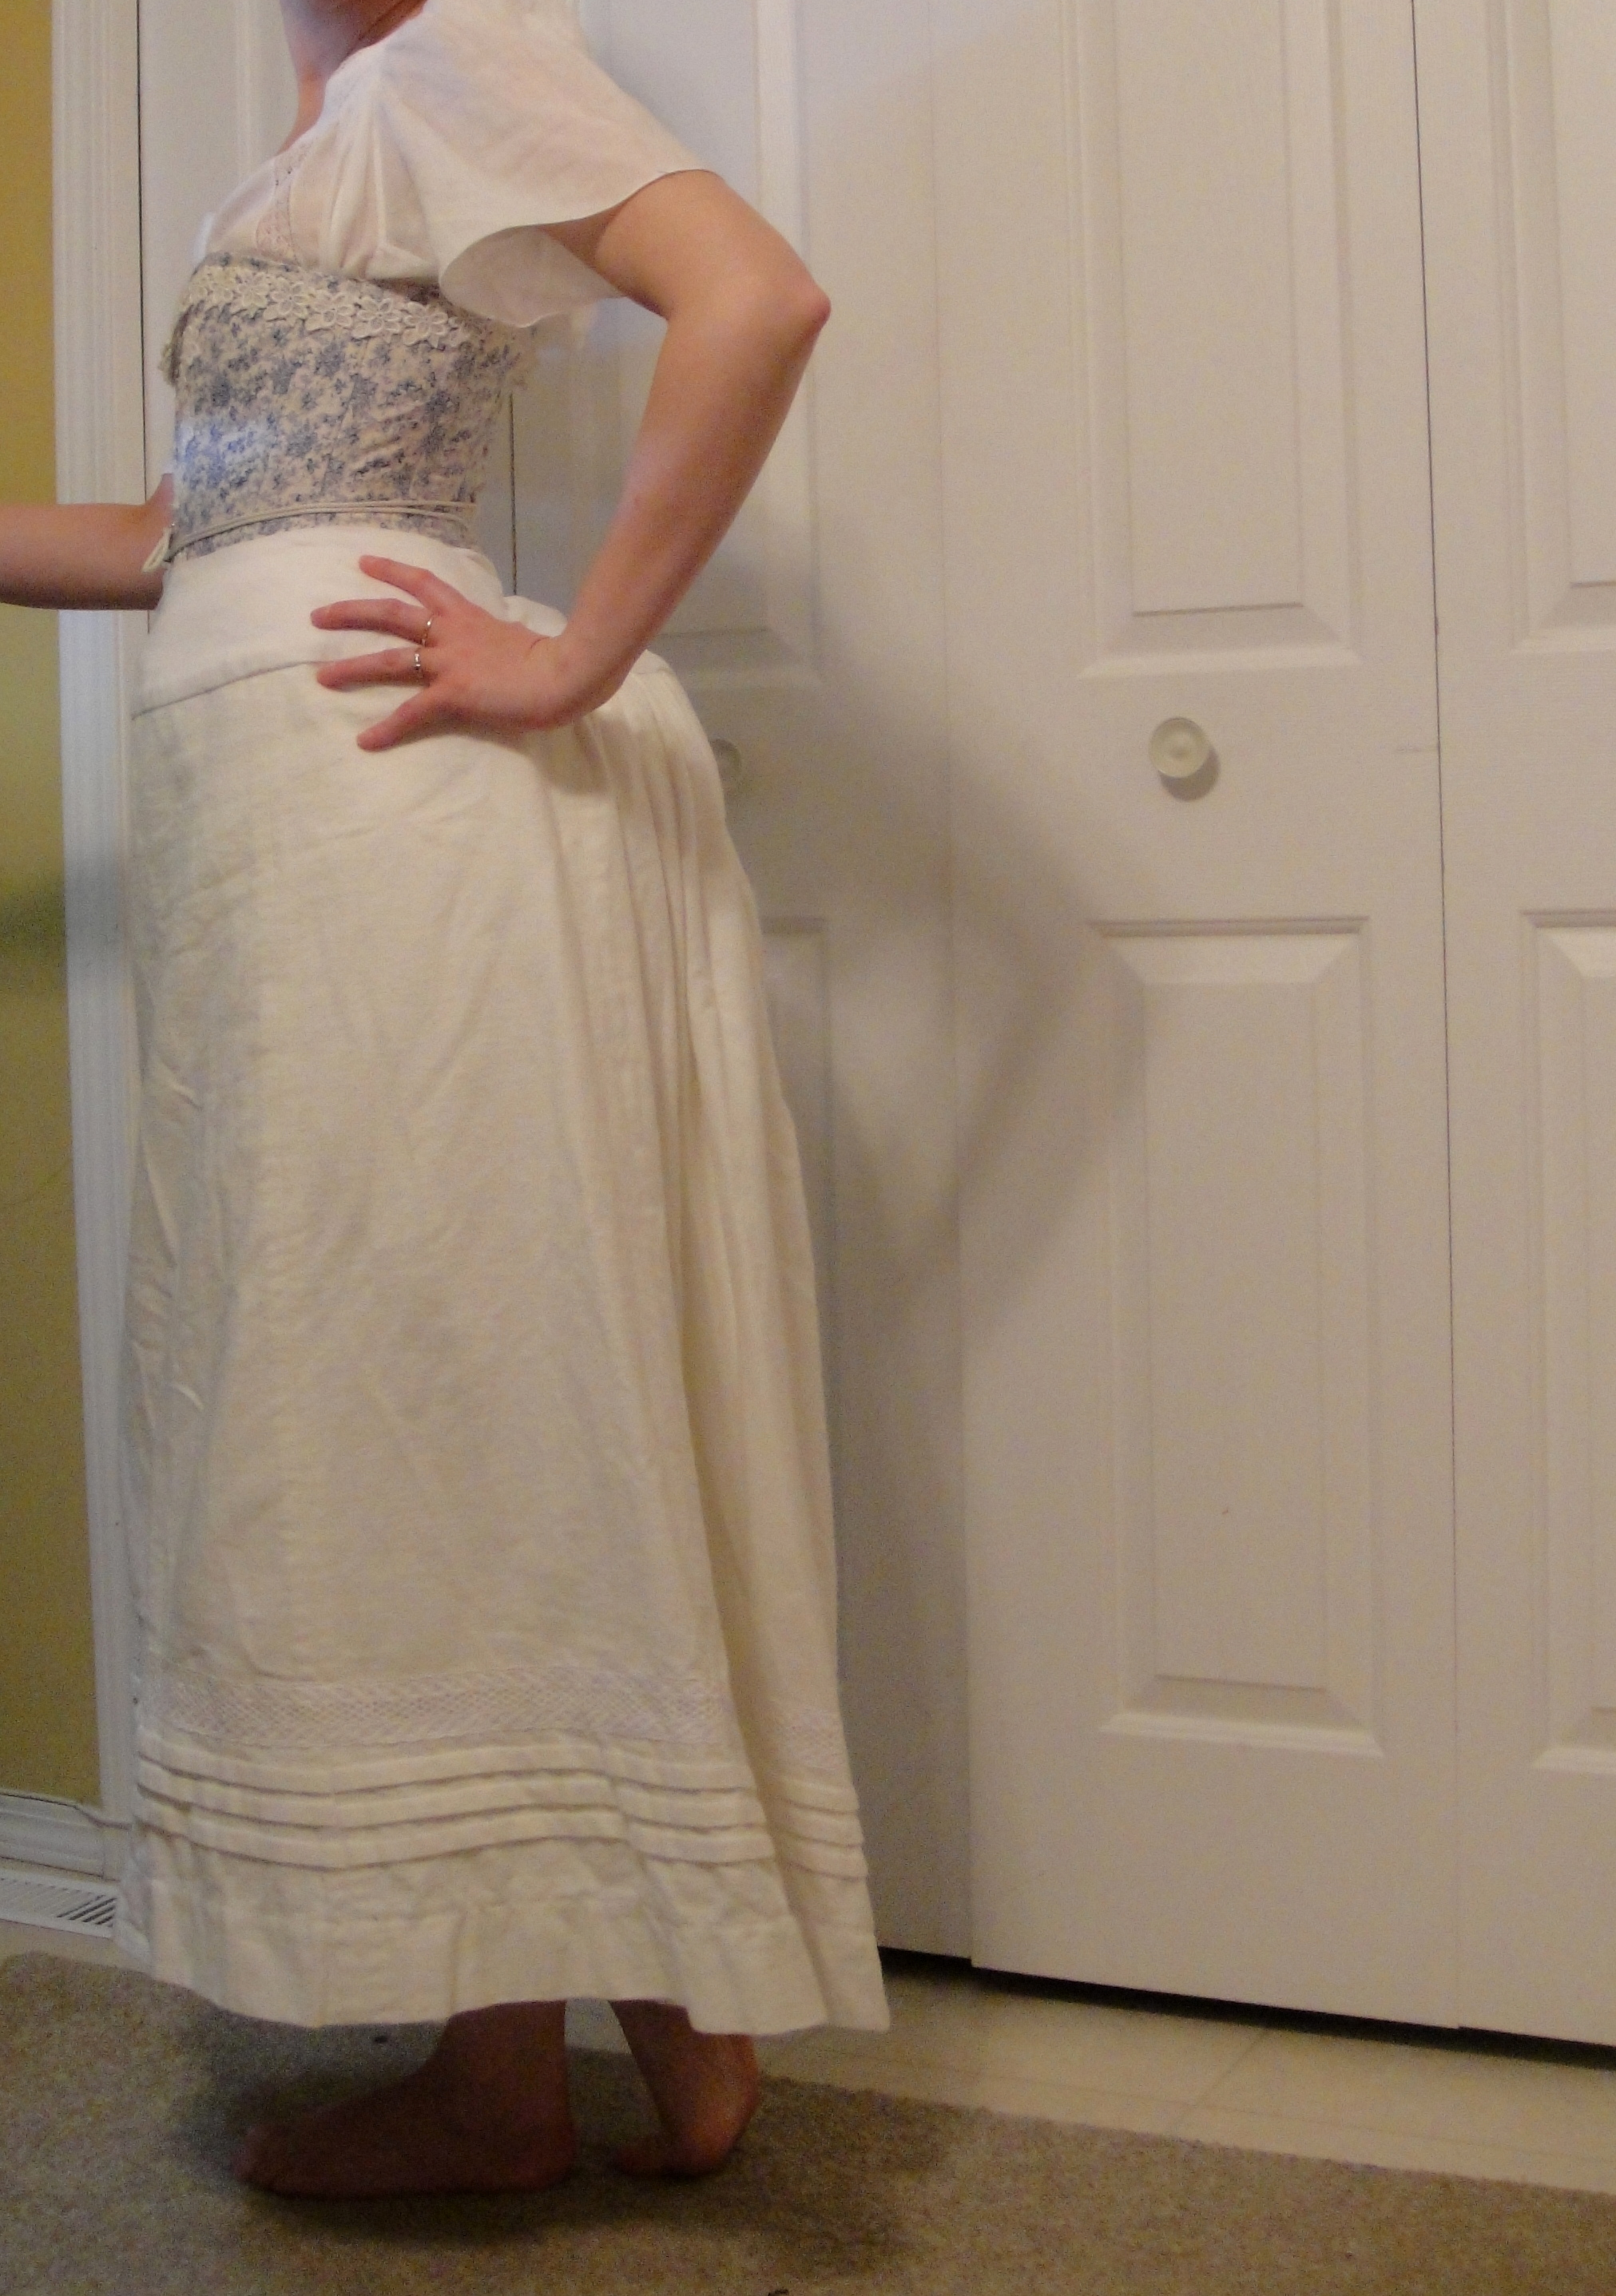
Silhouette comparison
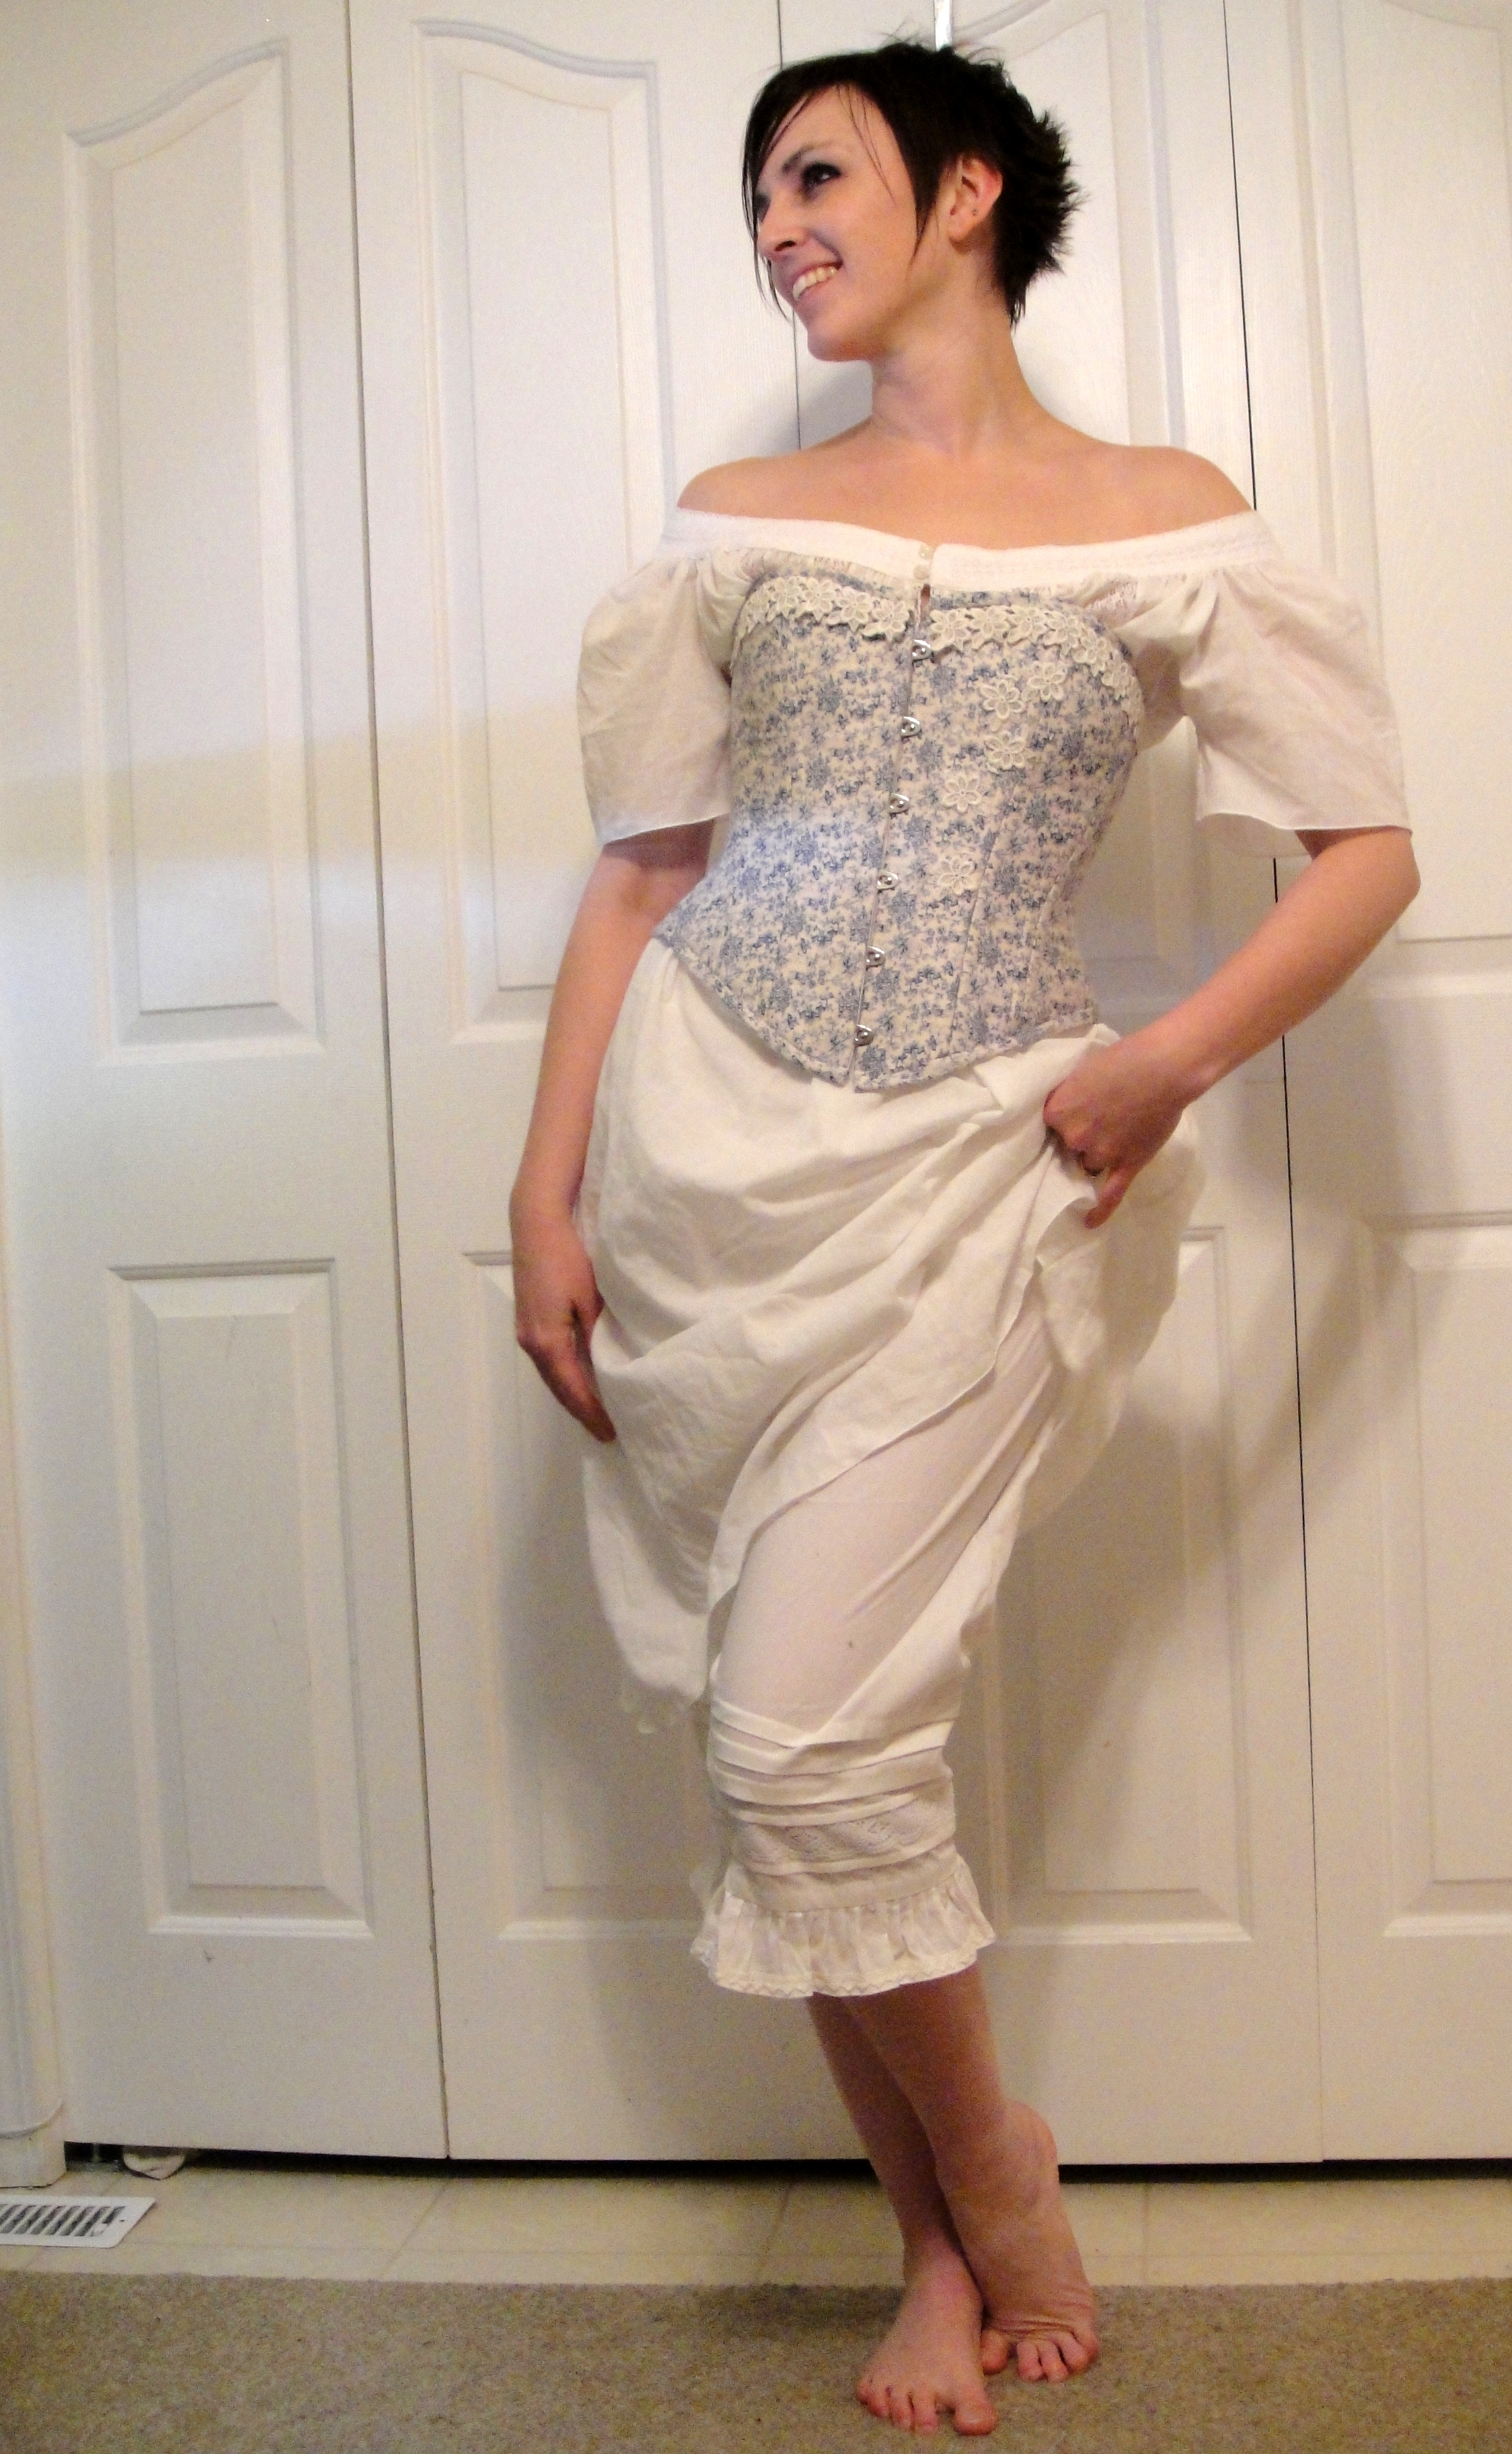
I think the size is much better this time around—still roomy in hips and bust (arguably the bust is a little too roomy but I really don’t want compression in this region 😉 ), with a smidge (or more than a smidge) more waist definition than before. And a perfectly reasonable, roughly parrallel lacing gap. By the way, I get a whole 2″ of waist compression out of this thing (unlike the other one, which actually doesn’t change my waist measurement at all once you add in the bulk of the corset itself.) I think that’s pretty much my limit, barring serious waist-training that just isn’t going to happen. I wasn’t really expecting more—there isn’t a lot of space between my hips and ribcage to squish in, and I’m a pretty rectangular shape to start.
Have another corset view
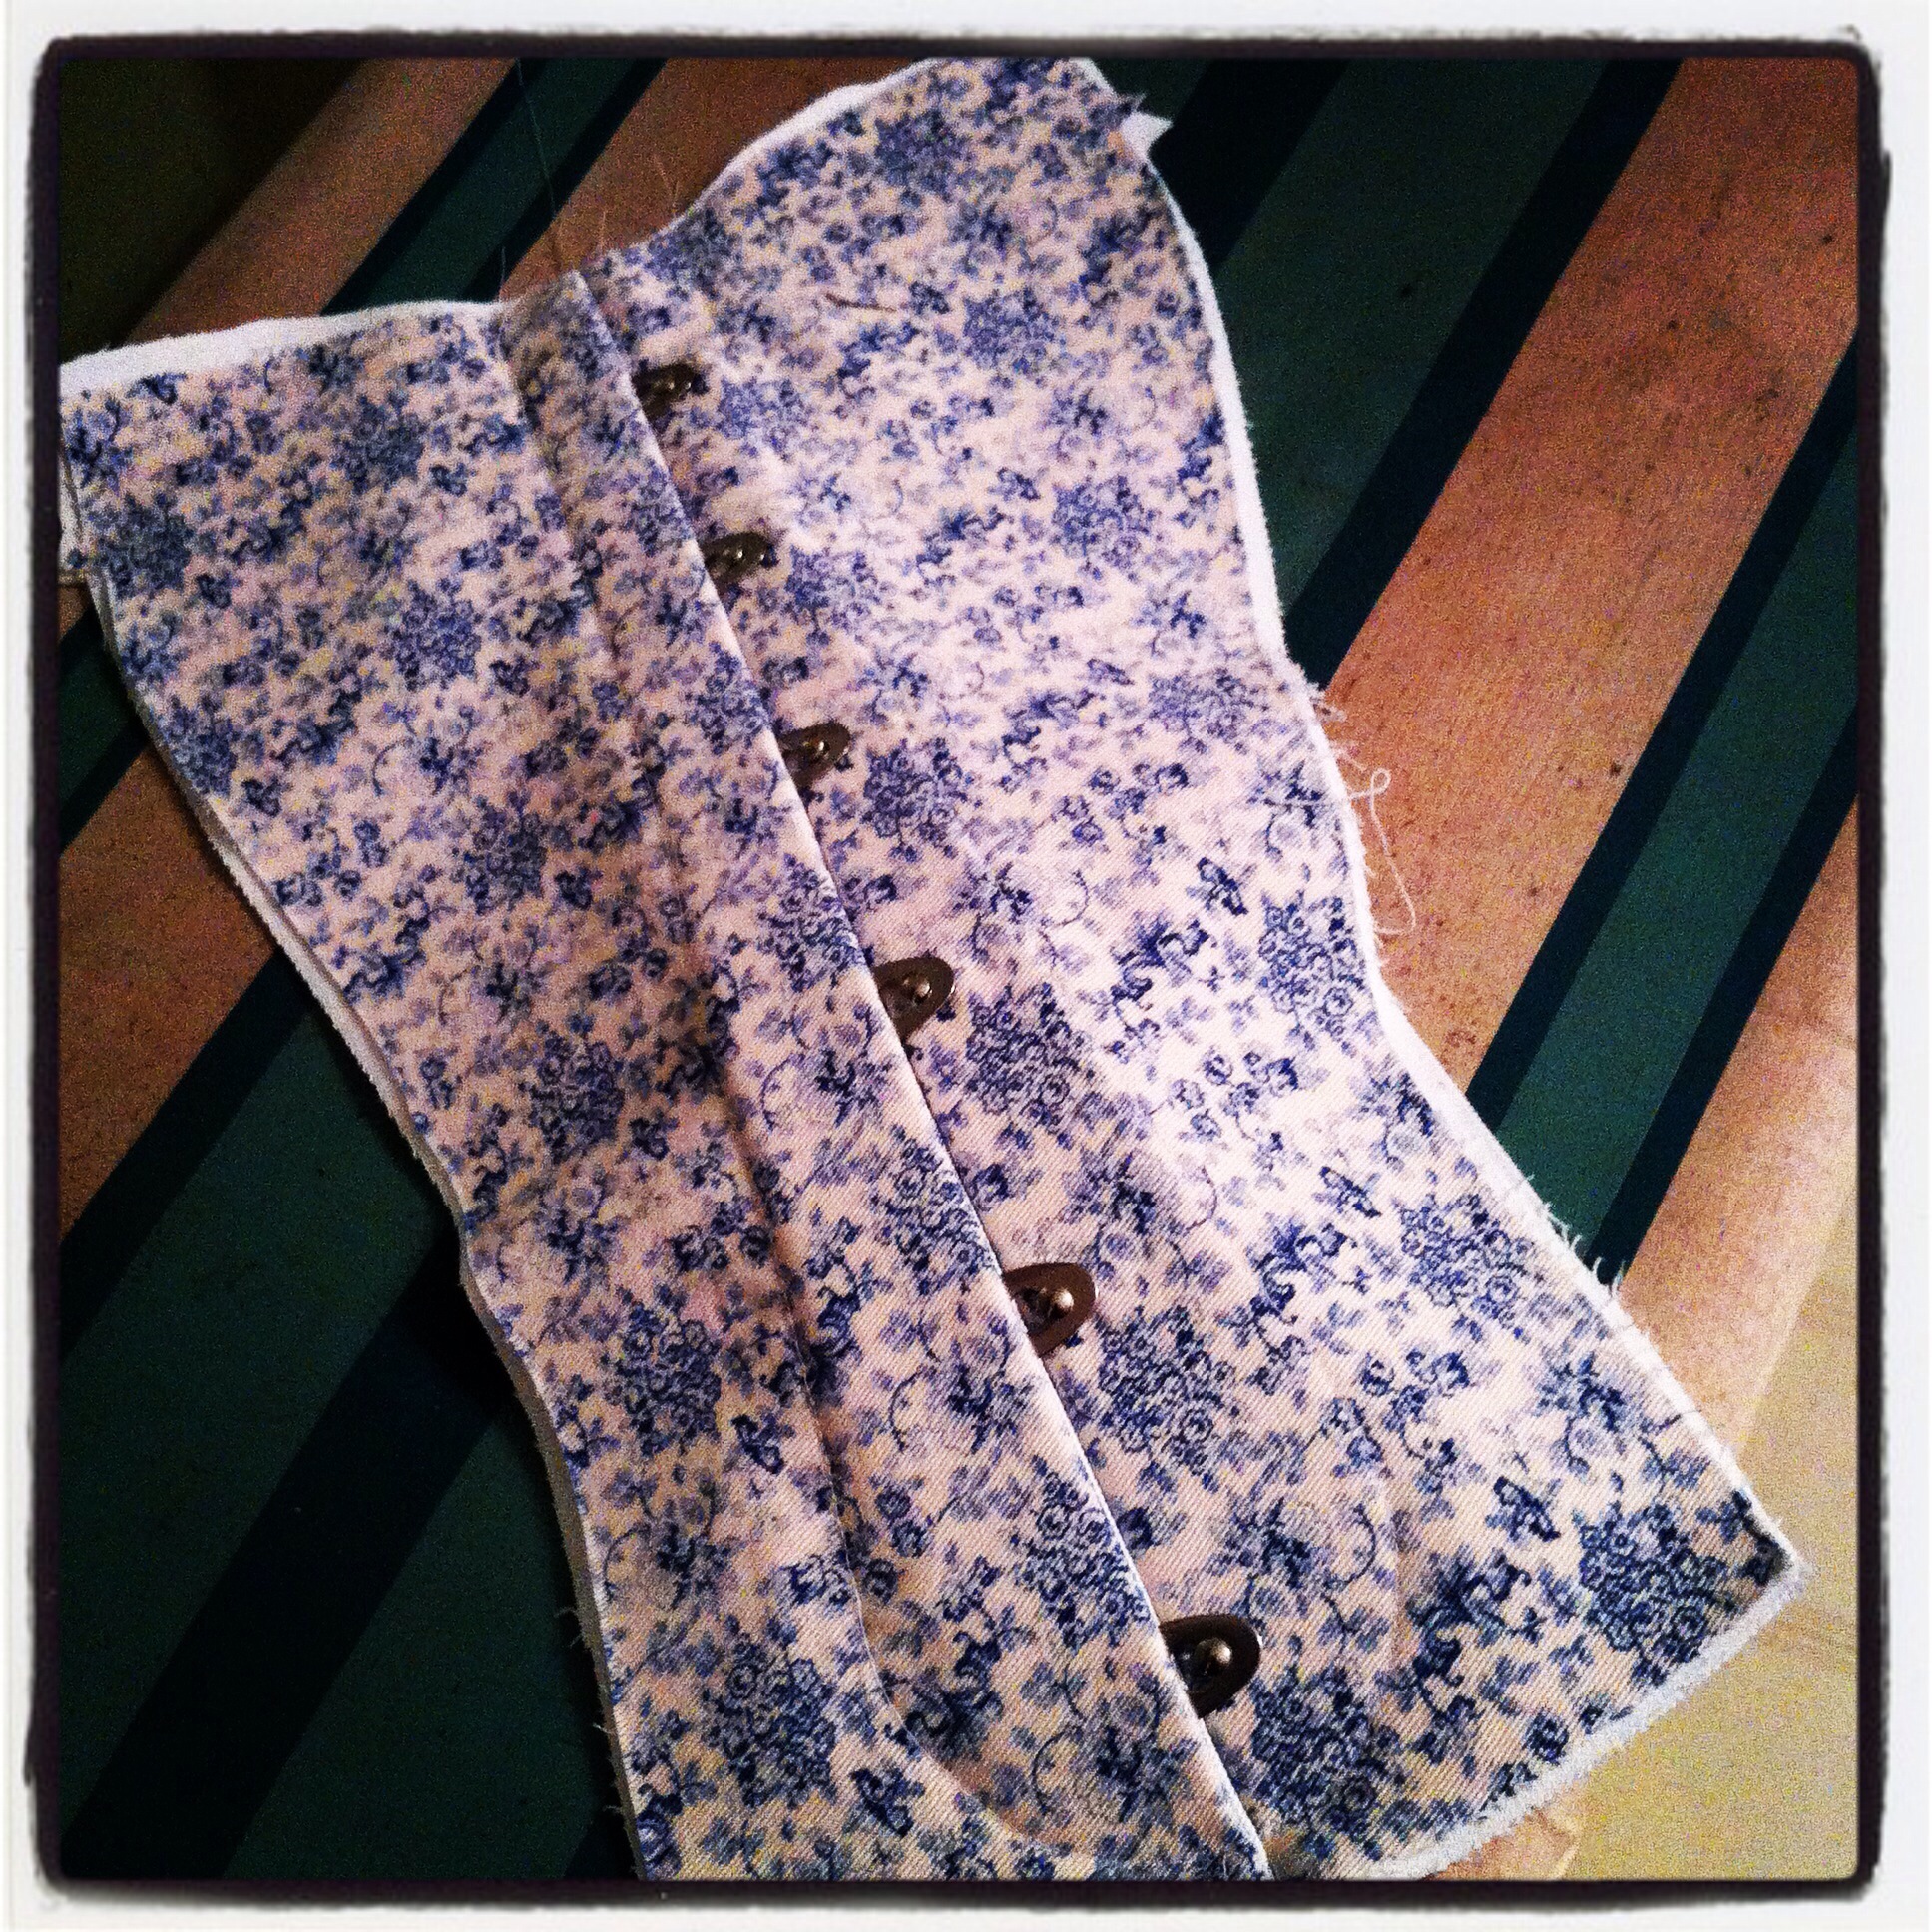
One thing that really stands out is the difference the busk makes. For the first corset, I used a spoon busk, and while I did have to straighten a fair bit of the spooning as it wasn’t hitting at the right spot on my body (it would’ve needed to sit about 2″ lower to work properly) it still does help “hug in” the bottom front—there’s a very distinct gap (shadow) you can see in the newest corset at the bottom front. Not a big deal under petticoats, but something to tweak a bit if I want to make “fashion” versions. (Not sure where I’ll wear a “fashion” corset yet, but then again I’m not really sure where I’ll wear this full Victorian getup either.)

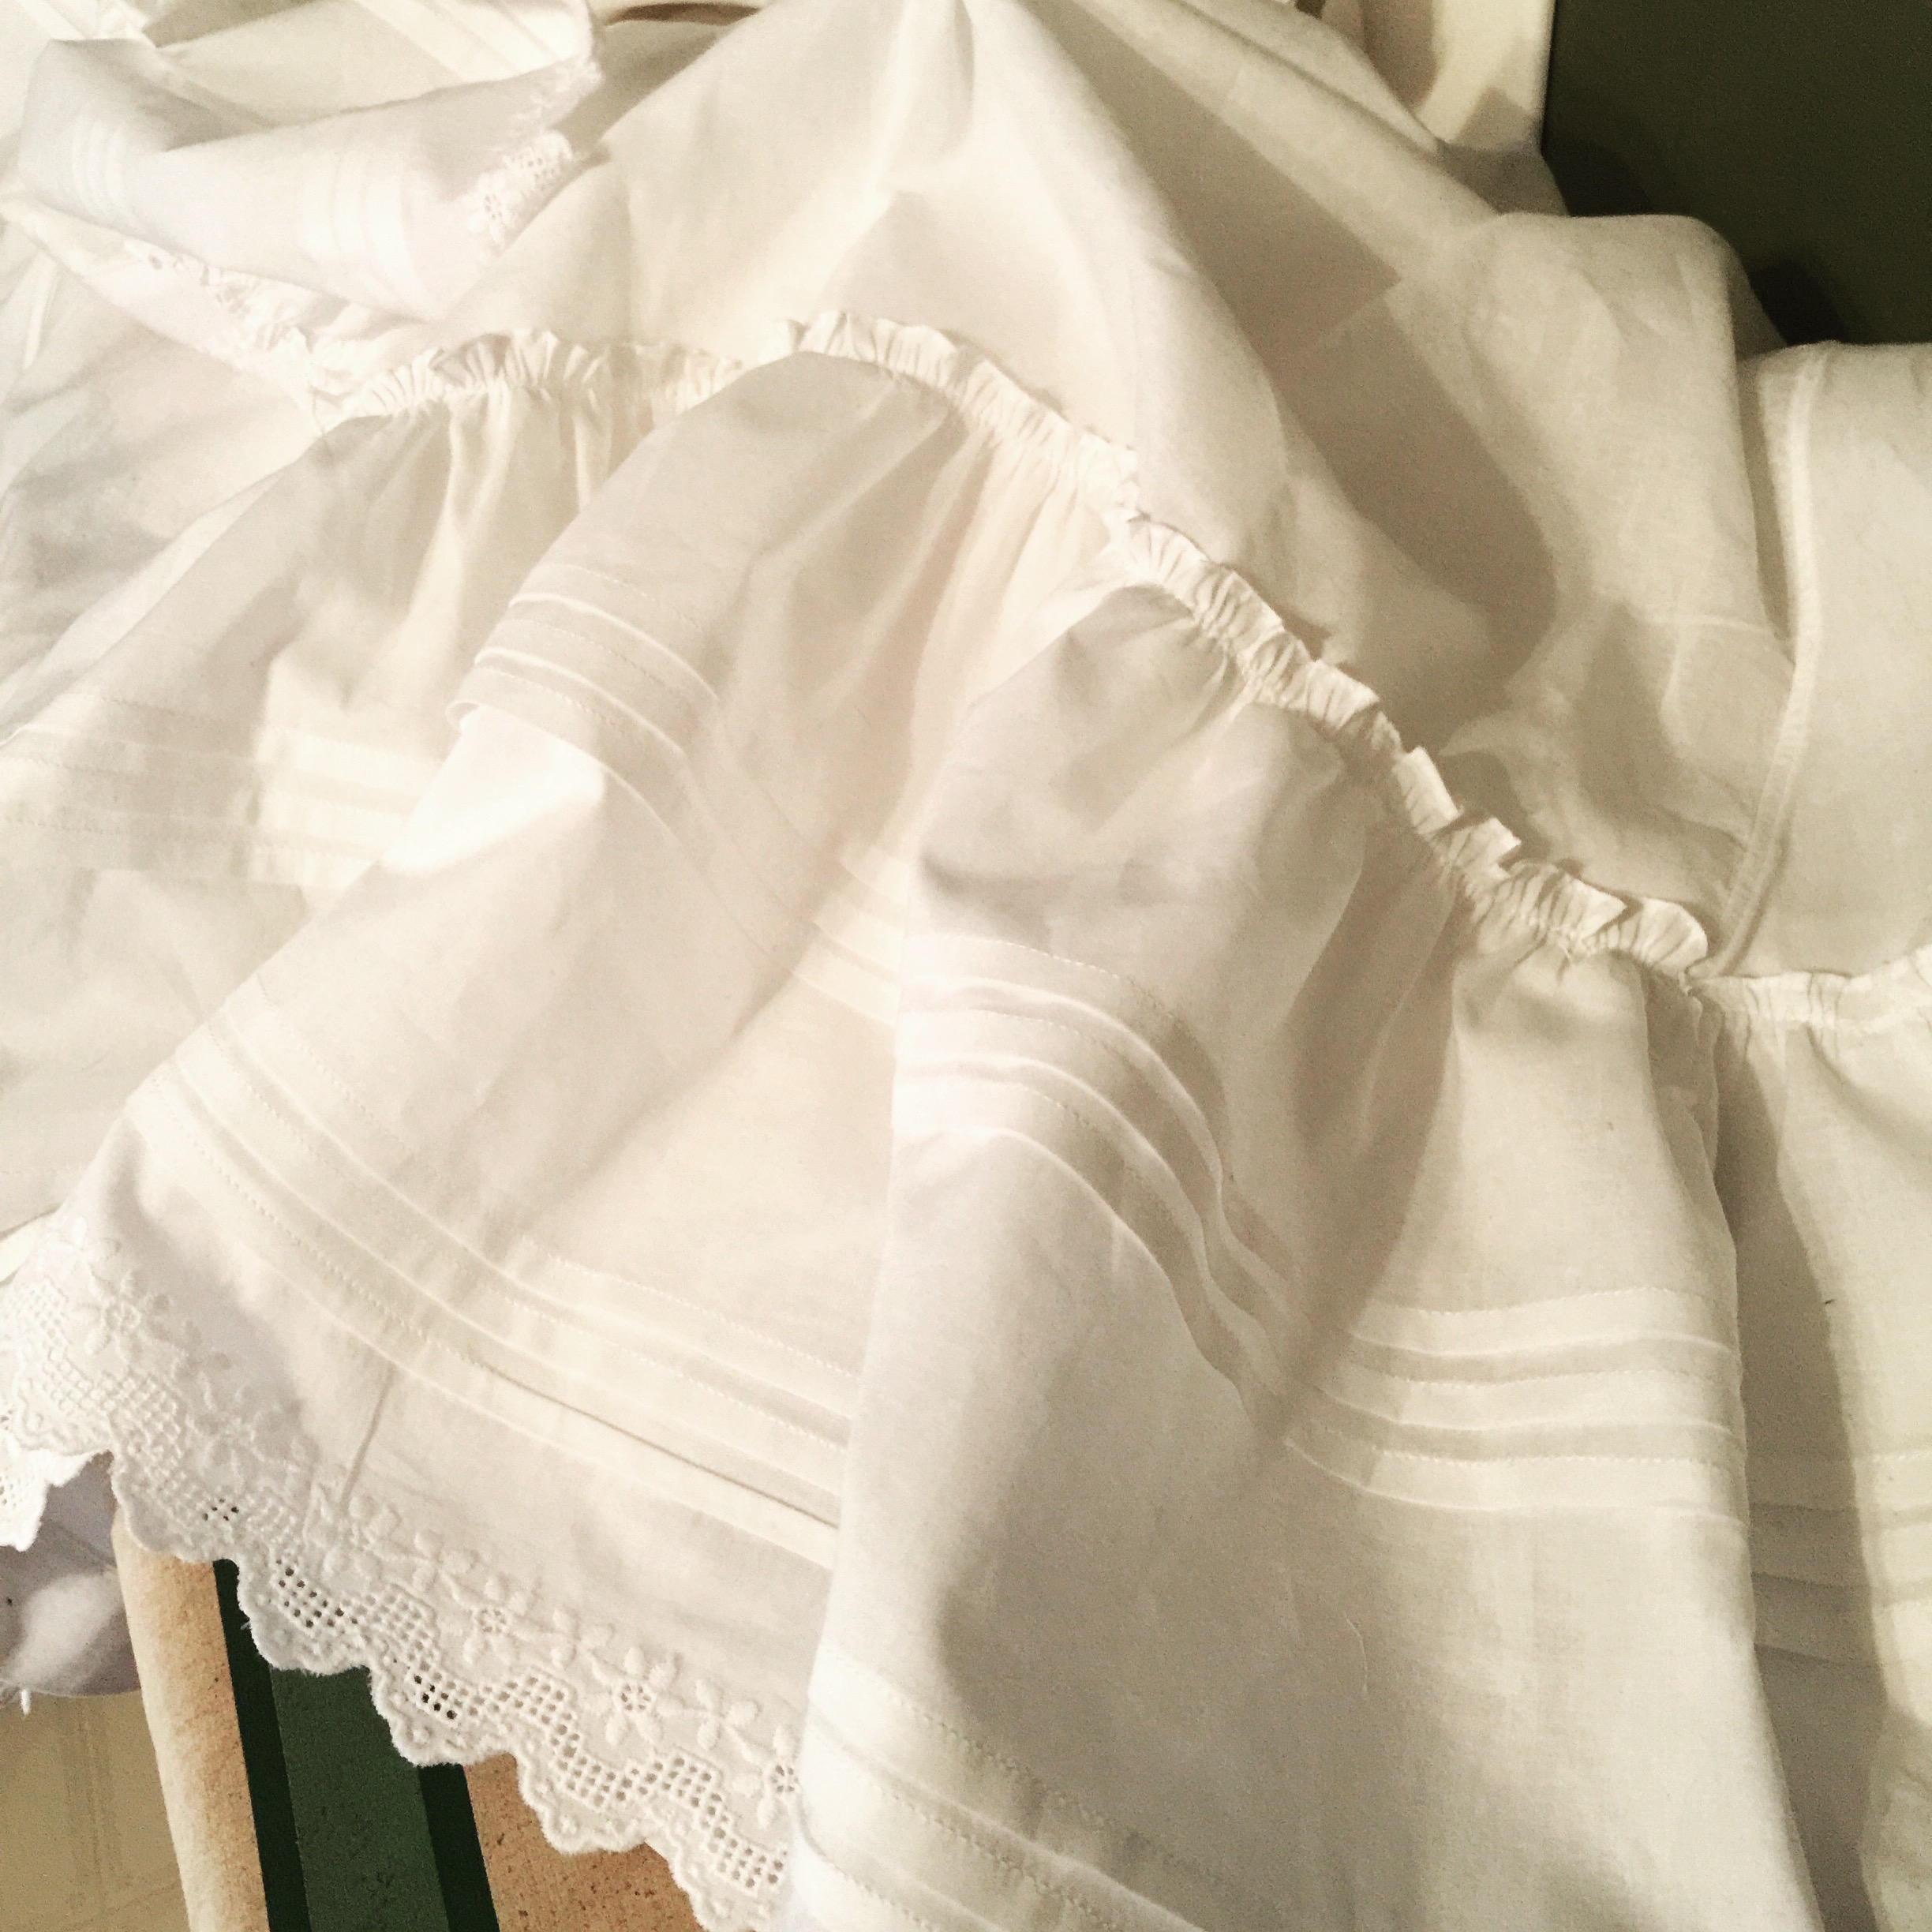
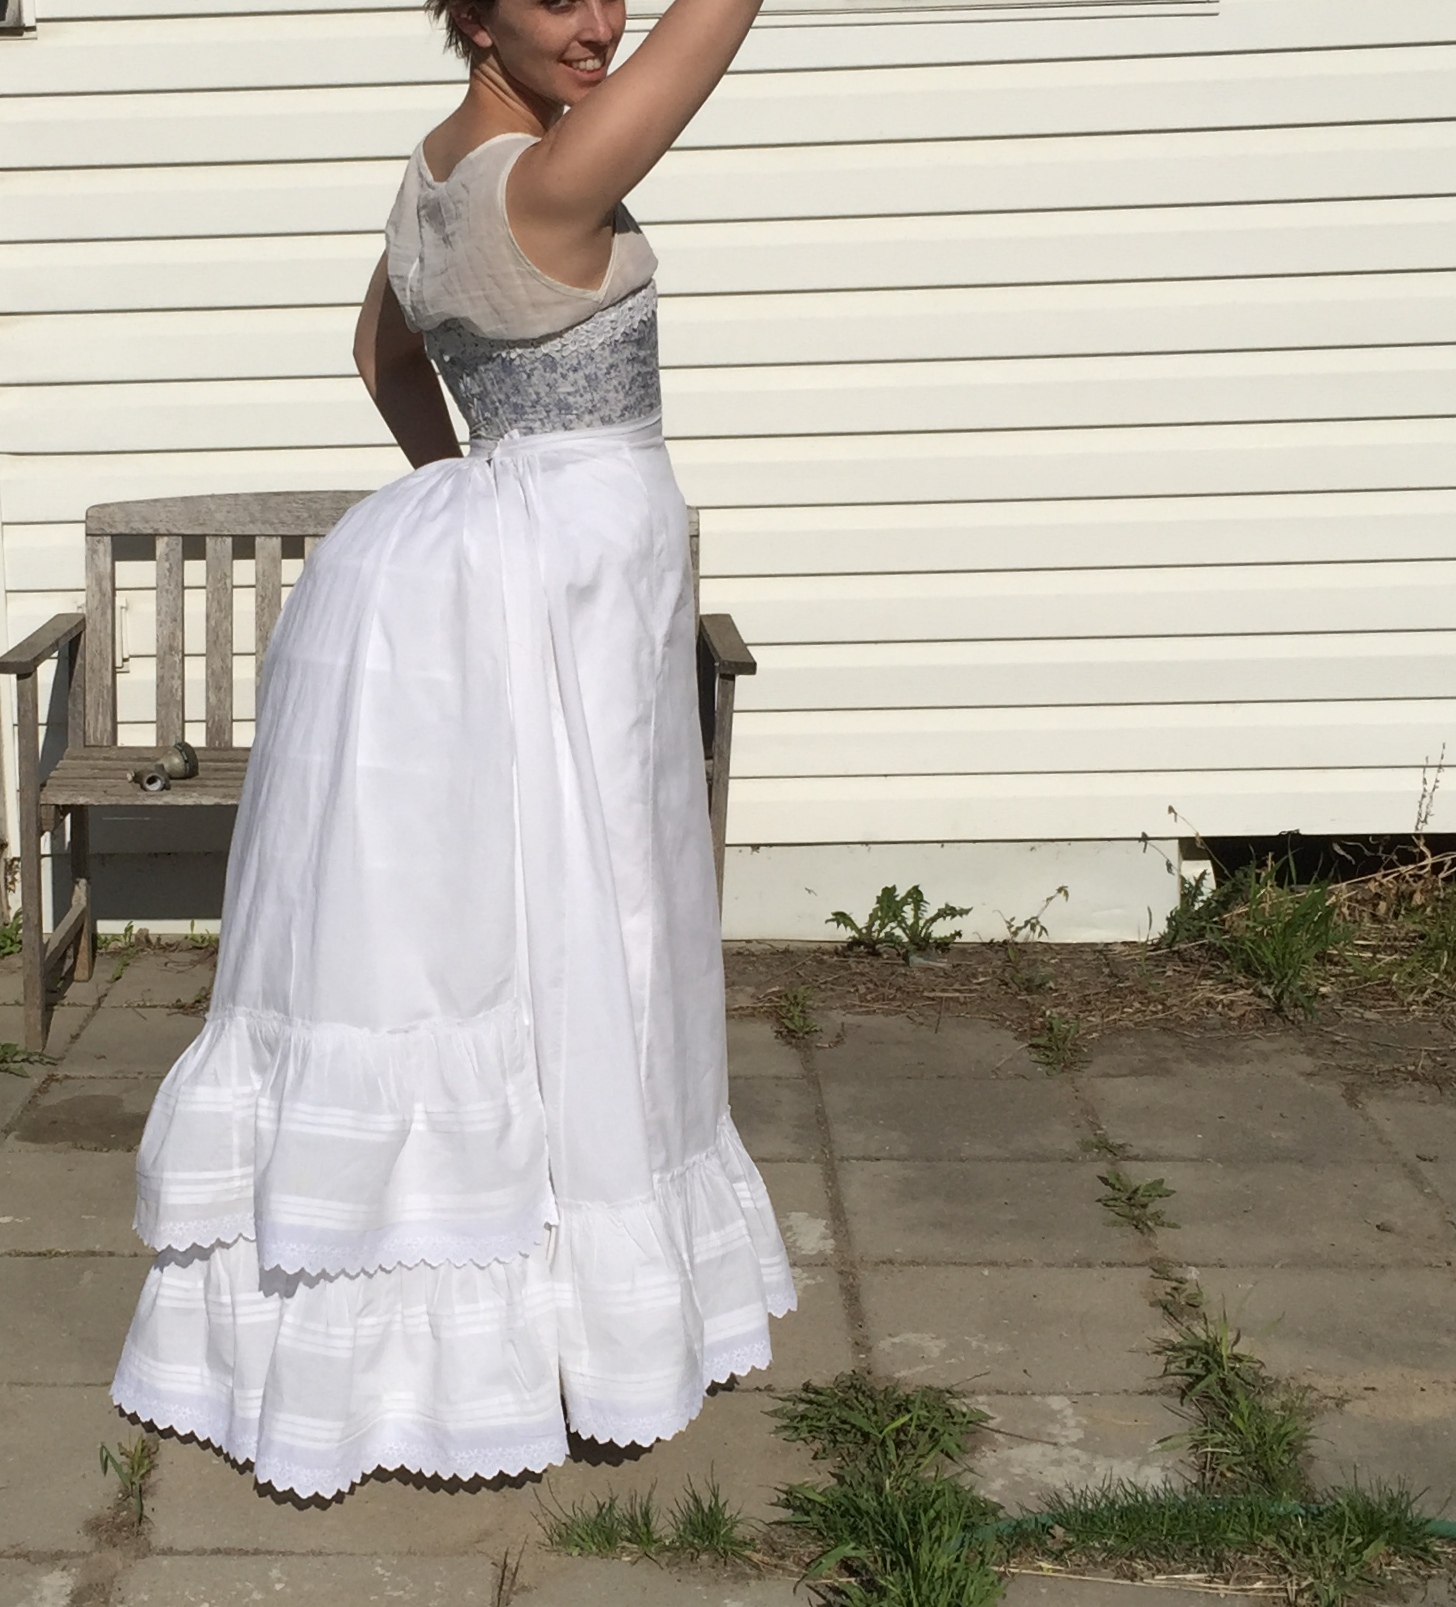
Lobster tail
And here’s a shot of my American Duchess-style lobster-tail bustle, because I haven’t really done it justice on the blog (nor probably will get around to it, sadly) For this dress-up I experimented with fastening it a bit lower on my hips (rather than right at the waist). My theory is that it elongates my waist and gives me more room between butt and waist to build up the layers of bustled stuff in the back, though I couldn’t really say it makes much of a difference.

Steph in my corset!
One bit of fun I did have was stuffing a couple of my sewing friends (yes, real-life people I get together with and we MAKE STUFF! Slightly more than once in a blue moon) into the corset to see how it looked on different bodies. I think the answer is “better than on me”—but anyway, that was super fun.
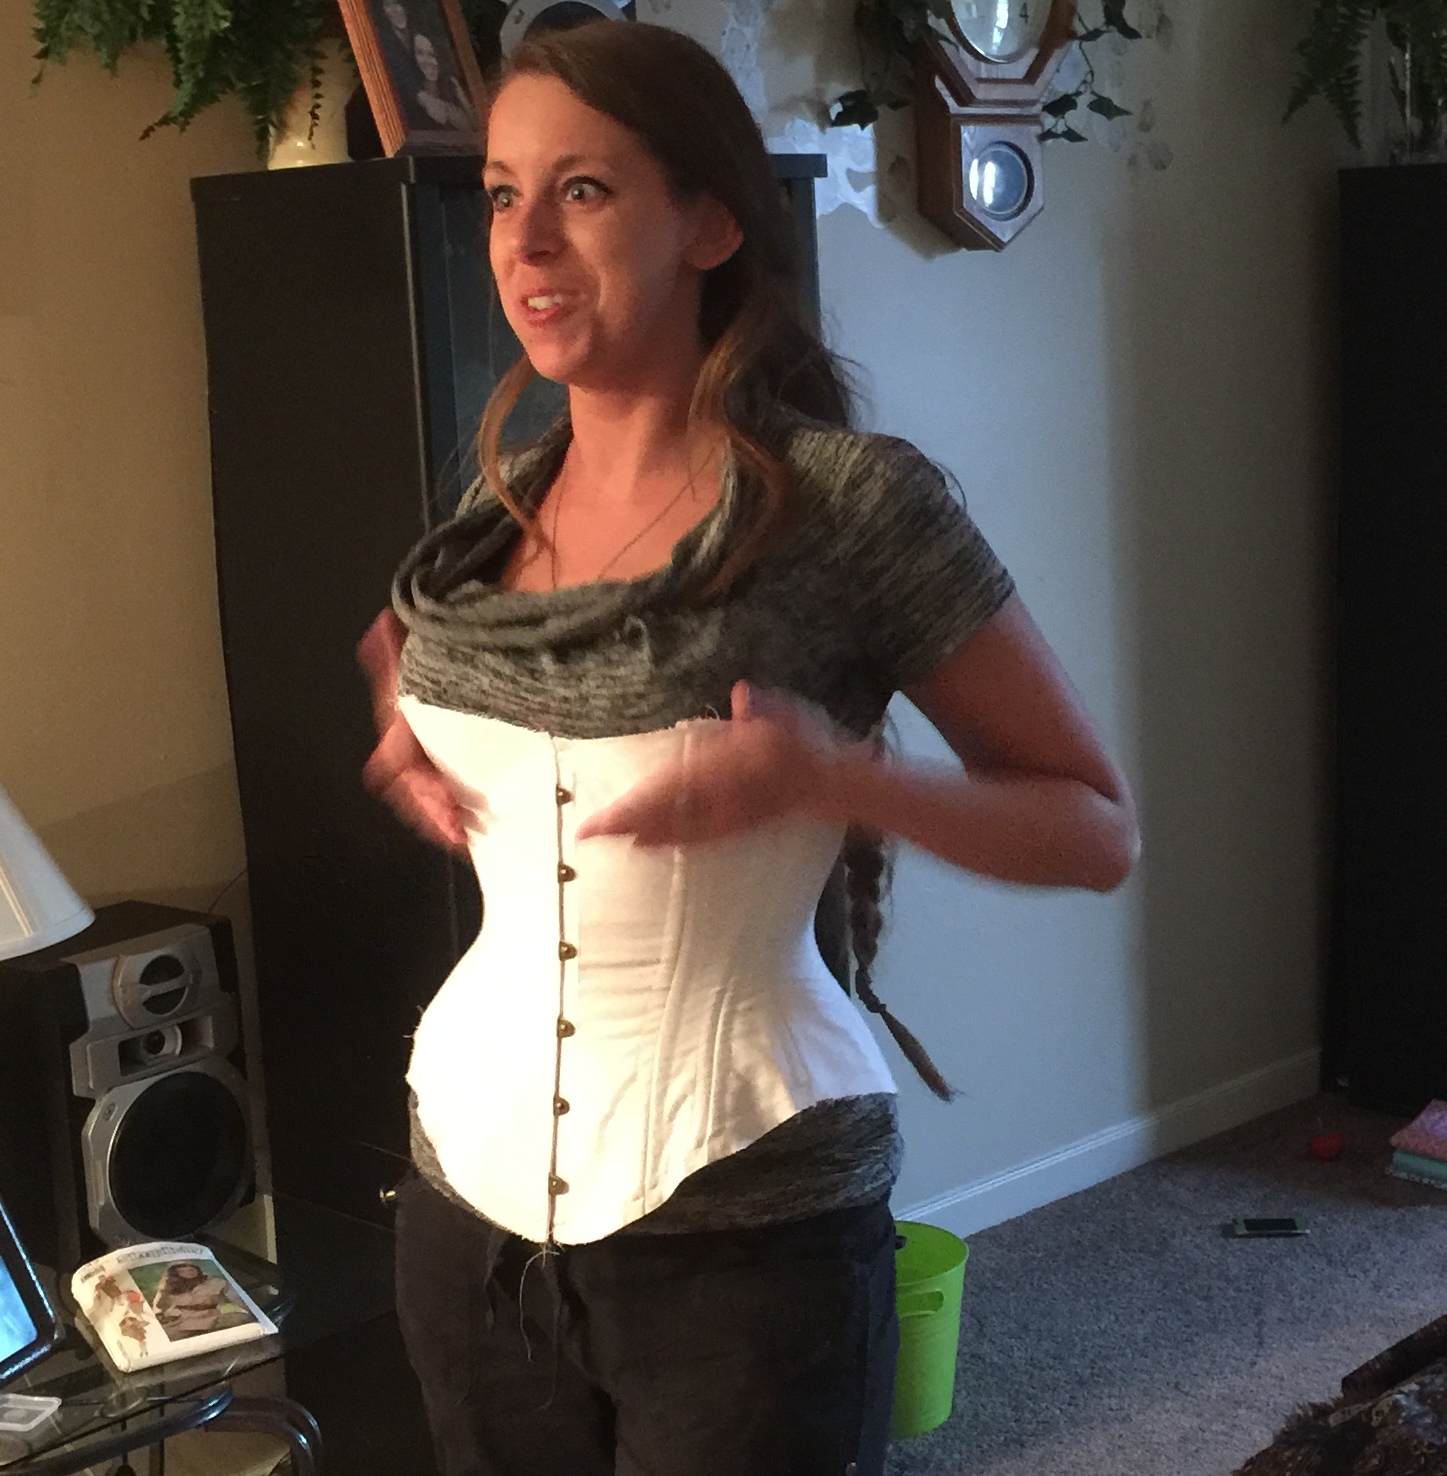
Chrissy. She’s probably going to kill me for picking this picture, but I love her face! 😉
It was really interesting to see it on different bodies, but even more fun to see their reactions to “corset shape” for the first time! 🙂
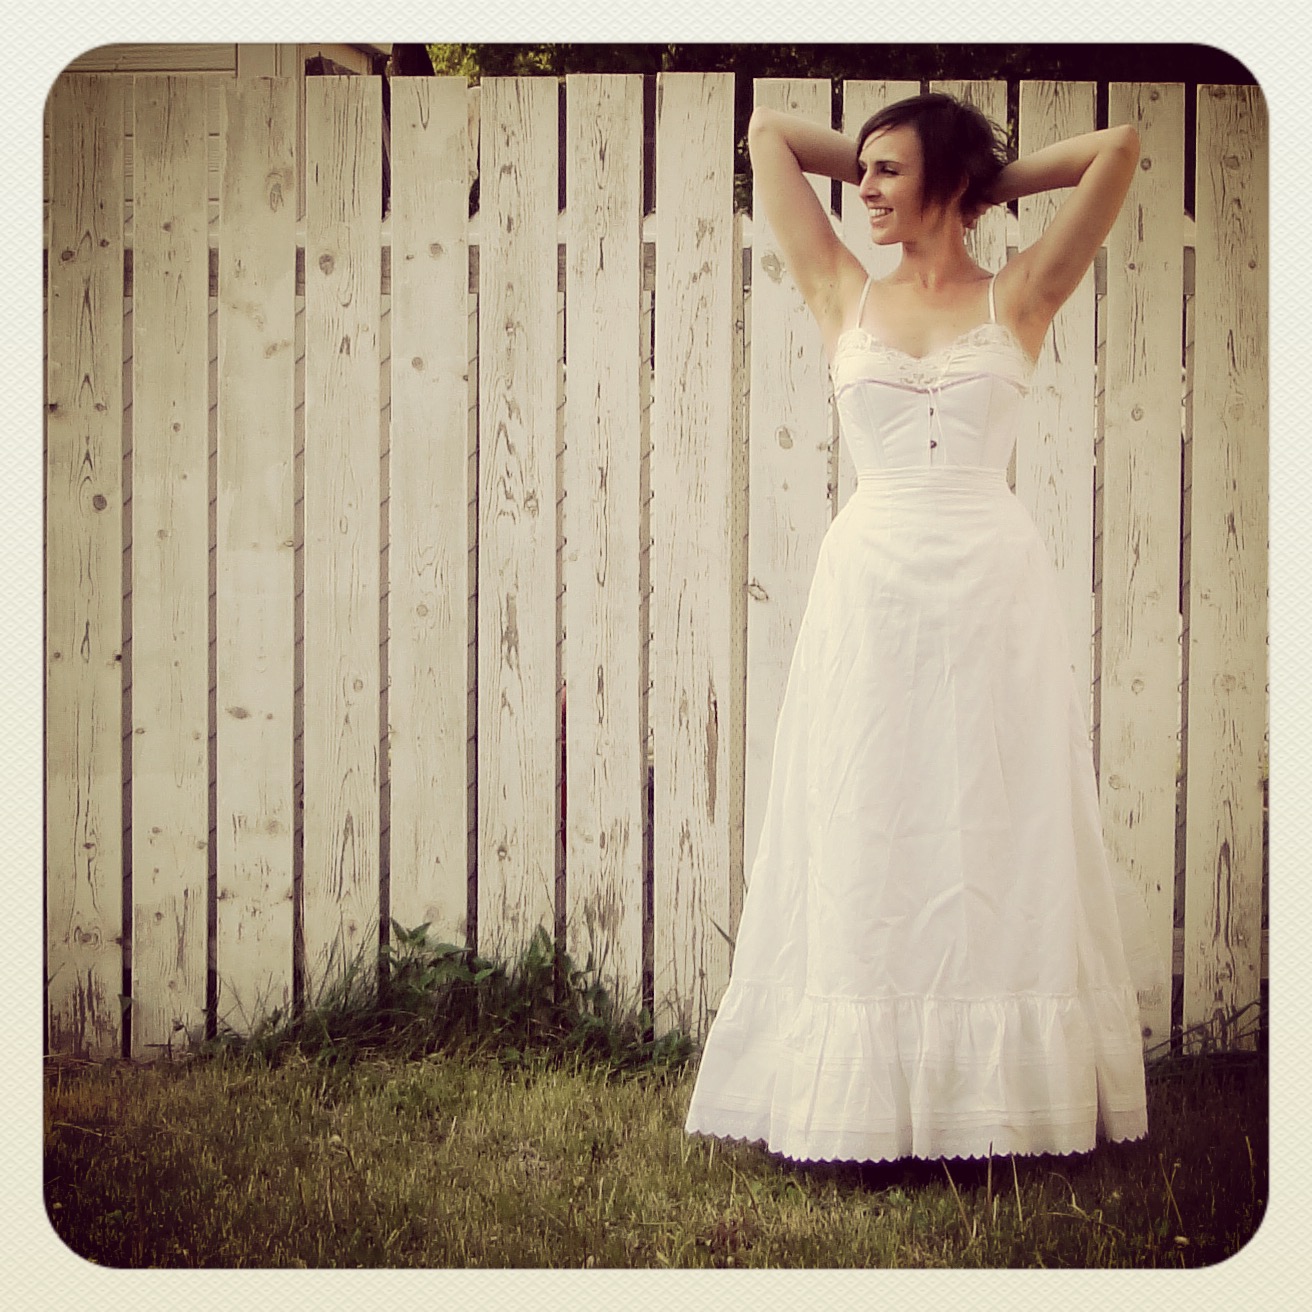
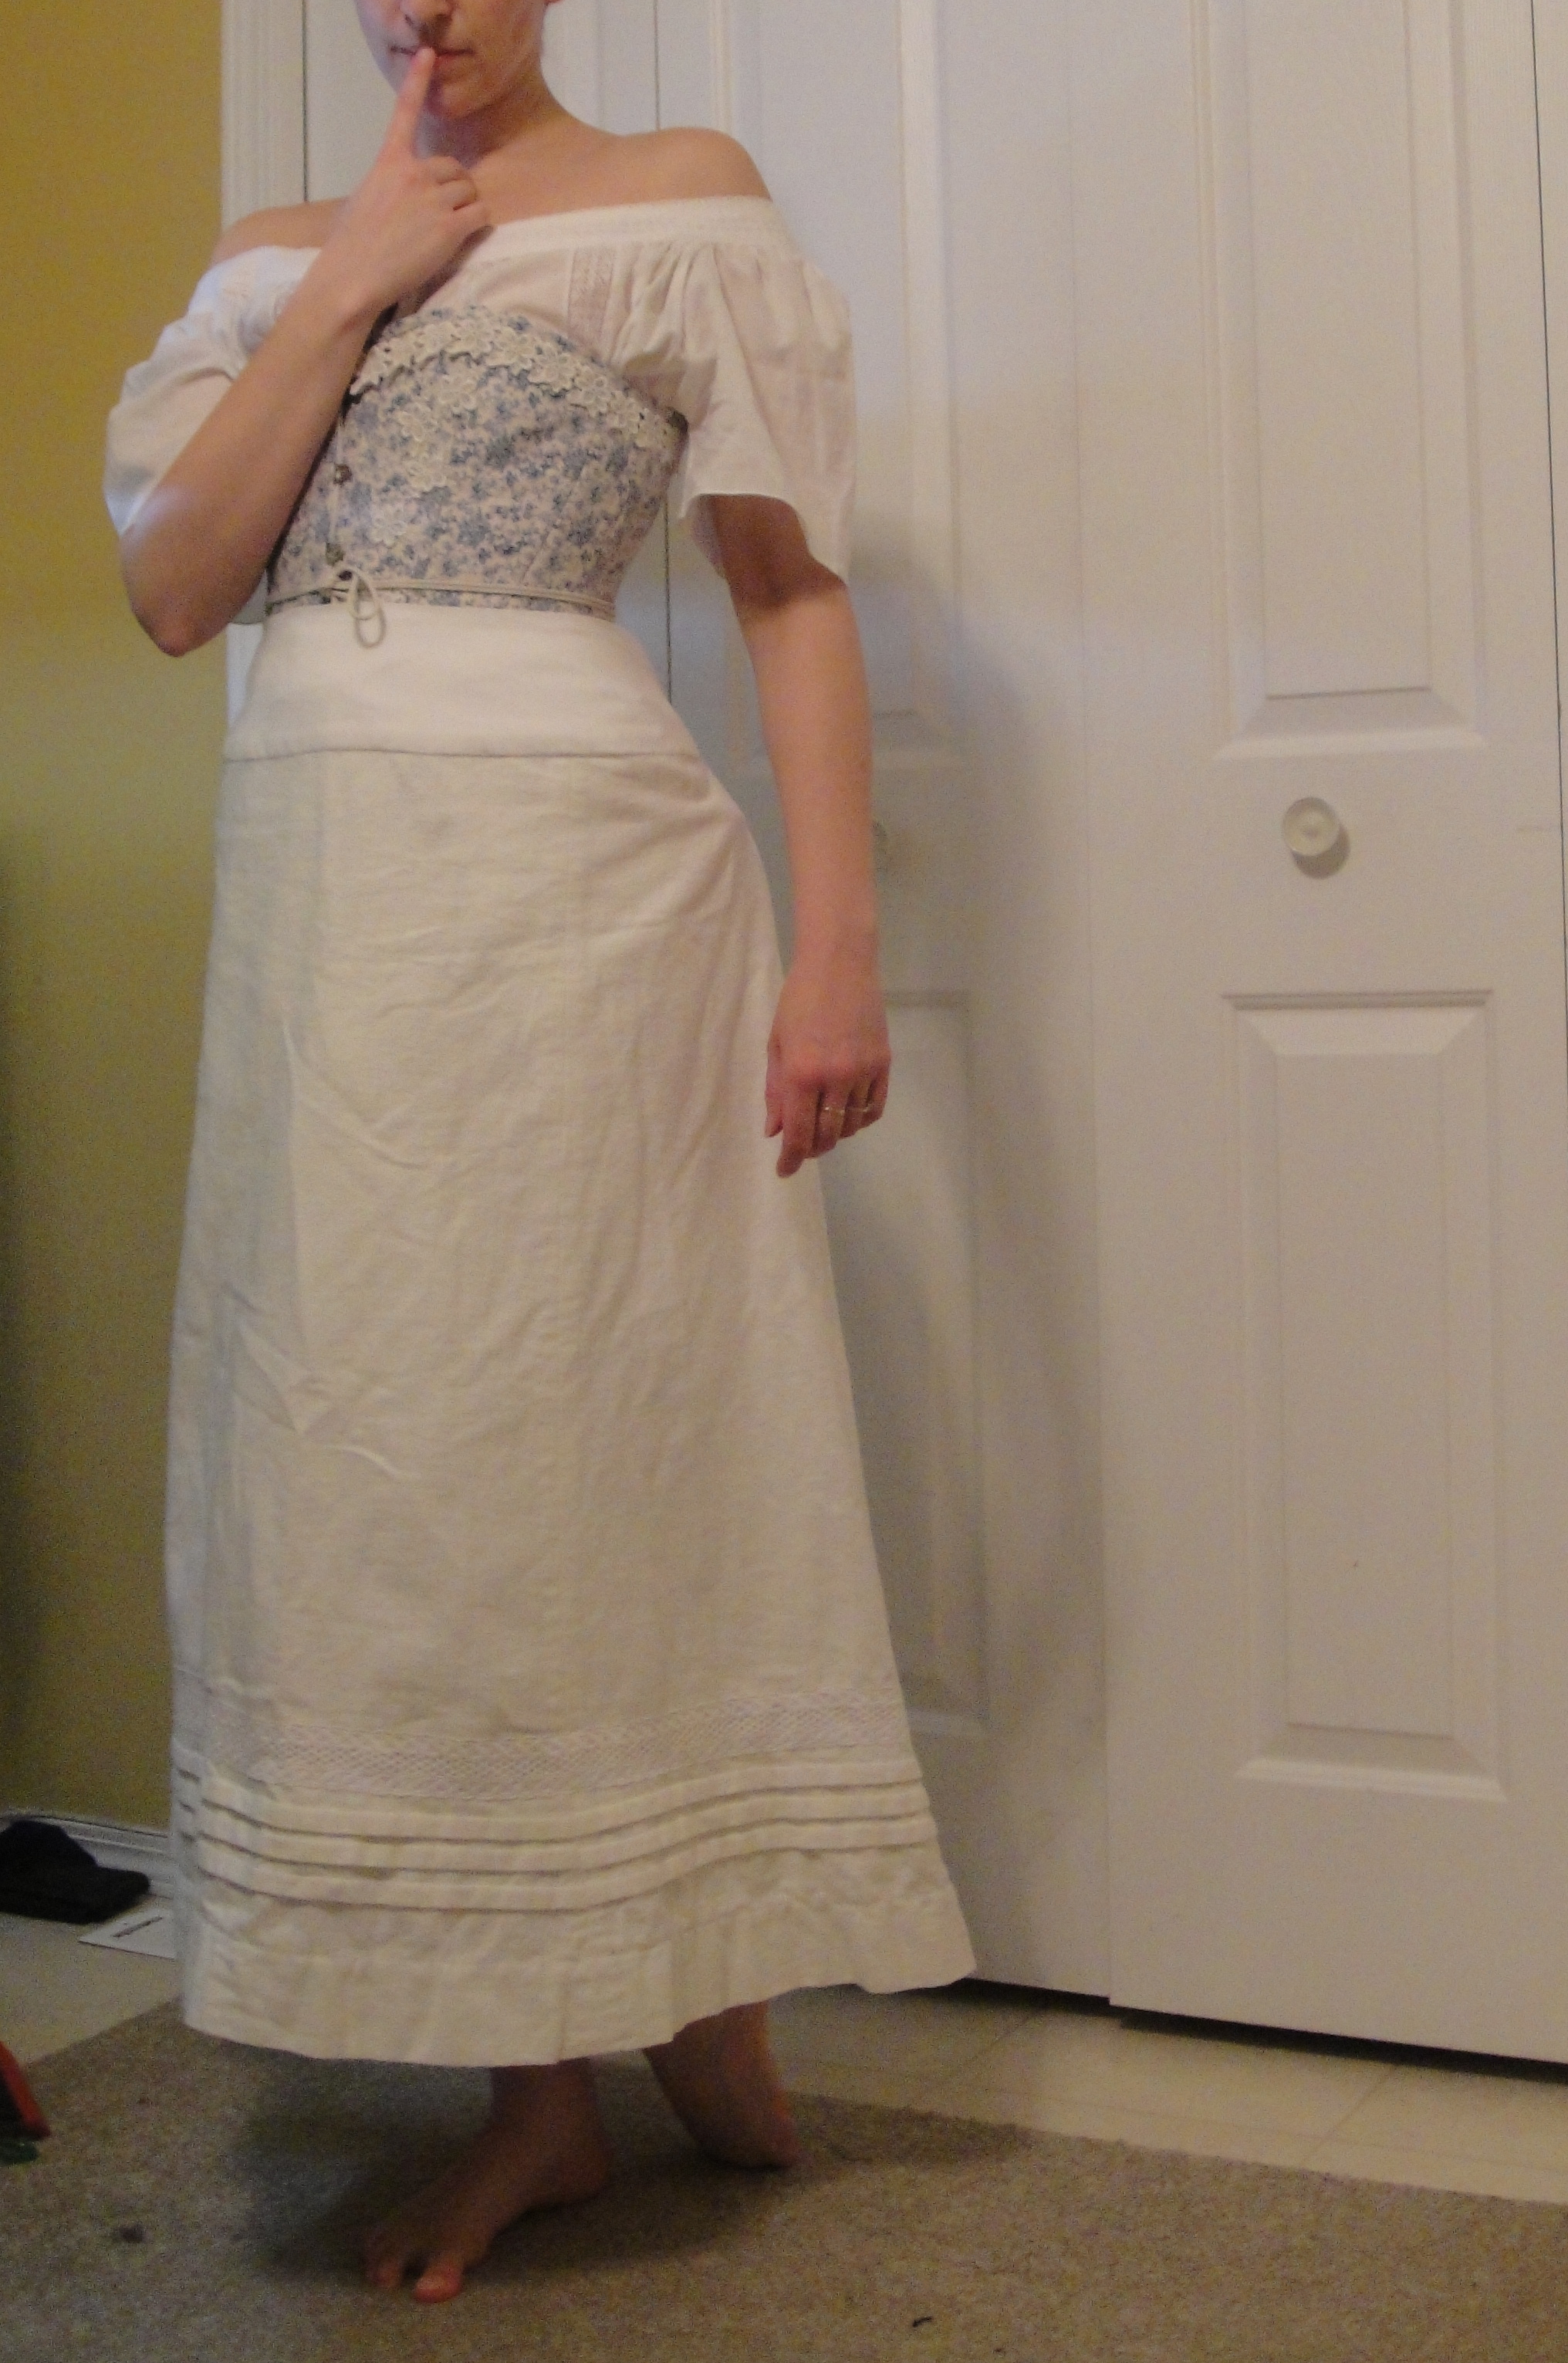
With Authentic Vintage Photo Filters (TM)
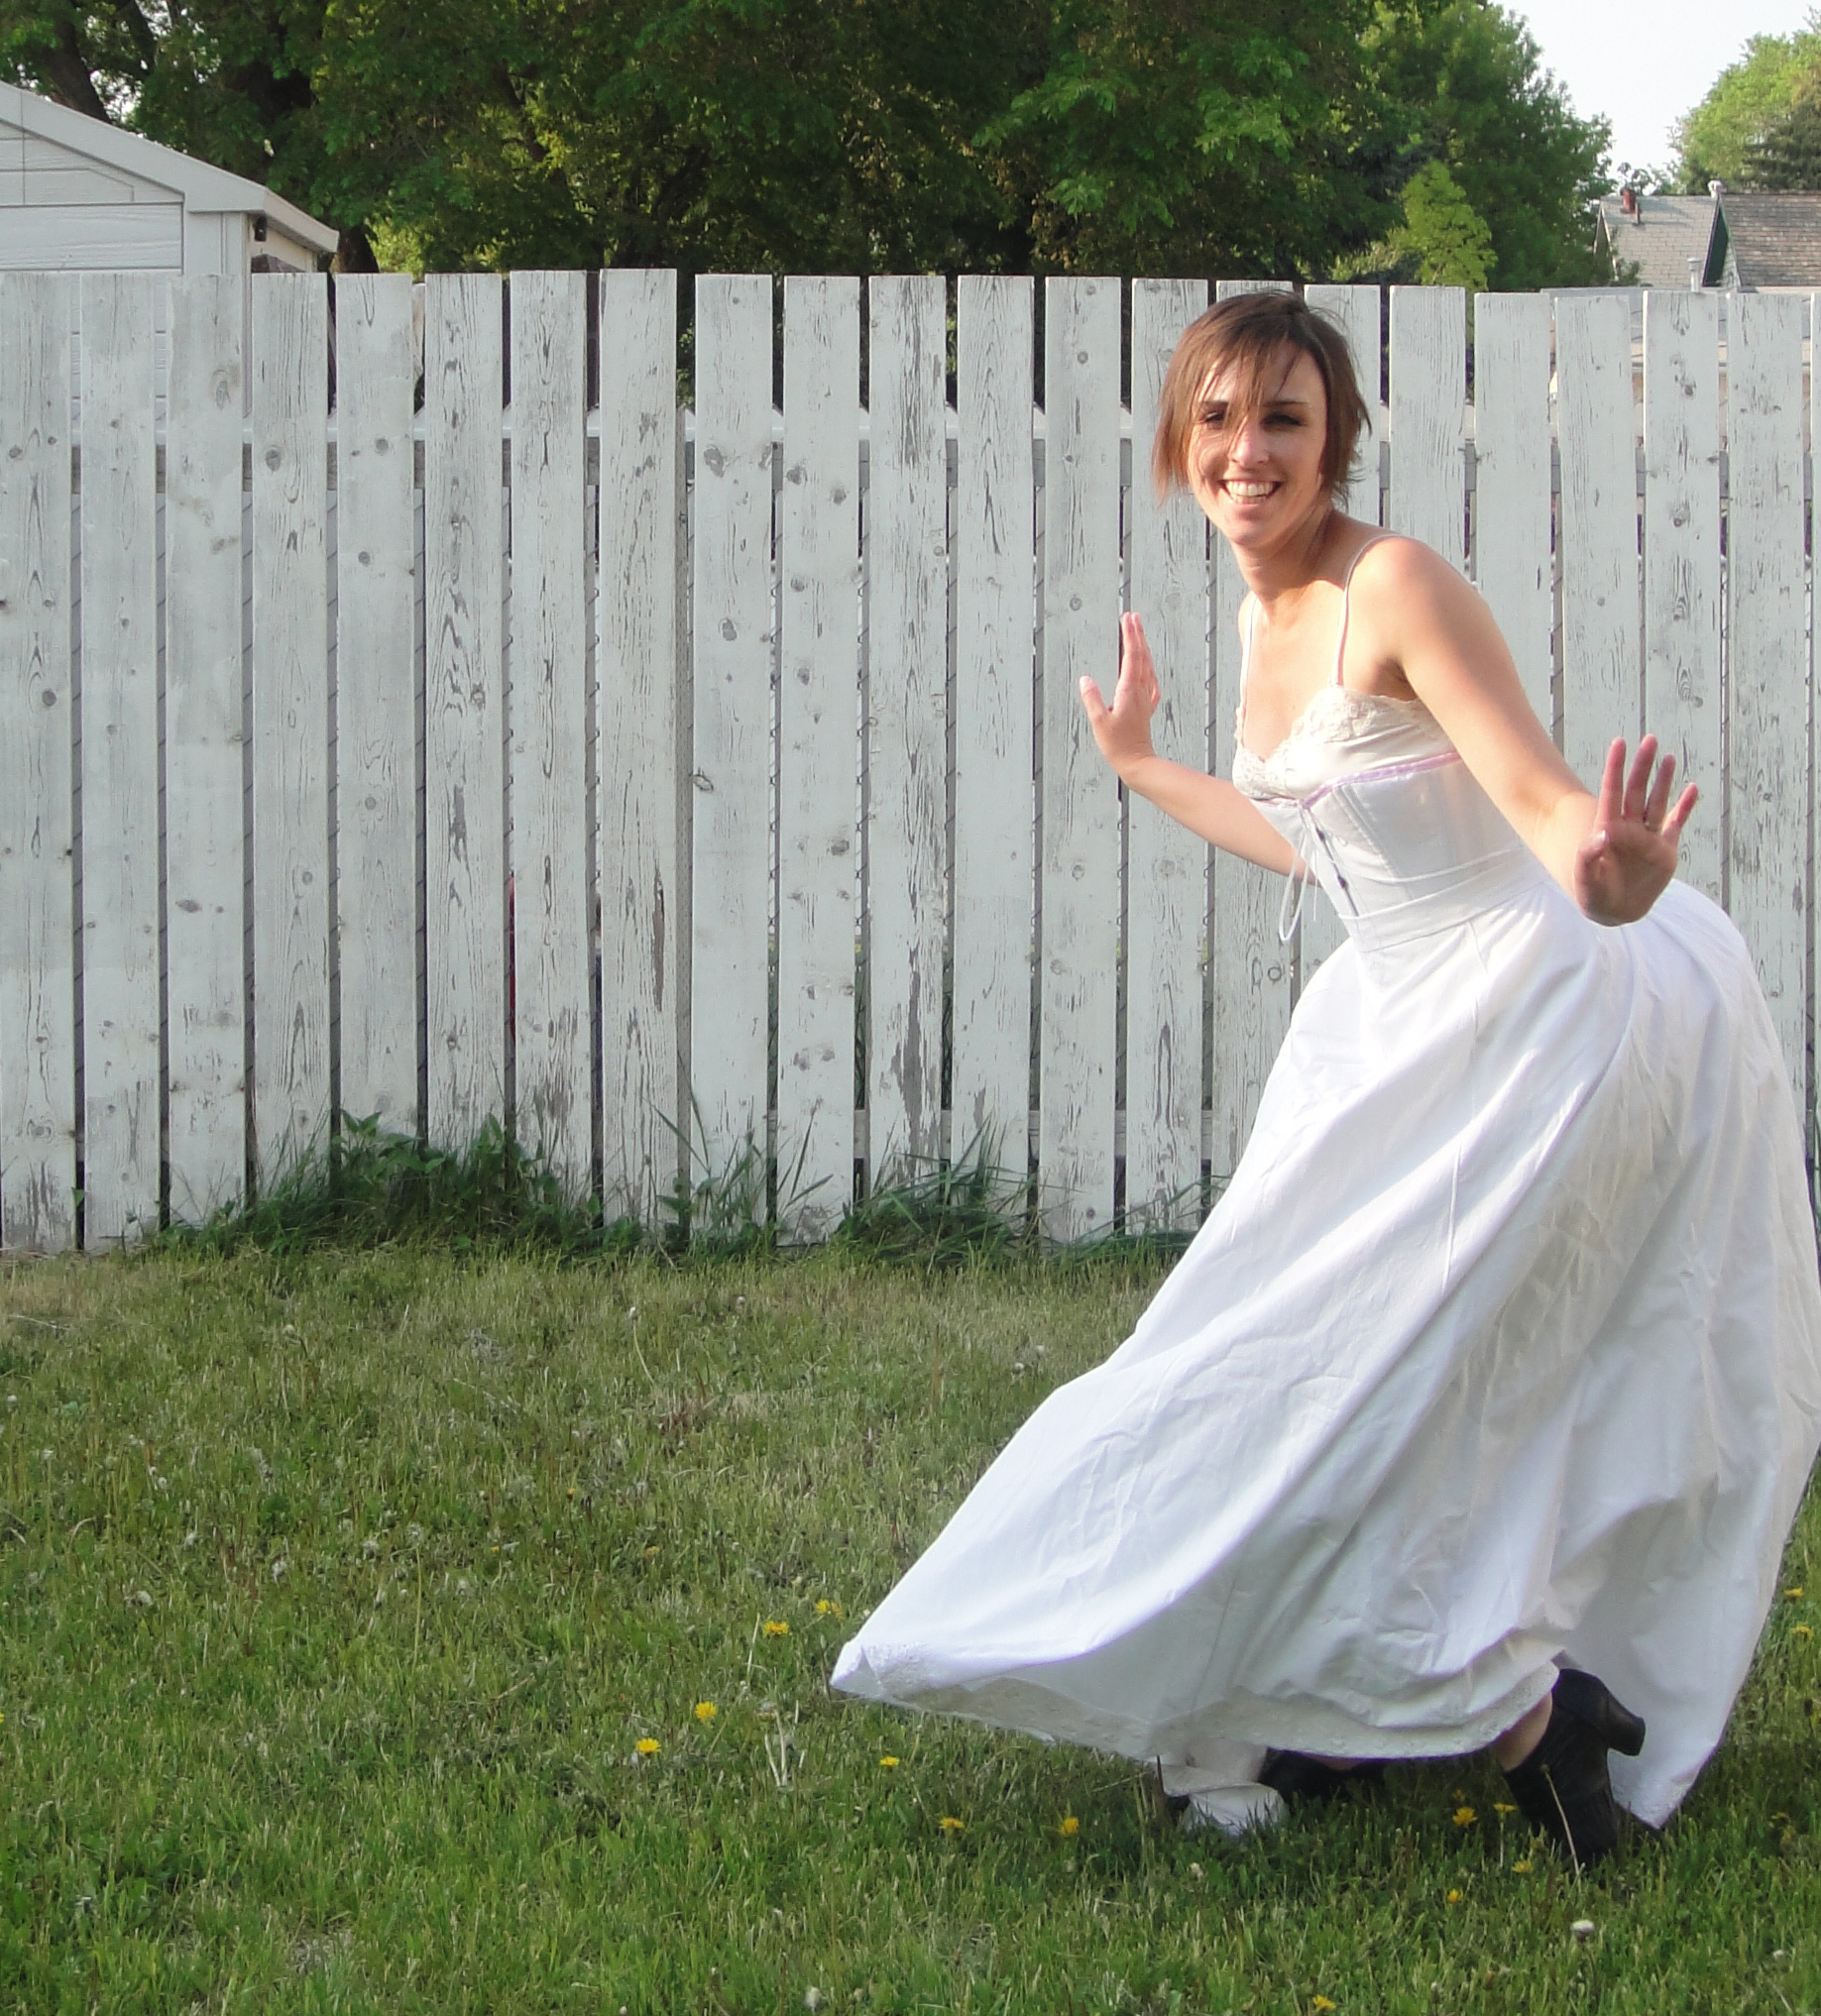
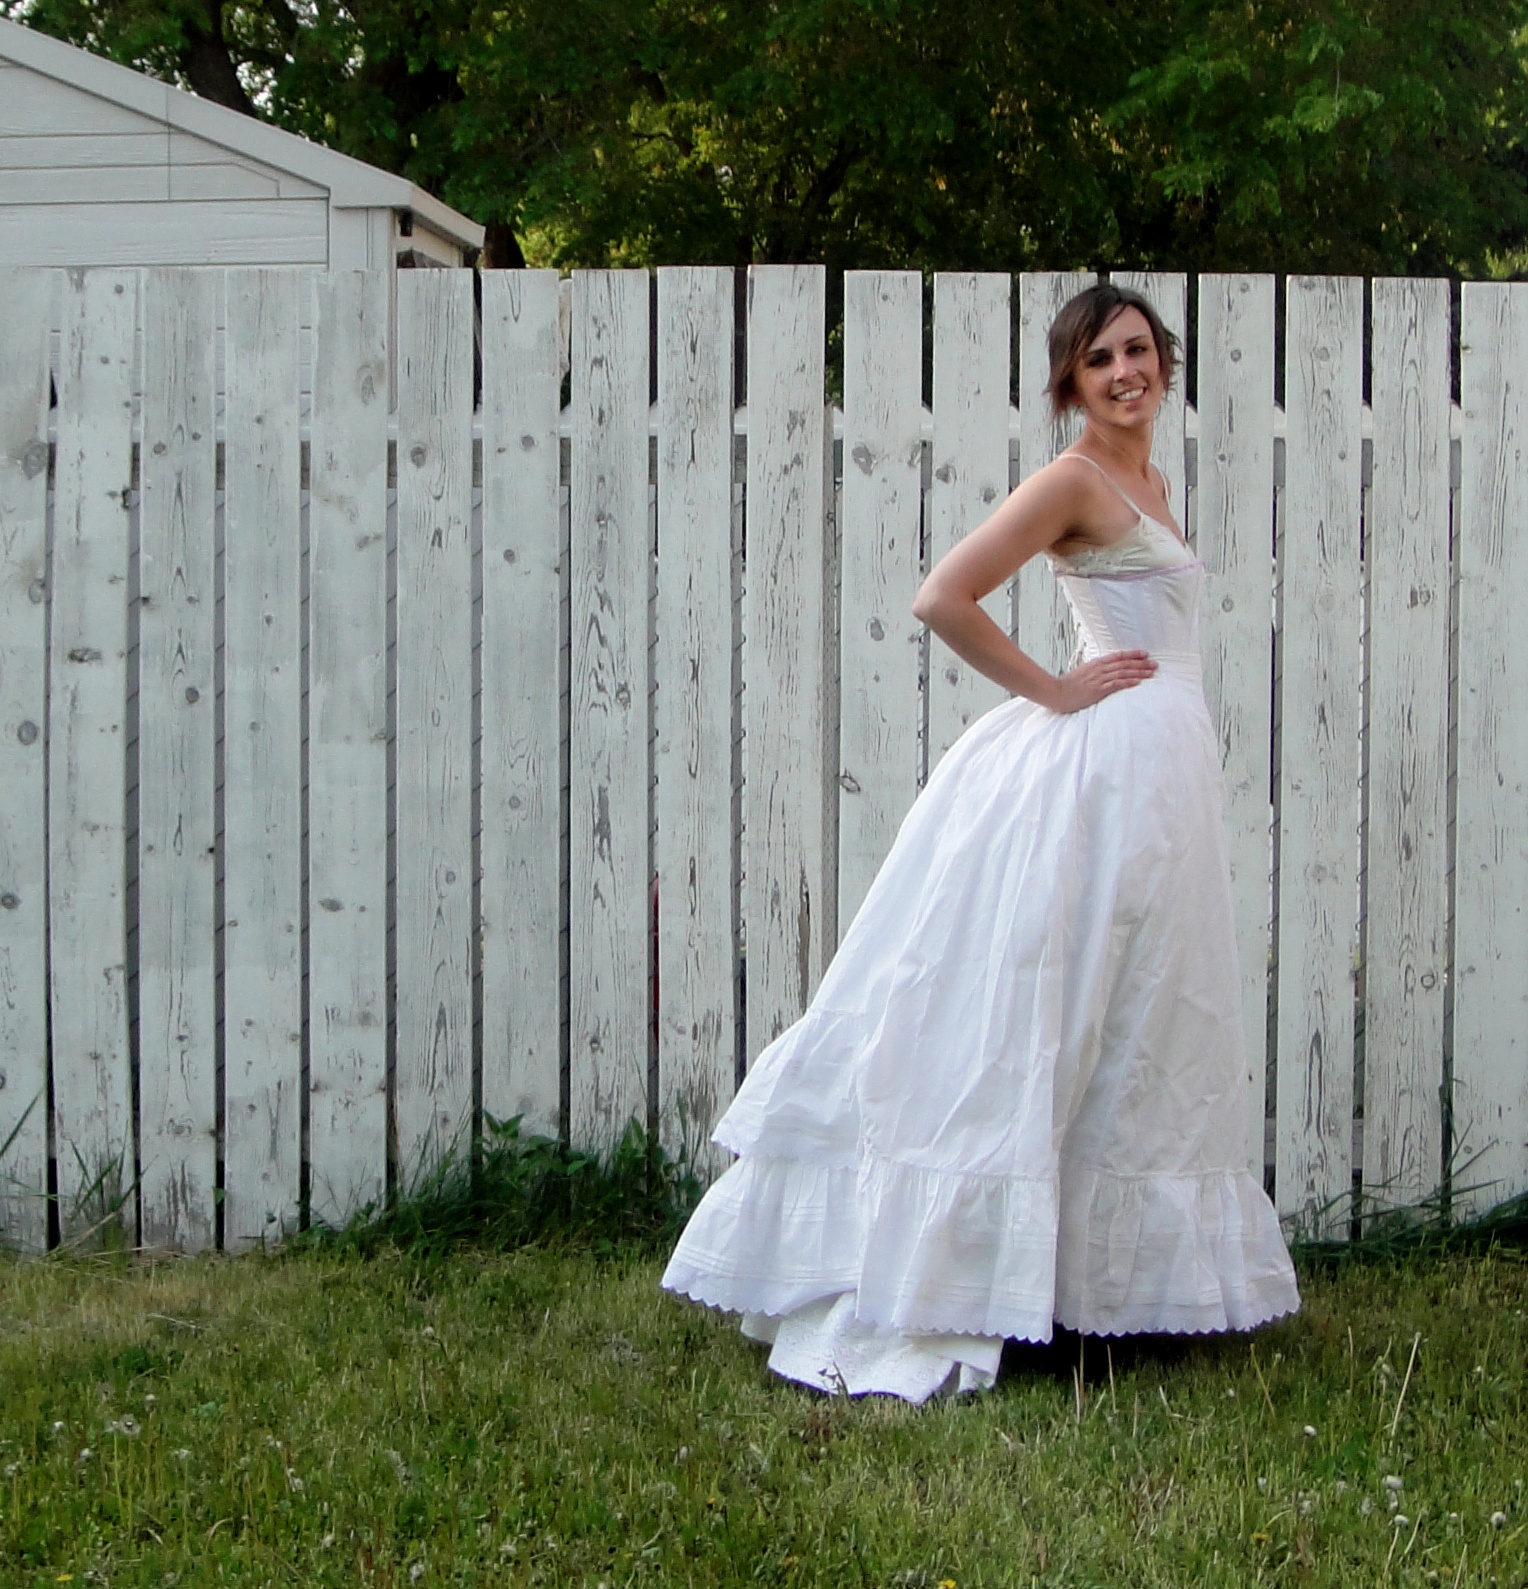
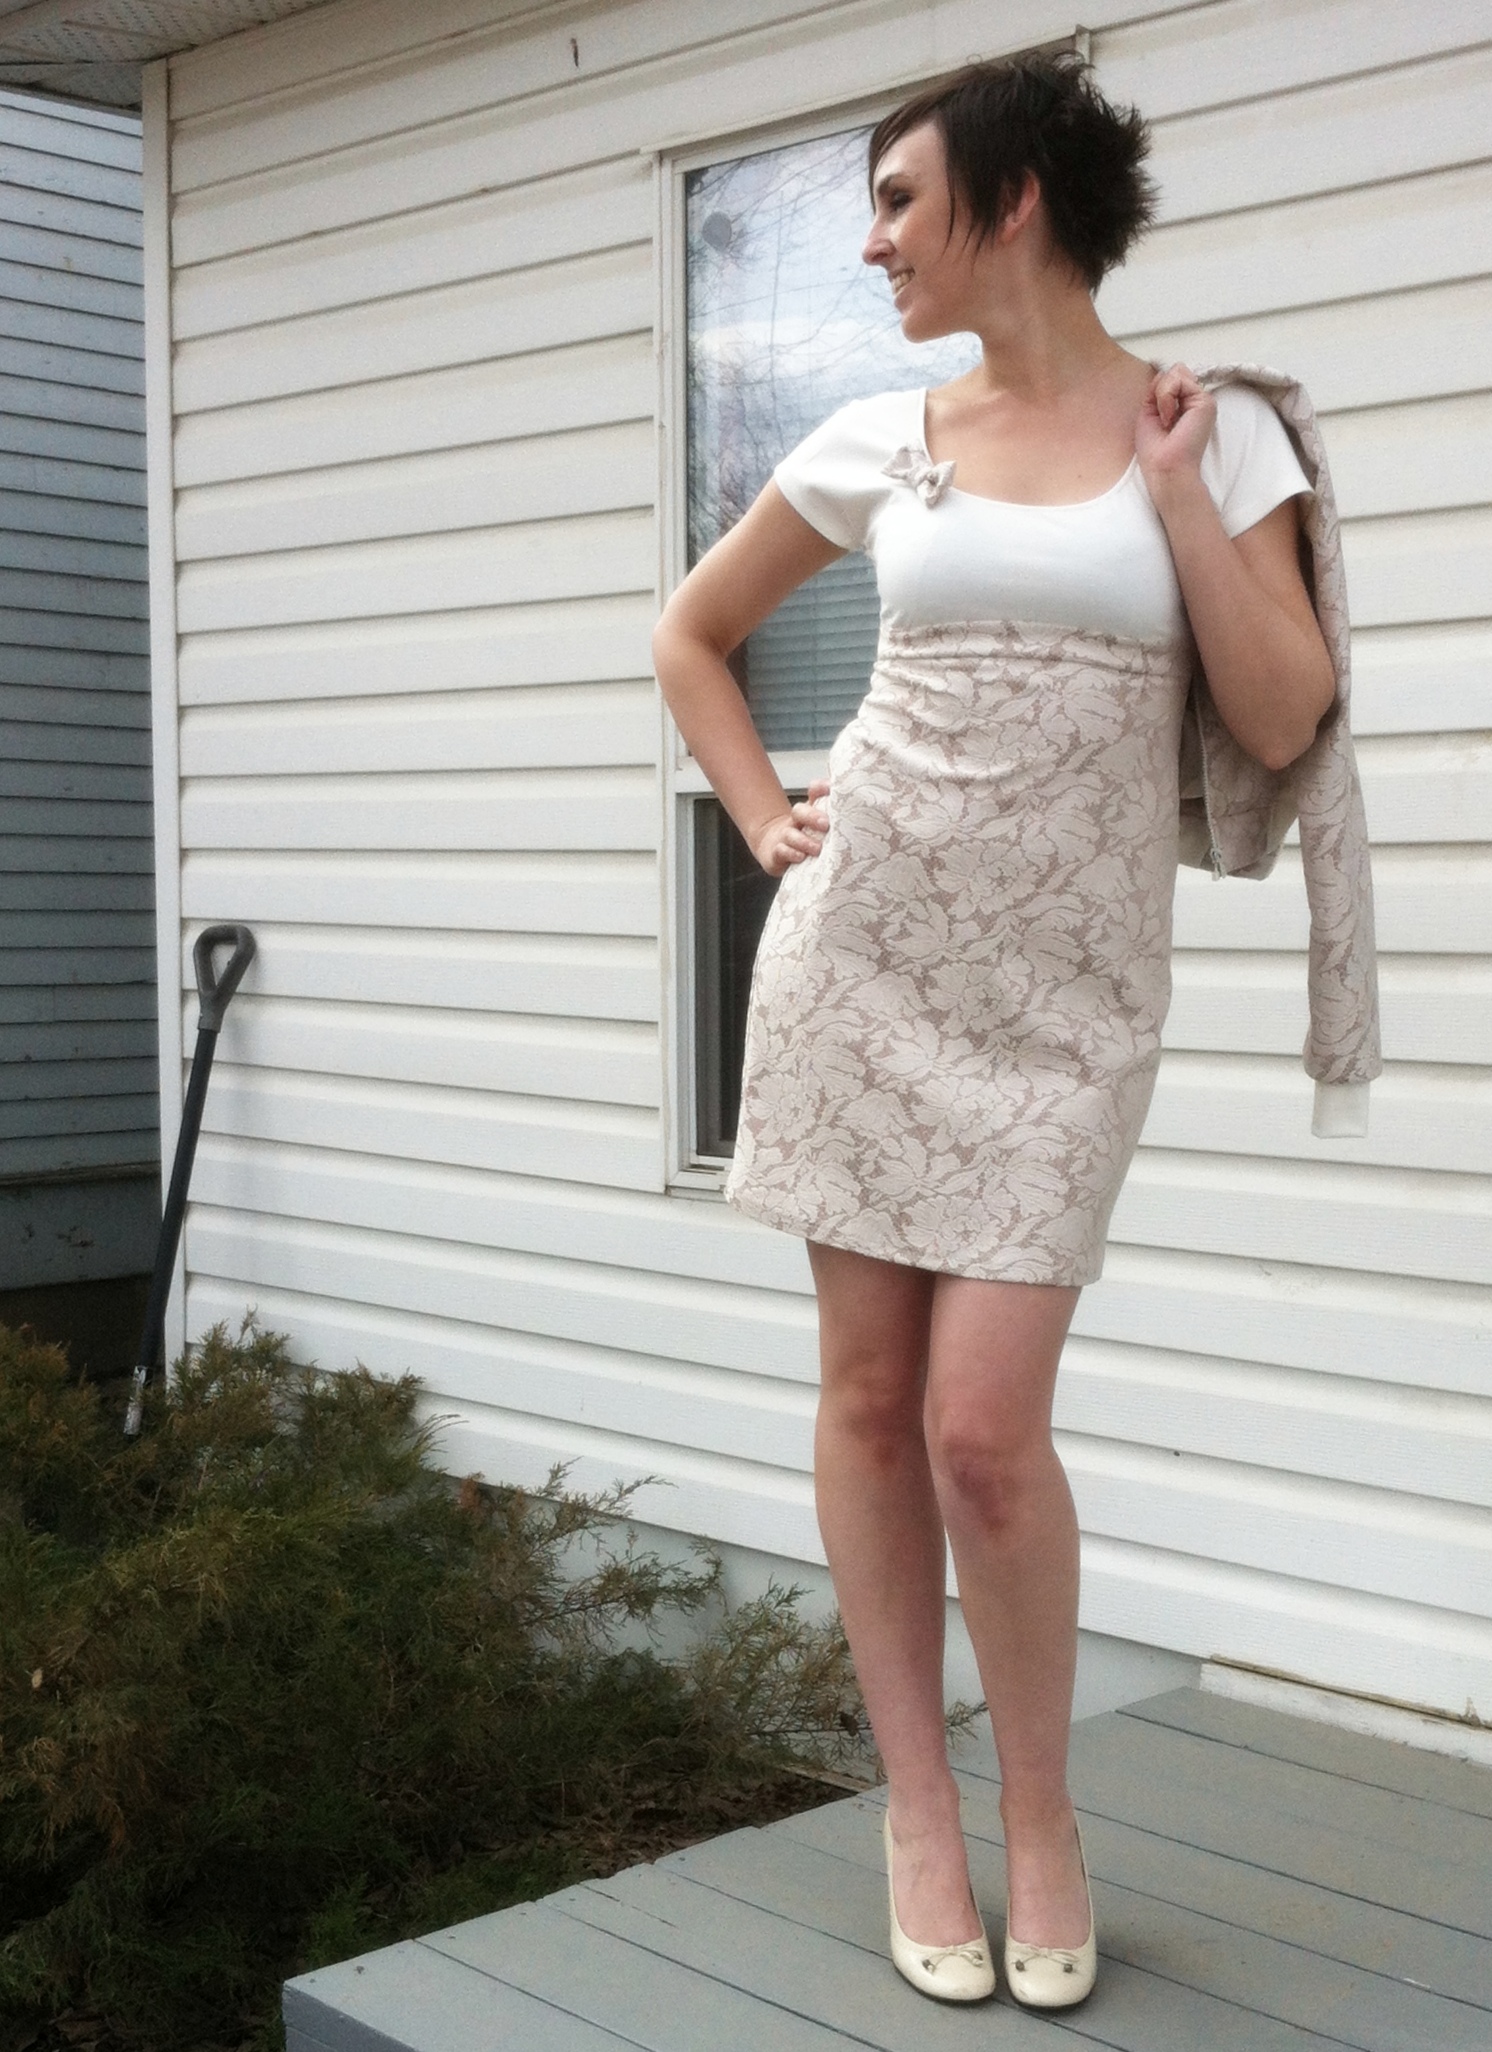
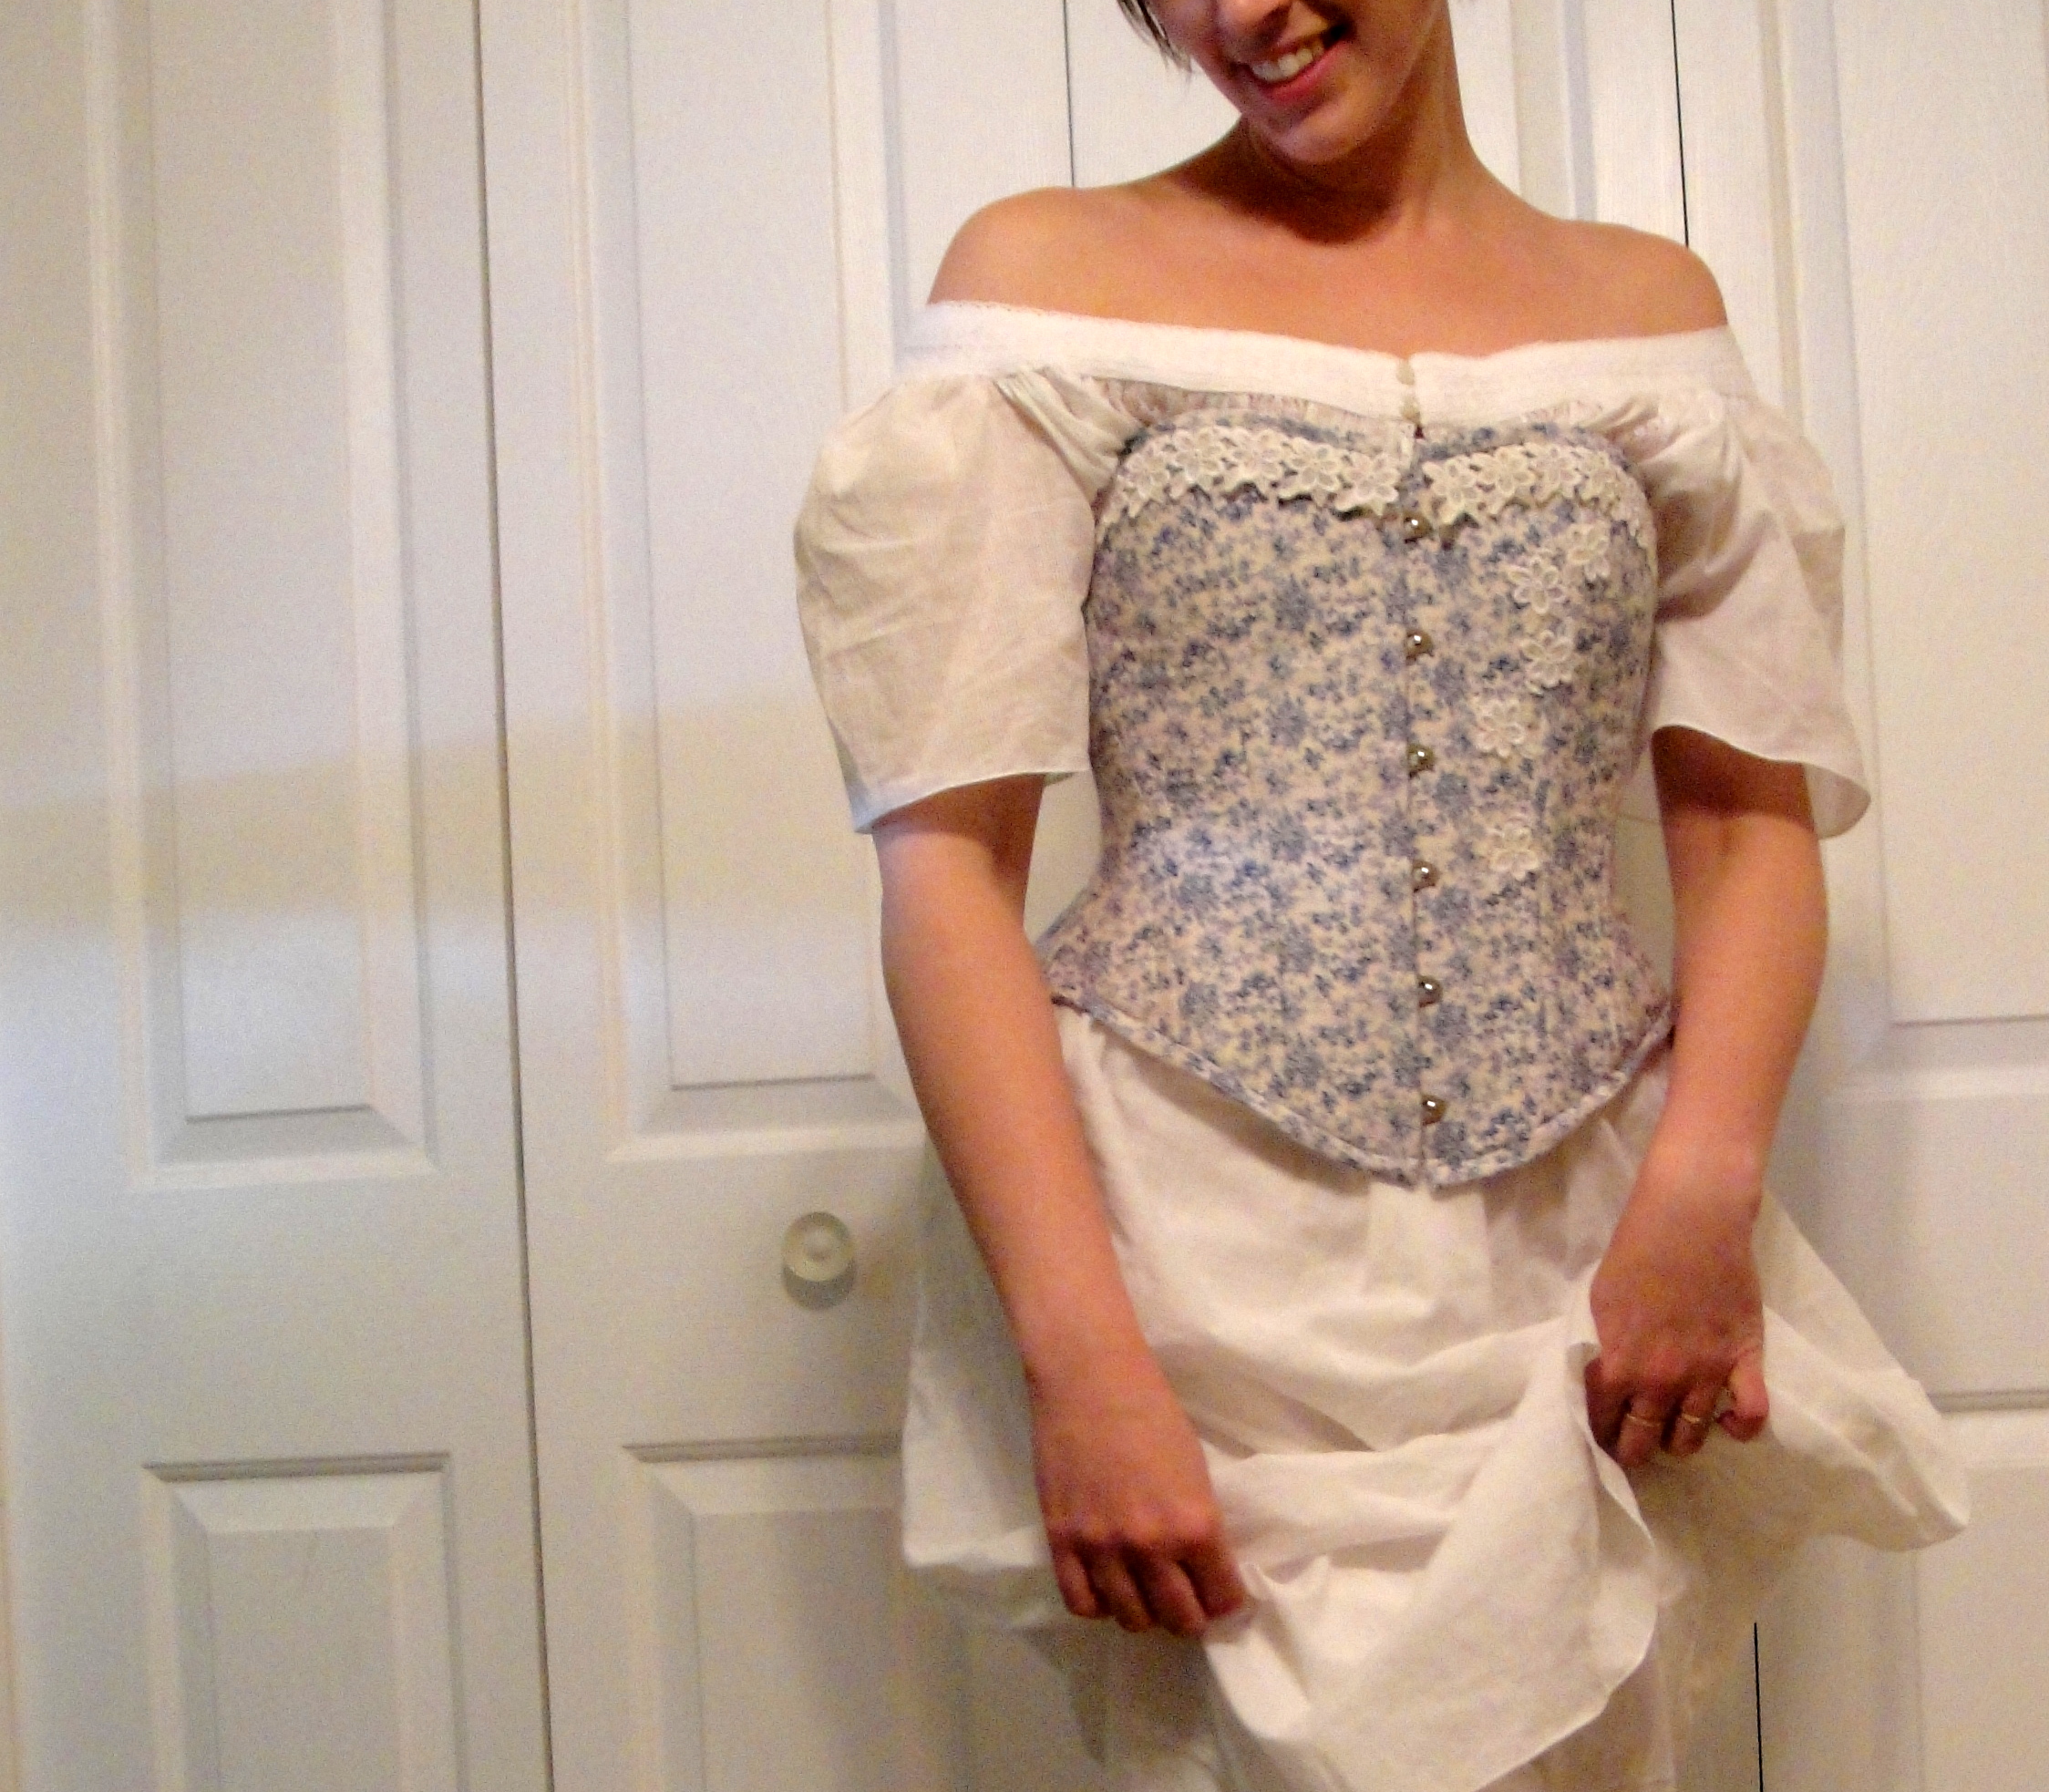
And, well, just for fun, here’s the full ensemble again. Sorry for the cami under the corset—my chemise was awol and I was on a tight time-frame for taking the photos.
In other news, my last “Historical Clothing” workshop is this weekend at the Marr Residence. I’m nervous (cuz I always am) and a little sad that it’s the last, and wondering where to go from here… after all, I’m just about ready to start planning the outer dress!