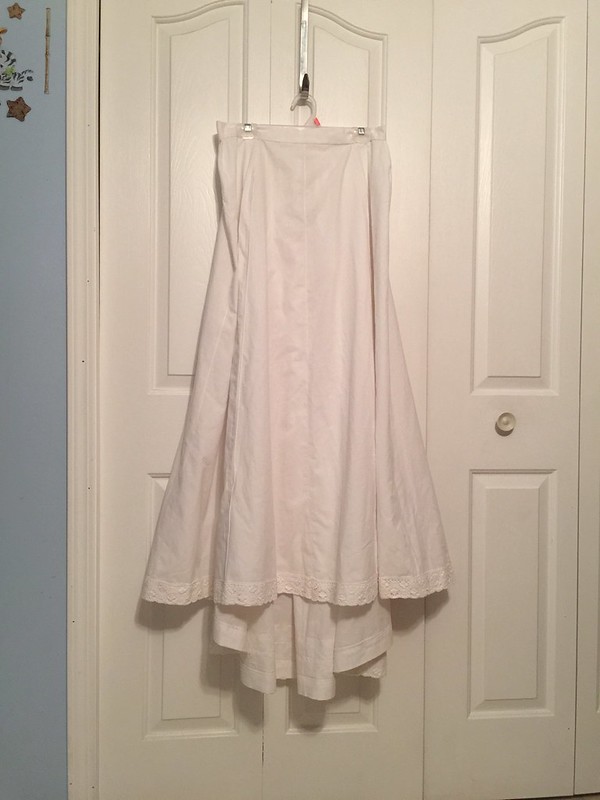
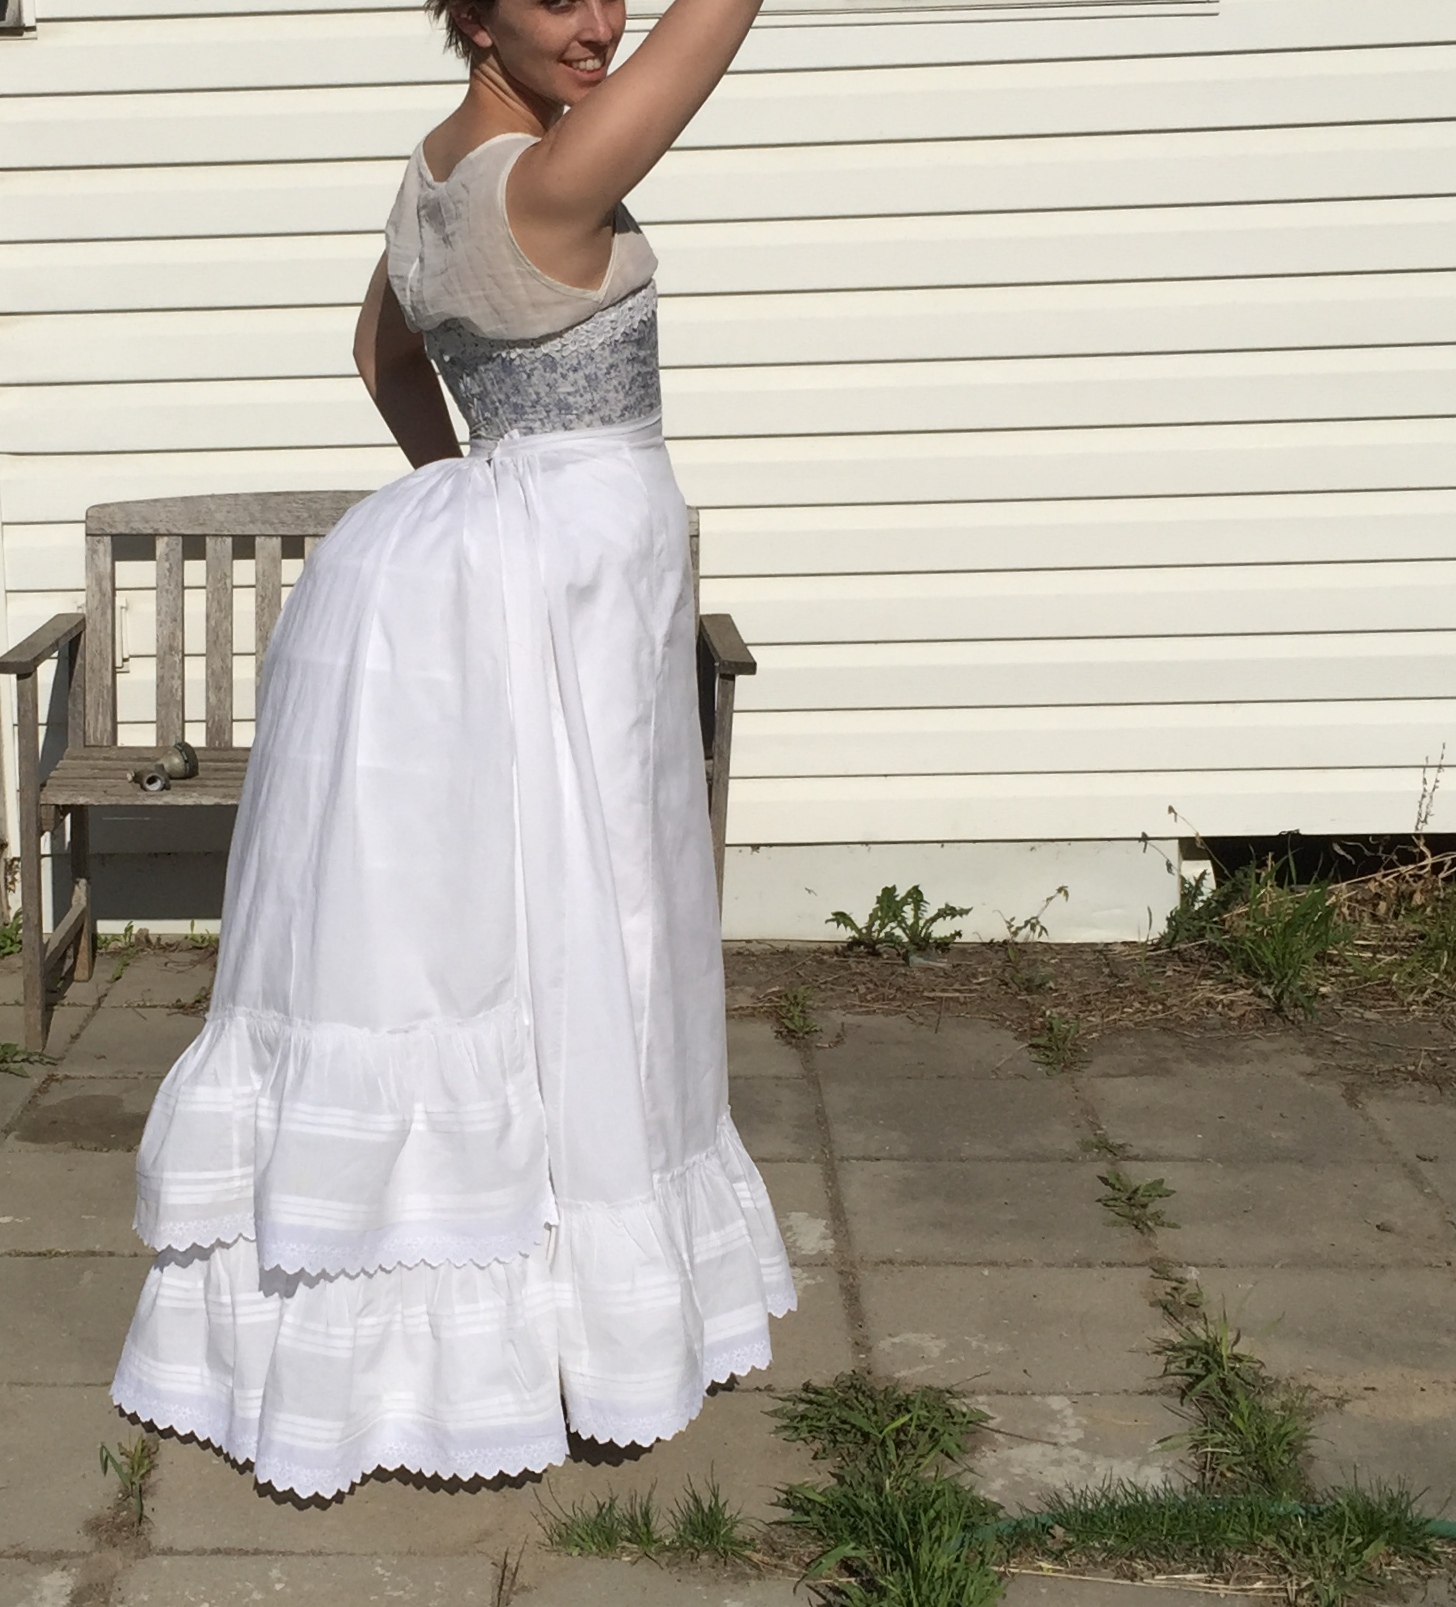
I finished my second petticoat! FINALLY. If I thought the first one took forever… (though, I did NOT hand-stitch the hem this time.)

Petticoat # 2
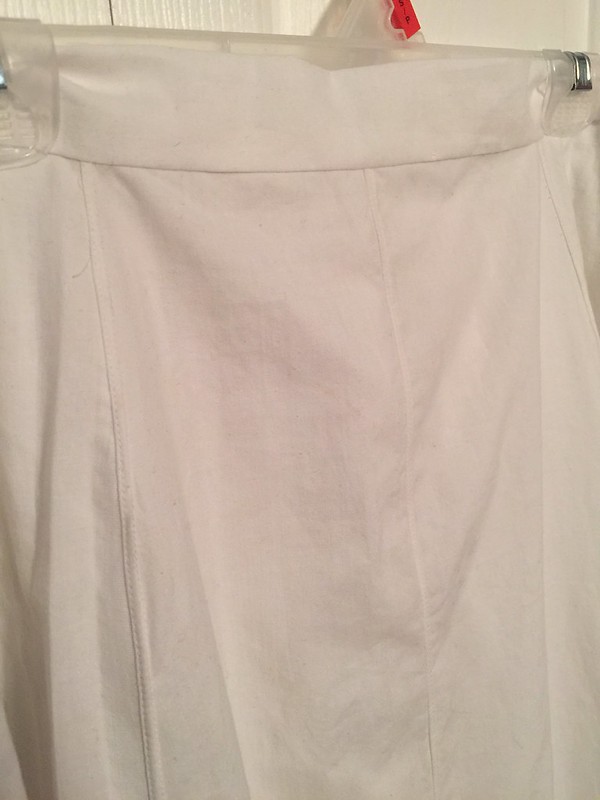
Anyway, as with the flannel petticoat, I largely followed the directions from The Home Needle, with a bit of supplementation from the various diagrams of Patterns of Fashion 2, which really drive home that yes, they are describing what you think they’re describing to make those “gores” and yes, it is as weird as it seems, sewing off-grain bias edges to on-grain straight edges, in violation of all guidelines for good drape.

Skirt diagram (for this pattern, I used two “side” gores per side.)
I guess when you have that much fabric going on drape is kinda irrelevant? Hard to say. On the other hand, it’s a very, very low-waste method—I used probably about six metres of fabric, mind you (it’s a pretty full petticoat, also, RUFFLES), and the only waste was the narrow triangles cut off the sides of the symmetrical front gore. If you wanted to add a front seam, even that could be eliminated. Because I wasn’t using a yoke this time, I did add a bit more shaping to the top of the front gore, plus eyeballed in some narrow darts to give it a wee bit of tummy room, since Mrs. Church commented that one of the chief problems with the hang of skirts came of them being put in too tightly at the front. Or something like that.
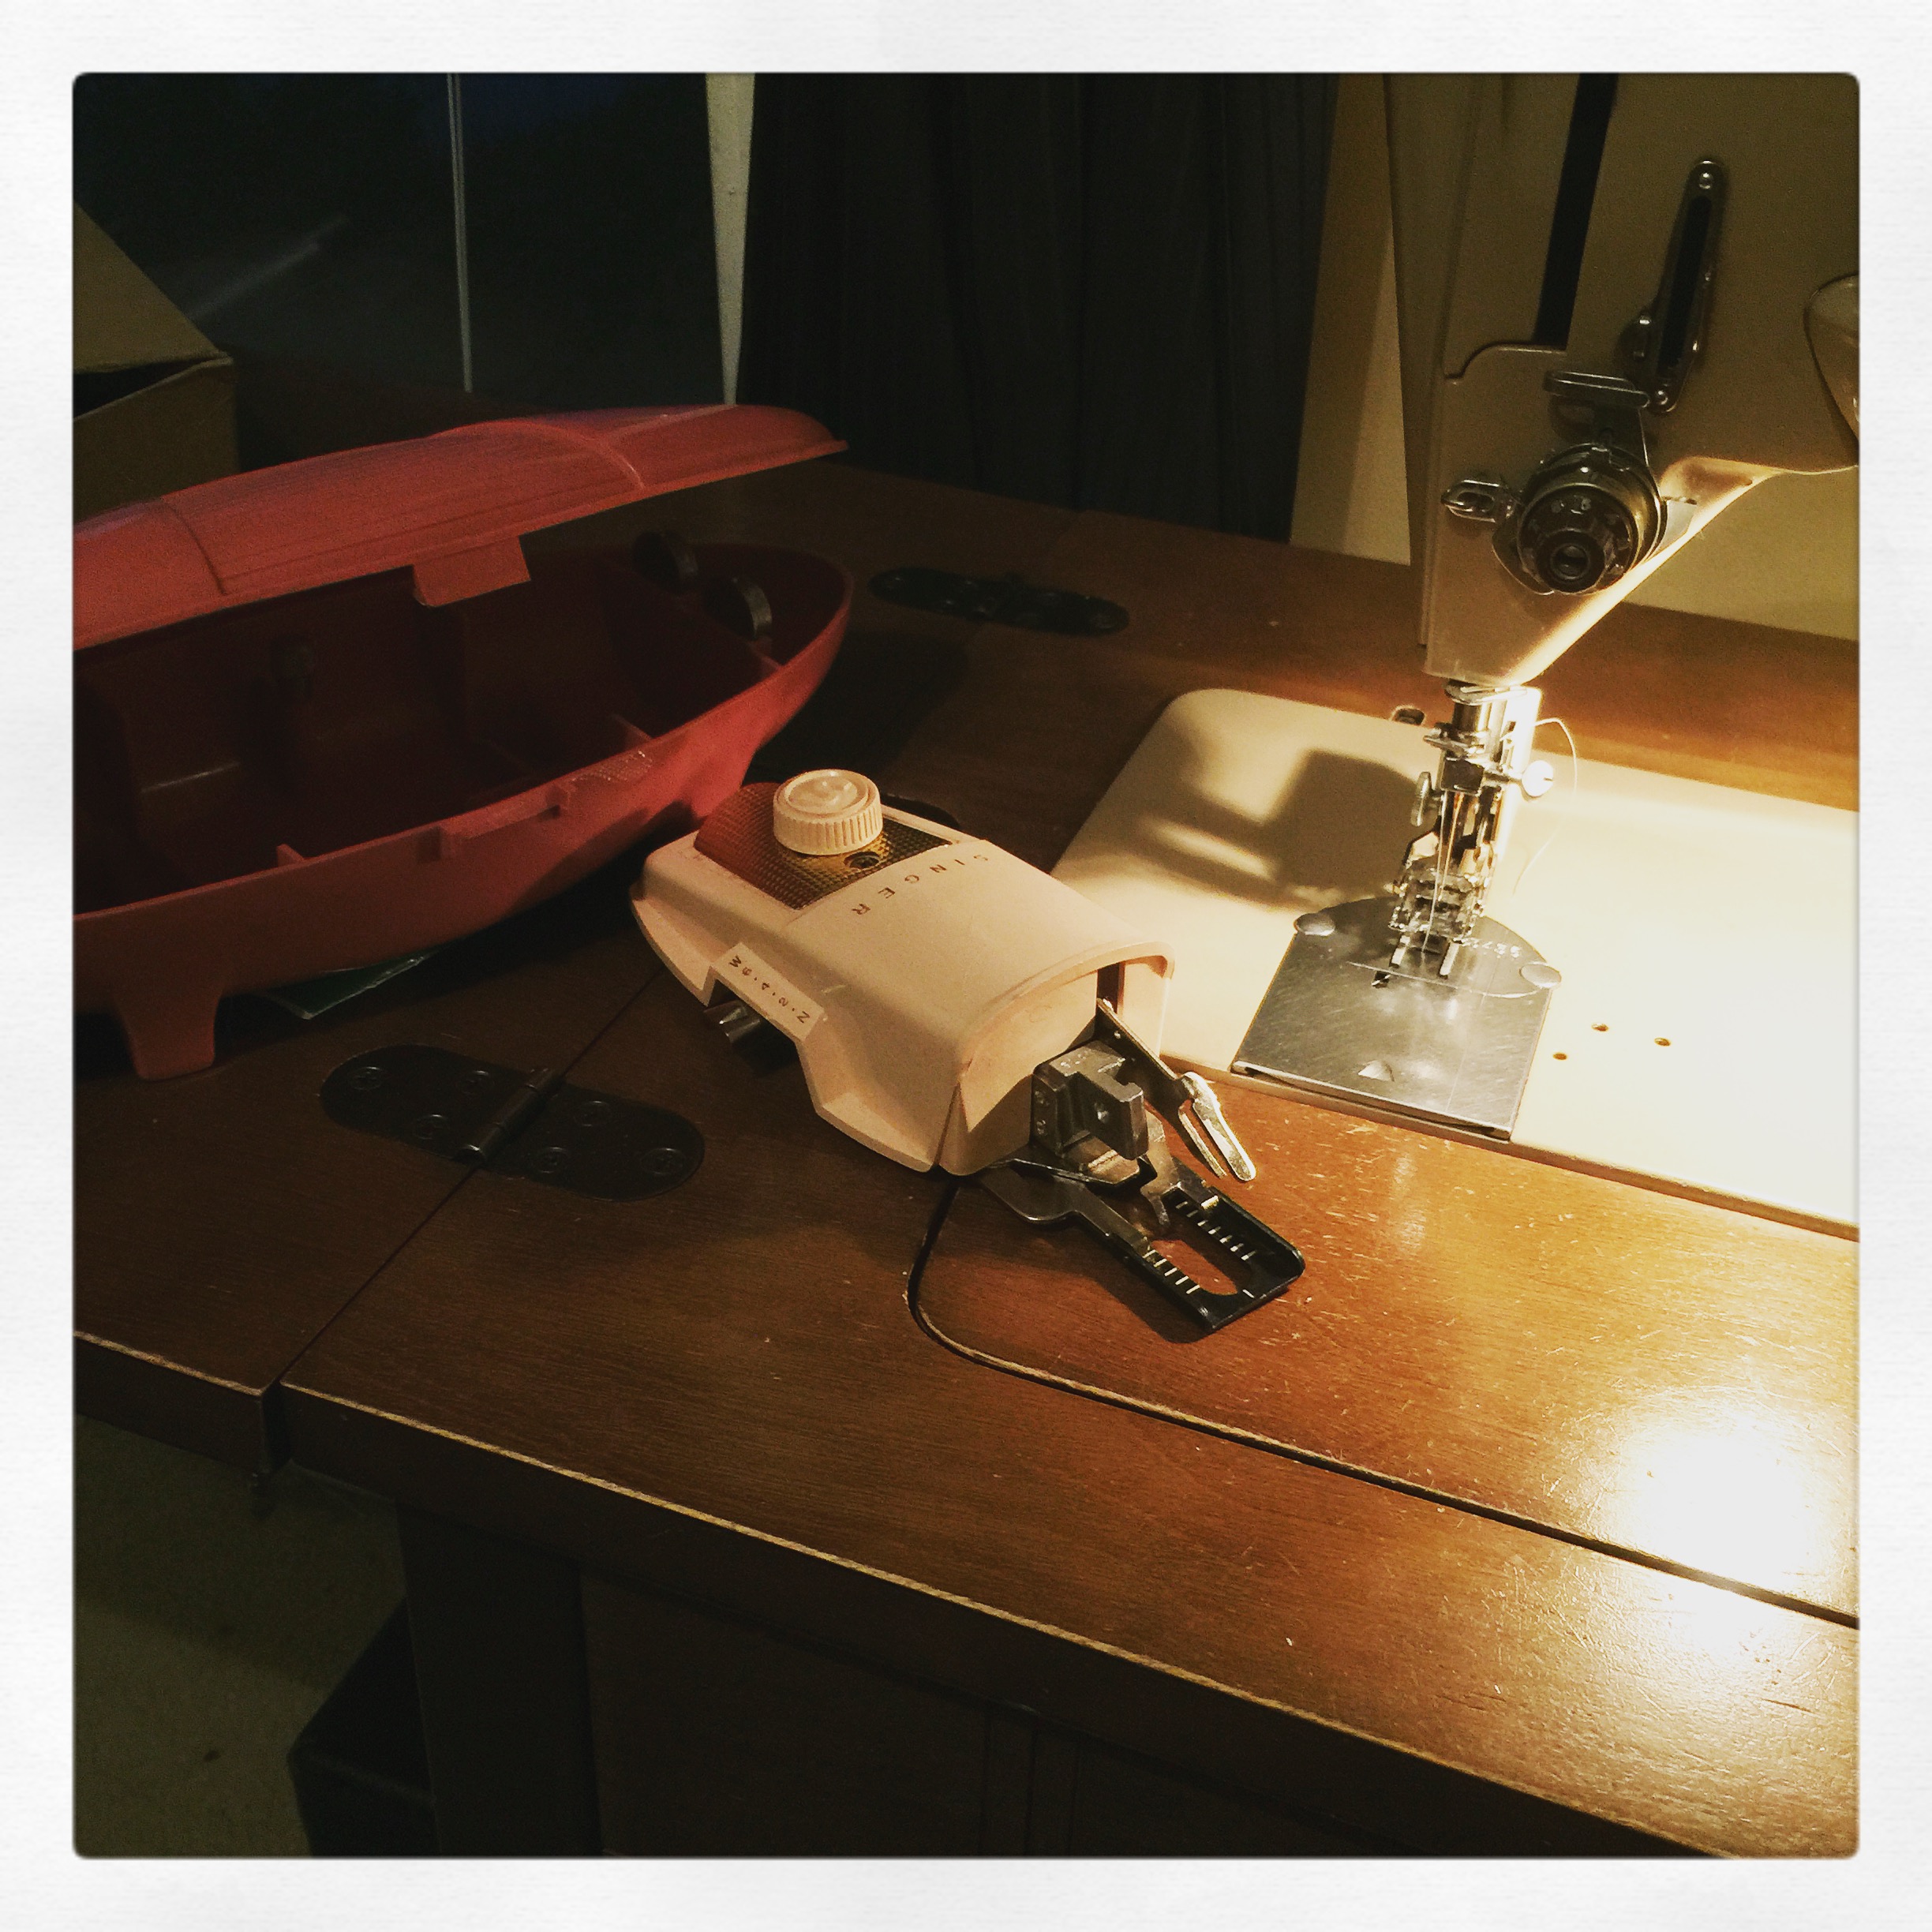
As per Mrs. Church’s instructions, I made my vertical seams flat-felled, but really I would’ve been better off using French seams—either way, though, I was struggling with a lot of puckering on my really freakin’ light-weight cotton (voile or batiste or something of that sort.) So I switched the cotton thread. Upside: no puckering, presses like a dream. Downside: not nearly so strong. So if this petticoat is disintegrating in a year, you’ll know why. Also, right in the middle of the process, Jennifer Rossbrugh of Historical Sewing posted about starching your petticoats. I had been dreading the idea of pintucks in my soft fabric, so I had to jump on the bandwagon. This was a ridiculously-simple process involving mixing a small amount of cornstarch with a slightly larger amount of water, heating until the mixture went clear, adding more water, and then dropping in the petticoat until all was soaked in starchy water, and hanging dry. Then ironing, lots and lots of ironing, but ironing starched stuff is actually pretty darn pleasant as it looks so great. And it made sewing all the 1/4″ tucks in the ruffle far less hellish than it would’ve been otherwise.
Perusal of the page of petticoats (“White Skirts” in both the Home Needle and my mother’s 1886 Bloomingdales Catalogue reprint) suggested that ALL the petticoats seemed to be largely plain but with a deep ruffle along the bottom. Or at least, if they had anything else, the advertisers weren’t advertising it.

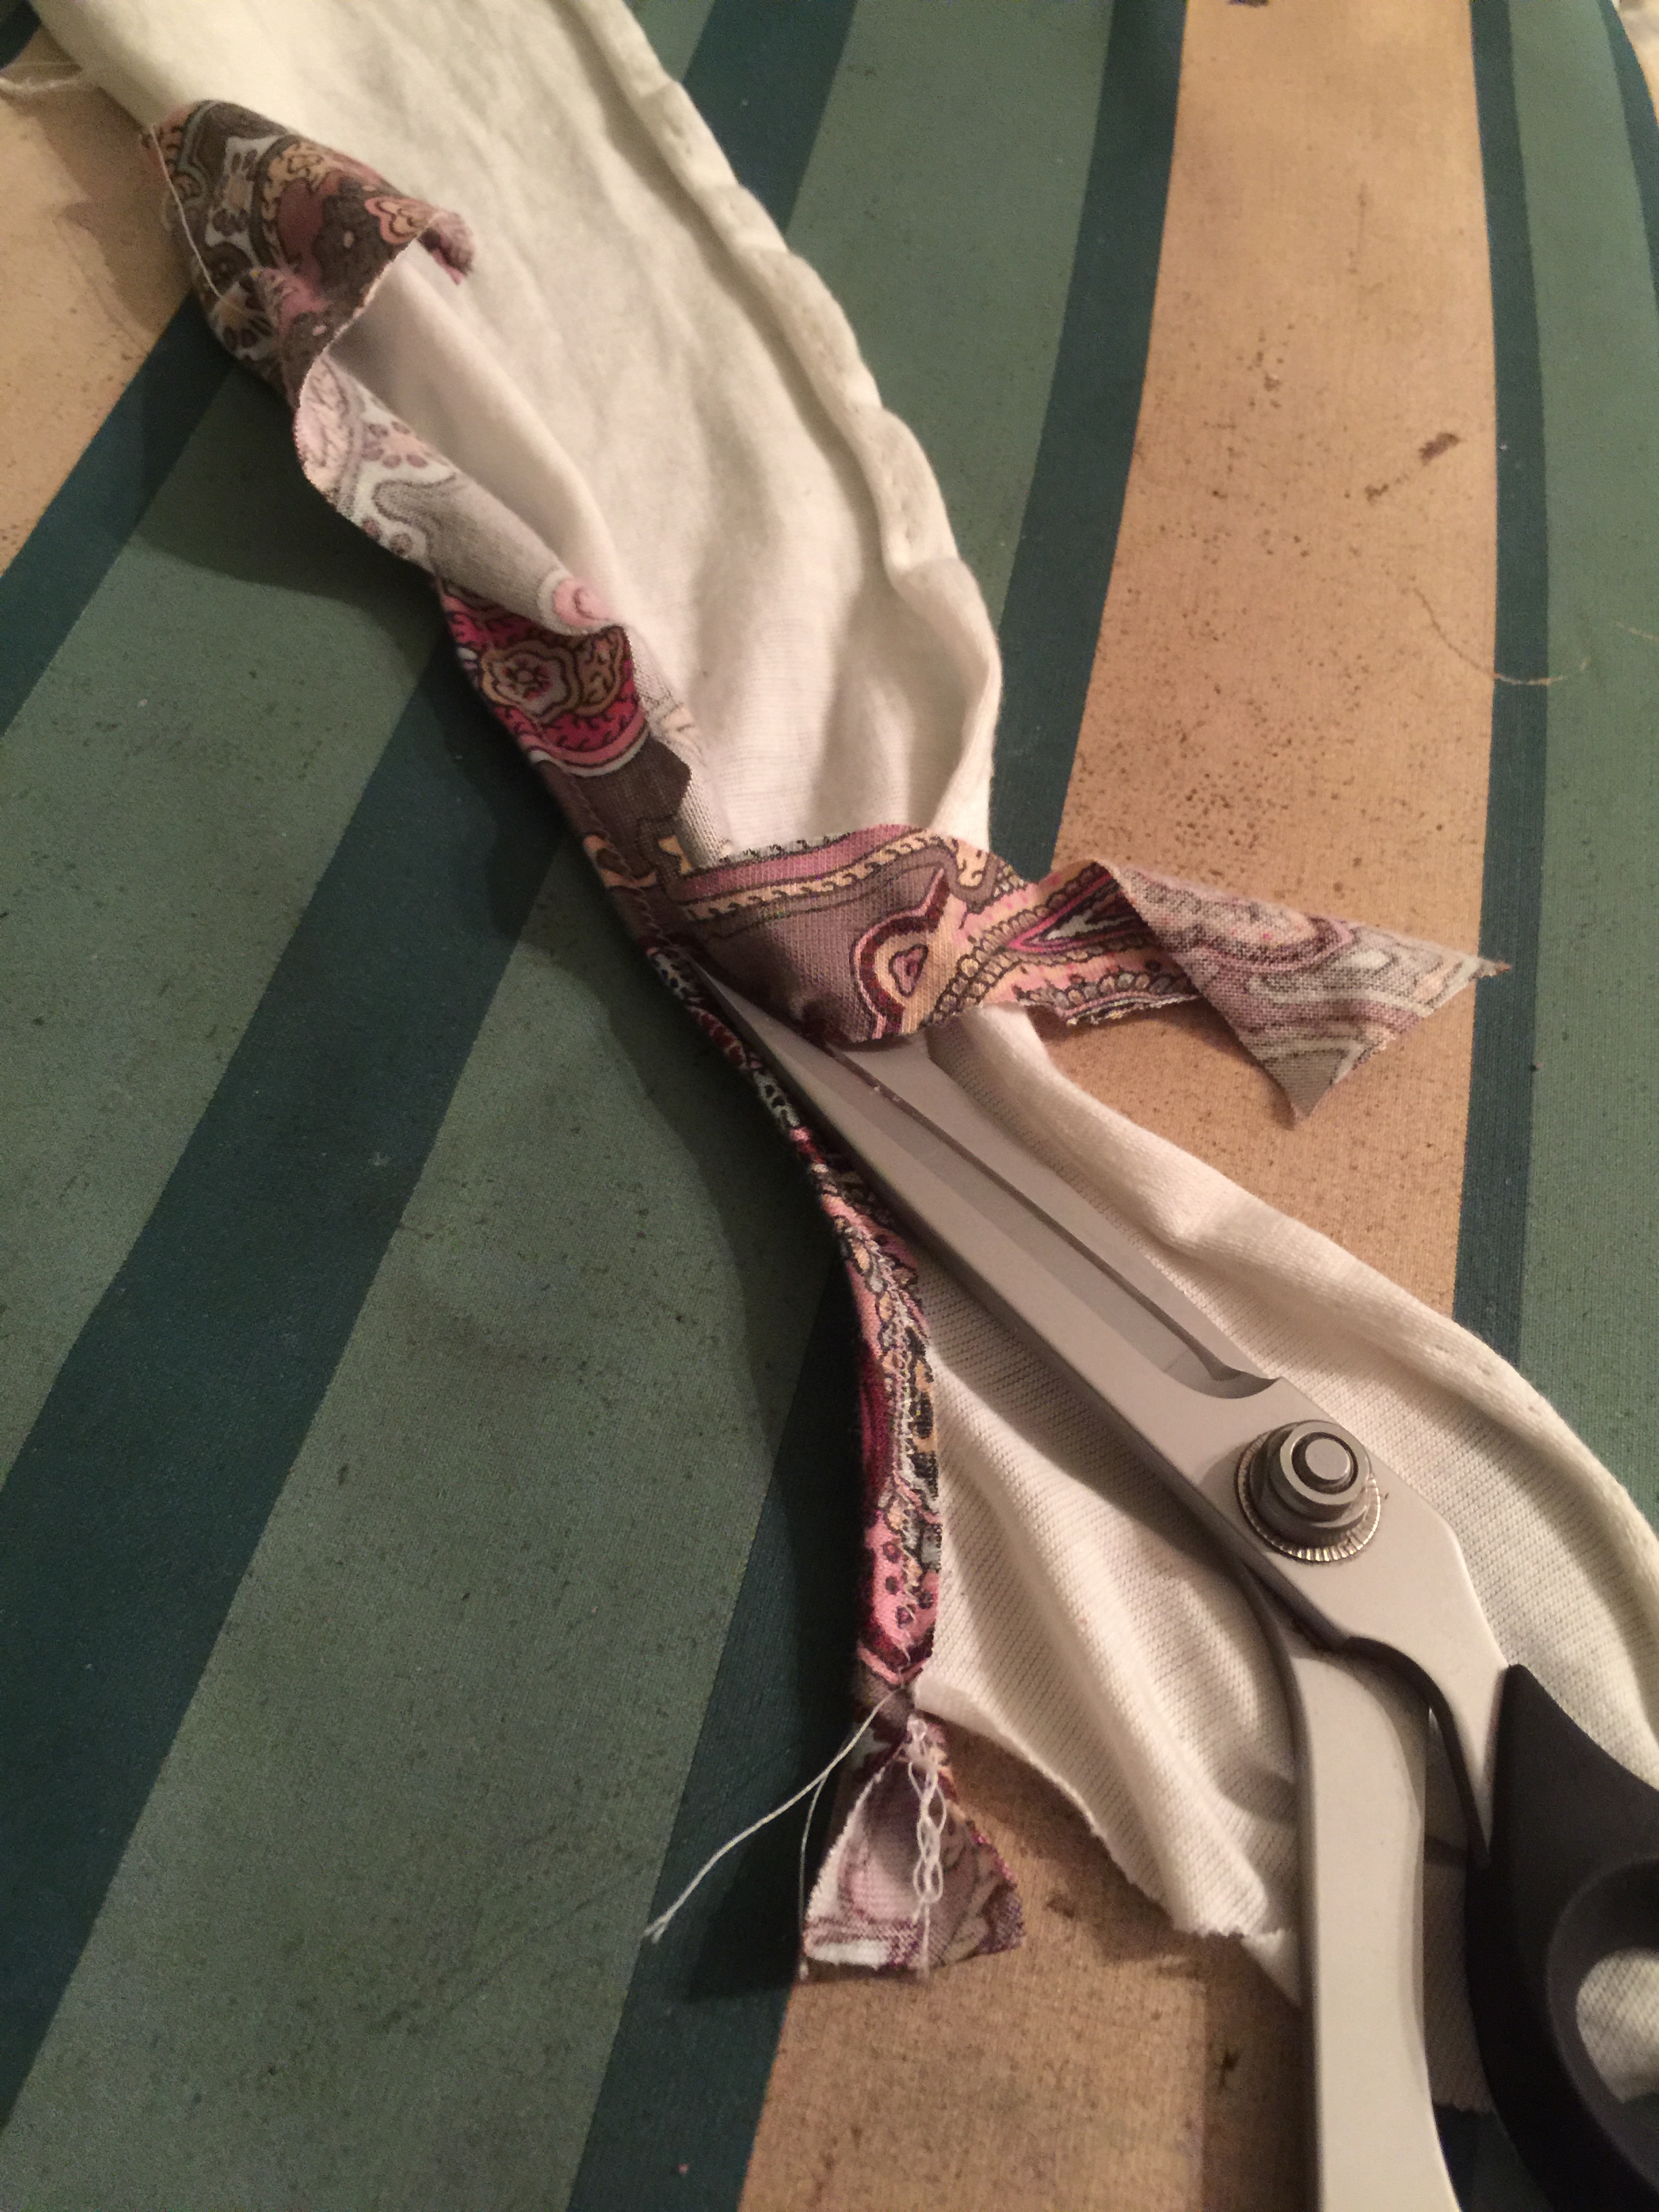
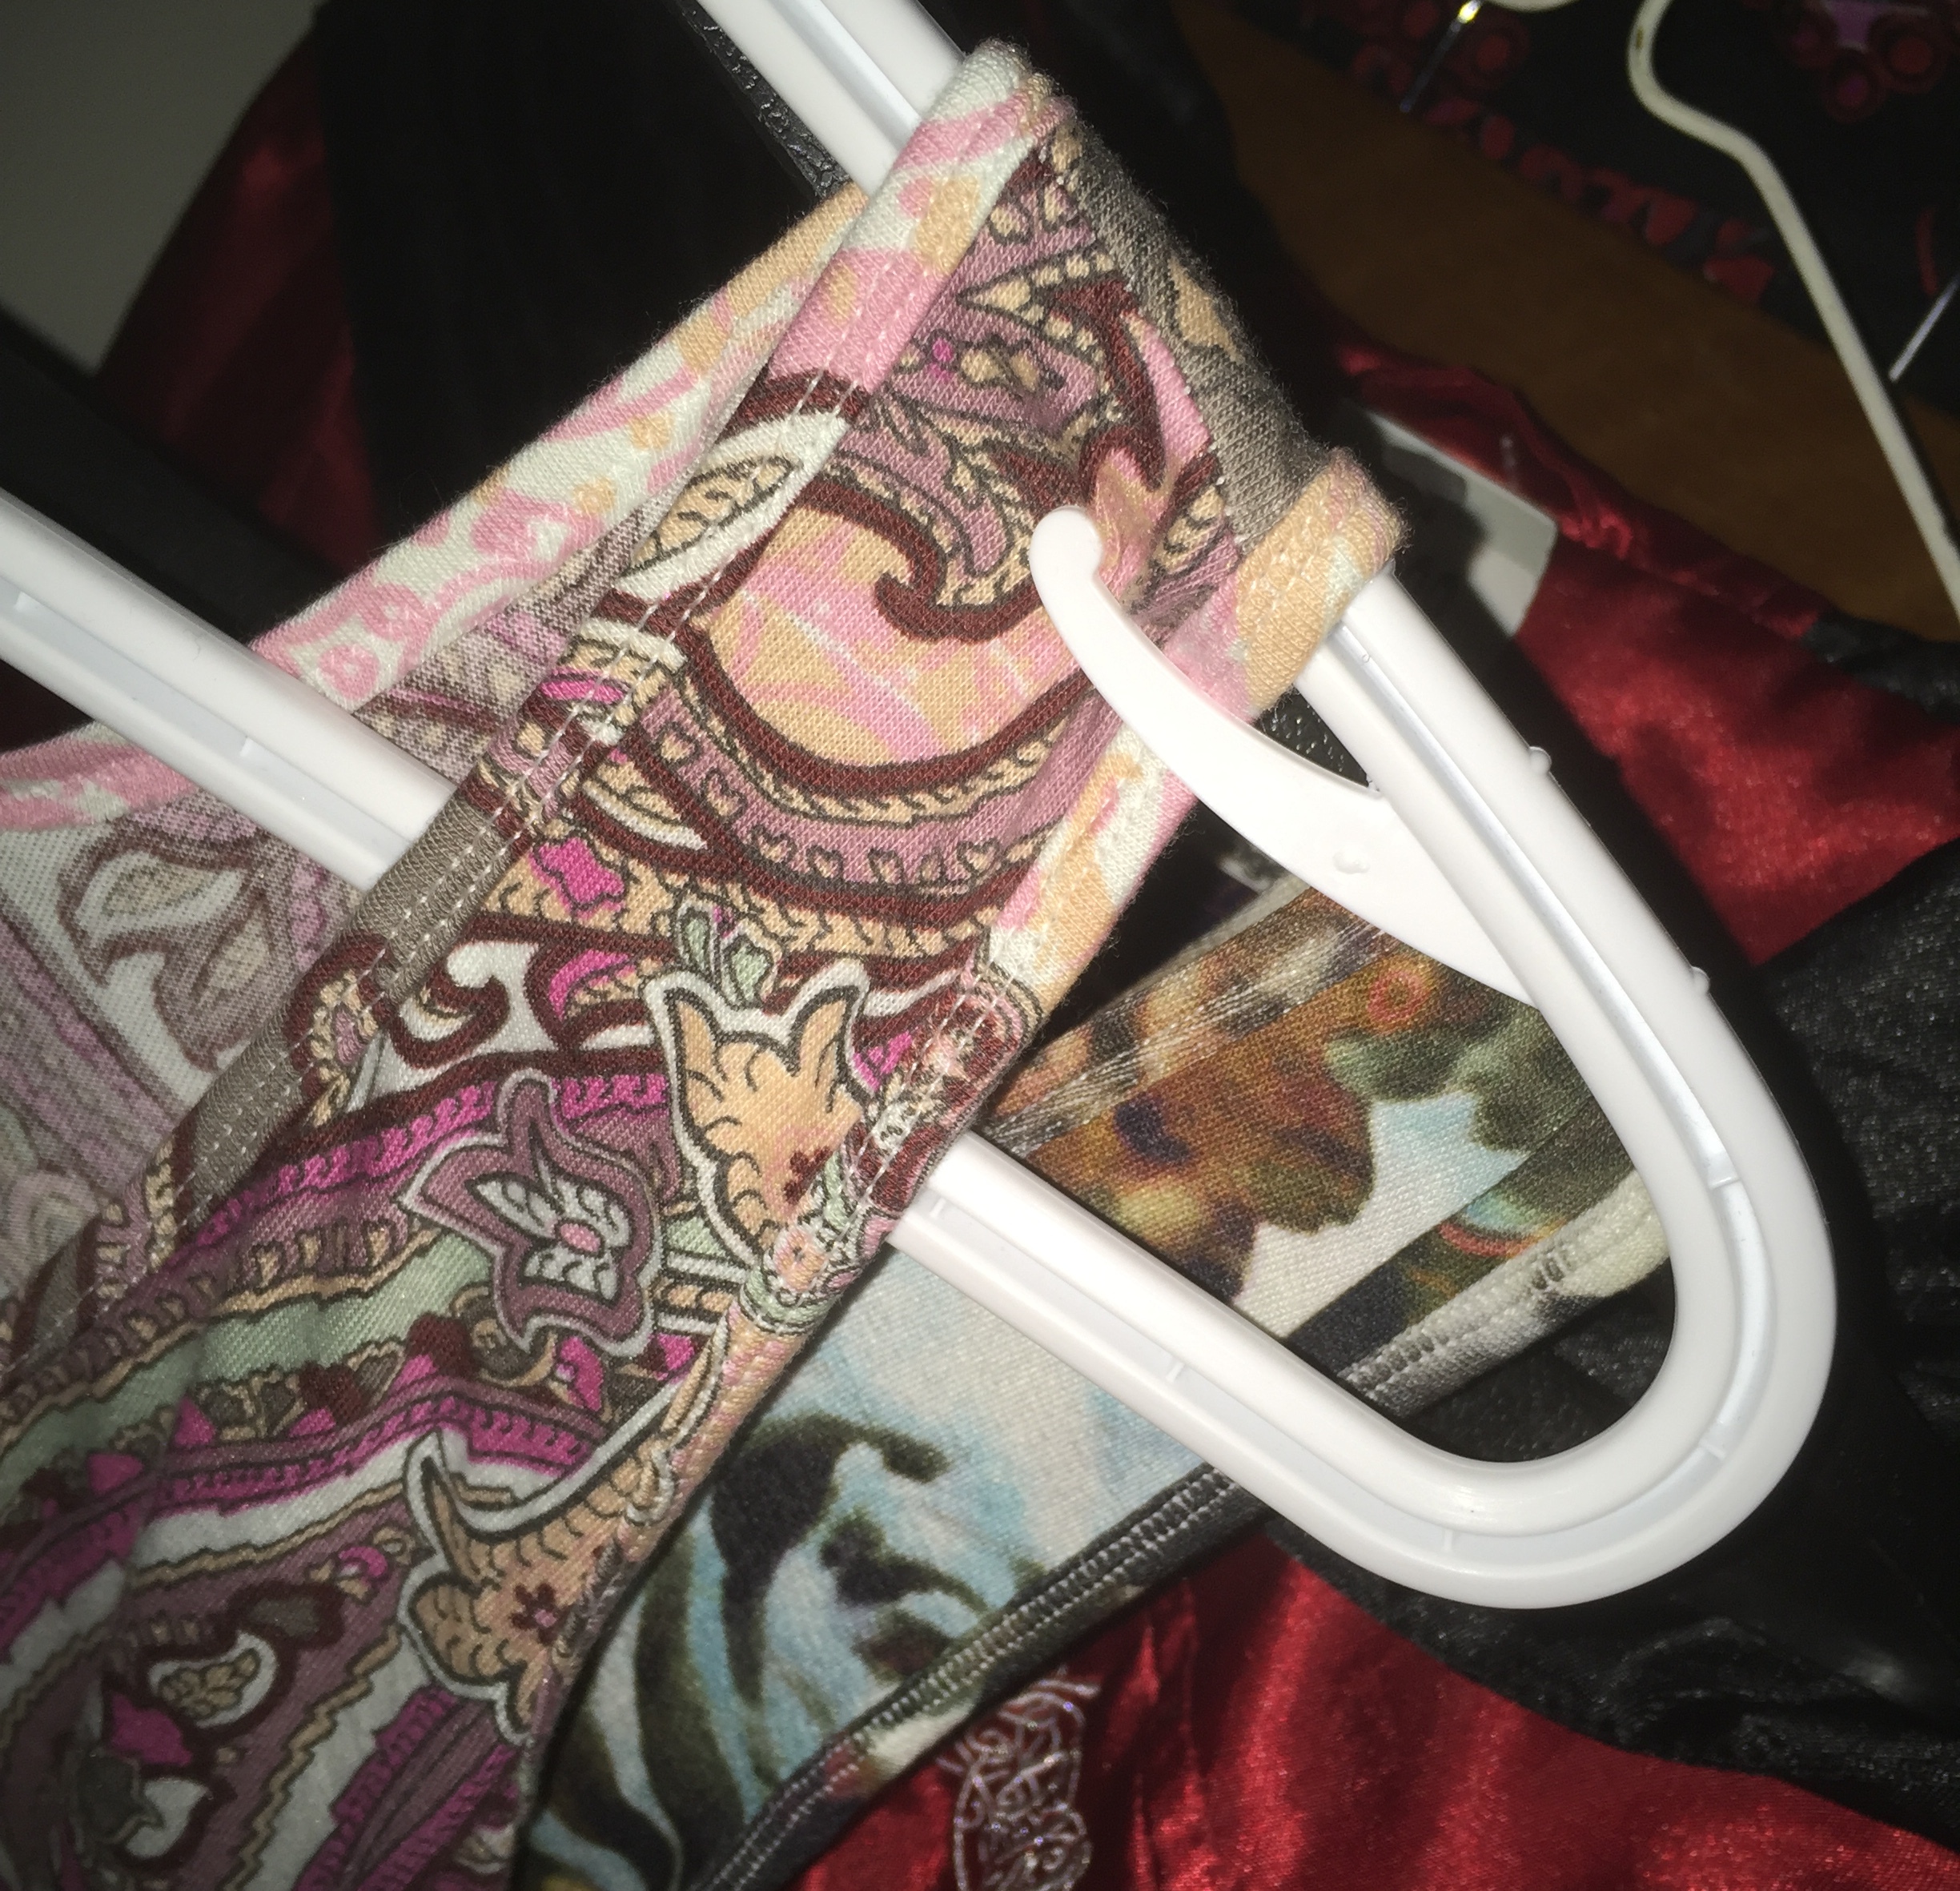
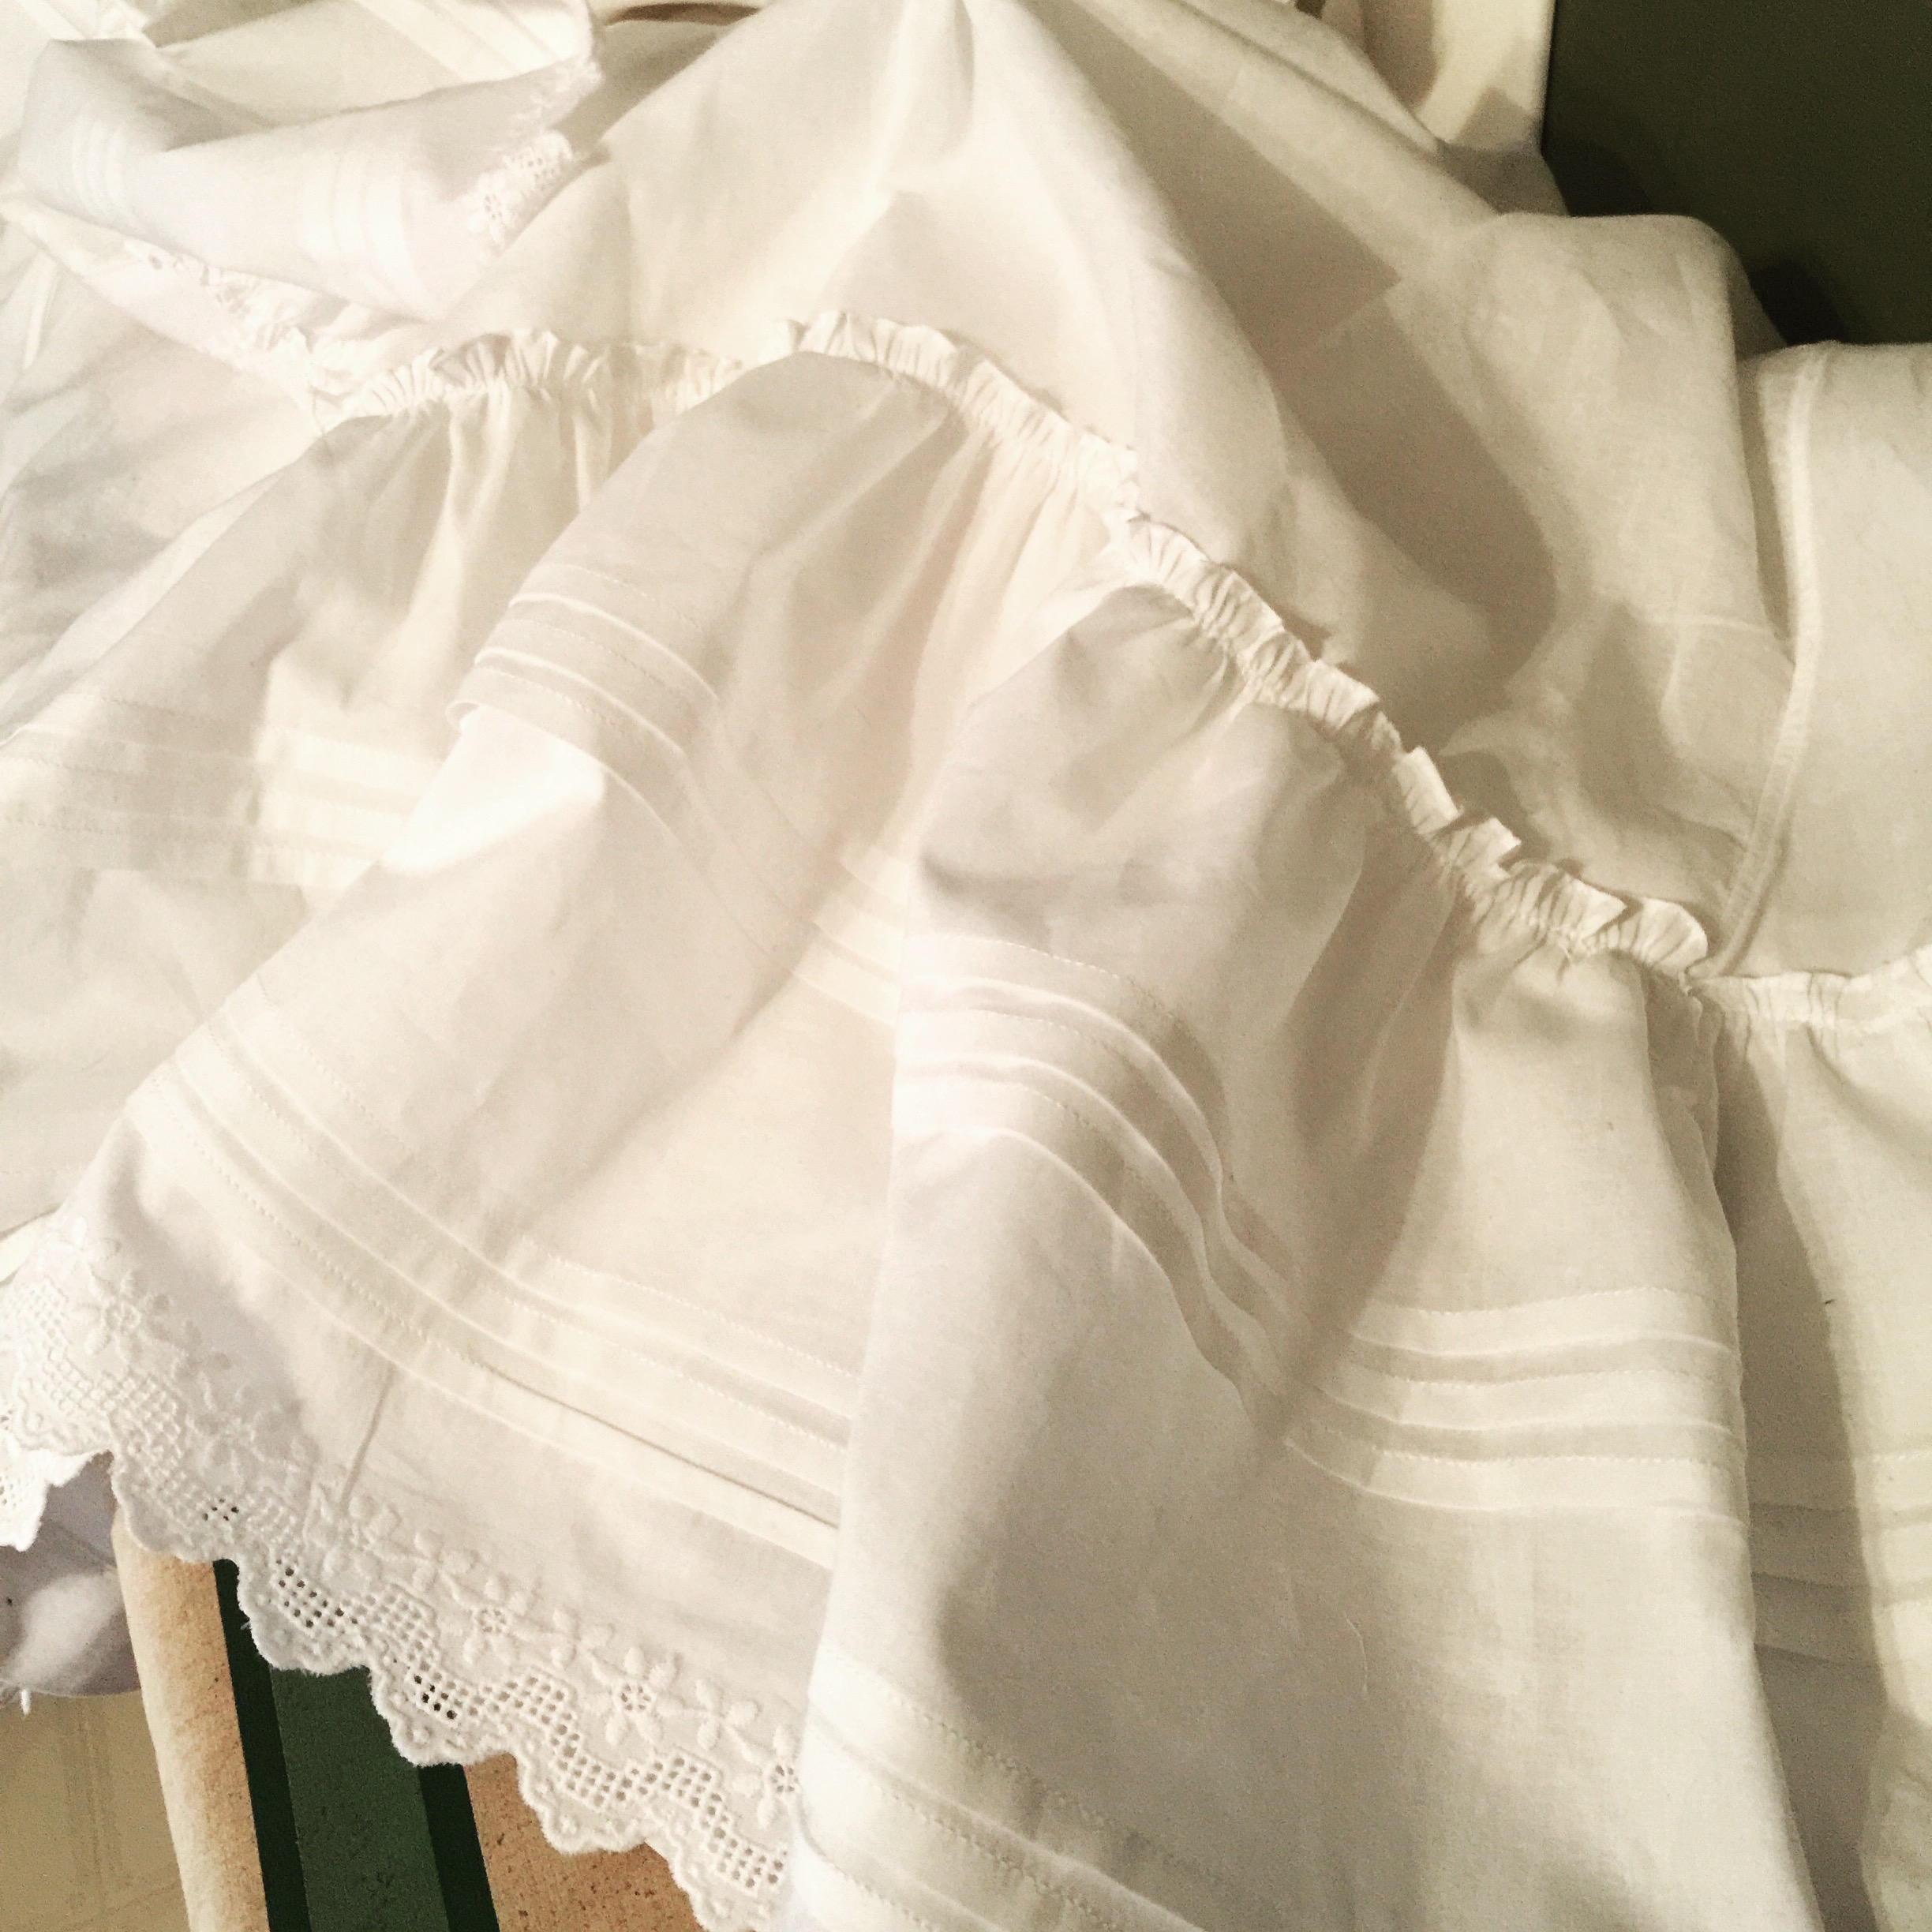
The ruffle (pre-ruffling)
So, I cried a little and resigned myself to a ruffle. I still wish I had pleated it, but, meh. I picked my ruffle depth by the highly scientific method of tearing my leftover fabric after making the main portion of the petticoat into eight equal strips. I had already decided I wanted 1/4″ tucks, so then I added those in, three in each panel, starting with a fold right at the middle. Once I had those tucks made, I joined seven of the eight panels (measuring my lace having determined that I wouldn’t have enough to go along the eight panel anyway.) I attached the lace at the bottom using a tuck—basically, sewing a french seam on the outside surface. I thought it looked lonely, though, so I added two more 1/4″ tucks above it. I like the overall look, but I was definitely more precise (which is still a long way from perfect) on the first set of tucks. Eh. I finished the top edge with my narrowest-of-narrow-hemmers, and ran the whole mess through the ruffler on what was supposed to be a roughly 2:1 gathering ratio.

Two ruffles in the back
Whether due to the weight of the fabric, or my ruffler being loose at times, or me just being a tool, what I wound up with was rather more gathered length than I expected, so I added the second ruffle across just the bustle/back of the skirt. Except that it goes up one gore seam further on one side than the other. HEADDESK. I am not going to change it. Quit looking!

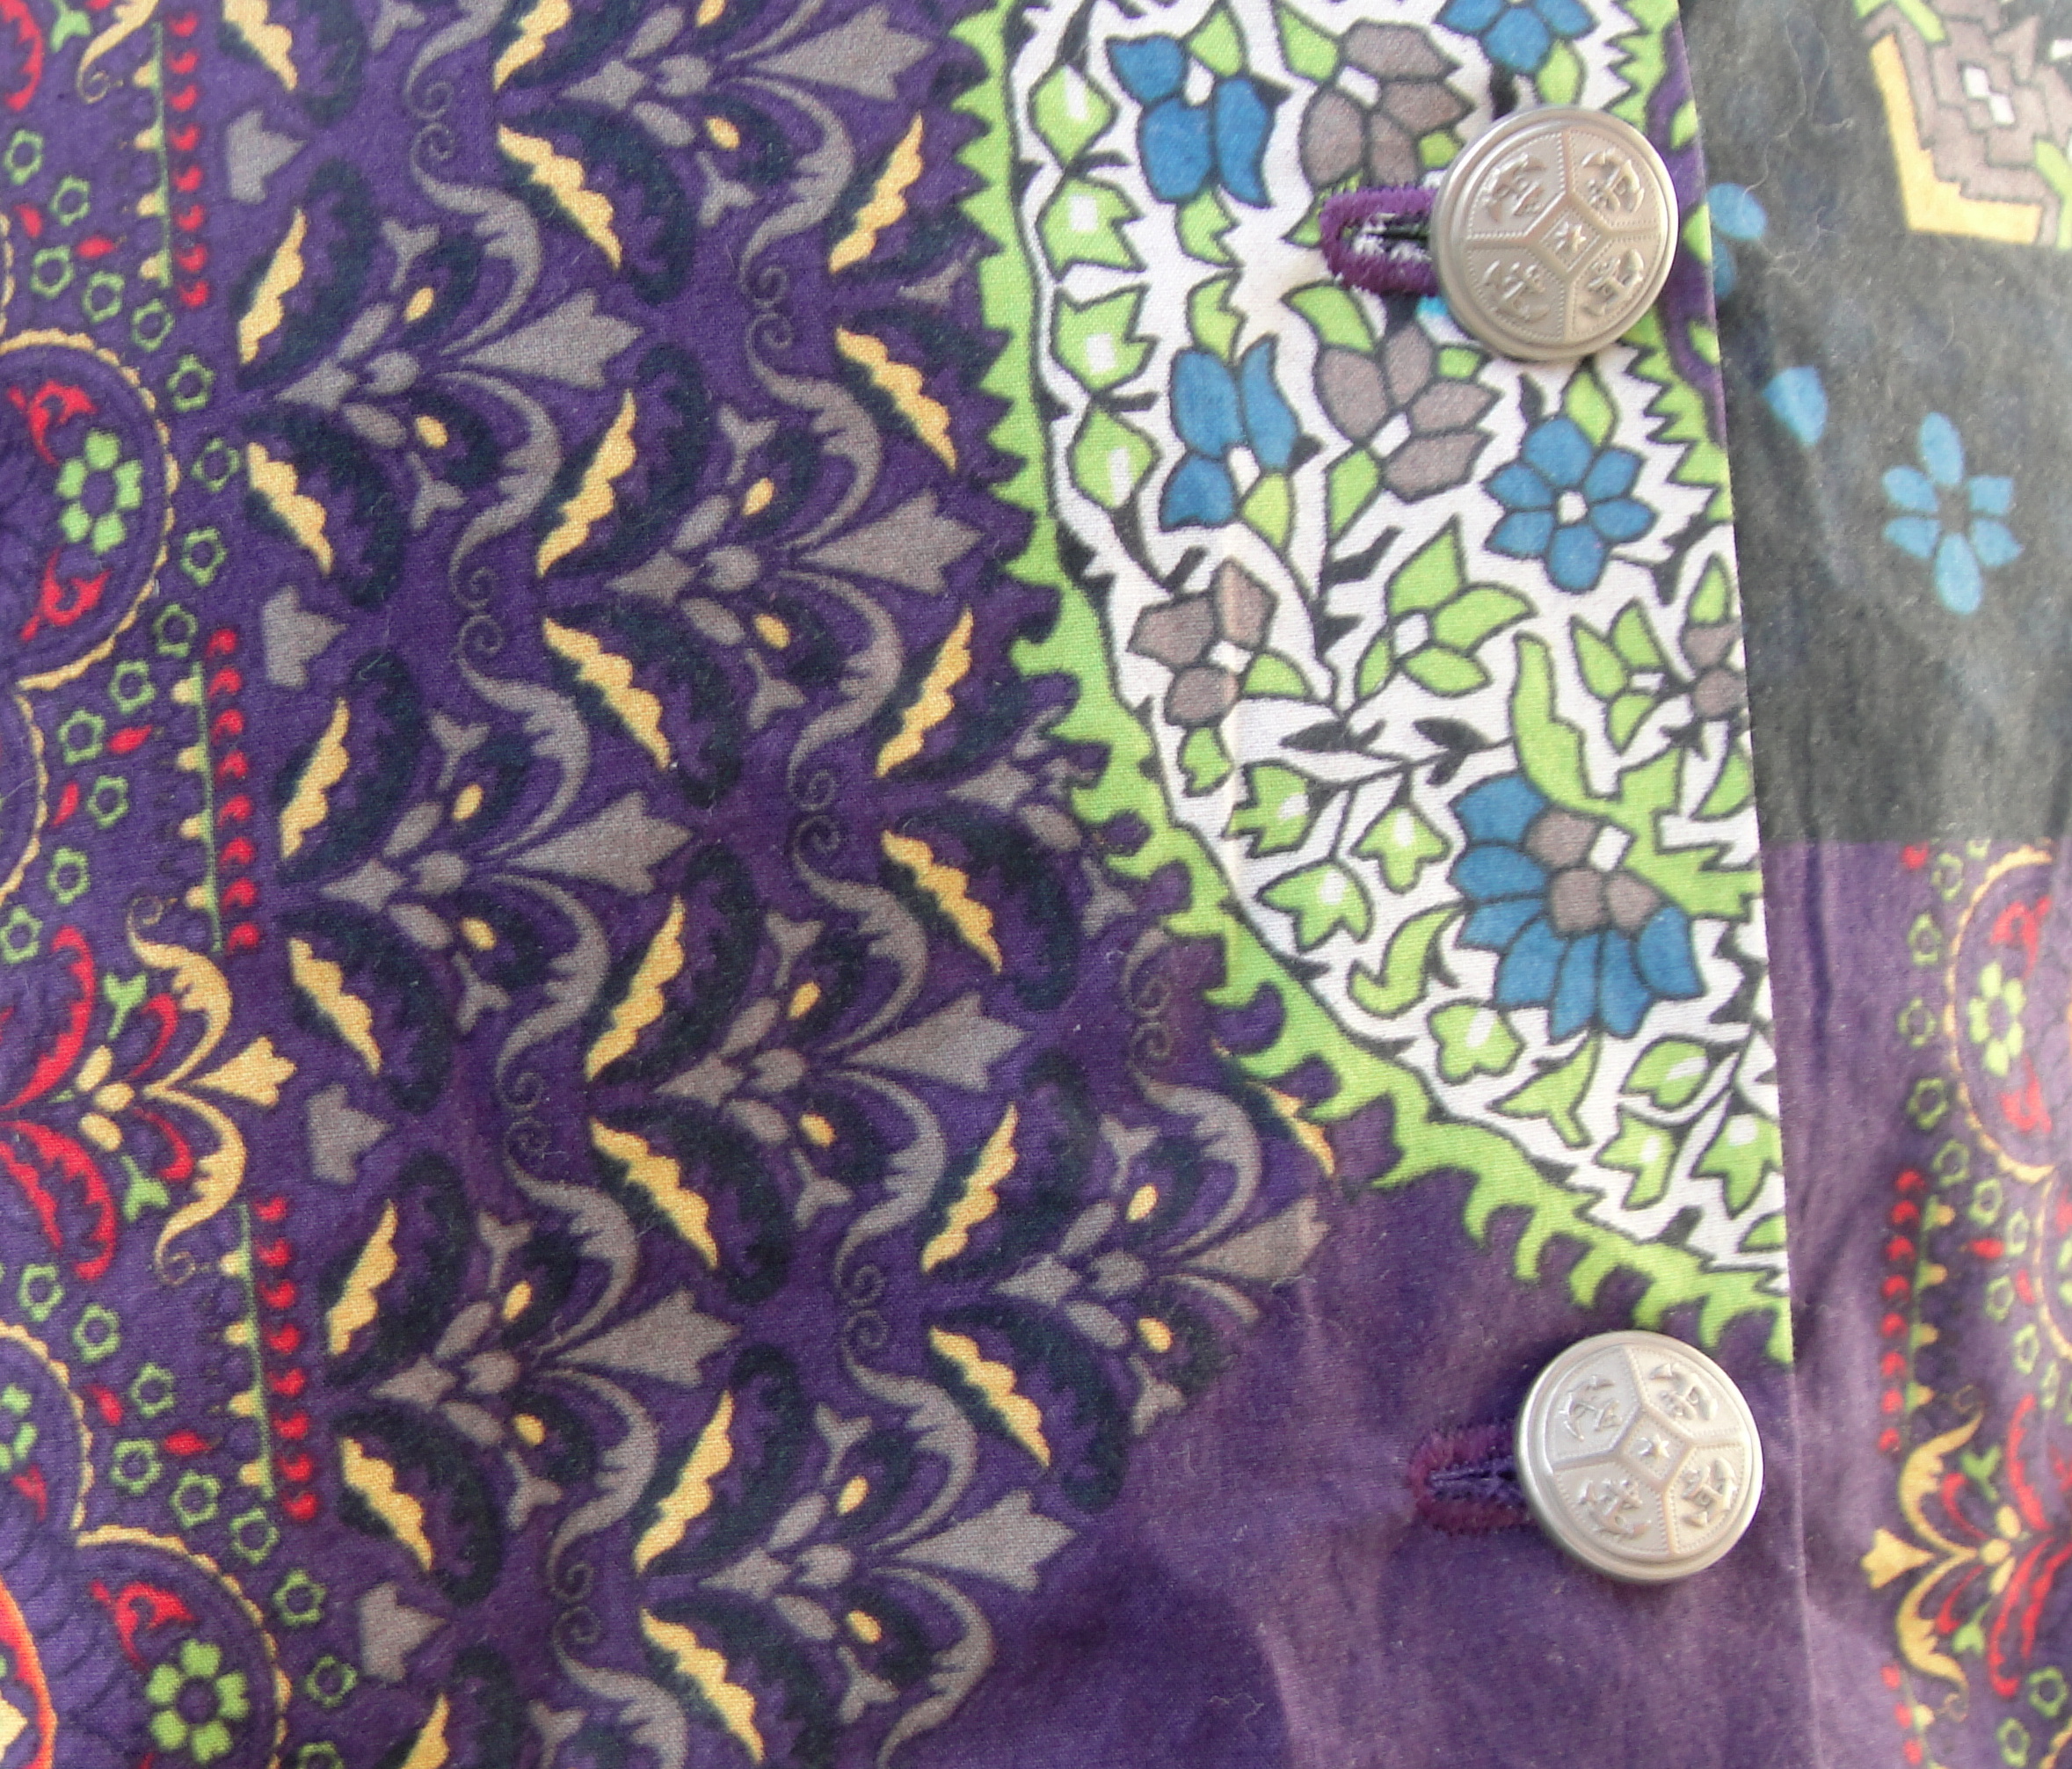
Buttonhole and stroked gathering.
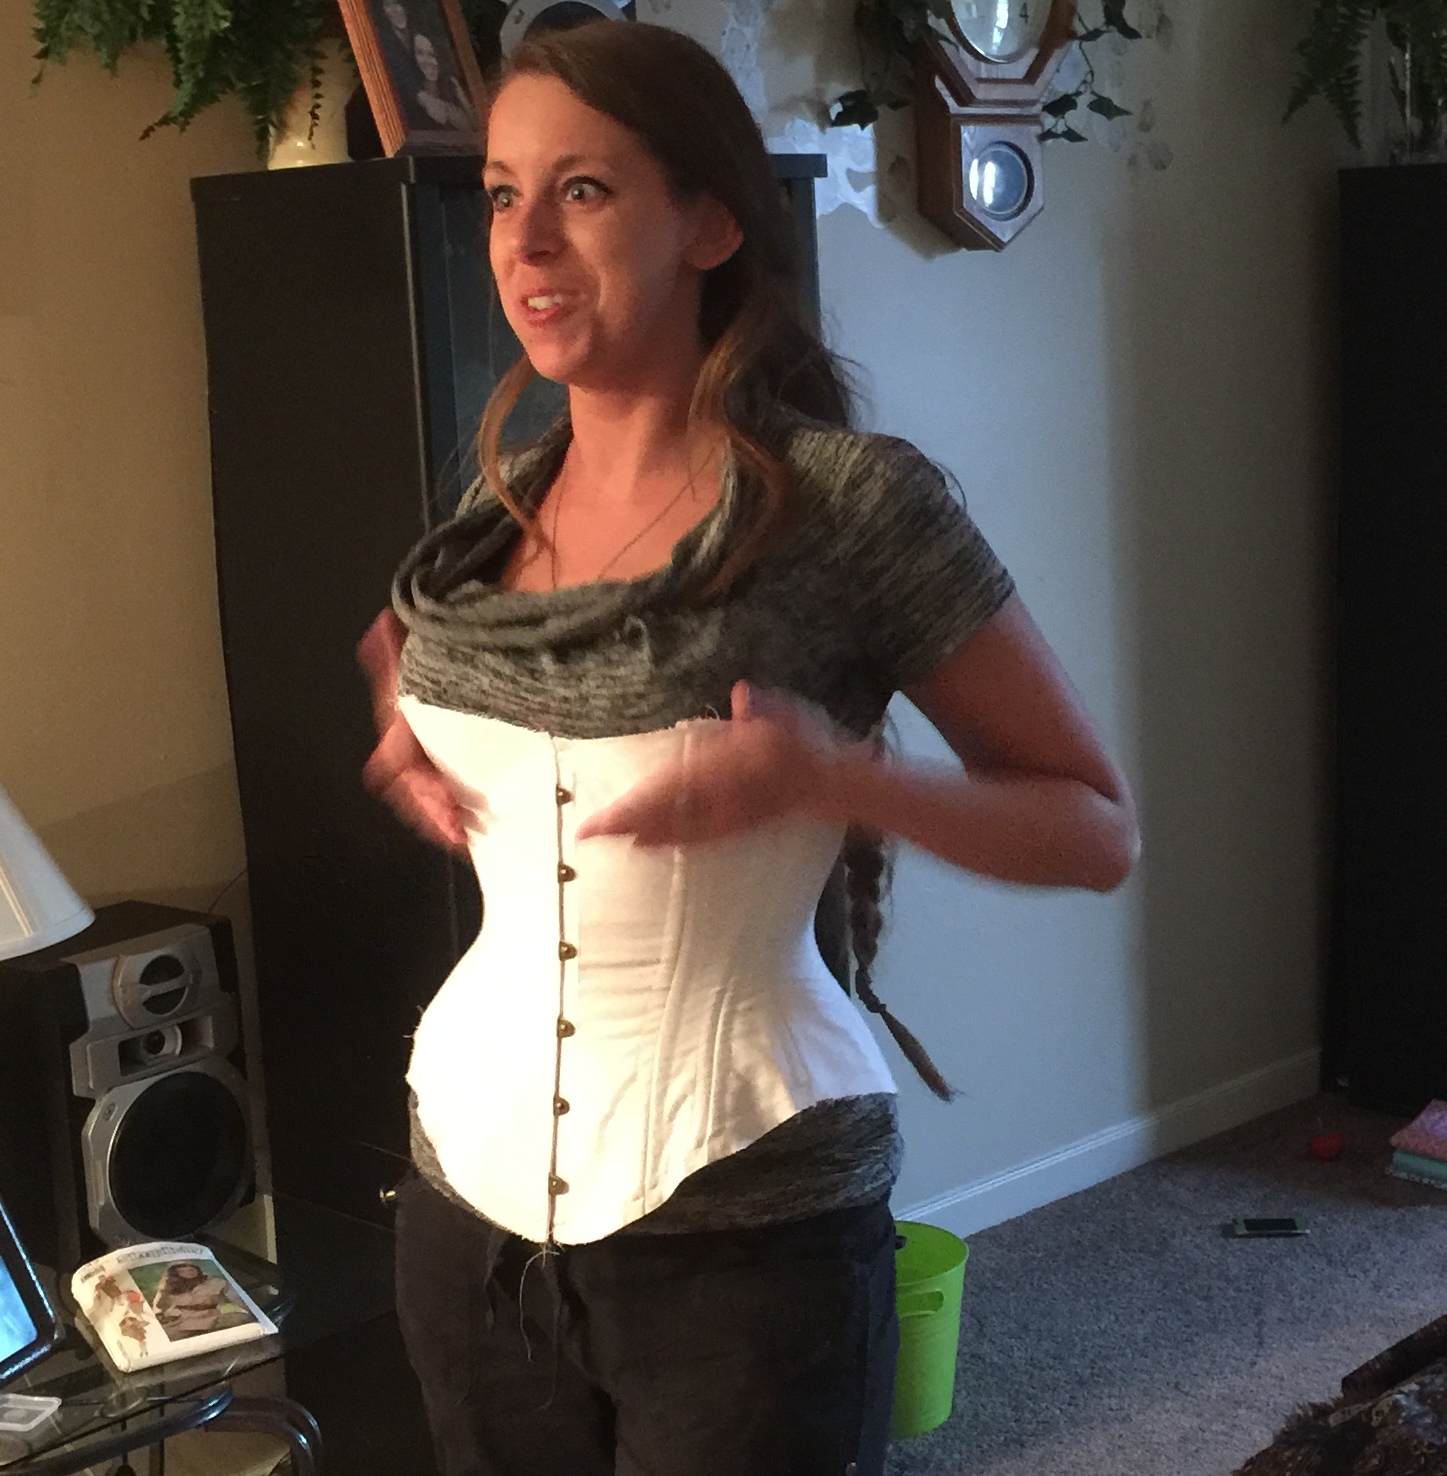
My other big booboo (as opposed to the myriad little booboos in the seams and the tucks and whatnot) came when gathering the waistband. I had measured my waist plus and inch or two for overlap, but I couldn’t quite wrap my head around the side-back opening as it related to the necessary gathering. Basically, my waistband wound up lop-sided, and I was extremely loathe to unpick the whole thing and re-arrange my painstakingly stroked hand-gathering. Instead, I unpicked the other end, where I didn’t have enough gathering, and tightened that way up, essentially shortening my waistband by about three inches.
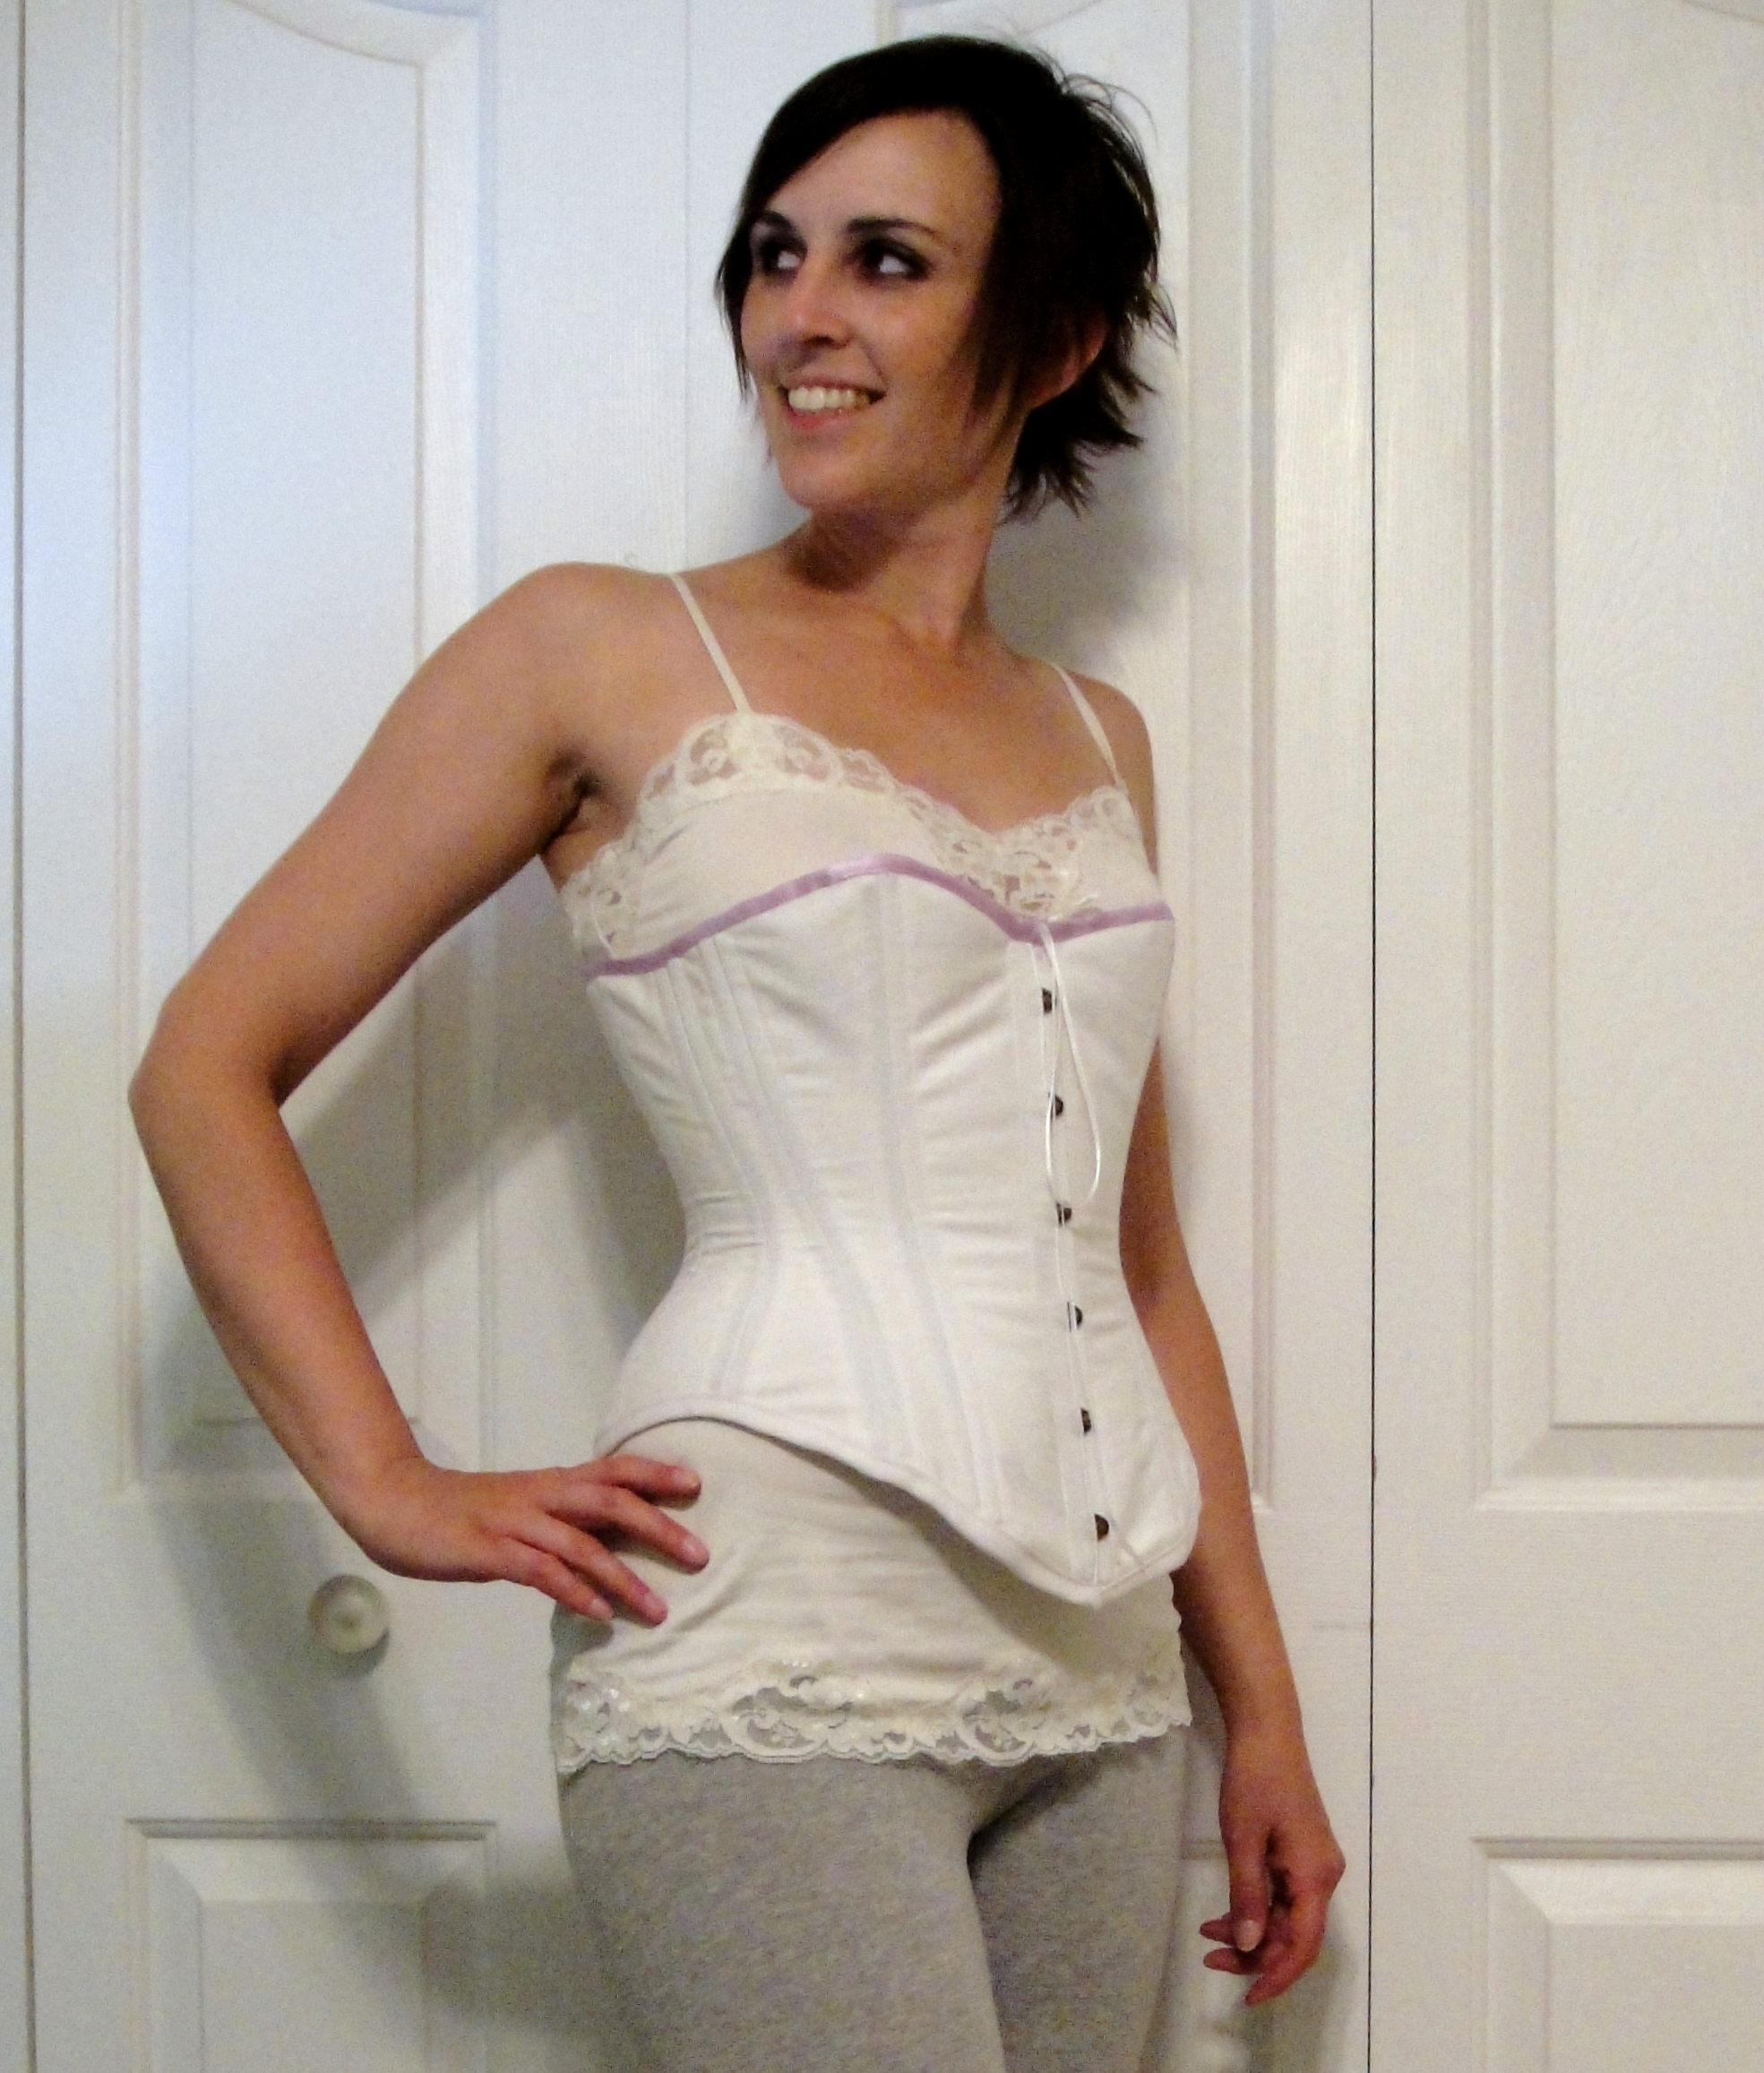
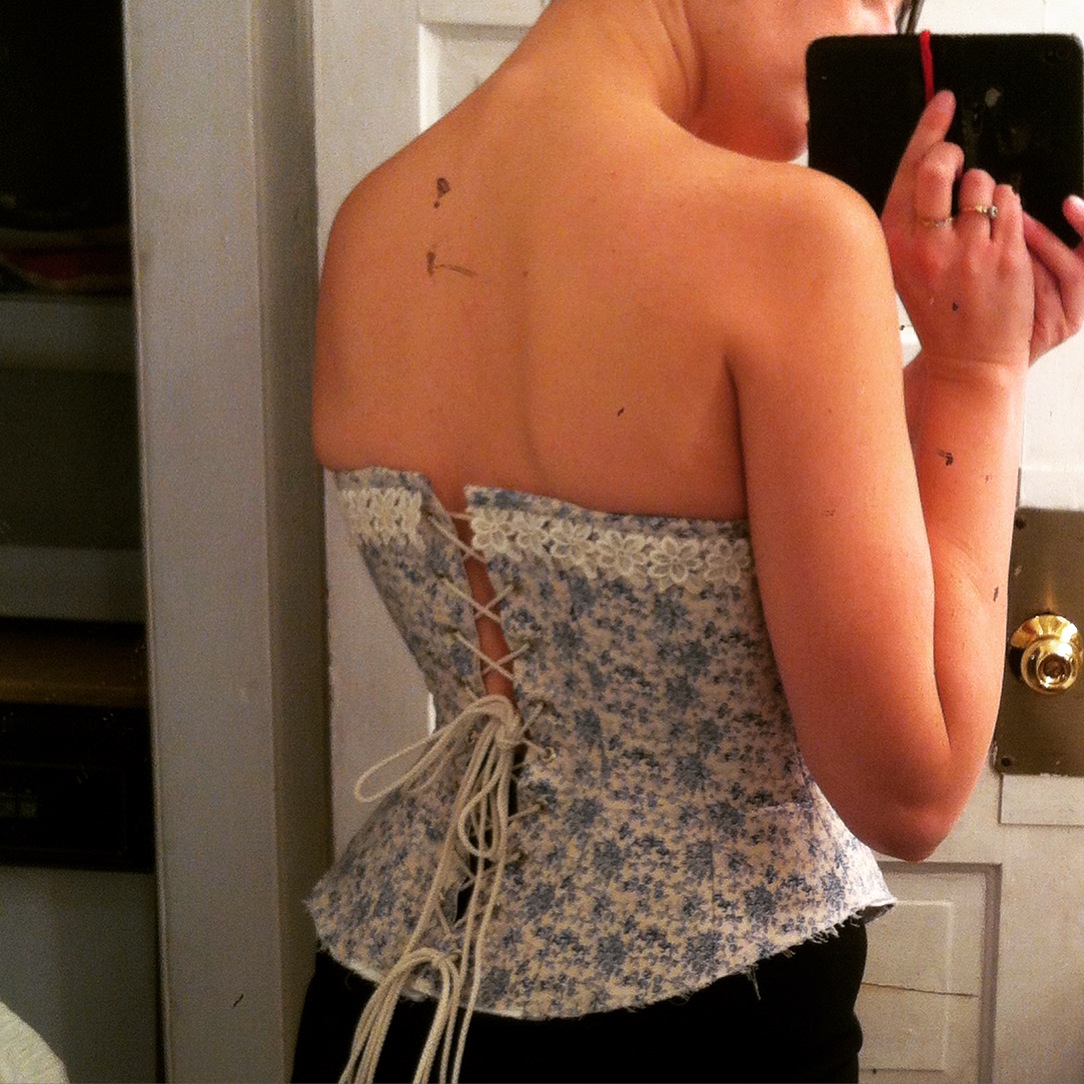
It is, um, snug. Maybe my next corset with be more waist-reducing, though.
That hand-worked buttonhole isn’t particularly pretty, now, (and it is worked on the wrong side, oopsie.) But it’s entirely serviceable and only took about ten minutes to put in. So there’s that.

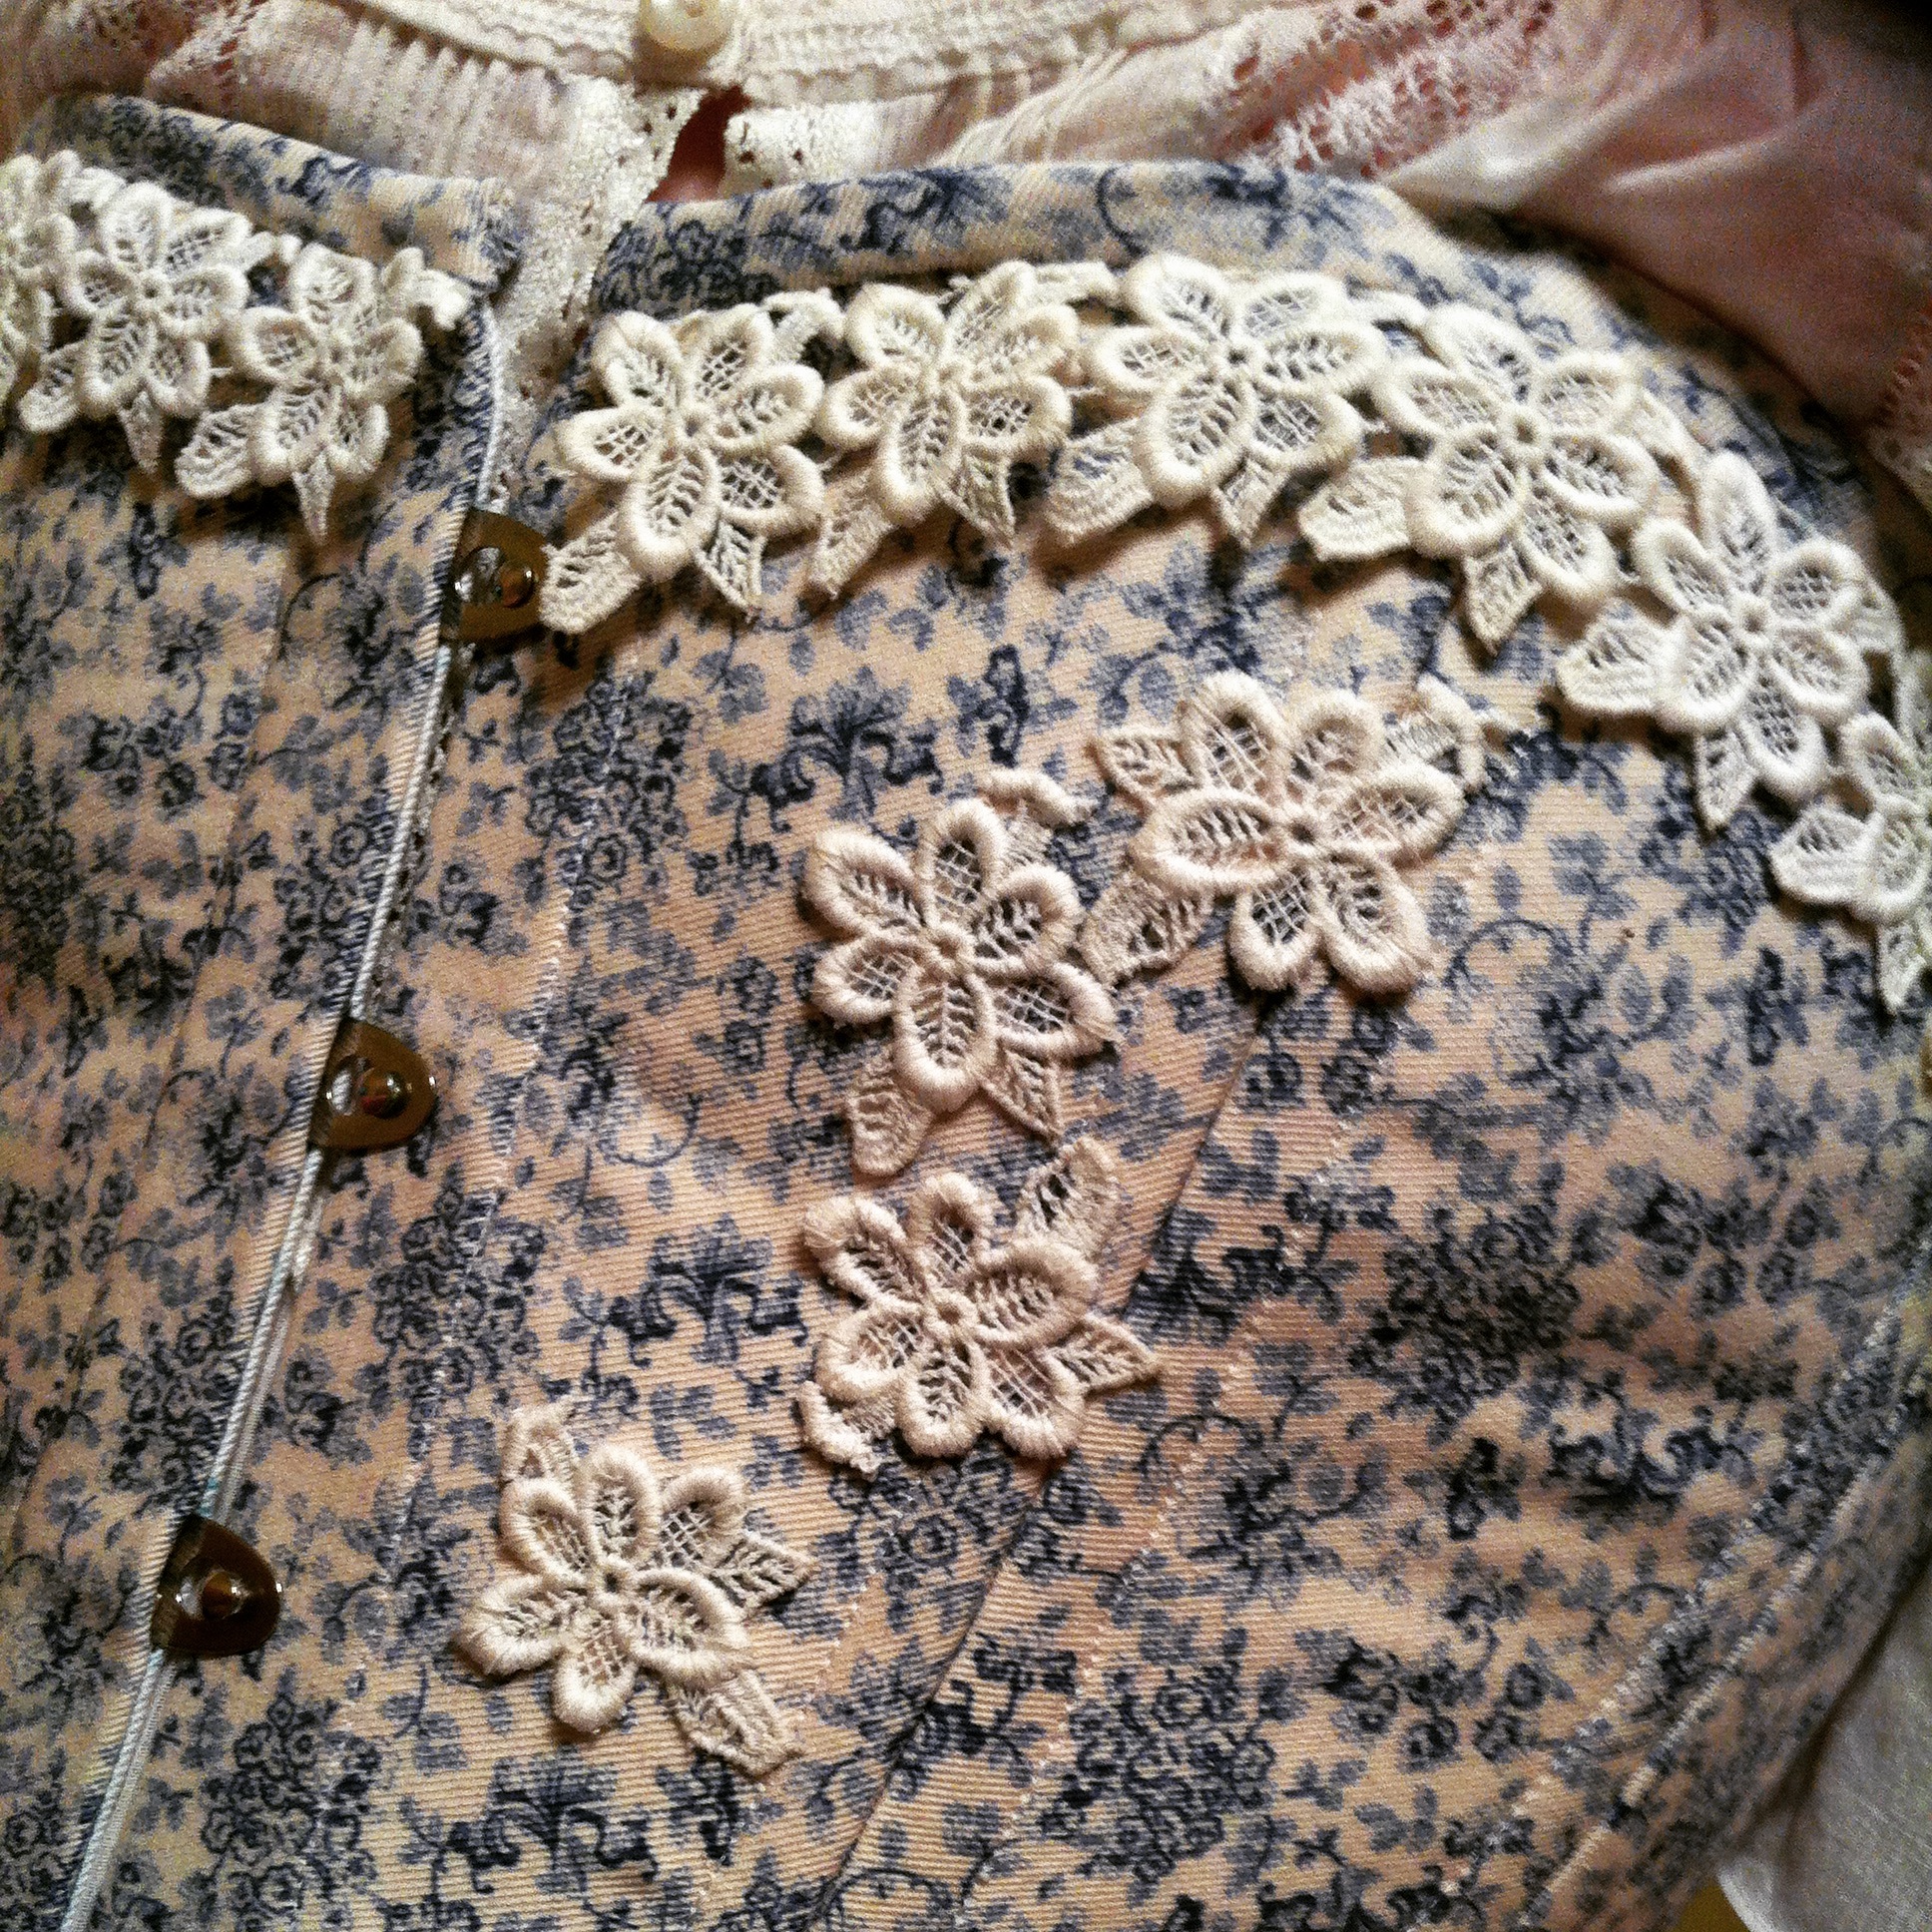
Closeup.
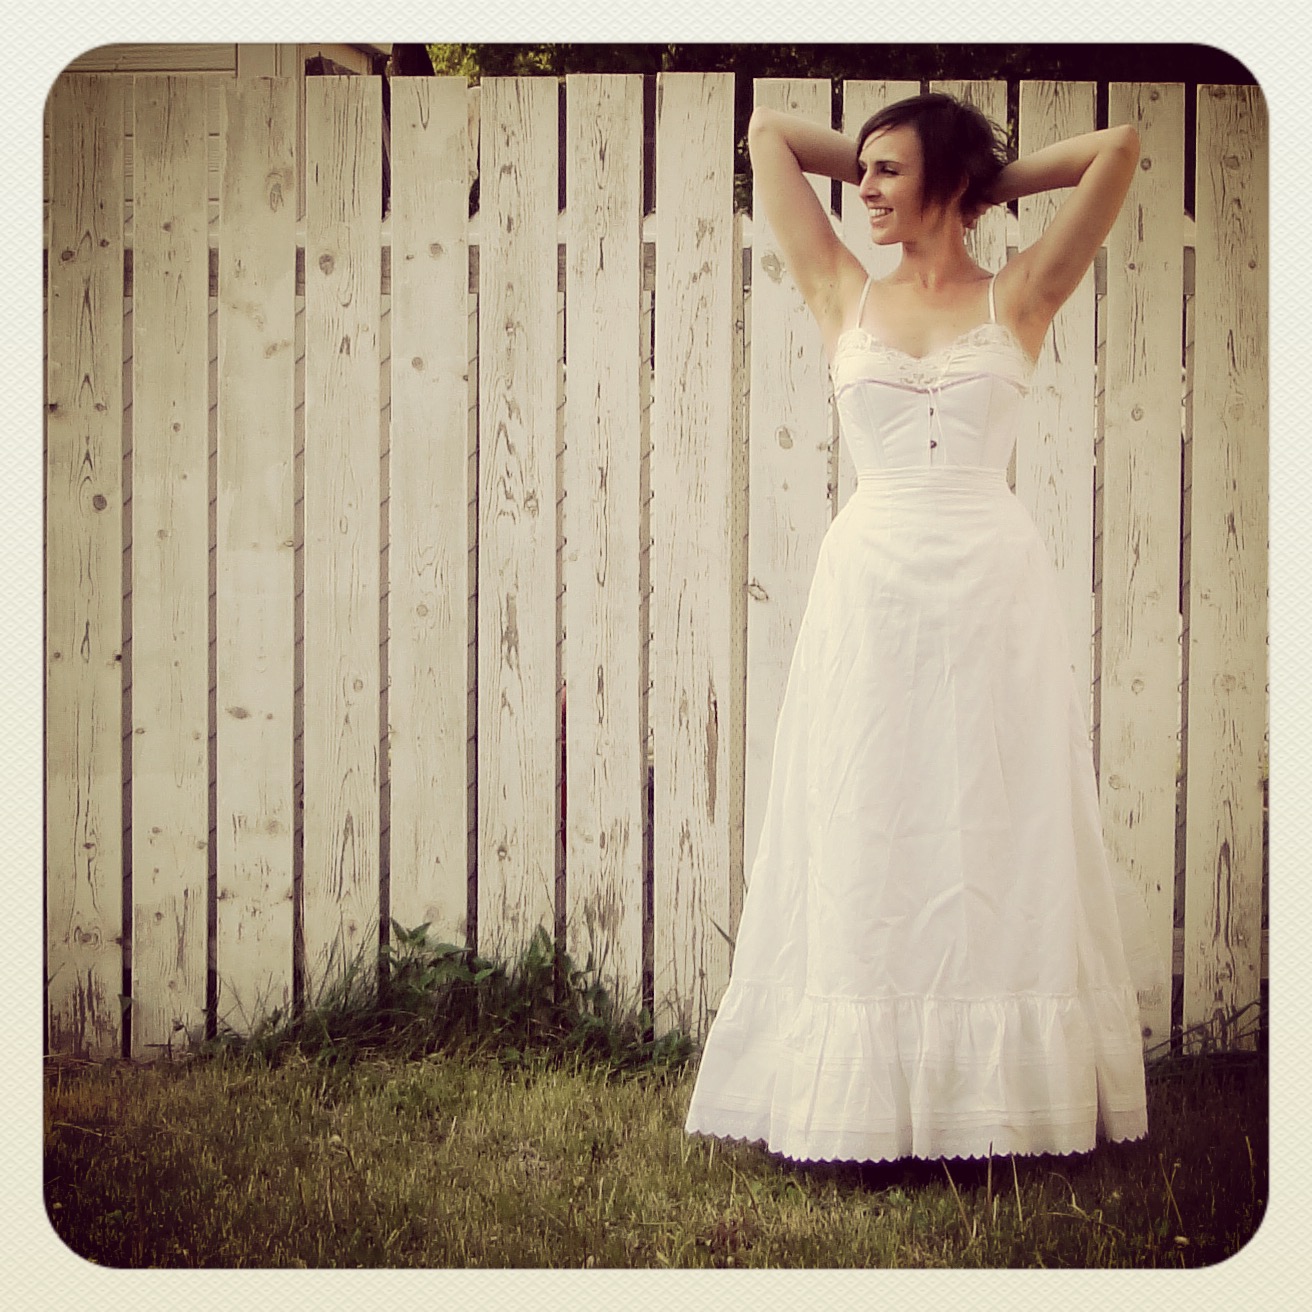
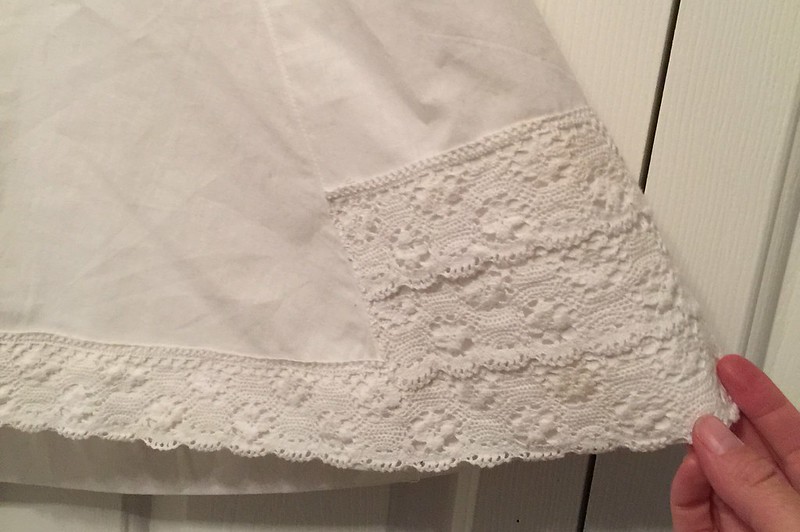
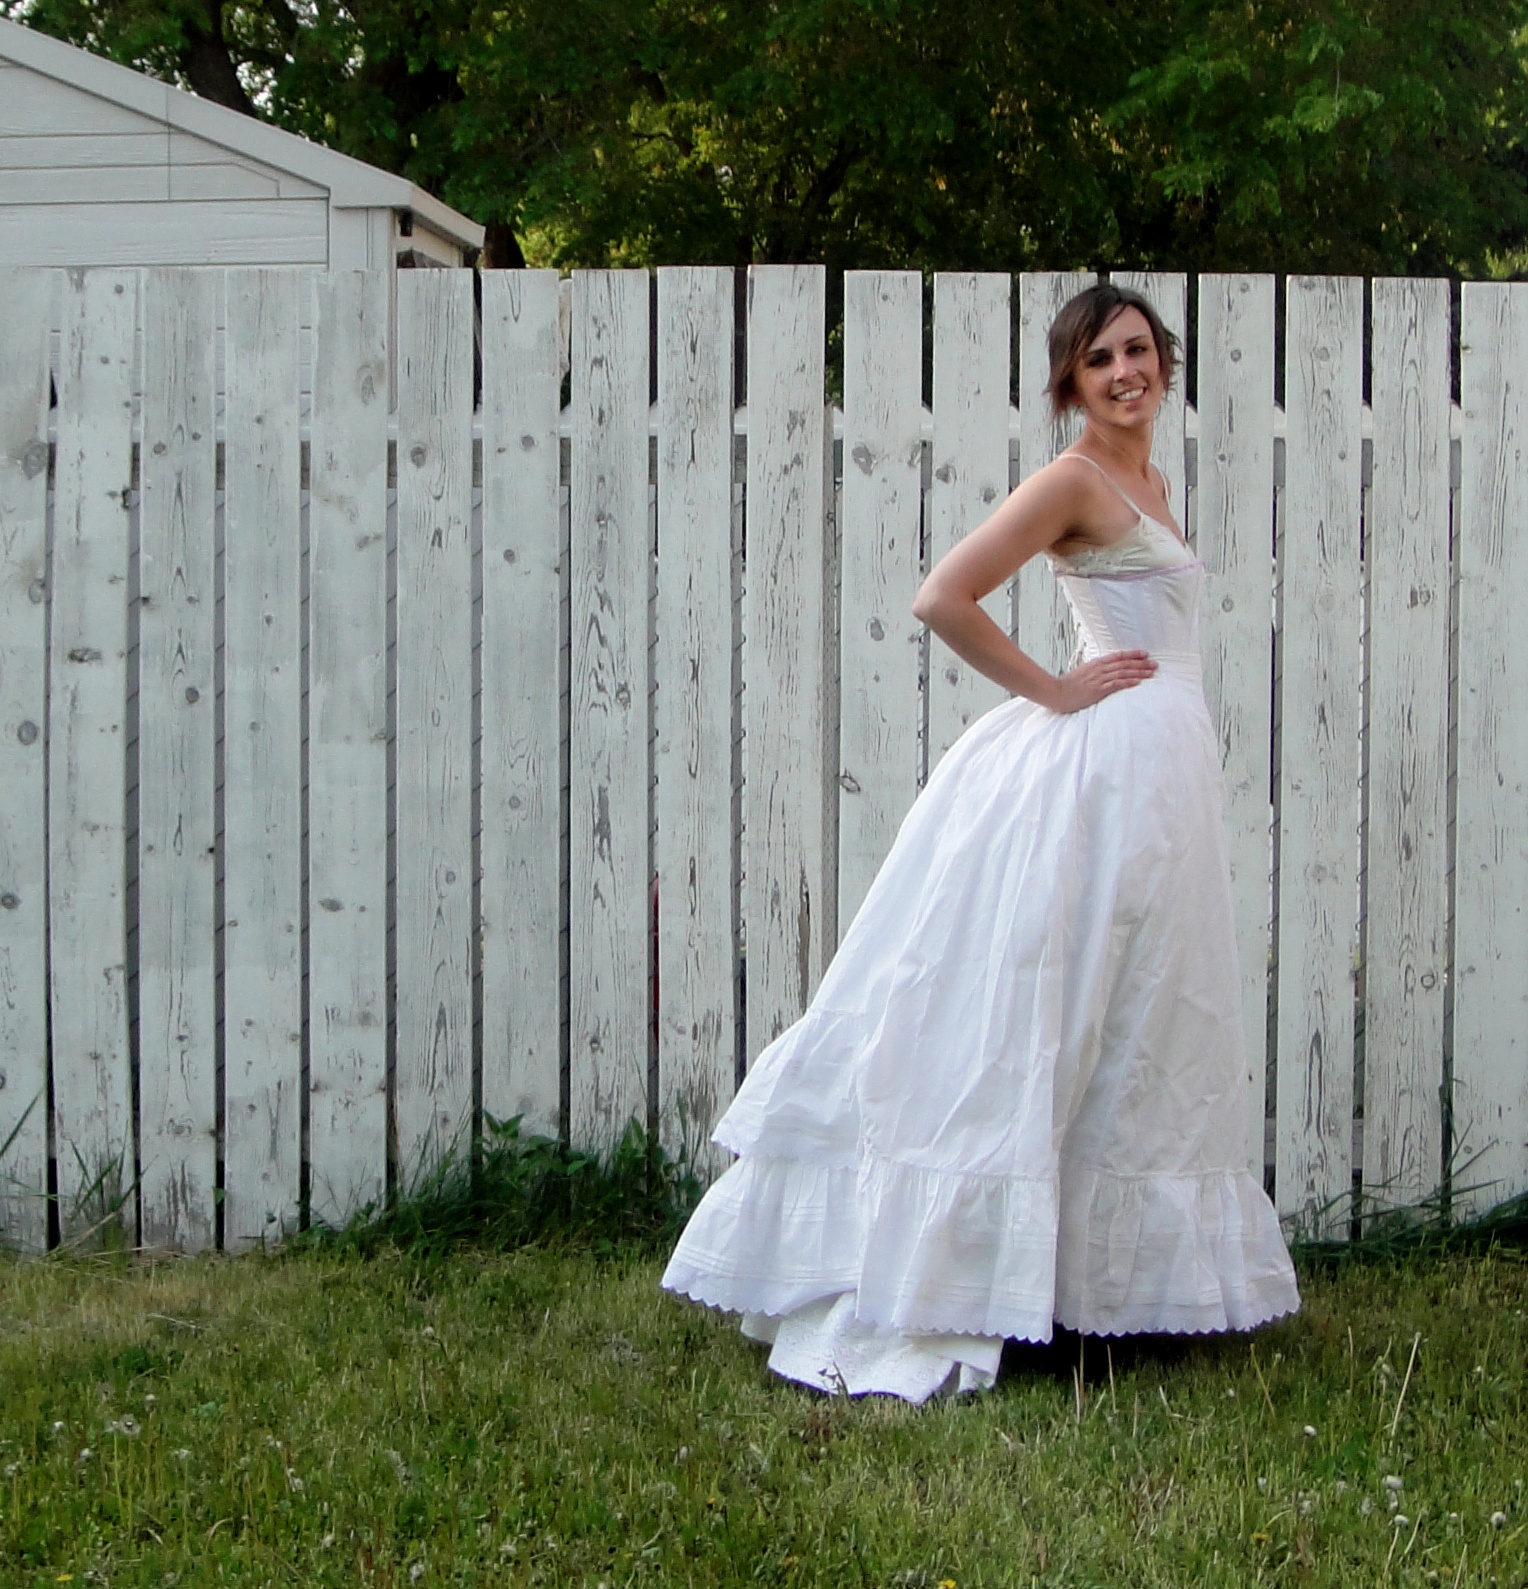
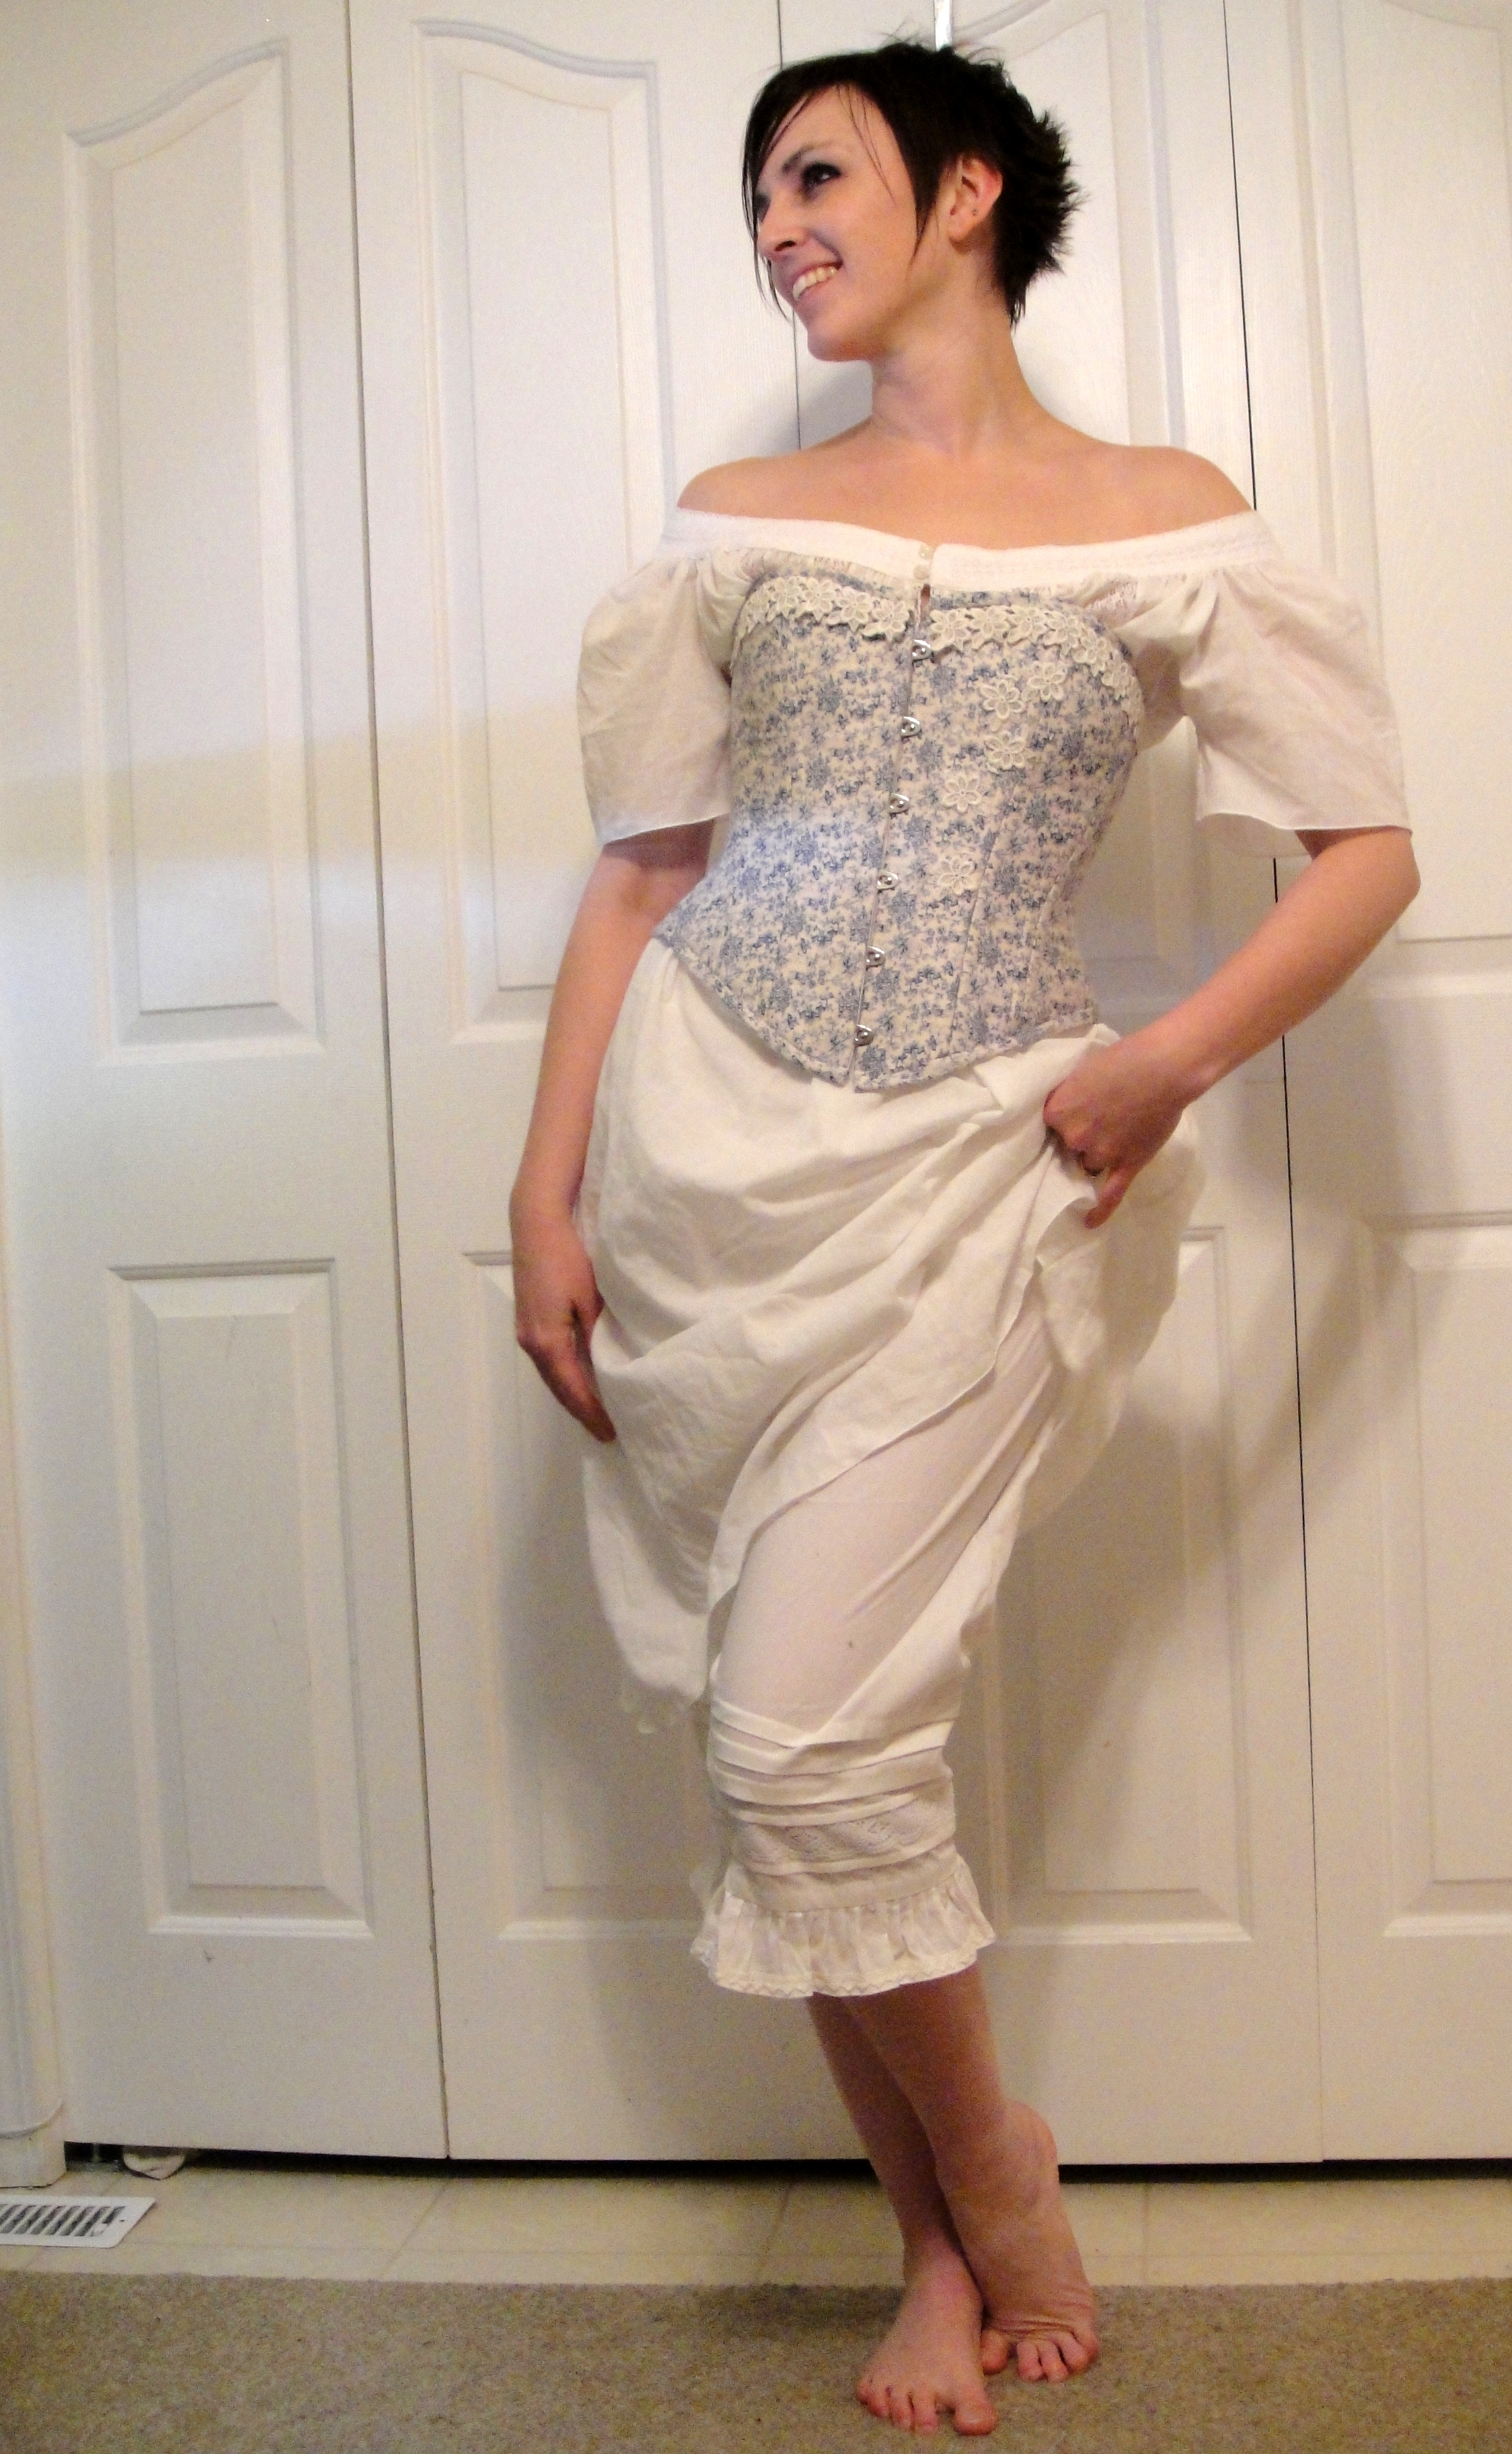
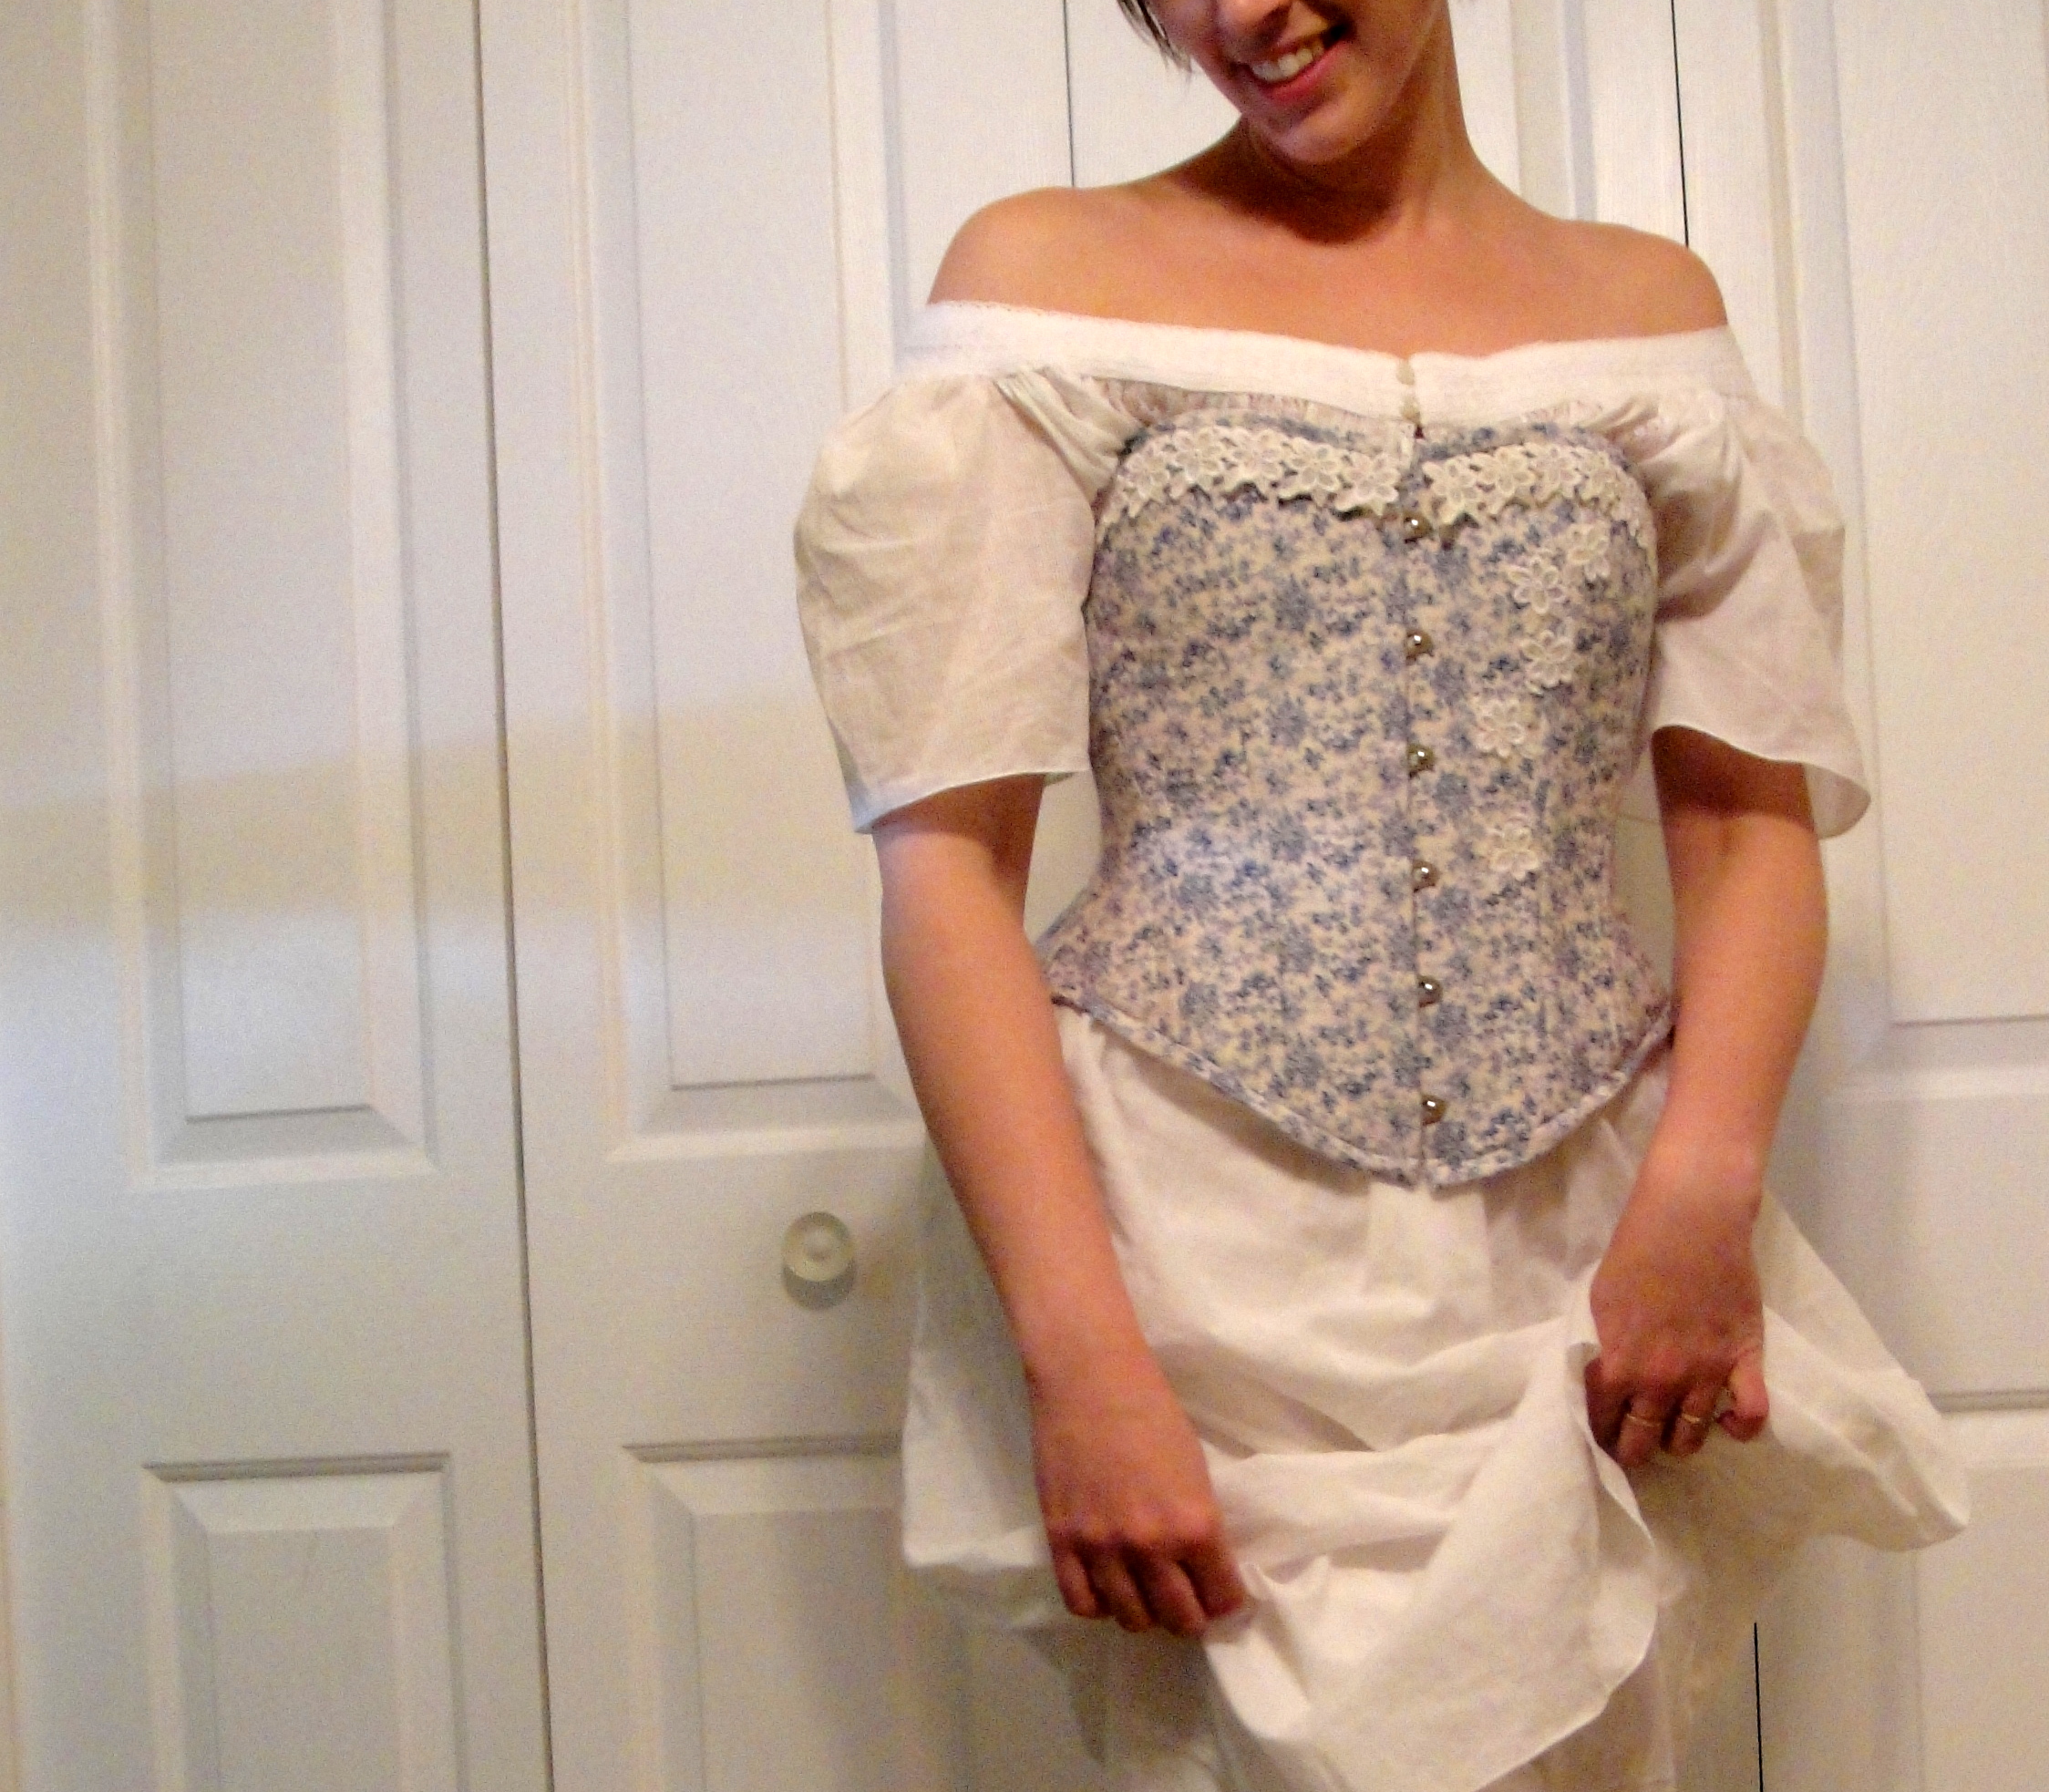
The whole thing is pretty delightfully frothy, once you wriggle into it.

Ruffle.
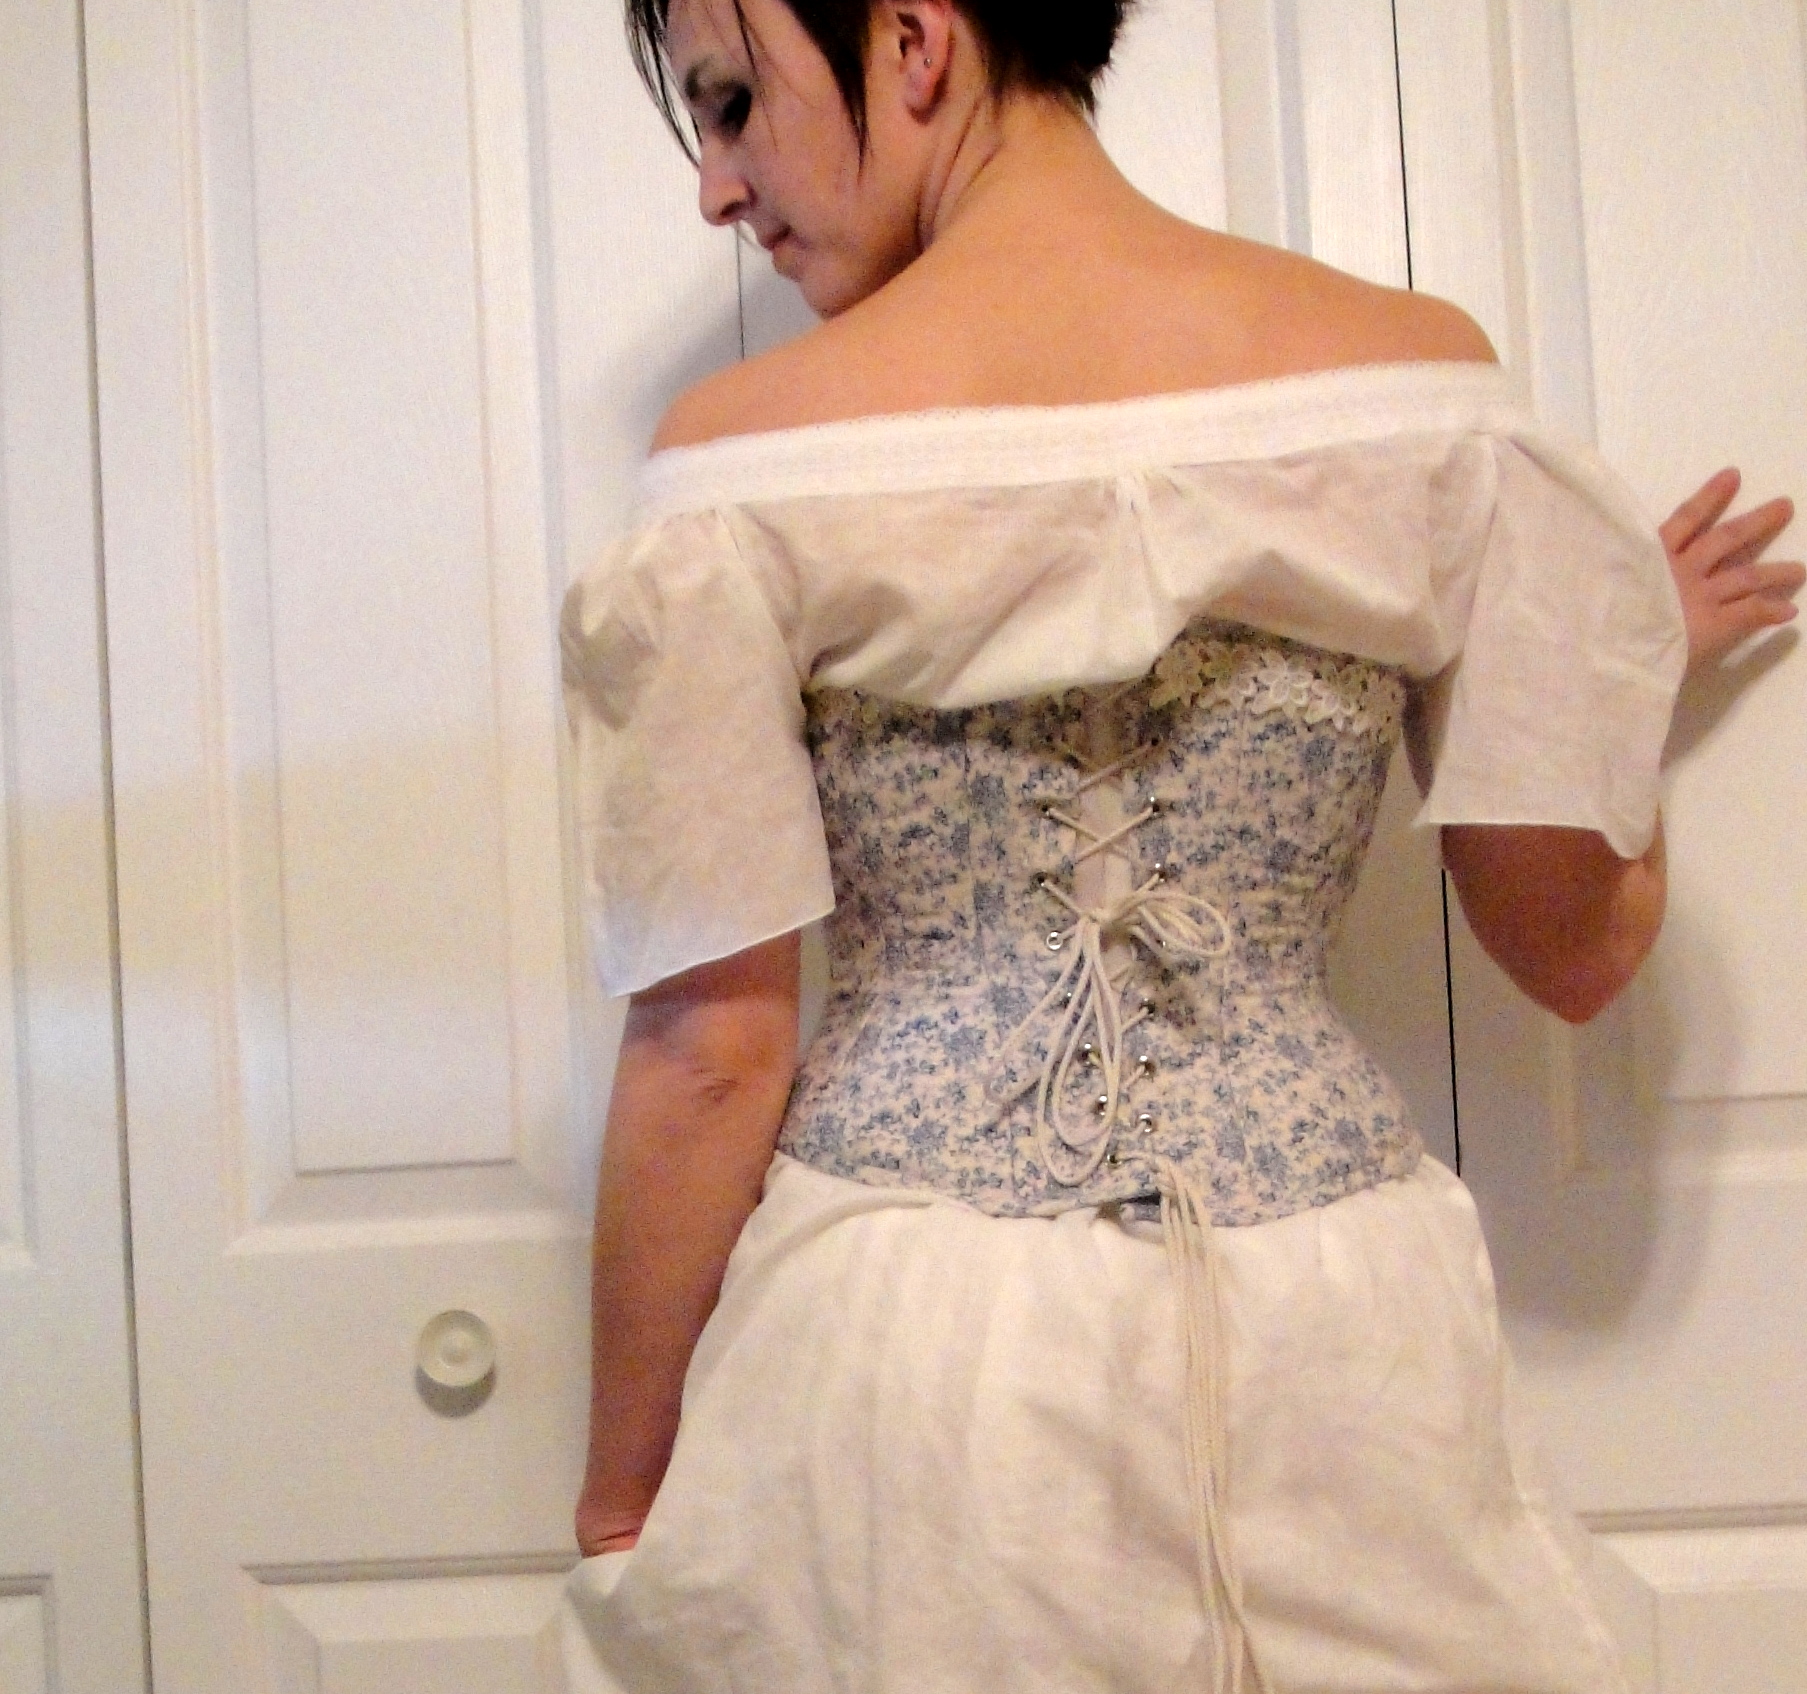
The fabric is pretty thin, and you can see the under-structure pretty clearly. Obviously another petticoat is required, maybe a more plain one, to go under this.

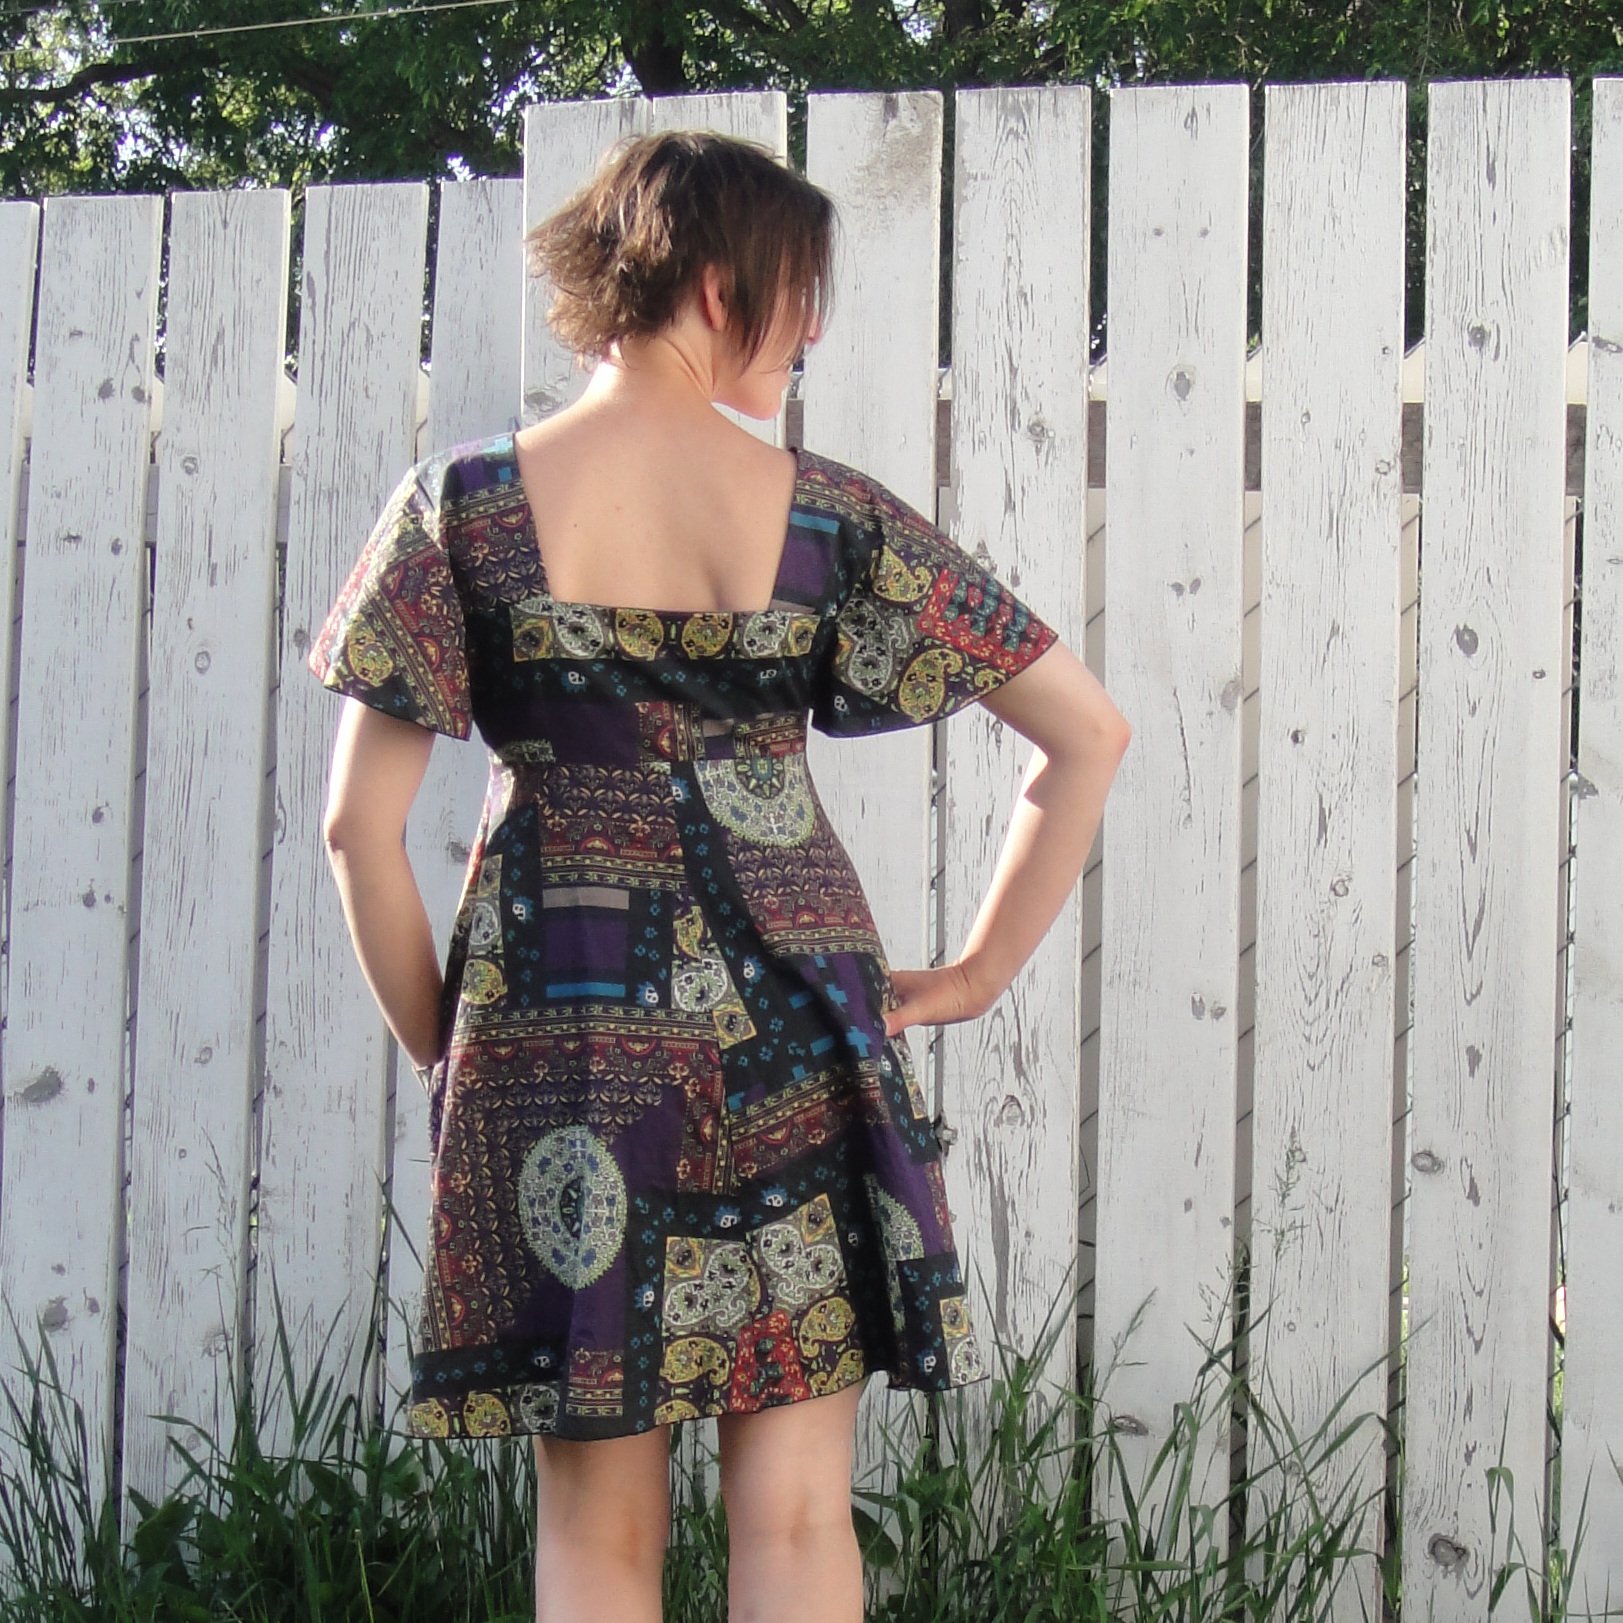
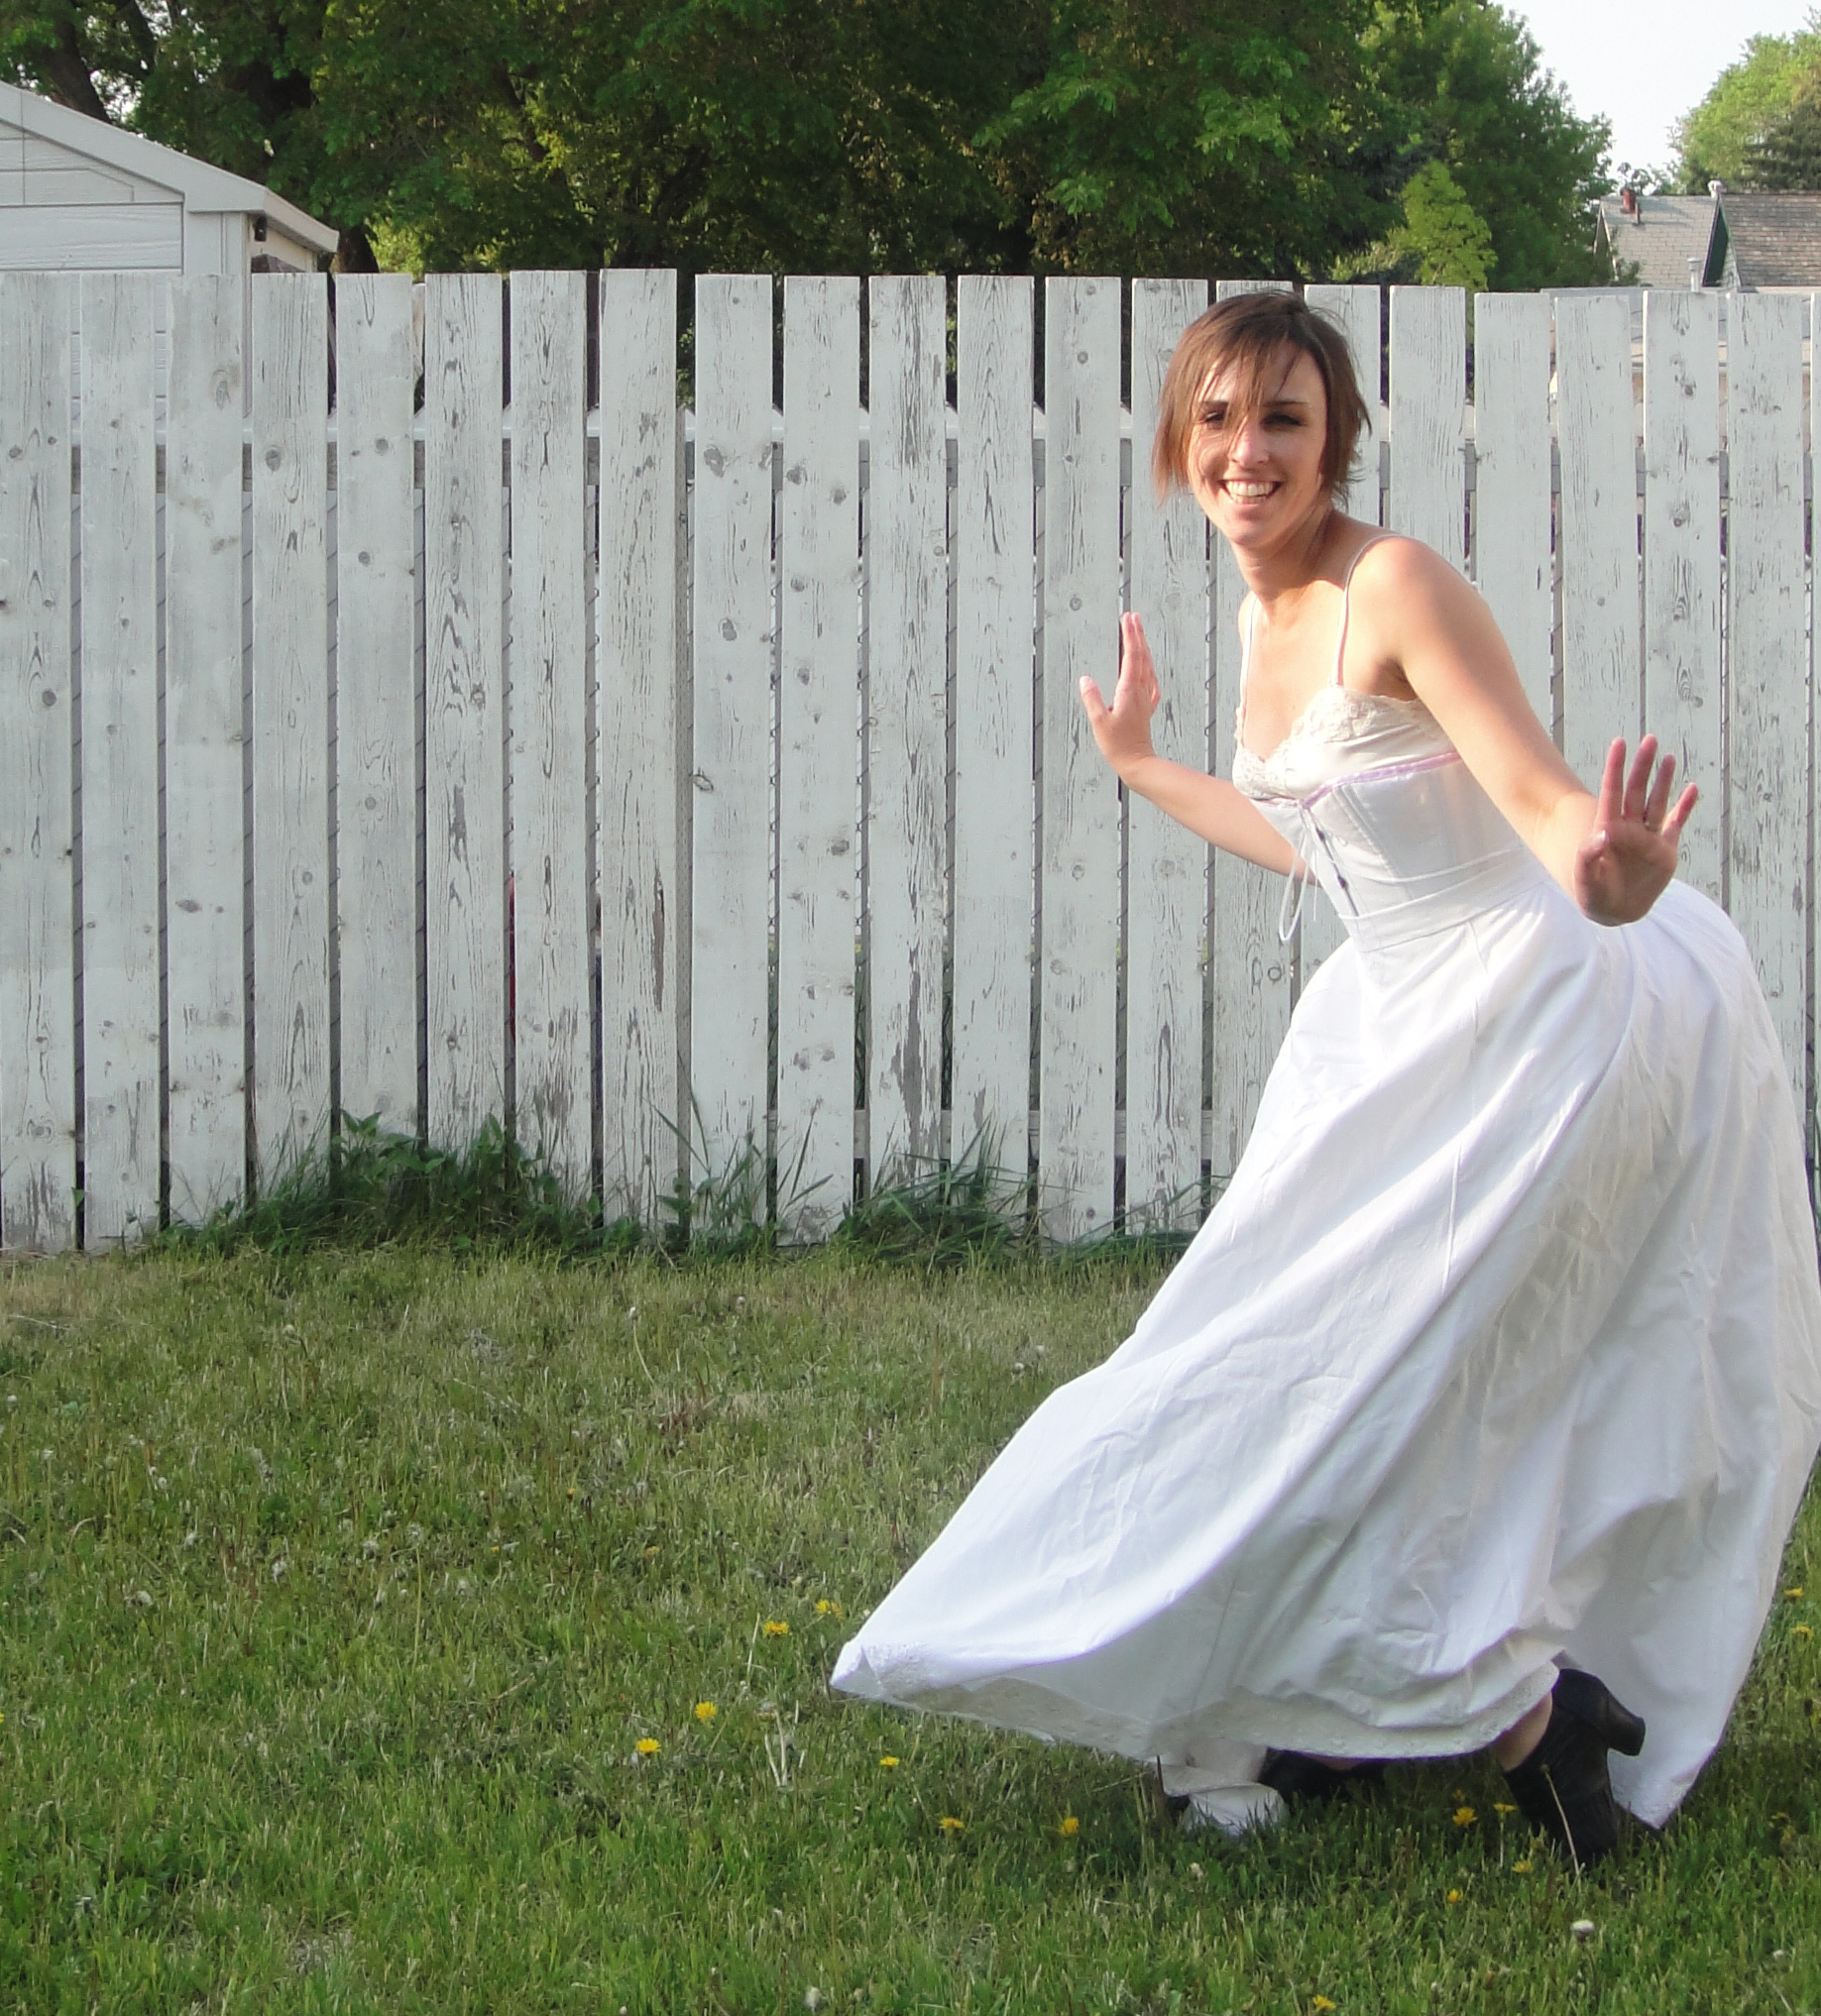
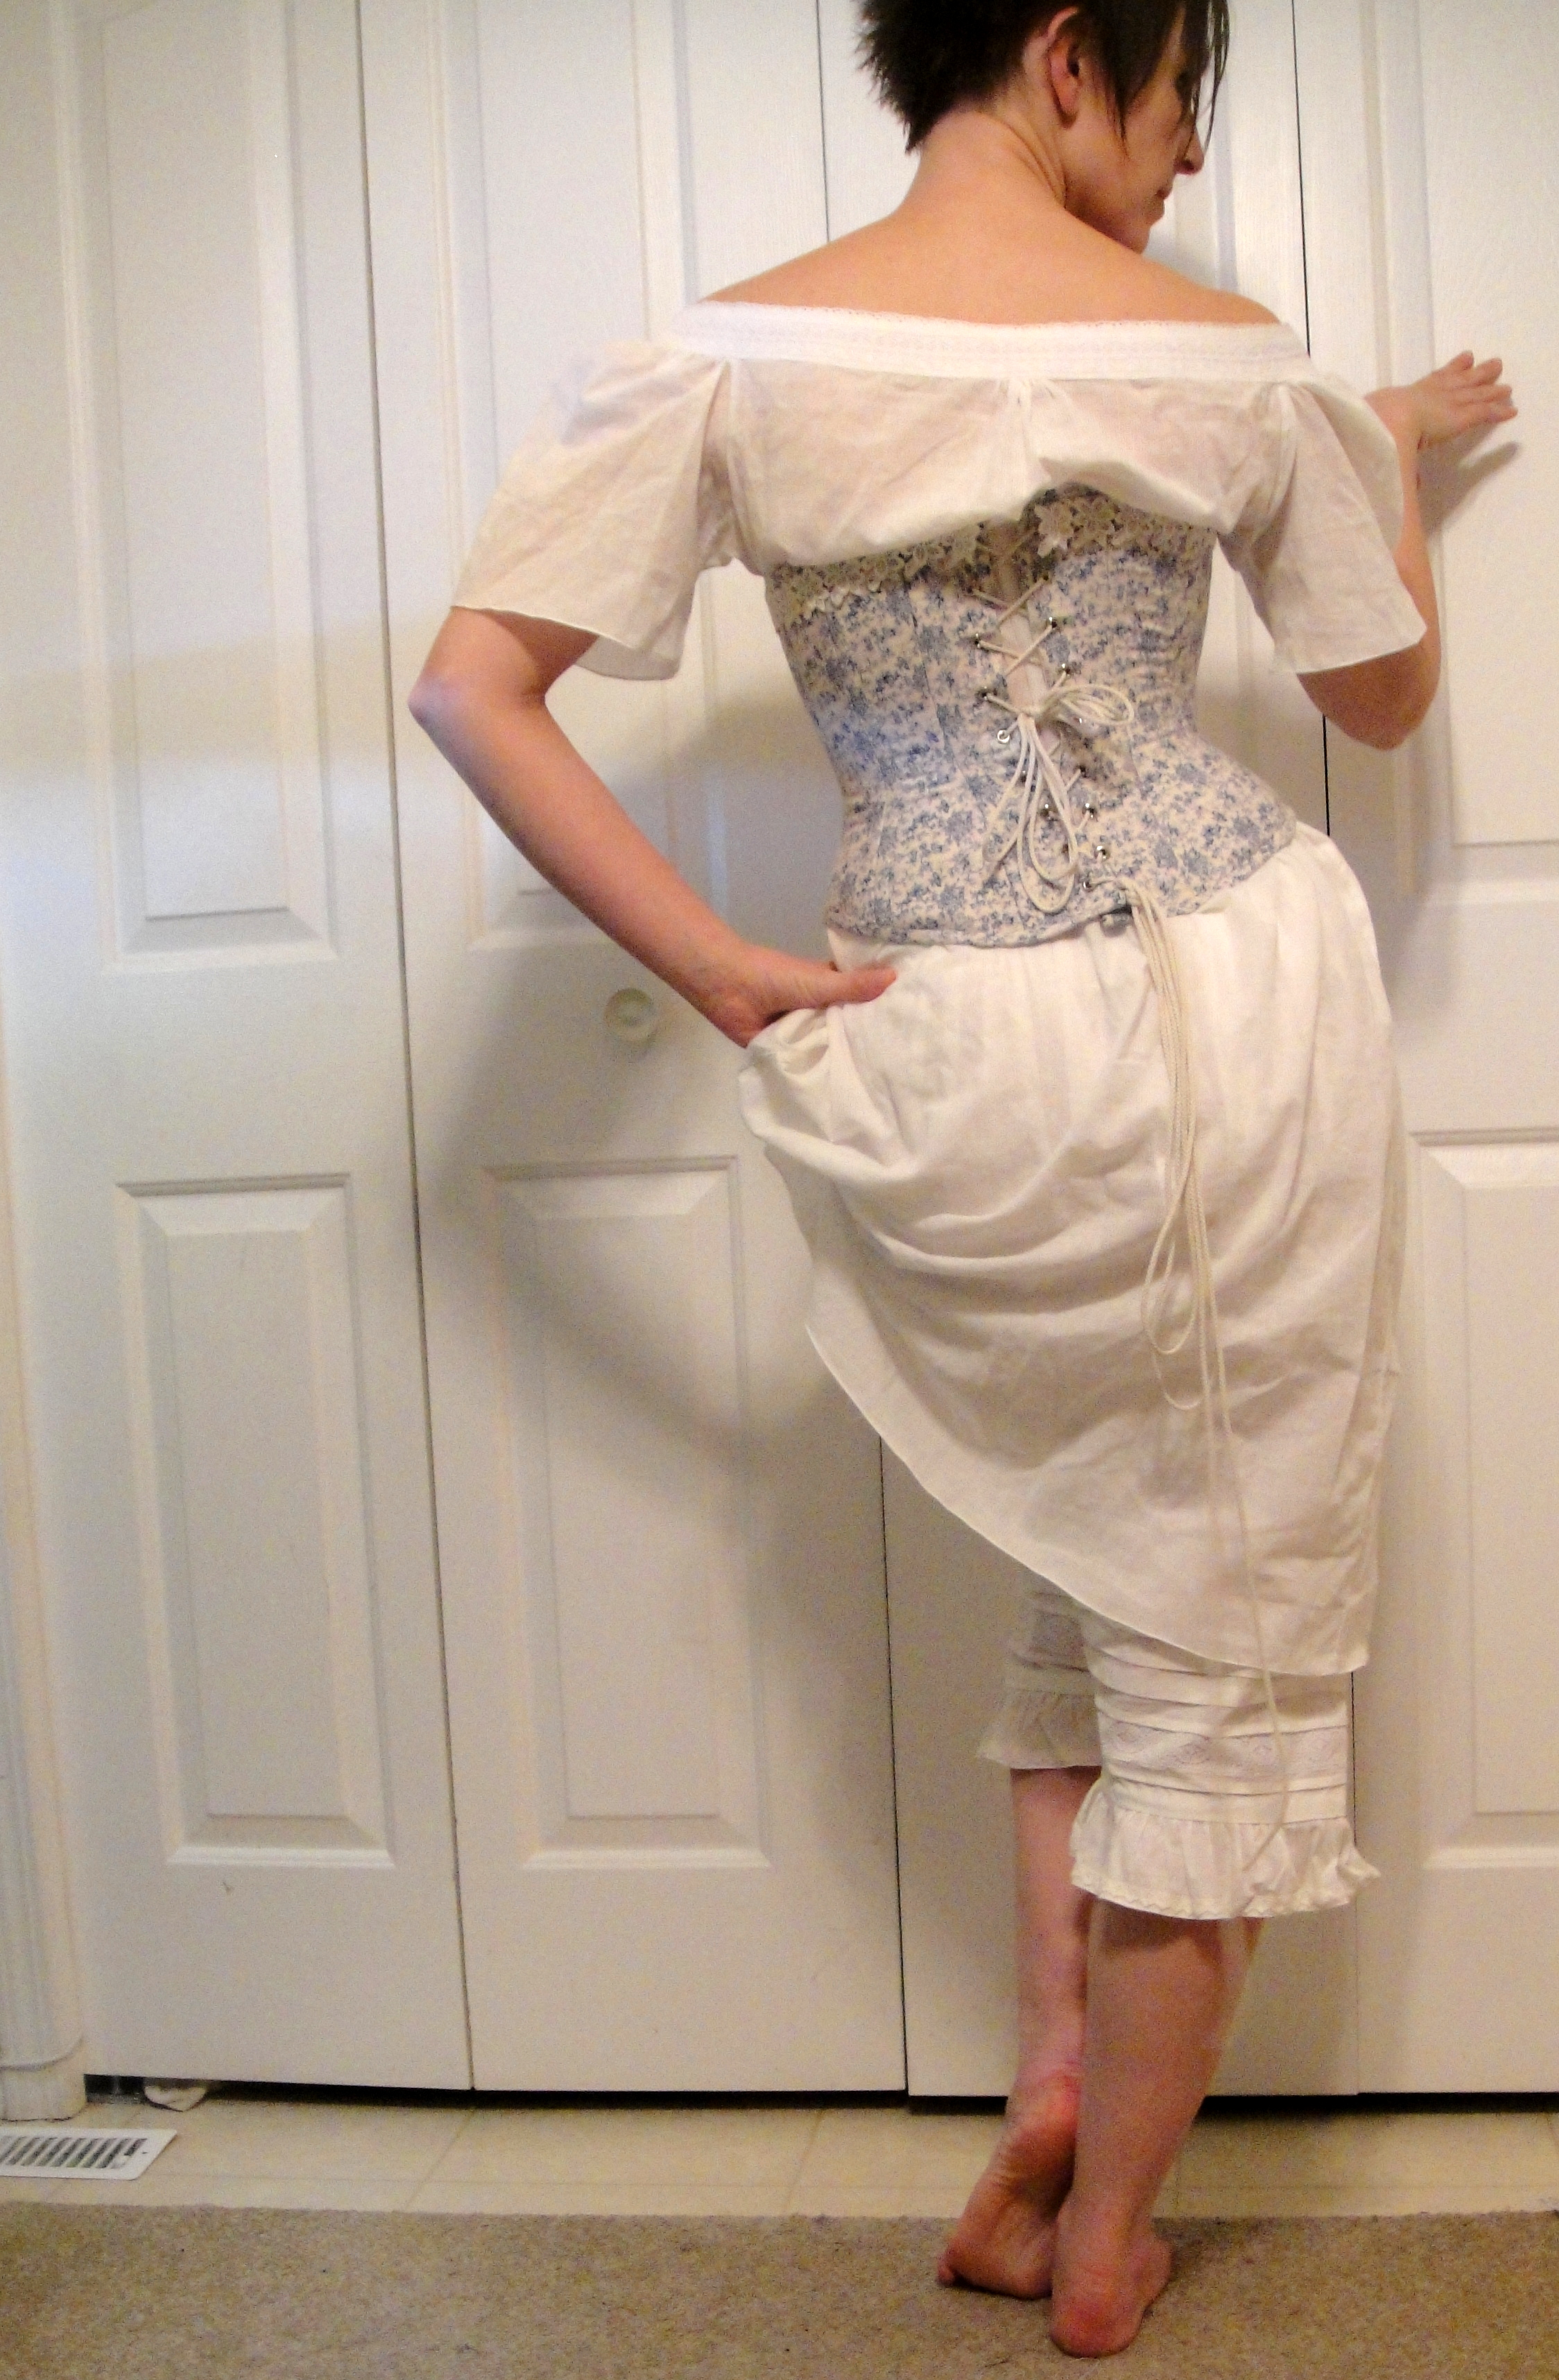
Happy bum
The under-structure, by the way, is my lobster-tail bustle, based pretty much exactly on the American Duchess tutorial, though I did vary the angle of my boning at the top a bit, and I added lacing to hold it closed on the inside, not just ties. This wasn’t quite as brilliant as I had thought it might be, as the lacing tends to pull the whole thing up a little bit, but it works just fine and I think if I added a ruffle to the bottom the pull up would largely be neutralized. Although now that I’ve seen it under the petticoat, and worn it a bit, I don’t actually think I care.

My American Duchess Bustle
It’s boned entirely with 1/4″ spring steel from Farthingales Corset Making, which is my favourite corset-supply site, at least partly because it’s Canadian so the shipping is fast and the prices don’t mysteriously skyrocket between my cart and my bank account. Frick I hate having the dollar low again. No complaints, though, about Farthingales. Reasonable prices, quick shipping, arrives promptly. A lot of people seem to use 10mm steels or even wider on these support garments, and while I’m sure that’s strong, I feel like most of the originals I look at had more bones of a narrower width… anyway. The 1/4″ seems more than sufficient for the bustle. I took it with me to my last Marr Residence Historical Clothing thingy, and lots of people had fun trying it on and then practicing sitting down. 😀

Side view
Of course, now it’s finished and I’m struck by the crushing dissatisfaction that I find accompanies most costume sewing—it’s finished and it’s awesome and I DON”T GET TO WEAR IT ANYWHERE. I mean, I’m already known for pushing the wardrobe bounds at work with my fluffy dresses. I don’t think even I’m going to move into full Victorian mode, though. Even for my final wardrobe workshop,* coming at the end of the month, I probably won’t actually wear it as I will want to have it out for people to look at. /sigh.
Anyway, it’s done and it was a fun process, so we’ll call that a win! Edging ever closer towards… uh oh… OUTER GARMENTS!!!!!)
*Must blog those. They were awesome. To the cool people I met (I know at least one or two of you have buzzed the blog), THANK YOU!!!!!