 No sooner do I declare that I like a bit of edge in my clothing, than I make a bunch of things that are super sweet.

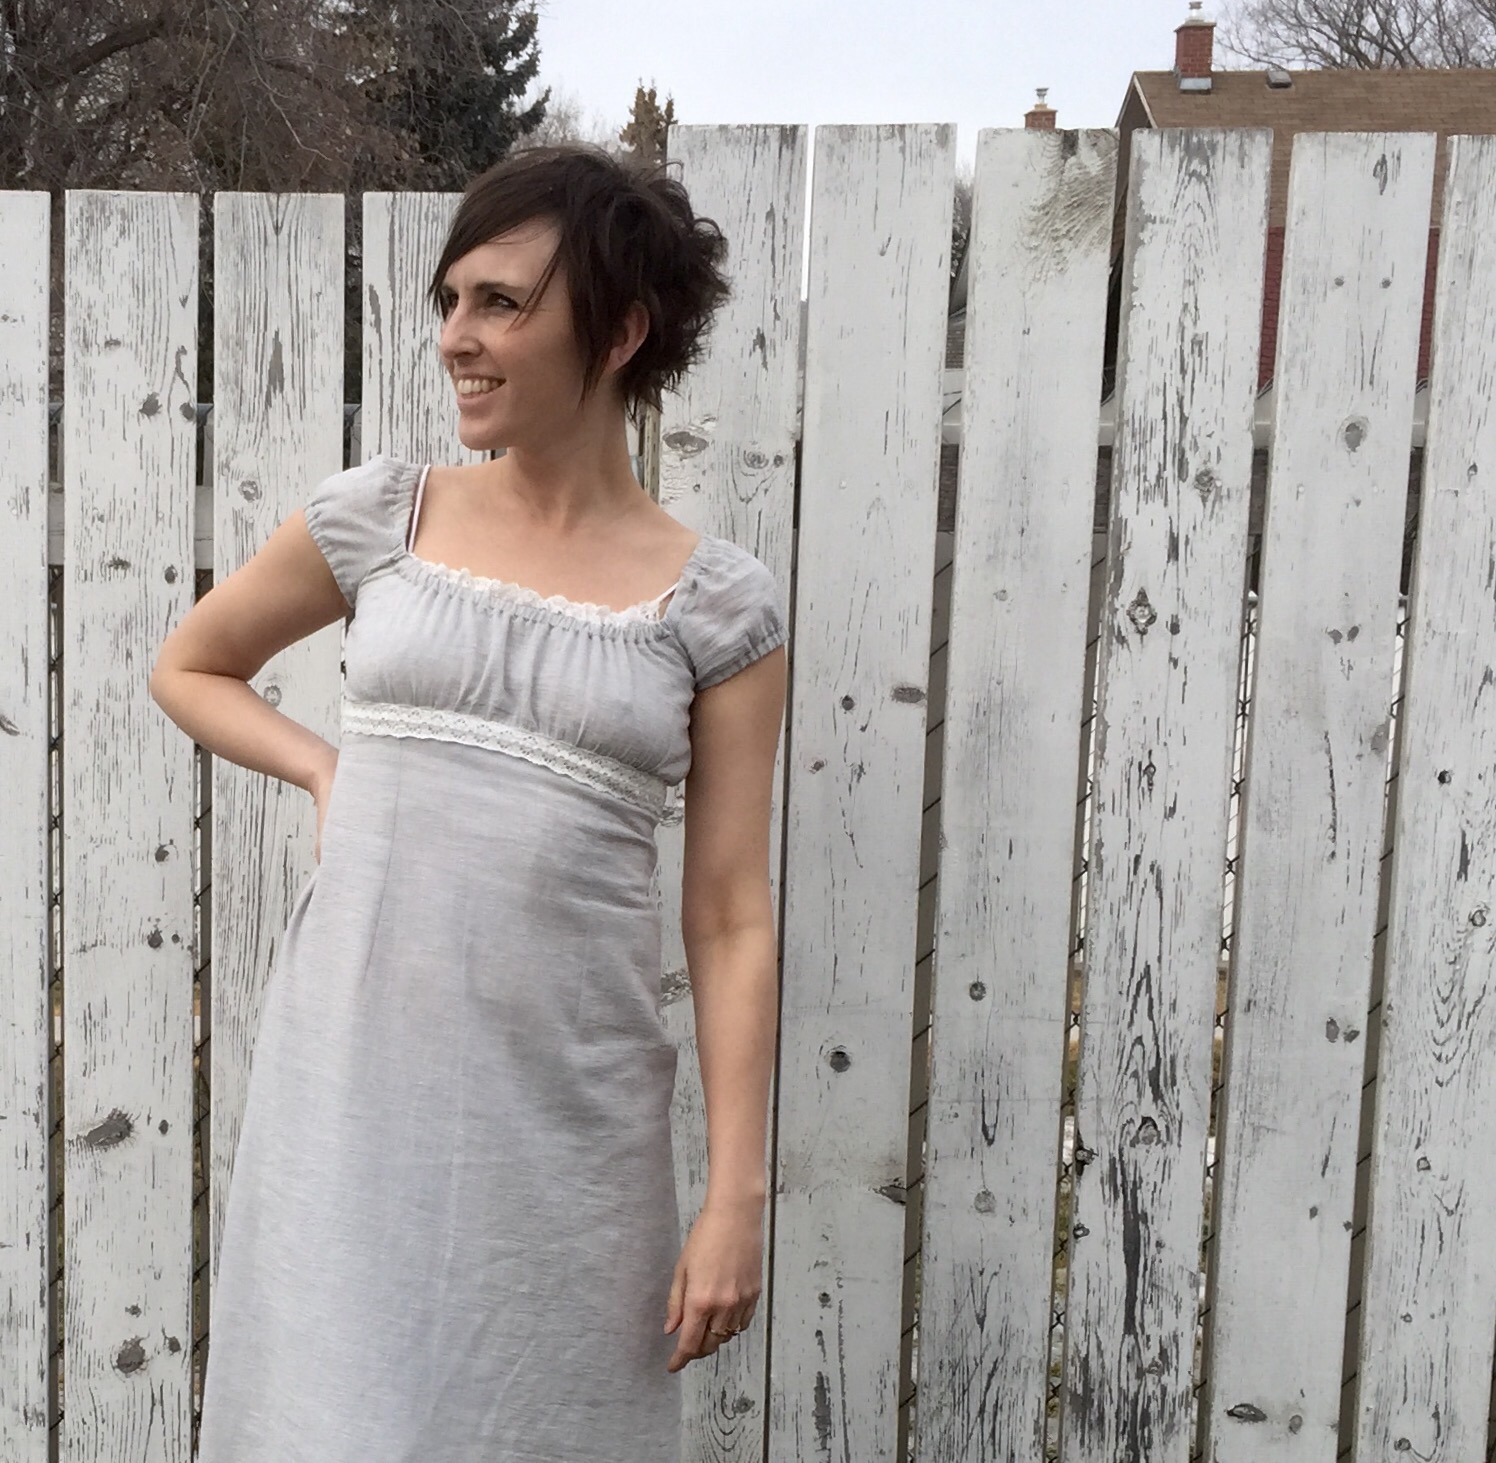
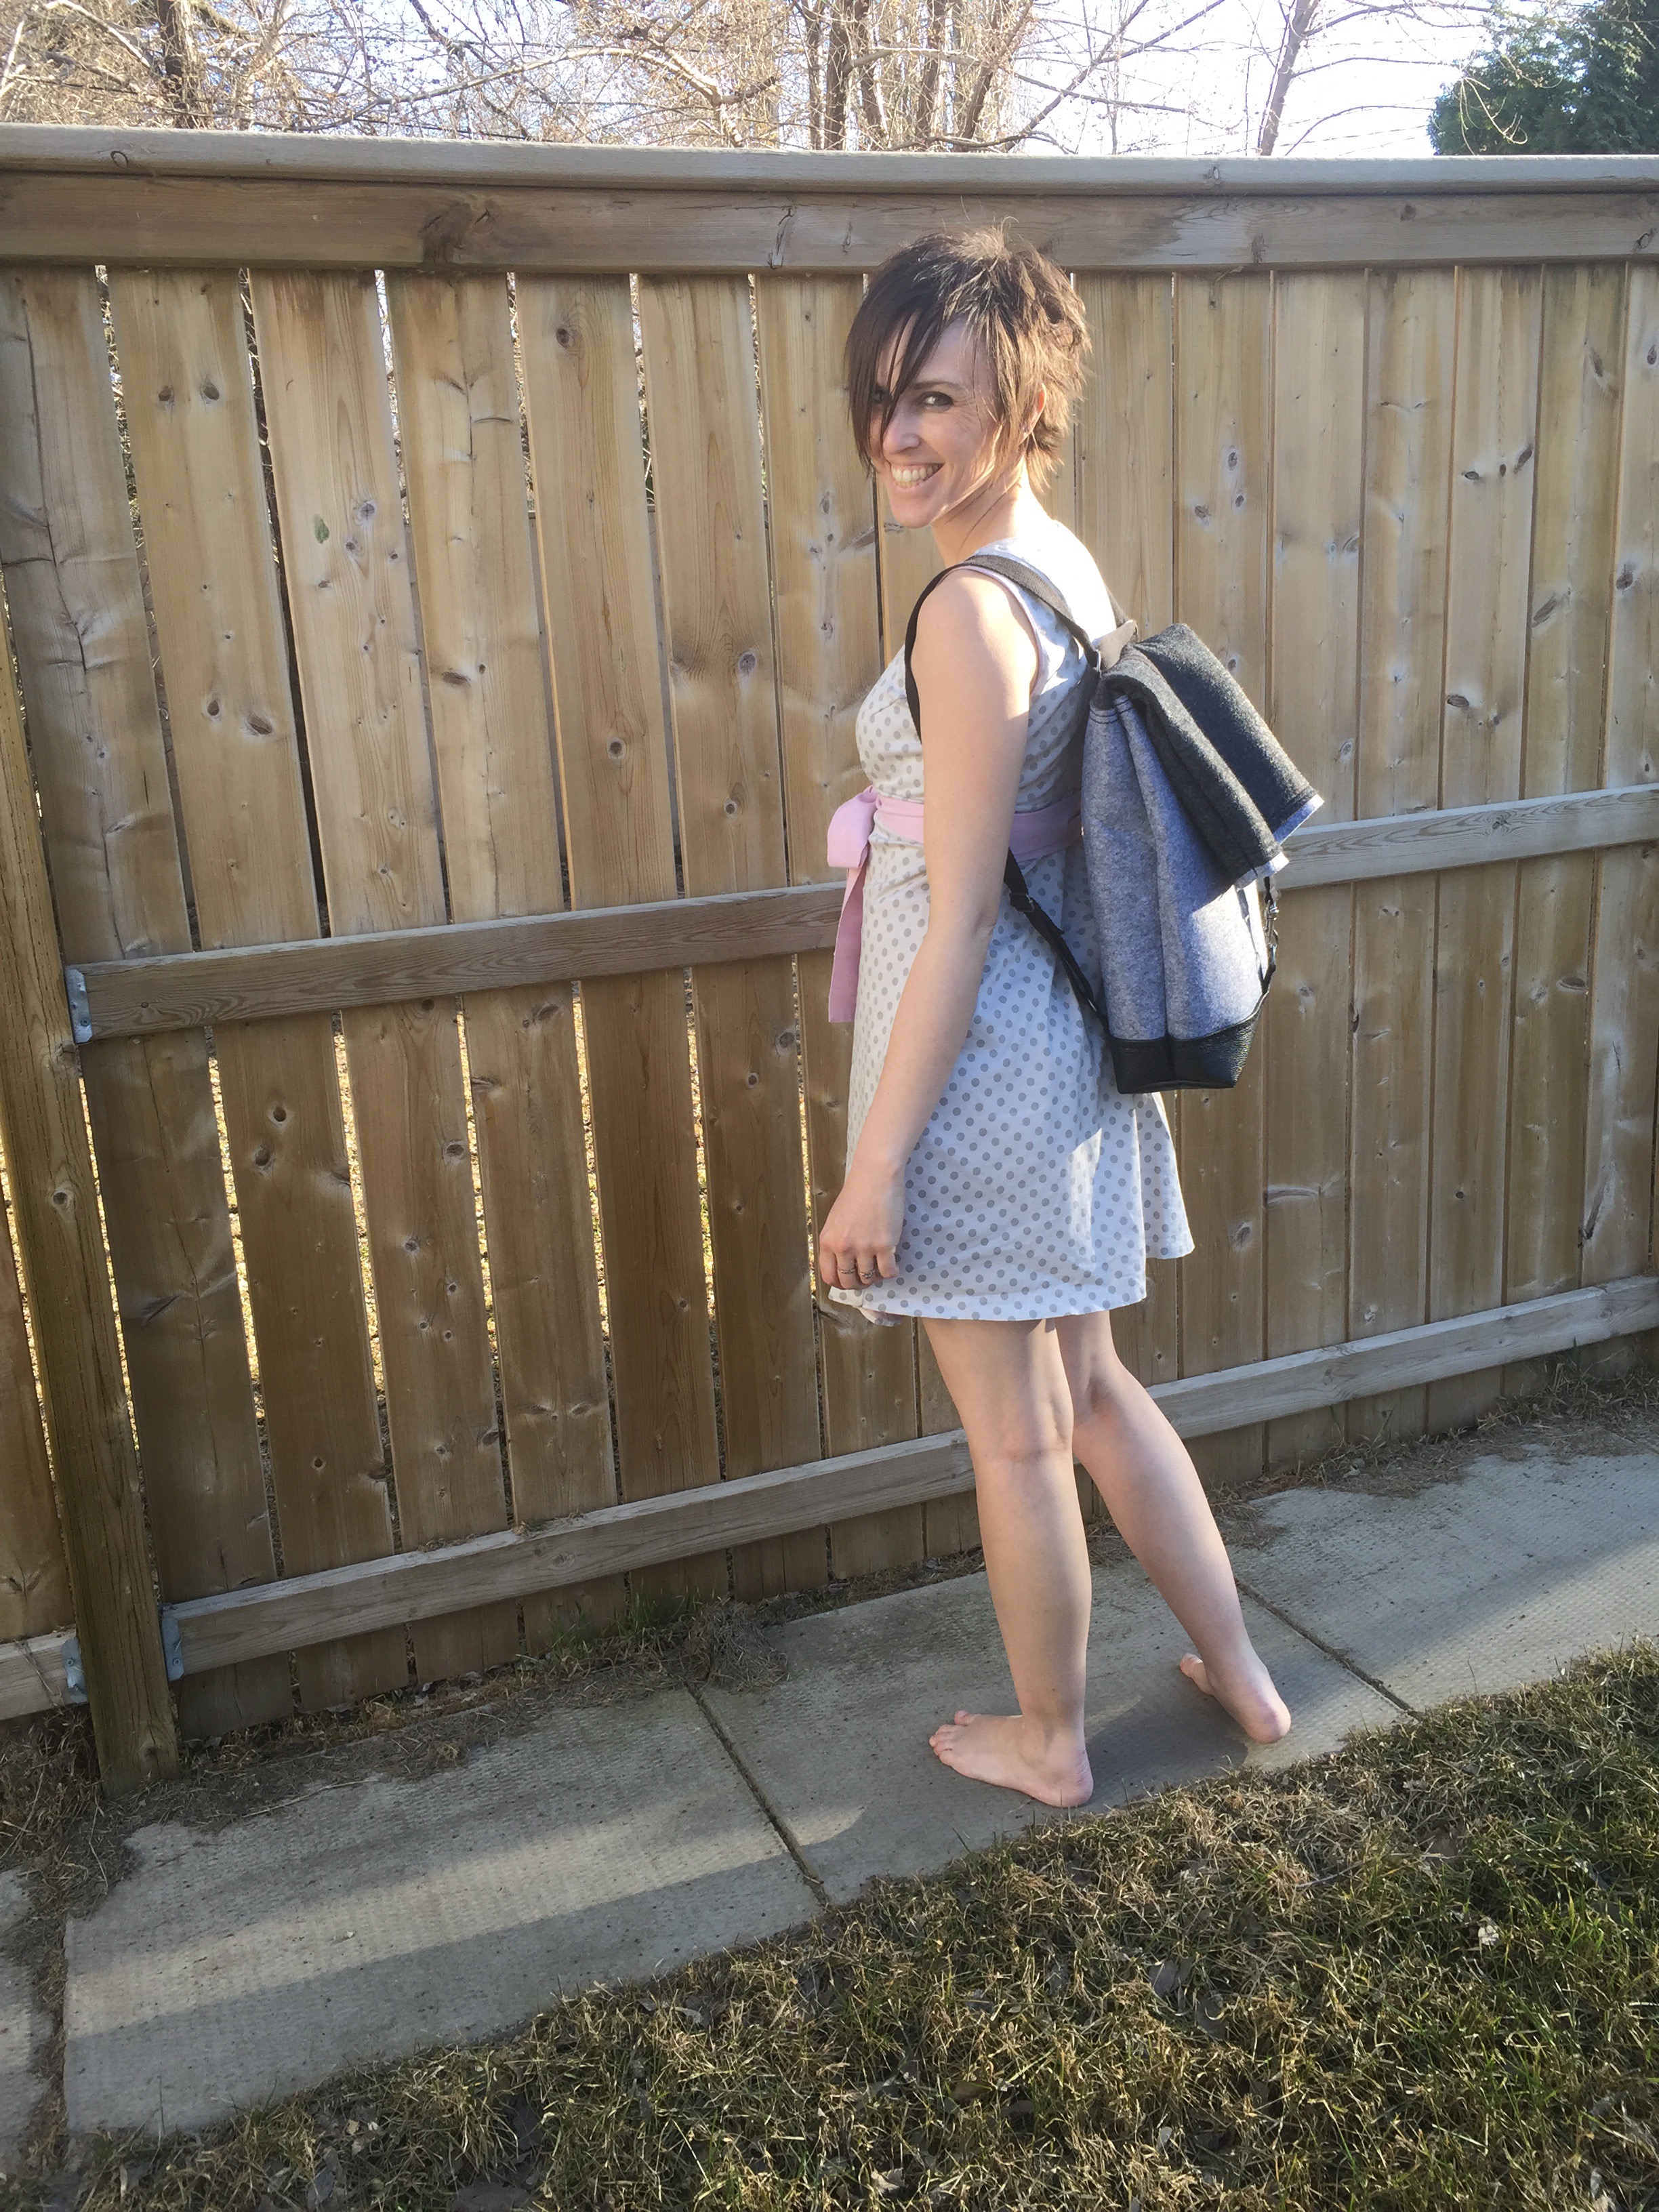
Butterick 6321 – Lisette
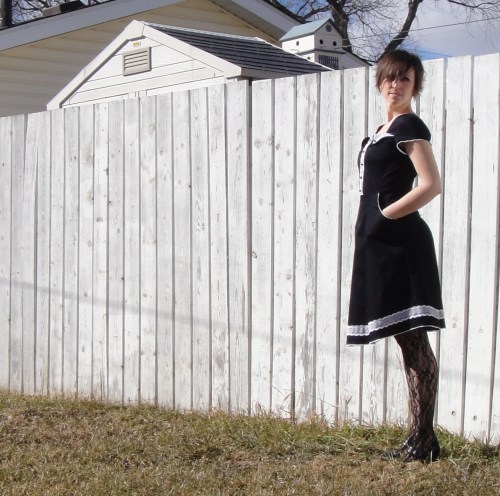
Butterick 6321 is a bonus project—a pattern featured in Fabricland’s current mailer, so available as an extra project if someone wants to do it. And it is seriously cute. And, pockets. But, I had a hard time settling into this project. Sometimes I feel a bit like a stereotype of myself as the girl who makes the pretty dresses. In the end, I like it more than I thought I might a lot of the way through, though.
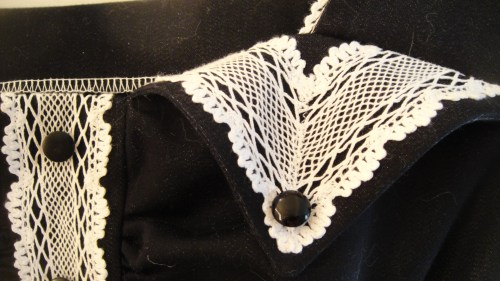
I had a hard time picking the fabric. We have a lot of gorgeous rayons and some nice summer cottons in store right now, but I liked how the detailing looked on the solid version on the cover. Eventually I settled on this pretty and very light-weight stretch denim, and lace for the detailing. I do love this lace, and have been looking for an excuse to use it in a project since it came in.
Instant fuzz collector.
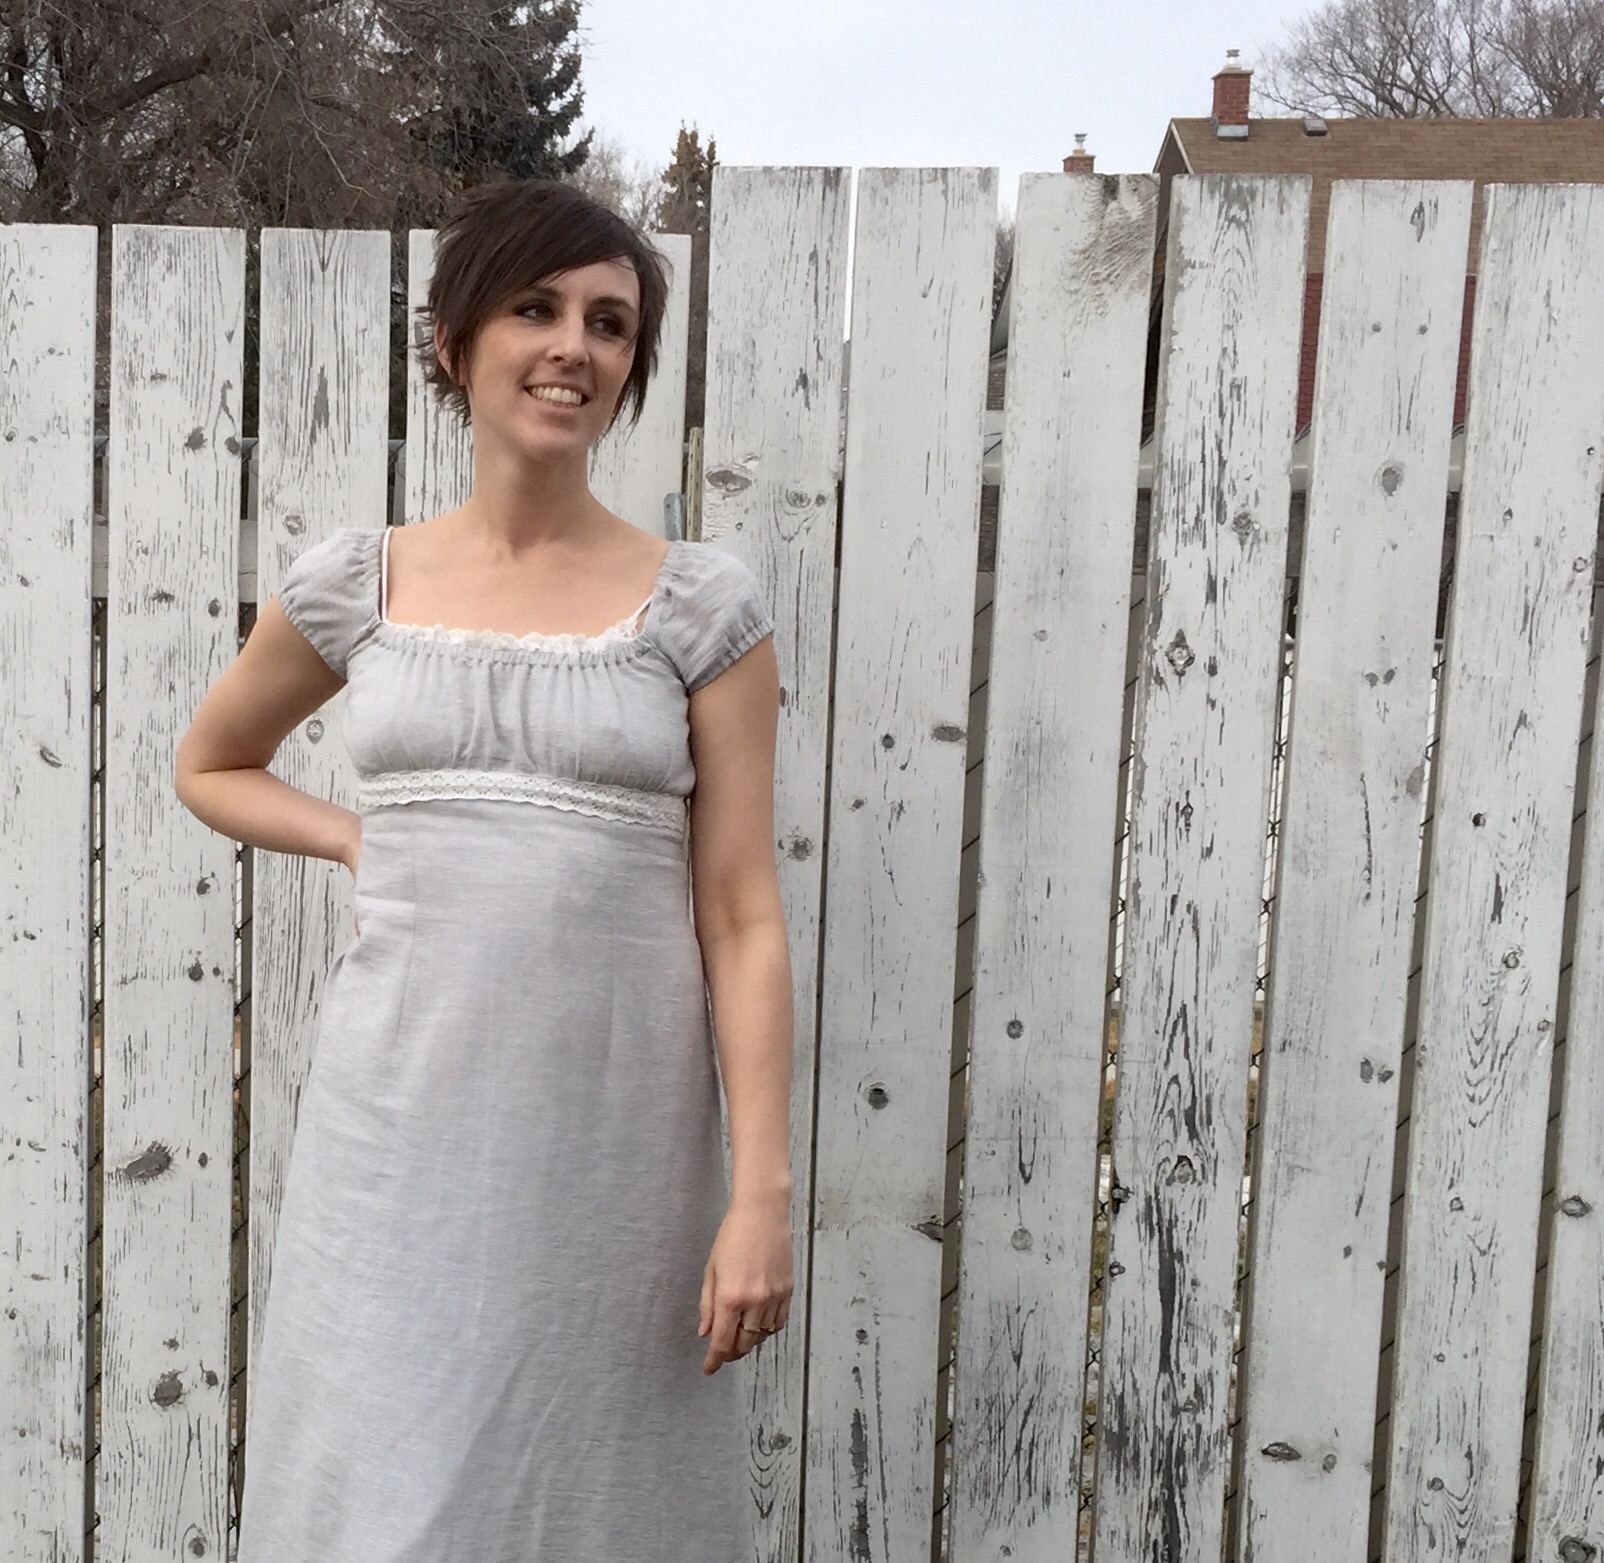
After checking the final garment measurements, and knowing I was using a stretch fabric, I opted to sew a size 10 throughout, rather than grading to a 12 for waist and hips. I am glad I did the 10 in the bottom half, but I could maybe have gone down to an 8 in the bust and shoulders. (Typing that terrified me. I have never in my sewing life been an actual pattern size 8, though I’ve tried once or twice with disastrous results.)
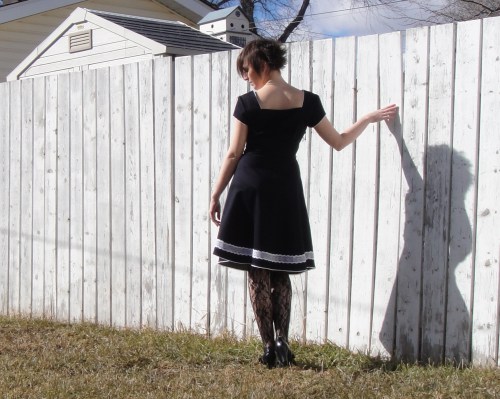
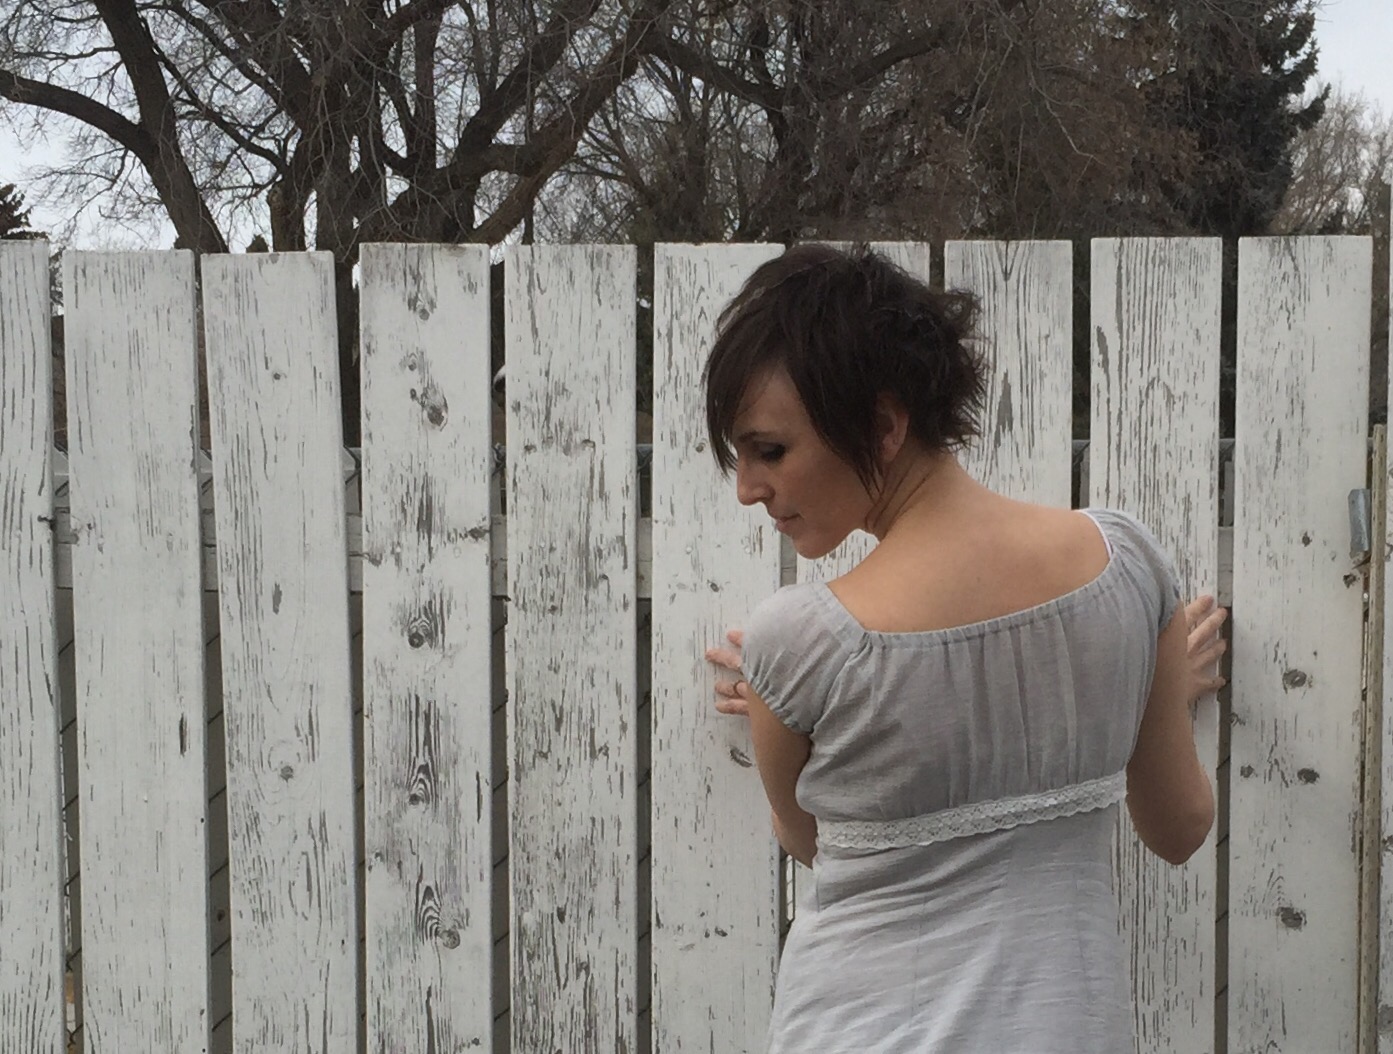
You can’t see it, but my swayback alteration was successful. No back wrinkles.
I made most of my usual alterations—swayback, square shoulder, and petiting along the designated lengthen-shorten line. What I skipped was additional petiting through the armscye. I figured, because of the construction with the seam there, I could adjust at that point later if necessary, and I overdid the petiting on a few projects last fall so I’m a bit gunshy now. Come to think of it, those were both McCall’s patterns, though.

Lightened. Nope, you still can’t see it.
Then I went and did my construction in such a way that it would be nearly impossible to adjust anything by the time I could actually try stuff on properly. In hindsight I could’ve left off the bodice facings and the sleeves until everything else was finished, tried on, and then fixed the shoulder height. Hindsight is so perfect, isn’t it? What I actually did was finish every damn thing on the bodice, beautifully, with plenty of seam grading and trimming to make things work in my heavy fabric, before I even had the skirt started.
 A couple of construction notes: the pattern calls for self-lined shoulder pieces and cap sleeves. I substituted a navy stretch poplin for these pieces (as well as the pocket lining) because of my heavier fabric. I also went a bit off road on the construction, as I wasn’t completely fond of the method described. I am pretty happy with what all I did, even the moment when I had the entire bodice rolled up inside the little front “placket” so I could machine finish it. Just not with the fit. /sigh.
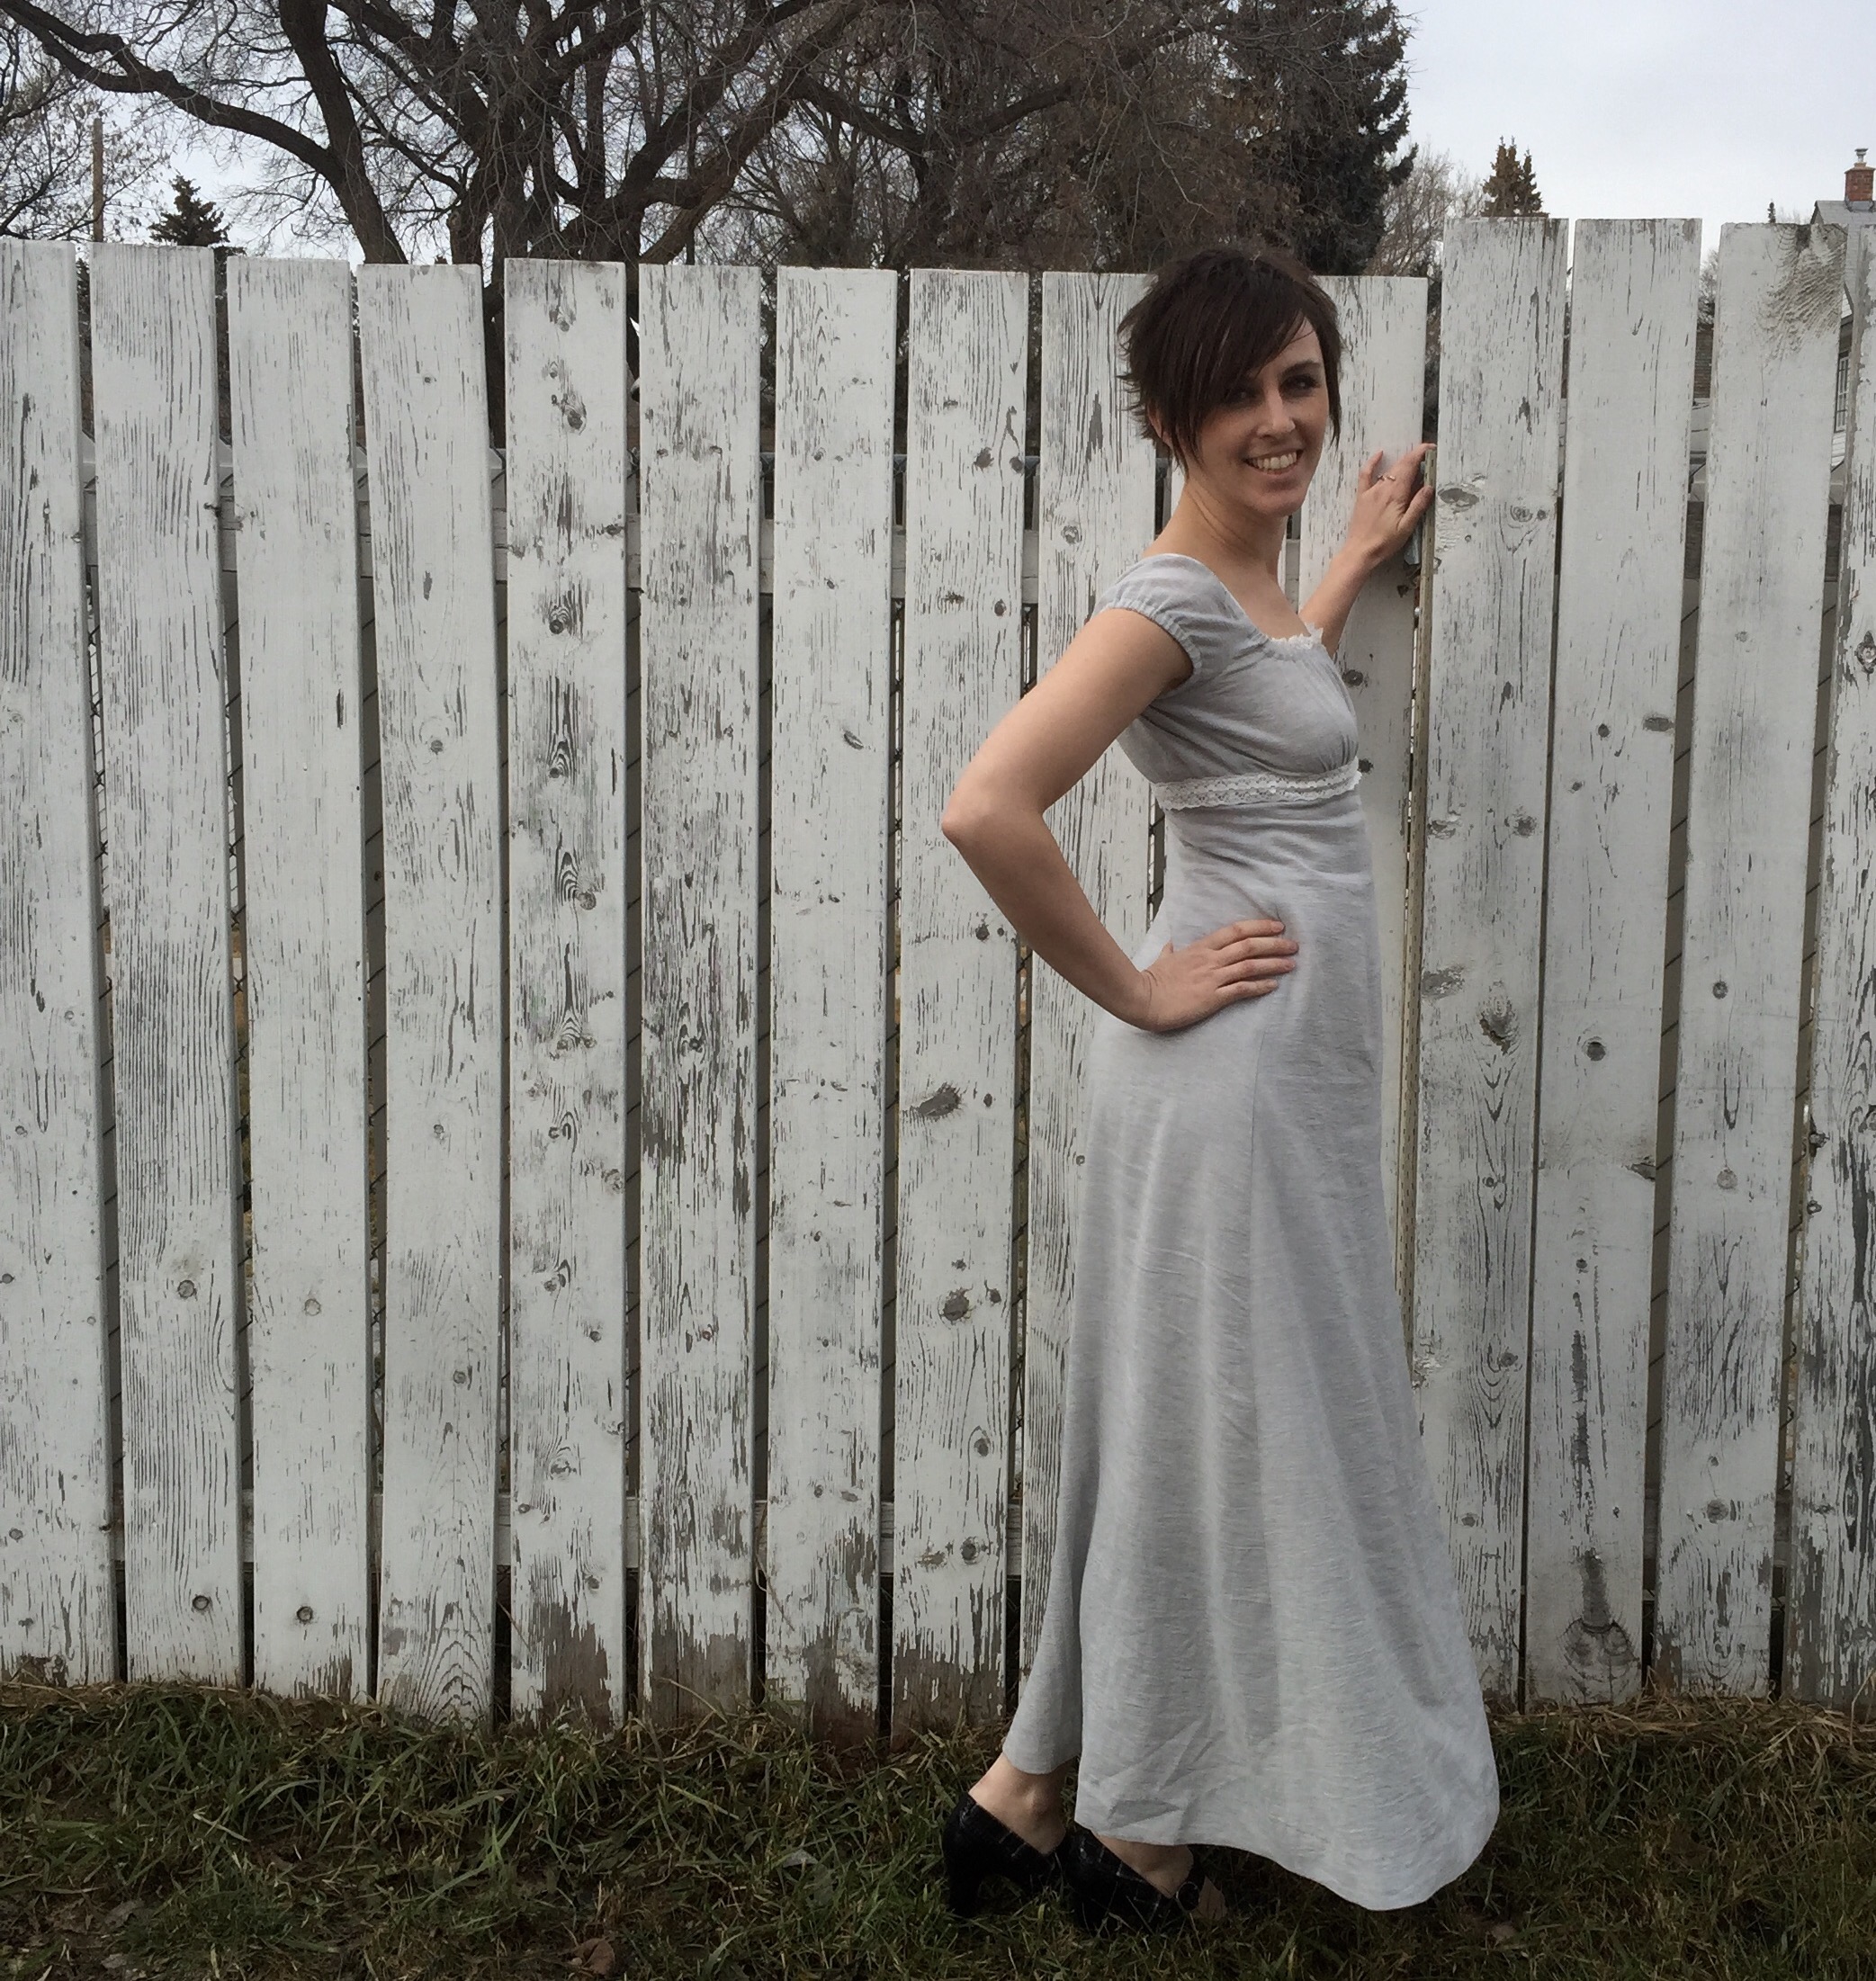
This is another side-zip dress. *headdesk* it’s not so much the physical insertion of a side zip that I dislike, as the difficulty they add to fitting as you go, and then the awkwardness of wearing them after. In this case, we were wary of using an invisible zipper because of the heaviness of the denim… So rather than struggle with the bulk of a conventional zipper or a lapped side zip, I basically went for the nuclear option. Exposed, chunky metal zip.
 I’m not sure if this is the wisest style decision I’ve ever made, but I do like the flatness of it. It goes with the denim but seems a bit out of place with the lace. And the fancy pull is gigantic. Oh, well.
At my first try on, before the zip was in, I confess my heart sank. The shoulders were weirdly wide and the cap sleeves came too low under my arms, feeling extremely constricting. I had visions of ripping off the sleeves entirely for a sundress look. Or just throwing it all in a corner.

Too much room in the shoulders.
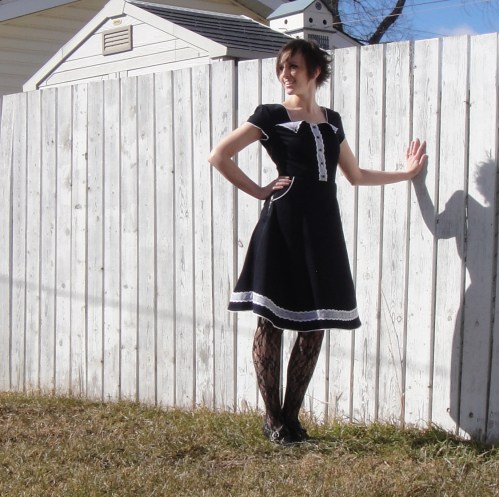
But, it’s a work project and so no UFOs allowed. Once I had the zip in, things looked a lot better. With the waist sitting where it should, the extra height above the bust is more apparent, but it also forces the bottom of the cap sleeve up to the right height under my arm, so the weird binding is down to manageable proportions. Meaning I won’t be turning cartwheels easily but I can comfortably put my hands on my hips and cross my arms. The shoulders are definitely a bit wide, but some of that might also be the extra height letting things slide around. I don’t have narrow shoulders, by the way.

Extra height makes folds at shoulders.
This pattern has a sweet, detailed upper bodice, and the skirt is fairly narrow with some interesting shirt-tail shaping at the hem (although it’s subtle, maybe a bit too subtle to be noticeable. On the other hand if it were more pronounced it would’ve been harder to get my wide lace to curve evenly to match the edge). I like them both—I’m just not convinced they go really well together. I’d love to pair the bodice with a fuller skirt (say, Sewaholic’s Hollyburn, which has the same kind of pockets) and/or the skirt with a little sundress bodice or even as a separate piece. In reality, though, I like the finished object more than I thought I might, and if I can bring myself to rework the shoulders I’ll probably be good with it as is.
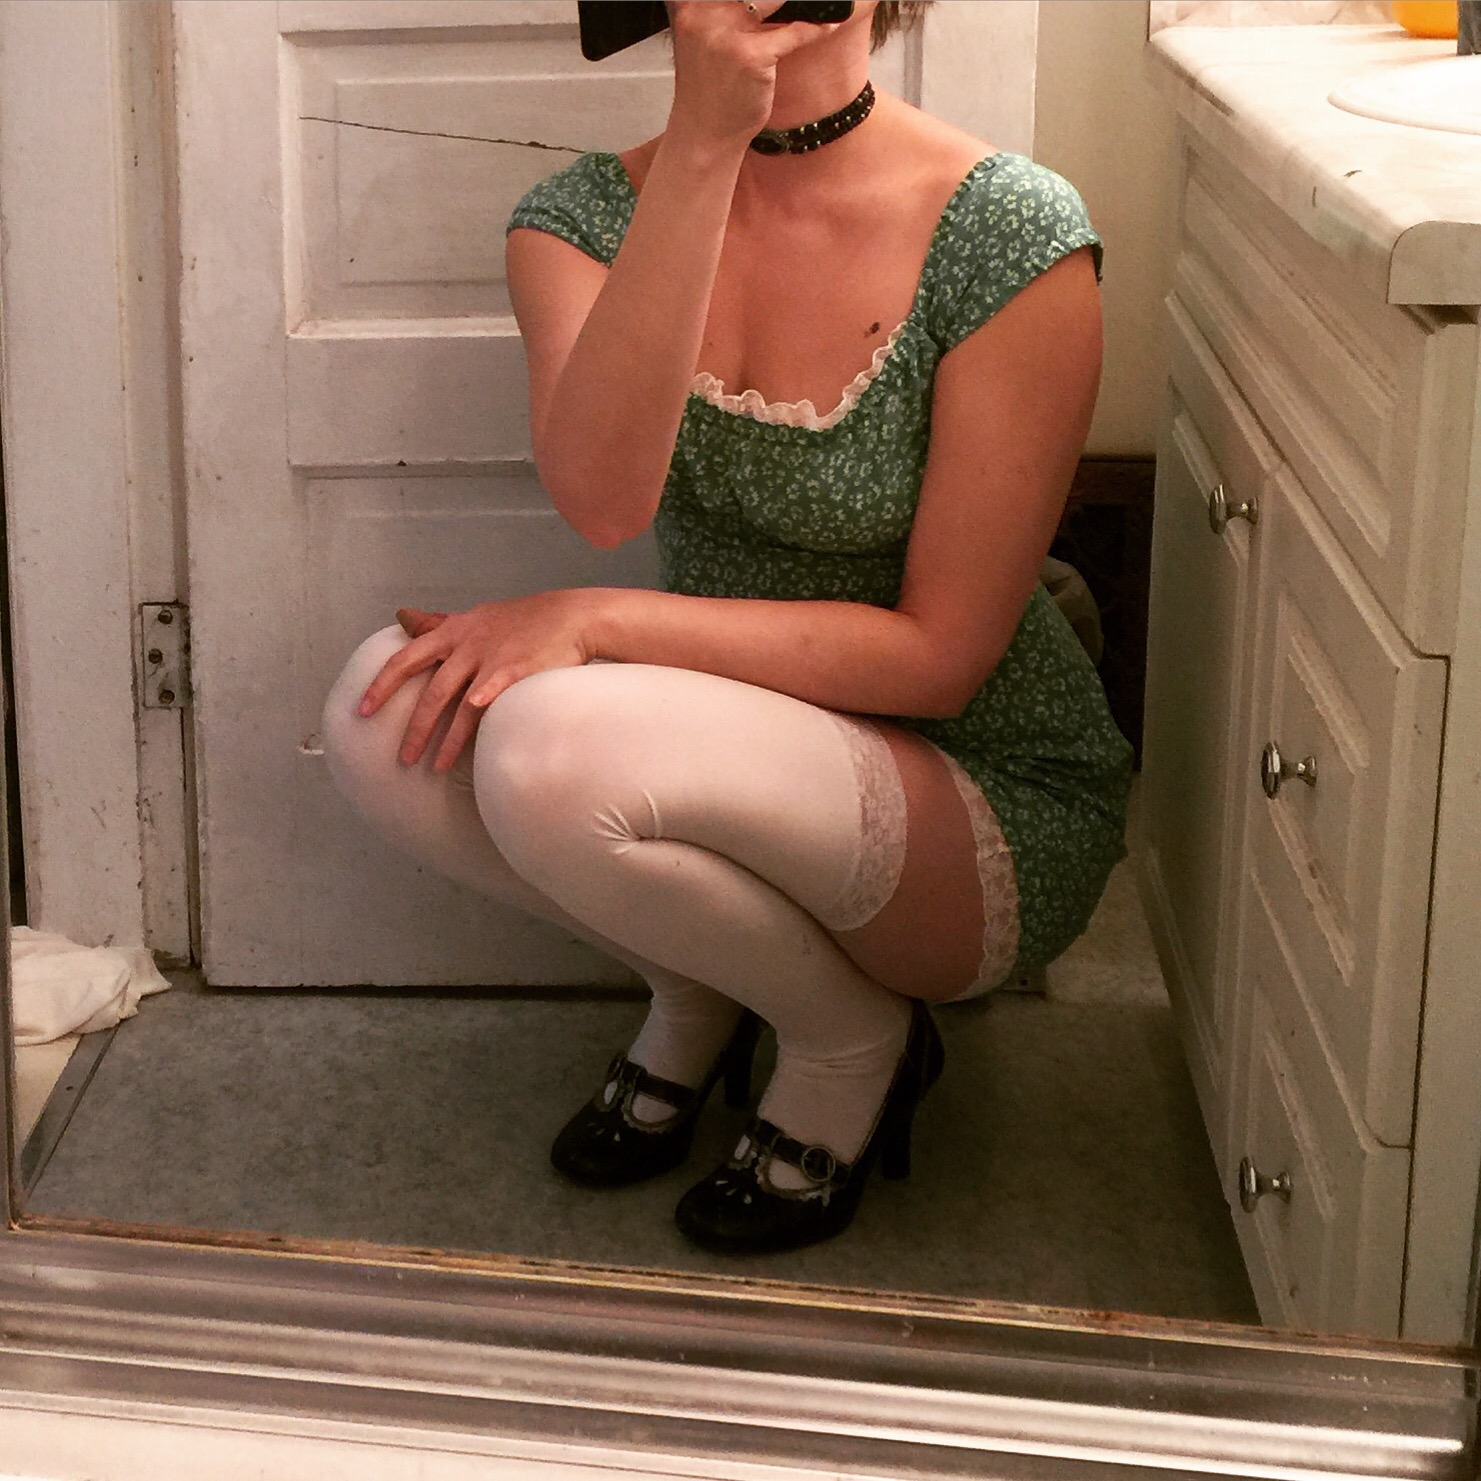
 It does look a bit like a Victorian bathing suit.

 I sewed it up in the hour of downtime I have between day job and Fabricland, and snapped this pic in the bathroom mirror before I left. I probably spent as much time changing the thread in the serger and setting my grandmother’s Rocketeer up for twin needle as I did actually sewing.
  I used a thin and annoying rayon knit for the binding, twin needled in place. There was no time for testing or mistakes, but I got damn lucky. Also that stuff makes decent binding—I hated that much less than any other time I’ve sewn with it.
  “Did you see the November mailer?” my manager asked when I got to work one day last fall. Of course not—it had just arrived a day or two ago at the store, and usually only the managers see them much ahead of time. “There’s a project you need to do.”
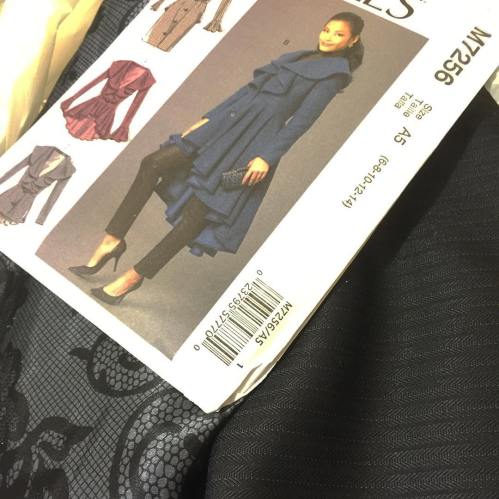
 Anyway, with the gauntlet thrown down, the angst set in. Project budgets are limited and coating fabric is expensive. I wandered the aisles of coating, wistfully petting the meltons and boiled wools while I calculated the price of 3.7m of the fabric and came up, again and again, on the sad fact that even the cheapest polyester-acrylic coating, with nary a hint of wool, was beyond my project budget. Suiting fabric it was.
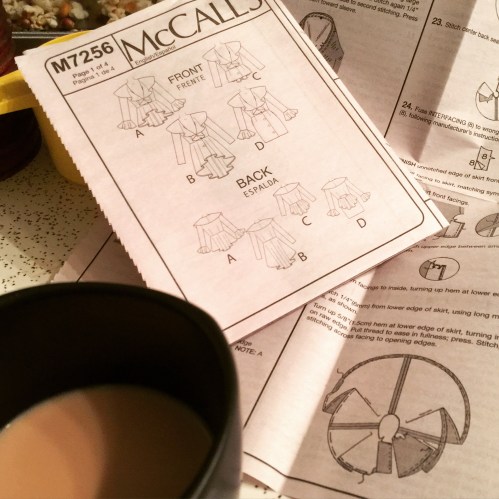 Once I had pattern and fabric at home, of course, I had to confront one very particular fact: this very fun coat pattern is, first and foremost, a McCall`s coat pattern. A McCall`s coat pattern is basically a dress pattern with extra ease. This didn`t bother me so much when I made
  Fortunately, the power of the Internet was with me. Sherry`s
  Fitting changes:
 Changes to make to the pattern:
 Tailoring:
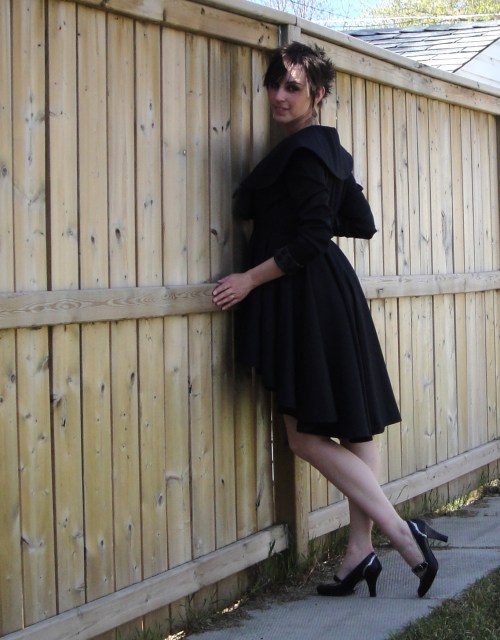 All of that tailoring and it was still pretty minimal. The jacket is soft and floppy. The sleeves are the worst, although rolled up and scrunchy they are ok.
 I did like how the shoulder pads turned out—I layered a bit of cotton batting with knit interfacing top and bottom, and fused them together, then shaped with steam and let cool.
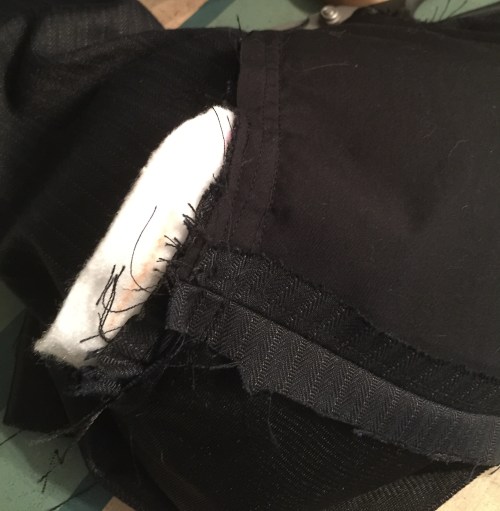 I added sleeve heads, too.
 It’s still an AWFUL lot of ruffles, though.
 Not much to say here.
 Unlike other shirt patterns I’ve sewed with, this KS one had only 1/4″ seam allowances. Throughout. Now, I’m a fan of narrow seam allowances generally, and I got excited for a bit because the 1/4″ SA would actually work with my flat fell foot! BUT, on a soft flannel it was really easy to miss the seam allowance if there was a miscut (and I am not the world’s best cutter) or for the seam to ravel on handling before I could get it finished. I’d like to try it again on a finer shirting. With felled seams. (They felt too firm for the soft flannel feeling I was going for.) I wound up having to darn part of the back yoke where I had missed the seam allowance. Bad seamstress.
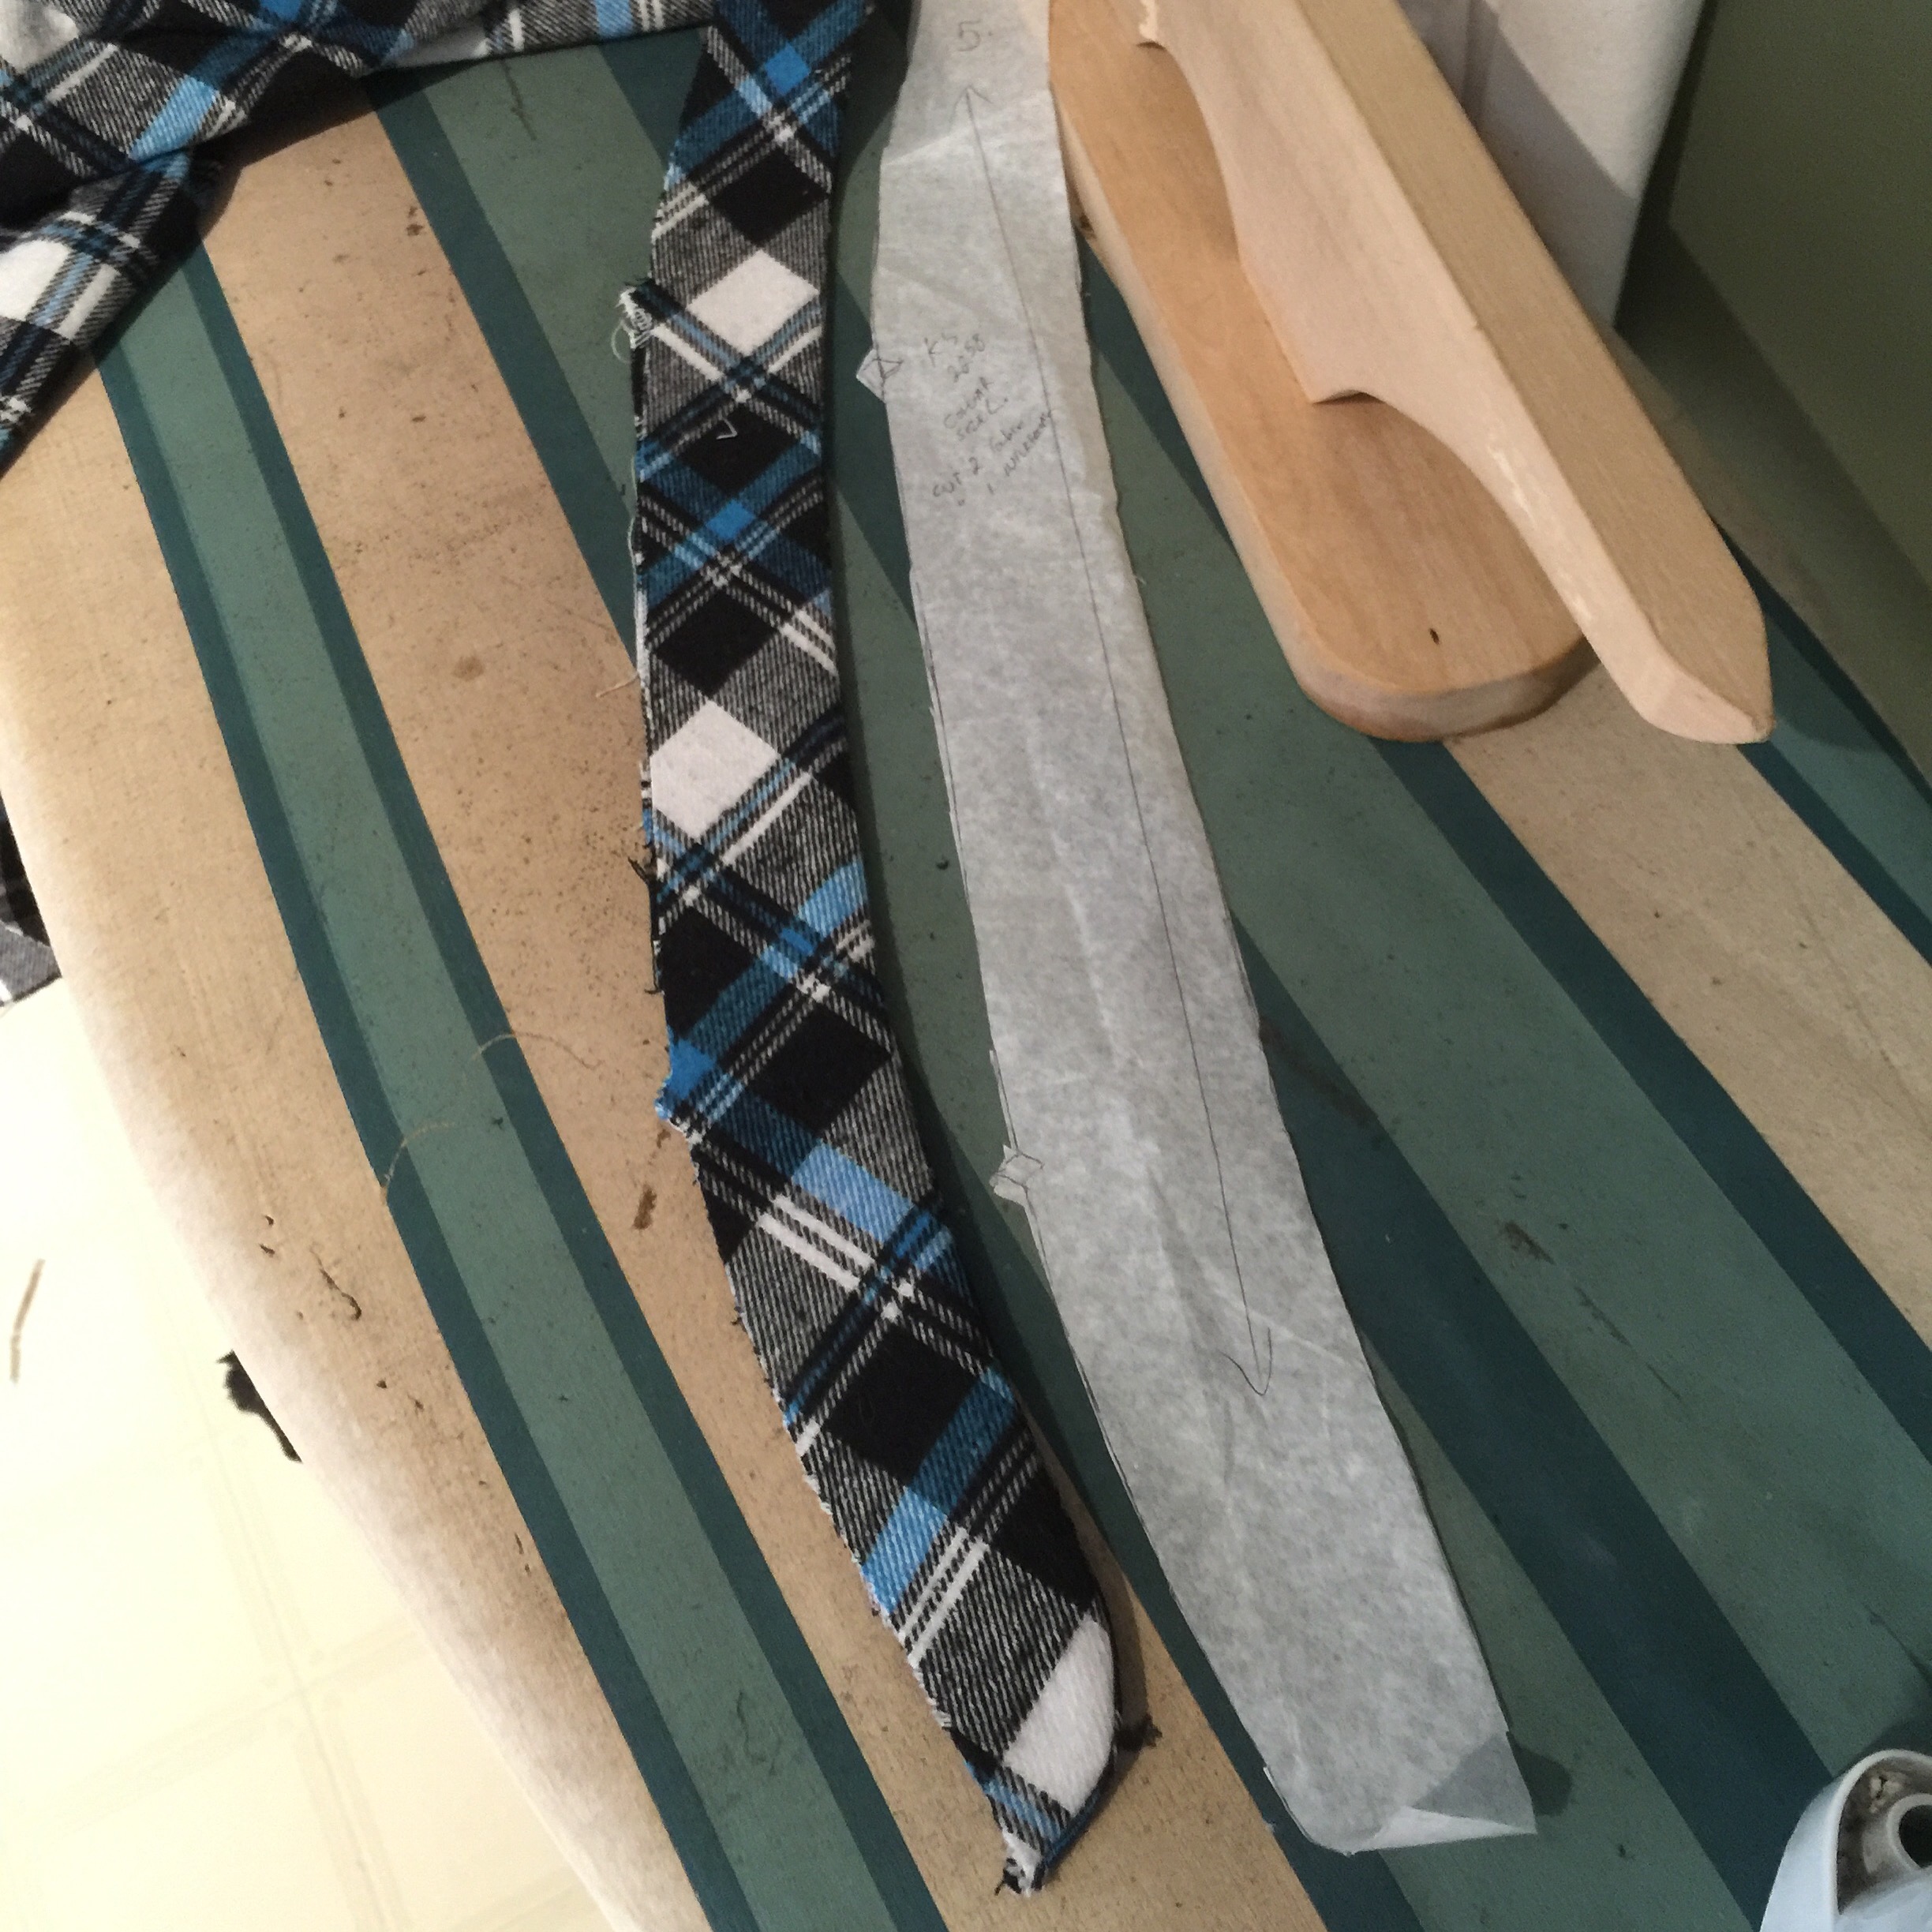

 I cut & sewed it when I had a few days off after Easter, then realized that none of the buttons I had enough of were suitable* and had to hold off for a little while, at which point I had lost all drive (plus he was already wearing it—it’s not like it’s destined for office wear.)
 Eventually, though, I managed to get some plain black buttons and see them on, and it’s been in pretty common rotation since. And I even managed to cut another Burda 6849 out of the remainder for Tyo, assuming I can motivate myself to actually sew it up.
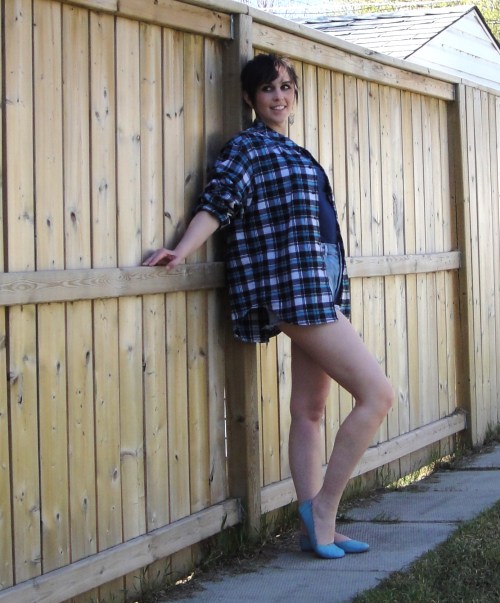
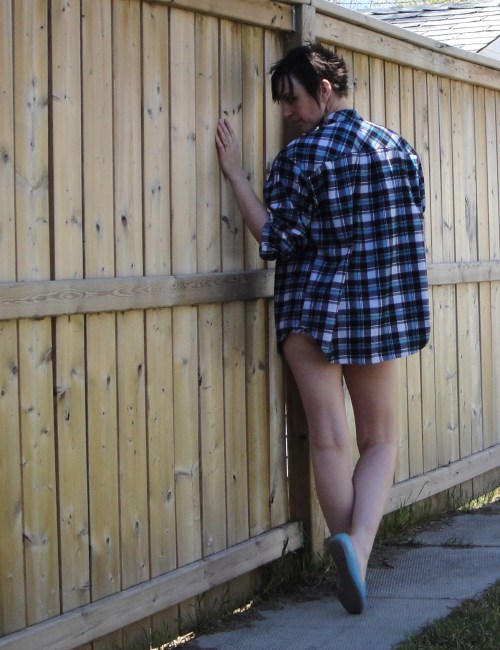
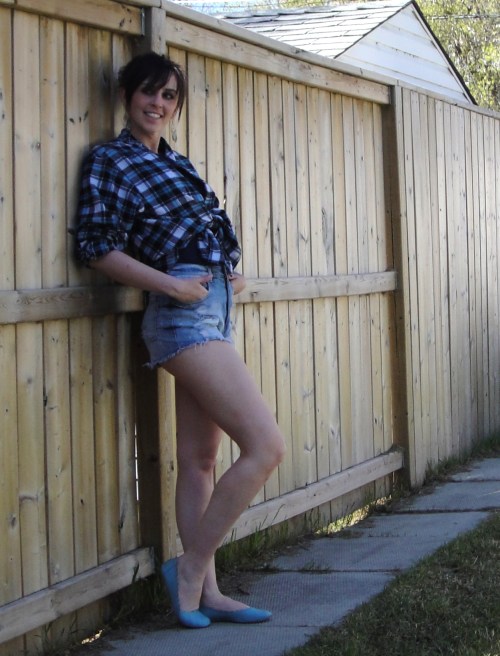 And that’s about it, really. Oh, the front knotted look is as per the husband’s style instructions, and the high-rise-ass-hanging-out-shorts were acquired by one of my children from a friend. My husband forbid them to wear the shorts out of the house, so I have stolen them. I haven’t worn anything with this high a rise since I figured out I could cut the waistband off my Levi’s 501s in about 1998. It feels profoundly weird.
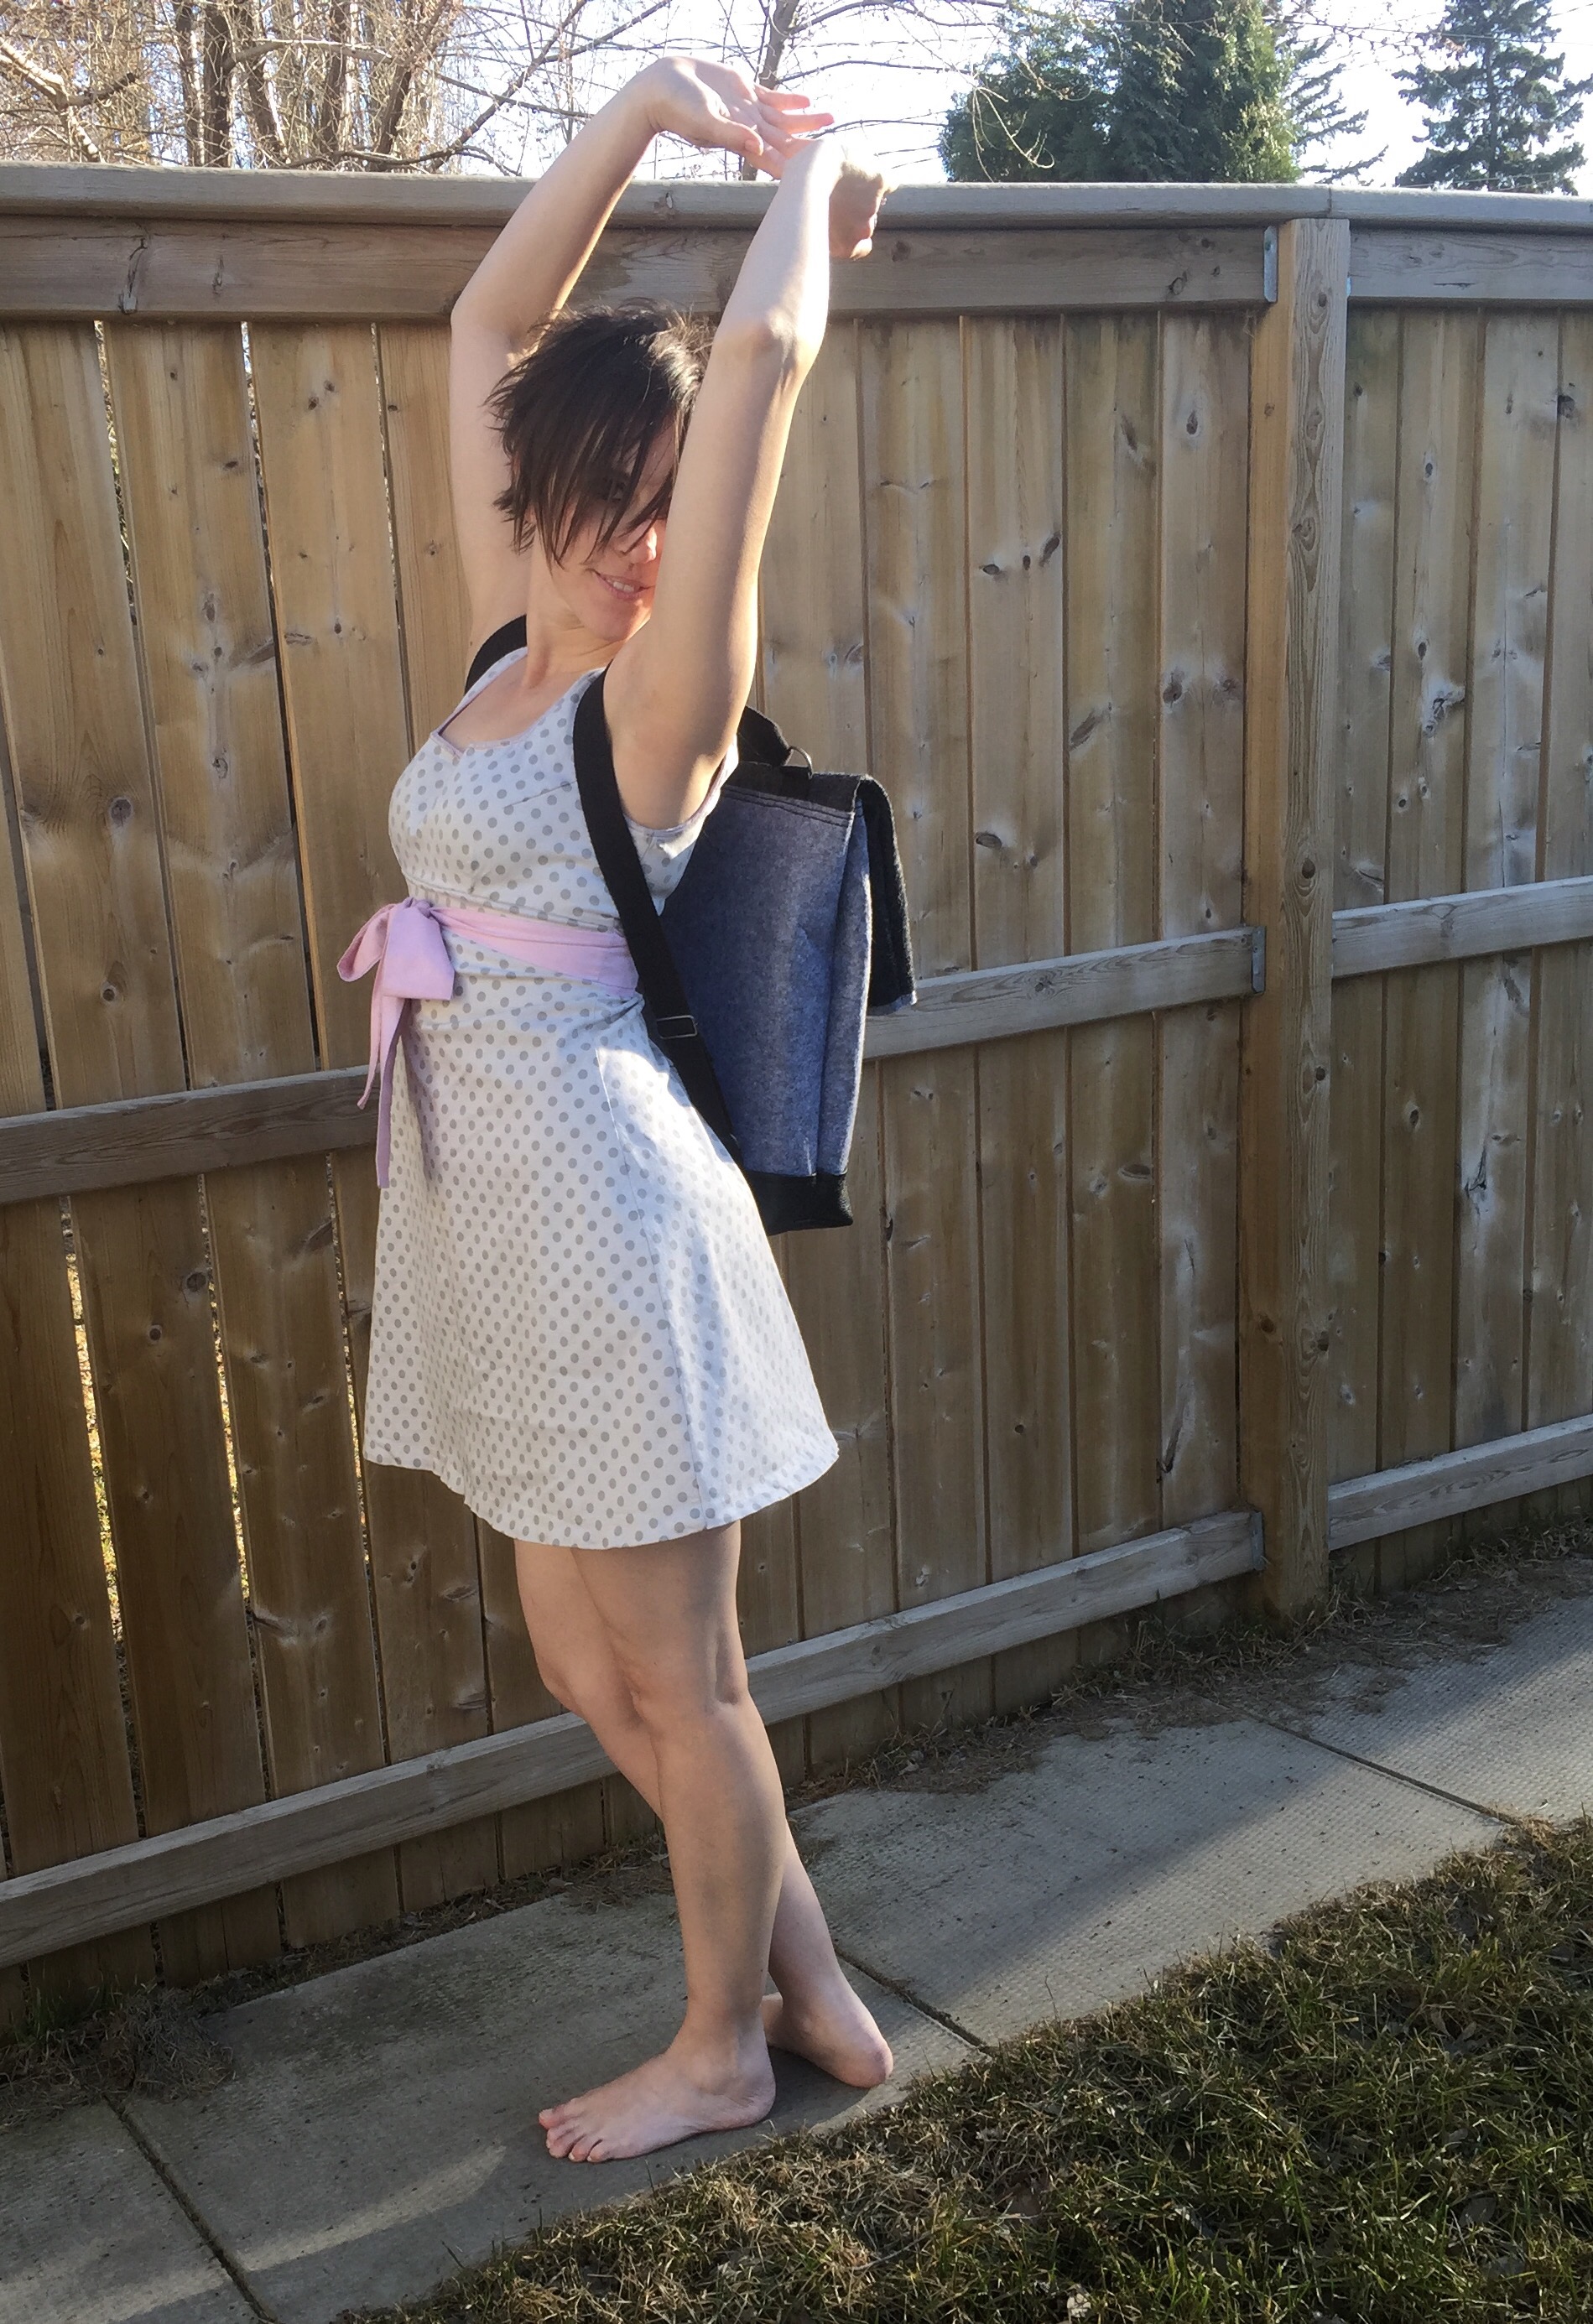


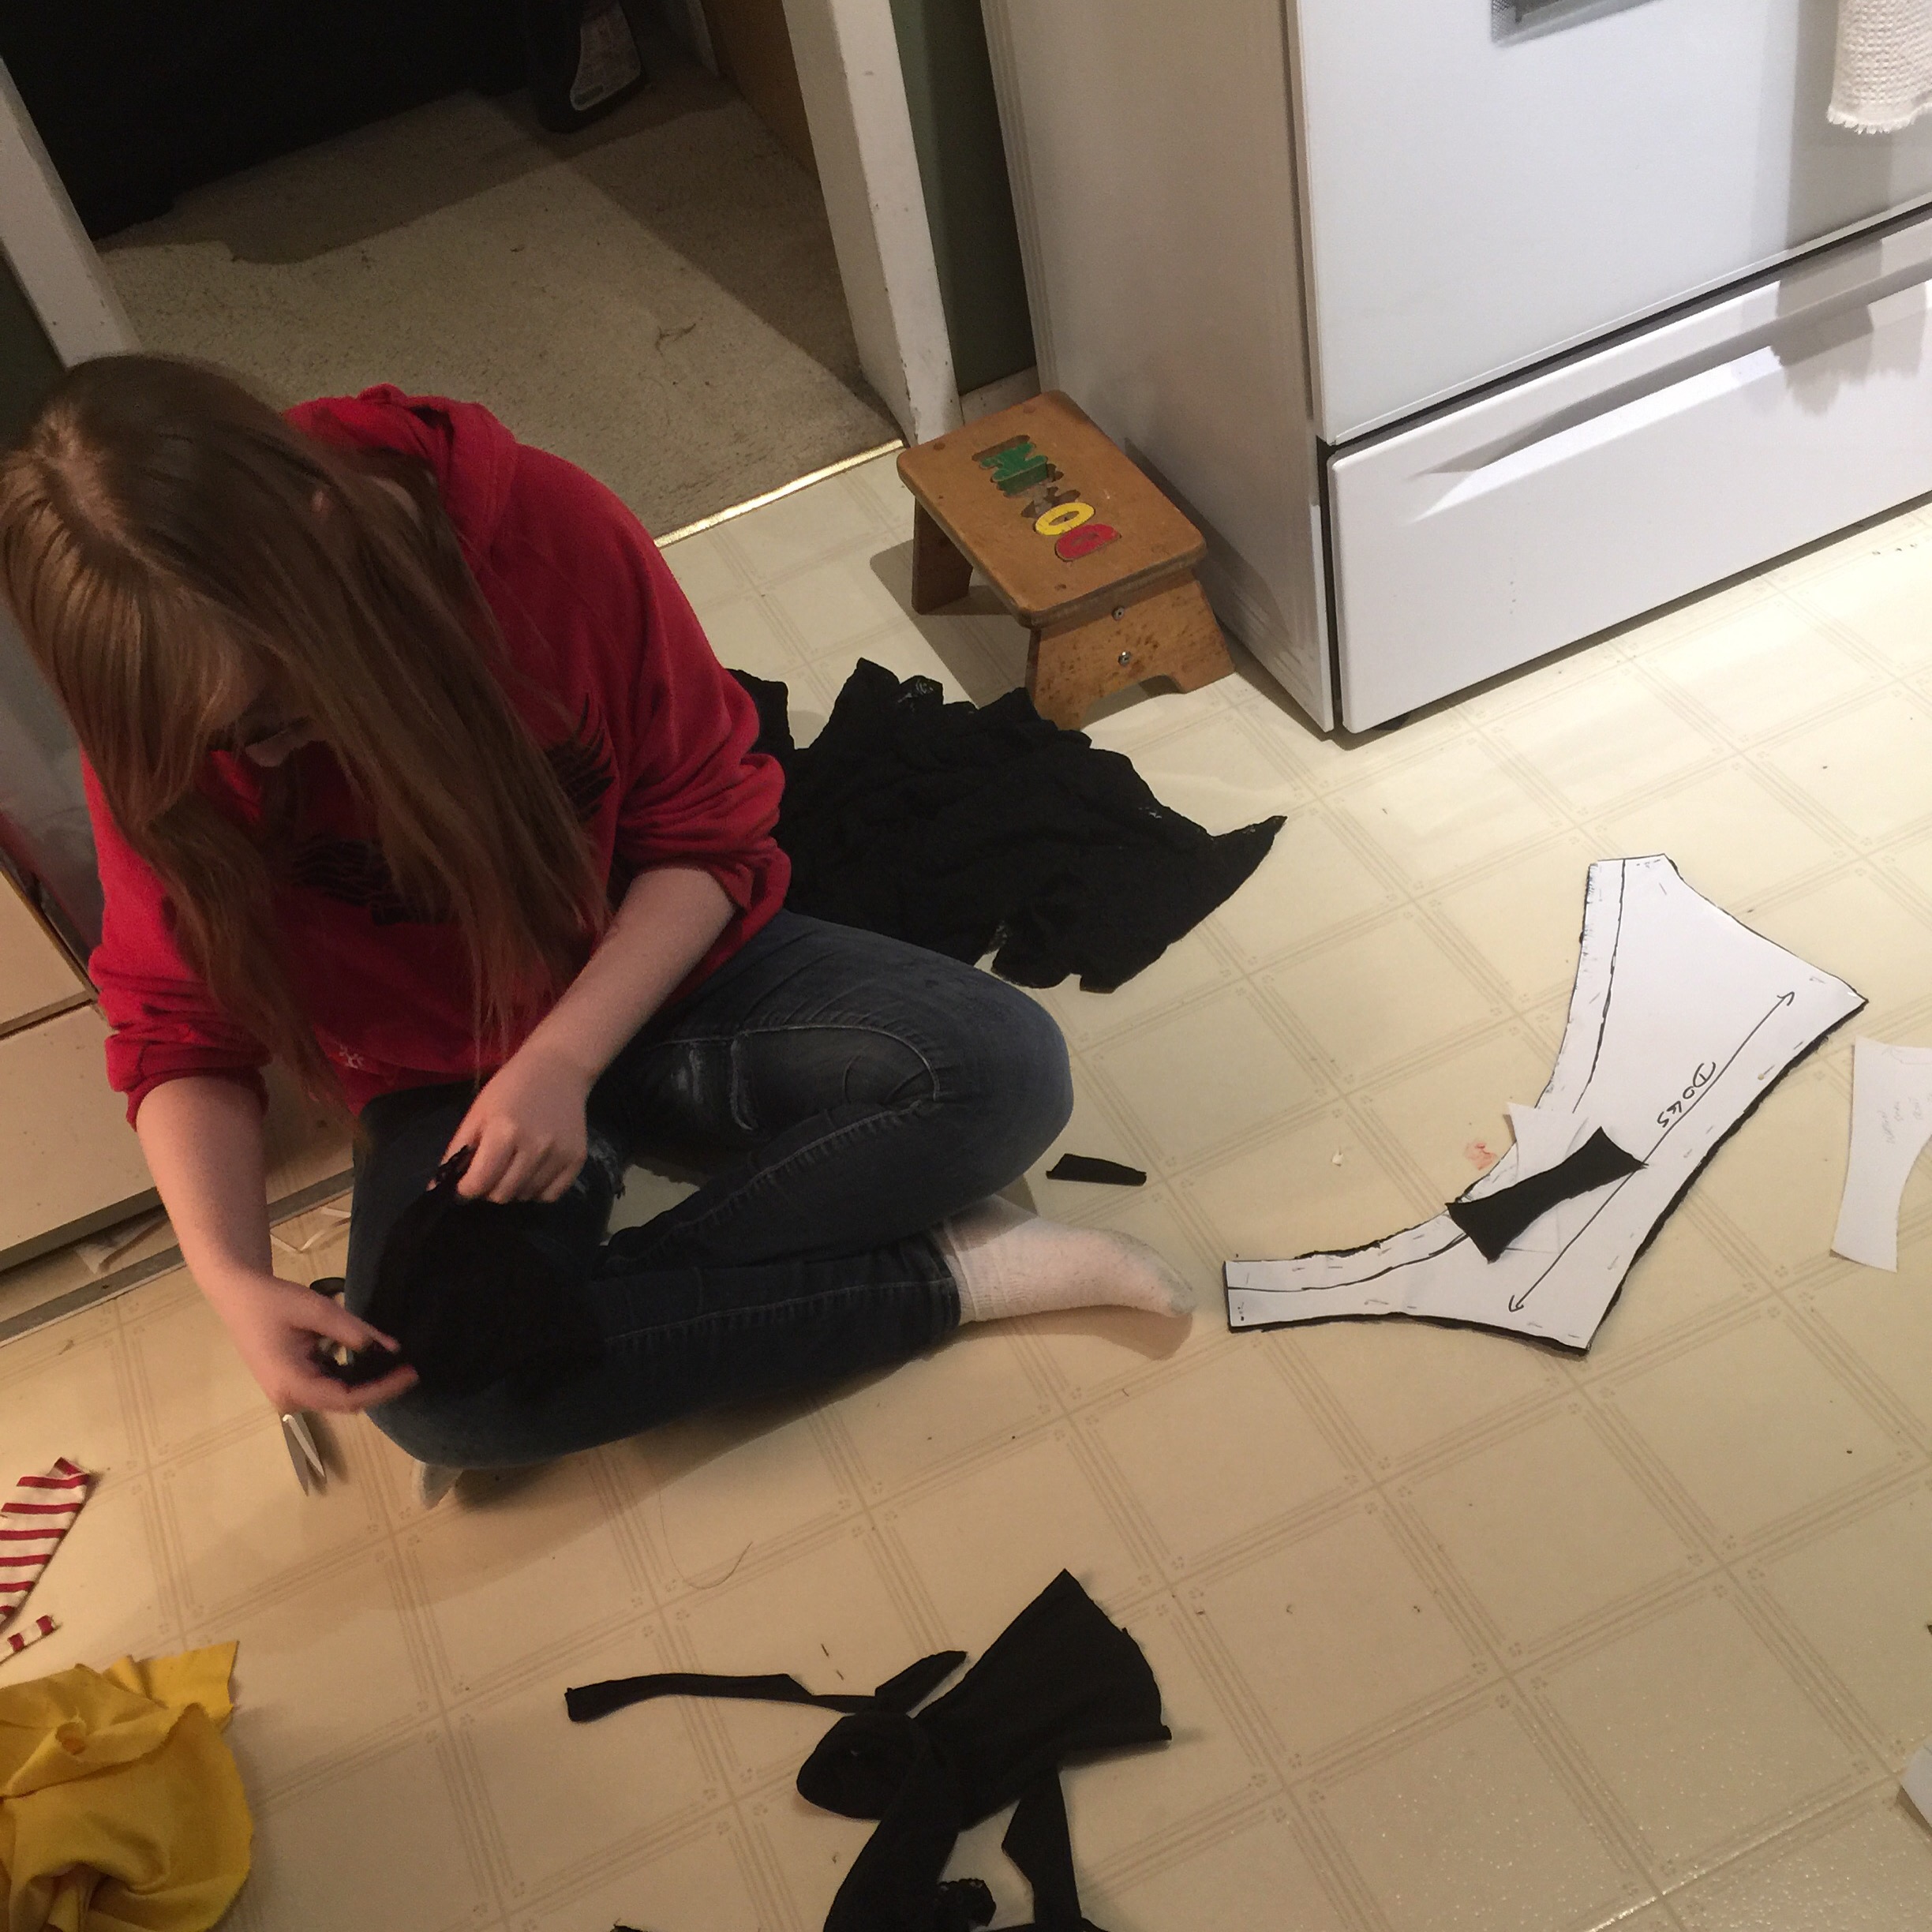


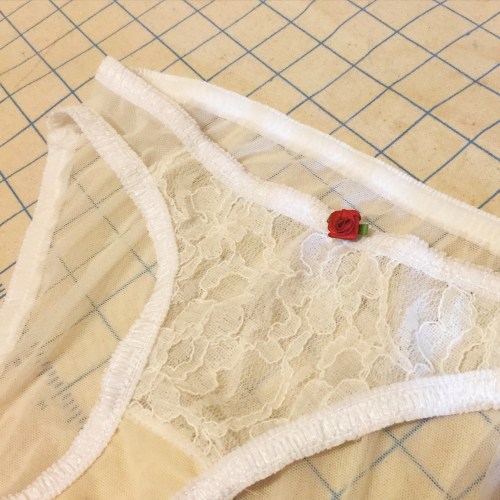 So imagine this pair but made of not-see-through aqua knit with the lace at the side rather than centre front. I wound up doing most of the construction as it was a bit more complex than was probably a good idea, but Syo cut it all out on her own.
 My
My 
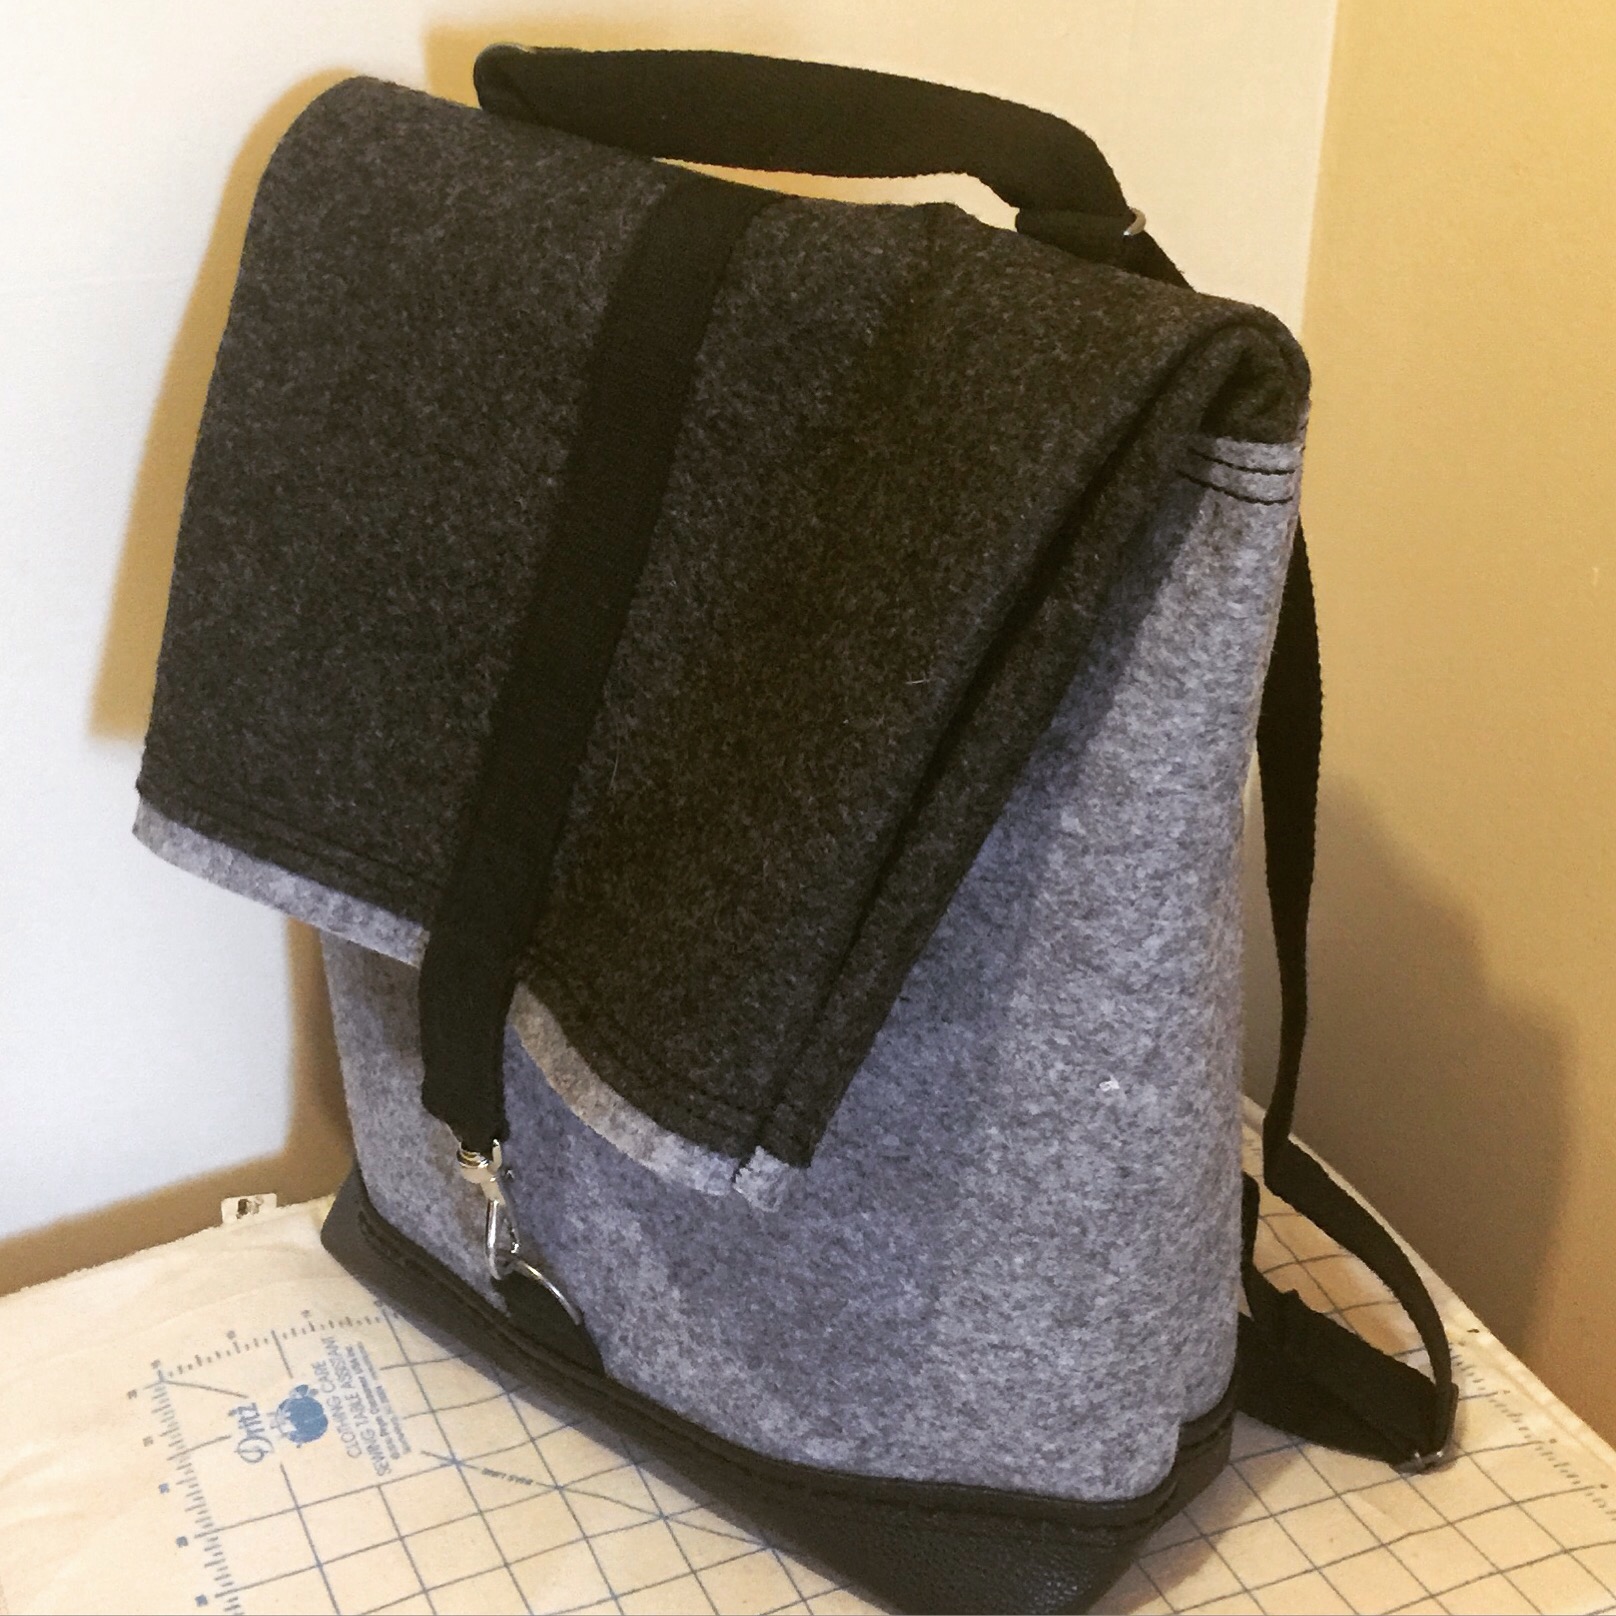
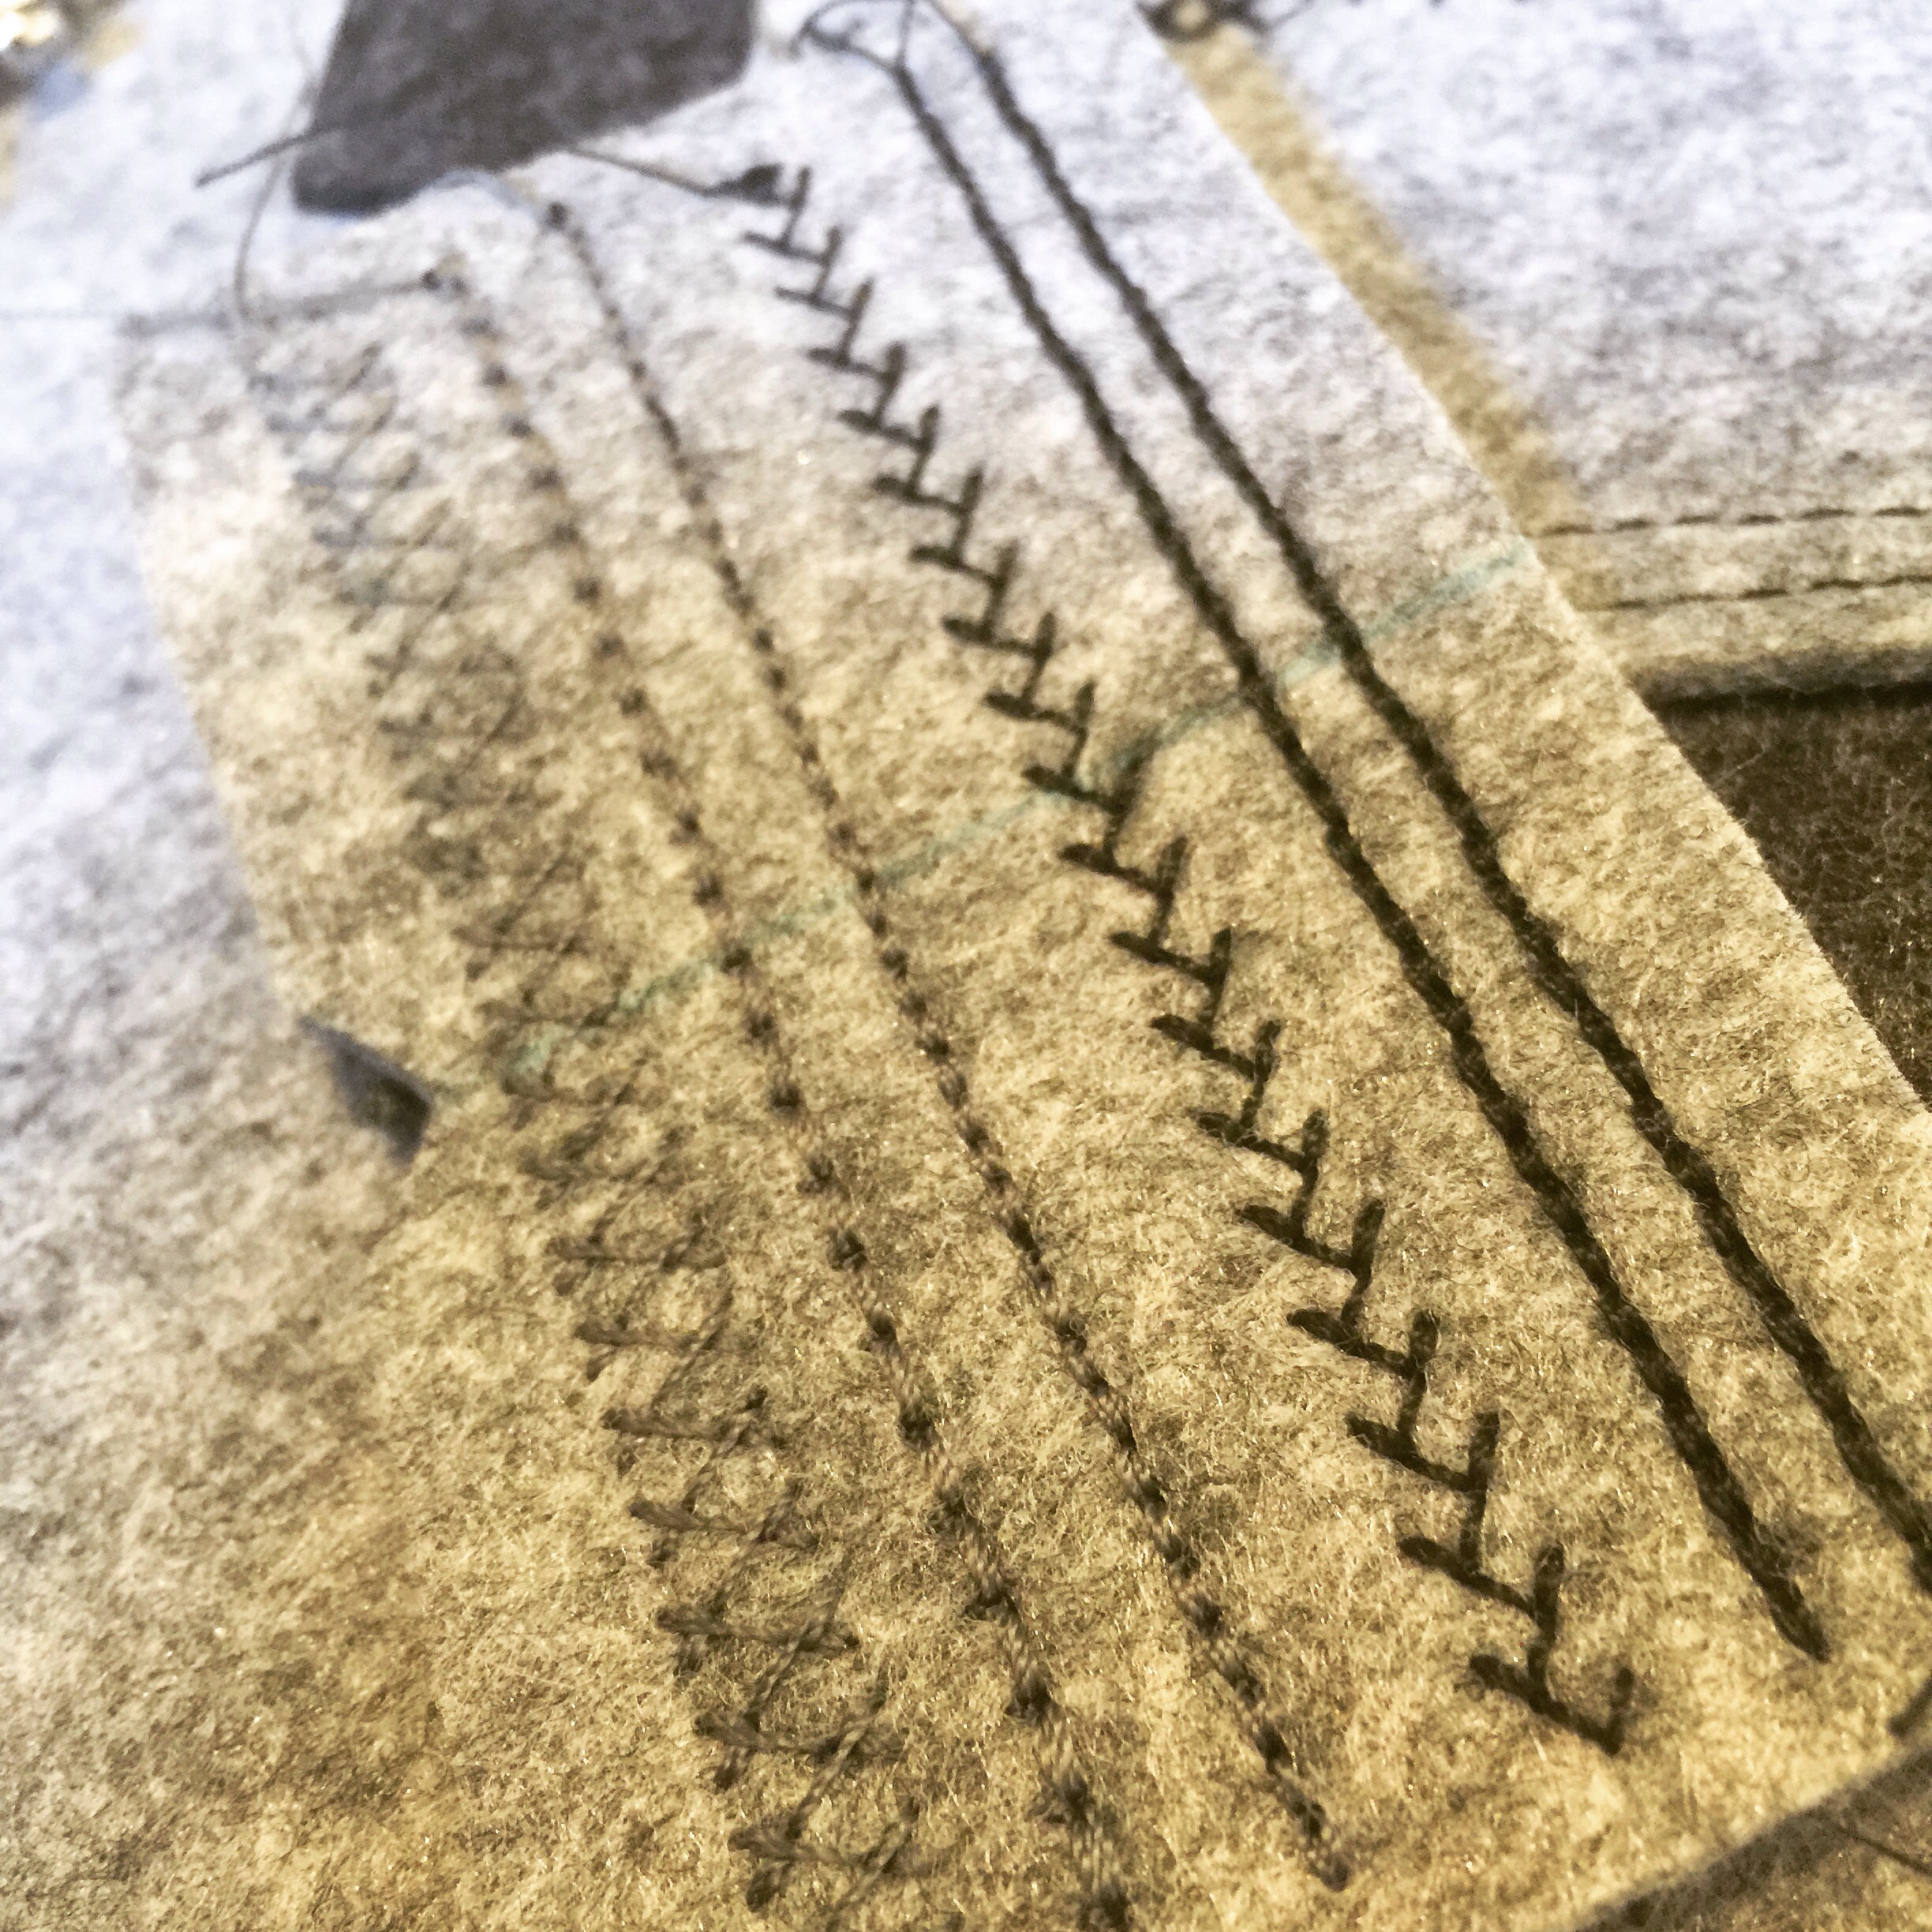
 Anyway, this completion happily coincided with a couple of things. With my most recent
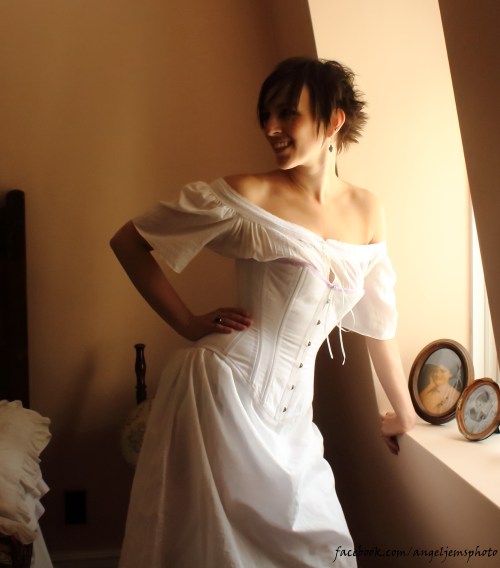
 We bounced around the house, playing with the light.
 Every room was different.


 I may have had a bit too much fun with the editing process, making sepia and low-colour versions. Oh, well. They’re my photos and I’ll cheese ’em up if I want too. I also lost the cover off one of my fabric-covered buttons while getting dressed, so that had to be photoshopped out of a bunch of pics. I will warn you, I also took the liberty of some SERIOUS Photoshopping once or twice—so if you catch yourself wondering “is her waist really that small?” The answer is probably “no, not even in a corset.” PICTURES LIE!!!!


 *you’ve seen my hair, right? Short of concocting a story about how I cut it off and sold it to buy a chain for my husband’s prize watch, which he sold to buy me a comb for my beautiful hair, we’re kinda stuck. I don’t have an appropriate wig, and I’m disinclined to go out and buy one at the moment. I also don’t have a period hat for the outdoor shots.
 So a crummy thing happened last Friday. Not a tragedy, exactly, but a bummer. And I’m not mentioning it to condemn humanity, or even as a plea for sympathy (though I’ll take it), but just because this is my record of things to do with my sewing and nothing like this has actually happened with any of my sewing before.
 So yeah. Kinda bummed. 😦 Which I already whined about thoroughly on Facebook, but anyway. One nice thing did happen since then—my management was approved to replace my materials, so I can make the dress again.
 Plus they threw in a little bonus of comp goods of my choice as a partial comp for my time—so I was able to pick up some trims for my next Victorian costume. Because, y’know, priorities. 🙂