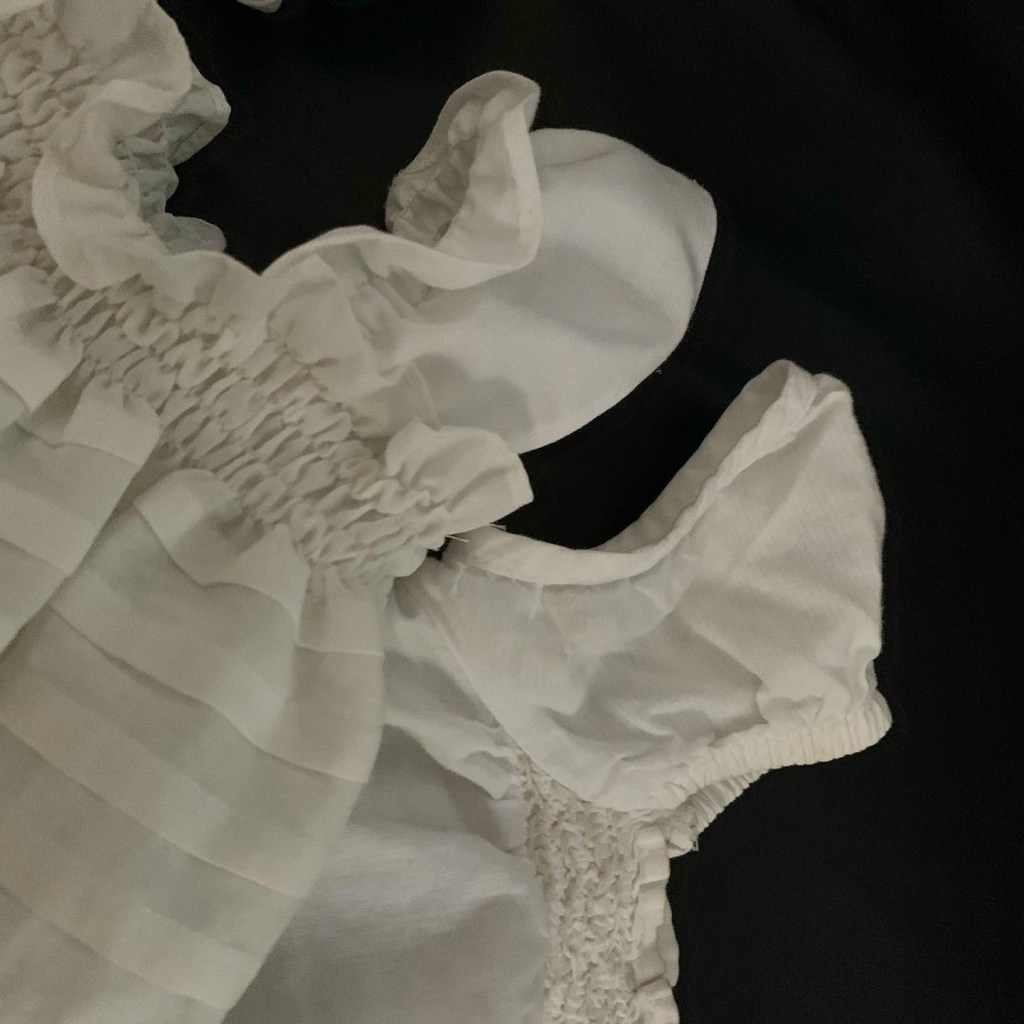
Among the hand-me-downs in the 12-month size bin, which I dug out at the end of last summer, was a particularly adorable set of stretchy overalls in a rayon jersey. The pattern was extremely simple, and I loved some of the construction details like the folded edges top stitched with a zig-zag.
So I was a little shattered when I put them on Tris for the first time and realized that I seemed to have missed my window of them fitting—-they seemed far too snug and pulled too much at the crotch, so that the stretchy open sides were pulled too far down, showing her diaper if she wore a regular shirt underneath.

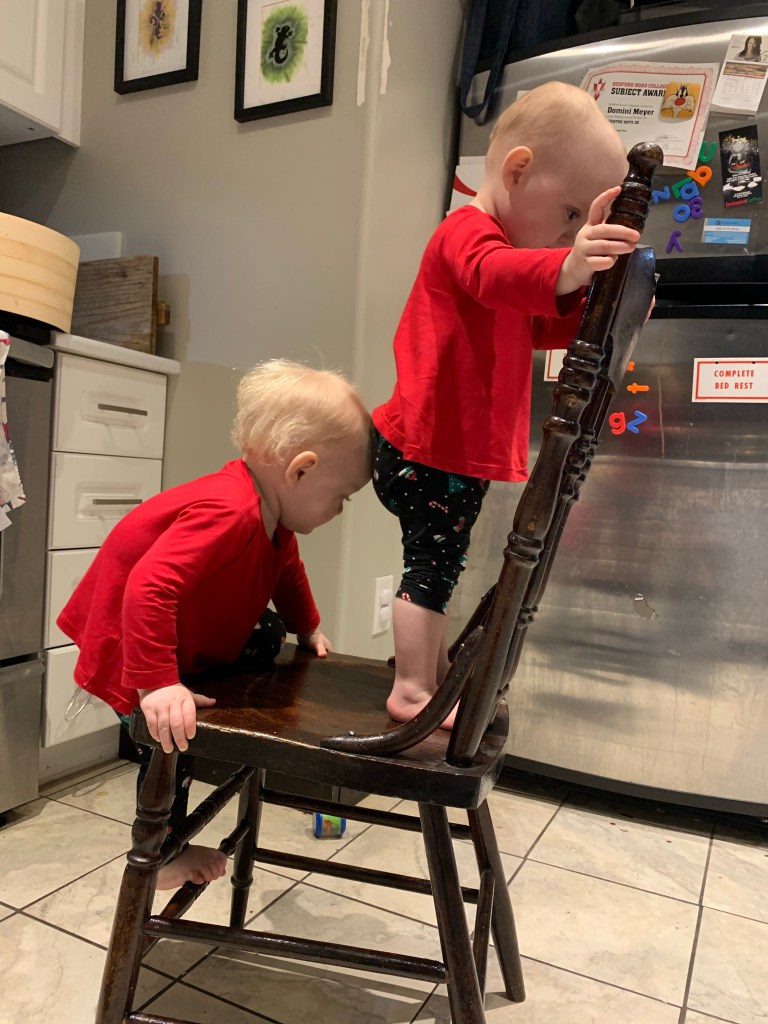
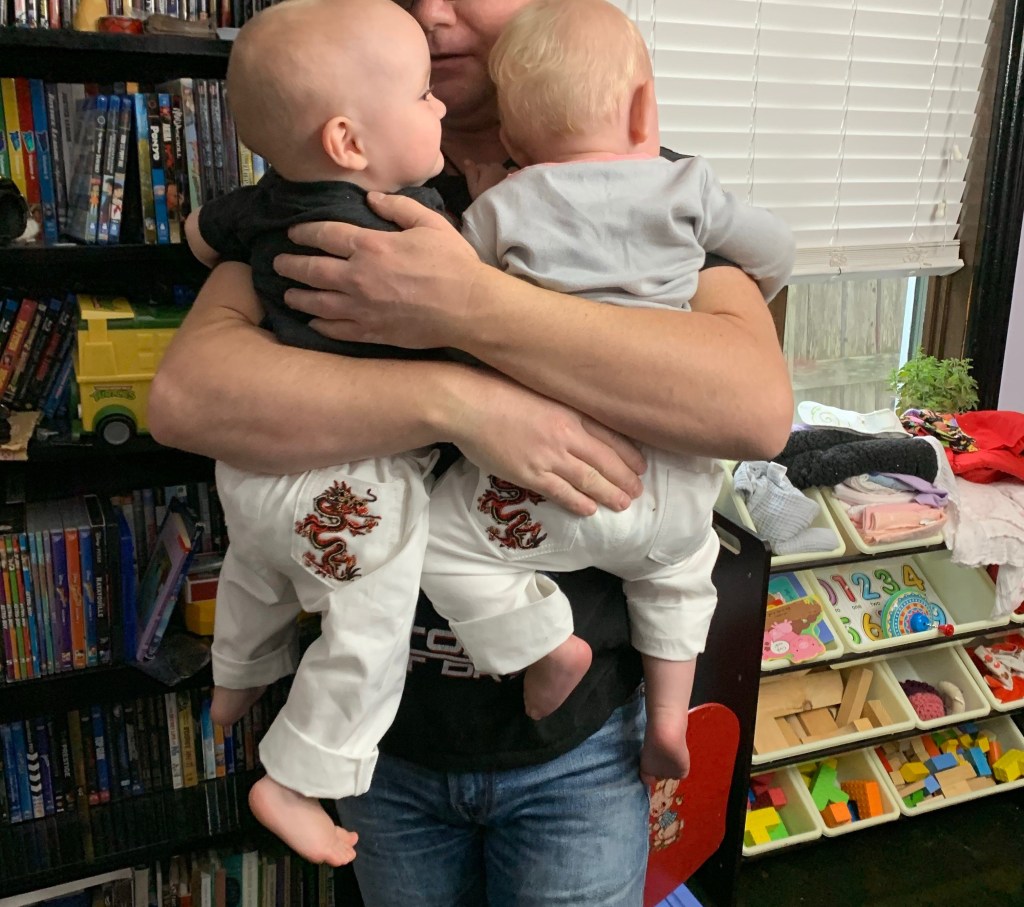
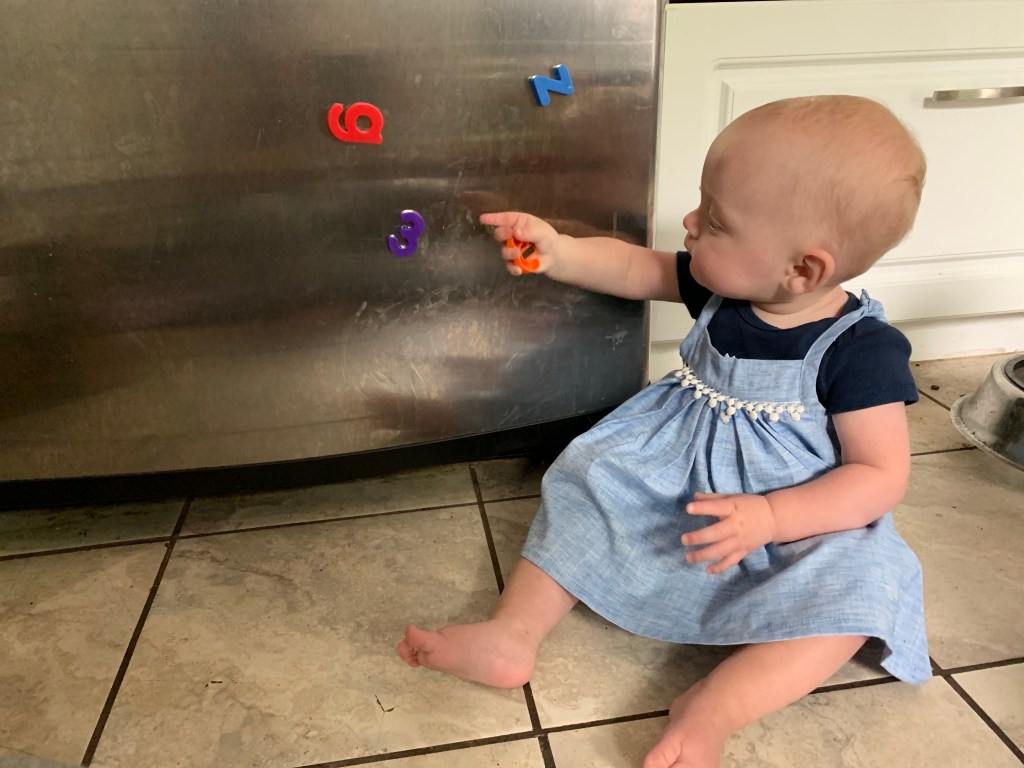
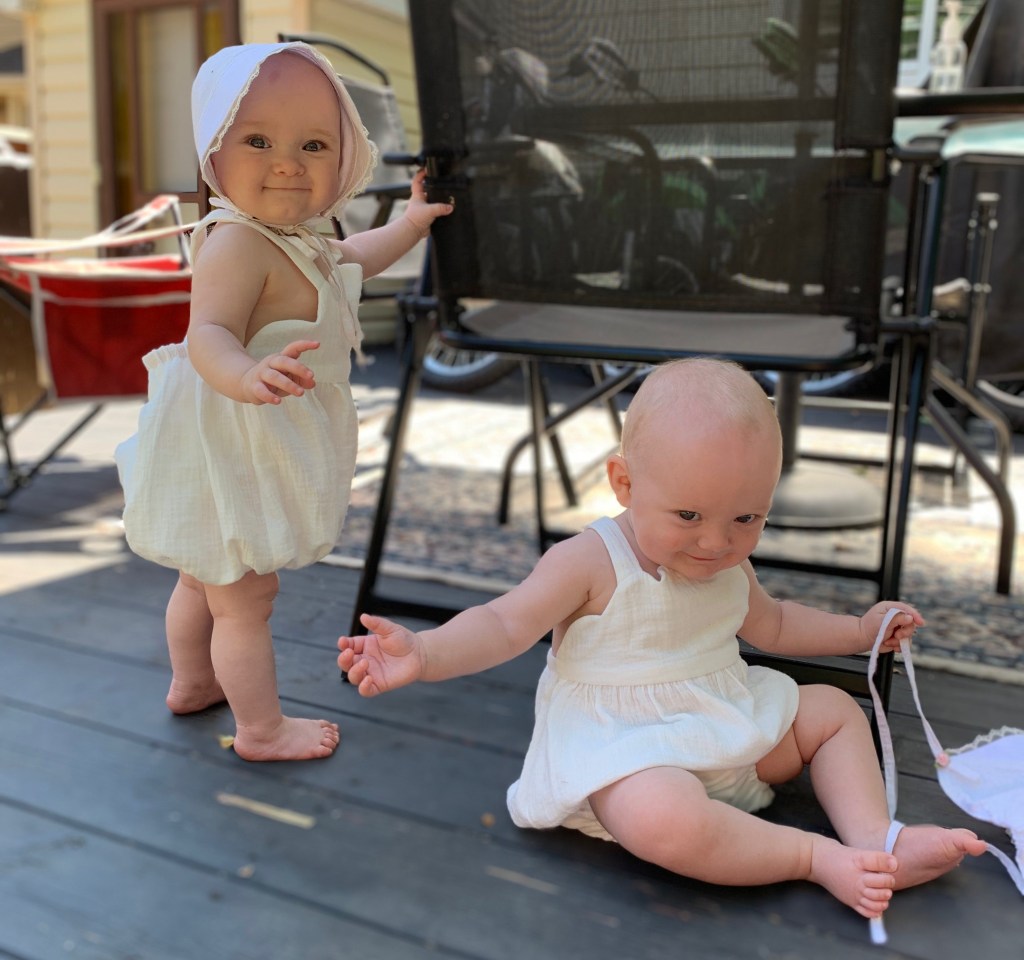
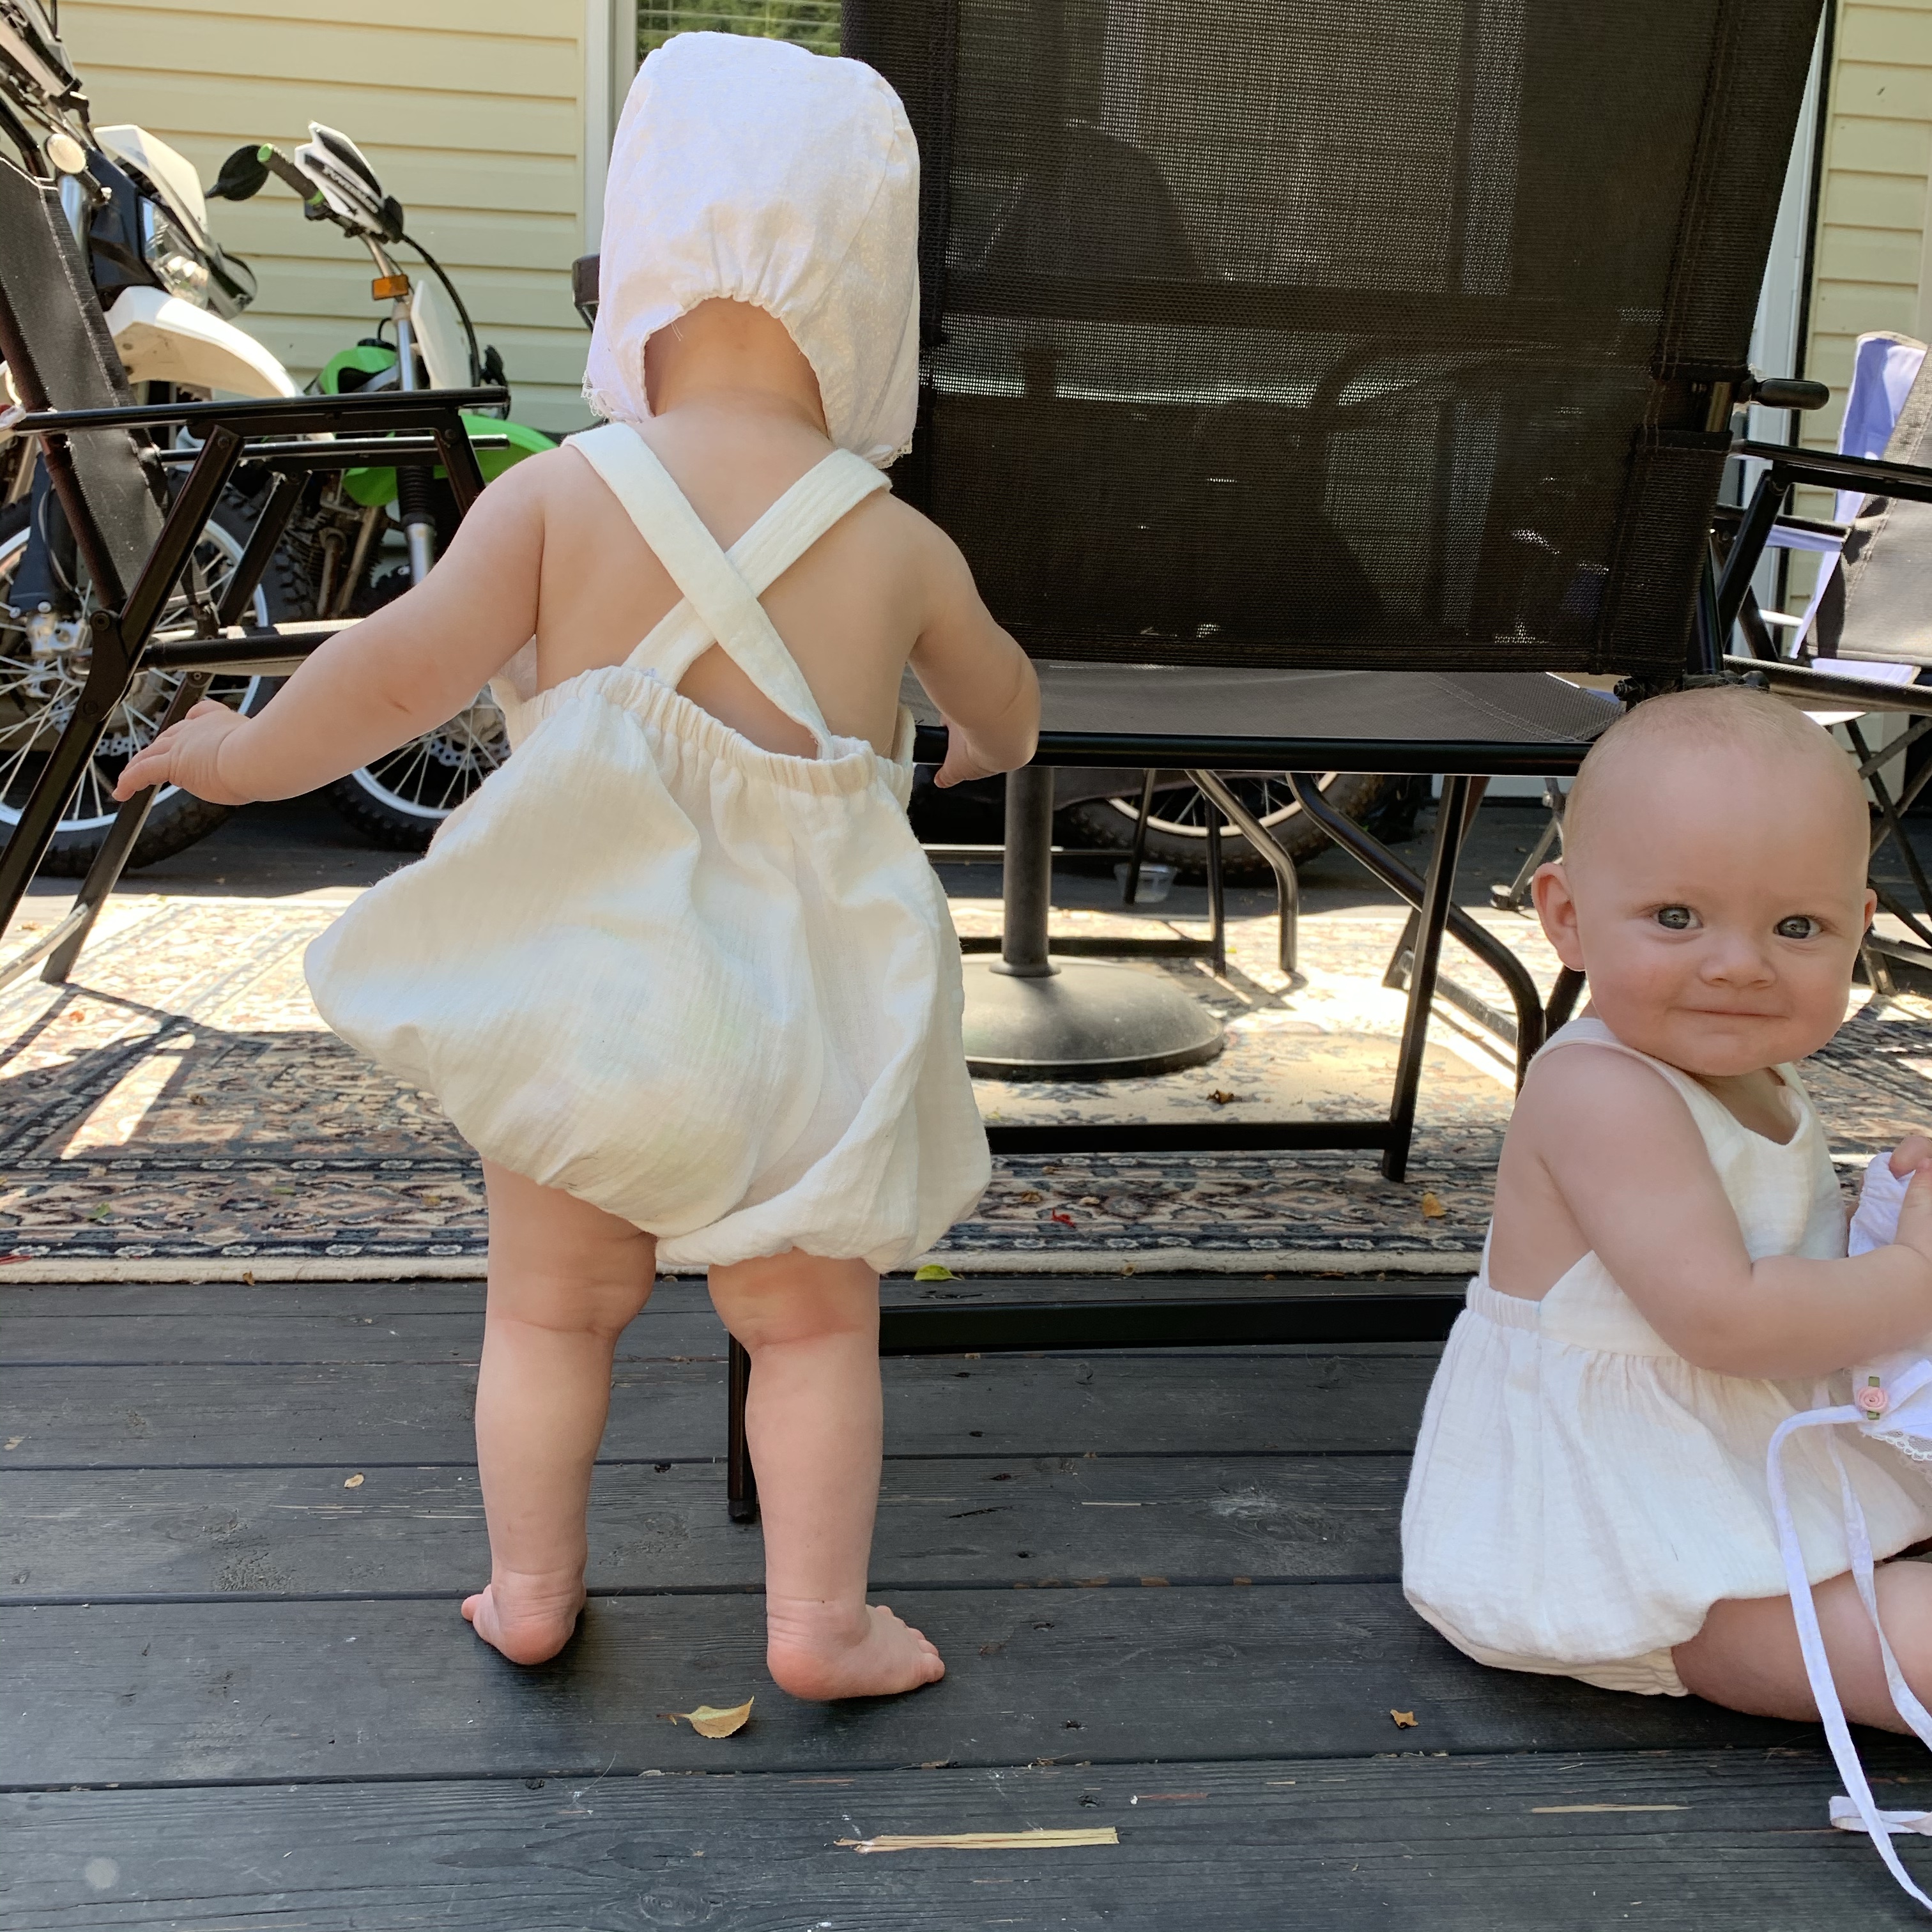
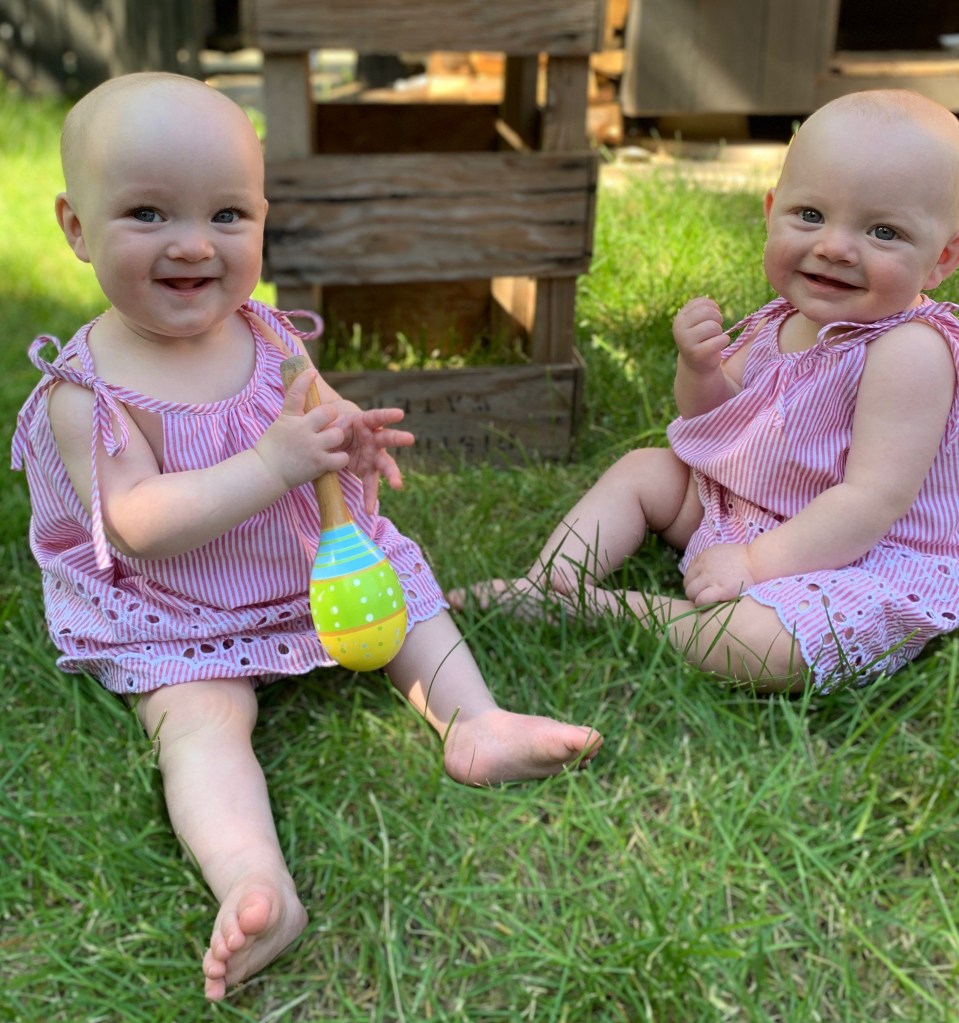
I’ve since reassessed a bit, and I think the fit is supposed to be quite slim, relying on the stretch to keep everything in place, and they look better on River, who remains somewhat more scrawny (not that Tris is a chonky baby at all)… but what I was imagining in my head was a bit looser with a dropped crotch, and not relying on a diaper shirt to keep the diaper covered.
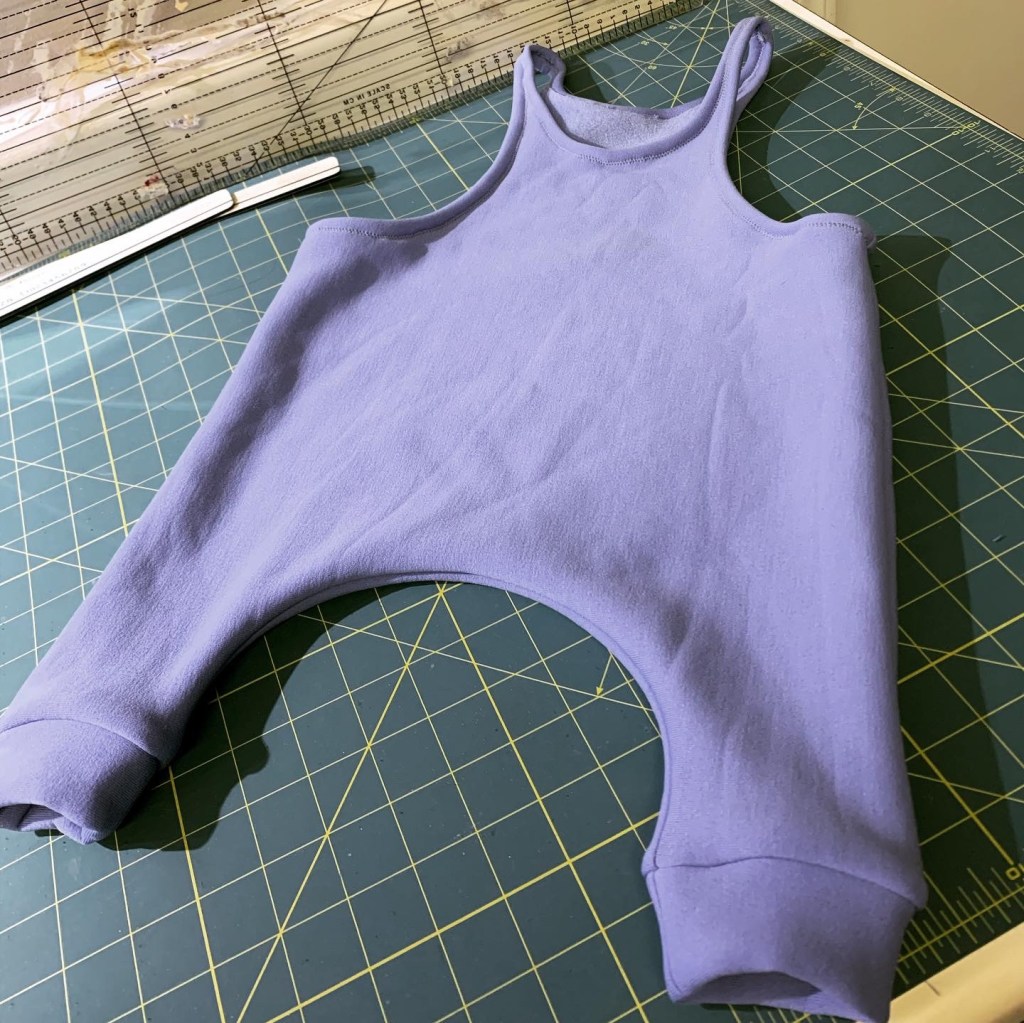
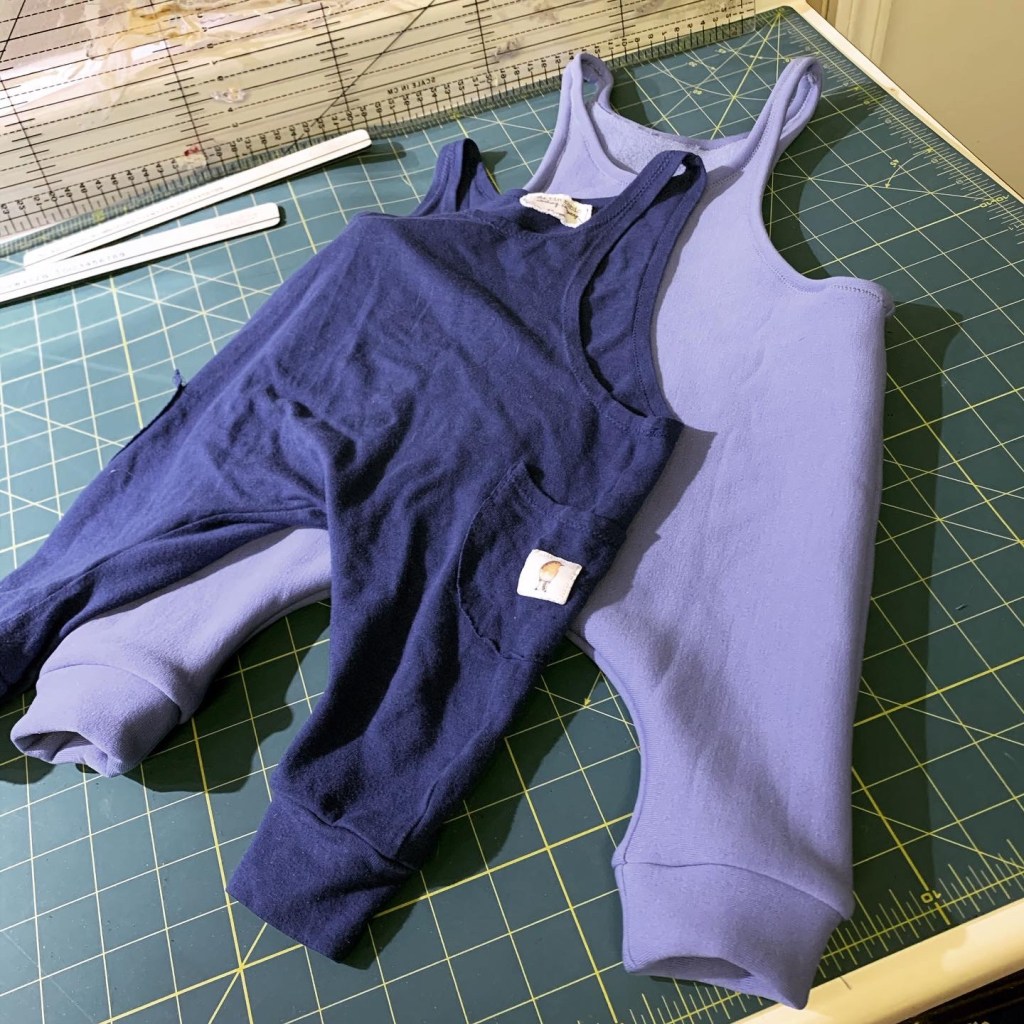
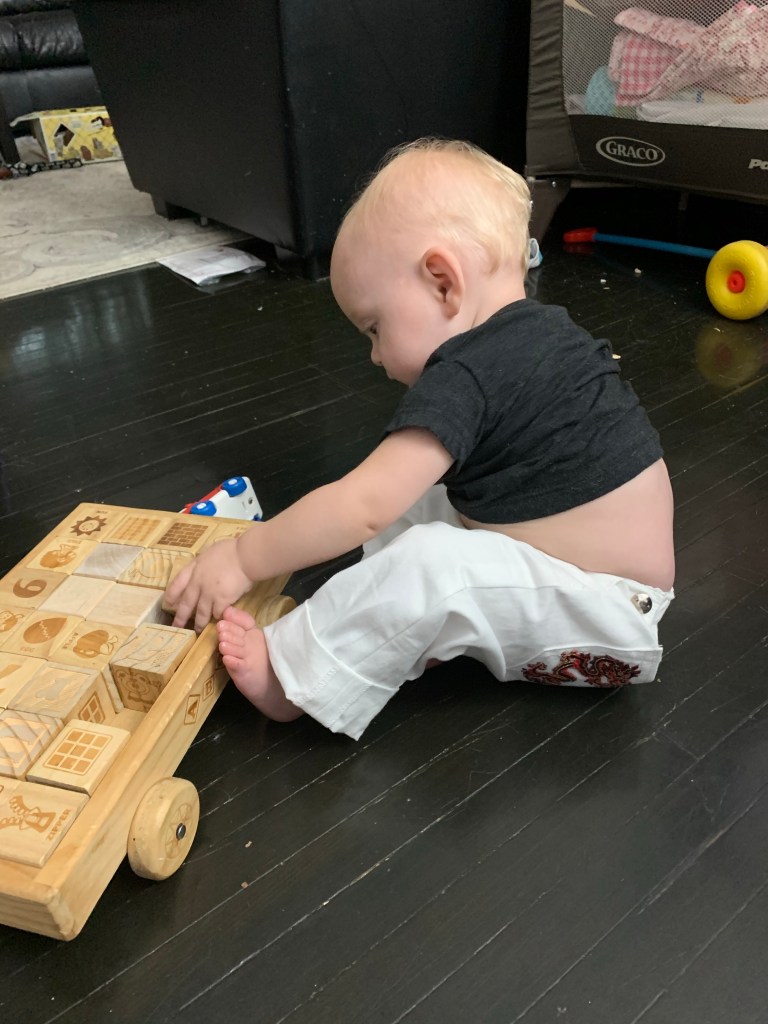
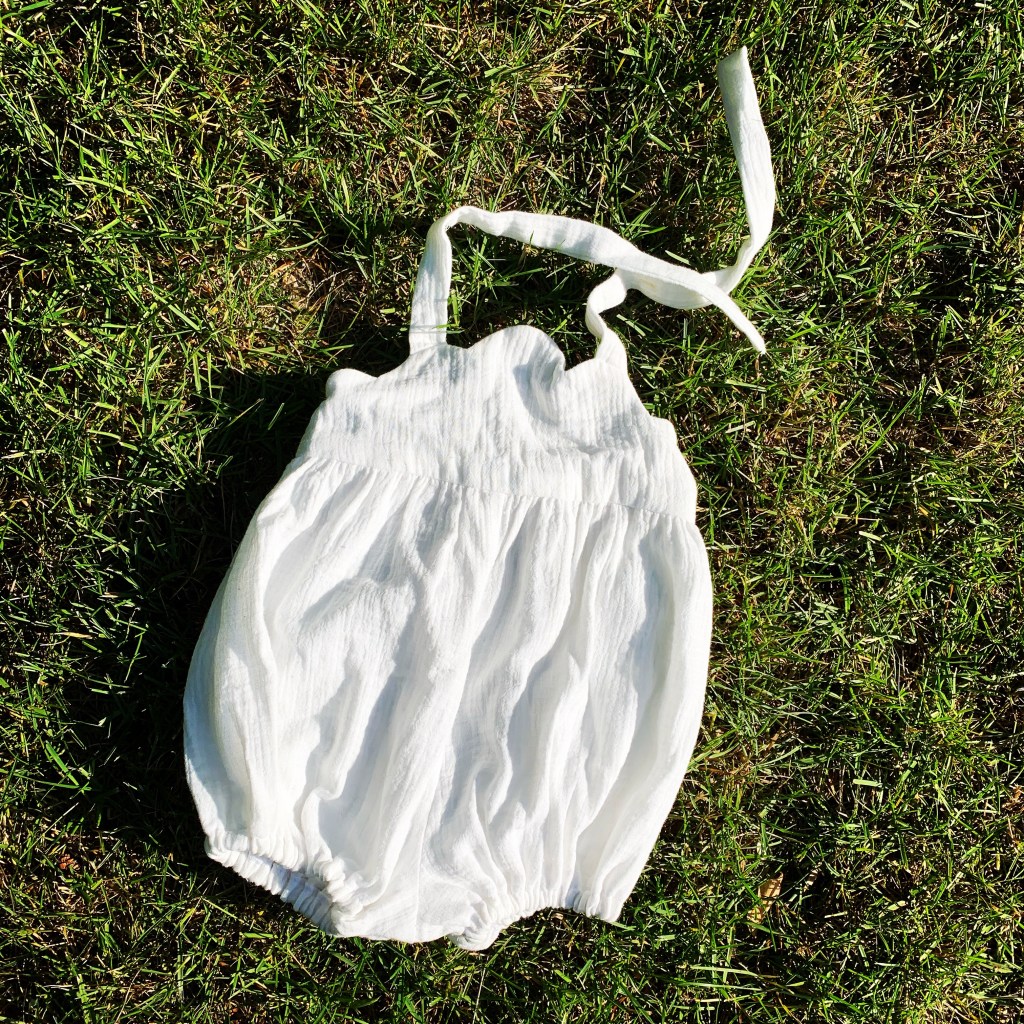
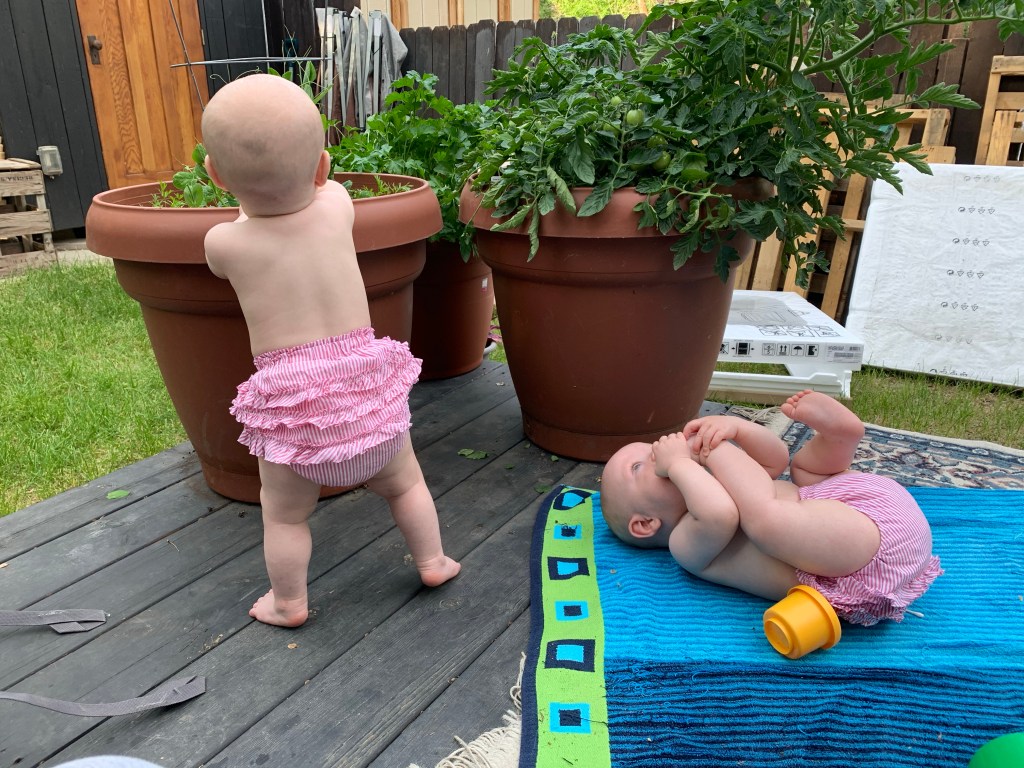
It was, however, an extremely simple dropped-crotch style pattern, perfect for tracing off. So I did. I made my first version in some more of that purple polyester fleece. The biggest difference from the source material, other than the fabric being completely different, was that I added about 2” of length between the bottom of the side scoop and the dropped crotch, and then about another 1” of length to the leg.

This solved the side-gaping issue, but made it clear that the original had relied on some tension in the fabric to keep the straps on the shoulders, which was lacking in my version, so they tend to slide off. So again, the issue may be my mental picture of how they should fit. Anyway, for the second iteration, I narrowed the shoulders a little bit, which will hopefully help with this issue while still giving a bit more of the “chubby loose fit” I wanted as opposed to the “skinny slinky fit” of the originals.

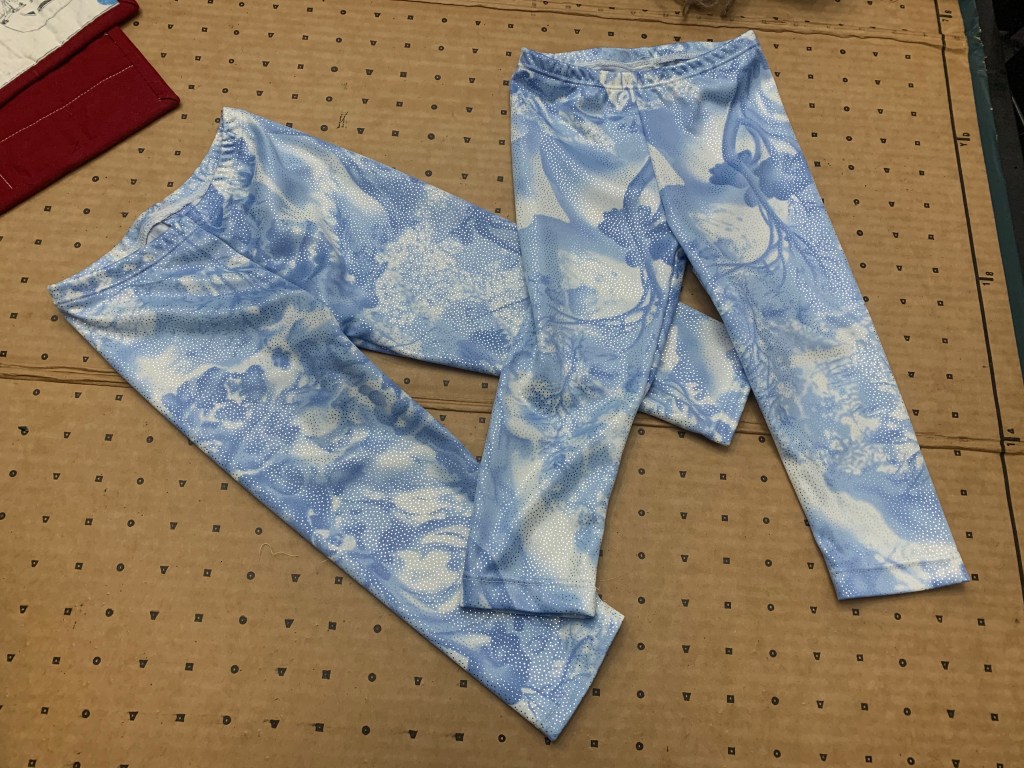
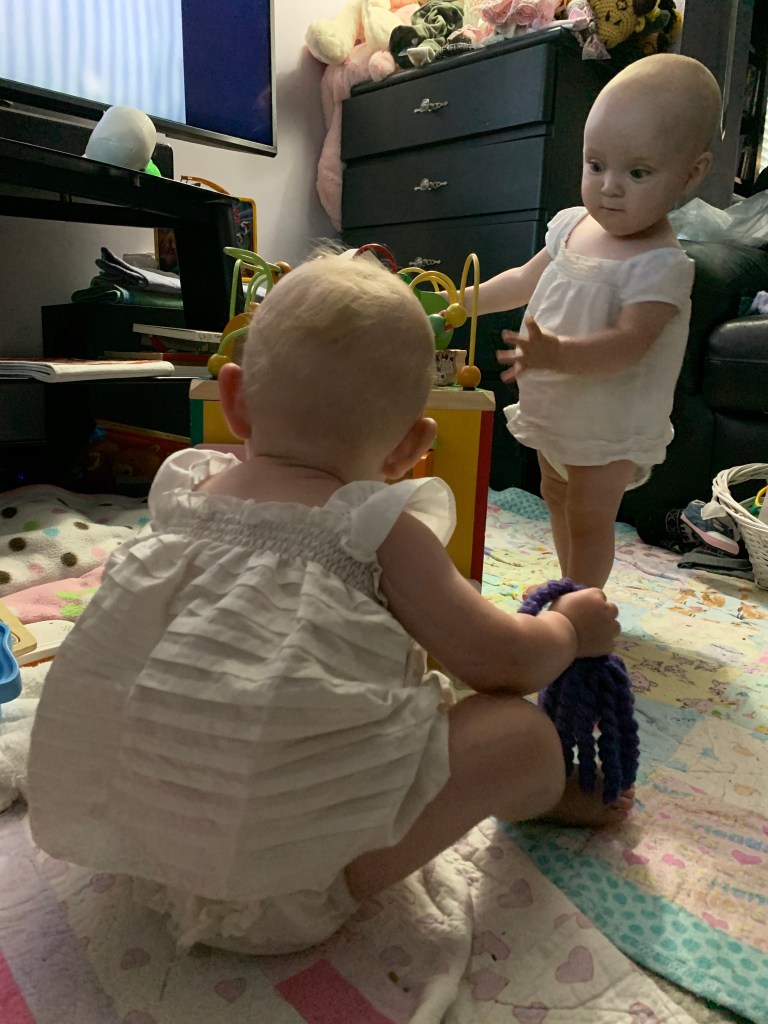
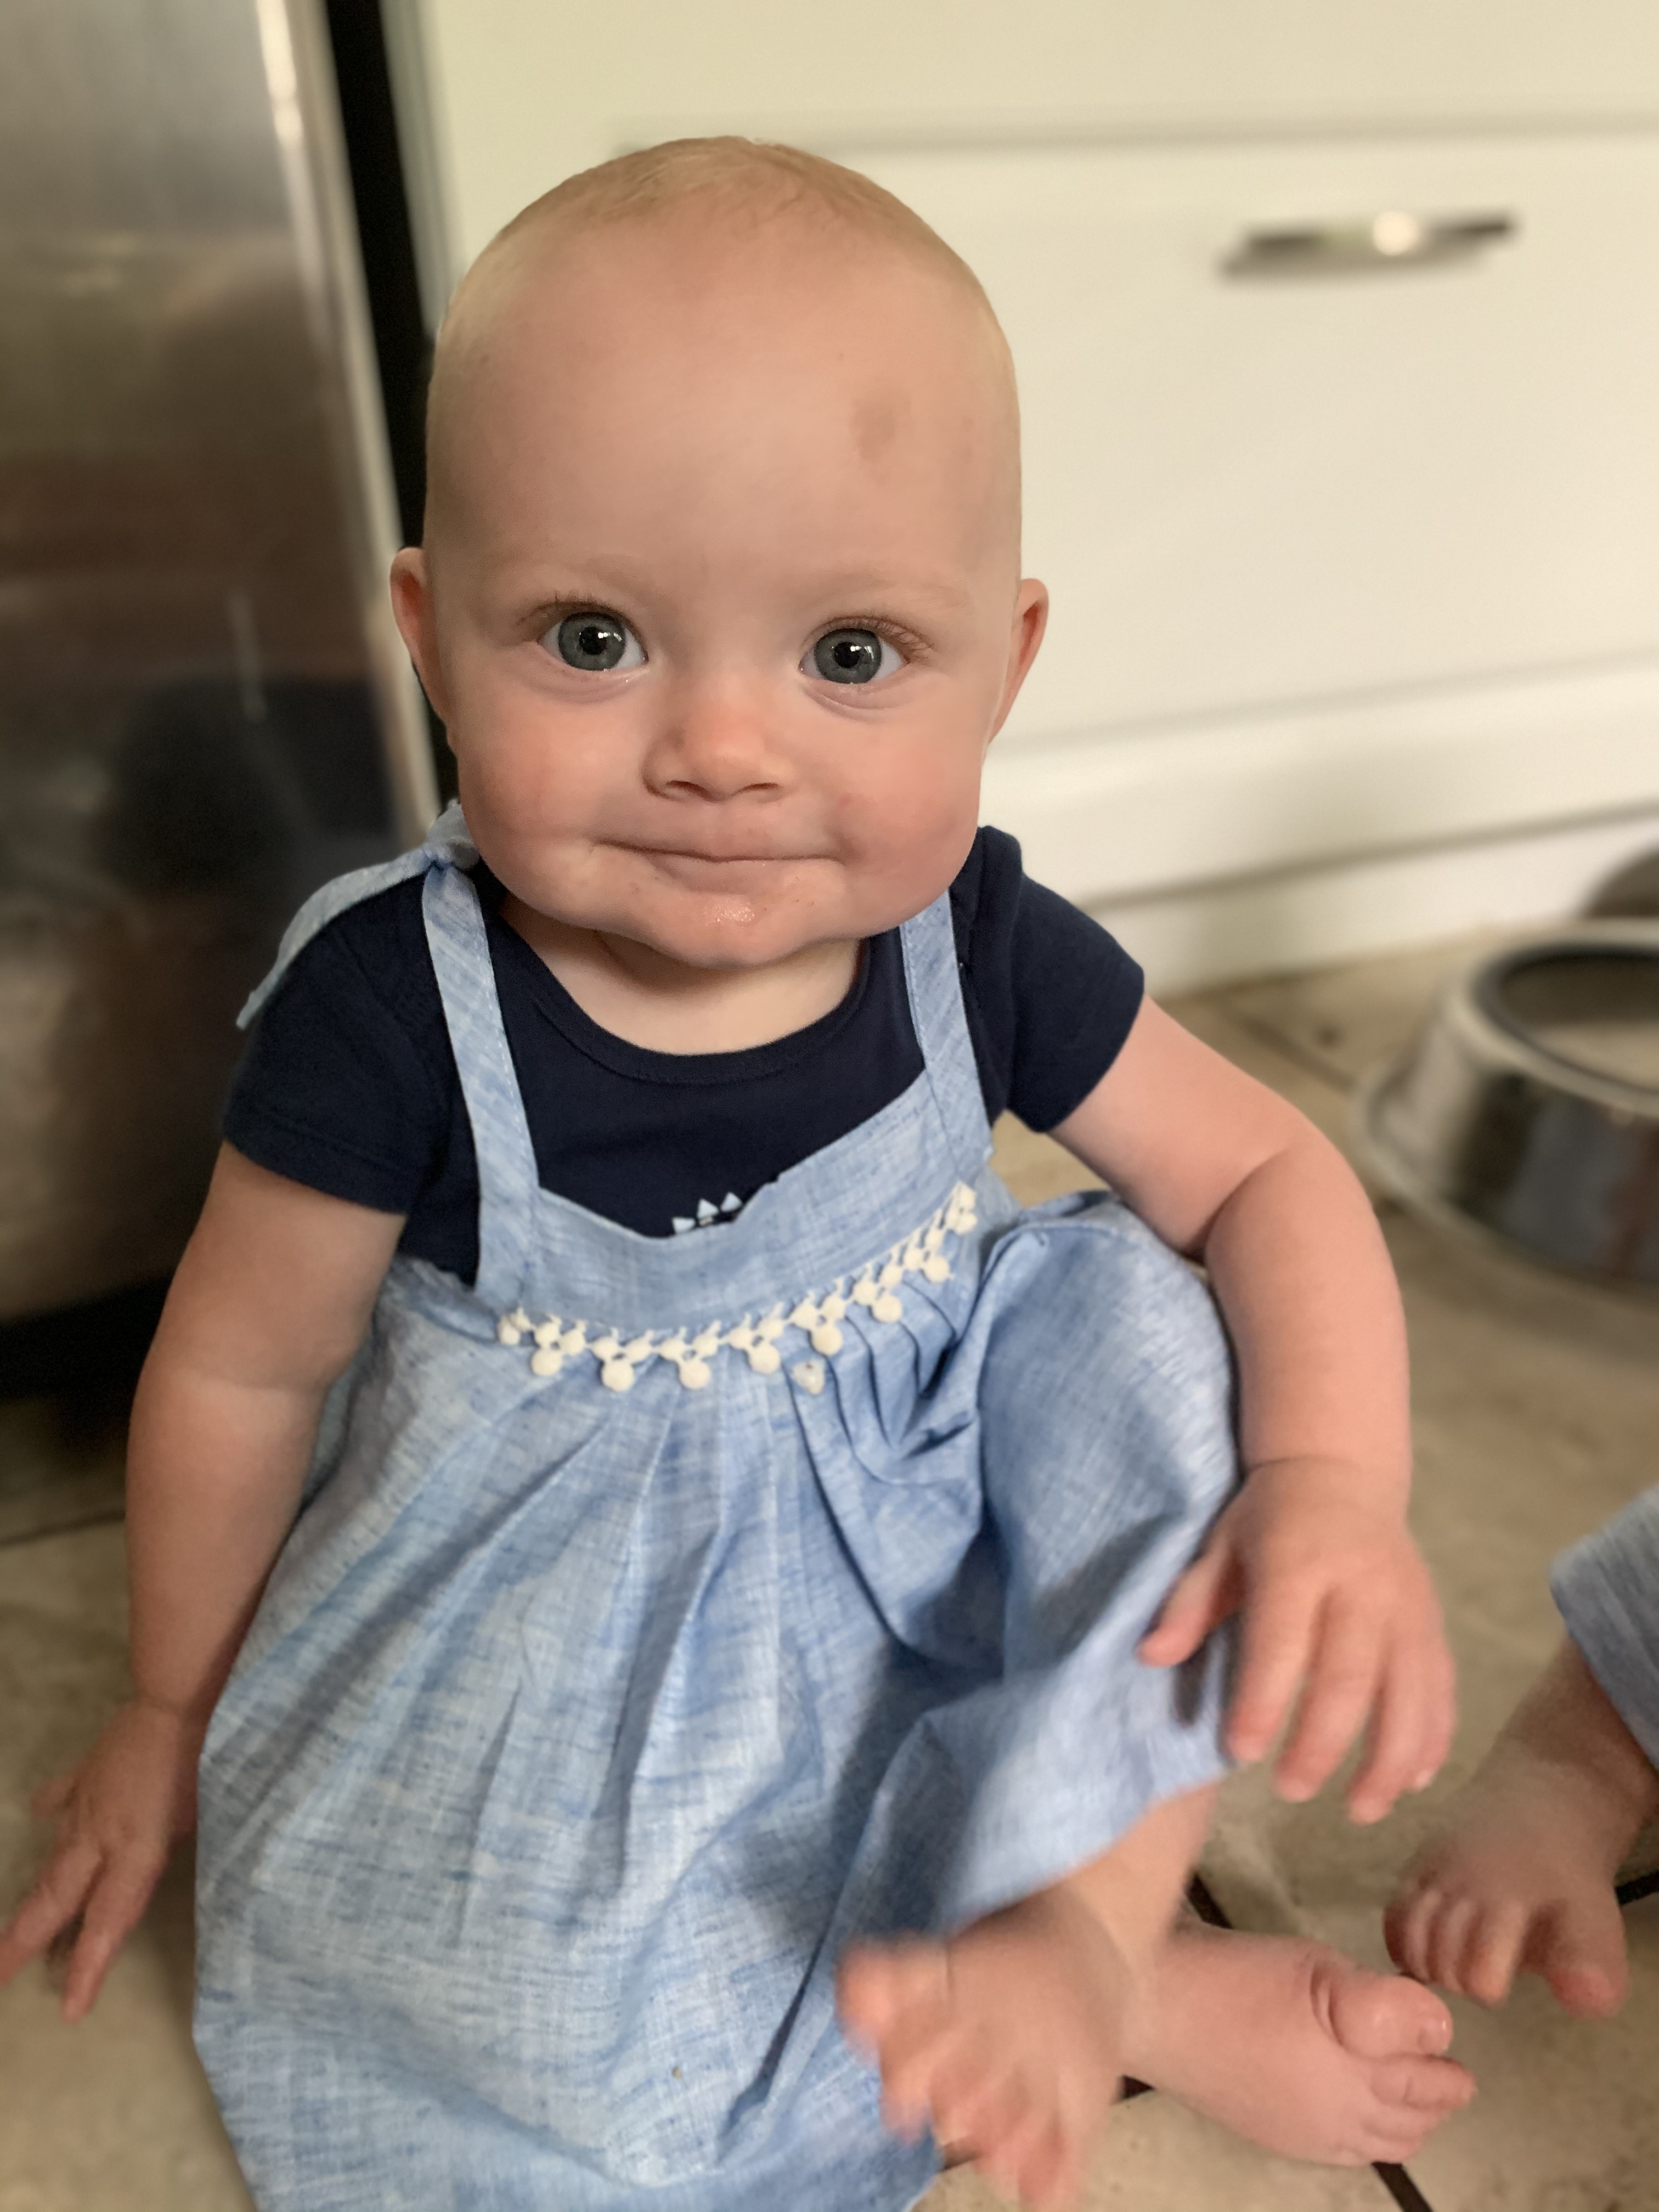
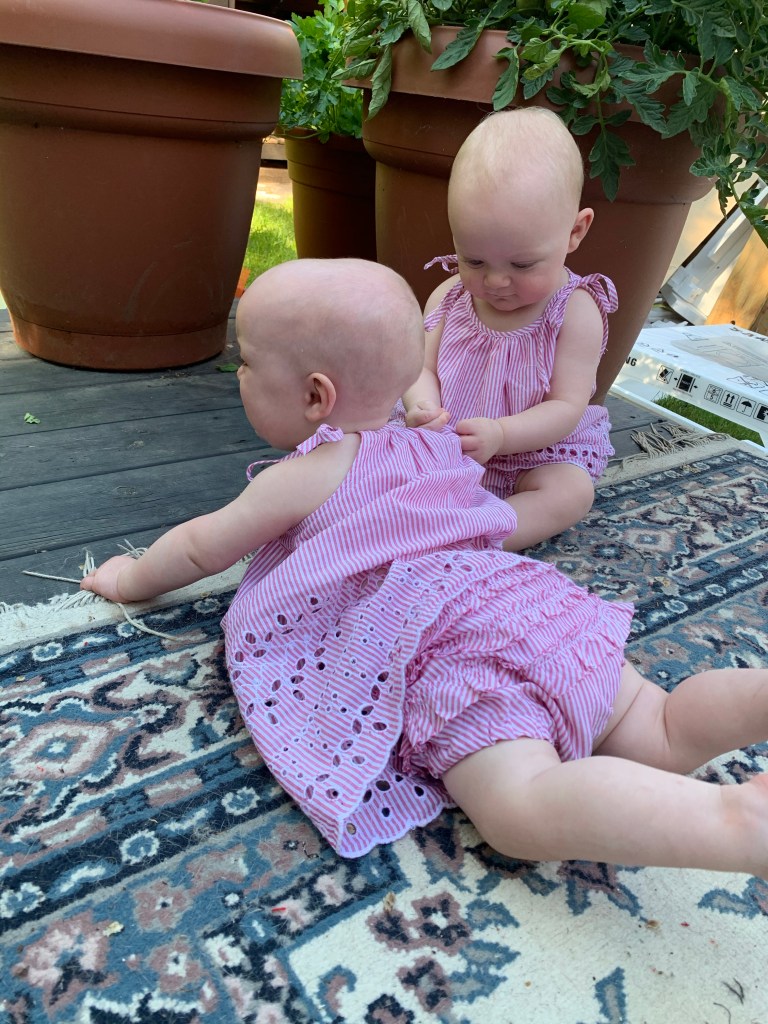
My second go is with an adorable printed cotton Lycra I found at Fabricland. Now, good cotton prints at Fabricland are rare as hen’s teeth, and it was a half price sale, so I couldn’t resist.

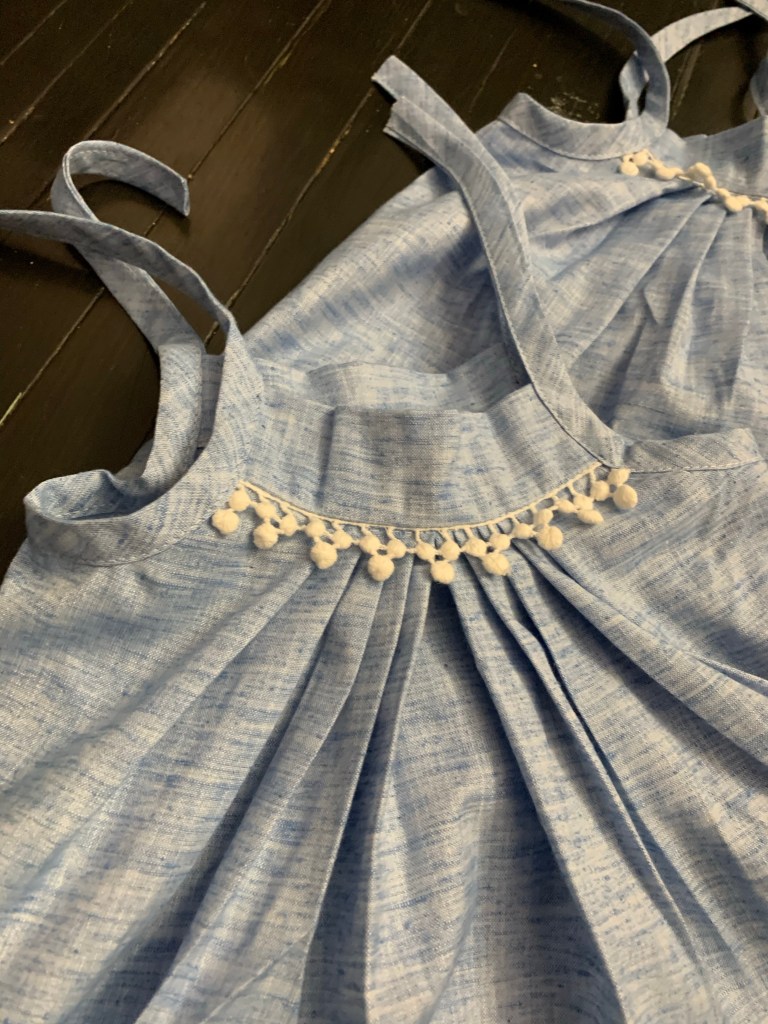
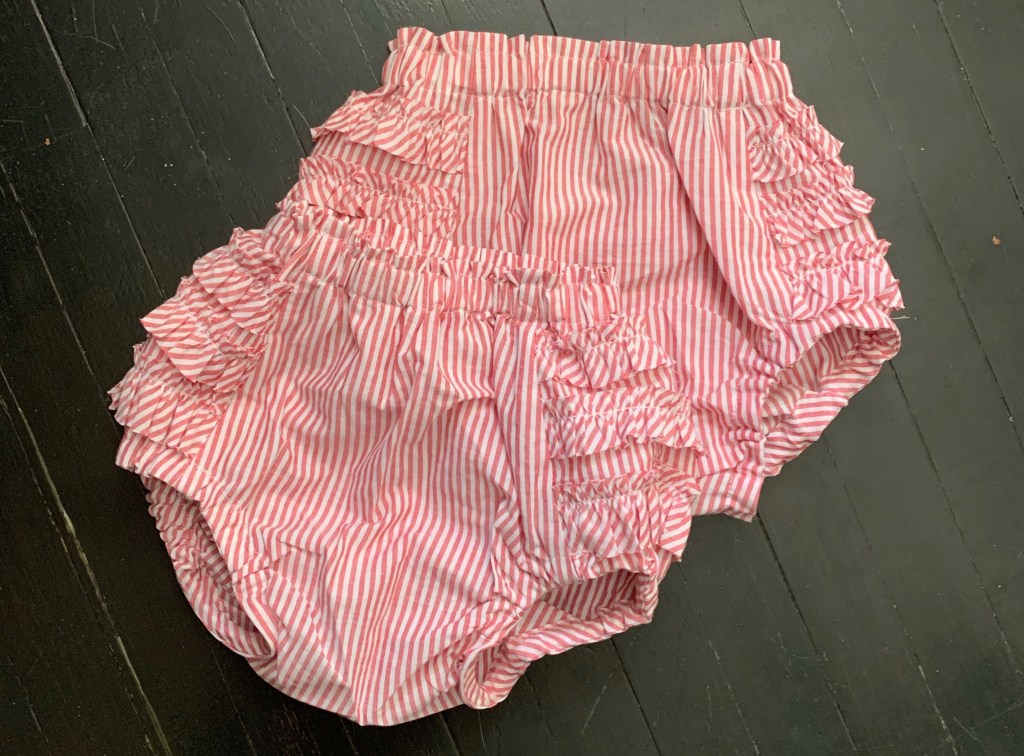
I used steam-a-seam to make sure the hemming around the upper parts was flawless (it felt a little odd not to be using my new coverstitch here but I really liked the zigzag detail of the originals.
And the pockets came directly from the cut-out between the legs, in a nod towards minimal waste patterning. I couldn’t decide between matching cuffs and plain white, and Tyo suggested one of each—I kind of love the detail! Although I think I would also have enjoyed plain white. That’s a lot of busy print.

It still might be fun to try this out in a slinky rayon like the original (I have lots of that cinnamon rayon for one thing…) We’ll have to see. For now, at least, I think they’re pretty frickin’ adorable.

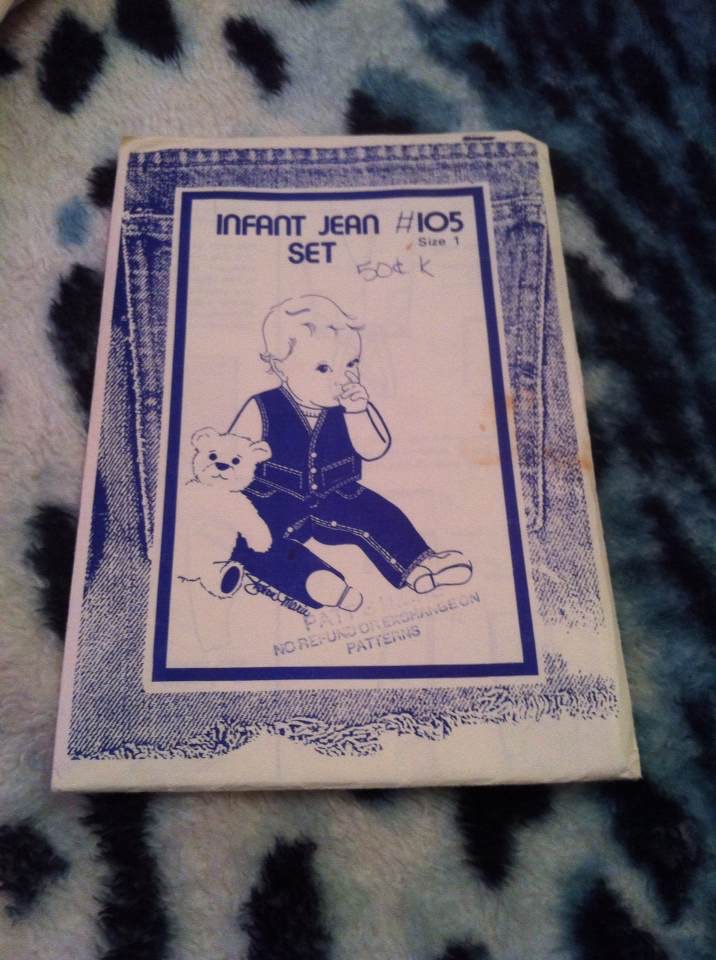
Oh, and then I googled the brand of the original, Tin Robin, and it turns out they’re made by a small business in Manitoba… so I feel like a bit of a heel for knocking them off but also it’s not like the original was exactly what I wanted and it’s a pretty generic style of baby clothes… so I dunno. They are super cute and exquisitely stylish in that modern-hippie-minimalist kind of way, which I love but could never actually implement in my own life. And if you feel like spending money on a Canadian small business, I can definitely recommend the product—the fabric is delicious and the sewing is impeccable. And she does make adult sizes! But if your baby isn’t the string-bean type, maybe size up. You’ll want them to fit for a good long while anyway!

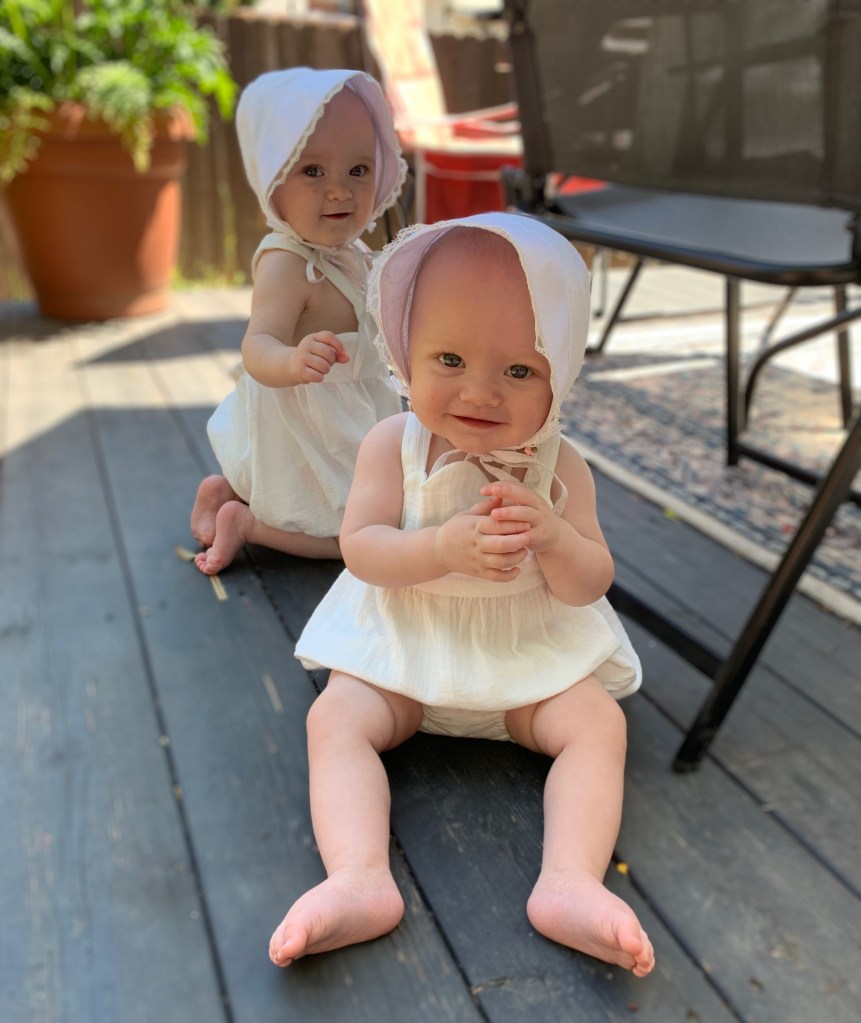
As for my versions, I think they’re comfortably different, and pretty close to what was in my head. The twins seem to like them, anyway. And hopefully those saggy crotches will get us a few months of wear.


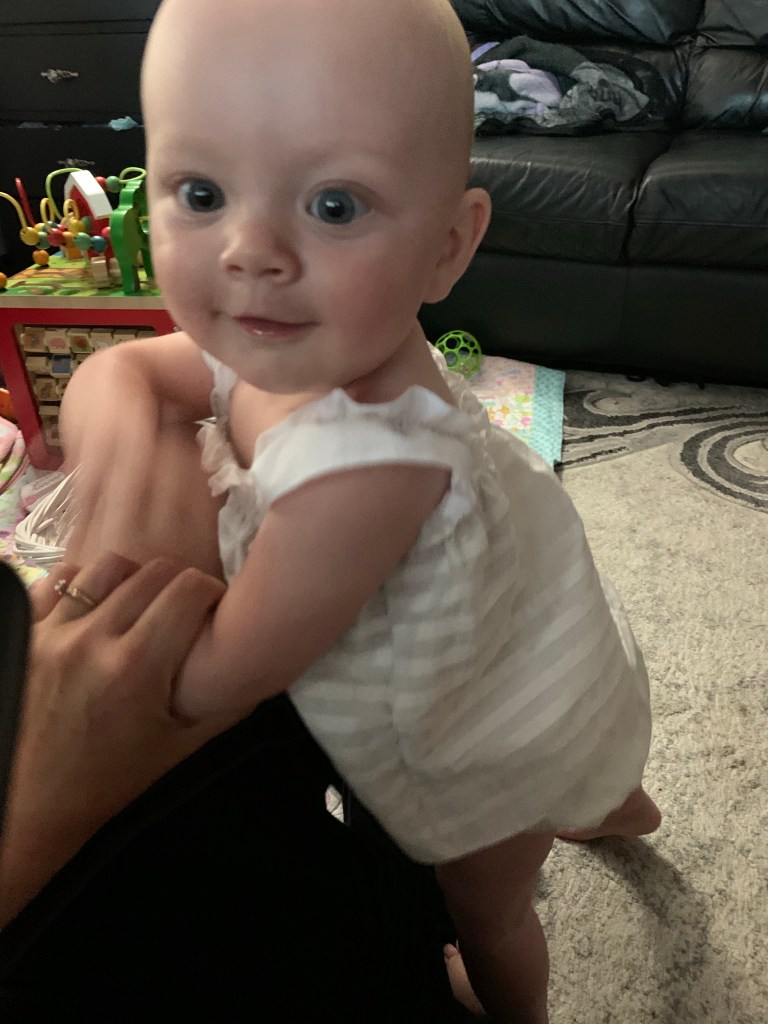


 In a rare (these days) burst of energy a few weeks ago, i made a baby onesie.
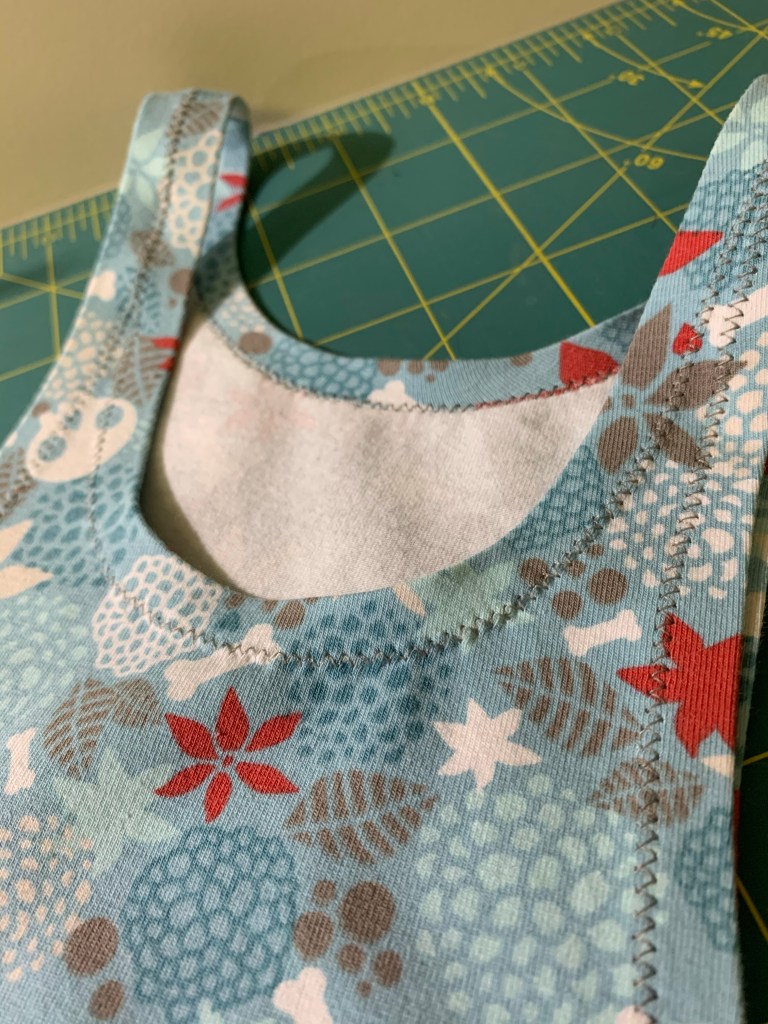
 I cut it out entirely using my rotary cutter, which is nice for small pieces and wiggly knits, especially since I took over some of the countertop in the basement kitchenette to have my cutting mat at a comfortable no-bending-required level. It’s especially nice for cutting perfectly even binding pieces, which helped a lot with the bound edges in this thing, and I do think they turned out pretty nicely, if I do say so myself.
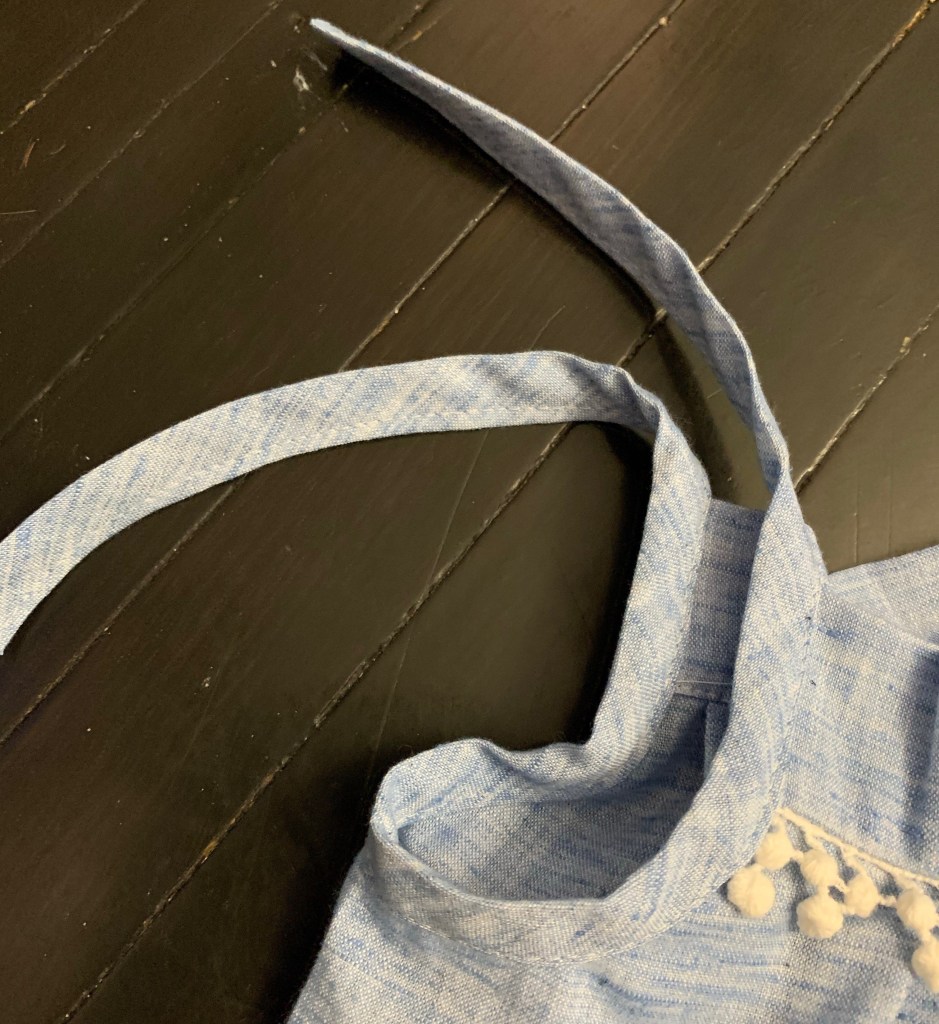
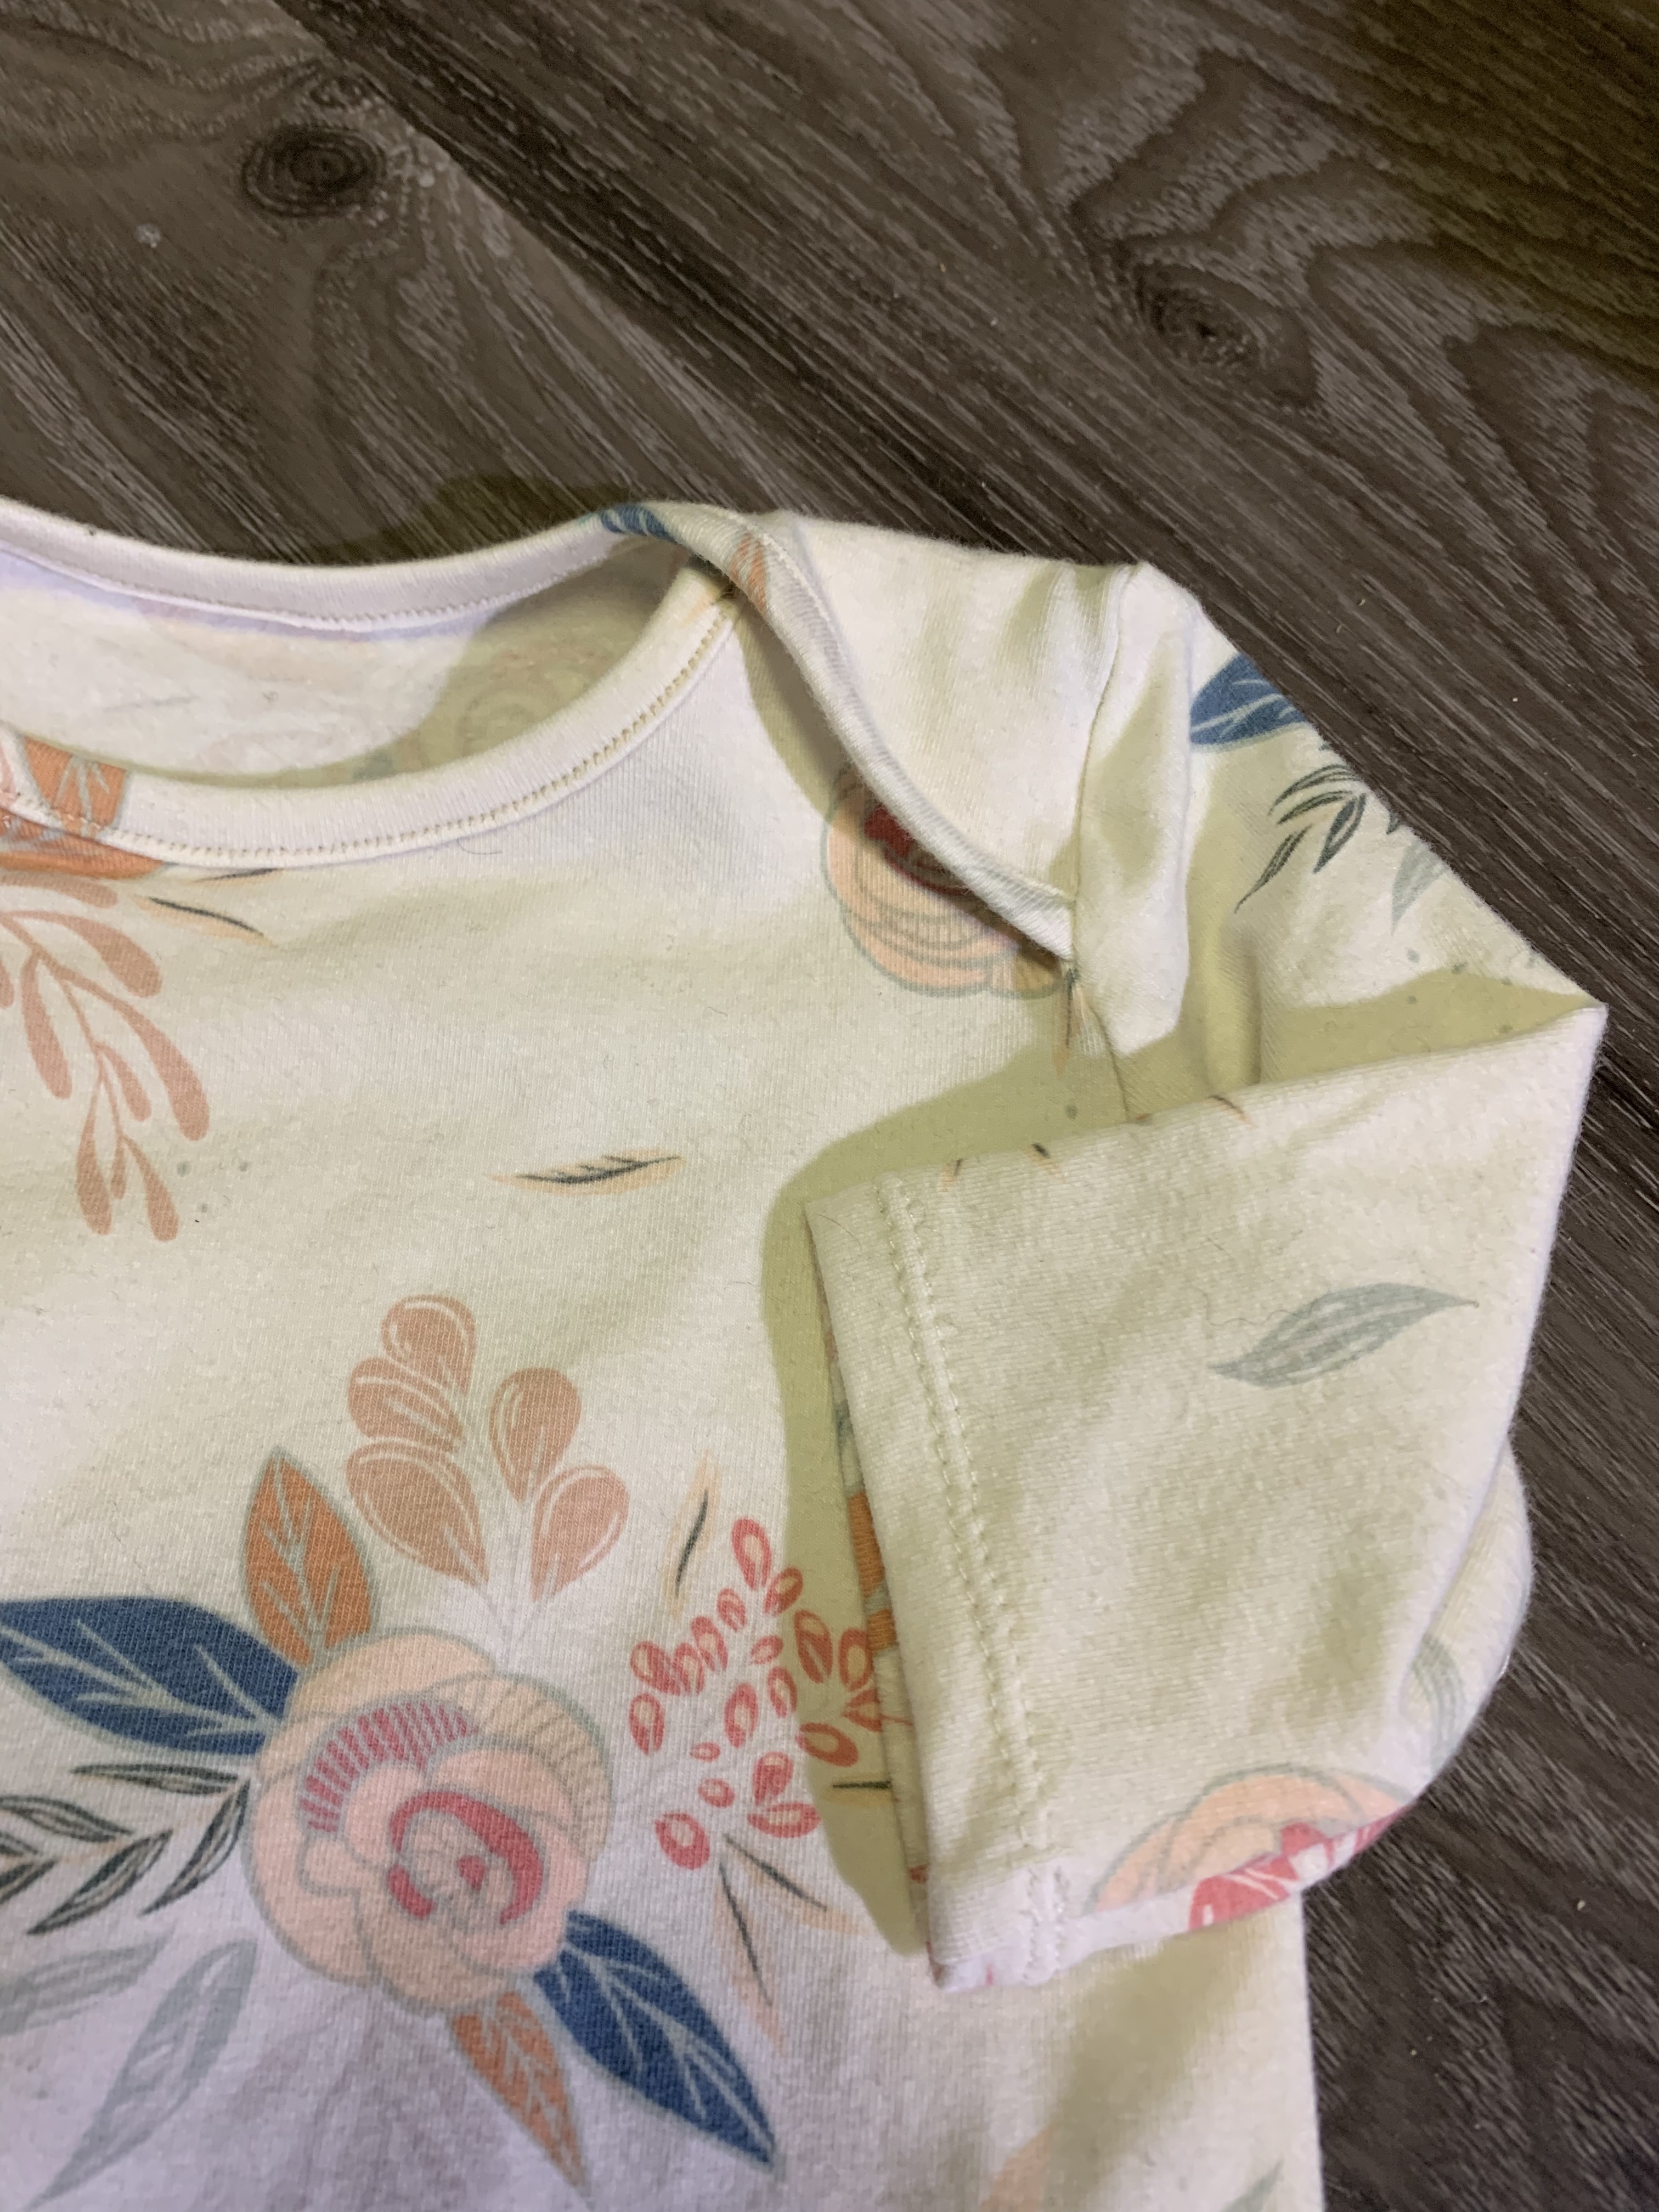 I did my usual triple-fold binding, which has a tiny raw edge on the inside, but is much easier than trying to make a knit stay in a double-fold configuration, and I am NOT up for hard right now.
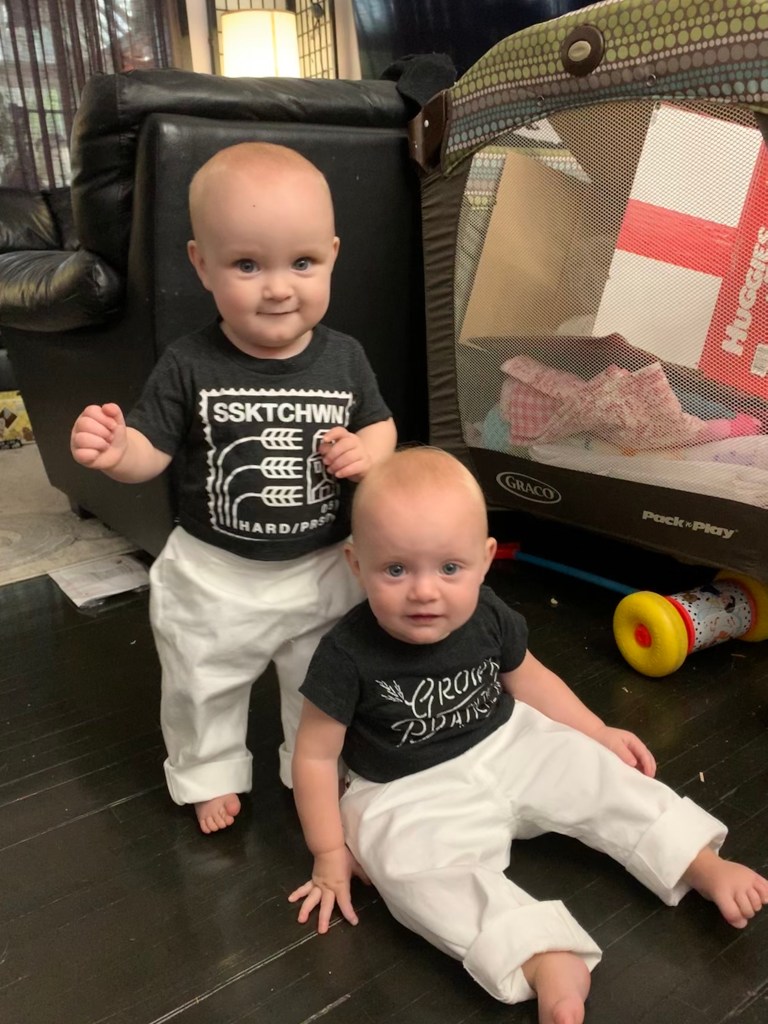
 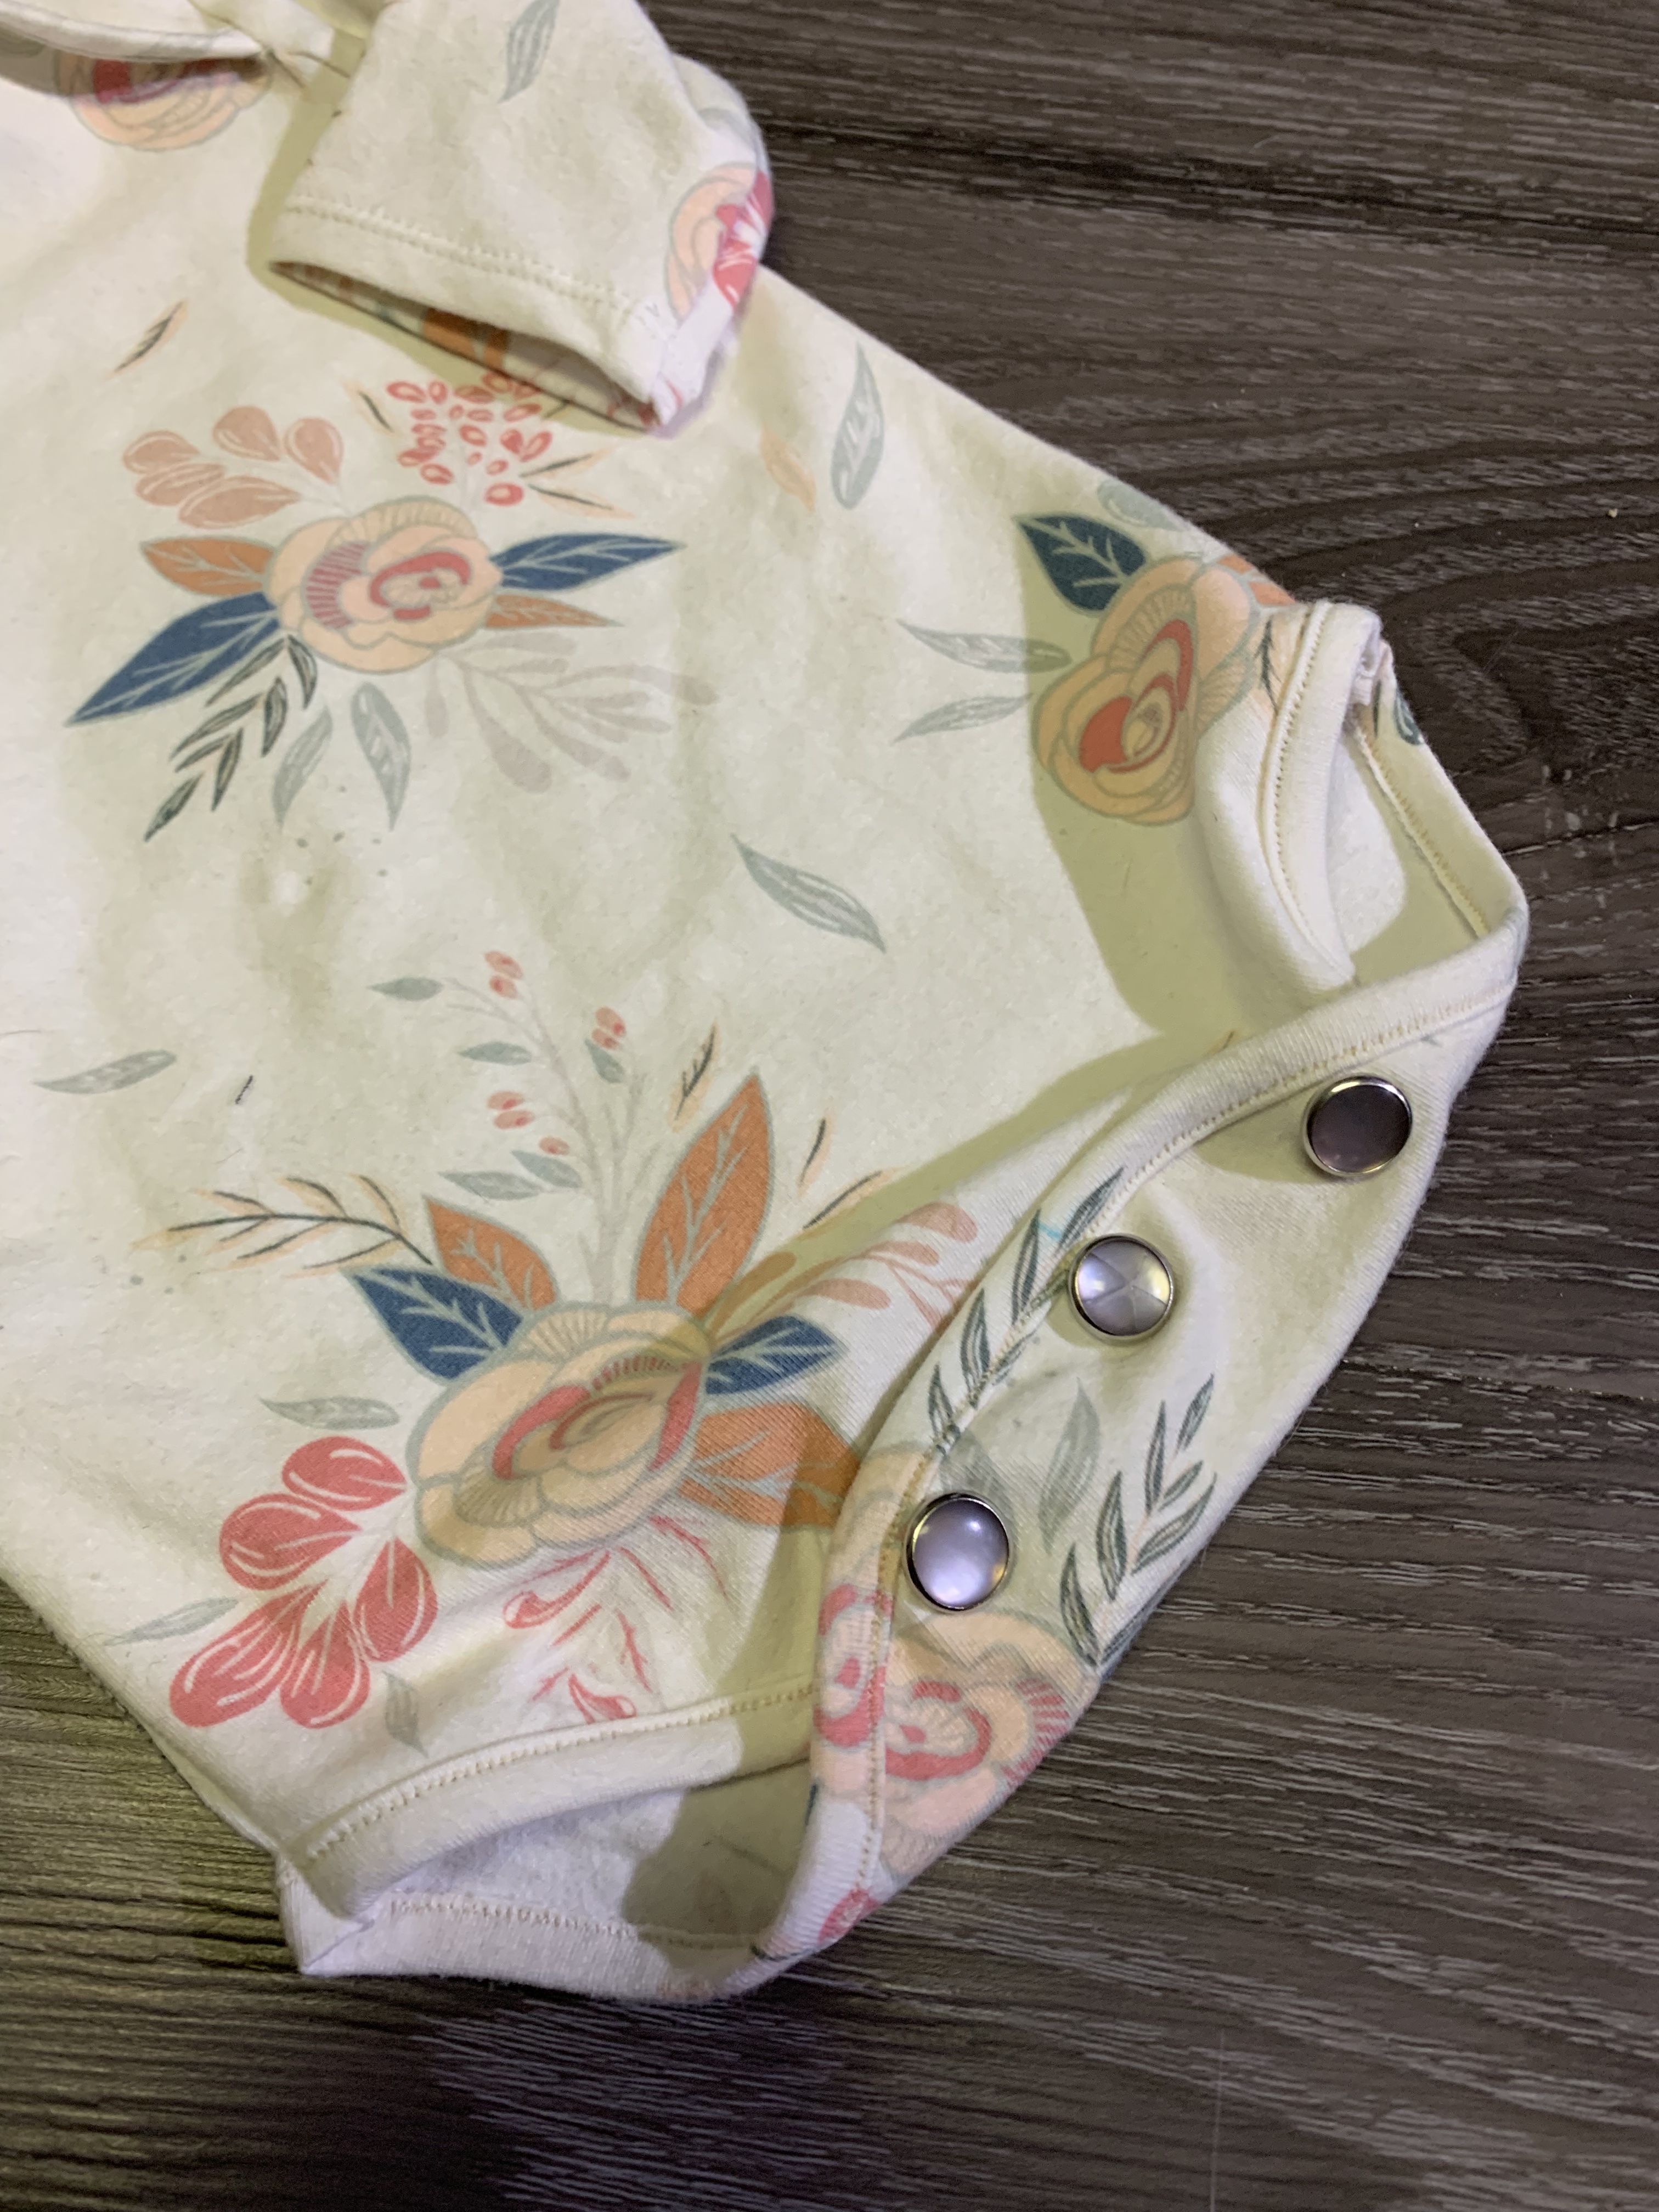 The smallest hammer-in snaps I had for the bottom of the onesie were these pearl snaps, and they’re a bit heavy duty. I should probably have added some interfacing or something to support the fabric, too. So not really ideal, although I like the colour.
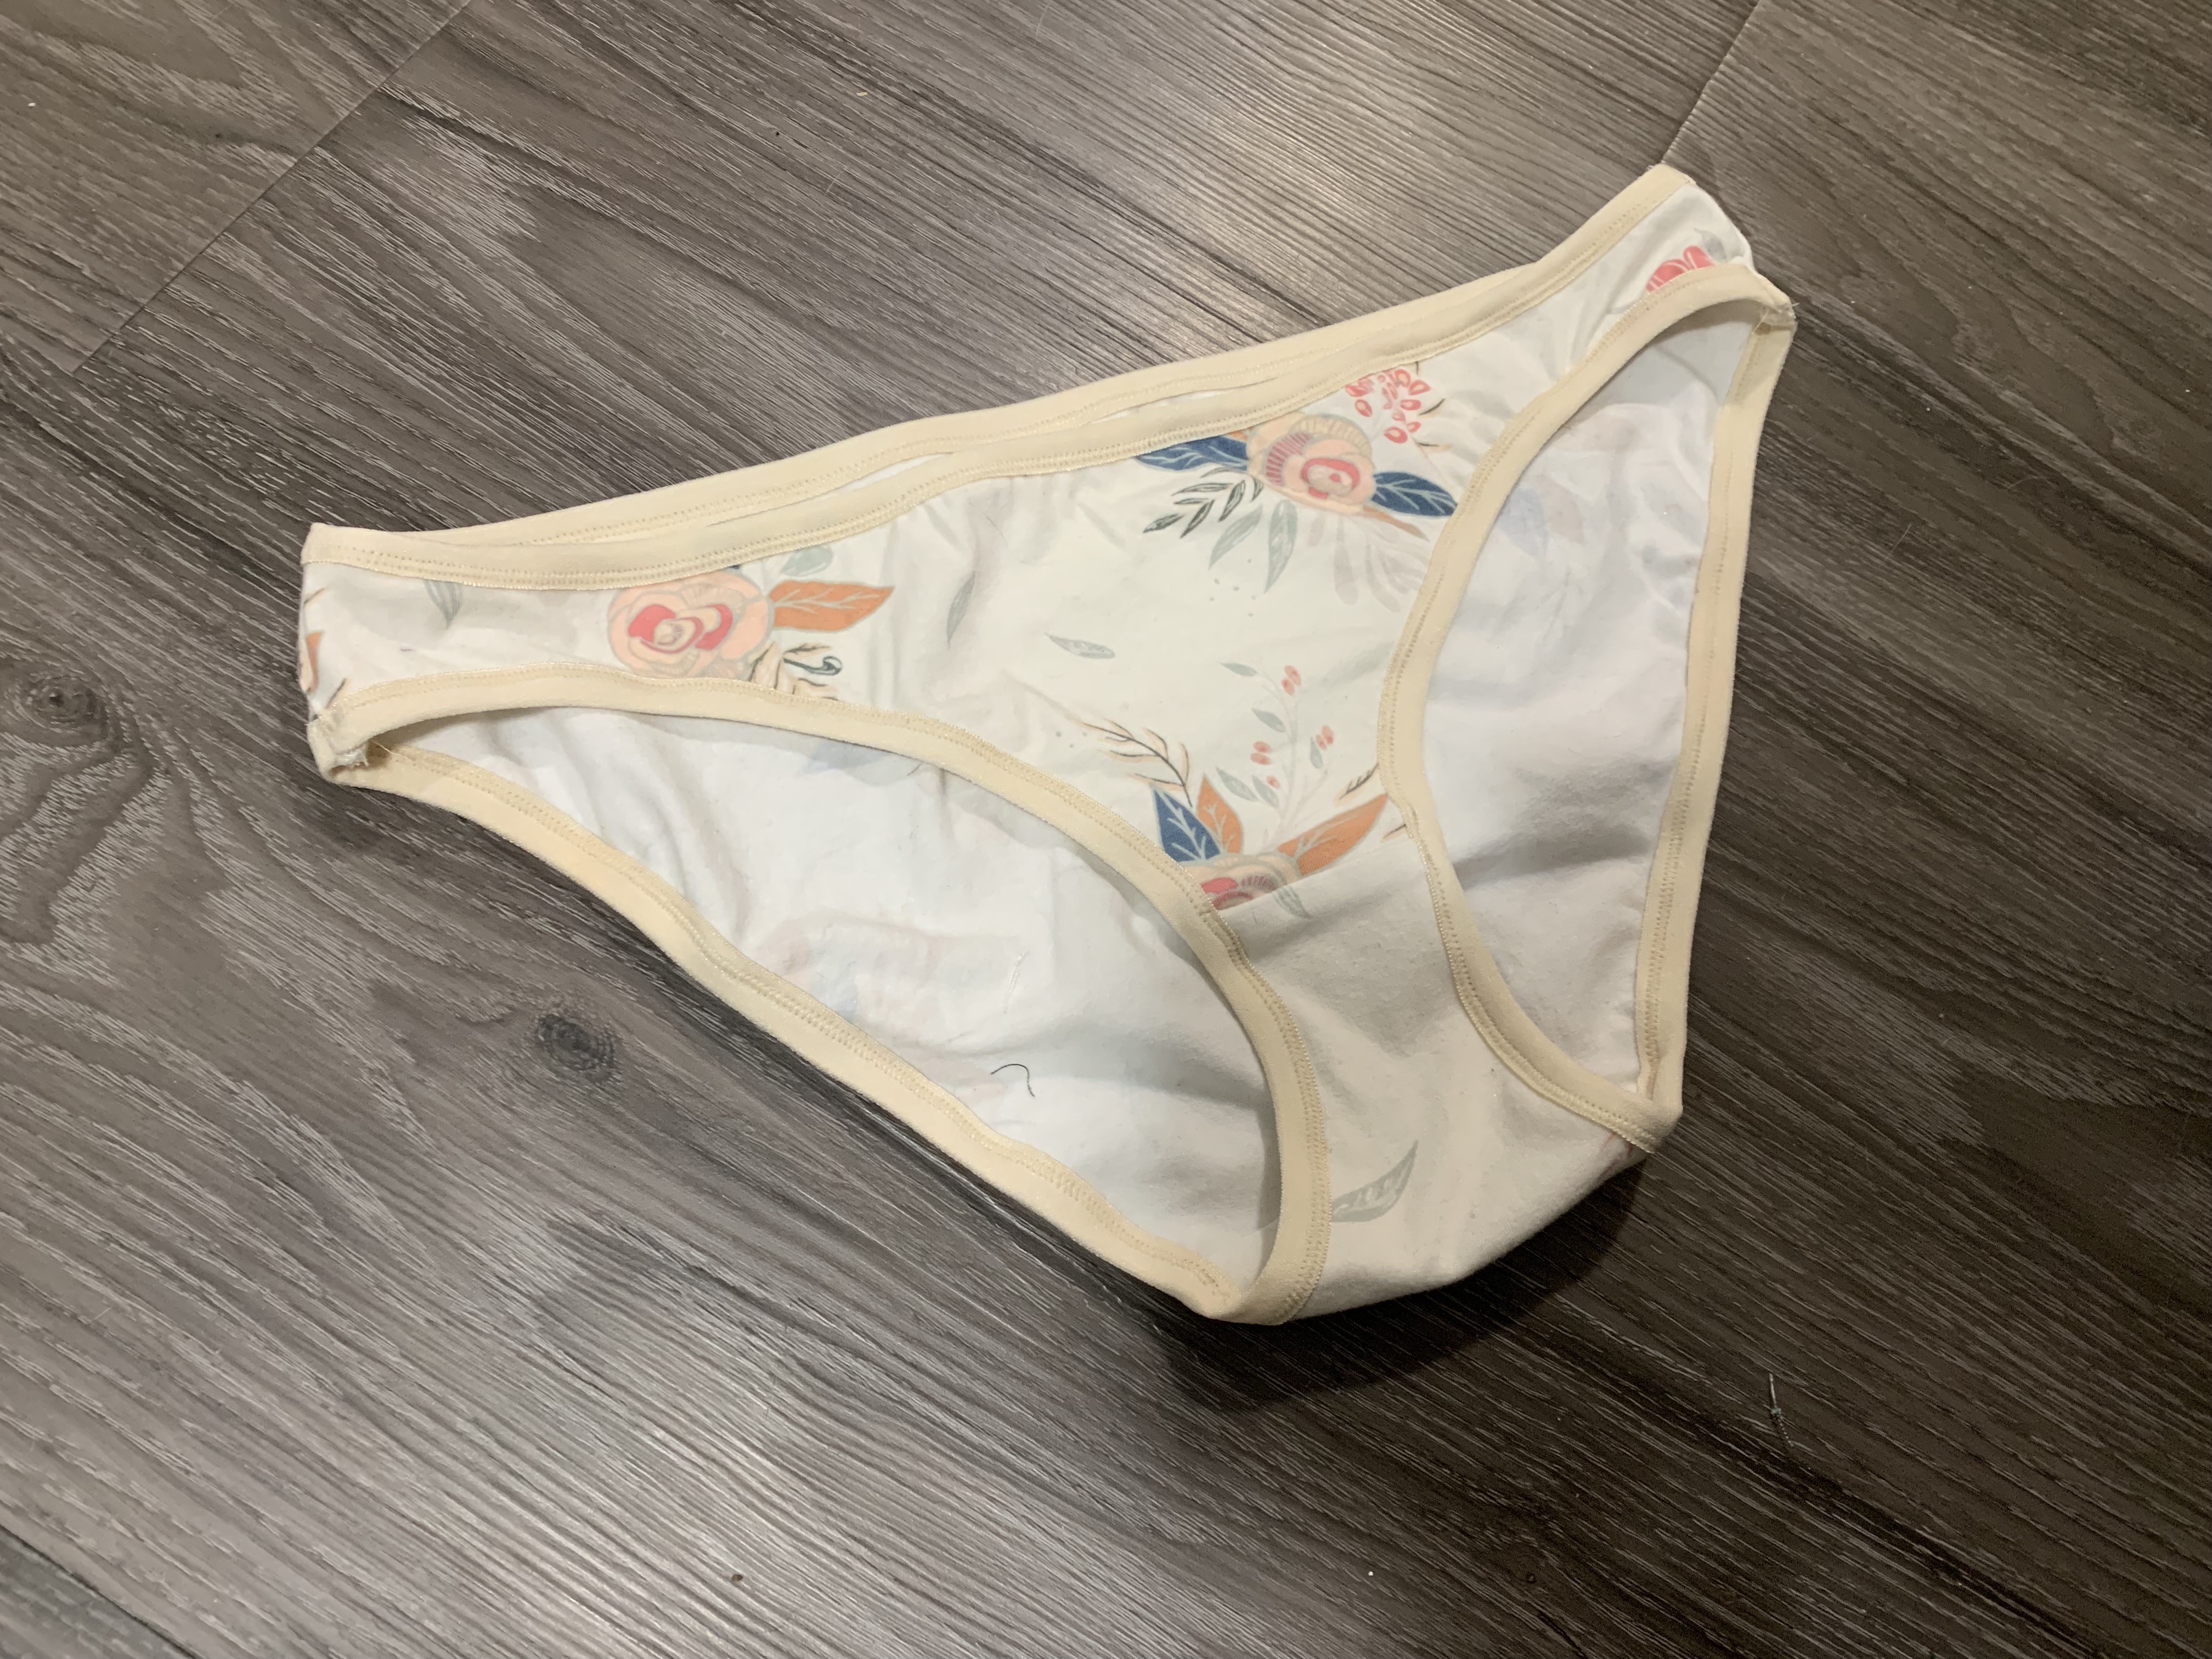 I don’t have any more of this fabric, having turned the last few scraps into Watson Bikini underwear, but I wouldn’t mind making a second onesie for a wear-home-from-hospital set, if I can figure out something vaguely coordinating.
 I realized (with some dismay) this past weekend that I’m no longer comfortable lifting and moving the various stacked plastic bins that hold my stash, which means that I either need to make do with the fabrics I already have out or ask for help to reach stuff in the bins, which isn’t impossible but will definitely make me think twice about things. So there may or may not be a second baby onesie… we will have to see. At the moment even getting off the couch feels fairly strenuous. On the other hand I will be reducing my work hours and even going on leave in a few weeks, so it’s possible I’ll have energy for something else, but I’m reluctant to set any lofty goals, even if I am fantasizing ceaselessly about things.