
This skirt comes from the confluence of a lot of things. I miss my old wardrobe. I’m so sick of living in leggings. I wanted to work with some linen—I’m craving the feel of a crisp natural fiber against my hands. And I guess the Sewcialists’ Zero Waste sewing month (that’s how long sewing this has taken) wormed itself into my subconscious, because even though I’m not usually thrilled with the practice of zero waste sewing, I wanted to try a really low-waste approach to this skirt.

It’s also taken a fuck load of time to complete, one seam (or even half seam) at a time, as the twins are VERY busy these days and we’re all worn out with winter and isolation, so it’s been hard to ask for more alone time to sew when everyone else I can ask is already at their limit, too.

The fabric was a big piece of extra-wide linen from Pure Linen Envy. I had ordered it hoping to make a bed sheet, but the 208cm width wasn’t quite wide enough for a queen size bed, nor is the fairly loose weave really ideal for bedding. But it wasn’t overly expensive for the size, and since it hadn’t really worked for its original purpose, I didn’t mind sacrificing it for something kind of experimental.

I started by calculating out the measurements for a trapezoid skirt. This is the low-waste method where you cut trapezoids in alternating directions, and then flip them around so the narrow ends make the waist and the wide ends give you the skirt’s flare. I could go into how I carefully decided on my number of panels, divided my waist measure by that, and then figured out how wide the bottom could be given that waist… but then my plotting onto the fabric wasn’t terribly precise (not least because my fabric was really wrinkly because have you ever tried to iron 2m wide linen while two toddlers are trying to climb the ironing board?!?) and then the resulting skirt wouldn’t have been quite as full as I wanted. So I cut another set of panels, planning an assortment of pleats to fit the waistband… so really there’s a lot more “than art” in this than science. Which is fine, really.

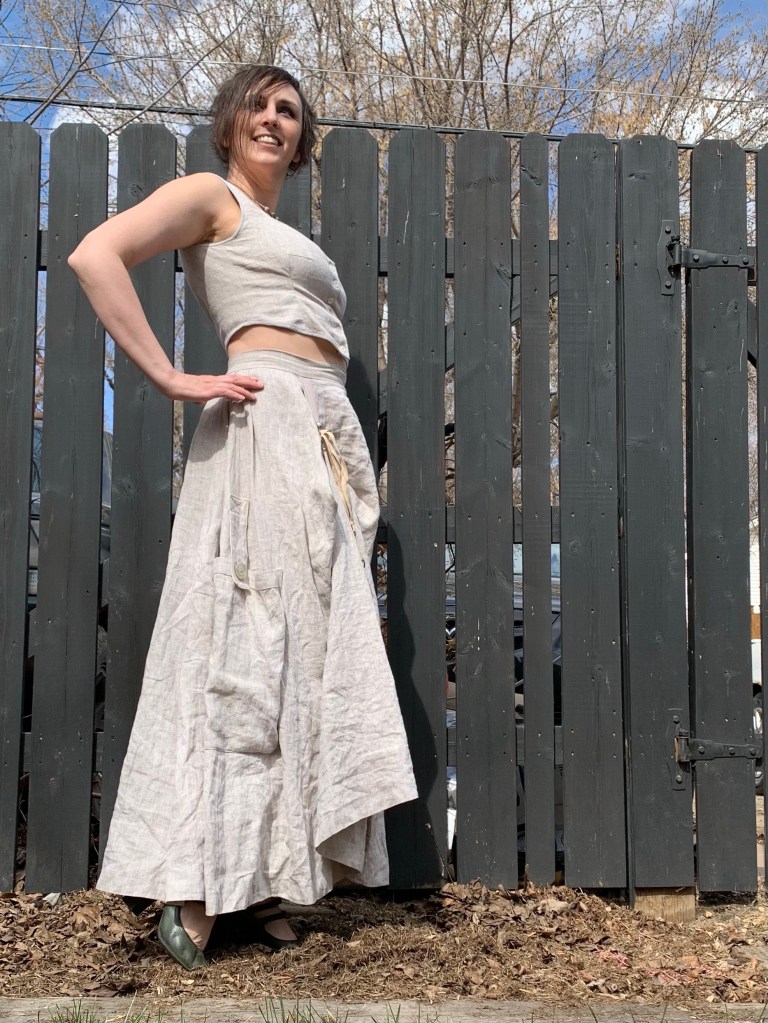
I had a lot of fun playing with pleat ideas, and then I had the idea to add adjustable pickups, which I’ve wanted to do for a steampunk feel of skirt for a long time. Big patch pockets as well. In my head there were elements of asymmetry as well, but I may have kind of blinked in that staring contest (although due to my rather haphazard cutting and equally haphazard pleating there’s some asymmetry for sure.)

I spent a lot of time faffing about, well, all the details, and in the end it’s fairly simple.
The big patch pockets (which are set way too low to be truly functional but I’m not moving them now) are simple rectangles. I sewed some big, gorgeous, heavy shell buttons on them for decoration, which made them sag awfully, so then I added some tabs with buttonholes.

For the pick ups on the front, I used a 3/4” twill tape (tea dyed to be a little closer to the warm brownish beige of the linen) and some little brass D rings I stocked up on way back in my Fabricland days. And I still have lots more… After mentally planning all kinds of elaborate methods, I just tied some lengths of narrowed twill tape to the top-most D rings. It works.
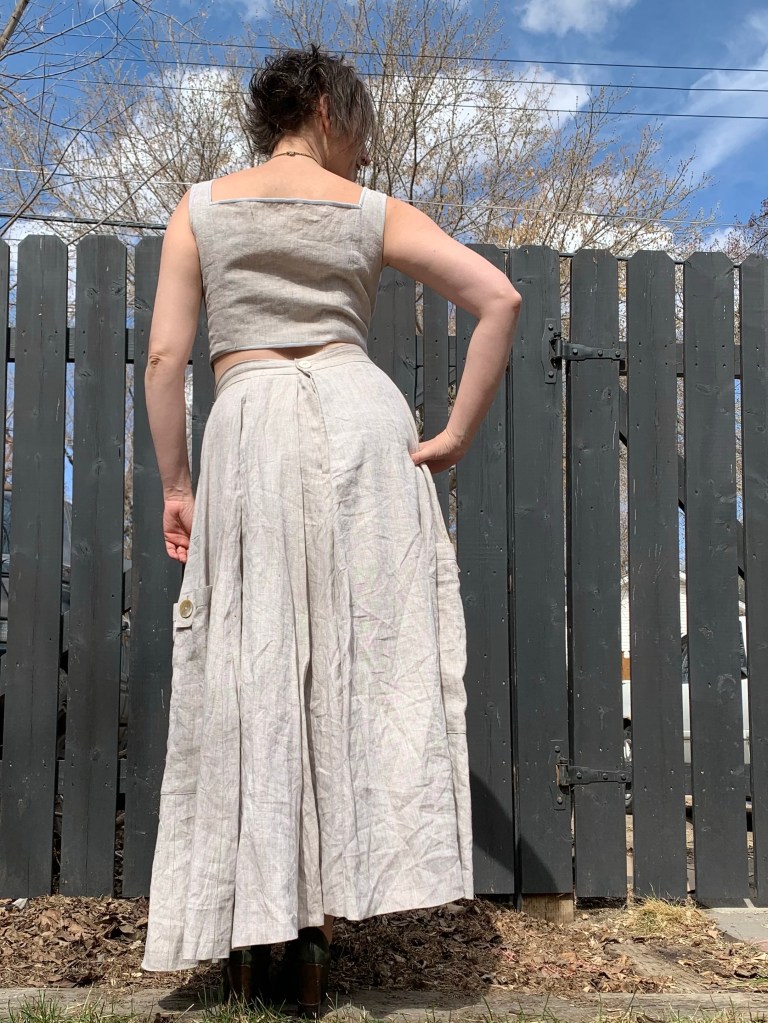
I very carefully didn’t make the waistband of the skirt too tight, and now I think it’s too loose. I will try just adding a second button, though, so I can adjust it through the day, because I notice that what feels comfortable in the mornings these days can be way too tight as the day wears on. The wonders of getting older, I guess.

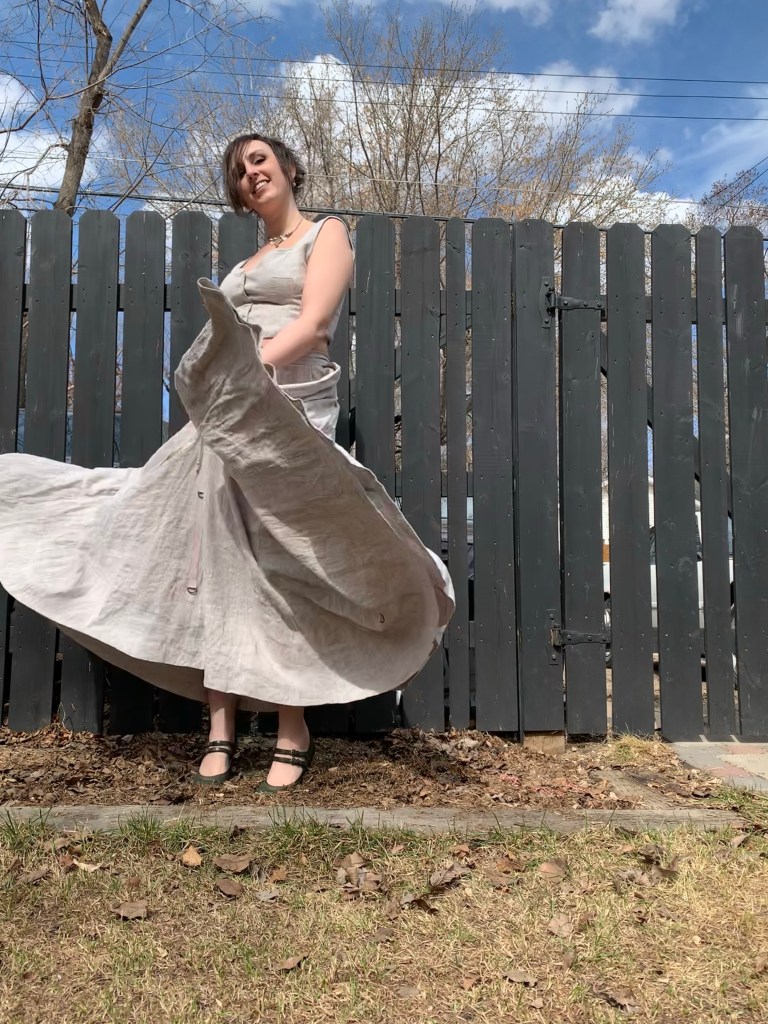
Leveling the hem was a bit of a nightmare. I’m not good at leveling hems at the best of times, and my simple trapezoid cutting plan inevitable created long points at the seams and shorter spots at the middle of the panels (and did I mention there were 14 panels?), and it’s probably still not that even, but if you notice you can just keep that to yourself, all right?

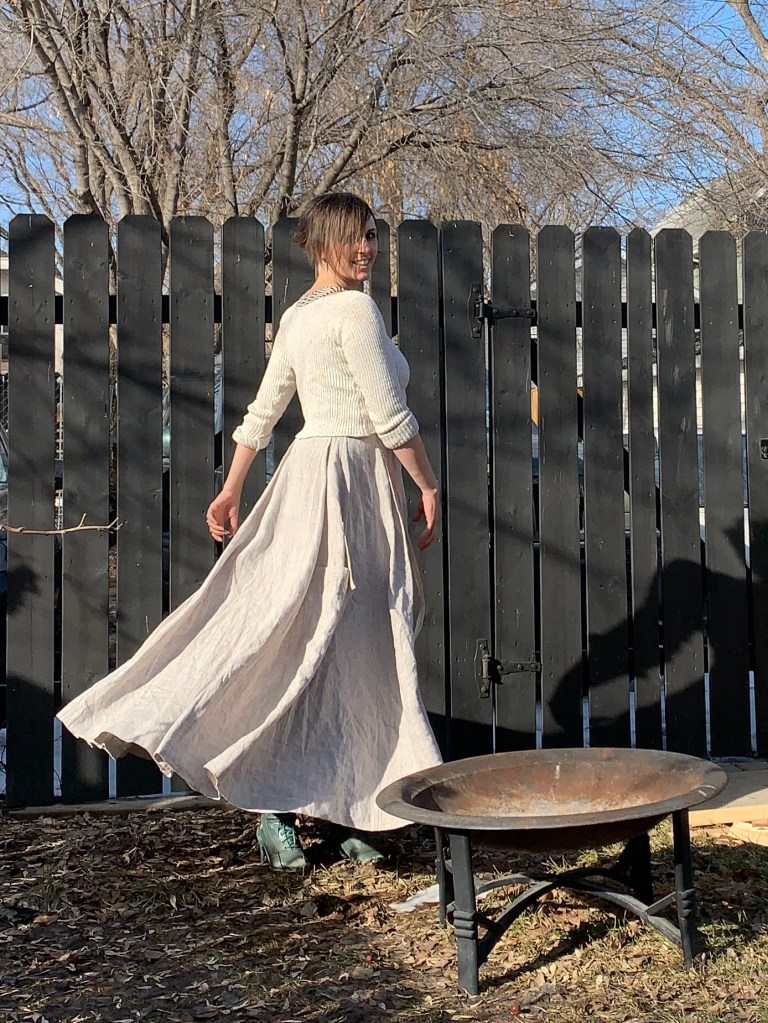
At the risk of this post getting way too long, I’ll say a few quick words about the top. It’s from an older Burda magazine, and I made it before to go with another skirt and failed to write about it then. I used it again this time for two reasons: 1) it was the general style I wanted, and 2) the pattern was already traced. Obviously, I’m a bit bigger than last time, so I needed to upsize a bit. I added some with to the side seams, and did a wee bit of an FBA along the princess seam (which didn’t work out terribly well as it doesn’t run over the bust—I should’ve done an FBA using the tiny dart. In the end I was a bit over-generous, and had to take in quite a bit, and it just doesn’t sit as nice as I wish it did. Particularly, I was paranoid about making it too tight, so I may have erred on the side of too loose. I’m also debating adding some boning to the seams to keep it sitting a bit better. Also I didn’t stabilize the curved seam on the sweetheart neckline, which is ok now but we’ll see. I do like the binding finish I added.

The kids have informed me that the whole outfit is “cottagecore”, which I’m going to run with. It’s a lot of fun, especially the swishy skirt.
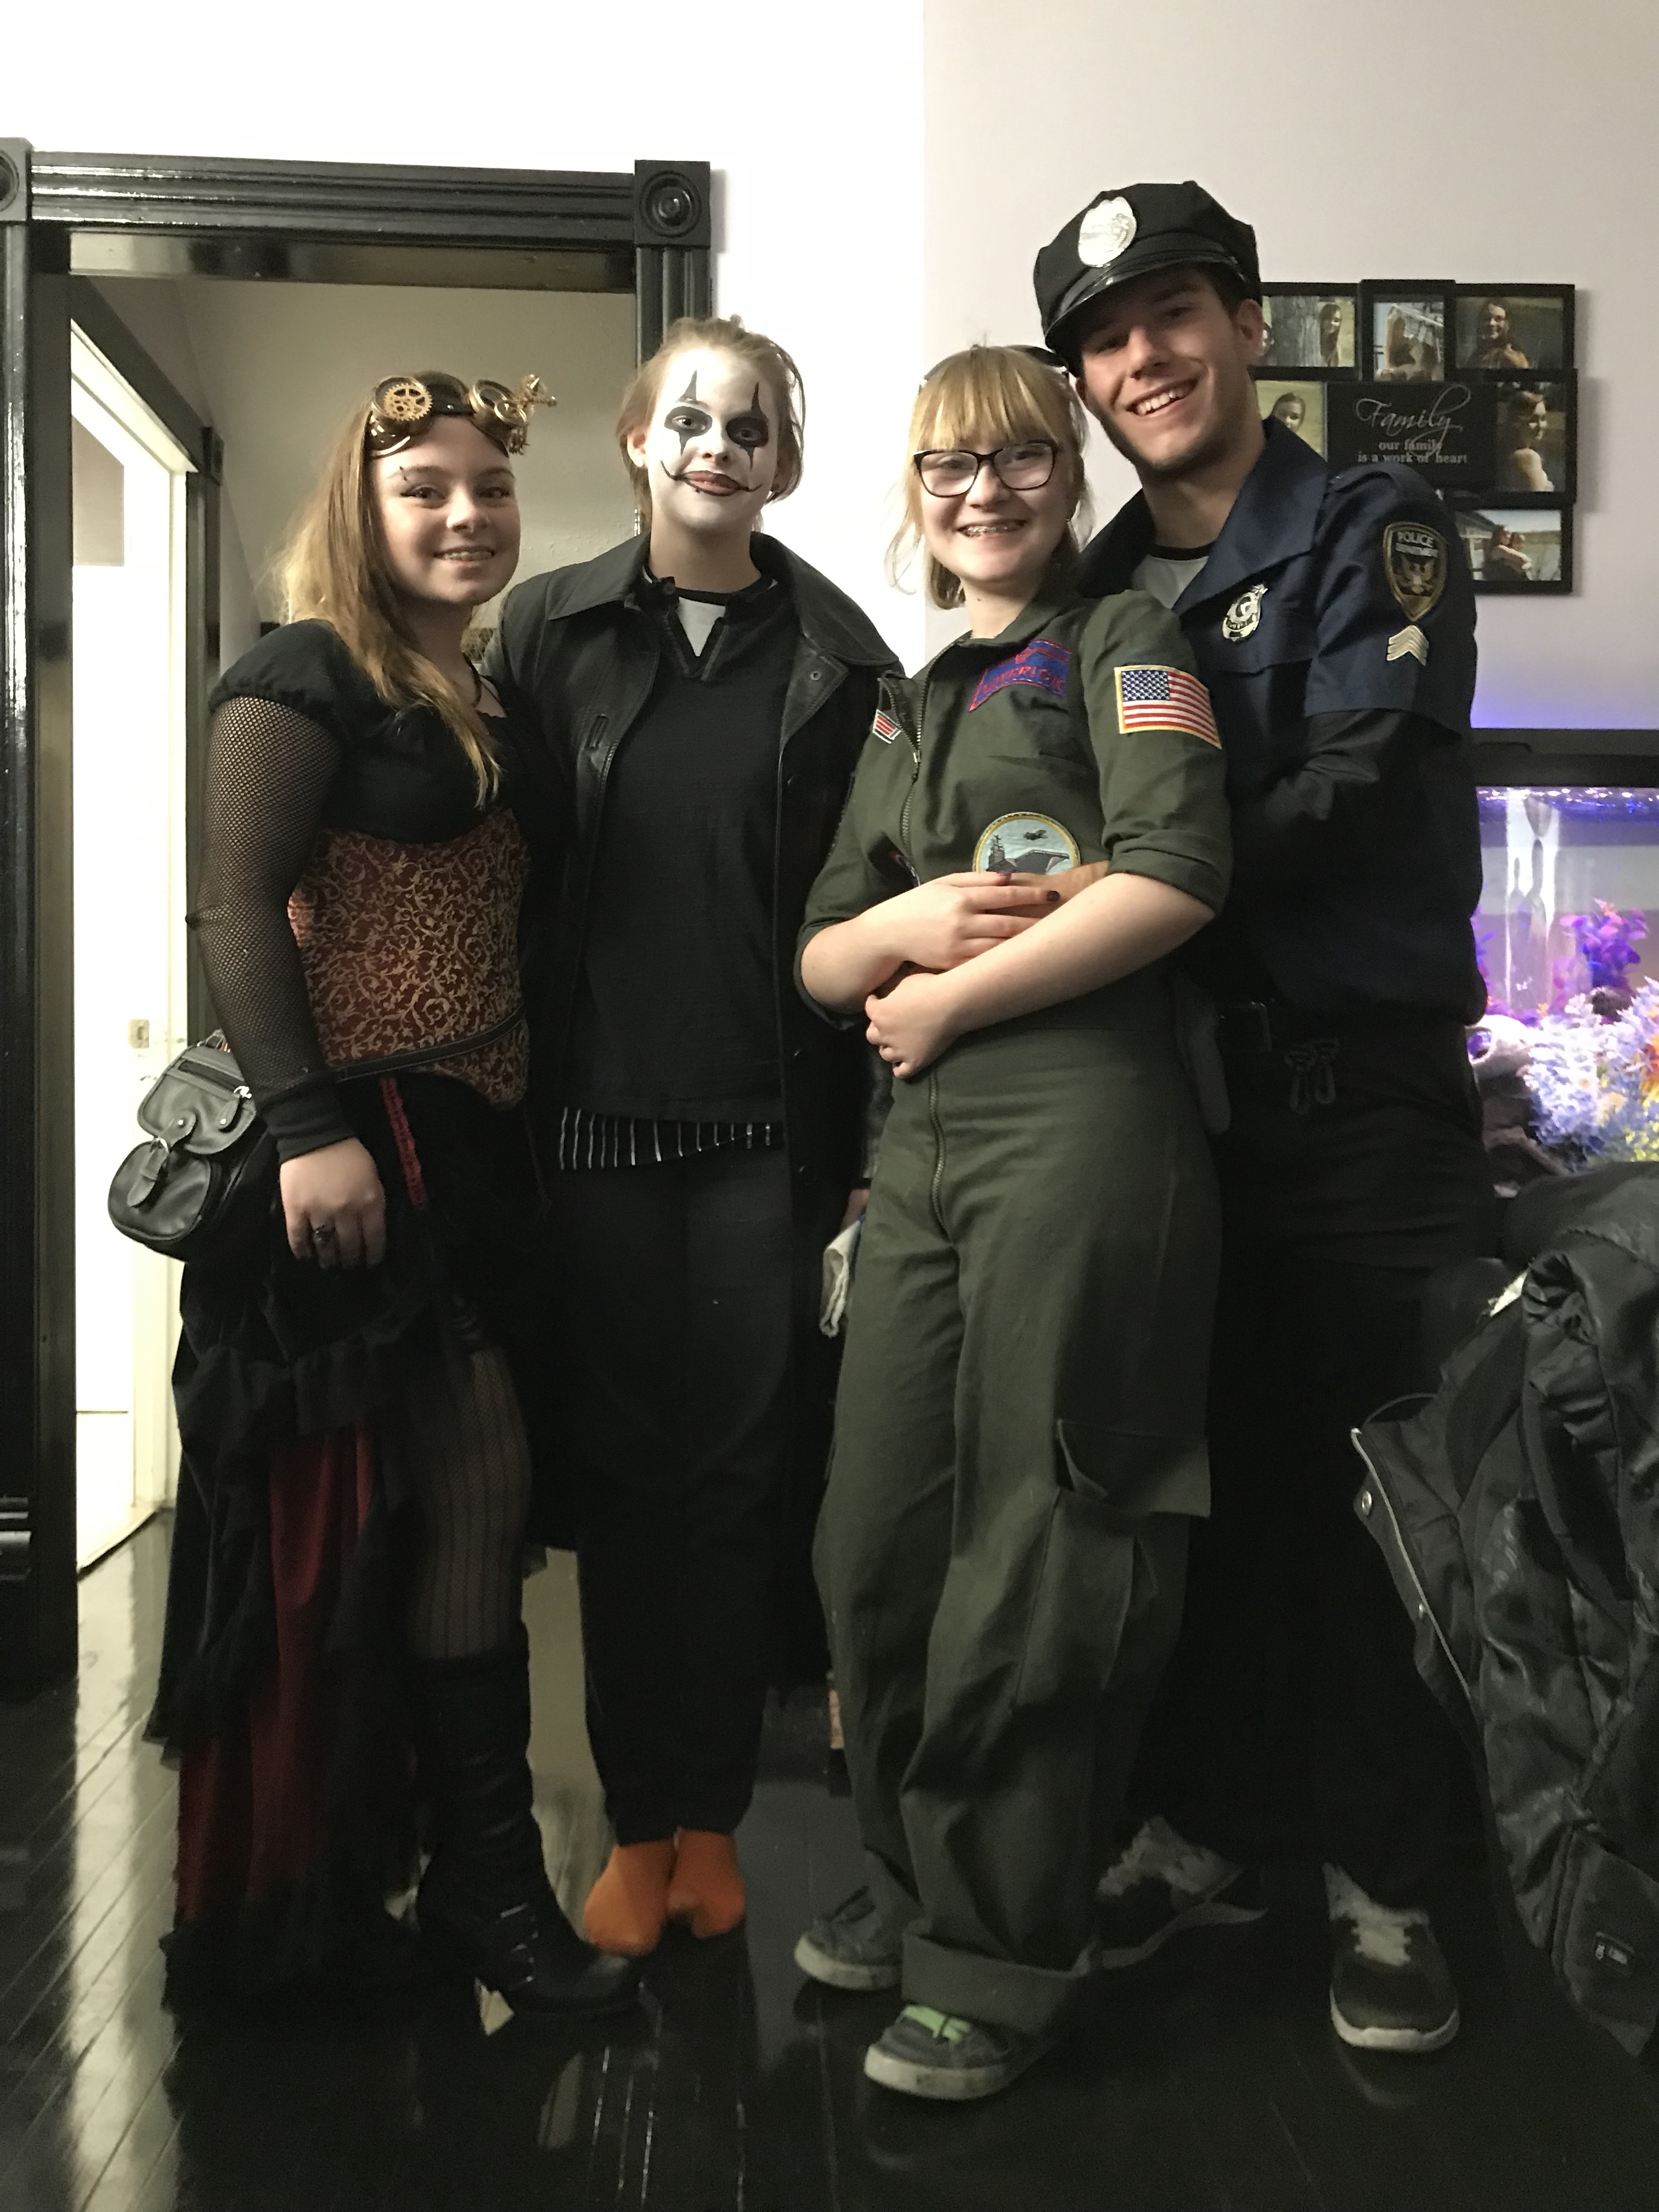 I didn’t really mean to do intense Hallowe’en costuming this year—frankly I was more excited about decorating the house (which we ended up not even doing!)
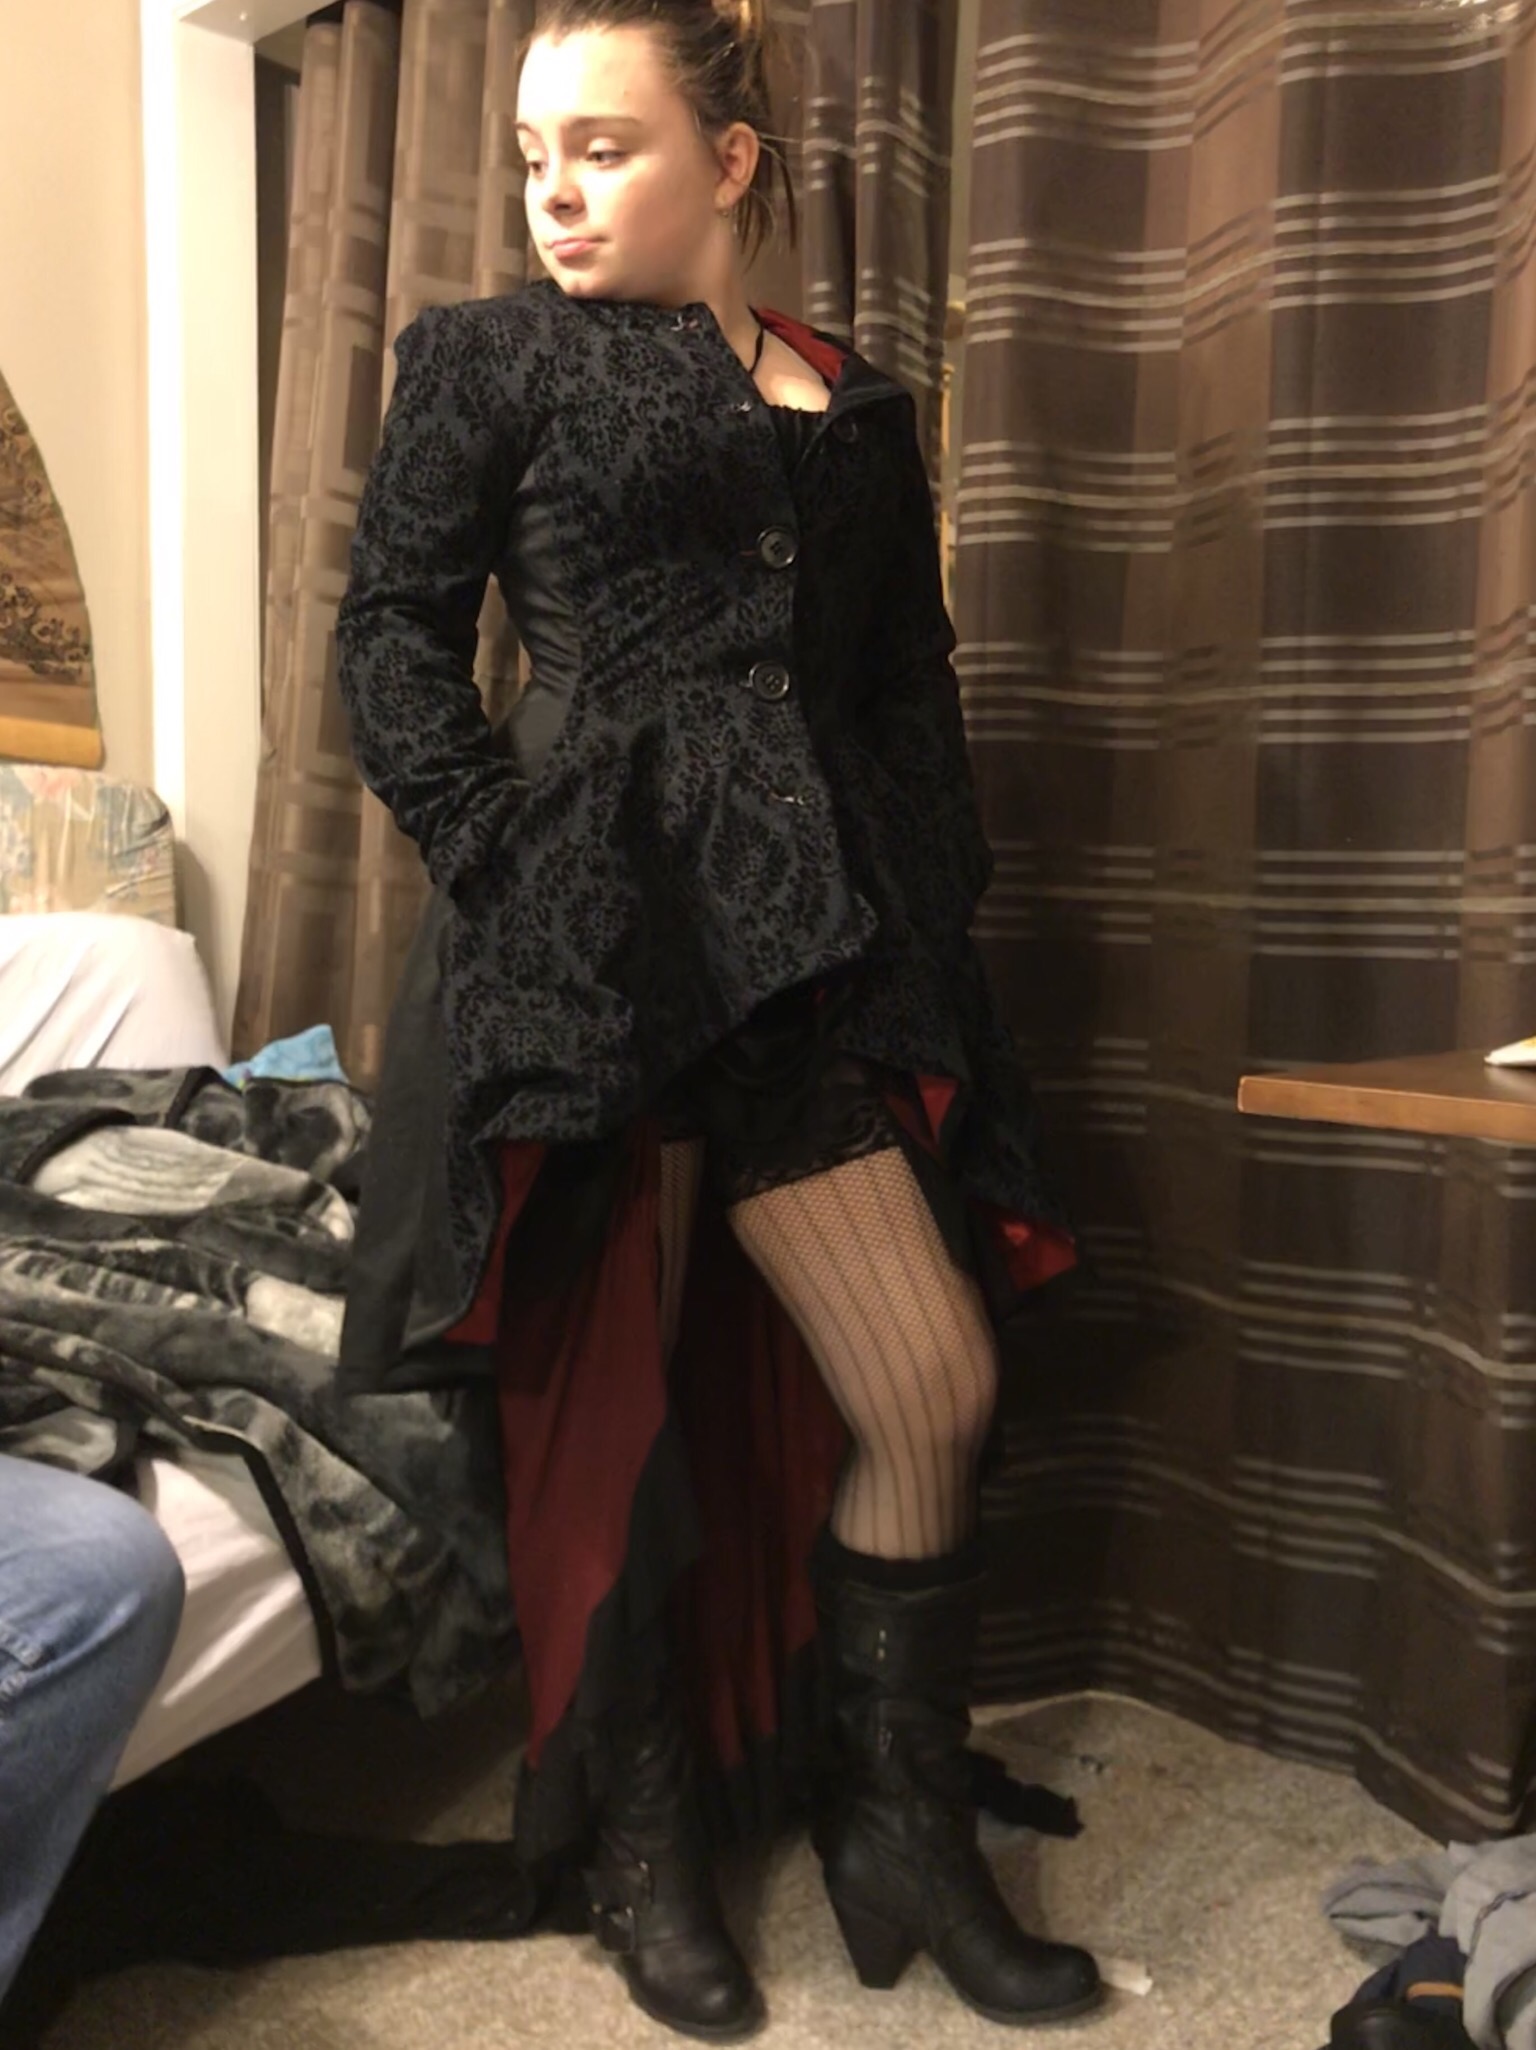 Repeat patterns help a lot for speeding up Hallowe’en sewing. For the coat, we settled on
  but now I won’t be. Since 2m is not enough fabric for this pattern, we had to continue stash diving to find something compatible. Settled on a nice, beefy bottom weight cotton stretch sateen. Not as precious as the flocked denim but still a nice basic I’d hoped to turn into something practical for ME. For lining, we used the last of my precious red Kasha, (what did I say about vampire wannabe-ism?) which would hopefully make the whole thing a little more Hallowe’en-friendly (Hallowe’en here is either on the cusp of winter or in full on winter so making costumes warm is a priority).
 Syo did most of the cutting out and basically all of the sewing on the shell. I directed and sewed the lining and hems. And the main hem is the main thing that we probably should redo, because I hemmed the two layers together and I shouldn’t have, but we were on a tight time schedule. So it doesn’t hang as nicely as it should. I made the buttonholes but she selected and sewed on the buttons.
 The skirt(s) and blouse were much simpler and quicker. I drafted the skirt as a high-low half-circle on some black stretch velvet. And by drafted I mean, took a measuring tape and some chalk and and drew lines right on the fabric. I made a bunch of ruffle with some still-kinda-precious-to-me stretch mesh, and added various gathered bits until it started to look ok. There’s an underskirt of red mesh made much the same way, too. It was harder to let Syo help with this part, since I was flying by the seat of my pants. But it also didn’t take too long.
 The blouse was both last and least. The pattern is just a peasant blouse from the late 70s, not unlike the
 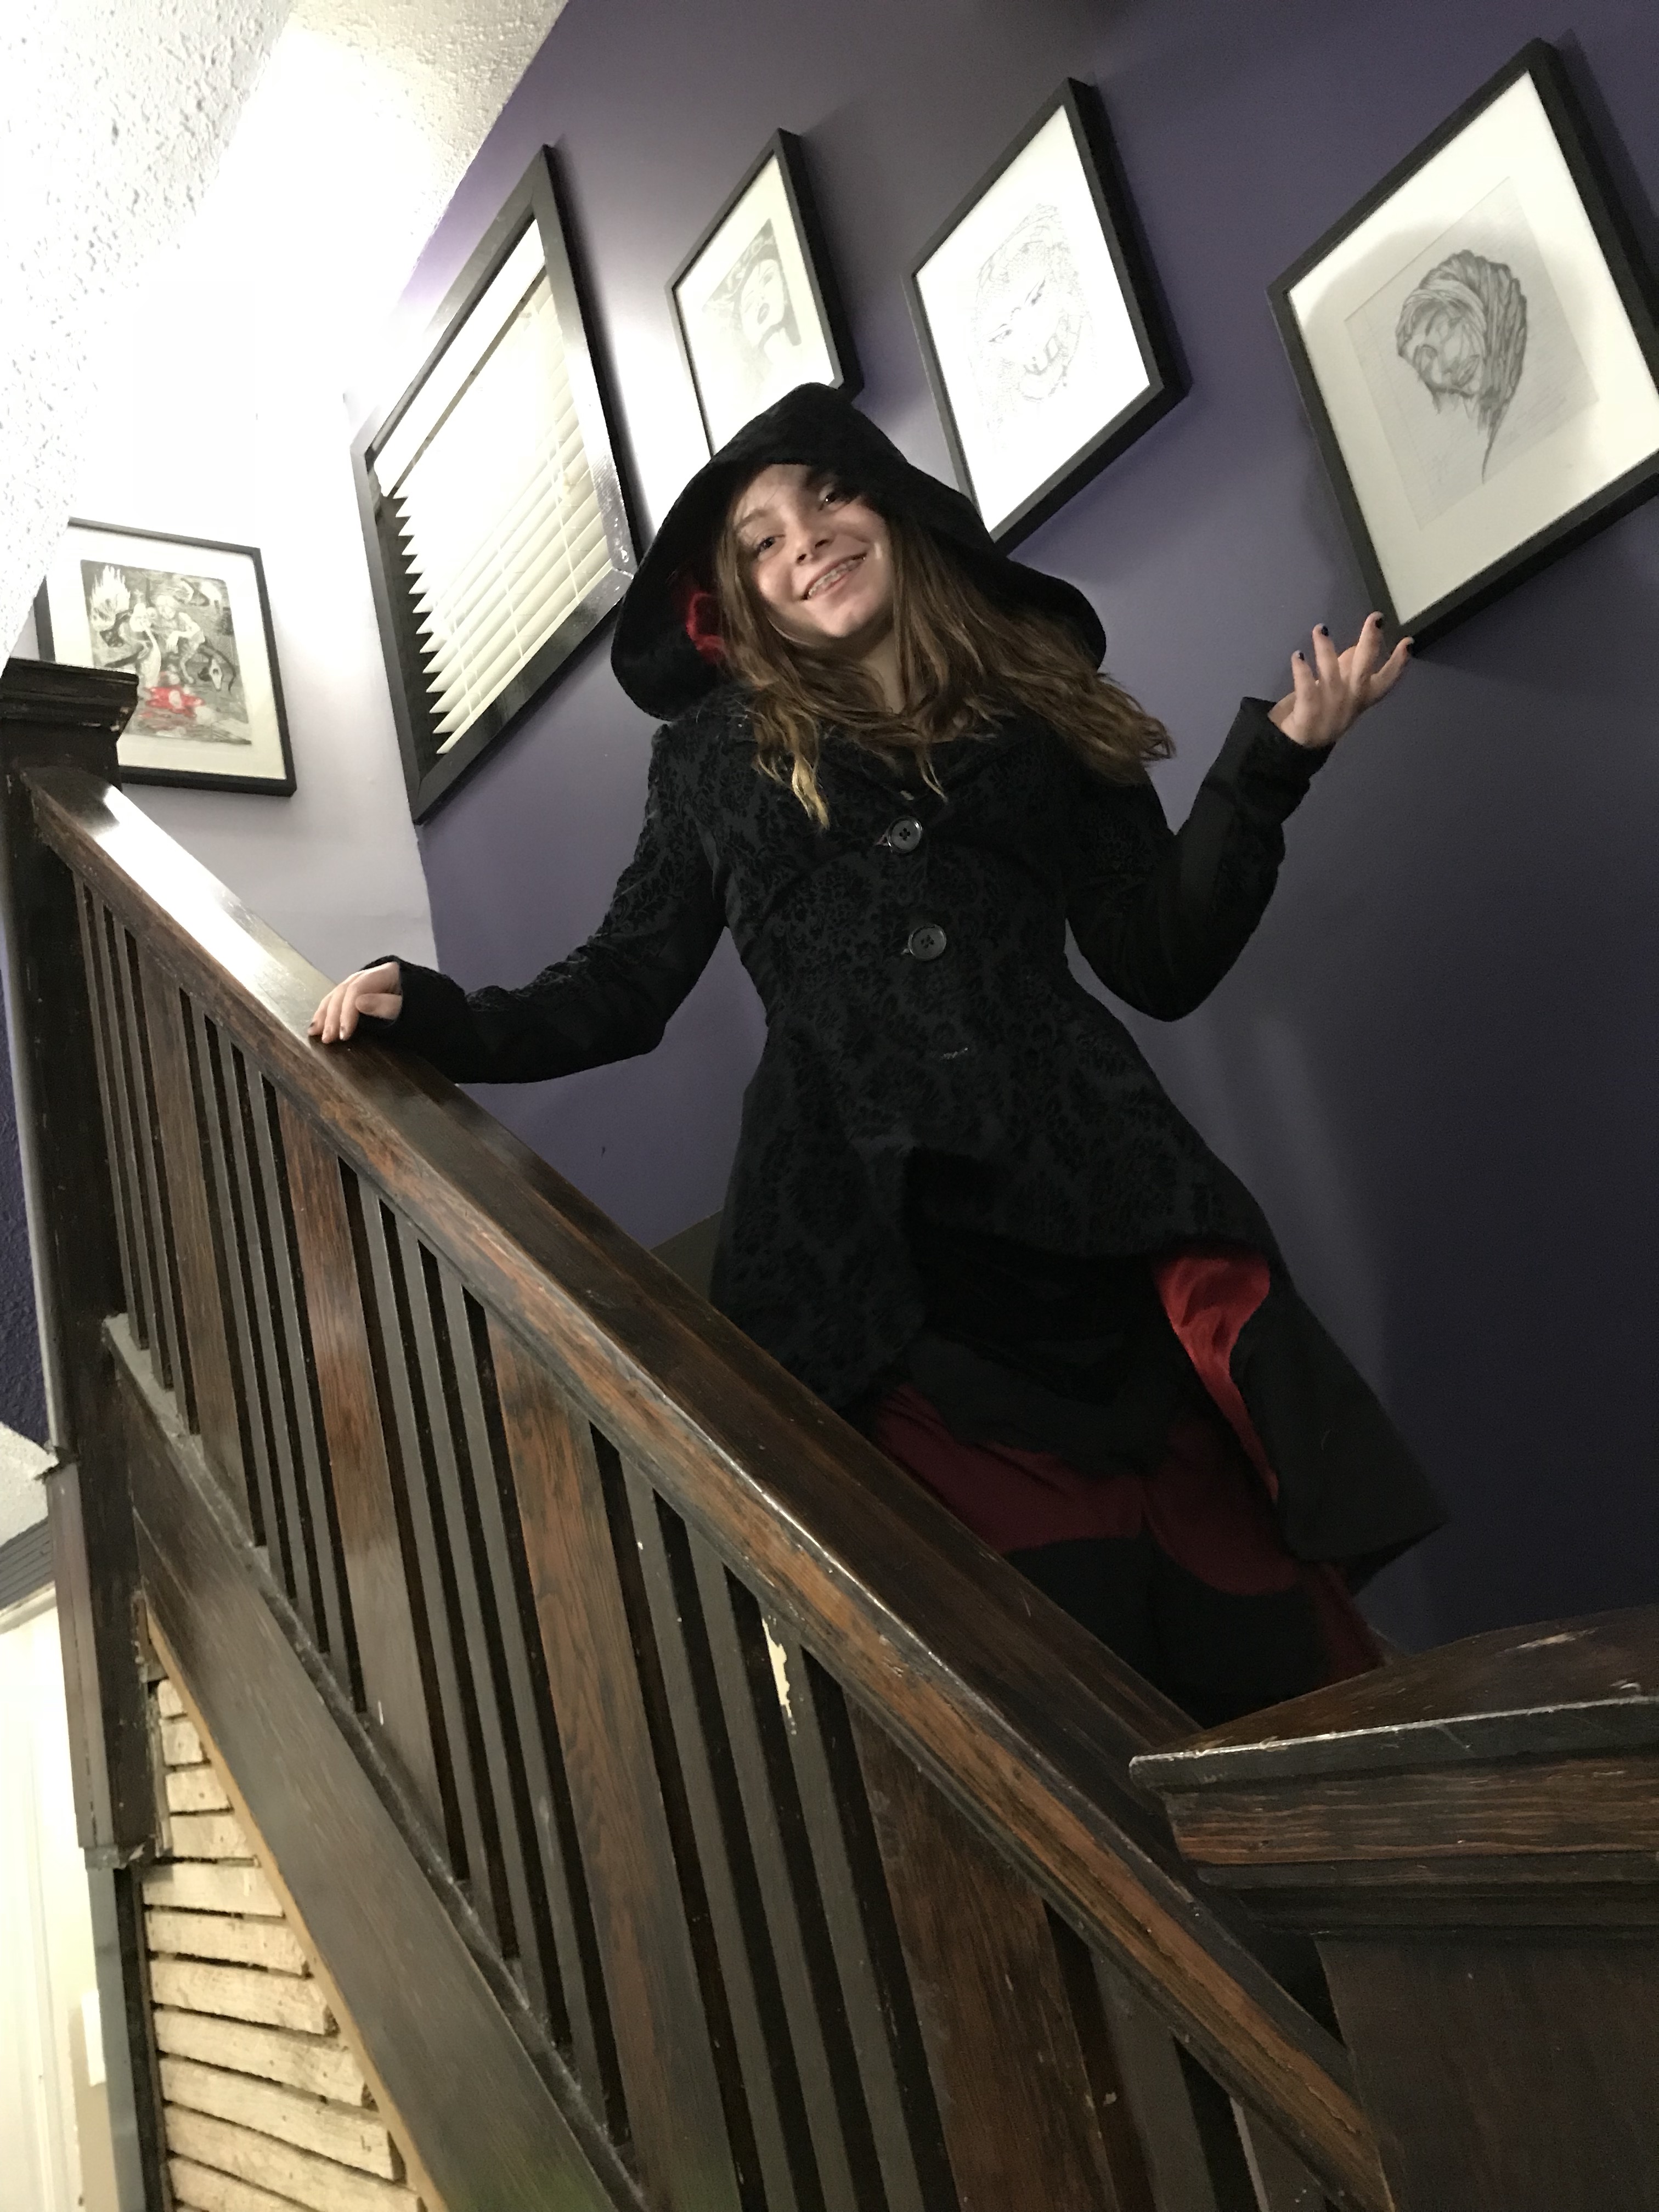 Guys, I love this costume. Like I wish it were for me grade of love. None of the snapshots really do it justice—it deserves a proper photo shoot. Someday. 😂

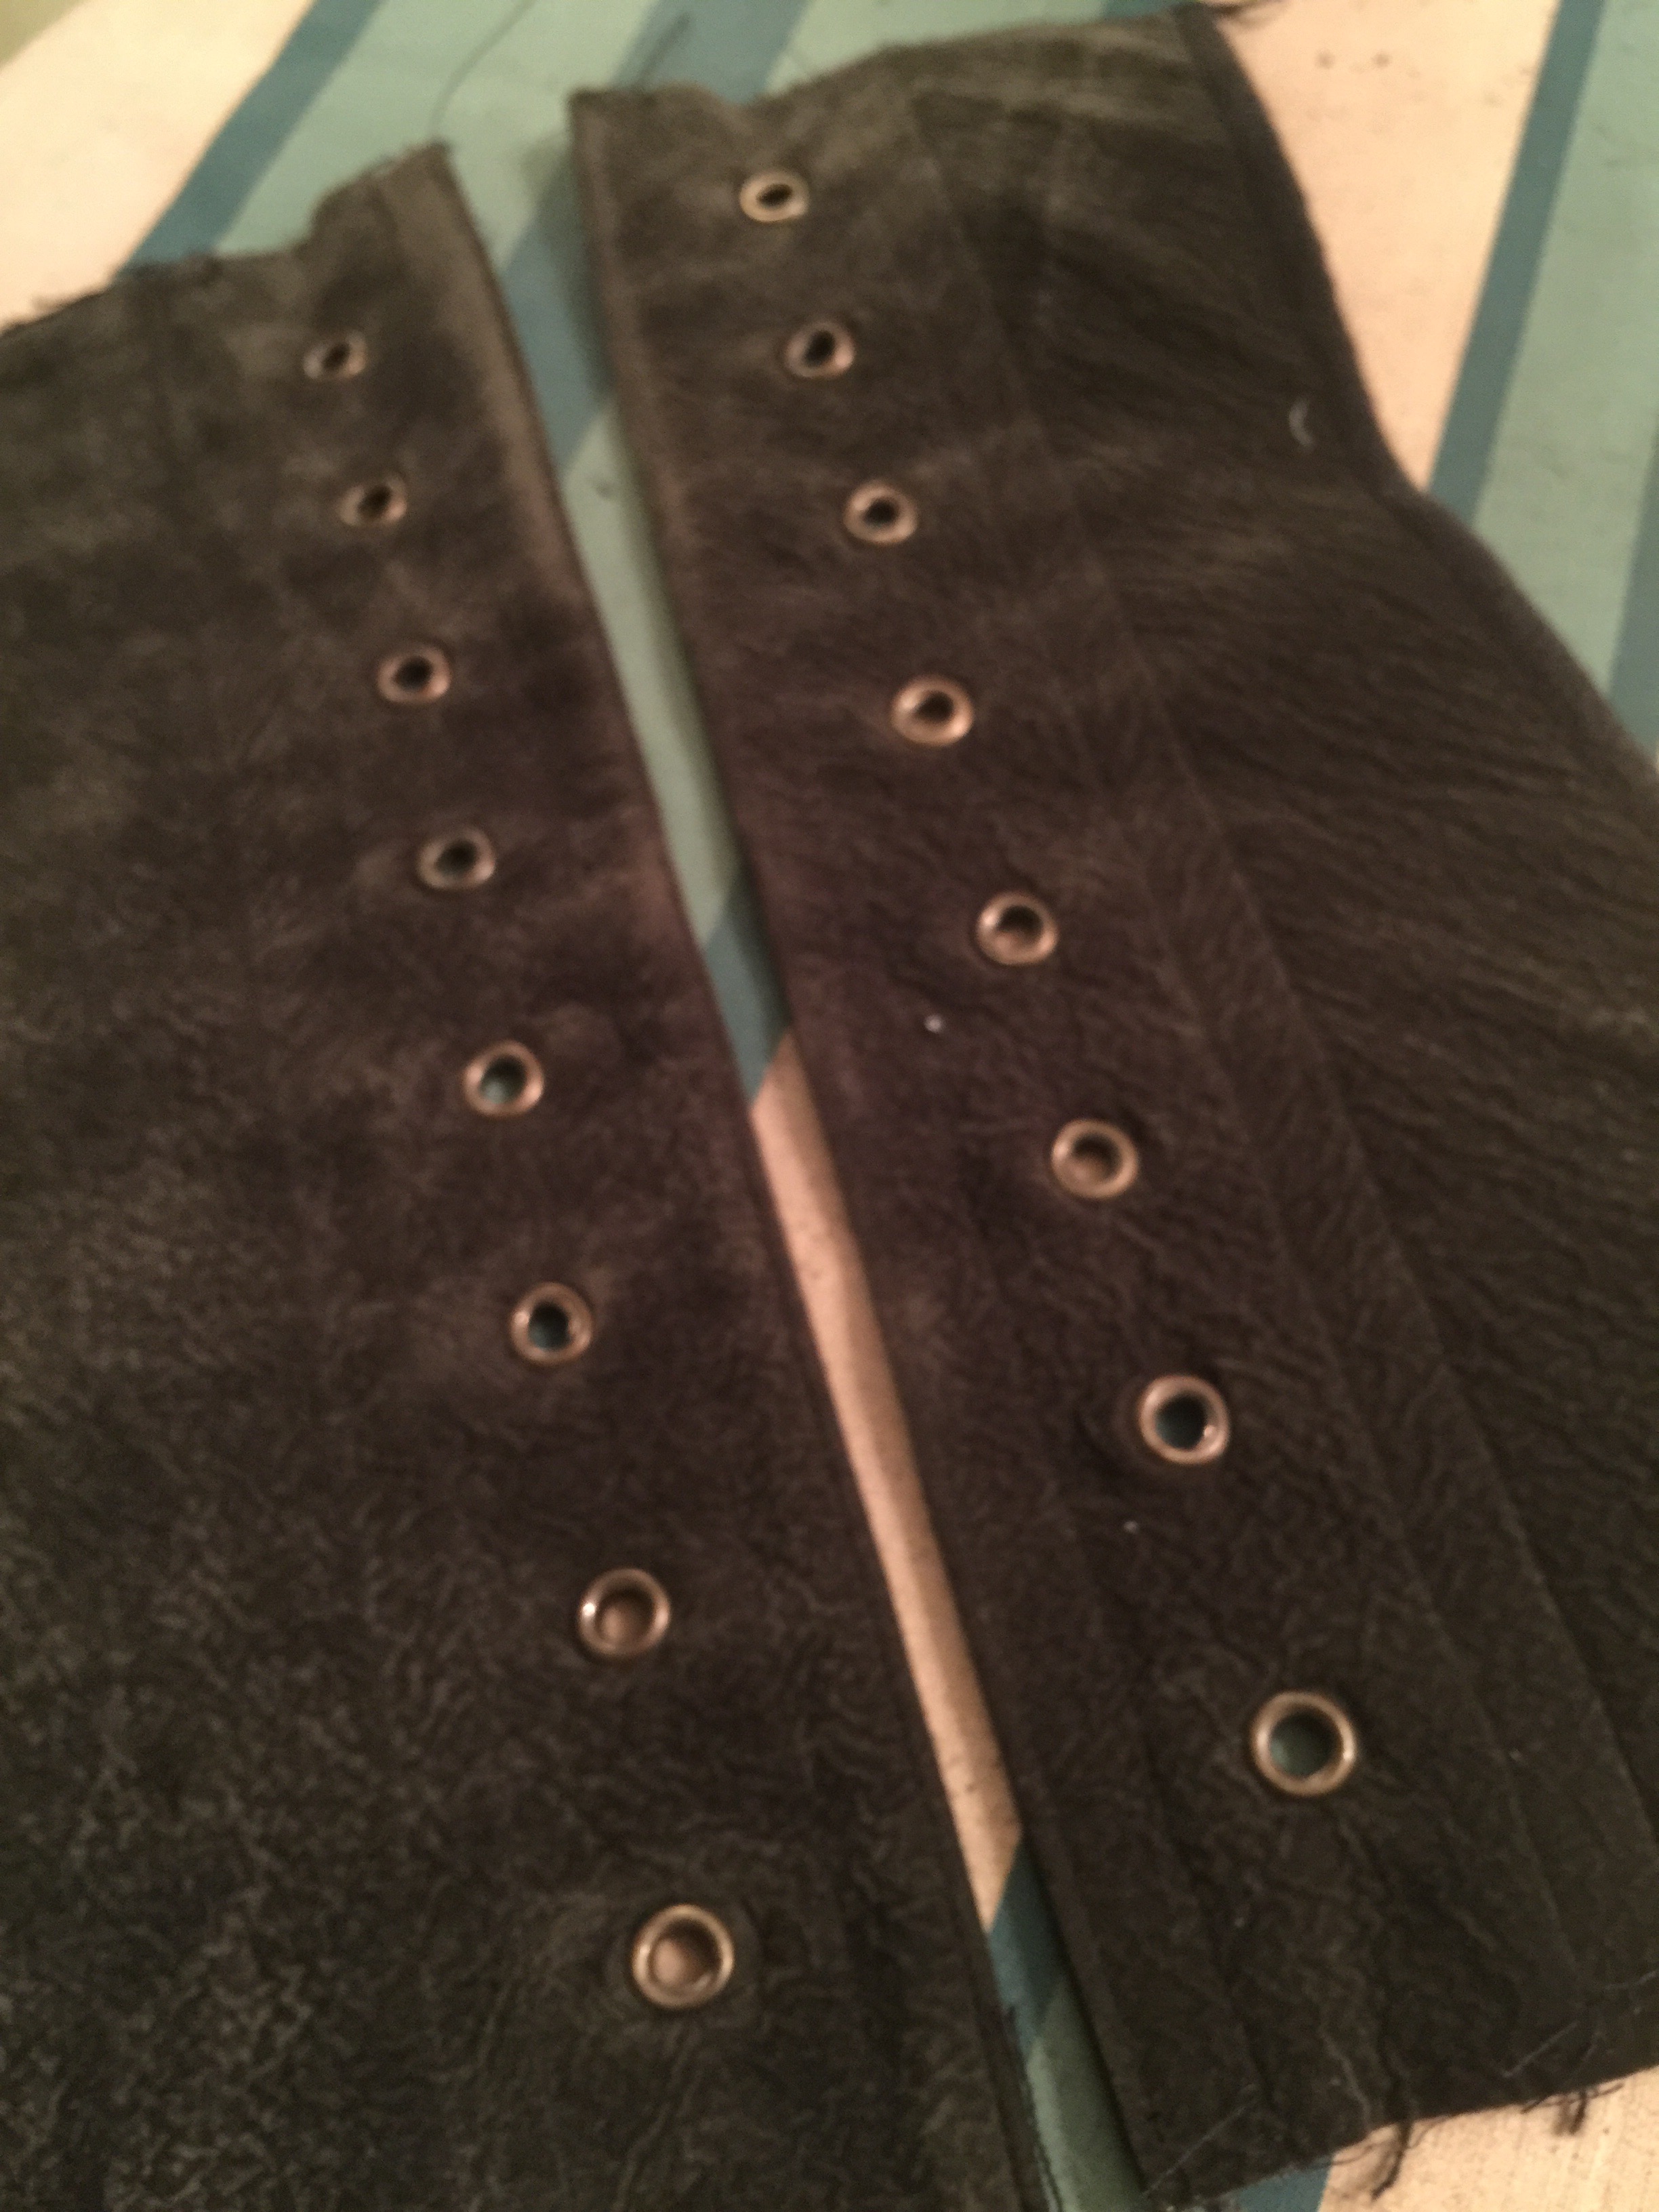
 It’s the method described in “The Basics of Corset Bulding” by Linda Sparks (mainly used because that’s the book I have. 😉 for making an alterable corset. You construct the front piece with the busk and the back pieces with the grommets, first. Then the other pieces are sewn together, and the seam allowances stitched open to make bone casings. But this time, I put in the bones around the grommets in the back, and then tweaked the fit—finalized some seams and added bones, and tweaked a little more—and so on until everything was just right. This let me get the fit I like, the shape I like, AND end up with a super comfy corset, so I’m pretty stoked.
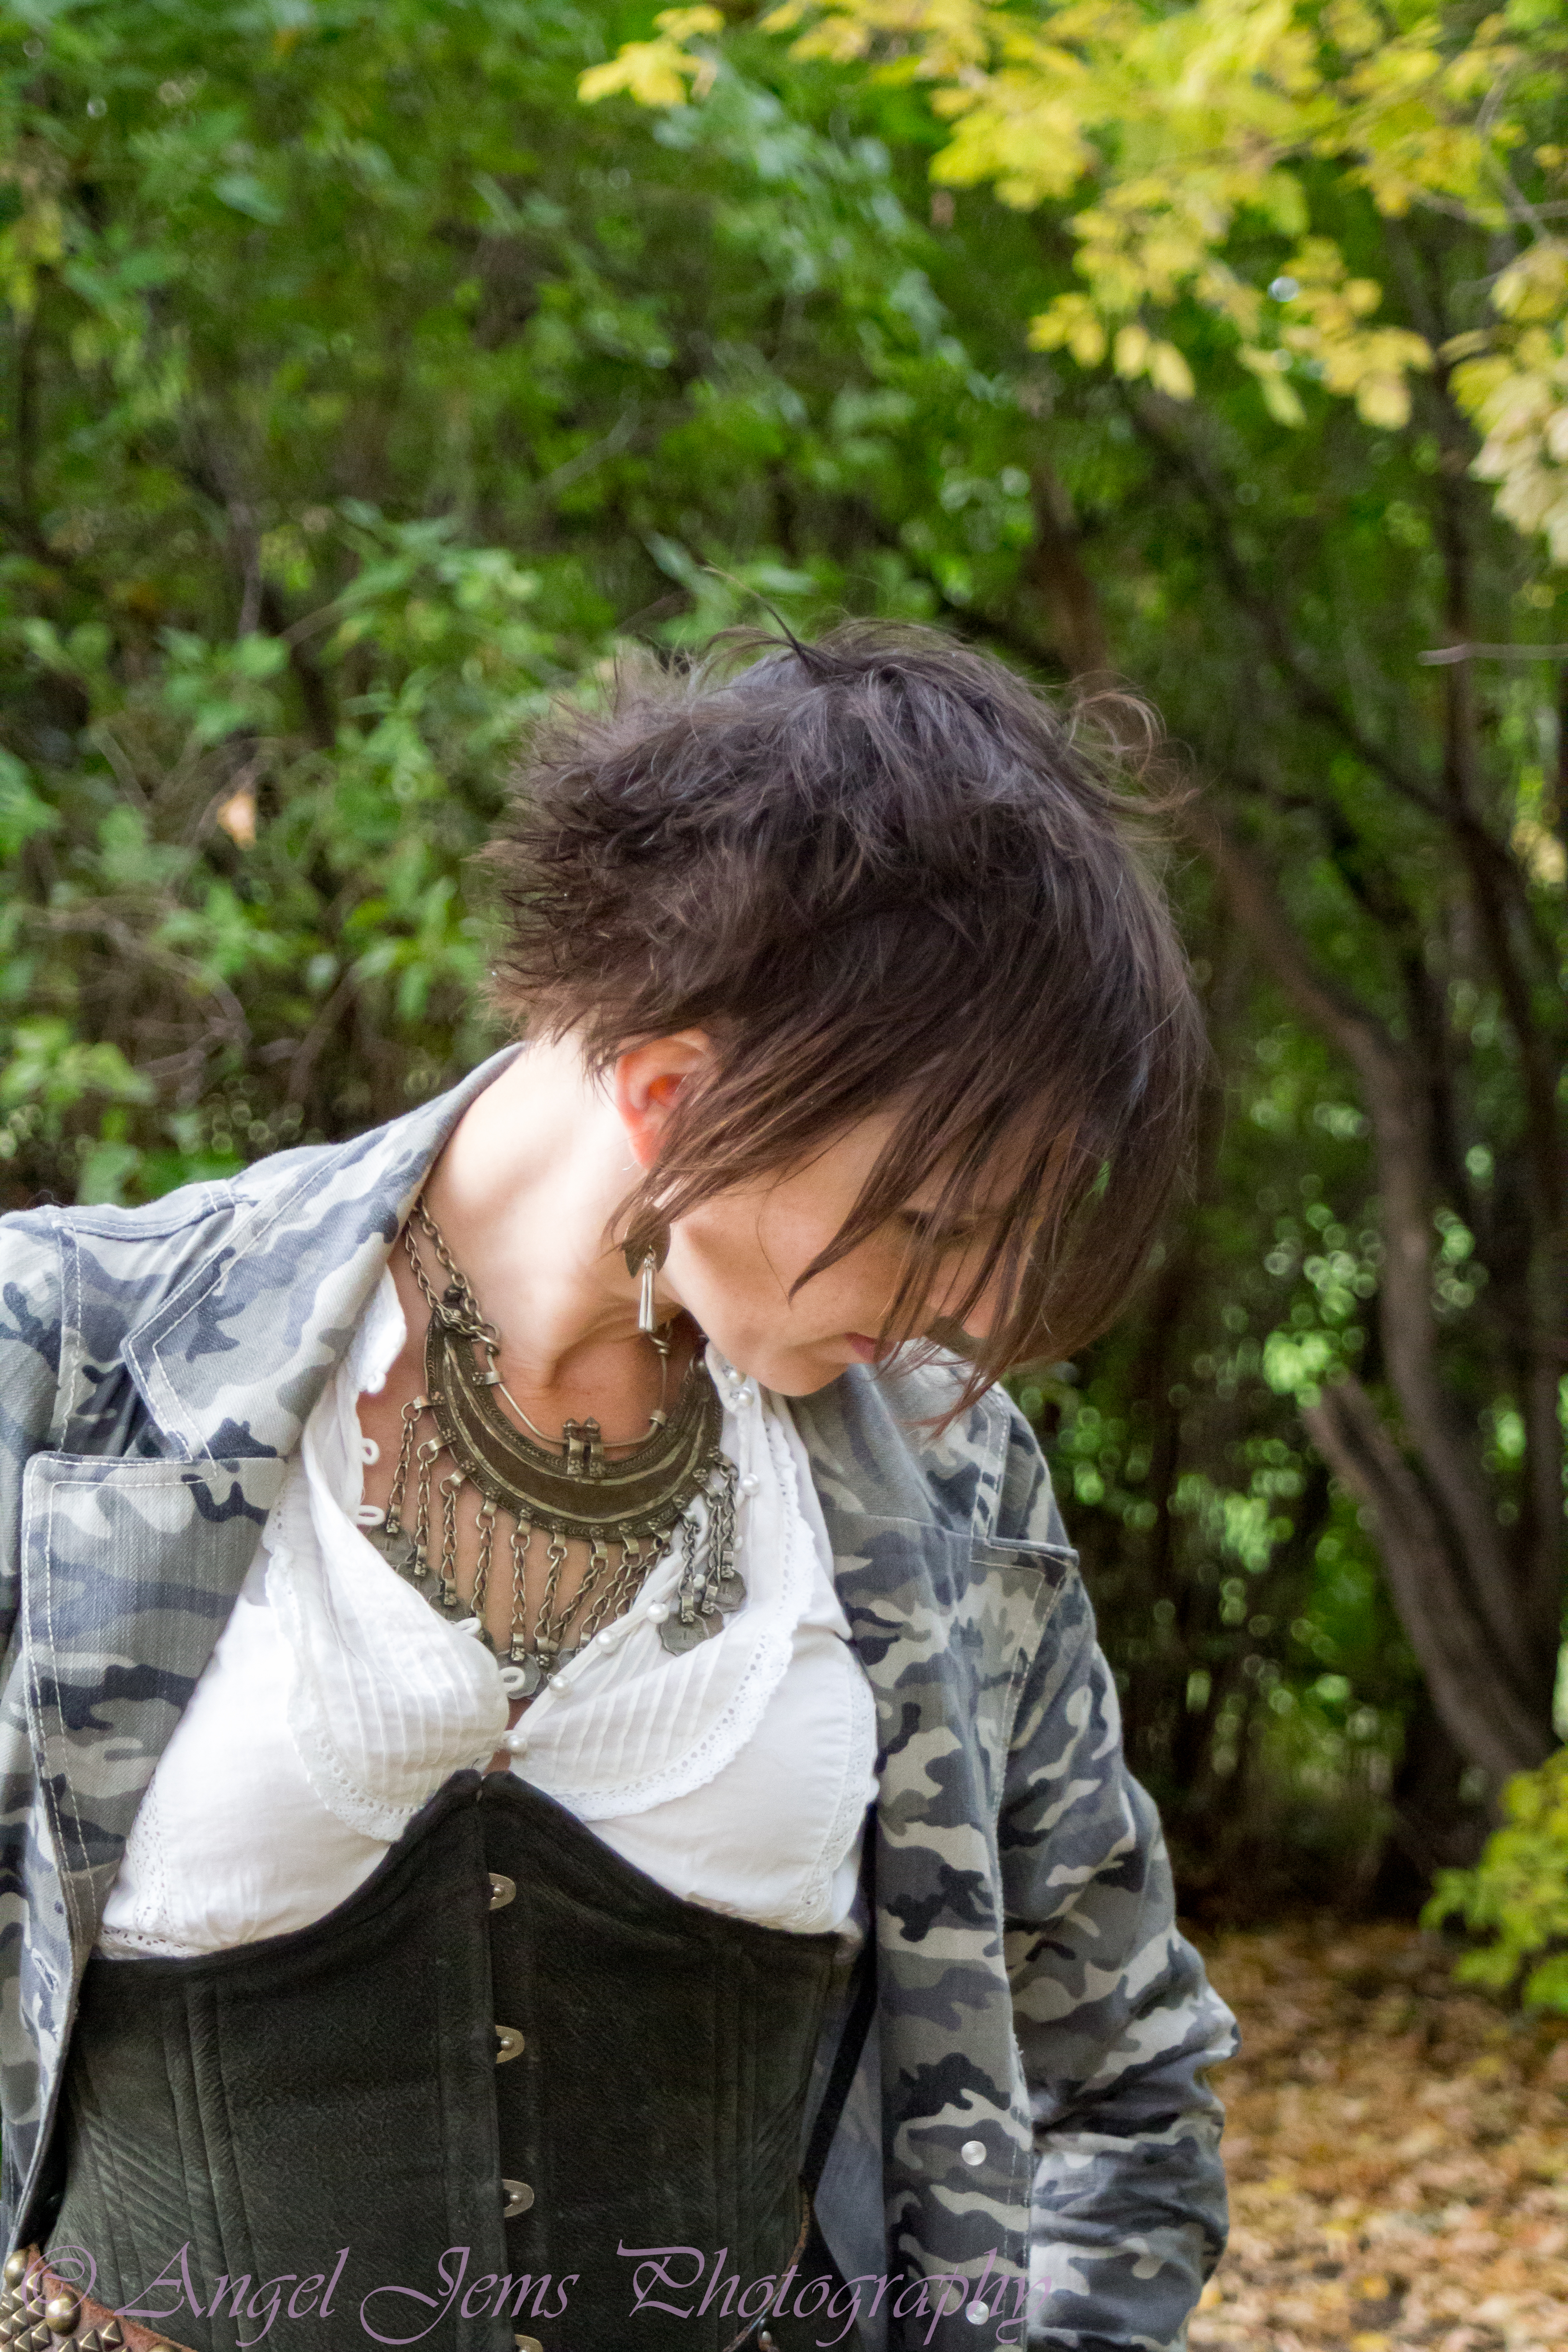 For fun, I added small sections of cording in the front. I think a bigger or firmer cord would’ve been a good idea, but they were fun.
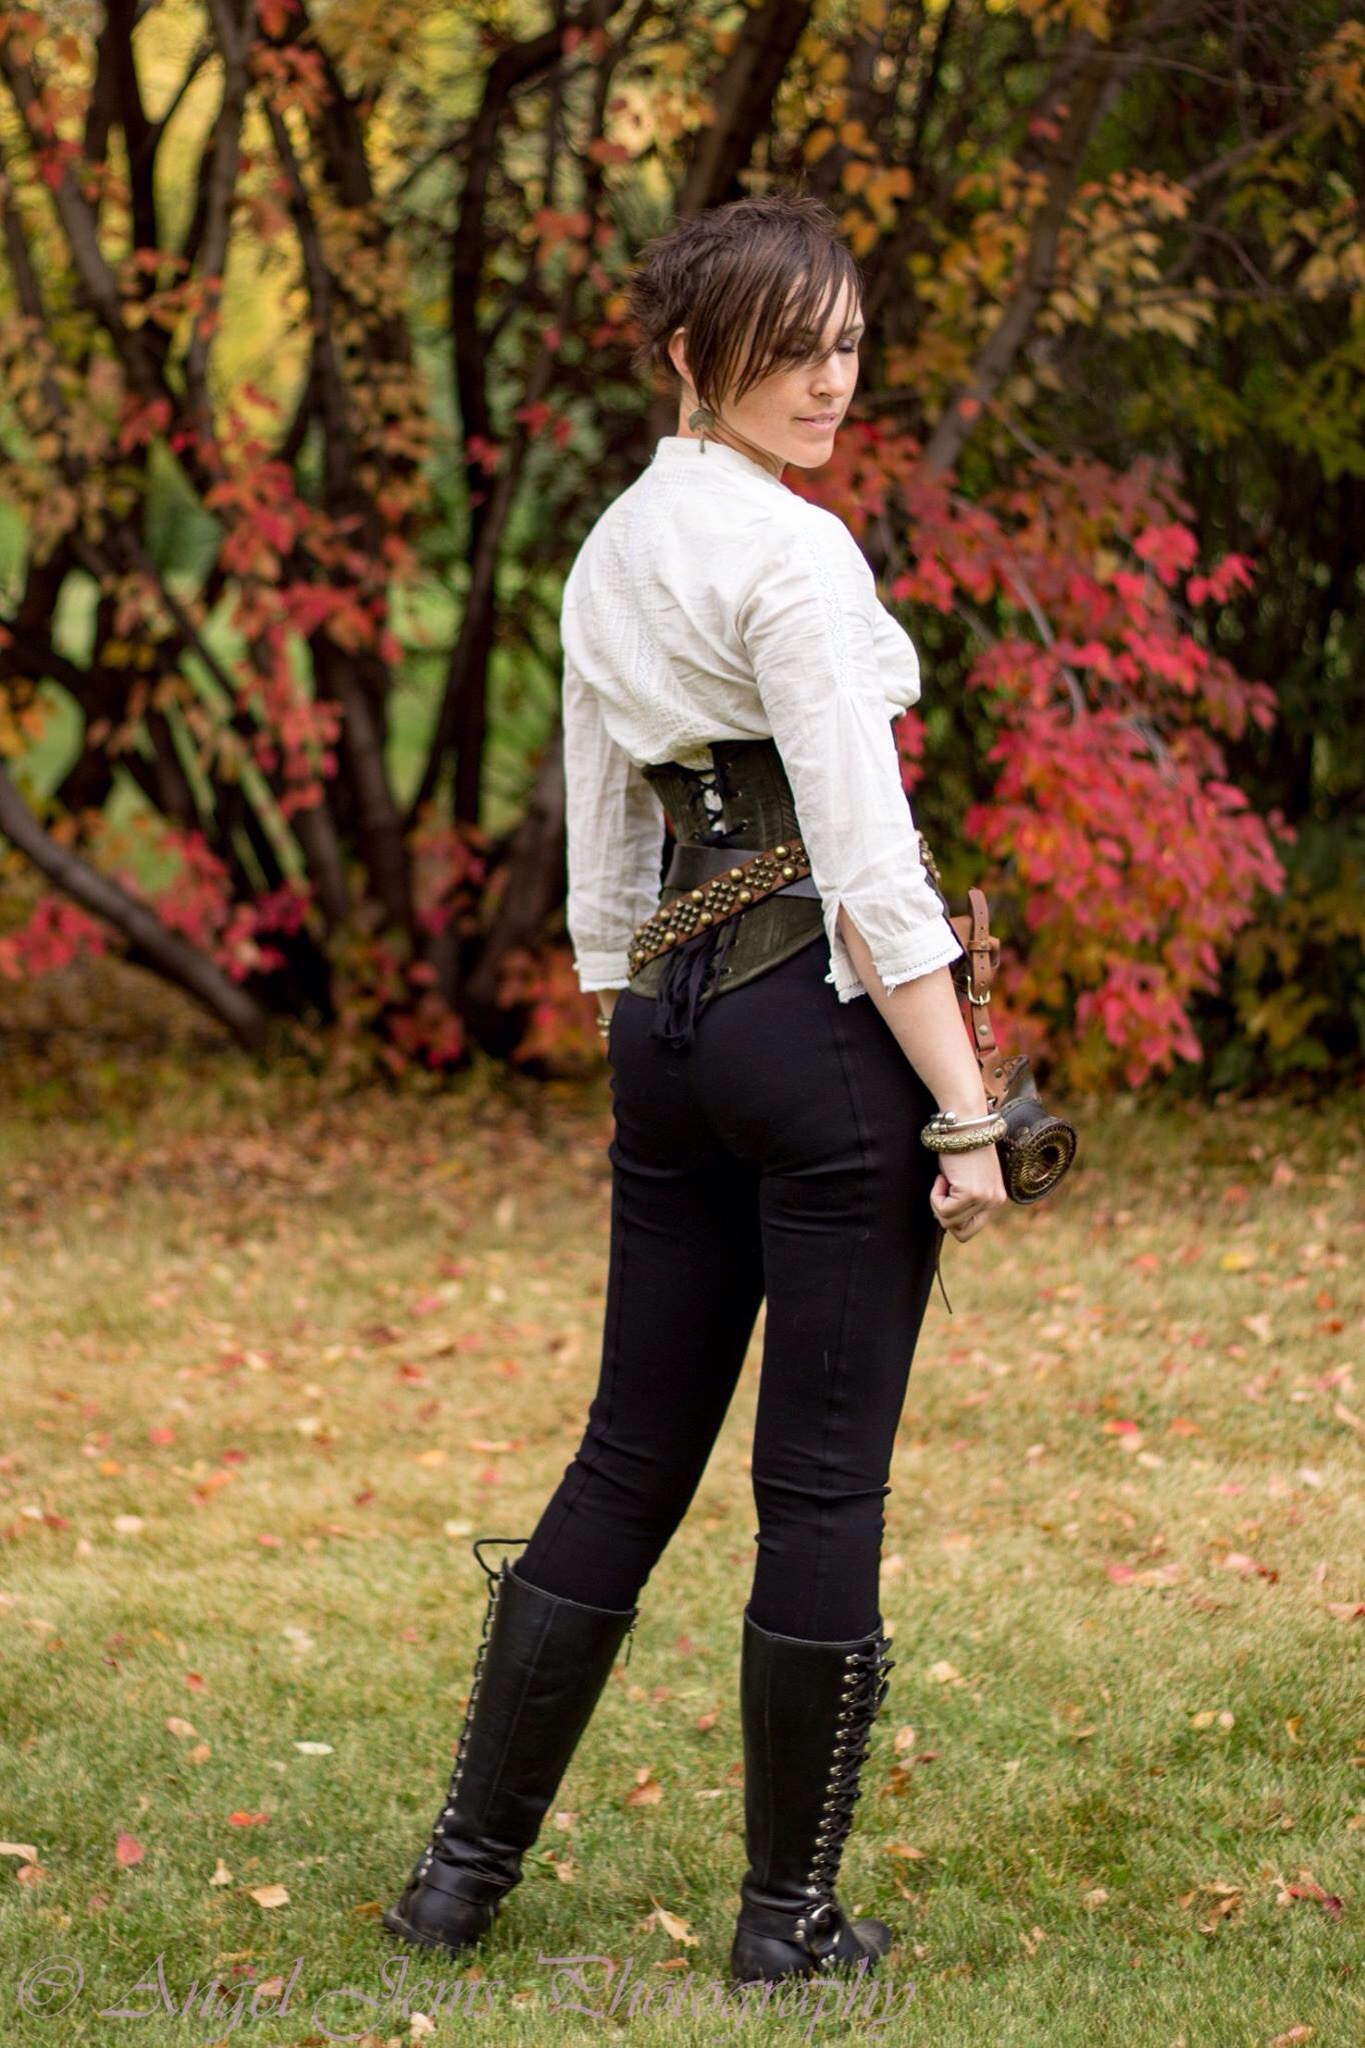
 My sister-in-law shot us amidst gorgeous autumn leaves, which are lovely and natural and not really suited to an outfit that demands wrought iron and gaslight, but I wasn’t willing to go further than the next-door park on that particular morning, so I’ll take it.
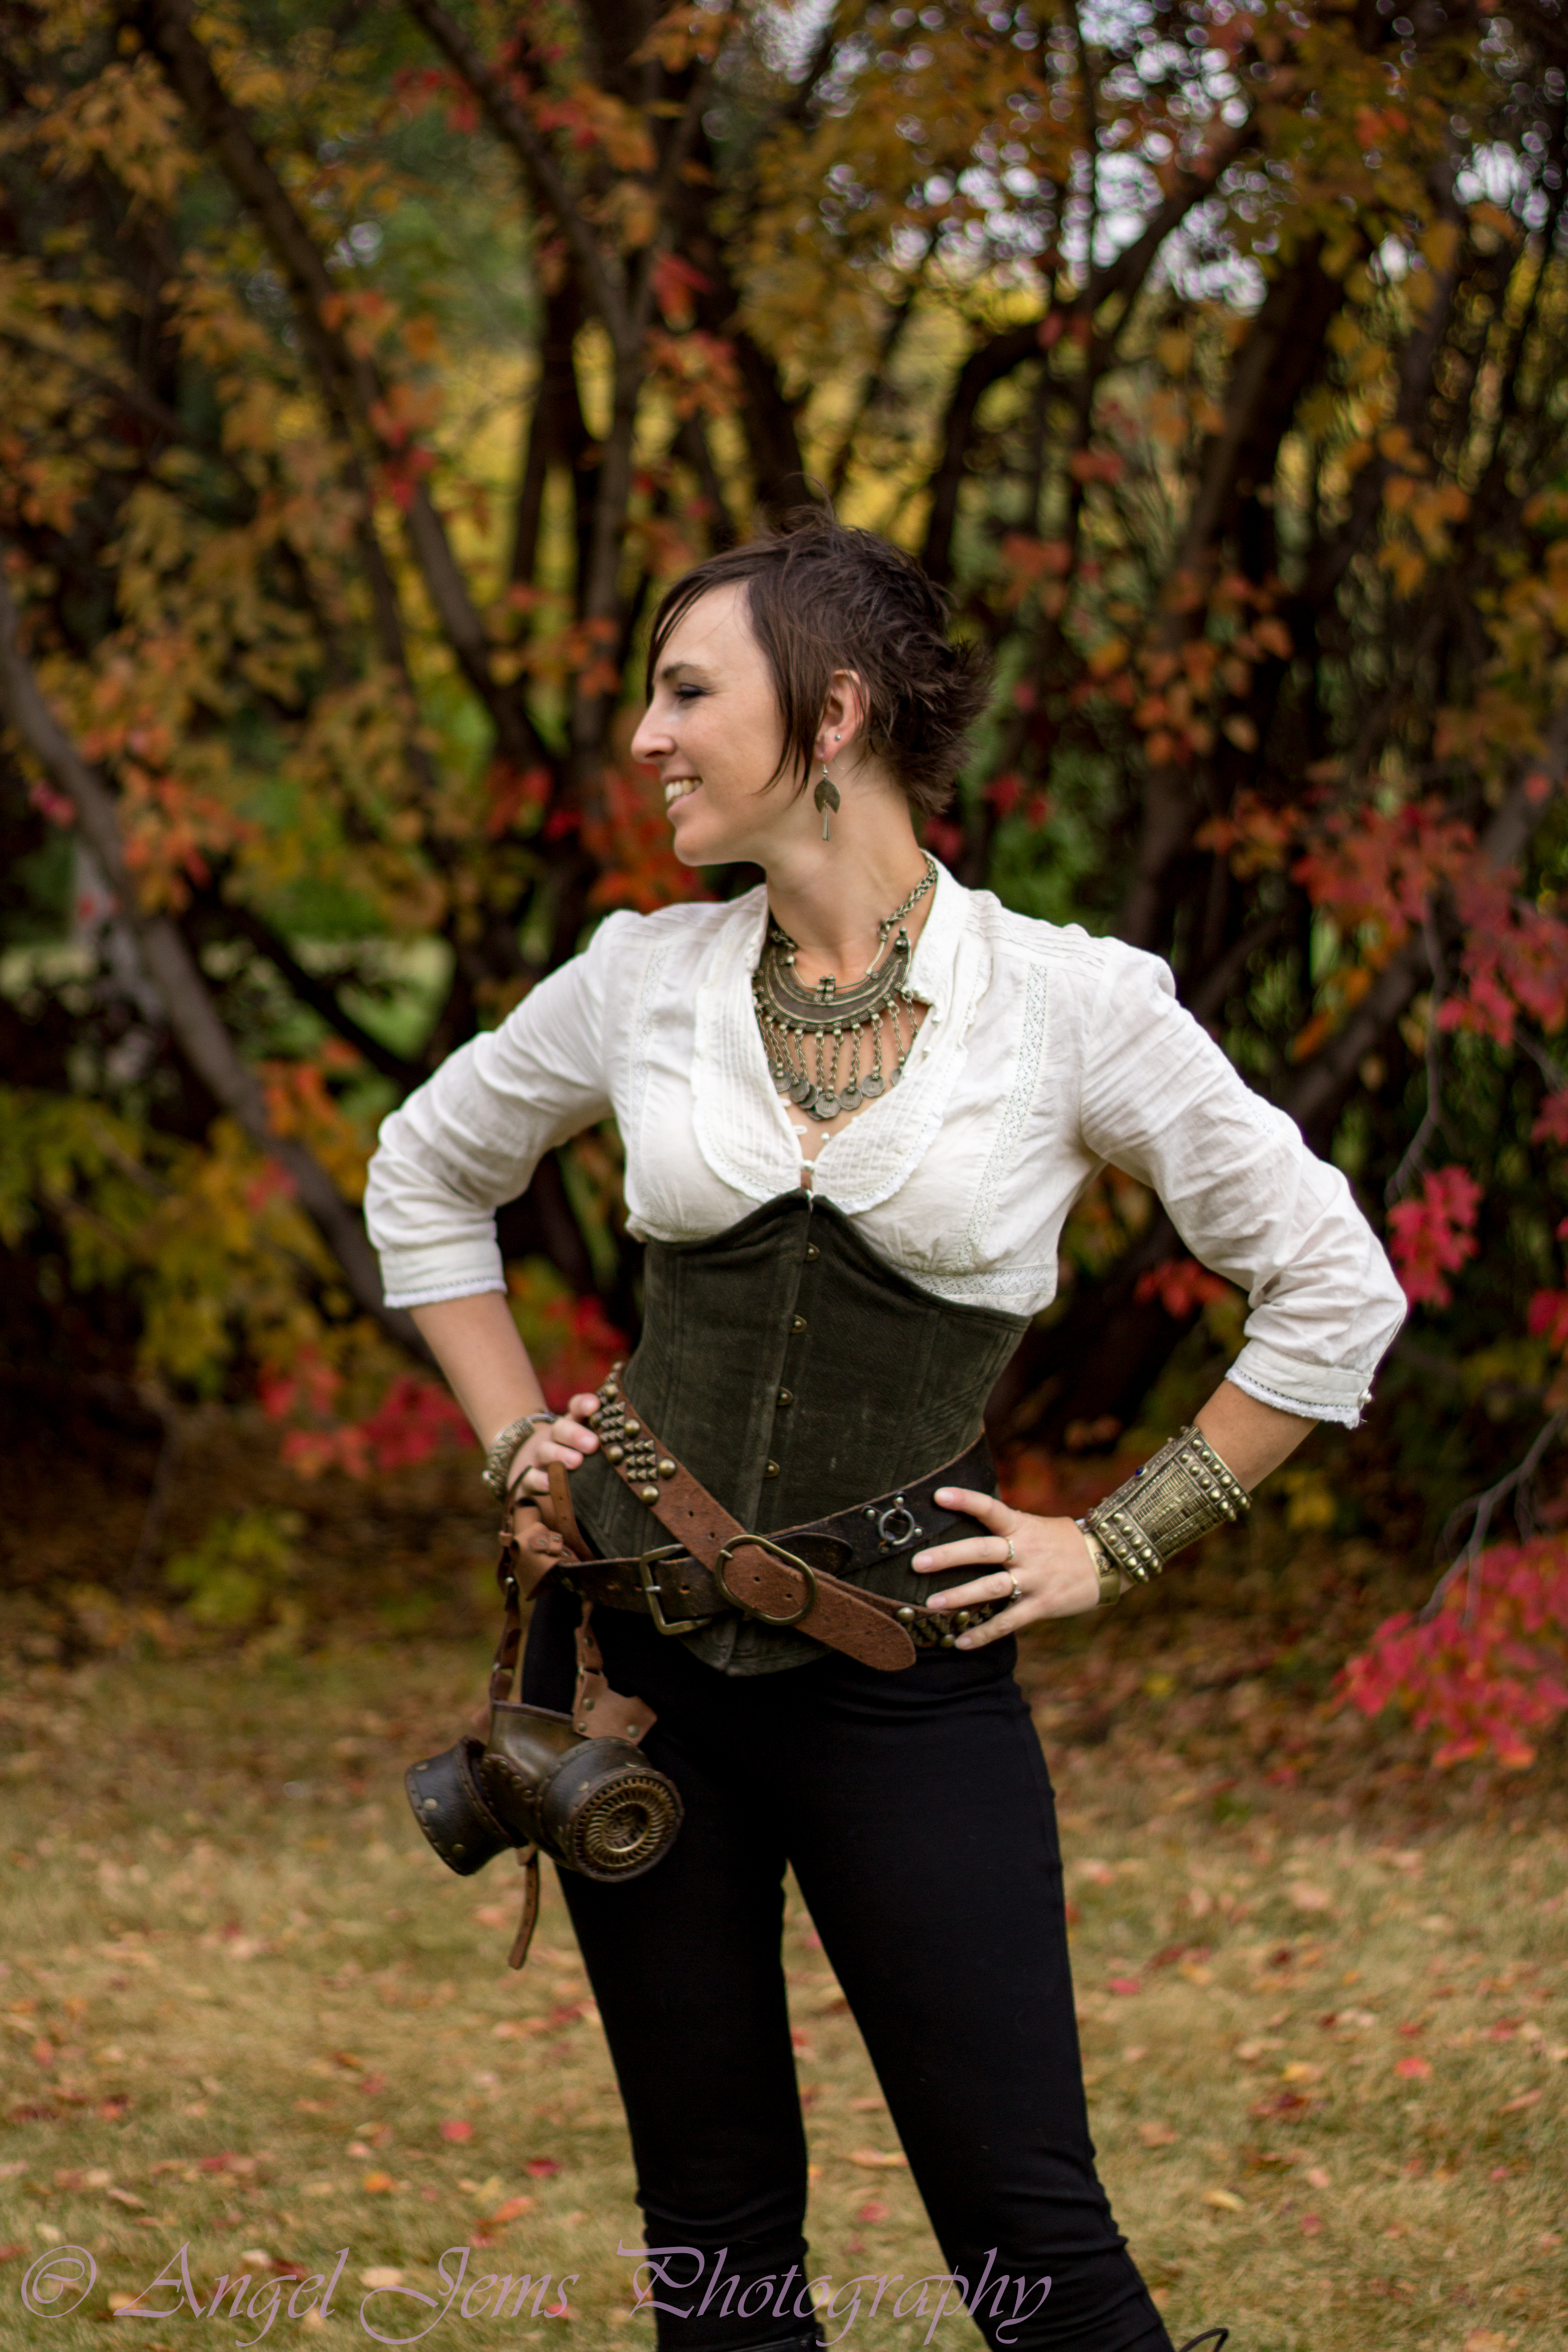 That’s the same white pintucked (not made by me) blouse I wore
  The camo coat wasn’t actually the best topper for the outfit—it kinda swamped the corset & hip decor, though it looked cool from certain angles. I have enough of the faux suede left to make a matching jacket; I’m thinking something cropped and faux-military would be fun. Maybe in another year?


