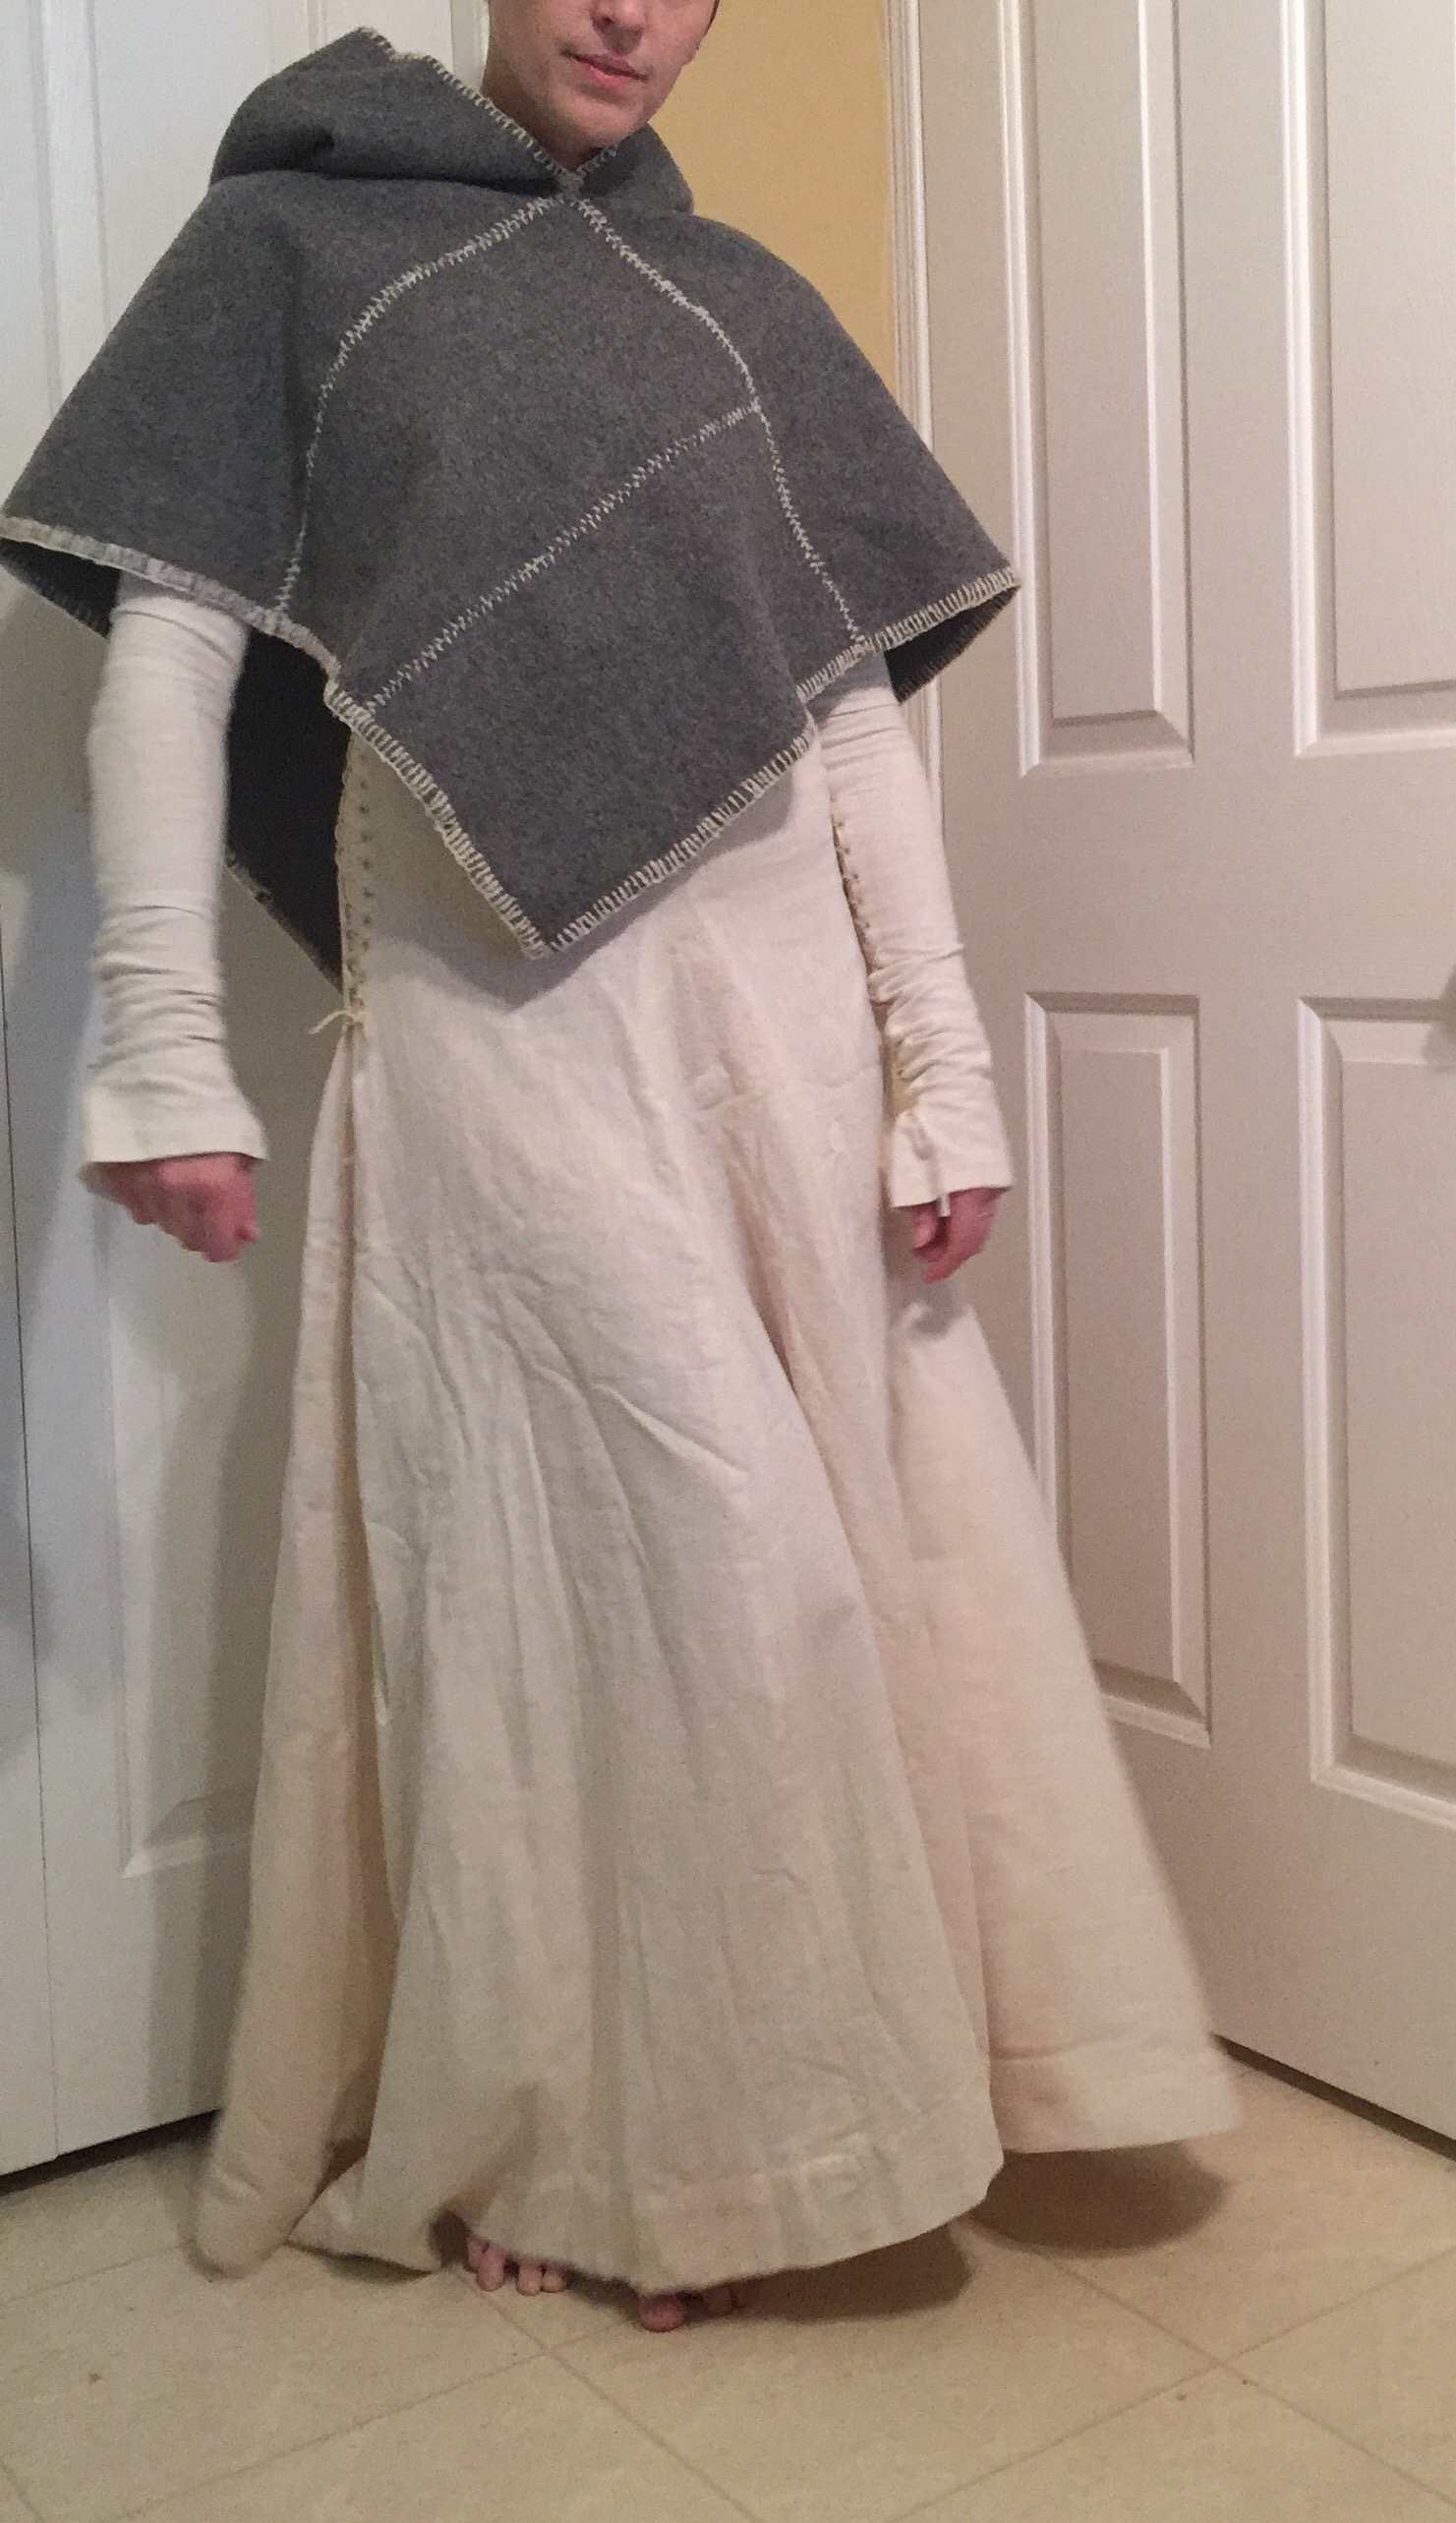
Tiered skirt
Before I get into the meat of this post (the construction of a basic tiered skirt), allow me to philosophize a wee bit. Y’know the best thing about being home? I have my village back. You’ve heard the saying “it takes a village to raise a child”? Well, maybe it doesn’t, but life is sure a lot better when you have one, and not just for the free babysitting. Case in point? My dance class. I bellydance with what just might be one of the best groups of ladies in the universe. I’ve been involved with the troupe for over half my life at this point, and many others have been there longer.

Dancing c. 2005, dodging a very small Syo.
It’s the kind of class where I could bring my kids when they were babies and everyone would hand them off during practice. Where I could show up for street-fair performances with toddlers in tow and never worry that someone wouldn’t watch them while I danced. Where I can talk to the instructor about paying my fees this term in sewing. But the coolest thing since coming back has been the way my kids interact with the troupe now they’re older. Syo, in particular, has decided she wants to dance this year. Not just the kids class. Every class (well, every class that I go to). Which means that most of the costumes I have to make so far are for her, but anyway. It’s so neat to see her following along with the adults, and also the moments in between where one teacher or another takes a few moments to show her something we didn’t do in class, or go over something a bit more slowly.
Which ties into this post only because one of the costume pieces I’ve been making for Syo is a tiered skirt for American Tribal Style Bellydance. And while I’m sure most of you don’t have use for a ridiculously full tiered skirt, well, it’s exactly the same idea as making a crinoline or a fluffy petticoat. The only differences really are a matter of proportion, fabric choice, and fullness.

Fluffy petticoat
Now, this is not a particularly original concept for a post, and I know there’s some lovely tutorials out there (feel free to link your fave in the comments!). I particularly like this one by Sugardale, of the petticoat variety, for the fine finish she gets using ribbon to cover the seams. Zena has a nice post or three on her particularly painstaking (and super-well-finished) method. But I’ve made enough of these, at this point, that I feel like I have at least something to contribute in terms of what works, for me. (And I will confess to being much more slapdash and imprecise than either Sugardale or Zena.) This falls into basically two categories:
I) workflow
II) gathering techniques.
I’m going to talk about gathering techniques separately, so today I’m going to go into my workflow.
1) Design Decisions

Tiered skirt in action
A typical tiered skirt is a layer-cake of gathered rectangles of fabric, smallest at the top. The most common gathering ratio is 2:1—that is, each tier is twice as much fabric gathered on to the tier above it. There’s nothing sacred about this ratio, but it’s a handy starting place. How full (or poufy) your skirt is will be determined by several factors: 1) gathering ratio, 2) number of tiers, 3) fabric. I tend to cut (or rip, for preference) my tiers across the width of the fabric, so I tend to measure my fullness in terms of fabric widths. (Ideally 60″/150 cm)
So, how long do you want your skirt to be?
–A typical Tribal skirt goes from hip to floor. A typical petticoat, maybe from waist to knee. I’m told petticoats should be about 1″ shorter than the skirt they go with, if that’s what you’re trying for. Measure this distance on yourself.

A long, long time ago…
How many tiers?
A minimal tiered skirt has three tiers (two doesn’t work. I tried. It looks like a dumpy mermaid skirt). Personally, being a fan of excess, I like four or five or, y’know, nine. OK, 9 was maybe overkill. (Obviously: number of tiers interacts with your gathering ratio to create fullness: eg. at a 2:1 ratio, if your top tier is two widths and you have three tiers, you’ll have eight widths on the bottom tier. If you have four tiers, the same ratios will give you a bottom tier with 16 widths, unless you reduce the gathering ratio.
For Syo’s skirt, I picked four tiers. I planned for the top tier to be one fabric width (60″/150cm in this case), next tier down two fabric widths, ending up with eight at the bottom tier.
Divide your skirt length by the number of tiers
For Syo, this was: 28″/4—my tiers for Syo’s skirt needed to be 7″ high. Add width for two seam allowances to each tier—for simplicity’s sake, I’ll go with 1/2″ seam allowances, so I add 1″ to each tier. So I’m going to cut all my tiers 8″ high.)
Advanced Tip #1: Some people are particular about where the tiers fall on their body—there’s no rule they all have to be the same widths. It just makes the calculations a bit more complicated. Similarly if you want to allow for a waistband casing on the top tier, or a wider or narrower hem on the bottom tier.)

This skirt has seven or eight tiers and thirty-two fabric widths along the bottom tier. This is overkill.
How full at the hips?
My first few skirts I made as narrow at the top as I could. I’ve since decided this isn’t actually the best look, especially if your tiers are tall (or, like me, your hips need all the help they can get). For Syo here, I used one fabric width for the top tier; I’d probably do this for myself if I made another skirt, at least if the fabric was 60″ wide. If you’re quite large, one and a half widths or even two would be good.
Advanced Tip #2: If you’re concerned with bulk at the hips, you could make your top tier circular or semi-circular. You will have to correct for some bias stretching, but this is a really nice look. This also uses a bit more fabric.

Full Skirt
How full at the hem?
A “typical” ATS tiered skirt is sometimes called a ten-yard skirt—it has ten yards of fullness at the hem. A petticoat could have much less, a crinoline much more. I actually prefer my ATS skirts much more full, in the 20+ yard range. Note that this is just the length of the bottom tier, not how many yards of fabric are required, although skirts like these are still fabric pigs.
Anyway, for Syo’s skirt, I didn’t want to go too overboard (as I have in the past for myself), but I also didn’t want to skimp. I decided to stick with my default gathering-ratio to determine the number of tiers at the hem:
2:1 gathering ratio, 4 tiers
1 width
2 widths
4 widths
8 widths
Since my fabric was 60″/150 cm wide, this will give me a final hem of 13.3 yards/12 metres. Just over my “bare minimum” of ten yards.
Advanced tip #3: depending on the fabric, it can be just as easy to construct your skirt using strips cut lengthwise from your fabric. I find it easier to do the calculations (especially determining how much fabric I need) using widths, but on the other hand there’s less joining together of panels of fabric if you use one or two long lengths rather than eight or ten or twenty short ones.

A very minimal tiered skirt
So, how many fabric widths is that?
8+4+2+1=15.
I will need to be able to rip/cut fifteen strips from my fabric length.
Now, how much fabric do I need?
15 widths x 8″ high = 120″ = 10′ = ~3m. (Ooo, look what I did, switching to metric like that. I wish I had the self-discipline to do it all in metric. I think Imperial is kind of like a drug… awkward and bad for you, but you keep coming back to it…)
I would, however, recommend buying a bit more fabric than strictly necessary. At least one extra tier’s worth. Sometimes, not everything works out according to the math. You may also want to add a waistband casing on the top.
Construction
There are many ways you could go about constructing a skirt like this—mine is what works for me psychologially.
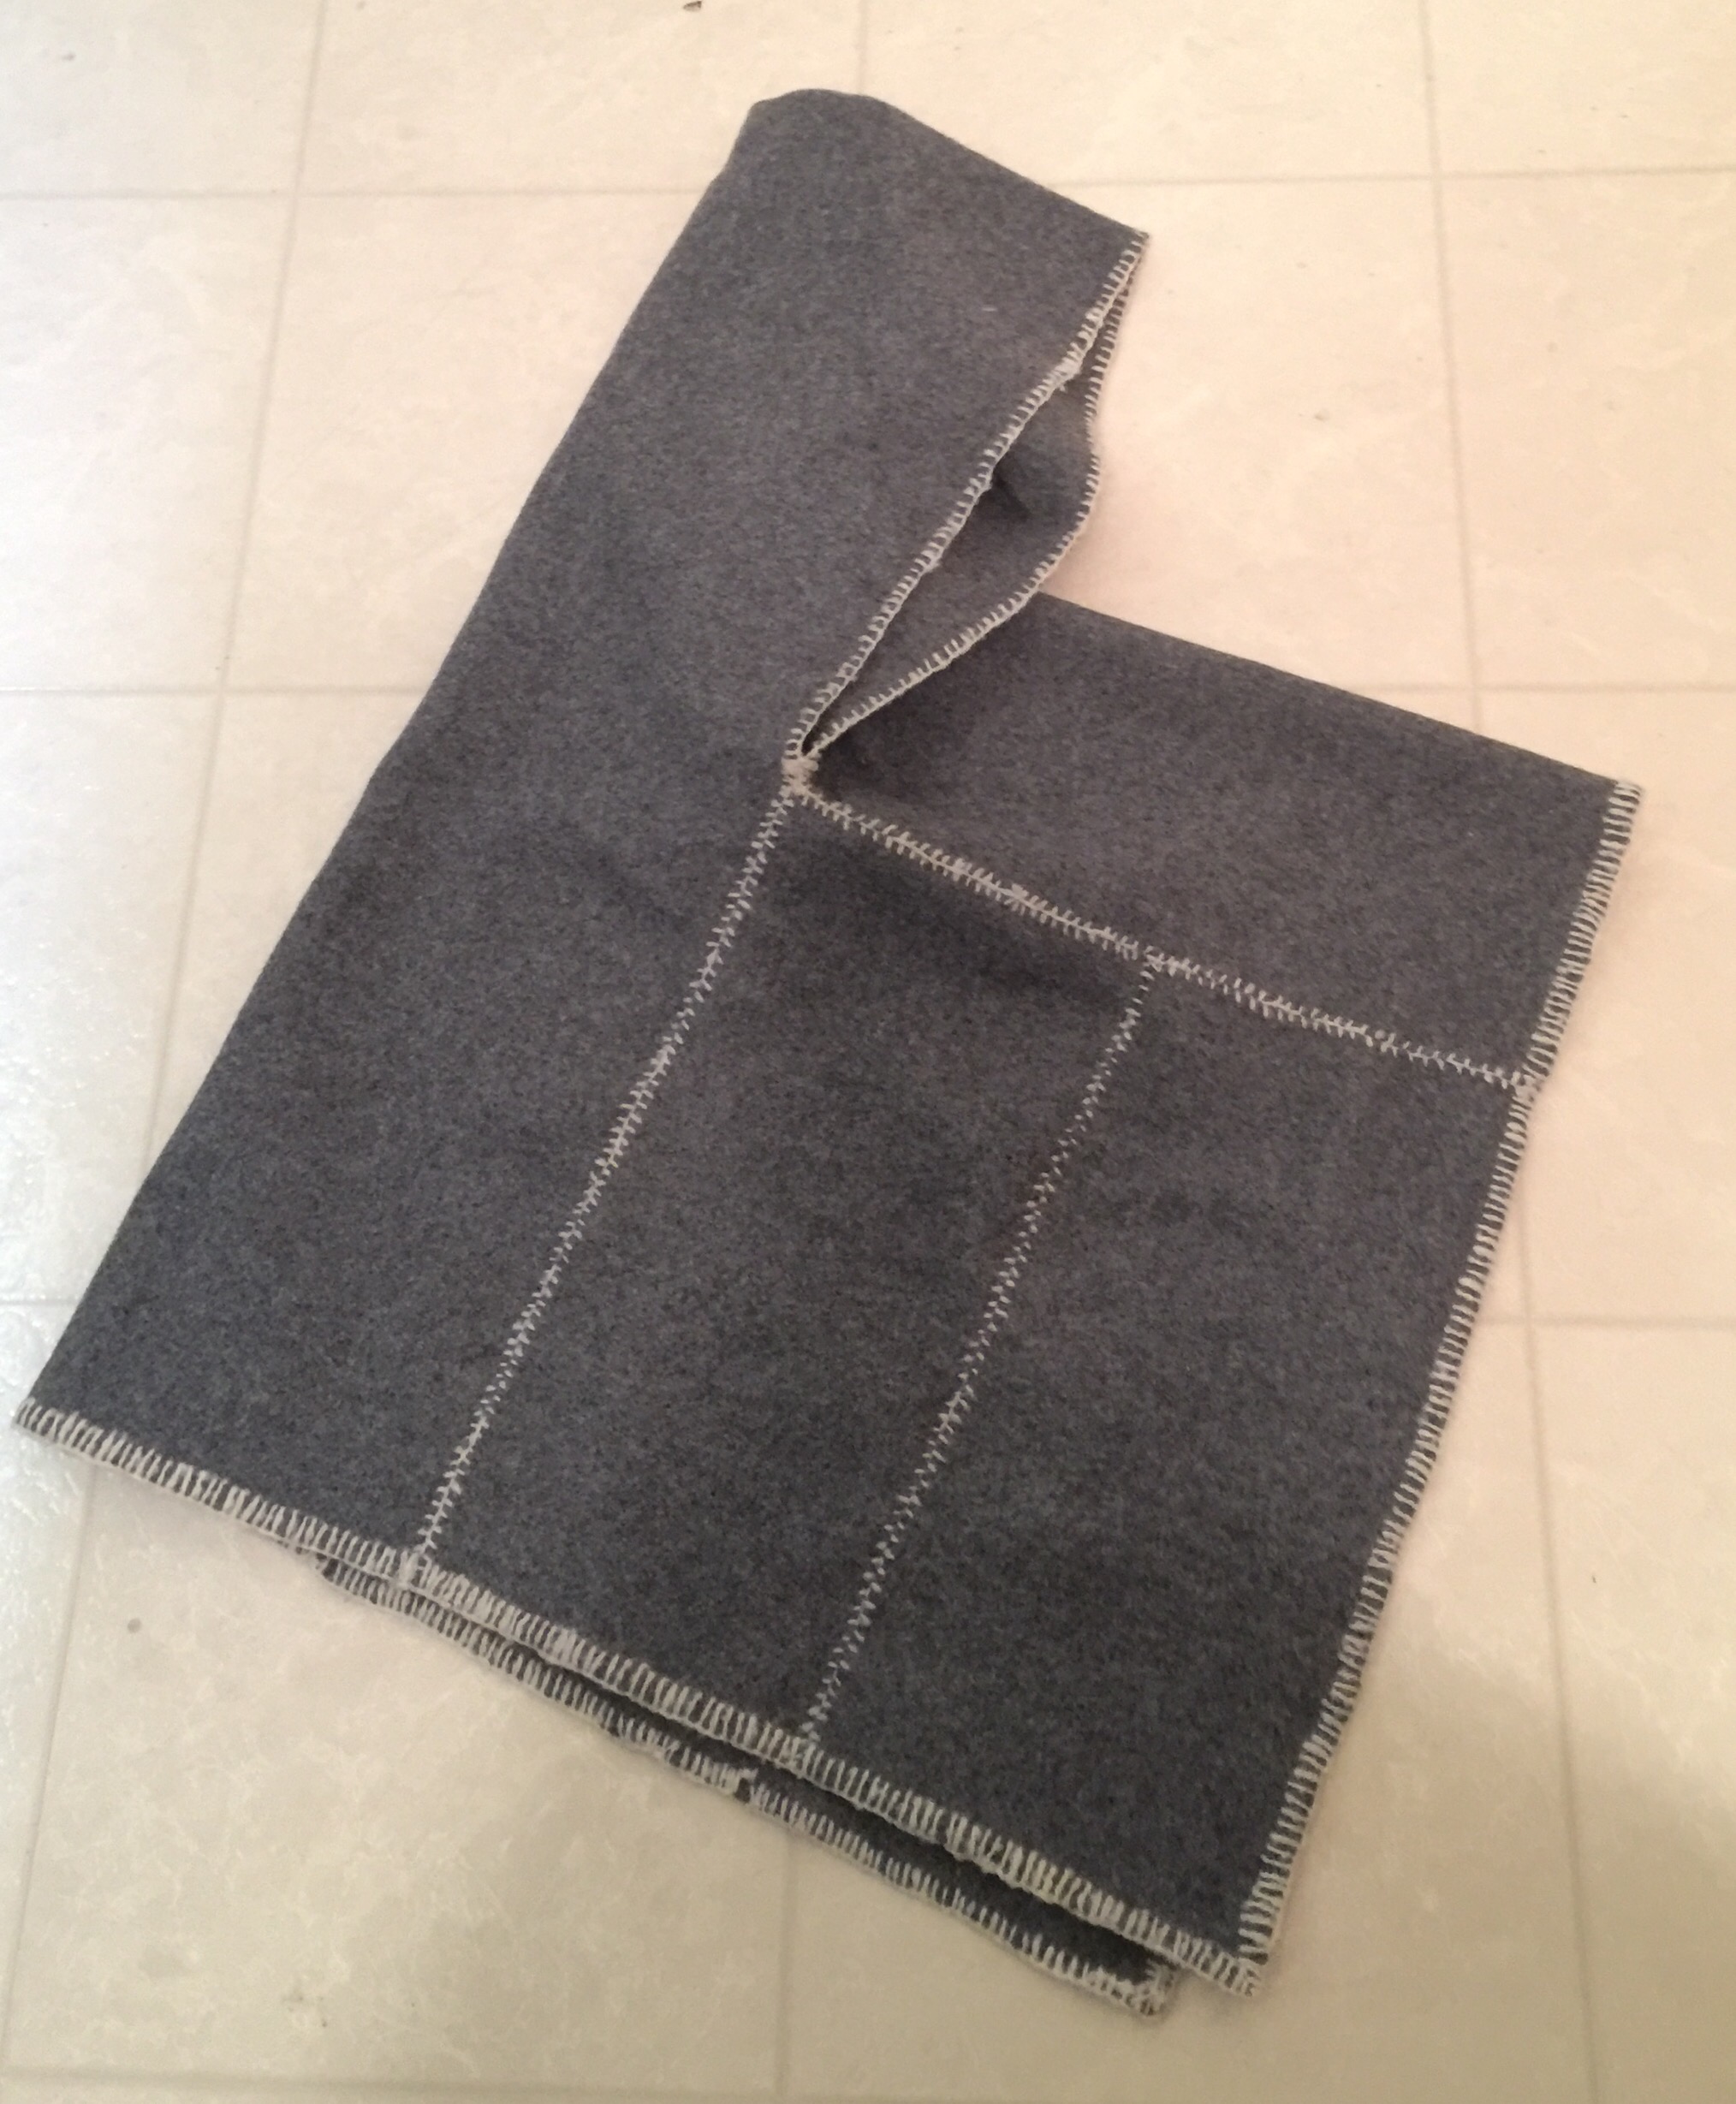
1) Cut fabric
First, I cut or rip my fabric into panels (I’ll keep calling them widths) of the right height. If I can at all possibly rip the fabric, I will, but for this project I was using satin (oh, how I hate satin) and I had to cut.
For this project, I was using two different fabrics—I cut the eight widths for the bottom tier from the purple satin and the remaining seven widths from the black satin.
I always start with the bottom tier—it’s the most daunting, by far, and once it’s complete the skirt is over half done!
2) join panels together.
Join enough panels to make your bottom tier. For troubleshooting reasons, I usually don’t do all the tiers at once.
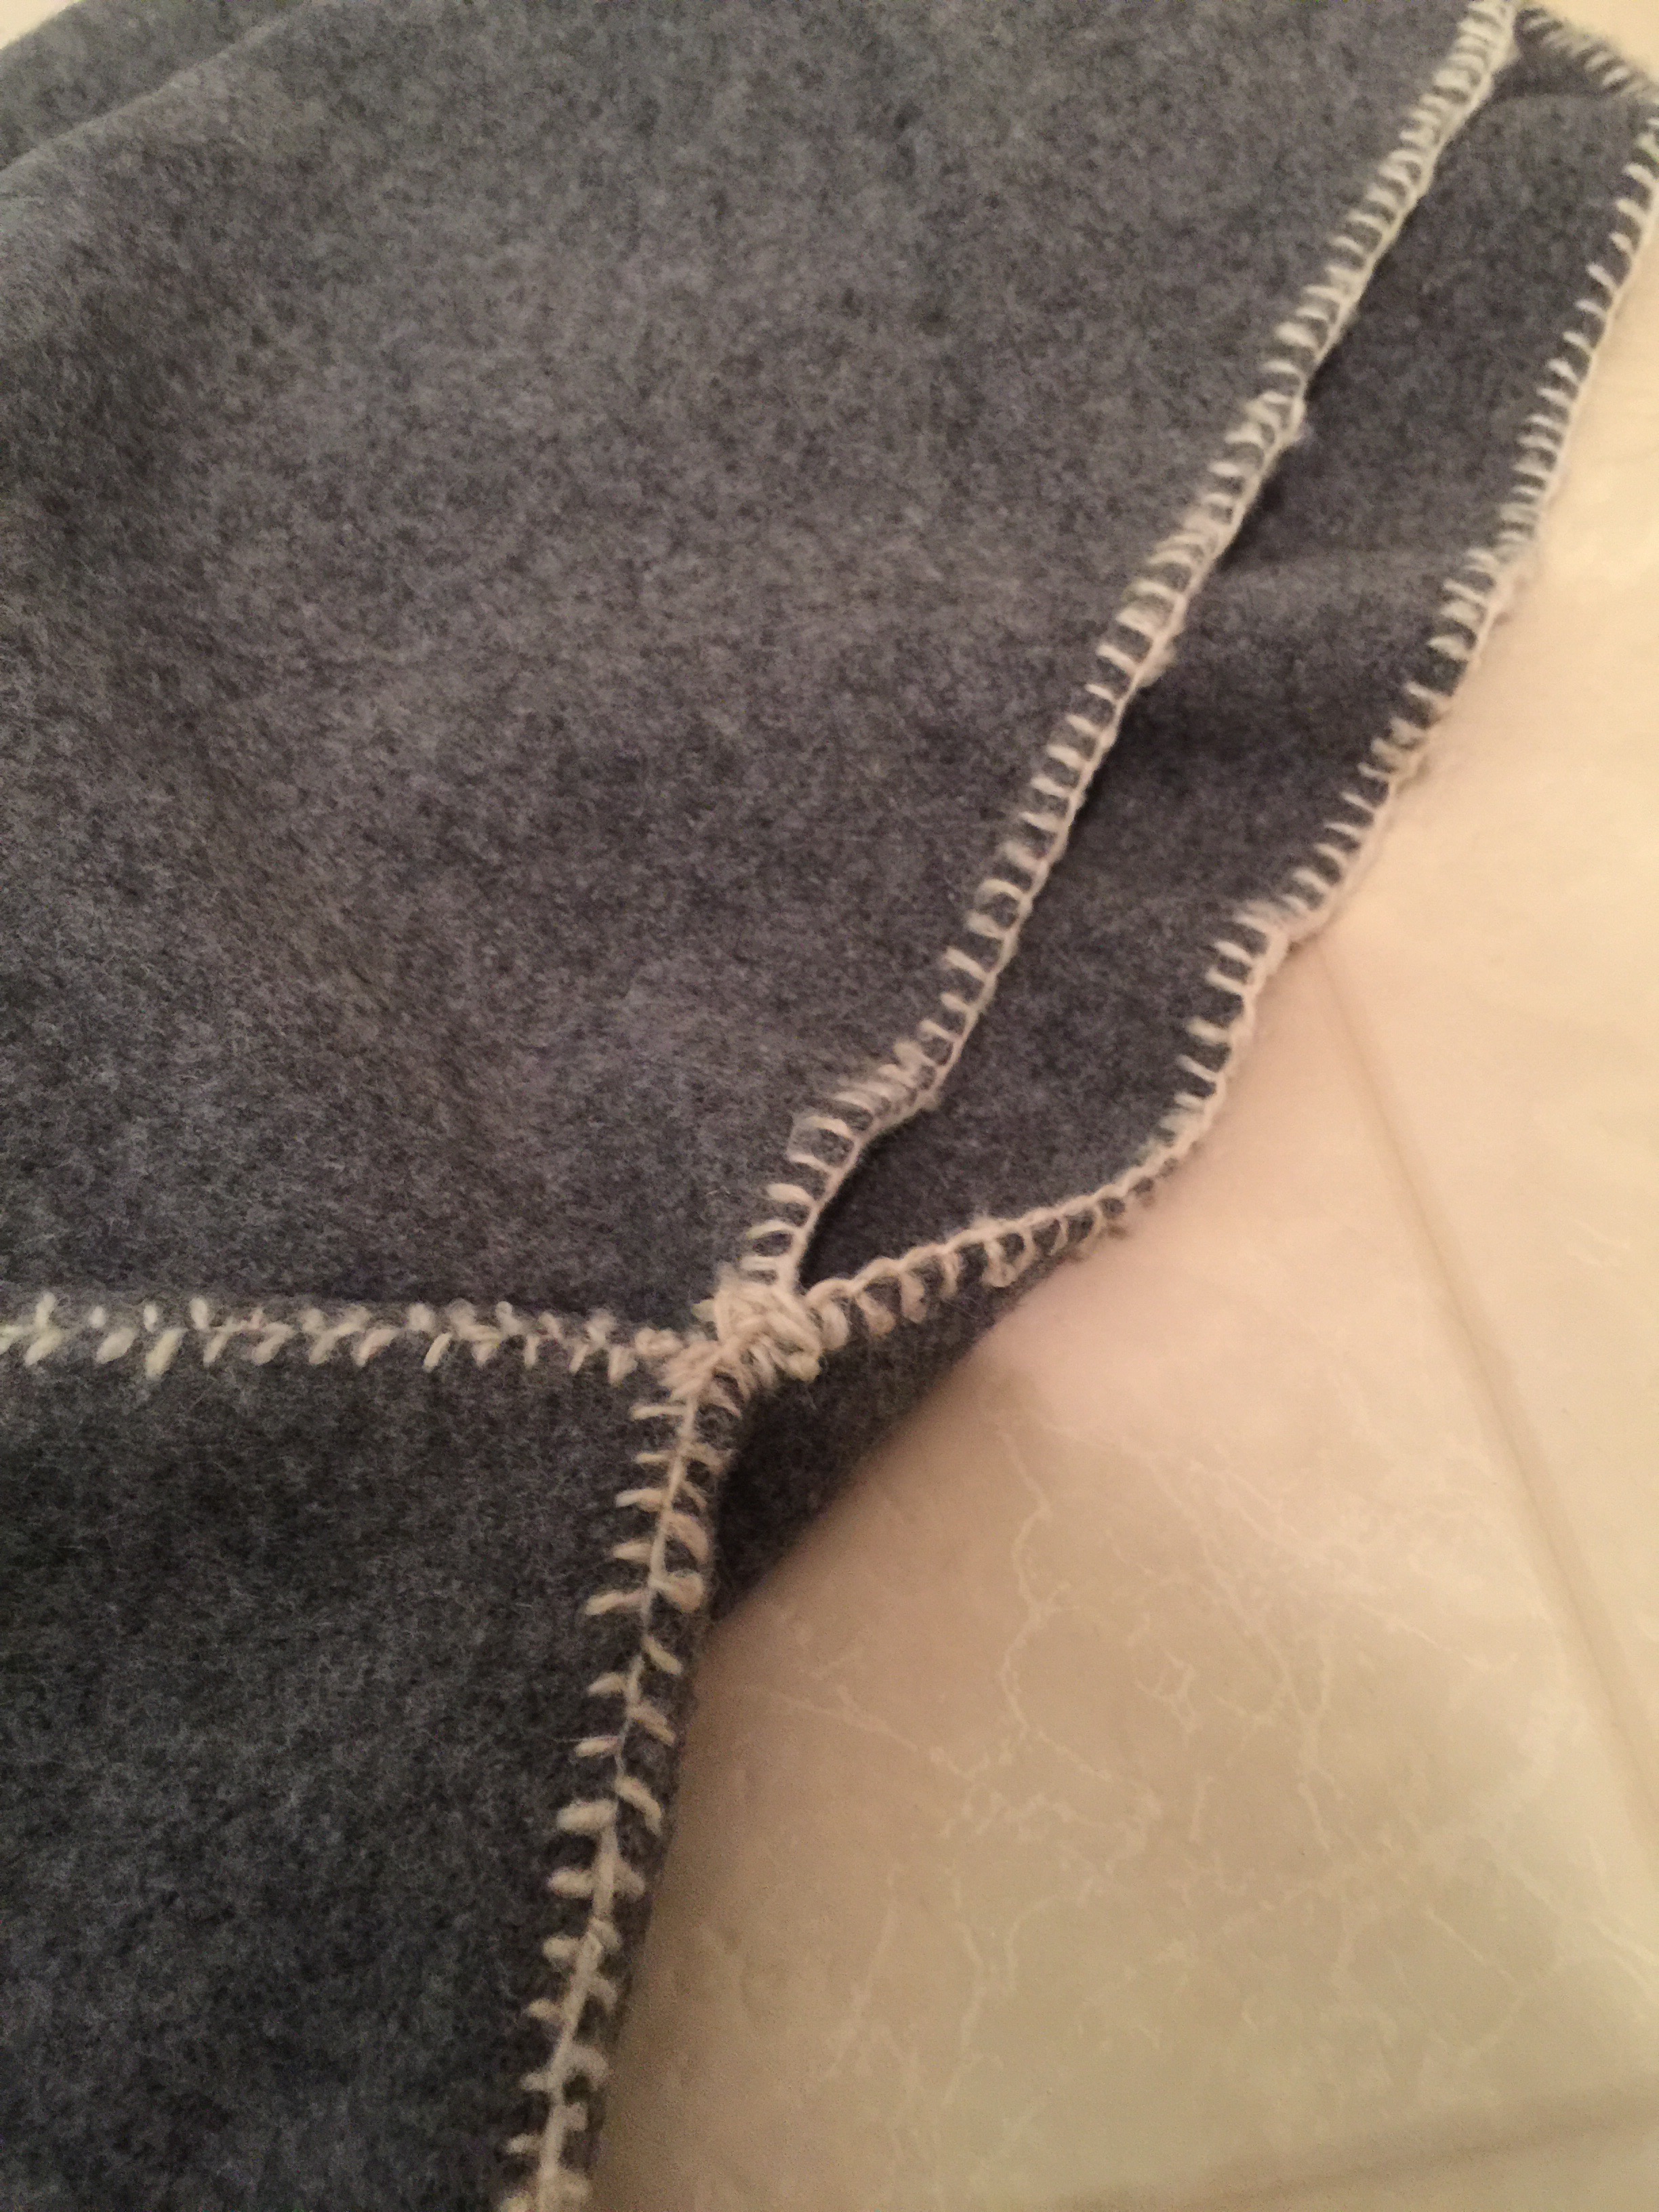
Finish the seams as you go, using your preferred method (mine is to use the selvedges so I don’t need to finish them. 😉 )
NOTE: I do all the construction for a tiered skirt flat—I will sew the single vertical seam turning it into a “tube” (cone?) almost dead last.
3) hem bottom edge.
I use a rolled hem foot on a regular sewing machine; if your serger does a fancy, easy rolled hem, that would work fine, too. Or, of course, lace or ribbon if you’re making a petticoat. This is a great chance to practice your rolled-hem technique, though, as a) a perfectly straight edge is the easiest to hem, and b) over this many feet of hem, you really won’t care about the odd booboo later.
4) Gather upper edge of bottom tier.
I use a ruffler attachment for this stage. I’ll talk more about the particulars of the different gathering techniques in the future. If you don’t have a ruffler foot, I’d recommend using a zigzag casing gathering technique, which I’ll also talk about next post.

Testing the gathering ratio.
5) Measure gathered length, and make next tier up accordingly.
This only really applies if you’re using a ruffler foot, which produces a gathered length of a fairly fixed ratio. Otherwise just make up your next tier, and arrange the gathers on it.
6) Attach gathered bottom tier to next tier up.
On a ruffler foot, it is actually possible to do steps 4 and 6 together. I don’t usually do this, mostly because I’m chickenshit. Also I feel more secure having two rows of stitching in place. Finish the seam allowance using your preferred method.

Fancy topstitching
Advanced tip: I really like a bit of topstitching to hold my seam allowance up… it smooths things out and tidies the inside. In this case I got to play with embroidery stitches on the fancy machine, so WOOT!
7) Repeat steps 4-6 until all tiers are attached.
8) Sew vertical seam along whole length of skirt. Finish as desired.
9) add elastic/drawstring casing to top edge of skirt.
10) Wear, and sweep them off their feet! 🙂

Ooo lala!
Troubleshooting
I mentioned above not making your next tier up until the lower one has been gathered. This applies if you’re using a ruffling attachment, or using a differential feed on your serger. Although the ratio of gathering it outputs is adjustable and you can (and should) do some tests to make sure your ratio is roughly correct before you start, often (always) there is a slight discrepancy between your calculated gathered length and your actual gathered length. This isn’t the end of the world, but it does require a bit of finessing. I usually make my next tier up to match my actual length, which can involve adding a bit more fabric or shortening the tier by a little bit. A few inches one way or another is NOT going to affect the final look of your project. (Although ask me about the time what I thought was a 2:1 ratio turned out to be more like a 4:1 ratio…)
In this particular case, it turned out I only had enough of the purple satin to make seven panels, not the eight I had planned for. I used a slightly lower gathering ratio… and really no one will ever notice a difference.
The other thing that can be a bit of a wild-card is length, partly because of some simplifications I made in the calculations (not accounting for hem depth or added width for an elastic casing on the top tier), but mostly, in my experience, having to do with how much a fabric stretches under the weight of all those tiers, or shortens (visually) as it poofs out, in the crinoline variety. The easiest way to adjust the length of a tiered skirt is on the top tier, by removing (pretty obvious) or adding length—usually just adding a casting or waistband to the top is enough for the kind of adjustments I’m talking about.
And finally, don’t sweat the small stuff. Tiered skirts of any variety are exercises in excess—there is a lot of fabric involved, a lot of hems, a lot of poof. Small flaws in your hemming or slightly uneven gathering will not be noticeable.

Whew!
Whew! That’s a lot of post. And a lot of memories. Not exactly a tutorial… but that’s how I do it.