Tag Archives: finished projects

Syo’s Sewing

Syo's First Project

No sewing today—I am moving sewing spaces! Yes, the found table has been wrangled down the stairs (my poor walls) to the basement, and installed in my “sewing room”, so my excuse for keeping my machines on the computer desk in the kitchen—that I had no sewing-room furniture—has evaporated. My long-suffering neat-freak of a husband has issued an ultimatum—all sewing paraphernalia is to be removed from the kitchen before nightfall. The entire process is really highlighting just how MUCH sewing stuff there was crammed in the kitchen… I guess I really can’t blame him for wanting it out.

Pooh.

Ah, well. It’ll be all right for the summer. I may have to invest in another space heater come winter, though.
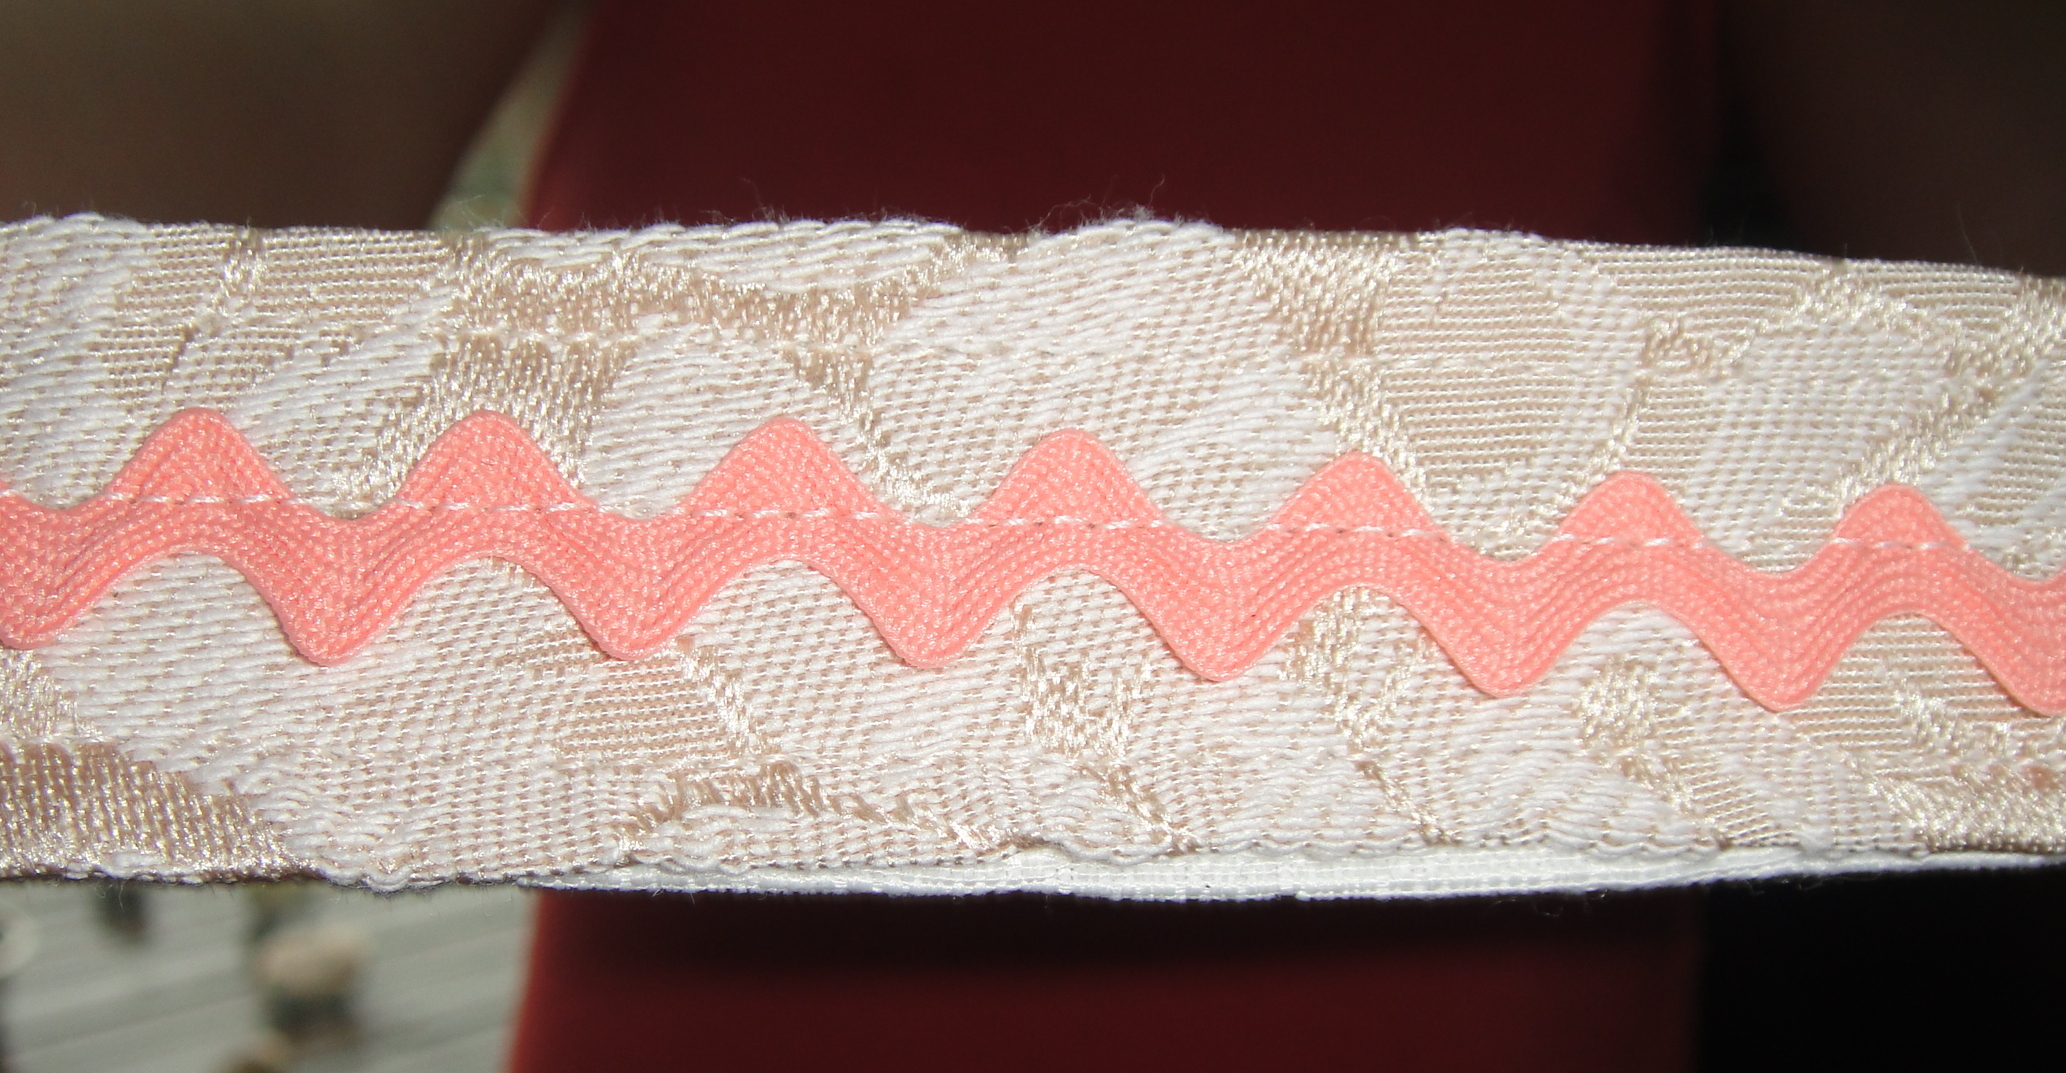
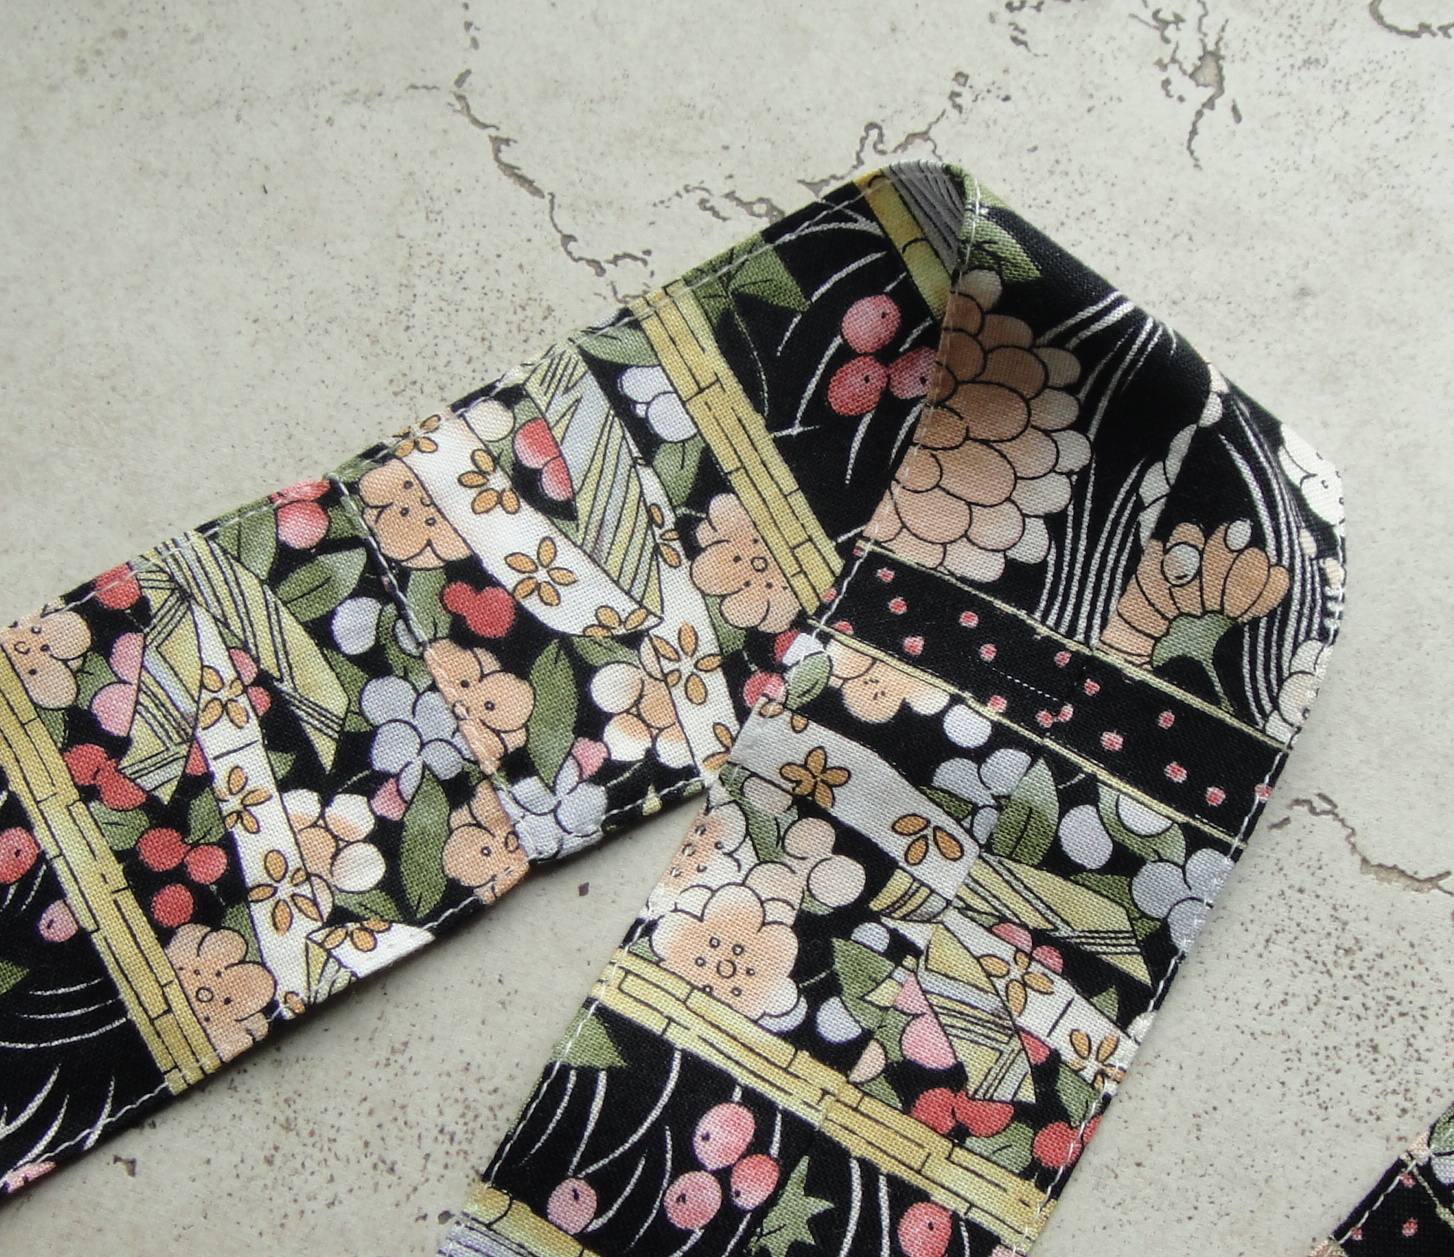
Strap, with rick-rack and topstitching

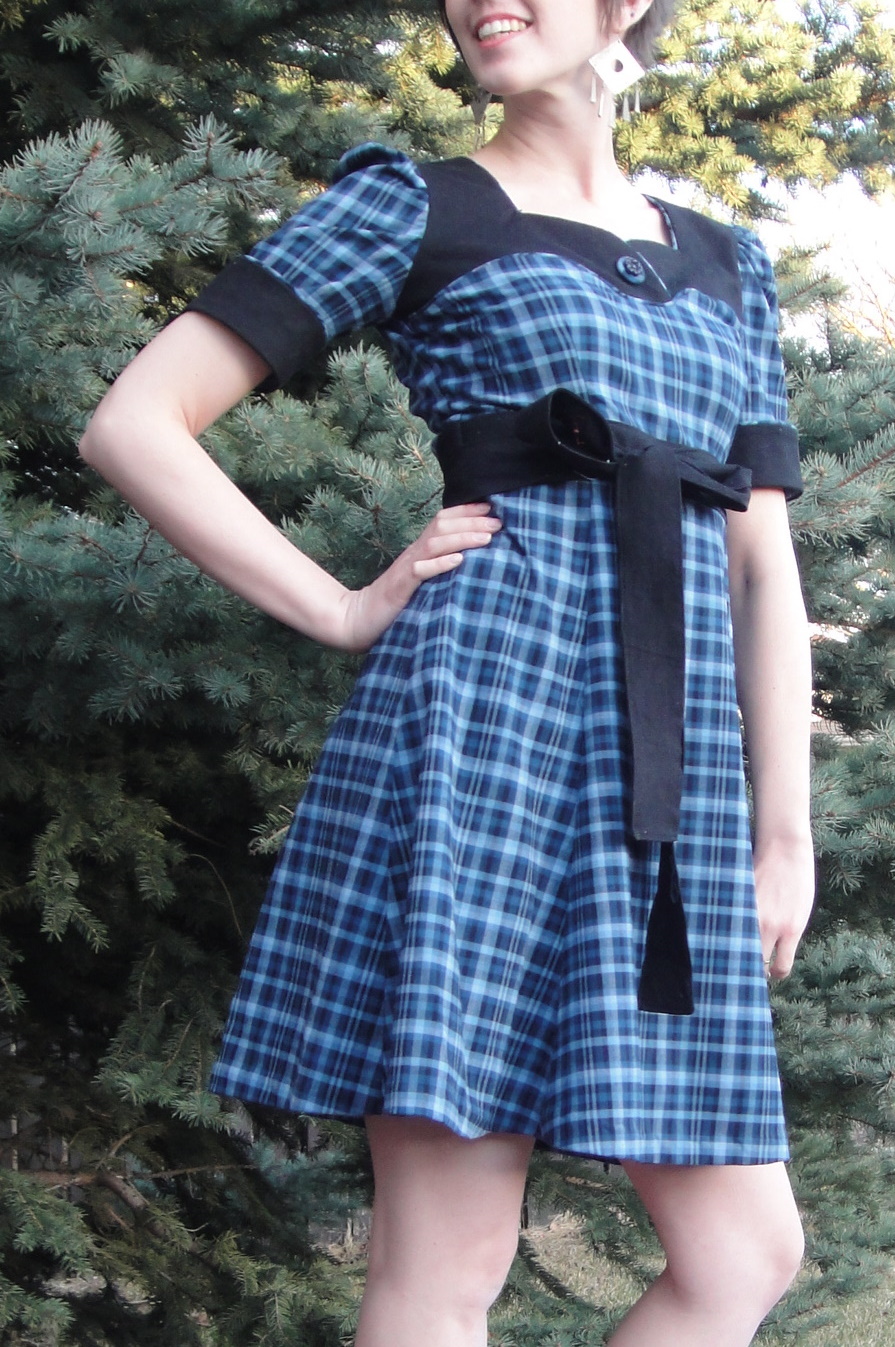
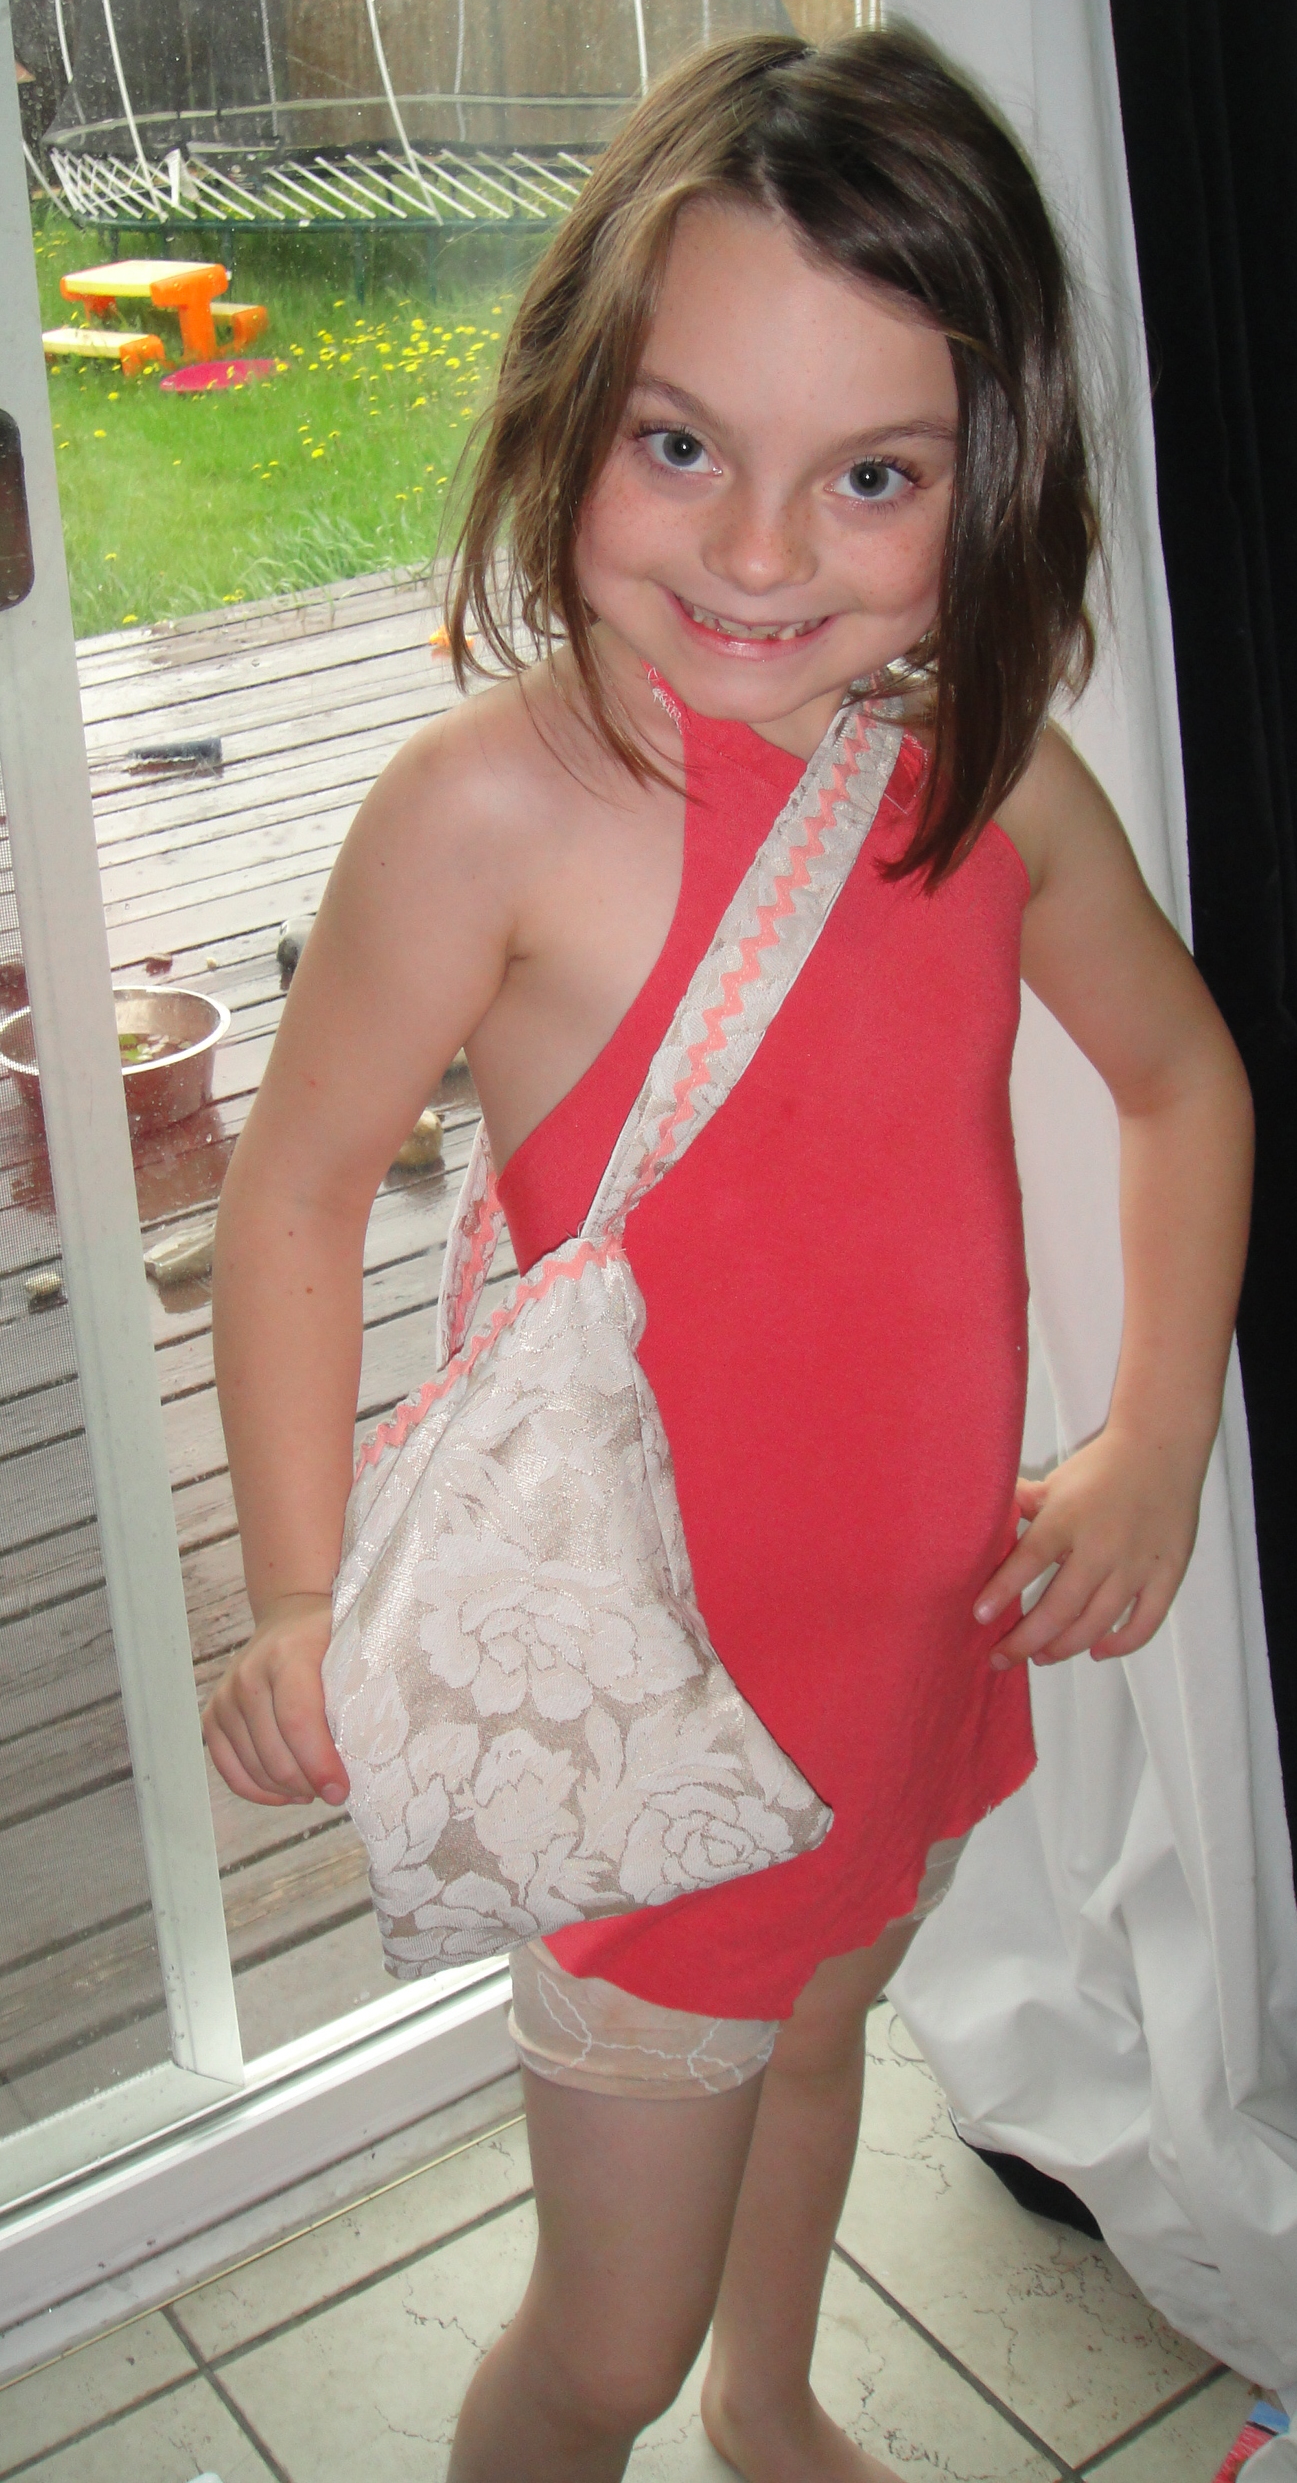
Anyway, with the absence of sewing on my part, I thought I’d show off Syo’s “first machine-sewn project”, made up last week. This isn’t her first sewing project—she’s been hand-sewing little cushions and things (although she was not very good at knots), and the shirt/dress/thing she’s wearing in the top photo is actually her own creation, too, although I did the actual (minimal) serging at her direction.
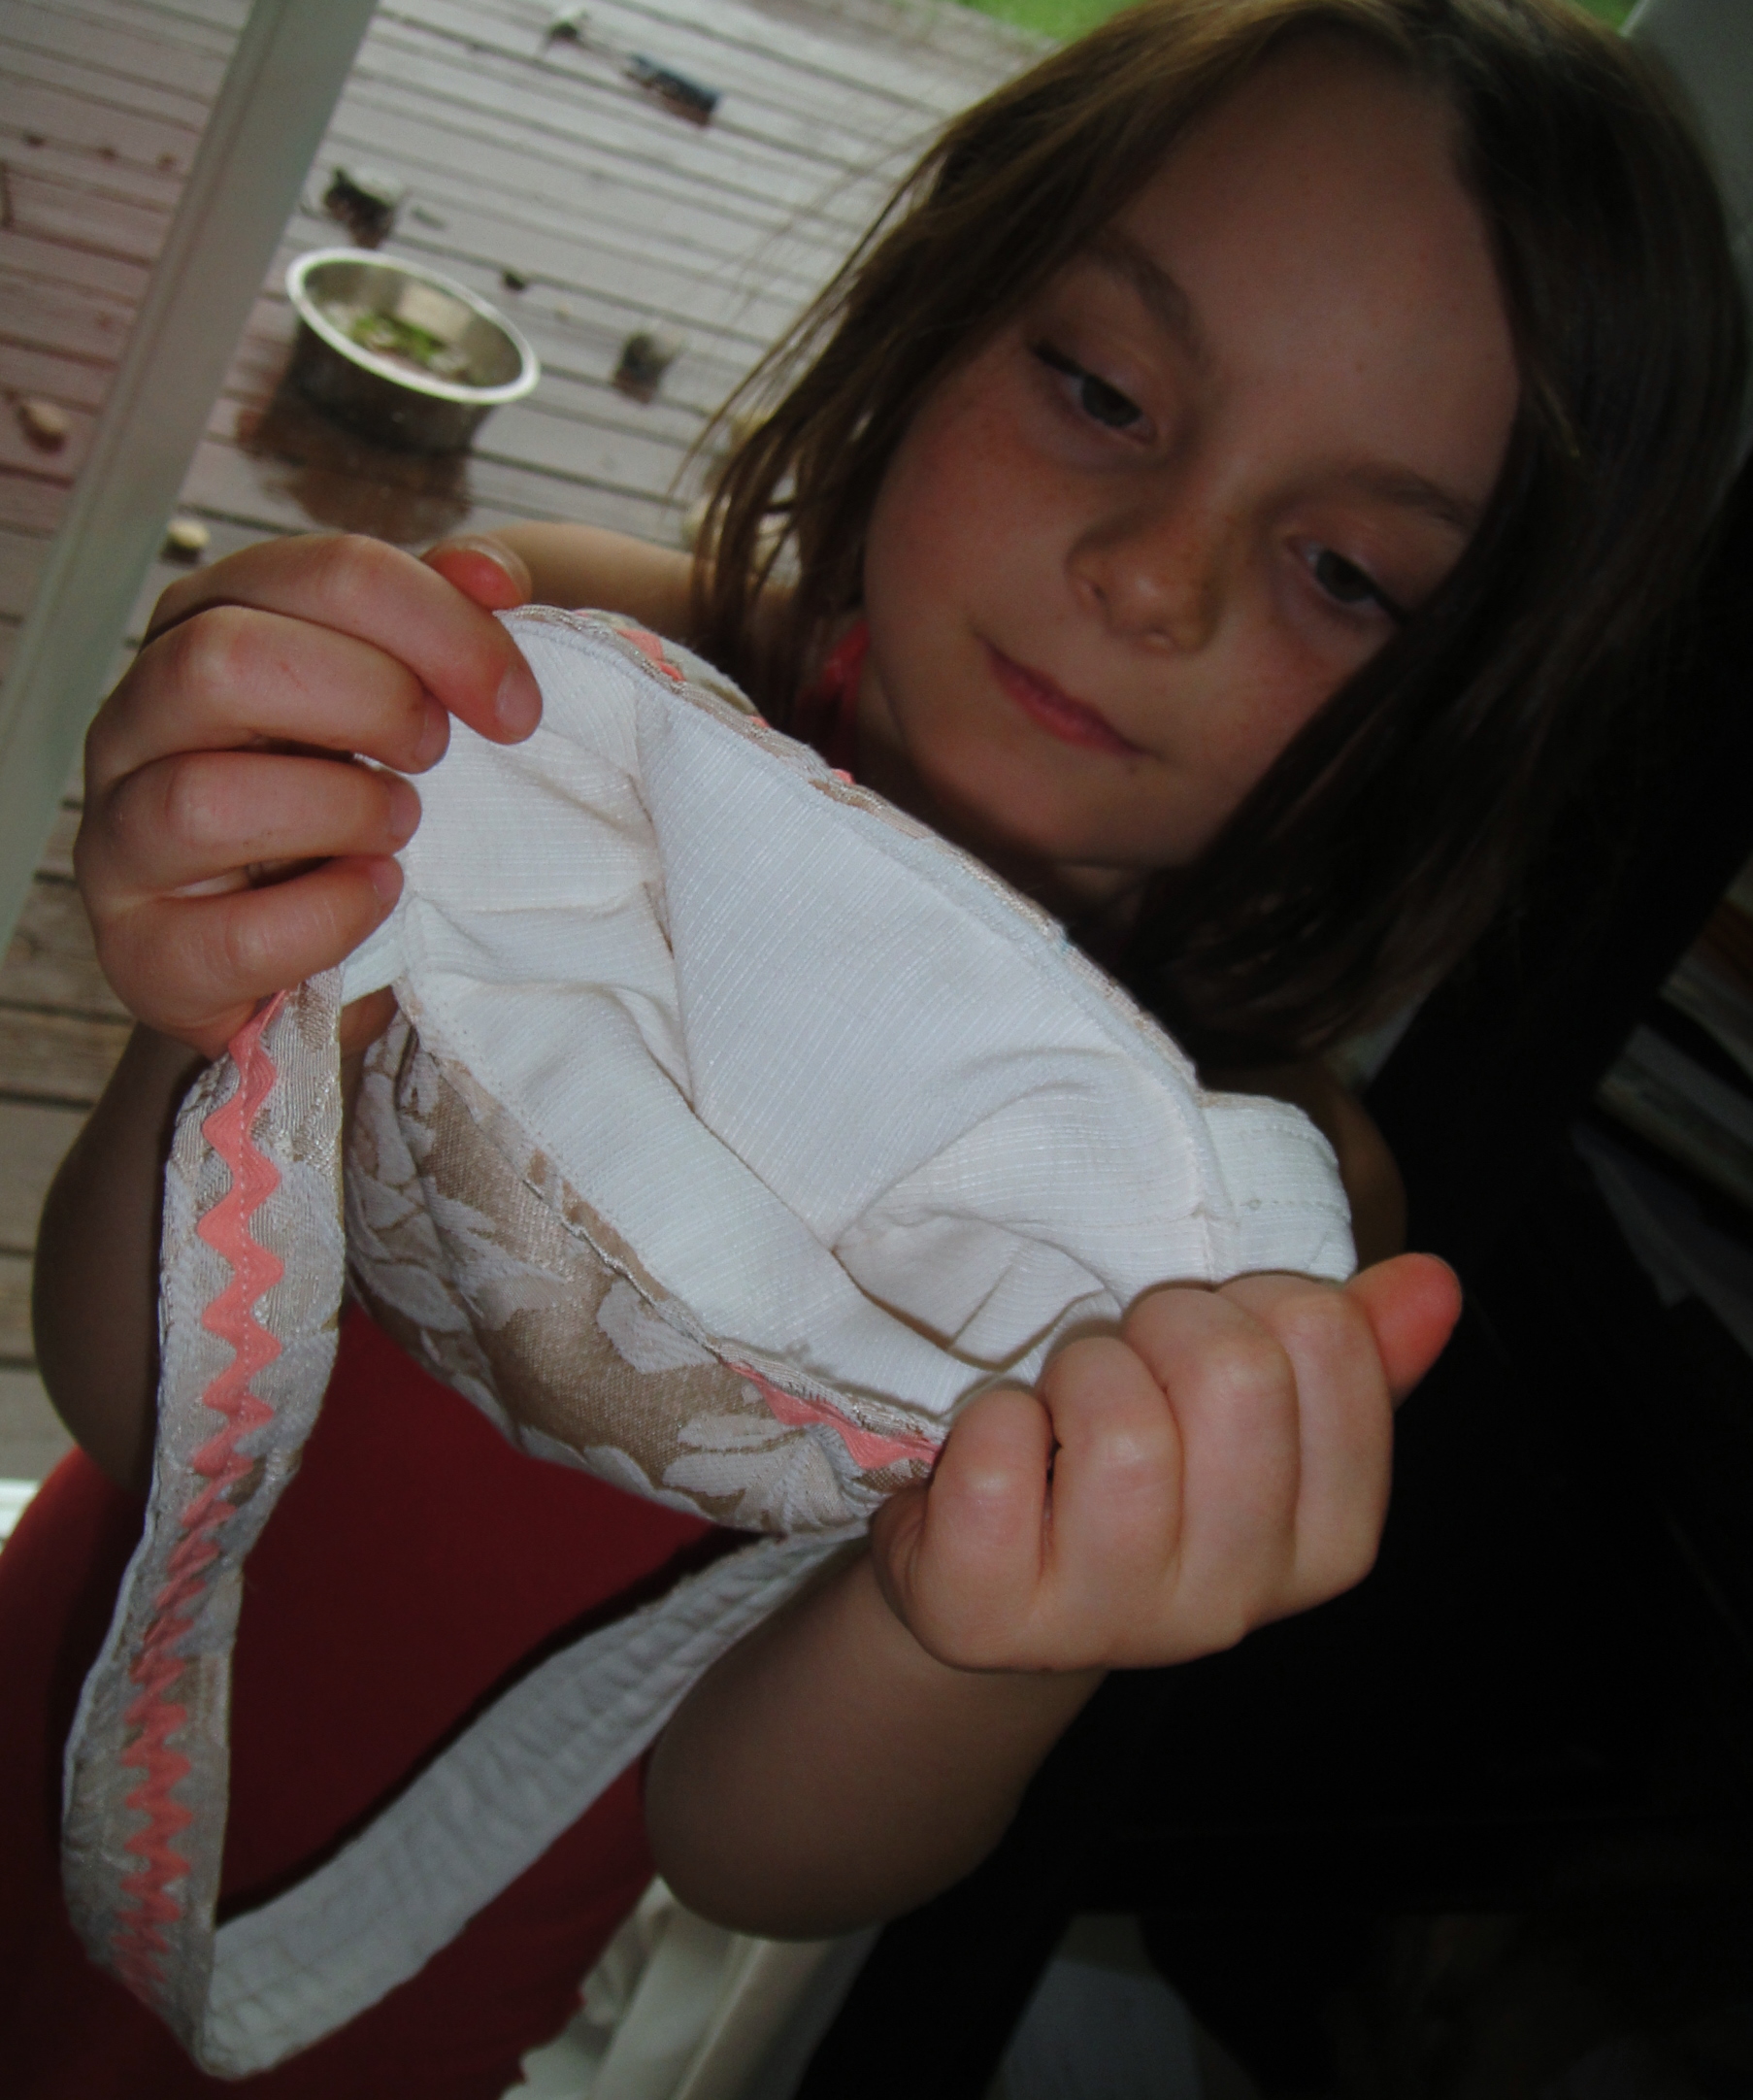
Lined interior

But this little purse was several steps up. We measured out the length and breadth of the strap. We used a pattern for the purse body (actually a sheet of standard paper). I helped with the pinning but she did all the cutting herself. She also chose the fabrics. The exterior is a cream cotton damask, a remnant from this pair of bellydance pantaloons I made a couple of years pre-blog. The interior is a remnant of cream synthetic something that I had at one point started making a shirt for the hubby out of  (the vastly inferior prototype to this shirt, frankly). It was a costume pattern, not full and blousy enough for the look it was trying for, the lace-up front placket instructions thoroughly defeated me at the time, and to put the icing on the cake, I melted the back of the neck ironing just as the shirt was almost finished. Anyway, I was a little hesitant when Syo selected it… while it’s not the worst to work with, it ain’t no cotton, shall we say. But it was the right colour and this project would pretty much take care of the last shreds of that painful memory, so I agreed.

I won’t say I didn’t hover nervously. I also helped with some tugging where the layers required taut sewing (a walking foot would be great for a project like this). Syo has a particularly alarming habit of accidentally pressing down on the foot pedal while attempting to re-position or maneuver the fabric with the presser foot up. But she distinctly improved over the course of the project, and managed not to puncture either of our fingers.
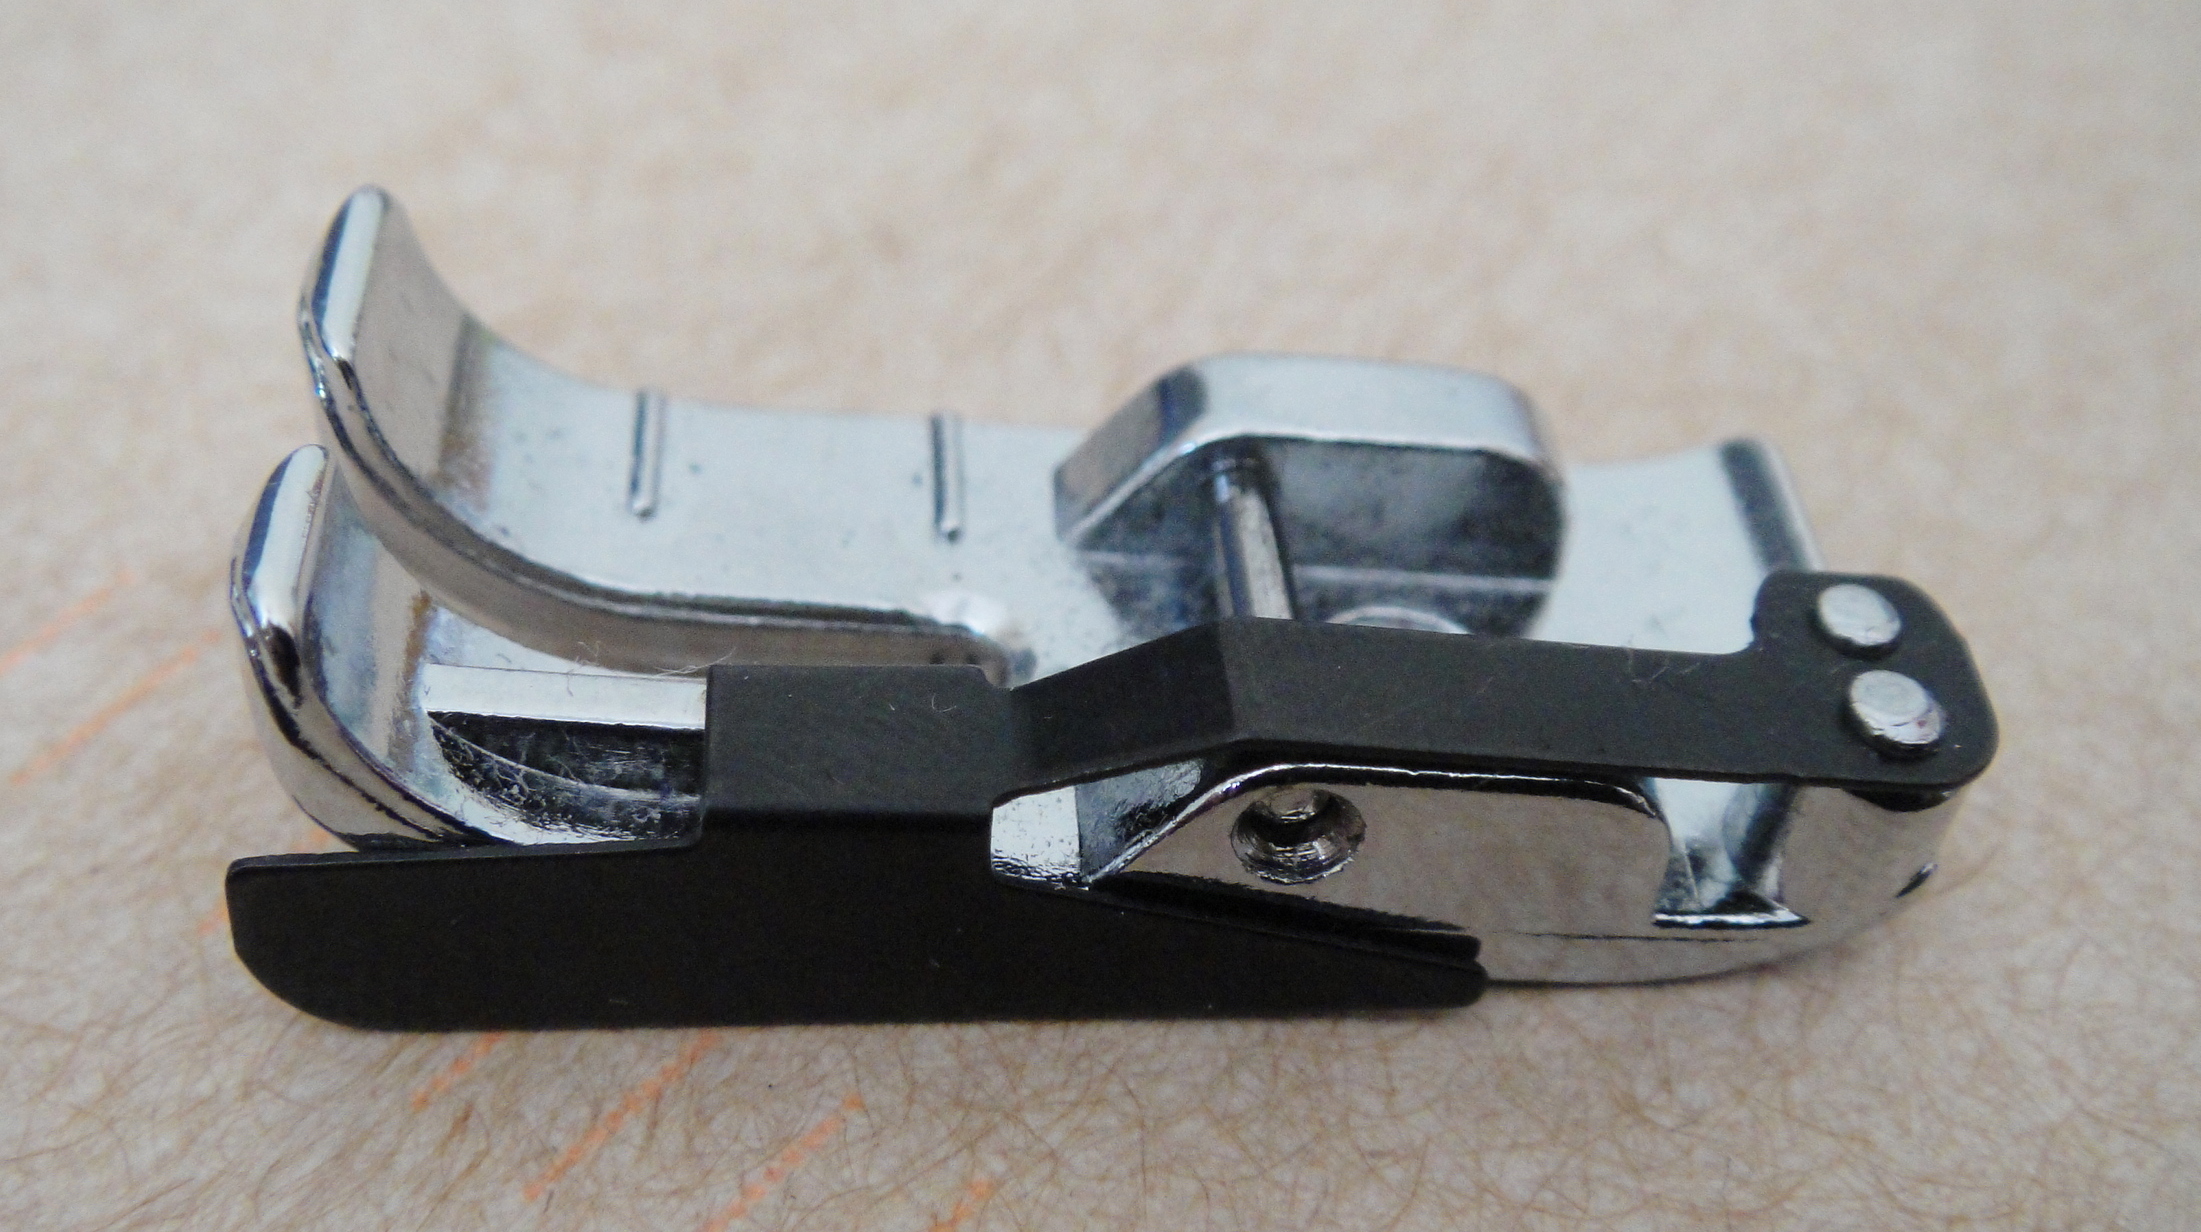
1/4" Edge-Stitching Foot

Also, I think it was Marie-Christine who made the comment once that technology will trump skill in most cases. I must (again) concede th truth of this. This little fellow is a 1/4″ edge-stitching foot that I bought on a whim when I got my marvelous new zipper foot. It set me back a whole five dollars or so. I won’t say it’s revolutionized my topstitching—I’ve gotten halfway decent over the last year—but it certainly makes some things that took a bit of concentration before almost effortless. More importantly, it made it possible for Syo, who can barely sew a straight line, to do almost-perfect topstitching. She also did a really darn good job sewing down her rick-rack, even in the centre of the strap, so it’s not all the little gadget, but anyway. All in all I’m a pretty proud Mama, and Syo is excited to try many future projects…

In Me-Made June News…
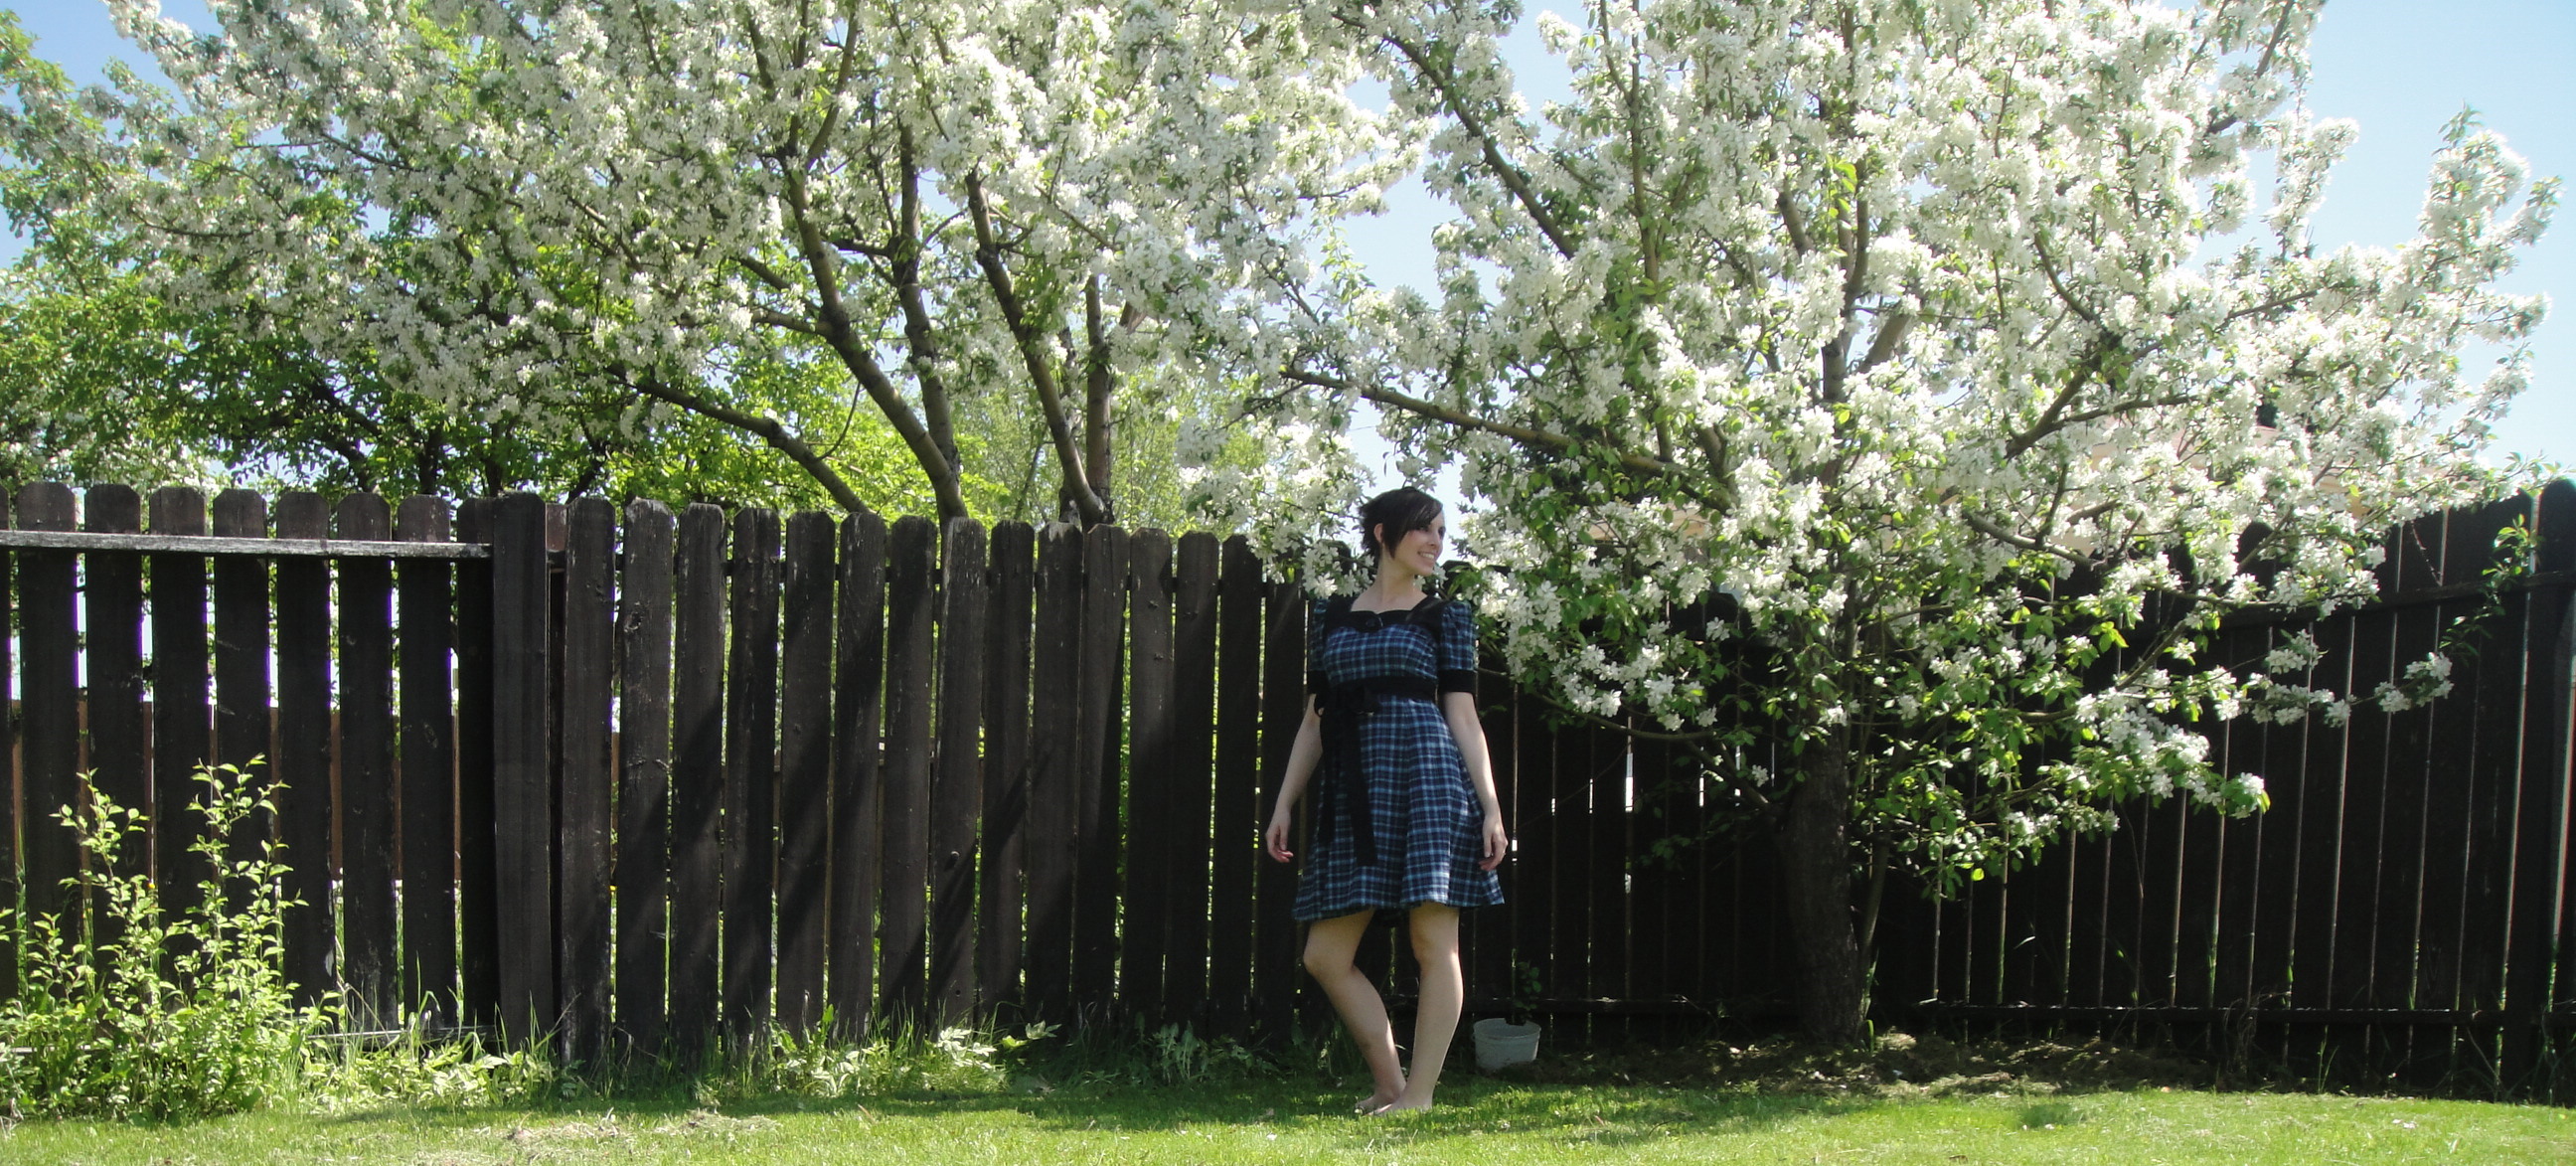
My back yard. Oh, and my outfit for June 5

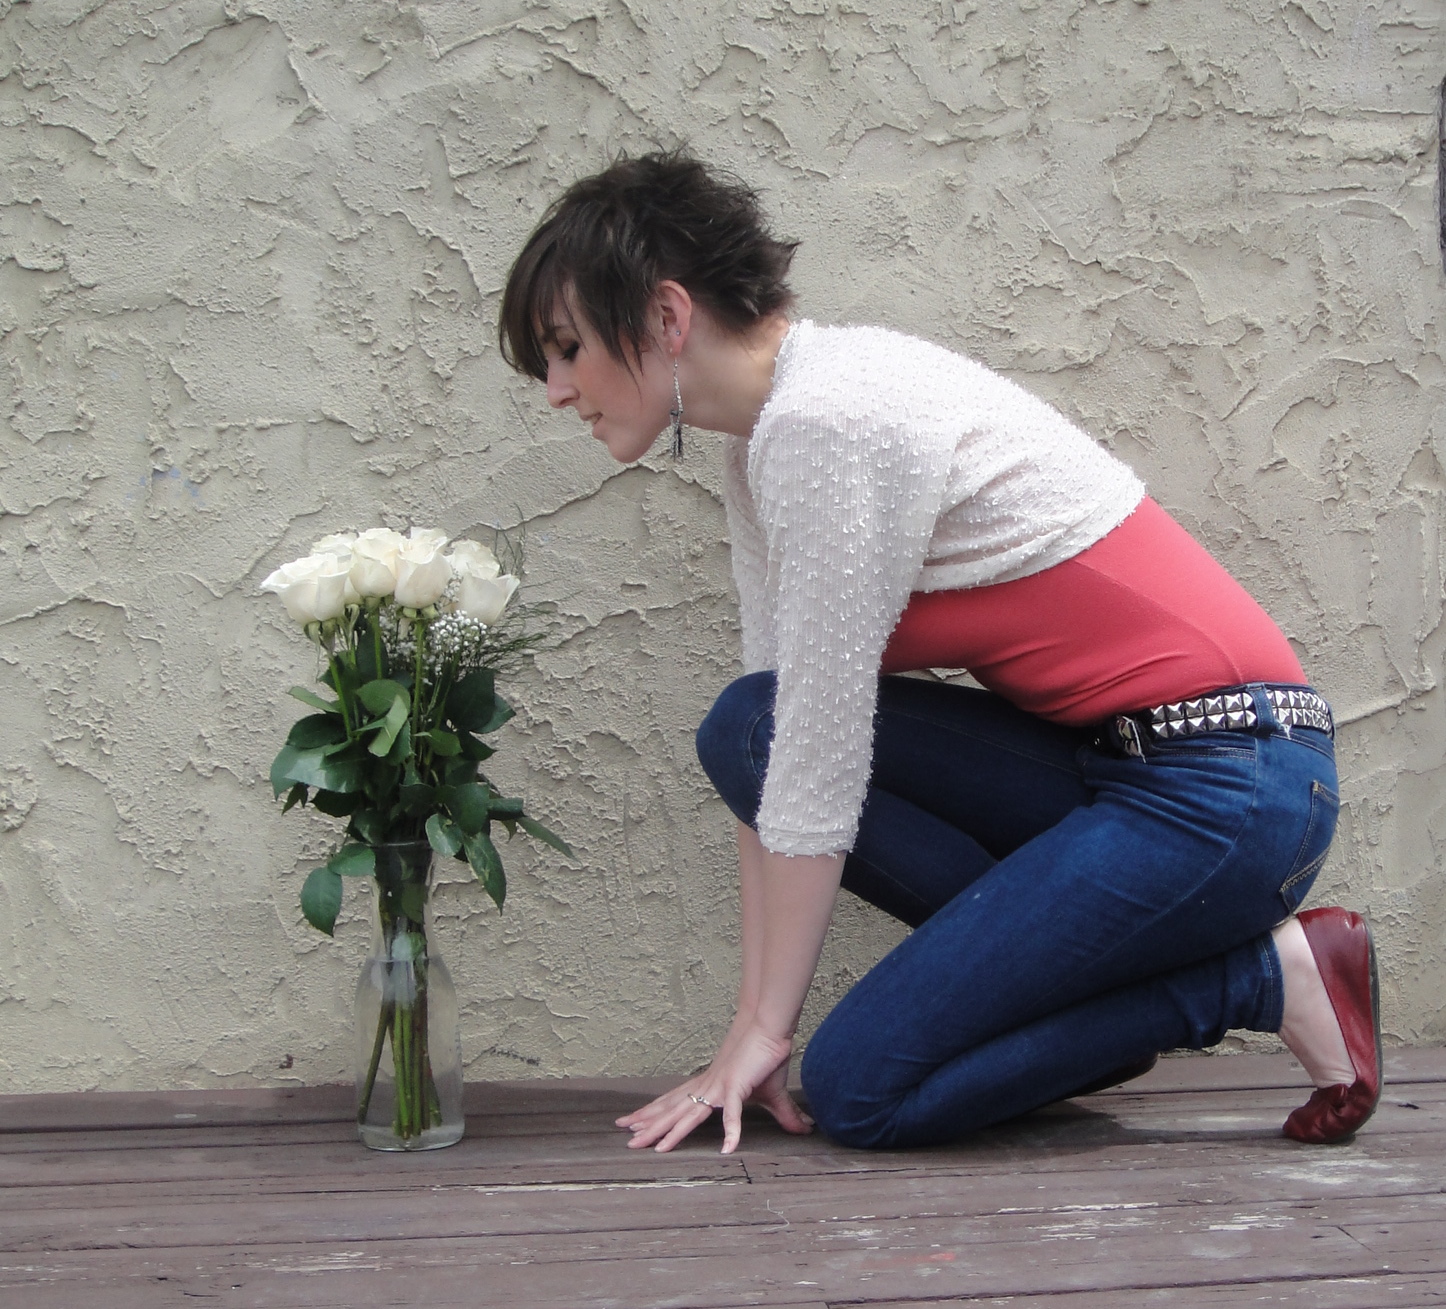
Here’s a slightly more panoramic shot of my back yard than usual, just because we finally mowed the jungle lawn, and the crab-apple trees are absolutely gorgeous right now. This is, of course, Simplicity  6023, the 70s dress pattern I won off MPB. Possibly I shouldn’t’ve worn such a nice dress on a day that included a fair bit of sweating and yard work (yay, heat!), but ah well. It’s washable.

Also, I was a little sad that I missed the twirling on Friday, so I decided to twirl today.
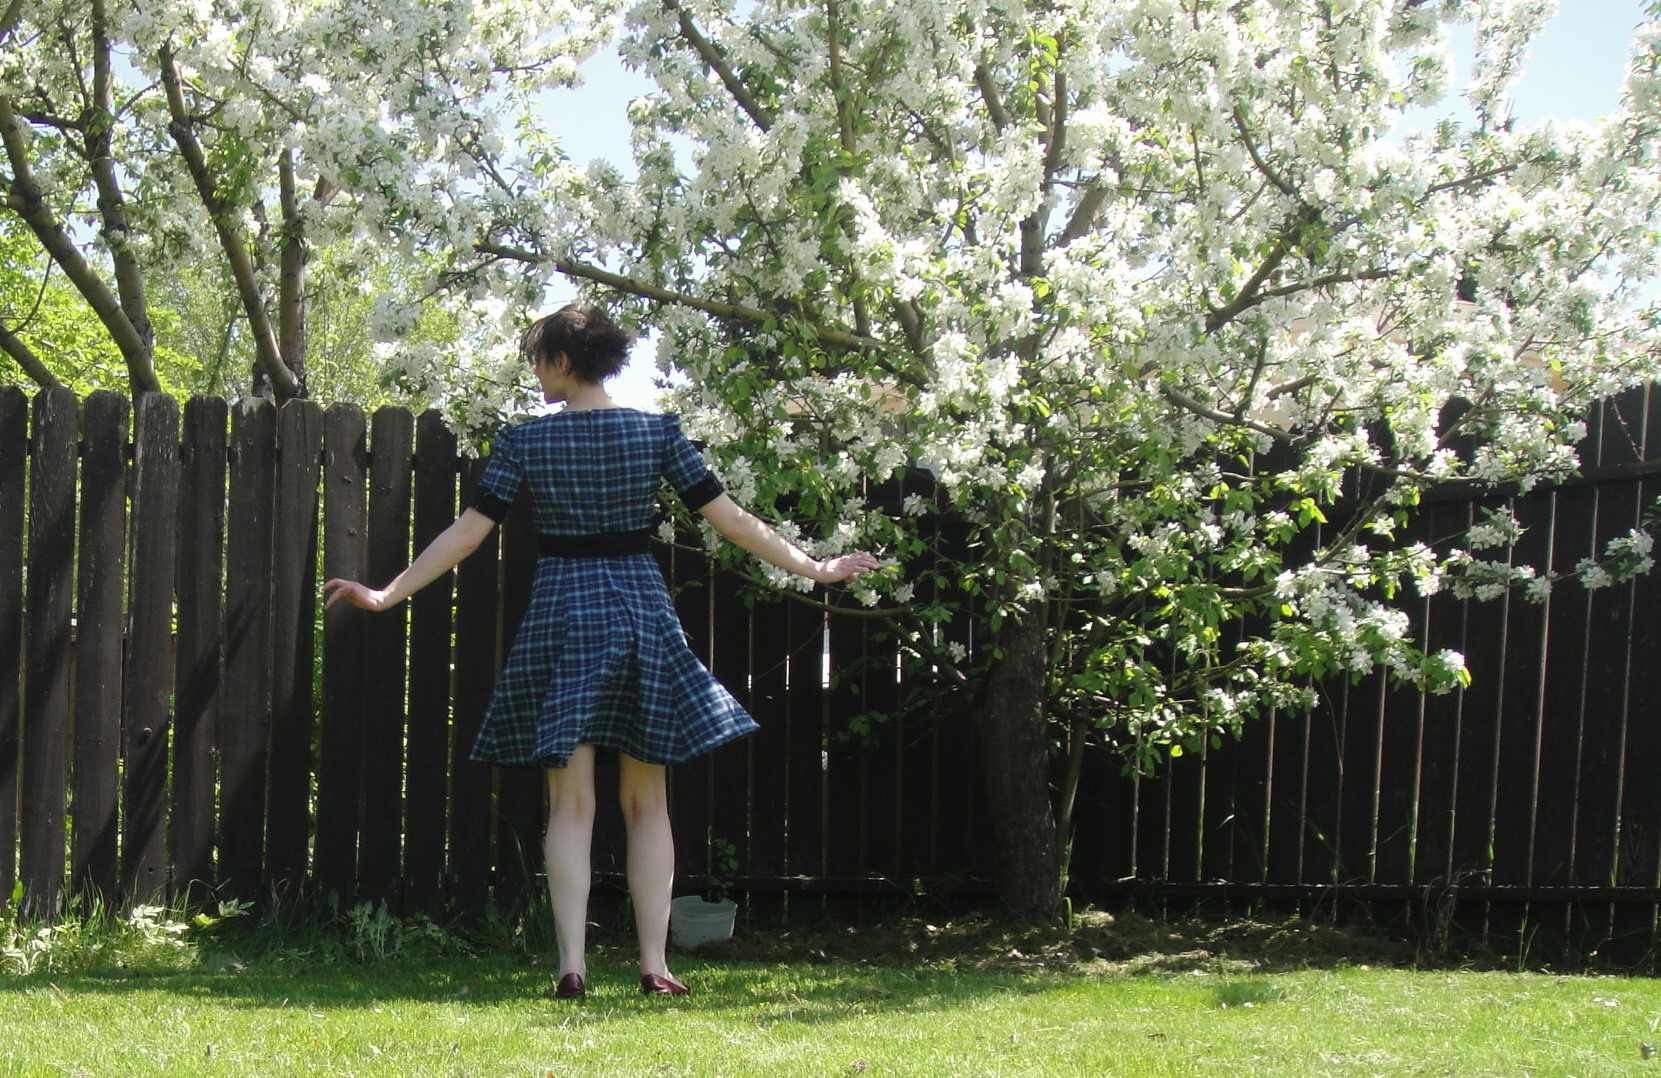
Twirling

It’s supposed to be rainy and cool again tomorrow, but at least we had one truly glorious day! Now, back to the sewing-room-moving…

14 Comments

Filed under Sewing

The Grecian Goddess Dress

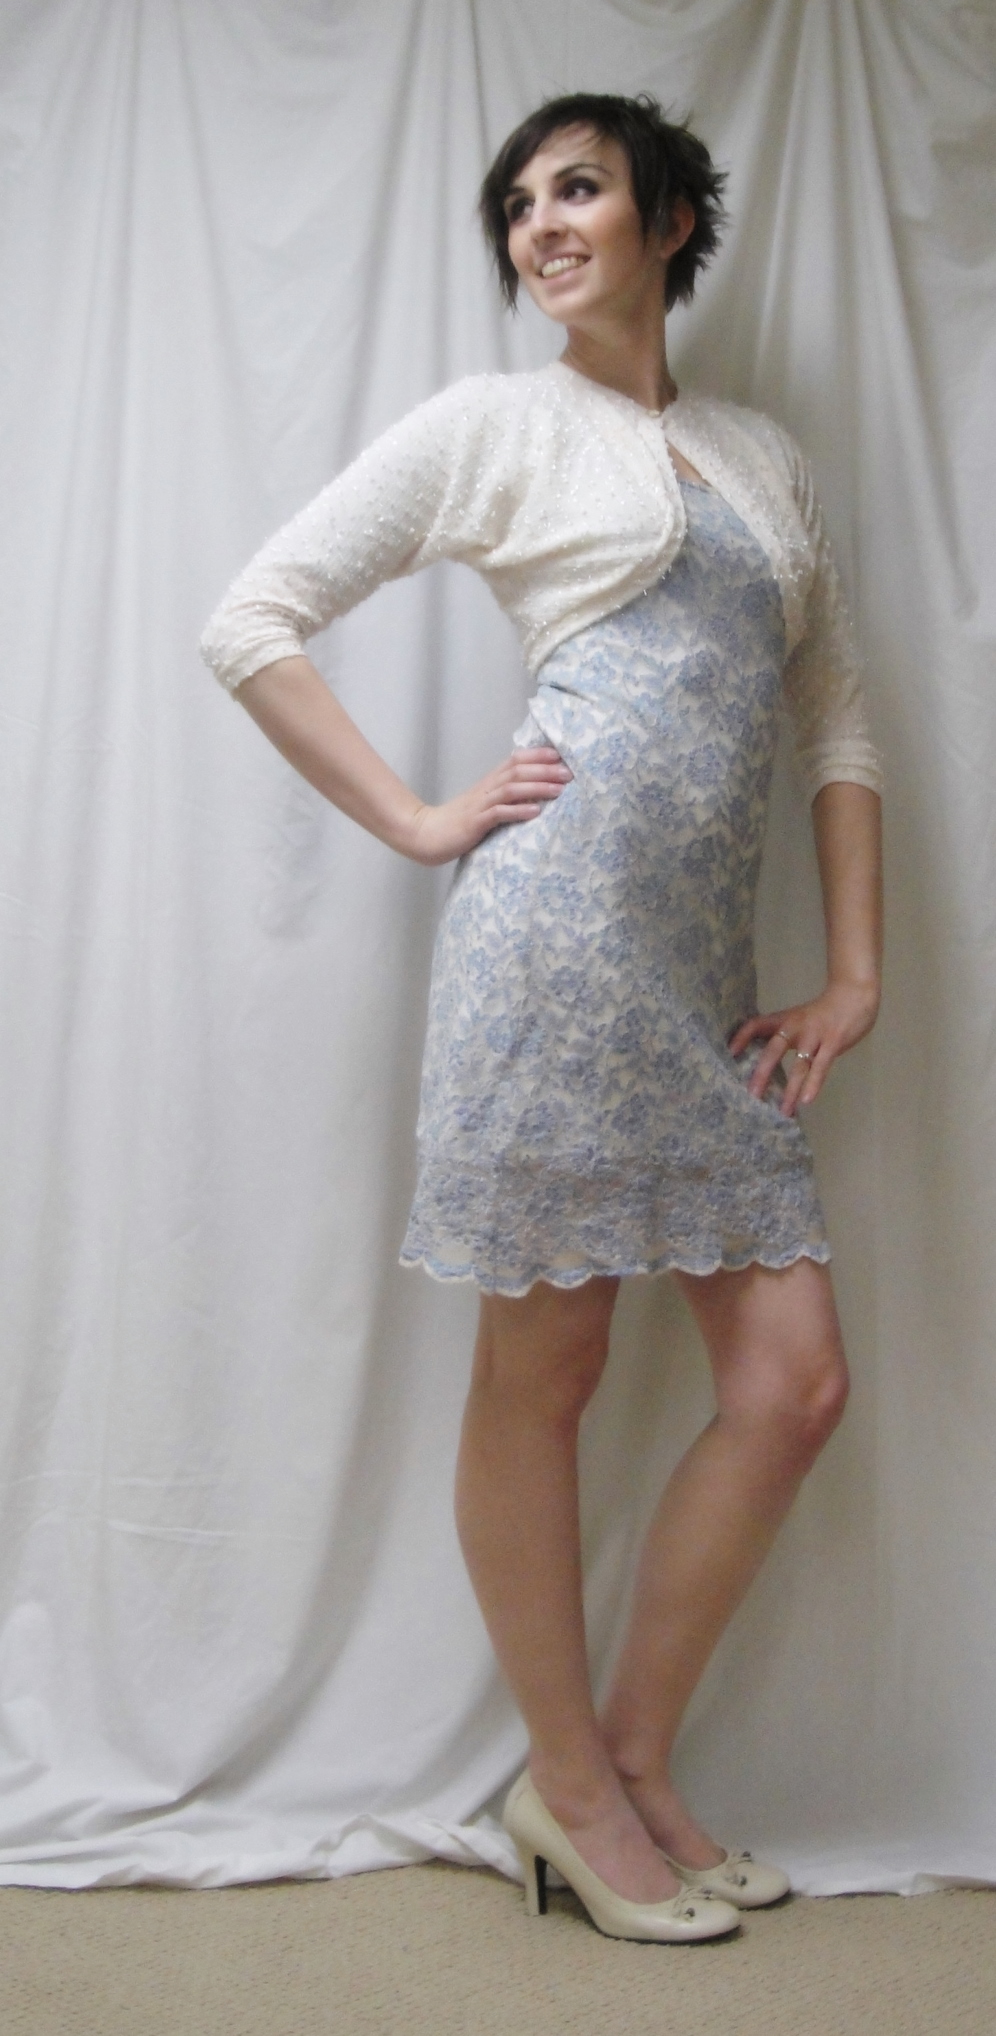
Grecian Goddess Dress

I will admit I considered various alternative titles for this dress. The KISS (keep it simple, stupid) Dress. The Shirring Saves (Almost) Everything Dress. I commented in my inspiration post that I could just use a rectangle. I probably should’ve. Instead, I painstakingly drafted a short kimono sleeve, then added fullness for gathering both top and bottom. Even that would’ve been all right, though, if I’d just had this top flow straight into the skirt. But no, I had to fool with an underbust seam. Which of course (because I didn’t muslin anything) was about two inches too low in the front, and not particularly even all around.

In desperation a flash of brilliance, I decided to shir. I stitched up the front and back openings a couple of inches, pulled out my elastic-thread-wound bobbin, and started shirring a long spiral around the dress, beginning at my approximate underbust and continuing down across the bloody “waist” seam.

Front view

This created a vast improvement—instead of a mumu I now had something much closer to the elegant, drapey concoction I had envisioned. By a miracle, the neckline didn’t gape OR fall off my shoulders, and the bra straps are completely covered both at shoulders and at the back.

Back view

But all the shirring in the world couldn’t save that lumpy, uneven waist seam from being lumpy and uneven. No worries, though, I had always envisioned this dress with a sash across the offending area. I had planned to do a self-sash, but found myself desperately short of fabric. My Japonais Mum to the rescue! I cut off a pair of narrow widths ( it was too narrow to do just one), joined them in the centre, and made a simple tube sash.

Because having a seam at one edge and not the other annoys me, I hit on the idea of rolling the seam to the centre of the back-side of the sash. Quite satisfied with how that turned out. Yay me.

Sash closeup

Obviously I need to shorten the dress a fair bit… it’s dragging even in the heels I’m wearing for these photos (and the odds of me actually wearing heels like that out and about in the summer are pretty minimal).

I might try the general idea again, without an underbust seam and with a bit less gathering at the shoulder.

In Me-Made June news,

MMJ 4

This is an older ensemble, meaning everything in it was made last summer and fall. It’s not terribly glamorous and I have a few issues with the fit of the blouse that I didn’t notice when I first made it (too bad since I made like four different versions). Still, it’s warm and comfy on a rainy, chilly day. These remain my single favourite pair of me-made jeans, despite a number of material failures (the pockets have disintegrated and much of the topstitching is failing).

JJ blouse
Knit top formerly known as Lydia
Jalie 2908 Jeans

29 Comments

Filed under Sewing

Trial Tunic

Tunic and apple tree

Before I get into the tunic, I just wanted to say thank you for all the wonderful comments on yesterday’s anniversary post. I’m proud of my husband and our family, and of the way we’ve dealdt with the struggles we’ve gone through to get where we are now (not that we are done with struggling, by any means). My favourite quote about love (though I couldn’t name the source) is that “Love isn’t something you feel, it’s something you do.”

Anyway. Tunics.

I have a bit of an ambivalent relationship with tunics. You may not know this, except, perhaps, by their total absence from my sewing so far. Basically, I have what can charitably be called a “boyish” figure, and I have generally figured that the purpose of clothing should be to emphasize what little I have in the way of curves, rather than skim over them. Also, I’m still recovering from a long-time perception that the tighter, shorter, and skankier an outfit was, the better it looked. So I’ve always tended to give tunics a pass.

But, in their massive popularity over the last few years (possibly in abatement now, but the trends can kiss my ass), I did wind up trying on a few here and there and, to my surprise, discovered that I really liked at least some of them. Who knew?

Anyway, one of my favourites has been a specimen with a wide hip-band, scooped, gathered neckline, flutter sleeves, and a keyhole opening in the upper back. And ever since I worked out my knit sloper over the course of last fall, I’ve been wanting to attempt to immitate it. How hard, after all, could it be?

Closeup

This is not the ultimate version, by any means. Most egregiously, this version is about three inches too short, so that the hip band falls above my hips rather than at my widest point, especially after several minutes of wearing. I can blame this on nothing but myself, though, as I took the existing length of my knit sloper rather than actually measuring the original tunic. My keyhole opening in the back is quite a bit smaller than the original, too, for much the same reason, although this is less upsetting.

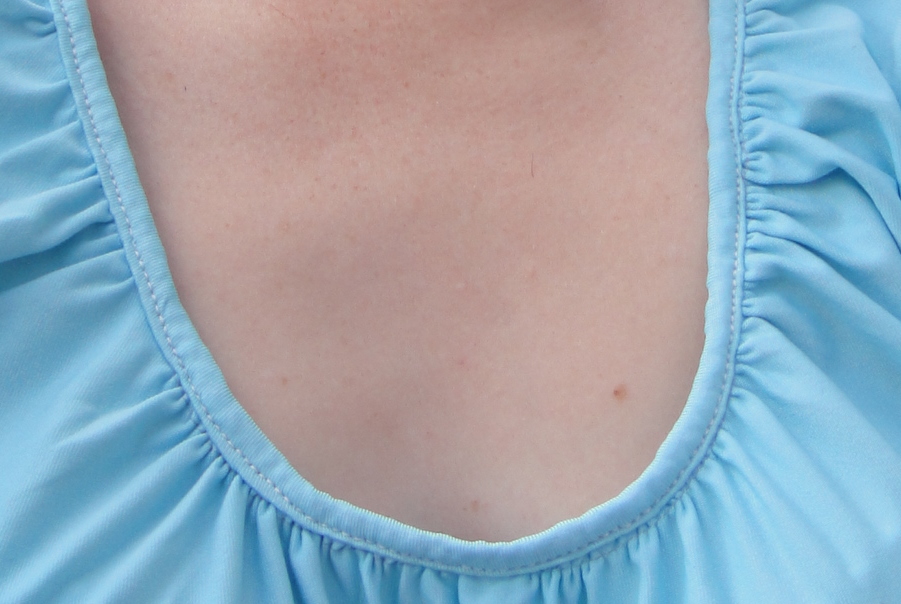
Neckline. Meh.

The hardest part of this entire project was binding the neckline. I have a really hard time producing nice bindings in thin, wriggly knits. I’ve sidestepped (or at least minimized) the issue in the past by using a lot of cowl-necked patterns or other alternative neck finishings for the thinner knits I’ve sewn up, but for this pattern I really needed to bind the gathered neckline. I achieved it, by dint of much fussing, cussing, and the flagrant application of both Steam-a-Seam and Wonder Tape, but it’s not especially pretty or professional-looking. Also keeping my gathering from squooshing under the machine foot was nearly impossible. It’s not perfectly even, but at this point I’m not going to complain. Sadly, I’m not sure I can do a lot better with the equipment at hand.

Back view

Other than that, and a bit of futzing with the back closure (between the neckline and the keyhole), I’d say it’s a reasonably successful first attempt, though. V. 2 should be much more satisfactory, or at least longer. The downside of taking your own photos with the timer is there’s no one to tell you your shirt is hiked up at the back. On the other hand there’s a pretty good chance this is the way it’d look most of the time when worn, anyway.

In Me-Made June news,

MMJ 2

today I am wearing the 50s shrug (pattern here), blog post here

Cowl-neck shirt

skinny jeans.


As you may have guessed, it still isn’t really warm, although at least we’re in no (immediate) danger of snow. Still, I shan’t complain—sun and mid to upper teens (C) is decent enough.

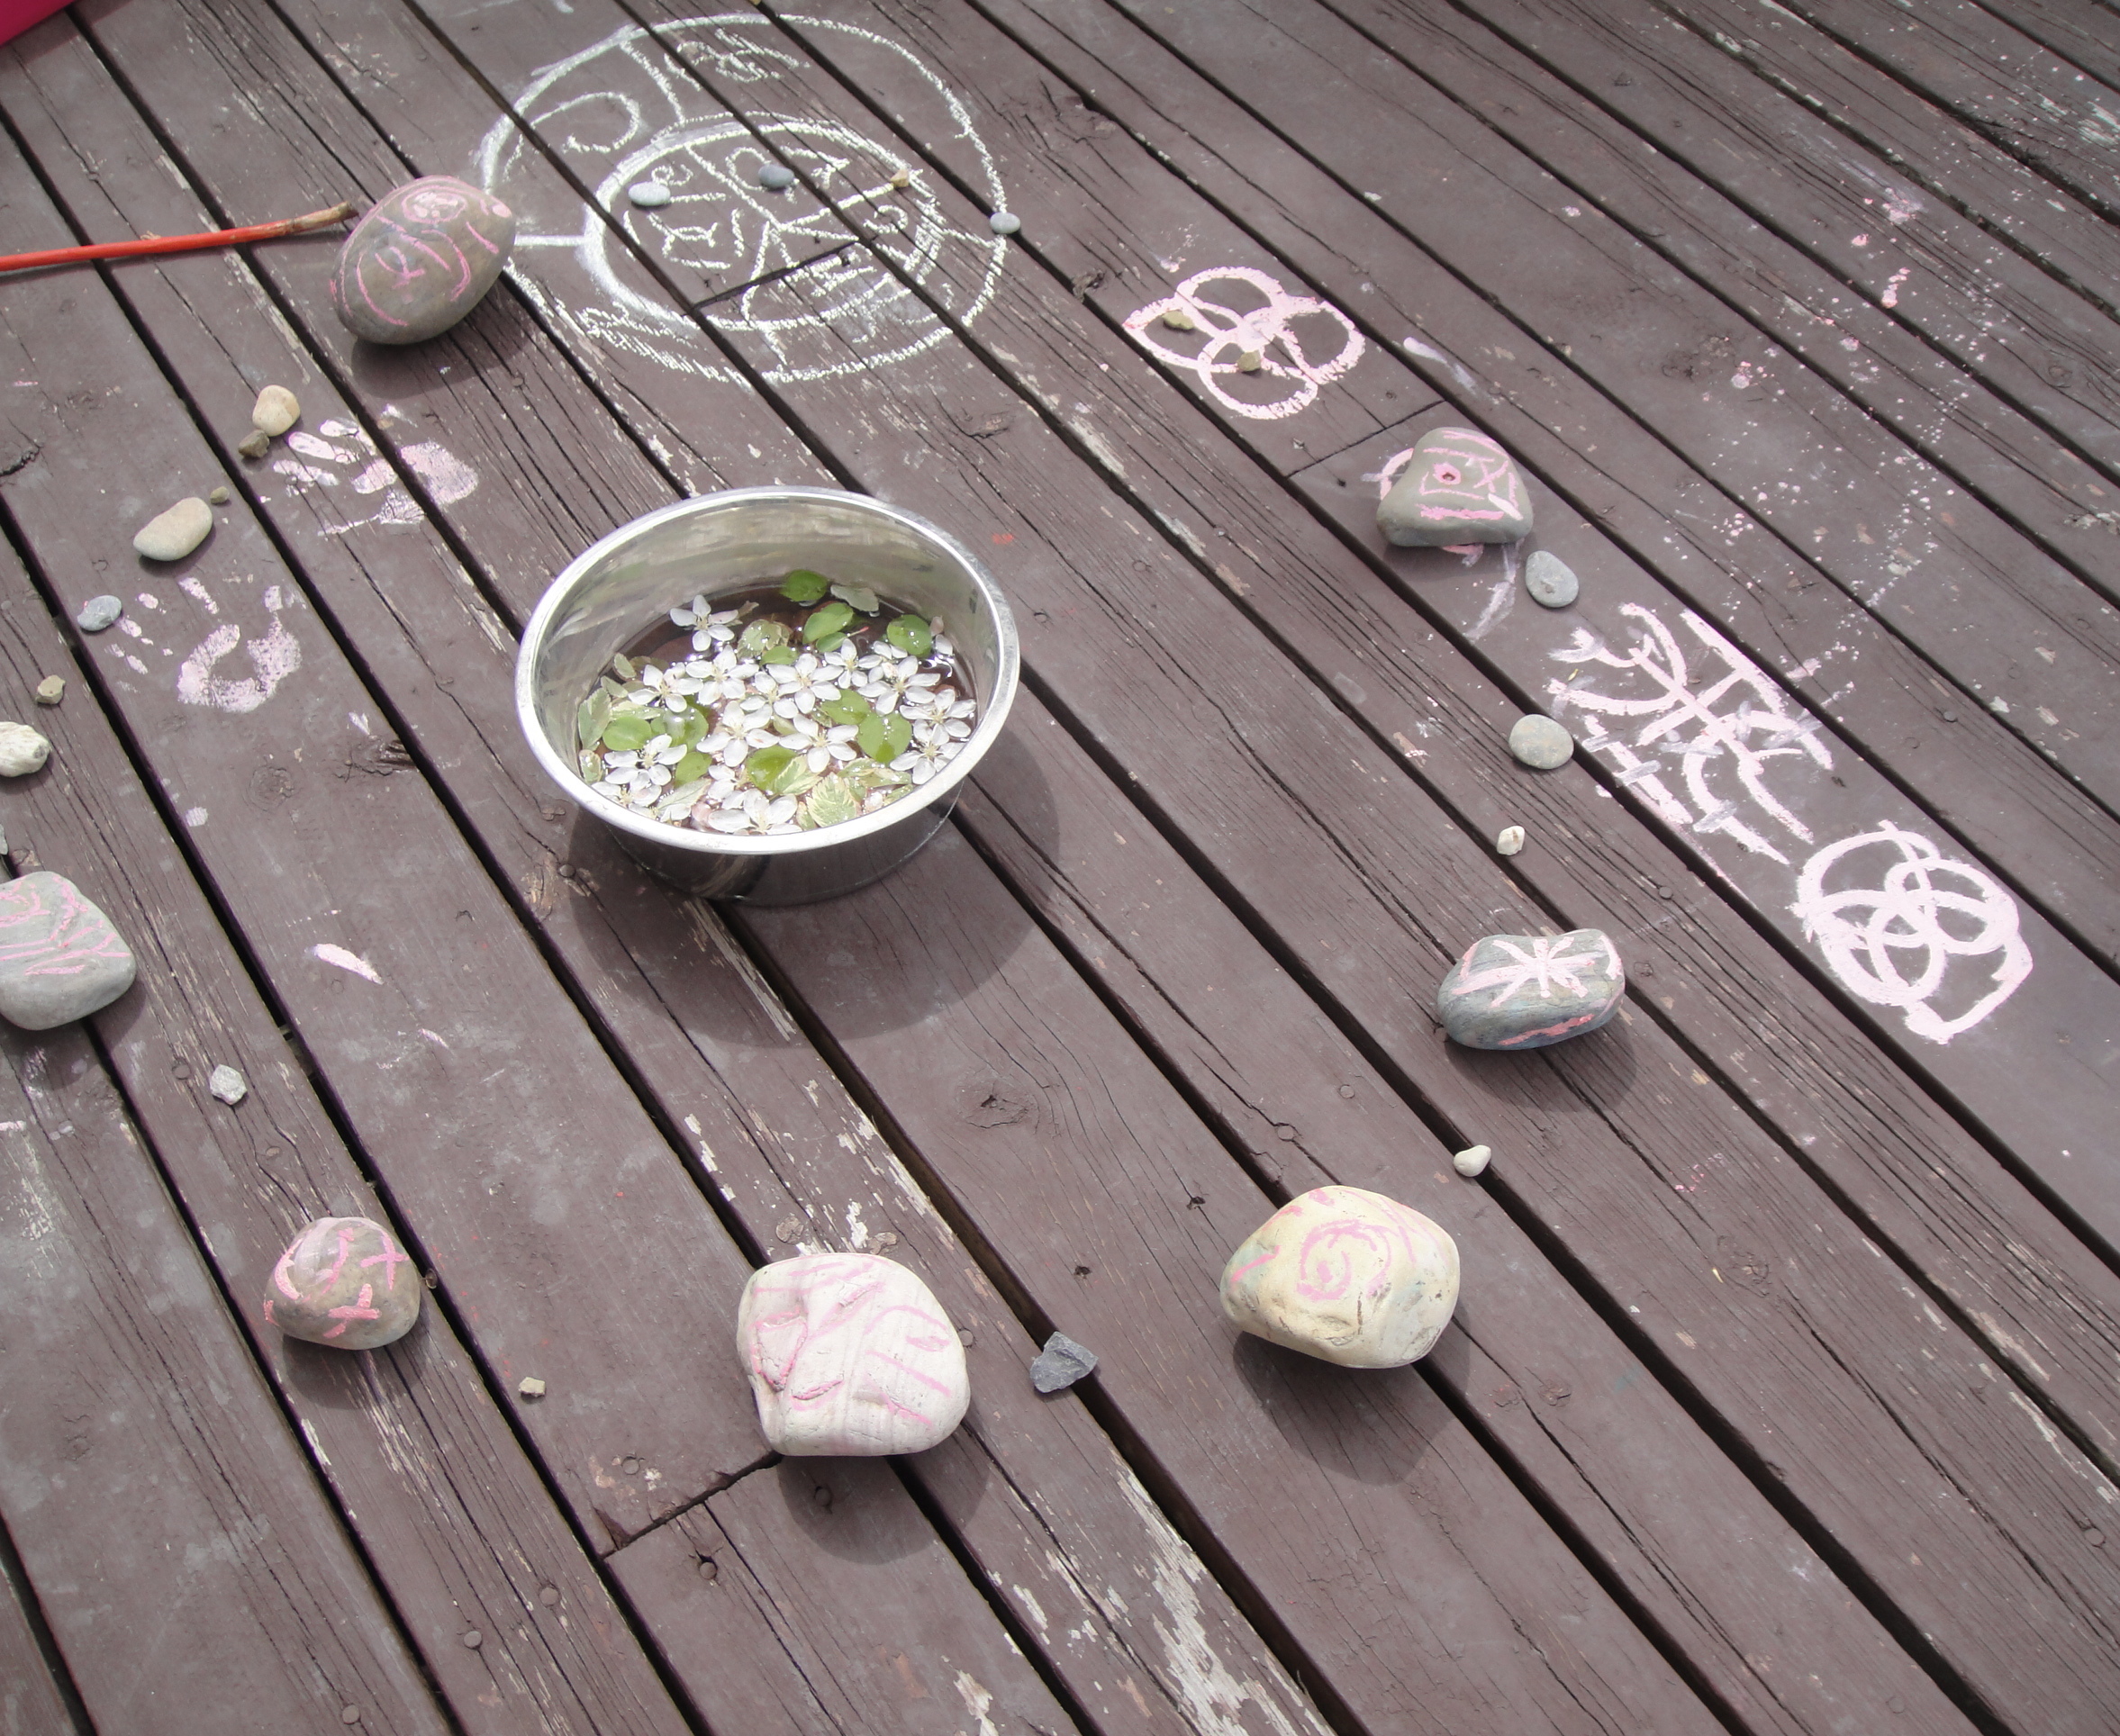
It does appear that someone’s been working some arcane rituals in the back yard, however. Maybe that will be more effective in bringing on the nice weather than all my hopeful sewing.

Someone's up to something...

20 Comments

Filed under Sewing

The Bell-bottoms

Vintage wranglers (with accessories)

In about 1997, I stumbled upon two pairs of bell-bottom Wranglers, presumably vintage but more or less pristine, at a garage sale. They were a little big, but at least that meant they sat a bit low on my hips. In those days, stretch denim and low-rise pants had not yet penetrated to my little backwater… I was still wearing my Levi 501s and trying to figure out why anything that fit at the waist had huge flaps at the hips.  At seventeen you don’t really have a clear sense of your body… all I knew was that the look I was seeing wasn’t quite right. I was also still wrestling with my 80s-bred distaste for any pants that flared at all. The wranglers hung off my hips at the perfect level, though, and if they didn’t hug or skim anything, well, as long as I could show off my tummy, at that point I didn’t much care. I wore them with boho shirts and a metal-link belt that had belonged to my mother in the 70s, if not the 60s. I didn’t realize it at the time, but I would be wearing bell-bottoms more-or-less exclusively for the next decade.

Ellen Bellbottom Jeans

Although I was never a serious devotee of the flare (I don’t have the hips for wide ones), I was a late adopter of the skinny jean, as well—I got my first only a little over a year ago.  But I haven’t had non-stretch, old-school flares since I ousted those Wranglers, round about the birth of my first child.

Then, Joy’s Bellbottom Challenge cropped up and, coincidentally, I wound up with two metres of absolutely gorgeous dark-indigo non-stretch denim. Obviously the two would have to combine into some seriously retro bellbottoms.

Not, however, as huge and sloppy as my old wranglers, however. So, I went to my handy-dandy Ellen pants pattern, which is my only non-stretch pants pattern (that I know fits, anyway…), traced it off, made the adaptations for jeans (back yoke, front pockets), brainstormed a couple of different ideas for the closure and the pockets, and got to work. Ellen is a great pattern for mods like this because it’s completely free of style details if you leave off the pockets.

I opted to have the legs flare from about mid-thigh. I probably could’ve gone a bit lower, but I wanted, for whatever reason, more of a wide-legged look than a hip-hugger look. I added what seemed like it would be a modest, but definite, flare.

Front lace-up fly

I decided, for no particular reason, to make a corset-closing front rather than a traditional fly… I had a pair like this shortly after Tyo was born, and I always loved the feature (I have a bit of a weakness for things that lace up.). I haven’t decided whether to add grommets to the waistband itself, or buttons with a tab stretching between them. We’ll see. Although inserting grommets is always a little nerve-wracking, this was still simpler than a fly, for those of you who are chicken of flies and not afraid to look a little out there ;).

Bound waistband interior and flat-felled seams

Bound waistband interior and flat-felled seams

I did my new favourite waistband-finishing technique, binding the inside with bias tape (this time the blue satin left over from my springy coat facing), and, since the Ellen has 1.5 cm seam allowances rather than the 1cm of the Jalie pattern, I decided to try my hand at (ulp) felled seams.

They were… ok. Definitely not perfect. In particular, although my yoke seams lined up at the seam-line, the way the seam-allowances interact in a flat-felled seam means that after they were folded over, the yokes look offset. Boo. On the up-side each seam is only stitched twice, instead of three times, and there’s less swapping back and forth of threads. The trimming and pressing takes a lot longer, though, and I think I get more even topstitching with the “cheater” method. Hmm. We’ll see. A big part of me is still convinced I’m not making proper jeans if they don’t have felled seams. Hmm.

Bellbottoms

Bell-bottoms: back

I hemmed them LONG. If they don’t shrink up in length, I may have to shorten them. That’s ok. I’ve been traumatized by too many too-short pants over the years to mind a bit of extra length. And it’s fun to put on heels and still have only my toes peek out.

So... much... leg...

Click through to the full-size rear photo to get a better view of my back pockets… I made them shield-shaped to echo the corset-fly.
My hubby, a diehard child of the 80s, has already expressed his dislike of them. I explained that I think I’m allowed to own one pair of jeans that he doesn’t like. He countered that he doesn’t own any jeans that I don’t like. I pointed out that’s only because he won’t go shopping without me. I think this means I win, don’t you?

It really doesn’t show in the pictures, but I also did one vintage thing that I’ve never before attempted on jeans.

I pressed creases front and back in them. I think they look very smart.

Now all I need is a 70s blouse to go with them… 😀

(I think I’ll have to do a 70s week in Me-Made June, what do you think?)

51 Comments

Filed under Sewing

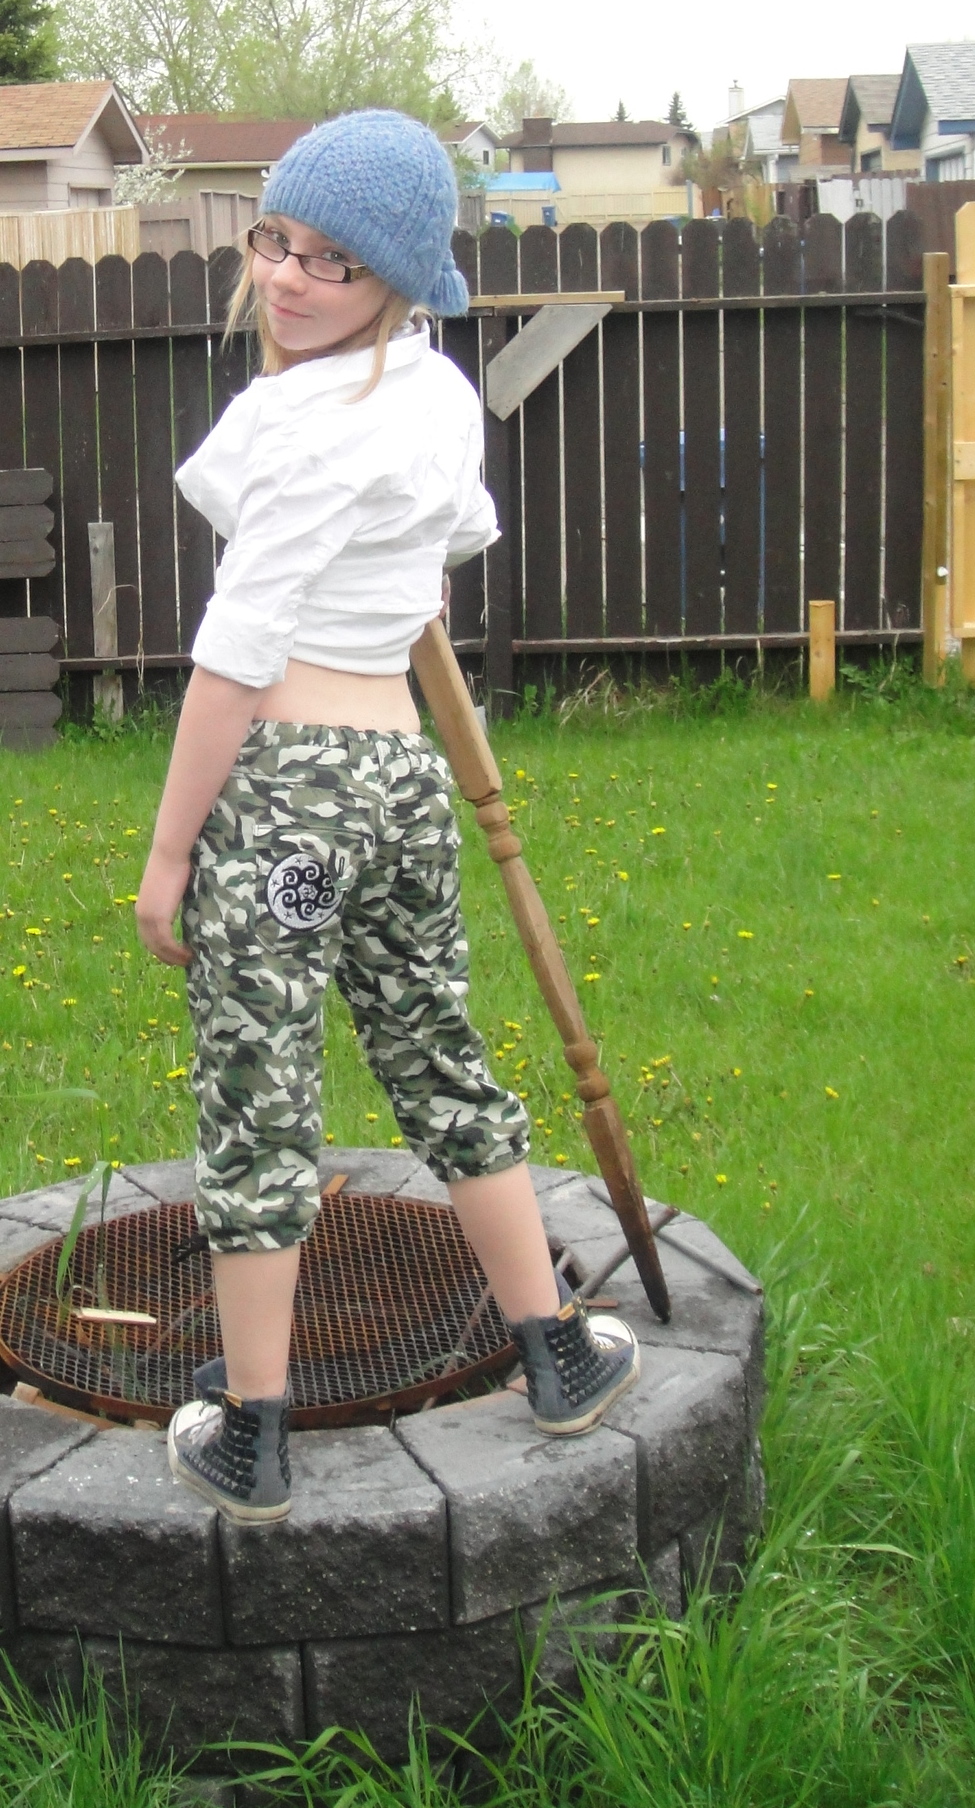
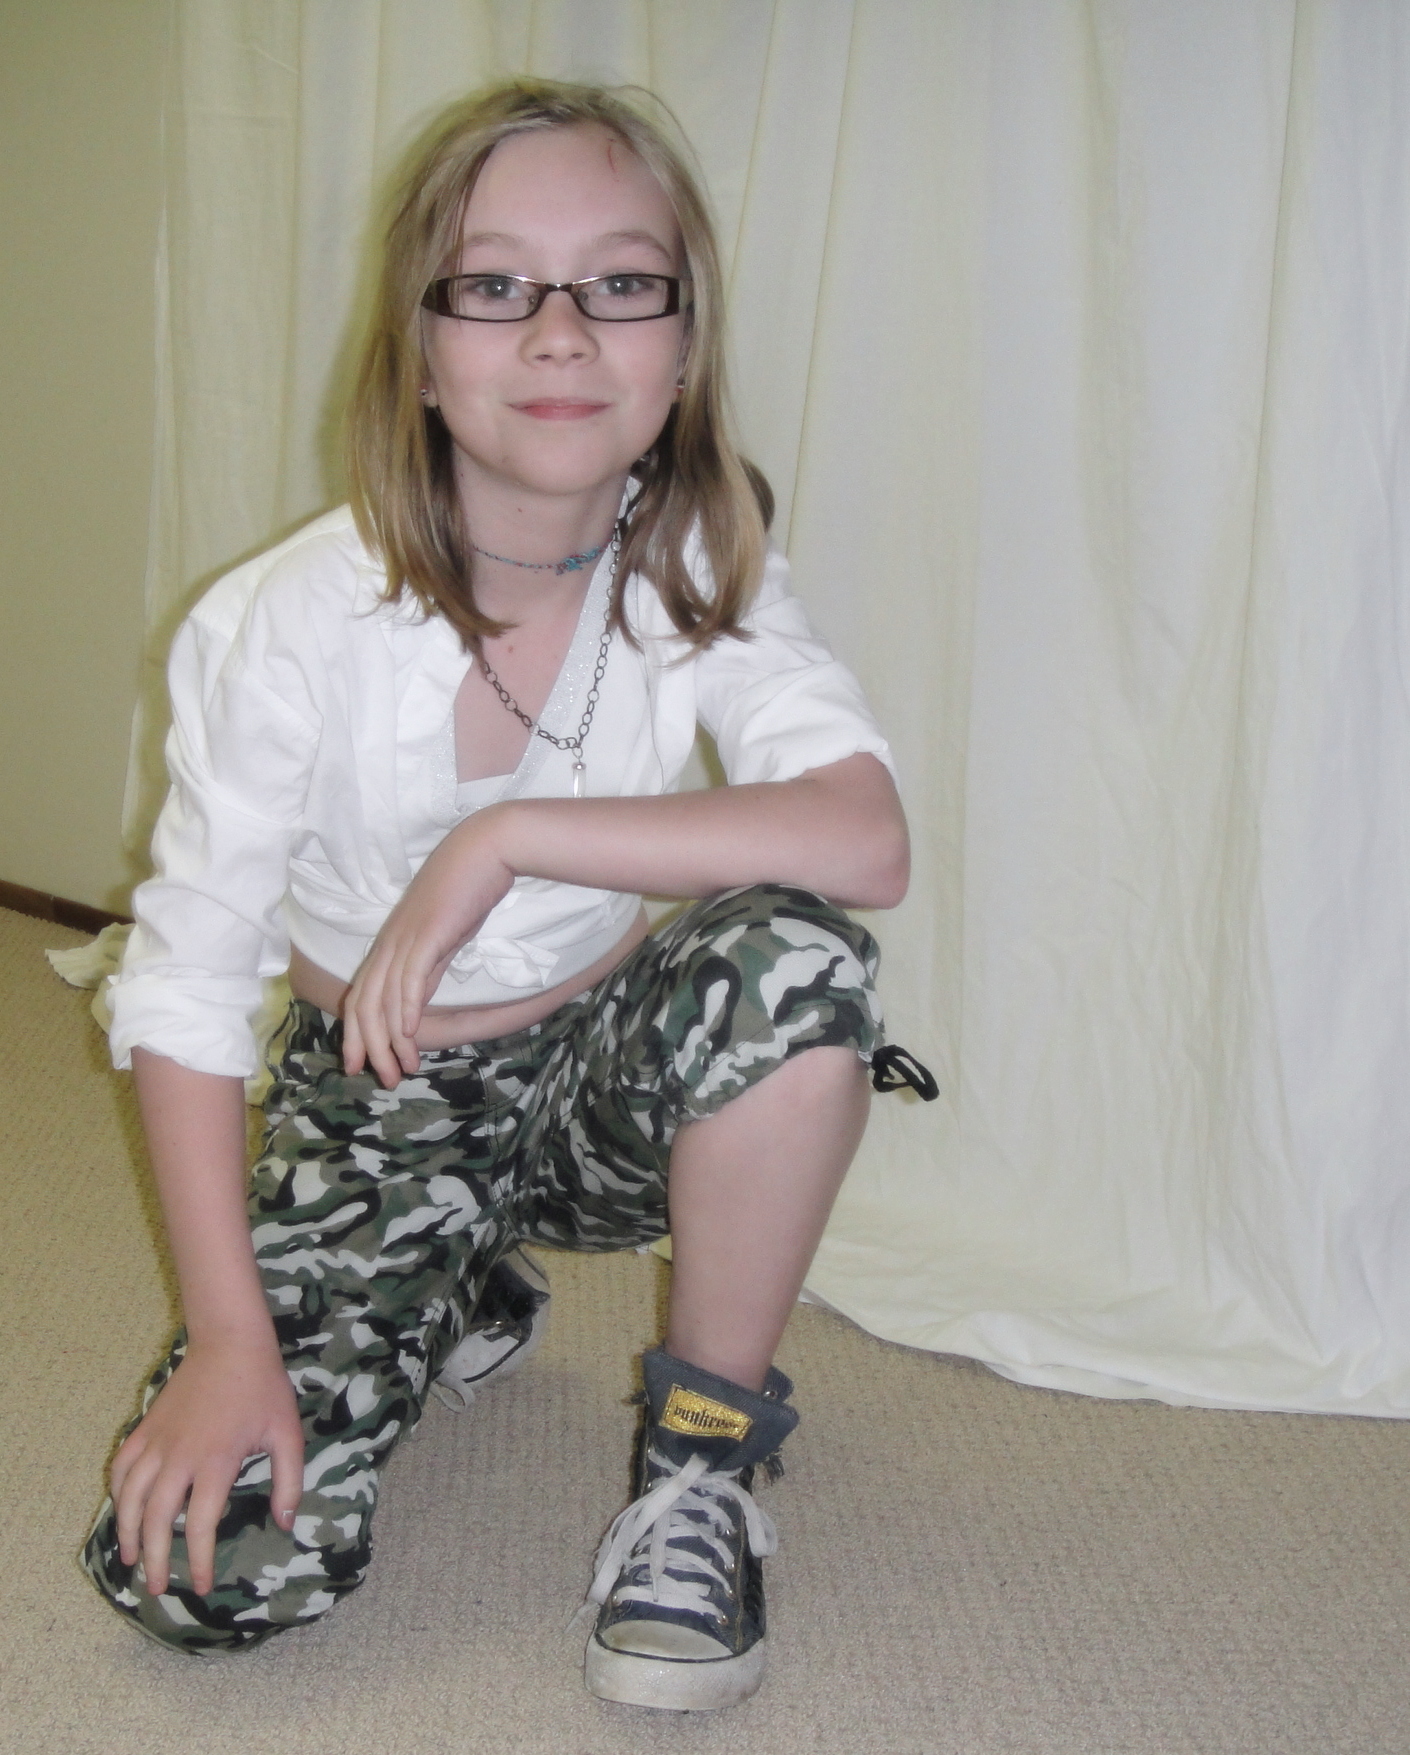
Capri-cious Camo

The Capri Girl

Tyo’s camo capris are finished. It’s been rainy so I’ve been carless* and hence unable to make it to the fabric store for the finishing touches (buttonhole elastic for the waistband and twill-tape for the leg drawstrings), so I had to improvise. I found the missing black thread under the couch, bought shoelaces at the grocery store for the drawstrings, and liberated the buttonhole elastic from the fishtank, where it has been holding down our improvised fish-tank-cover** for the last several months.

I must say, these were really fun to make. The fabric was cooperative, and just the right weight—heavy enough to feel sturdy, without being so bulky as to give my machine fits.

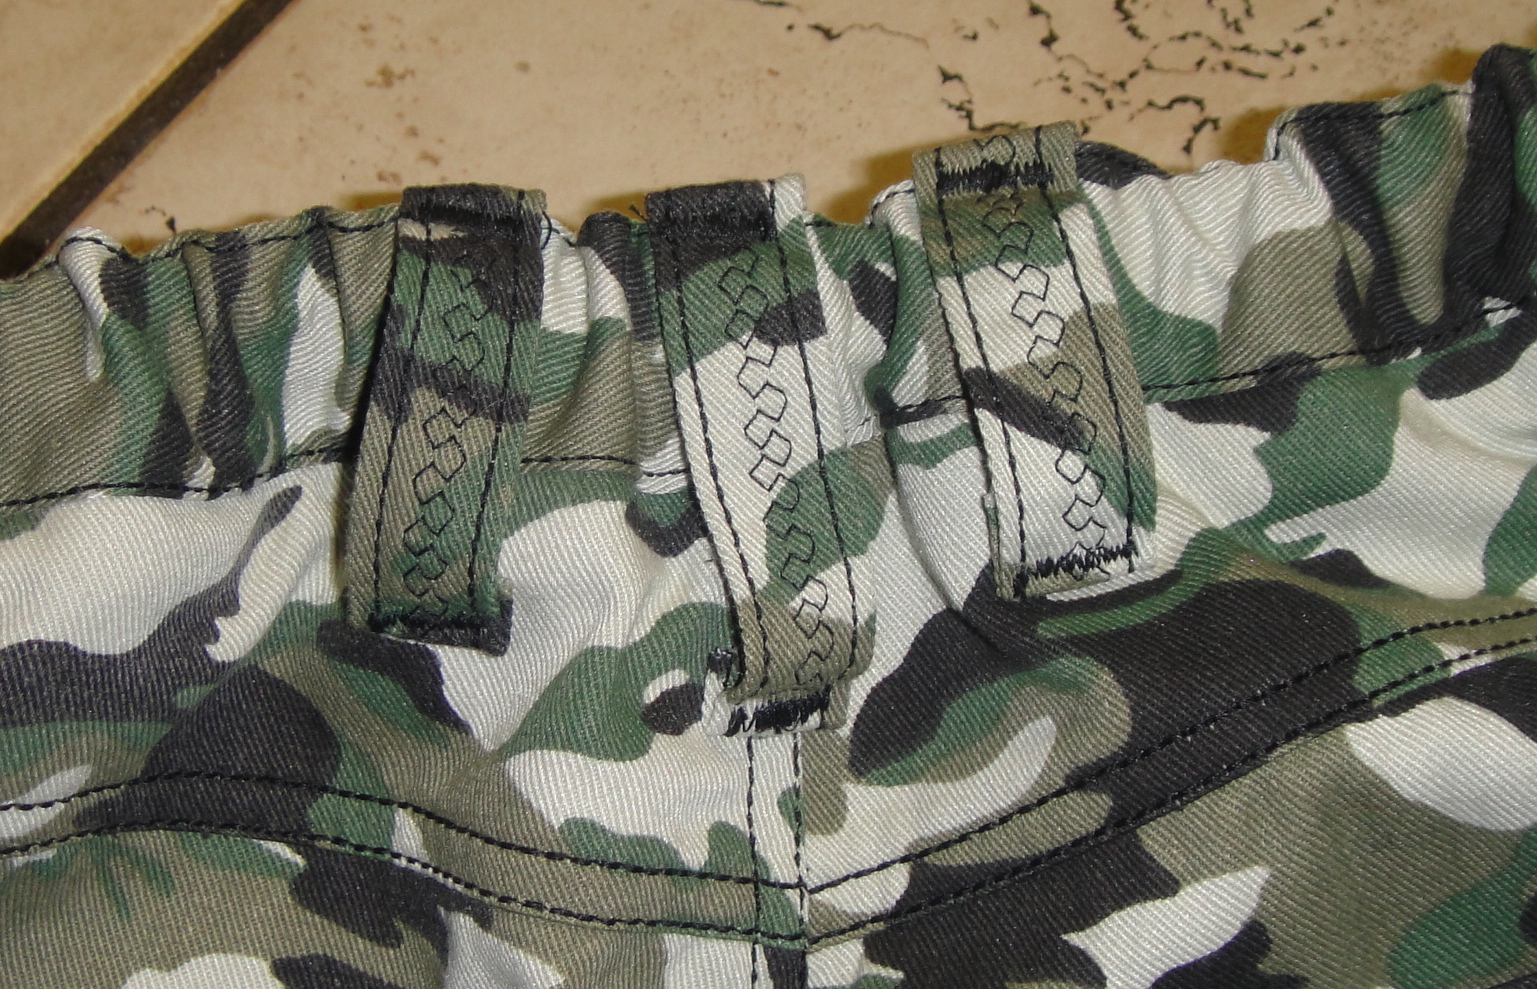
The pattern, as I mentioned before, is from a 2009 Patrones children’s issue. It features five pocket styling (I made six by putting a change pocket on each side… oops!), funky-shaped rear pockets with nifty-shaped flaps, and a waistband designed for buttonhole elastic.

Elastic back waistband

Now, adding buttonhole elastic to a kids’ waistband is easy as pie, but it’s kinda nice to have it marked on the pieces so I don’t forget, since you have to work the buttonholes and ideally attach the buttons before putting the waistband on.

Look, ma! Rivets!

I used my triple-stitch (aka straight stretch stitch) for the topstitching. This is nice because it doesn’t upset my machine the way topstitching thread often does, but it can be a little feisty and you have to pay attention to where you are in the three-stitch cycle when turning corners. It worked quite well on this fabric, though. If you click through to the full size photo, you will also see that in addition to double-topstitching the inseam, I did a single row of topstitching along the outseam! This is much trickier, as you have to do it once the pantlegs are already tubes, and involves sewing down the inside of the inside-out leg, bunching the fabric up around the needle as you go. Slow and fiddly, but I figured these were short and loose enough that I had better try it here, as I might not ever try it again. 😉

Interior waistband finish

Another touch I tried is a bit of a cheater finish—I used some of the bias left over from my 70s jacket to bind the inside of the waistband. I feel justified in this finish because I recently got a pair of (thrifted) RTW jeans that have the same finish. It makes for a super-easy waistband; you just topstitch from the right side, not worrying about catching the underside at all because there’s plenty to catch. Also this is the same fabric I used for the pocket-lining and the underside of the flaps.

Of course, it's all about the shoes.

I cut a Patrones size 10, the smallest the pattern came in. According to her measurements Tyo is a Patrones size 8 on the bottom and six on the top, but with the wonders of  buttonhole elastic, they fit fine. The pattern is cut very wide and flat on the backside, relying on the elastic for any fitting. I took it in a couple of cm at the CB seam, to give Tyo a bit of extra shaping in this area.  My only complaint is that the rise is quite low. Really low, for a kids’ pattern. Especially considering Tyo, ah, needs a bit more coverage in the rear. If I make this again, I’ll add a generous wedge to the CB.

Back pocket with patch

Although I made buttonholes in the rear pocket flaps, I haven’t cut them or attached buttons. We’ll see if I bother or not. I did decorate one rear pocket with an embroidered patch Tyo had purchased at a street fair last summer. It was originally intended for her jean-jacket, but since that’s still sporting its punk/zombie patches from last Hallowe’en, we decided to use it here. I like contrast of camo fabric with hippie/Buddhist patch.

Have I ever mentioned my daughter is way cooler than I ever was?

I can’t wait until these have been washed about a dozen times and get that worn-in-faded-camo look. In fact, I like them so much I might have to think about making myself some. I haven’t worn camo regularly since my feminazi/survivalist-lookalike phase back in Uni.

Tyo's Toque

Also you may have noticed one other hand-made item in these photos. The blue tasseled toque Tyo is wearing was knitted by my mother, for me, when I was about kneehigh to a grasshopper. Isn’t it cute? It has a matching sweater somewhere, too, although that was only finished in time for my little brother to wear it.

All righty, I think that’s more than enough sewing for the house apes (thanks, Katie, for that one!). Time for something for me!

*Our second vehicle is a motorcycle. This is not nearly as practical as a second car (especially in our climate) but is definitely WAY more fun. Except when it rains.

** Instituted after the tragic leap of the much lamented One-Eyed Jack. (scroll down)

18 Comments

Filed under Sewing

50s Shrug—Now Multisize!

A snugger shrug

Hmm, need I say more?

I have, by dint of more fiddling than I quite want to admit, graded the 50s Shrug Pattern into three sizes, Small, the original Medium, and Large. I have also, for my enjoyment and your edification, stitched up a second version for myself, in the small. Stitching up the shrug itself took only the minutest fraction of the time grading the pattern took. This really is fast to stitch up.

Note: I did not follow any particular grading procedure in this case. I knew roughly how much smaller I wanted the Small to be than the Medium, and made the Large larger by a similar amount. This is highly unscientific, but seems to have worked at least in the case of the small. Anyone who tries the Large, please let me know how it works!

Extraneous shrug pic

This pattern is VERY forgiving of fit, since there’s no shoulder seam and it doesn’t entirely cover the bust, so I made quite a large gap between the sizes. I’d venture to suggest the following size-range:

    • Small: bust 30-33″; 76-84 cm
    • Medium: bust 34-37″; 87-94 cm
    • Large for busts 38-41″; 97-105 cm

It’s entirely possible that both larger and smaller sizes could fit, depending on your fabric and the look you’re going for.

Shrug, size Small: back

I made this up in the same fabric as my swingy cardigan. It’s not quite as soft, stretchy, or drapy as the fabric of my first shrug, resulting in a fairly snug garment. I like the length of this size much better, though, both in the arms and the back—the medium reached to my (admittedly high) waist, which is not a particularly flattering length on me. It looked much better on Amy.

The neck is extremely prone to stretching out. Although I haven’t tried to stabilize it with clear elastic, you might want to; otherwise, just be sure that the neck band is a good length for you and then be prepared to do plenty of easing when you stitch band to neckline. I had trouble stitching the buttonhole in this knit, too, but it worked much better when I put a piece of tissue paper underneath the fabric.

Look! A line drawing!

I have even come up with a (somewhat crude) line drawing for your entertainment.

The multisize pattern is located HERE.  There is also a link from the Patterns page. The instructions are found in the original shrug post. I attempted to tile it in such a way that it can be printed on both US Letter and A4-size paper without losing bits; this does mean that you will probably want to trim at least some of the white edges. I still haven’t developed a method for making a nice border around the pattern that doesn’t drive me nuts, so I do apologize for that. When printing, make absolutely sure that you are printing out actual size/no scaling/100% etc. There is a 10 cm/4″ sizing square for your convenience :).

Left: original vintage shrug; middle: size Medium; right: size Small.

Have fun! And if you do stitch it up, please let me know. 😀

49 Comments

Filed under Sewing

All I need now are the bellbottoms

Simplicity 6602

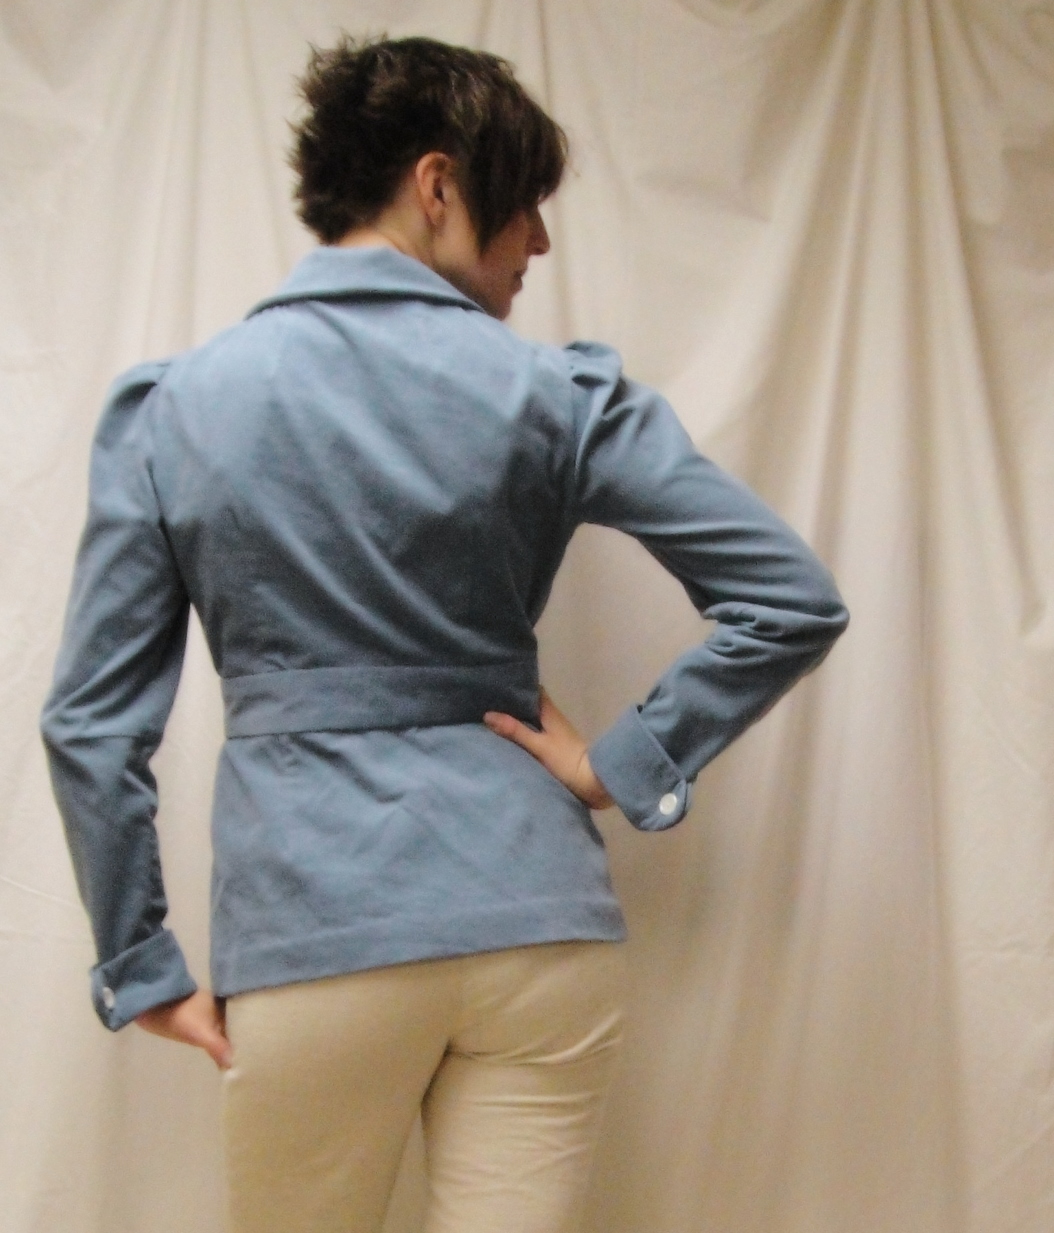
Thank you everyone who reassured me about my jacket’s cuteness in the comments to the last post—I know I’ve written before about that horrible sinking feeling mid-project, and I know I’m not alone :).  This time around was a little different because I wasn’t convinced it wasn’t going to fit—I just wasn’t sure it would be flattering on me. I still don’t know that it’ll replace the Springy Little Coat in my heart, but I think it’s a decently cute little jacket anyway. And I do love the finishing.

So hmm, what to cover? The pattern, again, is Simplicity 6602, from 1974.

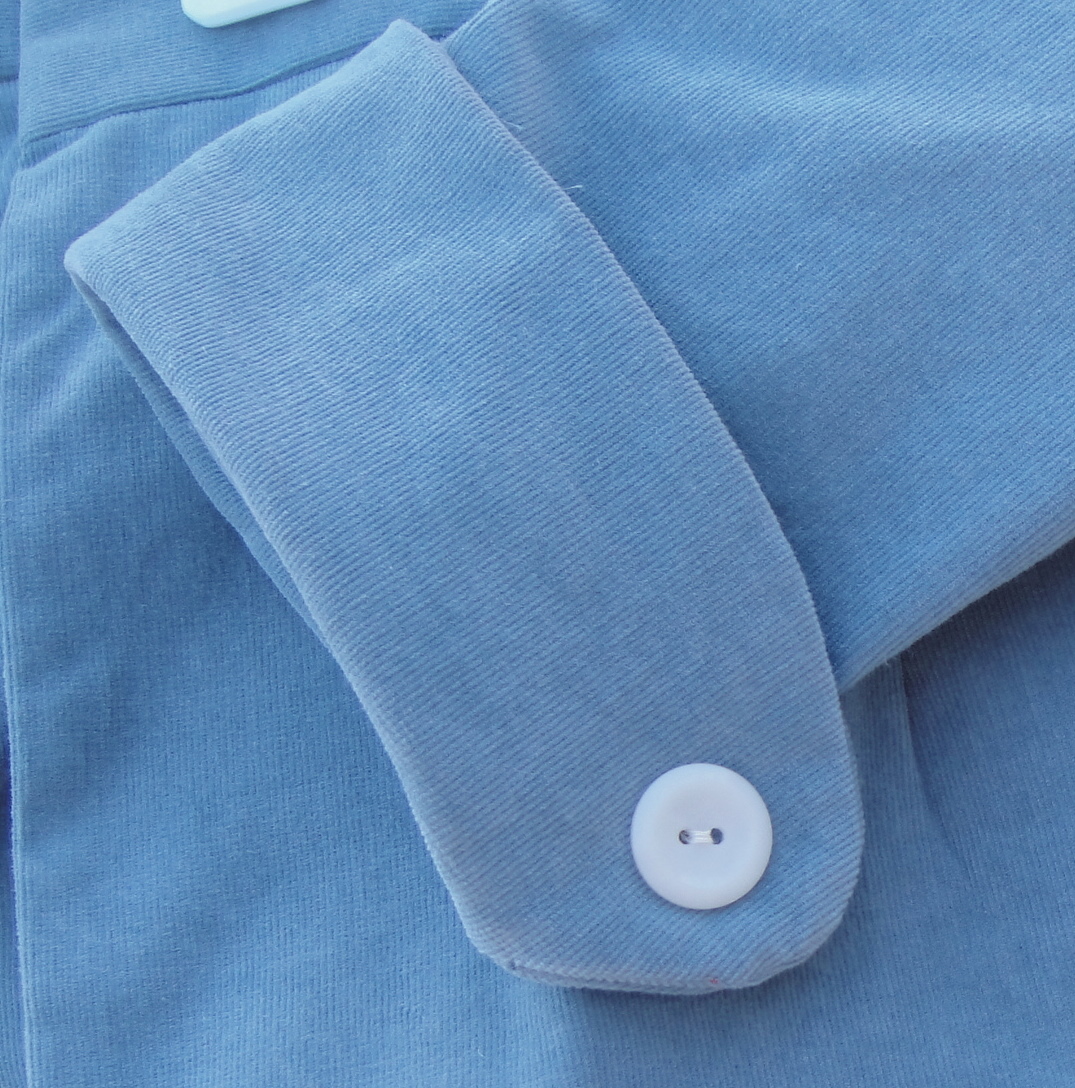
I decided against the topstitching. It worked well in samples in the middle of the cloth, but as soon as I tried edgestitching it went wonky. I had an insane moment where I considered ripping the cuffs and collar and adding piping, but I resisted (mostly because self-fabric piping would’ve been too bulky and I didn’t think I would be able to match the colour perfectly otherwise. And for whatever reason, I’m picturing tone-on-tone piping for this, not contrast).

Cuffs of Doooooom

The collar went on fine. The cuffs drove me absolutely bonkers. Seriously, I had them on, off, on, off, on a different way… and they’re still not perfect. I’m not sure if they were drafted too narrow or if it’s just my sleeve stretching out with handling, or an artefact of the flared shape of the cuffs, but they were too short for the wrist-diametre of the sleeves. So I narrowed the sleeves rather than re-make the cuffs. In the end they’re all right, although at least one of them has the side that I meant to be inside on the outside. Having ripped it three times at that point, I left it. I didn’t do any turn-of-cloth alterations this time around and I really should have. Mea culpa. I have such a hard time visualizing which side’s going to end up facing out when doing this kind of fold-back cuff. Maybe when I’ve done eight or ten more…

Back view. I think I would probably like a bit more flare in the peplum.

On the up side, I got the tight curves of the cuffs sewn much more smoothly than I usually manage, so I’m kinda stoked about that. I shortened my stitch length and sewed slowly but continuously. At times like this I really wish my machine had a slow setting, but anyway. I also used the trick where you press the seam of the cuff open before turning it, and it really does help the curve turn more smoothly. Who knew? (Yes, I’m bone-headed that way… it seems like there’s a lot of good sewing advice I hear, but then don’t absorb until I’ve learnt it the hard way.)

Hmm, what else? This is officially the best facing/hem finish I’ve ever done, facilitated by the lack of lining and the bound edges of both pieces. The pattern would have you finish the bottom of the facing

Front facing and hem

by tacking by hand, but I did it by machine and turned it up and it worked peachy. I even managed a nearly-invisible hem, again facilitated by the binding. I may just bind all my hems in the future. I did tack the facing in place at the waistband and the shoulder seams. The facing/collar/neck combination is super bulky and doesn’t lay very smoothly despite my best efforts. Possibly using Sherry’s collar technique would’ve helped, but silly me, I followed the pattern instructions. I know, it’s so unlike me. I also think I might’ve benefited from a square-shoulder adjustment this time around—it’s something I’ve often suspected I should need but it hasn’t seemed like a big problem in the past so I haven’t attempted it. It’s not a huge problem here, if only because the collar covers that area, but I think at least some of the wrinkling is probably from that.

Button and snap

There is a single button closure in the front (perfect for using up one of those striking, solitary vintage buttons). I was a little concerned that the top would gape—the pattern illustration shows a nice, close finish right at the bottom of the collar, but there’s no obvious way to achieve this. Well, on arriving at that point in the instructions, all is revealed: or rather, a single large, heavy-duty snap is called for. Fortunately I had picked up a couple thinking I might use one on the Springy Coat (I haven’t yet, the slight gaping doesn’t really bother me while I’m wearing it). I was hoping for clear plastic, but all they had was metal… ah well. It’s more “vintage”, right?

I was SO excited to try out my new buttonholer. One big keyhole button should do the trick perfectly, right?

Ehm.

Psst, kid, wanna buy a seam binding?

The buttonholer did NOT like this stretch corduroy stuff. All my samples bunched and bagged like crazy, with big loops of thread tangling underneath. WTF? Worked fine on other fabrics. Even interfaced, it still had issues. I went ahead with it, only because I know how much I suck at doing manual buttonholes, and the buttonhole on the finished jacket (where it’s going through two layers of corduroy, one of them interfaced, and the lining layer) actually turned out better than any of my samples. Which isn’t saying much, but it will hold, anyway, and is still probably better than I would’ve managed otherwise.

Also works open

The only other thing I’ll say about this pattern is it had notches out the wazoo. I think every single piece, every single seam had a notch, if not two. Some were helpful, but a lot just seem extraneous.

Gratuitous shot

On the subject of a frock-coat for my hubby, I’m happy to say I think this pattern will do the trick nicely. Just omit the patch pockets, add a welt pocket or two, change the side back vents to centre back, and lengthen to about knee length. The rest of the seaming is identical to his jacket. Although I’m not planning this for an immediate project, he may get excited about it and become a pestering pain, in which case it will probably get done sooner than otherwise. I hope not. I have lots of other stuff I should be doing.

39 Comments

Filed under Sewing

Winged Cardigan

The Cushion of Doom

My stunning stitching

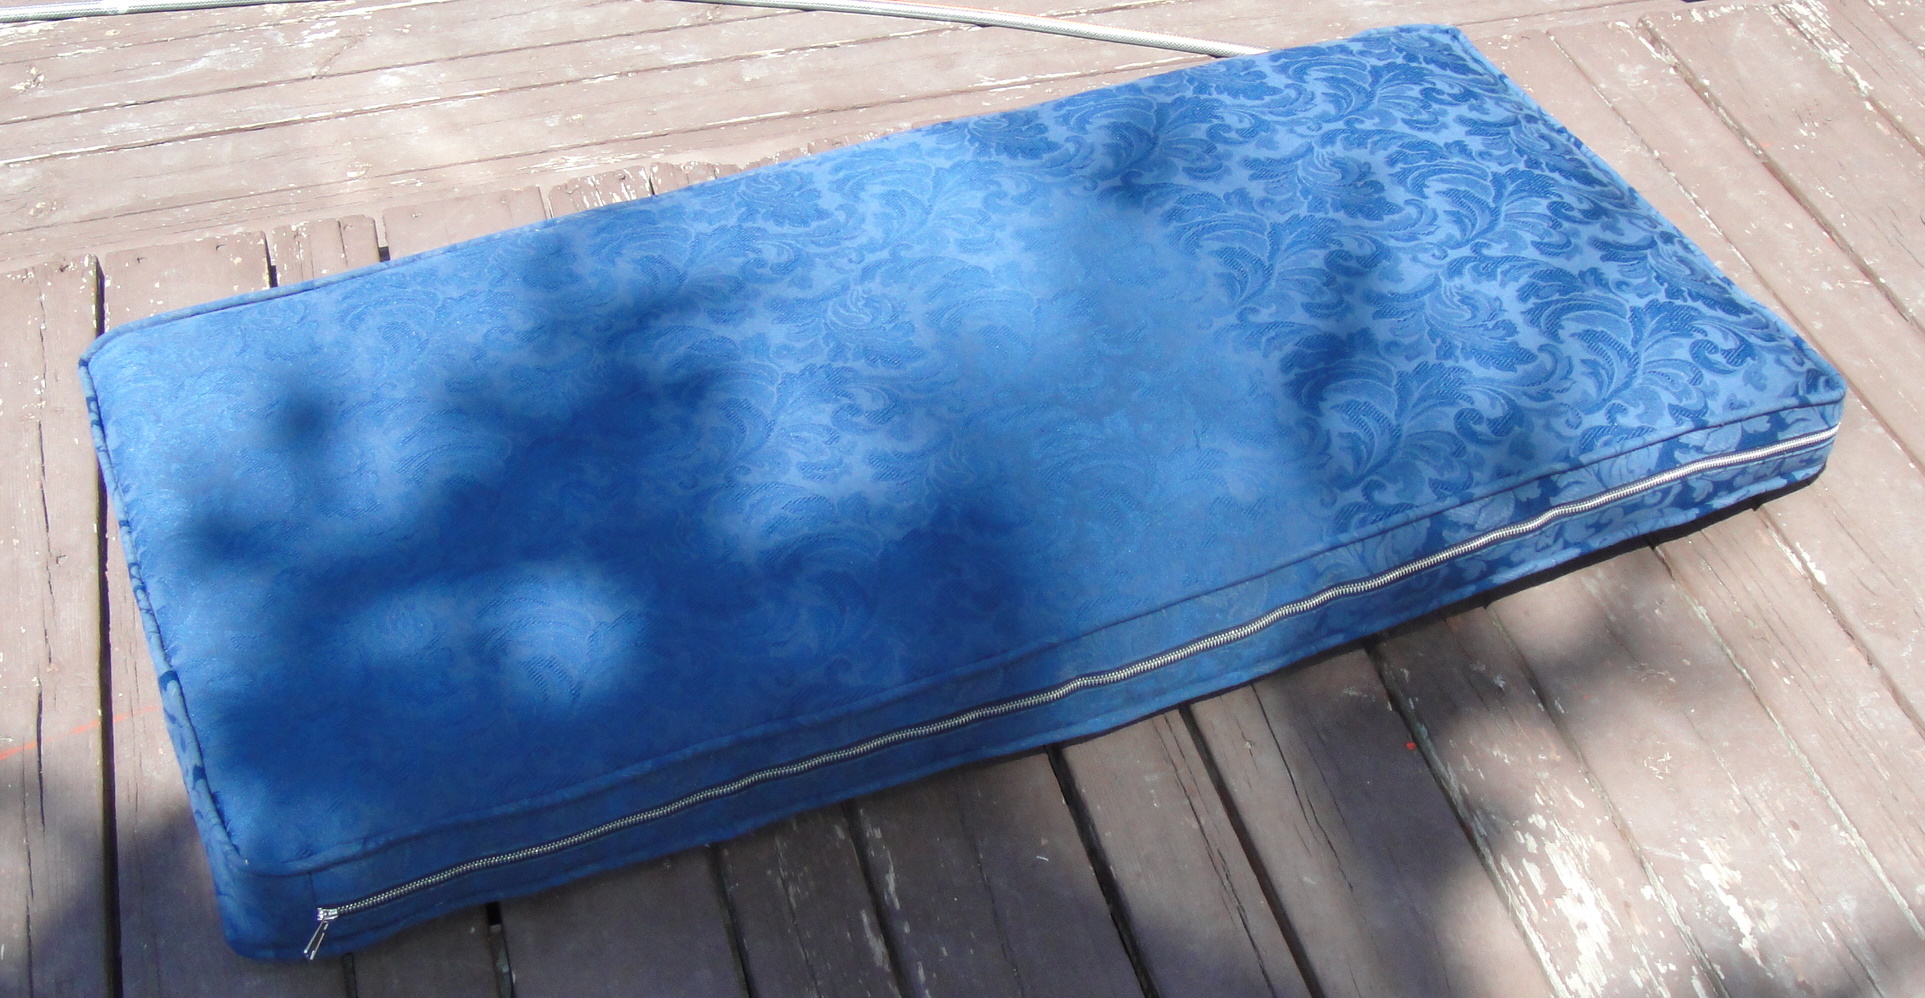
I finished the damn cushion cover. It fits, more or less. It looks OK, although my piping didn’t end up being as smooth as I would’ve liked (given how many needles I broke, though, my friend can deal.) Also, home-dec sewing can kiss my a$$. Though I really do love this fabric. And I did like sewing the zipper, which is one of those ones you buy by the length off a roll and then add the stops and pull after—so I was able to sew the entire zipper in BEFORE adding the pull. Much easier that way. Although there was that terrifying moment when I wasn’t sure whether I could figure out which end the pull goes on to…

Outdoors: overexposed

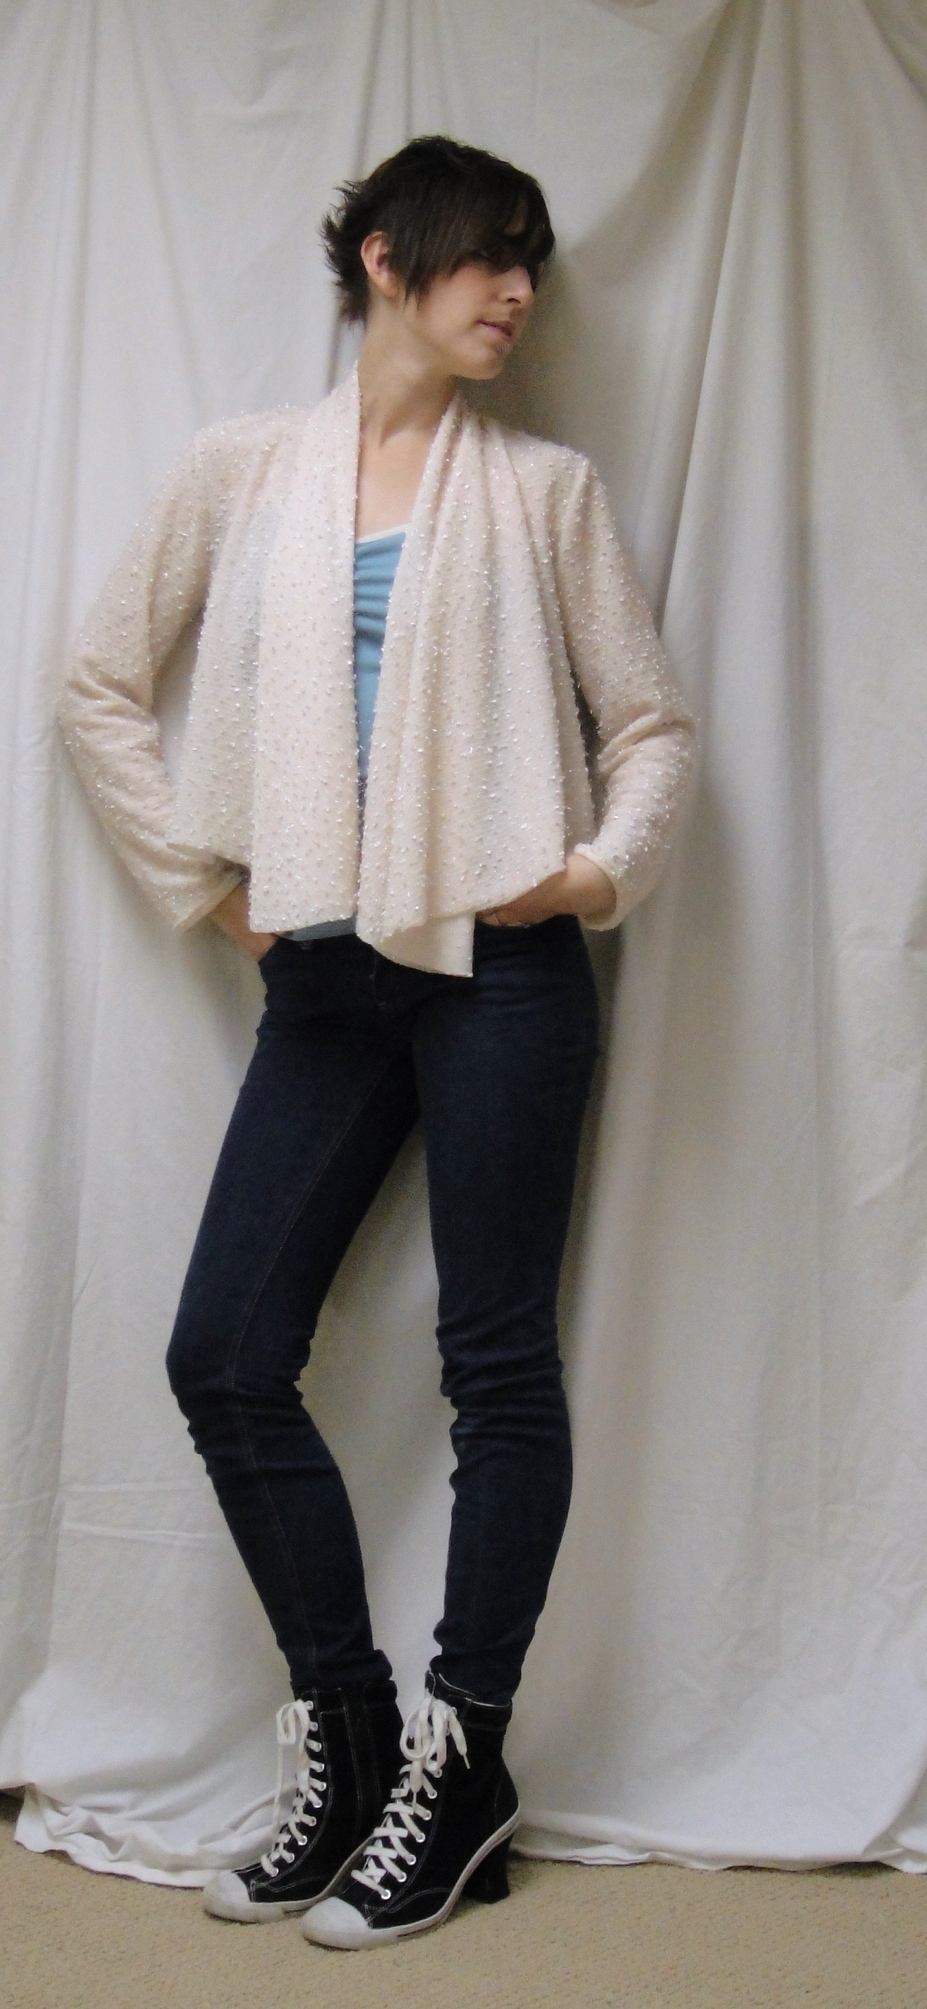
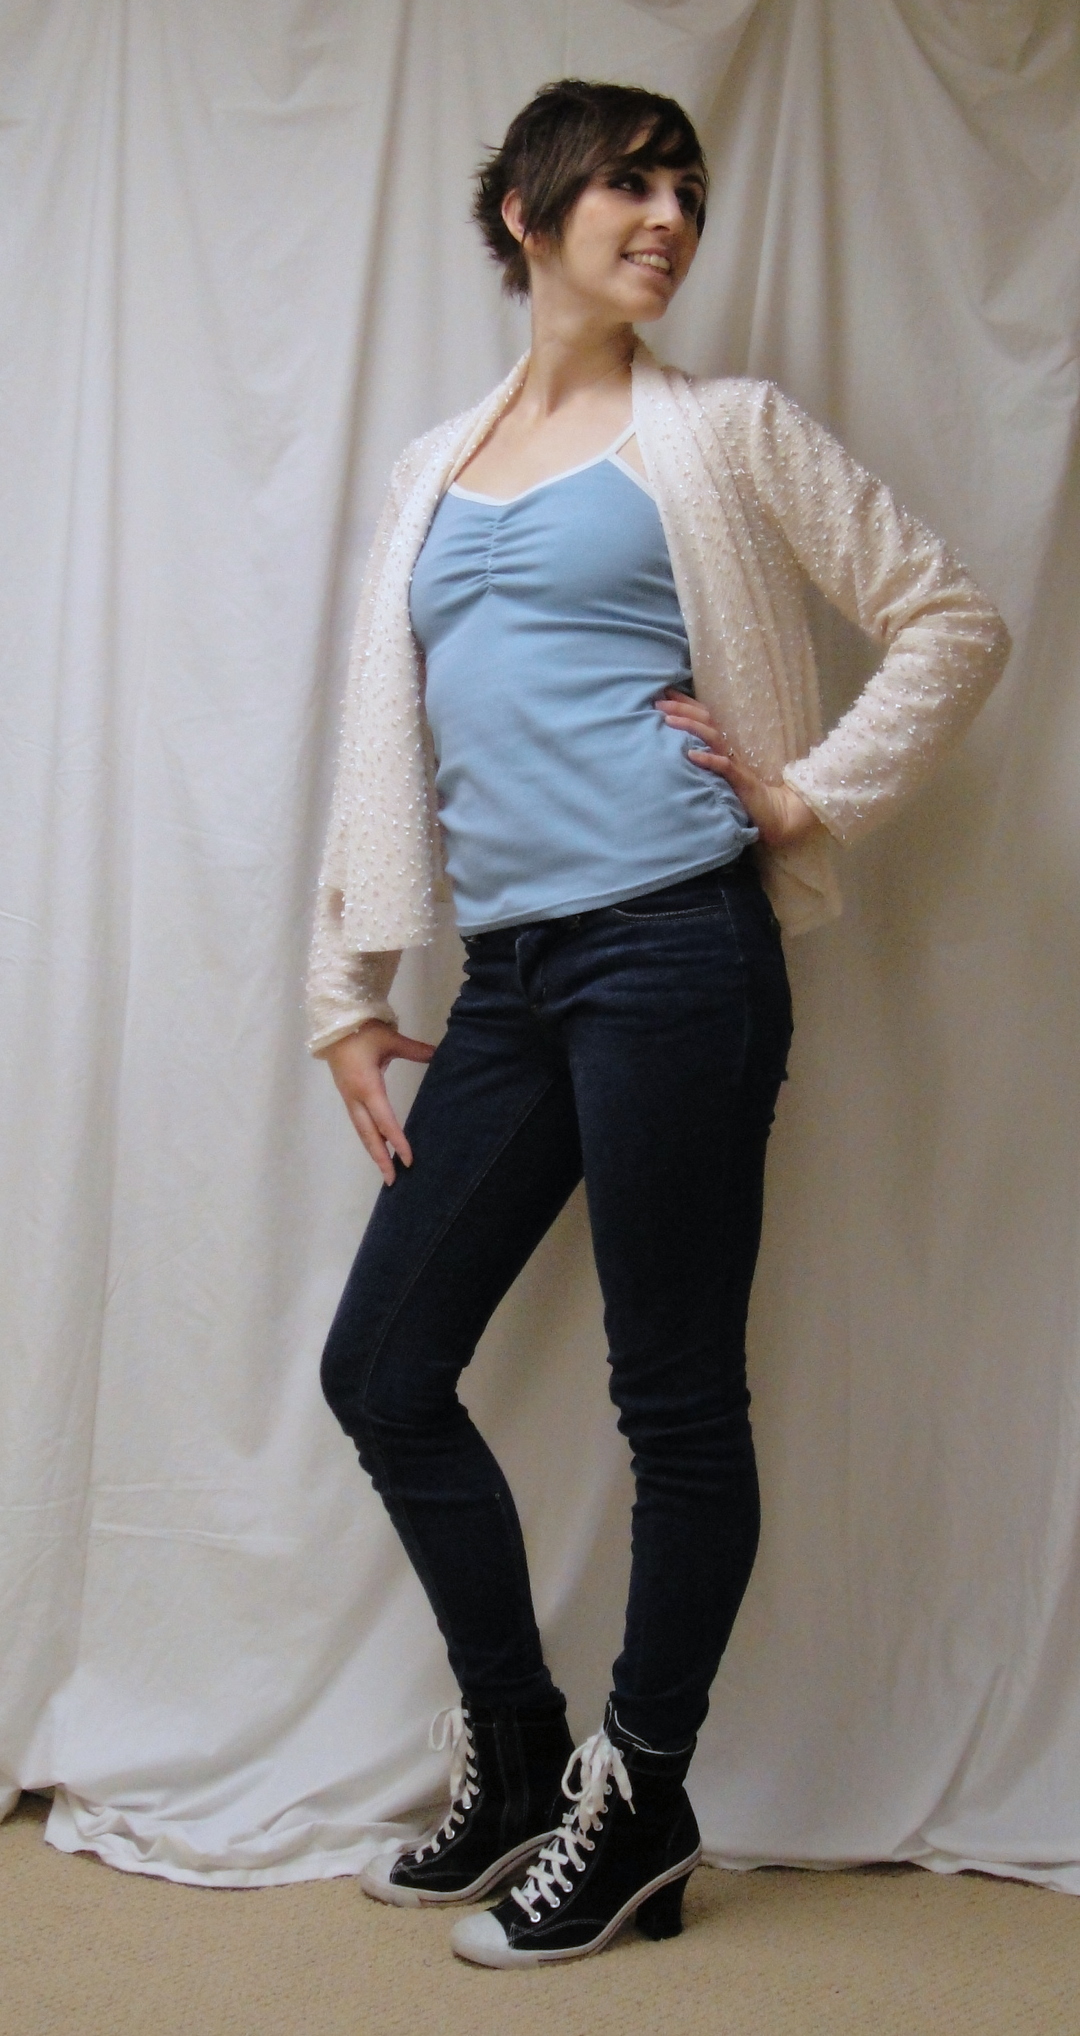
To make myself feel better, I spent some time yesterday messing around with drafting. As I mentioned before, I’m in need of me-made sweaters. So, I pulled out my various sweater fabrics and considered what they wanted to be, and eventually settled on a winged cardigan vaguely inspired by this project of Lauriana’s. I say vaguely only because I didn’t actually re-read her excellent tutorial, and was sorta winging it to get the look I had in my head, which is a bit different, more of a cropped, swing-jacket feel. It’s the same basic idea as the Simplicity 2603 cardi-wrap, the main differences being the size and shape of the front drape.

For my version, I wanted a comparatively short, hip-length sweater. I angled the side-seams and the back fold out at the bottom to get a looser, swingy fit at the back and sides, as well.

Winged Cardi Front

Be warned, at least in the short length, this is not a look for those who are, ah, well-endowed. I initially brought the line of the CF drape so it was 90° to the side seam, and when I tried it on—well, can you say “whoa mama!”? Needless to say, I will not be wearing this cardi with the bulletproof bras. I trimmed a significant wedge off the top of the drape, which has toned it down to where I no longer feel like my chest is entering the room several minutes before the rest of me. I have to admit, this is such an unusual sensation for me that I kinda enjoy it—I don’t think I’ve had it since I was breastfeeding. But not really what I want for everyday.

Winged Cardi---Open

Because this is technically a topper, I didn’t want to use my knit sloper (aka the Pattern Formerly Known as Lydia), as it’s super fitted. So I used another knit bodice pattern I had lying around. I did a lot of comparing for length etc, but I intentionally left the wider shoulders and lower armscyes. And that’s probably a good thing, but I sure don’t like the look as much. Especially the low armscye. Grr. The sleeves are pretty loose and shapeless, too—again, probably a good thing in a topper, but not my favourite look.

On the plus side, while drafting this took a bit of time (mostly due to my own futzing), sewing it up was ridiculously quick. Not more than half an hour, including cutting time. The nice thing about this shorter length of drape is that it JUST barely fit on the folded fabric, so I didn’t have to cut out the two fronts separately.

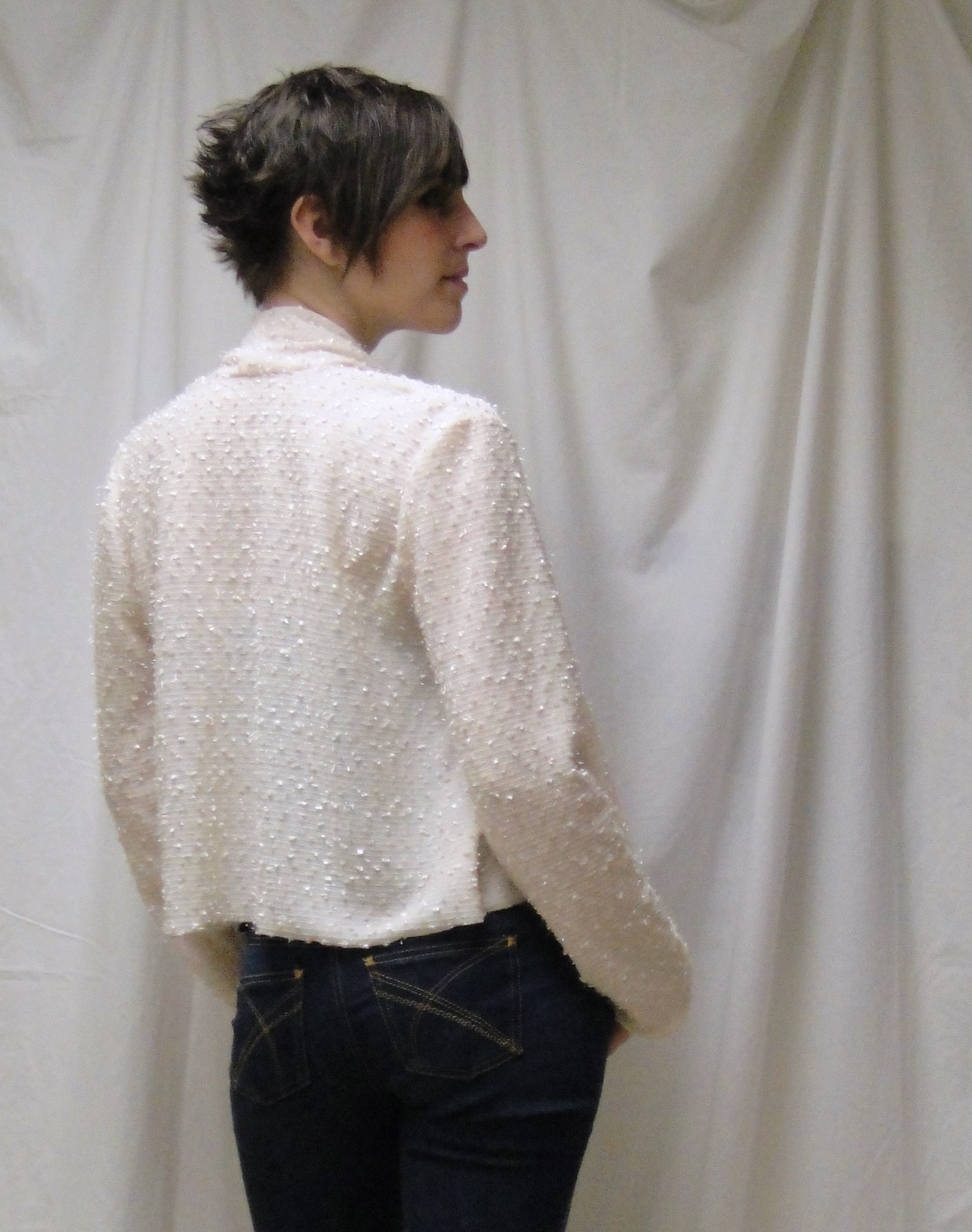
Winged Cardi---Back

We are having some of our first truly summery weather the last few days, so I tried to take photos outside. Sadly, photographing white outdoors in the morning was not happening, and the trees still haven’t any leaves so there’s not much shade in my back yard. So indoor pics it is. This fabric is an interesting, nubbly knit  with what looks like tinsel knitted in, that really screams “six-year-old princess”, but it was inexpensive and the right colour, so I’m going with it.  Fortunately my children have managed to break all the plastic tiaras in the house, or I might have had to don one for the photos.

I think if I were making the sweater purely to be itself, as opposed to being something I hope to wear, I would have flared the sleeves to match the bodice and cut them off at bracelet length (the same length as the sweater when the arm is at the side). But while I’m not completely against bracelet-length sweaters, they’re not my favourite as you have to worry about what you’re layering them over, so I went with regular sleeves for this. Meh.

As with the cardi-wrap, I did not finish the collar/front opening/hem of the sweater, just ran it through the unthreaded serger to trim off irregularities. I did hem the sleeves. We’ll see how that holds up, but it seems like the best way to maintain the drape and flow of the sweater.

Not sure if I’m in love with it—but it was fun to draft up and make.

31 Comments

Filed under Sewing

That 70s Dress (The Next Generation)

Simplicity 6023

I hate to admit it, but I sorta love the Saturdays my hubby works (don’t tell him!). There’s nothing to do but a bit of house-cleaning, some light yelling at the children (usually over their bedrooms, but this week, for variety, it was the back yard, which somehow became encrusted in stray bits of wood and empty pop bottles over the winter*), and, of course, sewing.

This weekend’s project was, natch, Simplicity 6023, that same pattern I won in Peter’s giveaway a few weeks back. Much easier to focus now that I have the Springy Coat out of the way. Which is good, because this was definitely one of those two steps forward, one step back projects. Not because the pattern was tricky, or the instructions were bad, or the fabric was ill-behaved. No, this was all about the stripes.

You may have noticed how little print and pattern matching I do? How I will move mountains (ok, cut bits on the bias) to avoid having to line things up? Precision sewing has never been my strong suit. I’ve improved, mind you, but I still regularly fall short of my heroes. Or just plain adequacy.

Stripe matching? At least the hem's nice.

I did not rip out every single seam in this thing but… well, there were a lot. A lot of perfectly good seams, too, except that the stripes were off. Well, more off than all the rest. Probably if I’d gone all couture and hand-basted everything, I could’ve gotten them mostly even. None of them are even remotely like perfect, but at least they generally line up (except across the bodice side-seams, there was no way to make that work with the amount of fabric I had.

Invisizip

On the up side, I conquered my first invisible zipper! And, I hate to say it, but I might actually be a convert. I used Sherry’s tutorial (though I read through Sunni’s, which is similar, and used some elements from it as well), and a regular zipper foot, and it went in like a dream. Aside from the fact that my impecise waistline stitching meant that, although I matched up the waist seam perfectly using Sherry’s tips, the stripes above the waist didn’t match up at all. So I had to rip half of it, fudge the waist a tiny bit (since it’s less visible than the stripes) and go with that. Pooh.

The slight irregularity at the top is due to my not reading Sherry’s other tute, on facing an invisible zipper, until after I’d half attached one of the facings. Silly me, thinking I’d just follow the pattern instructions… The side on the left in the photo, which I did following Sherry’s method, turned out much better. I should probably have stayed the back of neck before all the messing around, though—it’s a bit stretched out and threatens to gape.

My new best friend

Speaking of zippers, let me introduce you to my new best friend! A few weeks back I had lamented the inadequacy of my zipper foot, and some of you wise people had told me that there were much better fish in the sea. So last week I finally made it to the sewing-machine store, discovered that my machine is an “oscillating hook” Janome, and came home with this little gem on the right.

Isn’t that the cutest little foot ever?

By twiddling the green knob at the back, you can adjust the foot’s position to the left or right of the needle, or right in the middle for straight stitching. Perfect for edge-stitching! And, because it’s so finely adjustable, perfect for pushing up the edge of the invisible-zip coils to stitch right alongside them. Yay! I interfaced the entire zipper length plus a bit with knit fusible and had no problem with the zipper bubbling, buckling, or anything.

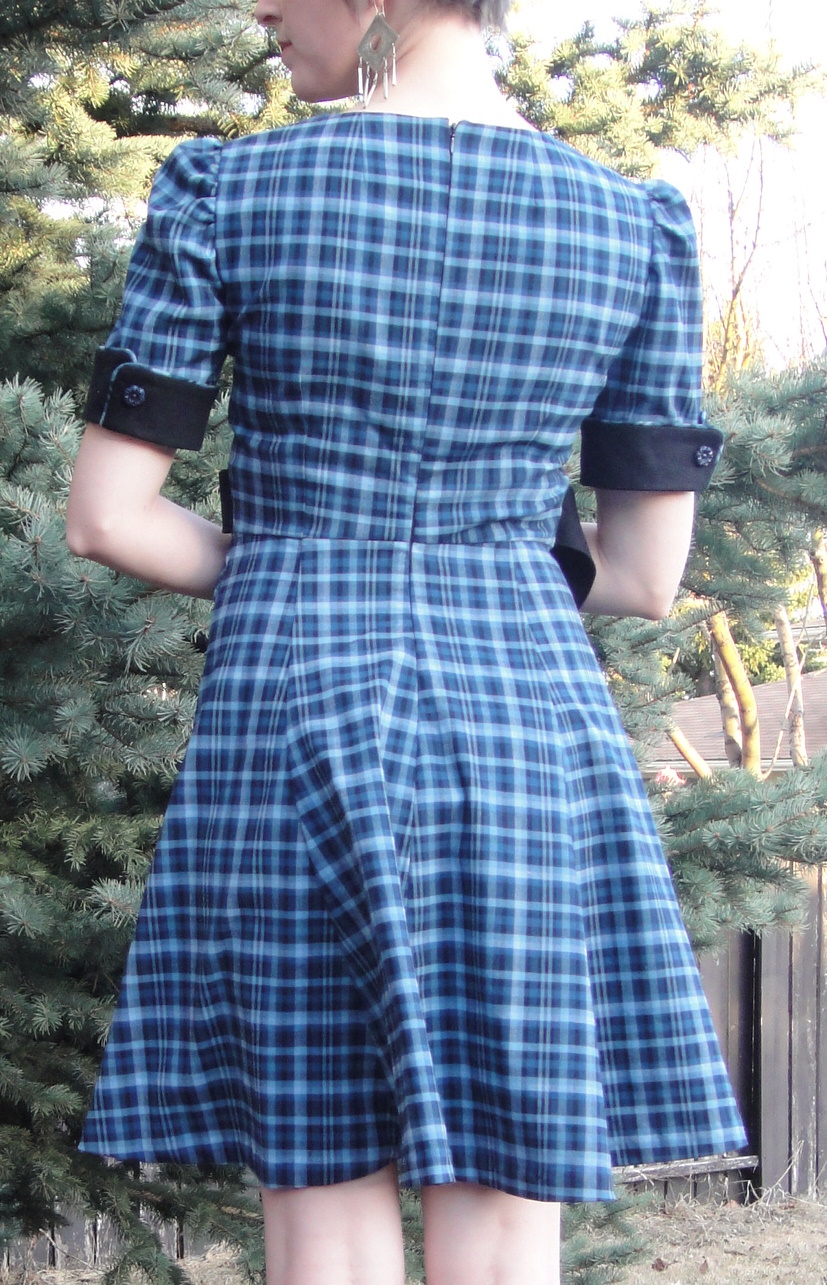
The back---wrinkled from being tied 😛

FIT: Despite the photo (wrinkled from being tied), the back fits really well with my little swayback adjustment (though it wreaks havoc with the stripes). Although the tie pretty much disguises most issues in this area, anyway. I made my ties extra-long, because it seemed like a good idea at the time, which turned out fun—I like pulling them around to tie in the front. A nice option to have, since often back ties drive me nuts.

With my bodice-shortening, the waist-seam falls about a thumb’s width above my natural waist, which is roughly where it’s supposed to according to the pattern, so yay! That being said, my bodice-shortening alteration raised the neckline, and I would probably have been just as happy with the lower neckline. This is a bid demure.

I did take each side-seam in about 1cm (so a total of 4cm reduction all around). This is similar to what I did on the first 70s dress; I’m not sure if it’s because I’m more of a 10 (bust measurement would suggest this but everything else says 12 or larger), ease in the dress, or, most likely, the fact that I keep using stretch wovens.

I took the same 1 1/4″ hem the pattern allowed for, but because of my fiddling pieces up and down to get the stripes to match (yes, my cutting was even less precise than my sewing!) I probably lost about an inch in length there. It’s fine, though, falling at a good spot above my knees.

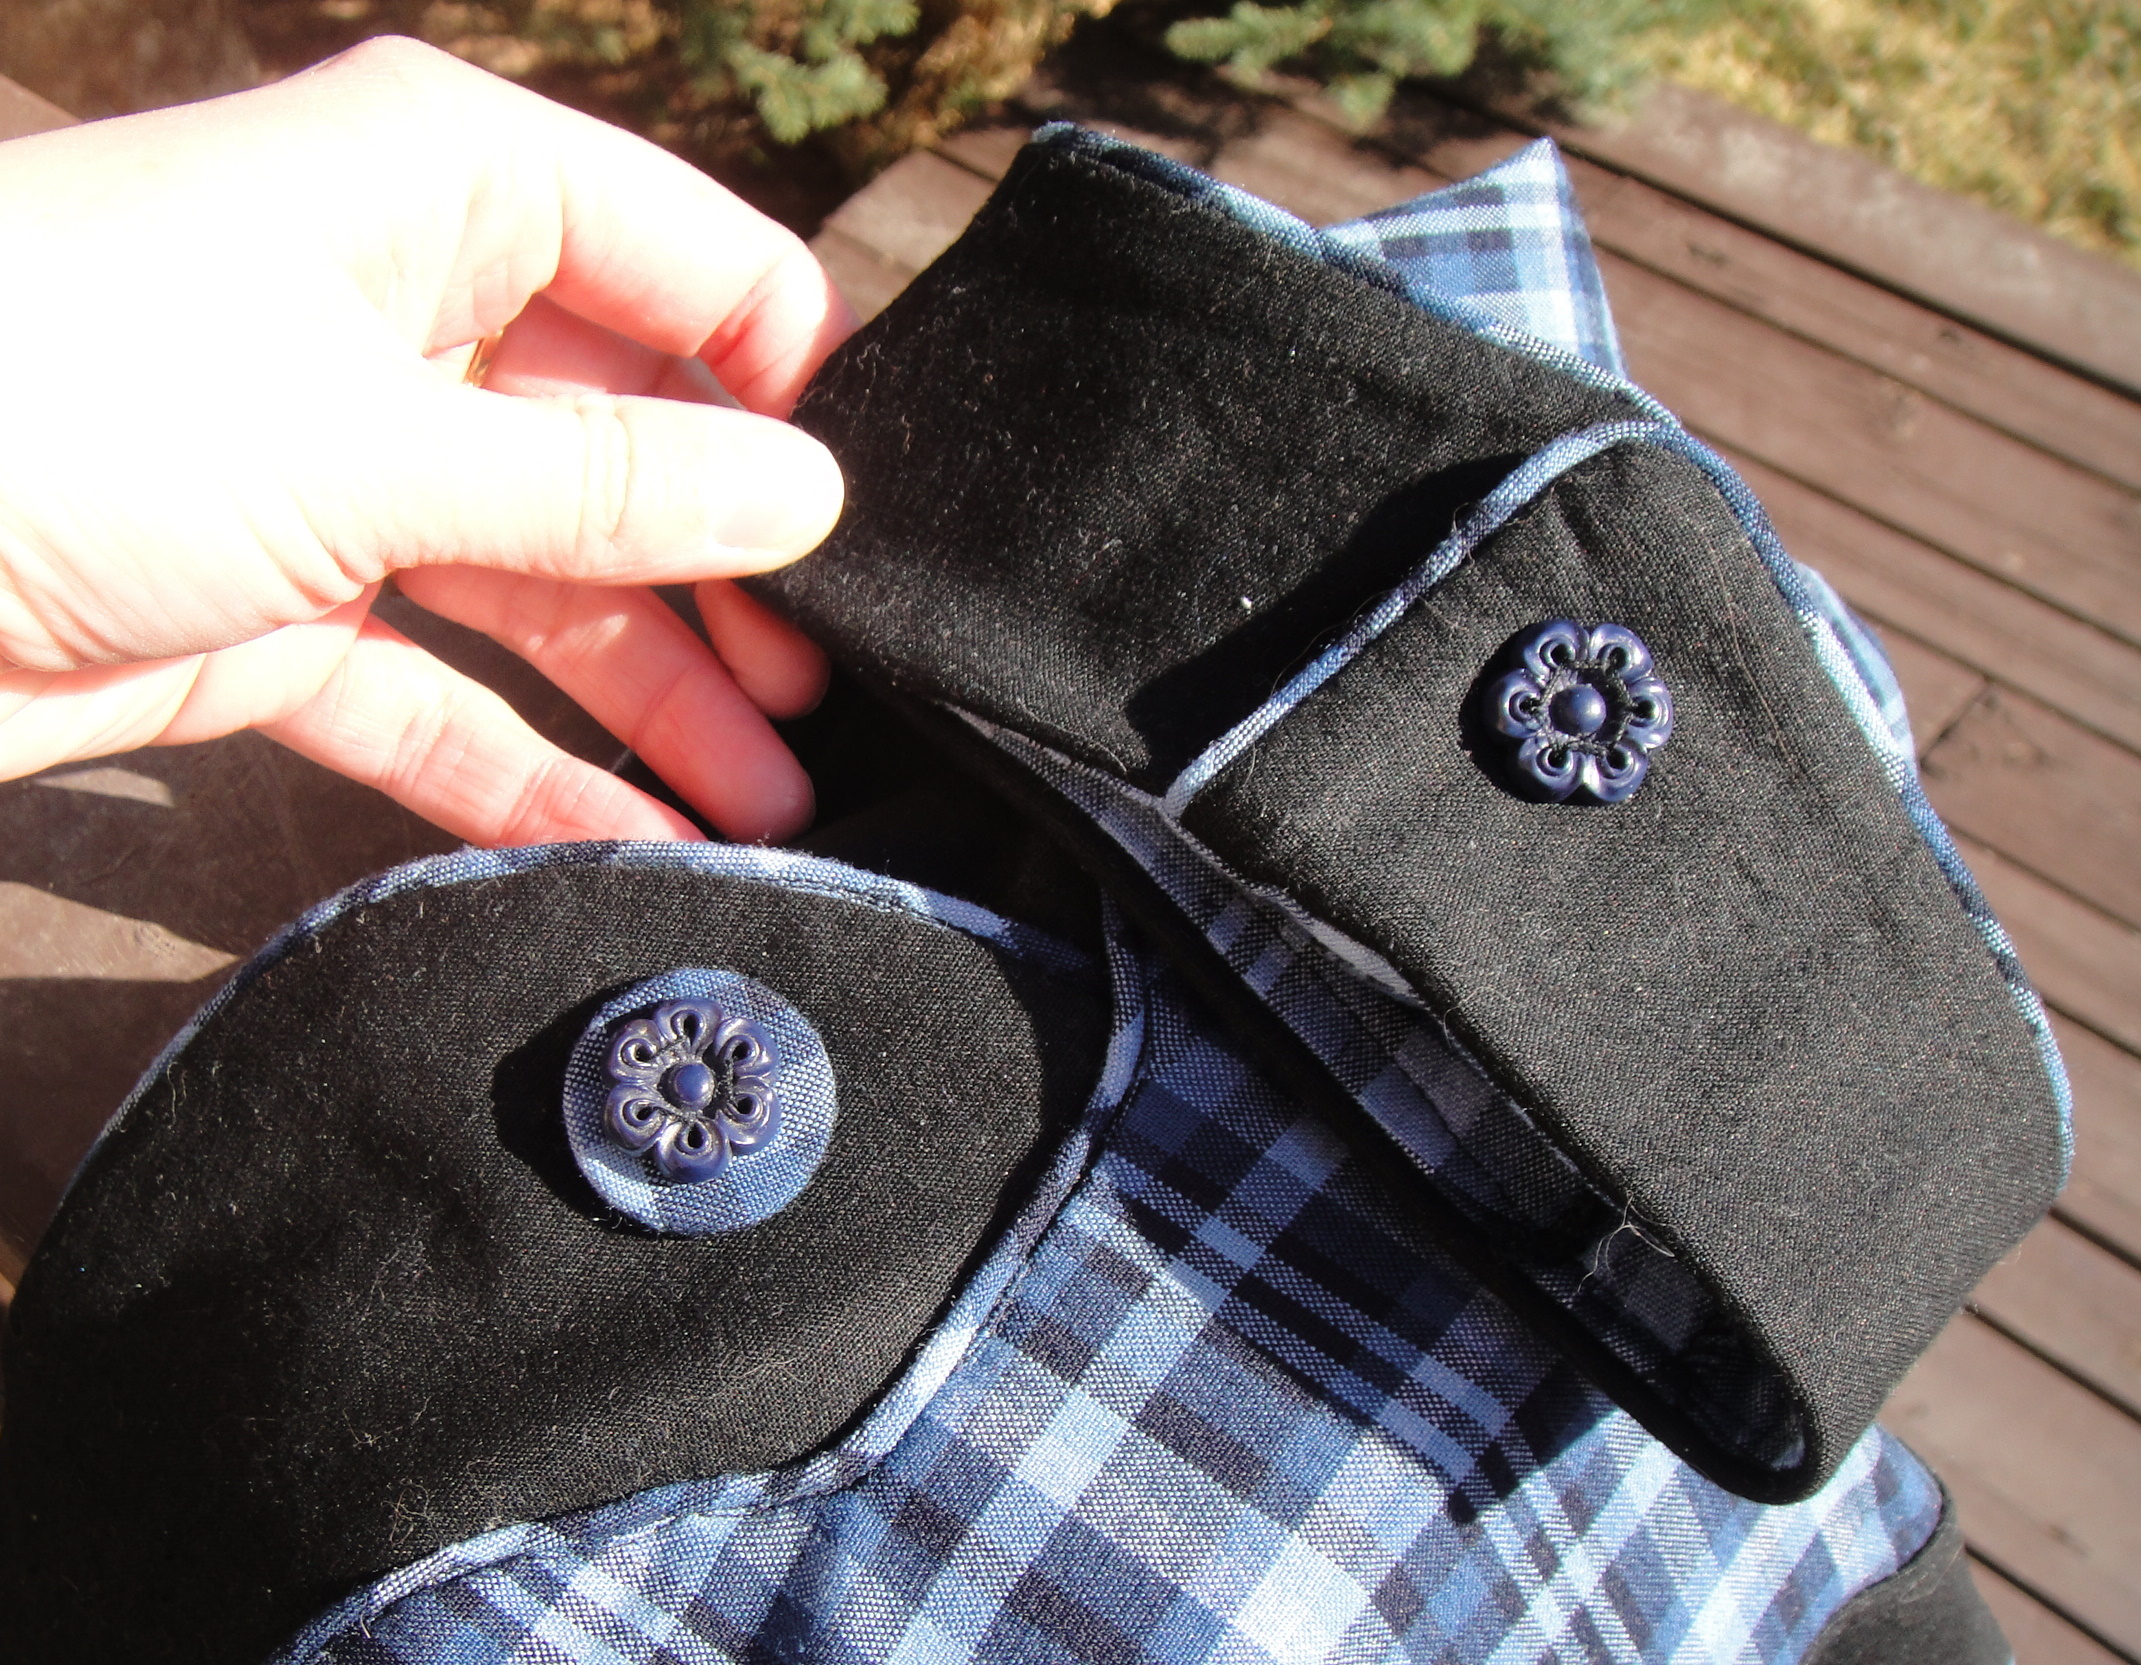
Buttons---Yoke (left) and Cuff (right)

I did the cuffs with the wrong side lapped out. D’oh. Figuring out which way they should lap, BEFORE the sleeve is set, was a head trip in itself—I’m actually impressed that I got them both the same way, so I’m not going to sweat it.

I had three of these vintage plastic flower buttons in one of the random button baggies I’ve picked up over the last six months. I spent a lot of time hemming and hawing over buttons (and Syo spent a lot of time making art with them while I did it, and then being irate when I broke up her faces to lay different combinations on the dress).  I covered a key-chain ring with fabric to put behind the one on the yoke, which hopefully looks more centred in real-life than it

Simplicity 6023

does in this photo. The third button I sewed on turned out to have a broken shank (I’m not sure how this worked since all three were held together at the shanks by thread in the button jar…); fortunately, none of the buttons are functional, so I just stitched through the holes in the flower. You can see it if you click on the photo to get the full-size.

As you can see from the outdoor photos, we are finally not only snow-free, but practically warm here today! (Temperatures were in the low teens C!!!1! That’s like, gosh, almost 60F.) And tomorrow is supposed to be even warmer… maybe I can actually wear a skirt. Or a dress…

So, another contribution to my 70s wardrobe. Although it’s not getting me any closer to fulfilling Joy’s  Bellbottom Challenge. Maybe I’ll move on to the Simplicity 6602 suit next… though I think I would probably try to merge the pants legs with my Ellen pattern. I have no particular desire to mess around with high-waisted pants.

Toodles!

*I feel it necessary to explain that I DON’T randomly chuck my recycling around the yard… but the kids apparently think that empty bottles are the cat’s meow in playthings, especially when you can fill them with water and leave it outside to freeze and then it snows and they get buried and you have to get more and… well, it was a mess.

43 Comments

Filed under Sewing

The Great Reveal

Ze Coat, She is finished!

Step right up, ladies and gent (there is at least one gent reading out there, I think?). You’ve borne with me through I don’t even want to count how many Springy Coat posts this month. And now, here we are, at the end of April (how did that happen?) and, at last—the Springy Little Coat is done!

At this point you’ve probably heard everything there is to hear about the construction of this coat. So all I’ll say is that I used seam-binding on the shell hem, stretching as I sewed, which worked fairly well for pulling it in (the joys of an A-line hem), then handstitched. For the lining I did a blind-hem (just for fun… I suck at machine blind-hems). I didn’t quite get my lining length vs. shell length right—the lining was a bit long—but I’m not going to complain at this point. (And better too long than too short, right?)

I also gave in and hand-stitched the lining at the cuffs. I know, not the point. But with my cuffs, it just seemed awkward, bulky, and likely to screw up to do it by machine.

Then I dug out all the coordinating (and some not-coordinating) clothes in my closet and played around in front of a mirror.

A lot. And since I’m not nearly as good as Patty at picking the one or two absolute best shots, I will hereby subject you to a crapload of them:

If I get my way, I will get better (outdoor!) shots this weekend, and subject you to those, too. I think by Sunday it should be warm enough to wear my coat out of doors. For now, it’s snowing again. (Obviously my strategy of invoking spring through sewing has failed. I should just cave and start making sweaters and snowsuits.)

Incidentally I’ve decided (along with most of the rest of those in the RTW sewalong, no doubt) to enter my Springy Little Coat in the PR Lined Jacket Contest, so if you’re a PR member go ahead and vote (ideally for me, but y’know. May the best jacket win and all that…)! Fortunately for me, Patty’s coat, which is almost a dead ringer for mine, can’t receive votes as she won the wardrobe contest in March.

For that matter, if you’re a Canadian, you have some voting to do, too—Monday, peeps! I happen to live in the Prime Minister’s riding, so I have the rare privilege of actually voting directly for (or, as the case may be, against) him—although since he’s pretty much guaranteed to win his seat, it does make it seem a bit pointless voting for anybody else. The joys of a parliamentary system.

61 Comments

Filed under Sewing