Tag Archives: finished projects

La Mode Syo

The cool kid.

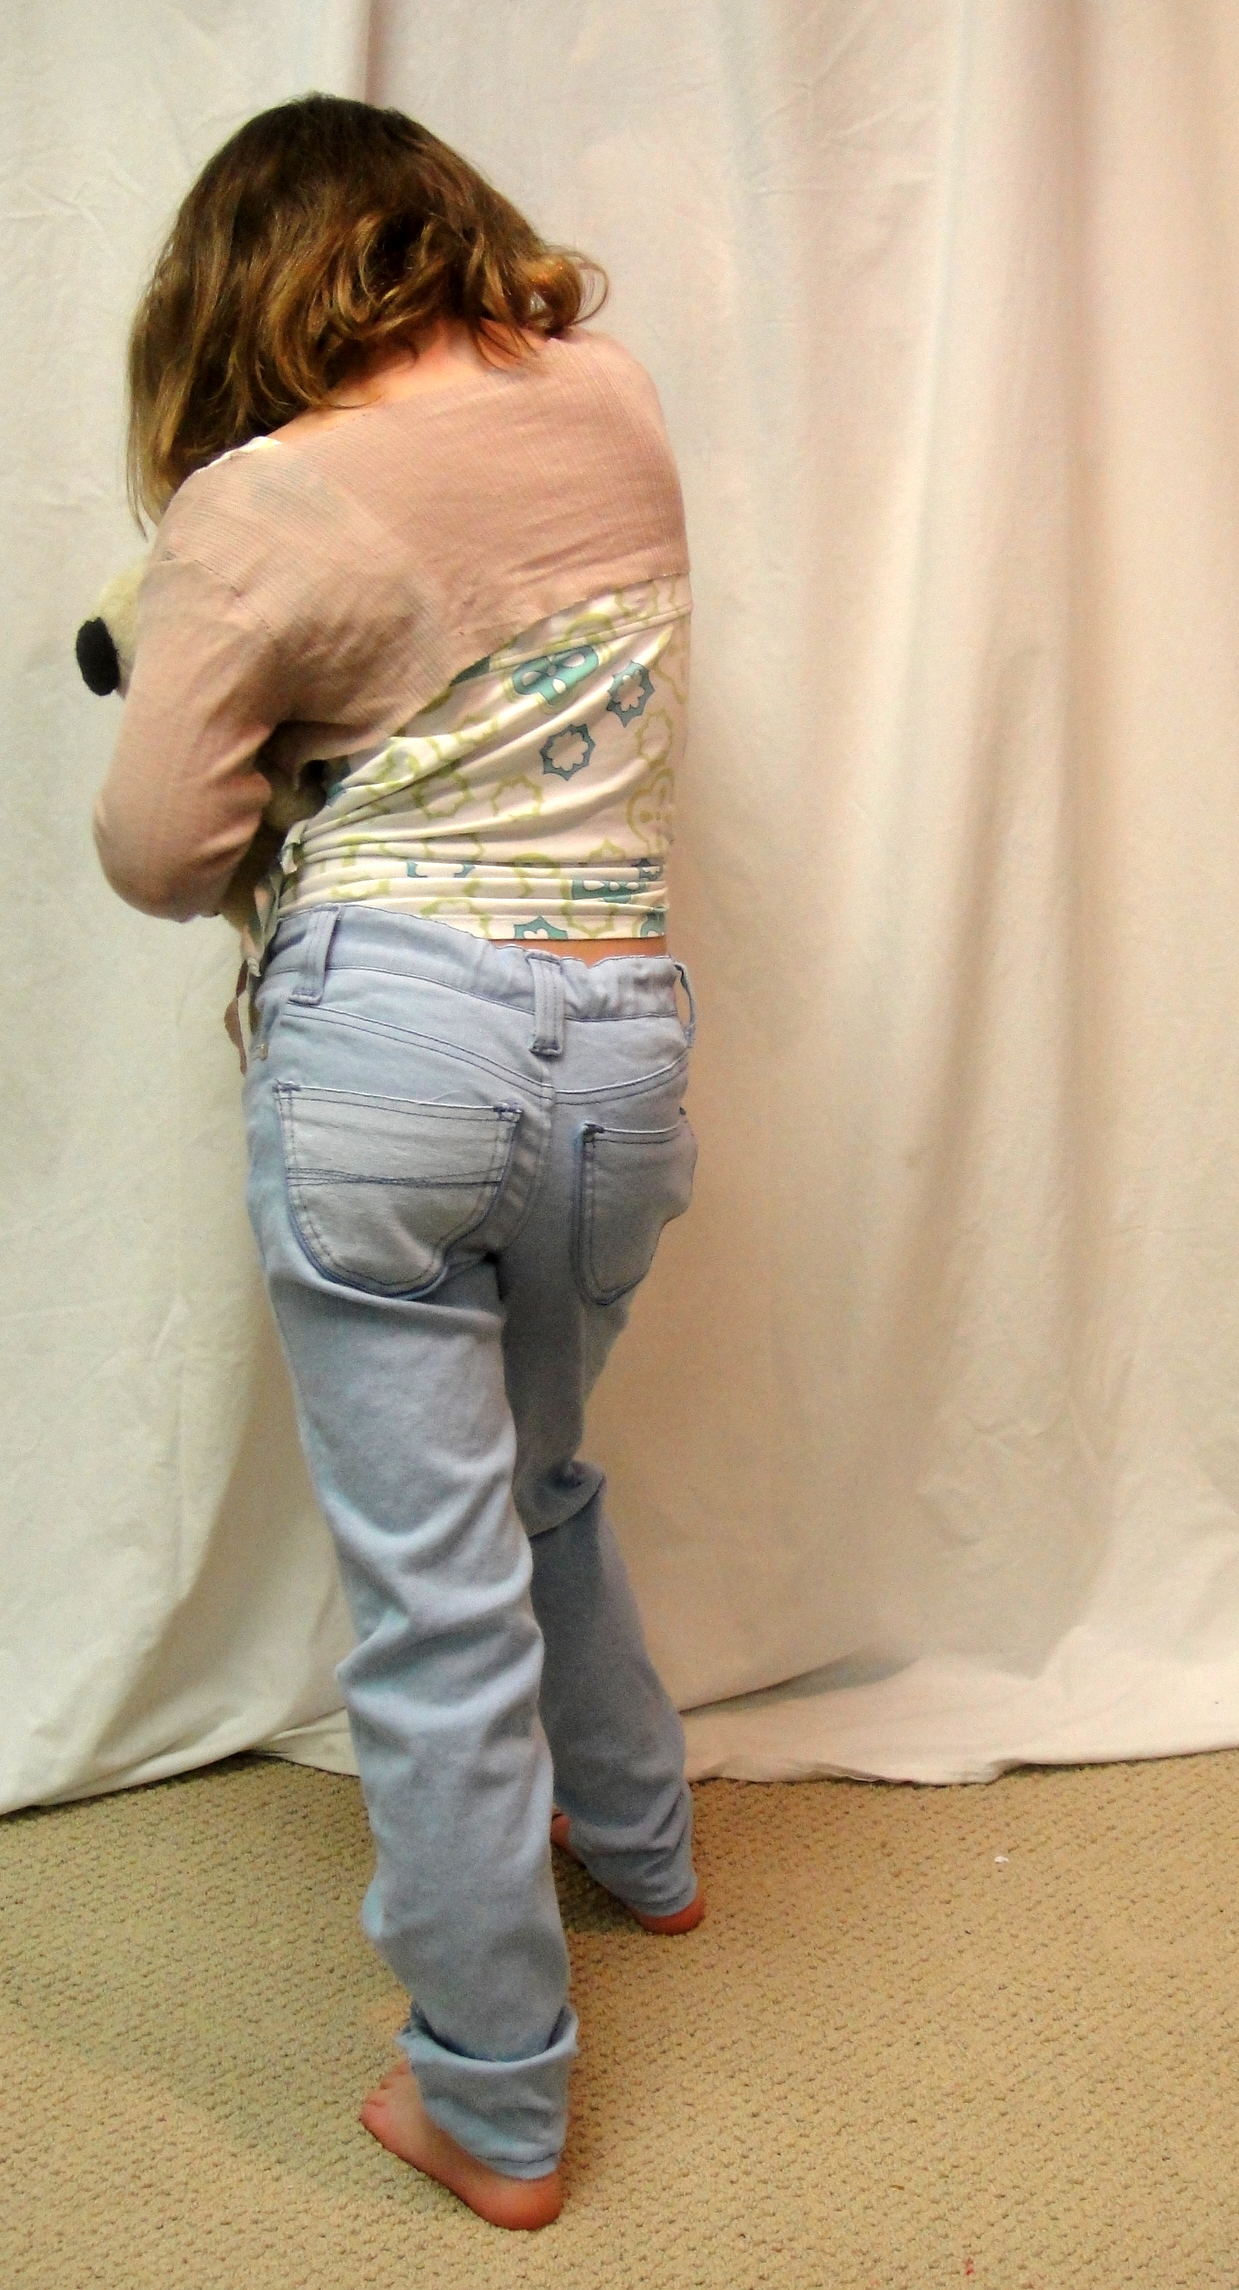
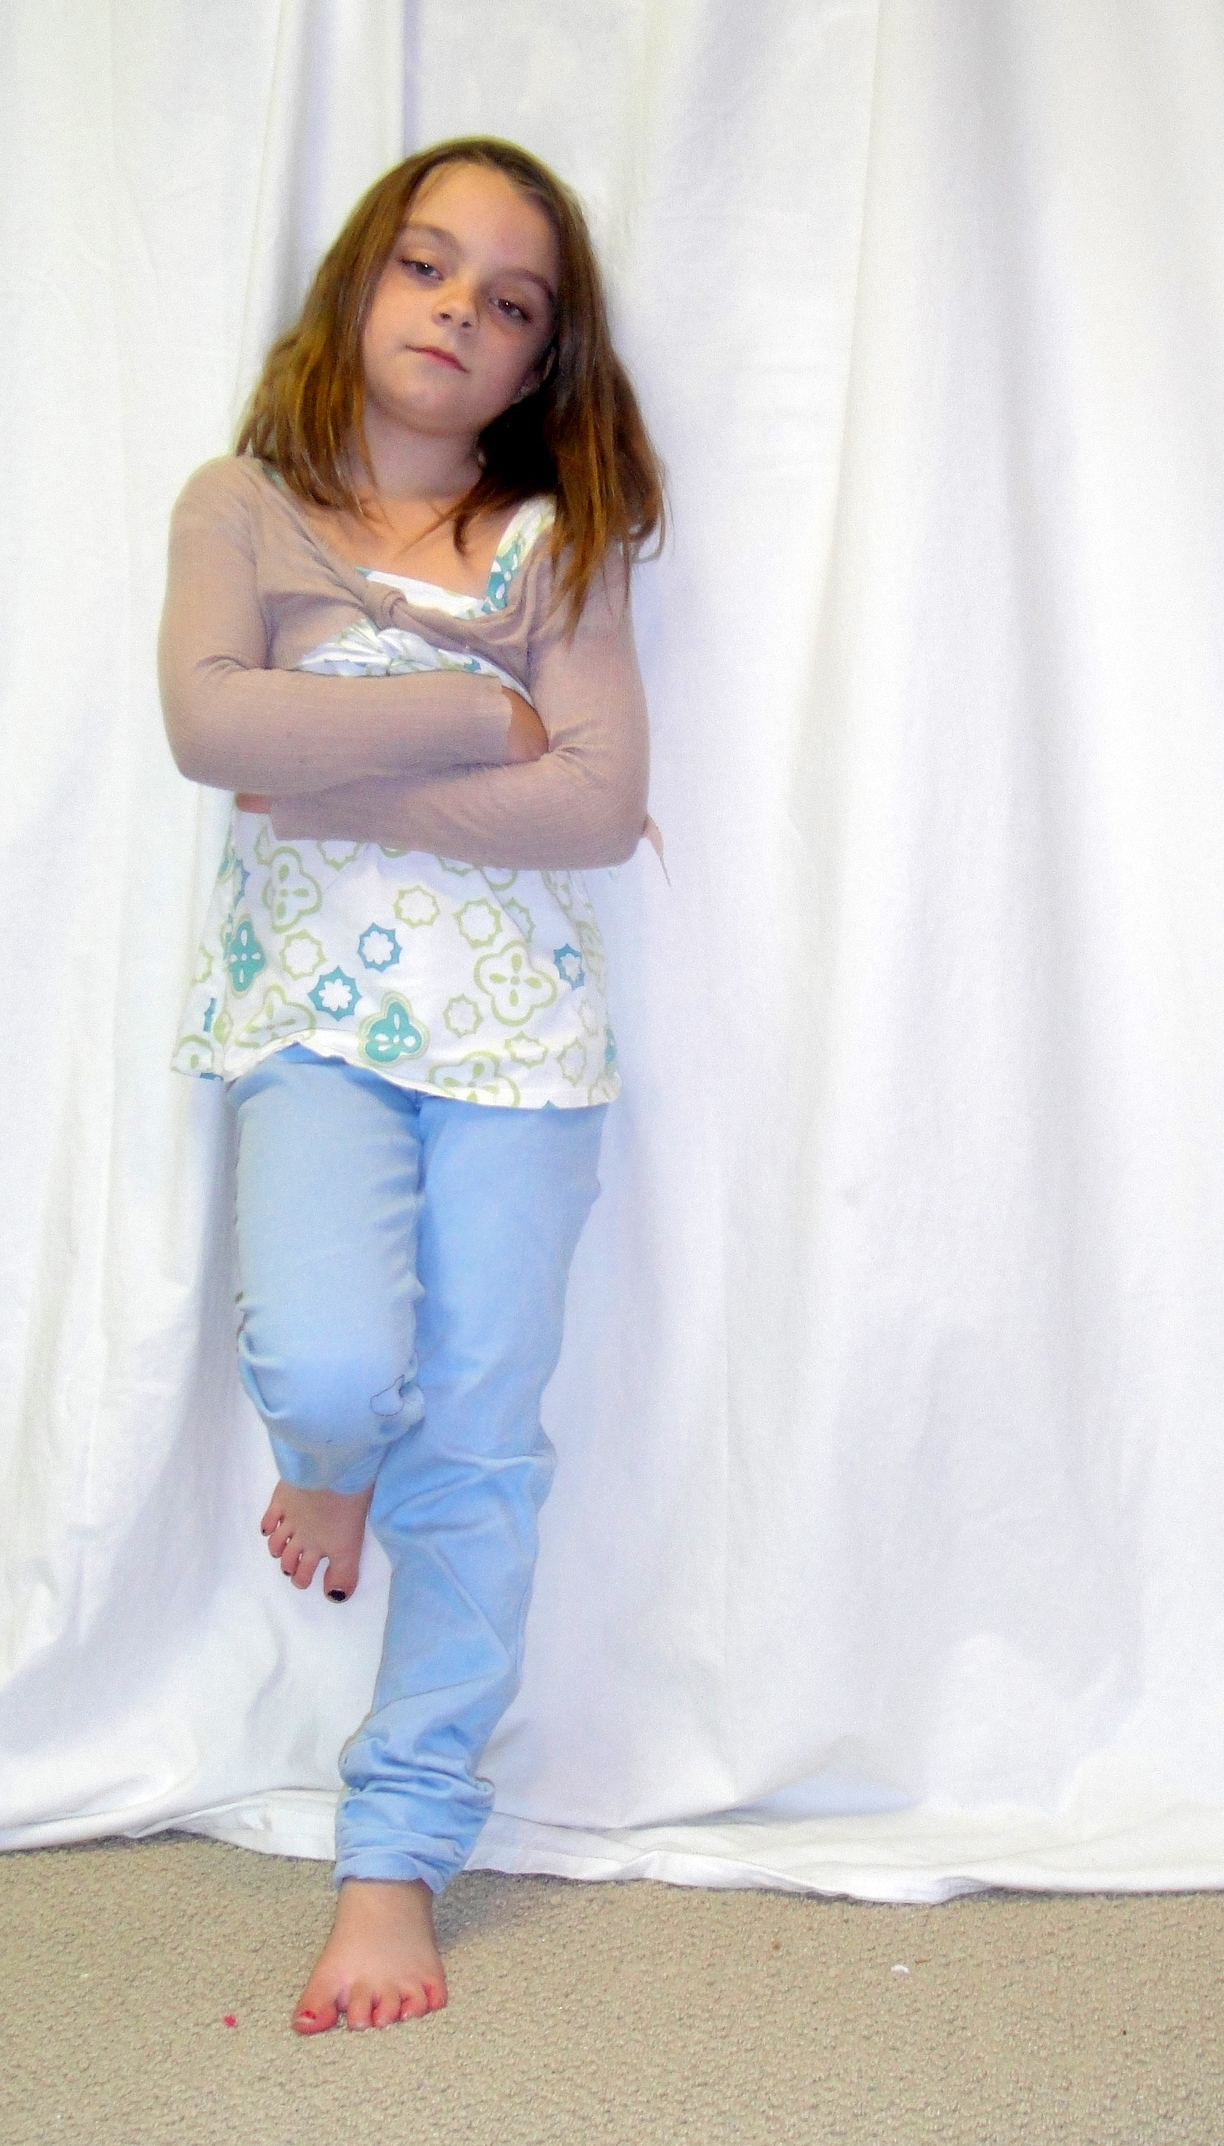
Syo would like you to know that she’s far, far, too cool to be posing in her new jeans for her mom.

They are a little big. Not really satisfyingly skinny.

Syo’s mother would like you to know that Syo is going to have to deal, I am so totally done with making clothes that are outgrown a month later.

Now that that’s out of the way, a few final details:

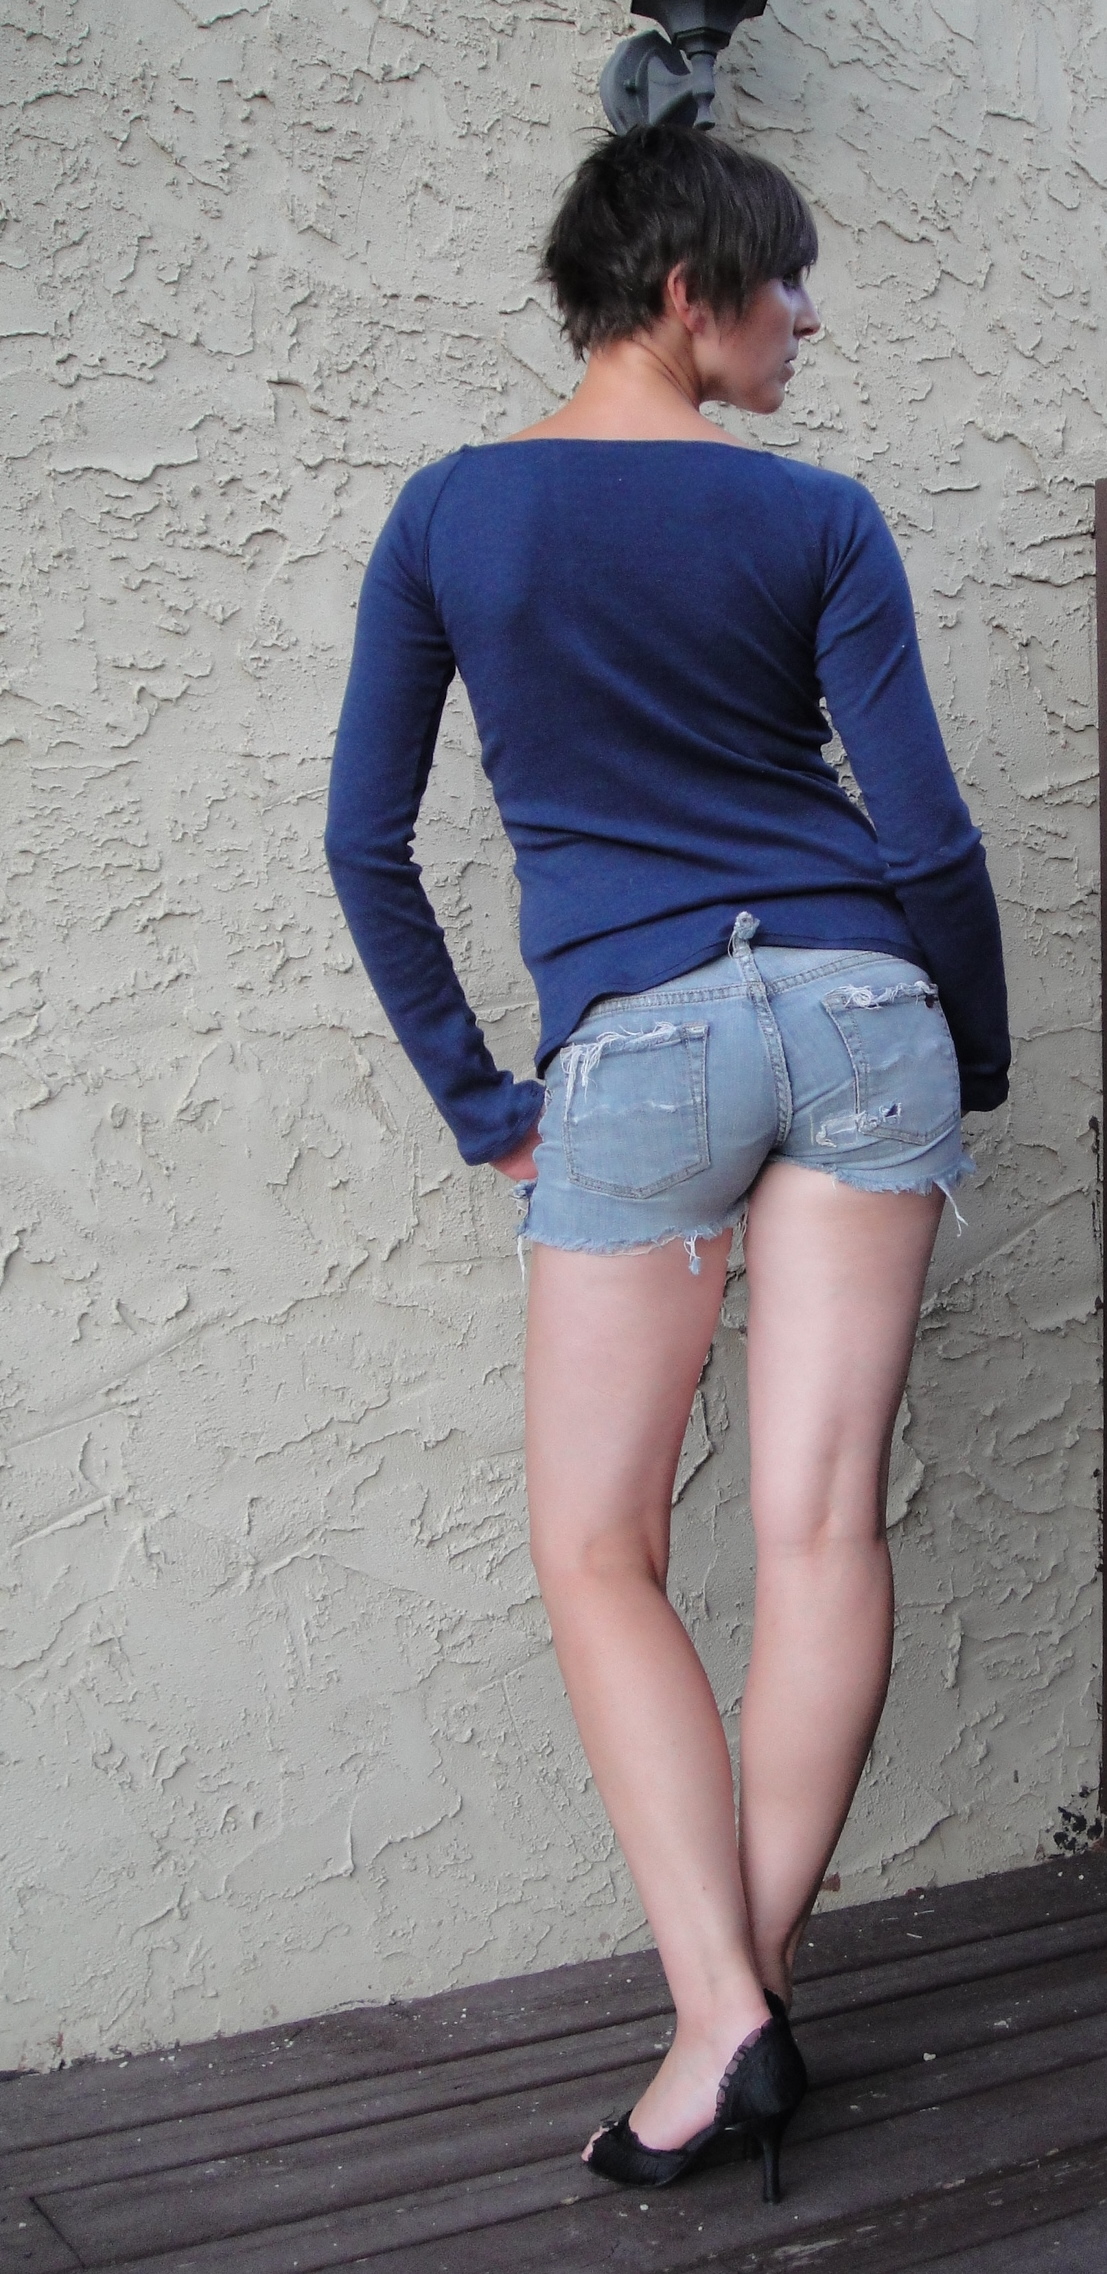
Rear view. Oh, that's the shrug I made here

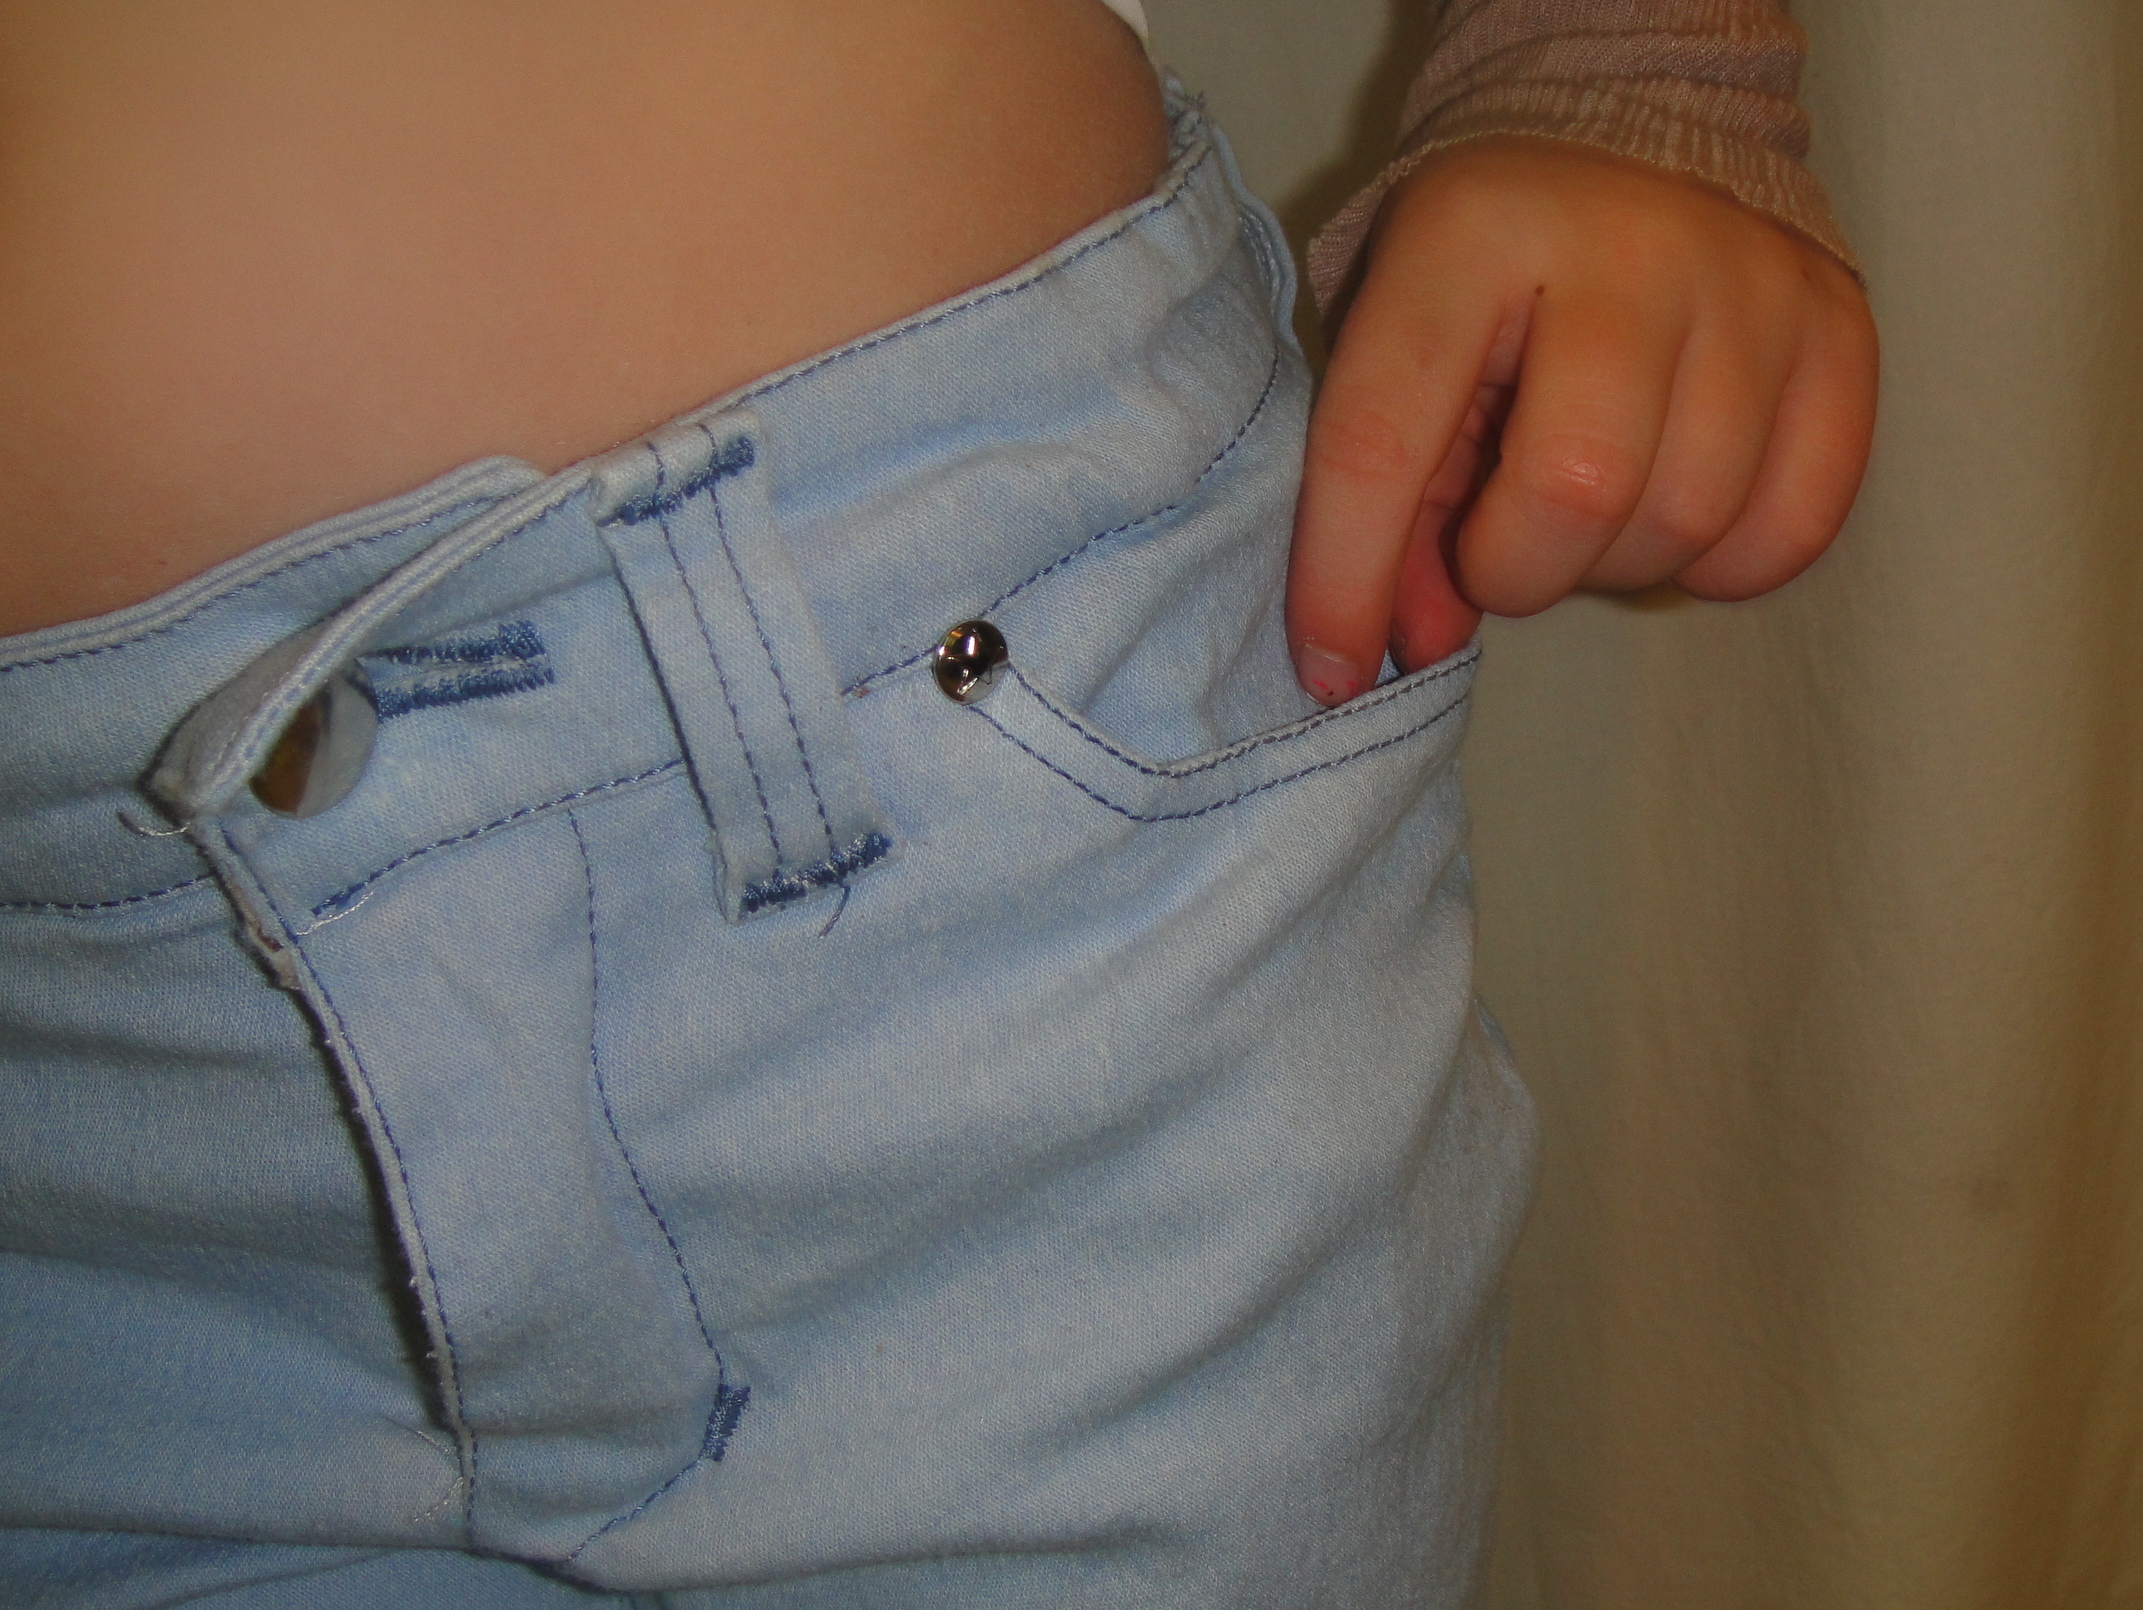
The pockets look good. I like my feature pocket.

Studs

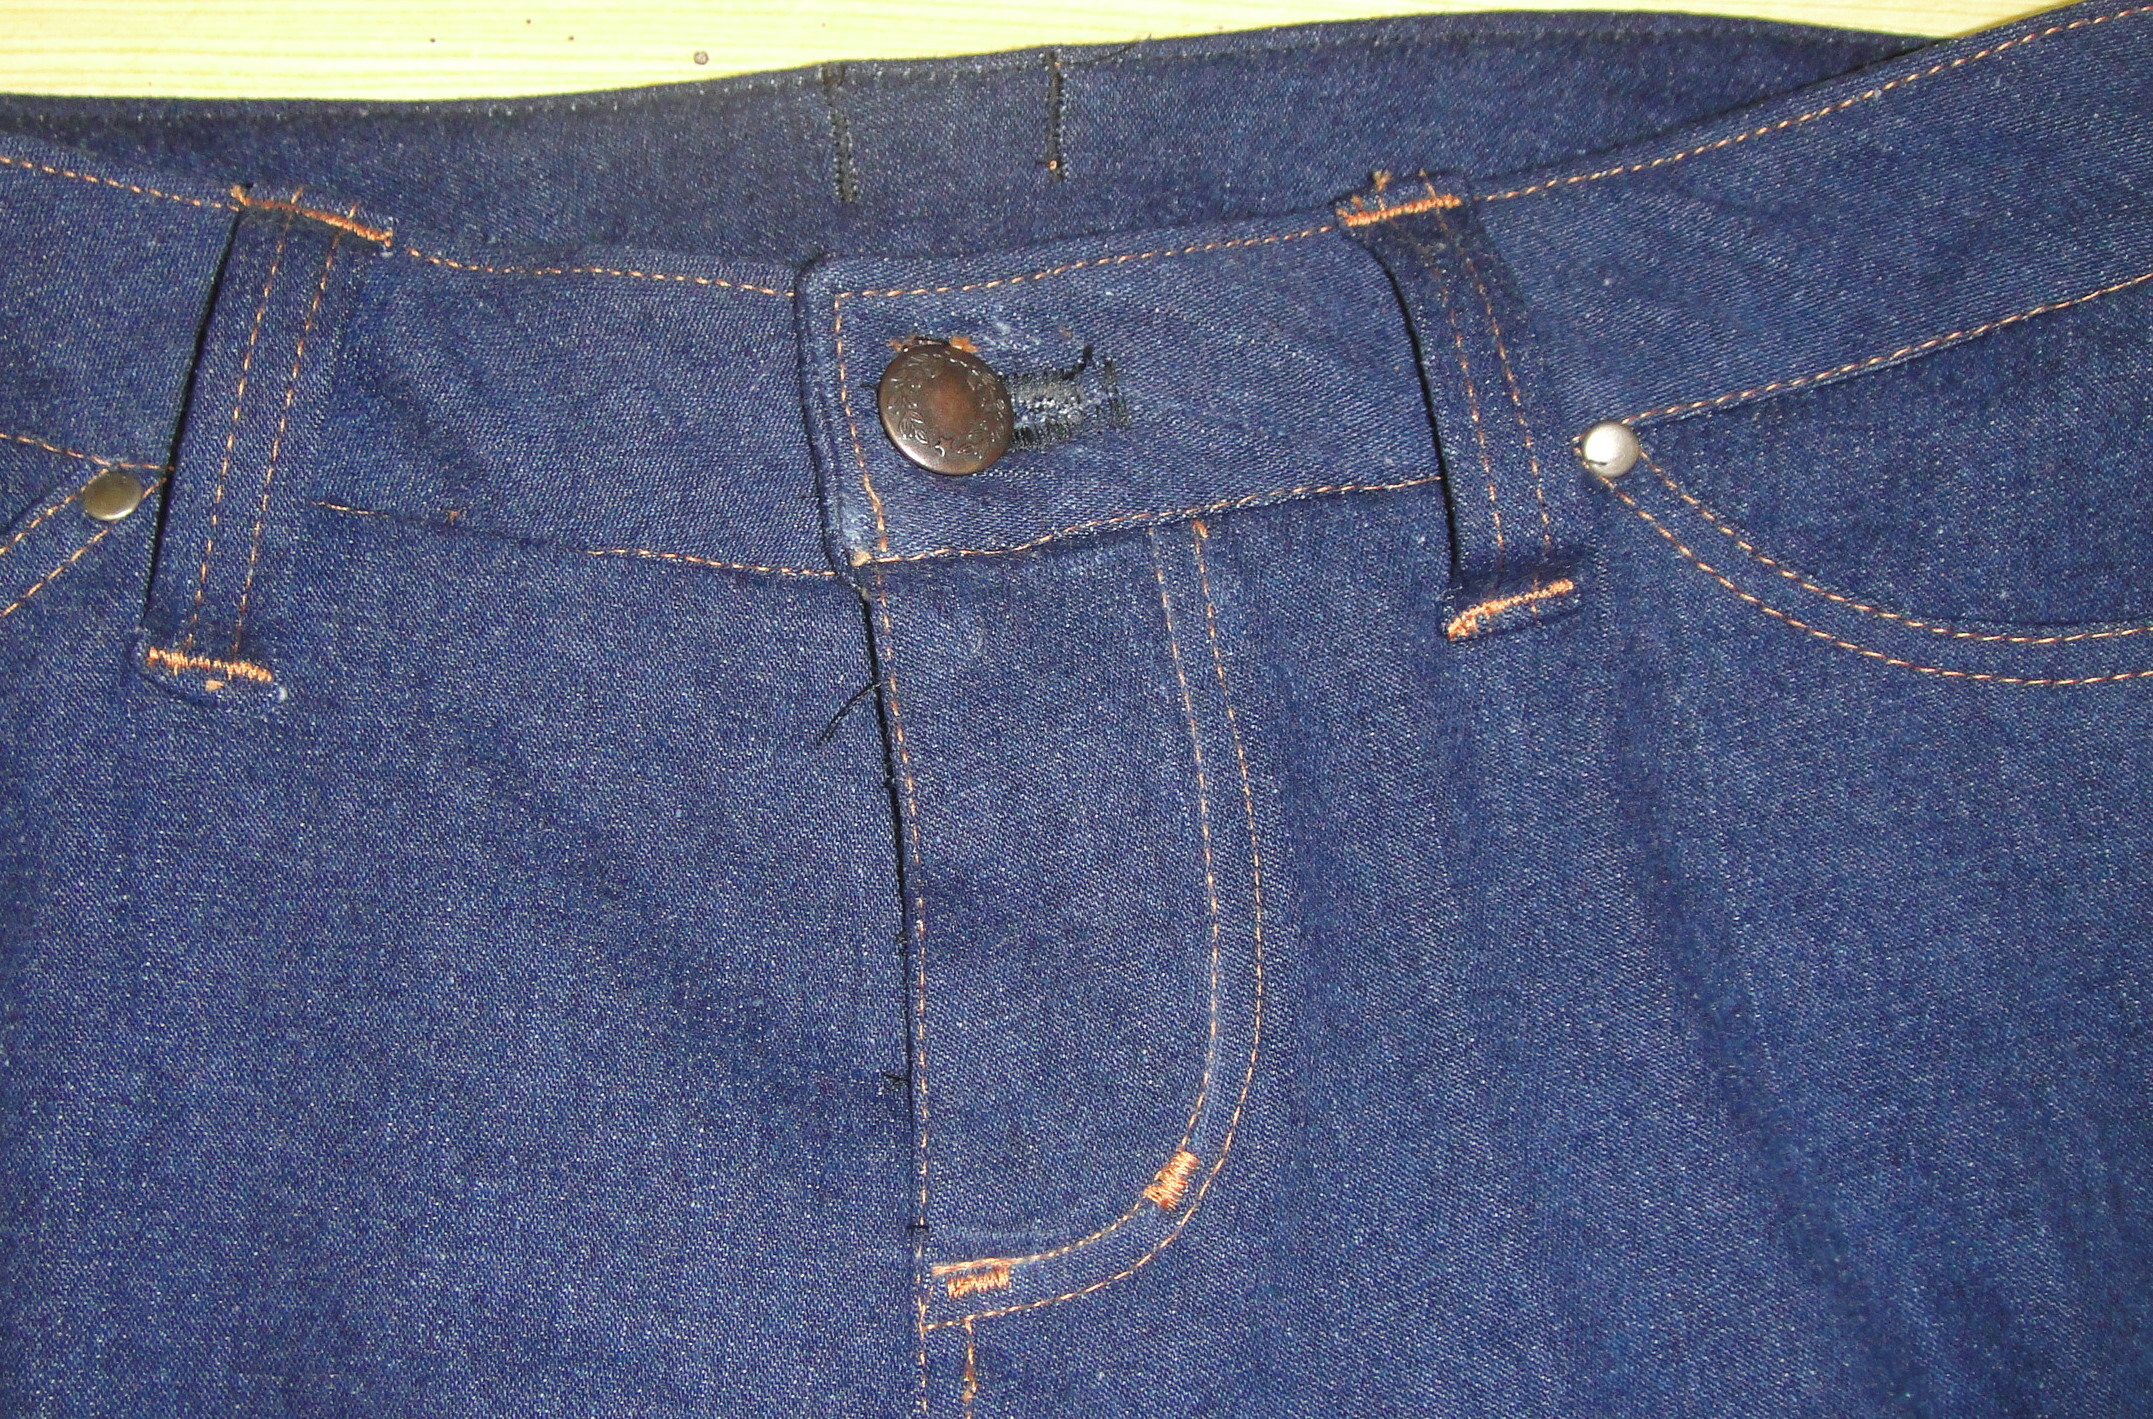
The waistband is flabby as I didn’t bother to interface (and it’s cut on the cross, i.e. stretchy). However, there are now studs. I bought plain “Bachelor buttons” rather than jeans buttons this time, because I didn’t really feel like spending $8 for 8 buttons when I could buy four bachelor buttons for less than two. The bachelor buttons may be slightly wimpier than the (already flimsy) Dritz jeans buttons, but not too much. Someday when the perfect conjunction of money and motivation coincides, I will order some proper ones off the internets. Until then, my children will suffer. Syo wanted a snap anyway, but didn’t mention this until after the buttonhole was cut.

Fuzzy pockets

She really likes the fuzzy pocket-lining fabric. I’m thinking I should make a future pair lined in something similar… extra warm and extra cozy all in one.

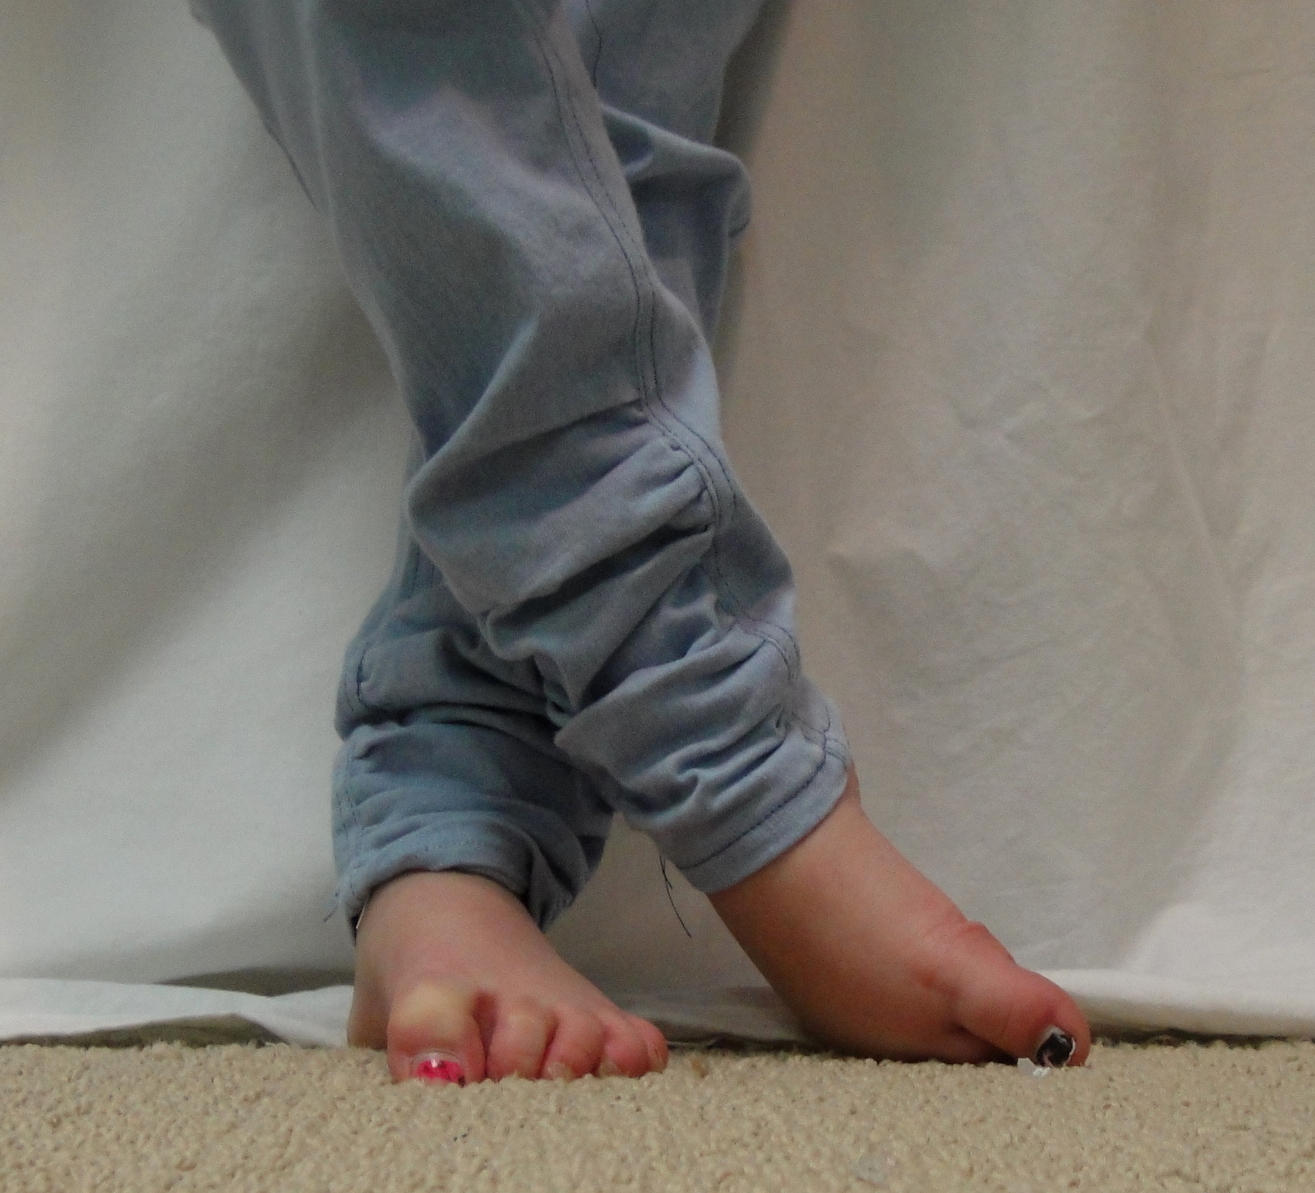
Ruching

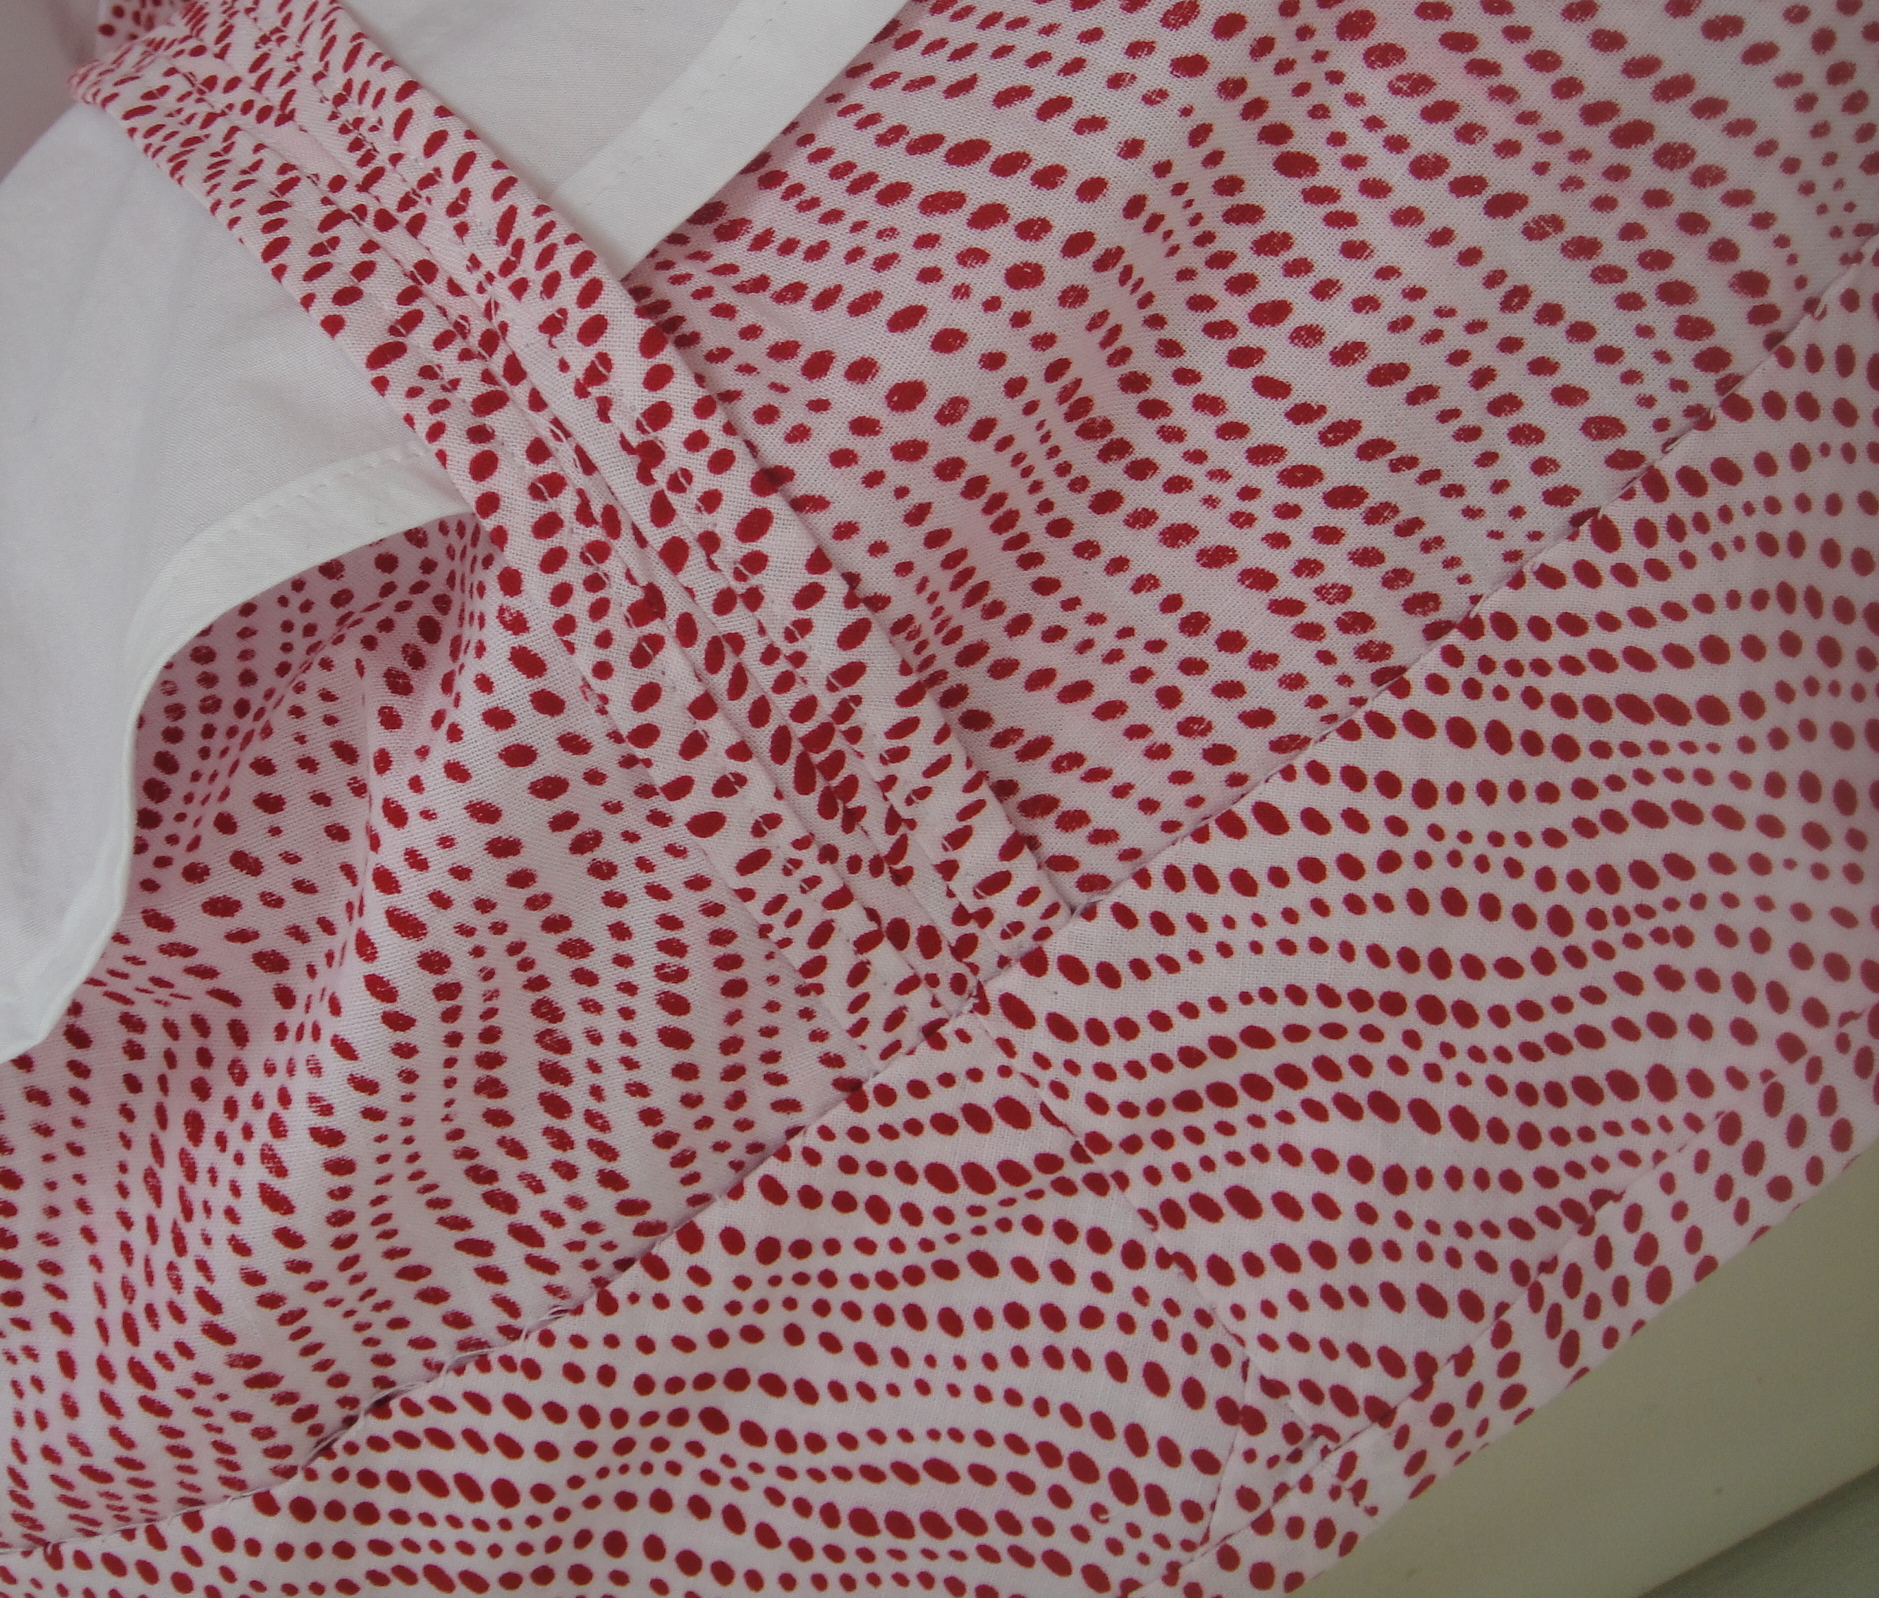
That gathered look has been achieved.

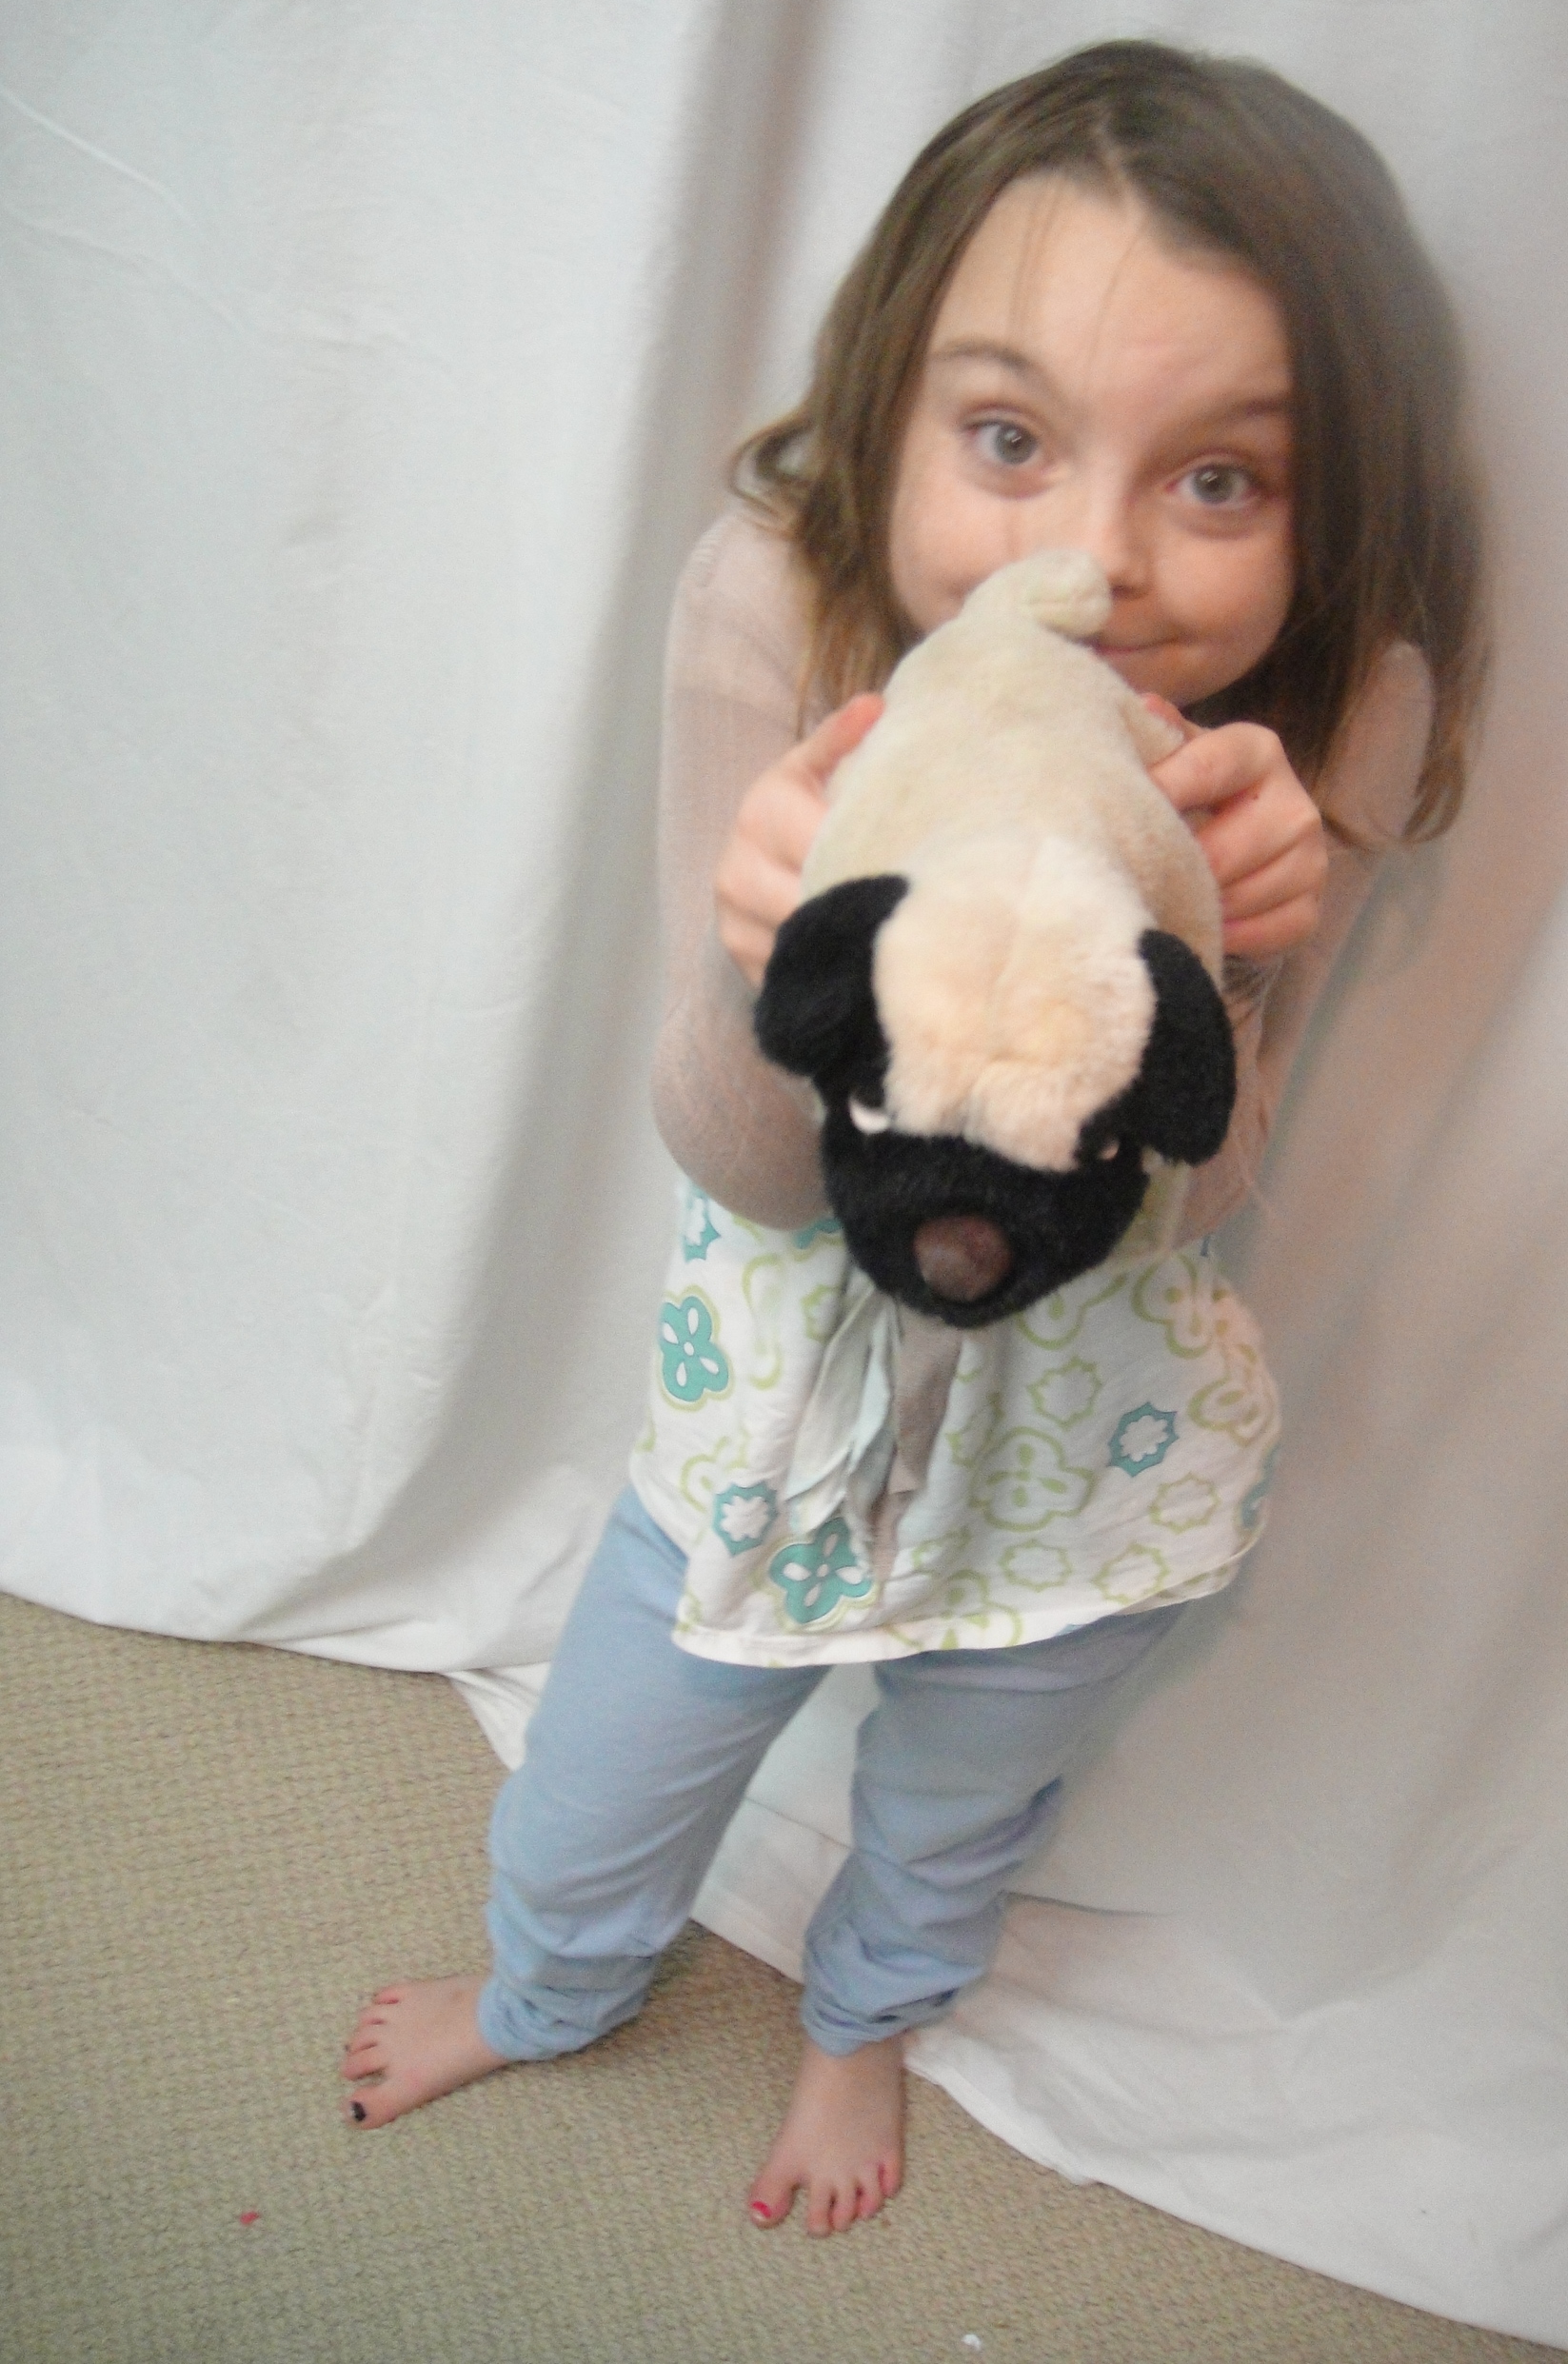
Got pug?

There are, however, few things cuter than a pug. Even a stuffed pug.

Also, I got the most awesome package in the mail today.

New pattern!

Yes, it’s that awesome 70s coat pattern Zoe made up last year and then recently decided to give away. I feel totally honoured and squee-tastic that she picked me (not to mention a little apprehensive. What if I stuff it up?). I am so excited. I’ve never made a Vogue pattern before. Bet you can’t guess which view I want to make. 😉

So I guess I know what my next project is. Aside from the pair of ruched jeans I’ve already cut out for Tyo, anyway.


23 Comments

Filed under Sewing

Blue shirt

La Blue Shirt

Lekala 5672 strikes again.

No sooner had I destroyed half of this blue-striped fabric making a failed cowl-neck last spring, I knew it really had wanted to be this raglan top all along. I’ve lost track, at this point, of how many times I’ve made this pattern, nor is there really anything left to say—it’s my go-to for this style, though I still haven’t made it successfully with the kind of gathered bust in the original picture. Some of you may, more recently, recall that I made the exact same shirt in the red version of the fabric I bought at the same time, my Where’s Waldo shirt. Sometimes, you just meet the perfect marriage of fabric and pattern. This fabric wants to be close-fitted knit tees. Although I’m sorta hoping there’s enough of the red left to take a stab at Lisa’s Awesome Folded Mini-Skirt tutorial, sometime when I have enough brainpower to try anything creative (obviously that was not this weekend. In my defense, half of it was spent visiting my step-father-in-law in the hospital, as he just had a major back surgery).

Despite the absolute simplicity of this pattern, I still managed to stitch the sleeves in wrong-side out, and have to rip sleeve seams on one side due to accidentally stitching armscye to neck-portion of the sleeve not once, not twice, but three times. You can tell I like this fabric, because I generally don’t rip stretch stitches. I made this one, as with most of the knits I’ve been stitching lately, on my Janome rather than my serger. Although the serger’s much faster, I find the seams aren’t very strong, and tend to rip out and show the thread on the outside. Presumably this is a tension problem (although possibly a 3-thread-serger problem), but I think it’s one beyond my ability to fix, so for a garment like this that’s fairly fitted, it’s just better to suck it up and take the time to use the regular machine. The serger’s still great for seam-finishing, mind you.

I actually have a remarkable number of self-stitched long-sleeve knit tees at this point, but it seems like I can always use more. This sewing thing was worth it for the long sleeves alone.

There’s a wee bit of the blue-striped fabric left, if I’m good I’ll make something like this one for one of the girls. It’s a circular knit with a fairly wide width, which means I can get a long-sleeved shirt like this out of maybe half a metre of fabric. I love circle-cut knits—the cutting layouts are super-economical and it’s so much easier to get them folded on “grain”. Double win.

All of which is way more yakking than this shirt deserves. Warm. Comfy. TNT pattern. Done.

27 Comments

Filed under Sewing

Hallowe’en wrap-up

(and other odds and ends.)

The costumes, as worn.

It’s been a long and hectic week, finishing Hallowe’en costumes and trying to get the house into something resembling order*. I did, however, spend a remarkable amount of time in the sewing room, partly in the desperate Hallowe’en Final Push and partly because it’s a handy place from which to supervise the children’s attempts to reclaim the basement, aka playroom, aka guest room, into something an adult might be able to tolerate sleeping in.

Anyway, in a vain attempt to impose order on chaos (as with the rest of my life), let’s have Fun With Headings:

Hallowe’en costumes

I'm a Vampire Slayer, yo!

They were worn! (There were no last minute back-outs. This is worth commenting on, as Tyo nearly refused to wear hers to the school Hallowe’en Dance on Friday.)

There were the inevitable snit-fits over wearing tights under leggings. Seriously, kids, why did you think I bought both?

I’m pretty sure Syo forgot to take her yellow and blue pompoms out with her, despite the fact that I thoughtfully attached them to hair-elastics so she could put them around her wrists and have her hands free for holding the treat-bag. And they even survived being worn in her hair all weekend. /sigh.

Tyo never did come up with weapons that were suitable to her costume. Babydoll wields two katanas and a gun with charms hanging from it. We have any number of toy katanas and at least one toy gun in the basement mess, but none were deemed worthy. Or she forgot.

We had the first snow of the season yesterday morning (this is actually remarkably late), and the daytime high was only 6C. It can’t have been more than a couple of degrees above freezing when the kids went out. Nonetheless, Syo survived in just her cheerleader outfit and velvet leotard and leggings (over tights). I really like how the velvet leggings turned out—I’ll have to get better photos later. I’m sure she’ll be wearing them lots, anyway.

Tyo, as you can see in the top photo, is not quite as much of a trooper and added a white bunnyhug. I can’t blame her, anyway.

In fact, I can’t complain about anything, as my mother-in-law and her husband took the girls out for their first go-round and then my husband took them out for the second, so I sat on my butt and handed out candy all night. We had about 30 kids come by, just enough to completely clean out all the candy we had. D’oh.

Also, the kids have no school the day after Hallowe’en! Even though it’s the middle of the week! Man, we would’ve killed to have the day after Hallowe’en off school… (mutter… kids these days… mutter)

Stuffed Chairs:
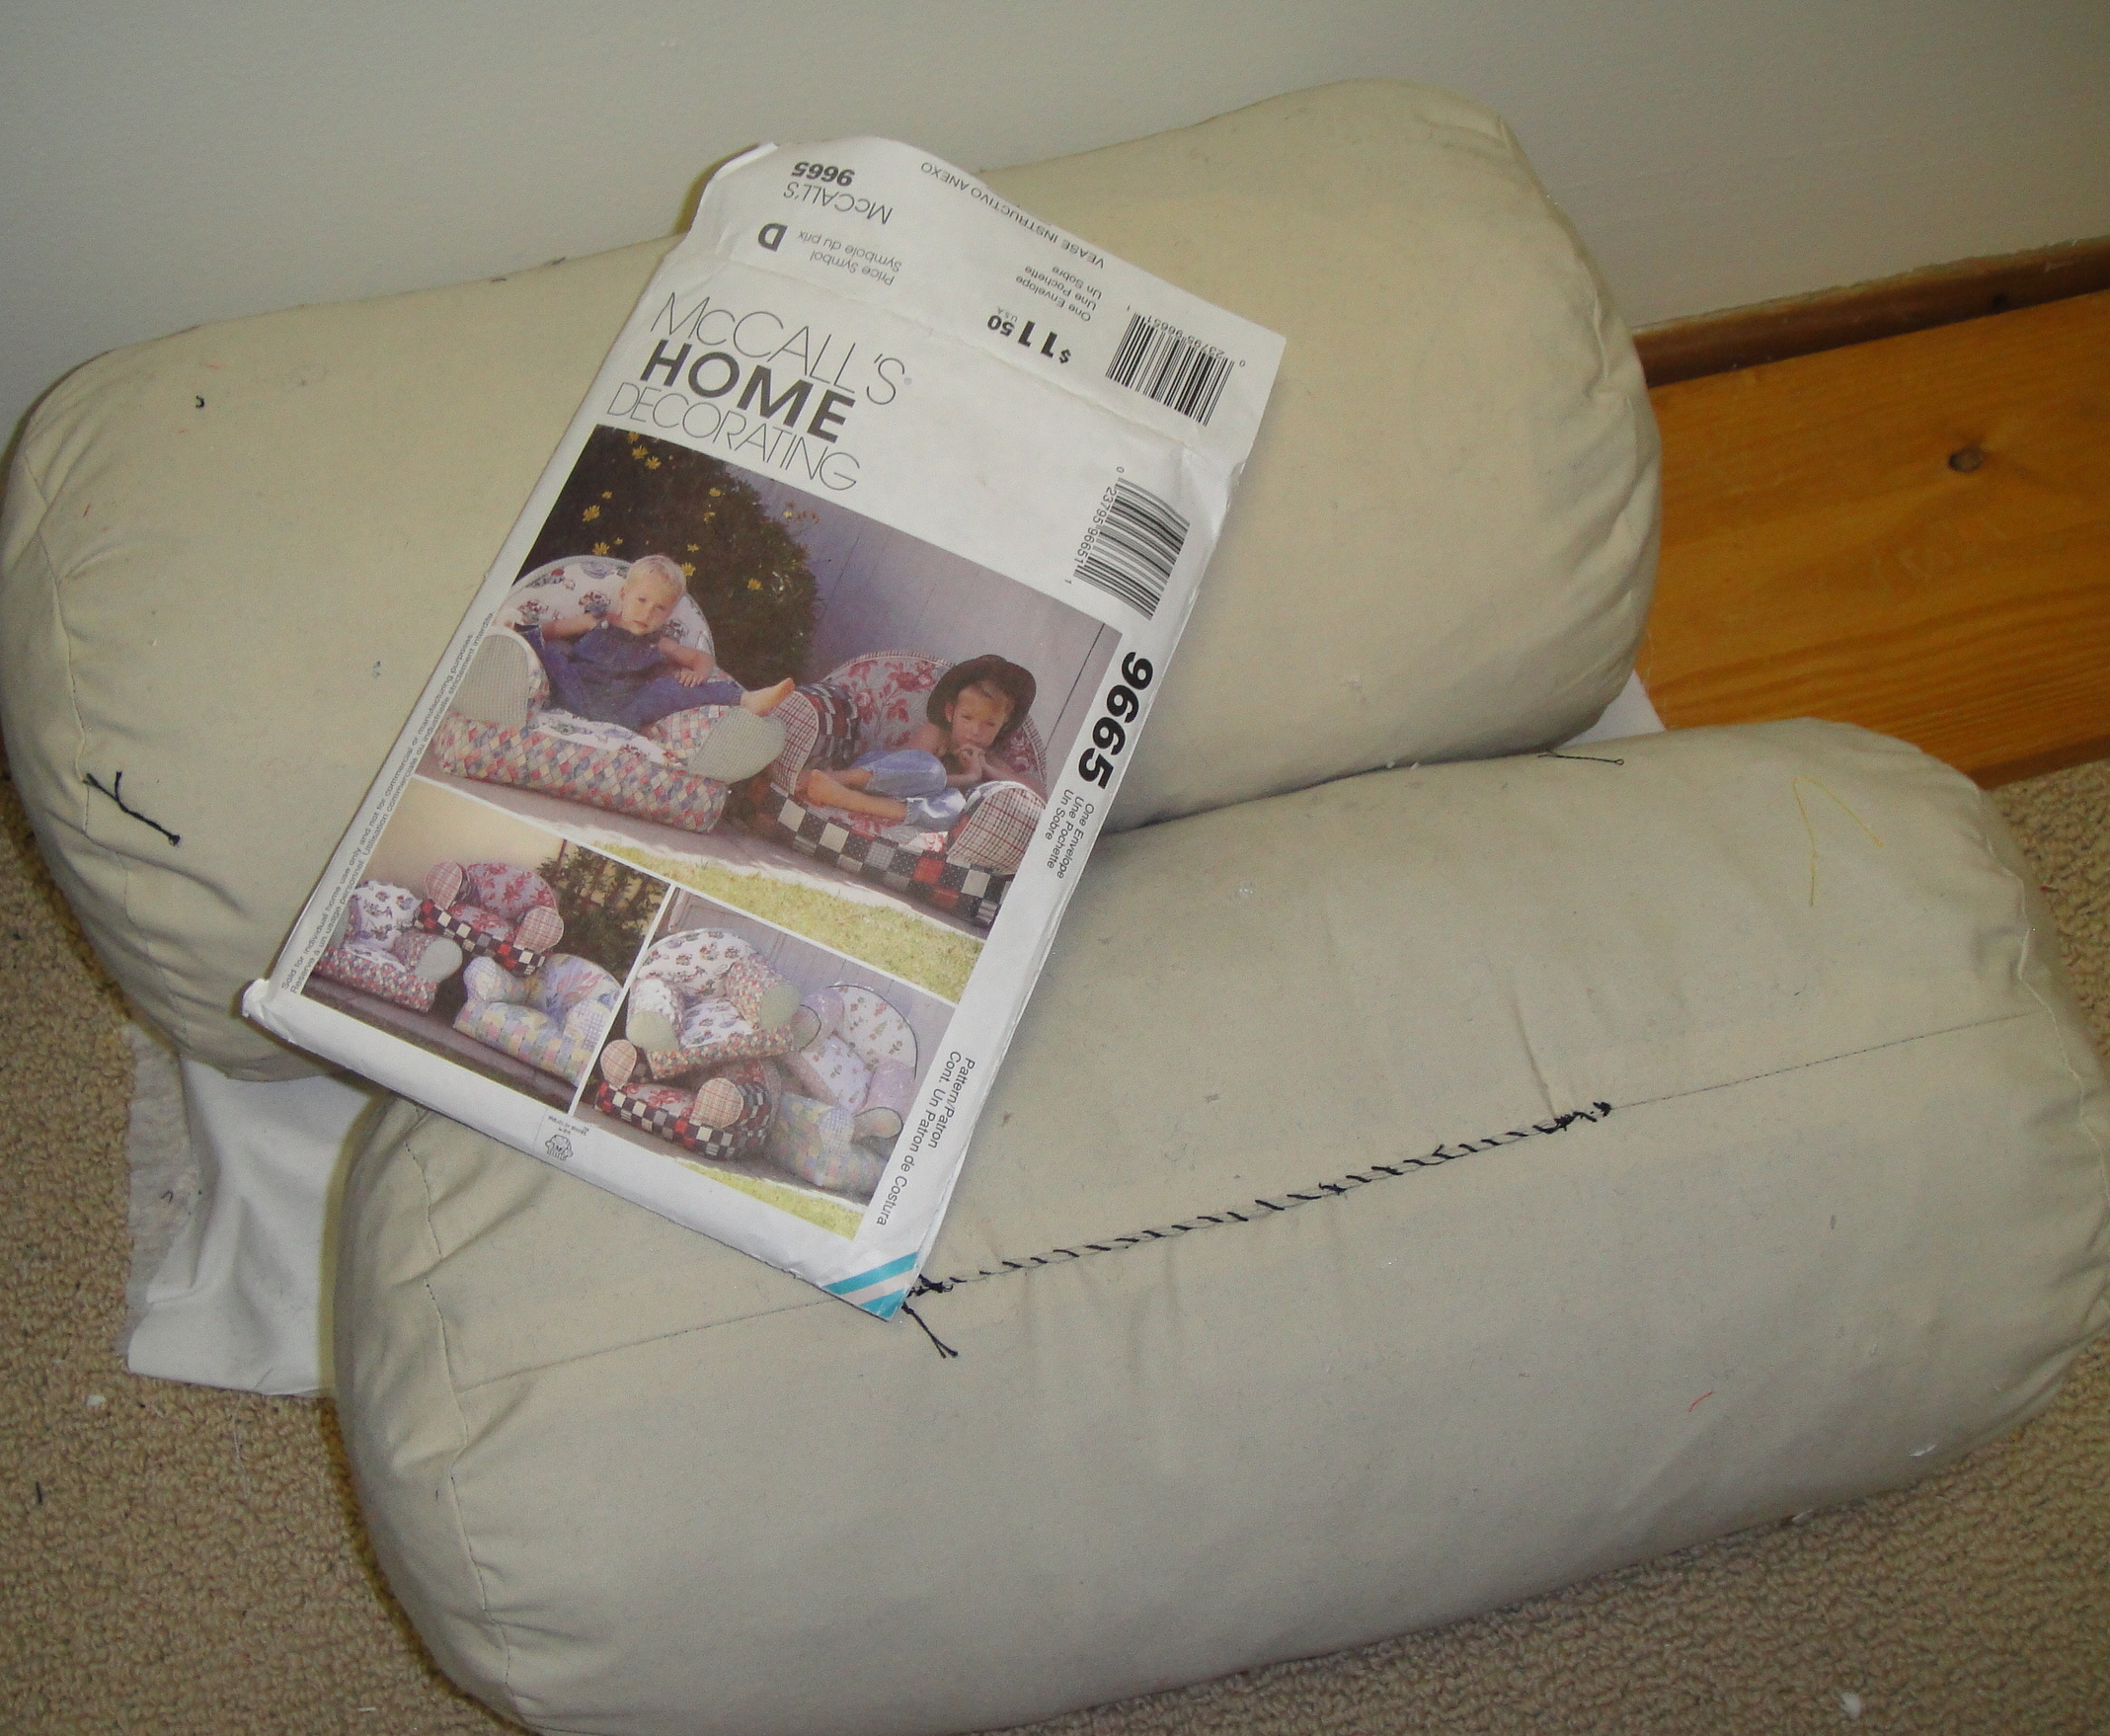
Bolsters/chair-arms

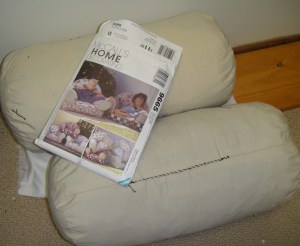
Tyo has been harping on the chair project, lately. I am approaching this with the same enthusiasm I have for all home-dec projects, but she is remarkably persistent (although remarkably unhelpful with things like pinning pattern pieces and stuff.) Anyway, we got the first pieces cut and stuffed over the weekend: two bolster-type pillows that will be the arms of the chair. I’m noticing that they’re not very big—the chair seems more toddler-sized than my-kids-sized. Ah, well. The kids stuffed them with scraps. They didn’t use up nearly enough. I wanted to start with the arms, since I figure if I stall on the rest of the chair, bolster-cushions are still frequently useful, even when they’re scrap-stuffed and not particularly soft/squooshy.

Upholstery fabric

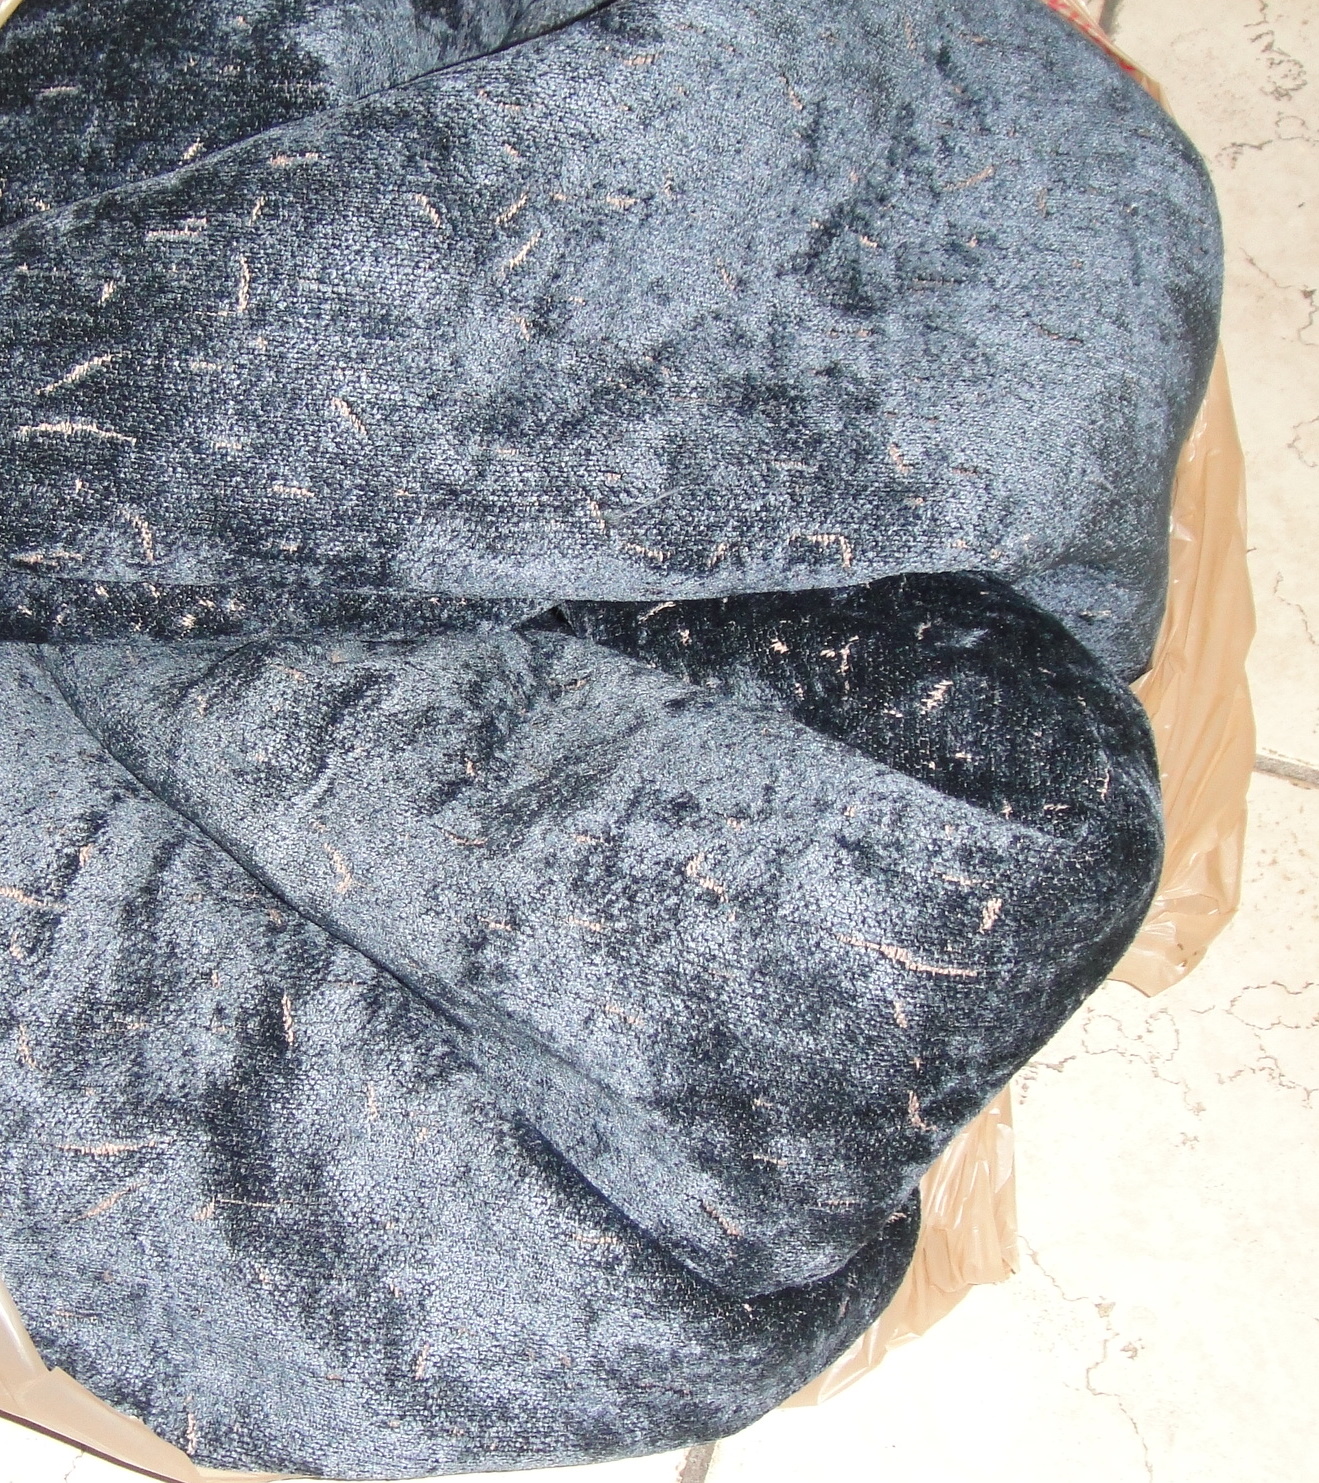
Incidentally, scrap-stuffed pillows are heavy.

Another hold-up on the chair has been that I didn’t have enough of any home-dec weight fabric I was willing to part with (at least that would be good for sitting on—I have some scratchy curtain-type material pegged for coats). Fortunately, one of the things my MIL wanted to do yesterday was trawl thrift stores, and I nabbed this velveteen-esque fabric. I think there’ll be enough. It’s a little hard to tell as the pattern assumes you’re going to use three different fabrics so it doesn’t give you a total on the metrage. Meterage? Yardage. Y’know.

Since I was going through scraps, I decided on a whim to tackle another uncharacteristically-crafty project that’s been lurking in the back of my head:

Coffee Coats
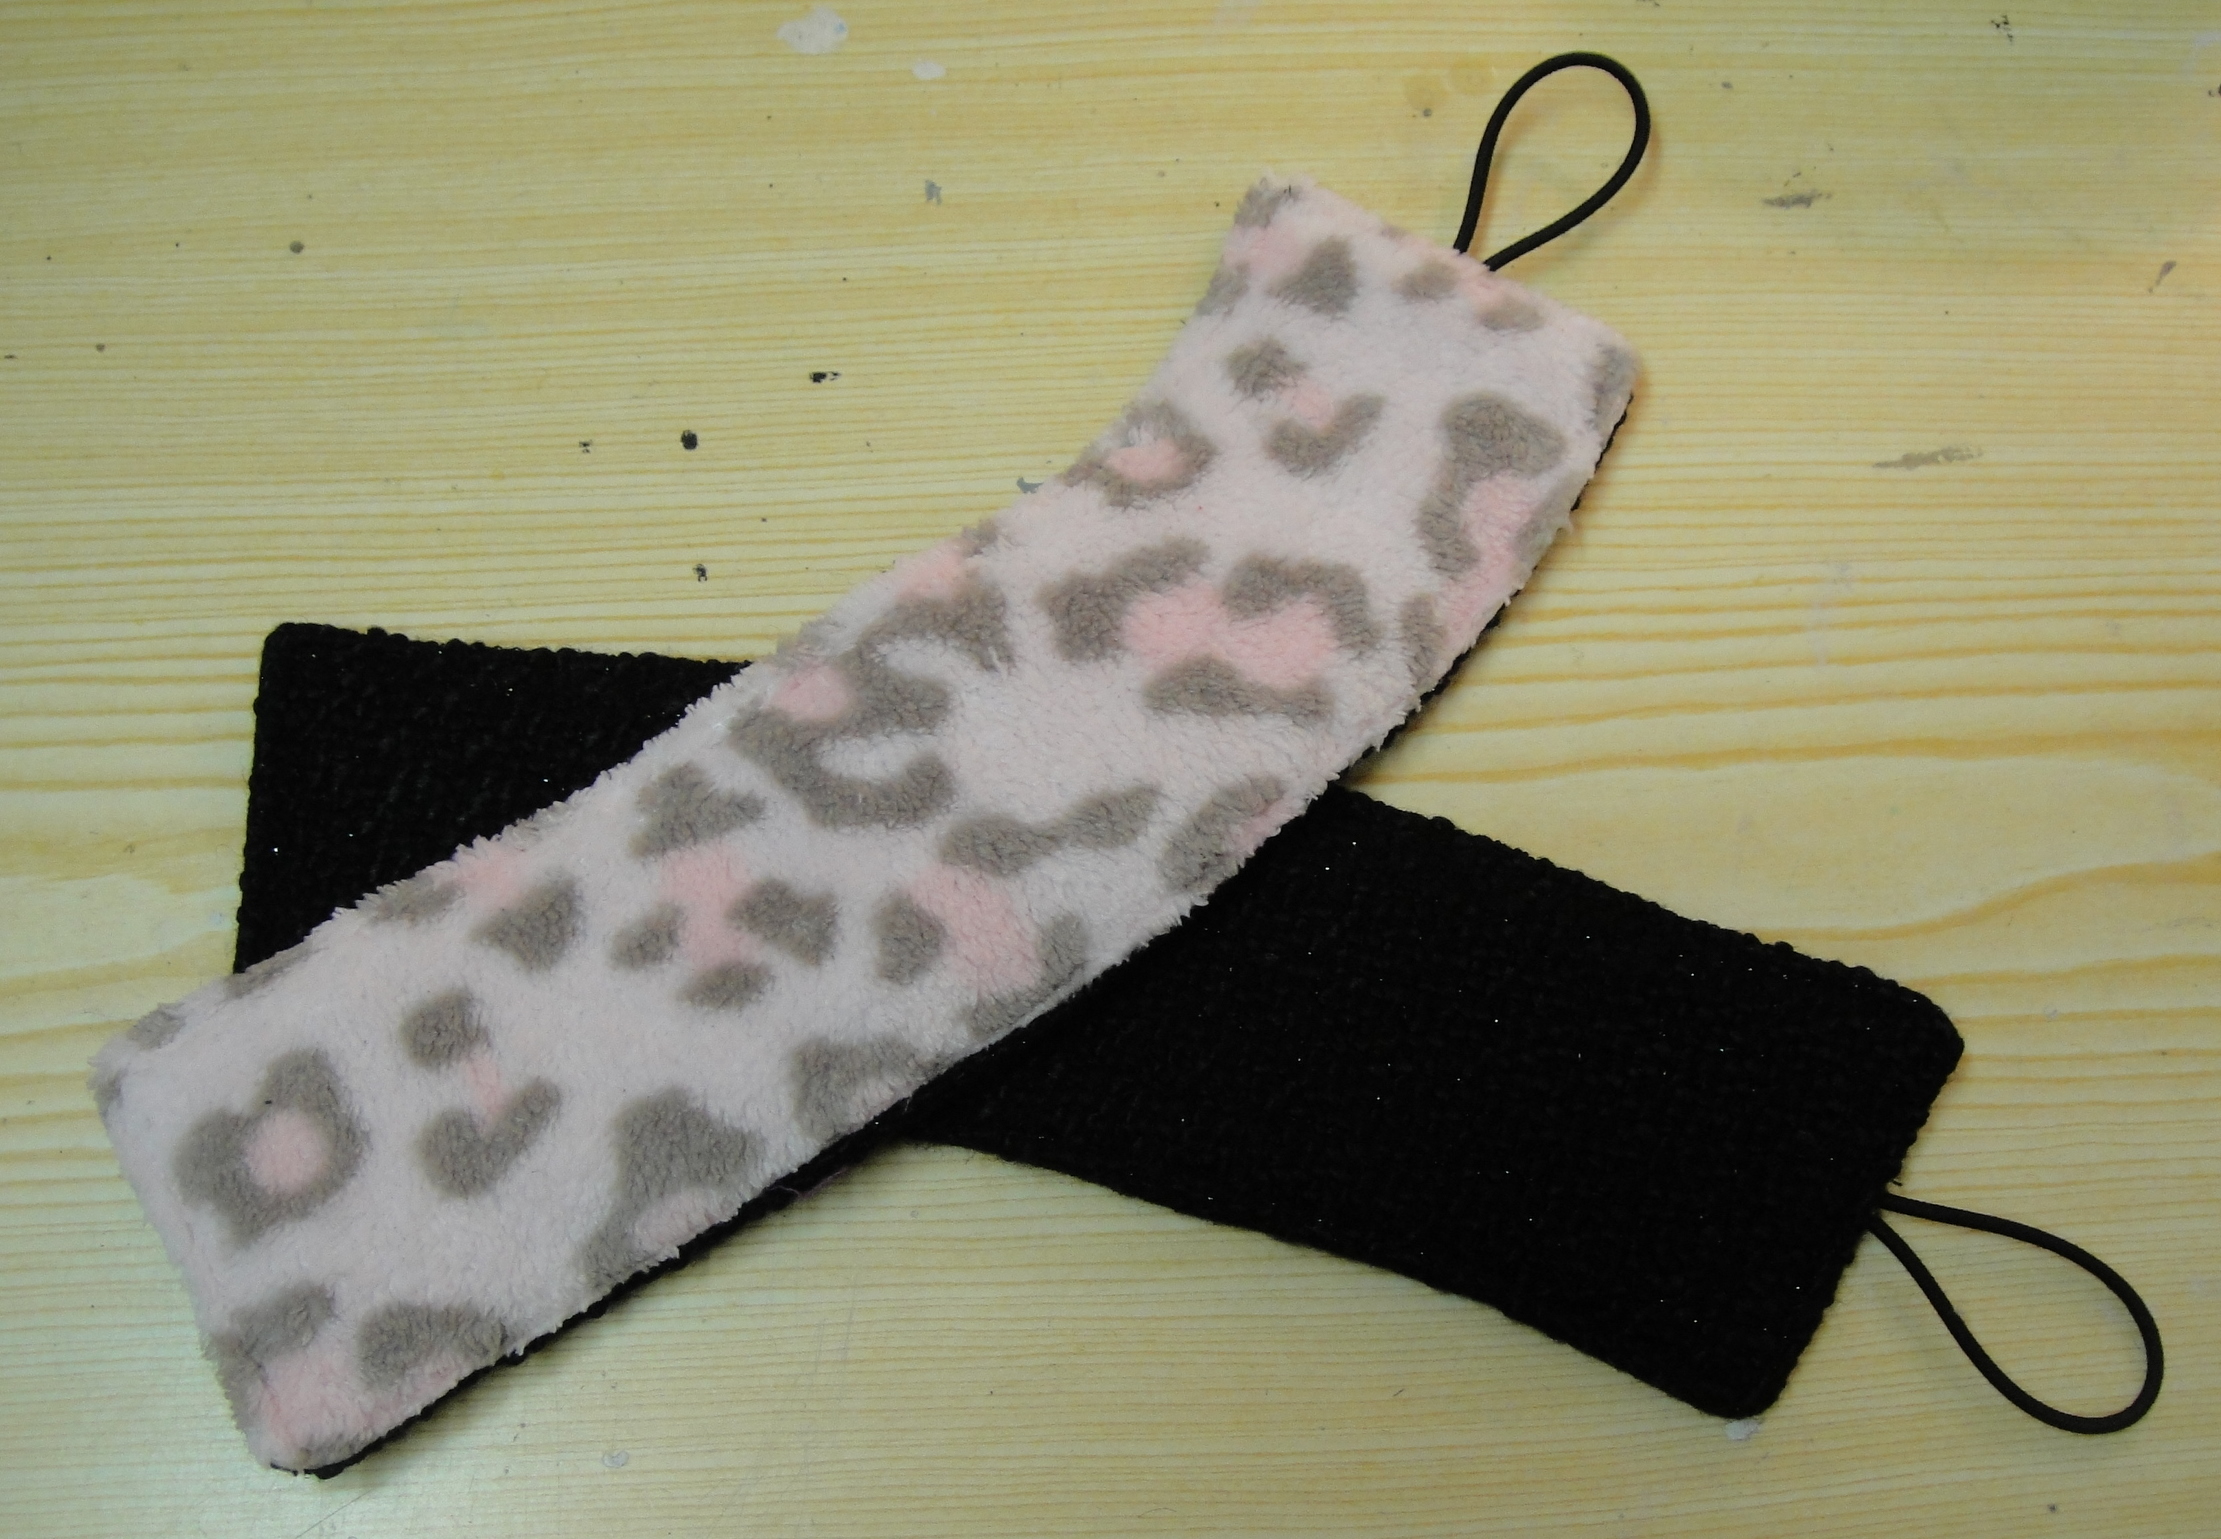
Coffee Coats

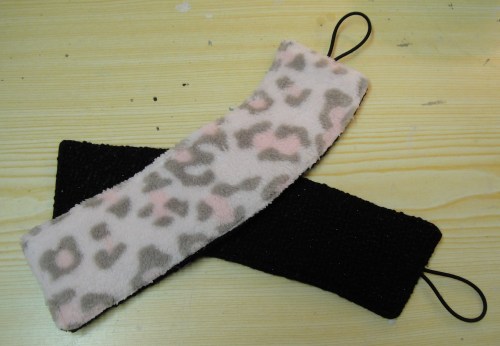
I may have mentioned at some point my extended family’s obsession with Tim Horton’s coffee. This might, alternatively, be termed Canadian Crack. Not being a coffee drinker myself, I can’t tell you if it’s actually good coffee or not, but whatever they put in it (the rumour is MSG, which is probably completely unfounded), people are willing to line up ’round the block for the stuff. Despite the cups having crappy lids and, more to the point, none of those nice heat-shield paper sleeves.

Anyway, back in the summer, whilst creek-adventuring, we found a reusable coffee-cup sleeve, made of quilting-cotton and a thin layer of batting. It was quite cute and I imagine someone eco-conscious was very sad they’d lost it. And of course, it looked stupidly easy to make.

So when I stumbled upon the scraps of my (very, very expensive) interlining from my winter coat, I couldn’t help but scurry upstairs, liberate a Timmy’s cup from the garbage, create a curved pattern by marking off parallel lines on the side of the cup and then cutting it up and spreading it flat. Some bits and bobs of coating and a few interesting construction issues later, I have (almost) coffee coats. All they need is a big button for the elastic loop to fit around. I am holding off until I have another cup to judge the size of so I get the button in (at least roughly) the right place.

Sewing up Scraps:
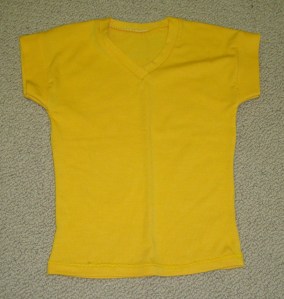
A cute little tee

Still in a scrap-busting mood, I decided I must do what I could with the scraps from Syo’s costume, and determined to whip her up a little, fitted tee if I could. I pulled out a knit sloper I had made her last summer, traced it off, added cap-sleeves,  forgot seam allowances, and stitched it up (with added band-sleeves.)

Naturally, it doesn’t quite fit. She can wriggle into it, but it’s very snug (the sloper was more for a leotard/swimsuit lycra type fabric). I guess we’ll be passing it on to one of my nieces. Anyway, none of the remaining scraps are more than two inches wide, so I think I’ve done well. I even had to piece the band for the neckline.

Next up? I don’t know! I’ve been ogling my blazer and coat patterns, but I don’t have much time right now so I’m hesitant to commit to a serious project. I’m already pretty sure I’m wimping out on NaNoWriMo despite the best idea ever (next year!). If Tyo’s lucky I’ll finish up the stuffed chair while I’m waffling.

Thrifting

More thrift store finds

Oh, yeah. I bought fabric. And patterns. The patterns are odd—they were part of some kind of set (it looks brutally 80s to me, although the dates are mid-90s), but these were the only patterns that were sufficiently classic to catch my attention. They refer to cards for the instructions (no instructions in the envelopes as far as I can tell), which I assume were part of the larger set, but didn’t seem to be there at the thrift store. I can’t even determine the company with certainty, but the sizing is standard Big 4.

The fabric is a sturdy, non-stretch denim with a bit of a stripe. I’m such a sucker for denim.

And I found Syo winter boots (which she’s wearing in the Hallowe’en photos) for five bucks. So, win.

*as my inlaws arrived Sunday night—incidentally a day before I was expecting them. It has become traditional since we moved away from the rest of the family to try surprise everyone else with your visit—our crowning glory was arriving at 10 pm last New Years’ Eve without telling a soul we were coming—so I can’t complain, as we started it.

16 Comments

Filed under Sewing

How they keep me hooked

Tyoshirt

Tyo wriggles into the shirt. “Aww, yeah. I love the long sleeves! Ooh, can we put a thumbhole in? I love how long it is—it covers my butt! I love how tight the sleeves are, you never get sleeves this tight. I love how you flare them out at the end, too! I’ll totally wear this! I love the neckline!” (I heave a small sigh of relief. I was worried it would be too low-cut for her taste.)

“Ok, now give it back to me so I can hem it.”

“No, don’t hem it, I like it just how it is!”

“I want one, too, mom!” (that’s Syo)

I made this shirt for Tyo to wear under her Babydoll costume. She’s going to be freakin’ freezing. Monday’s forecast includes snow.

The fabric is from a cotton jersey sheet I picked up at Value Village for $4; not great recovery—more T-shirt than leotard—but no way I was going to score plain white (or plain flesh-tone) jersey from Fabricland for that little, and there’s plenty left over. Like, I used less than two feet off the whole double-sized sheet length. (And it would’ve been less except the sheet seems to be cut prodigiously off-grain to the rib of the knit. Weird.)

The pattern… erm. Technically, it’s a hybrid of Kwik Sew 2448 (sleeve and armscye, size 7) and 1670 (body and shoulder, size 12, lengthened into a shirt), although really once I was done I think either pattern would’ve been embarrassed to acknowledge its bastard offspring. But, I’m pretty happy with the result—a close-fitting, shaped, but not skin-tight tee. I lengthened the sleeve, made it curve in a bit just below the top of the arm for a closer fit, and added my usual flare-out at the wrist. Something about this shape that I just really like. I had graded out the bottom of the shirt to allow for pear-shaped-ness, but next time I’ll tweak the side-seam curves a bit. They are inning and outing a bit too sharply. Tyo’s curves at the moment are all front to back, not side to side.

V-Neck Closeup

I wanted a V-neck to go underneath the costume. It’s my first attempt at finishing a V-neck; I didn’t try to miter the ends of the band, just overlapped them at a right angle. And by some miracle I got the length right, too. So although it’s a little wonky in places, overall it’s pretty decent. I used this technique from Jorth (I’ve seen it other places, too, but this description is nice and recent and sticks out in my memory) although I only did a 5mm seam allowance instead of a 10mm, and my topstitching is consequently closer to the seam.

One Happy Tyo

Of course, for the costume purposes, skin-tight would’ve been better.  But y’know what? She loves it. So I’m going to shut up and enjoy. 🙂
(Also, Tyo wants you to know that she wanted to wear the knee-high boots but we could only find the one, so after an hour or so of hunting around she settled for mis-matched boots. I told her she should keep that to herself, this way it’s a “fashion statement”.)

35 Comments

Filed under Sewing

Gunpoint

A Dread Pirate Shirt

He said: why do you need to take photos?

I said: for the blog, of course.

He said: why do you need to blog this stuff?

I said: because I like to and it keeps me inspired.

He said: I don’t think you understand how much I hate having my picture taken.

I said: No photo, no more Tanit-made items.

He said: okay. I’d rather buy them than have to pose for photographs.

I said: you can’t buy this kind of stuff. That’s why I make it.

He said: I don’t care—I’ll order it off the internet, I’ll pay whatever it takes, if it means you don’t take photographs.

I took photographs. Possibly at gunpoint.

The glare I was receiving has been cropped for the protection of readers.

If I were sane, this would, of course, be the last things I ever make him. But it’s as much about scratching that itch to make him happy (and see him in some hawt clothes), so I will probably keep making him stuff.

At least he’s wearing this one. About the only time it wasn’t in use this weekend was when he was fishing, so if it looks a little rumpled, that’s why.

Why yes, we were out at the creek again.

28 Comments

Filed under Sewing

Not an impressive day

Expectation, I suppose, is the problem.

I started today with great expectations. The hubs was working (poor him) so all I had to do was get the house recovered from its weekday-chaos state and then I could sew. The kids had friends over all day, which contributes somewhat to the chaos but a lot more to the “me being left alone”, so everything was great. I had cut and started sewing up the muslin for hubs’ frock/Matrix coat yesterday, so I finished that up pretty quickly.

And then, I was at a loss.

I tend to sew with a bit of a one-track mind—start project, finish project, next project. I don’t multitask well at the best of times. And usually this works fairly well. But my brain was oozing COAT, and I couldn’t do any more on the coat until hubs came home and deigned to try it on—which could take days.

Fingers twitching, I moved to another project occupying the sewing table, a shirred-bodice dress for Syo using up the last of the fabric from my niece’s Mini-Minnie dress. A little more mindless than I was looking for, but not as exhausting as pulling out, say, a blazer pattern and starting a muslin for me.

Enjoy this picture. This is as good as it gets.

Unfortunately, it was finished in fairly short order.

Flailing, I pulled out fabrics and put them down. Dug through the scrap bin. Hunted for elastics, considering making undies. Eventually pulled out my knit-tee sloper and started to mess around. I’d like to make a cowl-dress like Oona’s. I even have some gorgous red jersey. Oona used Ichigogirl’s cowl-dress pattern, which I’ve made before as a shirt and found a bit too deep-necked for me. I wanted something with a wider, shallower drape. So I traced out my sloper and played around with slashing and spreading.

Cowl neck

I am thinking that slashing and spreading is a REALLY BAD method of getting a cowl that drapes the way you want. I would be better off draping the cowl part on the dummy and somehow merging that with my sloper. Or something. Because I keep coming up with some pretty “meh” cowls… and when I do knock it out of the ballpark, it’s pretty darn accidental.

It’s not awful, but it’s not quite what I was going for, either.

Raglan sleeve (with bust gather)

Determined to salvage something from this particular fabric, I pulled out the raglan-sleeve top. Boring, but dependable, and despite the insanely good weather (high of 29C today!!!!) I will be wanting long sleeves very much, very soon. In this fabric, there was plenty of stretch to experiment with bust-gathering.

Back view

I think it will be OK after I take a couple of inches off each side. This is the same pattern a the Where’s Waldo shirt, of course, but that fabric had very little stretch, while this stuff grows while you look at it.

And then the hubs got home and it was time to make pizza (why did I decide to use the oven on an actual hot day?)

Shoes make everything better?

At least I found some cute shoes at the thrift store yesterday (a small consolation considering the entire pattern section has been purged. There wasn’t any good fabric, either.)

I guess three pretty-much-finished objects is pretty good for one day (even if they’re all ridiculously simple pieces). I guess I was expecting to have something I was excited about, though.

Those darned expectations…

17 Comments

Filed under Sewing

Yawn…

Jeans

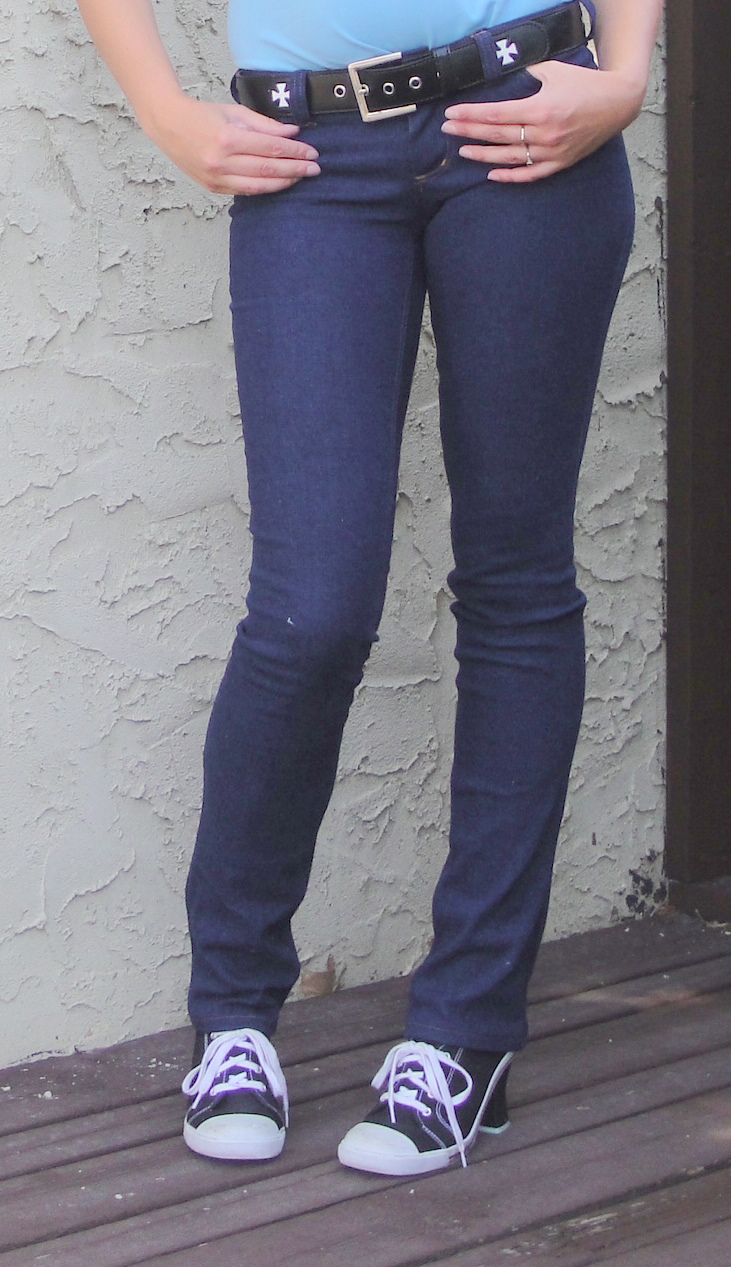
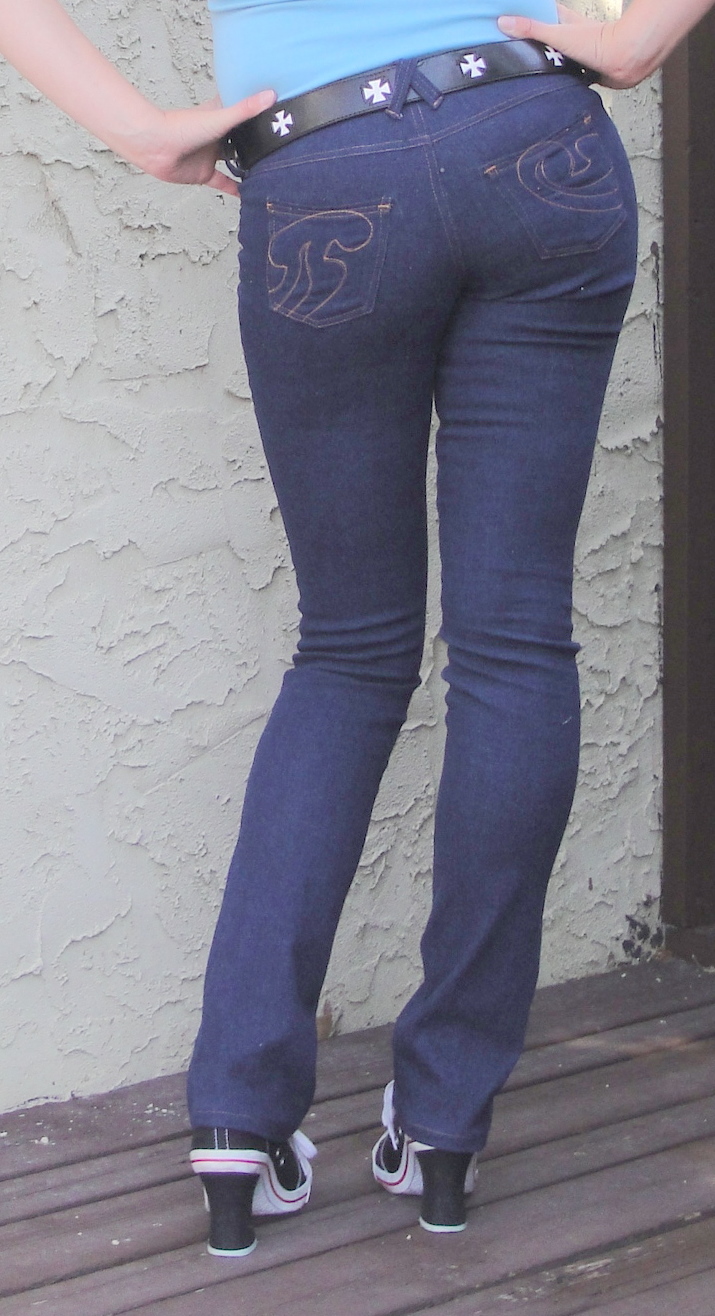
Jeans are done.

They’re fine.

The Back

Buttonhole FAIL.

There was the requisite “OMFG how the HECK are these ever going to fit?” moment. There was the usual buttonhole drama (Featherweight and vintage buttonholer were not up to the task, although they might have done better had I remembered to put the presser foot down). There was the “crap, I think I cut these belt-loops too short” moment, followed by the “Wow, those belt-loops are way too big” moment.

Side view

There’s always a bit of drama involved in attaching the waistband on stretch denim jeans. OK, there’s always a bit of drama when I do it, anyway. This is because the jeans denim stretches, the heavily-interfaced waistband doesn’t, and how the HECK is this supposed to work? (Incidentally, if you look at low-rise RTW stretch jeans, often the main jeans denim is stretched to fit the waistband. This looks funny and square on the hanger, but just fine once they’re on the body). One of these days I’ll finish killing one of my precious pairs of Buffalo Jeans and autopsy the waistband to find out what, if anything, they put in there, because it sure works better than anything I’ve tried so far.

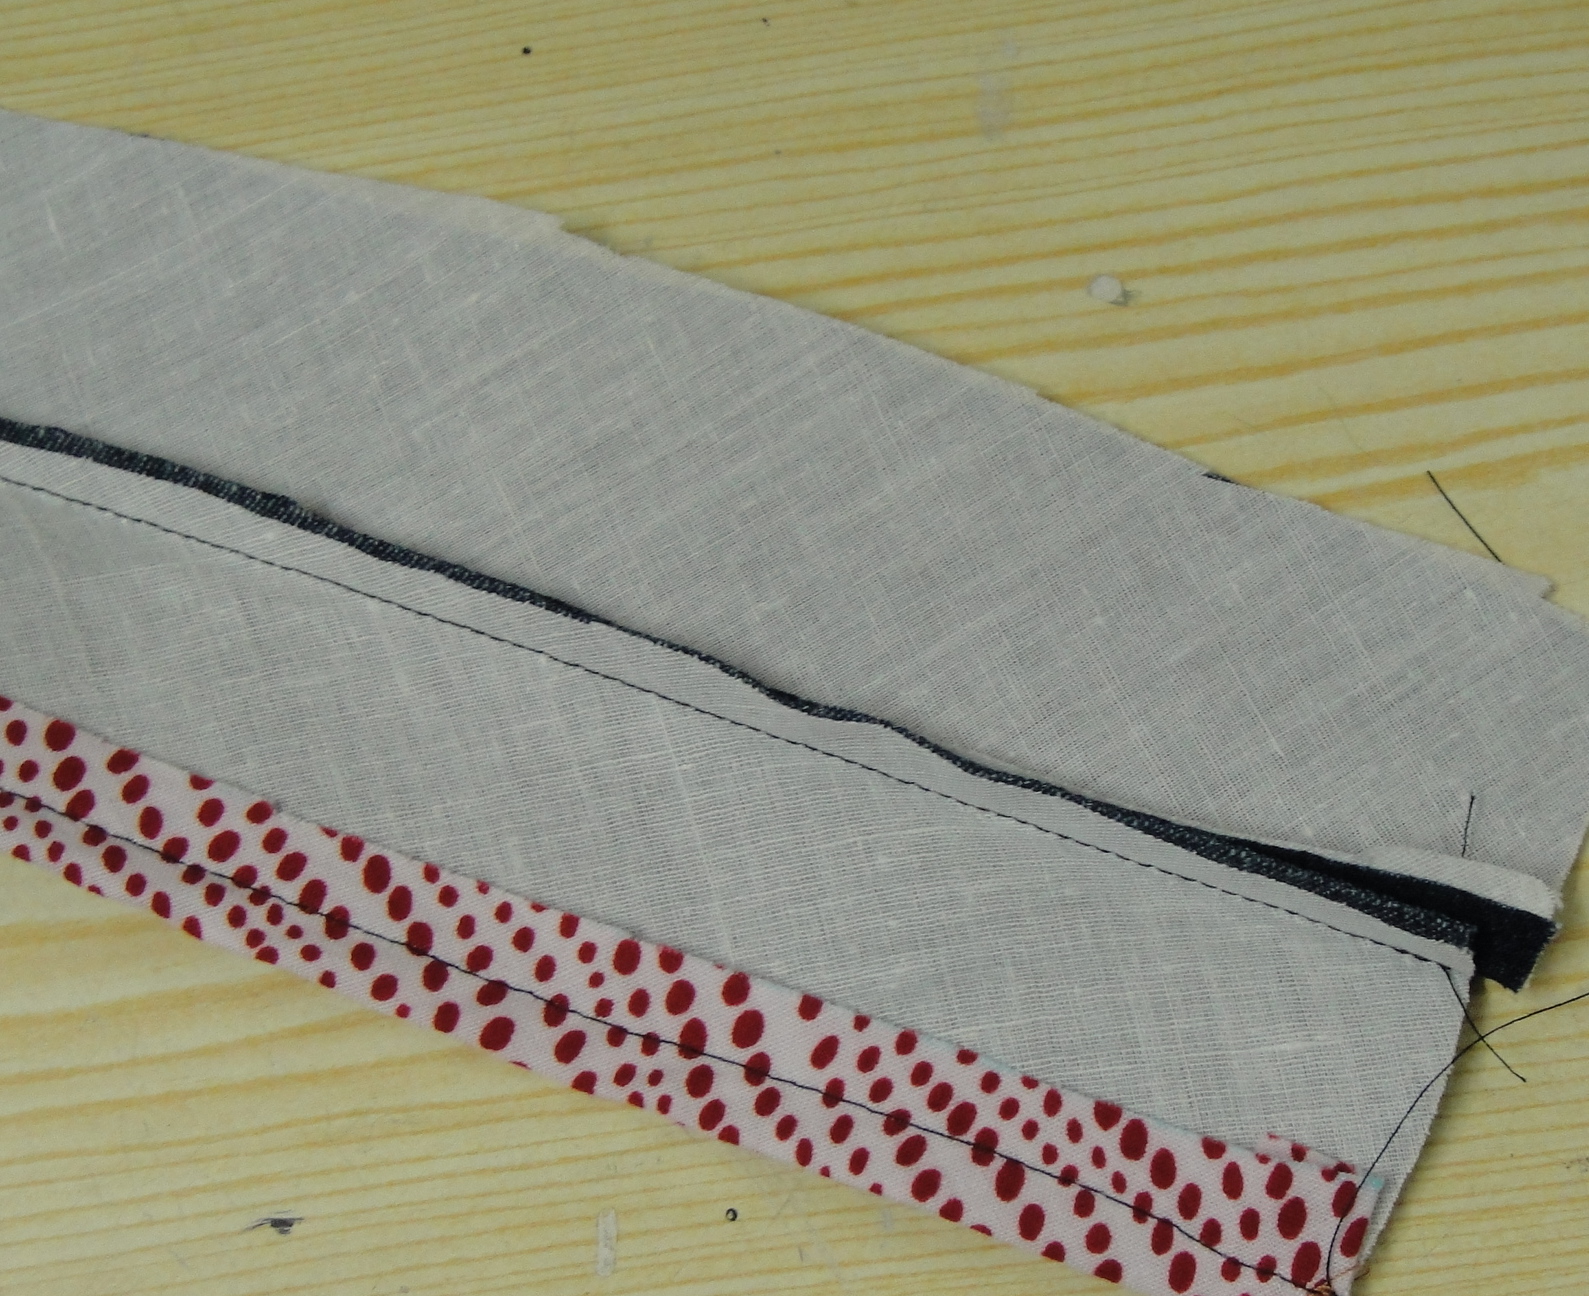
Waistband, opened up to show interfacing, before being attached.

Sometimes I sew waistband and jeans together flat. Sometimes I stretch the jeans denim just a little bit. I did that today, and it worked out. Sewing them together flat works better if you haven’t interfaced the waistband as much as I did  this time (but then you end up with a flabby waistband). Observations of my favourite RTW pairs suggest that when the regular denim stretches 50%, the waistband stretches only about 10%. Possibly dark and necromantic powers are involved.

Waistband with bound edge, before being attached

I used the bind-the-inside-waistband method this time. It’s simple and much less futzy than slip-stitching down the inside or, worst, trying to topstitch it in place from the outside.

Pocket and back belt-loop

Although I loved using the Featherweight for my topstitching, I’m thinking with thread like this (which my Janome didn’t object to… probably helps that she’s freshly serviced, though) I should use a stretch stitch from the Janome for the pocket embroidery. I keep hearing threads go “snap” back there, plus I think it would make a smoother silhouette if the stitches were stretchier.

The finished front: button, bar-tack, belt loops, and rivets.

I think I actually managed to put the button in the right place so the fly doesn’t try to gape open. I actually saw a gizmo a little while back being sold (I think in a gas-station) that would extend your jeans waistband—basically a loop that buttons to your buttonhole—and, having been pondering flies that lie smooth and zippers staying up, stared at it in amazement. It would never work. The fly would have to stay open.

Well, I know some people do this when they’re pregnant (hair elastics work well, I’m told… I was not that ingenious and just wore overalls). This requires a long top to cover it, though. The gizmo made no mention of the long top. Maybe it was assumed.

Now, the four-million-dollar question: should I try my hand at distressing them? I’m getting a little bored of plain dark-wash, but on the other hand am I brave enough to take bleach and sandpaper and pumice to my brand new jeans?

In other news…

I got a birthday present! Heather of Sewing on Pins made up my birthday pattern as a top! Yay, happy dance. (And she didn’t hate it, even though she thought she would! Yay!) (Incidentally, while I naturally want you all to go make up a version RIGHT NOW, when it’s not your style/season/you have something better to do you don’t actually have to.)

Anyway, have a hedgehog! And a great week. 🙂

Superfluous hedgehog.

23 Comments

Filed under Sewing

The Where’s Waldo Shirt

Where's Waldo? Shirt

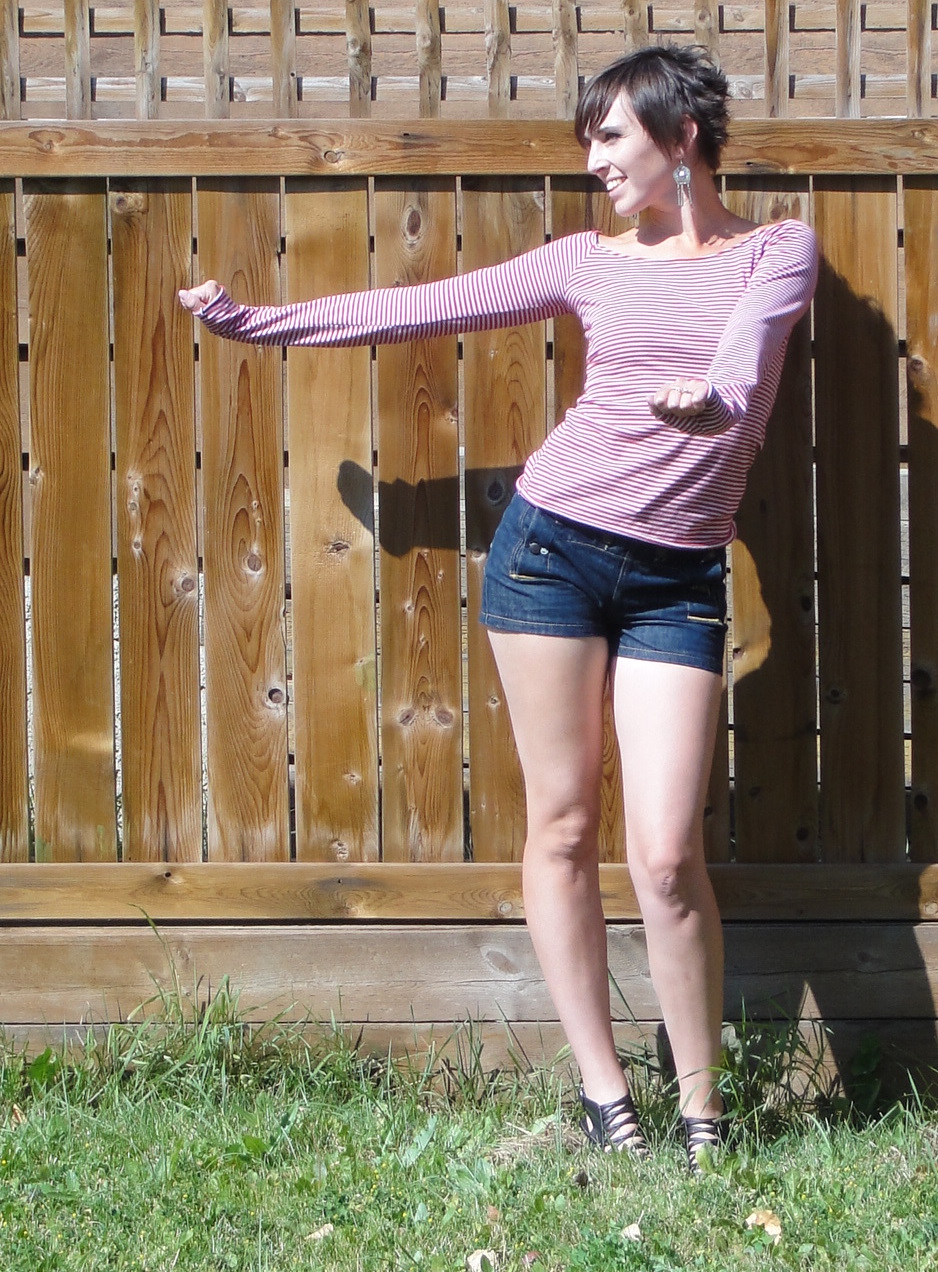
Since it appears I can’t escape my clothing’s cartoon references, I guess I’ll embrace it. I am thus proud to dub this the “Where’s Waldo” shirt.

This is one of those fabrics I eyed at Fabricland for quite a while. I thought I liked it, but wasn’t quite sure. Eventually it made its way to the clearance section, and I picked up two metres of each colour—blue and red stripes—for whatever ridiculously low price it was going for.

And I’m glad I did, although I’m also glad I didn’t pay more.

Where's Waldo in the back yard?

This is one of those terribly annoying knits that rolls like crazy. It also doesn’t have much stretch, so it’s fairly easy to cut and sew (aside from the dreaded rolling.

I used some of the blue to make an ill-fated attempt at a cowl-neck top last spring. The cowl was a disaster—this knit hasn’t got the drape—but I really liked the way the rest of the shirt fit, and the “feel”, if you will.  So it was only a matter of time before it became other long-sleeved knit tees.

Where's Waldo back

This shirt was also inspired by this Burdastyle pattern from ages back. There are some cute versions on Burdastyle, too. But why would I pay five bucks to download a pattern when I have Lekala 5672 for free?  Of course, it doesn’t have the seaming, I (again) skipped the gathering on the front, and the neckline, at least in this fabric, is not quite the signature Burda plunge. But it has stripes and the wide raglan neckline, right?

Fun in the Sun

The fit of knits varies massively depending on the knit itself. This same pattern can be dreadfully loose or scandalously tight depending on the fabric. This is a “tight fitting” fabric, so the armpits ride a little high. That’s all right—better than saggy, which is how my first take on this pattern turned out. I could probably narrow the arms a little bit towards the wrists, but we’ll see.

I decided to go easy on myself and use the self-rolling properties of the fabric as a design feature on the sleeves and hem. For the neckline, I stitched on some clear elastic and turned under twice, stitching with a stretch straight-stitch. I was tempted to let the neckline roll, too, but decided against it. Just barely. I did screw up and keep on turning under past where I should have, so there’s a portion that’s turned under three times and a bit of a kink at the end of it, but picking out the stretch stitch was doing more damage to the fabric than the thread so I am leaving it.

I couldn’t quite resist the obvious combination with the Sailor Shorts for the photos, sorry. I’m sad to say that these shorts haven’t gotten much (any) wear this summer. Partly because these days I only wear shorts for beach-bumming and creek-walking, but mostly because of the fit. The rise is a little high for my taste, and only made higher by the fact that I’ve been a little, ah, chubby most of the summer. It’s only about 5-10 lbs, but my physiology puts it  right around my middle, exactly where you don’t want it from a health perspective, and exactly where the shorts waistband falls. Urk.* Anyway, I’ll probably hang onto the shorts through next summer and see if I’m any more into them, but I have a feeling they’re not going to become faves. Too bad, because it really is a cute design.

It was really nice to whip something up quickly. This top took less than an hour, and at least ten minutes of that was finding the pattern. I REALLY need to organize my patterns better. I love it when I can throw together a knit top faster than it would take to shop for it. Plus a store-bought one wouldn’t have long, scrunchy sleeves.

*Incidentally, I try not to complain much about my body on the blog. It’s a pretty good body even if the tummy isn’t what she was a few years ago.  But I’m not one of those people whose weight fluctuates a lot, and aside from childbearing I’ve been mostly around my preferred weight all my adult life. The excursions from this ALWAYS coincide with periods where my usual minimally-healthy lifestyle tips over into chips-and-lazing-around. This summer definitely qualifies. Now that the school routine is back on, I will hopefully slip back to where I should be. Provided I can break this chocolate-bar habit.

21 Comments

Filed under Sewing

Happy Birthday to me…

Grecian Sundress---Knee-Length Version

I live in a tree
I look like a…

Hmm, never mind that.

Grecian Sundress Front

So, ehm, I have some good news and some bad news. The good news is I have a new dress! The bad news is I underestimated the time it would take me to get the pattern graded—or rather, I significantly underestimated the amount of time I would spend this past weekend traipsing along the creekbed taking photographs of the enormous (insert sarcasm font) fish my family are catching. Given how rare weather like this up here, especially this late in the season, I’m not even going to apologize for it. But anyway.

So, at this exact moment the pattern is still only available in Tanit-size, which is roughly a Burda size 36 or a Big 4 size 10/12. The good news is that this style is REALLY forgiving. There’s plenty of ease, you can adjust the length of the shoulders by adjusting your gathers, and adjust for various bust sizes by altering where you start your shirring.

Either way, you can now find the pattern:

Grecian Sundress Instructions

Grecian Sundress Pattern—US Letter version

Grecian Sundress Pattern—A4 version

And I WILL get it graded, really, really soon.

Grecian Sundress Back

So, what’s there to say about this version of the dress?

The fabric is a print I’ve been eyeing at Fabricland for ages now, but it finally made itself through the marked-down section to the final clearance, which like most things was 50% off this past weekend, so for $2/m I finally bit. It’s a really nice weight for this pattern. I’m not 100% sure the crinkled look was intentional, but I liked it and it also works well with this pattern, so I didn’t go too crazy with the iron. I did do some ironing-down of the pleats, and when I wash it I may even try giving it the  full-out broomstick-skirt treatment, which I think would look fun.

I had been planning on another maxi (gee, surprise?) but it turned out that 3m of 150 cm-wide fabric (all that was left on the bolt) is not enough for the maxi length of this dress. Be warned. I could have made it about tea-length, but decided to go with my just-above-knee cutting line for demonstration purposes. And, y’know, it’s a length I like. I’ve also included a tunic-length cutting line as I feel like this would make an interesting tunic. I’ll get around to that one of these days…

Shirring: cute, not so straight

Incidentally, in the instructions I suggest that you use an elastic tied under the bust to mark the location of your top line of shirring. This way you get it in the exact right place, and it’ll look straight when it’s on you. I did NOT do it this way, just marked the line from the pattern and shirred away, and as a result my shirring does not run in a straight line around my body. Lean from my mistakes! 😉

I feel cute.

This version doesn’t have quite the stepped-out-of-a-marble-sculpture elegance of my first version, but I like it, and it feels light and summery and casual, perfect for throwing on to a barbecue (which is what I did today) or even pulling over a bathing suit at the beach. Which means I’ll get exactly three wears out of it before the weather turns, but hey.

It probably SHOULD have a slip or at least a lining in the lower section (maybe attached at the start of the shirring). Partly because the fabric’s a wee bit sheer (and I don’t think this design would work well with a heavy fabric anyway—too much bulk in the gathered shoulders) and partly because it catches on my butt like nobody’s business. You have no idea how many rear shots it took to get one that isn’t hung up on my backside. Mind you, my swayback doesn’t help.

I had meant to hunt down links to some tutorials on shirring and maybe a narrow hem, but it’s late and I want to get this post up tonight, so I’ll do that in the future (or post your own favourite link in the comments 😉 )

52 Comments

Filed under Sewing

The Last Gasp of Summer Dress (part IV!)

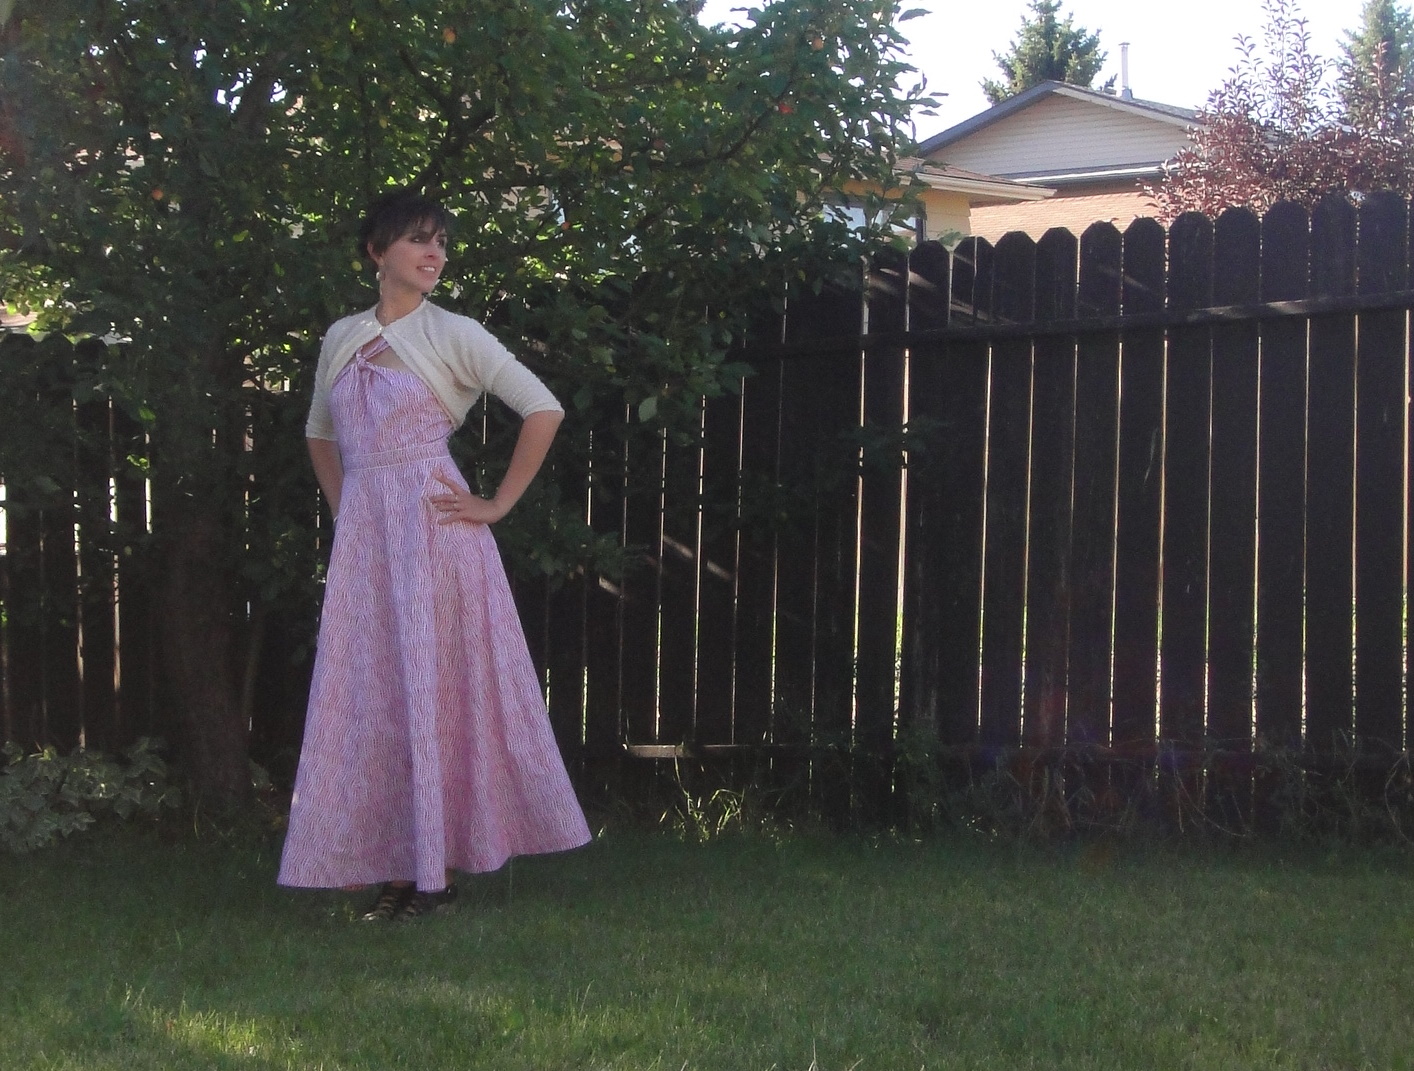
Lonsdale Maxi---Finished

She is finished.

And I must be out of practice taking photos, because I’m having a hard time getting good ones, but these will have to suffice.

So, thoughts…

I don’t regret the length (2″!) I took out of the bodice, although in hindsight I could’ve taken out less and just shortened the straps more. It’s comfortable as it is, though, and the bottom of the waistband sits right on my (ridiculously high) natural waist.

There’s not much more to say about the construction (check out other posts here). Tasia’s instructions are lovely and simple; her sewalong, on the other hand, gives you the super-couture version, and I really like some of the tips she includes like staying the upper edge of the bodice.

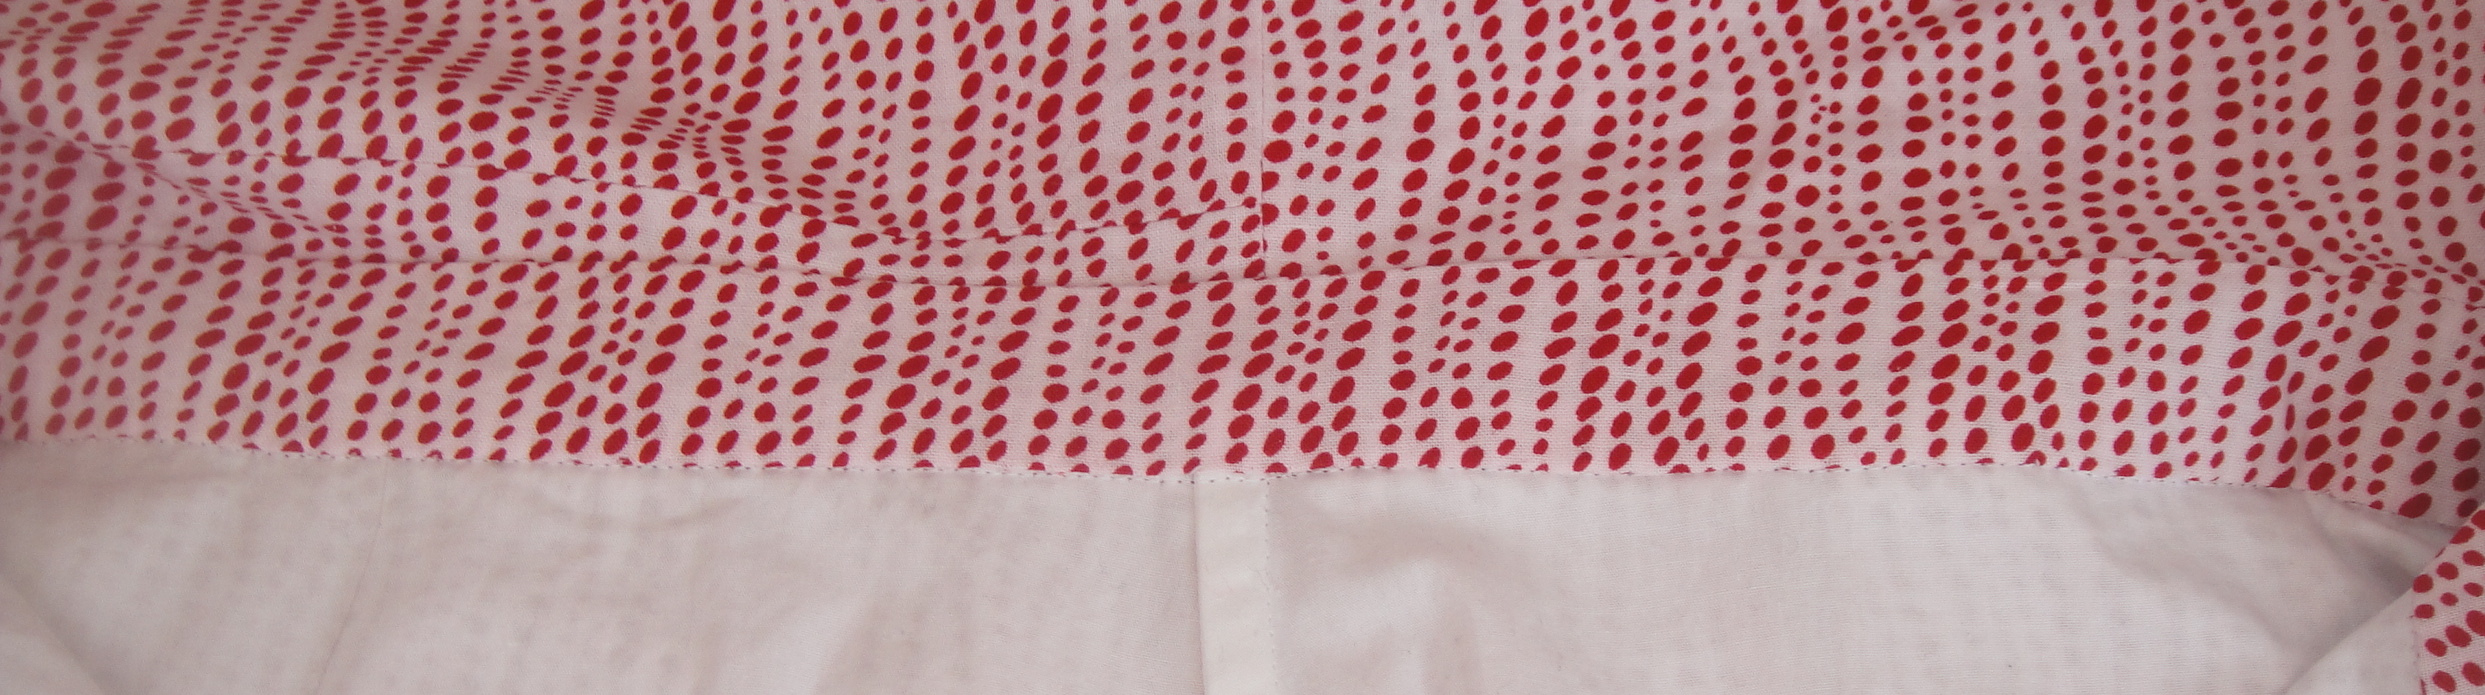
Inner waistband, slipstitched down at bottom.

The bodice seams are all enclosed (yay!). For the skirt, I added a light cotton lining, and used French seams for the sideseams and Hong Kong binding for the front and back seams. I bound the CF seam on the skirt before stitching. This was a Bad Idea. For one thing, I hate trying to stitch evenly along already-finished edges. Even if they’re just serged, the edges always try to scoot so they don’t lie directly overtop of each other (my tendency to use pins as little as possible may be a factor here, too), and it was way worse with the binding. For another thing, after carefully stitching and trimming, I realized I managed to put the HK binding on backwards, so the un-finished edge is visible on the inside. *headdesk*

CF seam with backwards binding

After I had the entire dress constructed except for the back seam, I did a fairly thorough pin-fit to figure out where I wanted the zipper seam to fall. I wound up trimming a bit from the CB top, narrowing to nothing at the waist.

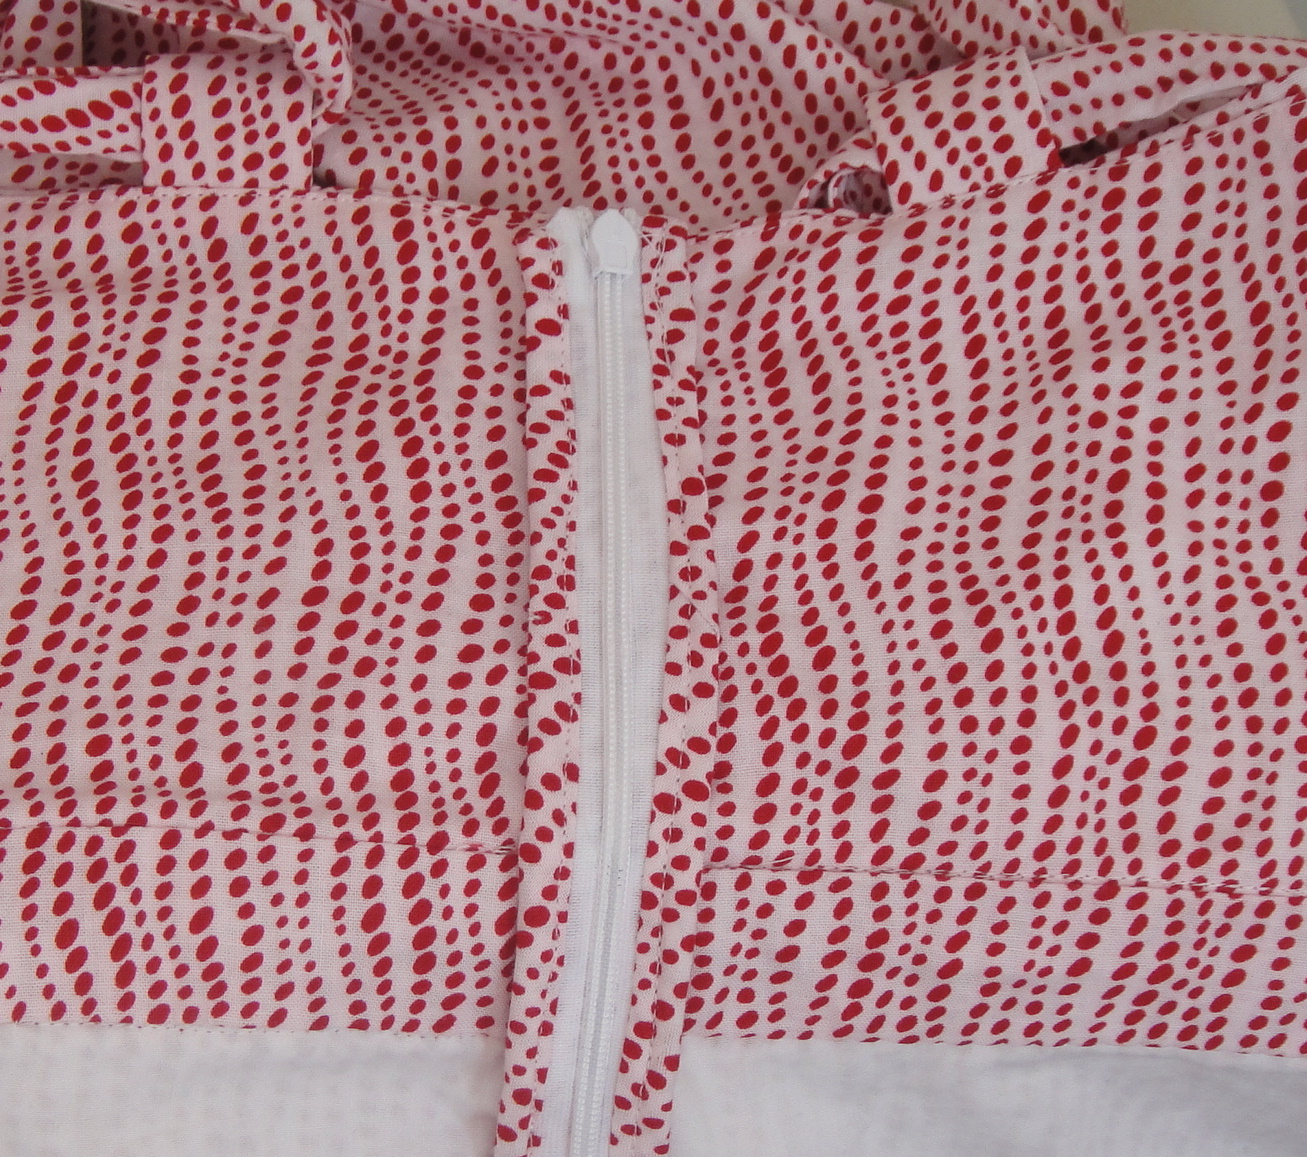
CB zip on inside (K-Line, this one

I waited until the zipper was inserted to bind the back seam. This creates a lovely finish of the sort K-Line would (I hope) approve, but when/if I ever have to replace the back zipper (which seems more of a when than an if, given how much trouble the invisible zip has going over the waistband), it will really, really suck.

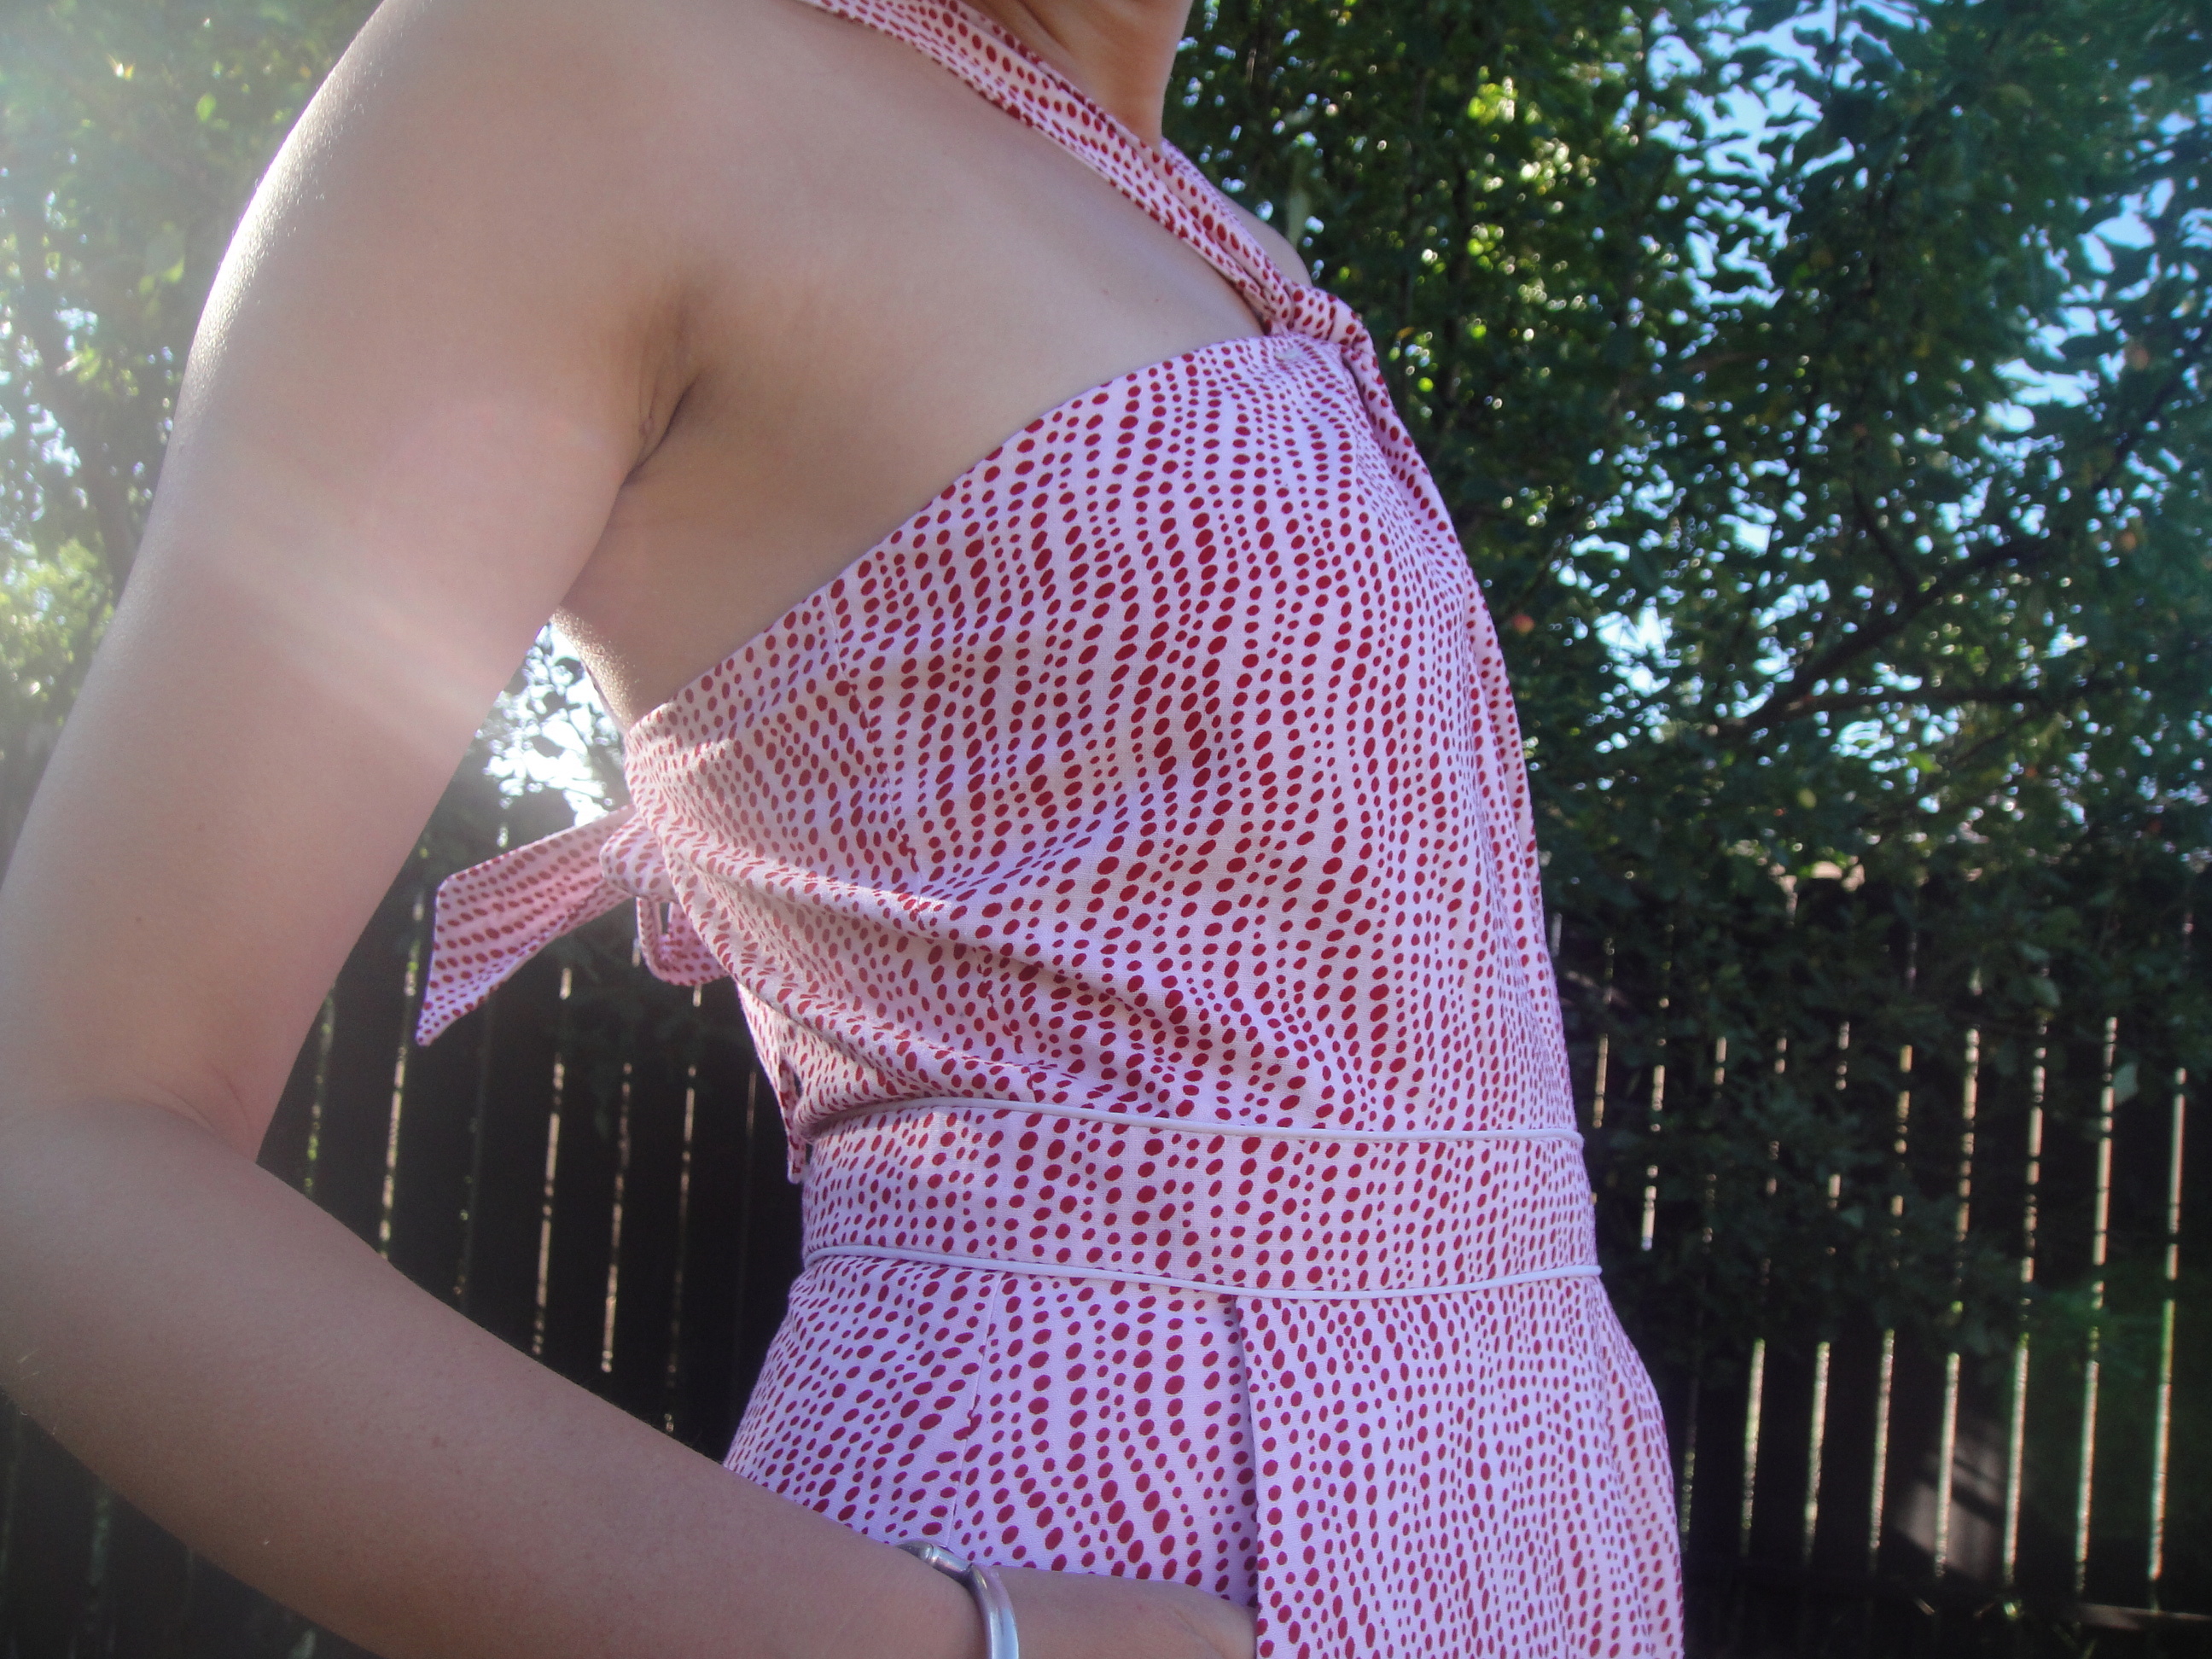
Bodice side

All right, let’s see. Syo took some photos for me, only half of which came out hopelessly blurry.

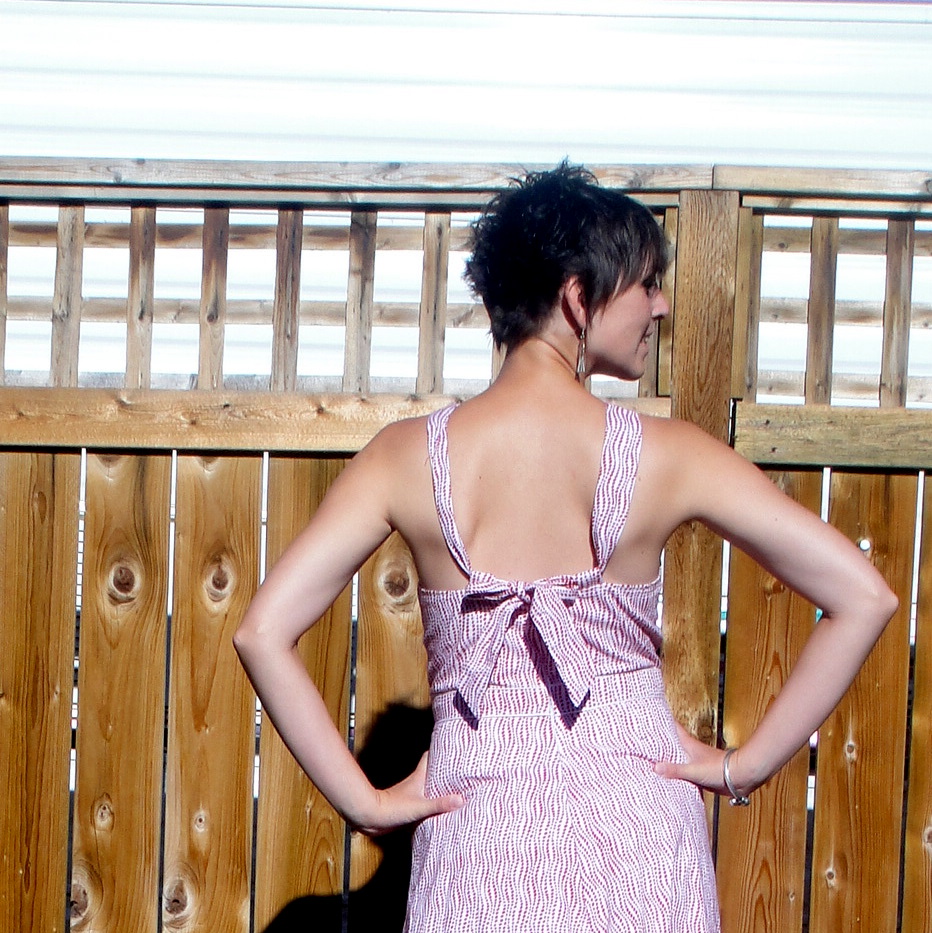
Back: nice and smooth, wonky bow.

Some of you may recall that I traced the skirt pattern to the full length of the size 16 (about an inch longer than the 6 I used for the rest of it), and then added another inch or so when I was cutting, plus a little more at the CB of the skirt, to make up for the 2 cm I removed above and below the waistband for swayback adjustment. This was all I could squeeze out of my 5m of 45″-wide fabric (that bodice is a fabric hog) but was still a pretty minimal length (for me), reaching my ankle but not brushing the tops of my feet, which is where I like a maxi to fall.

Hem with facing

For the hem, I wanted to keep as much length as I could, so I made a nice, wide (4″) bias facing. I really like this as a method for hemming A-line and circle skirts. Just iron the bias in a circle first (basically pull on one long edge and shrink in the other, to get it into a curve) and you’re good to go. It also satisfies my tastes for nice, wide, satisfying hems. I think I only lost about 1/2″ of length here. Although that’s still more than I would’ve liked.

The Knot (photography by Syo)

All right, I think I ran out of things to say before I ran out of photos…

Full front (photography by Syo)

So let’s just look at pictures

Pocketses

Hmm, I could’ve sworn I adjusted the exposure on this one. Bleh. I like the picture, though.

So, fall arrived last week: Monday (Aug. 29) the high was 30C, Tuesday it was 13. It’s finally creeping up again and the forecasts (which I trust about as far as I can spit) are promising highs in the upper 20s for later this week, including my birthday on Wednesday. So this dress is truly ready for summer’s last, last gasp.

Note: we are out on the river enjoying summer’s actual last gasp so I’m just going to hit publish! I’ll edit later to finish up links and stuff…

22 Comments

Filed under Sewing