
Tag Archives: finished projects

Sundress!

70s sundress

Finally, something for me! And it may even be warm enough this weekend that I’l actually want to wear it!

This is the fabulously long version of my new 70s sundress pattern,

Sundress Start

seen on the right. It’s not a brand I am familiar with.

I added the patterned overskirt because I thought it would be pretty; the gauzy patterned cloth, as I mentioned before, was a broomstick skirt I’ve had forever. I like how it looks although it was a pain to cut out (especially since I wasn’t using pins).

The pattern calls for the elastic to run all the way around the ribcage; I preferred to keep it to the back and sides (less tummy pouff) but this had the side-effect of flattening the bust (since it’s designed to be partly pulled in by the elastic). I’m always amazed when I manage to make a pattern too small for my bust (ok, not exactly too small… they fit in fine. The shape is just flatter than would be ideal. The girls are really doing well for having nursed two babies, but they are still a little squishy these days). Other than that I really like the shape of the top—those kind of triangle tops can be really fiddly things, especially for gaping along the bias, and they both cover well and don’t gape, which impresses me. There is supposed to be an elastic inside the back of the neck, as well, which would probably make it more comfy, but I like the look of having it

70s sundress---back

sewn and flat. We’ll see for next time, perhaps. The waist elastic casing is only 1/2″, which looks very nice and delicate

70s sundress

but doesn’t feel terribly secure; I think next time I might try widening it to hold a 1″ elastic.

The instructions (which I read!) were simple but seemed fine. It’s a pretty simple dress.

Also, this amazing length is the pattern’s full length BUT it allowed for a 2″ hem, and I only did a 3/8″ one, as I didn’t think the wide hem would work with the crinkly fabric. So really it should be about two inches shorter. The extra length is fine for me, although we’ll see how impractical it ends up being.

(I’m not sure if you know me, but I tend to be drawn to the extremes. This means I like my skirts either really short, or really long. This has the net effect of making sure I don’t wear skirts very often, since the long ones tend to be too formal and restrictive, and the short ones I spend too much time making sure I’m not flashing people. Anyway, obviously this time I’m indulging in the long)

The gathered back does indeed look rather sack-like; hopefully my luscious and toned upper back will distract people from this.

The only other concern I have about this dress is that the voile is still quite sheer, and it does show all the way up in the front. Probably I would be wise to wear a slip or add an under-layer, but I don’t have much voile left, or anything else that would be suitable.

All in all, though, I am totally stoked to have a sundress again!

Closer view

7 Comments

Filed under Sewing

Photodump

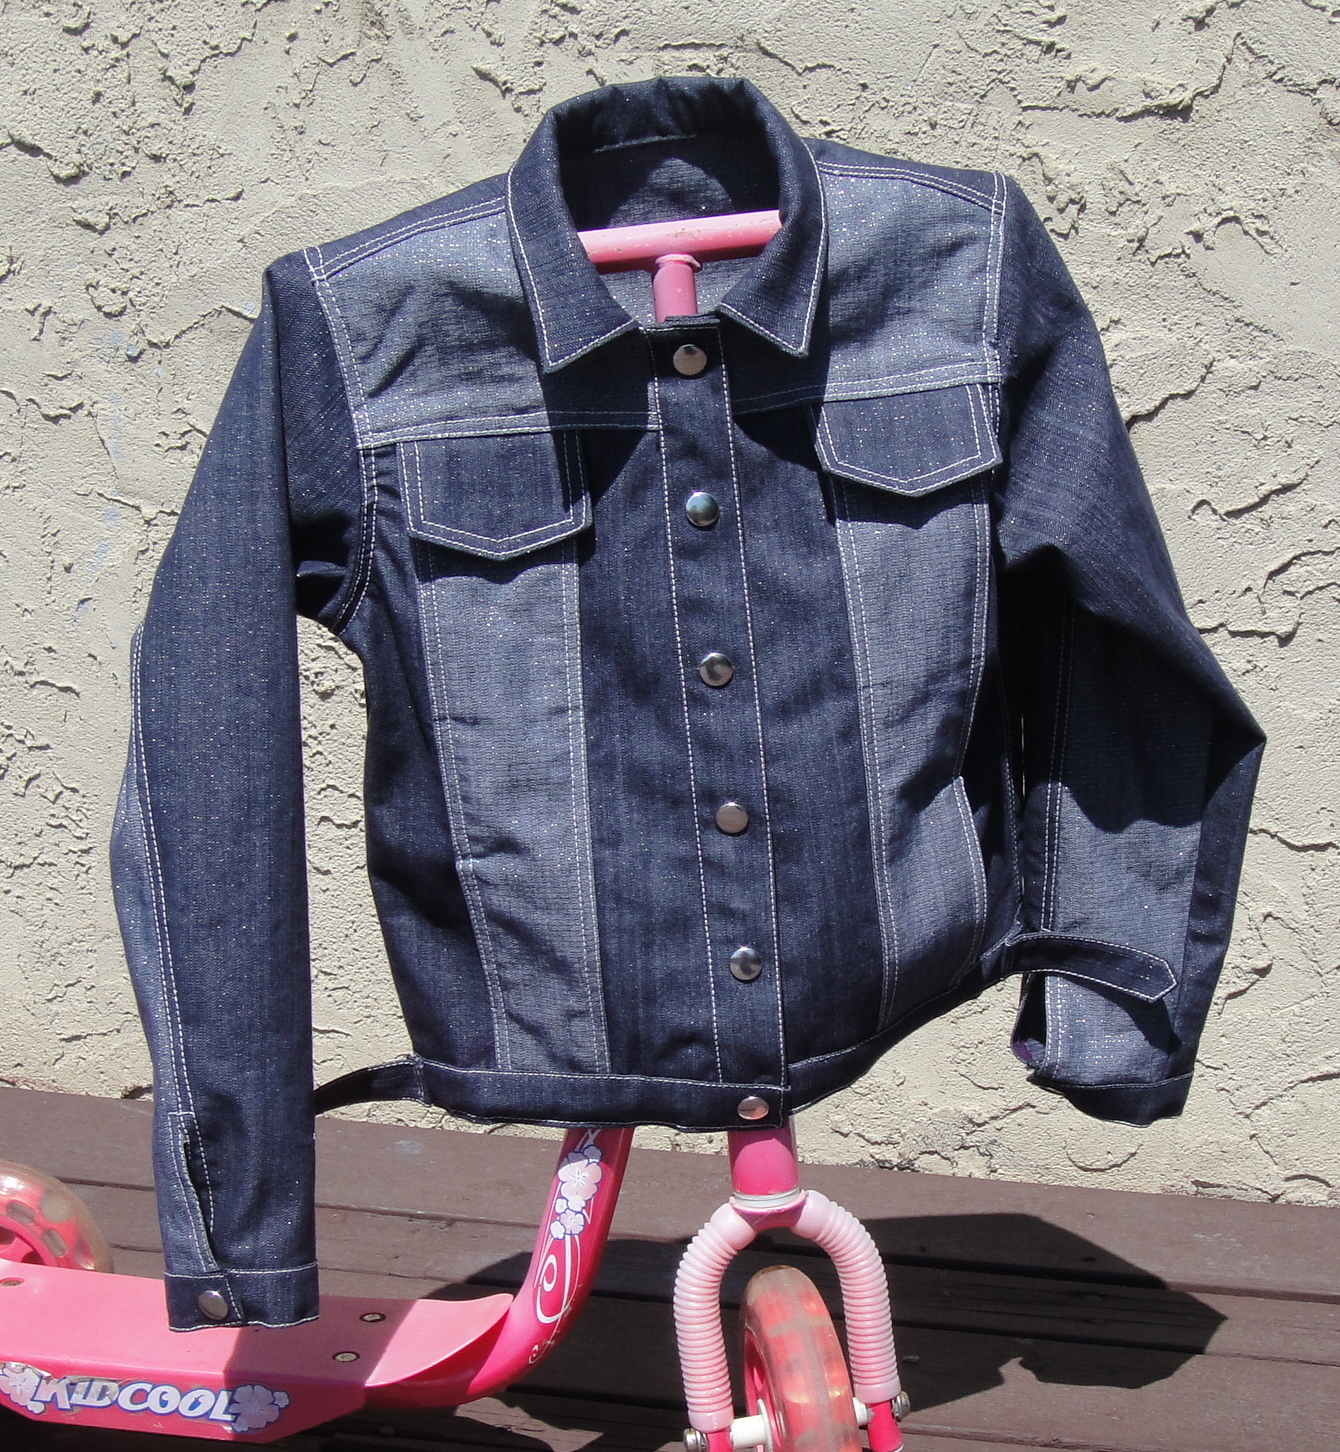
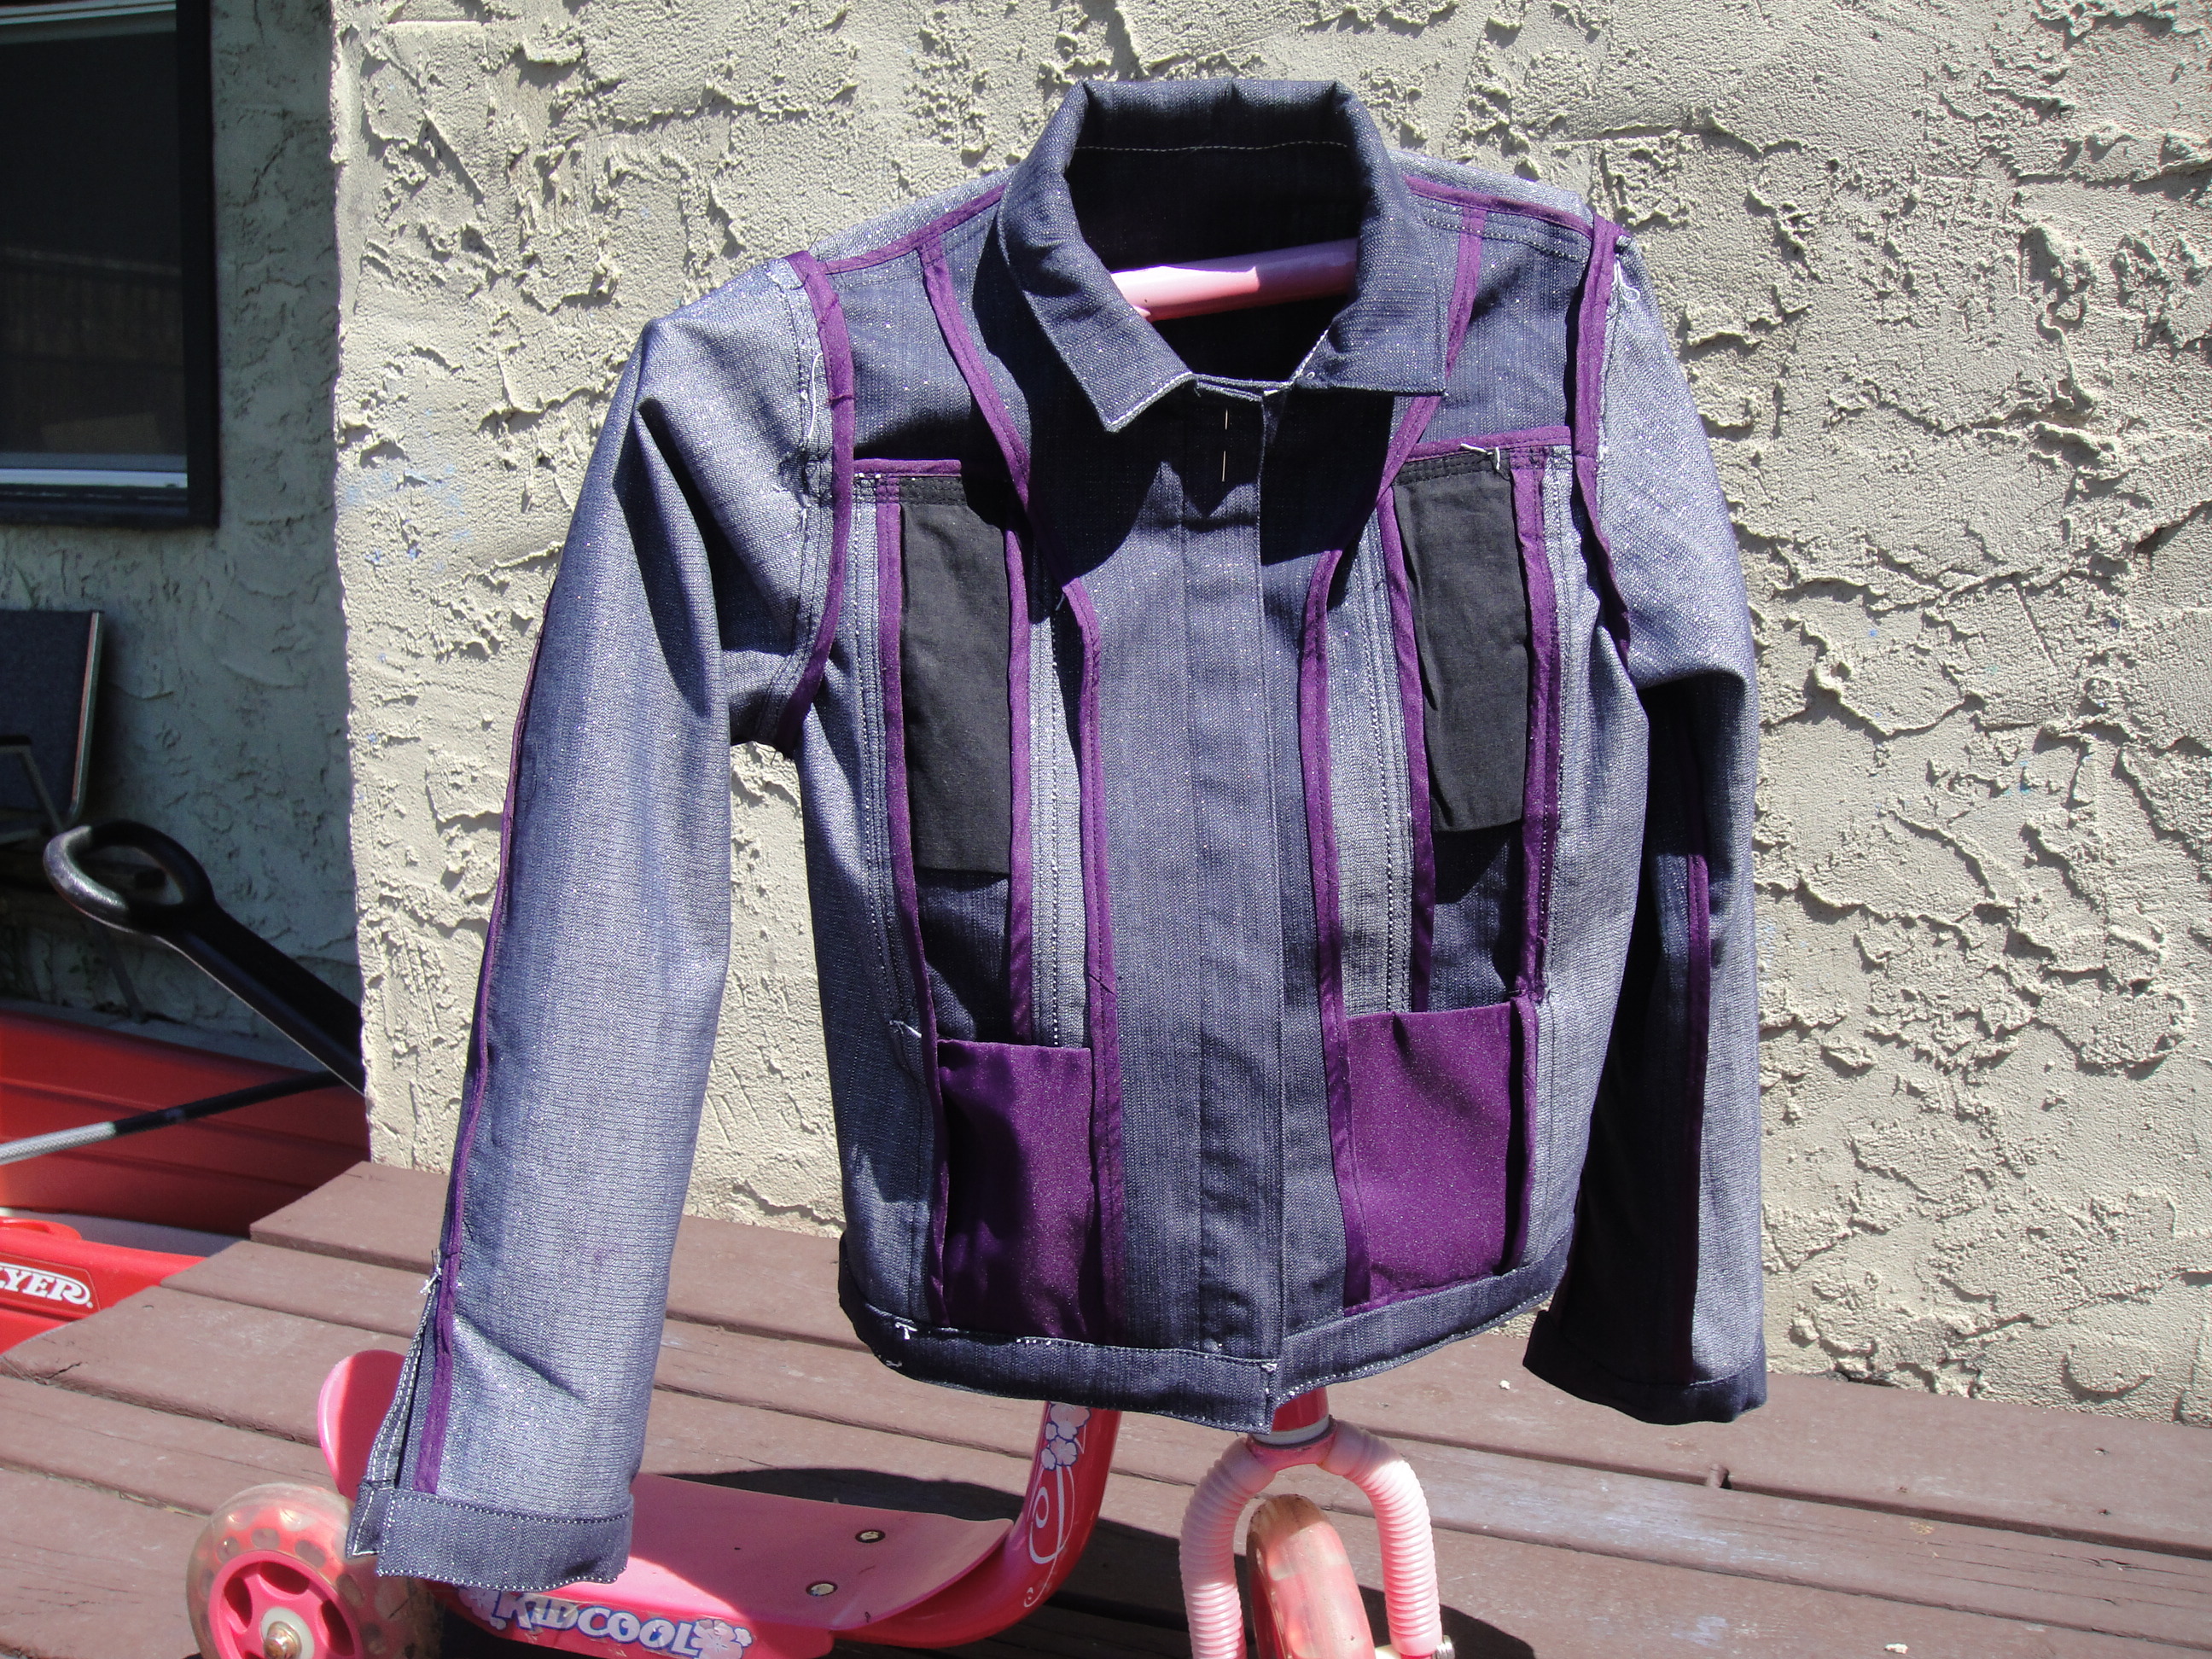
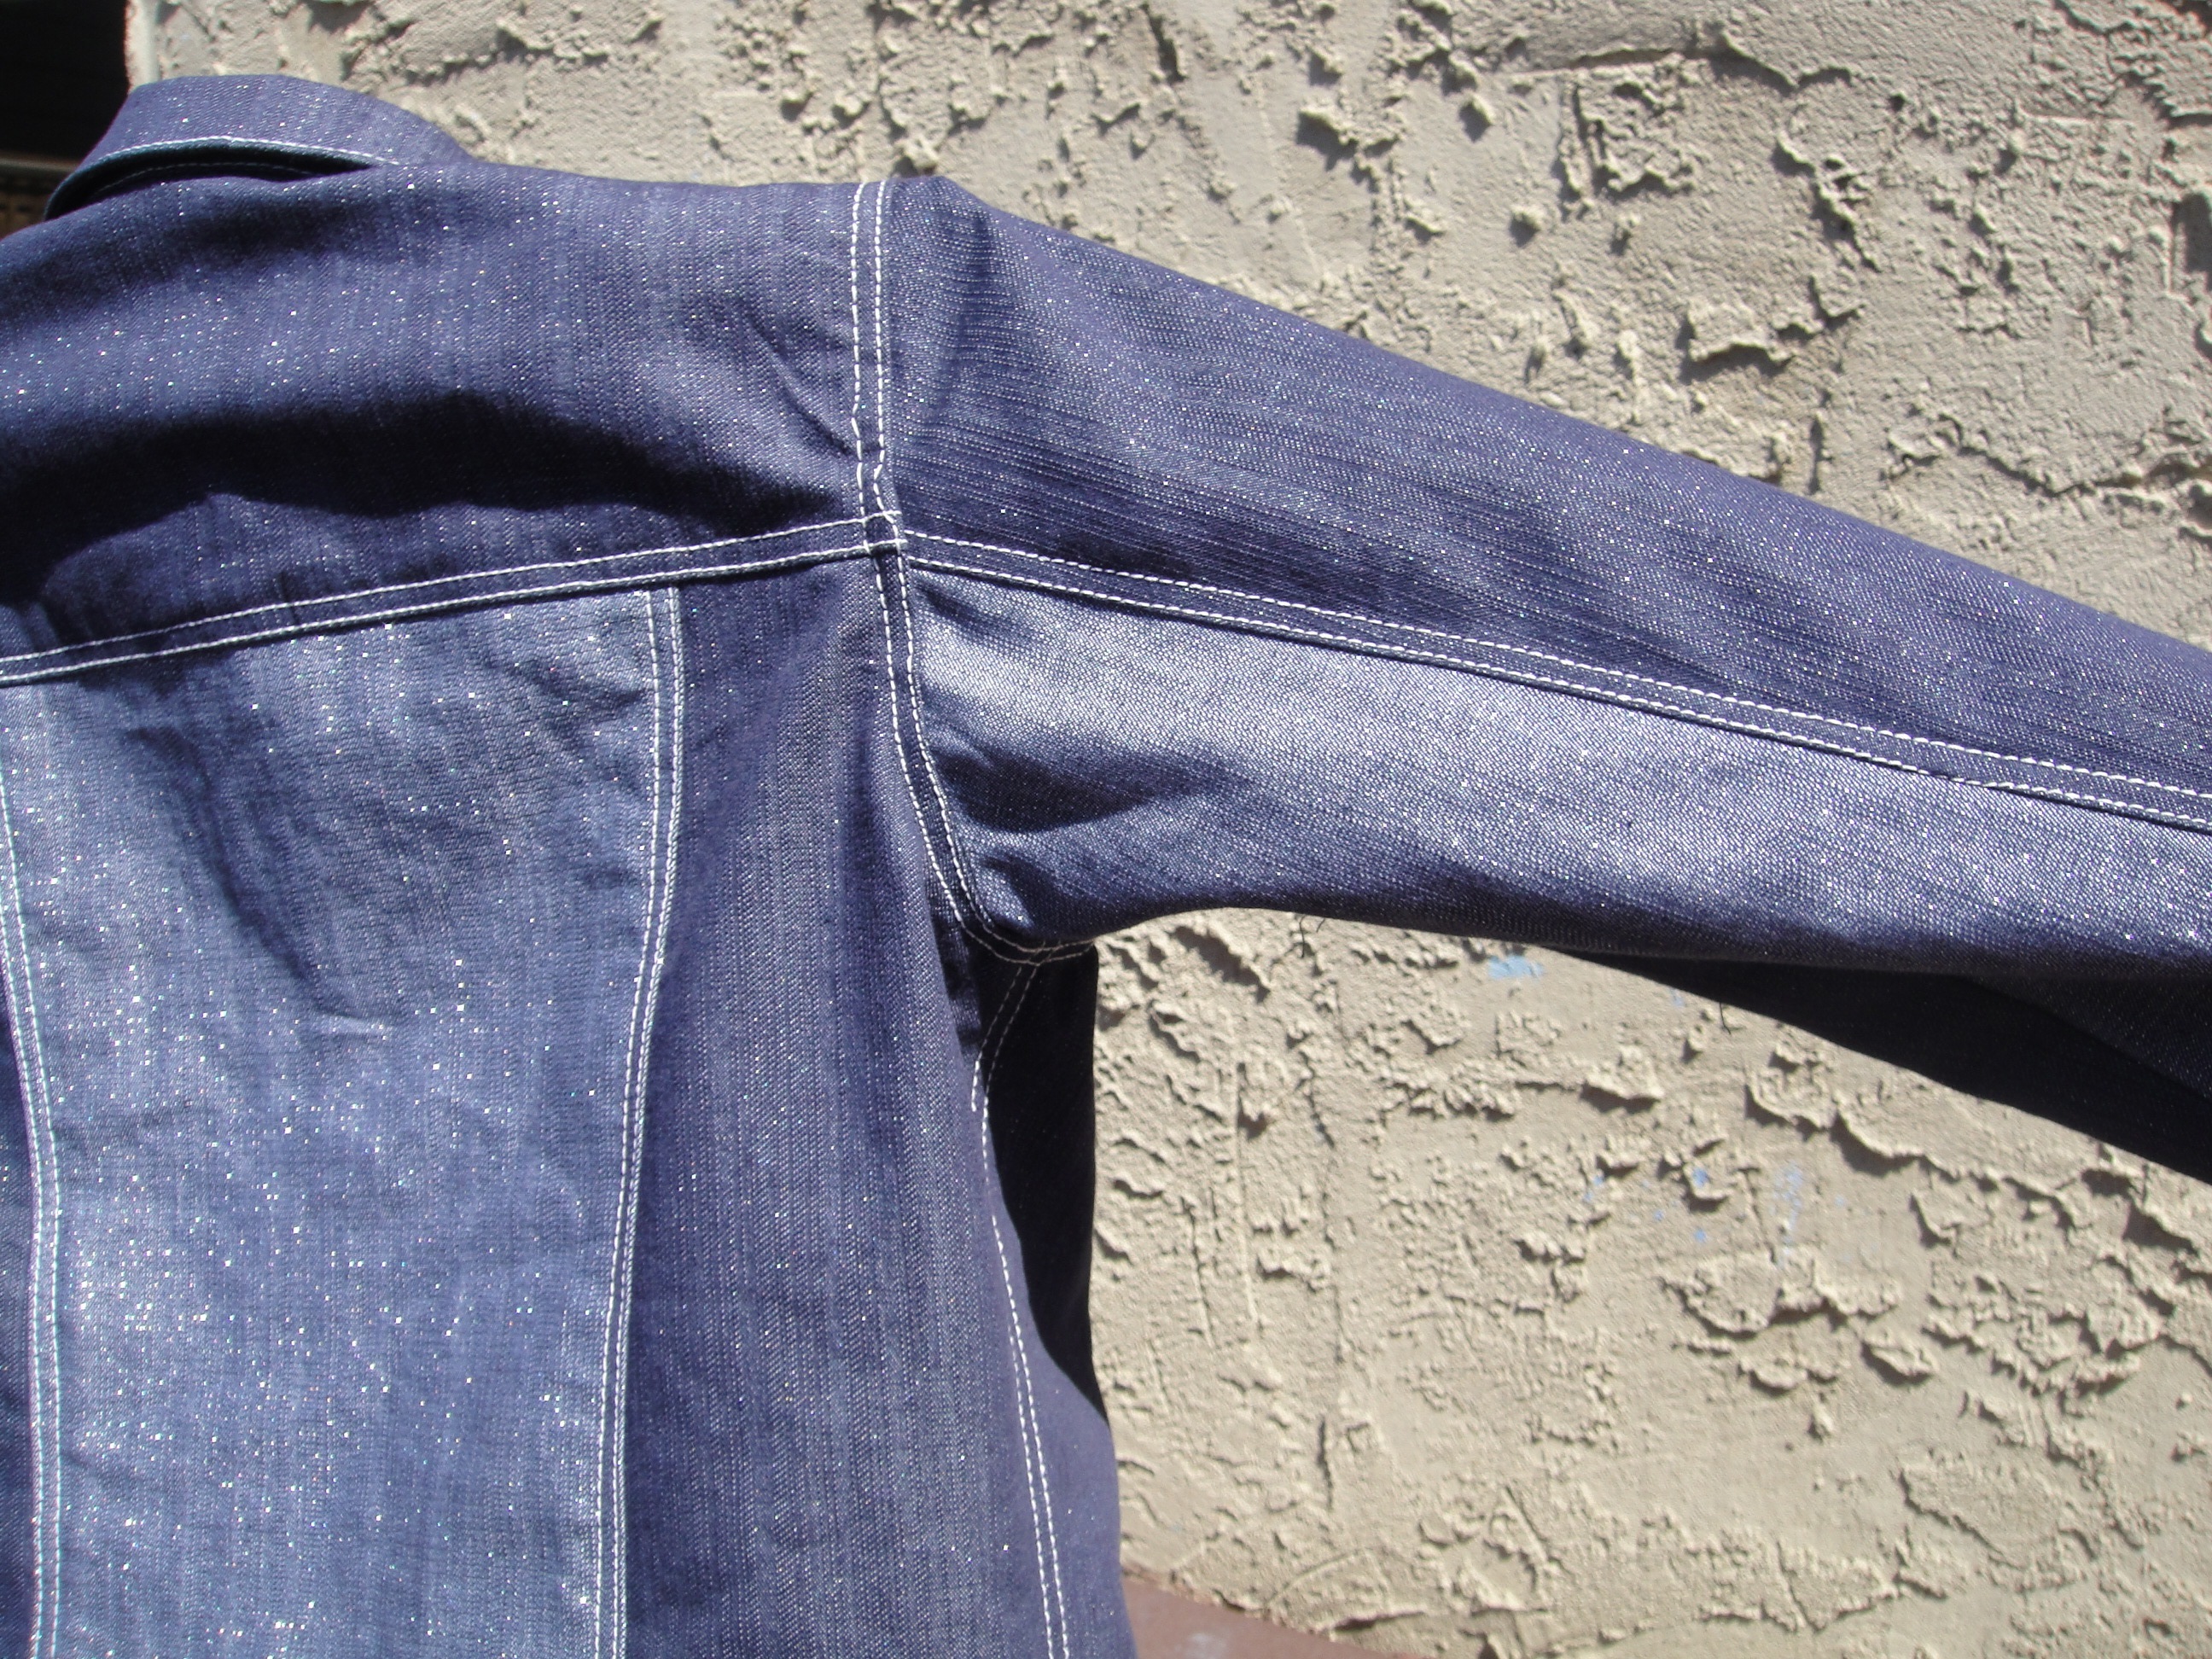
The kids’ jean jackets are done! In all their pain-in-the-butt imperfect glory. Be amazed. Be awed. Rejoice (with me) that my fingers survived all that snap-setting.

1 Comment

Filed under Sewing

A quick Sunday afternoon project

Quick shirred sundress for a Very Little Girl

I needed a break from the Knit Shirt of Doom (yes, the Boy is whining about it), and I’ve been meaning to give shirring a try. I want to make myself a shirred tunic top out of the same white crinkle voile as the Boy’s shirt. But I’ve never shirred anything before, certainly not on this machine. And, as is usually the case when I have no idea how something’s going to work, I opted to try the method out on a kid’s garment first.

Now, with shirring, you have to hand-wind the elastic thread around a bobbin; then you sew parallel rows with regular thread in the top and the elastic thread in the bobbin of your machine. Opinions are divided over whether you should stretch the elastic thread as you wind it or not. I suspect it has everything to do with your machine and its bobbin tension. My machine seems to have a fairly high bobbin tension (some day I’ll figure out how to adjust that, too), so I opted for no, or at least very little, stretching as I wound.

As you can see, it worked just fine (or at least well enough). It was a smidge less than a 2:1 gather ratio. The amount of gather is also affected by stitch length, which in turn is affected by how you handle the fabric especially once the scrunching of the other rows of shirring comes into effect. I did about 1/4″ between each of my rows, or rather, the width of one side of my presser foot. I’m getting better at doing parallel rows of stitching, but not that good, especially when one side is trying to ruch up on you. I also ran a 3/8″ elastic through a casing just below the top, to keep the top nice and snug, since that is the part that seems to go first in shirred items, in my experience.

I think this will probably end up a present for the daughter of my kids’ Fairy Gothmother, a lovely and

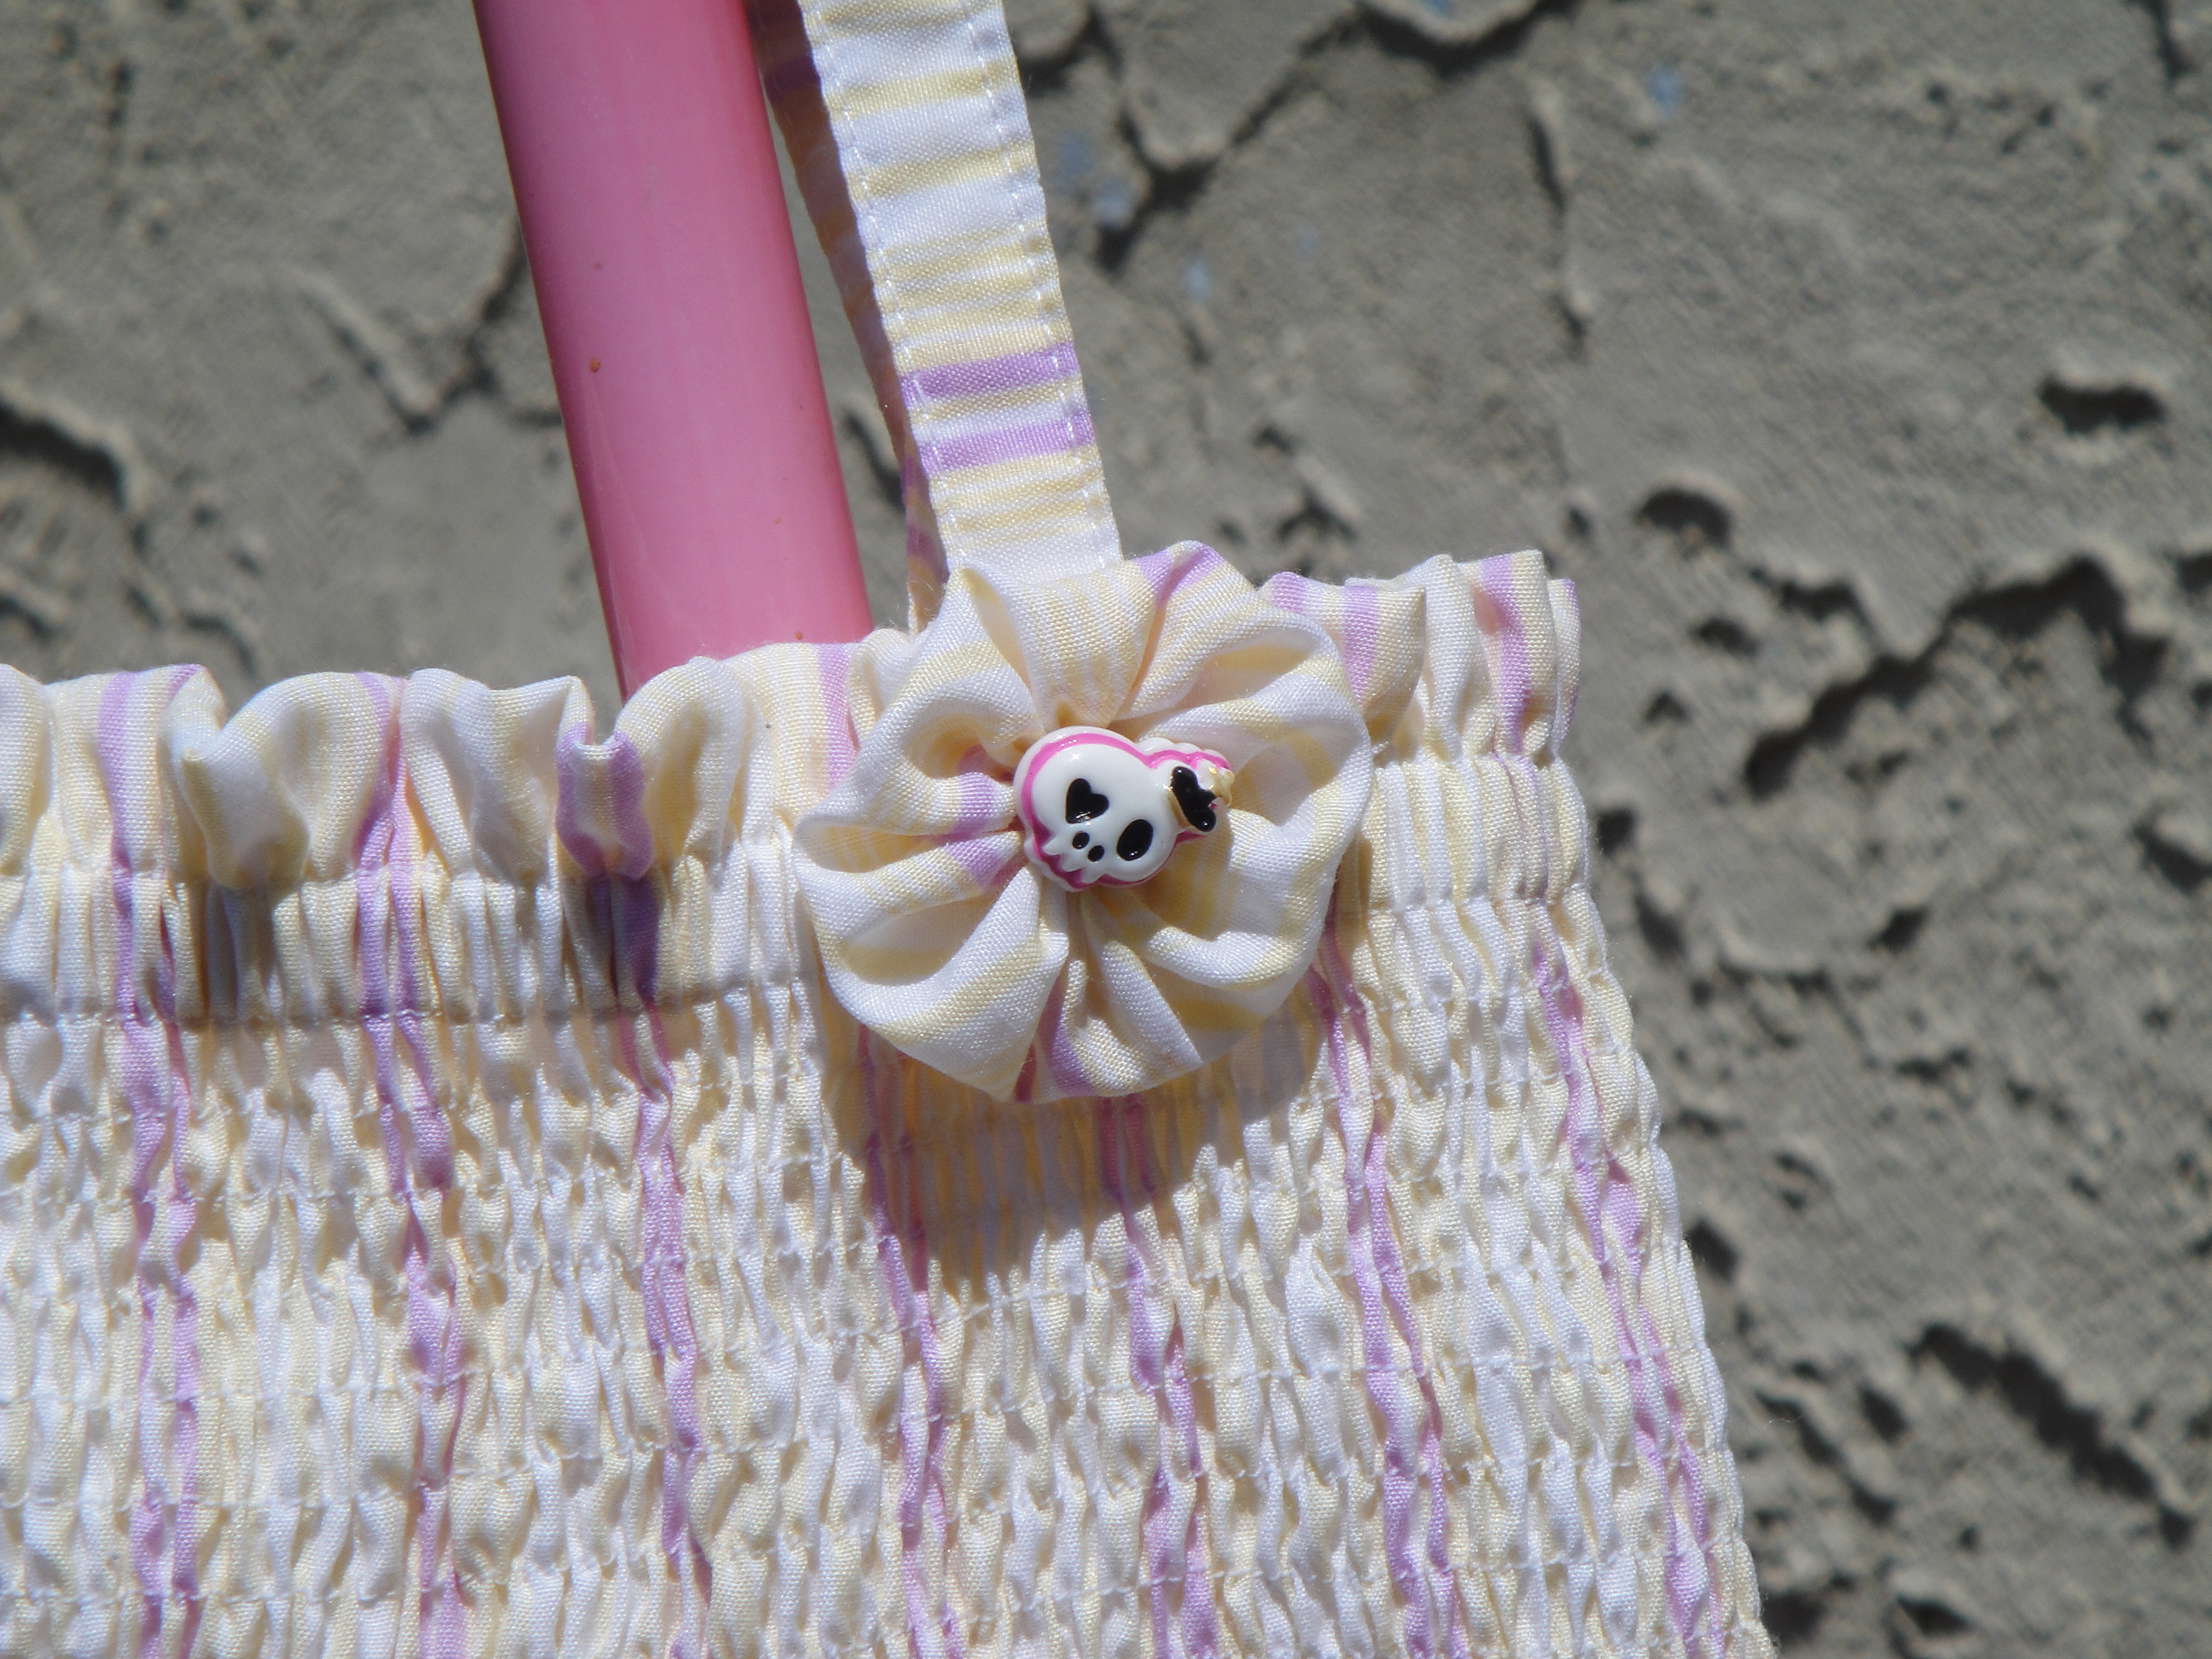
Skull button flower

intimidating seamstress herself, whose gifts to my children over the years have included a Gothic Princess dress, a spiderweb-print sundress, and numerous other wonders. I’ve always wanted to sew something for her daughter (now two) in return, but have been too intimidated by her awesomeness vs. my own mediocre skillz. Maybe now, though, they’re up to a point where I can attempt to repay the favours?

Doubtful, but anyway… she gave my girls these skull buttons years ago and we never managed to actually put the darling things on anything, and now I can only find the one. But I think it makes a nice centre for a flower, to make the dress a little less plain, right?

1 Comment

Filed under Sewing

Ruffle Dress

Pink ruffle dress---complete!

A long morning’s labour completed. What do you think of the flower? I needed

Flower decoration

something to cover up my uneven ruffle, but I didn’t want something that would stick out too far. Loosely inspired by these.

Ok, I think that’s enough sewing for others. I want something for me now, please.

3 Comments

Filed under Sewing

OK, you get the idea.

Nearly done!

Sorry. Once again, impatience gets the better of me. It’s still missing the decorative snaps, but I’m showing it off anyway. In all its flawed glory. I did not include closeups of the places (cry) where I accidentally snipped the fabric with the scissors while trimming threads.

Kids' jean jacket---back

So… pattern? Nice. The front yoke seemed too wide and the front facing width was a little wonky in its width as well. Perhaps related? Perhaps due to flaws in my tracing or my failure to read the instructions carefully. I didn’t, by the way. Read the instructions, I mean. I’m not really such an advanced sewist that I should skip that, I

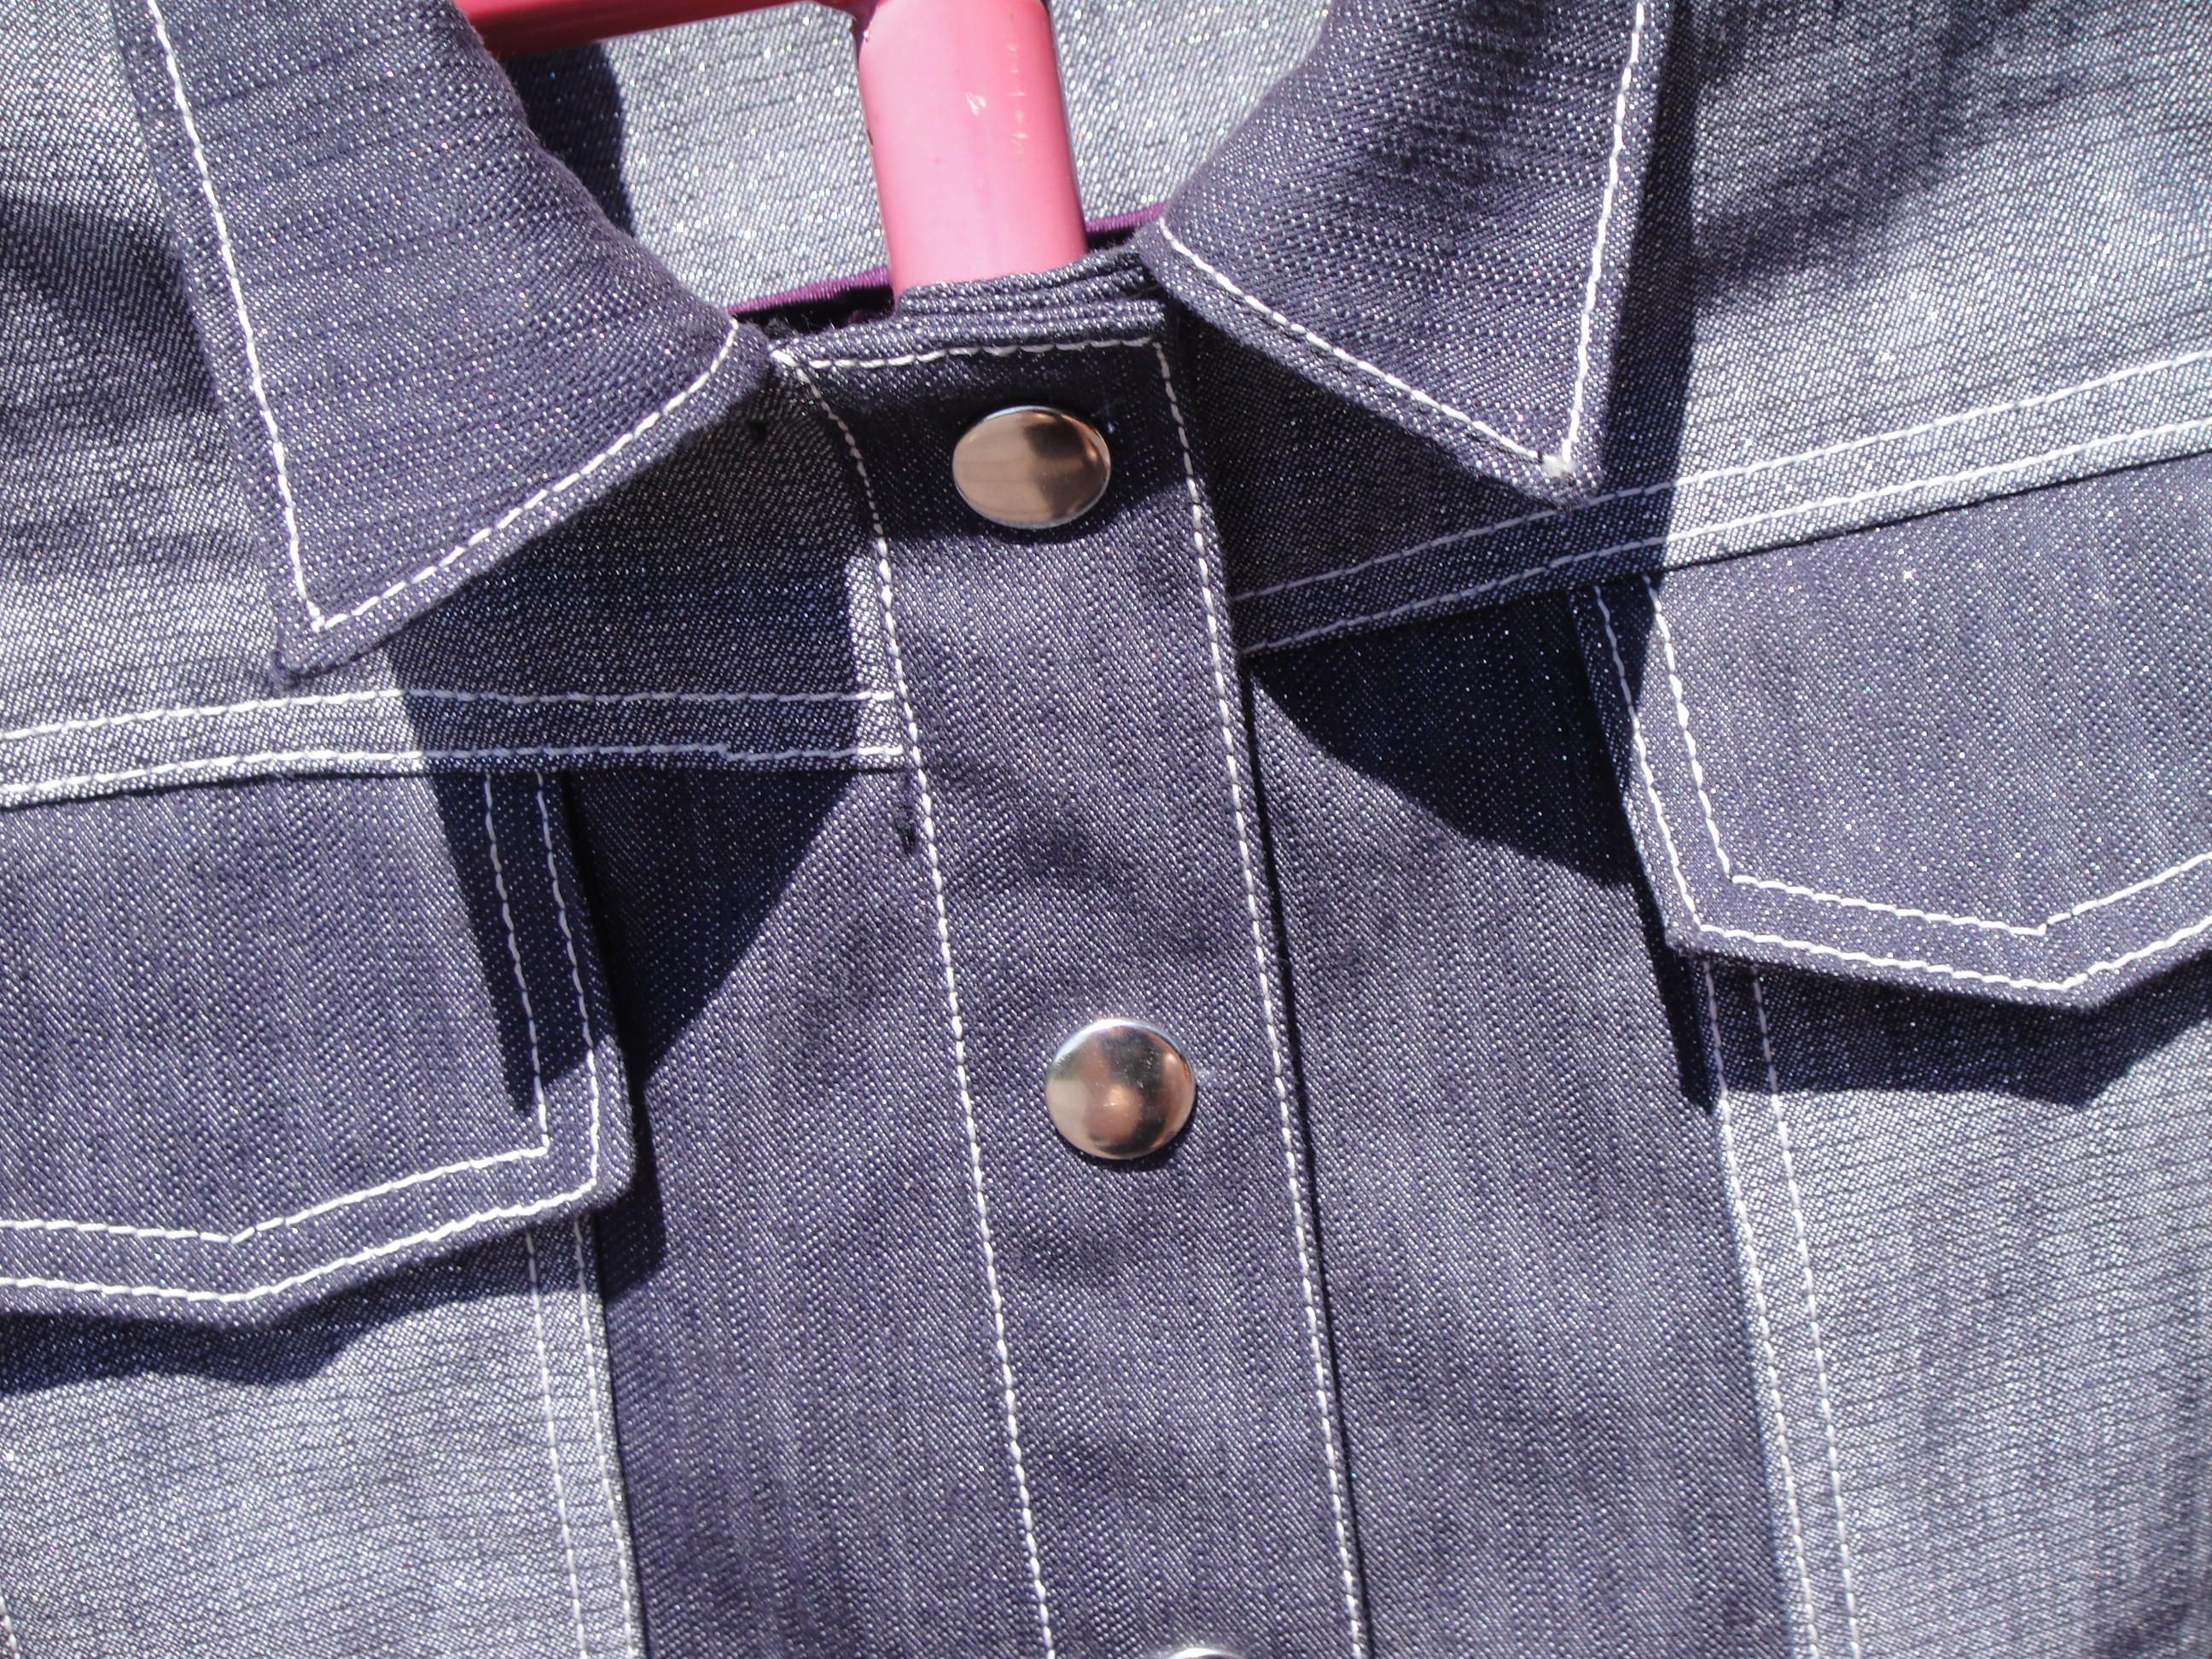
Front snaps!

know. It’s a bad habit. Otherwise it all went together very nicely.

As mentioned before, my bias bindiing on the inside is not the greatest. However, it is a nice flash of colour! You can see where I added in the pockets.

Today’s big experiment was the snaps. I went out and picked up two kinds, the plain silver heavy duty ones, and some cute little pearl ones. Unfortunately, I assumed that the hammer/punch tools that came with the heavy duty ones would be adequate to attach the pearl ones. (and if not, I’ve got a bunch of other punch/hammer/dies from grommets—surely something would work). Foolish, foolish me. I did manage to get one

Cute snap! Too bad it's broken!

installed on one of the waistband tabs (after cracking the pearl in two others). It looks good. But it doesn’t snap—it won’t stay shut. And I didn’t

Inside!

have enough of the big silver ones to do the decorative snaps (tabs, pocket flaps). So I’ll have to go back to the store. For more heavy duty snaps, or for the right hammering tools? We’ll see.

The sleeve shoulder topstitching was a pain in the butt.

Ooooh… look at how nicely I managed to get the undersleeve seam to match up to the back yoke seam!:

Back yoke seam matches sleeve underarm seam!

Too bad I didn’t manage to do it on the other side!

I am thinking of entering it (or the second one, which may be a little less imperfect) to the PatternReview children’s sewing contest this month. Exciting, no?

Comments Off on OK, you get the idea.

Filed under Sewing

Just in case you’re not sick of them yet…

Here’s a few more of the fully finished jeans.  I wound up hemming them the full length; the physical inseam measures just over 33″. It would be perfect for a boot-cut with flats, too short for a boot cut with heels, and is maybe a teeny bit long for skinnies.

6 Comments

Filed under Sewing

Jalie Jeans #2

Jalie jeans #2: Black and silver

Almost done! Just need rivets and hemming (which will wait until at least one more wash, I think.

I don’t know why I can’t stand to wait until after I’ve hemmed these to take pictures and post. It’s like my subconscious considers hemming superfluous.

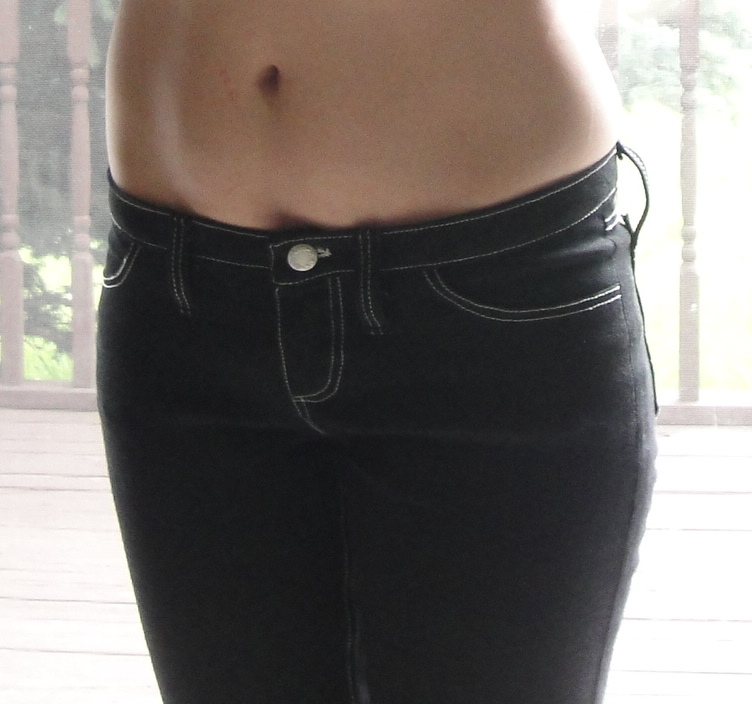
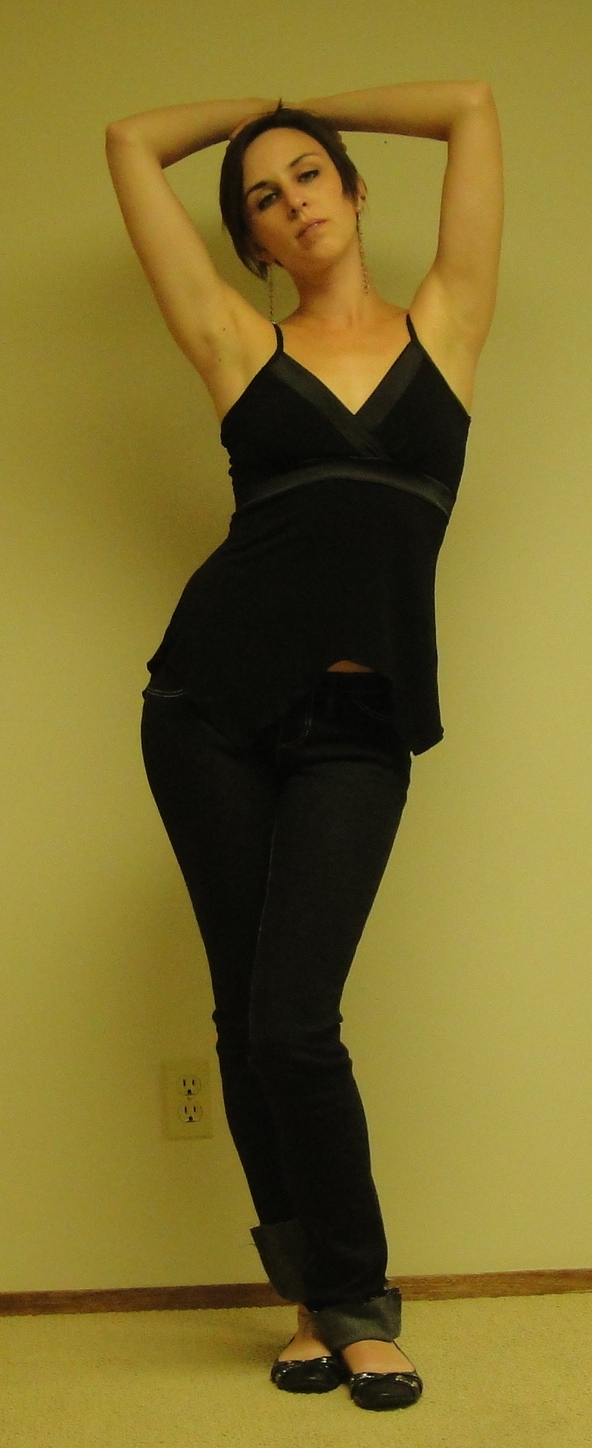
Anyway, here they are: black jeans with bright silver topstitching, Eye-popping. Maybe not the best choice considering my mediocre topstitching skillz. Ah well. I shall be more restrained for my next pair. I just loved the contrast.

You already heard about the issues with the waistband. All fixed. It still came out narrower than the first

Jalie jeans front: no fly gapage!

waistband, a little too narrow in my opinion. Not sure how that works except that maybe the turn of cloth ate up more width in this pair? Anyway, next time I will either widen the pattern piece or use 1/4″ seam allowances. The narrower SA’s are probably not a bad idea for the waistband, anyway (reducing bulk, yadda yadda)

Getting pictures of these sucked, especially without a handy slave child around to take the pictures. My sweetie would probably do it but he would make fun of me in the process ;). I wish I could find my tripod… I tidied up a few weeks ago and have no idea where I stuffed it.

Other than the too-narrow waistband and the usual issues with my topstitching, I’m pretty happy with these. They feel right. For the next pair, I am going to try lengthening the centre back seam for a bit more rear coverage.

Full length jeans

This fabric was actually a 20% stretch, and I still wound up taking in the size Q about a cm on each side, so I think I should probably just narrow the pattern by that amount, as well. I’m a little torn about the length. If they were a boot cut, the length would actually be perfect. Skinnies, on the other hand, don’t need to be quite as long. And these mostly behave as skinnies, although

Doesn't show the jeans very well, but I liked the pose. So Nyah!

they’re actually straight-legged from the knee. I used someone’s suggestion (I forget where I read it, sorry) to extend the pocket lining pieces to the centre front to form the fly interfacing. I’m really happy with how this worked—keeps the front nice and smooth and no fly puckering! I still can’t insert a fly properly to save my life. It looks so simple when Sandra Betzina does it! But at least no one else will see.

So anyway, one more item down (yes, yes, except for the hemming) on my list for Self-Stitched September. Now, time to work on the kids’ jean jackets!

4 Comments

Filed under Sewing

Quickie

First ever knit top!

Wow, that was fast. My very first knit top. Two pattern pieces, four seams (two of them not even an inch long), a little bit of time messing around with edge finishes… and voila! A top cute enough that my hubby insisted I wear it agan this morning.

Based, as you may recall, on Ichigogirl’s cowl top/dress pattern. I narrowed the shoulders, though in hindsight I should have widened the neck. This is a very deep, drapy, almost V-neck cowl; I think if I make it again I’ll try and reduce that… right now I have to be pretty careful when I shift around that, ah, all of me stays inside the shirt. I made the entire front double, since my knit is very thin and a touch sheer.

The part I was afraid of about sewing with knits was finishing edges without stretching them entirely out of shape. I

knit top---rear view
 would have to say I think my fears were justified, at least with this fabric. The back neck is… less than perfect. I tried to do a double-fold band there and… well, I’ve never had much luck with getting these to look good in wovens, so I don’t know why I thought it might be any different in a knit. It is, shall we say, a little wonky, AND stretched out (I have some hopes that it will un-stretch a tiny bit once it’s washed. We’ll see. I did manage to do a nice, scalloped rolled hem along the arm-holes, which looks cute and didn’t stretch out that much, but I don’t think really matches the rest of the top. I haven’t hemmed the bottom yet. Trying to decide whether to do another scalloped edge or just a flat hem. Also now that I’ve worn it a bit it’s stretched out and is bagging at the back, so I’m debating bringing it in at the sides…

But, anyway, semi-wearable and self-sewn, so that’s a good start, right?

In other news, my hubby declared that he really likes this fabric. Will I make him a shirt from it? Sure, dear. (I’m picturing a nice long-sleeved T-shirt. He always has a hard time finding ones where the sleeves are long enough… we’re well matched that way. Our poor kids)

 Will I make him a button-up dress shirt from it?

Um, what?

So, yeah… he wants a typical button-up shirt made out of a super-stretchy, drapy knit. I think he is insane. The question is… can it work? Maybe with an underlined yoke and cuffs and lots of stay-tape at the seams? I’m having a hard time picturing it, though…

9 Comments

Filed under Sewing

The (not so) Big Reveal

Danielle Dress!

Ah, the Danielle Dress in all its glory! Oh happy day! Of course you’ve already seen photos of the dress with everything but the final hem, so it won’t be that huge of a deal. Ah well.

It has taken a LONG time to get this post up, due to lack of awesome pictures worthy of this awesome dress. Lots of fuzzy ones, ones that don’t show the hem, ones where I’m making a wonky face… you get the idea. These still aren’t them, but they’ll have to do for now. My usual photographer (AKA daughter) is spending the month with her cousins!

It occurs to me that this is my first fully-lined dress. Also my first “everyday” (as opposed to costume) dress.

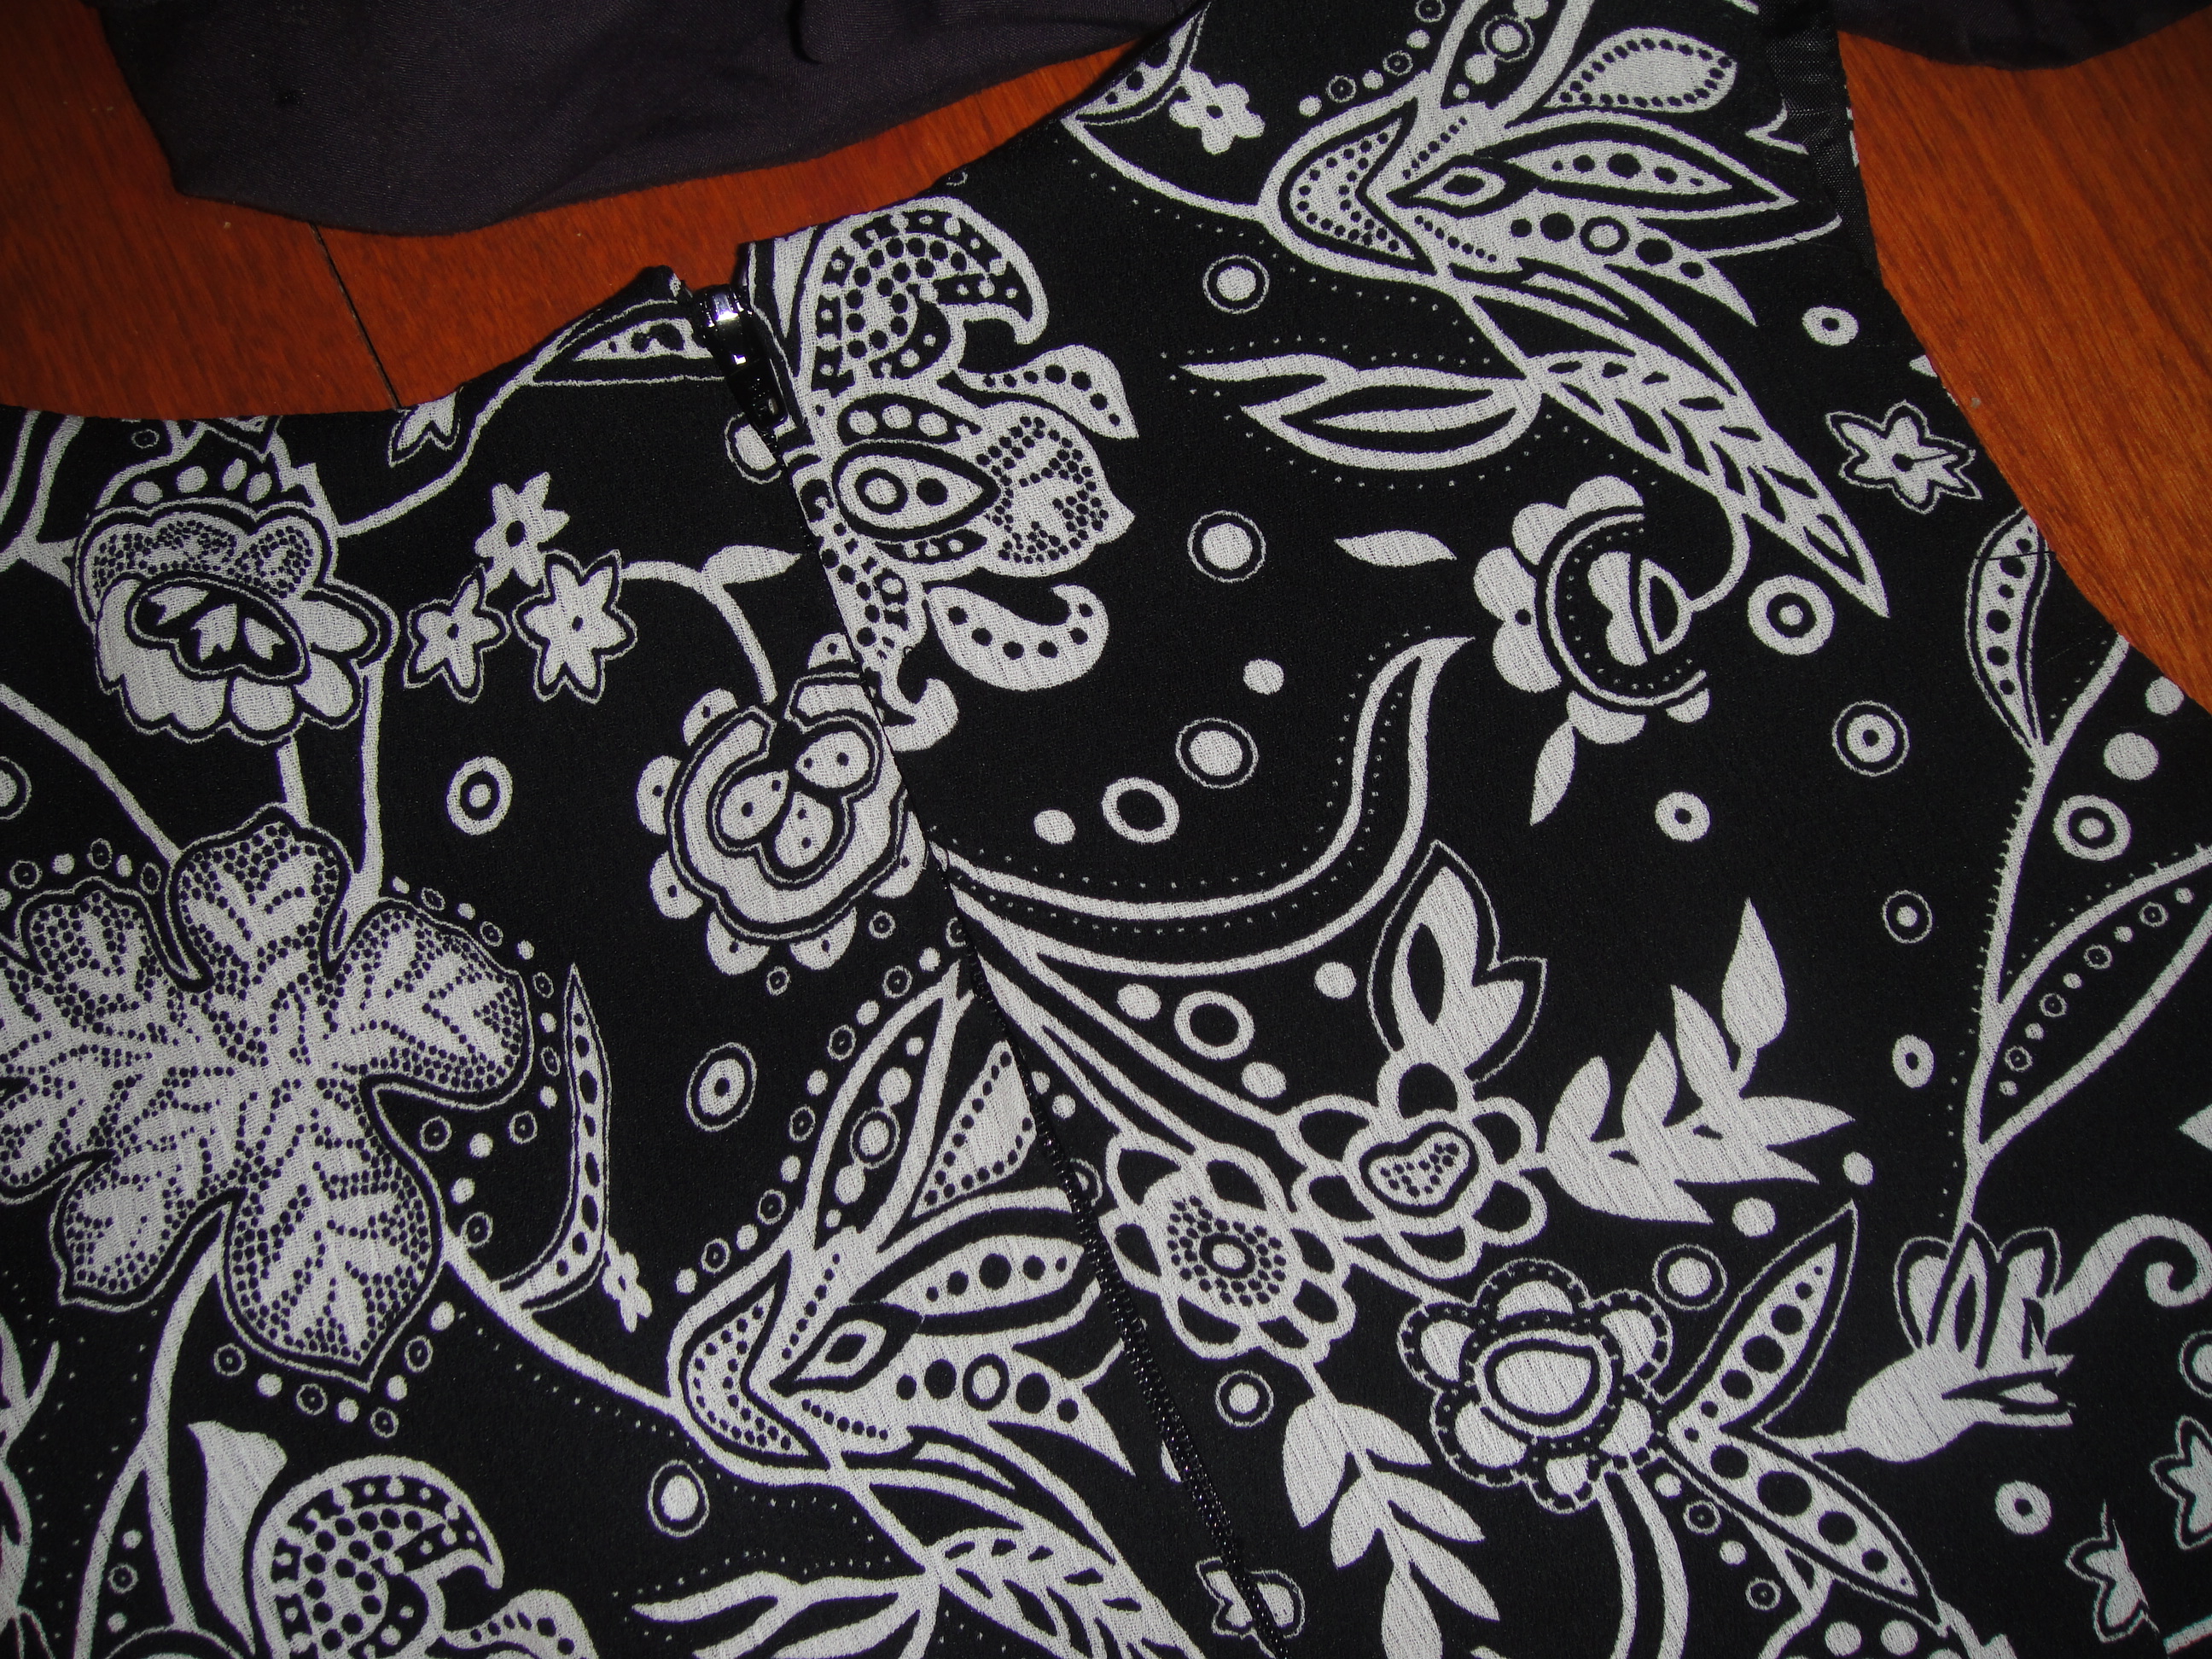
A quick recap on the construction… the fashion fabric is some kind of crinkly chiffon (possibly crepe?),

Danielle---rear view
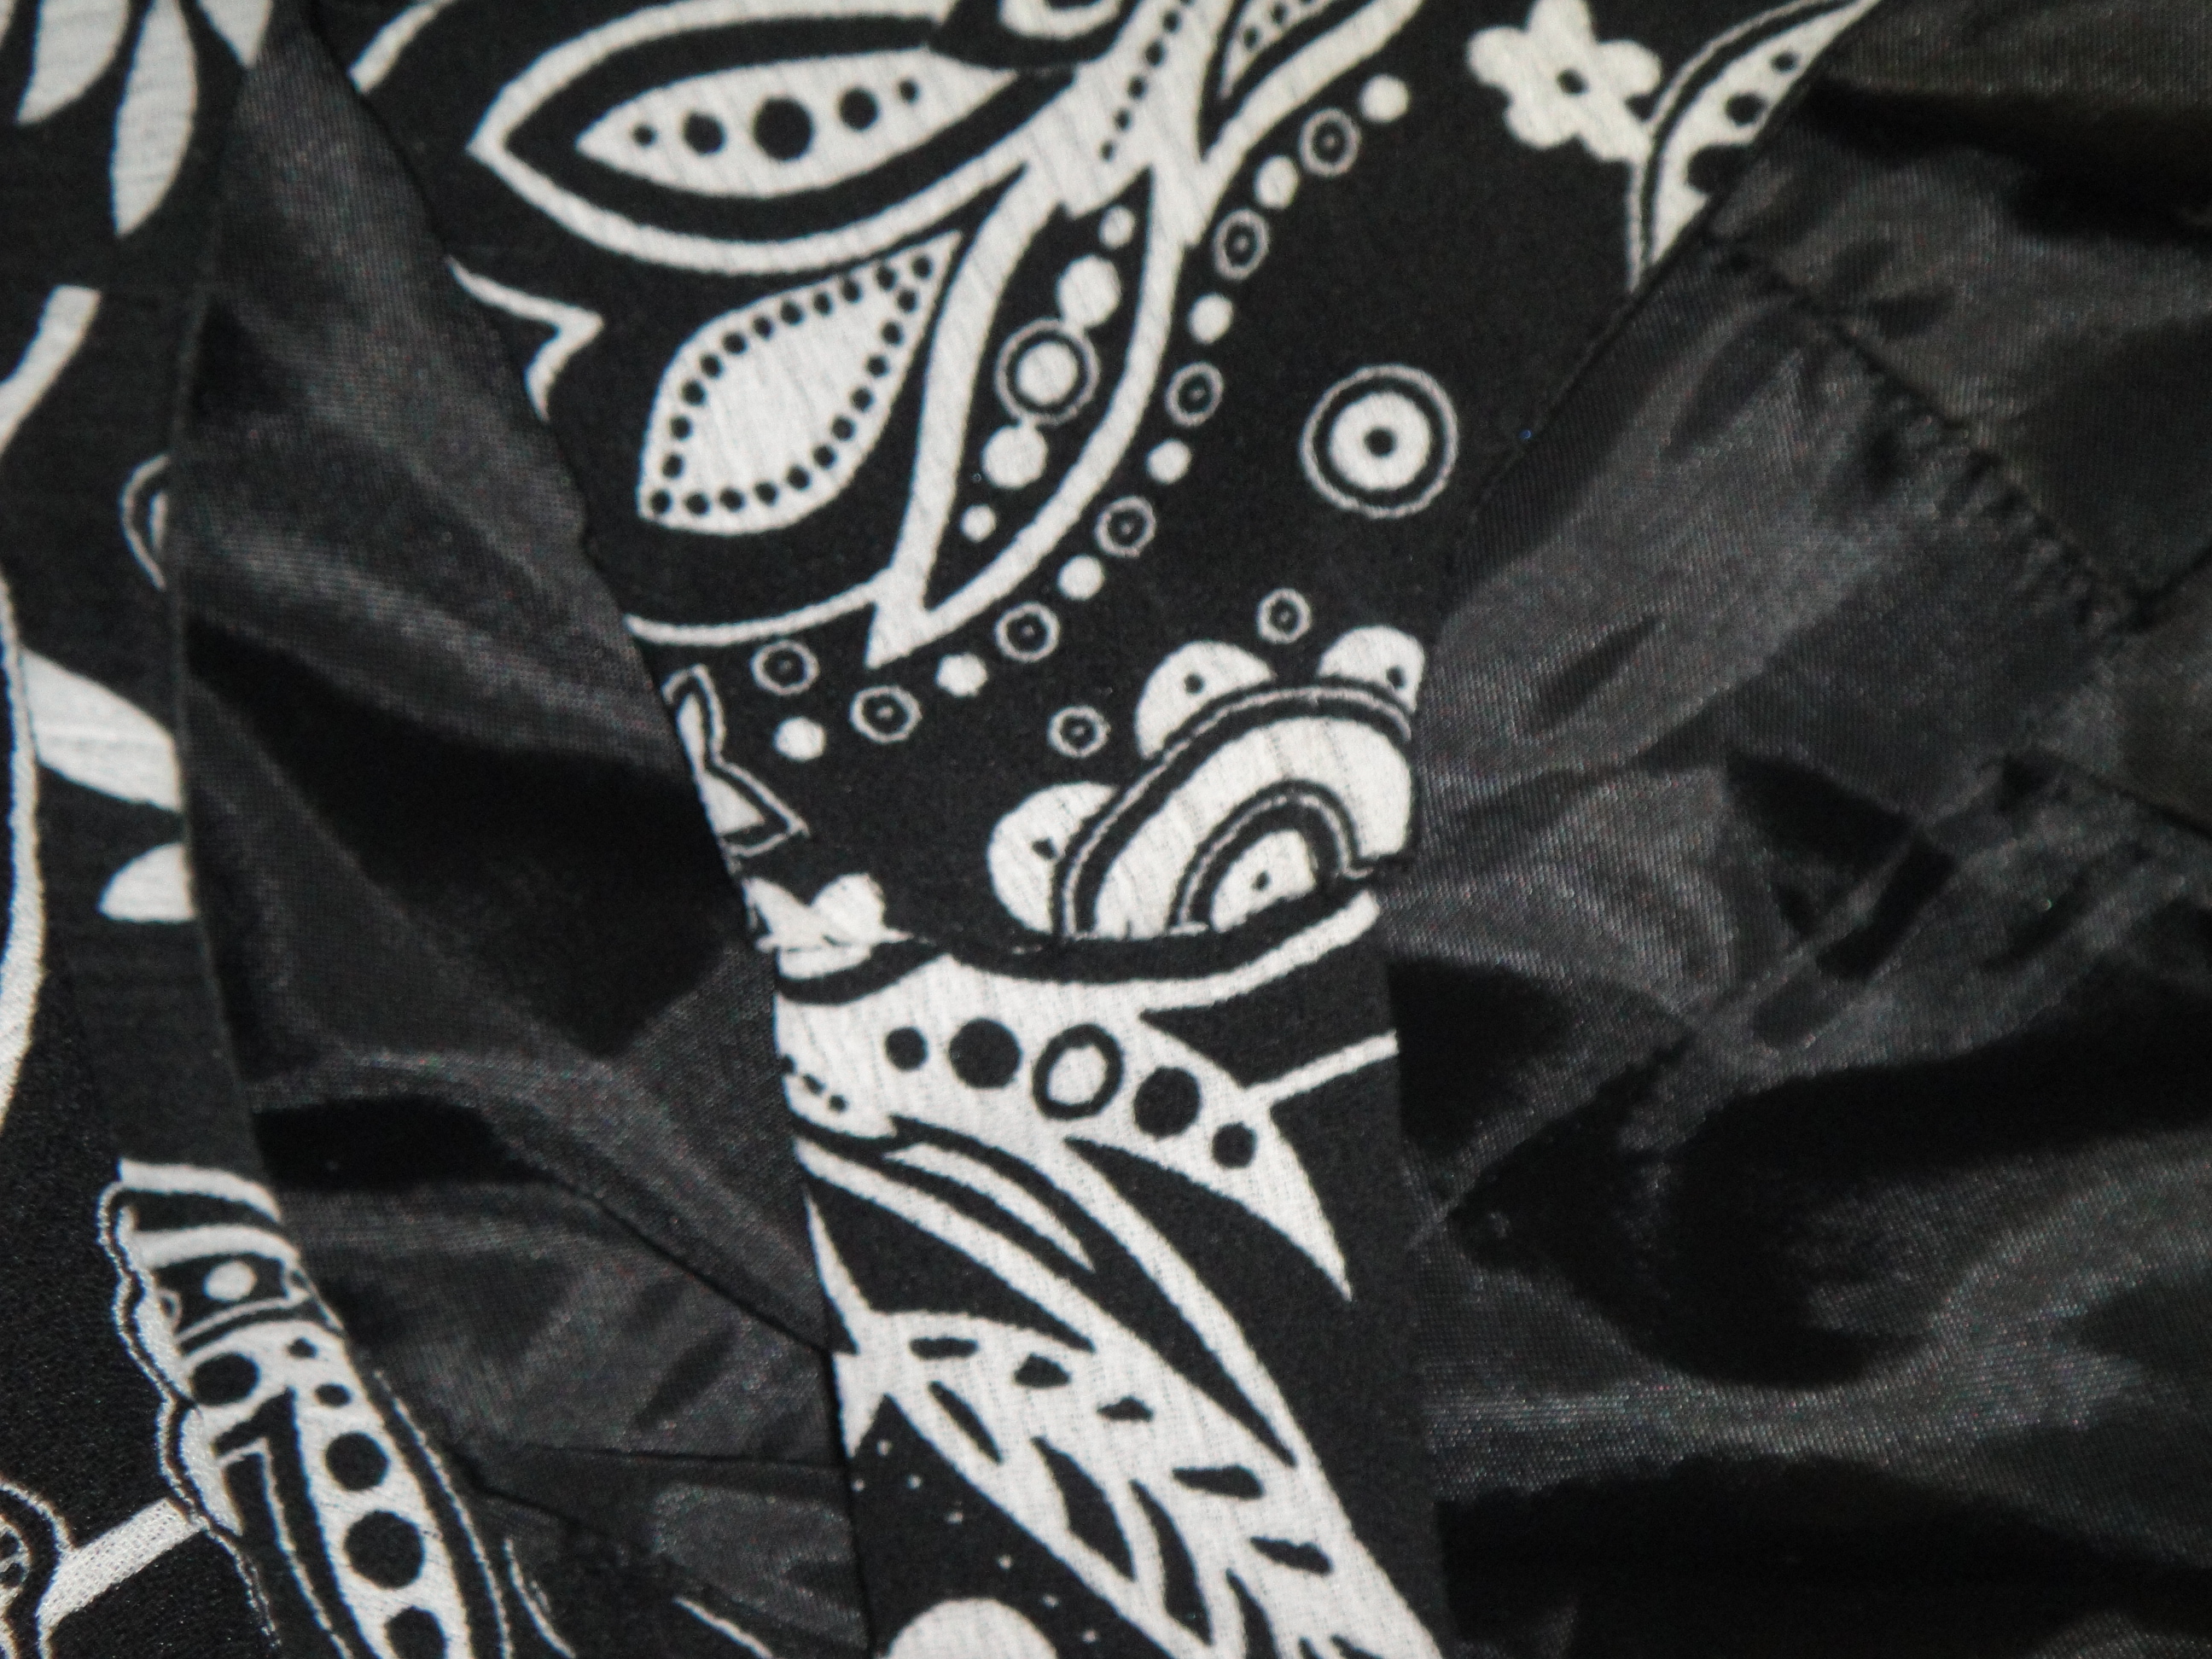
very thin, in a bold black and white print (I don’t usually go for prints) that has been in my stash for at least five years, since I made a tiered dance skirt for my older daughter out of it.  I underlined it with a plain black cotton (from my old duvet cover, the same stuff I used to underline my girls’ coats) to give it a bit more body, and lined it with a very plain, very cheap black lining fabric. While I cutting I committed the major sin of not cutting the centre front on the fold, so I had to improvise and add a third pleat and centre front with a black inset of the same fabric as the “waist” band. Since I now had a seam allowance at the centre front, this meant I had to fiddle with the other pleats a bit to maintain the skirt width, but I think it worked out all right.

To keep the chiffon (which was a b*tch to cut out, by the way) from sliding around on the underlining, I

More Danielle!

hand-basted all the pieces of the shell together. This was probably the single most time-consuming part of constructing the entire dress. On the other hand, it was handwork, so I could do it in the livingroom with the family instead of ditching them to sew, so I get less (though not no) hassle for it, and not once during the actual construction did I want to shoot myself in the head due to my slippery, misshapen chiffon fabric pieces, as I usually do when working with this kind of fabric.)

My cutting wasn’t as precise as I would like (as usual), partly due to the chiffon, partly due to sloppiness. Precise cutting is definitely one of my Areas to Improve, although I’d like to say this dress was quite a bit worse in that department than most of my recent efforts. Cotton and denim (which is of course cotton too) are really dreams to cut out. My biggest goal was to get the front pleats to line up with the front darts (and to not totally ruin the darts). I was not 100% successful, but managed adequately. The darts are at least more symmetrical than most of my previous attempts, though I’m still not 100% happy with them, either.

The lining was fairly rushed and fudgetastic. I didn’t do a separate waistband for it (I meant to make the skirt longer to compensate, but didn’t, but due to sloppy/generous cutting of length this didn’t actually matter. My goal was to make the lining slightly smaller, which I achieved a little too well, but at least my zipper doesn’t get caught in its fabric (!) and the outer shell doesn’t look strained.

I didn’t want to finish the arm-holes by hand, so I wound up releasing my shoulder seams so I could machine-stitch the lining to

Hand-finished hem---the large stitches you see are actually the hand-basting I neglected to remove since it was on the inside. You don't see ANY of the actual hem stitches.

the arms and neck and then reverse it, then hand-finished the shoulder seams. This is easy, but somehow when I do this the shoulder seams never match up as nicely as they ought to… the front is always a little too narrow for some reason. There’s probably a better method out there, but I’m too lazy to research is right now.

The zipper was a bit of an experiment. I’ve read the standard method for inserting them (and this was a standard, not an invisible zipper), but I’ve never had great success in this department. Usually they end up catching on the fabric around them, at least a bit. I was attracted by the idea of installing it by hand, but also short of time. In the end I sewed it to the lining by machine (carefully well back of the zipper teeth) and then picked it to the outside by hand. It looks great, at least on the outside. My hand stitches show on the inside (perhaps with a little more thought or paying more attention to some tutorials, I could have avoided this, but I was in a rush at this point). I also finished the hem by hand, which is lovely when you have an underlining to catch the stitches on, and I’m quite happy with that,

Hand-picked zipper

though there is one spot where I accidentally caught the fashion fabric and it shows. I could fix it, but I probably won’t bother. I just hemmed the lining by machine. I really should pick up some finer machine needles… the ones I have are a bit too thick and the lining fabric puckers.

On the whole, the dress was a smashing success. It fitted well with minor alterations (though the bust is still a bit generous for me… I suspect I need to narrow the front and then make the darts smaller). I did end up taking it in almost an inch on each side at the back seam, so perhaps I could have cut the size 34 instead of the size 36. The only disappointment? I it’s a bit too fancy for everyday, and who knows when I’ll get to wear it again?

Shoulder seam---not a great match up.

6 Comments

Filed under Sewing

A weekend without sewing :(

What an incredibly crazy-busy weekend. Not bad in anyway, but very busy. The first weekend in at least a month with no sewing done.

Fortunately, I have pictures of the gambeson to post finally. Apparently it is serving its purpose very well, though there are a few places where the outer fabric didn’t get caught properly in the seams, despite my best efforts. All in all, pretty nice though.

Jason's gambeson. With totally-non-period fedora.

There was no pattern for this. The materials consisted of an Ikea curtain, a white twill tablecloth (really nice!) and a gross old polyester duvet for the filler. I took his measurements and had him rip/cut various squares and rectangles for front, back, and sleeves. We tacked these together in their layers, pinned it together, and started fitting. At the beginning, it looked pretty much like he was wearing a large blue pillow. By the end, we had something that actually aproximated the look of a rather boxy shirt-pattern. I guess this is akin to pattern-draping, right? It’s much easier to do on someone else. Maybe I do need to bite the bullet and make a duct-tape double.

Side view. The sleevelets stick out like that when the arms are at the side, but when extended forward are flat. It seemed like the only way to get them to fill the gap and still provide enough freedom of movement. And he thinks they look kinda cool. And we can always change them later.

Once we had the pieces approximately the right shape, I set Jason to marking the quilting on the inside (in pen… you don’t want to see it.) We toyed with the idea of hand-quilting, as I mentioned, but went with machine. Because Jason’s sewing machine skills are limited (as yet) I did most of the quilting. I’ll make him pay for that at some point ;).

There were some glitches. The sleeves wound up being too narrow at the upper arm, so we inserted triangular gussets at the underarm (not padded, fortunately). They also seemed to be about 5″ too long, so we trimmed them down (from the narrow wrist end). He changed his mind and decided the body should be thigh-length rather than hip length, so we added the bottom panel (took some figuring out how to get the back slit attached properly. I’m actually kinda proud of how that part came out. When we got it actually put together, it was revealed that the sleeves were really about two inches too short (one slightly worse than the other). Oopsie. We were already not planning to attach them directly to the body, but we wound up needing the little leather cap-sleeves  to bridge the gap and replace the missing length.

The back, showing the rear slit (for riding, theoretically). The lining shows a bit along the edge where the crude quilting leaves a fold of the lining fabric. In my ideal world we'd bind the whole thing in black. Maybe someday.

Despite the general wonkiness and costume-grade-ness, there are a few points I’m quite proud of. The quilting on the collar is a thing of beauty; by dint of pulling the bottom layer and pushing the top I managed to keep the fabrics feeding evenly (though the stitch-lengths are awful). I did a pretty good job on the black binding, which is pre-packaged bias binding; I sewed the first side by machine and hand-finished the other side, which made a very nice, tight effect once I figured out how to do it neatly (the first cuff was a little wonky). Ok, that might be it. Jason did the leather sleevelets all by himself, and the strapping and attaching of the buckles. He’s quite happy with it, and it seems to have served its purpose admirably. Next he wants to make a surcoat. He will be doing a lot more of that by himself, I promise.

I am a little torn, though. I like making something from scratch. It’s the attitude that started me sewing, just looking at pieces of cloth and going ahead and DOING. But, it’s also the antithesis of the kind of precision and craft I’m trying to cultivate toward producing everyday-wearable garments. I’d rather avoid the little glitches than fix them.

I did start cutting out the Danielle dress. Still need to cut out the sleeves and “waist” band (contrast fabric) and underlining. Hopefully make some more progress this week as we have kids’ birthday parties next weekend and I won’t get anything done then, either. And I’d really like to wear it (assuming wadders can be avoided) to my friend’s wedding reception the weekend after.

Oh, and a quick fitting redux: it was finally hot enough here to wear my (still un-hemmed) capris. Yay! And… (surprise, surprise) with wear, they’re stretching out. They seem to be doing it more slowly than most of my other stretch jeans (this fabric is so weird) but right now I could happily take them in at least another centimetre on each side. The waistband also stretches more than I would like, but it also seems fairly resilient so it’s not bugging me as much as some of my less-elastic jeans. Next time I do a fitting I just need to remind myself that the jeans whose fit I like, when they’re unstretched, I have to jump up and down to get into.

I really want to make a pair with my new black denim, but I’m holding off until I can pick up a new double needle—denim weight, 1/4″ spread on the needles (I must be a sucker for the double needles) and some more top-stitching thread. I know the top-stitching is tricky enough without the double needles, so maybe that’s just asking for trouble… but although I’m reasonably happy with my manual topstitching on the jeans, it’s just not as crisp as the double needle would be. If, y’know, I can do it without destroying the needle. Or my eye.

I know what I’ll do to bring these ones in a bit in the leg. My daughter’s friend has the coolest detail on the back of a set of her jeans, a fold taken out and topstitched down, with a rivet at the top end. Hers run from below the knee, but on my carpis I could do that from the bottom of the pocket…

Anyway, enough rambling? More sewing!

Comments Off on A weekend without sewing :(

Filed under Sewing