Tag Archives: finished projects

Second verse, same as the first!

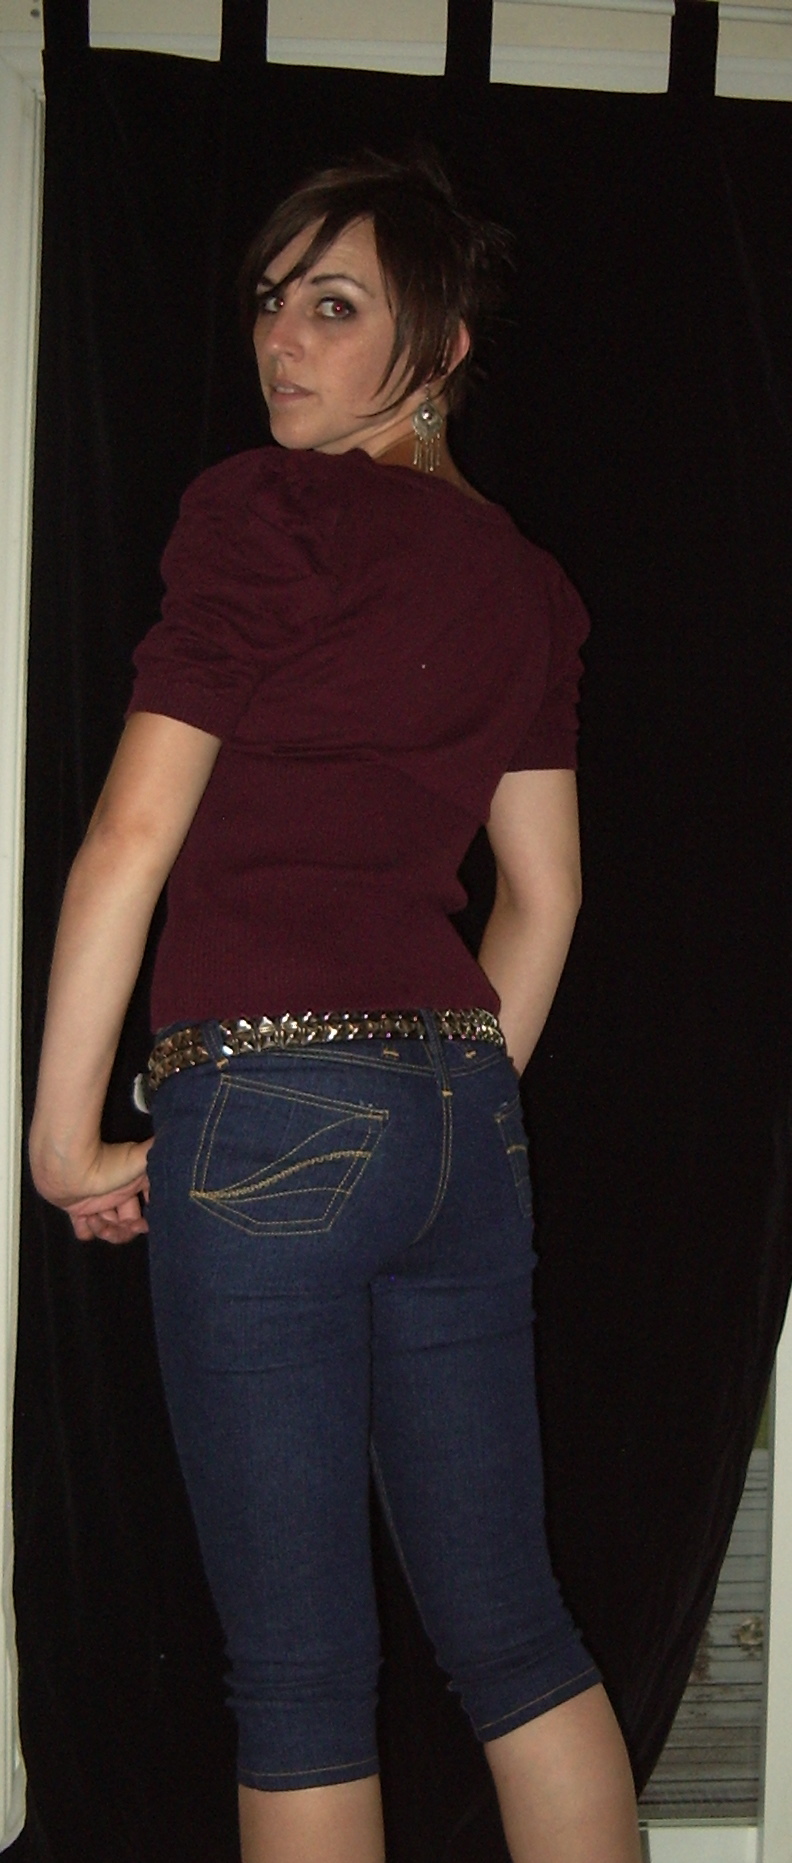
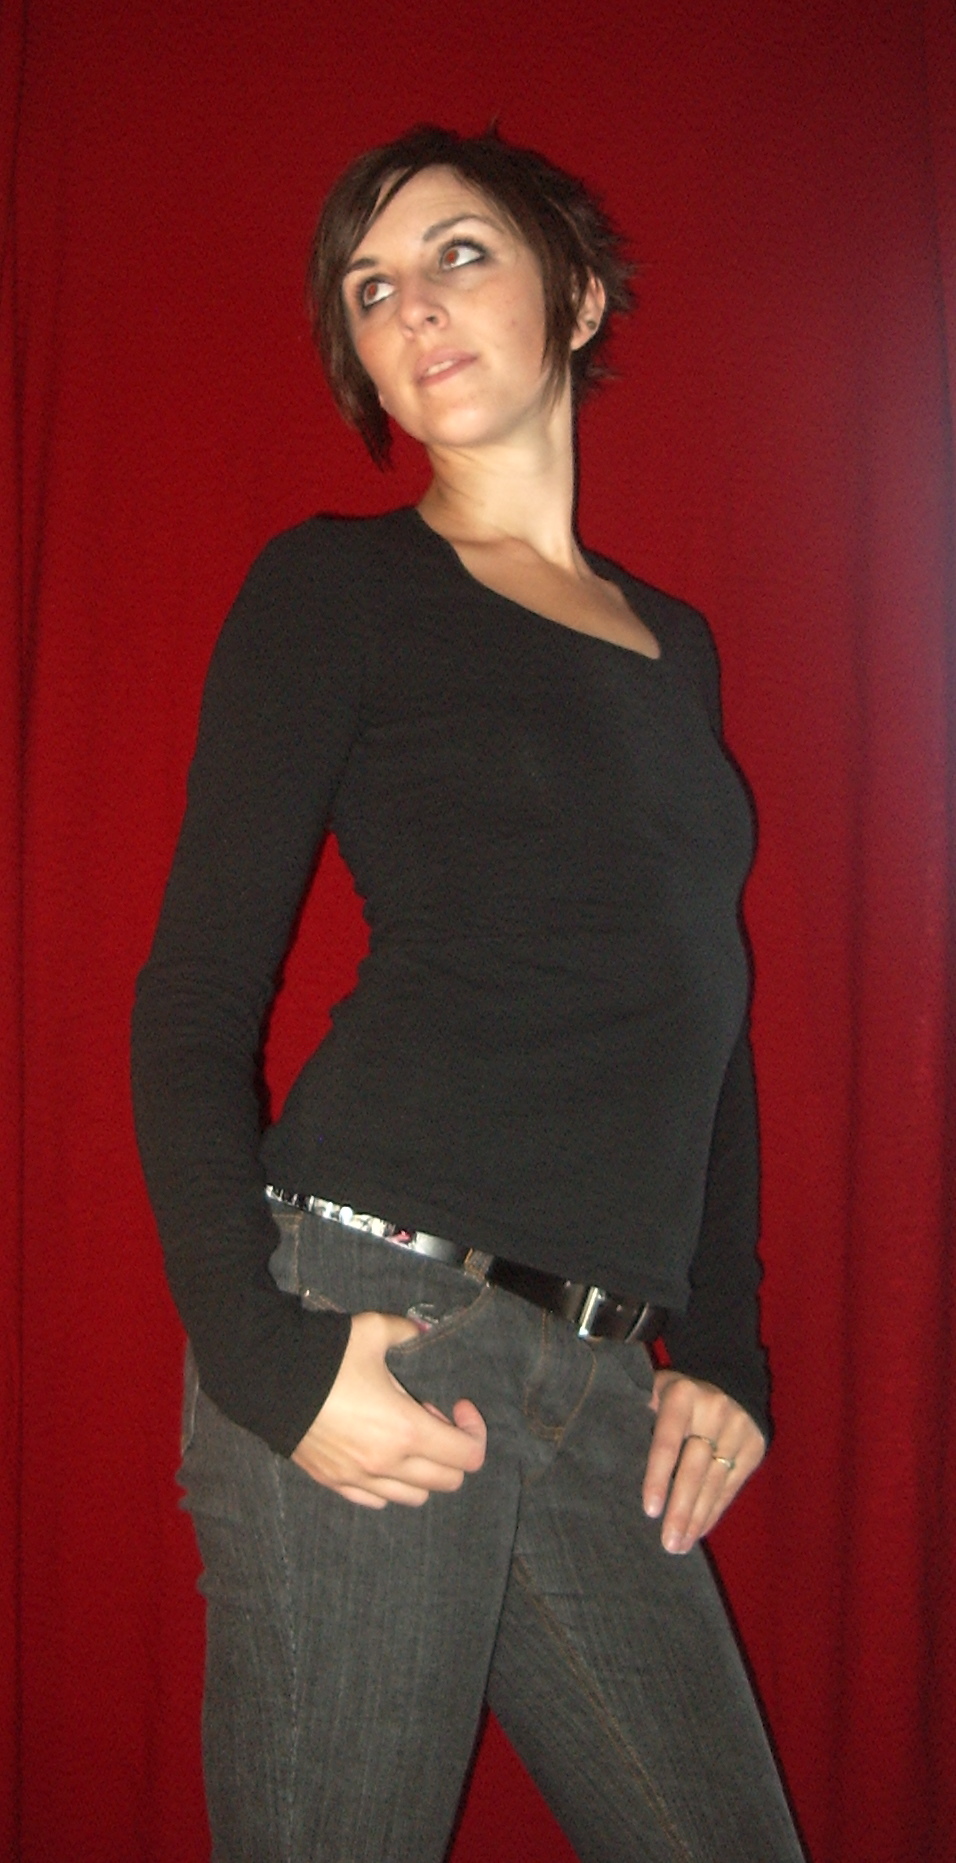
Lydia, v. 4

Actually, this is what, version 4? Youch! But—take a look at that. And, since my preferred poses really don’t show the fit, here you go with

Lydia---front view

some straight-on shots.
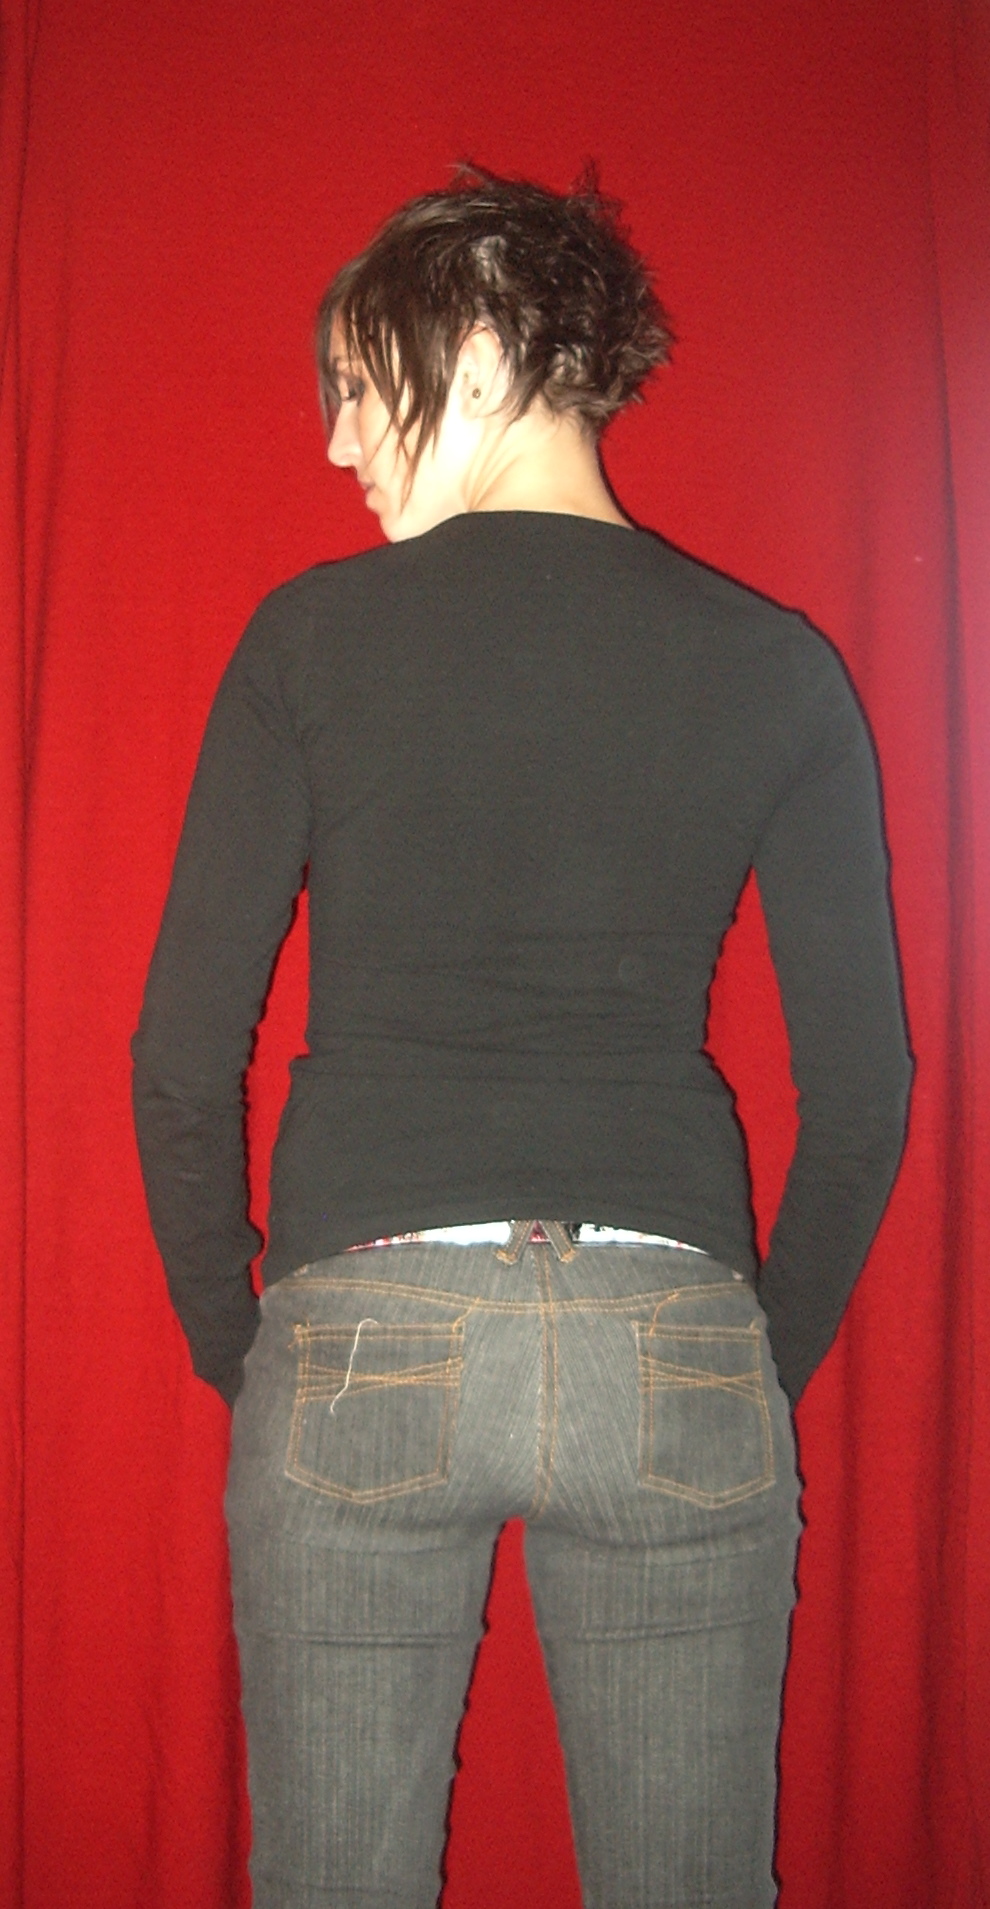
Lydia, back view

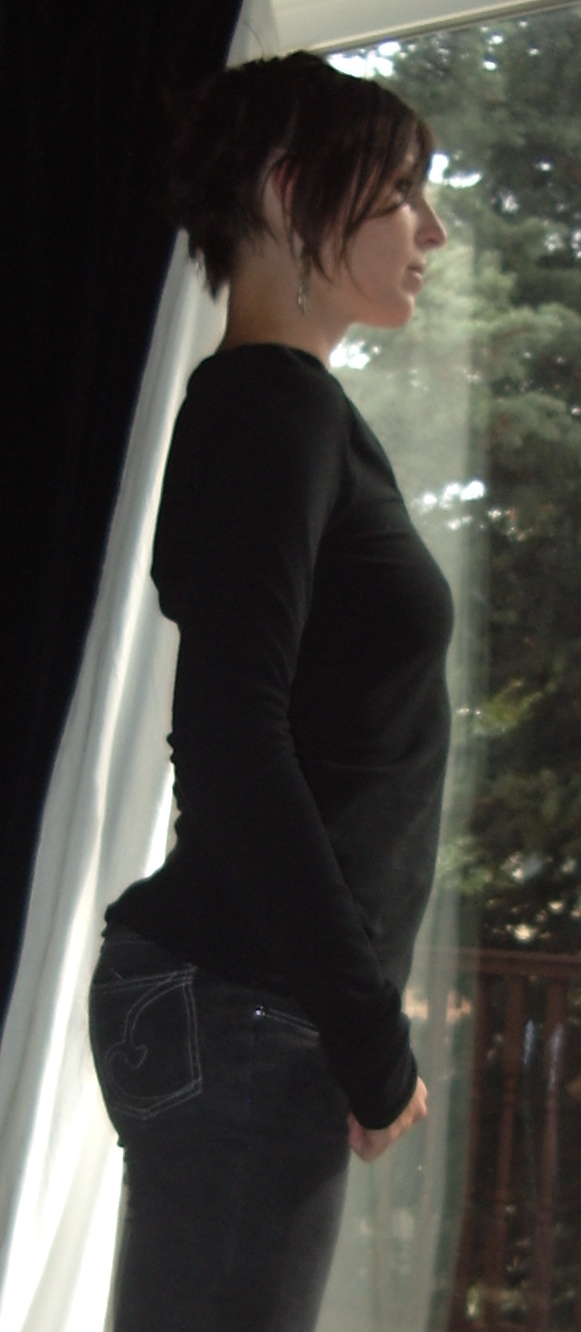
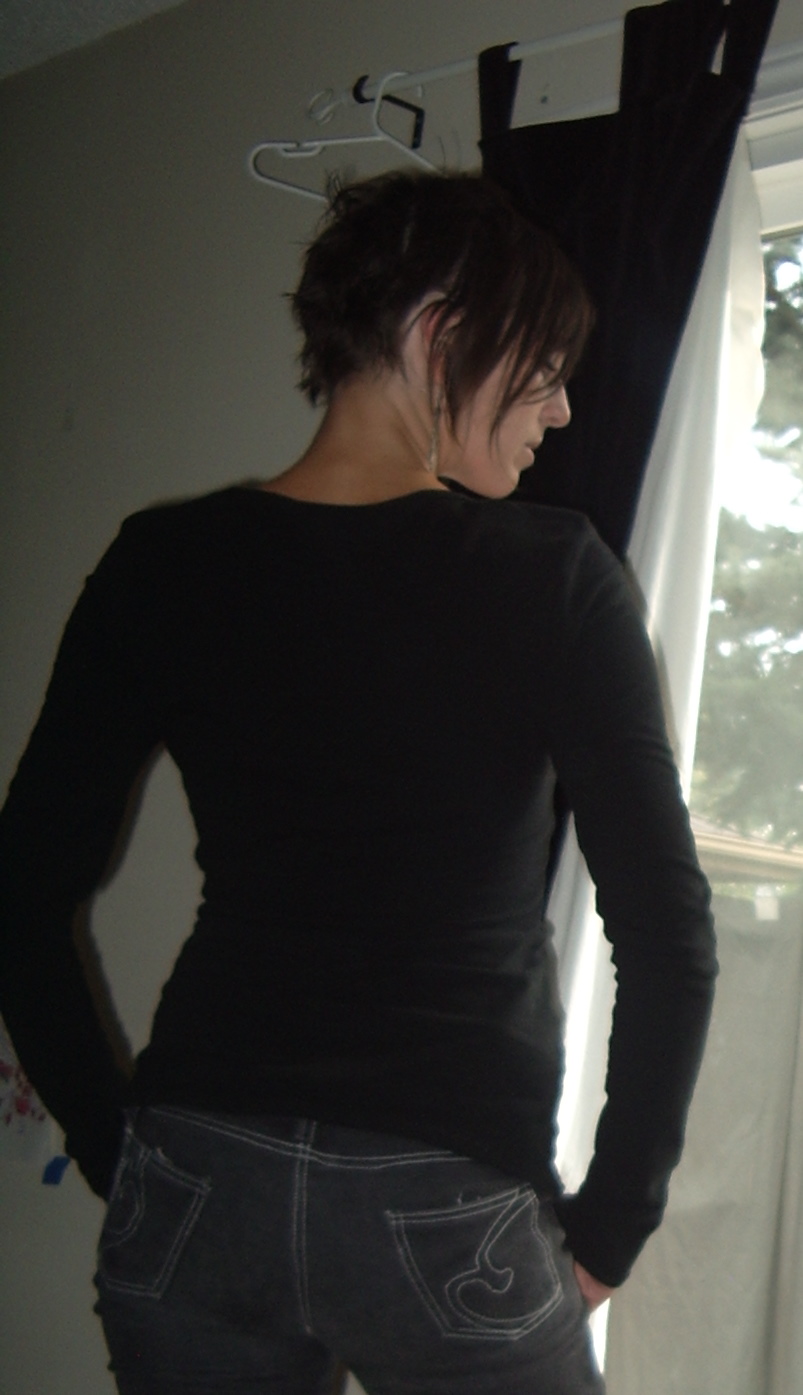
Here’s what I did: Since people were divided on whether I needed less length (petite through the armscye) or less width (narrow shoulder/narrow back), I just went down to basically a 32 (I normally make a Burda 36, though I could probably get away with a 34 sometimes). Then I took a deep breath, had a minor panic-attack, and shortened the front even more. I also shortened the sleeve-cap (while trying to keep as much width as possible. Going down to the 32 took almost an inch off the back armscye, so I left it at that since there wasn’t as much gaping in the back. It looks pretty good now, but I think I could probably petite it even a little bit more; there’s a small amount of horizontal folding still happening along the shoulders at the back. Probably I could’ve kept a little more width in the back, but it’s comfy, anyway. The armpit sits incredibly high, but that’s comfy, too, actually.

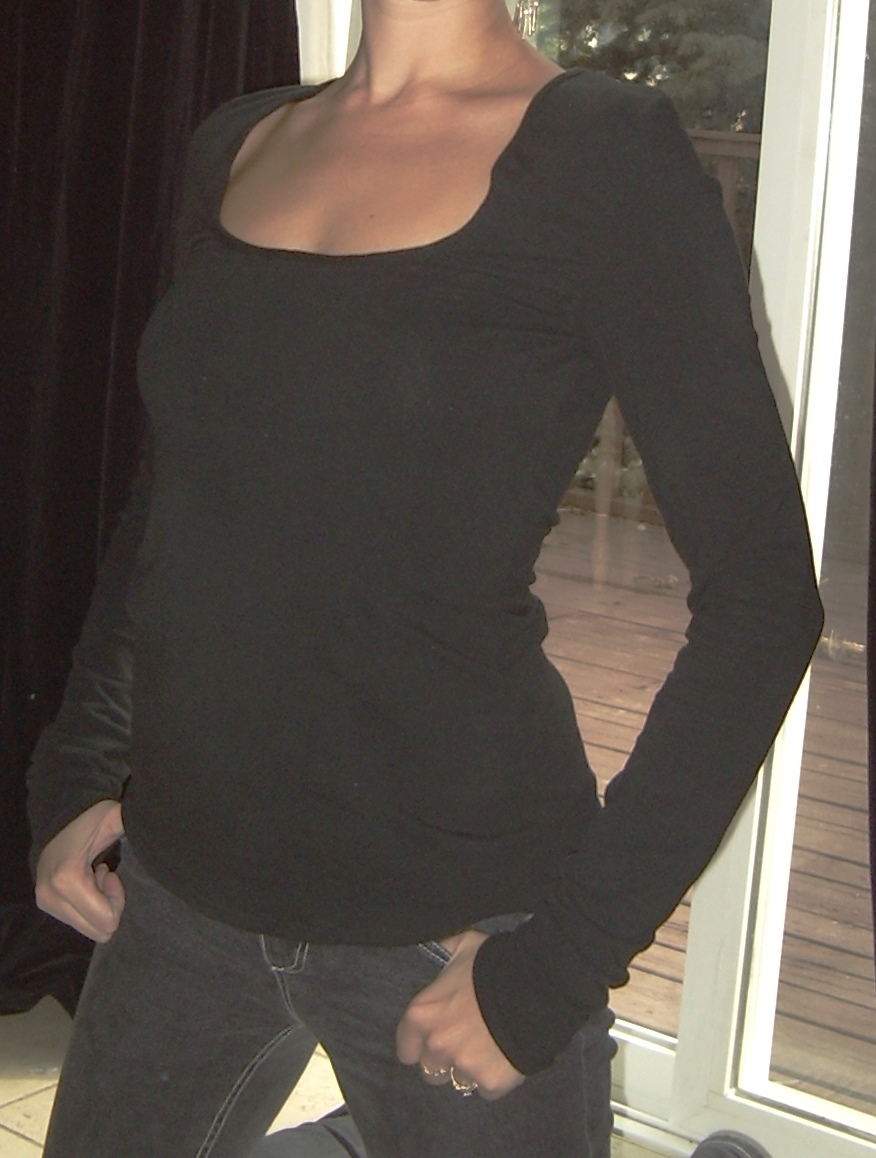
My awesome neck binding!

The swayback is obviously still puddling like mad, though it doesn’t actually bother me. I have read a technique for shortening the back without a centre seam—basically you drop the neckline down at the top, squaring off the shoulders in the process—that might or might not help with that… maybe I’ll give it a try some other time. All in all, I am a pretty darn happy camper.

Here’s a closeup of my awesome neck binding! (Ok, not really awesome but I am pretty happy with it.

And now the neckline, which was too low on the last couple of attempts, is too high again. But we’re getting closer!

So—exciting? No. But comfy, and fitting much, much better, so a trimph. And apparently I’m petite from bust to shoulder. Who knew?

Also, how did the red background work out for photographing the black? I still don’t have anywhere inside that has adequate lighting, but I thought the red (which is my sweater knit by the way) might be better than a white wall or a black curtain.

Speaking of the red sweater knit, I’m a touch torn here on what to do with it. I want to make a flowy cardi-wrap. I have several options.

One is this tutorial here, which has the advantage of being free and cutting into the lovely fabric minimally. Another alternative is this Simplicity pattern that has all the rave reviews on PR; Simplicity patterns are on sale at Fabricland right now, which is good because I wouldn’t want to spend the full $15 on it. The third possibility is the Karen Cardigan off Burdastyle, probably with the waist-tie moved up to underbust level. Probably the Karen is my least favourite of the options… I’m wanting the long, long look.

Any thoughts? Anyone tried the tutorial? It seems a little too simple to be true, kind of thing.
15 Comments

Filed under Sewing

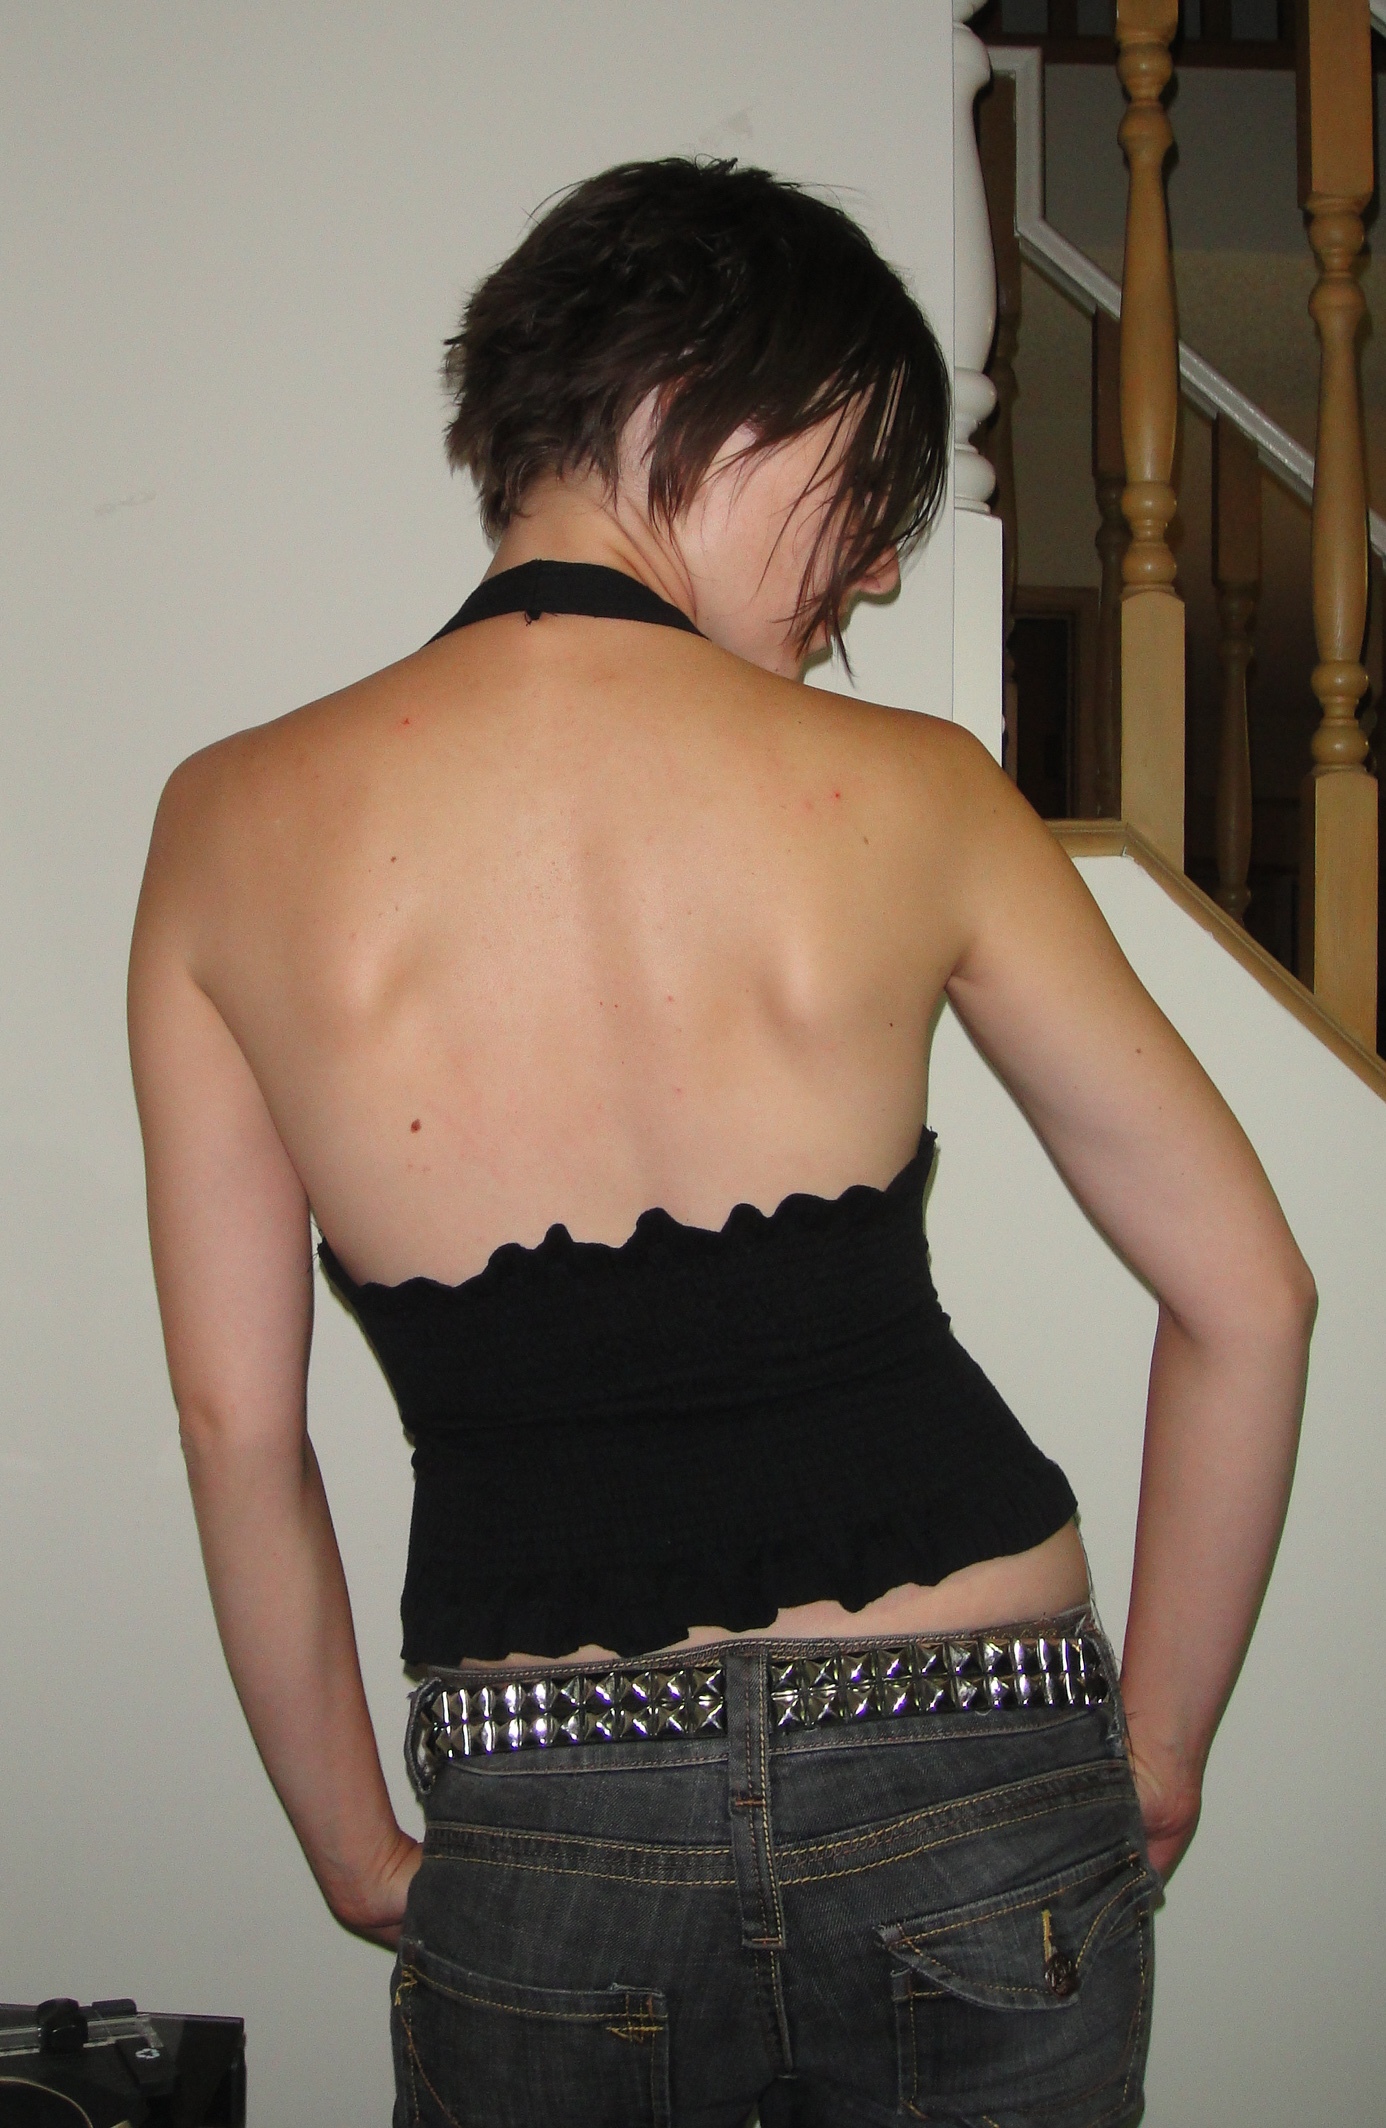
Lydia struggles

Lydia v.3---lightened considerably

I thought I was almost there, folks, I really did. I figured this would be the one.

Instead, here I am (once again) questioning my validity as a sewist and my ability to produce anything resembling a wearable garment.

After the last Lydia, which was really gapy around the neck and seemed to ride up, I took a tuck in the neckline (to reduce gapiness) and altered the side-curve, which was really a little too long for my rather short waist. I also raised the neckline by a good inch. I really thought that would do it, folks. I thought I was there.

Well, this version (which admittedly is out of a different fabric) has the exact same problems! Still bulging in front above the bust (unless I pull it down, but it comes up again as soon as I raise my arms), still too low-cut. (Incidentally, when it rides up to where it seems to want to sit, the neckline is perfect). It feels like the whole front shoulder (between bust and shoulder seam) is too long. Yet when it’s in it’s “comfy position” the bottom of the armscye is way up in my armpit. It’s not uncomfortable (quite the opposite), but it seems unusual.

Here you can see the "bulge" in front of the shoulder best.

I wonder if maybe I’m trying to get this pattern to be something it wasn’t meant to, though. I want a close-fitting shirt I can layer under other stuff (see today’s SSS outfit below)—but the pattern itself seems to have a lot more ease and maybe be intended for a looser kind of garment? I feel like the sleeve cap and armscye are not the right shape for what I’m wanting—it seems to bind and pull up. I’m guessing I need a shorter armscye and shorter (maybe wider?) sleeve-head.

It didn’t help that I experimented with setting the sleeves in before the sideseams, which is a quicker and easier way to install it a) if there isn’t too much sleeve-head ease and b) if you’re better at keeping your stretch tension even than I am. So I’m going to ignore the ripply parts of the shoulder seam as being a problem with my stitching. When it’s “sitting comfy” the shoulder seam is in about the right place (but very loose due to the front pouffing) but when it’s tucked down the shoulder seam seems to fall a bit to the back.

On the other hand, it’s comfy, warm (which I really need today, despite the bright sun in the photos below, it is NIPPY), the sleeves are deliciously over-long (I added a good 3″ in length), and the waist curve seems to sit in a better place than the last one. I think it will be great for layering, assuming I can wrap my head around layering something warm under something chilly (usually I do the other way around). The pictures don’t look too awful, partly because you can hardly see anything ;).

And, I have enough fabric left to give it another go…

Edited to add back view---not that you can see much (crummy black)

Also, I experimented with a different technique for finishing the hems: incorporating a clear elastic. This is supposed to prevent stretching-out and tunnelling of your twin-needle stitches. I am not totally sold. When I tried to attach the elastic first (with a triple zig-zag) and then fold it under and topstitch with the twin needle, it was impossible to get the elastic to feed at the same rate as the shirt fabric (and I’m not up for sandwiching tissue paper into the mix just for a hem finish) When I just tucked the elastic inside a fold and double-stitched, it worked a bit better but I still didn’t have much control of the elastic tension, and there still seems to be a fair bit of tunneling. We’ll see how it holds up after a few washing, but for the most part I don’t think I’ll bother next time.

On the other hand I’m getting almost good at incorporating the elastic into the neck binding, which looks almost store-bought, at least from the outside. 🙂

Self-Stitched September, Day 6:

Self-Stitched September 6

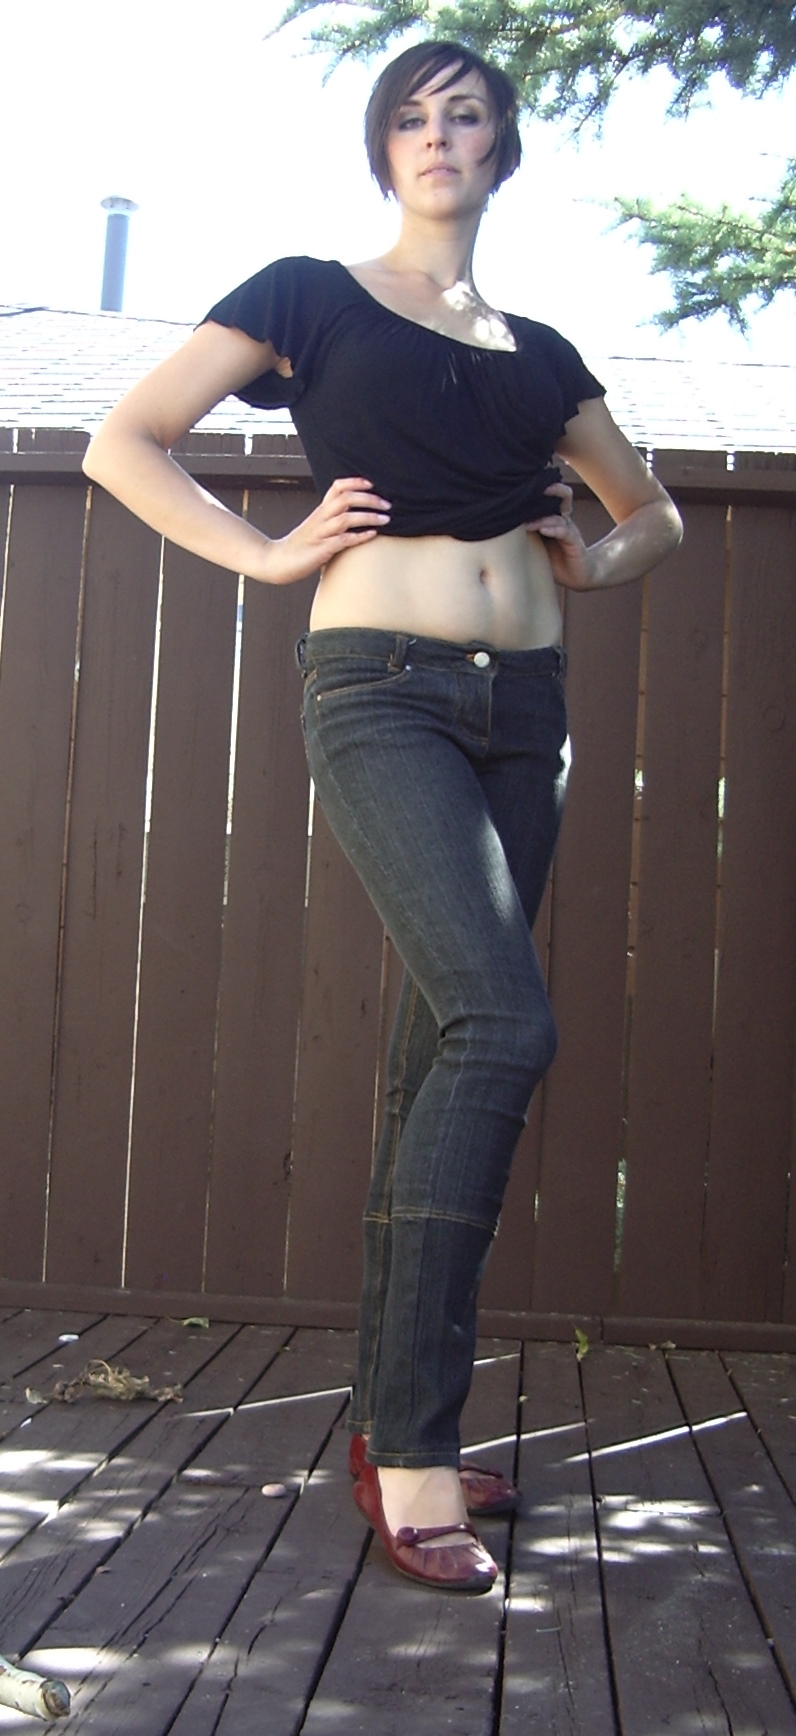
More goofy poses!


Self-Stitched September 6

Messing around. At least it's sunny!

Two pieces that I didn’t have at the beginning of the month!

Now, if I can just make a topper and maybe another pair of jeans… Oh yeah, and that winter coat.

14 Comments

Filed under Sewing

The Evil JJ

Is this shirt evil?

Not because the shirt itself has been particularly problematic—after the sheer JJ anything is a cinch—but because I feel rather evil for making it.

You see, as the Selfish Seamstress, with whom I have a passing acquaintance, is, as we all know, moving continents. And, like most people in those circumstances, she is looking to reduce the possessions for the move. This includes, in her case, her fabric stash…

But this is, after all, the Selfish Seamstress. So at our last coffee, she presented me with two bags of fabric and stuff that she felt able to part with.

Folks, if the Selfish Seamstress is letting it go… well, there’s probably a reason.

Nevertheless, I am an unprincipled fabric mooch, so I took it all with good grace. And among the sheer iridescent polyester there are a couple of nice pieces—not fabrics I would’ve picked out myself, but stuff with potential.

I can only assume that Her Selfishness had too much of the given fabric, or perhaps had a sudden lapse of sanity. Anyway, one of these pieces is a white (something) with black polkadots. There was a little under a metre of this stuff, which turned out to be just enough for a ruffle-less JJ.

A ruffle-less JJ? Seriously, how much fun is that? I have one already, thanks. So I scrounged through my scraps and managed to produce a few narrow strips suitable for producing minute ruffles, but nowhere near enough for the front.

Now,  if you are a stalker dedicated reader of Her Selfishness’s blog, as I am, you may recall that she has posted a few times on the unfortunate phenomenon of ruffled sleeves.

It is at this point, I suppose, that the evil took over.

Sleeve ruffle!

Yes, folks, that is a sleeve ruffle. On the JJ puff sleeve. I put sleeve ruffles on a shirt made from the Selfish Seamstress’s own fabric.

Finished

I’m sorry. The polkadots made me do it.

Evil JJ back

Evil JJ front

Evil JJ---Cute?

Whatcha think? Right? Wrong? Unforgivable? Evil?

Evil?

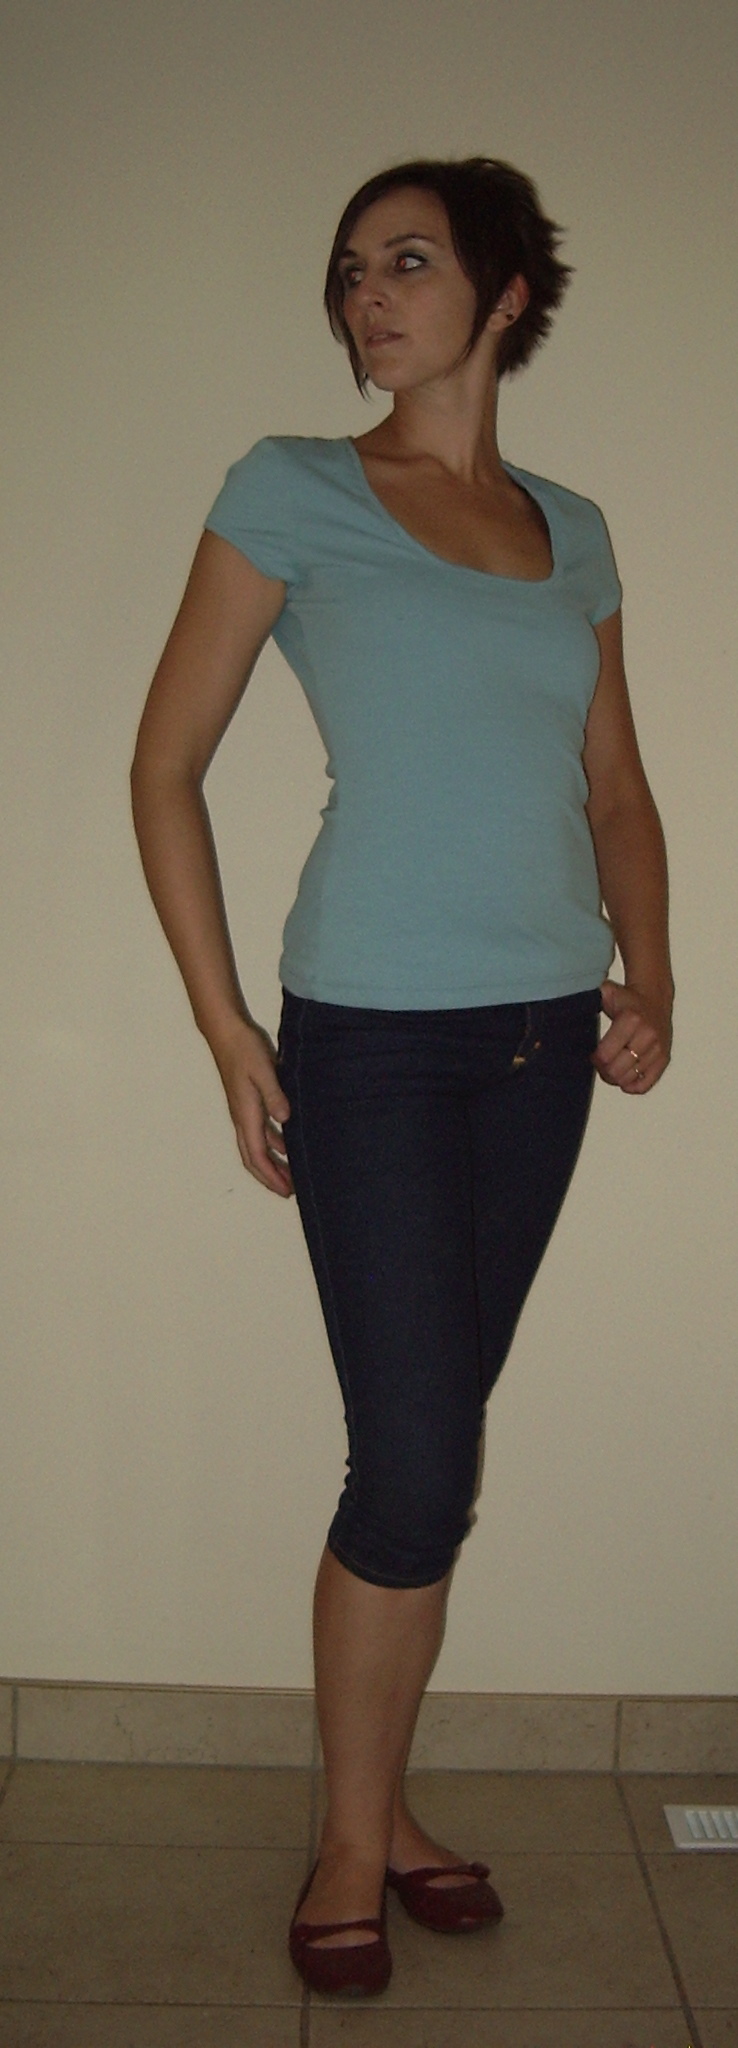
In Self Stitched September news, here’s today’s (unremarkable) outfit:

Today! Bored yet?

At least I got to wear my capris!

11 Comments

Filed under Sewing

Fall Re-fashion

Former capris

Is it still a re-fashion if it’s an alteration to a piece you already made, and never fully finished?

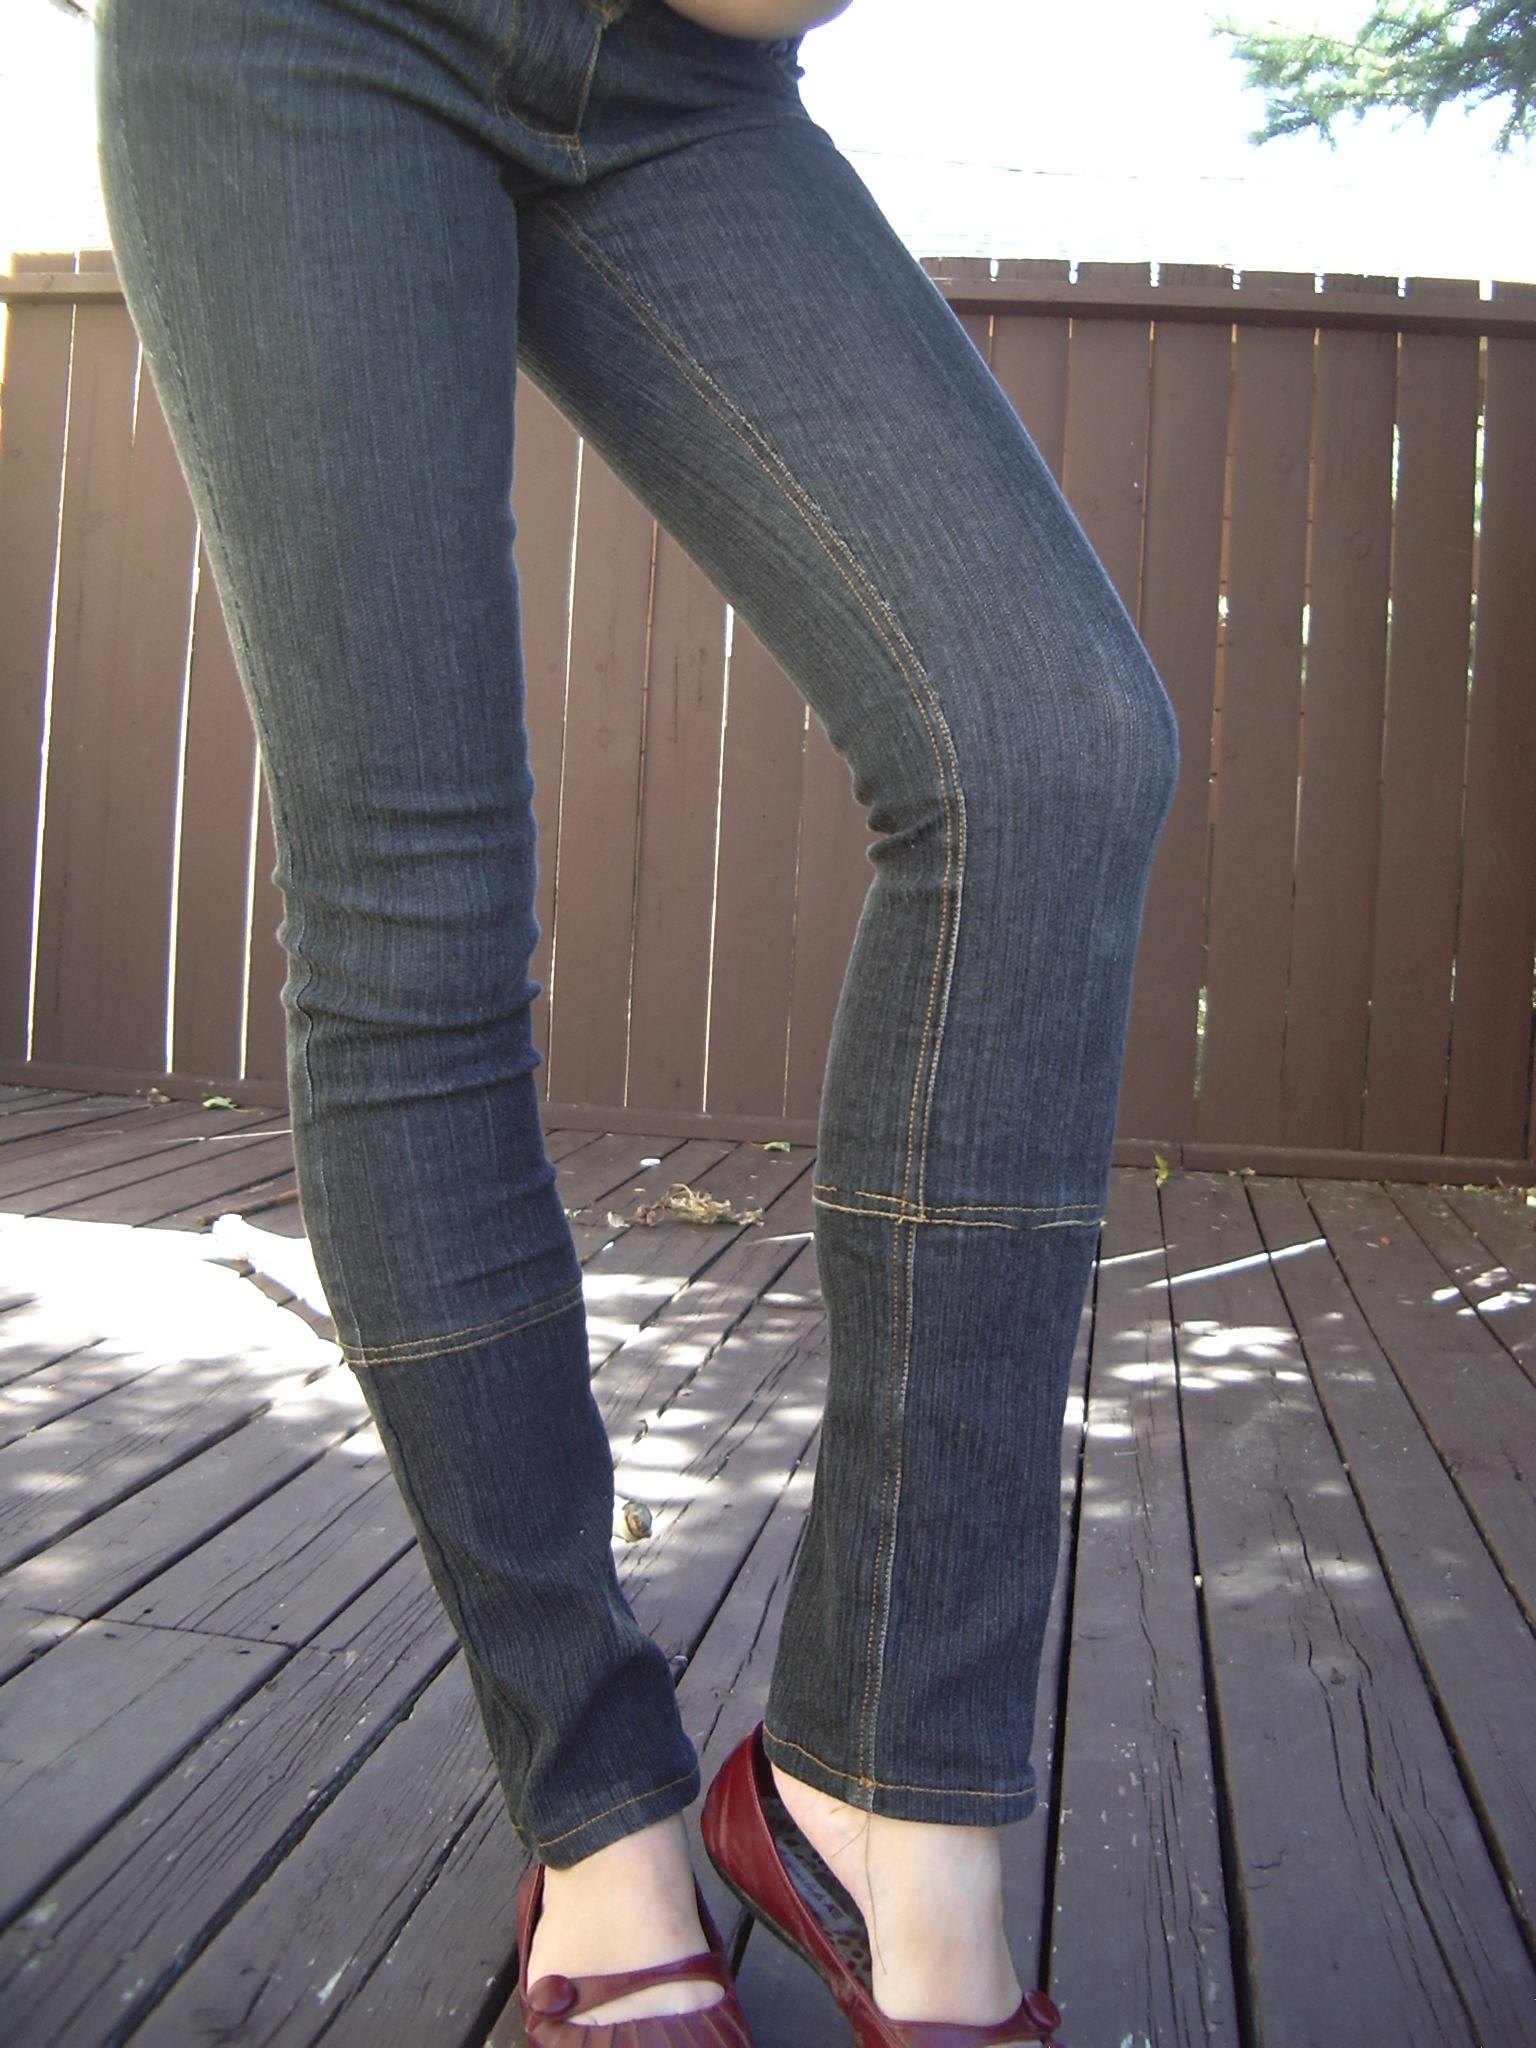
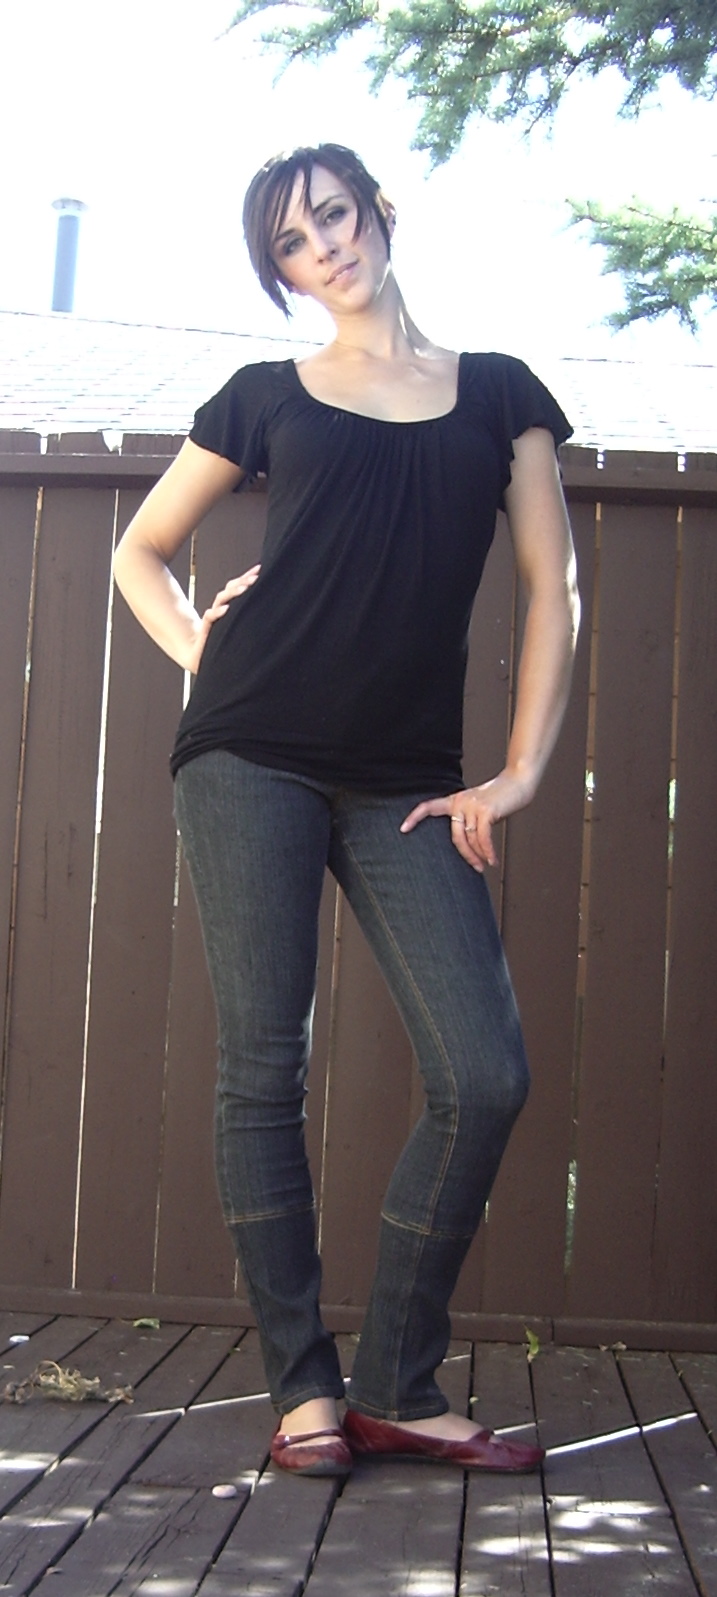
These are my first pair of Jalie jeans. I made them capri-length, but never got around to hemming them. But I have since made another pair of capris that I like better, and I had just enough of this denim left to piss me off (without being enough to do anything with unless I want to make another  Kasia with denim hip-inserts 😉 ), so I made panels and sewed them to the bottom and now I have a pair of (hopefully) interestingly-seamed full-length jeans. I may actually have hemmed

Crappy topstitching.

them a little short… we’ll see. I should probably re-do the topstitching (something went wrong with the bobbin-thread), but I may be too lazy too. It’s not like the rest of the jeans are a great piece of work to begin with. There’s a slight difference in colour between the jeans (which have been washed a few times) and the new fabric, but that’ll either fade or not… either way works. But they will be much more useful to me during Self-Stitched September as full-length pants than as capris.

I still want to make another proper full-length pair, though :).

How they would actually look

The back view

4 Comments

Filed under Sewing

Lydia… progress

Lydia, v. 2: pulled down

I was actually hoping to title this post “Lydia—Redemption” but… well, we are not quite there yet. However, v. 2 is a world better than v. 1. In case you need the reminder, we’re discussing the Lydia pattern from Burdastyle.com, my only paid downloadable pattern to date. $1, woo big spender.

I cut a straight size 36 (my usual Burda size) this time. I also lowered the neckline quite a chunk, since it’s quite high in the original (especially since I use a bound neckline rather than a facing, so there’s no seam-allowance taken in). My binding isn’t great, by the way, but it looks decent in the photos so it will probably pass muster.

This was a vast improvement of fit, especially in the shoulders. I’m also quite happy with how my cap version of the sleeve

Lydia, v. 2: after moving around. Note the looseness between bust and shoulder.

turned out, since I basically had no idea what I was doing (but no way in hell did I have enough fabric left for another try at the long-sleeve version.) They are a little snug—maybe I could spread the pattern a touch next time.

But—and there’s always a but, isn’t there?—there are still some changes to make. Most seriously, the neckline gapes if not pulled way down: when wearing it the whole thing creeps up until it looks more like the picture on the left. This bring the neckline up to a more comfortable point (yes, I lowered it a wee bit too much, even for my dubious modesty). I am going to try the “cheater” method of just taking a tuck out of the pattern along the neckline to bring it in about 1/2″. Another possibility is that it’s the tightness of the cap-sleeve that’s pulling it up; I really don’t think the entire armscye region needs to be shortened (if the problem is the sleeve cap, I will still need to raise the neckline). The bust-to-waist portion of the shirt does need to be shortened; the narrowest point of the curve is definitely a good inch below my (rather high) narrowest point. This also doesn’t help with the riding up. I also brought in the sides a good

Lydia, v. 2: back

half inch each (for a total of 2″ less around the whole shirt, so that’s another alteration to make.

The back view looks pretty good aside from the usual puddling at my sway-back. I’m not sure it’s actually possible to fix this without doing wonky things like adding back seams, so I’m not going to sweat it in a knit. Every other shirt I’ve worn in the last 10 years does the same thing.

All it needs now is a hem!

By the way, that’s 2 shirts from 1m of this fabric, which cost about $8… even if I include the cost of the Lydia pattern and notions, that’s still less than $5 a shirt.  I’m not going to get much better than that, even at the thrift store. And the time it takes to sew up is not much longer than a shopping trip, either. This one was cut and sewn in about 2 hours before bedtime last night—including piecing together the pattern.

2 Comments

Filed under Sewing

Kasia—Complete

Kasia---view 1

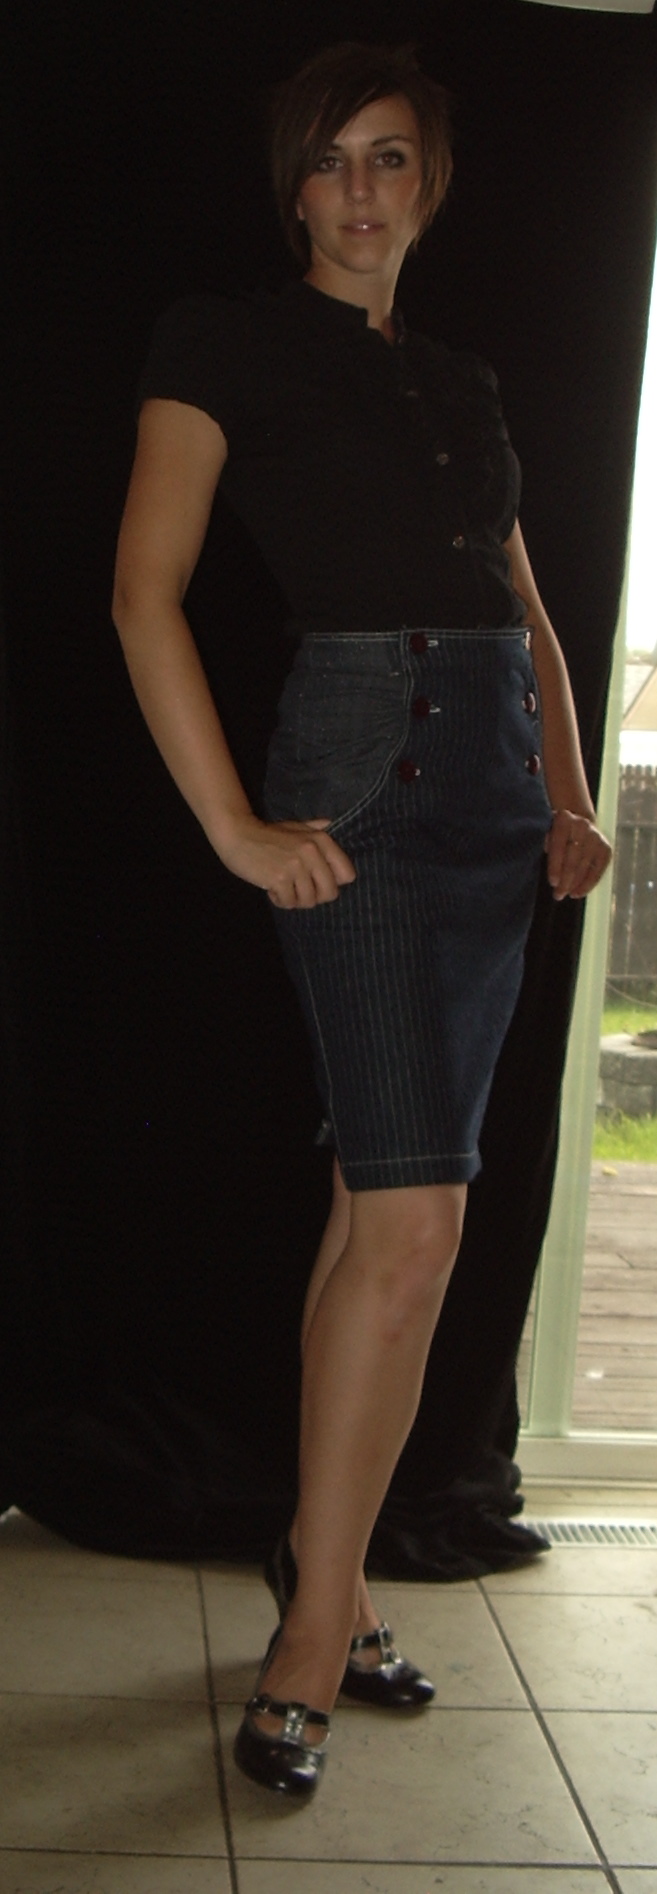
Well, for better or for worse, it’s done. I am going to need some major help styling this… so far the black JJ (pictured) is the best (though it doesn’t show up well at all in the photos). I’m wondering if it would work well with a

Kasia---view 2

Port Elizabeth top—something blousier. I don’t know. This is a foreign concept to me. Also this skirt craves heels. It demands them. For a girl who lives in ballet flats, this could be problematic. I can rock a pair of platforms if necessary, but those wouldn’t be right, either. And I just can’t imagine wearing these pumps all day. I would cry. Maybe with my big kneehigh boots… I could see spending a whole day post just trying on different wardrobe items with this skirt.

Kasia---view 3

I’m not sure if the red buttons are for keeps; they’re the only big-enough ones I had a set of lying around. I do like the colour, but I wonder if something silvery/blue, more in keeping with the colour scheme of the skirt, would be more flexible.

Sorry for the crummy pics; the indoor light isn’t great and

Kasia---view 4

the neighbour was out in his yard so I felt kinda funny clomping around on the deck in my (loud) heels taking pictures in front of him.

In other news, I bought a remnant of ivory tulle at Fabricland yesterday when I picked up the topstitching thread. So fun! I want to use it with the mass of ivory chiffon left over from my sheer JJ blouse to make a crinoline/full petticoat. Y’know, for all those full-circle fifties skirts in my wardrobe.

Well, if I have the petticoat I might make one, right?

This is assuming, of course, that I can get the tulle away from the seven-year-old.

7 Comments

Filed under Sewing

We interrupt your regularly scheduled jacket mangling…

To bring you… a tailor’s ham!

Home-made tailor's ham

Based on the Burdastyle tutorial, it is one half wool, one half cotton twill, stuffed with cotton scraps, and a bit funny-shaped and triangular, not to mention lumpy. I’m not convinced the scrap-stuffing is going to be firm enough in the long run… we’ll see. I feel like a rice or barley stuffing might be a good alternative to the sawdust I don’t have ready access too. I’m not sure what the store-bought ones are stuffed with these days (feels light and plasticky, though). However, it was a lot better to try and shape the jacket shoulders than just the edge of the regular ironing board. I’ve been meaning to make one of these for a while (basically ever since I saw the Burdastyle tutorial), as I’m too cheap to buy one. Next on the list will be a sleeve roll…

3 Comments

Filed under Sewing

Not So Awesome

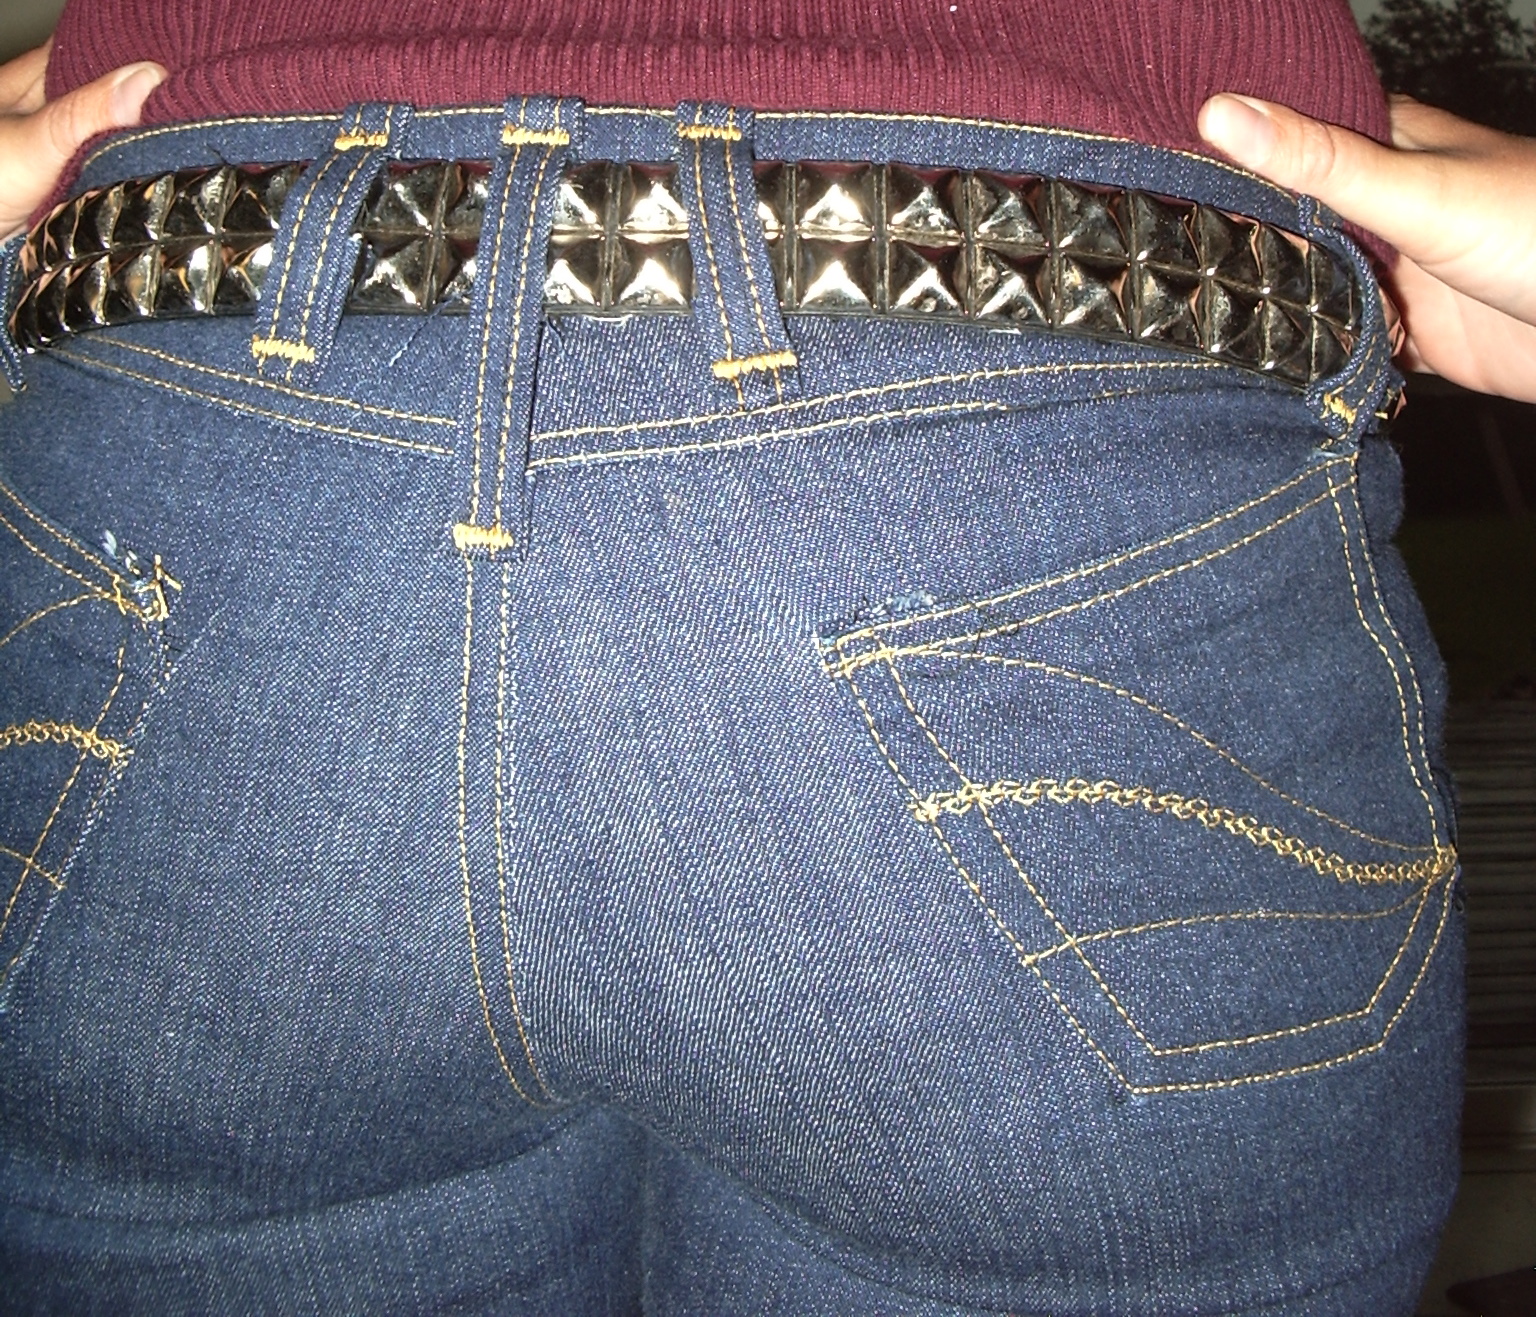
New Jalie Jeans Capris

But they’ll do.

They’re finished except for the studs (which I won’t put in this time until at least one more wash). Nothing special, but considering my spectacular fail on the pattern front, I’m not going to complain as long as they’re wearable.

I’m still having issues with the waistband gaping at the back (probably not helped at all

Rear View

by the pattern goof), so I think I’ll twiddle with the waistband pattern piece a bit. I’m a little scared of how much worse it will get after I wash them. Also I think I should go back to the original width of the waistband pattern piece (I had shaved it down about 2cm) as I think I actually like the wider waistband better. This one’s wider than my last (I used the same pattern piece but 1/4″ seam allowances instead of 1 cm), so it’s a good width, but wider would be nice, too.

One of these days I’ll do something actually interesting with

Belt loop and pocket detail... OMG is that pocket ripping?

the jeans I make. Maybe for the next black pair. I may go back and put a little slit at the seam in the outer side leg just below the knee, too, if I get ambitious. We’ll see. In the meantime—another boring, not entirely quick piece. Now to pray for good weather in September so I can actually use them for my SSS wardrobe.

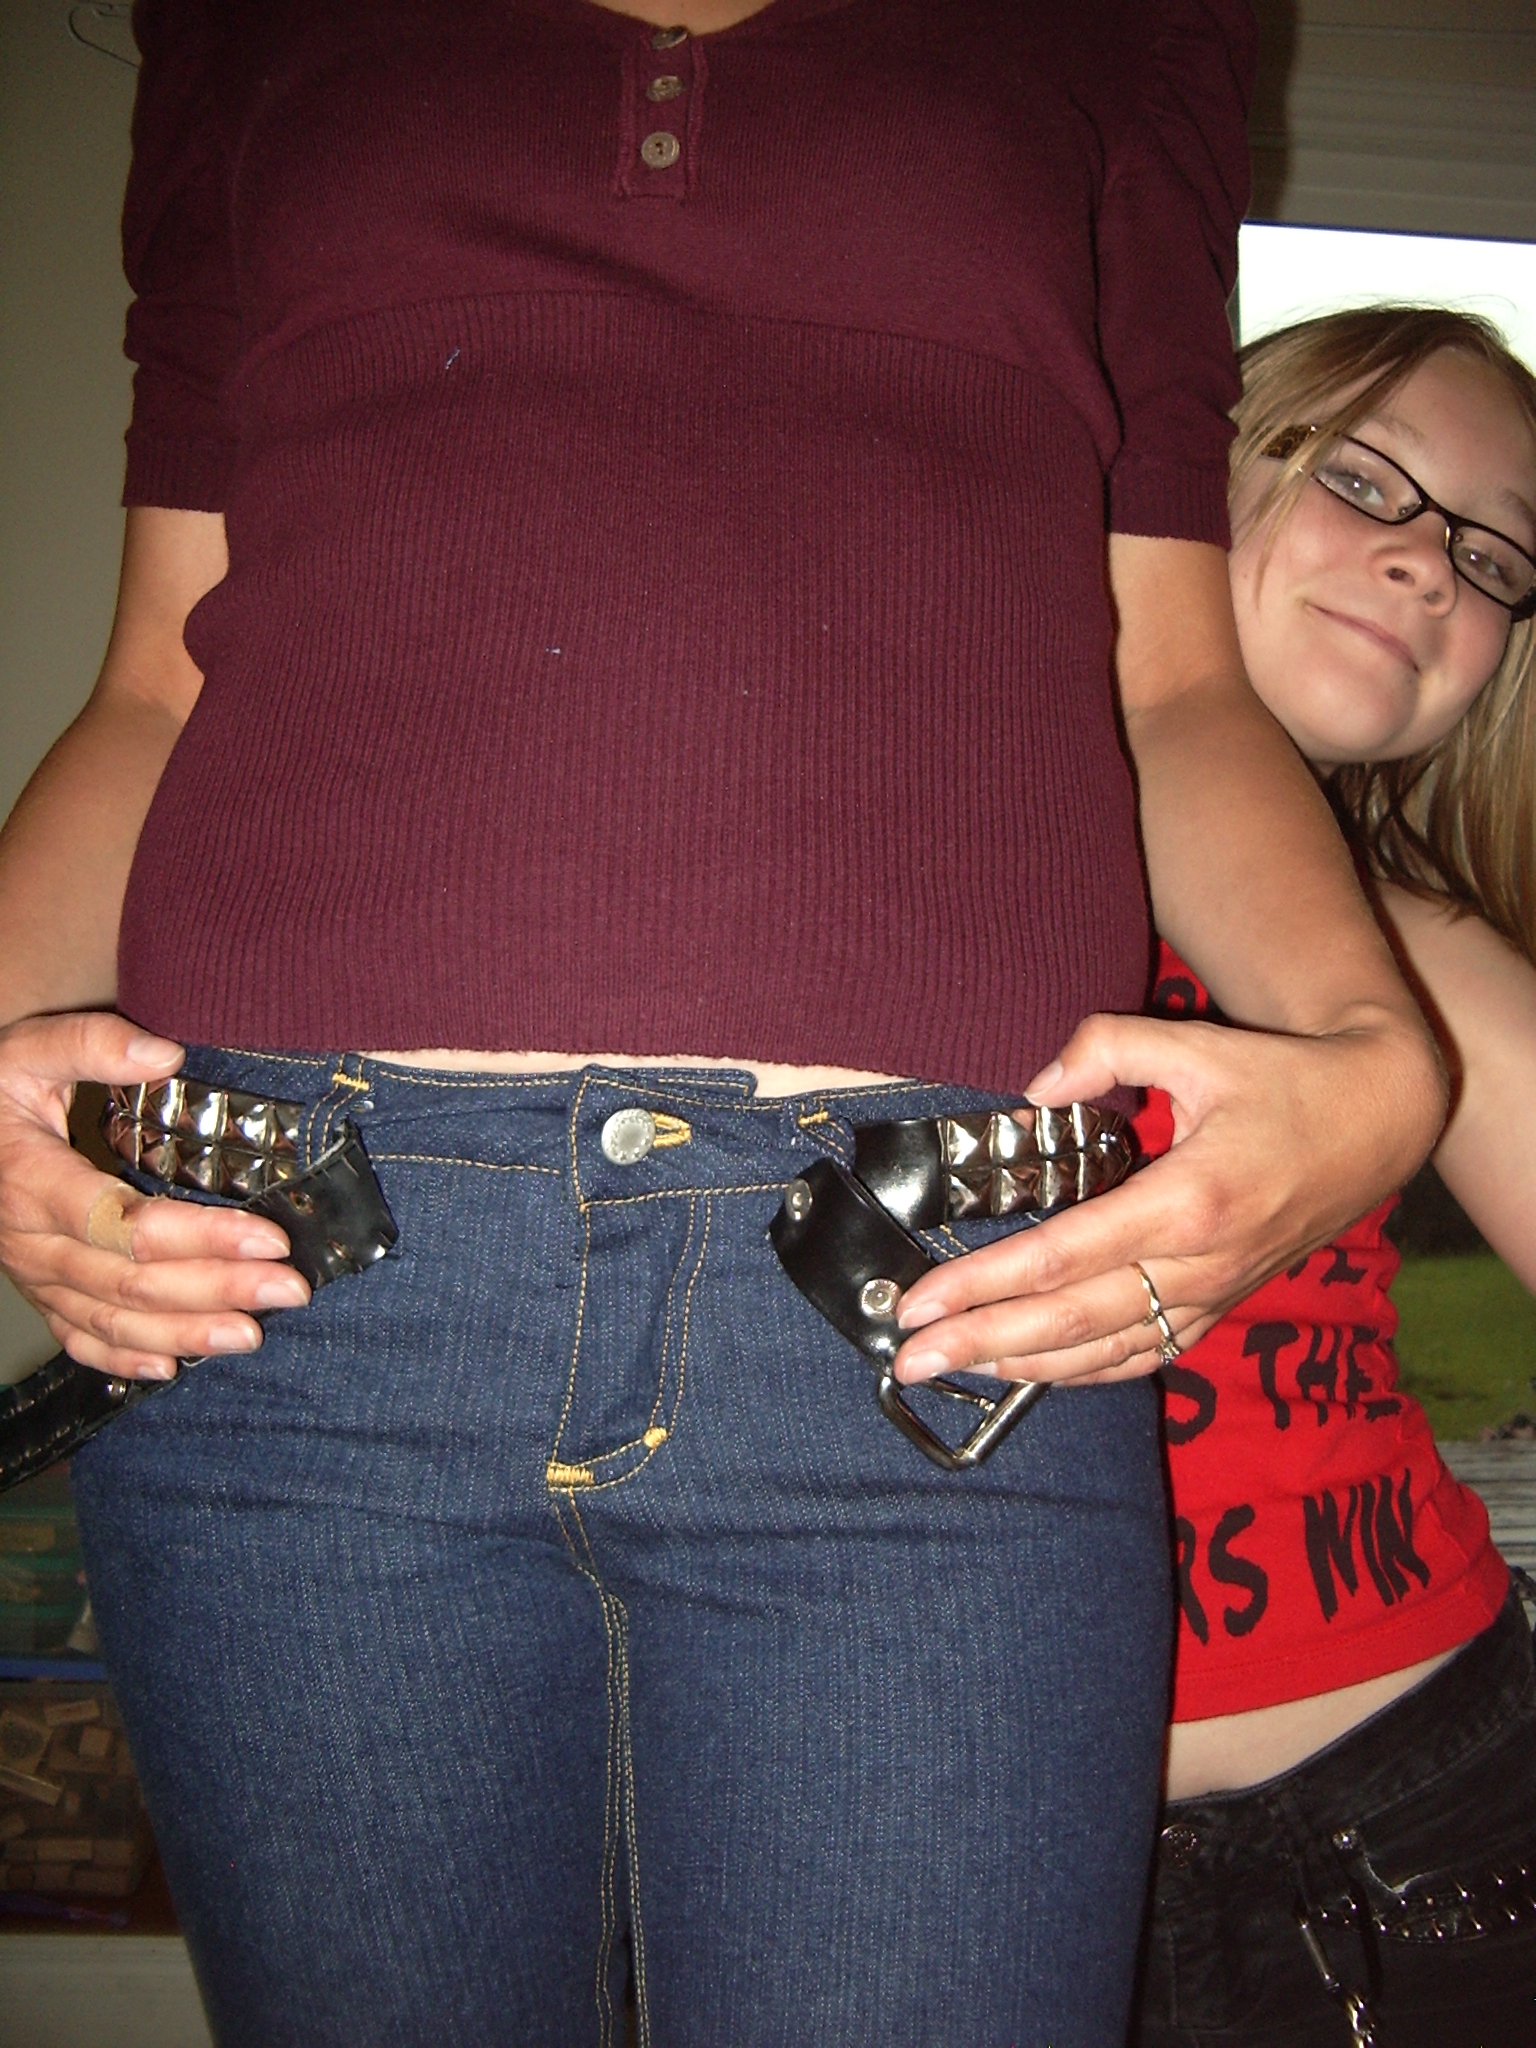
Front Fly---good installation, less good topstitching.

OMFG, the back pocket’s ripping loose! Did I remember to tie those topstitching strings or did I… just… cut them. Yup, I think I just cut them. *facepalm*

There’s the fly, which is my first actual proper fly installation. The topstitching’s not so good. I think my buttonholes are getting a wee bit better, although still nothing like the amazing tailored ones I see pictures of. Also a cute 10-year-old invaded the picture.

Well, for my first finished project in two weeks, I’m not going to complain. Any more.

11 Comments

Filed under Sewing

In action!

I finally got some pictures of these kids IN the stuff I made them (well, some of them). (And wow… everyone really does say you should make them stuff. So far I tell everyone I’ll make them something if they come up to visit for the duration. That shuts ’em up)

1 Comment

Filed under Sewing

Almost.

The front, finished. Still uneven.

Believe it or not, it is actually a different picture than the one I posted this morning. I unpicked the one hem, re-measured it against the other side, re-sewed, put the last three buttons on, and…

Still crooked.

I suspect some of my buttons are spread a little too far apart.

I suspect I will fix this at some point in the future, when it really starts to bug me.

For now… middling success. I trimmed a little too much off the back shirred panel, so it’s a bit snug. I’d like it longer, particularly in the front; that couple of inches of flesh at the bottom of my shirts is something I’m trying to avoid these days. The belly survived two pregnancies with remarkable resilience, but I find that as thirty creeps up some of that damage is reappearing (or maybe it’s just age and my tendency to put any and all weight

Back looks pretty good.

right on my middle).

On the upside, I think the back looks really good. I actually appear to have a waist! (Still no hips, though.) I am always kinda torn about halter tops; sometimes I think they’re good for showcasing (my) broad shoulders, other times I feel like they just make me look like a linebacker.

How about this: use the pattern for the bodice of a full-skirted sundress? Mmm, I like. Of course, by the time I get it made, we’ll be mostly out of summer here…

Comments Off on Almost.

Filed under Sewing