That slinky summer dress

Fun dress

Claire suggested, most sagely, that I make something quick and knittish as a palate cleanser after my recent detail-heavy exertions.  Of course, she was hinting I make up Zoe’s new “vest” pattern, which is indeed quite cute and tempting, but I decided to jump on the maxidress bandwagon. Ok, it doesn’t exactly take much to get me on the maxidress bandwagon. (see here, here… oh, and here.)

Yes, jealousy over Tyo’s Boredom Dress got the better of me, and I busted out Simplicity 7434, all the way from 1976.

Simplicity 7434

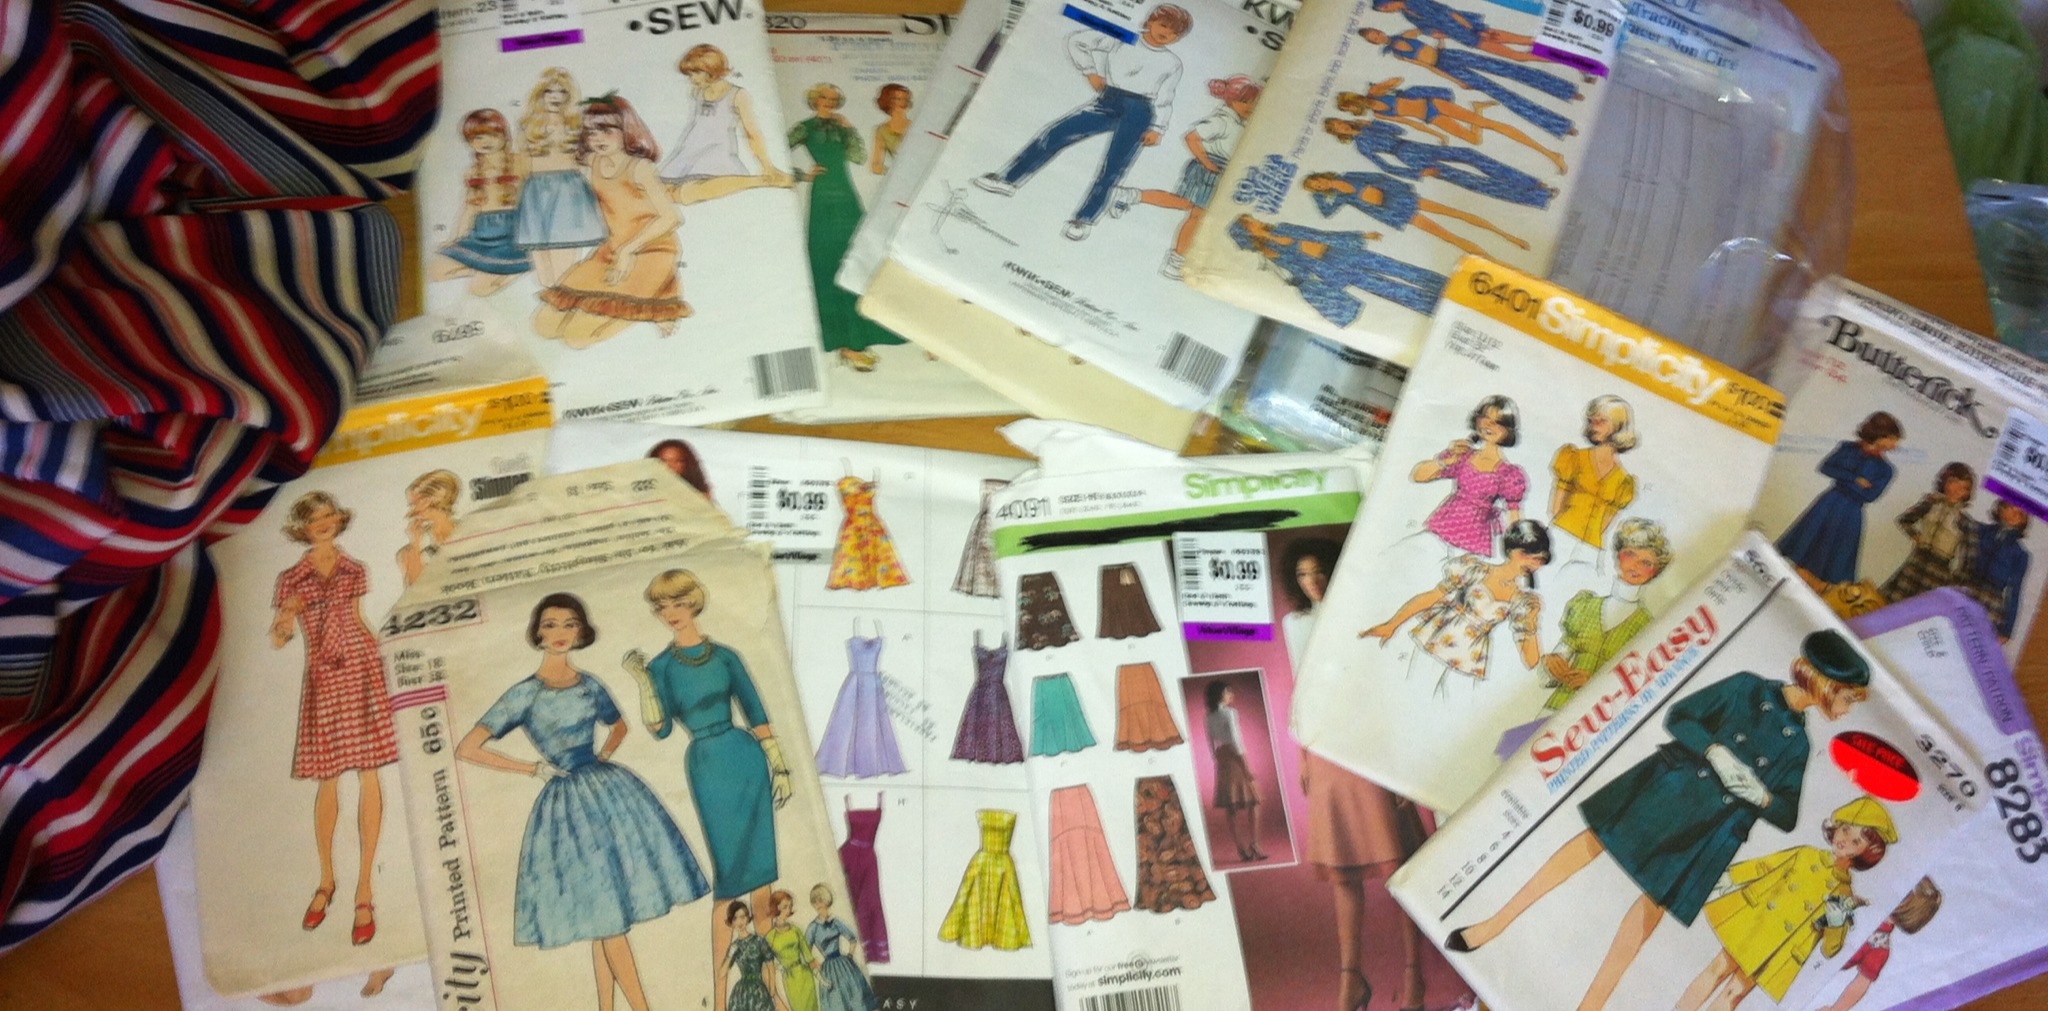
This pattern is part of the Ratzlaff Collection, a number of patterns I nabbed from the Mennonite thrift in my hometown, all of which bear the name “Darlene Ratzlaff” (except one which belonged to “Mrs. Art Ratzlaff.”) Most of them are from the late sixties and earliest seventies, and are a size 10 or 12. So I’m not sure why, in 1976 (or 1977), Mrs. Ratzlaff thought she should buy a size 8 pattern. Did she dramatically lose weight? Is it possible to lose weight when your culinary cultural heritage includes rollkuchen**? Did she have a daughter finally reach the women’s sizes*? Obviously we shall never know (unless I start telephoning all the Ratzlaffs in my hometown until I find the right one. Which would be amusing.)

ANYWAY.

This is designed for a size 8 bias woven. I am obviously not a size 8, but I thought it just might work in a knit. A quick comparison with my altered Renfrew pattern suggested that, in fact, the sizing was almost identical. KA-CHING.

Front view

From the envelope drawing (and even the technical drawings on the back) I’d assumed it was a simple tank-style pattern underneath the funny cape thingy. Not quite—it has separate shoulder pieces, meant to be cut on grain. I opted to cut them double and add a knit interfacing, so the shoulders are quite sturdy. Knit being knit, I cut the dress pieces on grain as well. The only alteration I made was to fold out a small (1 cm) swayback wedge from the back. In the facings-loving world of 70s patterns, this pattern calls for a bound edge on the neck and armscyes! Perfect, since that was what I was going to do anyway.

Y’all may recall that my comparable pattern, Renfrew, is recommended for a stable knit.

Stable knit, this fabric is not.

Back view

When I first tried it on, it was, in a word, tentlike. The only thing that wasn’t sagging and bagging was the (heavily reinforced) shoulders, which were sitting rather too far to the sides. Fortunately, there’s a CF seam. I took in the front and side-seams about 1″ each above the waist, tapering to nothing below, and on the back I angled in in my swayback region to take out 2-3″ of width, tapering to nothing below the waist. There’s still a little bit of room back there that I could tweak further, I think due to the weight of the skirt, but the side-seams are already tending to ride backwards and I don’t really want to take any more out of the front, so I think I’ll leave it, at lest for the moment. Fabric weight produced the gain in length I had expected, but didn’t see, in Tyo’s dress, so that it currently sweeps the floor unless I wear heels. I may have to trim it for practicality, but I’m liking the extravagant length for now.

Front

The neckline seemed a tad bare when I first tried it on, so I added the raw-edge bow (click through to the full size photo if you can’t see it… it’s there, I swear). I was sort of hoping the fabric would whirl itself into tight curls when stretched and stay that way, but alas, no dice. If I decide I really want a skinny stringy bow, I’ll make and turn some tubes, but I think I’m ok with the raw edge. The hem is raw, too. It has a fabulous flow and drape and, as observed with the bow, no significant tendency to curl.

Of course, all of this has been completed just in time for the end of our glorious week of summer weather (I might’ve had better pictures if I’d been willing to stand outside for more than thirty seconds…). Will summer and +30C tmeperatures return? No telling, this close to the mountains, but I fervently hope so. A few solid weeks of heat like that and I might actually be able to face the inexorable return of winter.

Bonus

Bonus: Osiris likes it. Very, very much. >:D

*Tyo is feeling very fashionably frustrated right now. Nothing in the children’s racks appeals to her, but the women’s sizes are still mostly too big. The exception is the very smallest of the size 0/1 jeans, of which she now has several pairs, although unfortunately they don’t have the handy buttonhole elastics for cinching in the inevitable above-butt gapage that is her genetic heritage. Probably I should look into that alteration. *wince* I have a few junior teen patterns, but they’re mostly from the 70s and while I think they’re adorable, they’re not quite the current zeitgeist…

**my stylish sister in law is married to a Mennonite, and has been learning to make rollkuchen. Nomnomnom…

54 Comments

Filed under Sewing

Second verse, same as the first!

A little bit louder and a little bit worse!

I’m about 95% sure I’ve used that as a post title before.

Yet it works, so very, very well.

Tyo’s fishing vest is finished. I was able to avoid some of my mistakes from the first time around, and instead make a whole new crop. I’d say overall, I did not improve significantly. Although I think all the practice with cargo pockets has helped some in that department. And some of the mistakes were the ones I have to make in order to learn why X shortcut was a bad idea. Yes, I tend to have to learn things the hard way. Especially with sewing.

Whaddaya lookin’ at?

The details are all the same as this post, the only difference being I had snaps and D-rings this time, so there are two snaps and a D-ring at the nape of the neck, which is apparently a handy place to hang your little fishing net from. To fit Syo I graded the basic vest pieces up, increasing width by about 4 cm around and length by about 1 cm. I interfaced all the vest body, instead of just the back yoke, this time, which will hopefully add to the vest’s sturdiness (it’s a very lightweight denim), but necessitated some extra pocket linings that I forgot to incorporate properly and had to engineer into place rather late in the construction process. Oops.

Back view

Here’s the only shot you can see the D-ring at the back of the neck.

My girl.

Here’s some random poses.

This one was supposed to show the pockets better.

I’m really far too bored by this whole project to go into the annoying details. If you have something specific you’re dying to know, feel free to ask in the comments and I promise I’ll answer.

And now, on to bigger, better things! (and a fly fishing rod case. Ulp.)

11 Comments

Filed under Sewing

Not dead

… just busy.

There hasn’t been much sewing.

20120713-220531.jpg

What’s up.

What has been done has been of the lather, rinse, repeat variety, which is interesting only in which new mistakes I’ll manage to make this time. I’m making Tyo’s fishing vest, now that Syo’s has been tested and found adequate (aside from the lack of D-rings, which I will be remedying shortly.)

On the plus side, my father-in-law gave me these cute little black thread snippers. They’re quite nifty. He got them from the fly fishing store, but I’ve seen similar designs sold for sewing, as well.

Also, Tyo found my good fabric scissors! They’re the same ones Gertie uses (I had mine first, or at least had them before she blogged hers) and my god are they awesome. Like, panty-wetting awesome. Ahem. Apparently they were on the basement floor underneath the giant neon-green stuffed turtle. They have been missing since sometime last winter, so finding them is a major relief. Darned turtle.

I’m hoping I can power through the rest of the vest this weekend, although what I’ll do after that remains mysterious. Too many ideas, not enough any time. I foresee lots of fantasy sewing posts in my future. If I can even find the time to write them.

On the subject of fishing (which I know you all find riveting), last weekend we attended the grand opening of the “Kids Can Fish Trout Pond” at our local fish hatchery (what, you don’t have a local fish hatchery?) and, among other fun activities, the kids got to tie their very own fishing flies, courtesy of volunteers from the local Hook & Hackle club.

Fly tying

This was an excercise to delight any crafter’s heart—yarn, feathers, beads, wire, string, glue… it was all I could do not to run screaming*.

More fly tying.

Naturally, Osiris thinks it’s the best thing ever. I think the only thing keeping him from sinking several hundred dollars into clamps, feathers, and wire (I already have a selection of beads and yarn) is the fact that we don’t have anything like several hundred dollars to sink into anything right now. And he’d rather be fishing. But come winter, watch out…

It doesn’t help that the lady helping Syo told her she was a “natural.”

*I have more than enough hobbies, thank you. I feel much the same way about scrapbooking.

14 Comments

Filed under Sewing

It has been brought to my attention…

That yesterday, I wantonly and willfully, with complete disregard for public health and wellbeing,  planted the Spiderman theme song (and Simpsons version), in the minds of hundreds of innocent readers.

For this, I humbly apologize, and, in meagre recompense, offer you this:

Spiderdress Throwdown

Yes. Photoshopped Spider Dress Throwdown Sewdown.

Unfortunately, I was too lazy to go back and take photos in more active, cooler poses, so this is what you get. I like to think we’re about to go rescue some poor soul from the curse of ill-fitting storebought clothing…

Also, this is totally Oona’s fault.

27 Comments

Filed under Sewing

Spider Dress, Spider Dress…

Spider Dress

Does whatever a spider… um.

Dude, Homer got further than me. Urg.

Questionable theme-song rip-offs aside, I proudly present my (almost timely) Spiderman Dress, made of two metres of thrift store Spiderman fabric. Those of you who know what’s what may recall that Cindy of Cation Designs and I had a totally impromptu sewalong/throwdown for our spiderman dresses. She claims it’s a match of n00b against l33t. I’ll let you decide which is which… I’m pretty sure I just got pwned. (incidentally, my children use “pwned” in conversation. I didn’t even know you could pronounce that word. It’s pronounced “poned,” apparently.) You are warned now, she took totally cool perched-on-top-of-building-photos. I did not.

New Look 6459

The pattern, as I mentioned before, is New Look 6459. This is actually a fairly recent pattern (2005) and I even remembered to check the reviews on Pattern Review before cutting! Yay me! (I used to do this all the time, but as my obsession with the thrift store pattern set has grown, I got out of the habit. They just don’t have thorough coverage of 1970s patterns on that site for some reason ;).) Anyway, this was my first try at a New Look pattern. The reviews all agreed that the dress ran large. I was a bit puzzled by this, since it does have the allegedly helpful “finished garment size” measurements printed on the pattern itself, and they suggested a very reasonable 1″ of ease at the bust. However, I was suspicious enough to take my measuring-tape to it (it’s a pretty simple pattern, anyway), and sure enough, the amount of ease at the bust in the pattern was much more like 2-3″.

Not totally pointy darts. Please ignore the wrinkled state. It’s way too hot to iron right now. Which is a Very Good Thing.

So I traced the pattern with a size 10 at the top (I am a size 12 by bust measurement), but past experience has made me wary of A-line skirts in the bottom half department, so I graduated out to the 12 below the waist. Which waist I shortened by about 3 cm. This is all in the skirt, by the way. The bodice piece I traced exactly as a size 10; the only change I made was a bit of careful dart-reshaping in the hopes of avoiding the niplicious look. I also did my usual swayback alteration. In short, I did all my standard alterations except the square shoulder, which obviously doesn’t apply. The waist-height ended up pretty much perfect, so win. The height of the bodice itself is none too generous, however—if you have any kind of a larger bust you would need to add some serious length there to get decent coverage. I wouldn’t have minded an extra half-inch at the top myself, although it’s perfectly wearable as is.

Line Drawings

I had intended to make View C, but forgot to mark the stitch-line for the notch on the pattern piece and ended up making something resembling view B but with halter ties. Oopsie.

I decided the dark print needed something bright to make it pop, and, very uncharacteristically for me, it had to be yellow (to draw on the tiny flecks of yellow windows in the buildings on the print). I tried to talk myself into red, which is much more my style, but nope. It had to be yellow. Fortunately my excessive stash of thrift-store bias binding turned up some bright yellow, so I used that to make a flat piping for the upper edge (much easier since I clean forgot about that notch) and a ribbon-type look on the top of the skirt.

Back view. I don’t think I would want it any narrower in the skirt.

I find there’s a real tension in sewing between finishing something nicely and being able to fit as you sew. I certainly ran into that a *lot* with this dress. Because of the piping and ribbon, it was impossible to alter the side-seams and take it in there. I wound up taking the excess (yes, even going down a size, I still took out about an inch) at the back zipper (tapering to nothing below the waist), which I think contributes to some of the odd folding around the back, not to mention the way the side-seams run towards the back. Oh, well.

Front view

I had opted to add inseam pockets, but they were a bit bulky for the fairly slim skirt, and just didn’t look right, so off they came. I suppose I can put them in something else if I really feel the need…

Hem facing.

I liked the length un-hemmed (remembering I lost an inch when I shortened the waist), so I decided to use up some more stash—this time a red bias hem facing I bought way back when I was finishing my Lady Grey jacket and waffling over the best way to finish that hem. I do like hem facings, although probably this particular fabric didn’t need any more body at the hem. I really like the flash of red there, though.

Fun with Filters

All in all I’m pretty tickled. I could wish it was a little more figure hugging or didn’t have this or that odd hang-up, but for what it is, it’s pretty sweet, especially since summer has arrived in southern Alberta (possibly for the first time in the five years I’ve lived here) and we’ve had several days of +25C (that’s over 80F) temperatures, with more to come. It passed 30C today, and I couldn’t be happier. Ok, if someone called up and offered me a million-dollar contract to be their personal stylist and technical illustrator, I might be happier…

And it’s superhero-y.

Win.

Well, unless I have to go up against Cationess.

43 Comments

Filed under Sewing

A dress for the boredom

A dress for roasting marshmallows

My kids have been done school for just over a week, although they’ve only really been home for the last two days, since we went Home for Canada Day (July 1, just for reference). Nonetheless, last night Tyo was moping around as only a near-teenager can. “Dad and Syo are out fishing, Grandpa’s watching TV, and you’re sewing! There’s nothing to do!”

This is actually wonderful.

“So, does this mean you don’t want to be homeschooled after all?”

Since the main thing coming out of her mouth for the last three months  of school has been requests to be homeschooled.

“NO! I don’t get to see any of my friends!”

Somewhere, choirs of angels broke into hallelujah chorus.

Anyway, it appeared that the only thing that could possibly alleviate boredom at eight o’clock on a Friday night was sewing with me, or rather, me sewing while she sang me her most recent song.

Front view

The fabric she selected was one of the slinky knits that I can’t seem to resist. I love buying them. I love wearing them. I just don’t. love. sewing. them. This particular knit threw itself at me on the Fabricland Canada Day sale (which took place several days early) when even the clearance racks were fifty percent off. I have a hard time resisting $1.50/m fabric. Fortunately, I bought three metres, so even with this dress for her, there’s still plenty left over.

ANYWAY.

Obligatory racerback shot

For the pattern, we just used the ubiquitous racerback tank pattern, Y1201 from Young Image Magazine (which was a dress pattern, originally). I added what I thought would be enough length to take it to her knees, and a bit of width over the hips because, well, Tyo, and more-or-less happily went to work.

Now, the four previous times I’ve made this pattern, I’ve used a rib-knit. What I hadn’t really grasped on was how much rib knits grow. I mean, my brain knows it, but I didn’t really understand it. This was an easy-fitting tank when stitched in a rib-knit—close fitted but not exactly skintight.

In this slinky knit it’s, ah, pretty tight. Note to self. Also, next time add more to the butt. Tyo is not one of those children who can wear a skirt whose back and front are cut the same.

Because I don’t trust these slinky knits as far as I can stretch them (which is pretty far, actually), I used clear elastic inside the binding on the neck and arm-holes. I didn’t stretch it quite enough on the neck, which is a bit wavy, and then stretched it a little too much on the arm openings, so they’re a bit snugged up. It seems pretty much ok when worn, however. I should really look into elastic and/or binding attachments for my machine…

Back view

I had measured Tyo from shoulder to knee to get the length, thinking I might have to trim some off as the fabric sagged under its own weight. But I forgot/neglected that four-way stretches will lose length as they are stretched sideways, so it’s actually an inch or two above her knees. Not horrendously mini, but a bit shorter than planned. It rides up a bit in back, but I’m not sure if that’s because it needs extra length, or more width so it doesn’t get caught up on her posterior. Probably both.

We left the bottom unhemmed, as I’m congenitally unable to get a nice hem in these thin knits so it would flow nicely.

I was a little worried about how sheer the white base fabric might be, but it doesn’t seem to be horribly bad.

Stretch!

OK, actually I’m really jealous. I love this fabric, and really want my own garment out of it. I’m thinking flowy maxi-dress.

29 Comments

Filed under Sewing

Somebody Else’s Handmade Dress

A dress of semi-mysterious origin.

Ok, how to explain the provenance of this dress? My crafty sister-in-law (techically my brother-in-law’s wife), has, astonishingly, both a mother and a daughter. Long and long ago, her mother was a seamstress, and at some point ended up with a store of (now) vintage dresses. A year or two back, she offered one of these to my crafty sister-in-law’s daughter for her grade 8 graduation. She altered the dress quite a bit, in particular removing the sleeves and shortening it, but in the end, said ungrateful child didn’t like it (at least partly because it’s quite tight in the bust on her,* but also because her grandmother wouldn’t shorten the hem any further) and wore a modern, storebought dress instead. On my most recent visit Home, said ungrateful child offered the dress to me. And then, when I tried it on, declared how great it looked on me.

I, also, think it looks great on me.

I’m not entirely sure how to take that, frankly, but anyway. Here’s the dress. Questionable taste of fourteen-year-olds aside, I like it quite a bit.

The vintage is late sixties or early 70s (I was told 70s but the style feels more 60s to me… maybe that’s just the length, though, which has been altered). It’s an empire-line cut with a darted bodice and long darts to fit the skirt over the hips. In fact, it’s very similar in style to the grad dress my mother made herself in 1970. And it was entirely home-made, by someone whose skill, while adequate, certainly wasn’t any greater than most of us bloggy types.

The interior.

The dress is unlined, but entirely underlined. It’s made out of a satiny teal twill, undoubtedly polyester, with an overlay of white lace in the bodice area.

“ribbon” waistband

The matching ribbon “waistband” and bow at the front are made of tubes of the fashion fabric, finished by hand at the ends.

Seam finish and darts

The raw edges on the inside are finished with a zig-zag (with considerably less rolling than I’ve ever encountered when zig-zagging). The long, double-ended waist darts have a snip in the middle, to allow them to curve more smoothly. Possibly I should be doing something similar for my Project Drop Waist efforts, but I’m not a big fan of the raw edges. I suppose that’s what lining is for.

Shoulder seam

The shoulder-seam is finished by hand. Given that the dress originally had sleeves, and how freakin’ snug it is under the armpits, I suspect my sister-in-law’s mother took the shoulders up to shorten the whole bodice for my niece, who may be busty but is definitely not tall. The bust darts are distinctly high on me, too, although where the empire waist falls is perfect. (That being said, before I read the Slapdash Sewist’s trick, I used to sometimes finish sleeveless shoulders this way, too, so I didn’t have to hand-stitch in the lining (in this case, facing). But like I said, the dress originally had sleeves, so I can’t imagine why it would’ve had this kind of finish on the shoulder if it’s not from alteration.)

Lapped zipper

The back zipper is lapped, and the top has some of the same kind of funkiness that I tend to run into when I attempt such things, making me think that either that’s intentional or that the dress’s original stitcher was as inept as I generally am. Other than that it’s reasonably well executed, but not hand-picked.

Back view

The bodice fits well enough but the rib zone is, ah, snug. Cute, but not quite fit perfection (not recommended if deep breathing is going to be required, either).  As per usual, the portion above the waist is a smidge long (but less than I might have expected, which also makes me think the shoulders were taken up). Fortunately, there’s lots of room in the hips. The horizontal fold deepens a bit at centre back—swayback joy.

Inside view of bodice darts

The bodice darts are sliced, zig-zagged, and pressed open to reduce bulk. I have heard of this, but haven’t tried it yet myself. I think that about covers the construction details, however. Oh, bodice is finished with a one-piece facing, which you’d be able to see in the first interior picture if you clicked to embiggen it.

Still cute. Fit quibbles aside, I feel like a curvy bombshell in this dress. Which is unusual for me.

Also, I GOT A HAIRCUT! It’s been, um, six months. Aiee. I feel human again! Although I tried to use a hair wax to style it this time, like my stylist does. When she does it it looks smooth and soft and fluffy. Somehow, whenever I try to use a wax, it ends up stringy and greasy-looking. But I won’t complain, because I love my haircut. And this dress. I totally don’t think it’s over the top to wear a vintage 60s prom dress for running errands. Do you?

*yes, my fourteen-year-old niece gives me hand-me-downs…

35 Comments

Filed under Sewing

Willpower: Fail

20120702-123304.jpg

20 Comments

July 2, 2012 · 12:34 pm

Fantasy Sewing: Spidey Dress Throwdown

Spidey and New Look

Ok, so a little bit ago when I shared my find of two metres of Spiderman fabric (probably quilting cotton, but oh, well), Cindy of Cation Designs (yes, she of the infamous Original Star Wars Dress, not to mention the Superman Dress and the Batman dress), suggested a super-quick Spidey sewalong, something we could wrap up in time for the movie’s release on July 3.

Dude, I totally want to wear a Spiderman dress to go see that movie. Almost more than I want to see the movie itself (which I do want to see, but I wasn’t going to sweat over, haven blown most of the summer movie budget already on stuff like The Avengers and Snow White and the Huntsman.)

That being said, July 3 is less than a week away, AND there’s Canada Day in the meantime, so the odds of this getting stitched up in time for opening night have become vanishingly slim. So maybe this is less of a throwdown and more of a forfeit, but anyway. I guess as long as I get the dress made in time to actually *see* the movie it would still be awesome…

14 Comments

Filed under Sewing

Simplicity Blues, or, ElleC’s Revenge

Hmm.

Remember this pattern, Simplicity 6710? No? I don’t blame you. I probably wouldn’t either, except that it’s been kicking around the corners of my sewing room, leering at me, for three months. Well, in the wake of the Fishing Vest, I’ve been in a light-weight, puttery sort of mood, so I’ve been trying (in my half-ass way) to tidy and clear some things out in the sewing room. I finally stitched up the Young Image racerback tank in Syo’s size, which I cut out (at Syo’s request, I will emphasize) weeks ago. I’d blog about it but it looks basically identical to Tyo’s. Tyo is not pleased about that, by the way.

So, why did this project slip into UFO-dom? Well, it was a combination of factors. The single biggest is that, when I decided to make it up, I wanted a mini-dress length. I figured adding a couple of inches to the tunic length on the pattern should be good. When I got to the point pictured above and could actually tried it on, I realized we were still well within tunic territory, and at lest three or four  inches shy of mini-dress length (and that’s without considering hem allowance.) All of a sudden my excitement for the project went down the toilet.

Expecting, much?

Aside from that, this is that poly crepe and holy &*($ does it piss me off. It’s got gorgeous drape and I love the colour, but damn—it shifts, it wriggles, it slips, it frays, and it DOES NOT PRESS. Urg. Obviously there was a good reason it was at the thrift store. Also, while the drape is beautiful, it has a bit too much body for the gathers on the front (the photos are after I pressed the crap out of the gathers to flatten them). Anyone looking for a gorgeous 70s maternity dress, I think I have just the pattern for you. Which is probably at least partly the pattern’s fault—I’m thinking this is a case of excessive gathering.

And then there was the zipper. Part of a gift from ElleC this spring (I also got the pattern from her, way back when. Do I sense a pattern? ElleC, are you out to get me? Wait, don’t answer that.), it was the perfect colour, so I figured it was kismet. Or some other mythical force. Anyway, I already knew I could wriggle into the dress top sans zipper, so obviously I was just looking to make my life difficult. It was a disaster. It’s been a while since I tried to insert a centred zipper, and the crepe wriggled and slid and bubbled and bulged and, well, by the time I got it all unpicked I was thoroughly pissed off and chucked the whole thing in a corner.

The good?

But now that I’ve whinged thoroughly about the bad, let’s move on.

I made my usual changes for fit:

  • petite bodice (1.5 cm) (this required petiting the sleeves as well, which I did by just taking a fold out of the middle, on grain.)
  • square shoulder (1 cm)
  • swayback (2 cm straight across the CB piece, angling from 2 cm to nothing in the side-back piece)

That vintage look (courtesy of Picasa filters)

I even remembered to add the length I took off the back in the swayback adjustment, back on to the hem of the back pieces. Now if only I’d added a few extra inches of length all around. (And even more in the back…)

Apparently my square-shoulder adjustment was, for once, unneccessary. *headdesk* There’s some distinct drag-lines from the shoulder that go away if I pull upon the outer edge of the shoulder. I blame this at least partly on where the pattern (which has really narrow shoulders, as you can see) sits—right at the base of the neck, over my trapezius, which is the one part of my shoulder that does slope.

Back view. Definitely not dress length.

I wasn’t convinced about the sleeves, but figured I’d give them a try, and it turns out I quite like the long, swingy flutter-shape, and how they’re inserted forward of the side-seam, which I think is rather slimming. There is possibly a bit of the linebacker look happening.

Linebacker look?

I opted to line, carefully modifying the front panel so as not to add bulk, but the  broadcloth I used (because it was the right colour and handy) was not a good choice, either. A remarkable number of bad choices for one garment, don’t you think?

Not feeling like messing with the rolled hemmer, I used Sherry’s handkerchief-hem method, which worked astoundingly well aside from the fact that my hem edge was distinctly uneven and very ravelly after three months on the floor. If I had trimmed it first so it was nice and even, it would’ve been awesome. As it is, like so much of this project, there’s room for improvement.

So, in the end? Not sure how I like it. There’s a lot of little  things that annoy me, which may or may not fade after some time in the Magic Closet. But a lot of the issues were self-inflicted. With the right fabric (a scrumptious lightweight silk or rayon or even cotton gauze, maybe) and a bit less fullness in the front, this could still be an awesome dress.

31 Comments

Filed under Sewing