Blue. Rose. Pique.
There are few prints that make me as weak in the knees as blue florals. I talk myself out of buying them all the time. (I should perhaps note that most of the ones I haven’t talked myself out of buying, I also haven’t sewn up yet. I think this is the first blue floral that has made it onto the blog.) I’ve also been loving the wild print jeans that have been on trend. Actually, maybe that trend is past now? Oh, well.
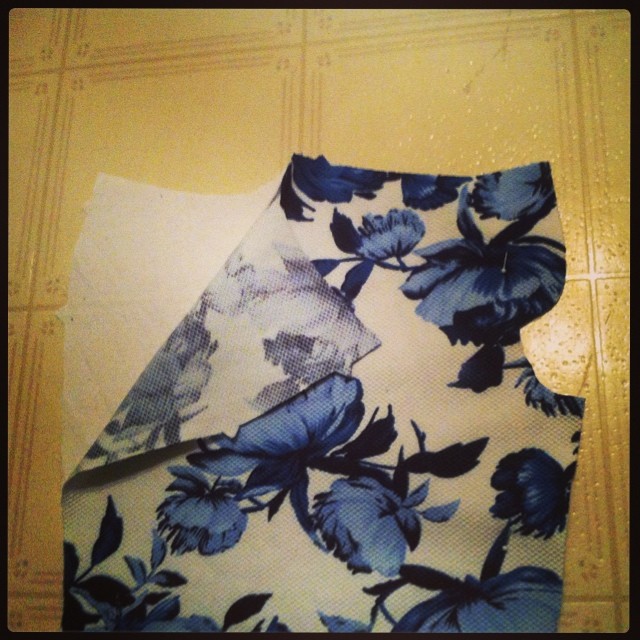
So, since I actually had an entire weekend free last week (enough time to tackle a serious project), well, I finally succumbed to this blue rose stretch pique that has been taunting me at my local Fabricland for a couple of months now.
I’ve never used (heard of) pique before, but the waffly texture is neat and the weight and stretch seemed about right for jeans, although the stretch was on the low side of what I like. Being rather paranoid of white jeans (I have to be very careful underwear wise with this pair, for example), I wanted to line, or rather underline, them. Fortunately for me, there was also stretch cotton poplin available at Fabricland (not always the case)—so away I went.
So, it’s been a while since I sewed jeans. And there’s been a reason for that. Namely, that the Jalie 2908 pattern I traced off years ago now, and have used for every single pair of jeans I have made for me ever (OK, except one.), was getting pretty tattered. It had also always had some issues—notches that didn’t line up, alteration after alteration, some of them to fix previous alteration mistakes (all of which were my fault, I hasten to add, not Jalie’s). And, in a coup de grace, I had cut it intentionally small, for fabrics with c. 25% stretch. This fabric was in the 10% stretch range, tops—so I figured it was high time to trace off a new version that would work for low-stretch fabrics. And this time, I wanted it to be durable.

Freshly-traced pattern
So, I shelled out four whole bucks for a couple of metres of “Trace-A-Pattern,” which is basically a wide, non-fusible non-woven medium-ish weight interfacing. I did have to re-create my personal alterations, which I did rather differently this time, although the goal was the same; the first time I did a lot of switching between sizes at different lines; this time, I traced “my” size and just altered that. I made six changes:
- lower front rise only, c. 1″ (this “simple” change actually involved changing five pattern-pieces, making it the most annoying one to actually do.)
- raise rear rise, c. 1 cm
- shave off 5mm at front crotch
- curve in yoke by c. 3 cm.
- add 5″ of length, distributed both above and below the knee
- instead of the flares, make the legs go straight below the knee.
I also use a curved waistband, self-drafted with no particular method, but I didn’t actually redo that piece.
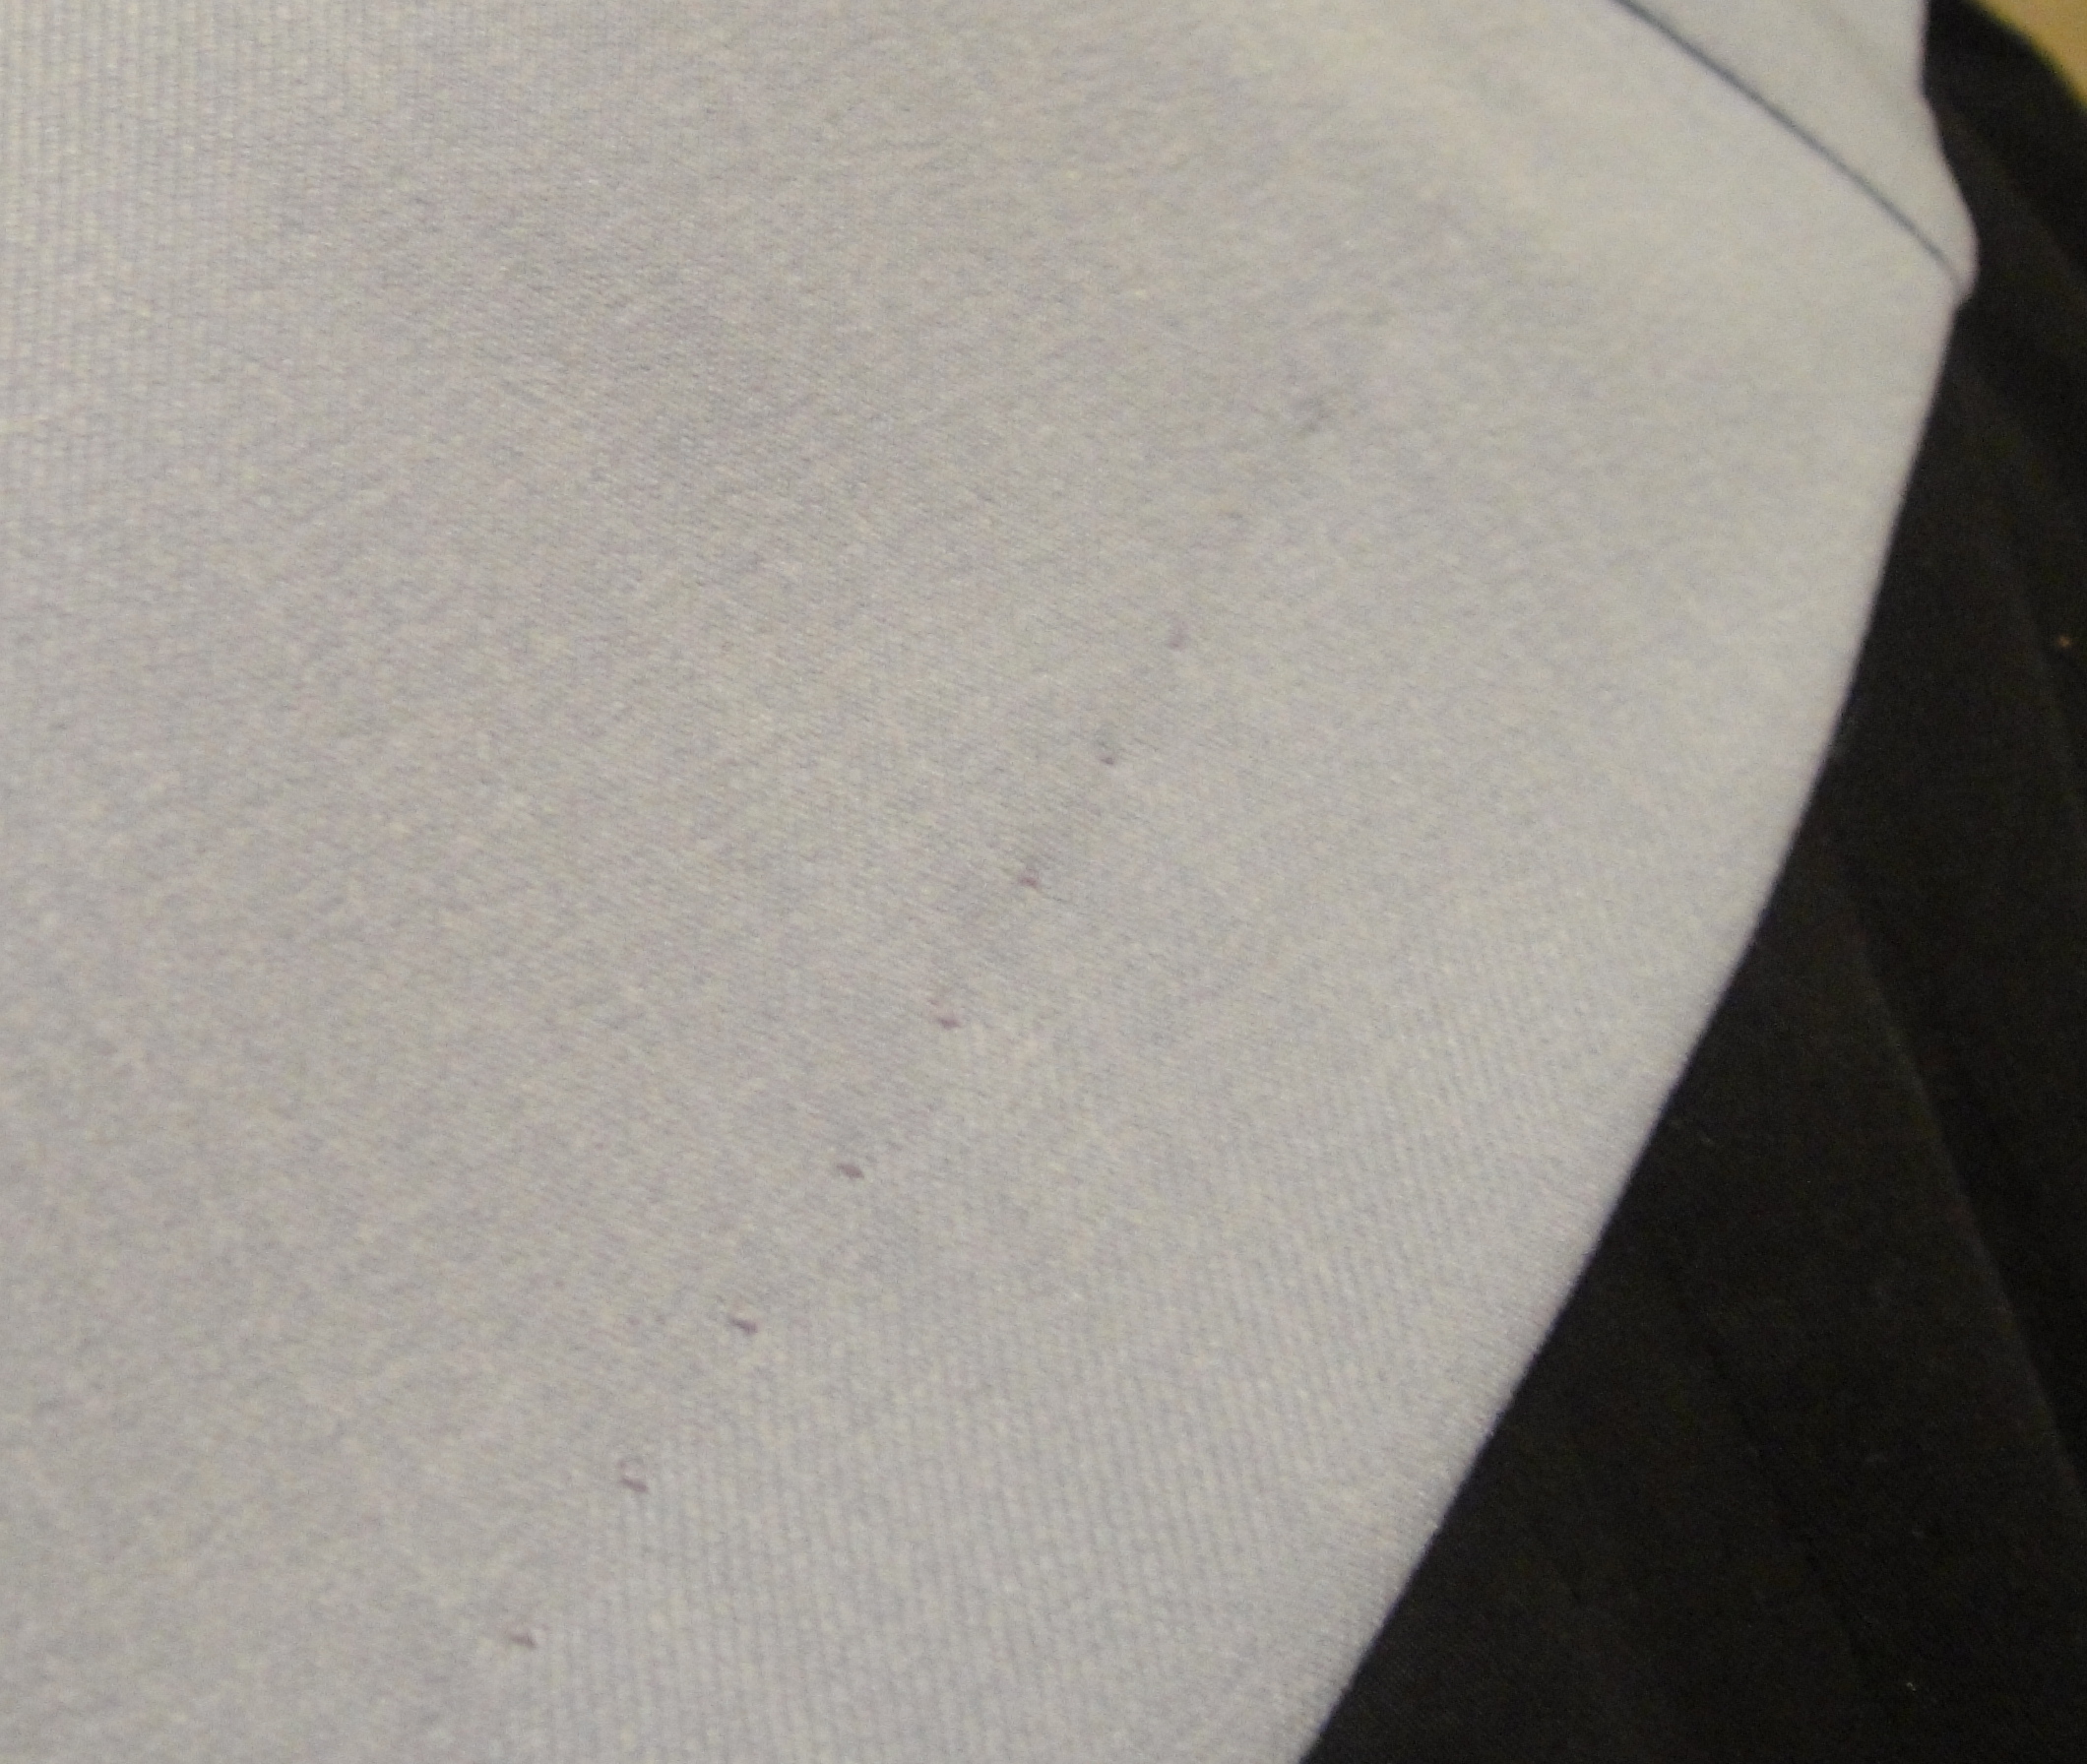
Underlining
I cut pretty much everything (except the waistband… we’ll get back to that) out of both the pique and the poplin, slapped the two together and treated them as one. Which made for a nice, beefy fabric, and the poplin is a lot smoother against the skin than the pique would have been. So I call that a win. (Oh, I was also completely Instagram-happy while sewing these so the construction process is remarkably well-documented. Well, sorta.)

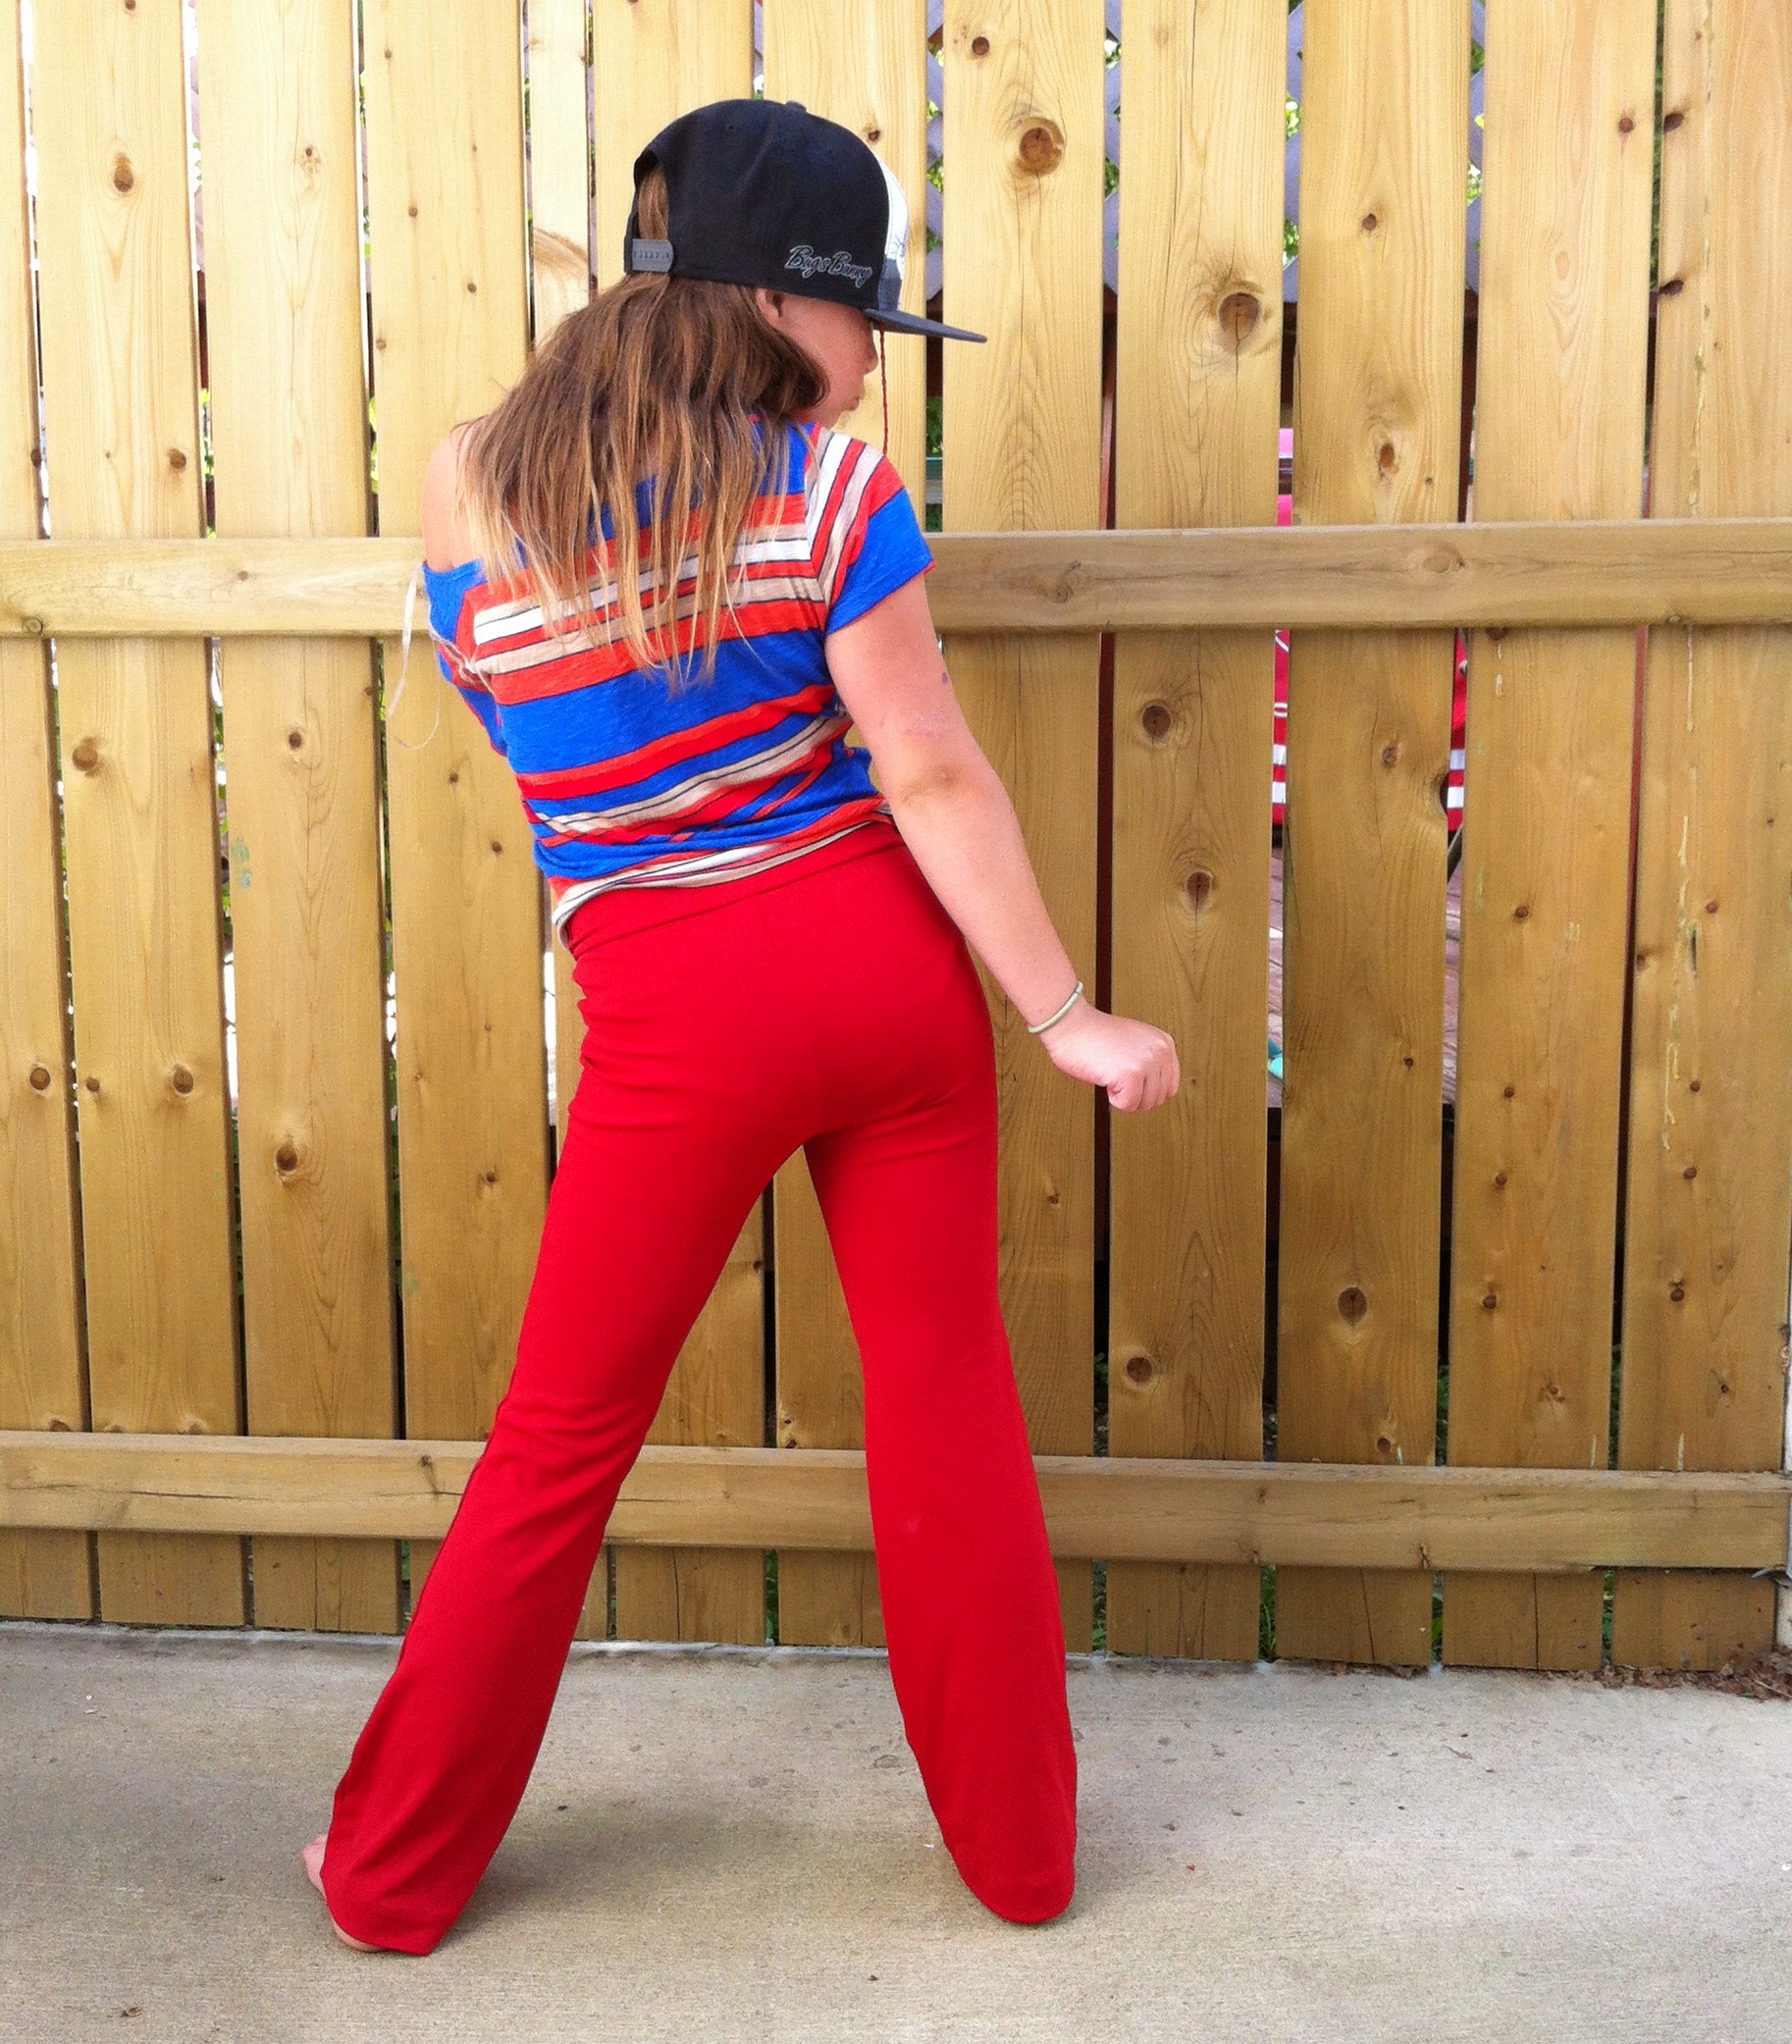
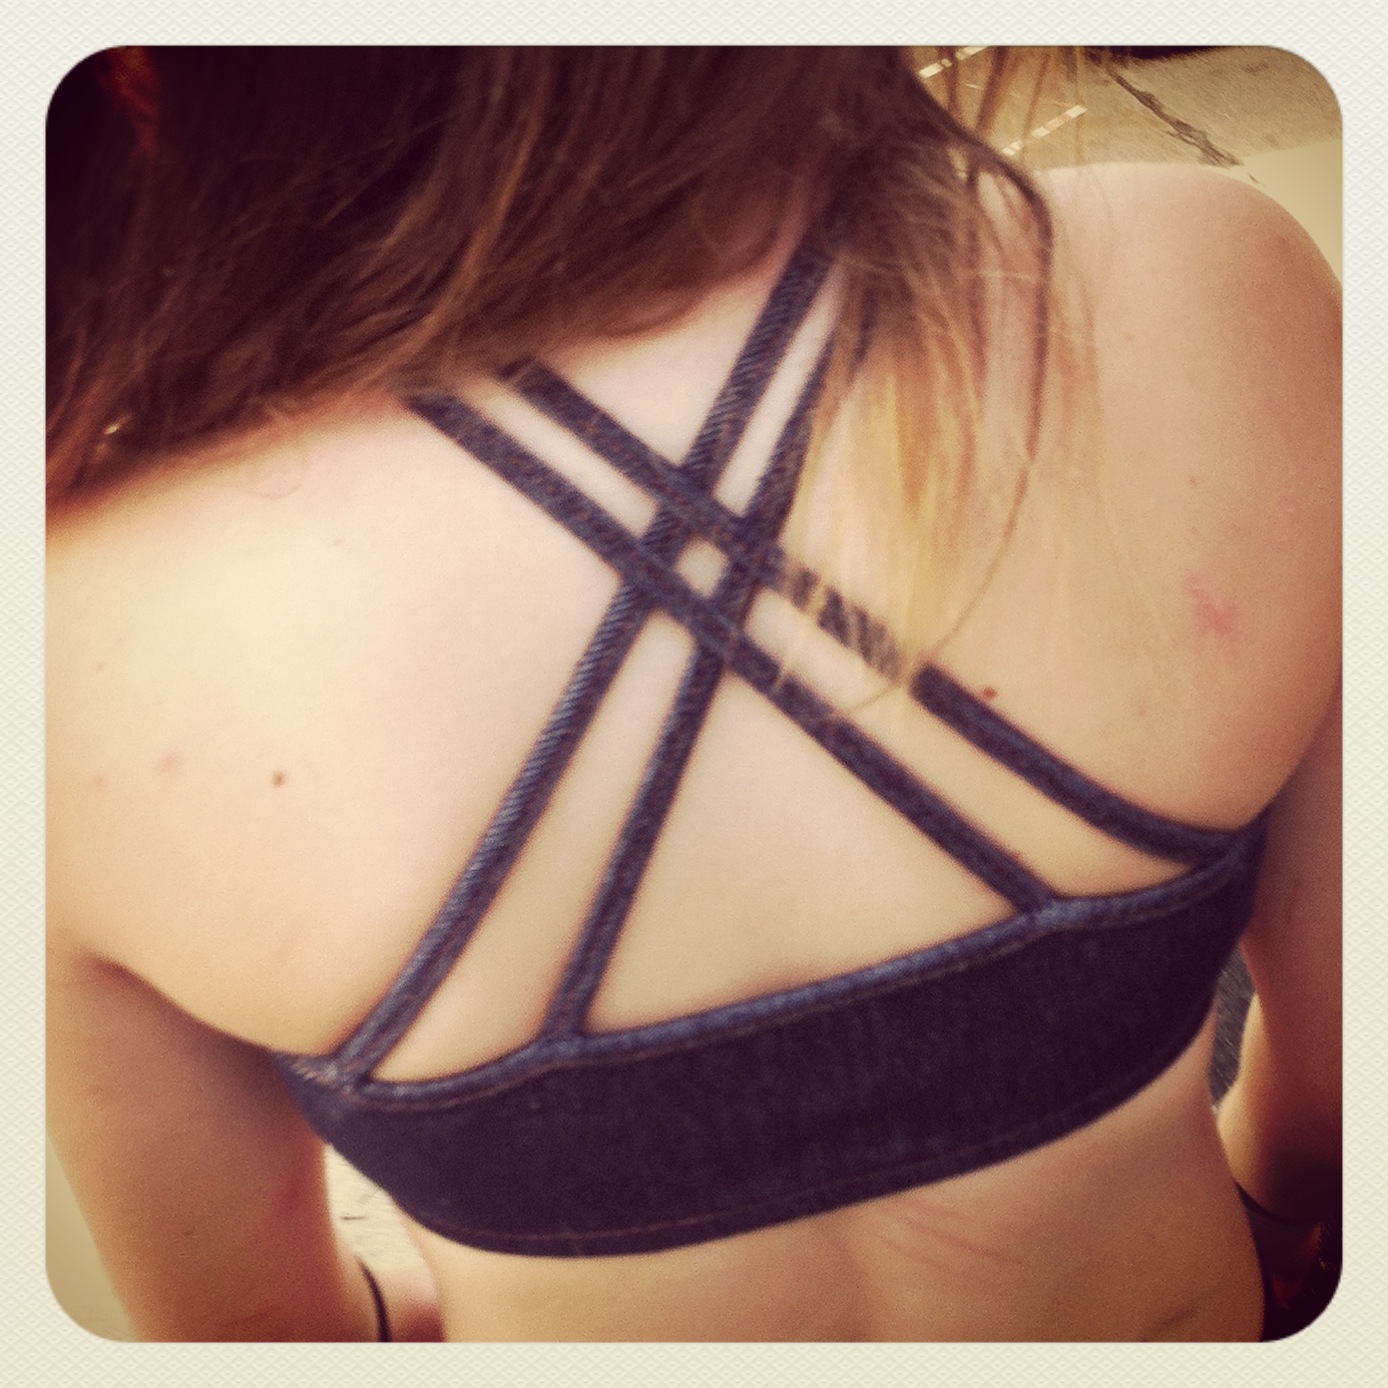
Rear view
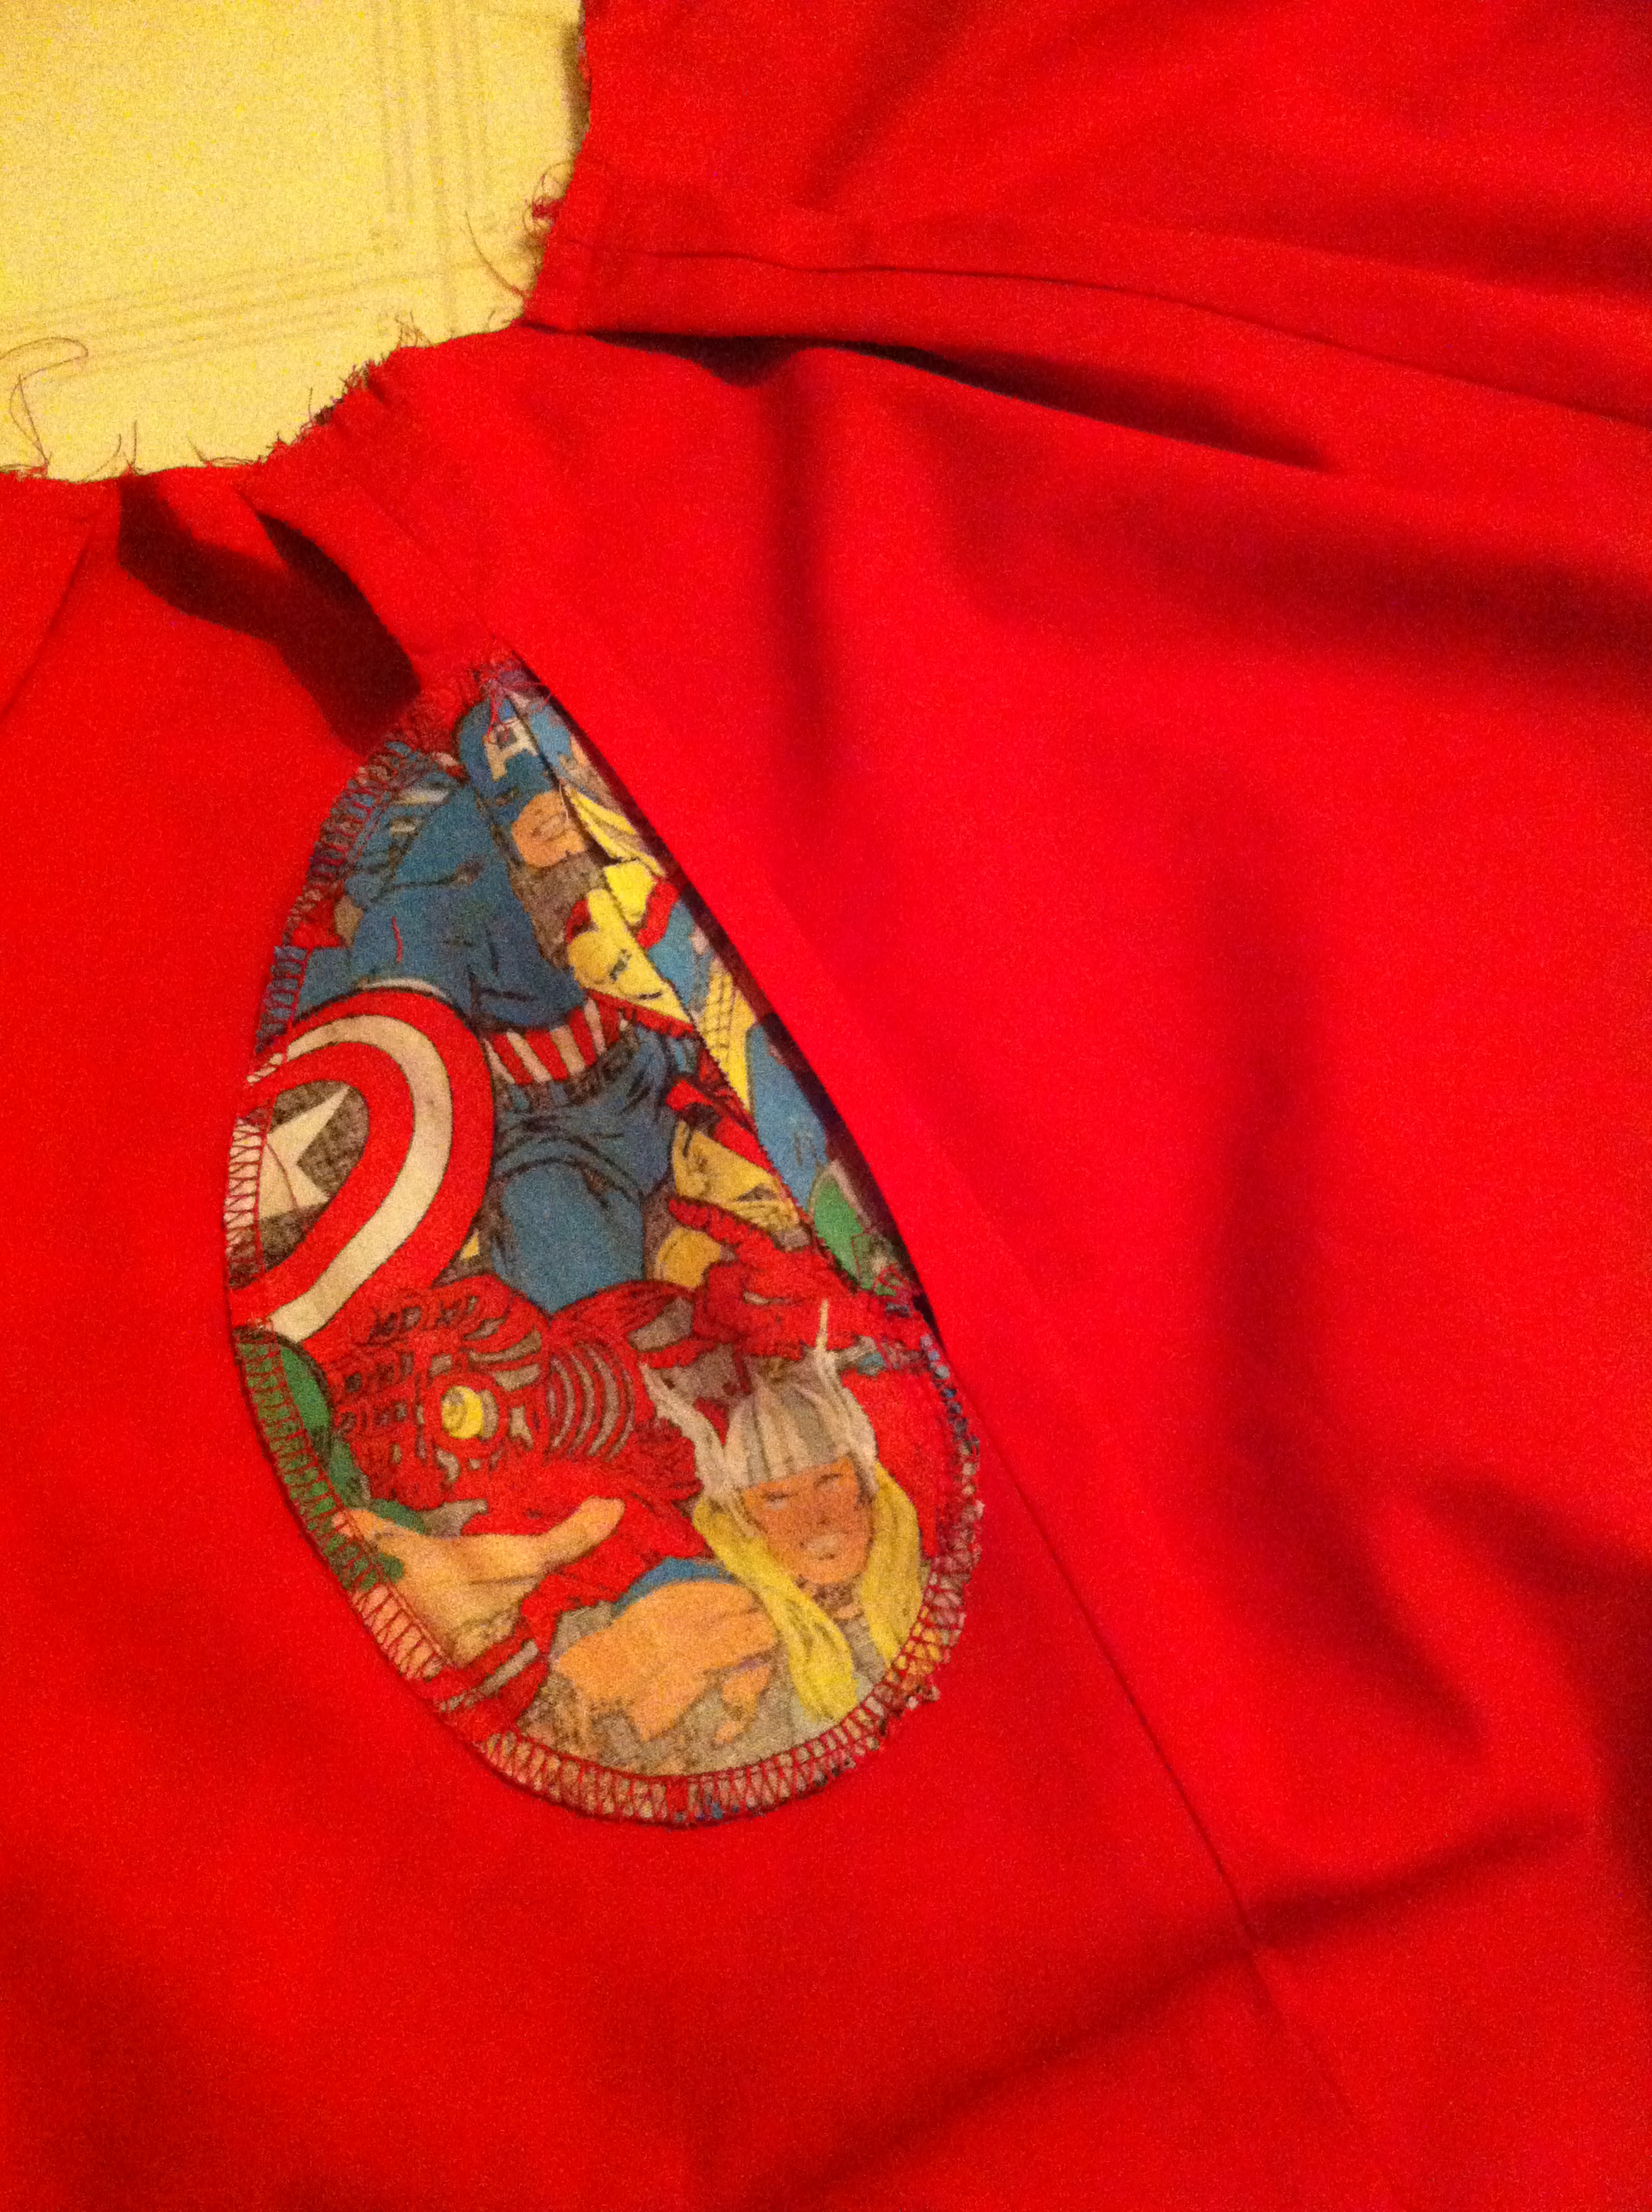
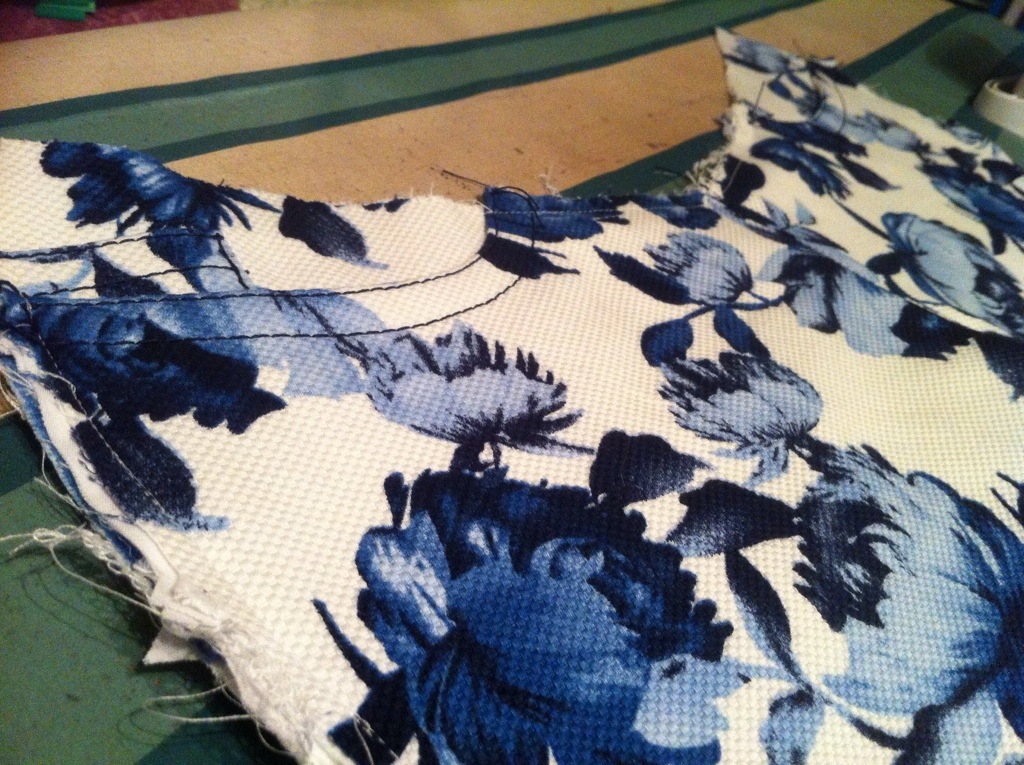
So, pockets. In my previous pattern, I used a really tiny, child-sized pocket, in the theory that small pockets make your butt look bigger. (Yes, this is a goal in my world.) But, I thought a bit bigger wouldn’t hurt. I still cut a couple of sizes smaller than my “official” size. I didn’t try to print-match their position on the butt, but I did cut them out singly, trying to get one nice, big flower sorta-semi-centred on the pocket. Since I was lining everything, I figured I’d take the opportunity to to try making my pockets lined patches, so I didn’t have to fuss with folding the edges under evenly or making a template.

Lined patch pockets
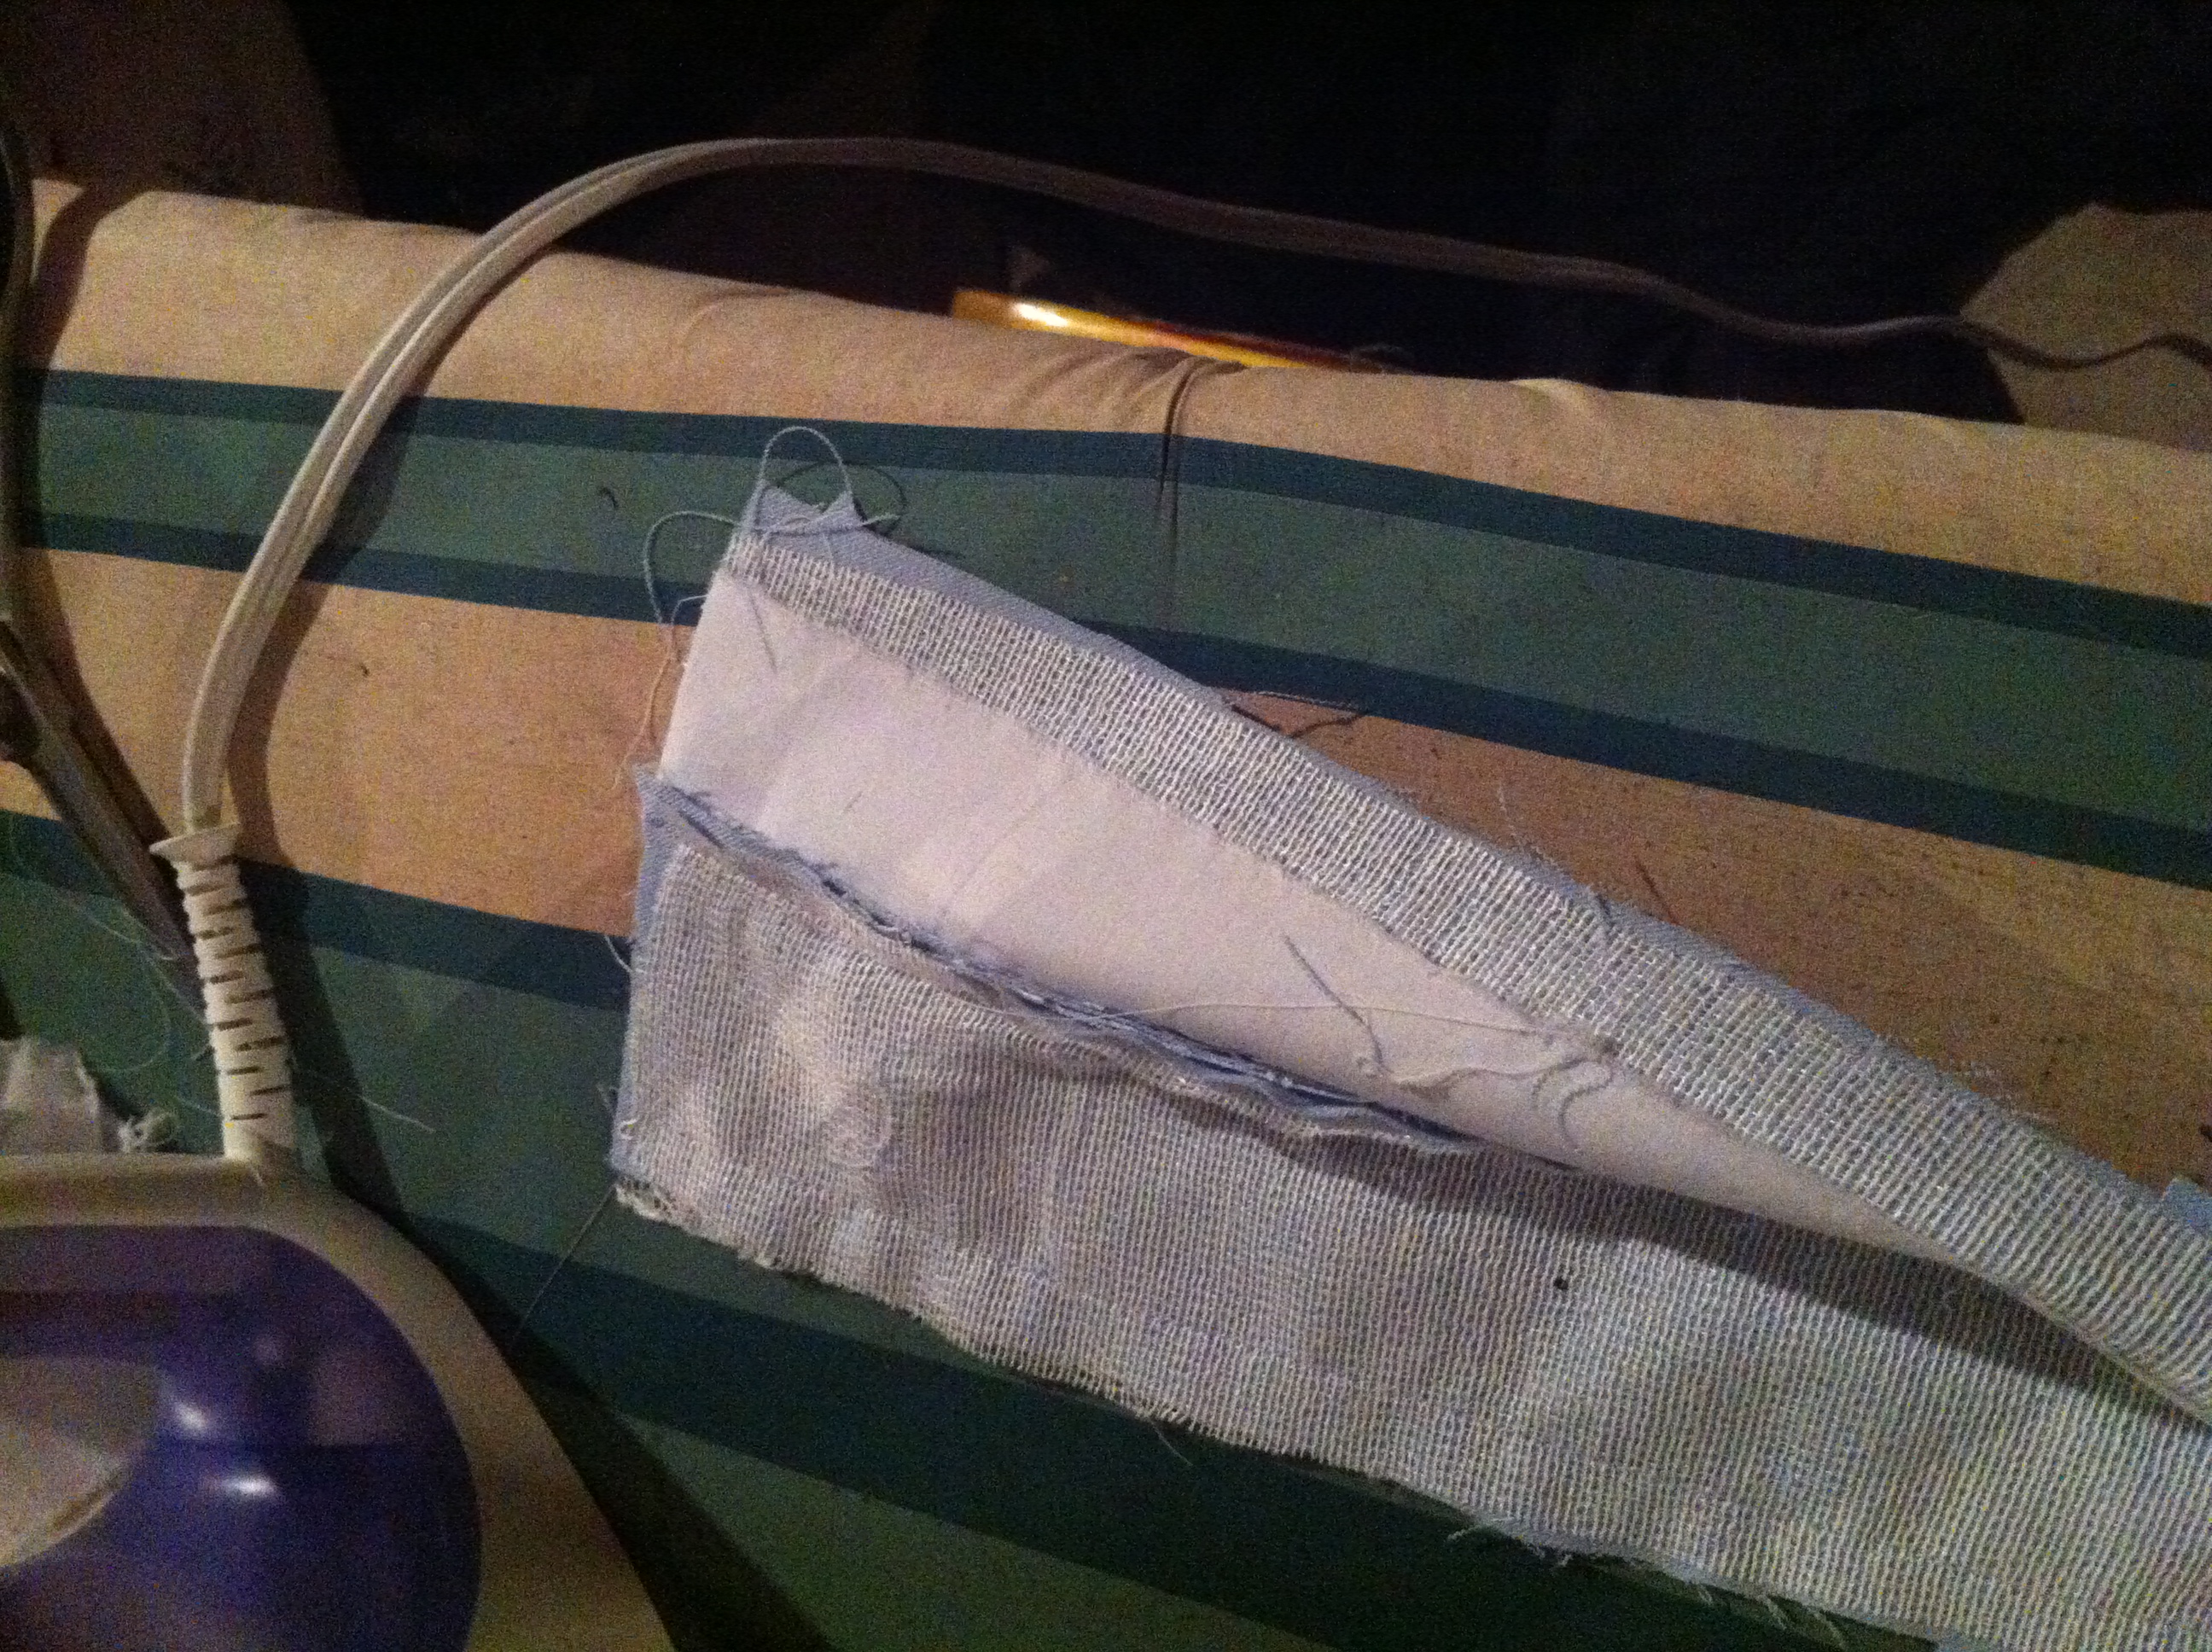
Seems very simple in theory, right? Stitch wrong sides together, leave a little gap, turn. Except, I knew I didn’t want the lining to show on the outside. So, trim the lining a little smaller, plus a good bit shorter so the 1.5 cm seam allowance at the top of of the pocket will be folded over. And, then you go to sew it and you have to ease the pique to the lining and oh, crap, those didn’t line up and what was my seam allowance again? And, let’s just say it was a nerve-wracking ten minutes until I got them turned right-side-in and realized they were, pretty well, still symmetrical and the same size. Whew. So in the end I’m actually really happy with how they turned out.

Turned pockets
pockets

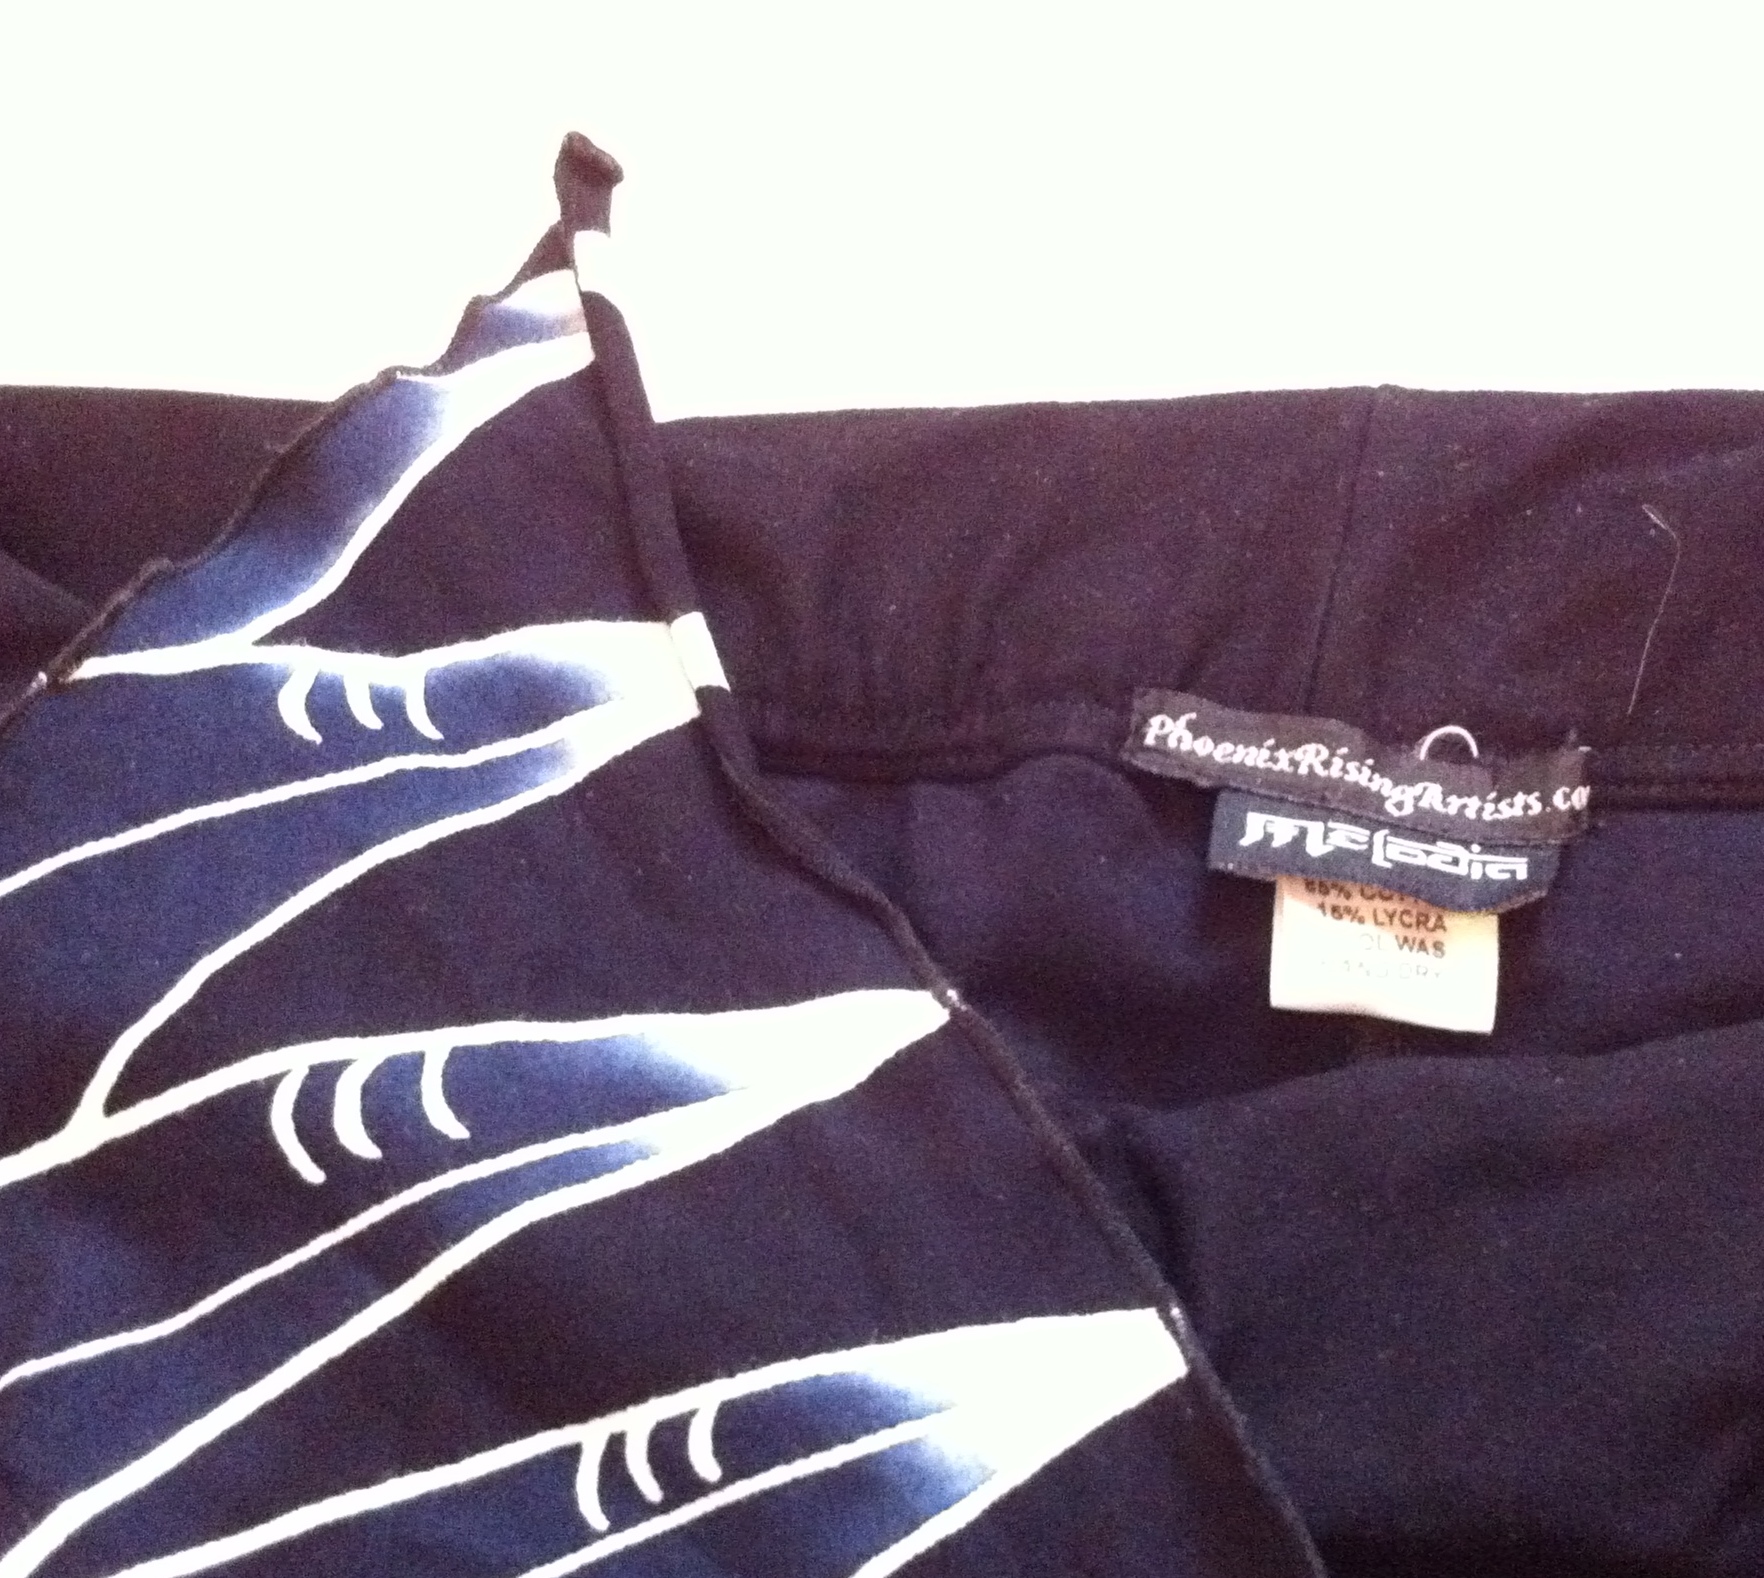
Back detail
I had a lot of fun topstitching these on my Pfaff. I usually use my Featherweight, but it’s been living at my sister-in-law’s since last fall sometime, which is tragic but really useful on the rare occasions we do manage to get together to sew over there. (I don’t invite people to come sew at my house, the setup is kinda ridiculous. There’s machines in the computer room, one in the living room, cutting must be done on the kitchen floor, and the ironing board generally lives in the basement, although I did bring it up to the kitchen for this project, once I had the cutting-out done.) Anyway—I use a minimum of three machines when I’m making jeans, one for construction, one for topstitching, and the serger for finishing.

Topstitching the waistband
Normally I follow Peter’s advice and use a straight-stitch foot for topstitching. But, the Pfaff has this really cool edge-stitching blade that just slips in onto the presser foot, and its regular zig-zag presser foot has a really great shape:
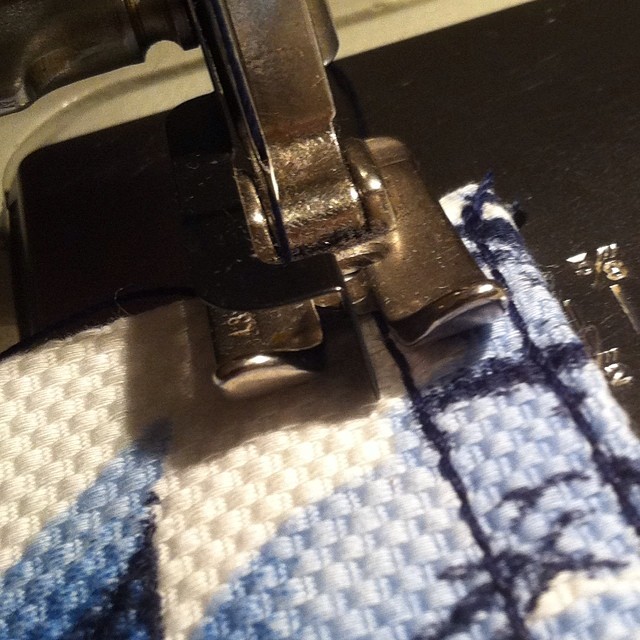
Pfaff presser foot
It all comes down to the shape of the toes: the inner sides go straight front and back, which means you can follow a line of stitching right up them, as I’m doing in the photo above. My biggest problem in topstitching is usually “falling off” the edge of the seam, usually due to small variations in how tightly I’m holding the fabric. Using the stitch-in-the-ditch attachment, with the needle set off-centre, made it really easy to stay “on track” during that first edge-stitching pass. Of course, the fabric was lovely to handle, too, but then most denims are.

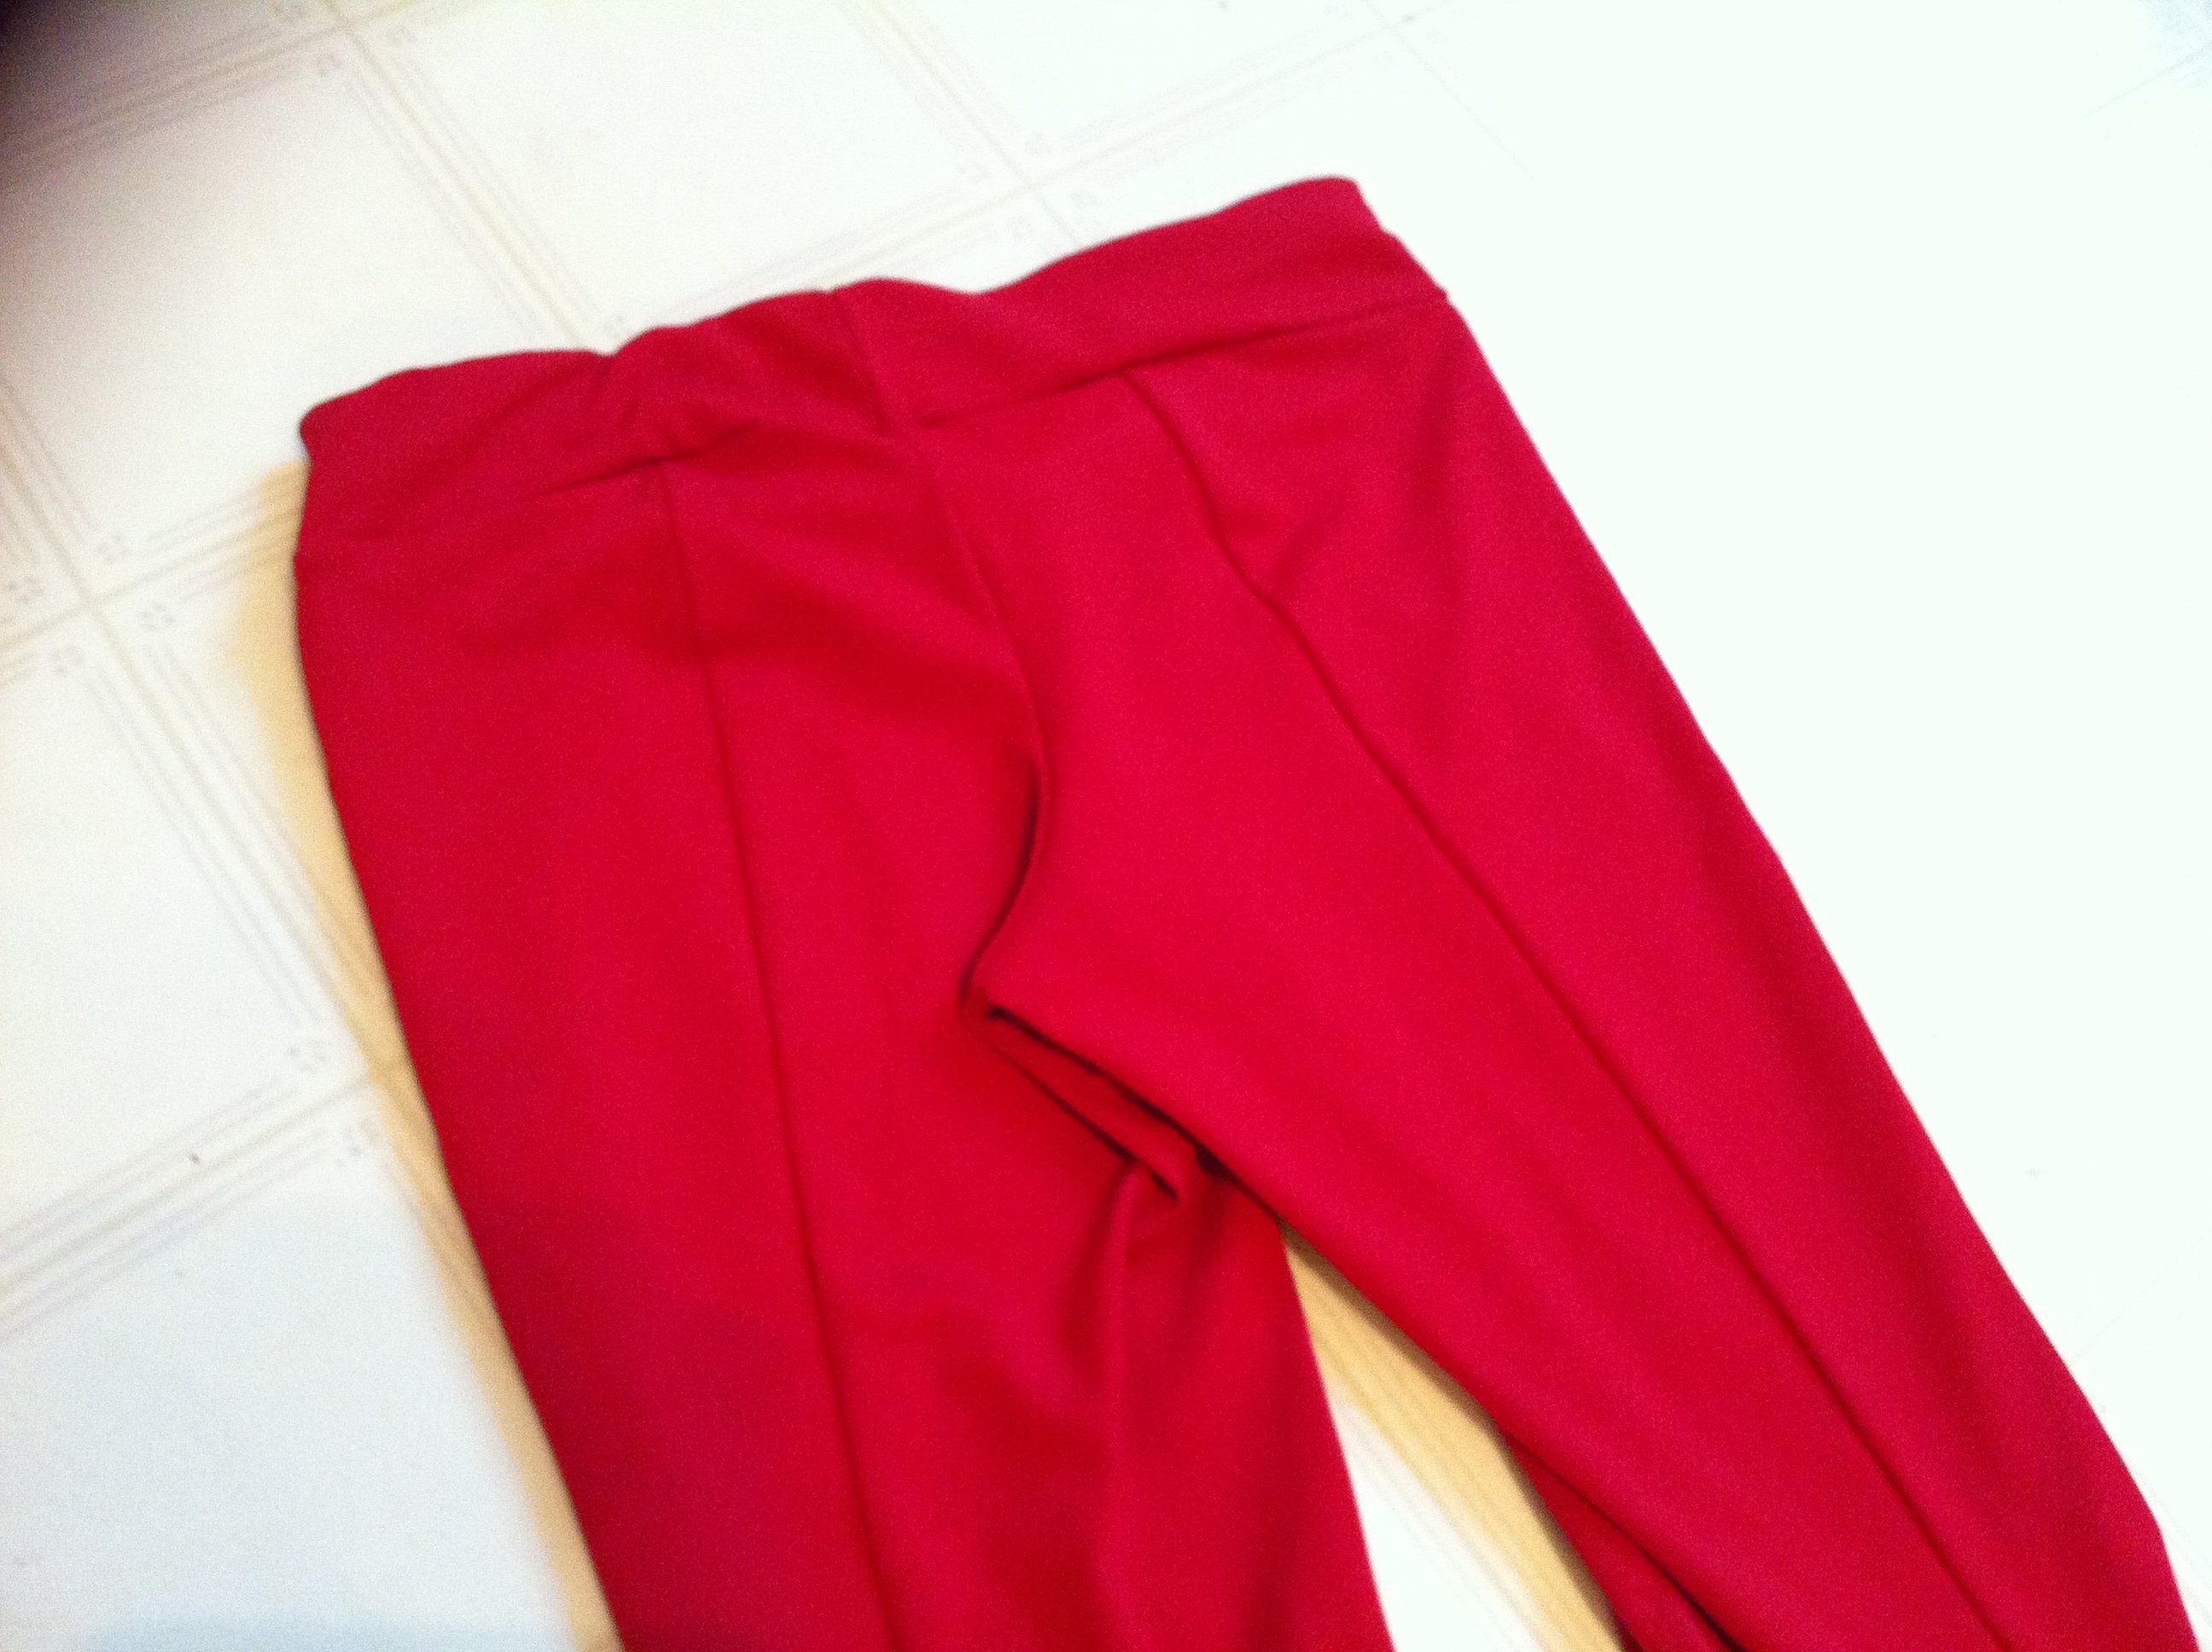
Front detail
I went for quite a wide spread between the lines, rather than my usual 1/4.” I really like it, although I did occasionally “fall off” the seam allowance, since this pattern only has 1 cm seam allowances. I did three lines of topstitching on the top of the pockets (because it looked cool) and on the belt-loops; I’d like to say I did it on the belt loops to echo the design detail on the pockets, but actually my edge-stitching wasn’t catching the edge of the folded-under fabric, leaving me with floppy serged edges on the underside of the belt loops. I really like the three lines, though. I may do that always.

Fit?
Fitting is the eternal question, especially since in jeans you can’t try on until you’re pretty far along in the process, and I was re-vamping my pattern. And with stretch jeans so much comes down to the individual fabric and construction. I was pretty worried about whether this pique would have enough stretch. On the other hand, on the waistband of the last jeans I made, I intentionally made the waistband non-stretchy, but I didn’t stretch the pants beneath when putting the waistband on, so the waistband is kinda uncomfortably tight. (though it stays up without a belt, which is nice.) This time, I think I went too far the other way—I didn’t do any stabilizing to the waistband, though I did cut it with a back seam, so that the front portion would be on the cross-grain. This = maximum stretch. As a result the jeans are very comfy, but will need a belt to stay up. Which means I’ll have to find a belt that works with them—all of mine are pretty scruffy-looking. I may end up moving the button over some more, too—as it is the stretchiness allows the the fly to gape a bit.
There’s no gaping at the back, but I feel like I could still add a bit more height; it still seems like there’s just a little bit of a dip at the middle back.

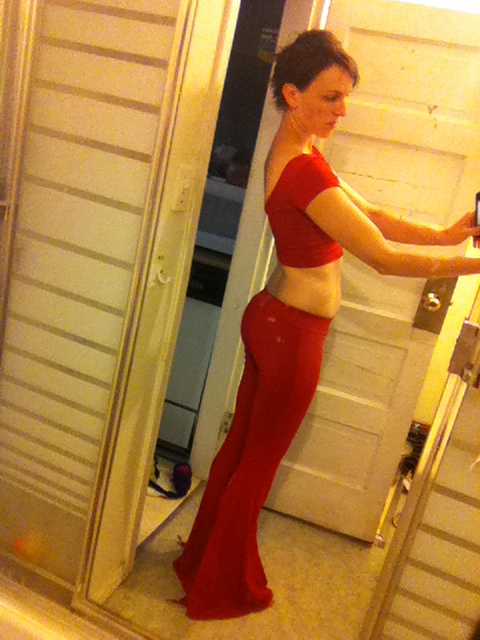
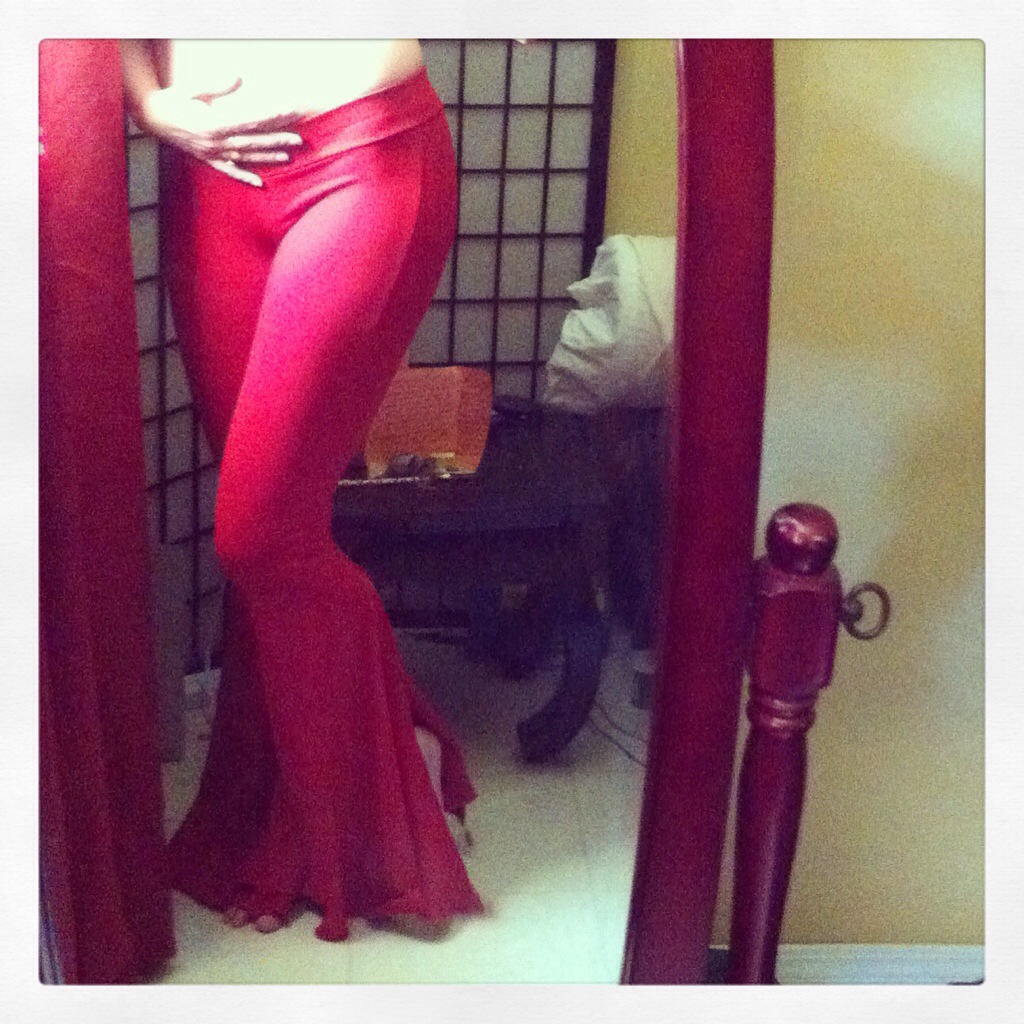
Mini-flares
As I said, I traced my pattern with legs straight below the knee, but what I actually wanted (which I tweaked in the cut fabric) was a bit of a skinny taper with a mini-flare at the bottom. Also slouchy ankle wrinkles. I always envy other people’s slouchy ankle wrinkles, but when I’m making skinnies for myself I keep cutting them off to the “proper” height, = no slouchy ankle wrinkles.) It took some serious self-control not to do that here, too, especially as when I first tried them on the legs were too wide and the mini-flare didn’t really show at all. Once I got it taken in along the outseam, from just above knee to the ankle, though, life got much better. And I *think* I quite enjoy the slouchy-ankle-slipping-over-my-shoes look, although I’ll get back to you after they’ve been worn out and about more.

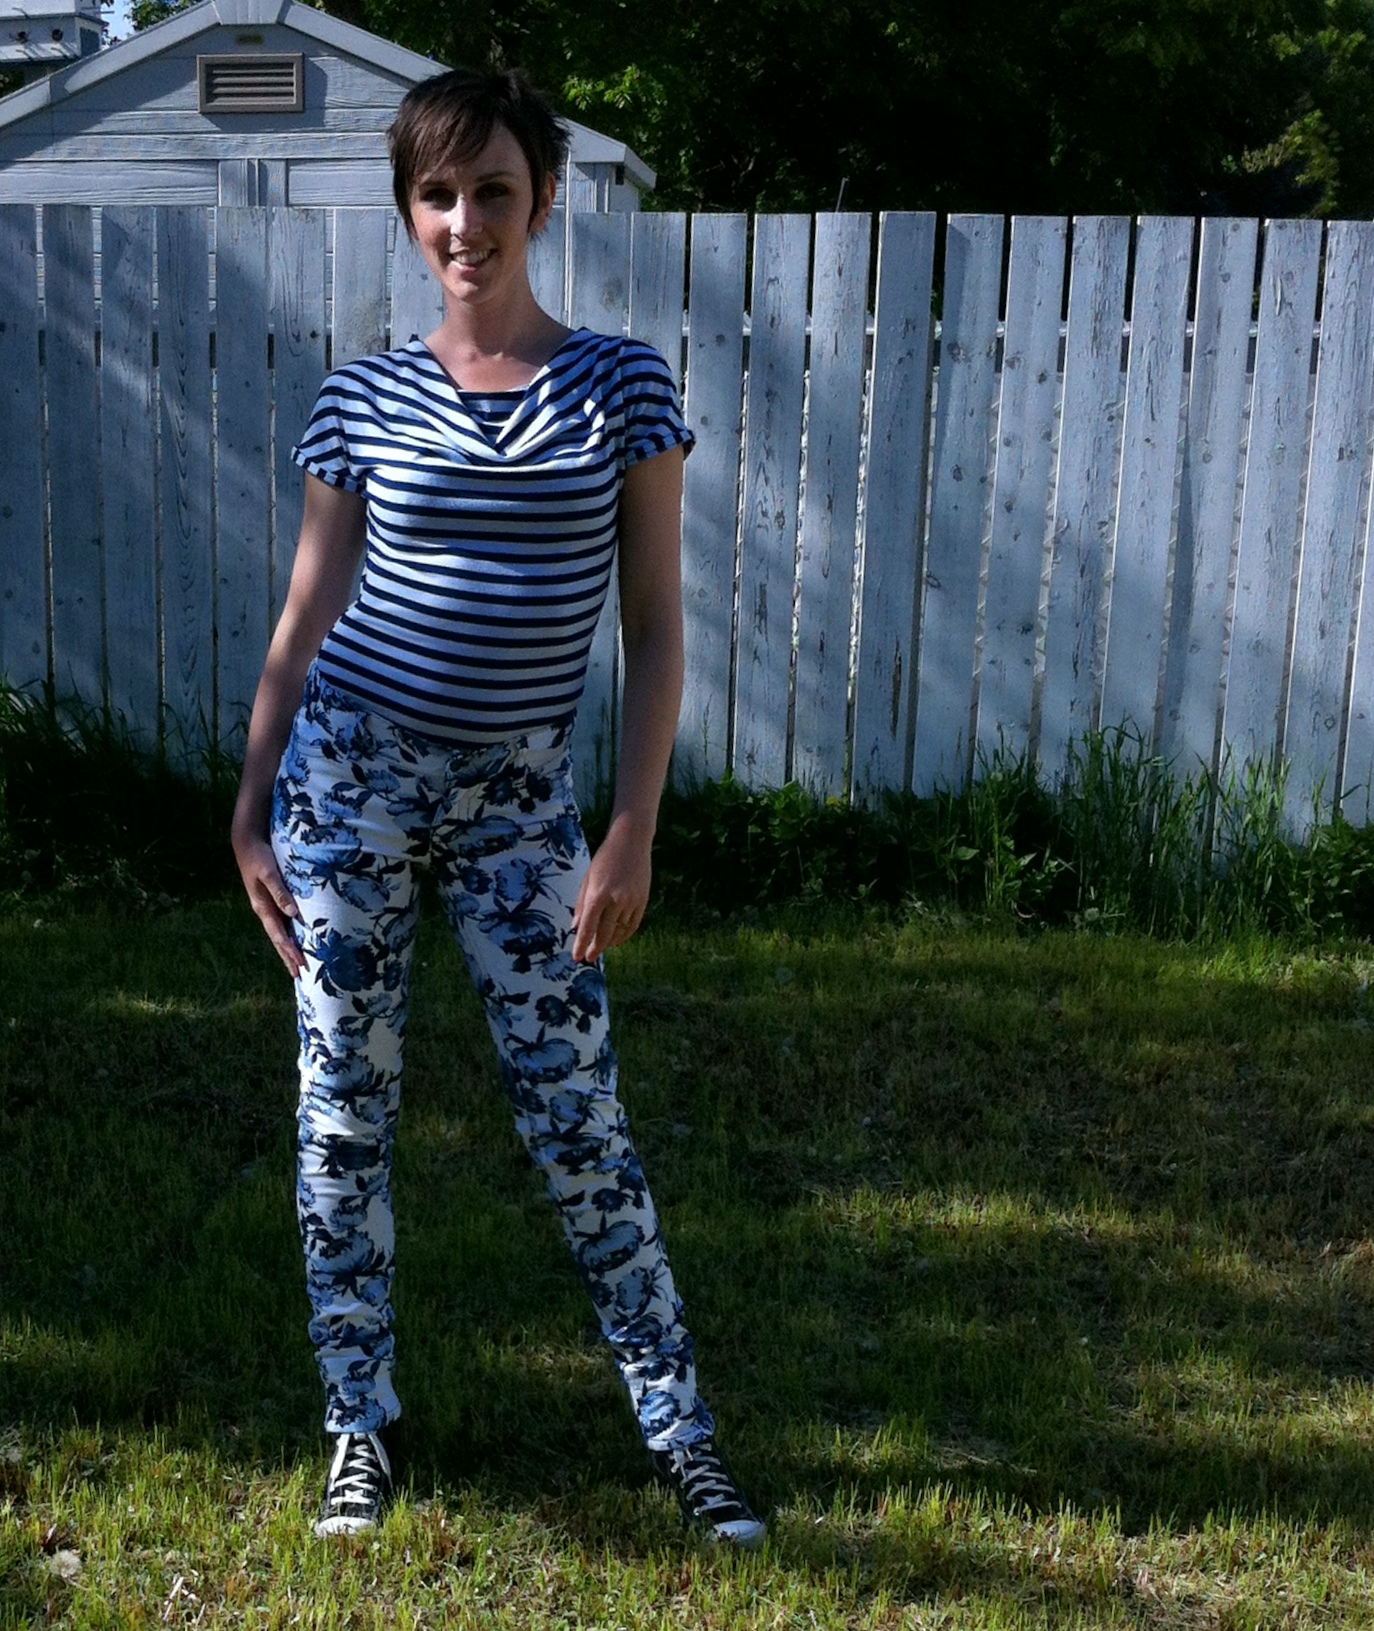
Happy.
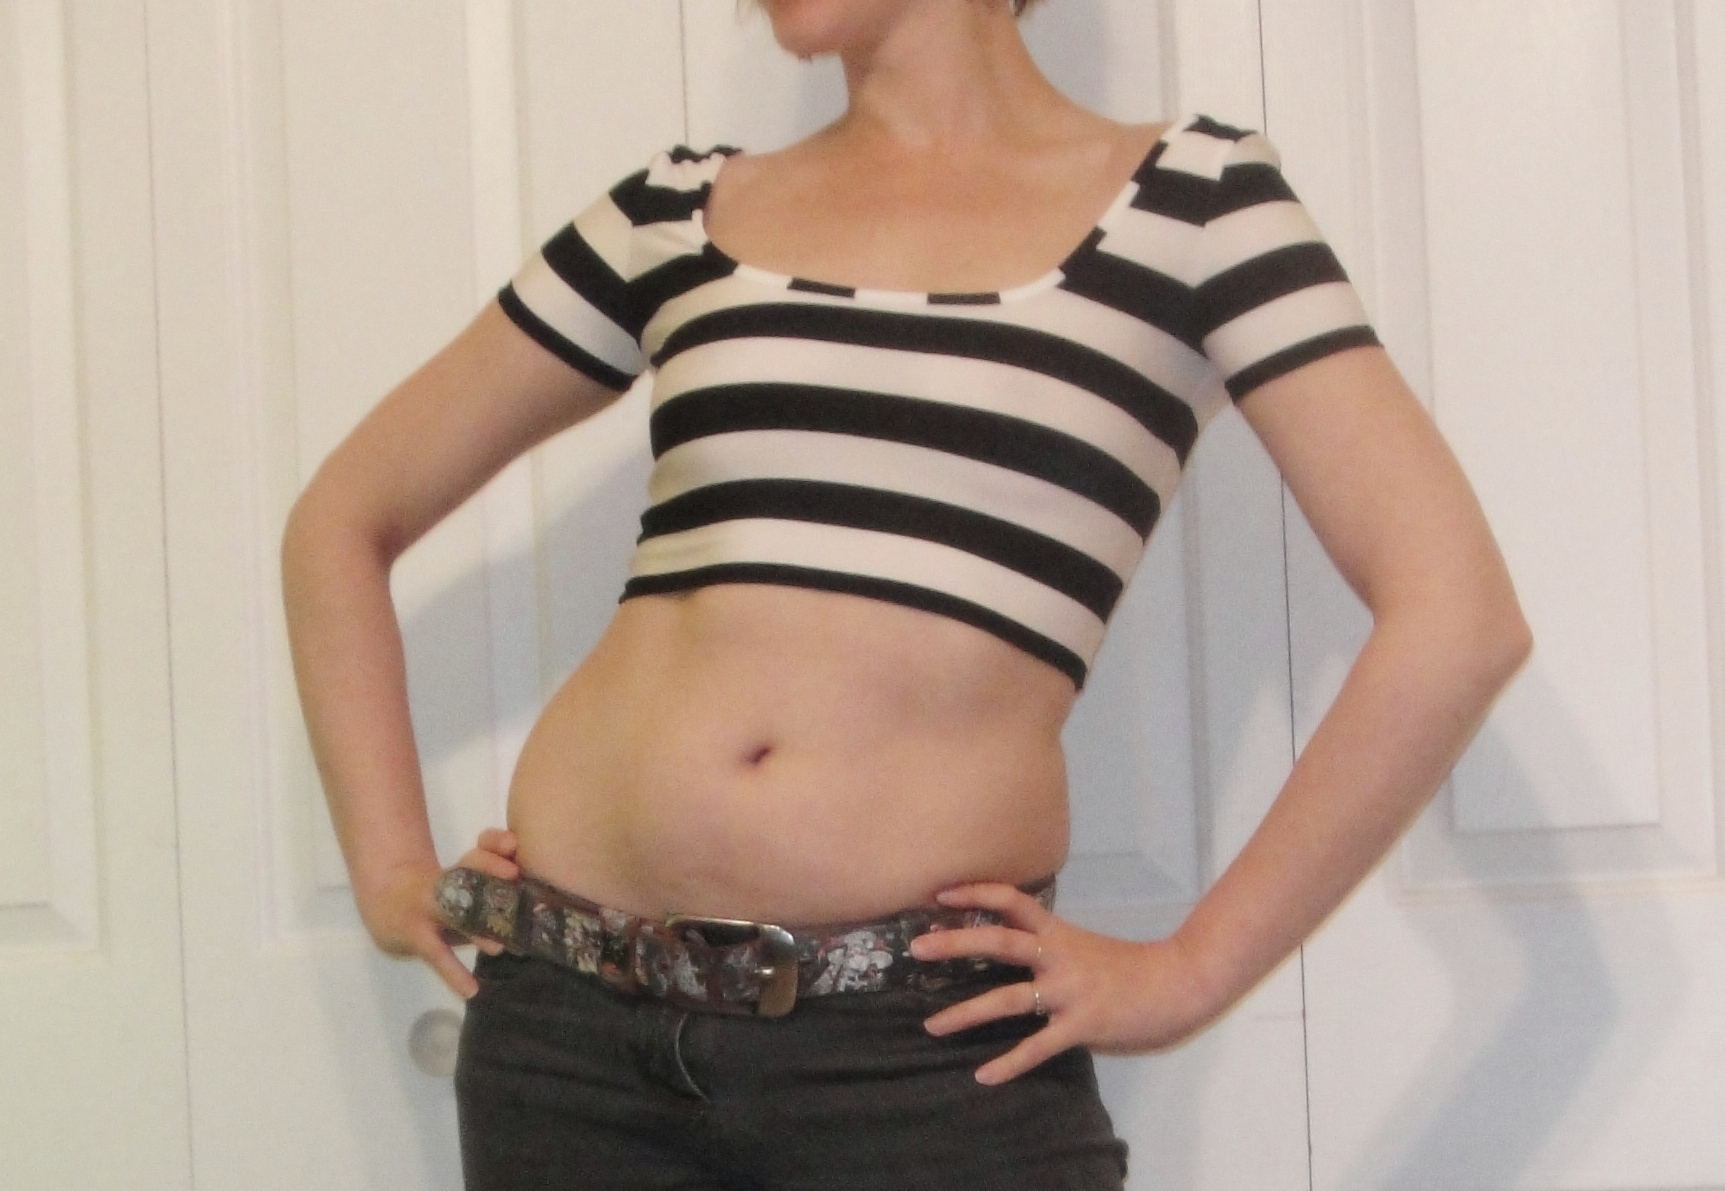
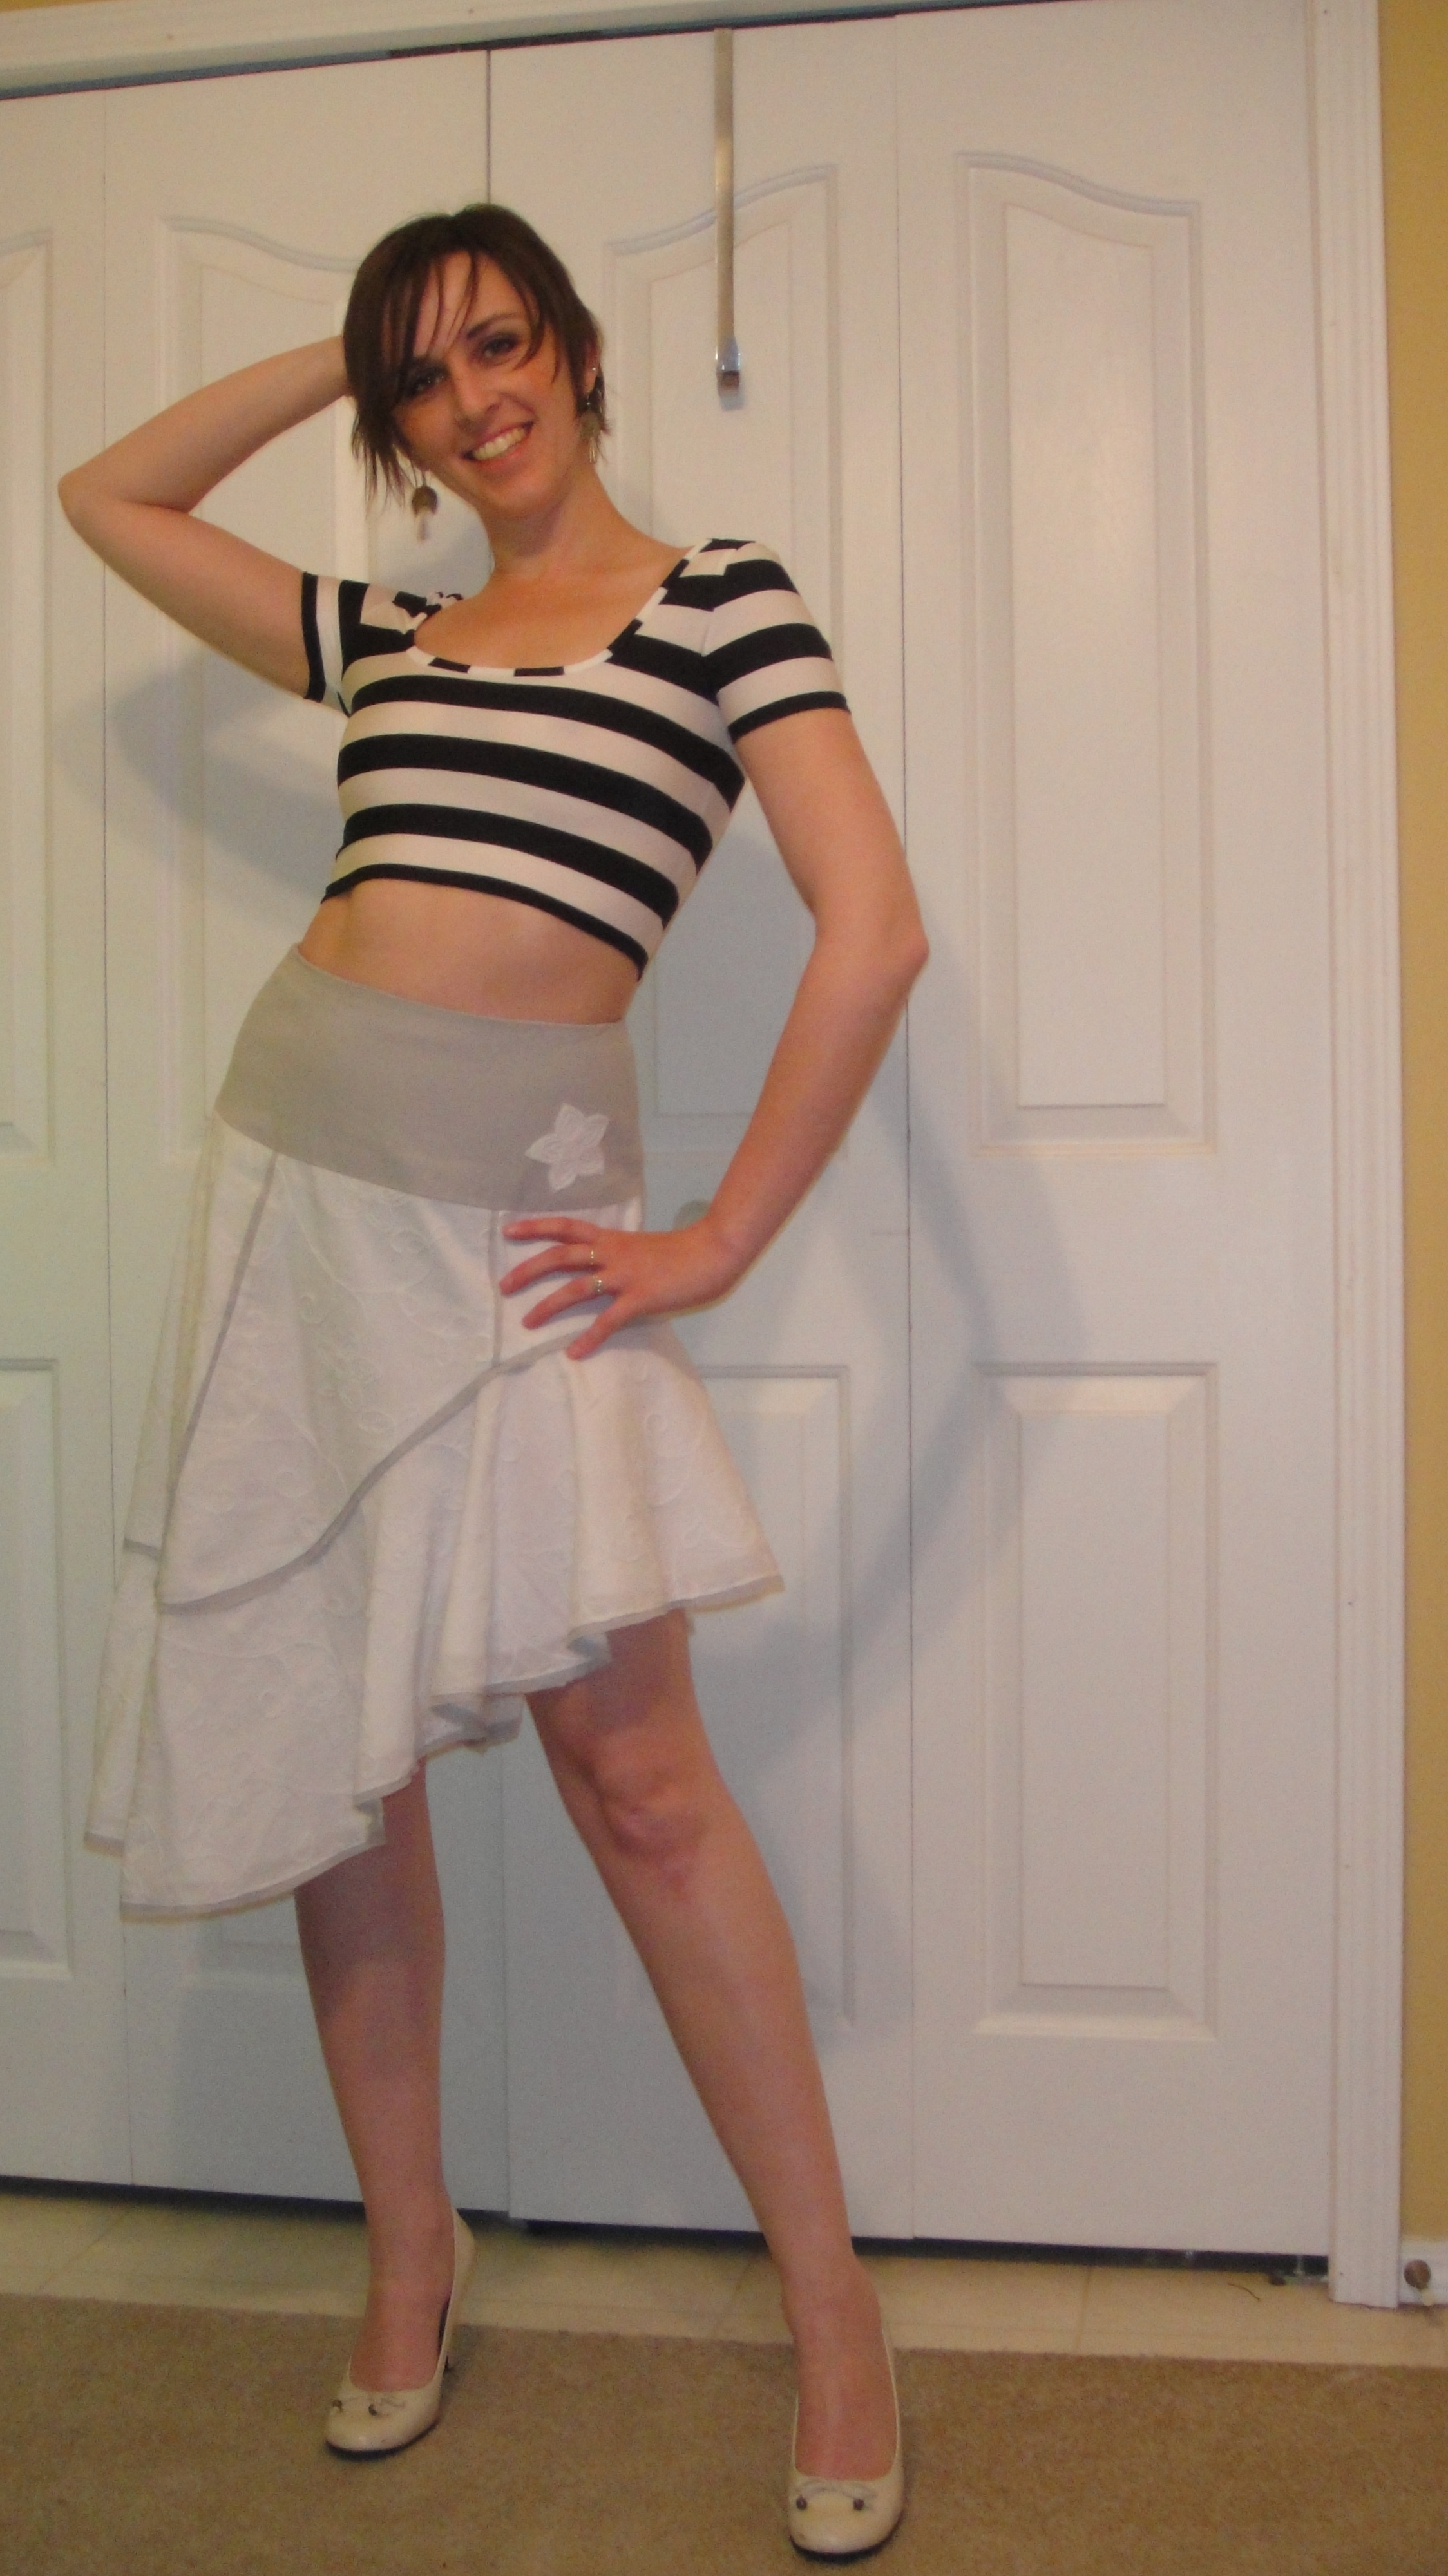
All in all, I’m going to call these a success, although they were bloody hard to photograph for everything but the fine details. The trick is going to be wearing them—I think I like them with a white top, but I don’t have that many options. I’m not loving it with the navy stripes in the photo above, although the colours are ok.

Styling?
Still, they were a fun experiment.