Wintery.
As the leaves wither and rattle from the trees, Canadians hunker down and sink into a quiet desperation while daylight hours dwindle and summer ebbs away to a painful memory, and the impending torture of the deep freeze becomes an immanent presence suffusing every waking moment…

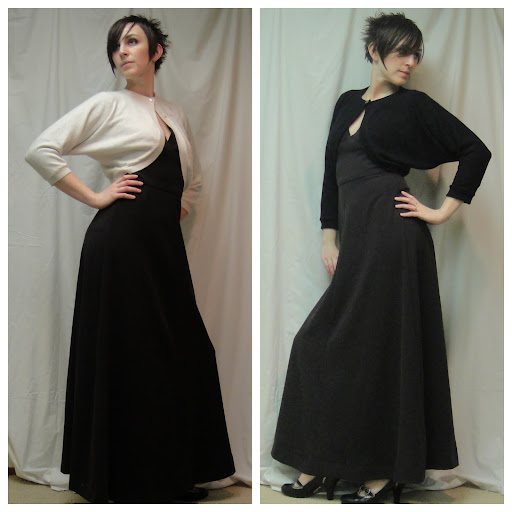
Burda 6847, with sleeve alteration
Yup, it’s sweater season. And Fabricland has a variety of sweater knits and fleeces I haven’t seen the like of in years, so I had to dig in, on the project side because, as per usual, I am flat broke with my real own money, and good sweaterknits are expensive. Hell, mediocre ones are expensive. Darned kids and their needing braces and things. I was actually hoping to do a men’s cardigan for my father for Christmas, but another lady totally nabbed that* and they don’t like us to all do the same pattern. Boo hiss. On the up side, that meant I was free and clear to pick a project for MEEEeEe!
I’ve been ogling Burda 6847 for a while now. I love long sweaters but I haven’t had one of my own in years. Gillian has been making some awesome ones though. And, see my above comment about the sweater knit collection.

Fabric!
I picked a faux-cable knit kinda fabric, in white because I am a sucker for punishment. When this fabric first came in I wasn’t sure if I hated it, just for having a misleading name. I detest when they do that. It’s not a “real” cable knit, but rather two layers knit together to create what look rather like quilted cable shapes. But it’s got a nice weight and stretch and all that. And, because I’m kinda mad for fleece lined sweaters (my husband has quite a few that I’m always stealing), I wanted to line it. But I didn’t want just our regular old fleece—I wanted this particular one we got in with a bit of an odd, nubbly surface. Again, I wasn’t sure I actually liked it at first glance, but when I was picking out the project, it just seemed right. Except. We were already sold out of the white. All that remained were a couple of remnants with stains on.
Can you see the nubbles?
I grabbed them anyway. At the very least it would be enough for the hood, which is really all that is “supposed” to be lined in this pattern. Of course, if at all possible, I had every intention of lining the whole damn thing.
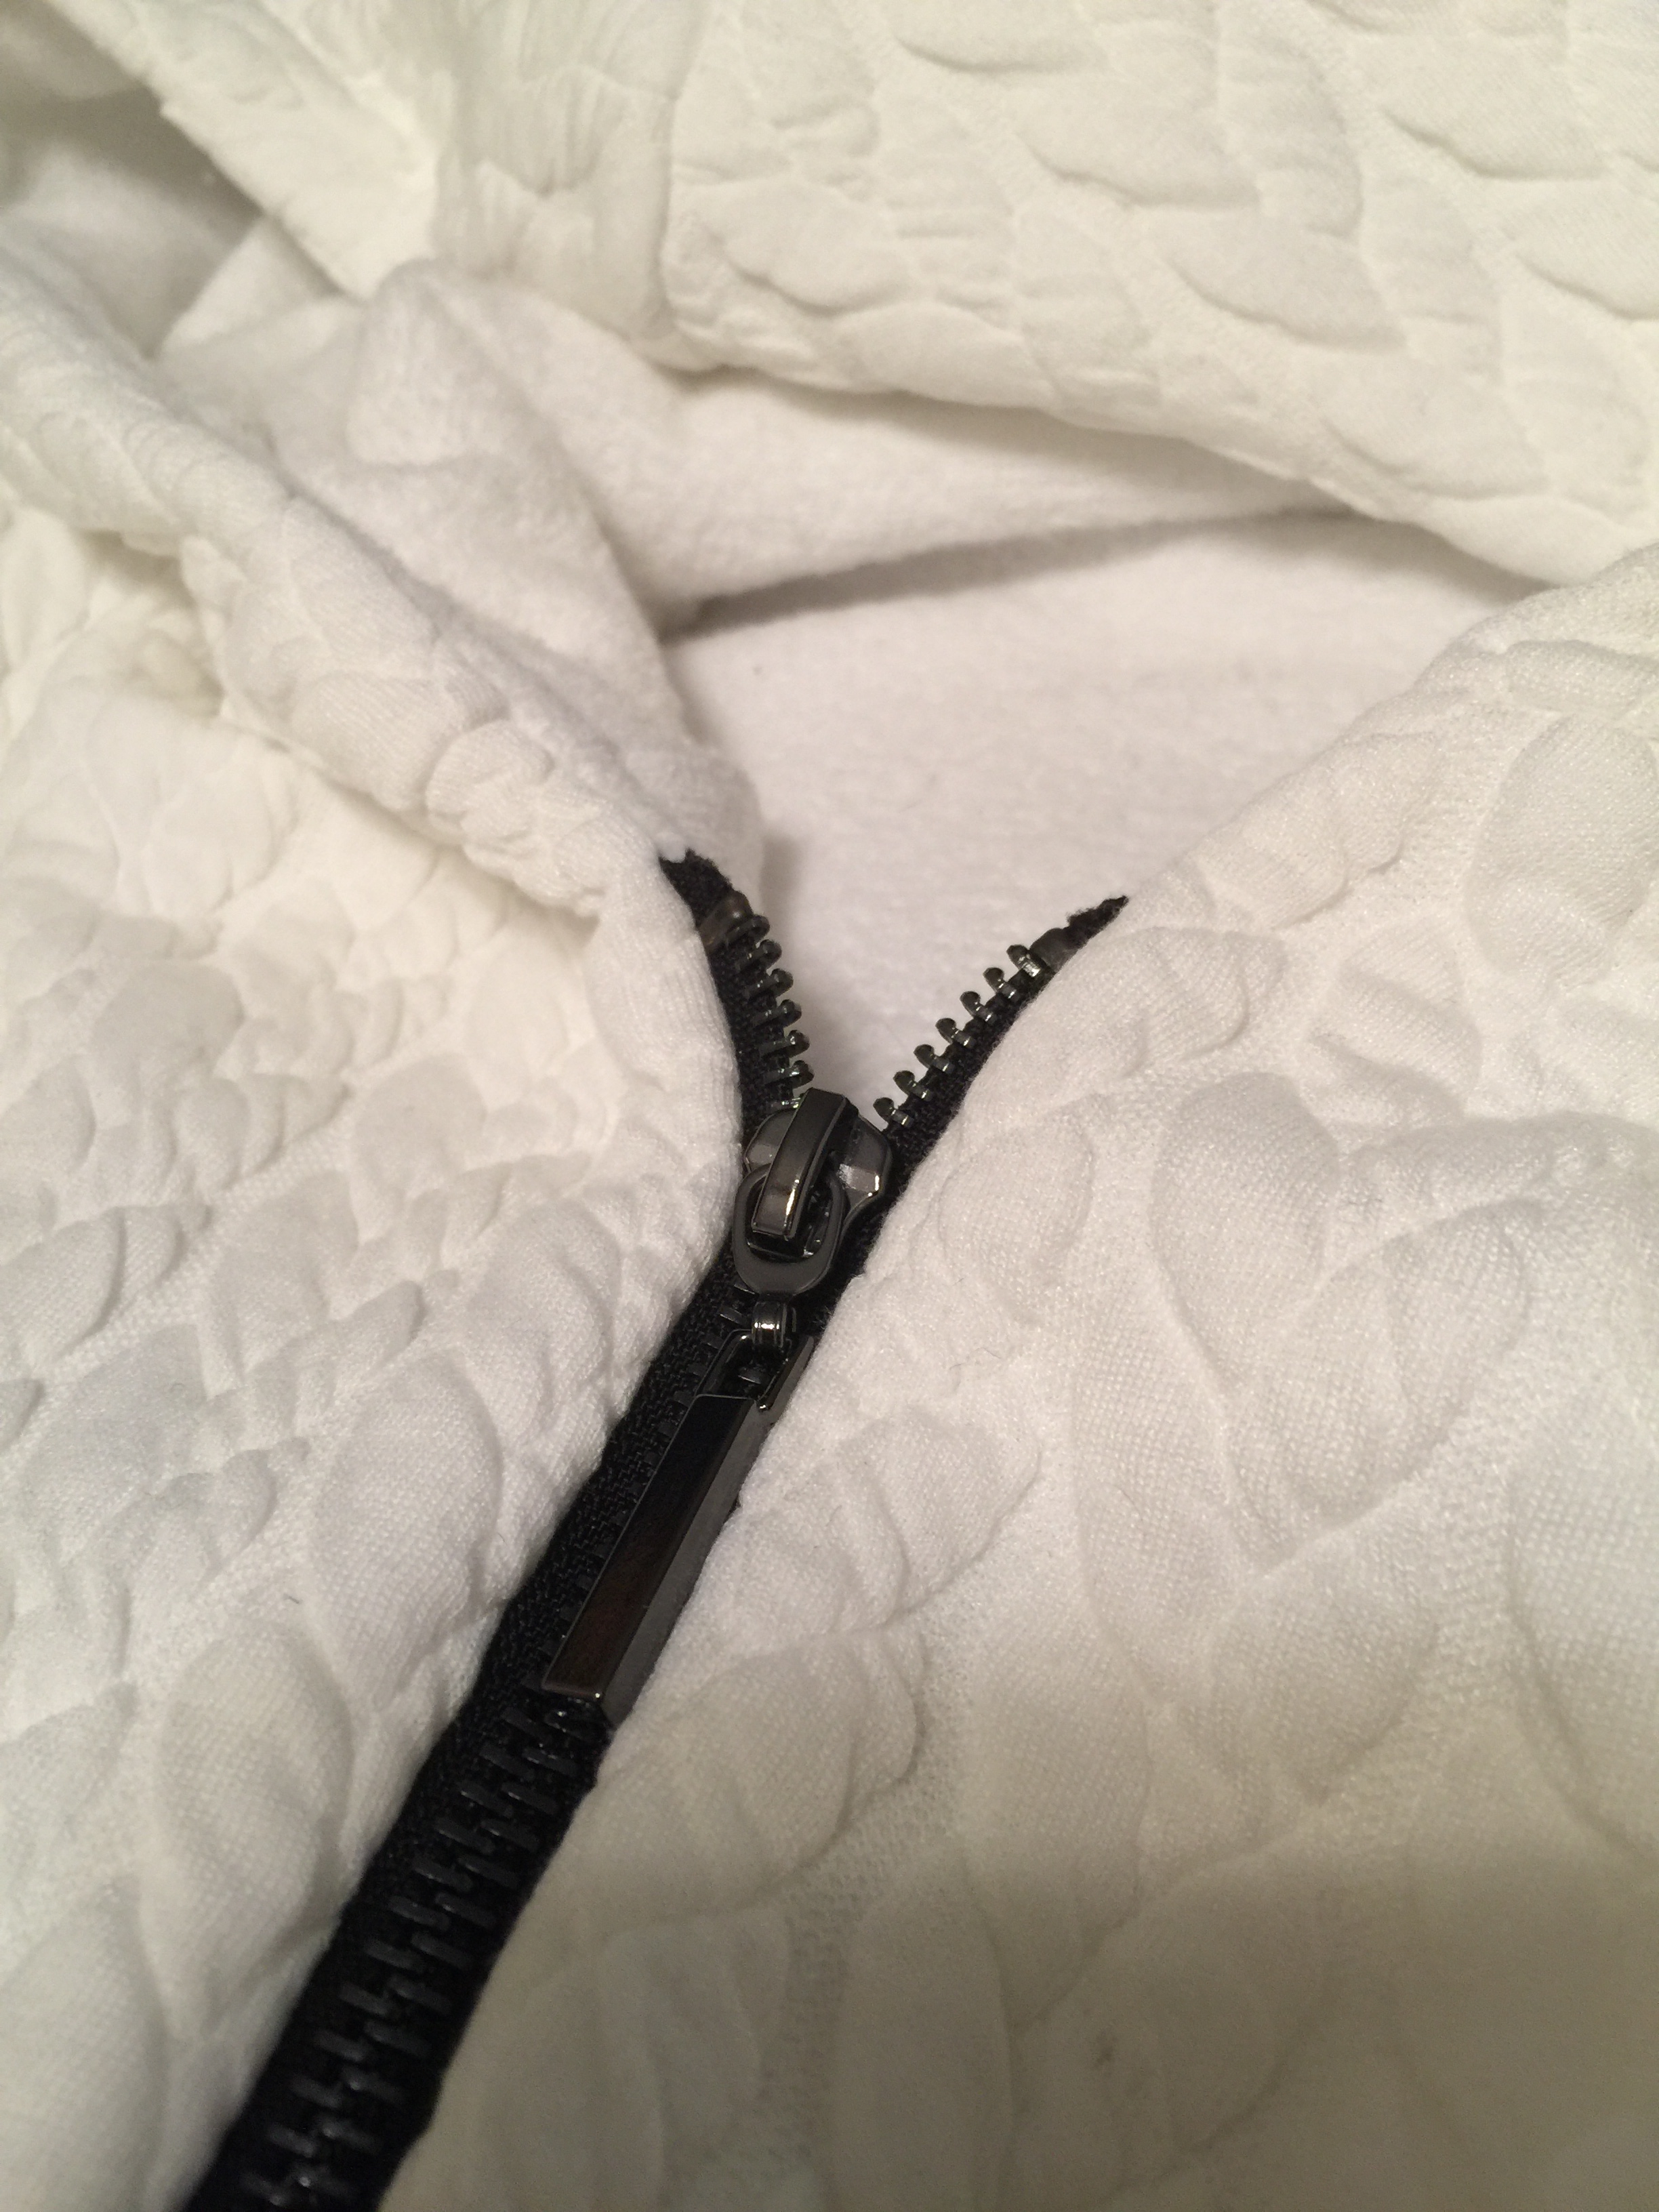
The zipper might almost be my favourite part—this is the kind of crazy luxury item I would have a really hard time splurging for myself, but for a project—awesome! As per the pattern photos, it`s a double-ended separating zipper, so you can zip it up from both ends. With a particularly gorgeous gunmetal finish.
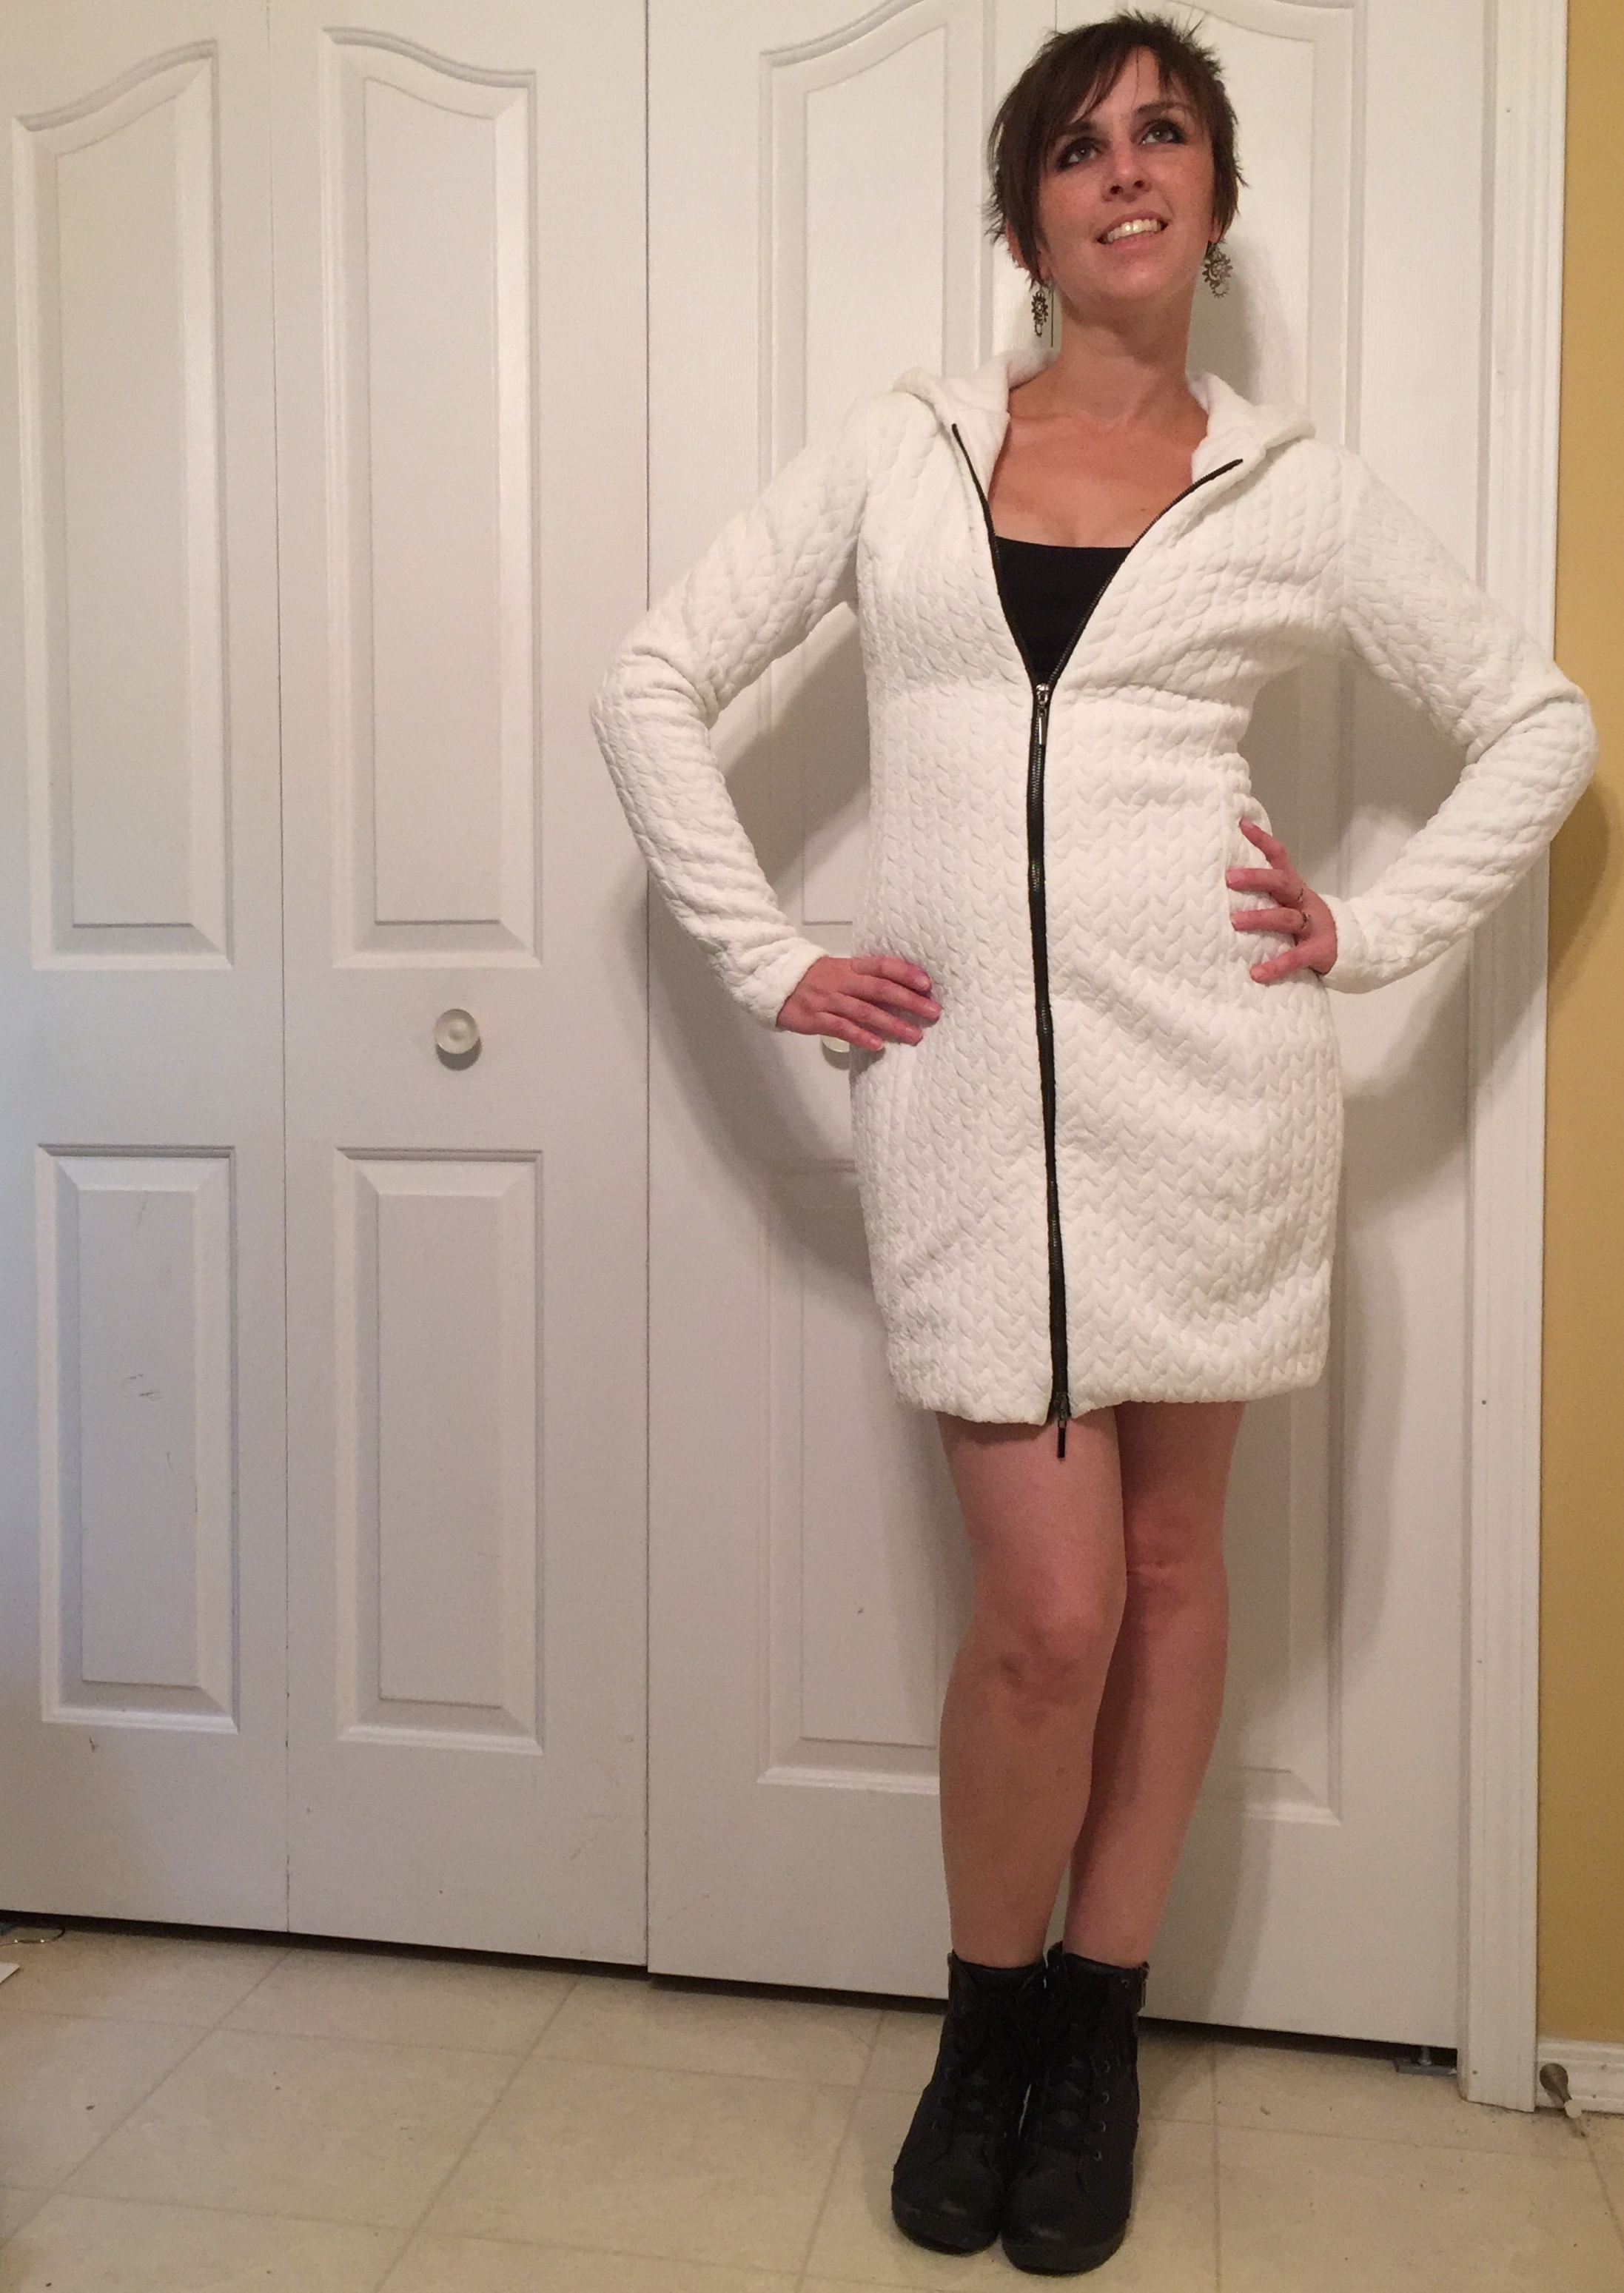
Front view. At least I look like a shapely marshmallow. Sexy astronaut costume?
I was pretty minimal on my alterations for this one—I cut a size 36 (aka 10, technically a wee bit smaller than I actually am but I wanted this to be form-fitting.) I petite`d the bodice, lengthened the sleeves, and squared the shoulders. I skipped the swayback adjustment, figuring it’s just a sweater. But I can definitely tell that I skipped it.

Awful back view, with swayback wrinkles For Science.
So, as I mentioned, the pattern isn`t designed to be fully lined. So I was a bit perplexed when it called for 1.4m of fabric for lining the hood. I mean, the whole pattern only calls for 2m of fabric for the outside). How do you use 1.4m of fabric on a hood?
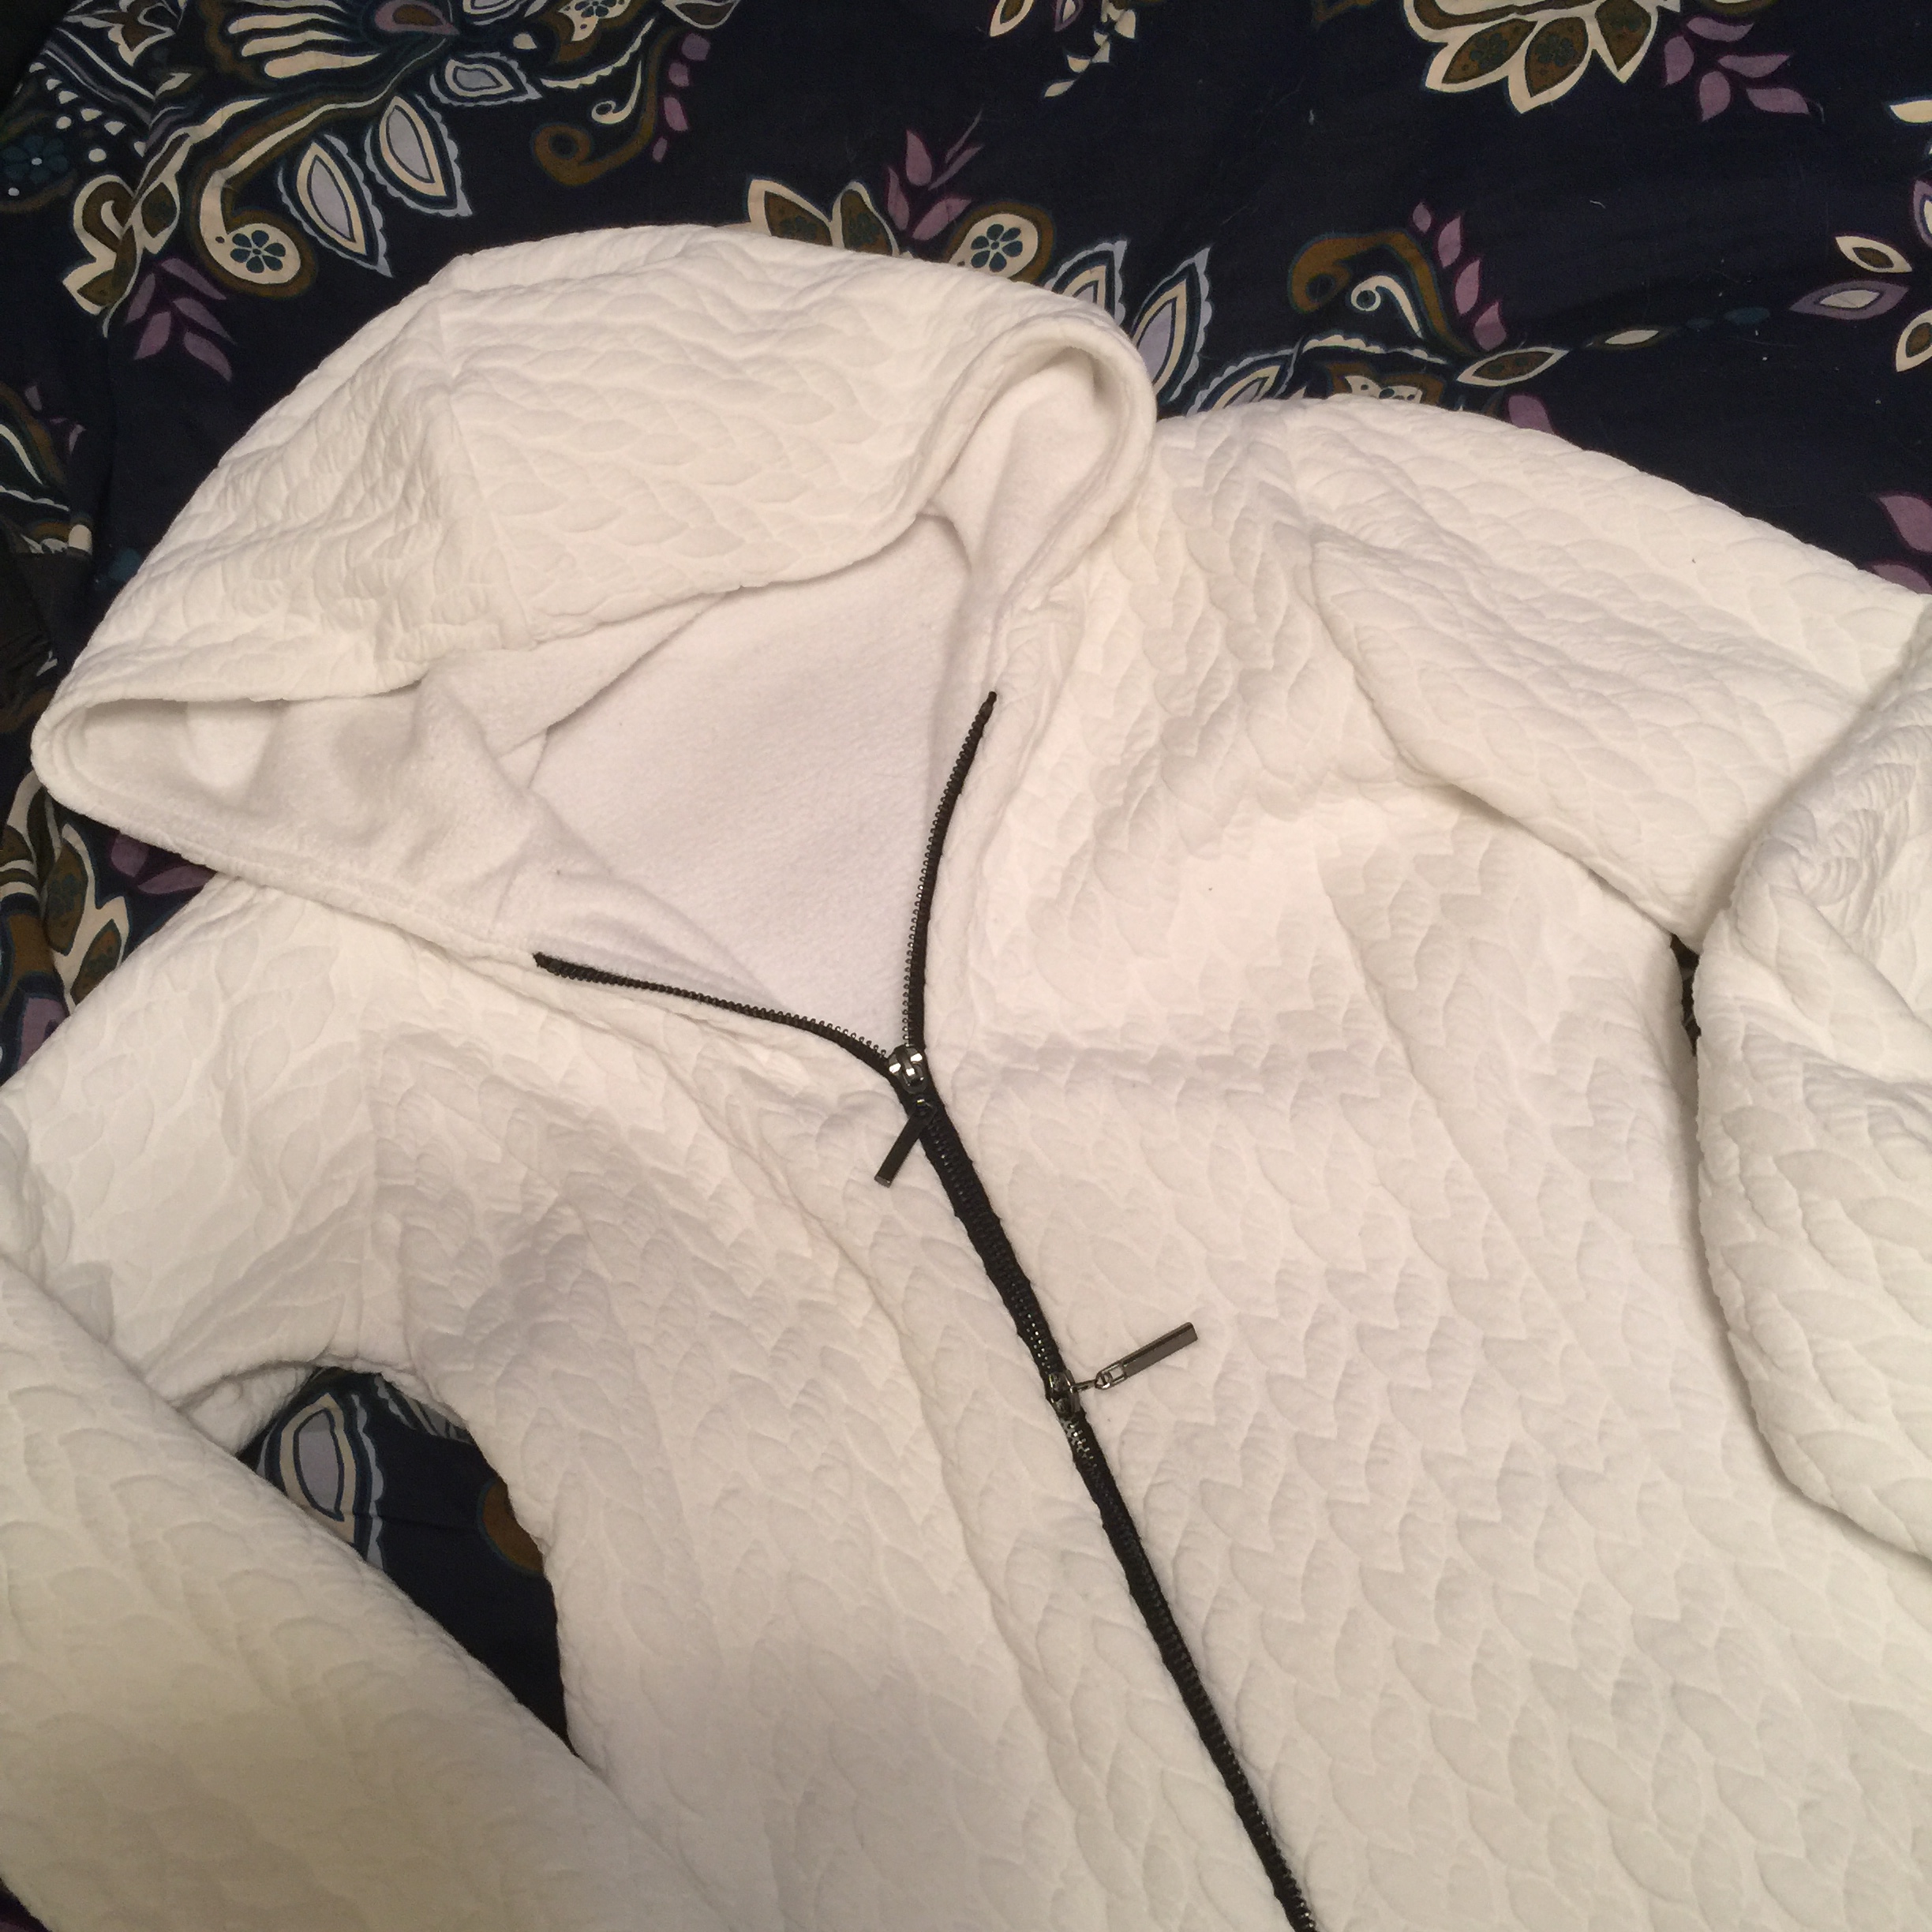
Hood
Well, it turns out when you cut the hood and front facing all in one, that really does take 1.4m of fabric. Fortunately for me (especially since neither of the remnants I wanted to use for lining was anywhere near 1.4m long), I just wanted to use the exact same pieces for the lining as the outside. I was able to get my body pieces from one remnant, and the sleeves and hood from the other.

Hood? Also, unfinished hem.
Speaking of the hood, I’m not loving any of the pictures where I’m actually wearing it. It’s large enough to be functional, it isn’t large enough to have an attractive drape when up. I often use the hoods on my bunnyhugs to layer over and under various winter hats, though, so I’m sure I won’t regret having it. Also, the grainline on it is odd. It doen’t run parallel to the front of the hood. Which wouldn’t bother me except that I was using what was essentially a vertically striped fabric, and I think having the cables on a bit of an angle at the hood front is a little odd. But maybe better than trying to have it go perfectly down the edge of a cable like I tried to do for the front zipper. That was hairy, and made me wish I’d cut things out singly.

Less candid, but much more pleasing, back view.
I fused knit interfacing along the front of the fabric, both shell and lining, before attaching the zipper. I still ended up with some pretty hefty rippling in the zipper, boo hiss. At a guess, I was trying to ease too much fabric onto a shorter zipper (the pattern called for 34″, but the longest Fabricland had that was separating was 32″, My alterations should have taken care of at least 1″ of that, but I probably eased in the remaining 1″ without realizing it., It doesn`t show when it’s zipped up and I’m sure as hell not unpicking, but it was a bit of a disappointment.

Worn open. Which is probably how I’d normally wear it anyway.
I also wasn’t happy with how bubbly the hem looked in these photos, so I tried to wrangle a 2″ wide strip of steam-a-seam into the space inside the hem. I think this would’ve been a great solution if I had tried to do it, at leat the first half, while the hem was still open, rather than after I’d sewn everything up except a 4″ gap that I eventually finished by hand. As it was, trying to wrangle it in and then get it fused was a bit of a disaster—it looks OK, but not as smooth as I would’ve hoped, and the doing of it was just a nightmare.
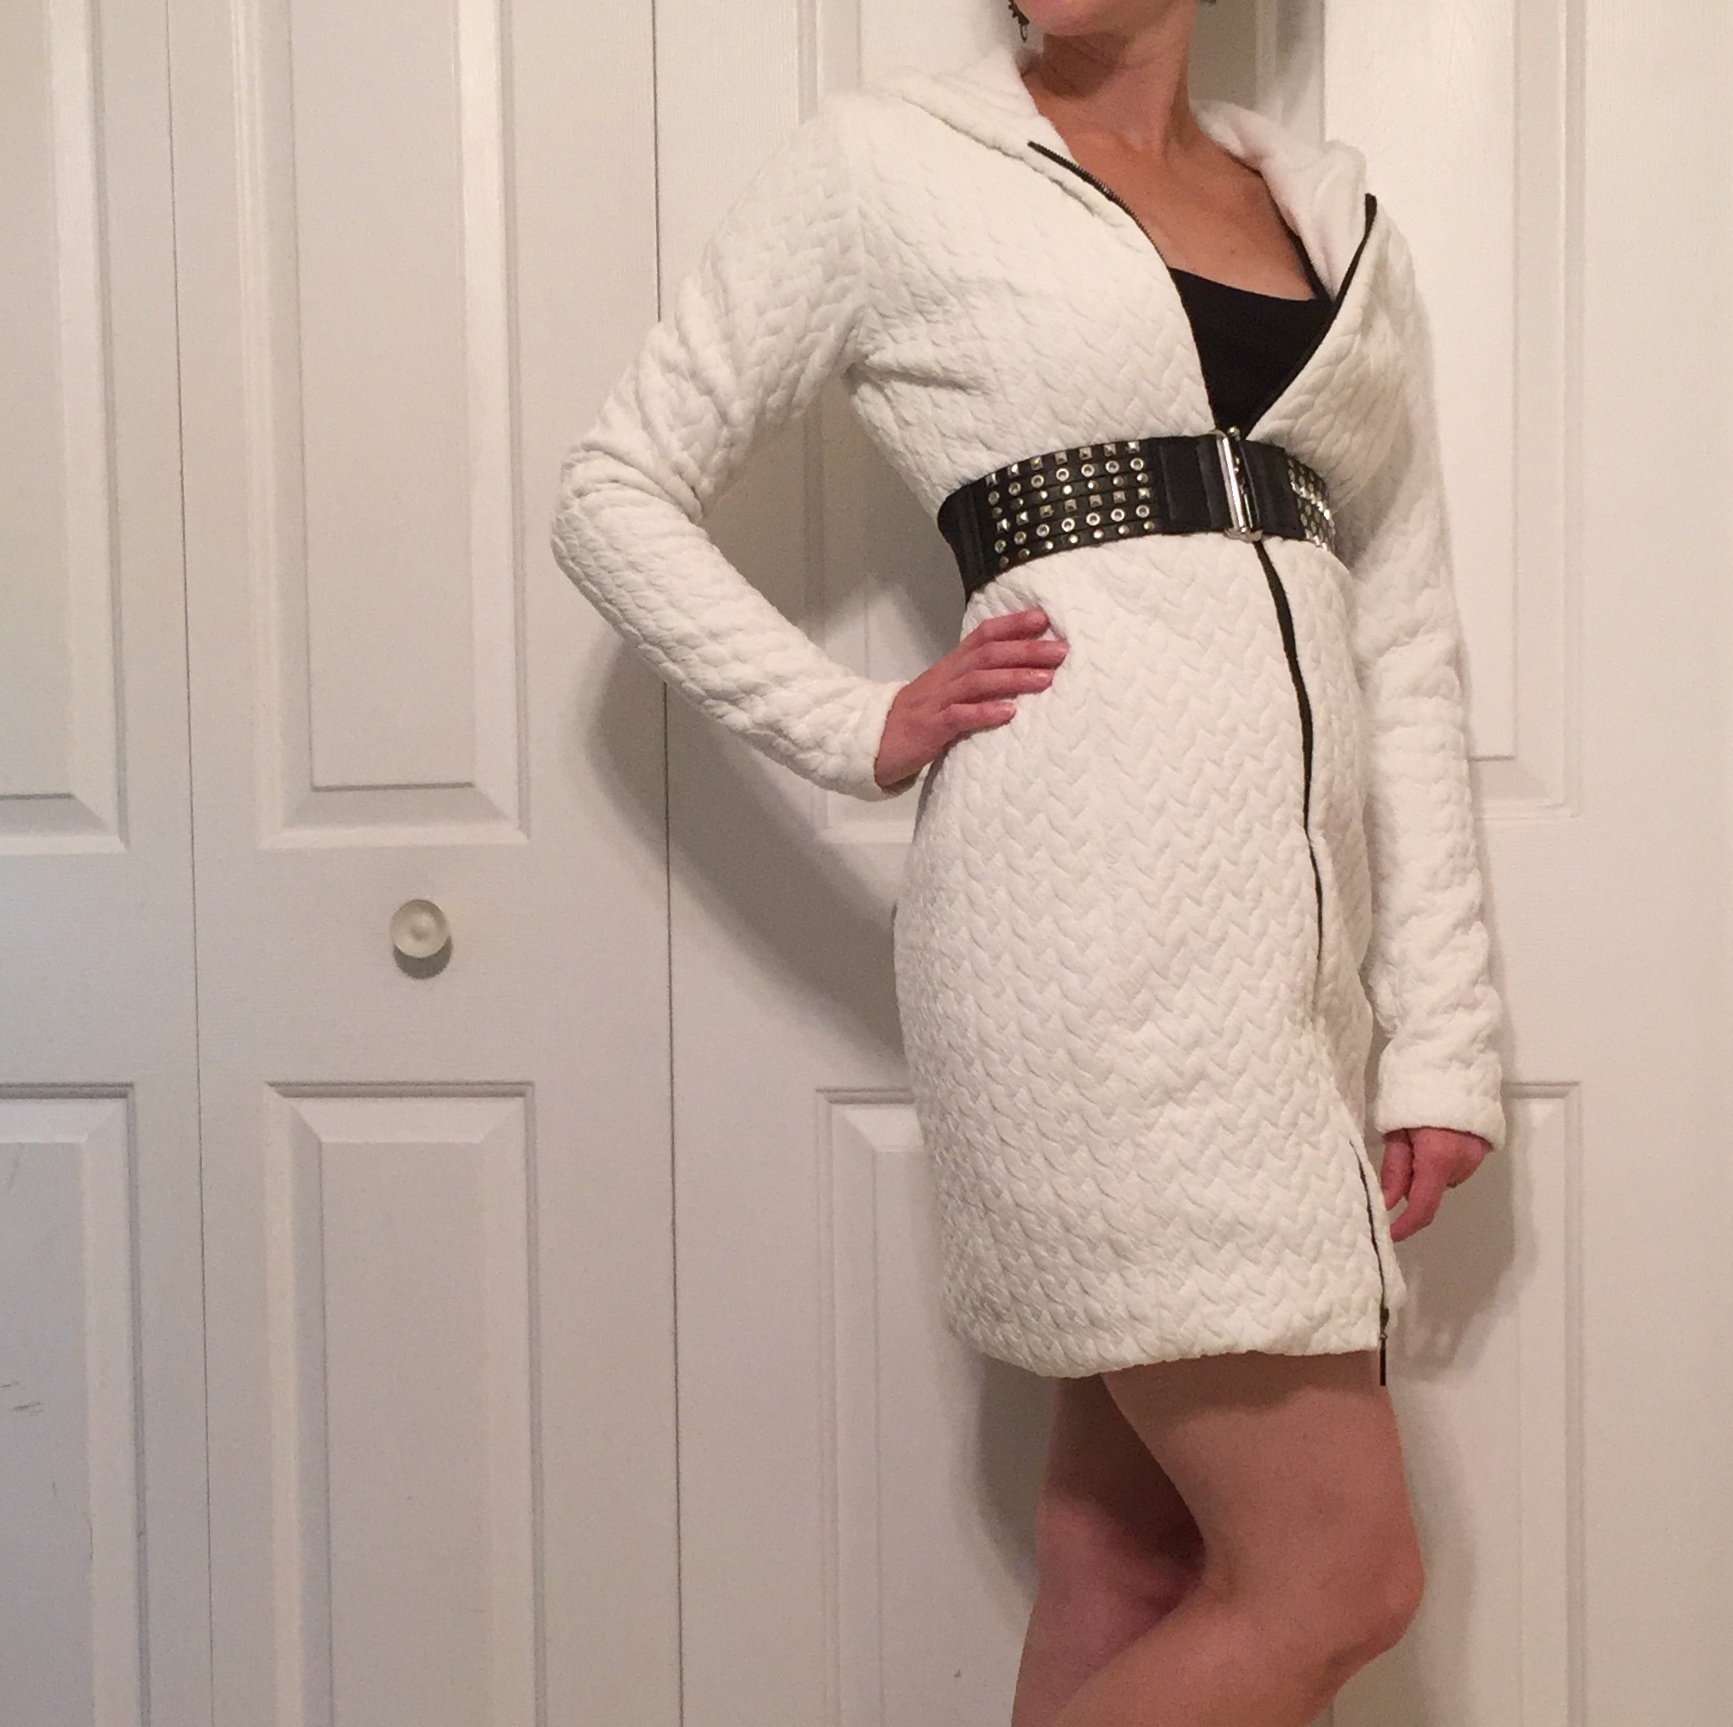
I think I like it best with a belt.
The fleece lining definitely makes it a bit less sleek and more, um, marshmallow-y than it might otherwise have been, but the coziness certainly can`t be beat. And I don’t think I can explain to you how much pleasure those cozy long sleeves give me. LOOOOOONG sleeves.
There is one potentially catastrophic problem, though. I showed it off to my stylish sister-in-law at Thanksgiving**, who also loves LONG sweaters with LOOOOOOONG sleeves, and she wants one. Preferably this one. Like, right now.
So when I get it back from hanging, I may have a fight on my hands.
*In fairness, apparently she had hoped to do something with Burda 6749, the basis of Tyo’s flannel shirt… So we yoinked each other.
**Canadian Thanksgiving, in early October, a civilized length of time before Christmas.