

Oops, I made it instead
Erm, yeah, so that’s a circle skirt.
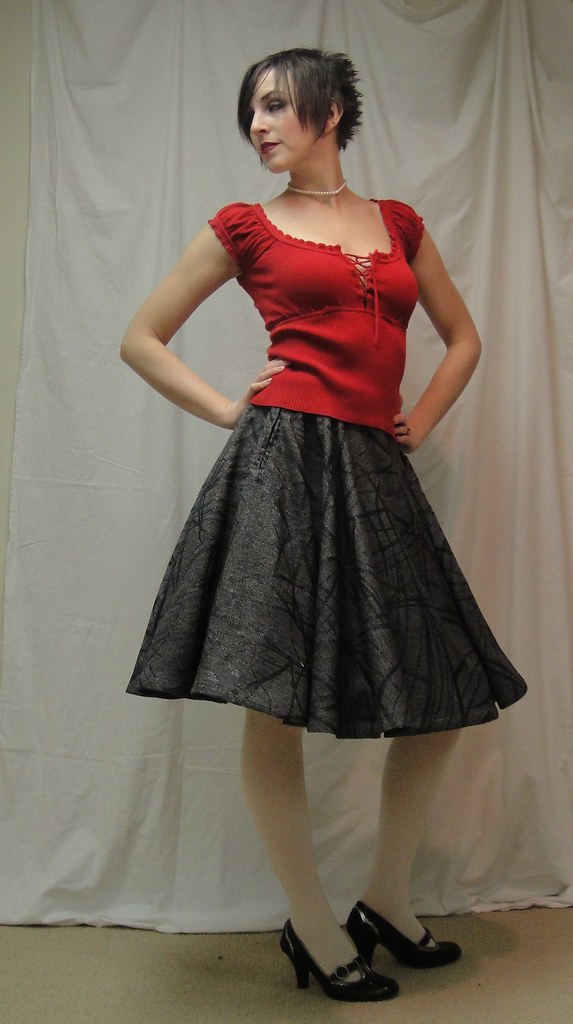
You may, ah, notice that it’s not that yummy purple fabric I showed earlier in the week. I chickened out. This doesn’t logically add up—2 meters of that purple stuff cost me $4 at the thrift store, whereas this stuff I originally bought for my Lady Grey muslin was at least $5/m. I still like the purple stuff more. Also I can’t get more of the purple, whereas every single Fabricland I’ve visited in the last six months (in two provinces) has bolts of this grey stuff in their clearance section. Apparently it did not sell well. At any rate, it seemed like a good vehicle on which to practice my circle-skirting techniques. It’s actually a really nice herringbone wool, suit weight, with this weird, sparkly black swishy pattern printed over top in what feels like latex paint.
Actually, it seems perfect for a circle skirt. Sedate but with a bit of fun—just like the skirt.
As per expectations, the waistband at the waist

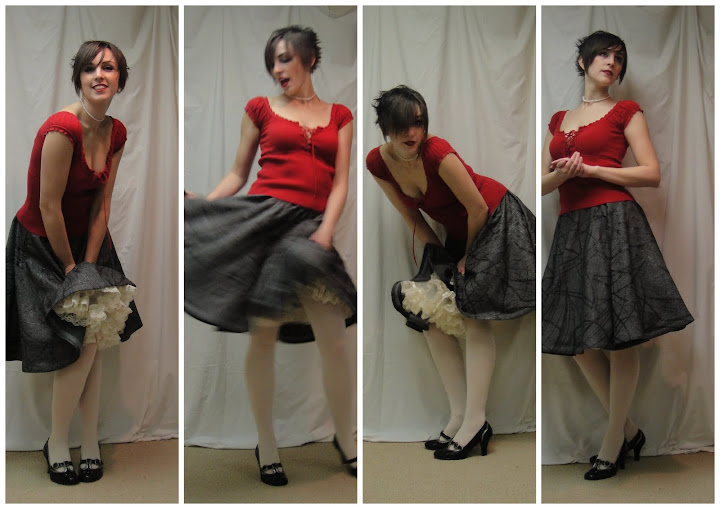
Tucked in shirt: meh
looks terrible. You will not see how bad it is because I’m only going to show you the “Pamela Anderson” pose: shoulders straight on, pelvis twisted to the side. Really I should call it the Egyptian pose, as I think they had it figured out a few thousand years earlier, but anyway. It emphasizes bust, minimizes the waist, and shows off your butt. Check out the magazine rack next time you’re at the grocery store, I’m pretty sure you can find an example or three.
Note the interesting hang of the folds
However, it does look pretty cute with a hip-length top over it, so I can style it that way. And I’m thinking a Franzi vest might complete the ensemble. Actually, I can envision a bit of a capsule wardrobe happening (that’ll be a first!) involving this fabric and the grey pinstripe I made my Businesswoman Pants out of. It might require me to buy more of this weird fabric if I want to both make the vest and finish the Lady Grey muslin. We’ll have to think on that.
As to the skirt itself—easy peasy. My fabric was 60″ wide (just shy after I steam-shrunk it), just enough to cut the entire thing in one piece. I used Casey’s 50s circle skirt tutorial, which provides you with a lovely pattern for the different waist sizes that runs quite true, though I’ll note that my size, 28″, is the second-largest. Oh, those 50s wasp-waists. The waist pattern is slightly squared off, which changes the hang of the circle skirt slightly: it hangs more straight at front and back (and sides, I suppose), with somewhat more folding at the front and back hips. This looks nice, and might even help minimize the bias-stretch since if you cut an even circle those bias areas will be a smidge shorter.
Using a single piece for the skirt is lovely and simple, but
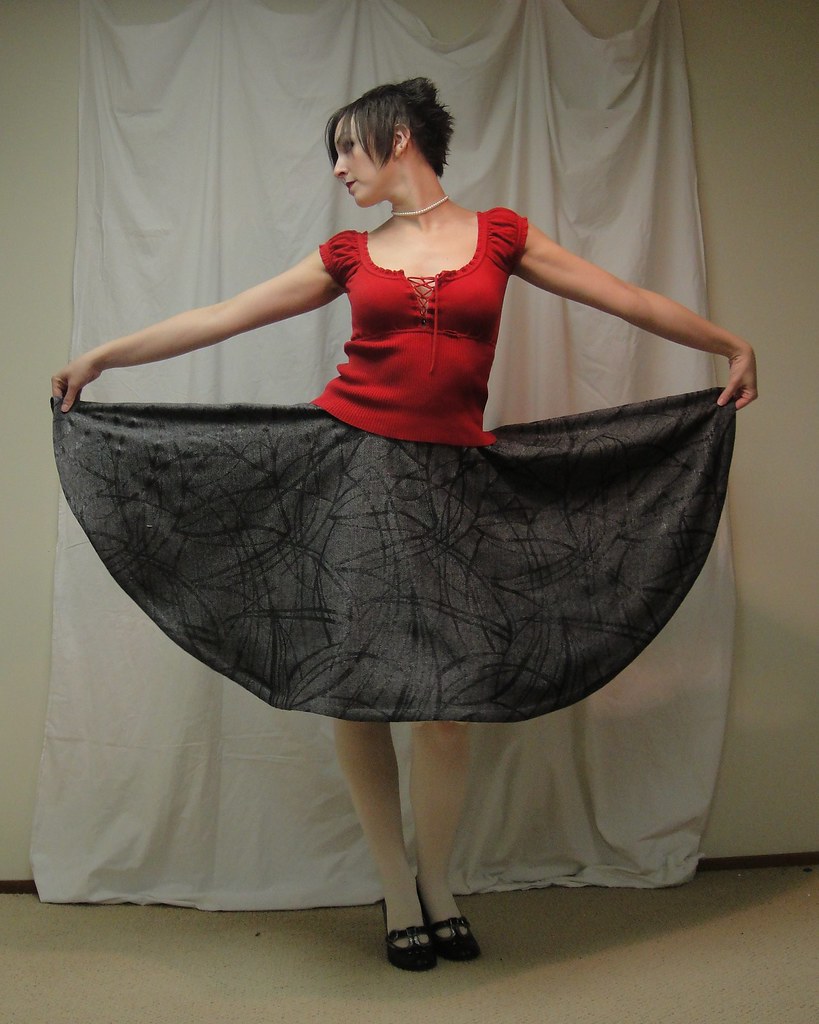
Don'tcha love the full circle?
does complicate inserting the zipper. The tutorial is not particularly helpful in this case—it simply says “follow the instructions that come with your zipper.”

The outside of my hand-picked zipper. Not perfect but reasonable.
Which would’ve been fine if I’d, y’know, remembered I was using a vintage zipper—probably not quite as old as the skirt, but still—that actually *came* with packaging and instructions. Duh. Once I opened it up and looked through them (and posted piteously on Pattern Review—thanks for the helpful responses!), it became clear that I should do a facing around a narrow slit, and then attach the zipper as usual. Well, as usual as zippers ever get for me, anyway. I also LOVE the suggestion of doing a snap-placket, similar to the continuous-lap placket in a blouse sleeve. I’ll try that on the next one. I machine-stitched the ziper to the facing but hand-picked to the outside. It seems to have worked reasonably well. I still need to stitch a hook and bar onto the waistband, but we needn’t dwell on such trivialities here. 😉
Oh, and I should probably show you a back view:
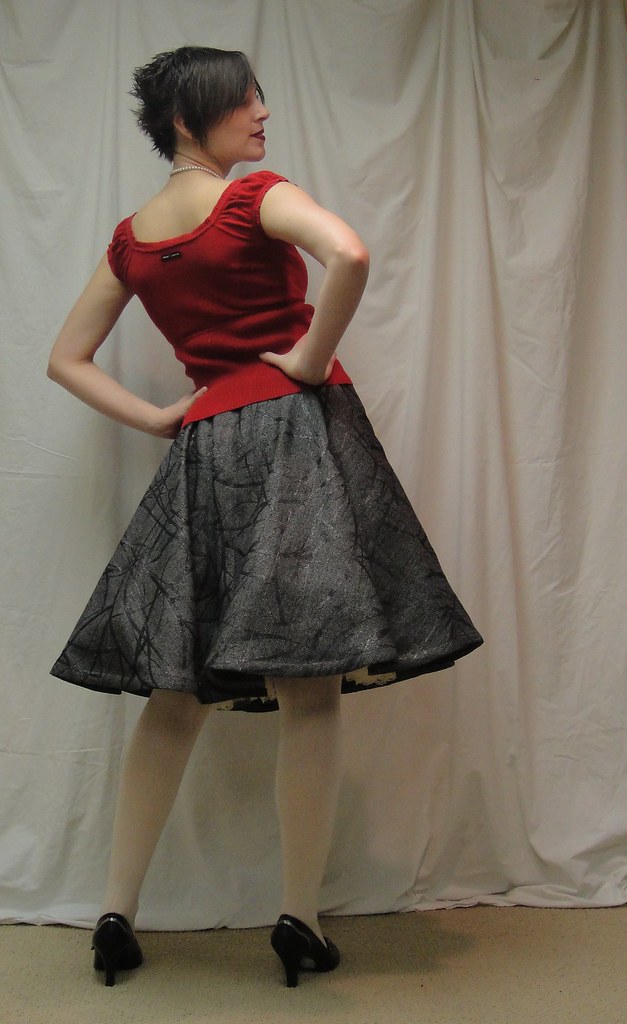
Back view
When I went to measure to hem it today, I trimmed down the length of the front but not the back. It doesn’t seem to have stretched much on the bias at all, although the sides were for some reason distinctly shorter than the front and back. I trimmed down the front half of the circle to match the side length, but left the back, as even I have enough booty to make it appear shorter at the back. Probably it doesn’t look as perfectly even as it could (still a bit short at the back, actually) but, y’know, whatever.
The horsehair braid was fun, despite the fact that I couldn’t find any as yummy and wide as Gertie’s (as it was it took me two different Fabriclands to find the 1″ width). I followed her tutorial quite closely anyway, and managed not to singe off my fingers or melt the nylon braid, so life is good—but I I would still have preferred wider braid. Ah, well. Time to start hunting for an online source, I guess.

Horsehair braid---sadly I could only find up to 1" thick
Oh, and I recently splurged on a point-presser/clapper, urged on by MPB’s list of “tools you won’t want to be without” (relatively few of which I actually own). And, y’know, it’s awesome. I used the clapper-part like crazy in the making of this skirt and I am truly impressed by how much it improves the edge of the press. Who knew? (Okay, I know the rest of you knew already… these things I tend to have to figure out for myself.)
So now I am working on a vest to go with this, assuming that will work out and not just look funny, and I may nibble on that mini-wardrobe-capsule (that’ll be a first!) as well, assuming I can find the stamina to tackle another Lady Grey. I tried the skirt with my grey blazer, though, and it looks like crap—it needs something with a flared peplum, or at least a much shorter one. You can see all the photos here.
For the next circle skirt (the purple), I want to do a yoke of some kind, maybe princess seamed, so I don’t have that awful waistband right at my waist. But that requires a bit more fitting and I haven’t quite gotten that far yet…


