Tag Archives: finished projects

Swirly girly

Oops, I made it instead

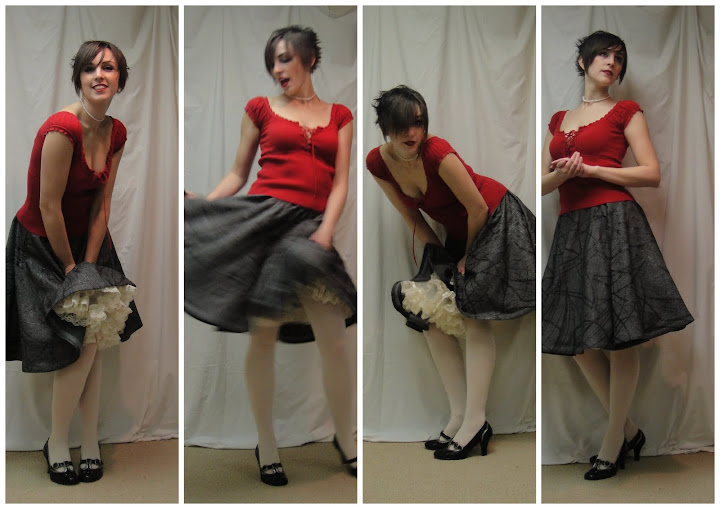
Erm, yeah, so that’s a circle skirt.

You may, ah, notice that it’s not that yummy purple fabric I showed earlier in the week. I chickened out. This doesn’t logically add up—2 meters of that purple stuff cost me $4 at the thrift store, whereas this stuff I originally bought for my Lady Grey muslin was at least $5/m. I still like the purple stuff more. Also I can’t get more of the purple, whereas every single Fabricland I’ve visited in the last six months (in two provinces) has bolts of this grey stuff in their clearance section. Apparently it did not sell well. At any rate, it seemed like a good vehicle on which to practice my circle-skirting techniques. It’s actually a really nice herringbone wool, suit weight, with this weird, sparkly black swishy pattern printed over top in what feels like latex paint.

Actually, it seems perfect for a circle skirt. Sedate but with a bit of fun—just like the skirt.

As per expectations, the waistband at the waist

Tucked in shirt: meh

looks terrible. You will not see how bad it is because I’m only going to show you  the “Pamela Anderson” pose: shoulders straight on, pelvis twisted to the side. Really I should call it the Egyptian pose, as I think they had it figured out a few thousand years earlier, but anyway. It emphasizes bust, minimizes the waist, and shows off your butt. Check out the magazine rack next time you’re at the grocery store, I’m pretty sure you can find an example or three.
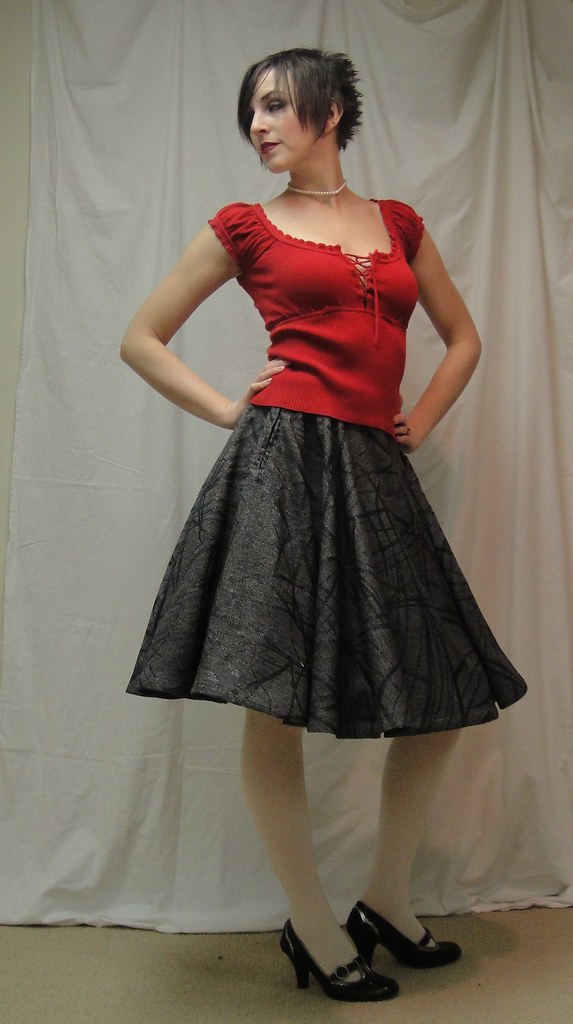
Note the interesting hang of the folds

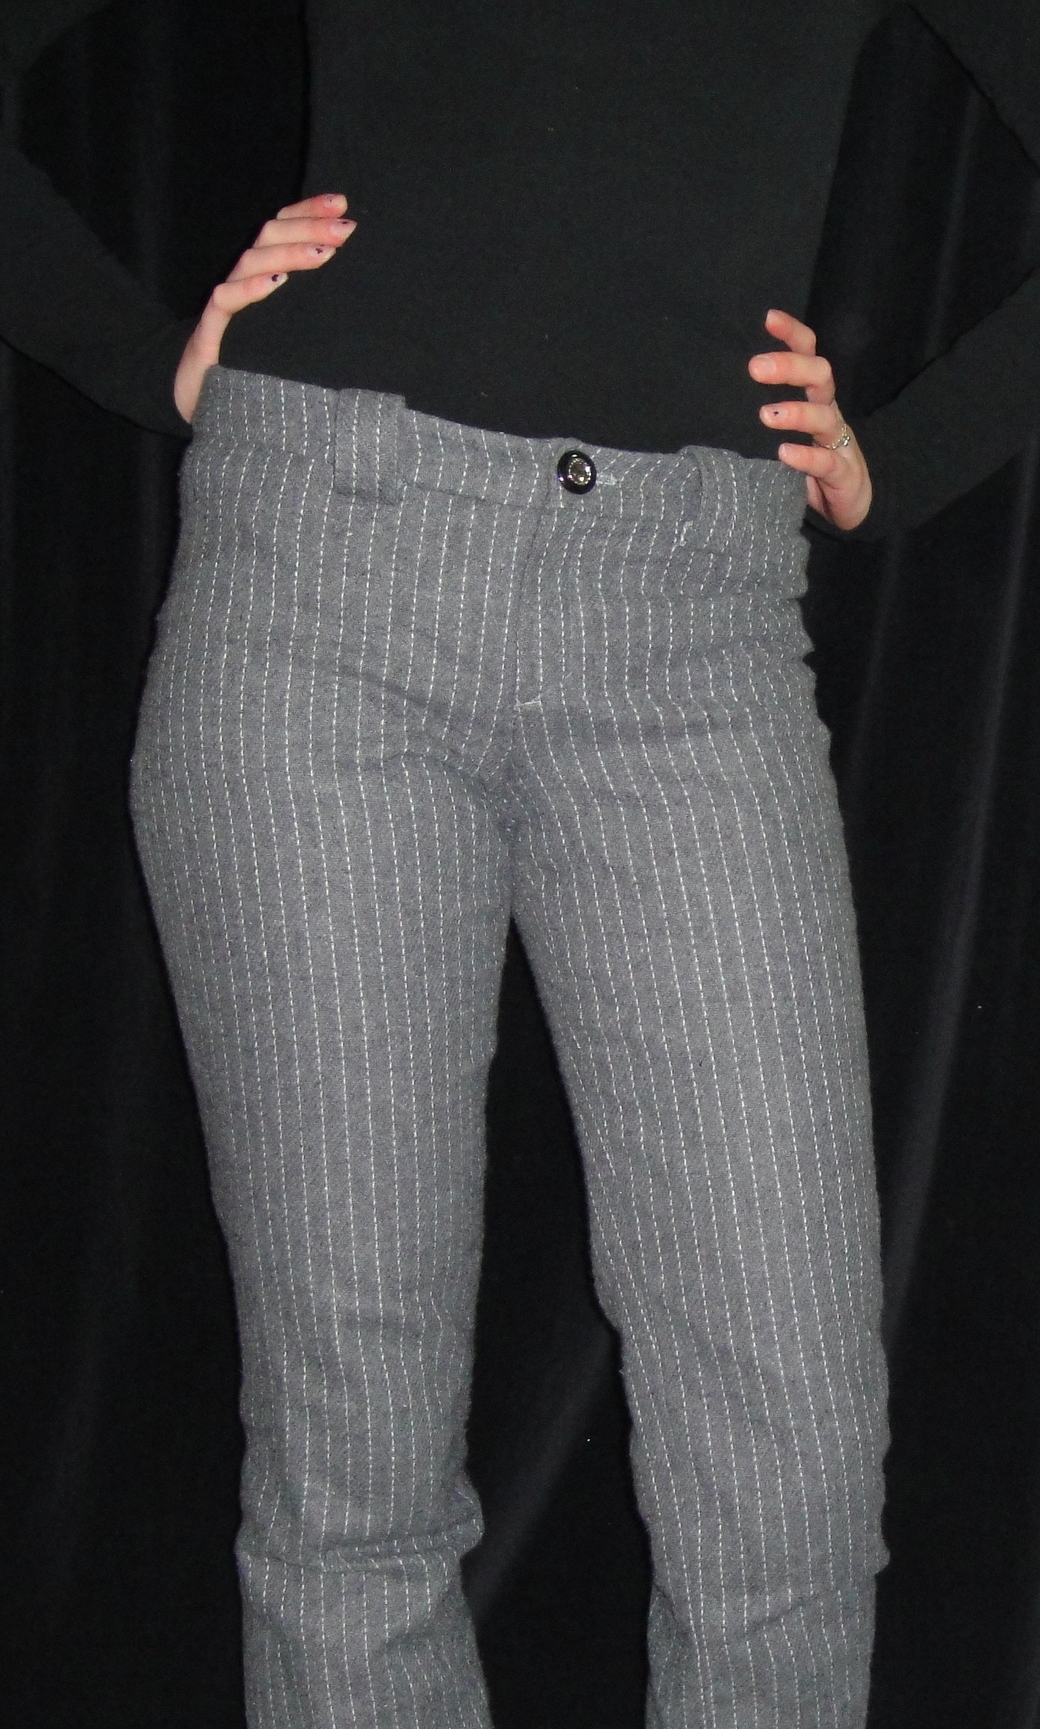
However, it does look pretty cute with a hip-length top over it, so I can style it that way. And I’m thinking a Franzi vest might complete the ensemble. Actually, I can envision a bit of a capsule wardrobe happening (that’ll be a first!) involving this fabric and the grey pinstripe I made my Businesswoman Pants out of. It might require me to buy more of this weird fabric if I want to both make the vest and finish the Lady Grey muslin. We’ll have to think on that.

As to the skirt itself—easy peasy. My fabric was 60″ wide (just shy after I steam-shrunk it), just enough to cut the entire thing in one piece. I used Casey’s 50s circle skirt tutorial, which provides you with a lovely pattern for the different waist sizes that runs quite true, though I’ll note that my size, 28″, is the second-largest. Oh, those 50s wasp-waists. The waist pattern is slightly squared off, which changes the hang of the circle skirt slightly: it hangs more straight at front and back (and sides, I suppose), with somewhat more folding at the front and back hips. This looks nice, and might even help minimize the bias-stretch since if you cut an even circle those bias areas will be a smidge shorter.

Using a single piece for the skirt is lovely and simple, but
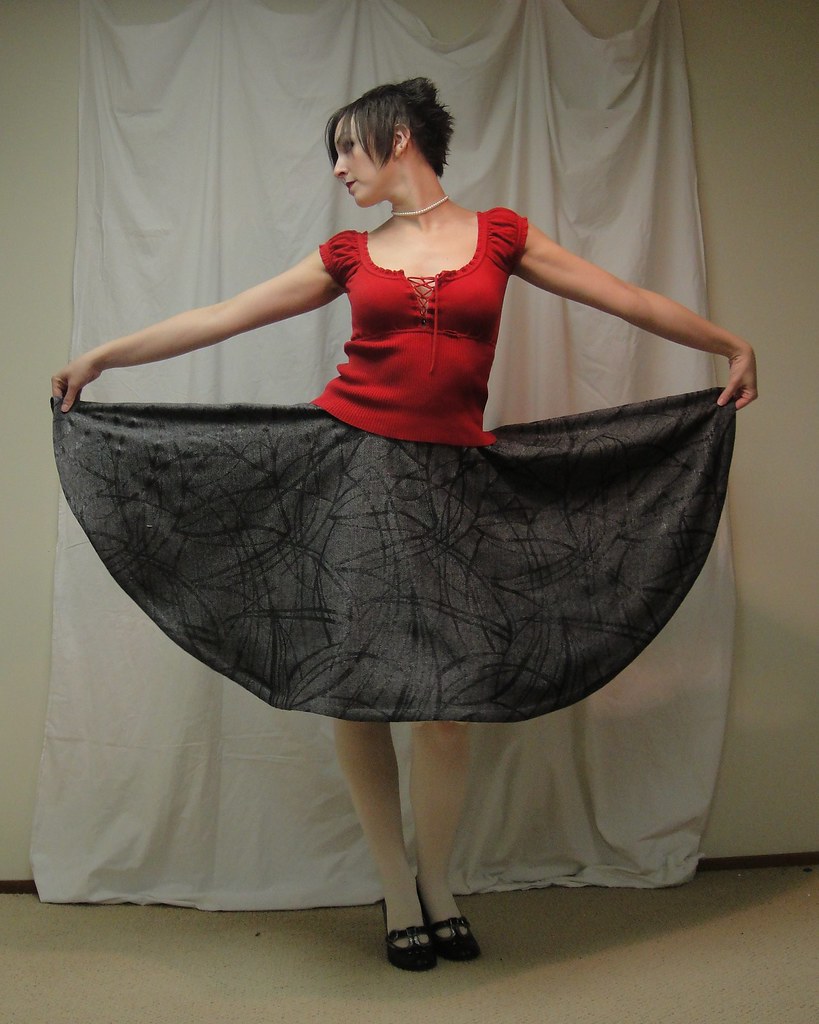
Don'tcha love the full circle?

does complicate inserting the zipper. The tutorial is not particularly helpful in this case—it simply says “follow the instructions that come with your zipper.”

The outside of my hand-picked zipper. Not perfect but reasonable.

Which would’ve been fine if I’d, y’know, remembered I was using a vintage zipper—probably not quite as old as the skirt, but still—that actually *came* with packaging and instructions. Duh. Once I opened it up and looked through them (and posted piteously on Pattern Review—thanks for the helpful responses!), it became clear that I should do a facing around a narrow slit, and then attach the zipper as usual. Well, as usual as zippers ever get for me, anyway. I also LOVE the suggestion of doing a snap-placket, similar to the continuous-lap placket in a blouse sleeve. I’ll try that on the next one. I machine-stitched the ziper to the facing but hand-picked to the outside. It seems to have worked reasonably well. I still need to stitch a hook and bar onto the waistband, but we needn’t dwell on such trivialities here. 😉
Oh, and I should probably show you a back view:
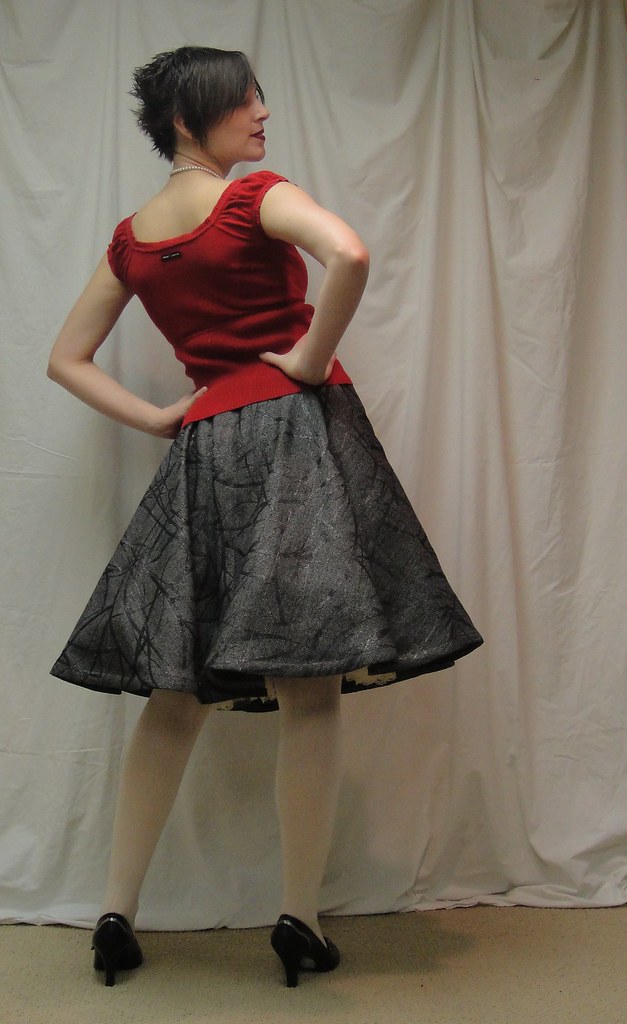
Back view

When I went to measure to hem it today, I trimmed down the length of the front but not the back. It doesn’t seem to have stretched much on the bias at all, although the sides were for some reason distinctly shorter than the front and back. I trimmed down the front half of the circle to match the side length, but left the back, as even I have enough booty to make it appear shorter at the back. Probably it doesn’t look as perfectly even as it could (still a bit short at the back, actually) but, y’know, whatever.

The horsehair braid was fun, despite the fact that I couldn’t find any as yummy and wide as Gertie’s (as it was it took me two different Fabriclands to find the 1″ width). I followed her tutorial quite closely anyway, and managed not to singe off my fingers or melt the nylon braid, so life is good—but I I would still have preferred wider braid. Ah, well. Time to start hunting for an online source, I guess.
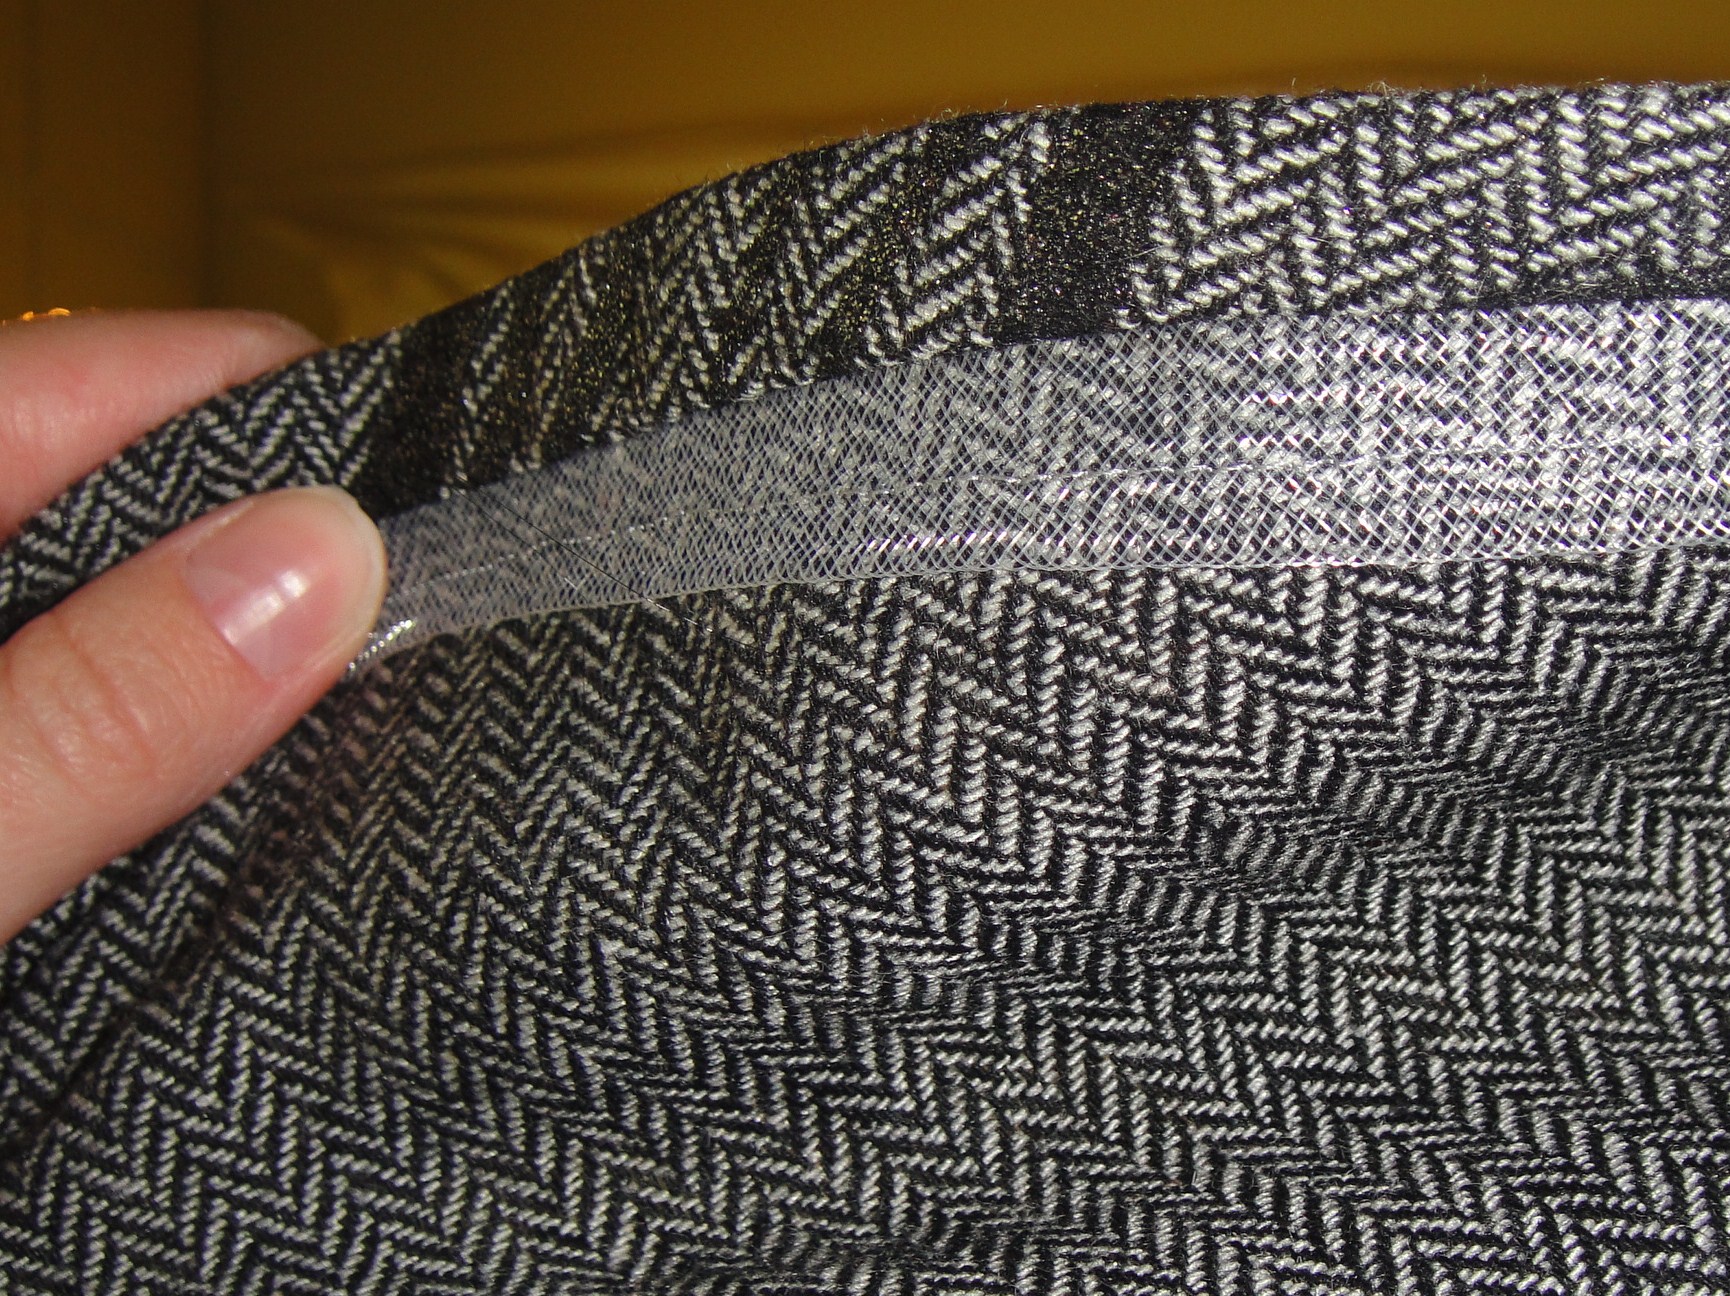
Horsehair braid---sadly I could only find up to 1" thick

Oh, and I recently splurged on a point-presser/clapper, urged on by MPB’s list of “tools you won’t want to be without” (relatively few of which I actually own). And, y’know, it’s awesome. I used the clapper-part like crazy in the making of this skirt and I am truly impressed by how much it improves the edge of the press. Who knew? (Okay, I know the rest of you knew already… these things I tend to have to figure out for myself.)

So now I am working on a vest to go with this, assuming that will work out and not just look funny, and I may nibble on that mini-wardrobe-capsule (that’ll be a first!) as well, assuming I can find the stamina to tackle another Lady Grey. I tried the skirt with my grey blazer, though, and it looks like crap—it needs something with a flared peplum, or at least a much shorter one. You can see all the photos here.

For the next circle skirt (the purple), I want to do a yoke of some kind, maybe princess seamed, so I don’t have that awful waistband right at my waist. But that requires a bit more fitting and I haven’t quite gotten that far yet…

26 Comments

Filed under Sewing

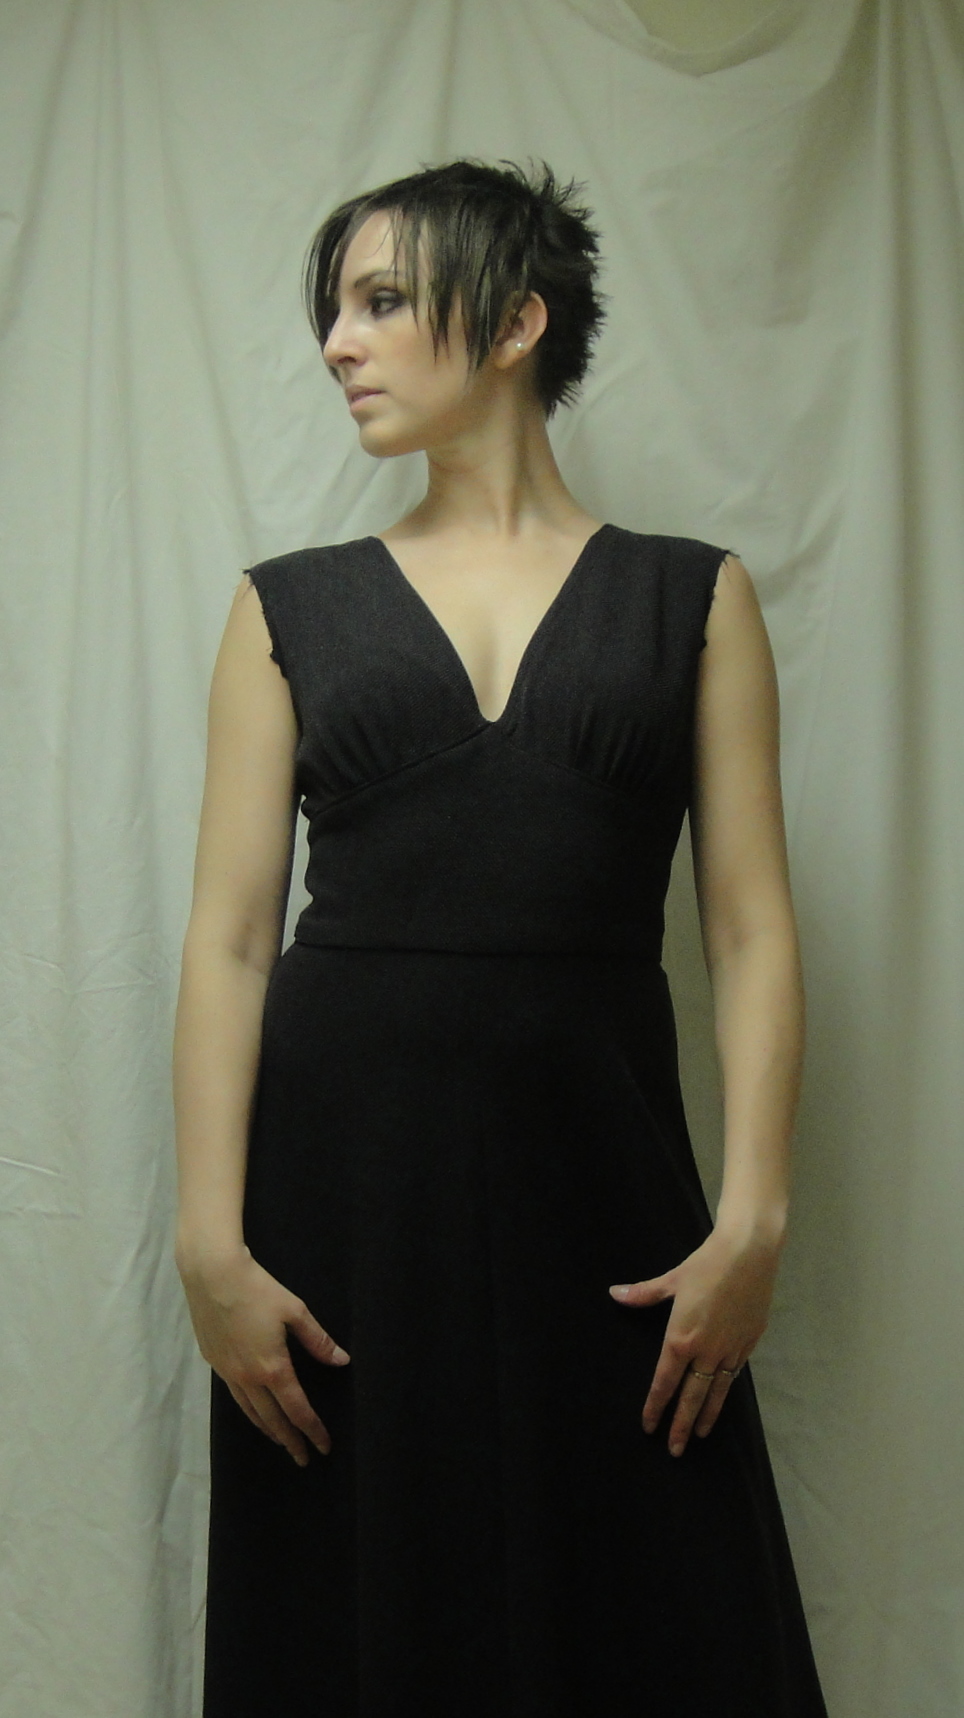
That 70s Dress

Simplicity 5728

A(nother) 70s dress

Now there’s a way to begin a post, by referencing a TV show I never even watched…

Anyway, despite my complete disinclination to do anything yesterday other than read through one of the novels I picked up at VV a couple of days ago, I did manage to get the sleeves on and hem the Simplicity dress. Raising the armscye worked like a charm—it’s lovely, high, and mobile.

As you can see, I opted (after the debate between long and short) for 3/4 length sleeves. This was initially inspired by the fact that as I was cutting there was a perfect spot to cut the sleeve out—but one side was a couple of inches too short due to the uneven cut end of the fabric.  But I’m really glad I went for it—warmer than a short sleeve*, but (I think) dodging the school-marmish/little-house-on-the-prairie potential of a full length sleeve with a full-length skirt.

Simplicity 5728

Curse that indoor light...

Since this blog is the closest I get to taking notes on my pattern alterations, I’m going to point out a few things about the sleeve again. I lengthened the full-length sleeve 2″ total, one inch above the elbow, one inch below. After doing this, I’d like to add, the elbow dart is in exactly the right position. Hooray! When I converted it to the 3/4 length, I cut off at the upper edge of the forearm “add length here” section. I felt like the sleeve was quite roomy in the muslin, even for a non-stretch sleeve (which obviously can’t be as snug as the knits I’m used to wearing), and when I decided on my stretch fabric I decided to narrow it: 5mm off each side, mirroring the 1/4″** I took off the sides of the bodice, and then I took a tuck of about 1/2″ out of the middle of the sleeve, all the way down. I figured there was more than enough ease in the sleeve cap to do this without messing with the length of the sleeve-cap, and there certainly still seemed to be plenty of gathers to go around. So in total the finished sleeves are about 1″ narrower than the muslined ones. This is perfect for my fabric, but might be a little too narrow for a non-stretch sleeve.

Simplicity 5728

Lots of sleeve mobility!

I do feel like the sleeves sit a little far out on my shoulders (possibly exacerbated by my alteration to the back neckline), although if I tug them up higher on my shoulder it seems to push out the sleeve oddly, so I’m not sure which is preferable.

I made the front midriff piece double-layered, to give it a bit more stability and make for a nicer finish inside. It is a nice finish, but it makes for a lot of layers of this fairly thick fabric, especially right under the bust where it encases the gathers. Possibly I should’ve graded the seams in this area. I’m also debating the merits of a waist-stay.

I decided to try a machine blind-hem on the grounds that a) this fabric is quite thick, and b) it hides the thread so well that it would be unlikely to show even if I did a whack job, which I basically did, and c) it just seems odd to hand-hem a stretchy. And it worked out pretty well, so long as you don’t look too close. The nice thing about such a long skirt is that the hem is a long way from anyone’s eyes, too ;). Well, except for the under-2-years age set, but presumably they won’t tell on me. The hem is the 2 1/4″ specified in the pattern, which brings it up to a length which is just shy of floor-skimming when I’m in bare-feet, which seems about right looking at the pattern illustration. Again, this is after I lengthened the entire skirt 5″. Which tells you everything you need to know about how my height is distributed (I know, cry me a river, right?)

Simplicity 5728

Finally, a smile!

I feel like it may be important to highlight a few lessons learnt from this pattern:

1) I really am short in the body. It’s not just in my head. Junior Petite, people, and the only bit of lengthening I did in the bodice I kinda wish I’d skipped out on.

2) especially in the armscye.

3) apparently I like 70s fashion, or at least the dresses. The only vintage patterns I’ve sewn for me this past year have been 70s dresses, and I have another one in stash, too. This is a little hard to wrap my mind around given that I grew up in the 80s and couldn’t even stomach the sight of bell-bottoms until well after their return to popularity in the late 90s.

4) I have neither the right hair nor the right shoes to go with this dress. Well, technically I have the right hair, but not the right hair-cut (nor am I likely to have it again. I love long, straight hair. Just not my long straight hair.). The shoes thing is unforgivable. How can I have no cute, delicate platform shoes? All I have for thick soles is my kick-ass boots, which would be fun but are not exactly period.

Simplicity 5728

Nice dress!

All in all? pretty happy camper! Though I’m still not convinced the dress will become part of my everyday wardrobe.

… now to fight down the urge to start working on a fluffy petticoat…
Oh, yes and a few more photos in the Flickr Gallery

*yay! The weather, which has been relatively clement since before Christmas, is reminding us that this is still Canada and winter still has a good two months to mess with us before spring will even begin to get a finger in the door. Today was  a virtual blizzard.

** very glad to hear that I’m not the only sewist who flits randomly between measuring systems. Canada officially went metric in the 70s, but somehow it’s never completely taken hold. For the longest time I did outdoor temperatures in Celsius, but indoor temperatures in Fahrenheit, for example.

36 Comments

Filed under Sewing

SFOs (Semi-Finished Objects)

Zena of Blood, Sweatshop, & Tears once commented that “wearable is climax. Done is denouement.”

She is so right.

Lekala twist-top, v. 2

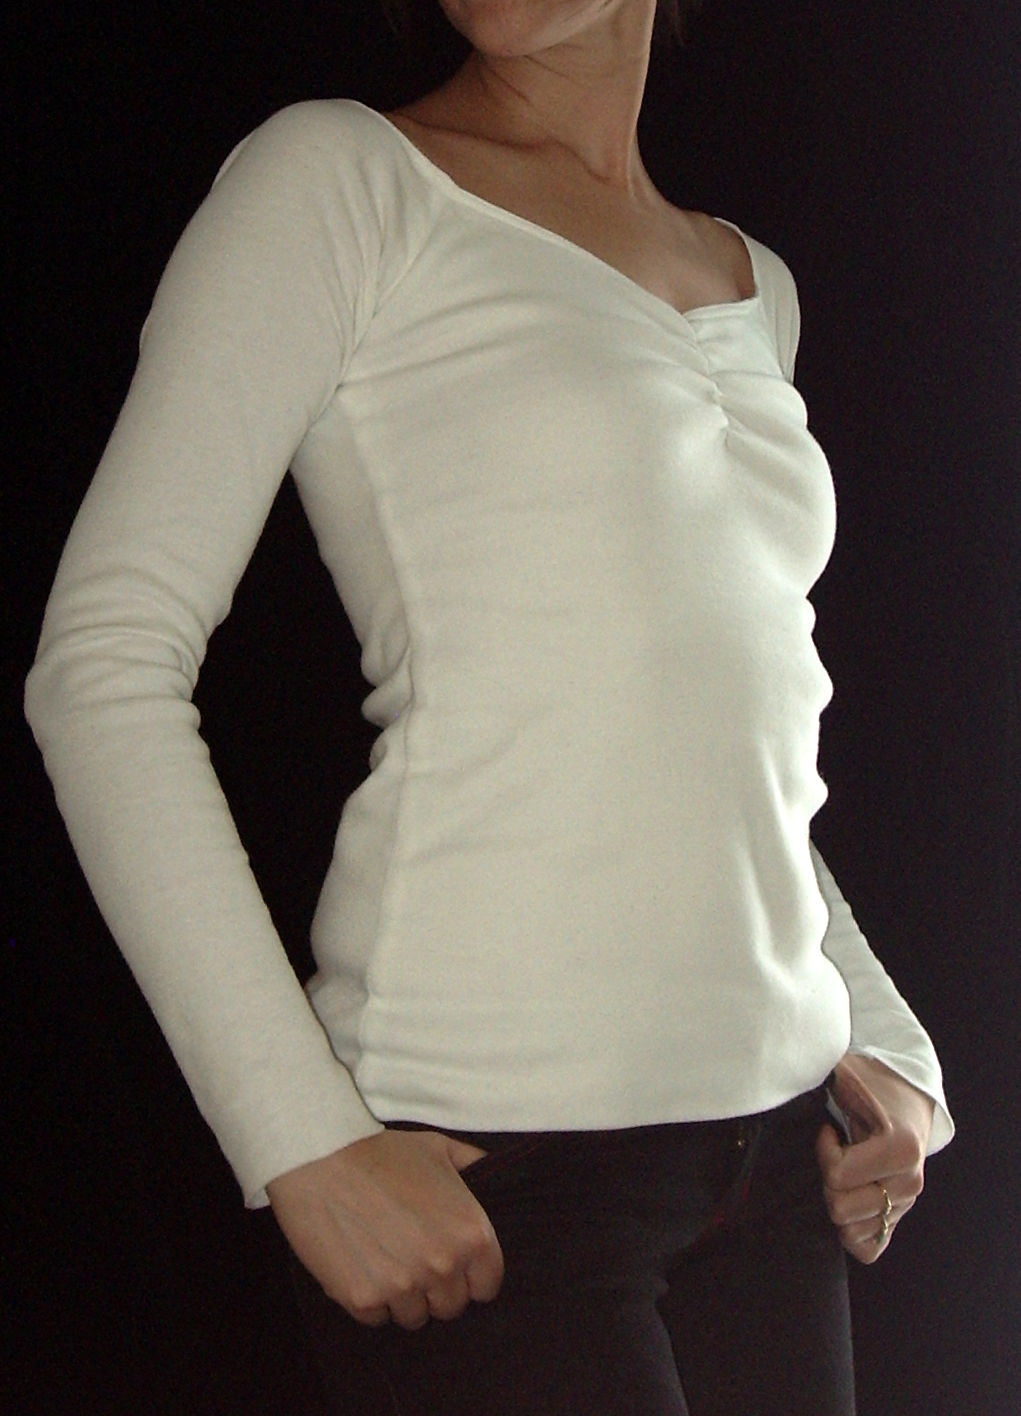
In that spirit, I give you my second take on the Lekala 5675, a.k.a. the twist top. The hems are serged but not completely finished, and it’s been like this most of the week. I am disinclined to fuss with trying to stabilize them for topstitching. Bleh. This red knit is wiggly, super-stretchy, and much more like the kind of fabric I imagine the shirt was designed for than my last attempt. It’s also an amazing example of the difference fabric choice can make for the exact same pattern (only difference is I added perhaps an inch more extra length to the red version, just in case, bringing the total increase to about 3-4″ in the sleeves and 4-5″ at the hem. The first version was roomy and sweater-like, with a surprisingly perfect fit in the shoulders. This version is second-skin tight and the shoulders look really narrow. Although about the same as they look in the pattern illustration, actually.. The twist still doesn’t pull naturally into the kind of tight twist the illustration suggested. This might be a drafting problem (maybe they should just have widened the upper front piece a bit so that a full twist was required), or it might just be that my doubling of the front (makes the finishing easier and never a bad idea in a thin knit) gives it a bit too much body. I think in my head the slit below the twist should be wider, but again it’s actually quite comparable to the illustration. Some day I shall use Sherry’s post to attempt to reduce a swayback in a knit. Someday.

Simplicity 5728

Simplicity 5728

In a similar vein, my (wearable muslin?) version of Simplicity 5728 is at a try-on-able phase in construction. Yay!

This is such a peculiar fabric. I would’ve sworn it

Simplicity 5728, side view

was a diagonally-ribbed knit, but it frays like a woven. It’s stretchy, very slightly in length, significantly in cross-grain, but fairly stable. It does have that cling-to-every-lump-and-bump quality of a knit.

In the stretchy (whatever the heck it is), I should probably have used the original bust-length, as the extra length doesn’t seem to be necessary. I had narrowed the bodice sides 1/4″ on the pattern, since it seemed a bit roomy under the arm,

Back (lightened to show lack of swayback wrinkles!)

tapering to nothing at the waist, and I took it in another 1/4″ here after trying it on (adding up to a substantial 2″ reduction in the total bodice width). I did a swayback alteration as per Sherry’s instructions (sooo easy when you have both waist and CB seams), taking off about 1/2″ (12mm) both above and below the waist seam. I gave the CB seam of the skirt a bit of an S-curve to it as my swayback seems to be rather below my waist in this area. And then I cut, inserted zipper, and hoped. And—well, look!

Can we say, happy customer?

Also, like what I did with the back neck? I did a brutal job of finishing the top of

Simplicity 5728, full back

the zipper, but otherwise it’s snazzy! Er, and yeah, the zipper’s pink. I thought it coordinated/contrasted nicely with the muted purple of the fabric, but probably it’s just too light. But the only other zipper I had of suitable length was white, and an invisible one, which I don’t actually know how to install. It’s vintage and metal, though, so it’s cute enough to deserve to be looked at.

Simplicity 5728, front closeup

You will recall that I received excellent advice from Kay and others on my sleeved muslin to raise the bottom of the armscye to improve my sleeve mobility. So I raised it a full 2cm, on the principle that it’s easy enough to lower it after the fact if I need to.

(It occurs to me that I probably annoy nearly everyone with my flitting back and forth between metric and imperial measurements. Can I call it a Canadian thing? I prefer to do my seam-allowances in metric because the metric markings are at the front of my sewing-machine face-place, making them easier to see than the imperial markings, which are at the back. On the other hand the width of the regular foot is definitely 1/4″, so I tend to do things like small alterations in this increment. It also depends on which ruler or measuring tape comes to hand first…)

I should also mention that I added 5″ (and we’re back to the imperial) to the hem of the skirt to get it to this luxuriously long length. That’s supposed to include 2 1/4″ of hem, which would bring it to a perfectly respectable heel-length, I think, although I’m not convinced a 2″ hem will be desirable in this fabric. I’m wearing a 3″ heel in the photos. I love these crazy-long 70s skirts.

Coming soon: the great sleeve adventure!

19 Comments

Filed under Sewing

The Christmas Coat

The Christmas Lady

Day-Glo Red

It’s (mostly) done!

This was technically my Hudson’s Bay Blanket Homage Coat, but given the timing and the colour, I’m probably wishing if I think I can make it something other than the Christmas Coat.

The Christmas Lady

Holy peplum, Batman!

Tyo pried herself away from her new PSP long enough to take these photos for me, saving me the hassle of trying to set up the tripod in the snow. Although as you can see, it’s not quite the winter wonderland it was a month or so ago when I finished Tyo’s Coat. We actually had wonderful weather for Christmas—it was +6 C on Christmas day! My dad and I took the girls to the local playground and they ran around without their coats on. Amazing what feels like tank-top weather once you’re inured to -20 ;).

The Christmas Lady

Lining---needs letting out

I think nearly everything that needs to be said about this coat has been already. One of the buttons is missing in action, having disappeared prior to being sewn on somewhere in the dozens of rounds of “clean up” that have swept through my house more or less continually since last weekend (without creating a notable overall improvement, I’ll add). If it doesn’t show up in a day or two I’ll have to go buy another. Also, the two inch hem I took in the lining wound up being a bit too much, so I should really let it out a wee bit. At least I have that luxury, having cut my lining to the full length of the shell.

The Christmas Lady

Coat front

I only took a 1″ hem, but as you can see my fabric has plenty of body.

Christmas itself was lovely but hectic. We hosted my father, my hubby’s father, and my hubby’s father’s girlfriend. I was pretty spoiled my first seven or so years of marriage—I never once had to make a turkey on my own (or even in my own kitchen). It really is much more fun doing all the culinary craziness with three or four or five other people helping out. Fortunately my Dad, of all people, came to my rescue, peeling potatoes, washing innumerable dishes, and helping stuff the turkey. I fear I was a touch crabby, but hopefully it wasn’t too bad. I really was happy to have everyone there.

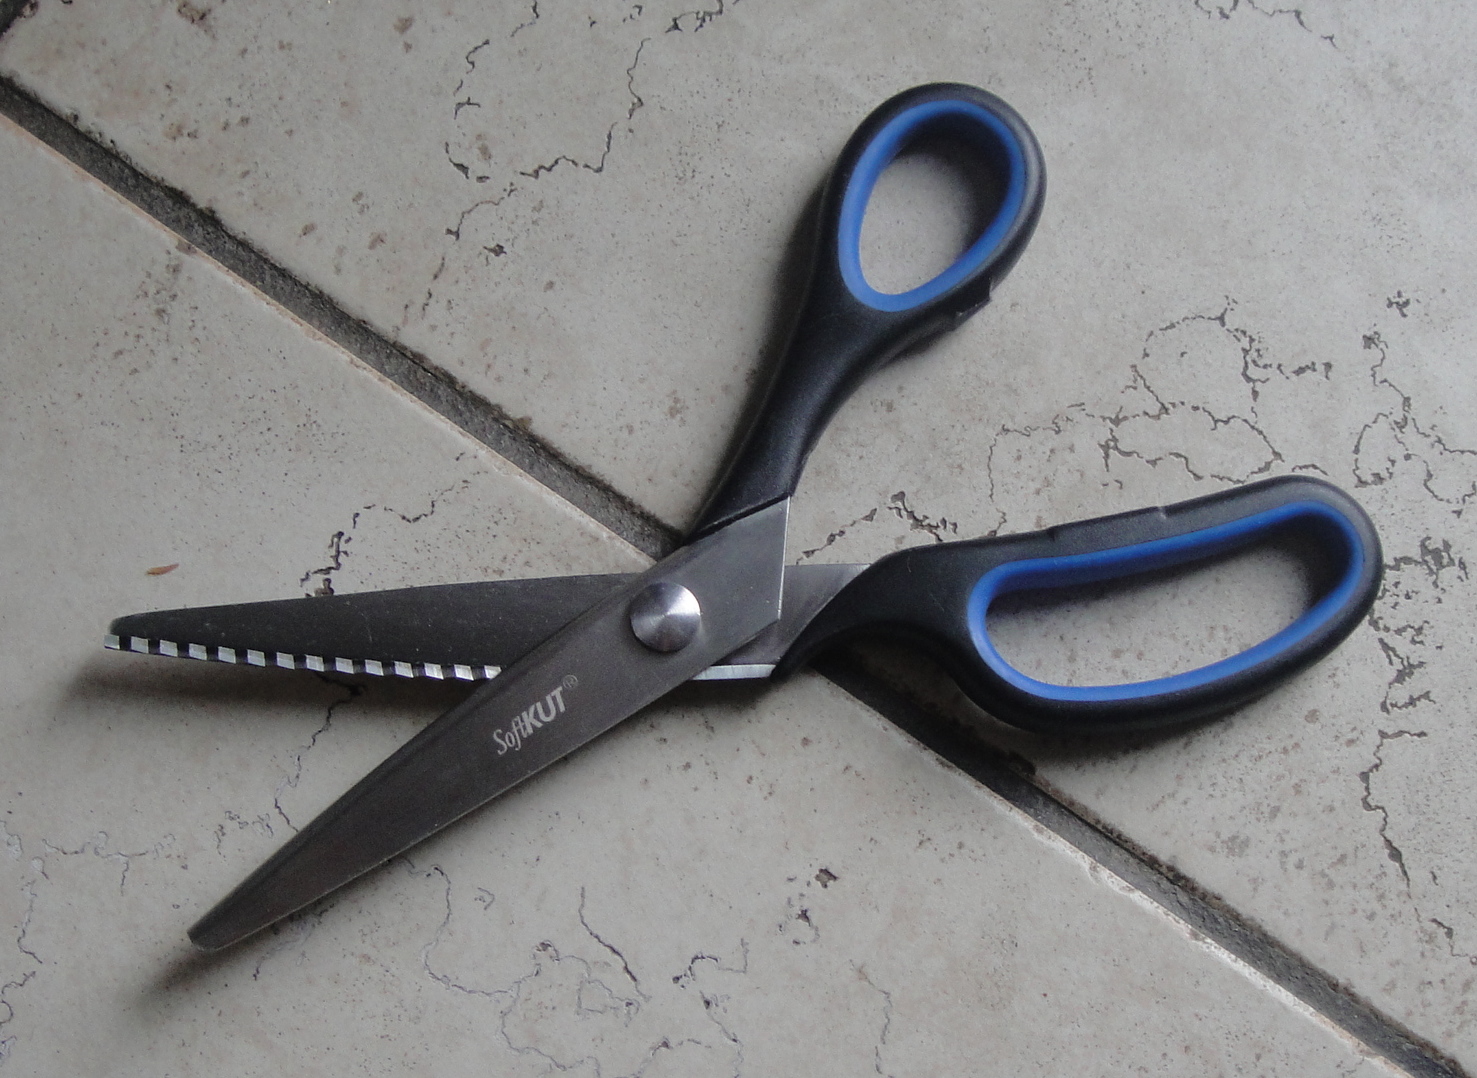
I did get one bit of sewing paraphernalia for Christmas, from my mommy. Look: pinking shears! My mind is racing about what I can pink. Or it would be, if I weren’t thoroughly sluggish from chocolate overdose.

Pinking Shears!

At any rate, I hope your Christmas (or seasonal equivalent 😉 ) was as merry as mine. I expect I’ll start thinking about sewing again in a day or two. For now, I’m going to go read one of the books I got for Christmas (The latest Terry Pratchett—oh, the joy!) and listen to my husband and children murder things on their various video game systems.

You can see all these photos and more on the Flickr Slideshow

All the posts on this coat can be found here. And this has been a (very belated) contribution to Gertie’s Lady Grey Sewalong.

29 Comments

Filed under Sewing

More fun with Lekala Patterns

Or, The Unfortunate Effects of Poor Fabric Selection

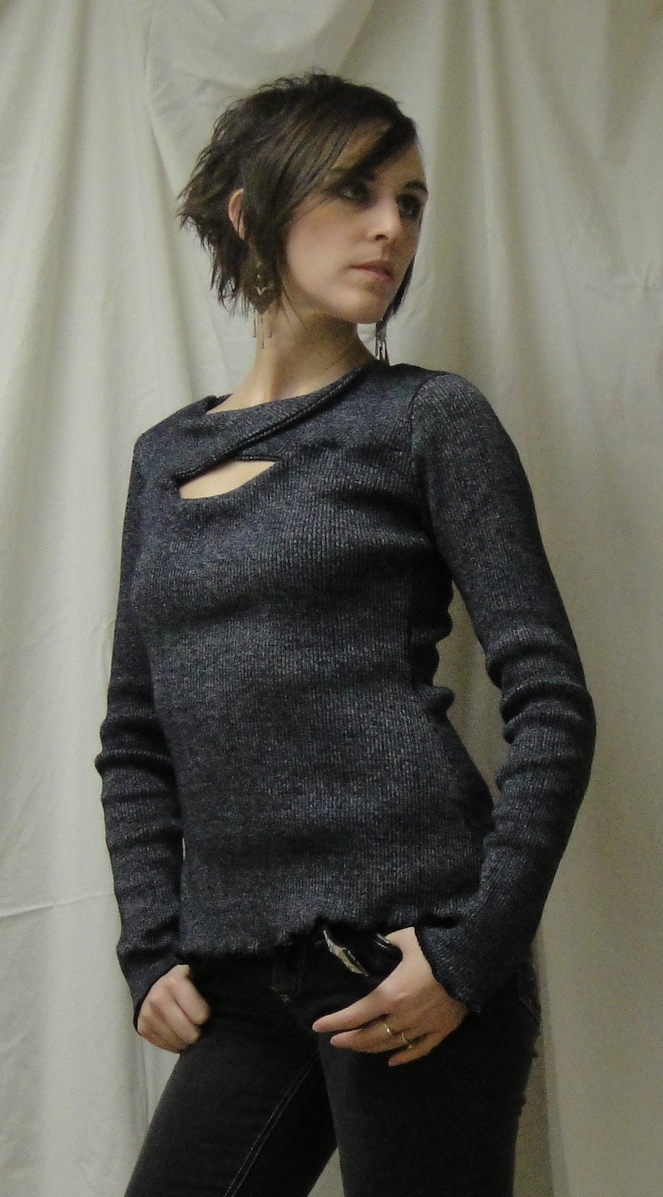
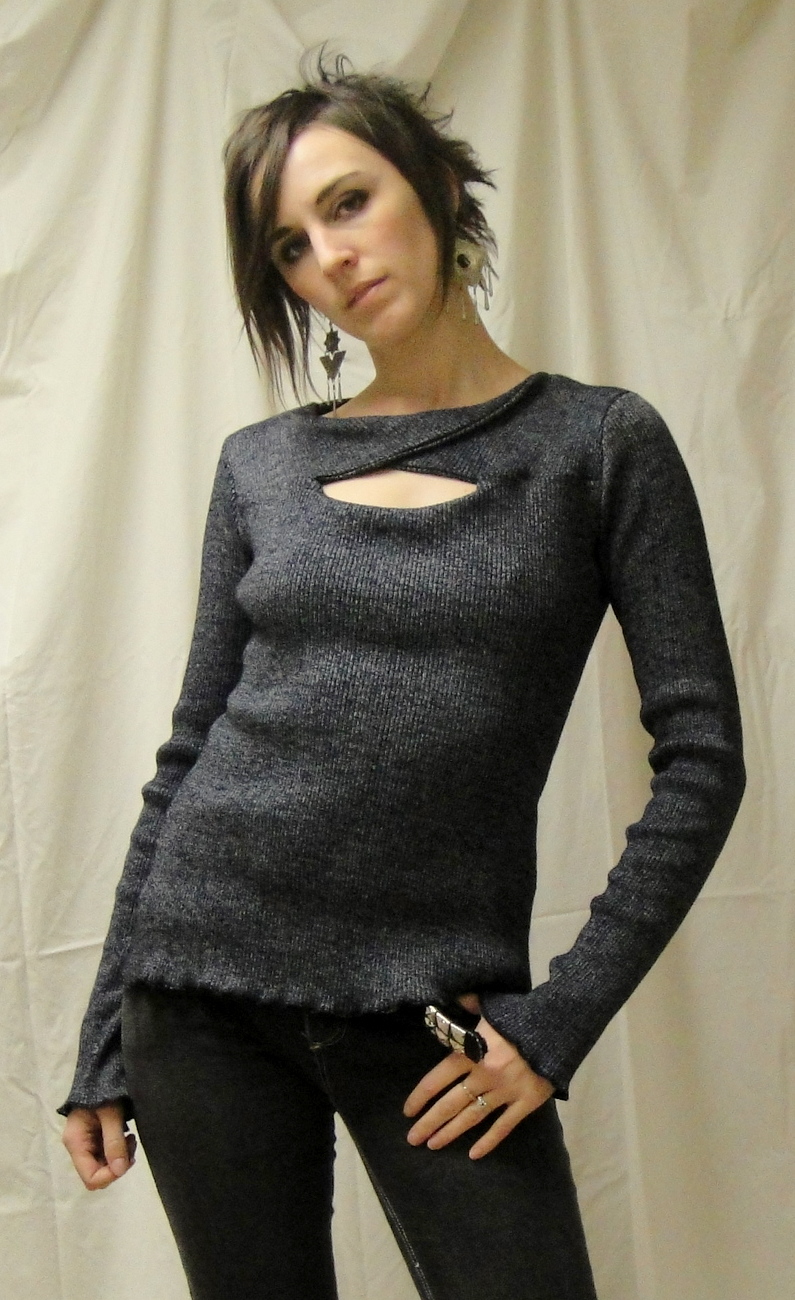
Lekala knit top 5675

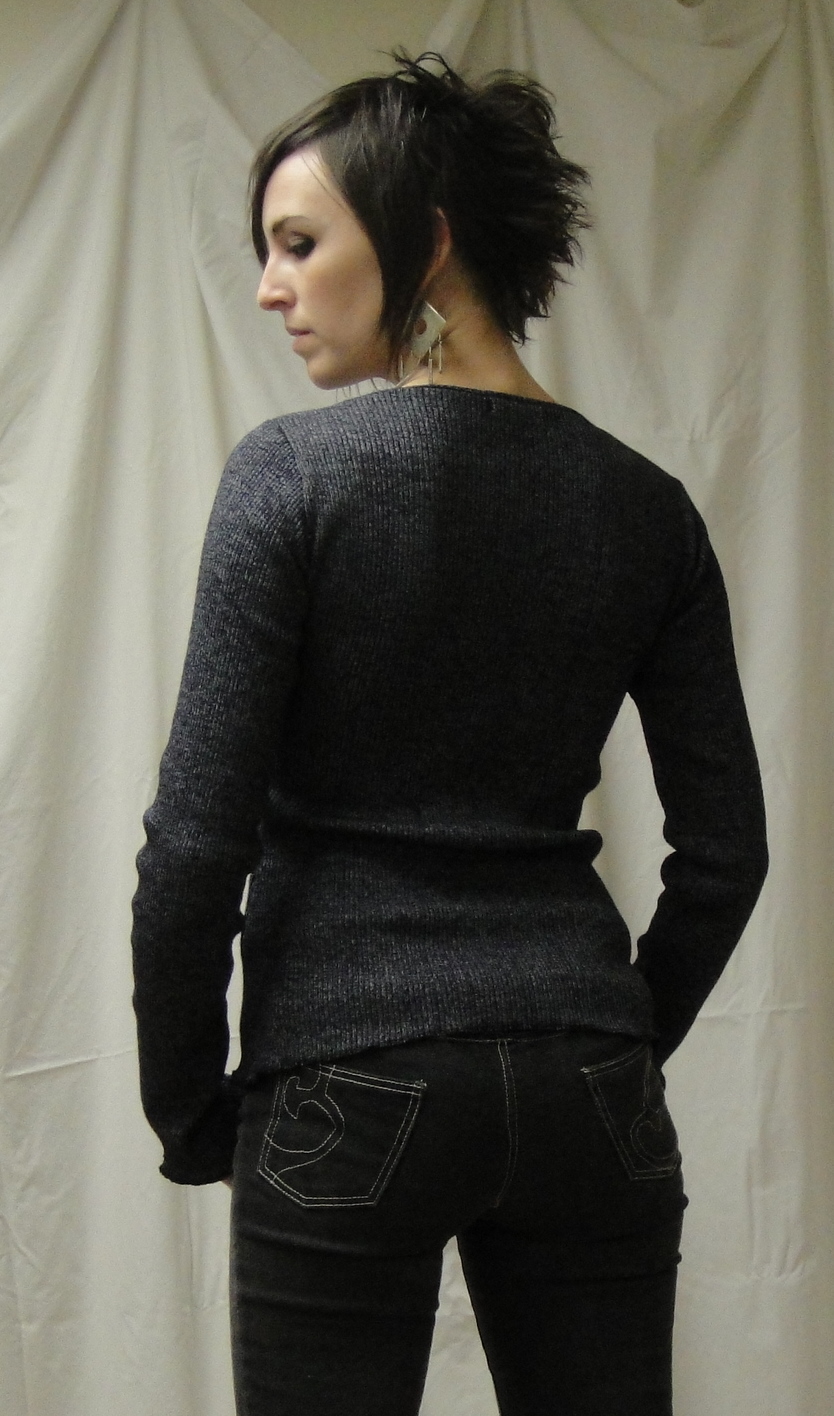
I got this fabric (bottom right in the photo) from the thrift store a month or two ago. It’s a light sweater-weight rib knit, very stretchy but not very drapey. I thought it would be ok for a cardigan-type top, a more fitted one rather than something drapey like the Simplicity one.

So why on earth did I think it would be good for taking a shot at this Lekala pattern? Can I plead temporary insanity?

I don’t know if I’ve mentioned before, but I’m a sucker for peekaboo clothing. Peekaboo backs in dresses, peekaboo shoulders; slit skirts… so yes, this top (scroll down) tickled my fancy right off the back: cute peekaboo detail, not too much skin showing since I’m attempting to be more demure in my old age, still warm for winter.
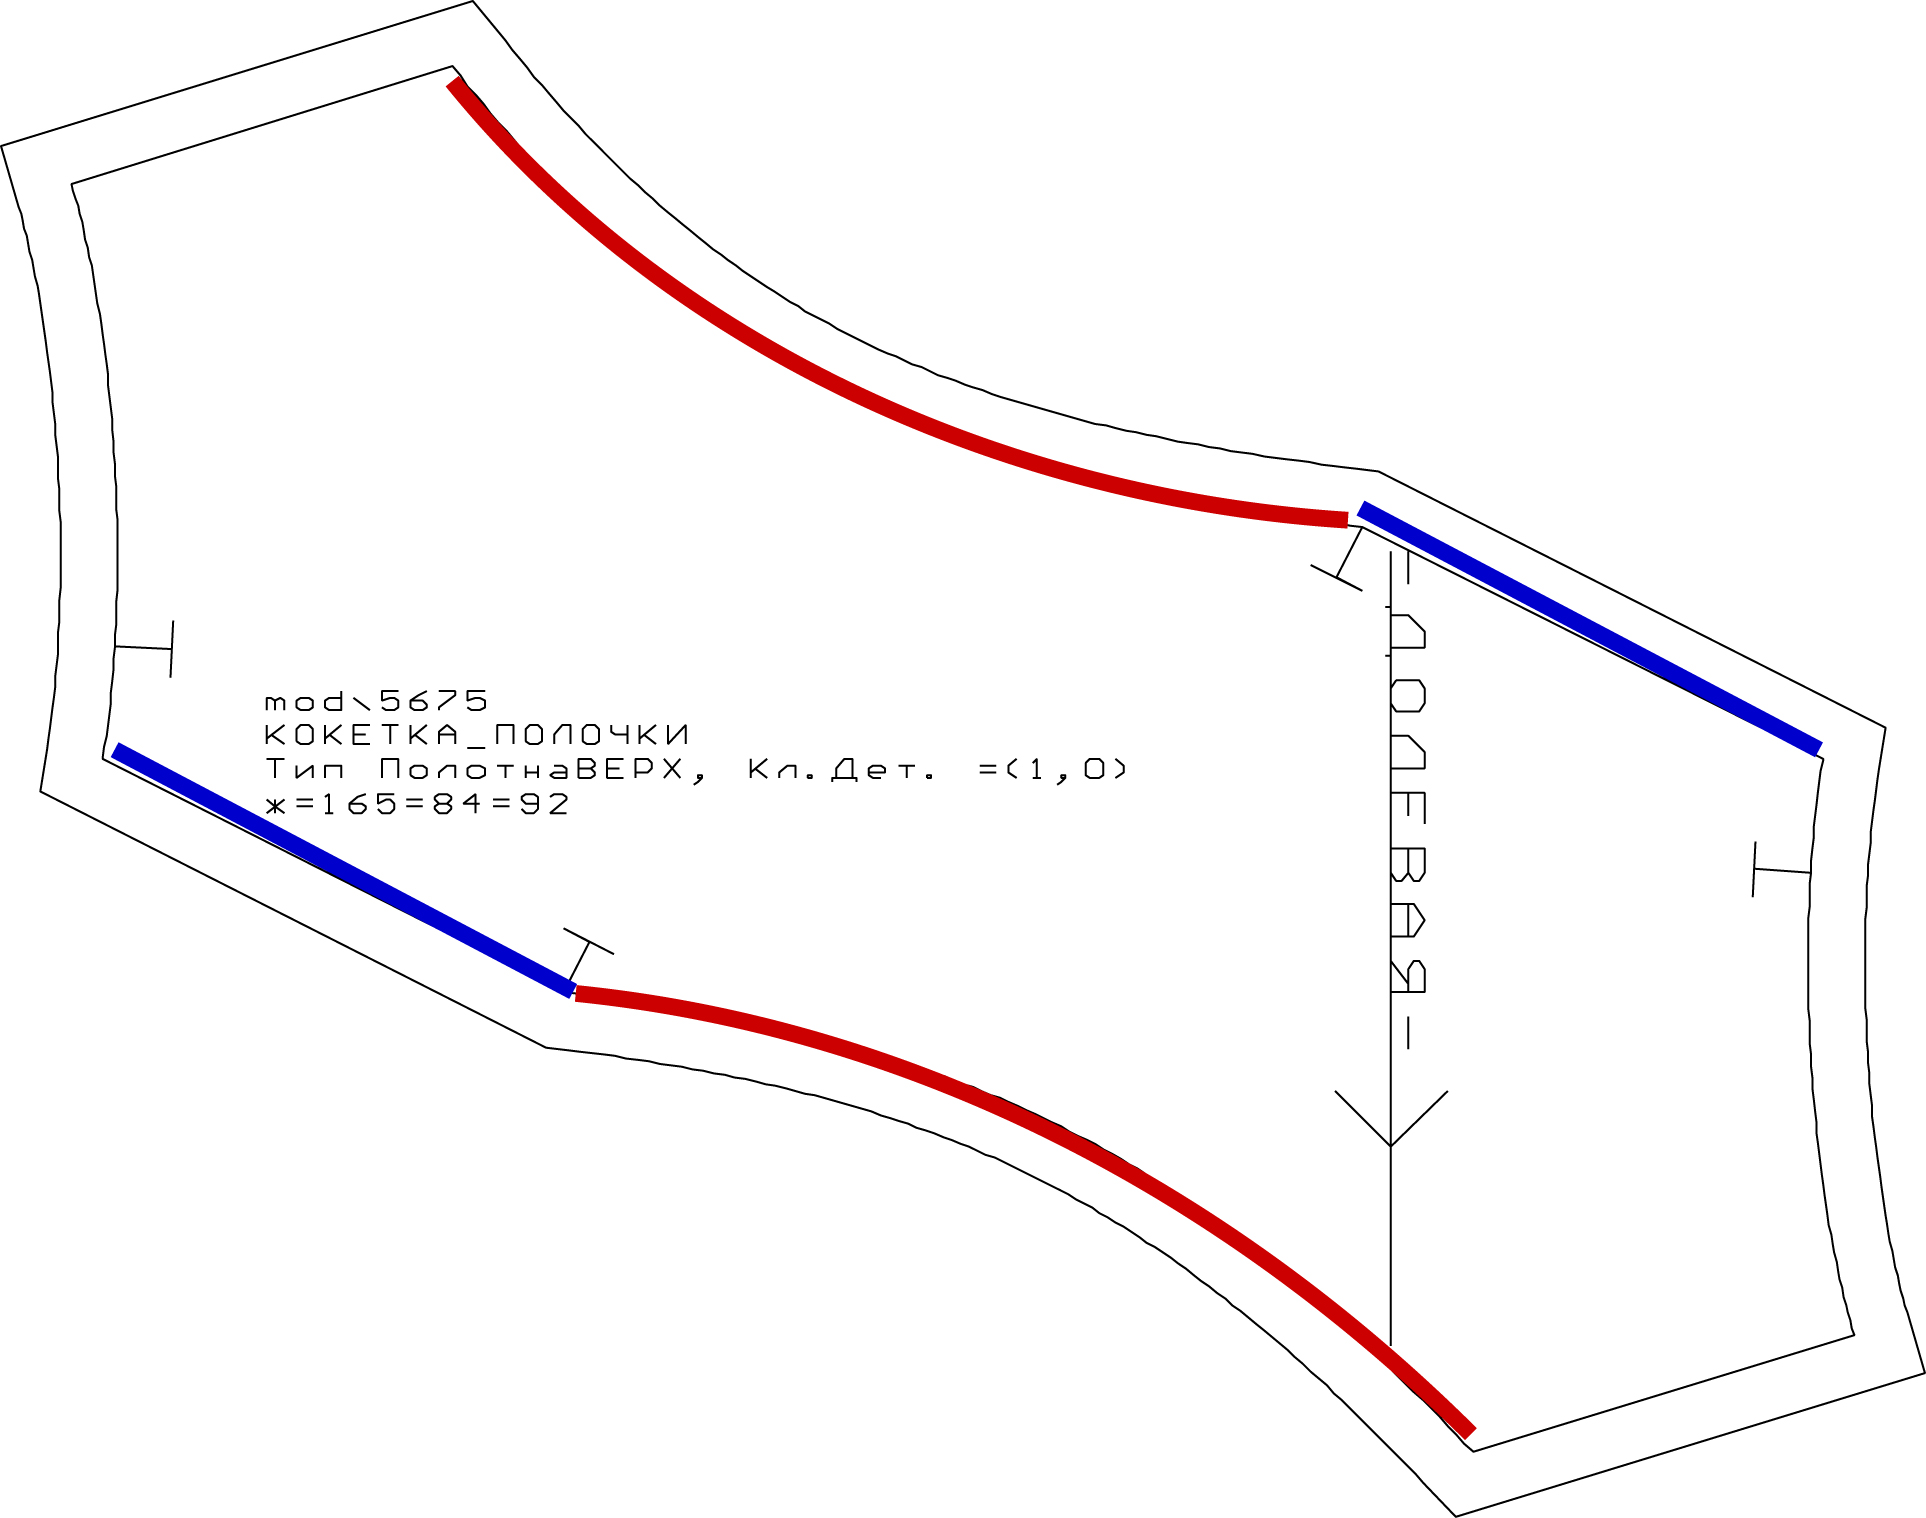
Twisty pattern piece

I printed it out, compared with my Lydia pattern, and again the only modifications I made were lengthening the bodice and the sleeves. The shoulders are more square than on the Lydia and the armscye and waist are much shorter (shorter even than my altered Lydia, where I shortened the armscye and raised the waist). Of course if you actually ordered the pattern it would be to your own length measurements, so probably most of this won’t be helpful. I added to the bodice only at the hem, and likewise to the sleeves.

It took me a couple of tries to figure out how I

Twist top... sweater version

wanted to finish the front; I double-layered it to simplify the finishing. If you look at the picture of the pattern piece, I sewed the two layers of the piece together along the red lines; I did the same with the middle portion of the lower bodice. Then I sewed the blue lines to the outer portions of the top of the lower bodice, so that all the seams are enclosed.  Despite my best efforts (and liberal use of clear elastic) it wound up quite stretched out, but that reflects on my fabric choice rather than the pattern, I think. I had to turn the bottom of the peekaboo-opening under and tack it on the inside, creating a bit of a “U”, because it was stretched out too badly. It looks okay, but not ideal.

I had to take in the shoulders a bit, again I think due to the spreading tendency of this fabric. I could probably take a bit more width in in front of the armscye, but again more due to the fabric than the pattern.

Oooh, the swayback!

After the trouble I had with the fabric spreading in the upper bodice and shoulders, I didn’t even want to contemplate doing a hem. So I did a rough ‘n ready lettuce hem on the serger on both bodice and sleeves (basically I just ran it through as usual but stretched while I did it). This means that the sleeves are extra-

Front view

gooey-long (which I love). Oddly, I didn’t have to take them in for width, which I’ve had to do before when using “growing” fabric.

I put the shoulders in flat, and they went in very nicely, which is always a plus.

I also took in the side seams after construction, curving in by a good 3/4″ at the waist. Again, due to the growing fabric.

On the plus side, after its initial sagging it doesn’t seem to be growing too much more, and it is quite warm. In the photos it doesn’t look half bad (if I do say so myself), though I feel like the fairly stiff fabric folds oddly as I move. I will definitely have to give this pattern a try in something a little more slinky in the future.

16 Comments

Filed under Sewing

A loud little shirt

I think my eyes are bleeding...

Well, Syo’s request is complete, though I think I’ll be seeing after-images of this print for days. Overall, it went fairly well. Unsurprisingly, the shirt pattern I used as a base had way too much ease. It was designed for wovens, so I did go down a size, but evidently that wasn’t enough. So I took out about an inch of excess from each side and under the arm to get it to a fit she would approve. Fortunately with this design I didn’t need to worry much about what that would do to the armscye.

There were the usual technical glitches that crop up when I wing it. I decided in

Can you spot what's wrong here?

advance that I would sandwich the front of the straps in between the drape and the shirt bodice, so that it would be firmly and neatly attached with the end hidden inside the double-layer drape (I didn’t want to attempt to do the back of the straps this way as I was pretty sure I would mess the length up). However, my first attempt at this fabric sandwich resulted in the picture at the right. That’s the straps peeking out from underneath the drape. Not going to work. So I had to pick them out (which took forever) and re-position.

It turned out that the way things rolled, the under-layer of the drape needed to be shorter than the outer, so I had to trim it off, after.

A satisfied cutie

Then, my first attempt to sew the lower edges of the drape together to make a nice, enclosed piece (except for a small opening that had to be hand-finished) failed, leaving me with a mobius-strip-like wad of fabric that couldn’t be unravelled. So I cut off the seam on that (no way was I unpicking that much), which cost the drape some width. Ah, well.

My next attempt, fortunately, did work. I tried to take a picture of what I did to show it but it made no sense to me looking at it after, so I’ll leave it to your imaginations. Unfortunately, pinning wasn’t really an option for this method, so combined with the somewhat irregular trimming and cutting, the drape didn’t end up all going together as flat and smooth as it might. Ah, well. The look’s not bad (perhaps I should’ve rotated it all an inch, that way the pulling would look more intentional?)

The hems were kind of my waterloo. I used my latest double-needle. Can we say

Side view

“tunneling”? My usual trick of ironing wash-away stabilizer into the hem before sewing failed because the stabilizer would not stick to this slippery swimsuit-feeling fabric. To make matters worse, the serged edge I put on the bottom of the shirt (to neaten the inside of the hem) kept squishing up between the two needles, making the tunneling between them even worse. And while this wasn’t the wiggliest knit I’ve ever worked with, it is the wiggliest slippery knit. So don’t look too close at the hems… it ain’t pretty.

And no, I didn’t make her a matching skirt. That’s Tyo’s contribution so far, turning the remnant of the fabric into a wrap skirt.

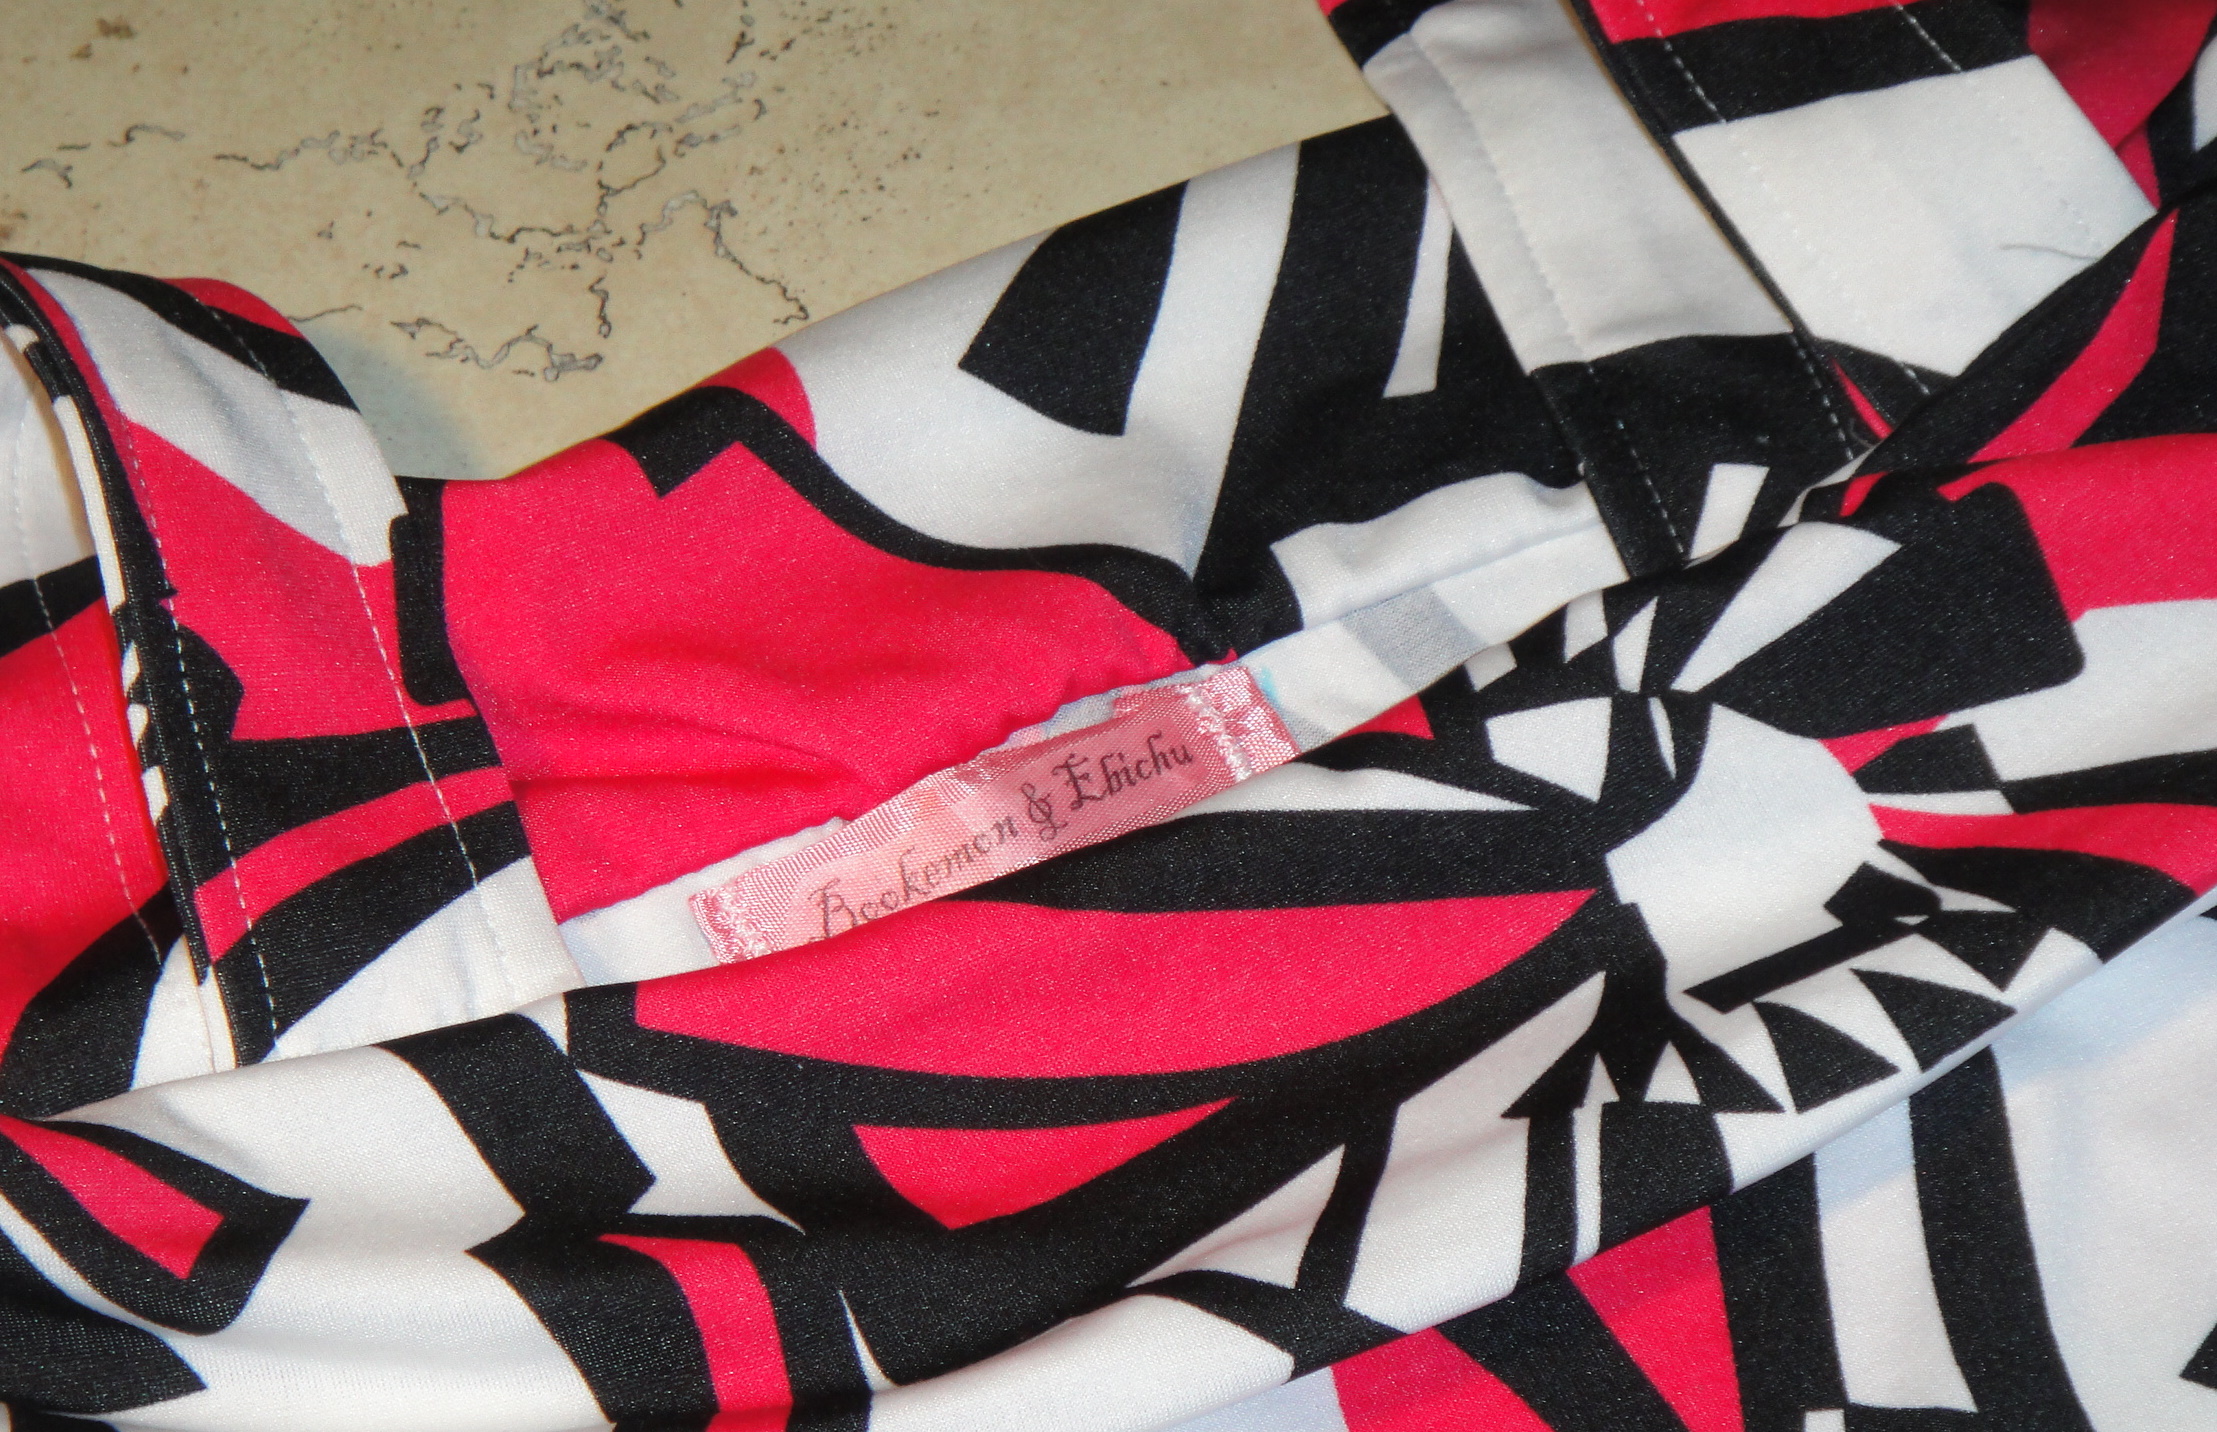
Also I couldn’t find my twill tape for putting in the tag, so I substituted a bit of pink seam-binding from one of the vintage sewing notion scores. It seems to be working, though we’ll see how the transfer adheres after washing (I find it sticks better to the textured twill-tape than to the satiny ribbon I’ve sometimes used).

Straps and a cute little label

Now Tyo can’t decide if she wants a shirt like this, or a sweater like my Kimono Lady Grey (which she’s been stealing on me, by the way). I told her I’m not making her any sweaters unless she agrees to hand down some of the myriad of bunnyhugs (hoodies to the rest of the world) she’s been hoarding for the last few years—y’know, the ones that don’t cover more than half her forearm but she somehow can’t quite give up?

The construction is a mix of the old stretch stitches on my regular machine and the serger; mostly depending on how much control I needed at any given point. Perhaps someday I’ll be able to construct things entirely on the serger, but not yet.

Next up: more fun with Lekala patterns (and unfortunate fabric choices… sigh…)

13 Comments

Filed under Sewing

How do you say…

Kimono-inspired Lady Grey

Lady Grey in Japanese?

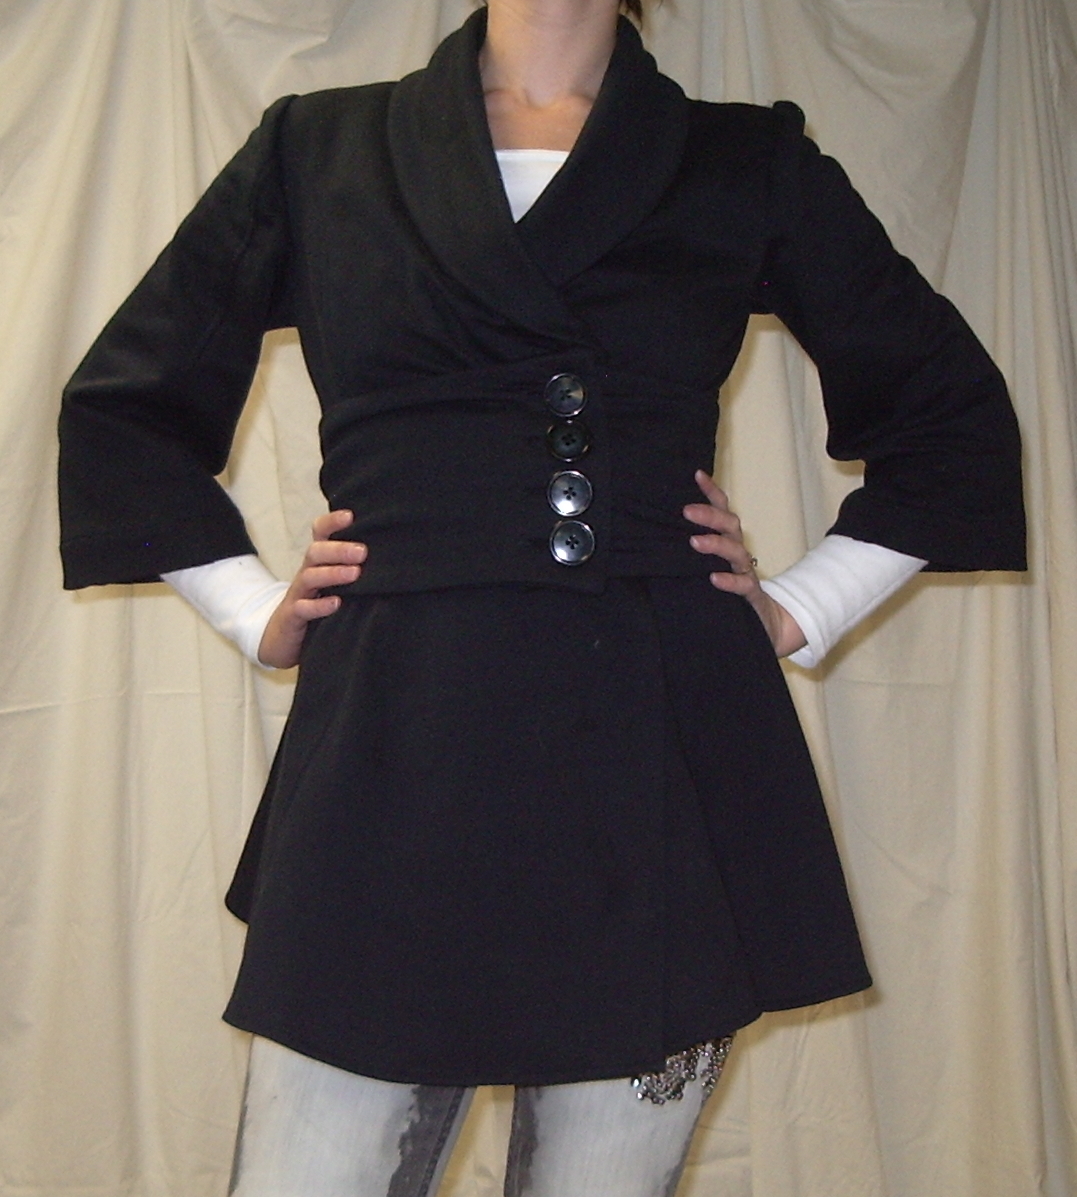
The kimono-styled Lady Grey is finished (for a given value of finished, anyway). And it is warm and cozy, for a given value of cozy.

I was up half the night with a vomiting Syo, followed by home with the same recovering child today, which does not make for a glamorous day. Therefore you will have to deal with headless, as well as grainy and dark, photos. Sorry.

This was overall a fairly quick ‘n dirty effort. There are no facings, no lining, I narrow-hemmed the front opening and bottom, did a wider but not particularly tidy hem on the sleeves (I’m not convinced they’re perfectly the same length, either >_< ), and one shoulder is stubbornly pleating despite my redoing it. However, there are a couple of features that are worthy of mention:

I drafted a shawl collar!

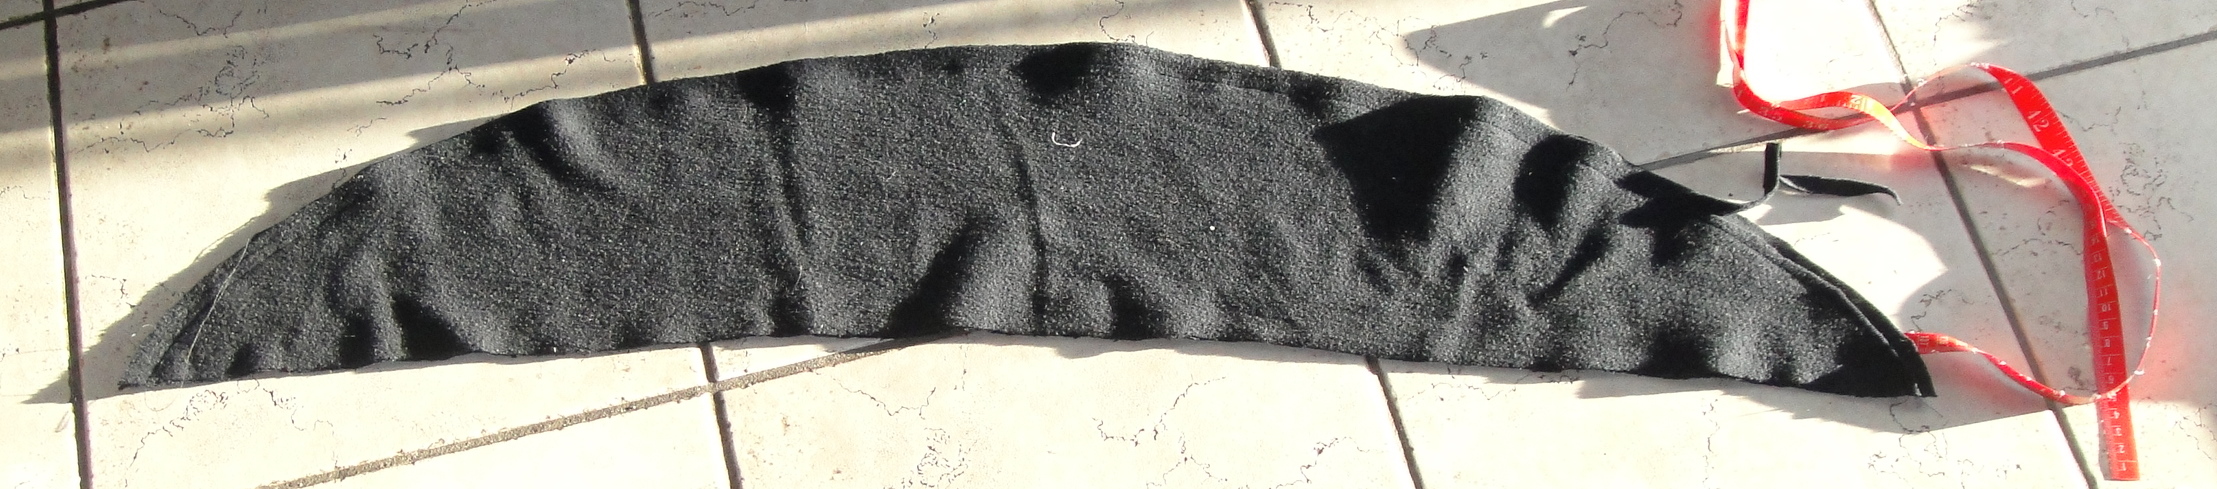
I am particularly proud of how this worked out. Probably it would not work in a neater, less slouchy fabric, but the result is exactly what I was going for. I measured the length from my back neck to the bottom of the collar, and drafted out the following pattern piece:

Shawl collar pattern piece; cut two on fold

The long straight side is the collar length; the short straight side is the fold at the back of the neck. I sewed the two layers together, turned right side out and pressed, and stitched it to the collar, then graded the seam-allowance and top-stitched it down so that it wouldn’t flip out, since there’s no facing. This seems to be working better than I would have thought.

The collar, waiting to be turned right-side in and sewn on

I also topstitched both sleeve seams.

Yes, look at that (if you can see it):

Sleeve, showing both topstitched seams

This required a little bit of sneaky sewing I’d read about but never attempted before. I don’t think I’d want to do it on anything much longer or narrower than these rather wide, short sleeves, however it actually wasn’t too tricky and worked out fine.

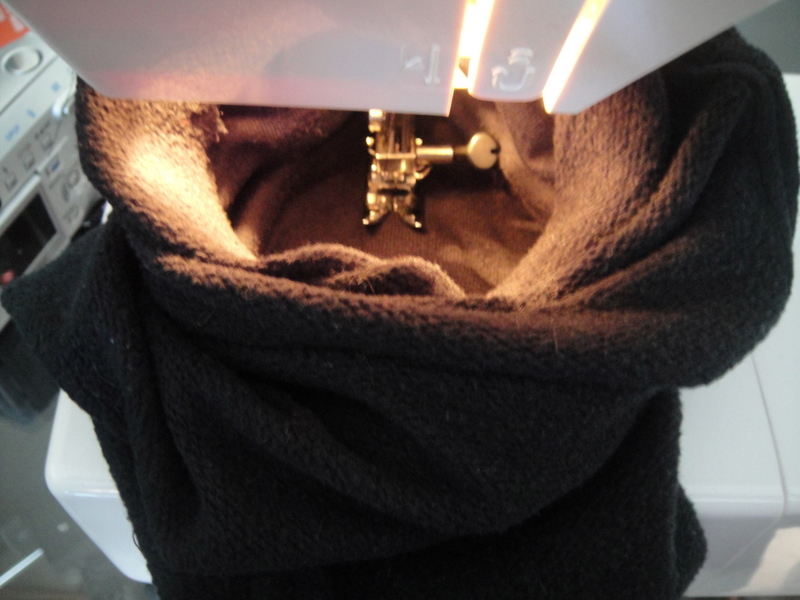
Topstitching inside the tube

You turn the sleeve inside out, and basically sew down the inside of the tube. Yes, everything ends up bunched around the needle, and you can only sew about two inches at a time before you need to re-arrange your bunches.

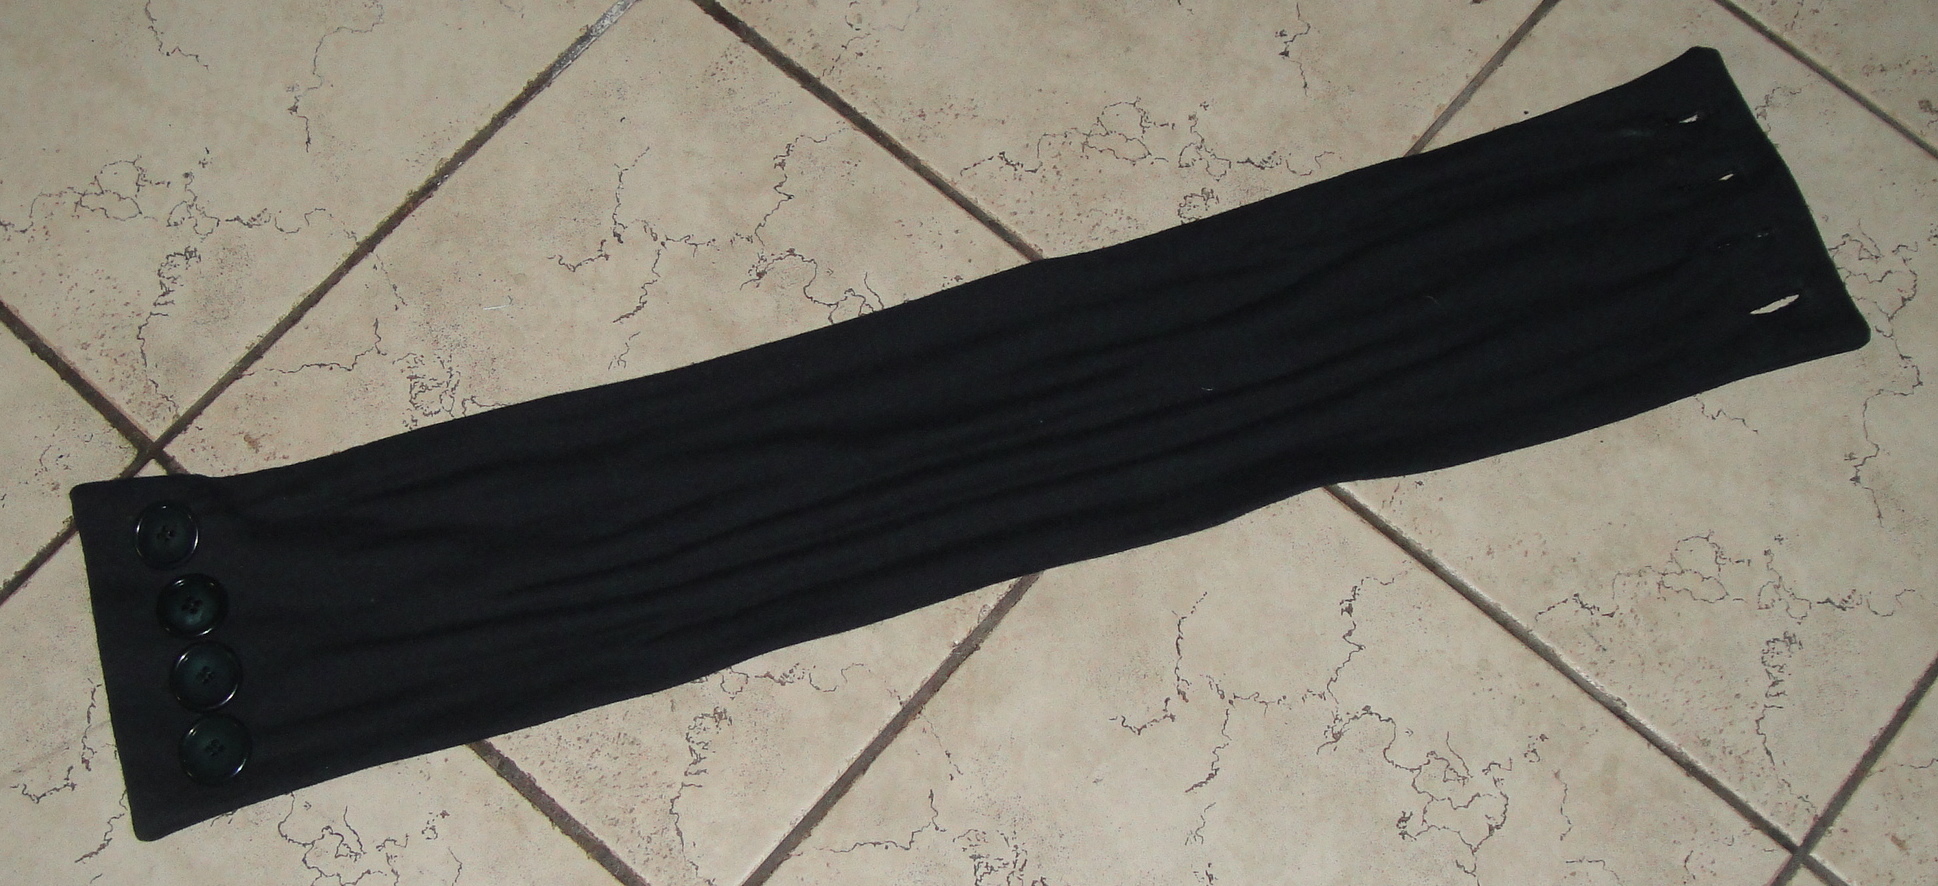
Finally, there was the “obi”

This is lifted generally from the Kimono-Style Bunnyhug, although hers was

actually attached to one side of the front. Mine is not, because I have fantasies of making other, coloured versions to spice up the plain black. In some of my fantasies about this sweater, I actually sewed the buttons on to the front of the sweater (so it could close without the sash, too), but then the buttons would have had to go through not only the coat front, but two layers of “obi”. And I would’ve had to sew twelve buttonholes instead of four. So I didn’t. We’ll see if I come to regret that or not. Also I was worried that the front of the coat wouldn’t be stable enough—the sash itself is double-layered and I put a bit of knit interfacing at each end, beneath the buttons and the buttonholes, whereas the coat fronts are a single layer with a narrow hem along the edge. And yes, as in the photo above, the buttons are very slightly green. This may have compromised my attempt to make a neutral sweater I can wear with anything. We’ll see.

Back view

Here’s the back view, highlighting the unevenness of the peplum (this is the part where the S-curve of the swayback actually takes up more fabric length than my comparatively straight front, shortening the back). There’s some funkiness in the upper back, I think having to do with my seams stretching somewhat as I sewed, but again I’m not overly broken up about it, and it may even smooth out in the wash.

The sash nicely takes care of all that pesky lower-back fitting, too. 🙂

Front view

And here’s the front version. Unglamorous, as most straight-on shots of my front are. I don’t do cinching well, but I’m theorizing that if I cinch from right below my bust down to my natural waist (as here) it may actually work. What do you think?

The shoulders are a tiny bit wide, but that’s probably just because there are no shoulder pads in this version.

Did I mention how much I love that collar?

And just so you can trace the evolution from concept to reality, here’s the line drawing again:

Fantasy jacket, side view

front view

38 Comments

Filed under Sewing

Finishing Ellen

Ellen Pants, with button and belt-loops

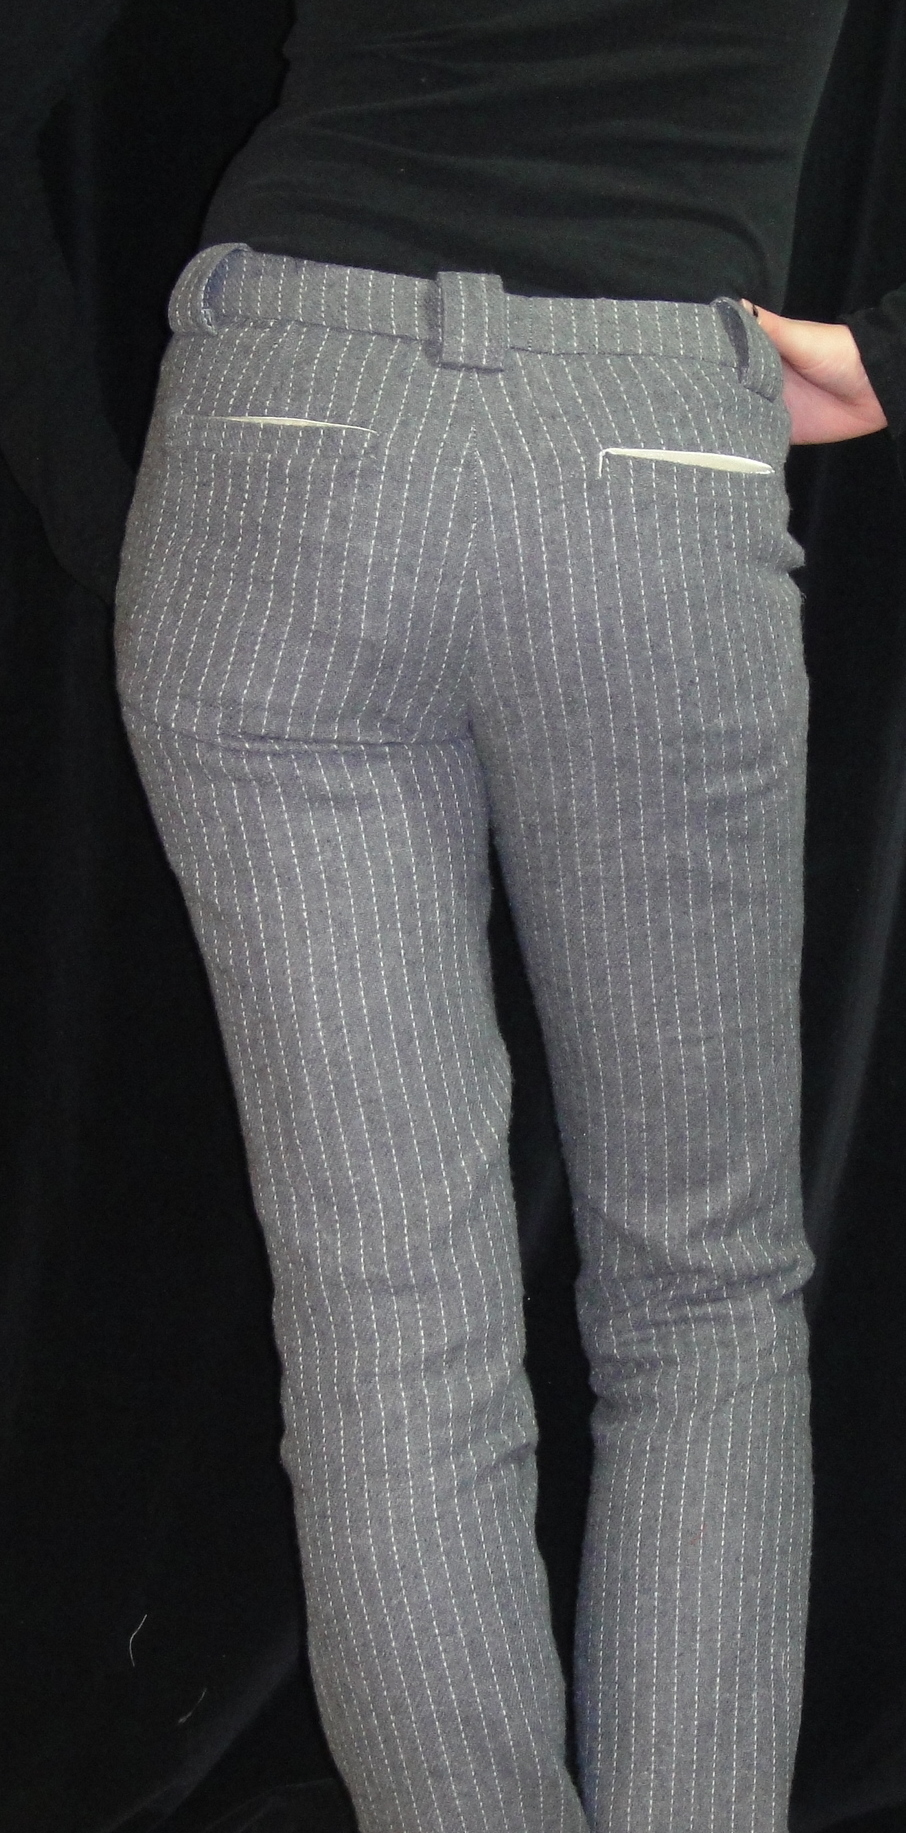
I pretty much finished the Businesswoman Pants back in October, shortly before I embarked on the coat for Tyo. And I was pretty happy, but after a day of wearing them two things were obvious. First, the little metal pants-hook and bar I had sewed were not in any way, shape, or form sturdy enough to keep these pants up (in fact, by the end of the day the metal bar was a twisted remnant of its former self). Second, the lack of belt-loops was driving me nuts, because they kept sliding down (increasing the strain on the hook and bar). I don’t know if this is a side-effect of the dropped waist or the slippery lining or just the generally rectangular shape of my hips, but it was still annoying.

Anyway, it was clear that the pants needed a button and belt-loops. And today,

Rear, with belt-loops

while I waited for my laptop to defrag and otherwise soothe its booboos (it’s been cranky lately), I decided to tackle these minor finishes. So I made a button hole (successfully, by machine!!!! … on the third try. Fortunately this wool is highly forgiving of needle-holes), and cut, interfaced, ironed, and topstitched (as subtly as possible) the belt loops. I didn’t want to topstitch the belt-loops in place, either, so that took a bit more thinking. You can do this without too much trouble, I think, if you apply the belt-loops while you’re constructing the waistband, but once it’s done it takes a bit more finagling.

I ended up sewing the bottom ends, folding them up and over to the inside of the waistband, and hand-stitching there. Me and my hand-stitching, I know. Also, figuring out how to distribute your belt loops when none of your seams line up is a pain in the ass.

Fancy button

I was going to attach one of my usual jeans buttons, but (perhaps fortunately) I couldn’t find the little doohickey for hammering them on, so I went through my buttons and found this black plastic shank button with a rather battered “jewel,” that arrived in a small and generally unremarkable baggie of buttons from the thrift store a few weeks back. I’m not convinced that the plastic shank will be tough enough either, but it’s not as if it’s an overly precious button. But it’s cute, and where else am I going to use a rather tacky plastic-gemstone unique button? It will get scratched up and hidden by belts, but it’s already rather battered, so whatever :).

I’m not convinced that I totally love these pants—my hips definitely benefit from the pocket and yoke detail on jeans—but they’re warm (which sounds really good right now) and will definitely come in handy when, y’know, I don’t want to look like a total schlub.

8 Comments

Filed under Sewing

Knit Tops: the Raglan Experiment

First of all, before I forget, thanks everyone who said they liked the new theme! I finally found one I can customize the way I like, and I get a header! yay!. Though I’m still getting used to the new colour scheme. I’ve been in such a “red and black” mode lately, the blue and cream feels odd.

Lekala raglan tee pattern illustration

So this past weekend, in between madly sewing jeans and bullying Tyo into posing for pictures in her coat, I spent some time sniffing around the Lekala website. In particular, I discovered their “knittings” section. There are some pretty groovy patterns there. Importantly, they have a link to a sample PDF of the patterns (conveniently tiled for home printing, albeit for an A4 size paper. I wonder if I could find A4 paper here if I looked?). EVEN more importantly, that PDF pattern is in a small adult size, for someone with an 84cm bust and 92 cm hips. Which happens to be about as close to my actual measurements as any non-custom pattern ever is (we’ll ignore the 64cm waist, AKA 25″ waist. Haven’t had one of those since I was 14.)

Anyhoo, I cheerfully went along downloading every pattern that caught my fancy, and decided in a fit of mad bravery to sew up my single remaining remnant of white cotton knit into this pattern (#5672, about halfway down the page). Don’t you love their foxy artist illustrations? I especially like that a lot of them are plus-sized (though not this one, obviously)

This is the line-drawing:

Lekala raglan top 5672 line drawing

Lekala raglan top 5672 line drawing

which shows what it is a little more plainly: a simple raglan-sleeved top with a gathered drawstring placket in the front.

I’ve been wanting to try a raglan-sleeved basic tee for awhile. Well, basically since this one appeared on Burdastyle. Obviously there’s some differences (no underbust seam here), but the basic shape’s the same, both have bust gathers, and this one is free!

I printed the pieces out and compared them to my much-laboured-over Lydia pattern. Almost a perfect match, aside from some subtle differences in the waist curve—the sizing was spot on, as was the sleeve length. The bodice of the Lekala top was quite short, as you can see in the pattern illustration, so I extended it by a good 10cm; as I no longer have the firmness of tummy the model does, I try to avoid that sliver of low-belly nowadays. I also added my usual extension to the arm as well.

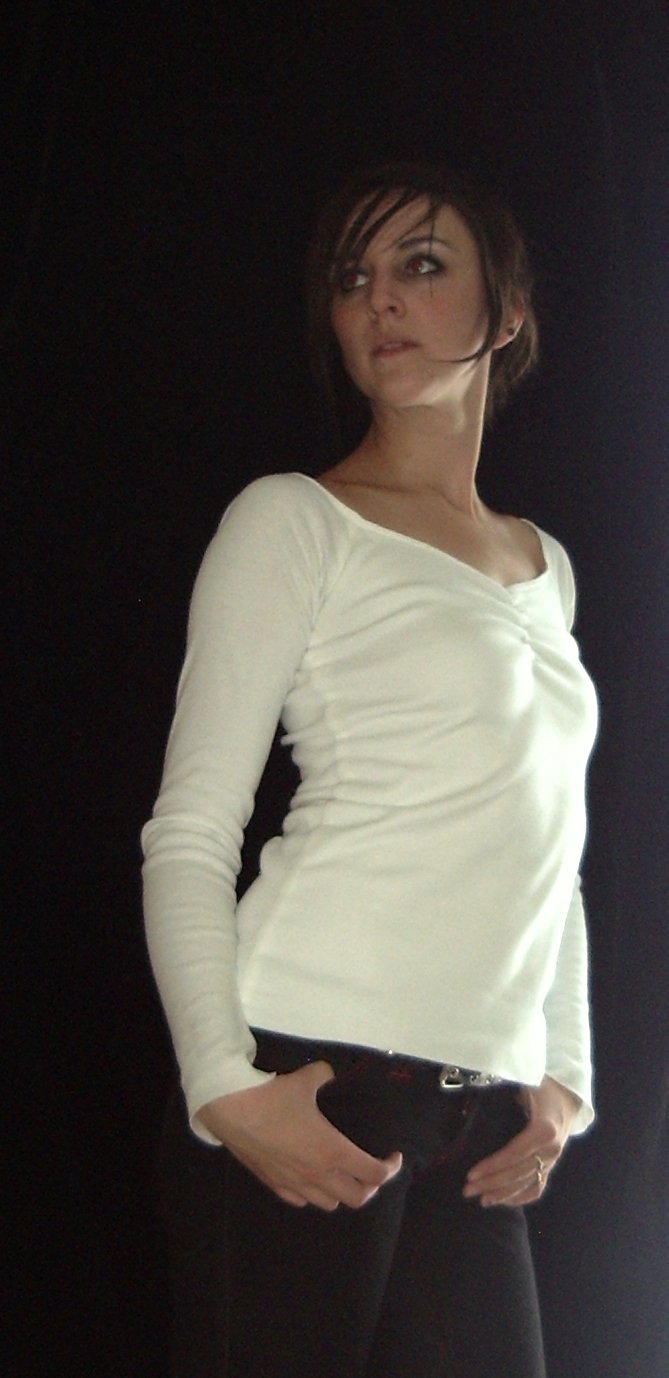
Lekala raglan tee, V. 1, front

And I got sewing. Since the knit I had on hand was white and a bit sheer, I tried out Sherry’s double-layer, folded hem, enclosed seam technique. This worked really well, though I wasn’t quite clever enough to get the sleeve seam enclosed between the two bodice layers. Next time. Only downside—it’s awkward to take in after construction. Which is why Sherry made a muslin. I didn’t bother, despite remembering clearly that the white Lydia I made from this same fabric needed to be taken in, as the fabric has little to no recovery. So the bodice wound up a bit looser and bulkier than I might have liked… but still wearable. It also looses length significantly as it stretches in width; I should’ve added more length to the sleeves.

I had the most trouble with the neckline. I was quite worried about it stretching out of

Lekala raglan-sleeve tee, slightly better shot of the body

shape (see above about the recovery of this fabric). Initially I went to bind it with a a strip of self fabric cut on the lengthwise grain (as I’ve done with all my Lydias; the technique is the same as Sherry uses in her tank-top post, minus the serged edge and precision). However, I remembered (as I was sewing it on) that this fabric has no lengthwise stretch. The resulting binding looked great and didn’t sag, but when worn it pulled the neckline very high, making the whole shirt very tight through the armpits, but most importantly not providing that lovely almost-off-the-shoulder sweep of skin. So I cut it all off, went back, and sewed 1/4 clear elastic along the wrongside, and then just folded this under and topstitched. I started out the topstitching with a double needle, but one of the needles snapped within the first four inches of topstitching (first time using that needle, too… #$$%#%$@#@$), so I did two rows of single stretch straight stitching. Grrr. Well, it looks all right from a distance, anyway. In hindsight I could’ve been a little more aggressive snugging up the clear elastic; it flares out a bit more than necessary especially right at the sleeve seams.

The pattern called for a drawstring placket to make the gathers at the bust. I had no idea how to do this, the

Lekala raglan-sleeve T

instructions were less than edifying (I’ve never applied a surface placket like this before), and I didn’t have anything  I thought I’d want to make drawstrings out of anyway, so I used the same method I did on my blue tank top and sewed a stretched elastic on the inside. I could’ve made it a bit longer, but on the whole the detail worked.

I definitely want to repeat this in a nicer fabric (this isn’t an awful knit, it’s reasonably stable to cut and sew, but the lack of recovery, lack of vertical stretch, and boring colour irritate me). And maybe stick a big floppy collar like the Manequim Cowl on top.

I wish all the nice knits at Fabricland weren’t so frickin’ expensive. I know, I know, buy online… /sigh.

Here ends part 2 of my Lekala odyssey. I’m pretty sure there will be more in the future…

23 Comments

Filed under Sewing

Winter sucks

Or, The trouble with photographing black jeans indoors.

Jalie Jeans, v. 4

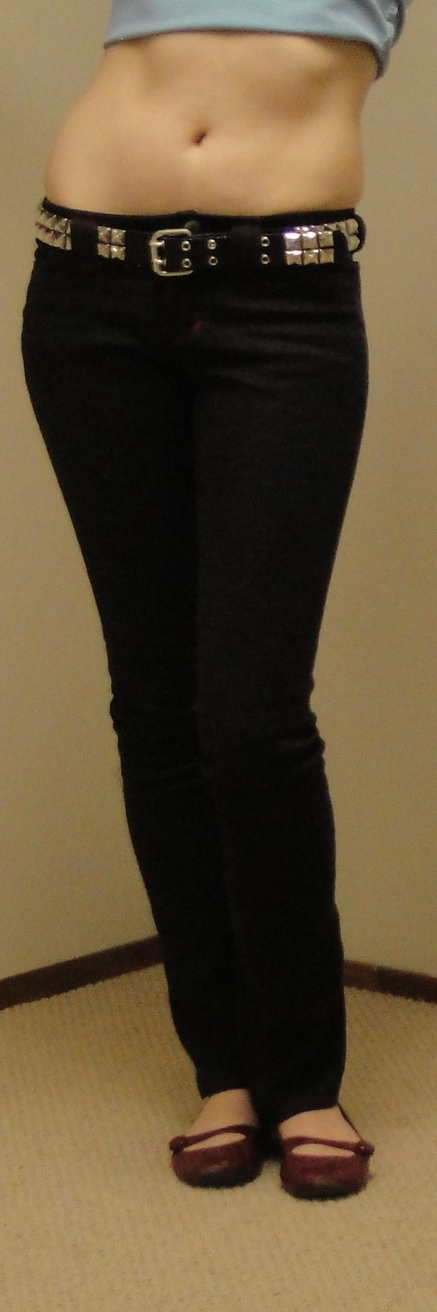
Most of the following pictures are lightened. Severely lightened. The jeans in reality are a dusty black , although the ones I made last summer, of the same material, have faded, not unexpectedly, to a dark grey.

First up, I have apparently gotten fat. Well, rather, when I first went to try them on (before attaching the waistband), I could get

Jalie jeans, v. 4: front

them on but couldn’t get the fly closed. Keeping in mind that I have made this pattern in this size three previous times, including once in this *exact* fabric. WTF? I went and narrowed the seam allowances just at the hips—letting it out about .5 cm (they are only 1cm seam allowances, after all) for an added 2cm around the hips. Phew, now I can close the fly. Also keeping in mind that the first pair in this fabric mysteriously grew about 2cm around after I washed them the first time and I had to take them in. So I’m kinda hoping these ones do that and then I can at least restore the seam allowances to where they should be. But jeez.

Pockets and belt-loops

Otherwise, there’s not too much to say. I was quite happy with the wash-away stabilizer on the pockets. My topstitching is not nearly as porn-worthy as Peter’s. The fly topstitching sucks. The nice thing about using the same thread top and bottom is that you can do the pocket embroidery from the wrong side, and so draw your design right on the pockets. I free-handed this particular one, and had a bit too much fun with the smocking stitch, which is the only decorative stitch my machine does that I actually like.

I decided to go a bit wild with the belt-loops. They’re

Belt-loop closeup

extra wide, with extra fancy stitching. Hopefully this will mean they’re extra sturdy, too, especially the three at the back (I’m really liking a triple-loop at the back, although maybe not as much for these wide ones. Oh, well).

The leg length is okay but I could probably still lengthen it a little. If these were flares, they’d be driving me nuts with their shortness, and I’d still kinda like that “slouchy around the ankle” look. Something to think about for next time. Or maybe next time I should do real skinnies… I could even stretch myself and attempt an exposed zip in the lower leg. Wouldn’t that be fun?

In other news, we re-watched the Teen Wolf movies last night (gotta share the eighties with the next generation, after all) and I was struck by how tight all the girls’ jeans are. About as tight as mine, really… without the benefit of lycra content. It makes me wince just looking at them. Although if I’d been a teen in the eighties, I’m sure I’d have been wearing them that tight. And wondering how to get rid of the big flapping wings and the hips. And why the waistbands were so flipping tight.

… anyway. One more pair of pants for the rotation, check :).

Now, do I have the energy to put gussets in Tyo’s coat…

17 Comments

Filed under Sewing