I have a complicated relationship with distressed denim. Like most teens in the 90s, one of my main goals in life was to shred my jeans—or at least bust through the knees. However, the romance of the tattered denim faded pretty abruptly when I had to start buying my own jeans—I wanted those to last as long as possible! So I avoided the pre-tattered distressed looks as much as I could. I’ll put my own holes in them, thanks.
I don’t generally try to distress my homemade jeans for the same reason, and I’ve complained loud and long about being unable to find hole-free jeans for my children. But the one thing I do miss about storebought jeans is the complicated wash and fading, even though I also think it’s environmentally questionable.

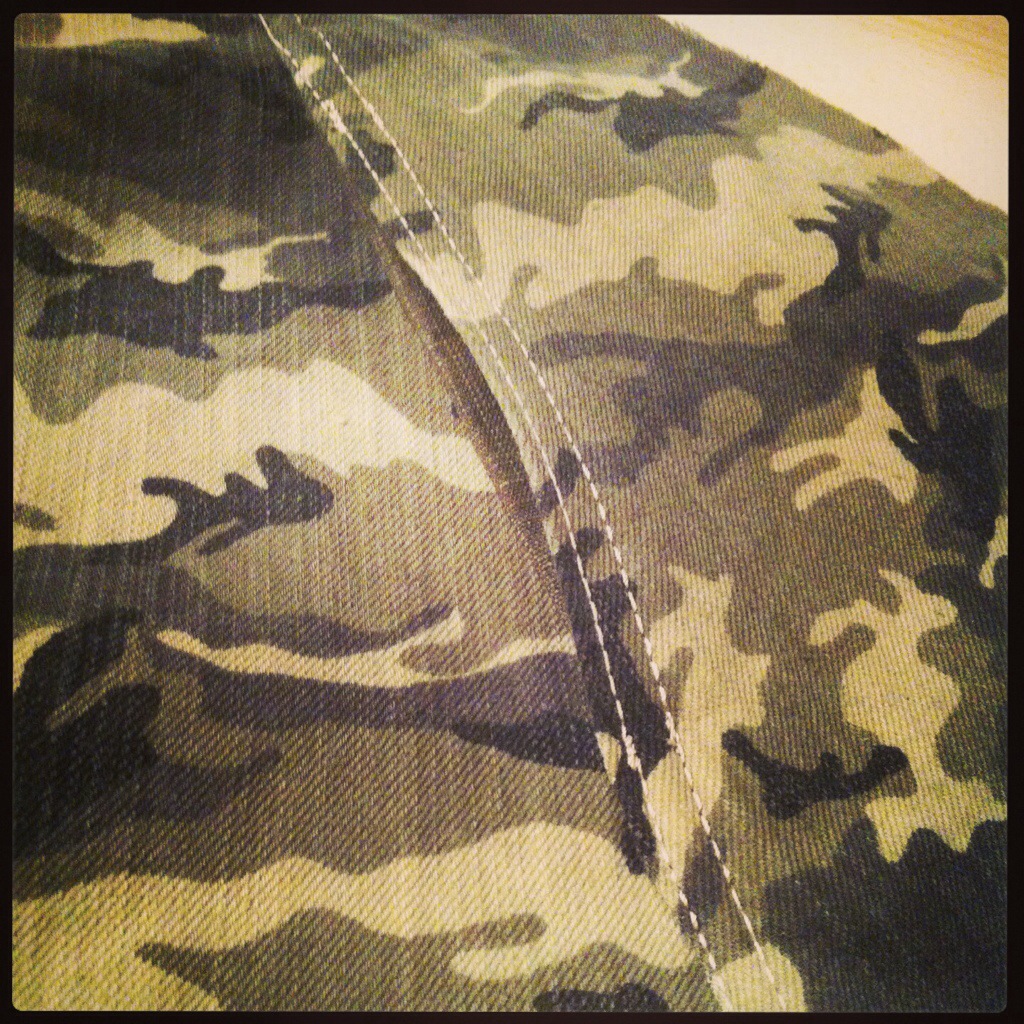
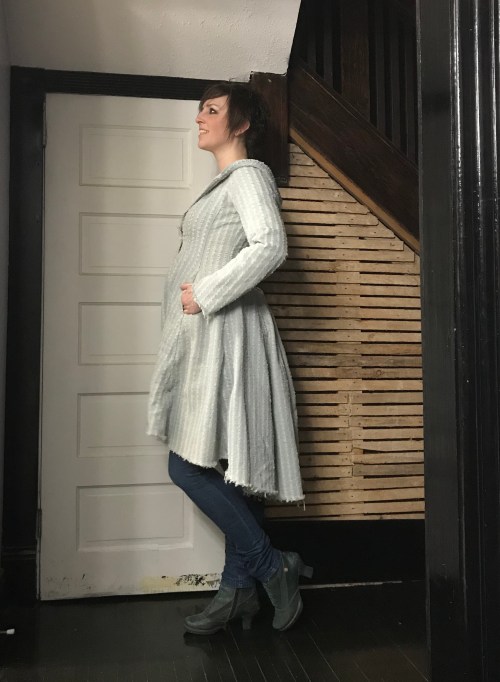
I went with unfinished, frayed hems.
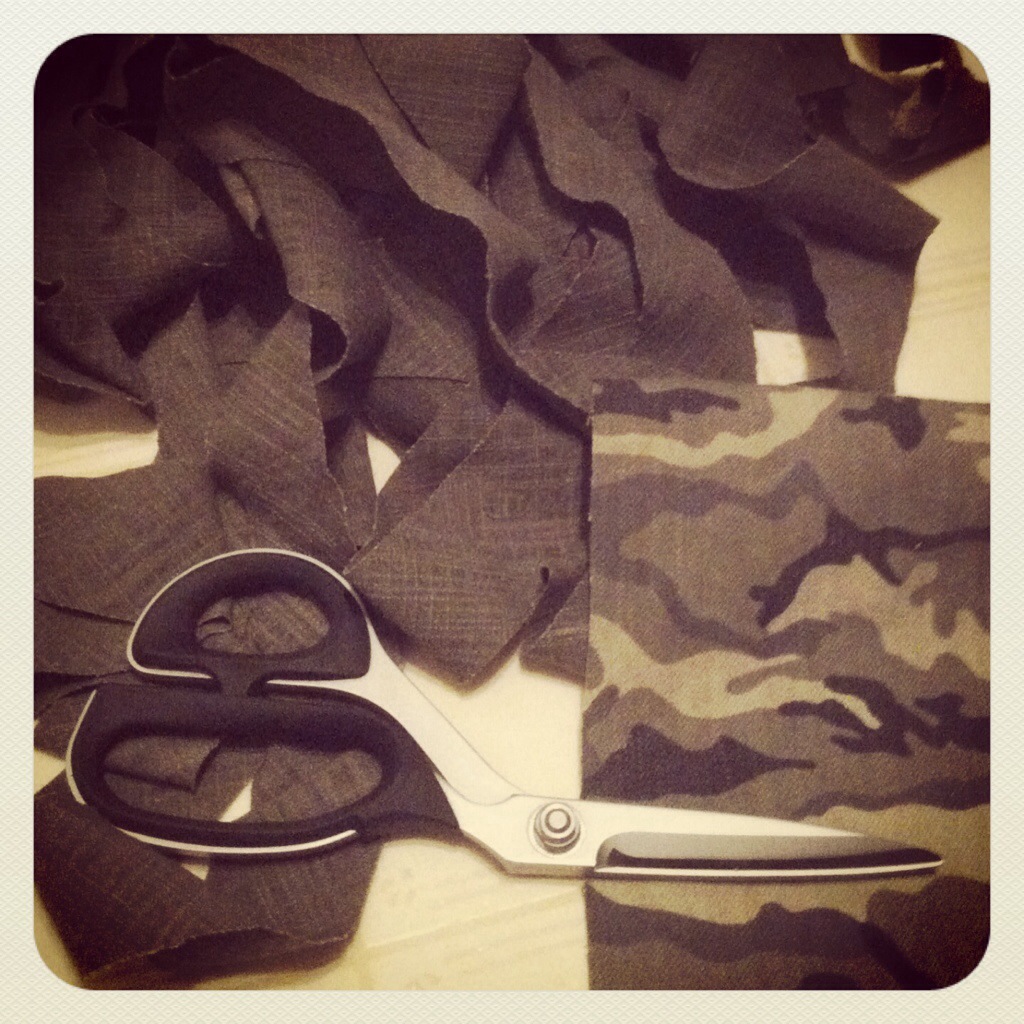
So I was both fascinated and repulsed by this pre-shredded denim fabric when it came into my Fabricland three or four years ago, part of one of the random groups of jobber fabric they would get in. I couldn’t decide if I loved or hated it… anyway, in the end I settled on the side of love. But it’s still ridiculous. Someone went to the trouble of weaving this perfectly good denim, and then scraped, bleached, and shredded holes in little lines all the way along, until the sturdy, serviceable cloth is almost a kind of lace.
Everyone else seemed to think the fabric was a bit too weird. It sat, and sat, and sat. And then one day I got to work and the entire group had been shunted into the bargain centre. So I bought the whole bolt, and the idea of making the weird, impractical stuff into an equally dramatic McCall’s M6800, began to tickle the back of my brain shortly thereafter.
 Fast forward to about a month ago, just after making the Kilt Jacket, when I had a weird little lull before I could start working on class samples. And for some reason the tickle to make something completely irrelevant, impractical, and unnecessary overwhelmed me. I guess I was a little late to #sewfrosting?
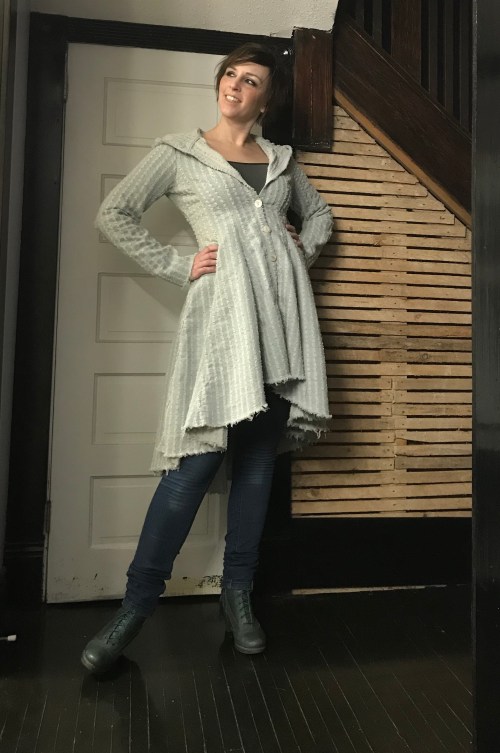
Anyway, having made this jacket twice before, the fitting was largely sorted out. Which left the matter of which options I was going to use, as this pattern has many. I decided to try mashing the wide-lapel view with the hood. I love it when a hood runs right into a fold-back lapel. I wasn’t actually sure this was the right way to achieve the look, but it seems to work. I added about two inches to the front of the already-voluminous hood to extend it onto the lapels, reshaped the lapel neckline into a smooth curve rather than the angle for the notch collar, and I did wind up trimming about 1/2″ off each lapel to get them to line up with the hood.
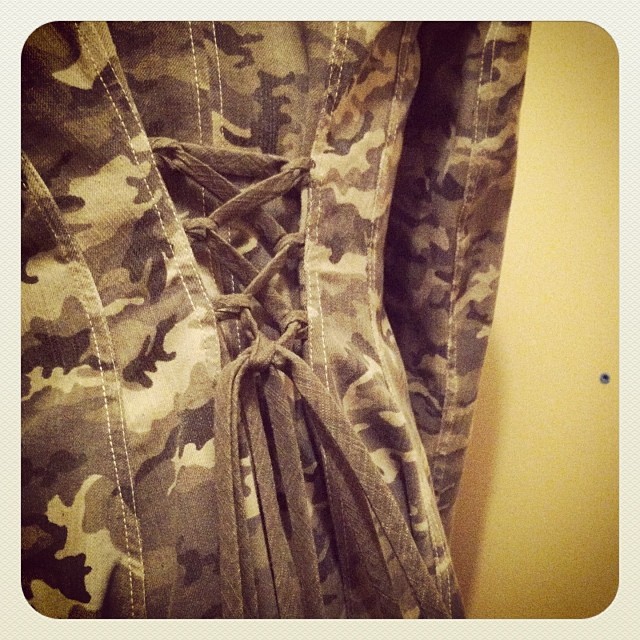
 For construction, I used the same method as my first version, a combination of bound seams and topstitching. With all the little frayed holes, this fabric is fairly delicate, and I wanted lots of reinforcement on the seams. I used some grey-blue gauzy cotton, left over from this dress. Maybe not the sturdiest choice I could’ve made, but I think it worked out. I skipped the facings, too, opting for a binding folded to the inside for this part too.
 However, Hong Kong binding plus double topstitching does not make for a quick project. I also didn’t go full bore, and had to occasionally interrupt… anyway. It developed slowly.
 But, it’s finally finished. Or, maybe finished isn’t quite the right word. In temporary equilibrium? Because this piece calls out for distressing. I’m almost tempted to go at it theatre-style, get some patina going. Failing that, the shredded fabric is more-or-less guaranteed to begin failing sooner rather than later.
 I’m already planning visible mending, layering, patching. I don’t really think this jacket is done.
 I think maybe it’s ready to start becoming. Obsolescence is a part of the plan.
 I didn’t really mean to do intense Hallowe’en costuming this year—frankly I was more excited about decorating the house (which we ended up not even doing!)
 Repeat patterns help a lot for speeding up Hallowe’en sewing. For the coat, we settled on
  but now I won’t be. Since 2m is not enough fabric for this pattern, we had to continue stash diving to find something compatible. Settled on a nice, beefy bottom weight cotton stretch sateen. Not as precious as the flocked denim but still a nice basic I’d hoped to turn into something practical for ME. For lining, we used the last of my precious red Kasha, (what did I say about vampire wannabe-ism?) which would hopefully make the whole thing a little more Hallowe’en-friendly (Hallowe’en here is either on the cusp of winter or in full on winter so making costumes warm is a priority).
 Syo did most of the cutting out and basically all of the sewing on the shell. I directed and sewed the lining and hems. And the main hem is the main thing that we probably should redo, because I hemmed the two layers together and I shouldn’t have, but we were on a tight time schedule. So it doesn’t hang as nicely as it should. I made the buttonholes but she selected and sewed on the buttons.
 The skirt(s) and blouse were much simpler and quicker. I drafted the skirt as a high-low half-circle on some black stretch velvet. And by drafted I mean, took a measuring tape and some chalk and and drew lines right on the fabric. I made a bunch of ruffle with some still-kinda-precious-to-me stretch mesh, and added various gathered bits until it started to look ok. There’s an underskirt of red mesh made much the same way, too. It was harder to let Syo help with this part, since I was flying by the seat of my pants. But it also didn’t take too long.
 The blouse was both last and least. The pattern is just a peasant blouse from the late 70s, not unlike the
  Guys, I love this costume. Like I wish it were for me grade of love. None of the snapshots really do it justice—it deserves a proper photo shoot. Someday. 😂