Pattern measuring---Click through for full-size image
Before I forget, thanks EVERYONE for your wonderful comments on my blogiversary yesterday. It made for a completely warm and fuzzy day (in between wrangling children, appointments, and driving clear across town six times… and mine is not a small town :P)
One of the most interesting things I learned asking my mom about home-sewing in her youth was that the rise of the muslin is a comparatively recent event. I’m sure fine couturiers have always been making them, but when my mom was learning to sew, they were considered a waste of time and—worse—fabric.
Sew and Save by Madeleine Hunt (published 1953) seems to agree—I don’t think there’s a single mention of making a test garment in the entire book, despite a lot of emphasis on fit (and minimizing figure flaws, can’t have our flaws showing, ladies, 😉 ). Instead, they measured.
And measured and measured and measured.
The book has twelve full pages dedicated to measuring patterns, going over every common type of pattern at the time—princess seams, kimono sleeves, gored skirts, sleeves. I’m too lazy to scan them all right now, so I’m just including the ones that are relevant to me right

Pattern measuring---Princess Seam; click through for full size image
now, as I sit here trying to fit Built by Wendy’s “Fitted Jacket” pattern to me: Measuring an armhole princess seam. Sorry for the poor look of the scans, the browser (or at least, the one I use) does a craptacular job of shrinking B&W scans. If you click through for the full-size version they look fine.
So I should probably back up a bit. I want to use Wendy’s “Fitted Jacket Pattern” as the basis for my Springy Coat, which it is more-or-less perfect for, but I’ve never made any of Wendy’s patterns before. Stage one, of course, is picking my size.
So, scanning through her sizing chart, I settled on XS. I know, smokin’ the crack. But the bust and hip measurements were both right. Shoulder and waist measurements are in the small-to-medium range (typical for me).

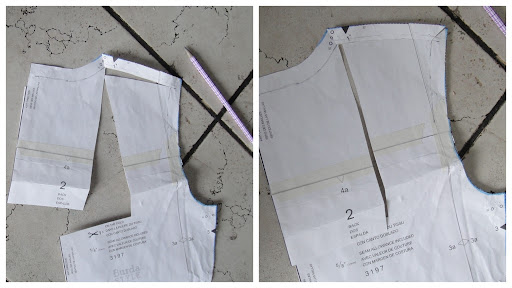
Built By Wendy Fitted Jacket pattern pieces
What I SHOULD have done was take out my handy-dandy tape measure and follow Madeleine Hunt’s advice (made extra-easy by the fact that the Wendy patterns don’t have seam-allowances.) It would have revealed to me that the 33″ bust and 26″ waist on the pattern chart is the actual size of the pattern pieces. As in, without wearing ease.
So, yeah, the pattern’s a mite small. I will throw up the initial muslin shots for your amusement. The top of the front is the only place where it closes. The rest varies from a wee bit too small to way too small (like 3″ too small at the waist).

Jacket bodice muslin, front view
The upper bust actually looks about right. Below there it gets… well, snug.

Muslin---side view
On the up side, the length of the armscye and the level of the waist (areas I often have to modify) feel about right. I’m a bit torn on the shoulders—I have a feeling they should be about 1.5cm wider, so that the seam falls about where the end of the seam-allowance is. I like where the princess seam falls, though.

Muslin---back view
The back fits fairly well, even with minimal swayback wrinkling (this won’t be an issue in my coat, but I imagine if I get this fitted I’ll want to use the pattern for other things, too. You may have noticed I have a thing for princess seams? The side-seam does tug to the back a little bit, although not much. I didn’t clip the seam-allowances at the underarm, which is contributing to the diagonal wrinkling on the side panels, as is my tugging on the front.
I now have two options, of course—start again with, say, a size S, or just grade up the pattern as traced. Since I’m happy with the lengths in this one, I’m tempted to just grade up–adding a slice of width to the CF and CB pieces could easily give me most of the width I need, both around and at the shoulders, and reducing the taper of the princess seams below the bust (equivalent of narrowing the dart there) can give me the rest. Also pulling out the big tissue sheets to trace is annoying.
So next step—sleeves. The sleeves as drafted are really slim, one piece with a symmetrical sleeve cap. I’d prefer an asymmetrical cap (I’m borderline on needing a forward shoulder adjustment) and a two piece. I’m torn on the slimness—I like the look and have pretty scrawny arms, but this is going to be a lined jacket, too. And yes, I have compared them to the sleeve I used for my winter coat (which is pretty darn slim) and it’s about 2″ narrower around.
… time to get measuring. 😉
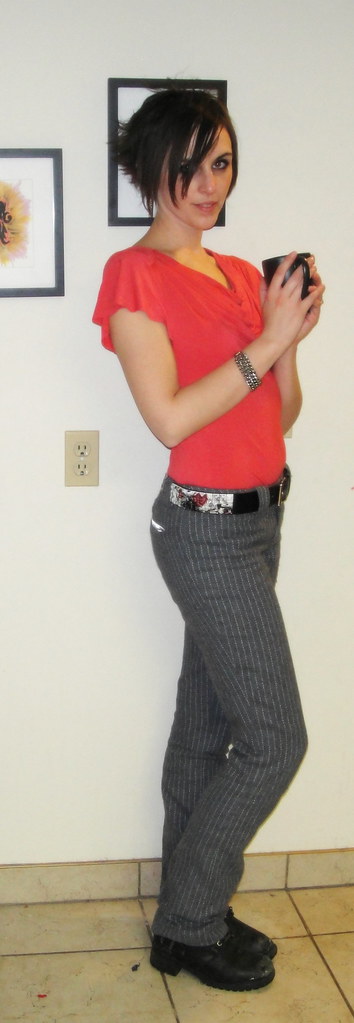
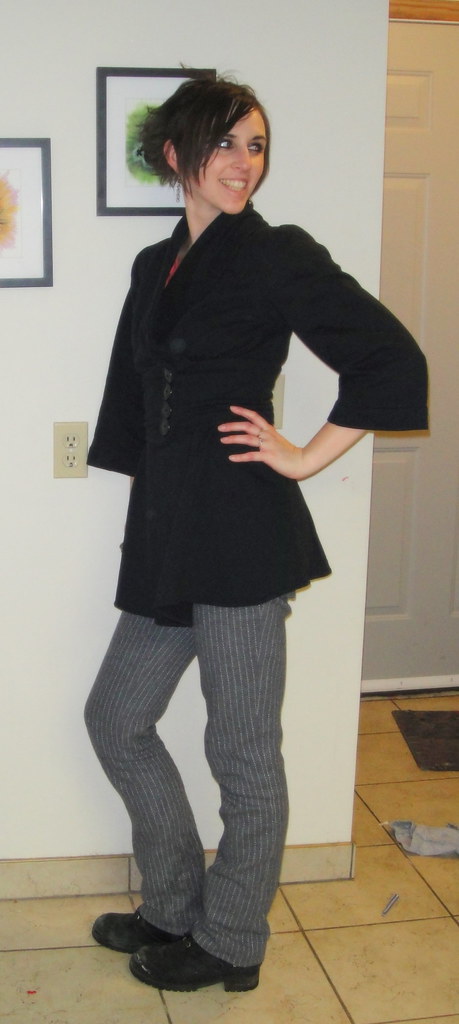
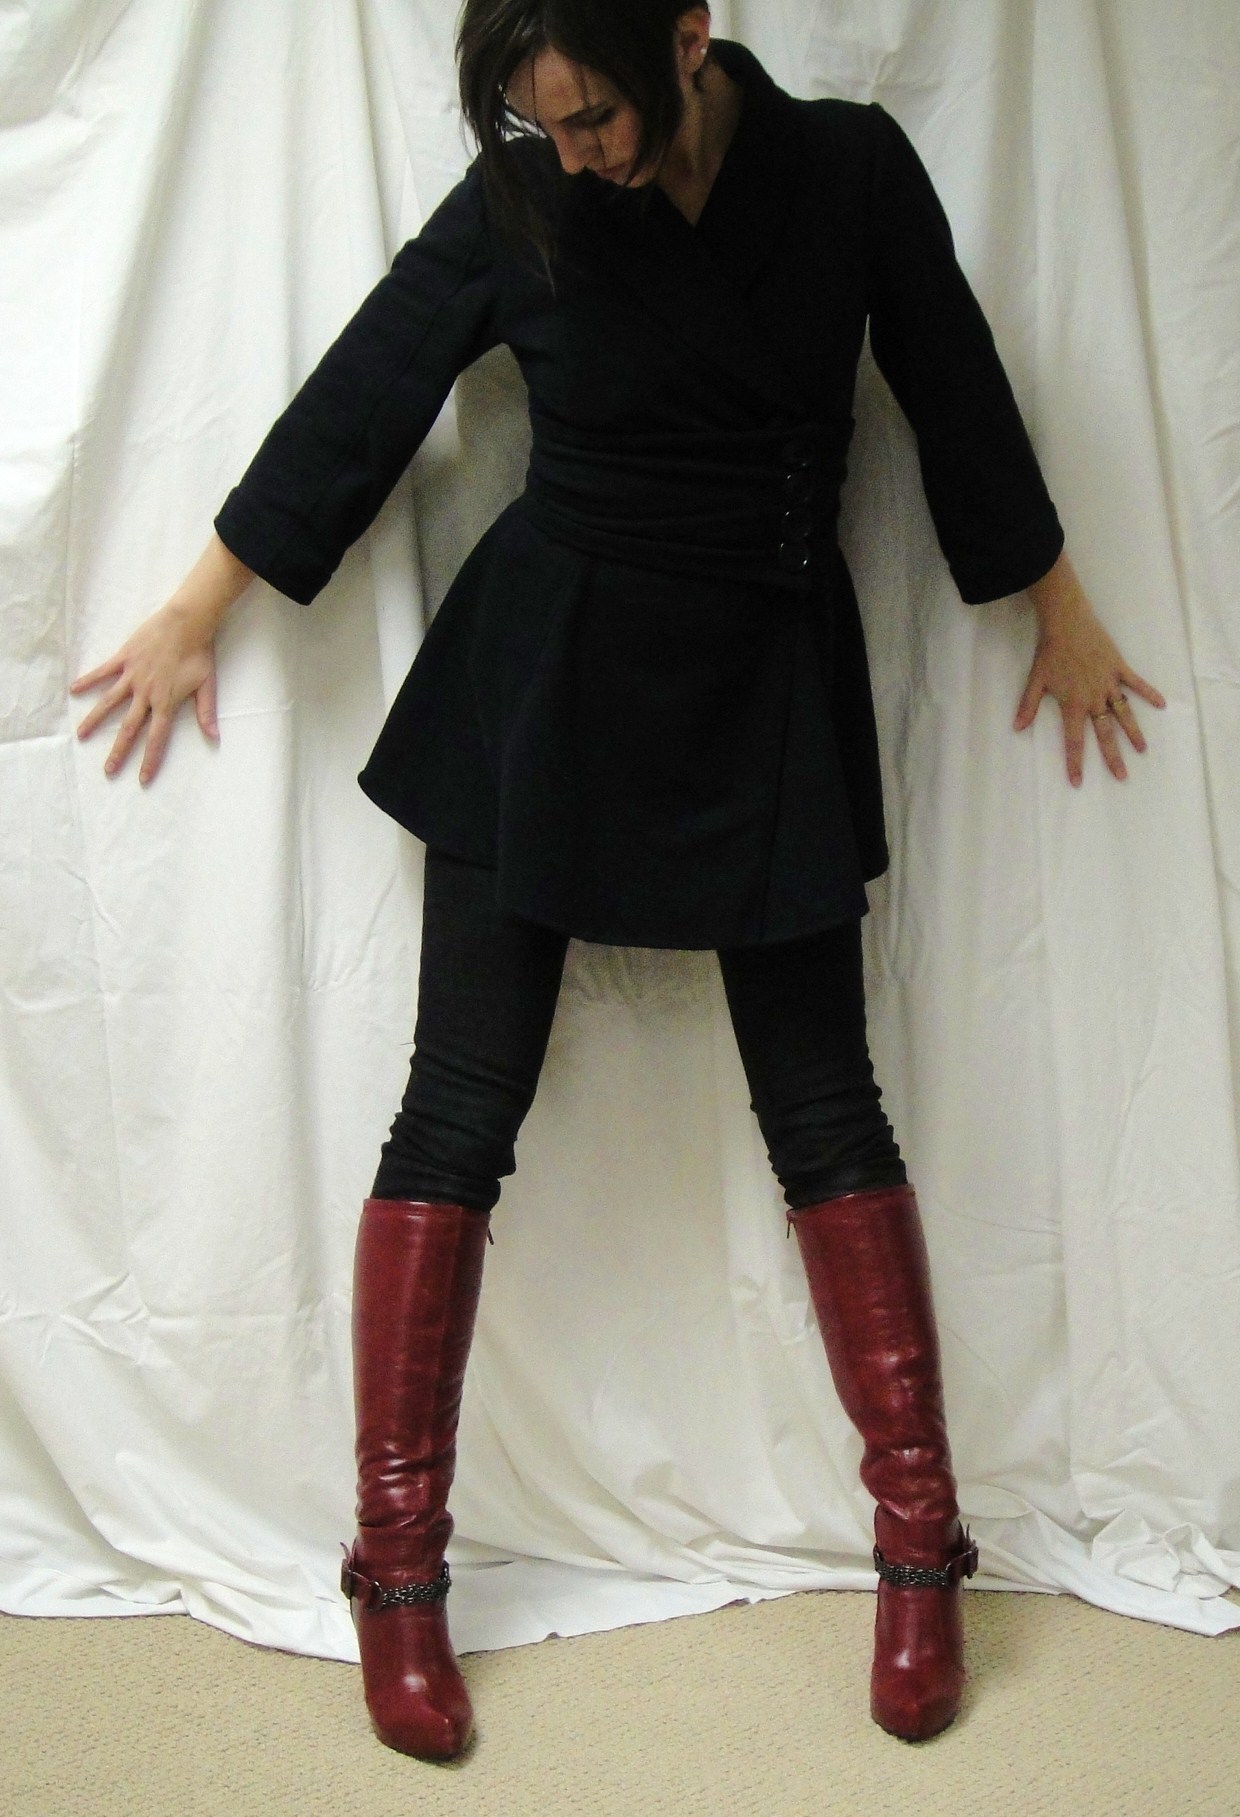
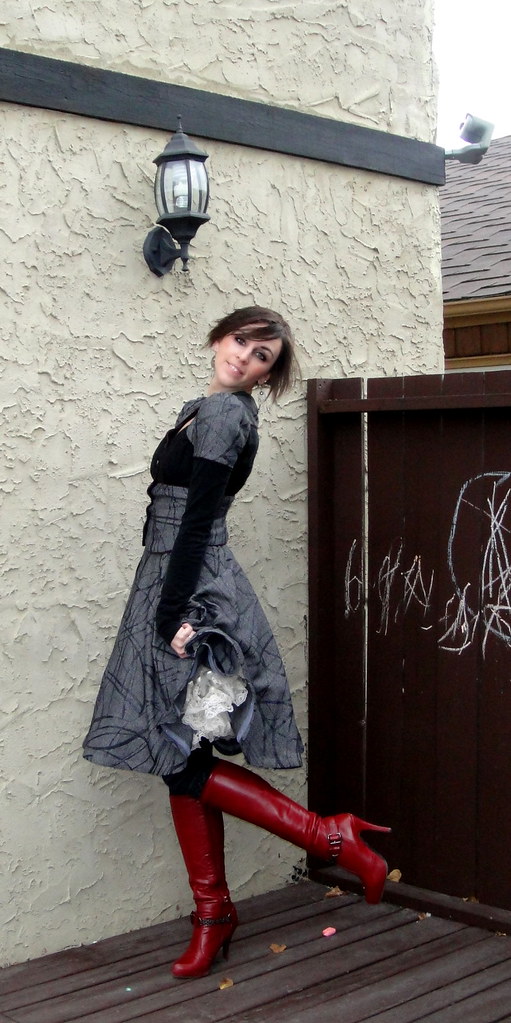
In Me-Made March news,
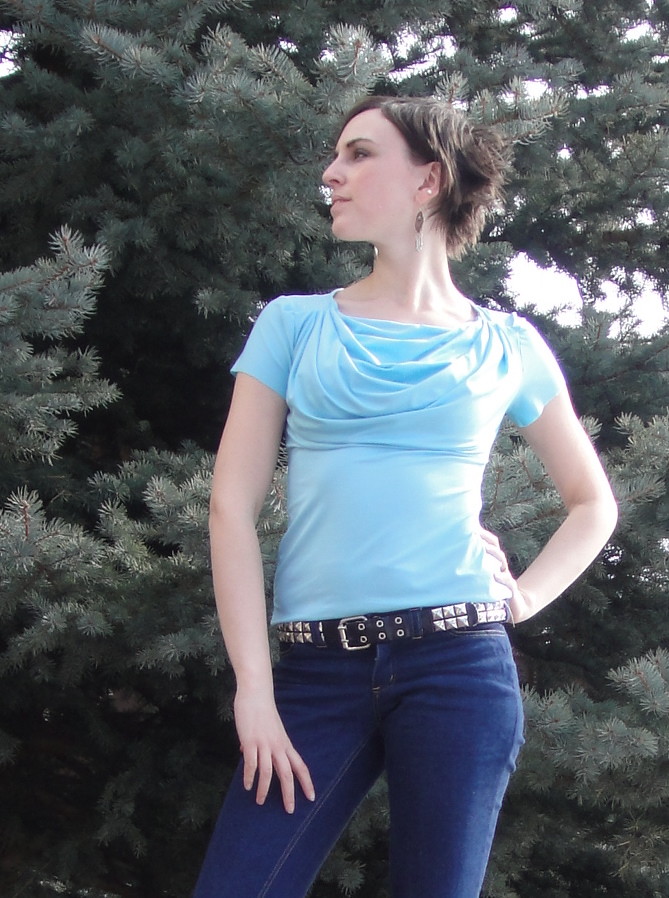
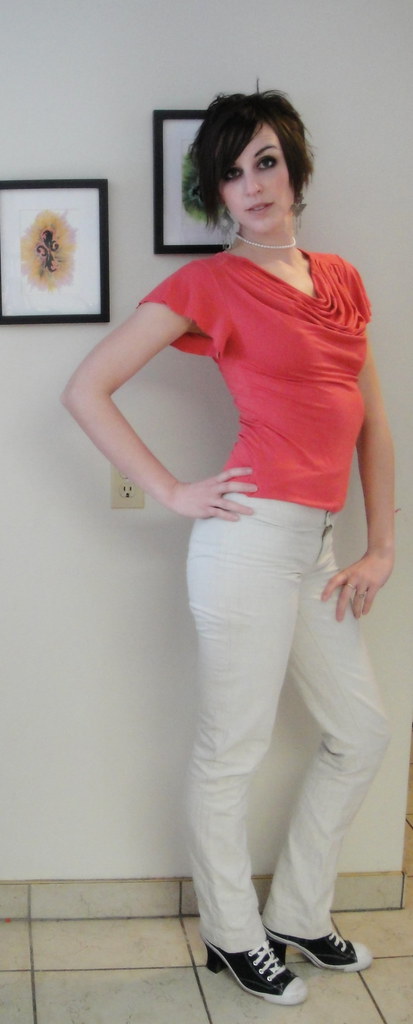
I wore my fluttery cowl again, but it spent most of the day buried under the Kimono Lady Grey (boo hoo). It’s warm enough that I don’t really have an excuse for the wool pants, except that I wanted to make sure they got an airing this month.