

Unsewing 😦
Since the picture above constitutes the grand total of my (un)sewing the last couple of days, I thought I’d talk about jeans.
First me-made jeans for me, ever.
I just checked back and realized it’s been over a year since I made my first pair of jeans for myself! Wow. Where did that time go? Geez, I was so darned proud of that first pair. Funny considering I really hate wearing them now, although more because of the fabric, which I never did like, than anything else.
Anyway, inspired by Carolyn’s autopsy of her recently-deceased black jeans, I thought I’d muse self-indulgently a bit over one of my favourite things to stitch up.
Depending on how you count it, I’ve now made seven or eight pairs of jeans for myself. Nine if you count the Lekala sailor shorts. These fall into two categories, stretch and non-stretch. Since I made my first pair of non-stretch jeans not that long ago, I can’t really comment on quality, so today I’ll just be talking about my stretch jeans, all of which are based on the infamous Jalie 2908 pattern. You can find all the Jalie jeans posts here, or all the jeans posts ever here.
I picked this pattern because it was highly recommended on PatternReview.com for something approaching the kind of jeans I like to wear, which are low-rise, tight-fitting stretch denim. The Jalie pattern is mid-rise, close fitting, stretch flares. From my reading, I was pretty sure that I would be making several stylistic modifications, and probably a couple of fit ones as well. For style, I would be lowering the rise and reducing the leg-flare to a straight-below-the-knee style (something I’d found in a single RTW pair back in 2004 or so and been looking for ever since that one beloved pair went to the great closet in the sky), and probably going down a size as, based on the models in the photo, I thought the jeans as pictured were a little loose for stretch denim (your mileage may vary.) For fit, I expected to dart the yoke and add, oh, 5″ of length to the leg or so.

Procedure for putting dart in yoke pattern piece. A small amount of additional width can be trimmed at the centre back (step 4) if necessary; alternatively, two darts could be used to spread the amount removed over a more gentle curve.
At the time I was a bit perplexed by why the Jalie jeans were drafted with such a flat butt. It seemed like pretty much everyone needed to modify the yoke, and the lady behind Jalie even has a tutorial out there on how to do the fix, both during construction and on the pattern for your next pair. Then I watched (well, over the phone) my mom try to make flat-seat adjustments on some pants she made back in the winter.

Best pair ever.
WAY harder than just taking a little dart out of the yoke. So. Yoke-dart for the win.
Anyway.
Jeans are actually not terribly difficult to make. Denim, even stretch denim, is a lovely fabric to work with, sturdy and well behaved. Where you run into trouble is:
- bulk
- topstitching.
- fly
Bulk:
-

Clapper/point presser and hammer
The clapper. This is one of those unfinished blocks of smooth wood, often topped with a point presser. You iron your seam, get it good and steams up, and then press and hold this on top until it cools down. It’s amazing how much more this flattens out fabric than ironing alone—I know I was always pressing the iron on longer than I should and then scorching my fingers trying to push things down after taking the iron off. Trust me, the clapper is better.
- A hammer. Yes, you heard me. Technically this is best done with a rubber mallet, as a metal hammer has a tendency to break some of the fibres around the edges. A sharp-edged rock-hammer even more. Although probably most of you don’t have rock-hammers lying around, so you won’t run into this problem. Anyway, hammering a bulky seam also flattens it, even more dramatically than the clapepr, just be careful you don’t put holes in your fabric. Especially if it’s a thin denim. [Rock-hammer pic]
- Handwheel. Most of the thick spots in jeans are going over seams, and don’t last very long. A lot of places where the machine motor jams up and just won’t go through all the layers, you can carefully handwheel a stitch or two to get it started, or even get you past the trouple spot completely.


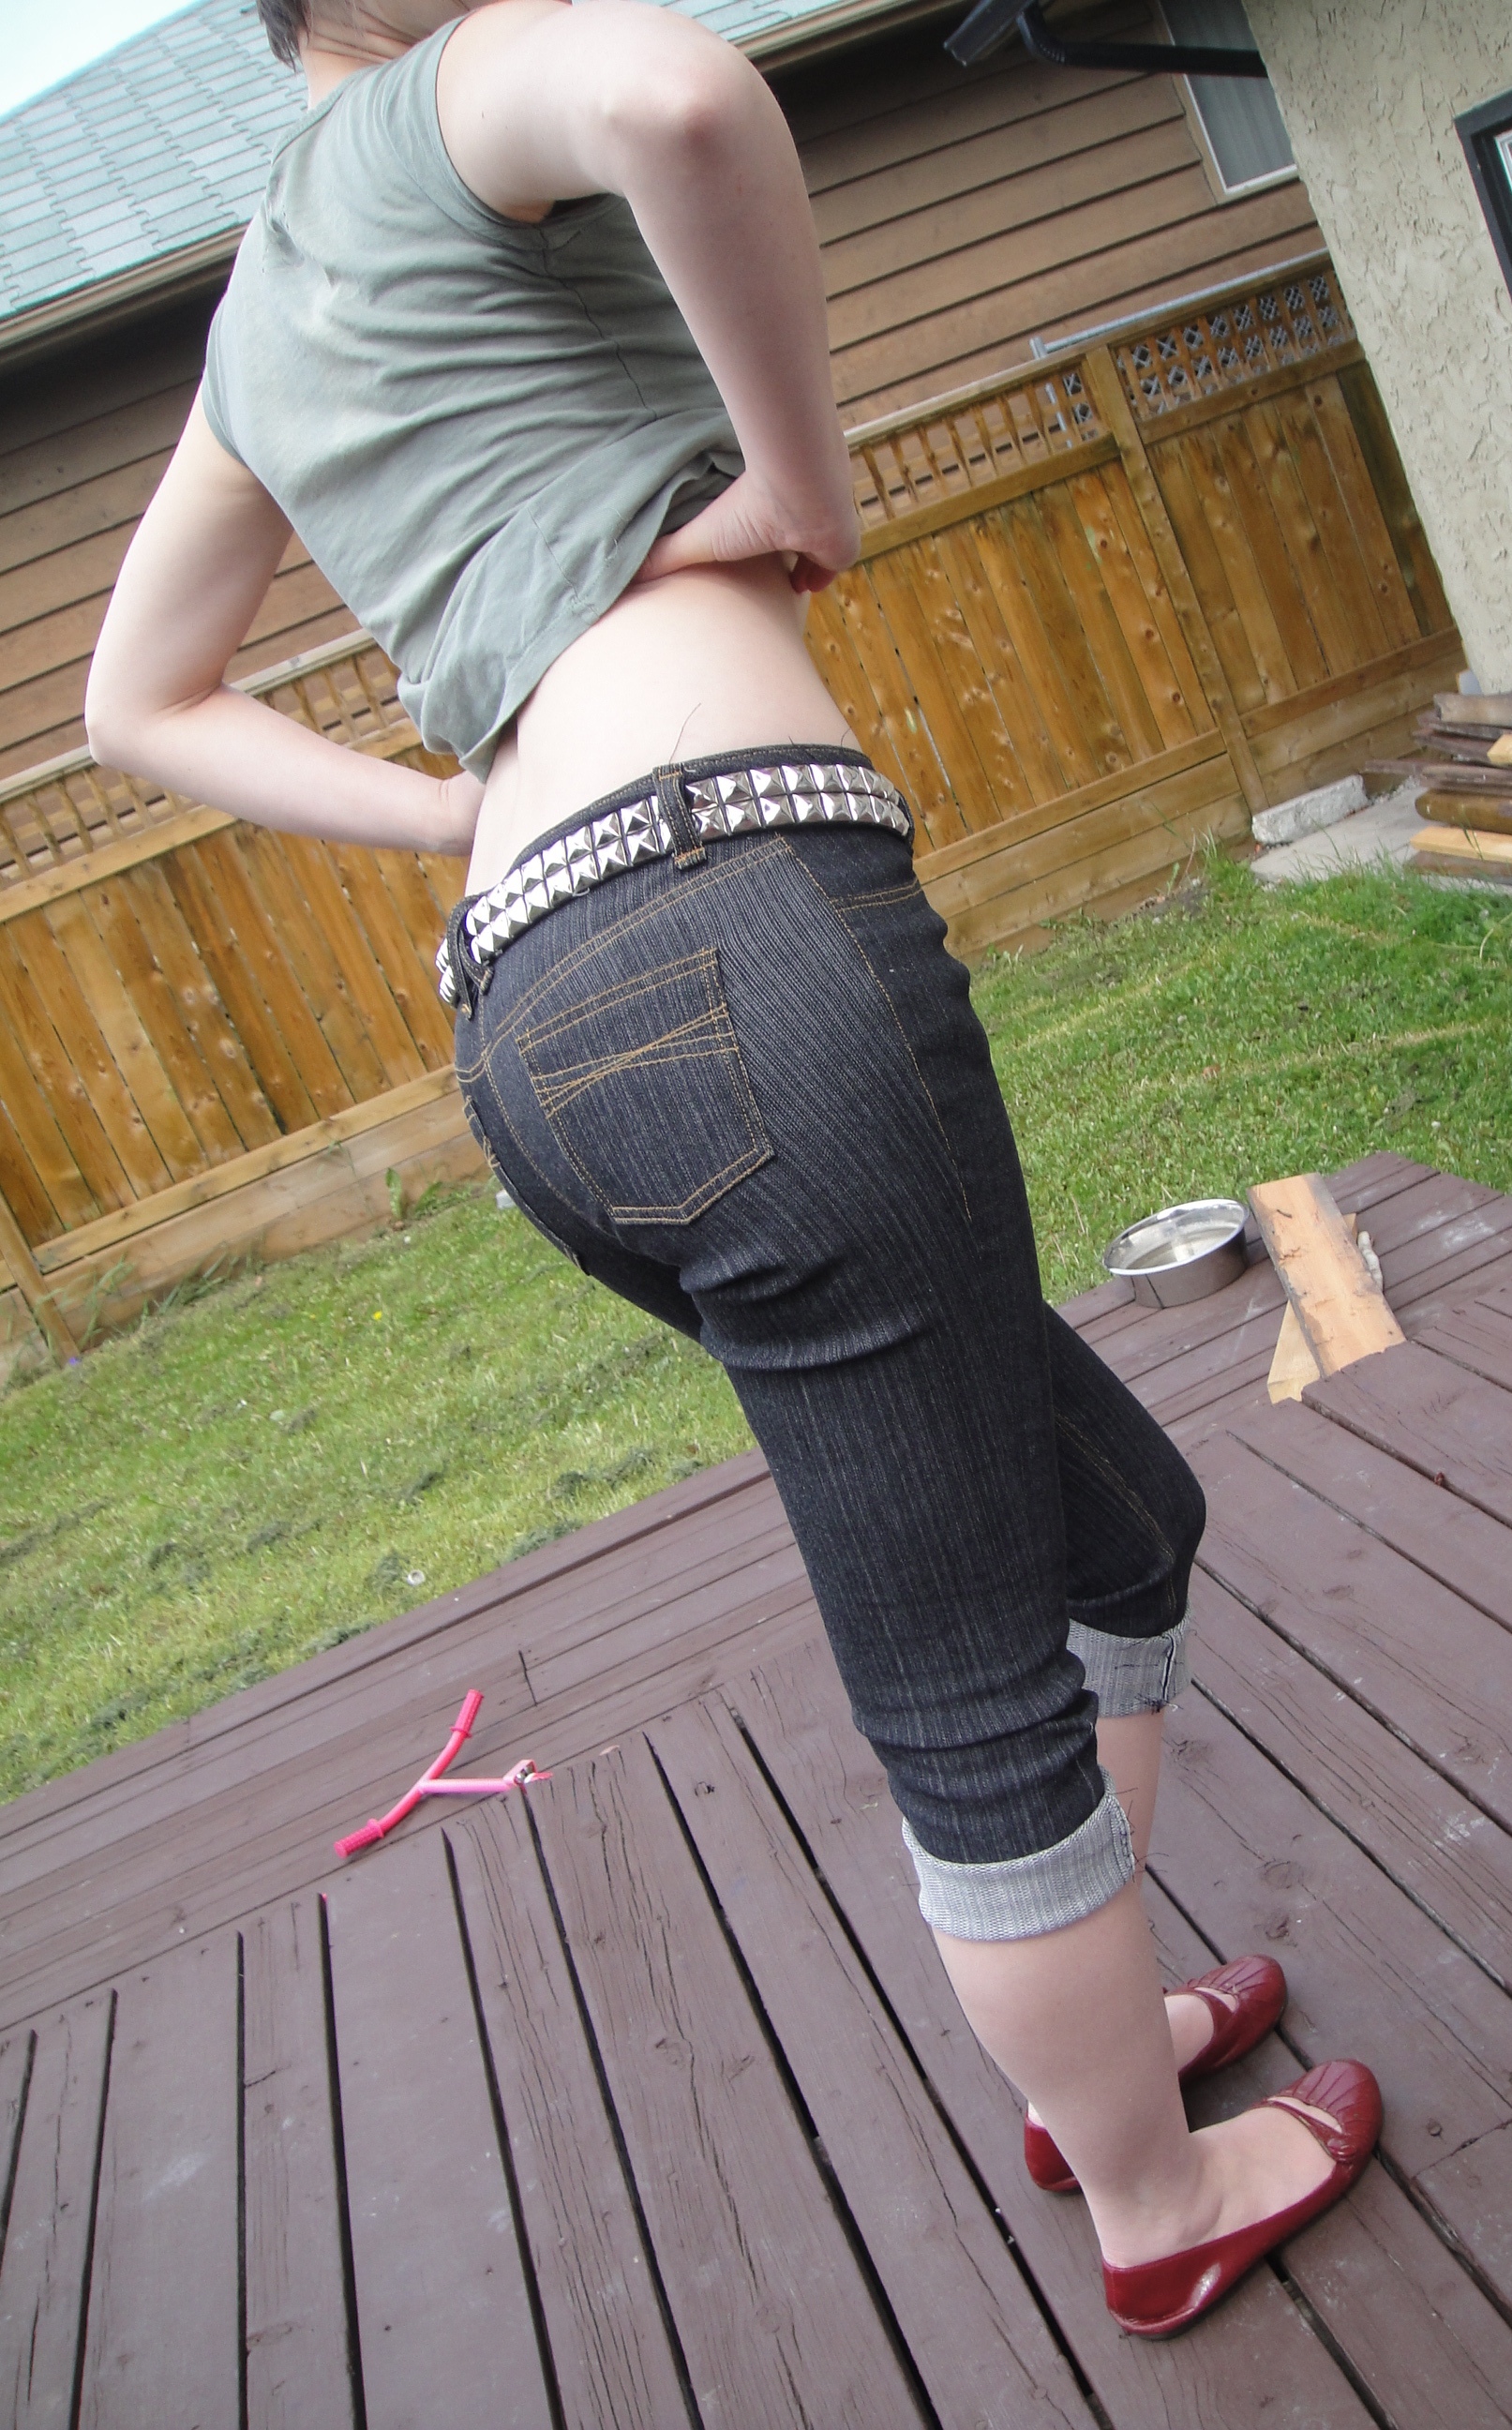
Jalie 2908 made skinny
Topstitching:
- Two threads through the needle. If you can rig your machine to hold two spools, then hold the threads together and thread the machine as usual. This gives the top side of the stitch more oomph, plus you can use any regular thread, which gives you an extra-wide colour range to choose from.
- Triple stitch. Sometimes called (at least by me) a “stretch straight stitch”, this is where your machine takes two stitches forward, then one stitch back all the way along. The symbol on my Janome looks like this: ||| Basically, it ends up stitching each stitch twice, looking (ideally) just like #1. The down-side is that sometimes the forward and back stitches don’t line up perfectly, and if you don’t turn corners (say, on the pockets) just after the 1st forward stitch, it will take a stitch back after and make your corner look messy. The up-sides are: like #1 you have every colour imaginable to choose from; the top and the bottom look the same; and for stretch denim, this stitch has a bit of stretch to it.
- Heavy duty thread (including Coats & Clark Heavy Duty, buttonhole thread, and Guterman Jeans or upholstery thread). This heavier thread has a more striking appearance than regular-stitched regular thread, and looks more like “regular” jeans topstitching. You will probably need to turn up the tension a bit (do some tests) but my Janome handles this kind of thread quite well.
- Topstitching thread.

Thread setup for dealing with mega topstitching thread: wrap around the little round bobbin-winding doohickey before threading as usual. Actual Guterman Topstitching thread not shown.
By this I’m referring to the Guterman Tops-titching thread, which is the thickest of the threads I’ve found. It’s also a bit “fluffier” than, the heavy-duty threads above. But it comes in a wide range of colours and looks really striking. My Janome has major problems with this thread, which basically come down to the tension. The highest tension setting on my machine is too low. Possibly I could adjust the bobbin tension to compensate, but when stitching jeans on a single machine you’re re-threading just about every other seam. I wouldn’t want to add constant bobbin-adjusting to that procedure. Eventually, I came up with a sneaky tension fix where I wrap the thread once around the bobbin-feeder, which has its own little tension disk, before threading as normal. This increased the tension significantly, to the point where I could actually keep the regular tension pretty close to its normal setting. The other problem I have with this thread is it often gets snarled in the bobbin in the first couple of stitches. I found it was possible to keep this from happening by holding on (firmly!) to the tail of the thread when starting the seam.


Topstitching feet: 1) 1/4" edge-stitcher; 2) rolled-hem foot; 3) blind-hem foot
Topstitching foot. There are a lot of different sewing-machine feet that will work for topstitching, but your standard zig-zag foot is not the

Straight stitch foot (on Featherweight) and adjustable zipper foot. Both have open toes and can work well for topstitching.
best. Basically you want something with an open toe, so you can see precisely where the needle is on your fabric, and edges you can line up to get a consistent width. I don’t recommend trying to twin-needle denim, although I did hem some jeans this way early on—you’re liable to break at least one needle, at which point it gets very expensive very fast. My favourite topstitching foot is an actual edge-stitching foot with a handy keel (mine cost five or six bucks), but an ordinary straight-stitch foot like the kind that my Featherweight has also works really well. A blind-hemming foot works well in theory, but my particular foot the movable keel has a tendency to wander along its screw over long seams, which is less than useful, and it’s hard to re-set it to a precise width. My rolled-hem foot actually worked surprisingly well—just ignore the little scroll part and it’s got sides the right width and some handy grooves in the bottom. This was my favourite until I got the edge-stitch foot.
Fly:
- Find the tutorial that works for you. I have good luck with Debbie Cook’s; if you’re a video person (I’m not), Sandra Betzina’s video on the Threads website also comes highly recommended.
- Keep a RTW pair on hand for reference. This makes it much easier to keep track of which side to topstitch and stuff like that.
- Interface the fly, either with something fusible or with fabric from a front pocket extension. It will be a much happier fly later on if it’s a little more substantial.
- TRUST THE FLY. This is one I’ve only recently come around to. After you’ve got your fly constructed and your waistband on, it’s very tempting to try and tweak your fit that last little bit by moving the button one way or the other. Don’t. The button needs to sit so its shank is just at the end of your buttonhole. If you try to mess with this, you will end up with a gaping fly.

Jeans!


All your Jean posts inspire me. I’d love to attempt them one day… I’m similarly picky, to the point that I usually only have one pair in my drawer that I like to wear, and by the time I find another, the first pair has worn out. I’ve actually started wondering about the merits of cutting up a worn out favorite pair and using it as a pattern… Would this be total folly? Hmm.
(As a fellow Canadian I apologize for being too lazy to fix the American spelling autocorrects ;))
LOL! Forgiven. As far as I can tell “Canadian” English is a purely arbitrary blend of British and American spellings anyway.
I haven’t tried cutting up my old pairs, but I’ve heard stories of great results from this method, although also others that didn’t work at all. When talking stretch denim, a lot comes down to the individual fabric, too, which probably plays a role.
The only way I’ve ever had more than one good pair at a time is buying multiples of the same style when I find it. Which is also not cheap…
Heh, too true! Though it does feel wrong to me to drop the U. At my university they didn’t care as long as you were consistent one way or the other.
Yeah, I thought the strech/fibre content was probably the big risk. Do you find that content is consistent in behavior? i.e. If my jeans were 98% cotton 2% spandex and I found denim in similar weight with the same content, might the result be similar? Or is it really a crap shoot?
Sadly the % Lycra seems to have almost nothing to do with the degree of stretch. You’re better off going by % stretch (how far a given length will stretch).
Aha, that makes sense. Thank you! (In truth I’m probably still a ways away from building up the courage to attempt it! But you never know.)
What a cool post, as I’ve often marveled at all your jeans, and nice to see all your tips. And I can’t wait to see what you could do with hand-distressing! I’m still buying jeans, partly because I just love that very light super soft stretch denim that I could sleep in. Is it possible to find that stuff? But without a doubt every single pair, no matter if I buy the smallest possible size, gaps hugely from my back waist. I’ve taken them to an alterations shop (too busy to do myself), and they take the waistband off, put darts in at the yoke–exactly like above.
Most of the stretch denim I find here is fairly thin and very stretchy. which is not to my taste for jeans, but YMMV 🙂
Excellent post, thanks!
Regarding rivets, I’m very happy with the ones I got from Junior (sorry I’m in a rush – I can find it later, but the link is in my Jeans posts, too)
Yeah, I’ve heard that name with good reviews before. When I do get around to it I will probably order from him. 🙂
Awesome post! I want to make another pair of jeans soon, but one of the things that is stopping me is time. My last pair took 2 weeks, and while I can bang out skirts and shorts like nobody’s business during the summer, I’d rather wait until the kiddos are back in school before trying another time-consuming project. I also think I’m going to need to frankenpattern — I have a yoke from one pant and a waistband from another pant that I KNOW I like, and I have a third pattern with straight legs.
I haven’t even tried rivets, way too stressful for me. Let’s see, make something perfect then poke holes in it. NOT!
Jeans can for sure be a tough fit and I think most of us will pay decent (over priced prices) for ones that fit well. I have a hard time with length in my size. For some reason a lot of brands start their longs at a rtw size 8. Anything smaller and nope doesn’t come in a long.
I have wondered about distressing the denim fabric as well. I have done quite a bit of over dye on fabrics and am comfortable with that, so I am thinking how hard could it be to go the other direction? :O). Guess there is one way to find out!
I have also been looking for button/ rivets for the sailor jeans. I saw some on ebay that were really cute but have no idea about the quality.
I share your pain about length! My inseam isn’t even THAT long (I like a 34″, can get by with a 33″), but it’s still hit or miss with RTW (although I find I have less trouble the higher the prices get… :P)
Most of the denim-stressing tutorials I’ve read involve bleach, sand-paper, pumice, and other frightening things… 🙂
I’ve got my denim and pattern I just need to get brave enough to try. If you have the time I’d love more information about how you change the legs from boot cut to straight or tapered.
Changing the width of a pant-leg is SUPER easy. The only thing to be careful of is marking the centre of the leg so that your additions or subtractions to the width are equal on both sides. You do this by folding the piece in half lengthwise so that both edges of the thigh line up—the resultant crease is the centre of the leg and you will want to narrow or widen symmetrically around that.
I picked up the Jalie 2908 pattern back when I was planning on doing the Male Pattern Boldness Jean’s Sew-Along, but I ended up having too much on my plate to take on my first pair of jeans (or pants for that matter) at the time. I plan to save this post for whenever I finally get motivated to finally tackle the pattern. Thanks for all of the great tips!
I really appreciate that you’ve taken the time with this post! I’m still scared of sewing jeans (I’m a weird shape) but maybe, just maybe… 🙂
Great post! All of your jeans look like high-priced winners to me. 🙂
I have found with my janome that if I start stitching a little in from the edge I can avoid that horrid bunching chewing problem without holding on to the threads. Hope this helps
Thanks! I’ll keep in it mind (although I’m planning on doing most of my topstitching on the Featherweight in the future 😉 )
Never mind the top stitching – um, don’t forget to tell the peeps to watch out for the freakin’ button hole. Practically the last thing you do and, if it fucks up, it’s such a pain in the ass… Thanks for showing the waistband dart photos. I will refer to these if ever I get up the nerve to try jeans again…
I think I covered the buttonhole in this post: https://tanitisis.wordpress.com/2011/03/01/to-do-to-dont-and-what-do-i-know/
Unless I didn’t. Blergh.
Although, my last one went great, even on the Janome, probably helped by the extreme thinness of my denim and the non-denim facing of the waistband. /sigh.
Thanks for this post, I’m hoping to attempt to make a pair of jeans this week and need all the help I can get!
The sky is the limit! Looking forward to seeing the next great pair of jeans you get out of this fabulous pattern, yup, having a tried and true is such a bonus, isn’t it? I’ve used the same pattern for all of mine too…
Another wonderful post on jeans – cheers Tanit-Isis :)!
I think this post marries very well with the tips you gave in
To Do, To Don’t, and What do I know?
Re: rivets – have you seen the http://www.taylortailor.com/
blog recommended by Peter Peter? Taylor is a guy who drafts and sews his own jeans (and for his wife too). He’s recently opened an online store stocking jeans-notions/fabrics, the kind of things he found hard to find himself. I bought some thread, rivets etc. from him awhile back and the shipping from him in the US to me in the UK was very reasonable.
About the snaps and rivets – years ago there was a mail-order company called Bee-Lee, based in Texas, I think that offered heavy-duty fittings. Don’t know if they are still in business, but worth an internet search. Custom fit jeans are something most folks dream about as they are so hard to find RTW. You must be so addicted to the process now that you are hot on the trail of perfecting your perfect jeans pattern.
Hey I know them! I bought a Dritz Ezy Hem guide and some other notions from their eBay store last year 🙂 This is their website : thebeeleecompany.com/, which basically tell you to visit their eBay store here: eBay store. Their store doesn’t have a terribly wide range of stock, but I recall their sending me with my order a large folded black & white pamphlet showing tonnes ‘n’ tonnes of different items for sale – so perhaps dropping them a query via email might be rewarding :)?
This is such a useful post, thank you. I feel the urge to make jeans will befall me sometime in the near future. Your tips on top stitching thread are spot on, but alas too late for something I made that still has unsatisfactory bobbin stitching! However, have to say that your denim makes look SO professional, fit so well that I’d say you have the denim PhD – I can’t imagine my first pair being half as good as yours! But at least I can refer to this! Thanks again. By the way thank you for your last comment, managing to find me. Yes my blog address has changed slightly so your reader might not pick it up. There’s no /wp on the end anymore… Irritating I know!!
Your jeans scare me. Right through Me Made June I kept seeing them and I caught myself thinking “Ha! I bet nobody believes that woman made her own jeans… so why did she bother? They look shop-bought!” As if that was a bad thing? What’s the matter with me?! The satisfaction of making something so complicated, the cash savings, the benefit of a perfect fit…? But I refuse to be sucked in. It would be a trainwreck if I tried to do this on my Bernina, which disengages its fly-wheel at the slightest excuse. Phew! That’s me off the hook, isn’t it?
Haha! I think (almost) nobody ever does realize I made them. No one thinks to look at jeans, the way they might look at a dress and go “Oh, did you make that?”.
They aren’t that complicated—certainly no more complicated than knitting!—but I would not want to make them on a touchy machine. Besides, you look great in your long, flowing trousers 🙂
Ahhhh, you make it seem so possible! I traced a pattern for jeans almost a year ago and that’s as far as I got. Someday. Right now it’s so hot and sticky I can’t fathom trying on and dealing with fitting jeans.
Pingback: Gingerly, jeans | Tanit-Isis Sews