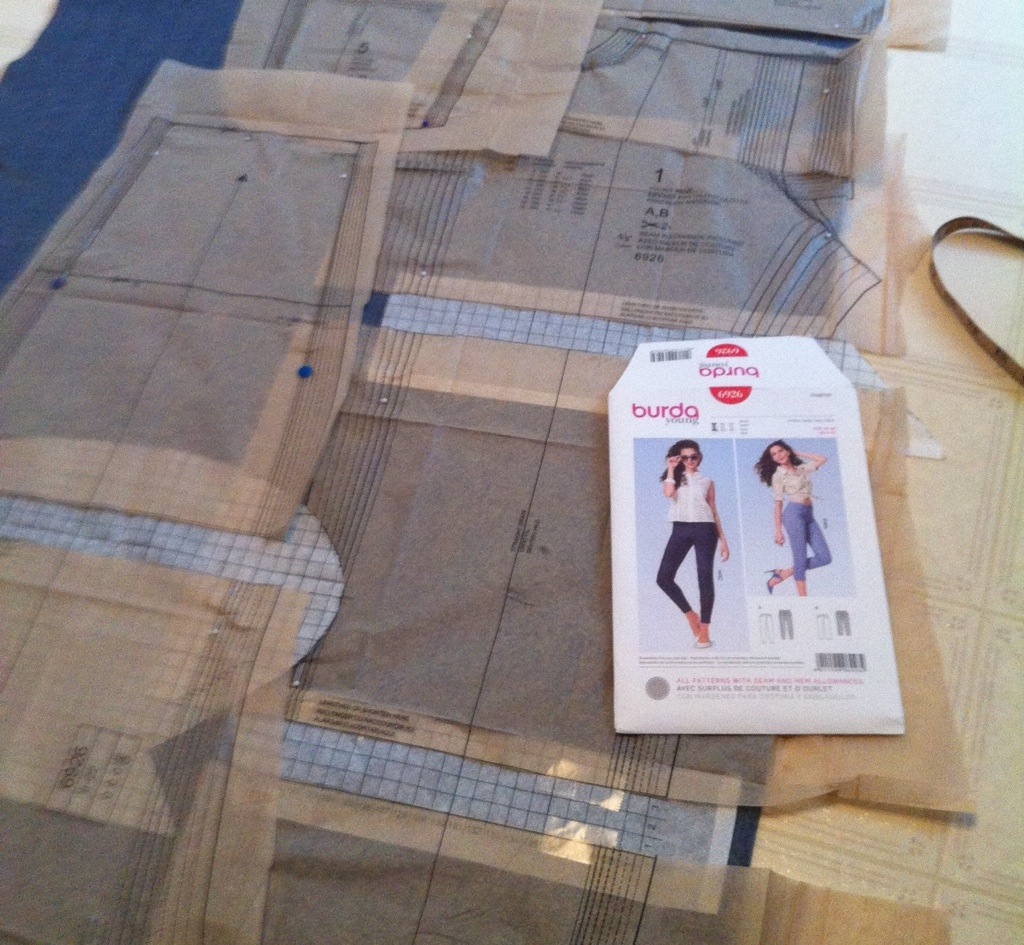
Sense & Sensibility Patterns Regency chemise and short stays
It occurs to me that I’m establishing a bit of a pattern here. I’ve made another set of historical underclothing. Hmm. If you go back and include the
fairly-mediaeval bliaut I made way-pre-blog (hand-worked eyelets up each side, dude), that was basically an underdress as well… well, let’s just say I have yet to produce any historical outer wear of note. Hmm. Maybe I should give up and just go with “underwear across the ages”. 😉
Regardless of what that says about my sewing inclinations (or maybe just my attention span), I have made another set: Regency underthings this time, perhaps aiming for a date around 1805, although frankly I’m trying to restrain my latent authenticity Nazi and don’t feel like researching ’til my brains ooze out my ears. But I kind of spent a bunch of time on vacation last month pinning Regency fashions, since they’re some of my favourite (and arguably considerably more translatable into a modern aesthetic than anything much before or after), and then I got it into my head that maybe it would be a fun Hallowe’en costume. One impulse purchase of the Sense & Sensibility Patterns Regency Chemise and Short-Stays pattern (PDF), some serious grumbling over the printing thereof (not pre-tiled, layout not at all paper-maximizing), and a very very small piece ofsome very scrumptious embroidered silk and, well…

Chemise
I didn’t really follow the chemise pattern, partly because I only printed half of it, but mostly because I prefer a gored construction method, and I’m pretty sure it’s still historically accurate. I did copy the neckline, but otherwise I used the same two-gored construction I did for my Victorian chemise. In hind-sight, I wish I’d done the single, asymmetrical gore (more “old fashioned”) but I forgot at the time. Apparently I need to make another. Because I really need another historical chemise. >_< Add rectangular bits for sleeves and the last couple of square scraps for gussets.

Flat felling, be hand and machine
I did all the long seams flat-felled on my machine, but I can’t quite wrap my head around flat felling the gussets by machine, and I never do a very good job of matching things up so my seam allowances were, ah, wonky… So I felled those seams by hand. Hand-sewing: for fixing fuckups. 😉
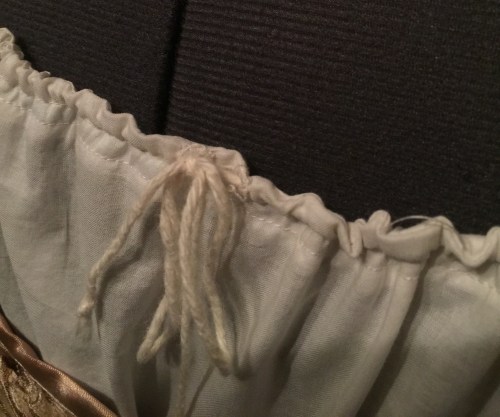 I made hand-worked eyelets for the neckline drawstring to pass through. However, not being overly bright, I worked them in the BACK of the neckline. Oops. I’m not really happy with the neckline anyway (I did a fairly terrible job of applying the bias tape drawstring casing) and it seems a little high so when/if I get the time and inclination Imay redo it.

Coffe, coffee everywhere. 😦
The short-stays were more fun, and slightly less of a comedy of errors. Aside from the part where I dumped an entire cup of coffee on the pattern and fabric. We won’t speak further on that. At leas the silk is pretty coffee coloured to begin with.

Ticking lining
I used ticking for the lining and interlining, rather than coutil, mostly because a friend had recommended it as a locally-available alternative to coutil, apparently very low-stretch due to the tight weave. Though I’m not sure this was the best project to test it out as the short stays are very lightly boned. The softness of the ticking wouldn’t be too much of a problem in a fully-boned corset, but might be an issue in something that has less boning than some of my bras. Though at least initially it seems to be working. I used the maximum amount of boning suggested (the instructions are pretty thorough in going over various options for boning and cording and even quilting. And there’s an online version with extra photos, too.)

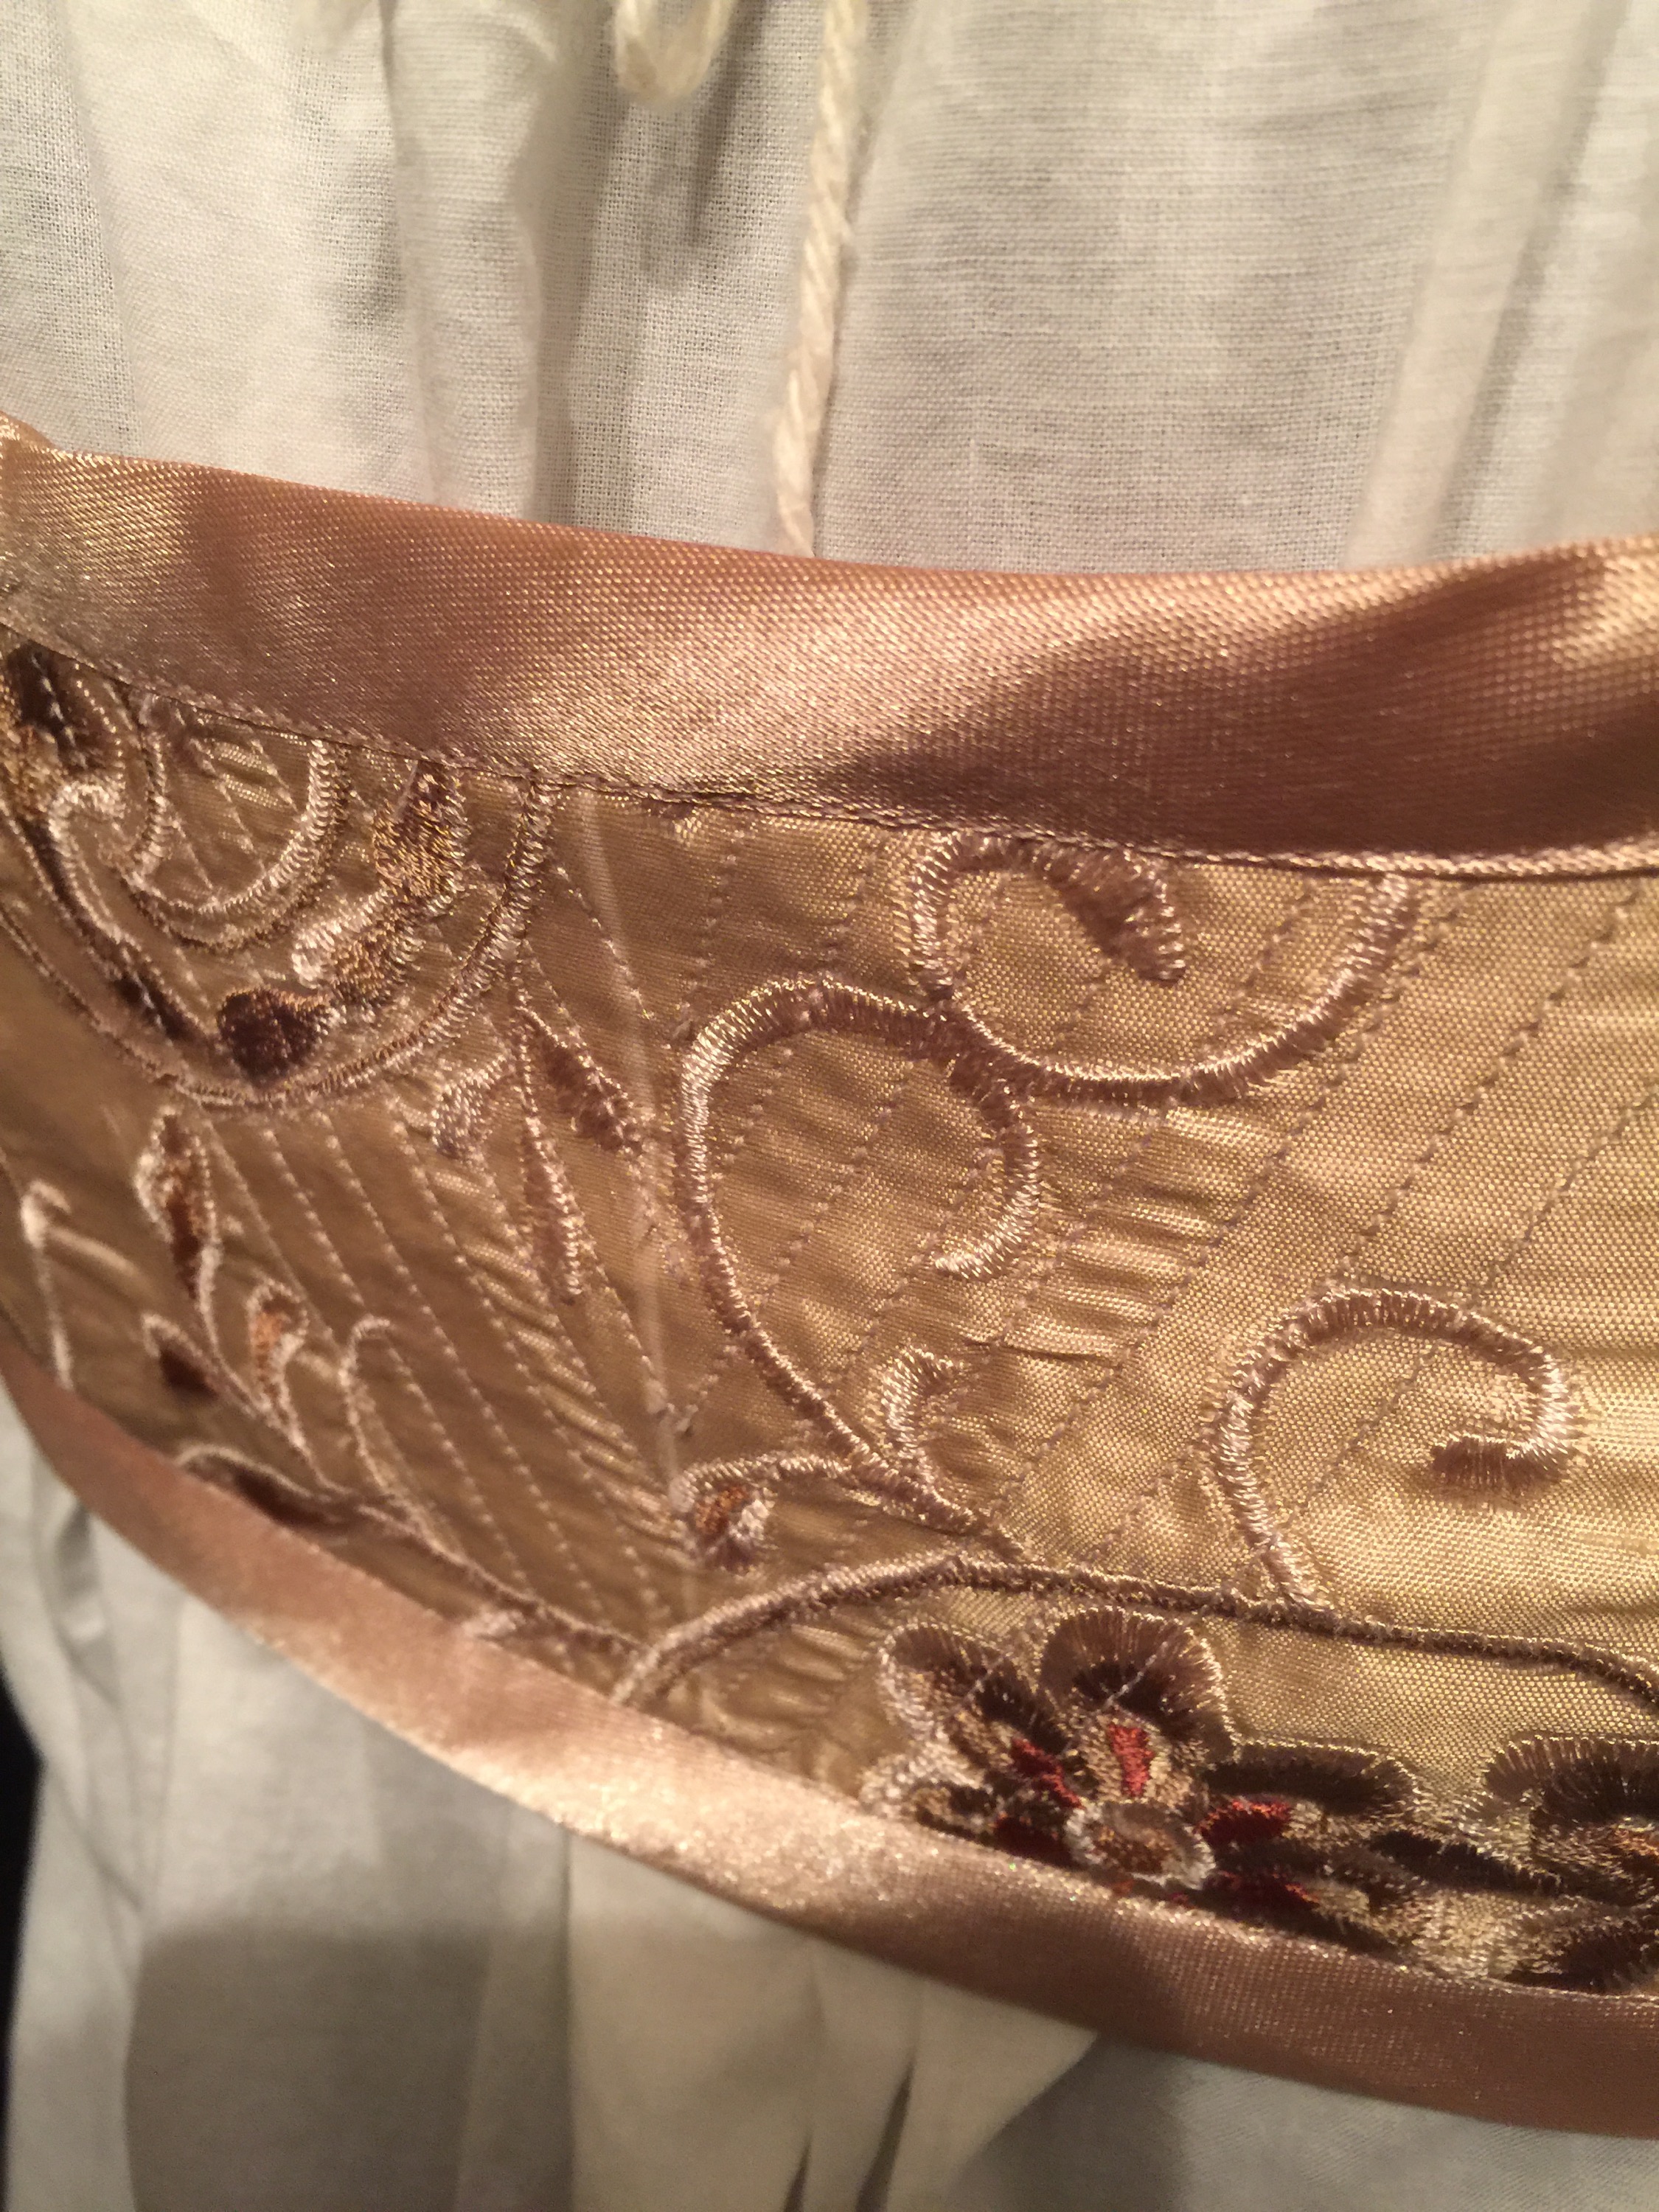
Quilting
Speaking of which, I added some quilting to the back, which is completely unboned, for a wee bit more support. It looks nice, anyway.

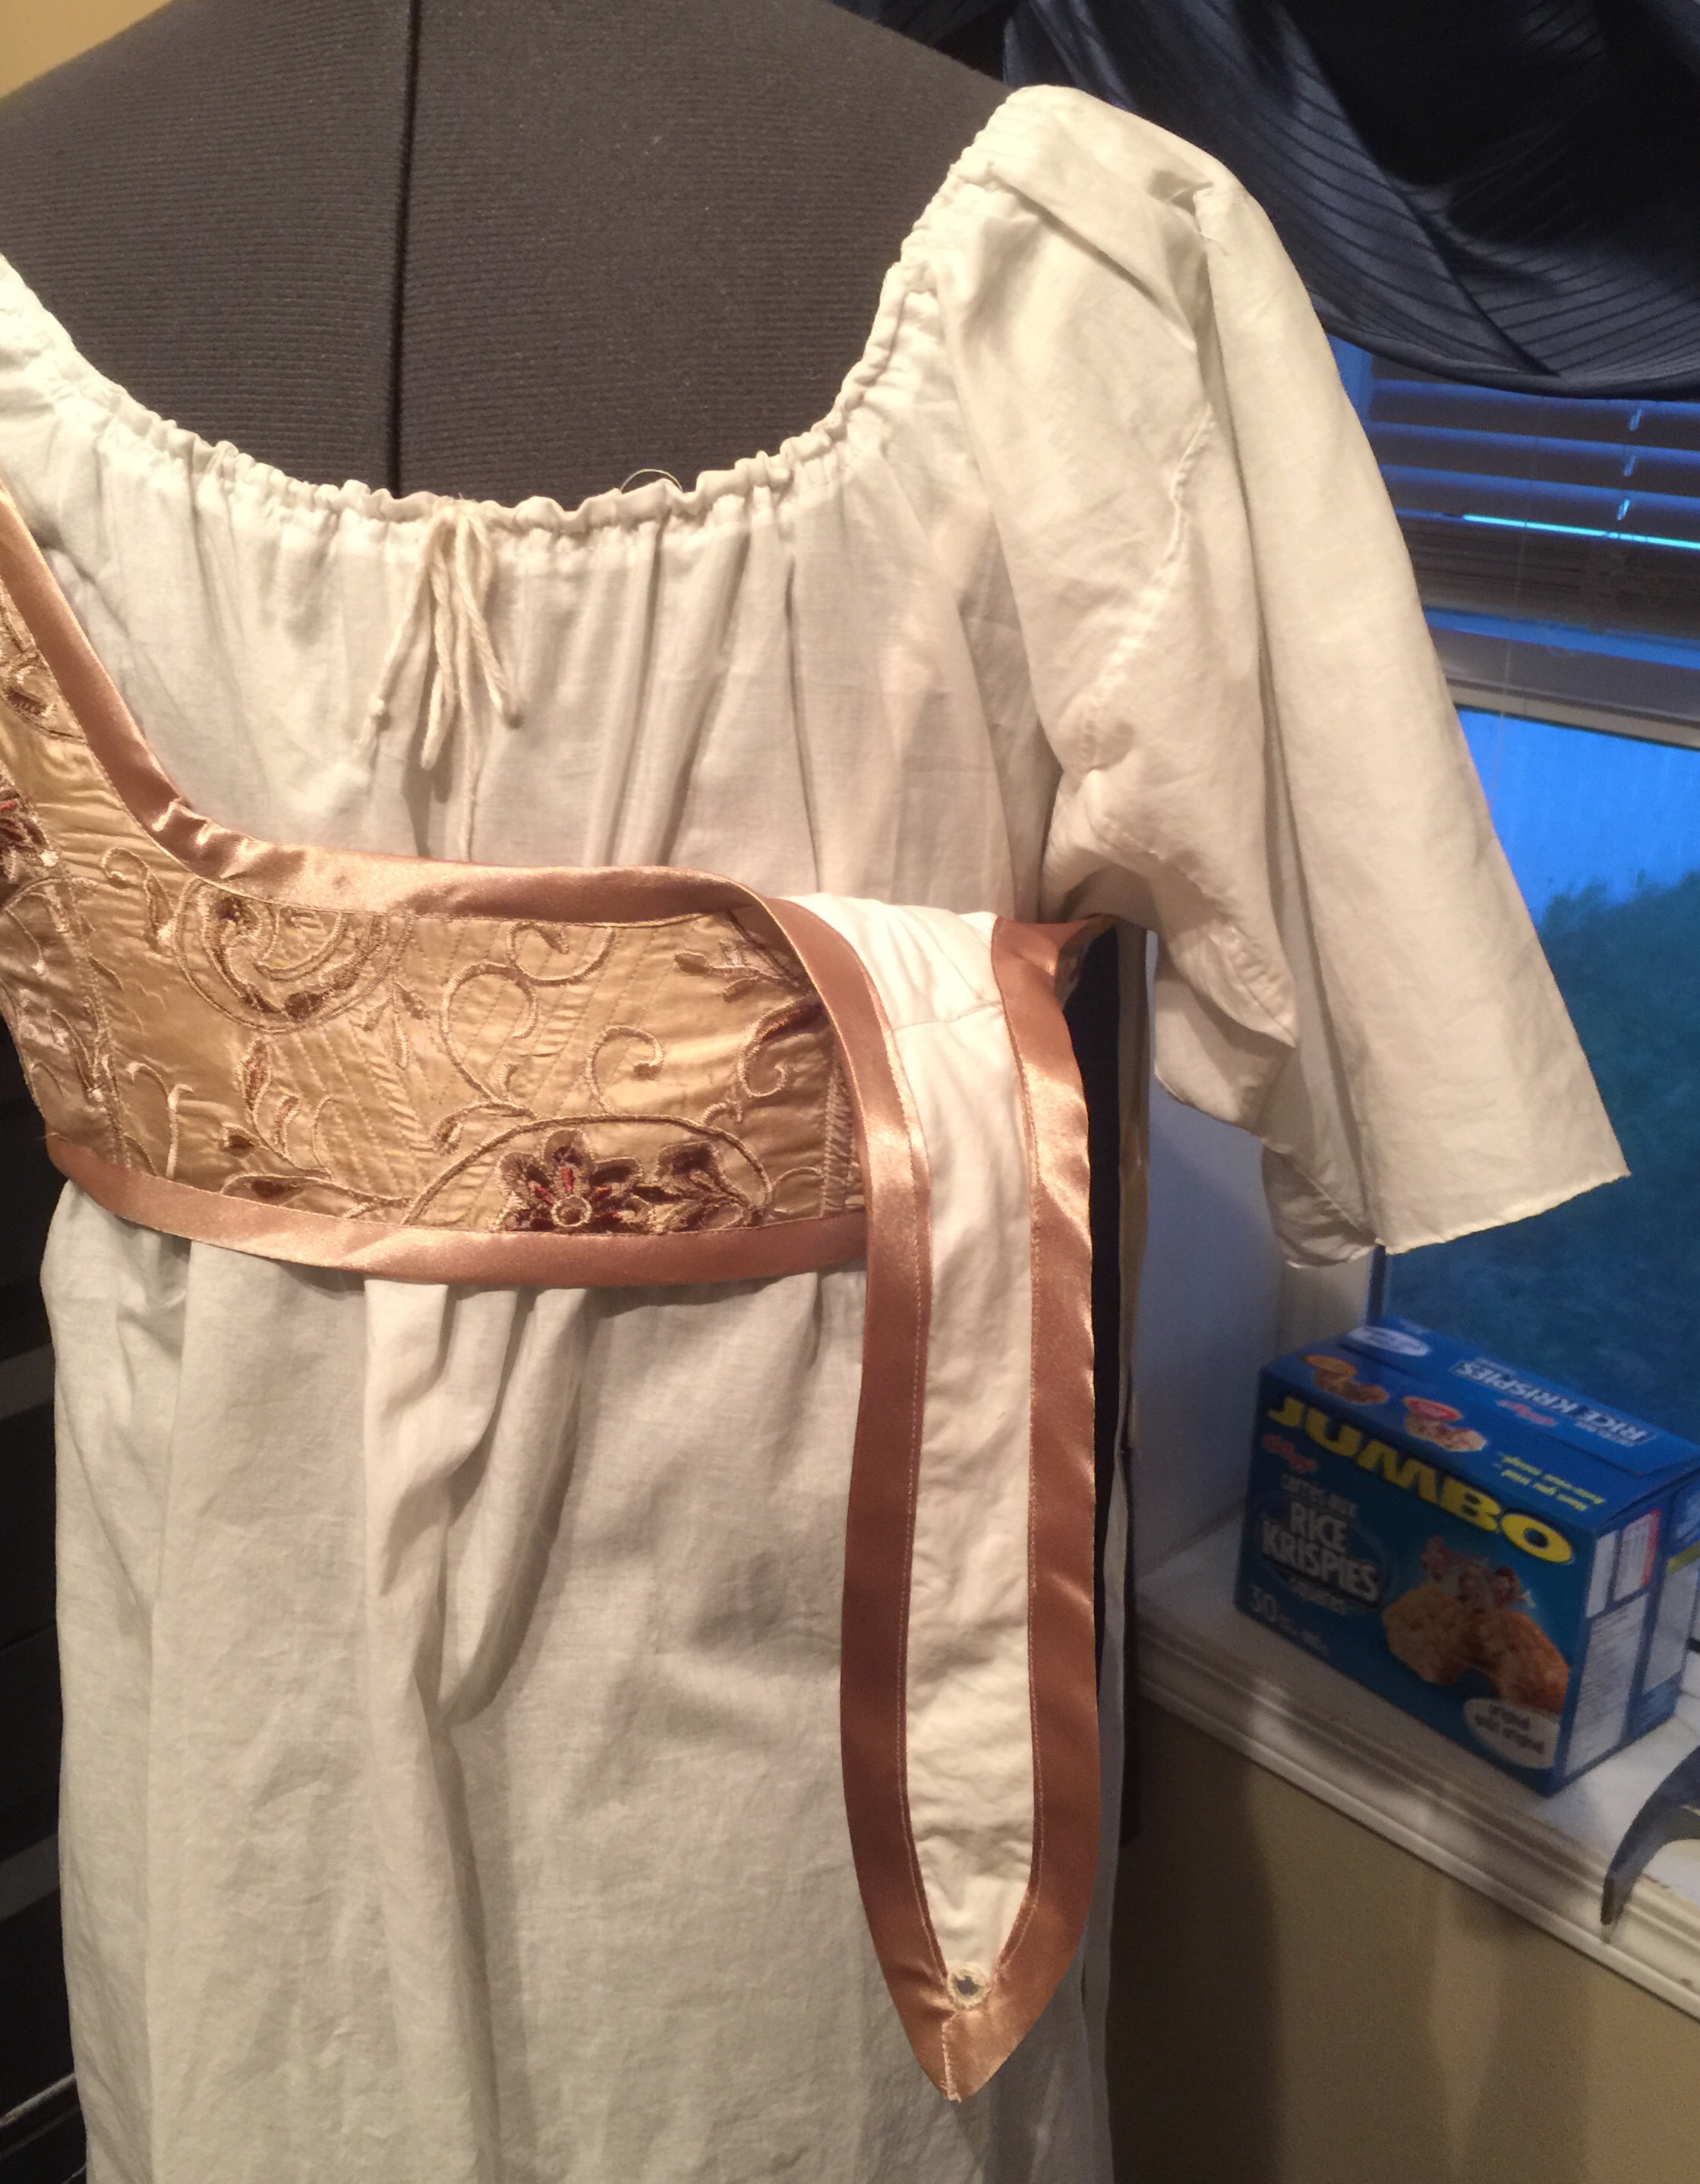
Back view
I wanted a coordinating silk in a solid to make my bias binding (the idea of trying to make a binding out of my embroidered silk was a bit horrifying) but there was naught to be had. So I threw authenticity out the window* and went with a very modern polyester satin bias trim, which was both fast and easy and a great colour.

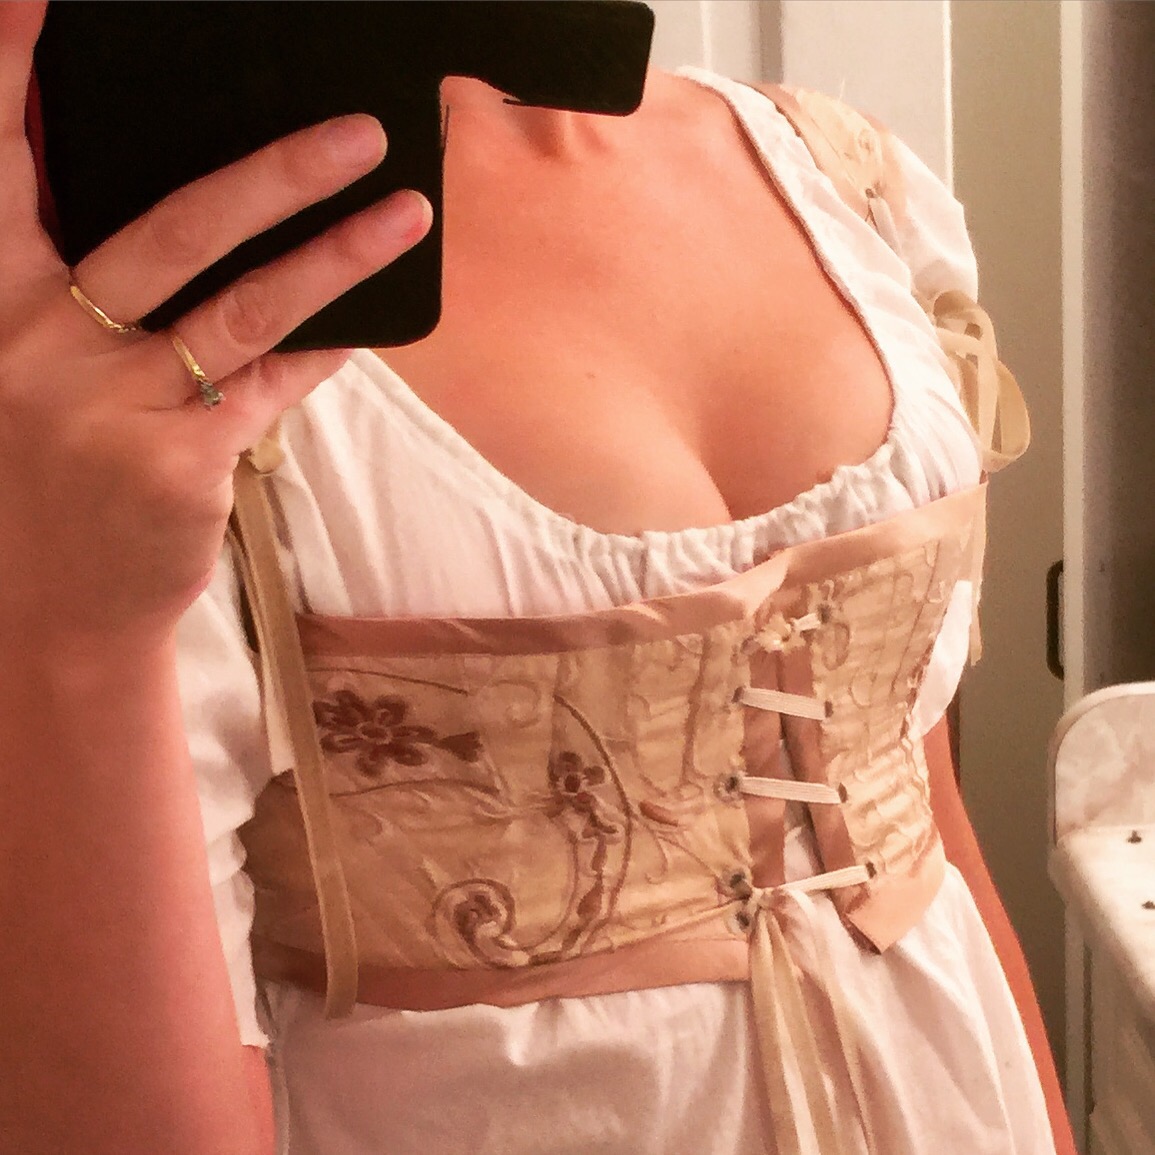
Front. My dressform does not squish as well as I do.
I made my eyelets by hand, as per period (and not nearly as many as that damn mediaeval dress, as I reminded myself constantly) but reinforced with metal jump rings. Although I’m not sure how often this was actually done, (I did read about it, though, somewhere) it was fun to try out and the resulting eyelets are nicely circular and sturdy.

Eyelet inside, with jump ring.
After studying my Pinterest boards, I opted for spiral lacing. Regency seems to be pretty much right around when the switch from spiral to crisscrossing lacing happened, but more of the extant garments and images seemed to me (in a very unscientific survey) to be spiral-laced. (Or have holes spaced for spiral lacing even if their laces are currently cross-laced.)
The bottom of the stays is designed to have a drawstring to hold them down. I left the channel open but haven’t tried to thread it—my rib cage doesn’t exactly taper downwards, so I’m not convinced it would help with anything.

On me. Hopefully I’ll have better pics eventually
I cut a size 12 (same sizing as big 4 patterns, as far as I can tell, how nice), with the B-cup gussets. I optimistically auditioned the C-cup versions but, ah, no. I also cut down to a size 10 in circumference, though I didn’t mess with any of the vertical measurements.

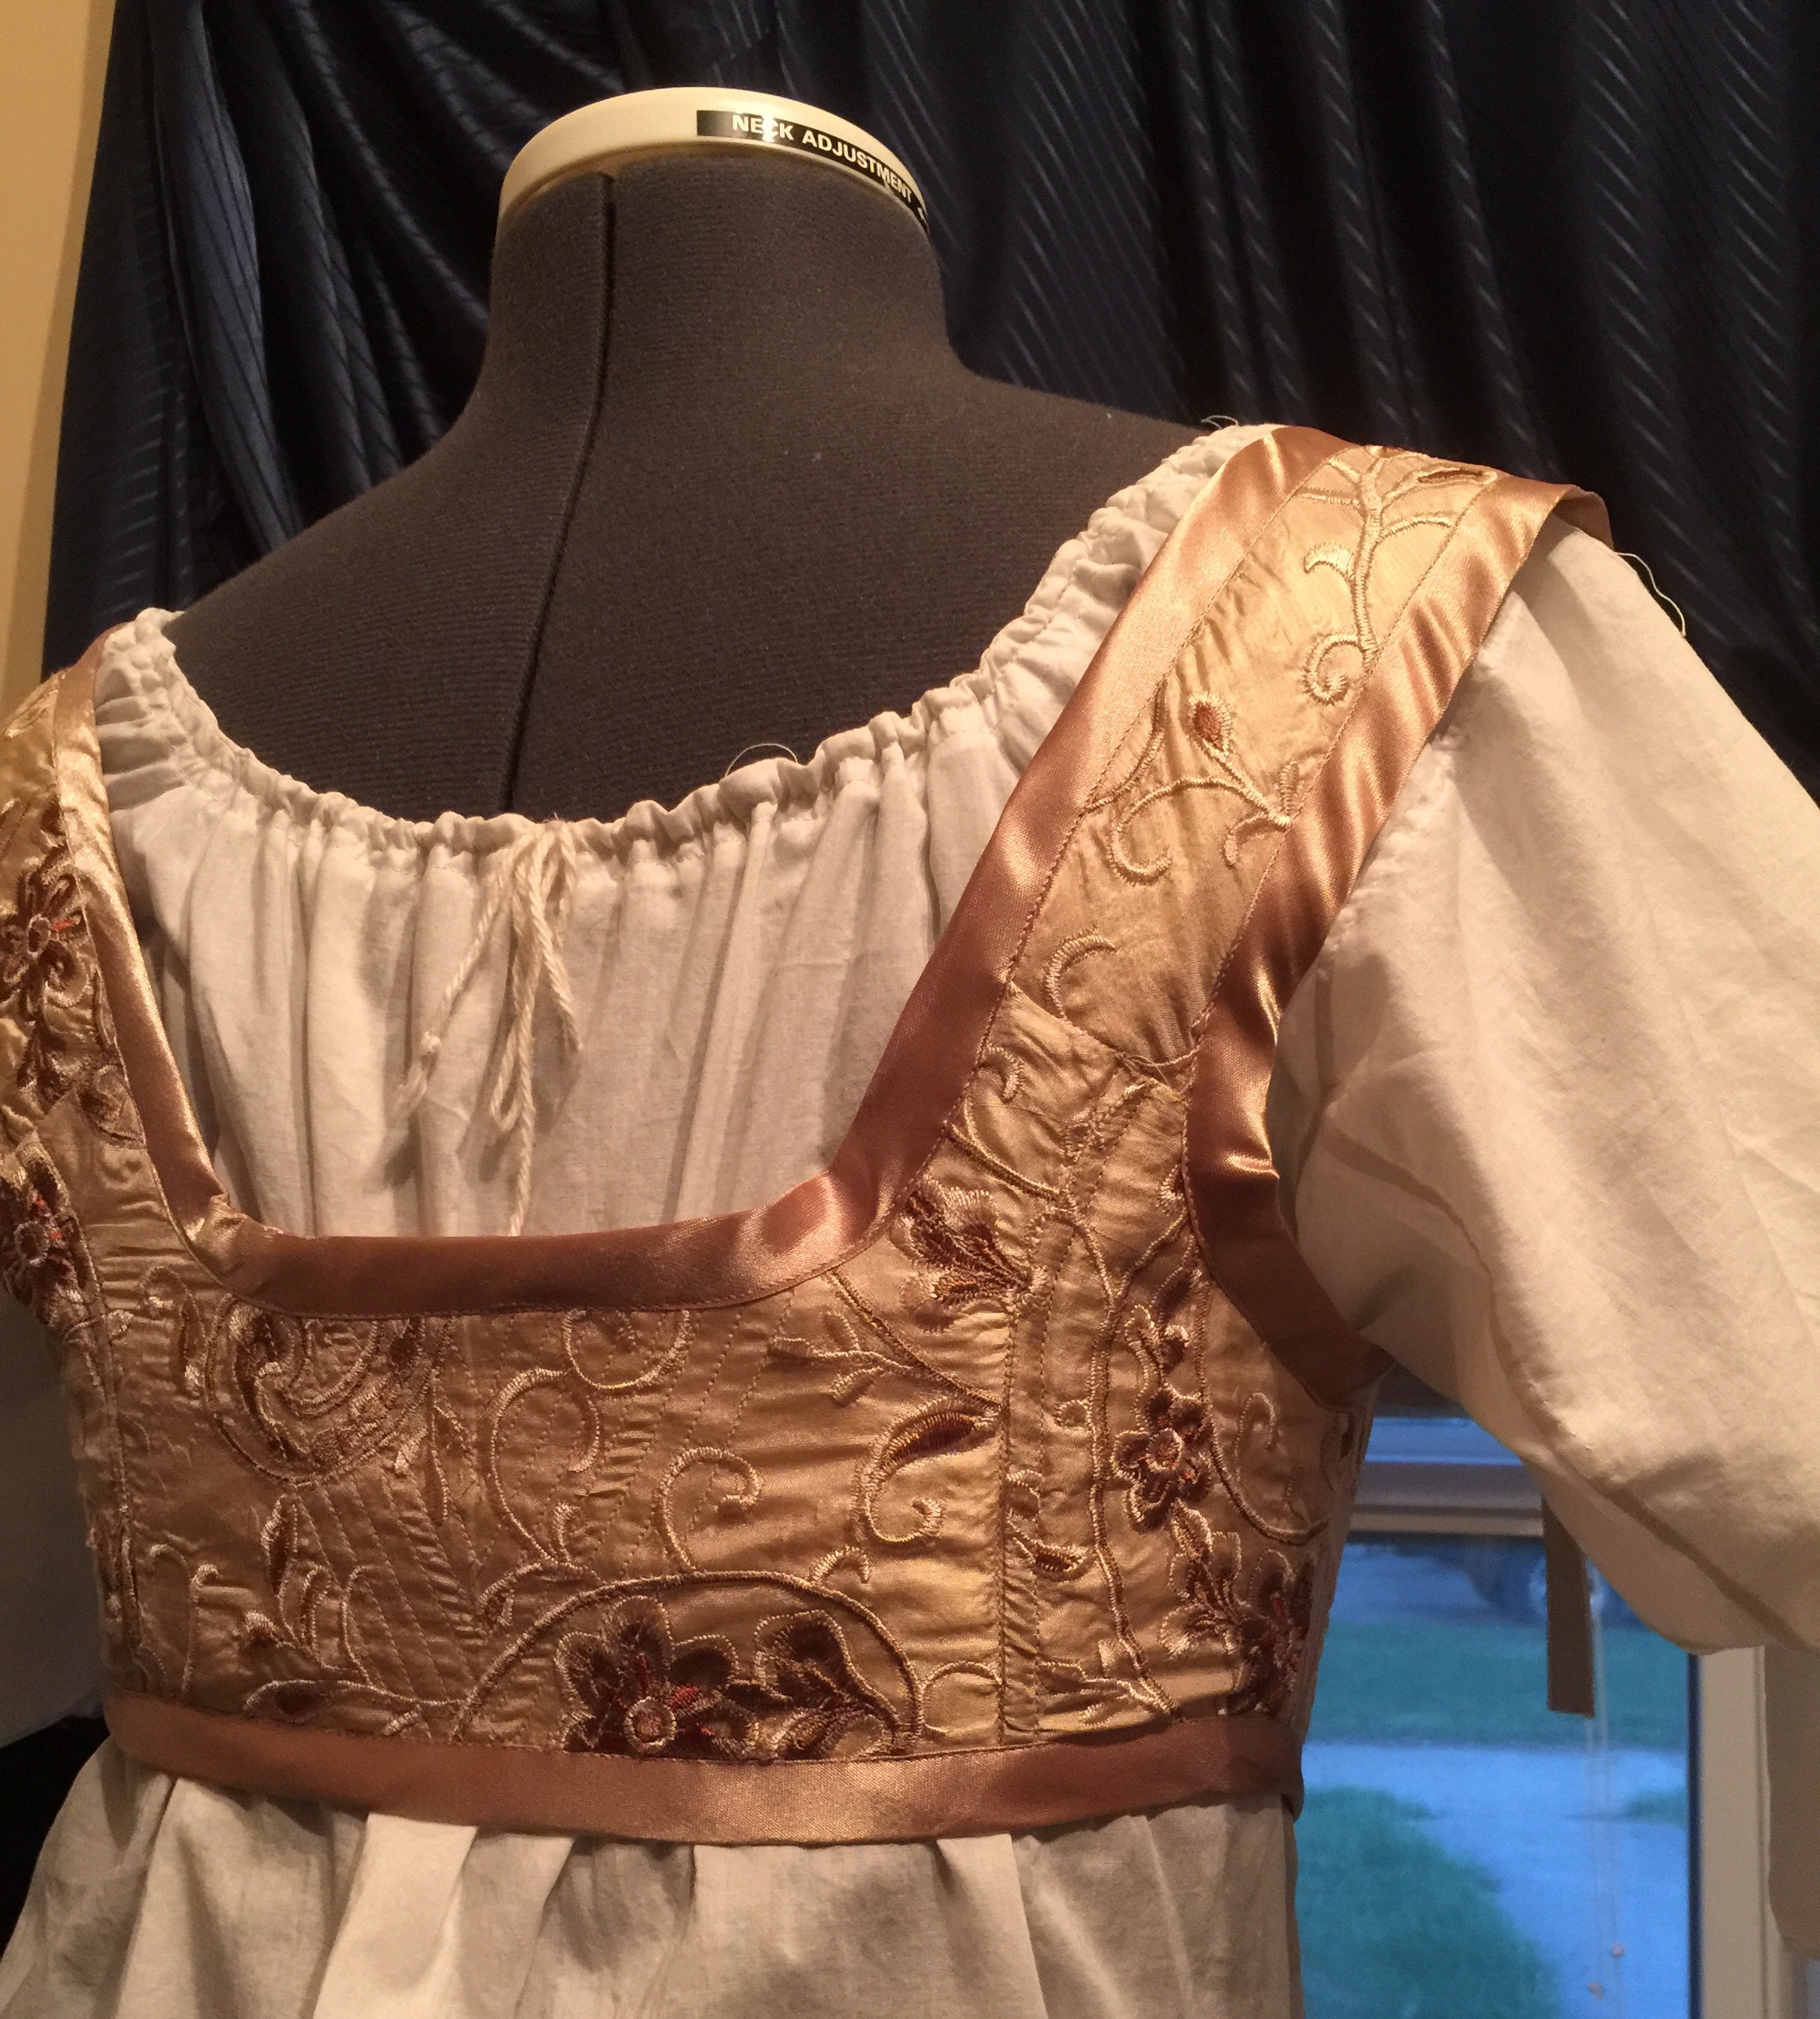
Shoulder tie.
The only actual change I made to the pattern was to have the straps separate in the front and attach with ties. Not so much because I thought there was anything wrong with the pattern length but just in case, y’know. Plus I had this fabulous matching velvet ribbon. I think I set them a little further apart than the original pattern would call for—this isn’t inappropriate for the period but would probably be too wide for a lot of people (including my dress form.) They seem to stay fairy well on me, though—though I haven’t tested them under heavy movement yet.

Lift and separate!
It was a pretty darn fun project, anyway, however ridiculously impractical. And quick. And now I can think about a Regency gown for Hallowe’en.
Although first I’m gonna need another petticoat. 😉
*if there was anything left to throw out after I chose my embroidered silk; I haven’t been able to find anything in period even remotely as ornate as my silk.


 I made hand-worked eyelets for the neckline drawstring to pass through. However, not being overly bright, I worked them in the BACK of the neckline. Oops. I’m not really happy with the neckline anyway (I did a fairly terrible job of applying the bias tape drawstring casing) and it seems a little high so when/if I get the time and inclination Imay redo it.