

Butterick 6241
I made Butterick 6241.
This project, for once, started with the fabric. My pokey little Fabricland has actually gotten some REALLY nice fabrics this fall—the nicest since we moved back here. One that I was really dying to work with was this slinky rayon knit that is just that much heavier than most of the thin rayon knits they get—making it extra scrumptious (though I’m sure not quite as luxe as the stuff K-Line has been playing with…). I came *this* close to making a Jalie Bella dress, but I thought the rayon is still just a wee bit thin for that… Butterick 6241, on the other hand—perfect.
Too many photos.
It was kinda hard to wrench myself out of historical costuming mode—I’ve been pinning regency-era stuff pretty much obsessively since mid July and I REALLY want to get started on a actual dress. But I reminded myself how much o loved the fabric and sucked it up and changed all the machines to grey thread. (Yes, all. While I did most of the construction on the serger, I set up the Rocketeer for twin-needling and there was still a fair bit of basting and stay-stitching to do on the Pfaff. )

Slinky!
My fabric is pretty stretchy and the pattern called for moderate stretch, so I decided right off the bat that I’d size down a bit. After a quick comparison with my knit sloper, I thought a bit of shortening through the armscye was in order, and since there was a back seam I took the opportunity to add a bit of a swayback adjustment. I roughly squared the shoulders, as well. It’s always a bit hard to tell in a knit if the changes you make actually made make a difference or just didn’t matter, but the fit ended up being pretty much spot on so I’m not going to complain.
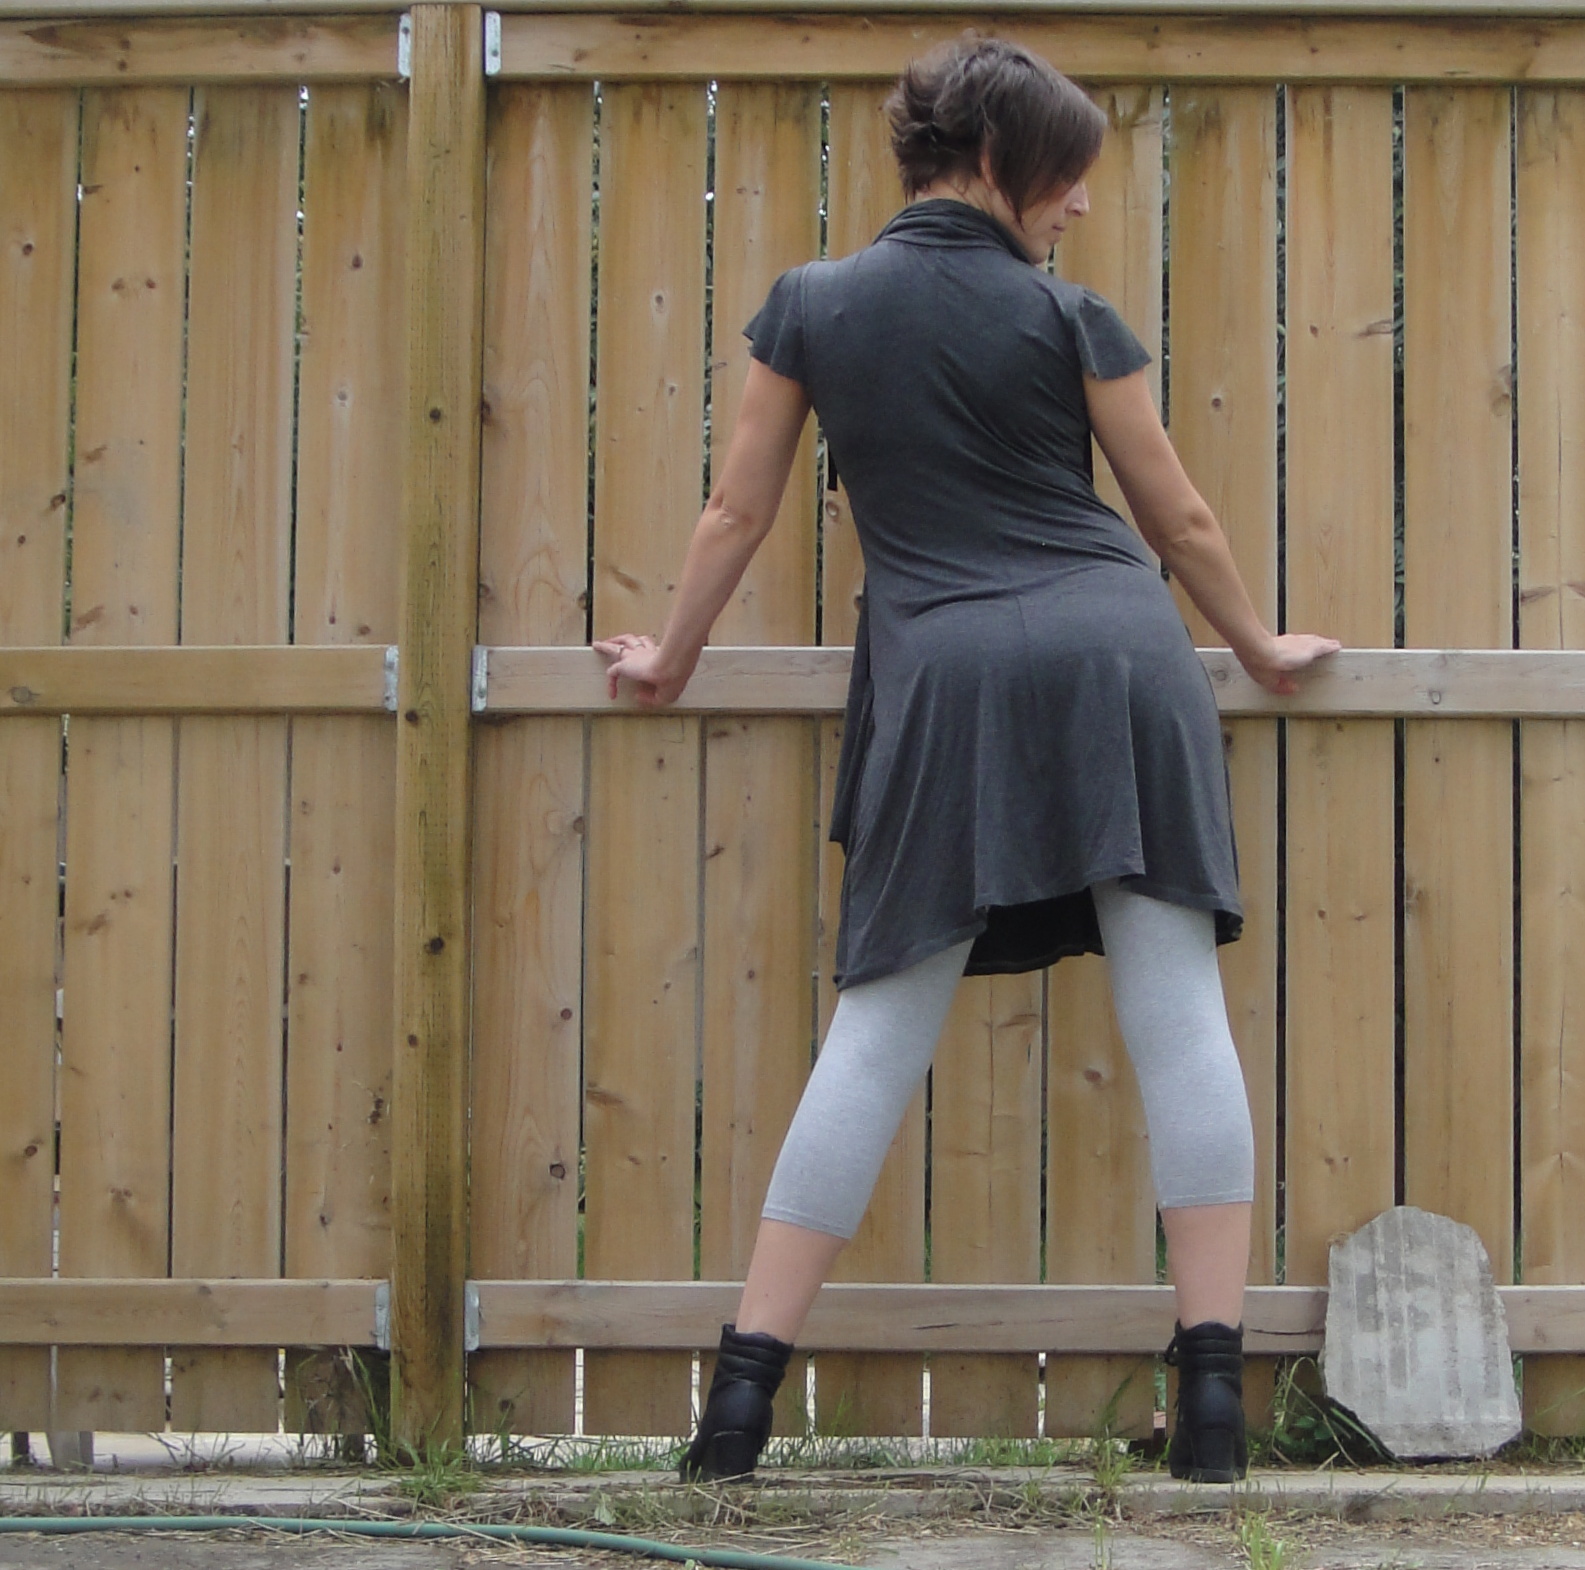
Back view. Catches up a bit on my butt, not helped by the not-at-all-slippery leggings.
I really really hate sewing knit patterns with 5/8″ seam allowances, so it takes a fair bit of love to get me to sew one. And I won’t say this pattern changed my feelings on that score, but it wasn’t overly traumatic, either. It’s not an easy knit pattern, however. There are a lot of seams that have to go together without rippling.
I did a LOT of stabilization—knit fusible stay tape (out of curiosity—it’s a little lighter than the knit interfacing I usually use and I think the heavier might’ve been better in this case—but it was still nice and convenient), clear elastic, and even old fashioned stay stitching. Which doesn’t make for the prettiest insides. I also wish I’d matched my serger thread better—I could only find two of my dark grey serger spools so I used lighter grey in the loopers. It stands out, and is somewhat visible inside the pockets and when the collar is unzipped. Blerg.
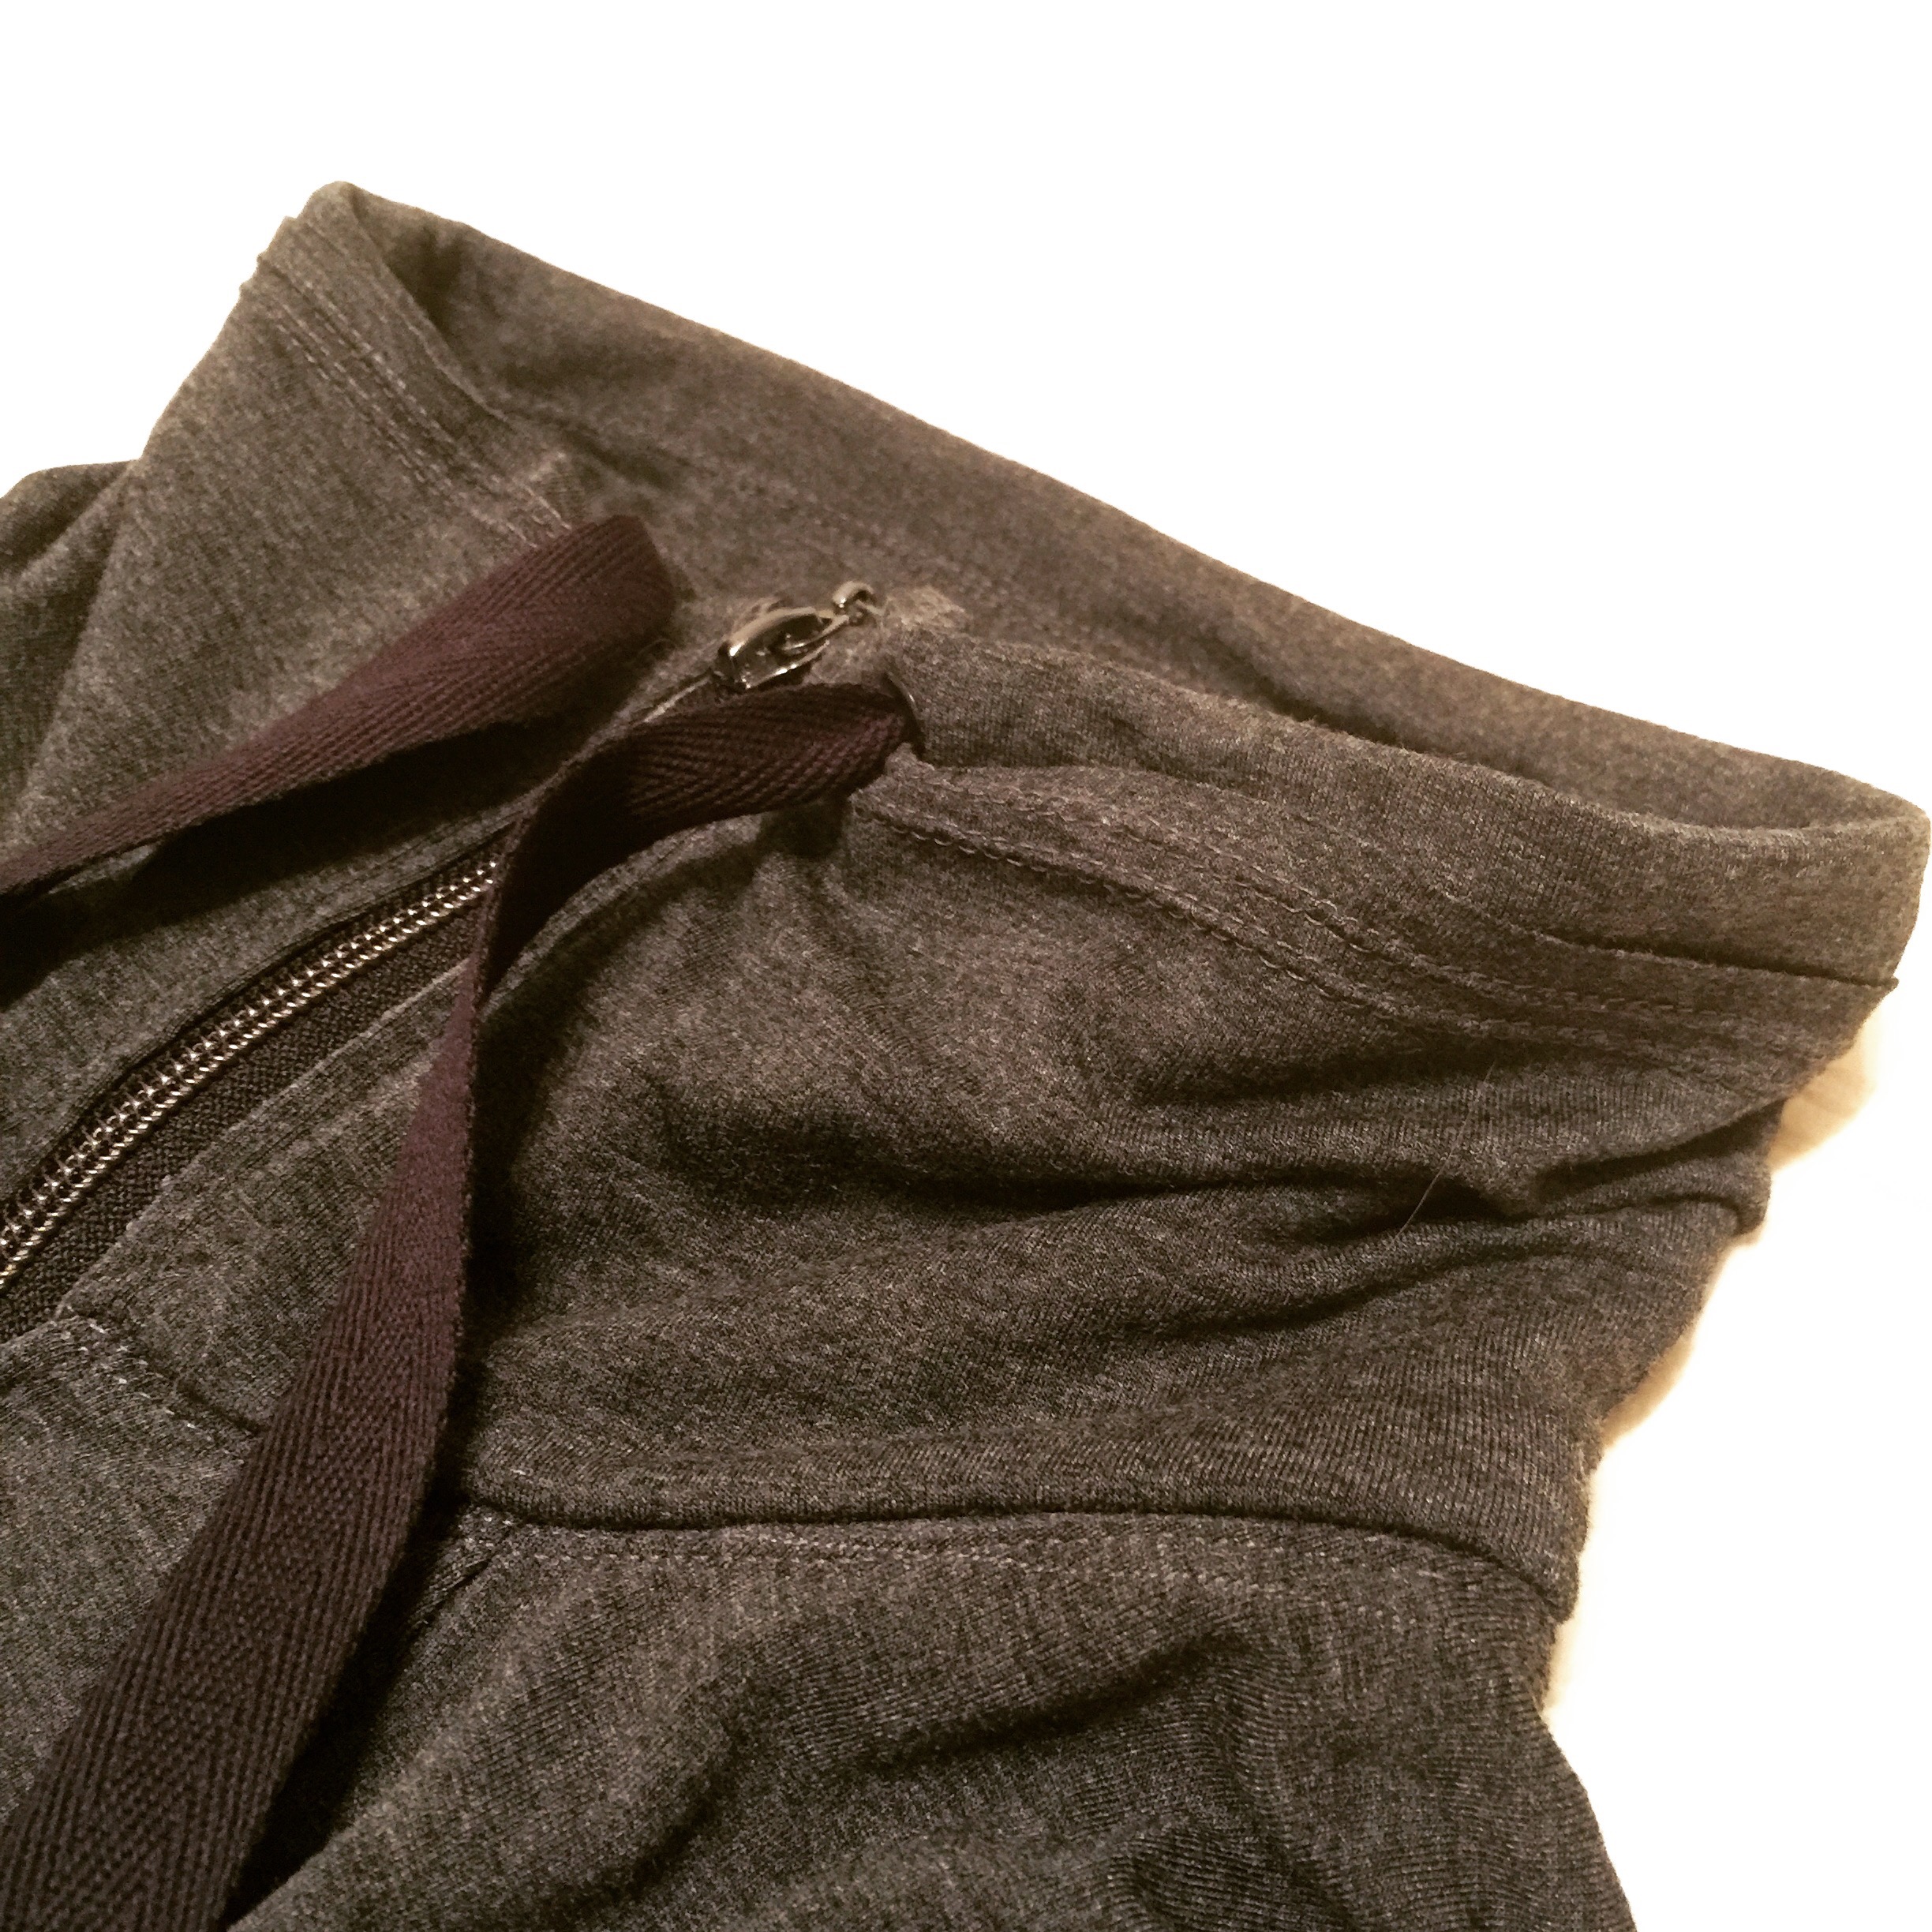
Collar closeup
My only real change to the construction was to skip the front facing.I mean, everyone hates facings in knits, right? Well, it would’ve made for a much nicer finish on the inside zipper if I had kept it, and since I mostly plan to wear it with the collar open, it’s not ideal (although it’s not as bad as I had feared it might be.) also I think the method described in the instructions for inserting the exposed zip would probably have been better than what I did, which was tuck the edges under, hold everything in place with wonder tape, and topstitch. It is not particularly perfect, plus I had to stitch down the collar inside the zipper by hand. Go with the instructions, though I would stabilize the outer fabric with more than just the stay-stitching they suggest.

yummy unipped collar
The collar itself is pretty interesting, with a weird raw-edged overlay with topstitching and grommets for the drawstring. I thought it was a bit weird that they tell you to baste on the overlay and then pull it back to insert the grommets underneath. I added the grommets first and everything was just fine. While they do have you interface the side of the collar that gets the grommets, I was using a super-light-weight knit interfacing for that so I added some squares of regular interfacing where the grommets were going. The collar overlay piece is slightly longer than the collar piece, I think to allow for turn of cloth, but since the collar is interfaced and the overlay isn’t, I actually would up trimming off a couple of cm to get my overlay to fit. They’re all rectangles—not the end of the world.
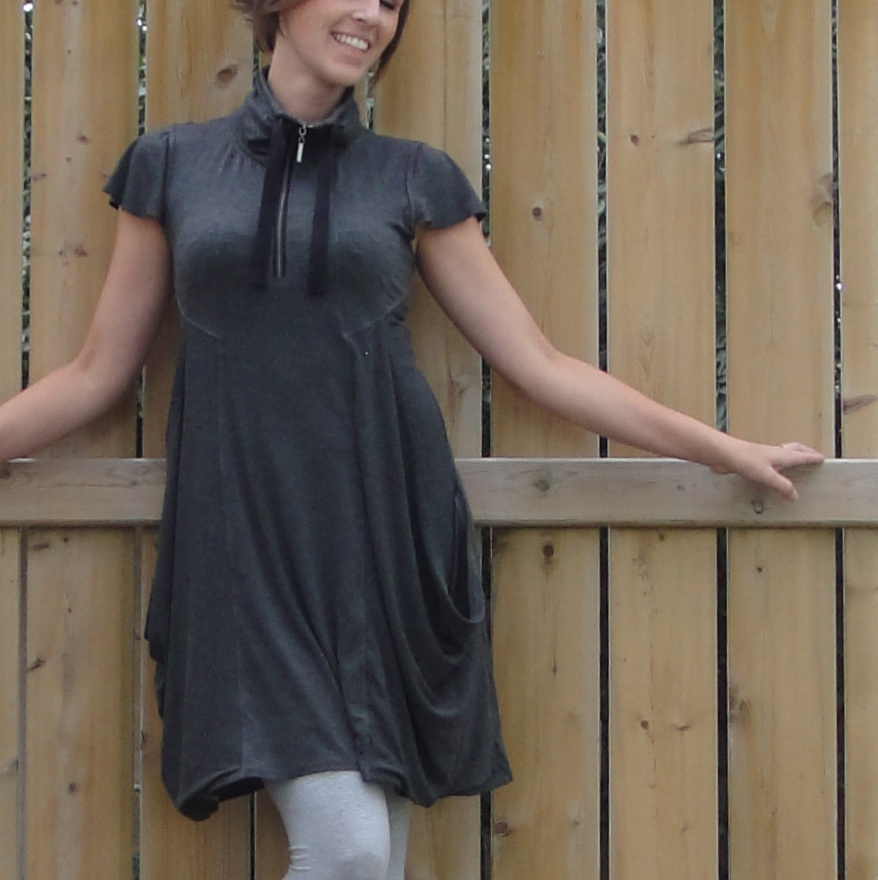
Zipped up collar. Still cute, less me.
Steam-a-Seam came to the rescue again for hemming the pockets and the bottom, and I think the walking foot on the rocketeer was a big help for keeping things together over the pocket part. I had actually expected the pocket to be formed by some nifty fabric folding at the hem or something, but no, it’s just a big piece basted to a smaller under-piece so it drapes nicely. Much simpler that way, mind you, plus I could decide to shave an inch off the bottom without causing too much trouble. I actually might’ve shortened more—not that it’s long, but I was thinking mini-length in my head and it’s really a very comfortable knee length (I’m 5′ 7″)—but I was worried about getting into the drapey part of the pocket. Although now it’s hemmed it seems shorter… some of that is probably my camera’s 18″ high tripod perspective.
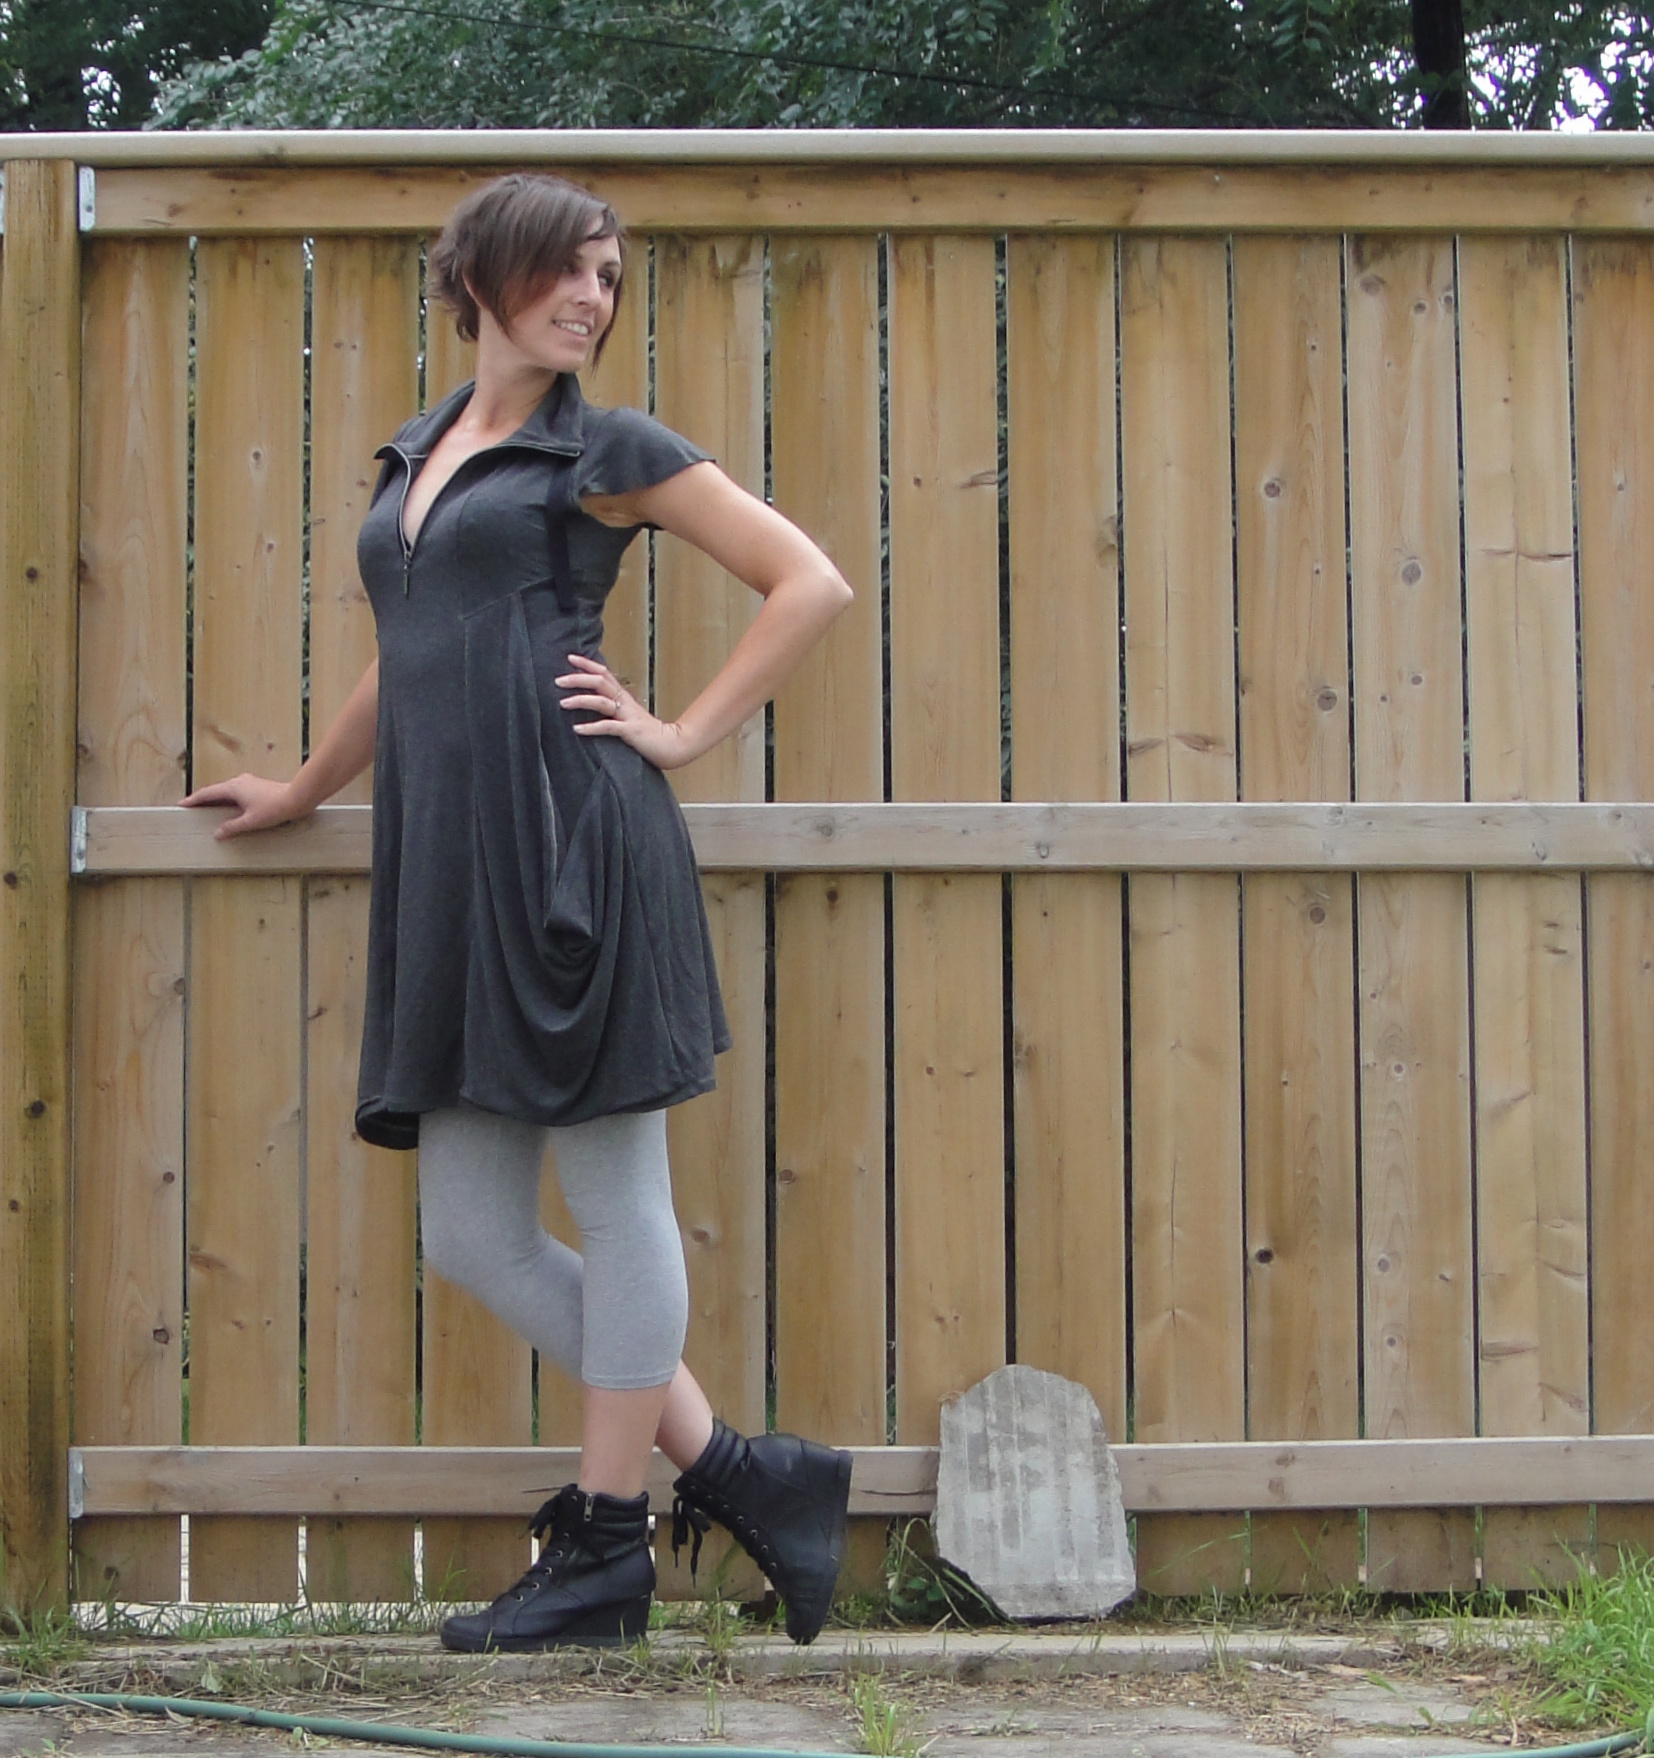
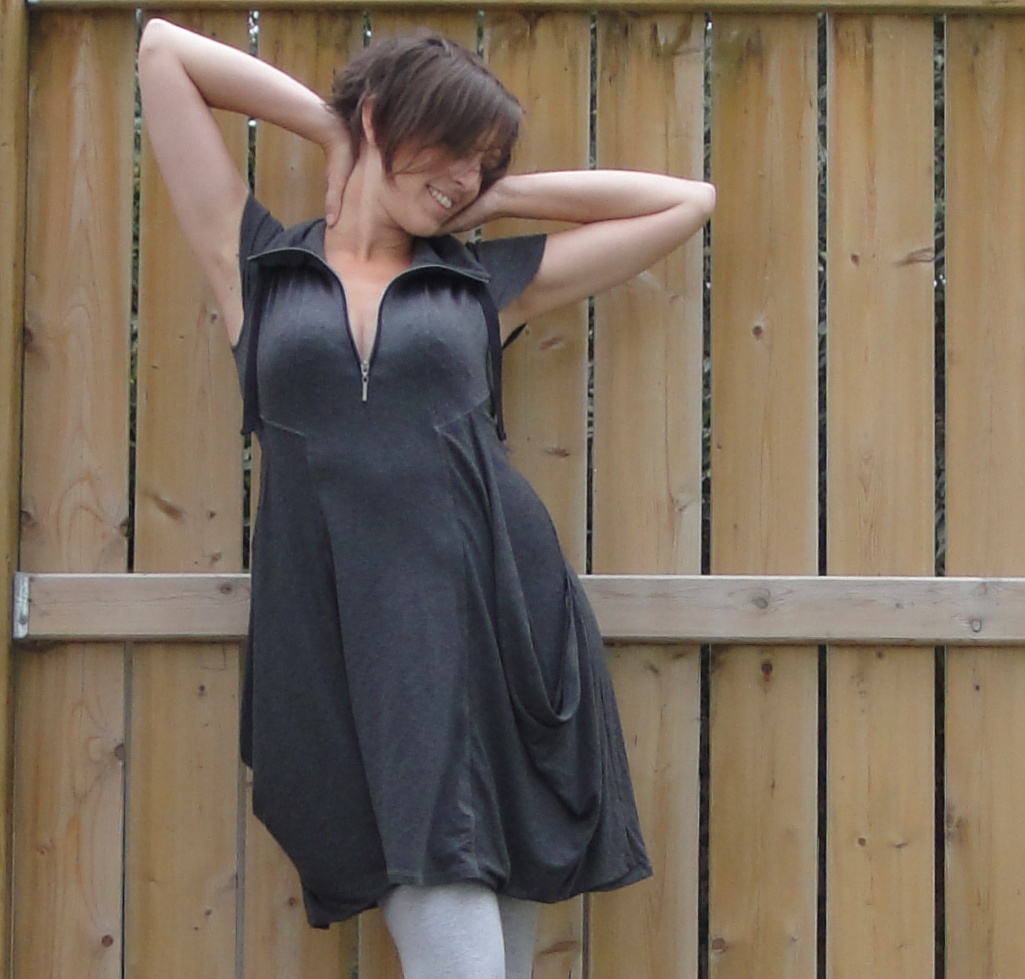
Dress
I was not overly pleased with the sleeve, solely because there is sleeve-cap ease. 😦 this isn’t necessary on a knit, I think, ever, and certainly not on a little flutter sleeve. I actually cut the smallest size of sleeve in the hope this would get rid of it, but there was still a bit left. I then made the mistake of just trying to ease it in with the machine, which resulted in a rather stretched out back of the armscye. Blerg. So partly my fault, too, for not bothering to address the problem properly. I don’t think it will bug me too much, anyway.
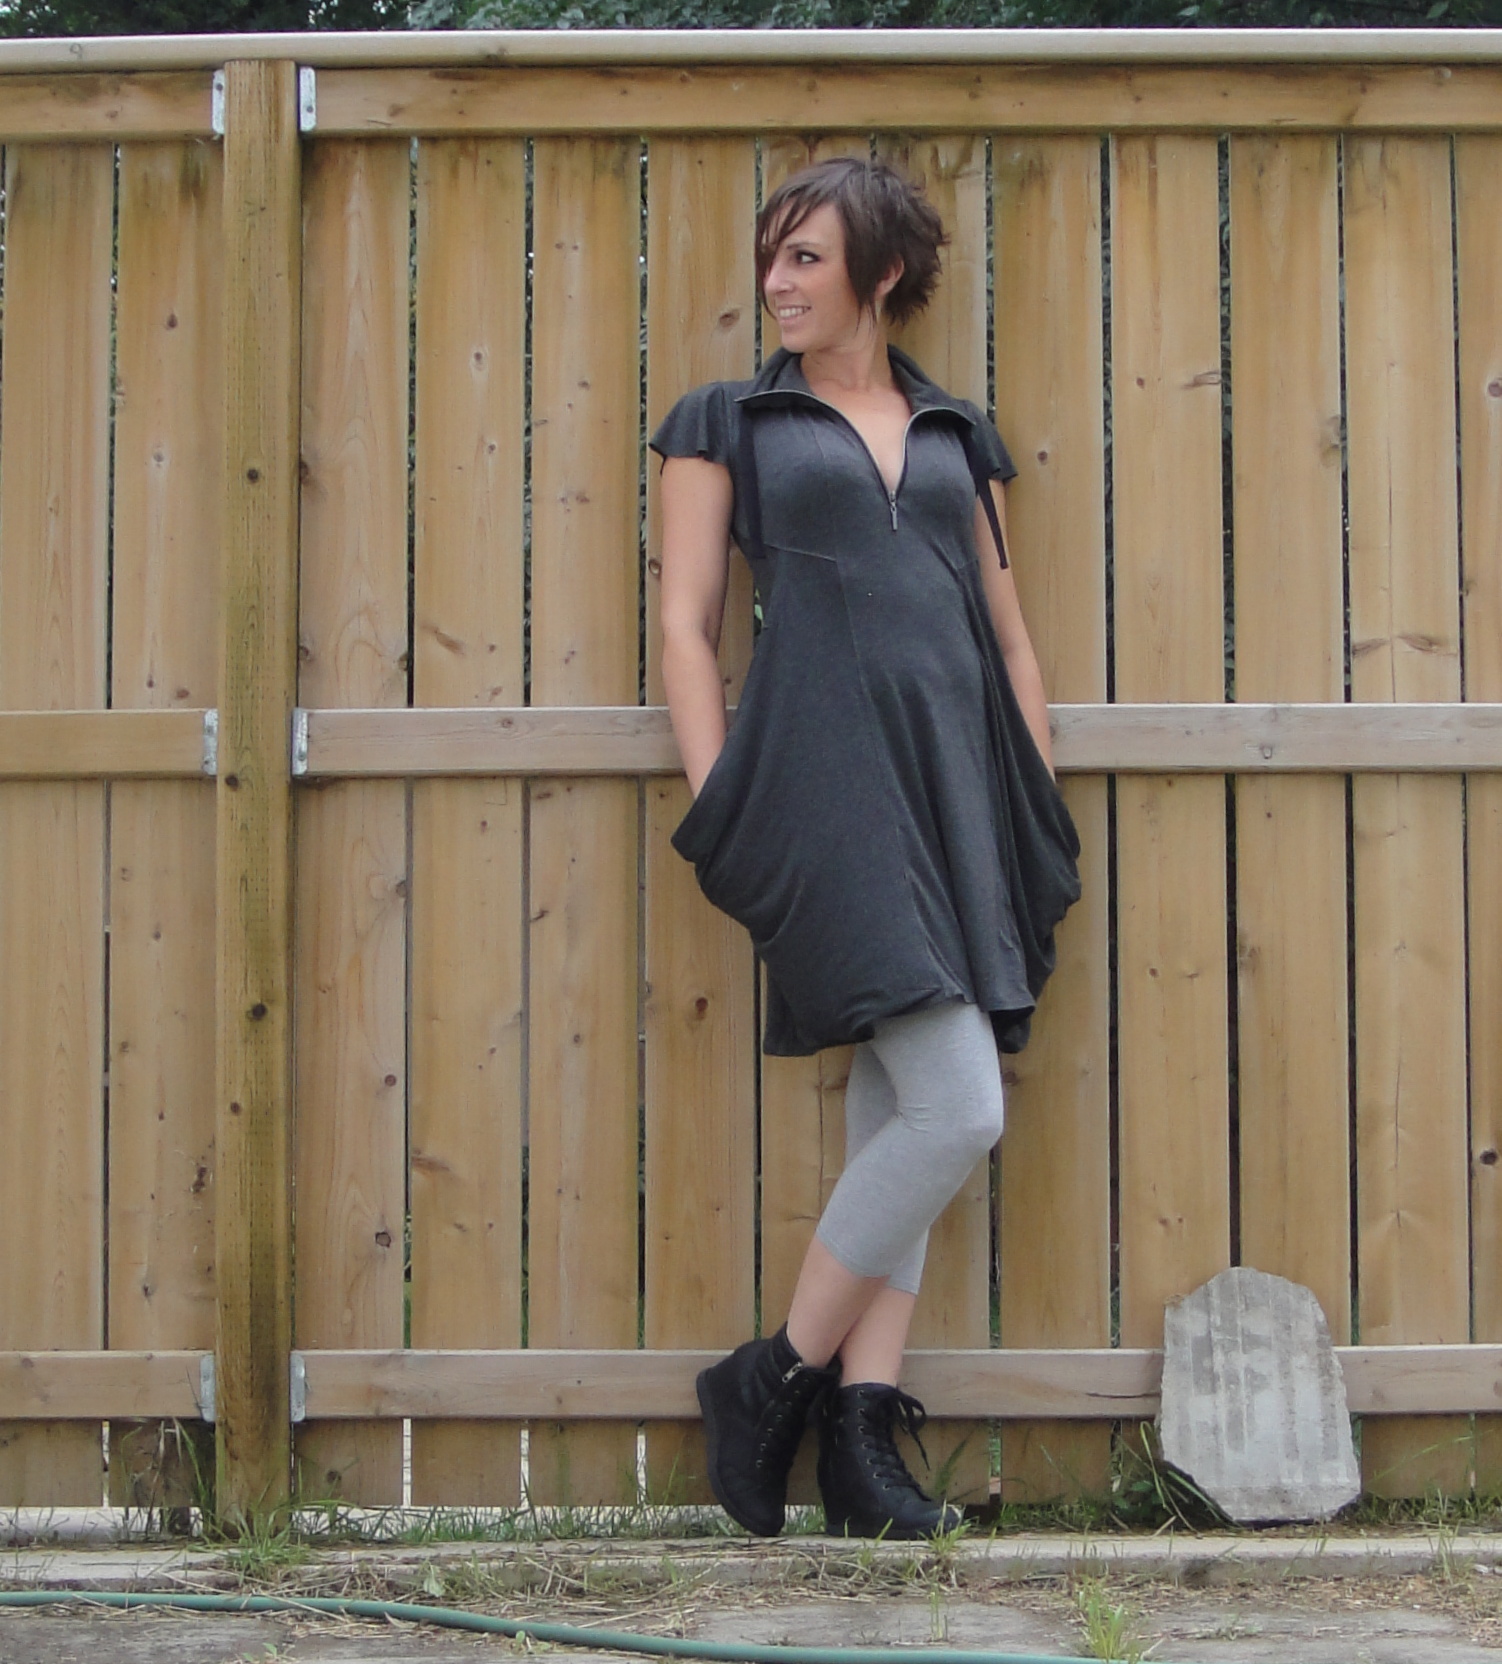
Dress
So, all in all, despite a few quibbles with the pattern and instructions, and a few more issues with my own choices, I’m pretty darn happy! It’s a cute, comfy dress that is already making me less upset about the fact that fall is here. And I LOOOOOOOOVE that fabric. 🙂


