

The first commercial pattern I ever sewed, the first thing I sewed for myself, in fact, was a peasant blouse. I’ve made the occasional one since then, usually for costume purposes, but none are in my wardrobe currently. But as soon as I made my corset-stays, I knew that was what I wanted to go under them; most of my other shirt necklines just weren’t quite right. So I dug out my stash of lightweight white linen, found a chunk left over from some other project (it actually might be the ramie left over from my Fiona dress, but visually it’s indistinguishable from the mass of featherlight linen I have hoarded over the years, just maybe not quite as soft in feel), and went to it.
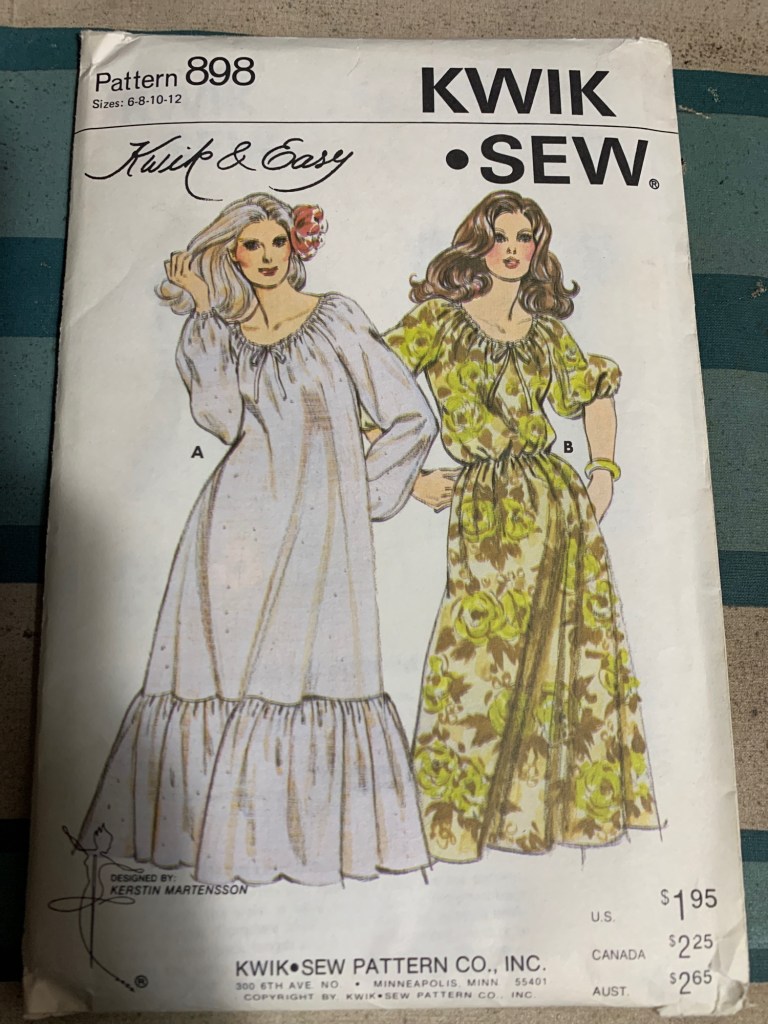
The pattern I selected was the vintage Kwik Sew 898. Now, you will observe from the illustration that a) this is a dress, and 2) the illustration looks far more voluminous than my final result. The envelope I have only goes up to a size 12 (which I am larger than), but when I opened it up it turns out it was also cut, to a size 8 (which is not only smaller than my current size by about 10”, but is smaller than I’ve ever been as an adult.) So obviously some on-the-fly grading was in order.
However, I had pretty much decided I was only going to sacrifice the one remnant (not much over a metre) of fabric to this project, at least until the pattern was tested and I knew if I liked it. So, without thinking to hard about it, I cut the sleeves as is from the irregular “had another project cut out of it” end, and then fitted the front and back body pieces onto the remainder, opting for a back seam to minimize any fabric waste. I “graded” the body simply by putting the pieces as far from the edges of the folded fabric as I could, which probably got me an extra 4” or 5” over the width of the whole project. Enough that it’s not skin tight, at least, but not the full 10” I’m lacking. So the lack of volume probably has more to do with inadequate grading. Oh, I did raise the underarm seam about two cm, but that’s pretty much a habit for me.
Once the cutting was done, the construction was simple, although it didn’t get accomplished quickly as I didn’t have much time. I French seamed the seams, and overlocked and then folded over the sleeve hems.

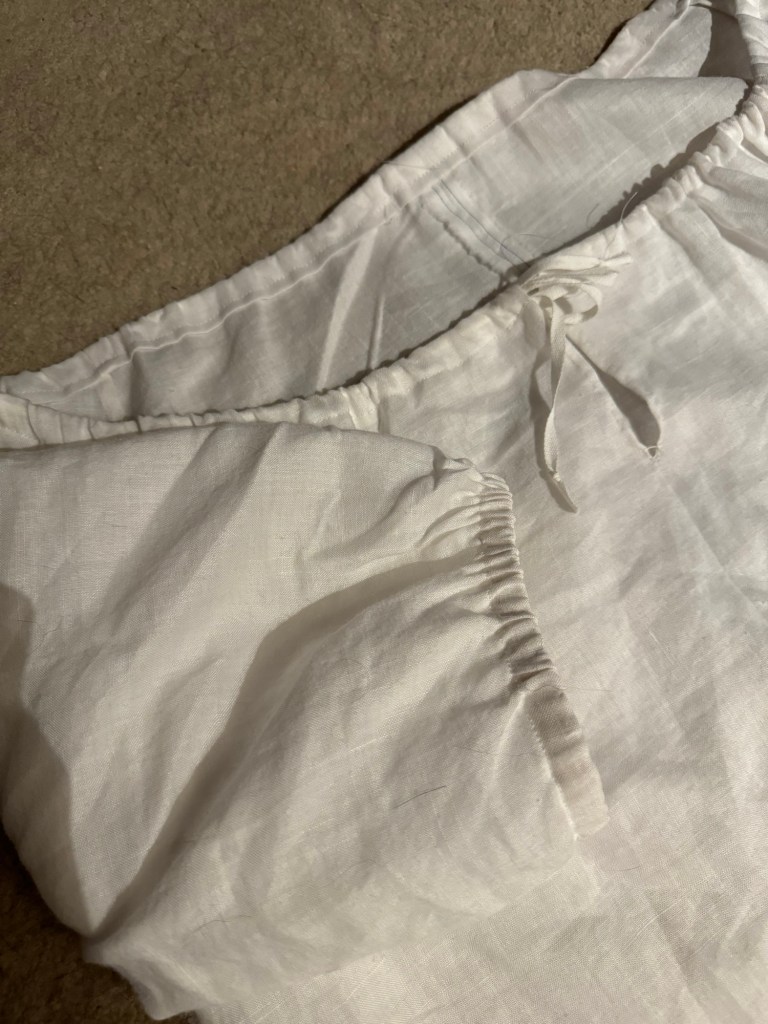
My main departure from the pattern was adding a short slit to the front, which I hand-finished, including adding that little thread-bar near the bottom that you see in 18th century shirts. This let me avoid adding eyelets or buttonholes to the neckline channel to let my drawstring (my favourite 1/4” stay tape) through. I also folded the neckline down rather further than the 1cm the pattern suggested, to create a more open neckline.

I added elastic to the ends of the sleeves, and that, pretty much, is that.
The total shirt length I ended up with, dictated purely by the length of fabric I had, actually comes to about my knees, almost a chemise length. I have toyed with the idea of adding some gathered tiers to the bottom to create a built-in petticoat effect, but I feel like I might just be better off making a separate linen petticoat/skirt (something that has been on my mental list all summer, in fact). Either way, I have to work up the stamina to tackle gathered tiers.

But in the meantime, this was a fun quick little project, and I think the result will actually fit quite nicely into my wardrobe.

And it does seem to go well with the stays.


